
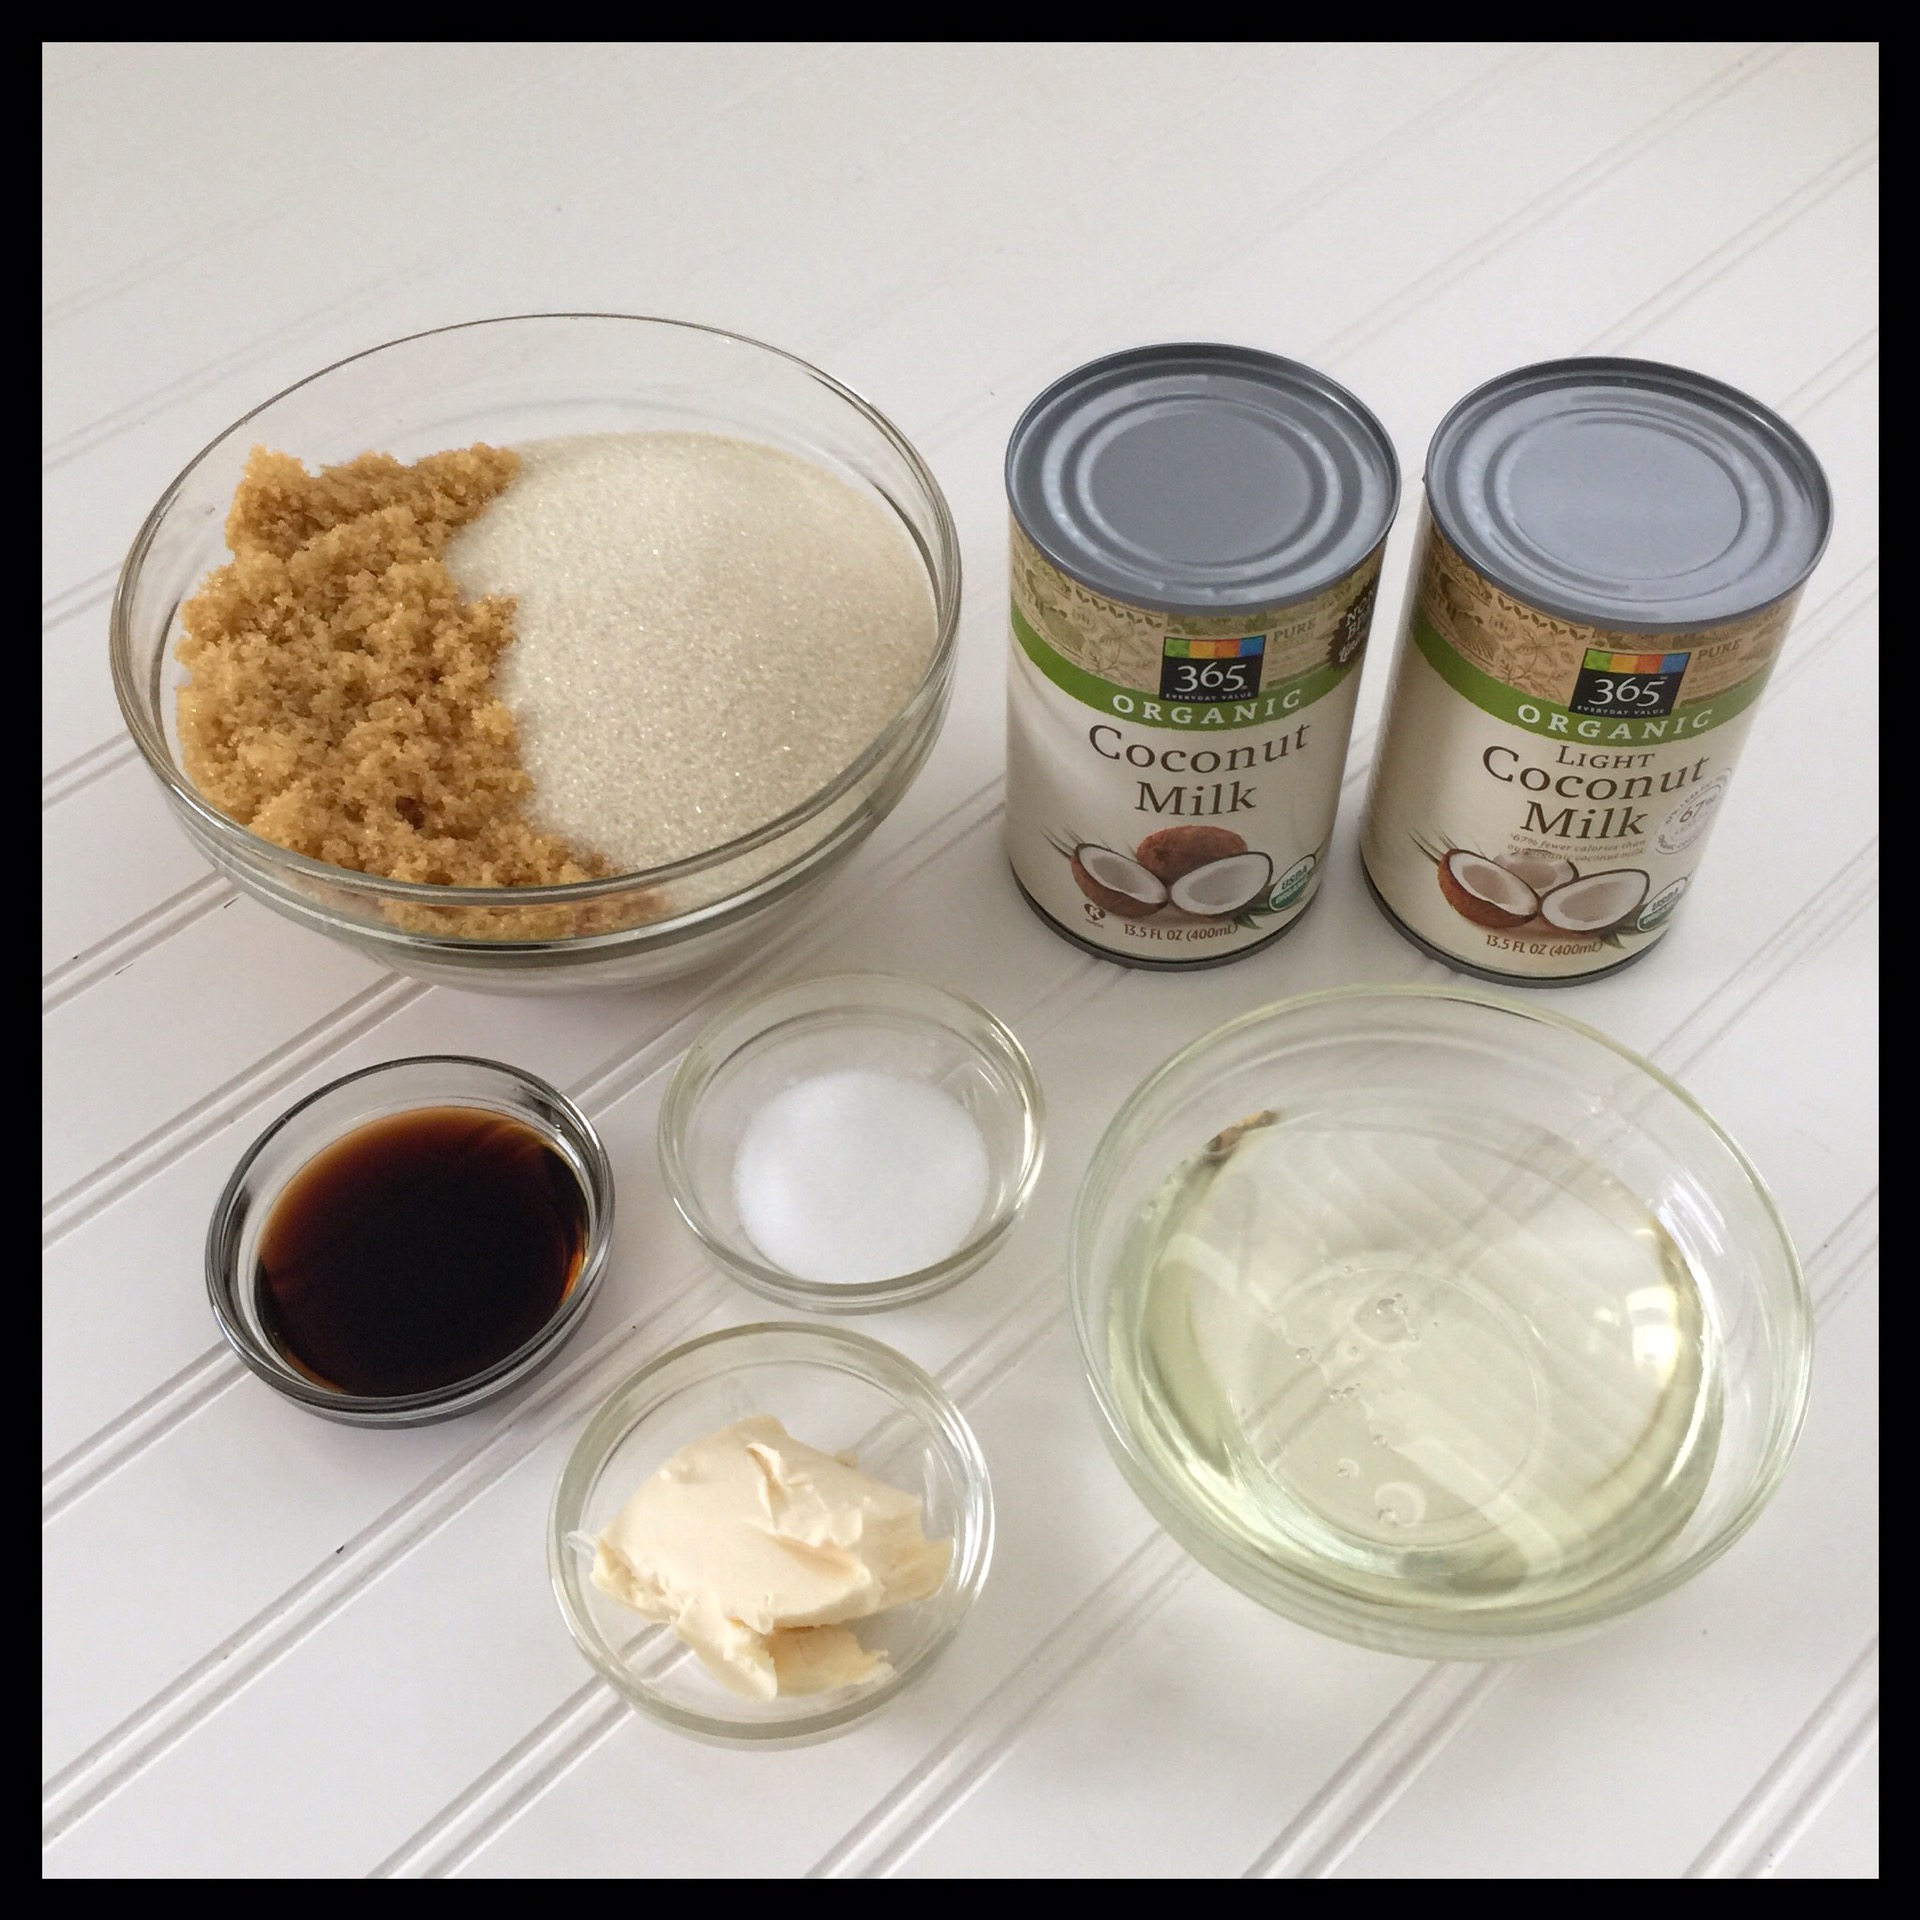
This delicious vegan caramel has a lovely vanilla flavor and a soft and chewy texture. You can’t taste any coconut, despite using coconut milk, and it is well worth the time it takes to make it. Making caramel properly does take time, care, and some special equipment. You must use a candy thermometer, and both a digital kitchen scale and tornado whisk will make your work much easier. This is also not a recipe to attempt while you are distracted or when there are small children around. You will be boiling sugar and you do not want anyone to get burned. That said, it is not a difficult recipe as long as you follow the directions. Here are the ingredients you will need:
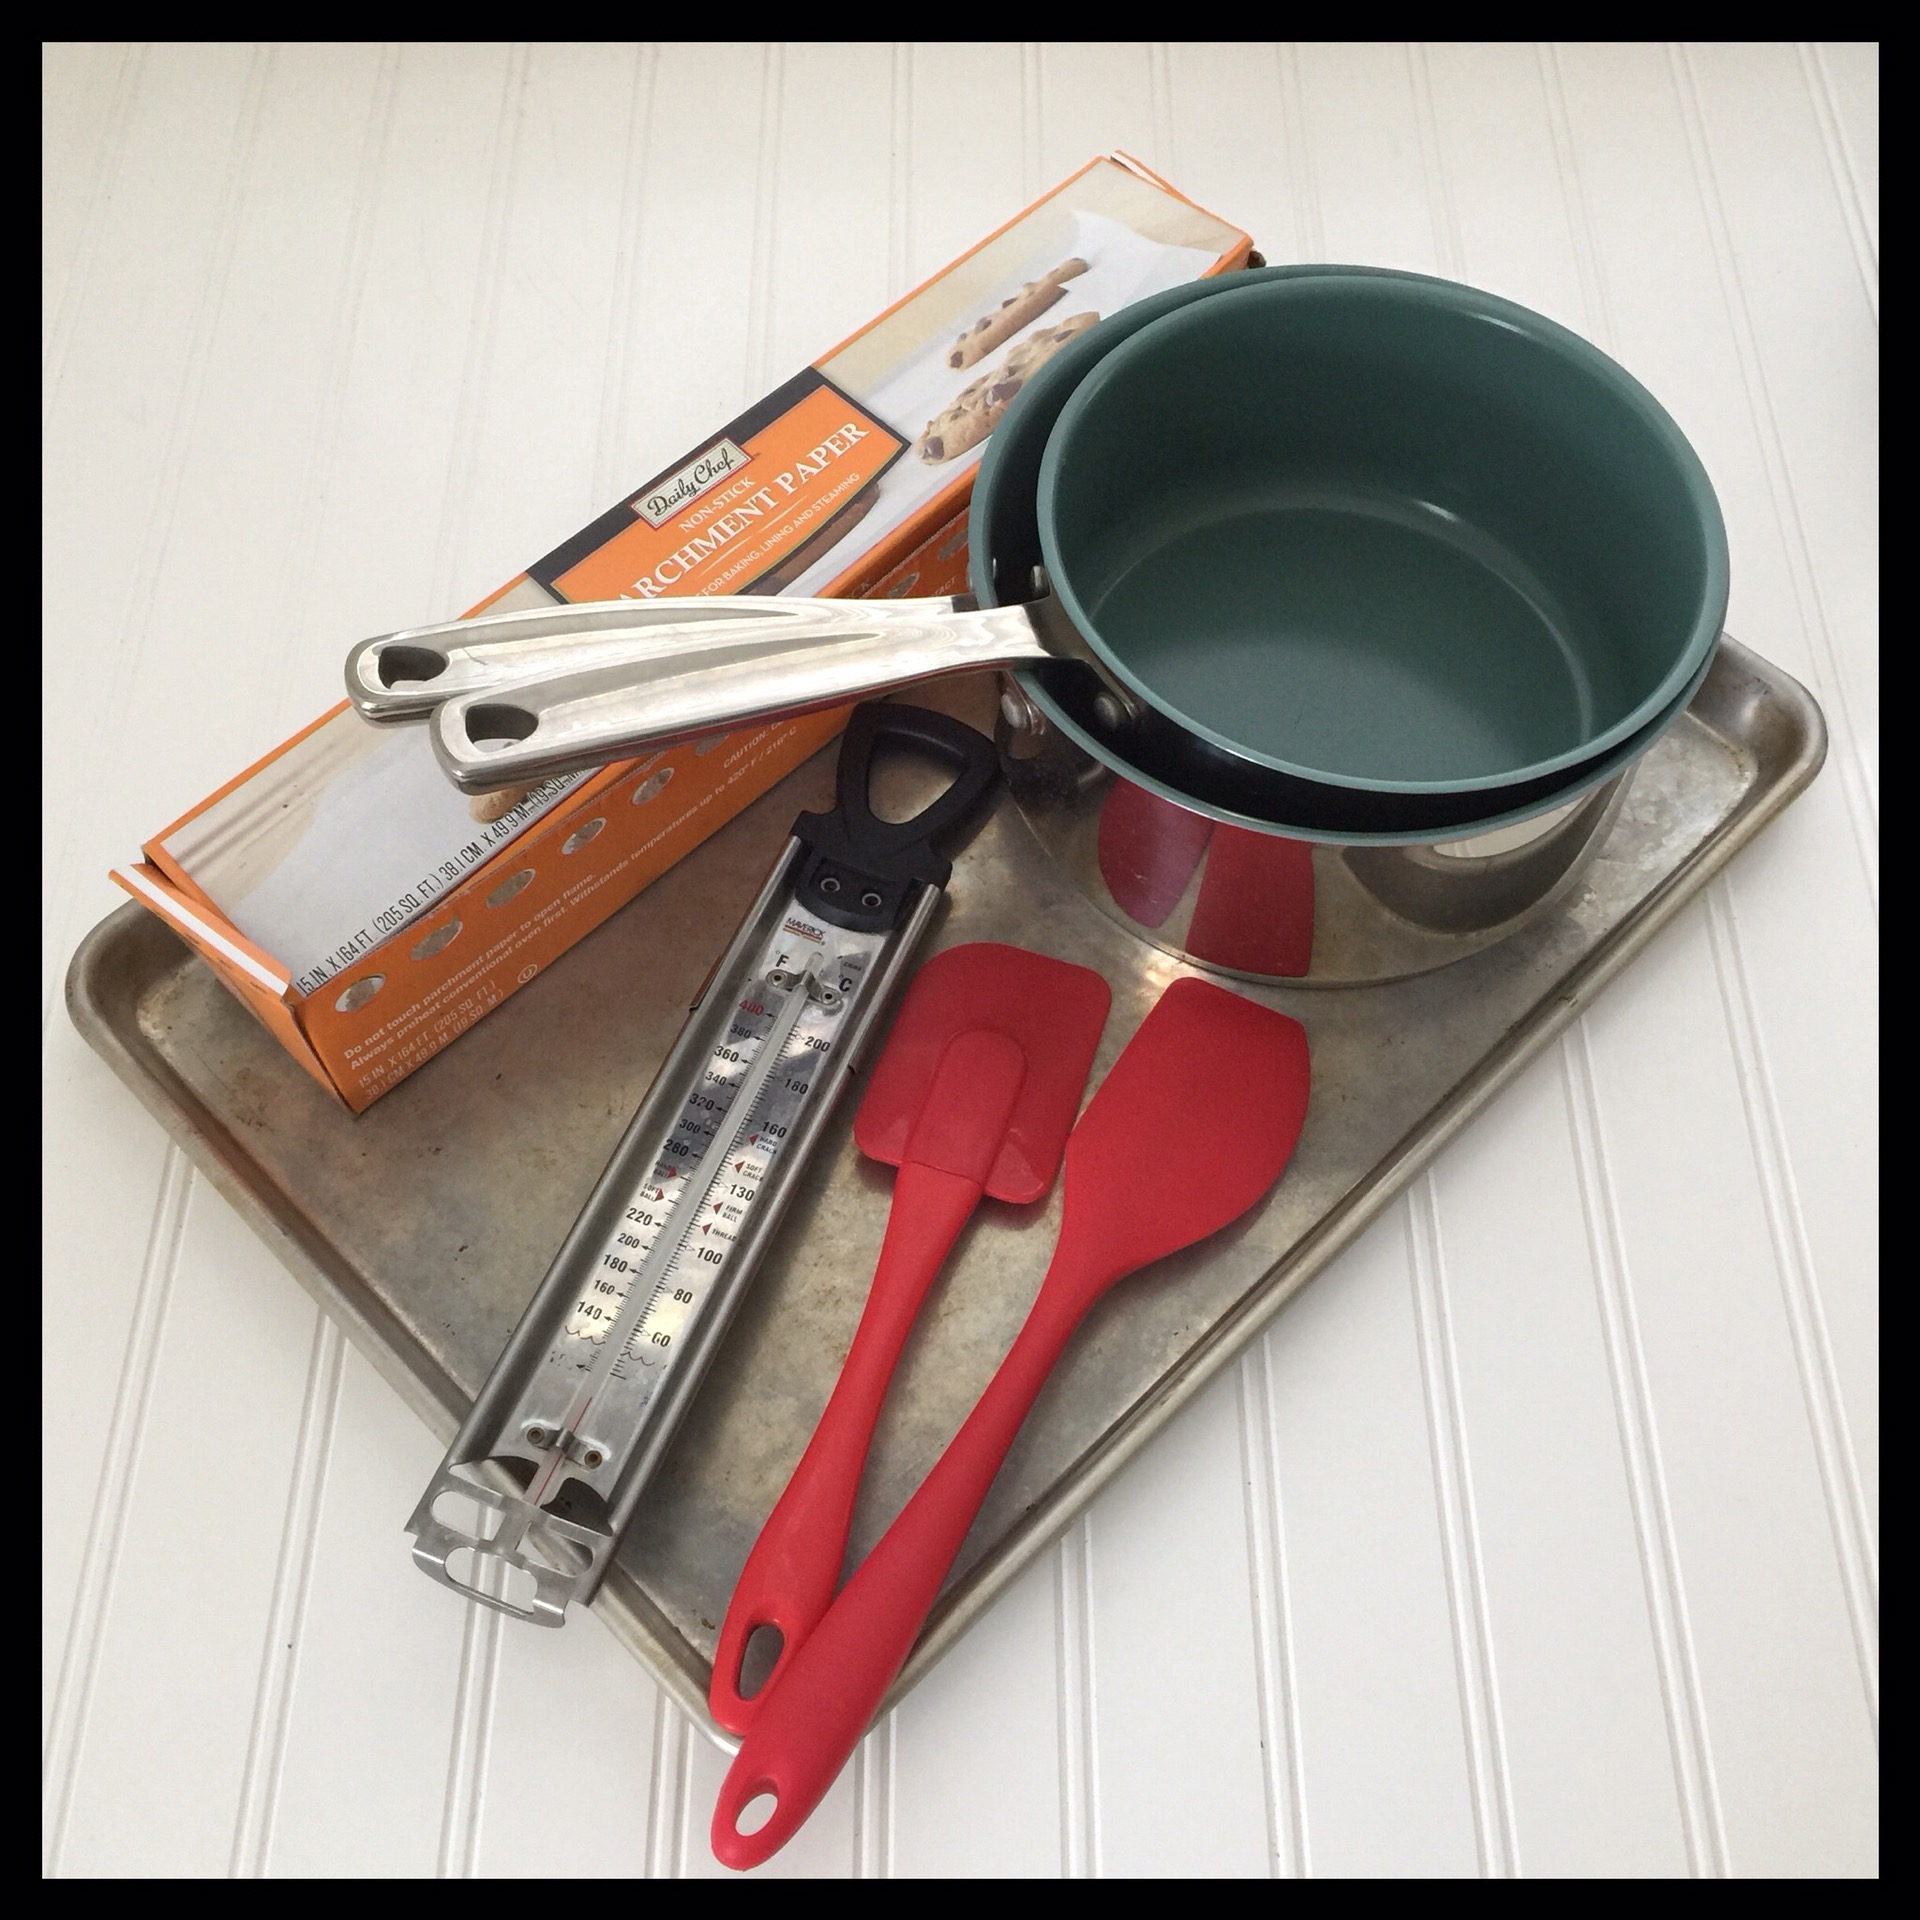
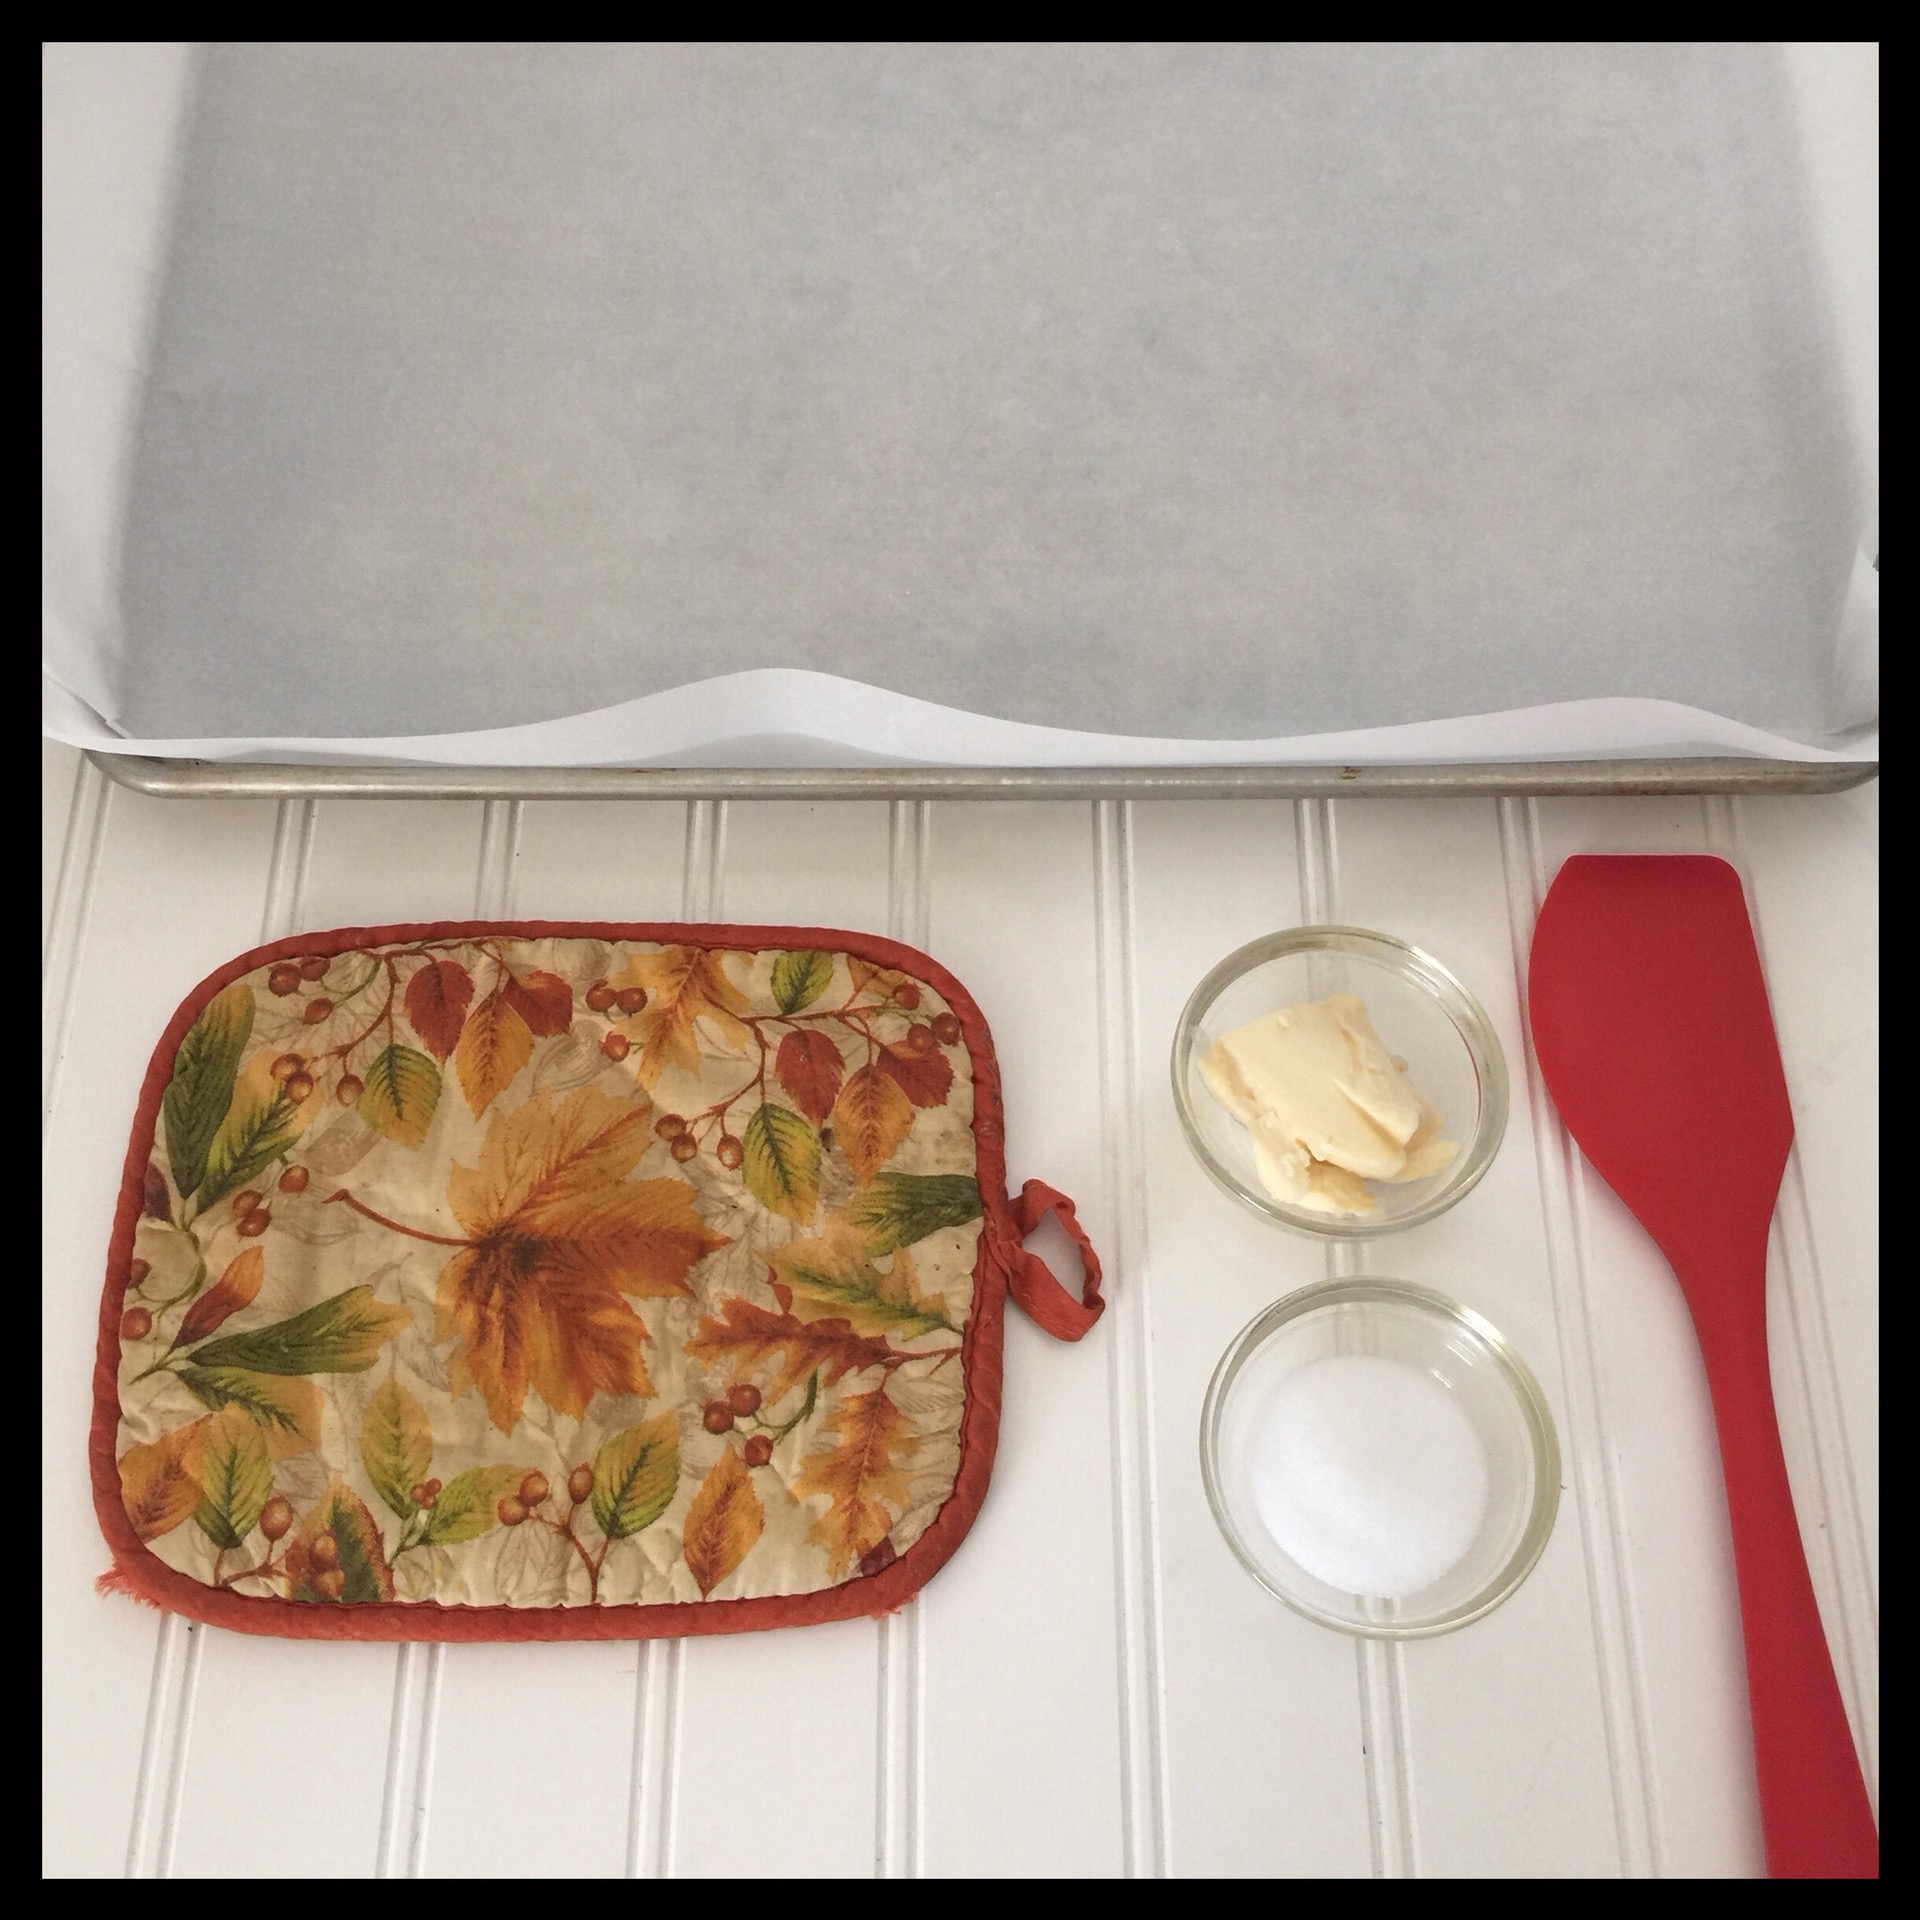
You will also need two saucepans, two spatulas, parchment paper, a rimmed pan, a whisk (not shown), and a candy thermometer:
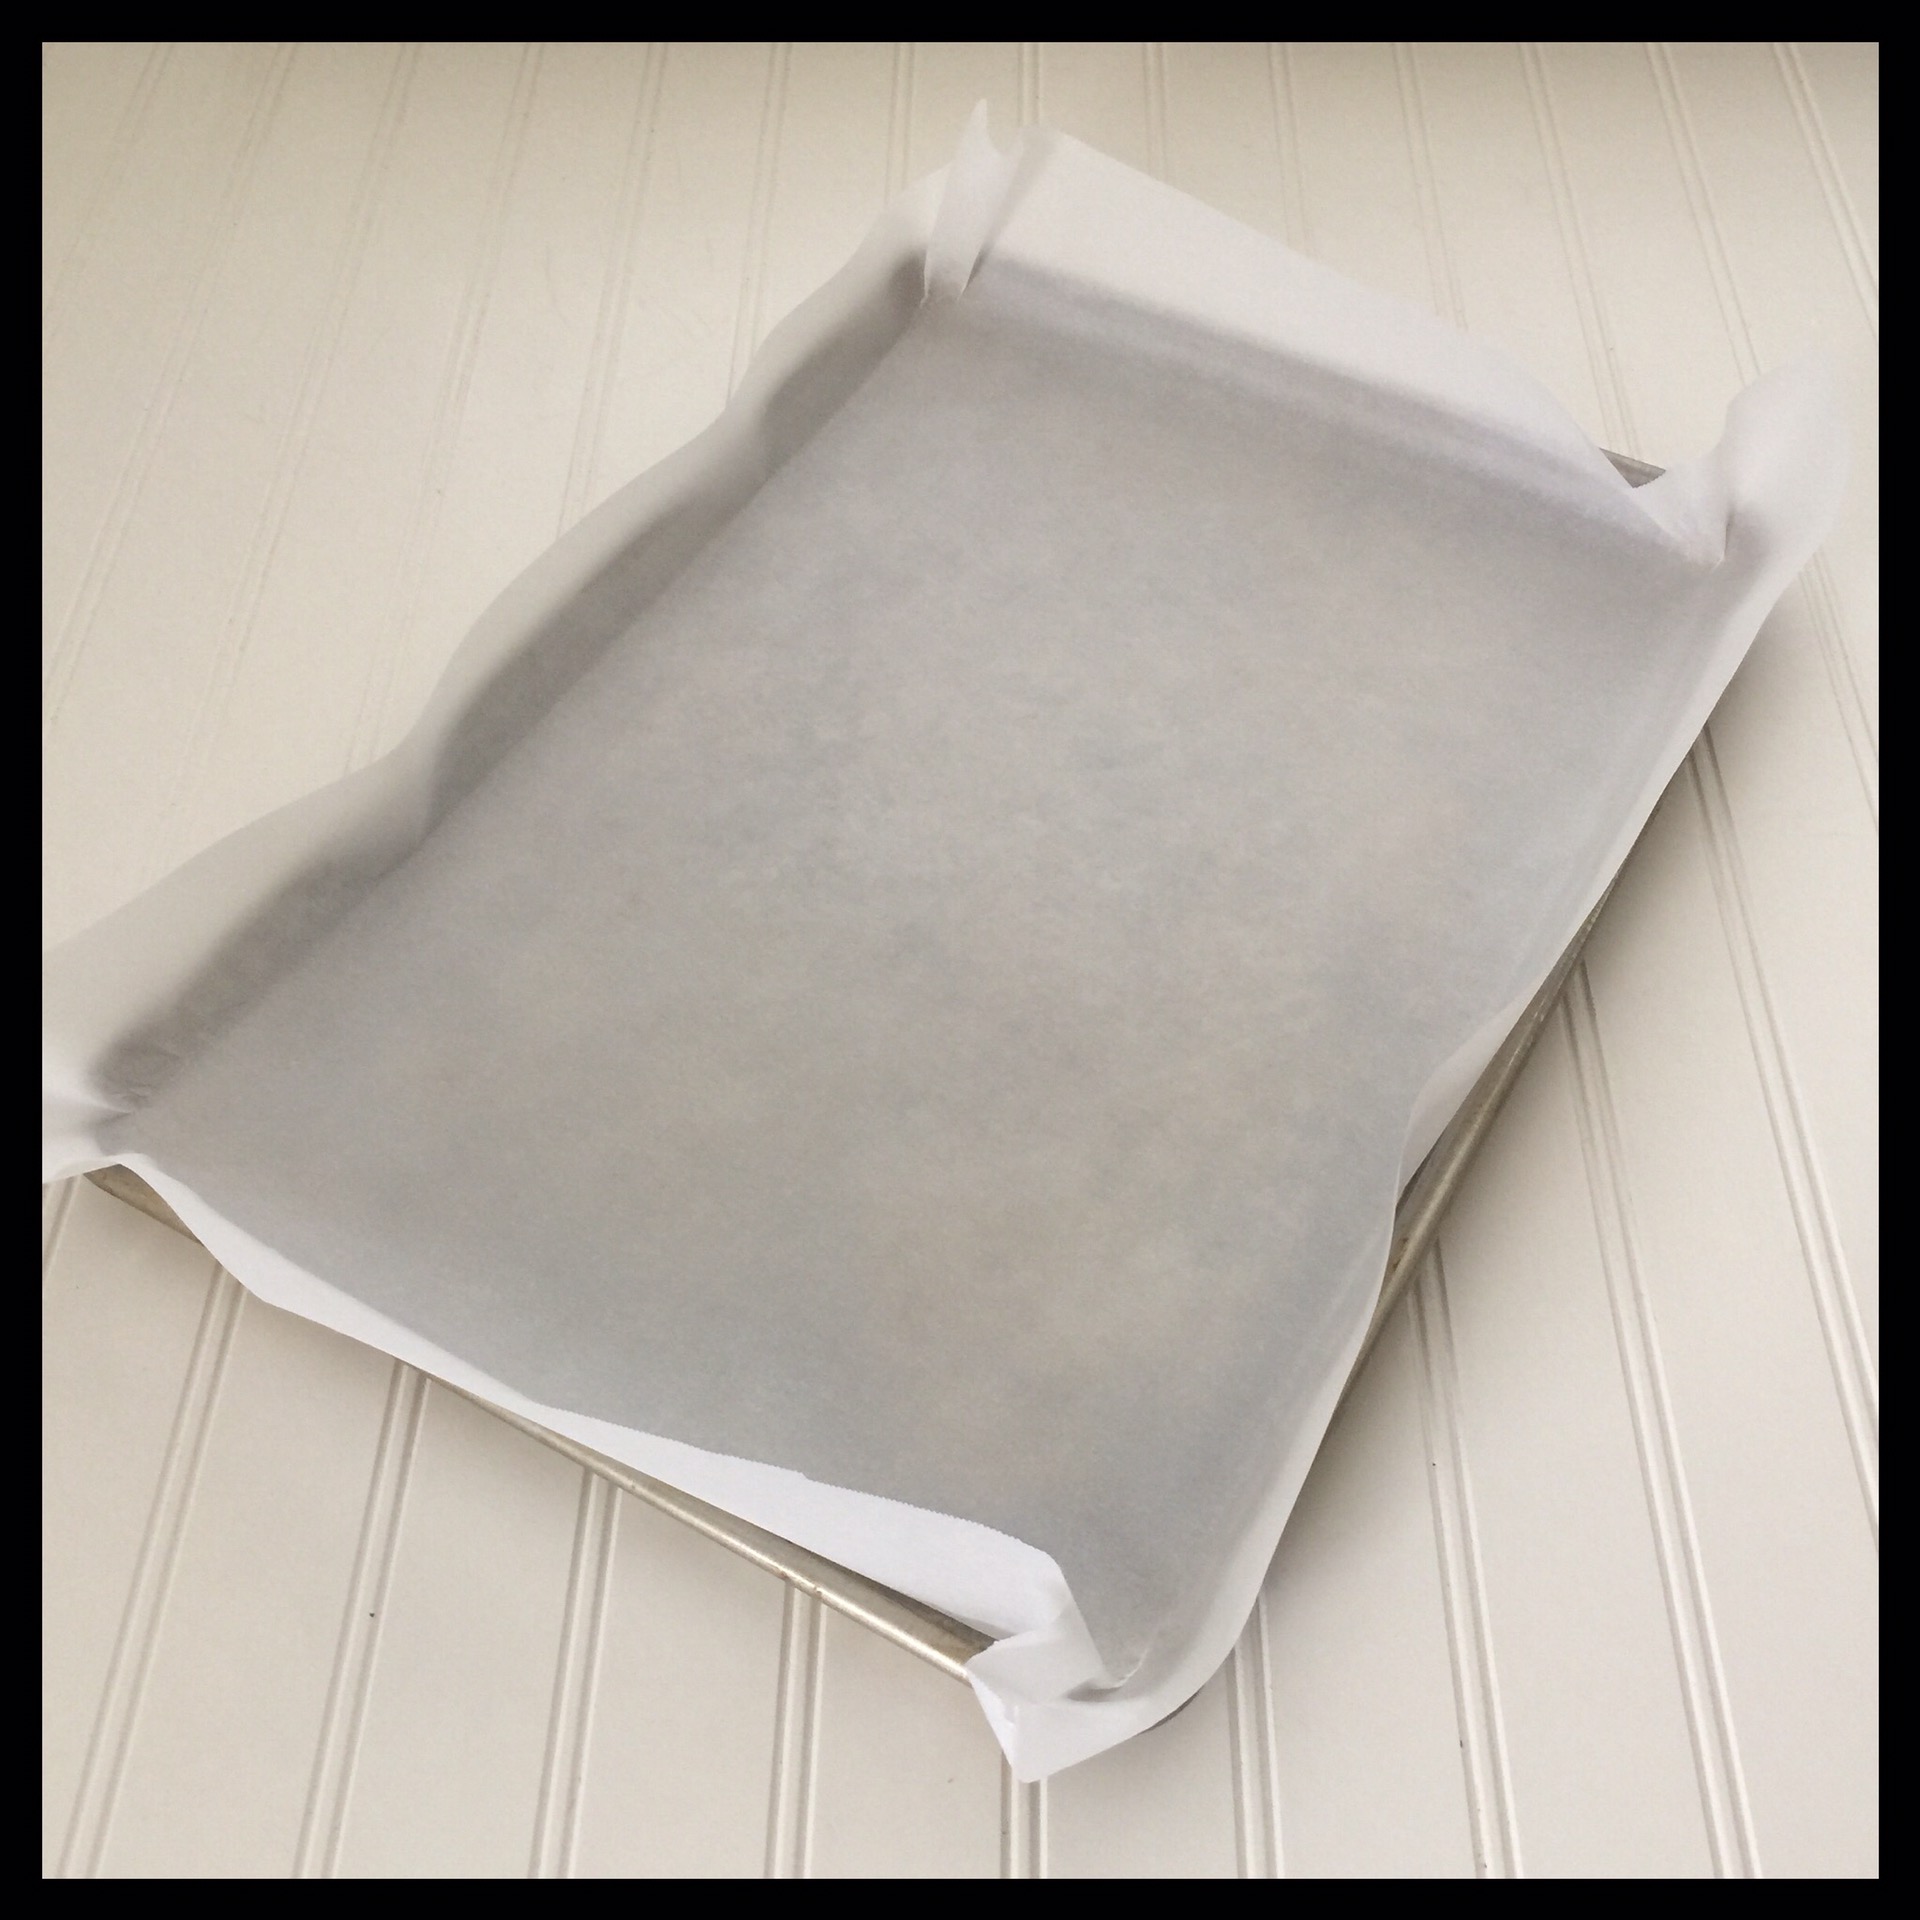
Line your pan with parchment paper, making sure to fold the corners of the paper so the paper sits flat in the pan. Use an 8” x 8” pan for thick caramels, a 9” x 13” pan for thin caramels, or a 13” x 18” pan for caramel apples (directions in the next post).
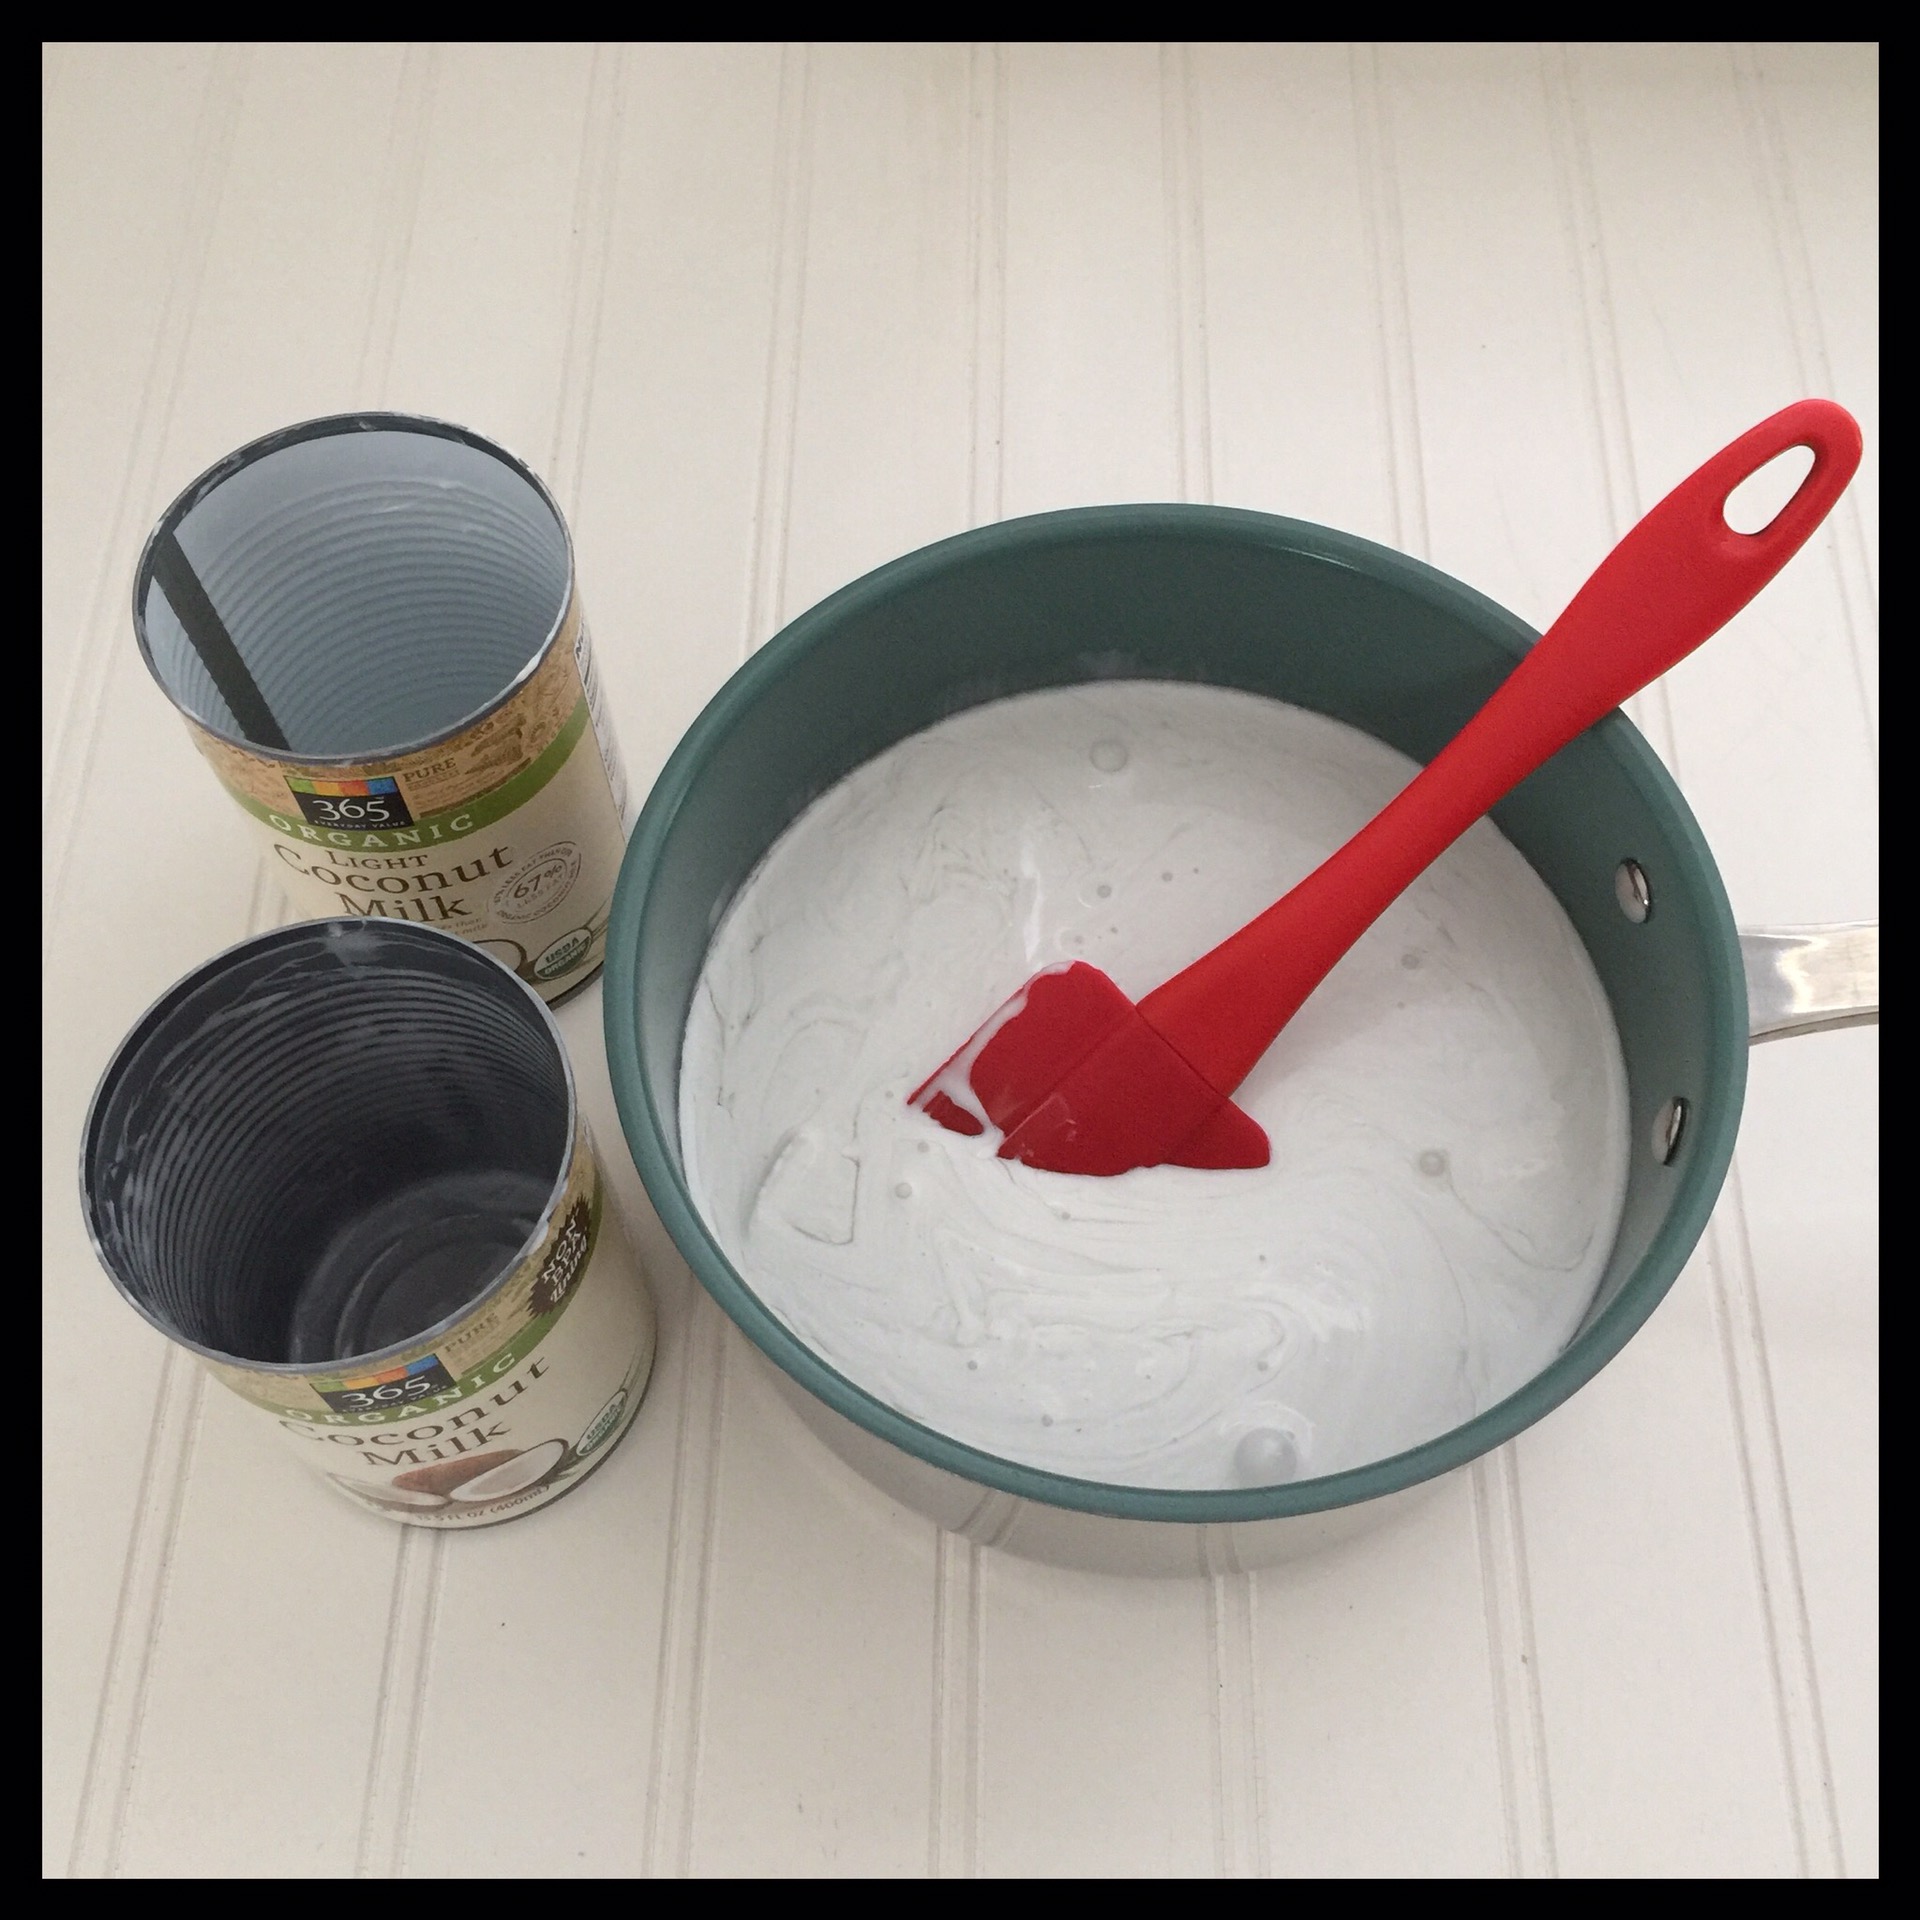
Add the regular and light coconut milks to a 1 1/2 to 2 quart-sized saucepan:
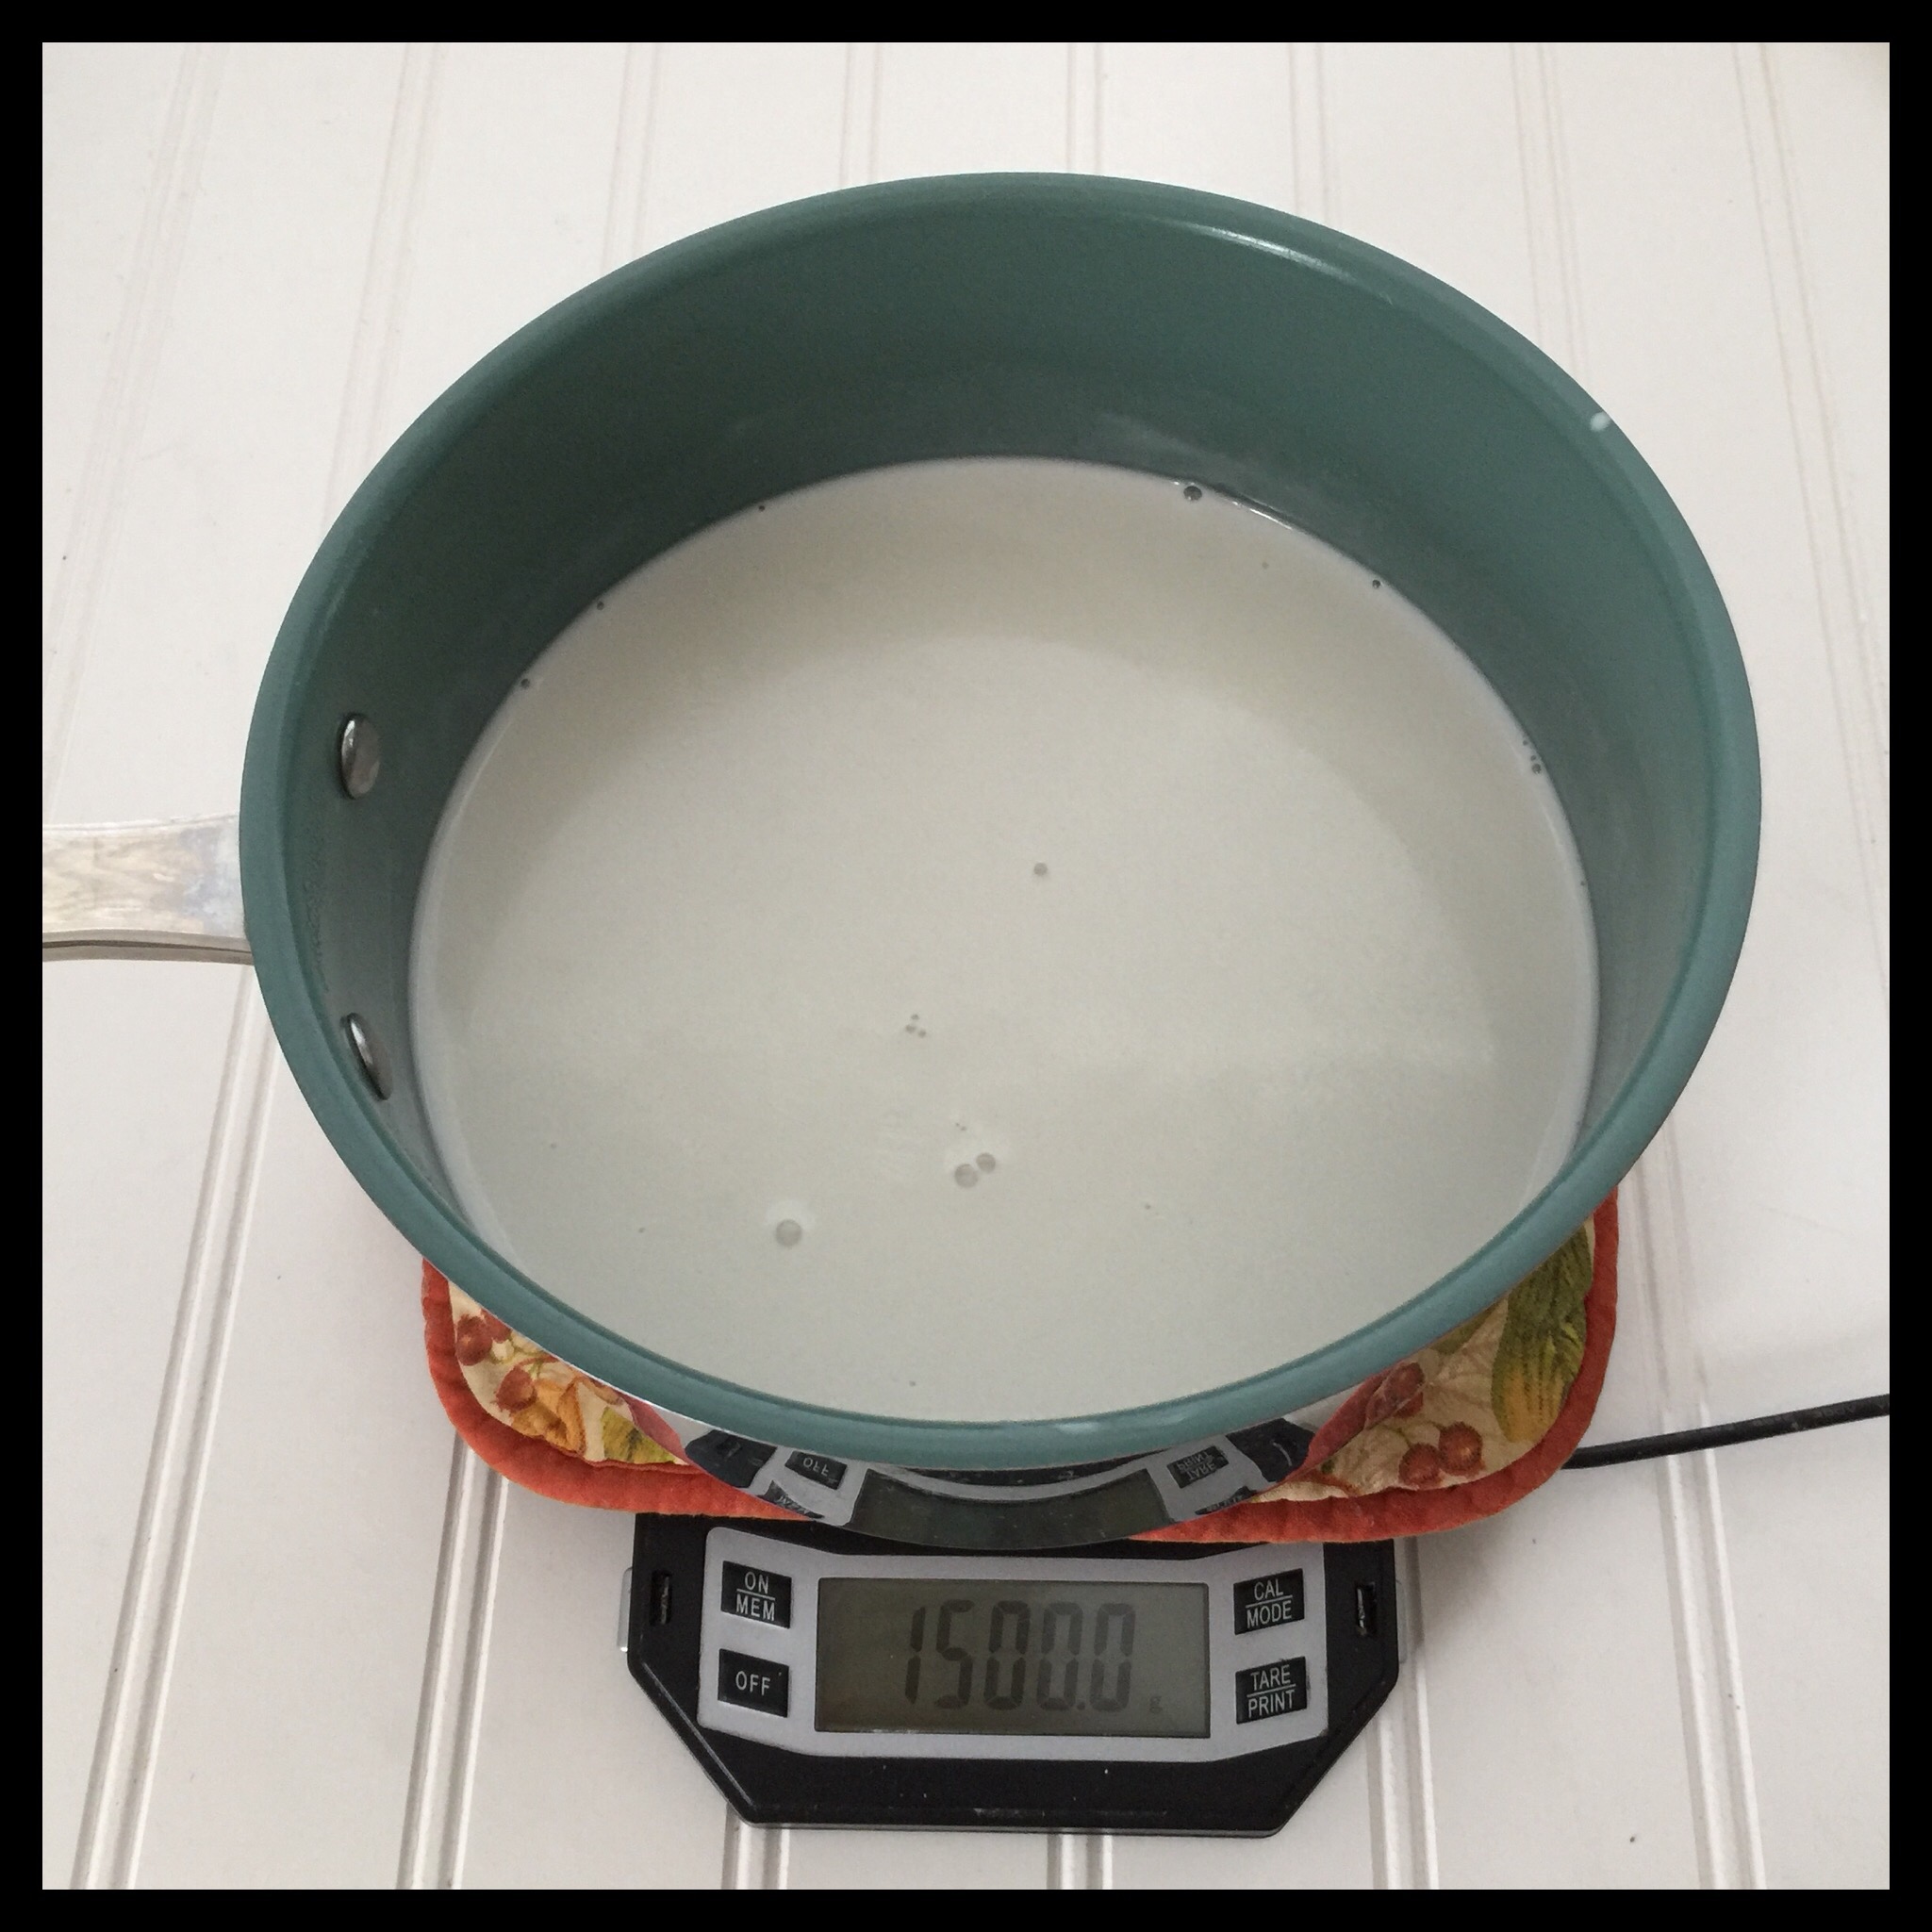
Place a hot pad on your scale and zero it out:
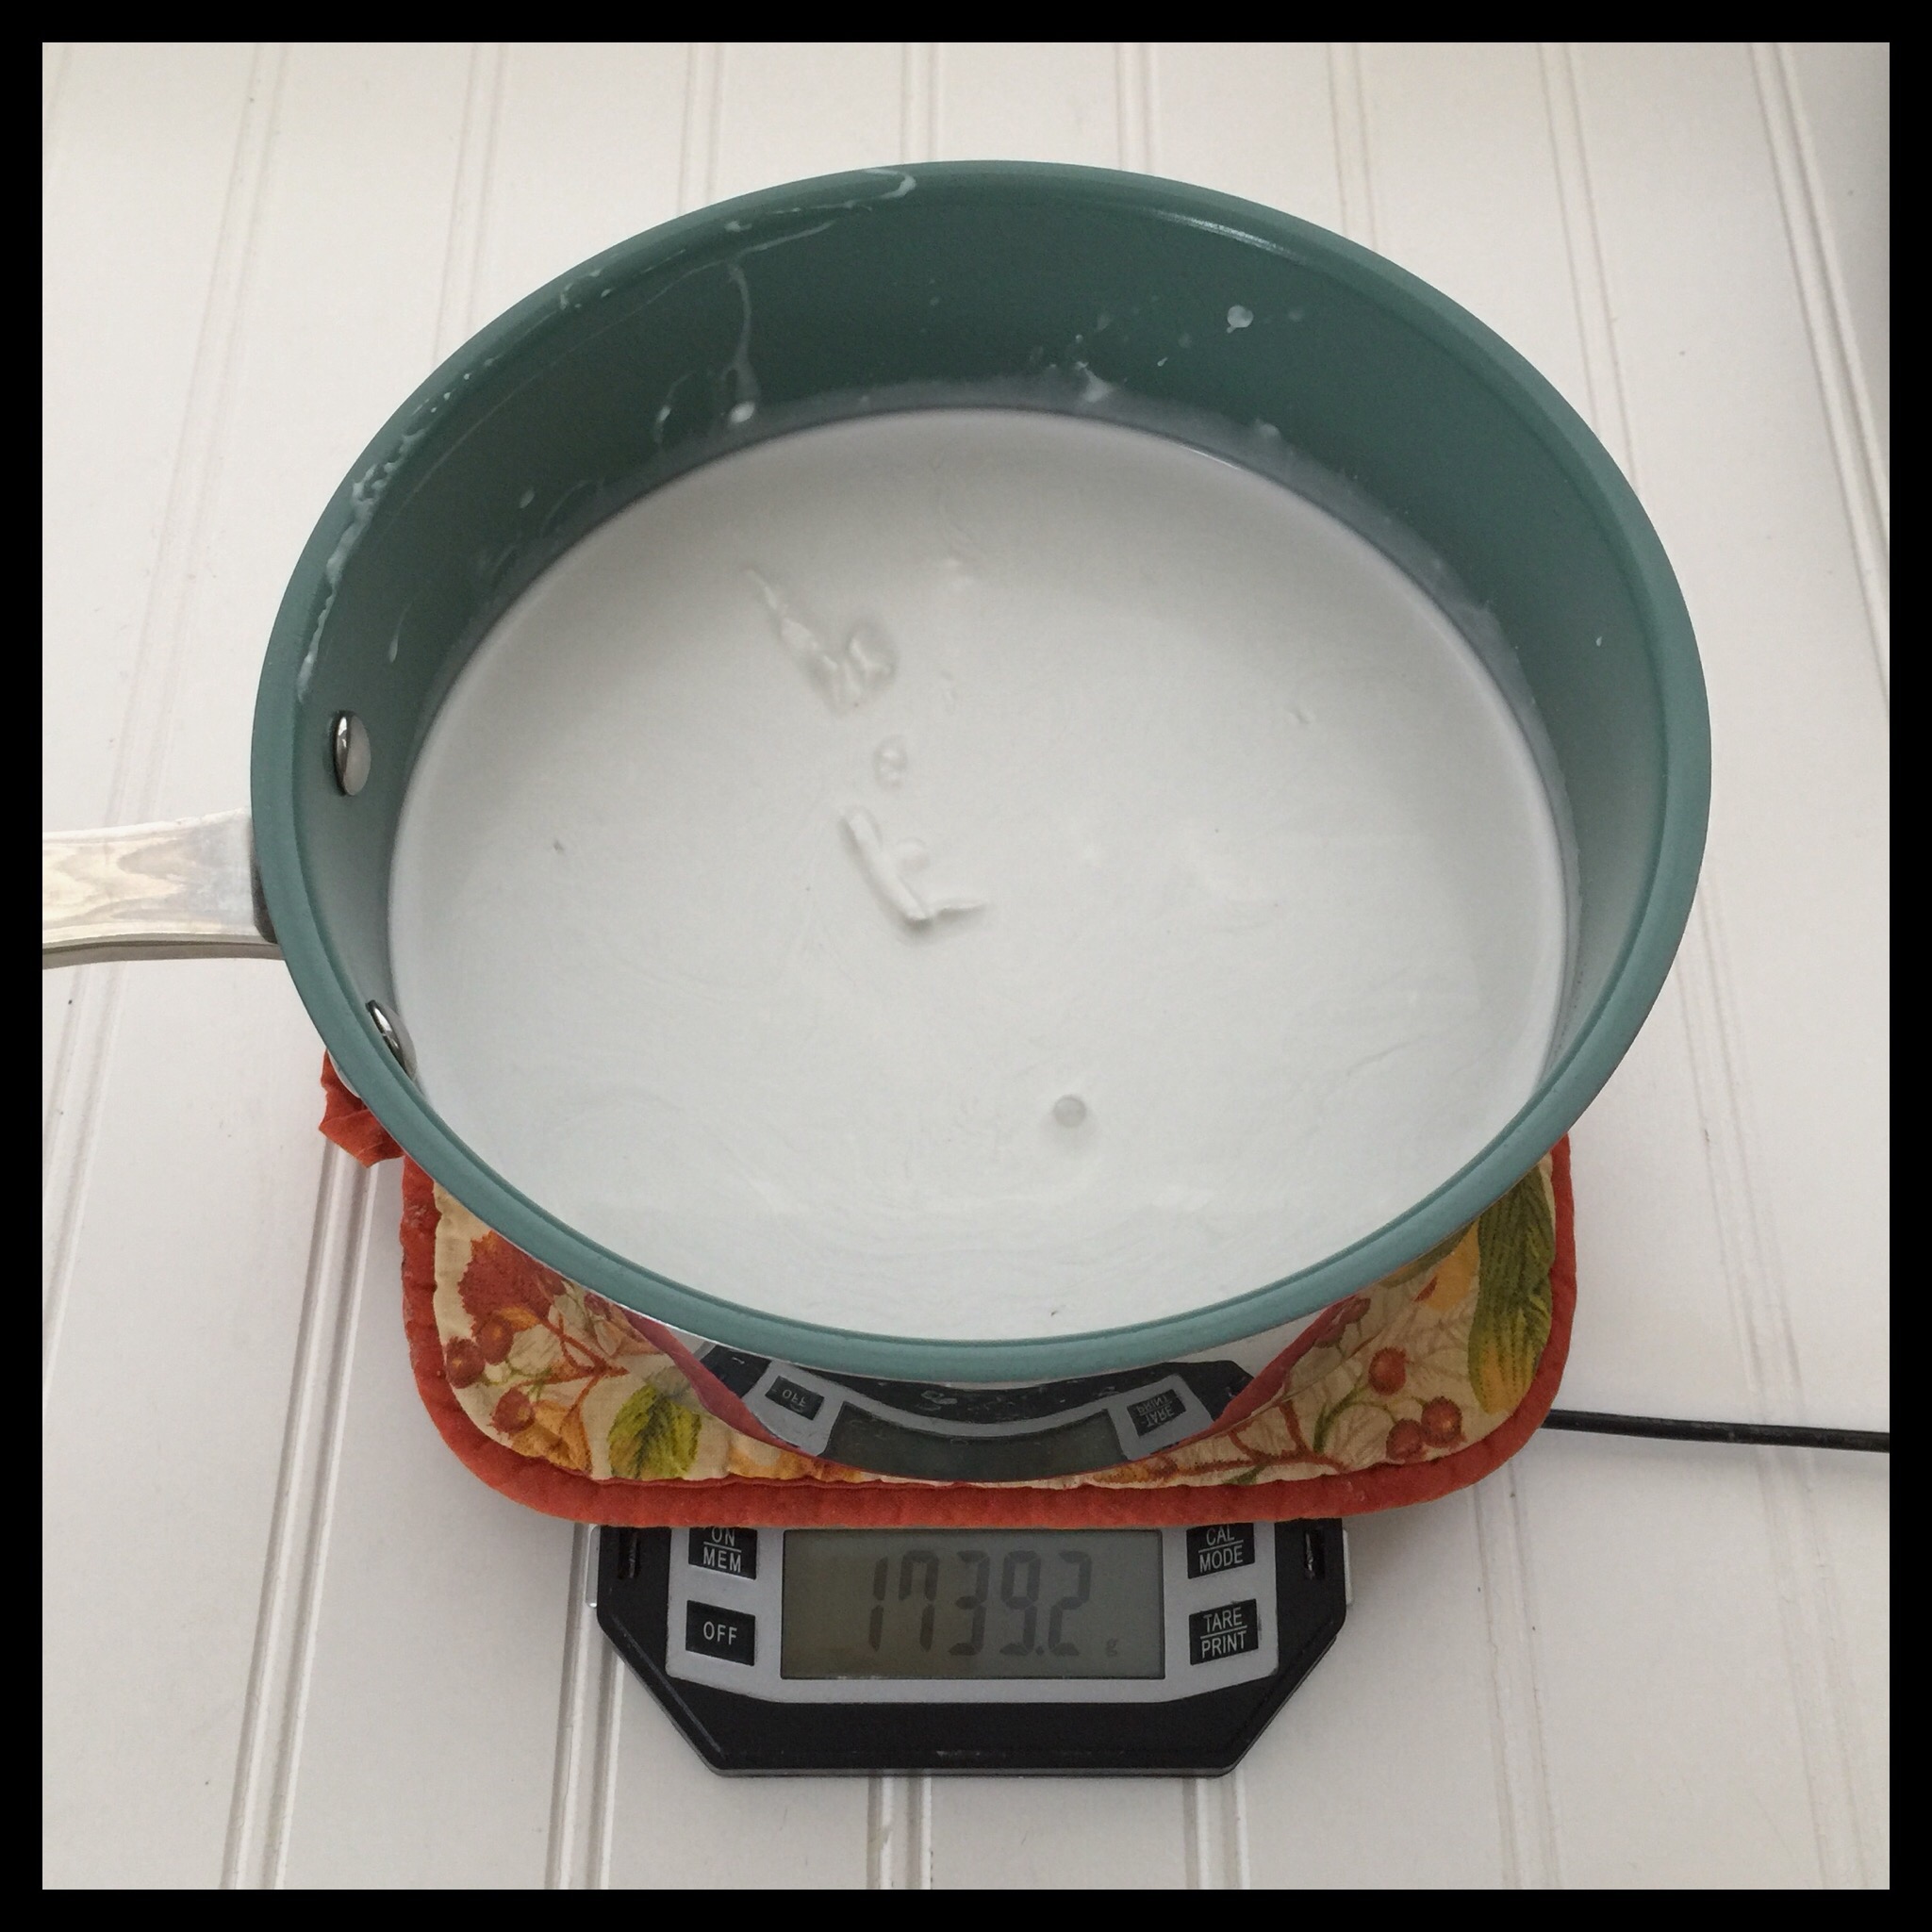
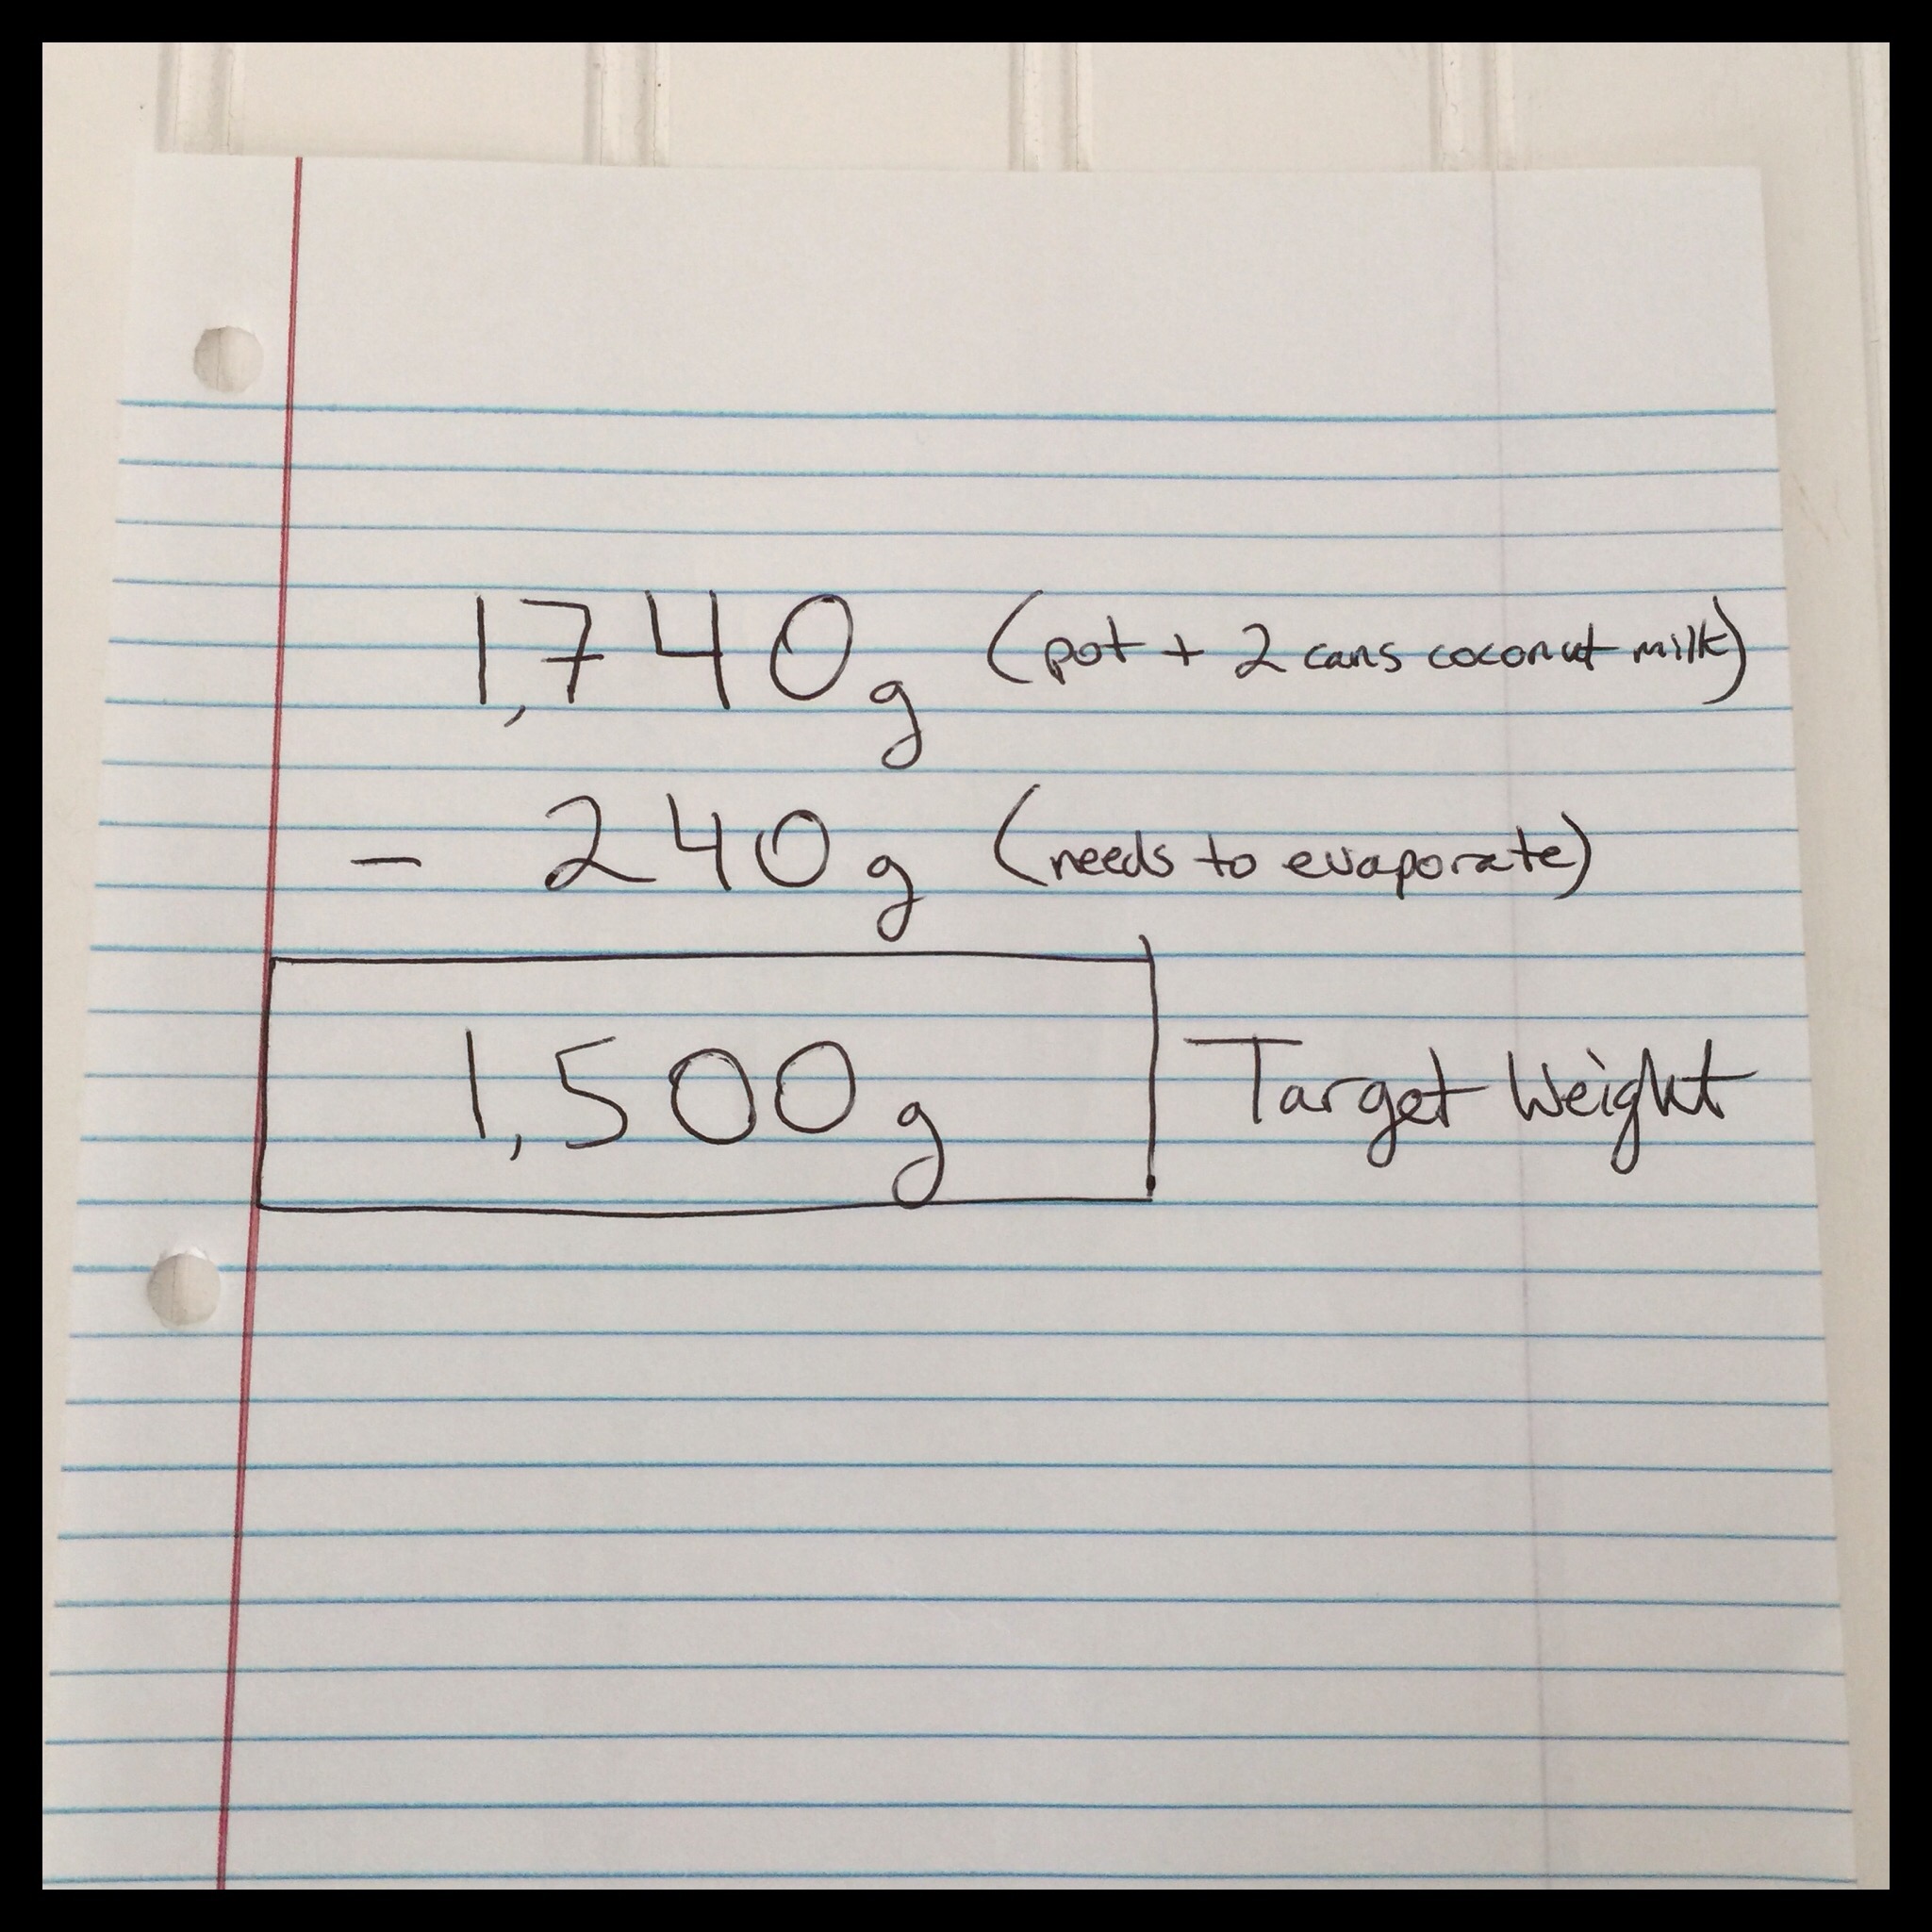
Weigh the pot with the coconut milk in it and write down the weight. Subtract 240 g from that weight. The remainder is your target weight. If you do not have a digital kitchen scale, I strongly encourage you to get one! It is so much easier to weigh ingredients than it is to measure them, and it also saves a lot of time and dishes!
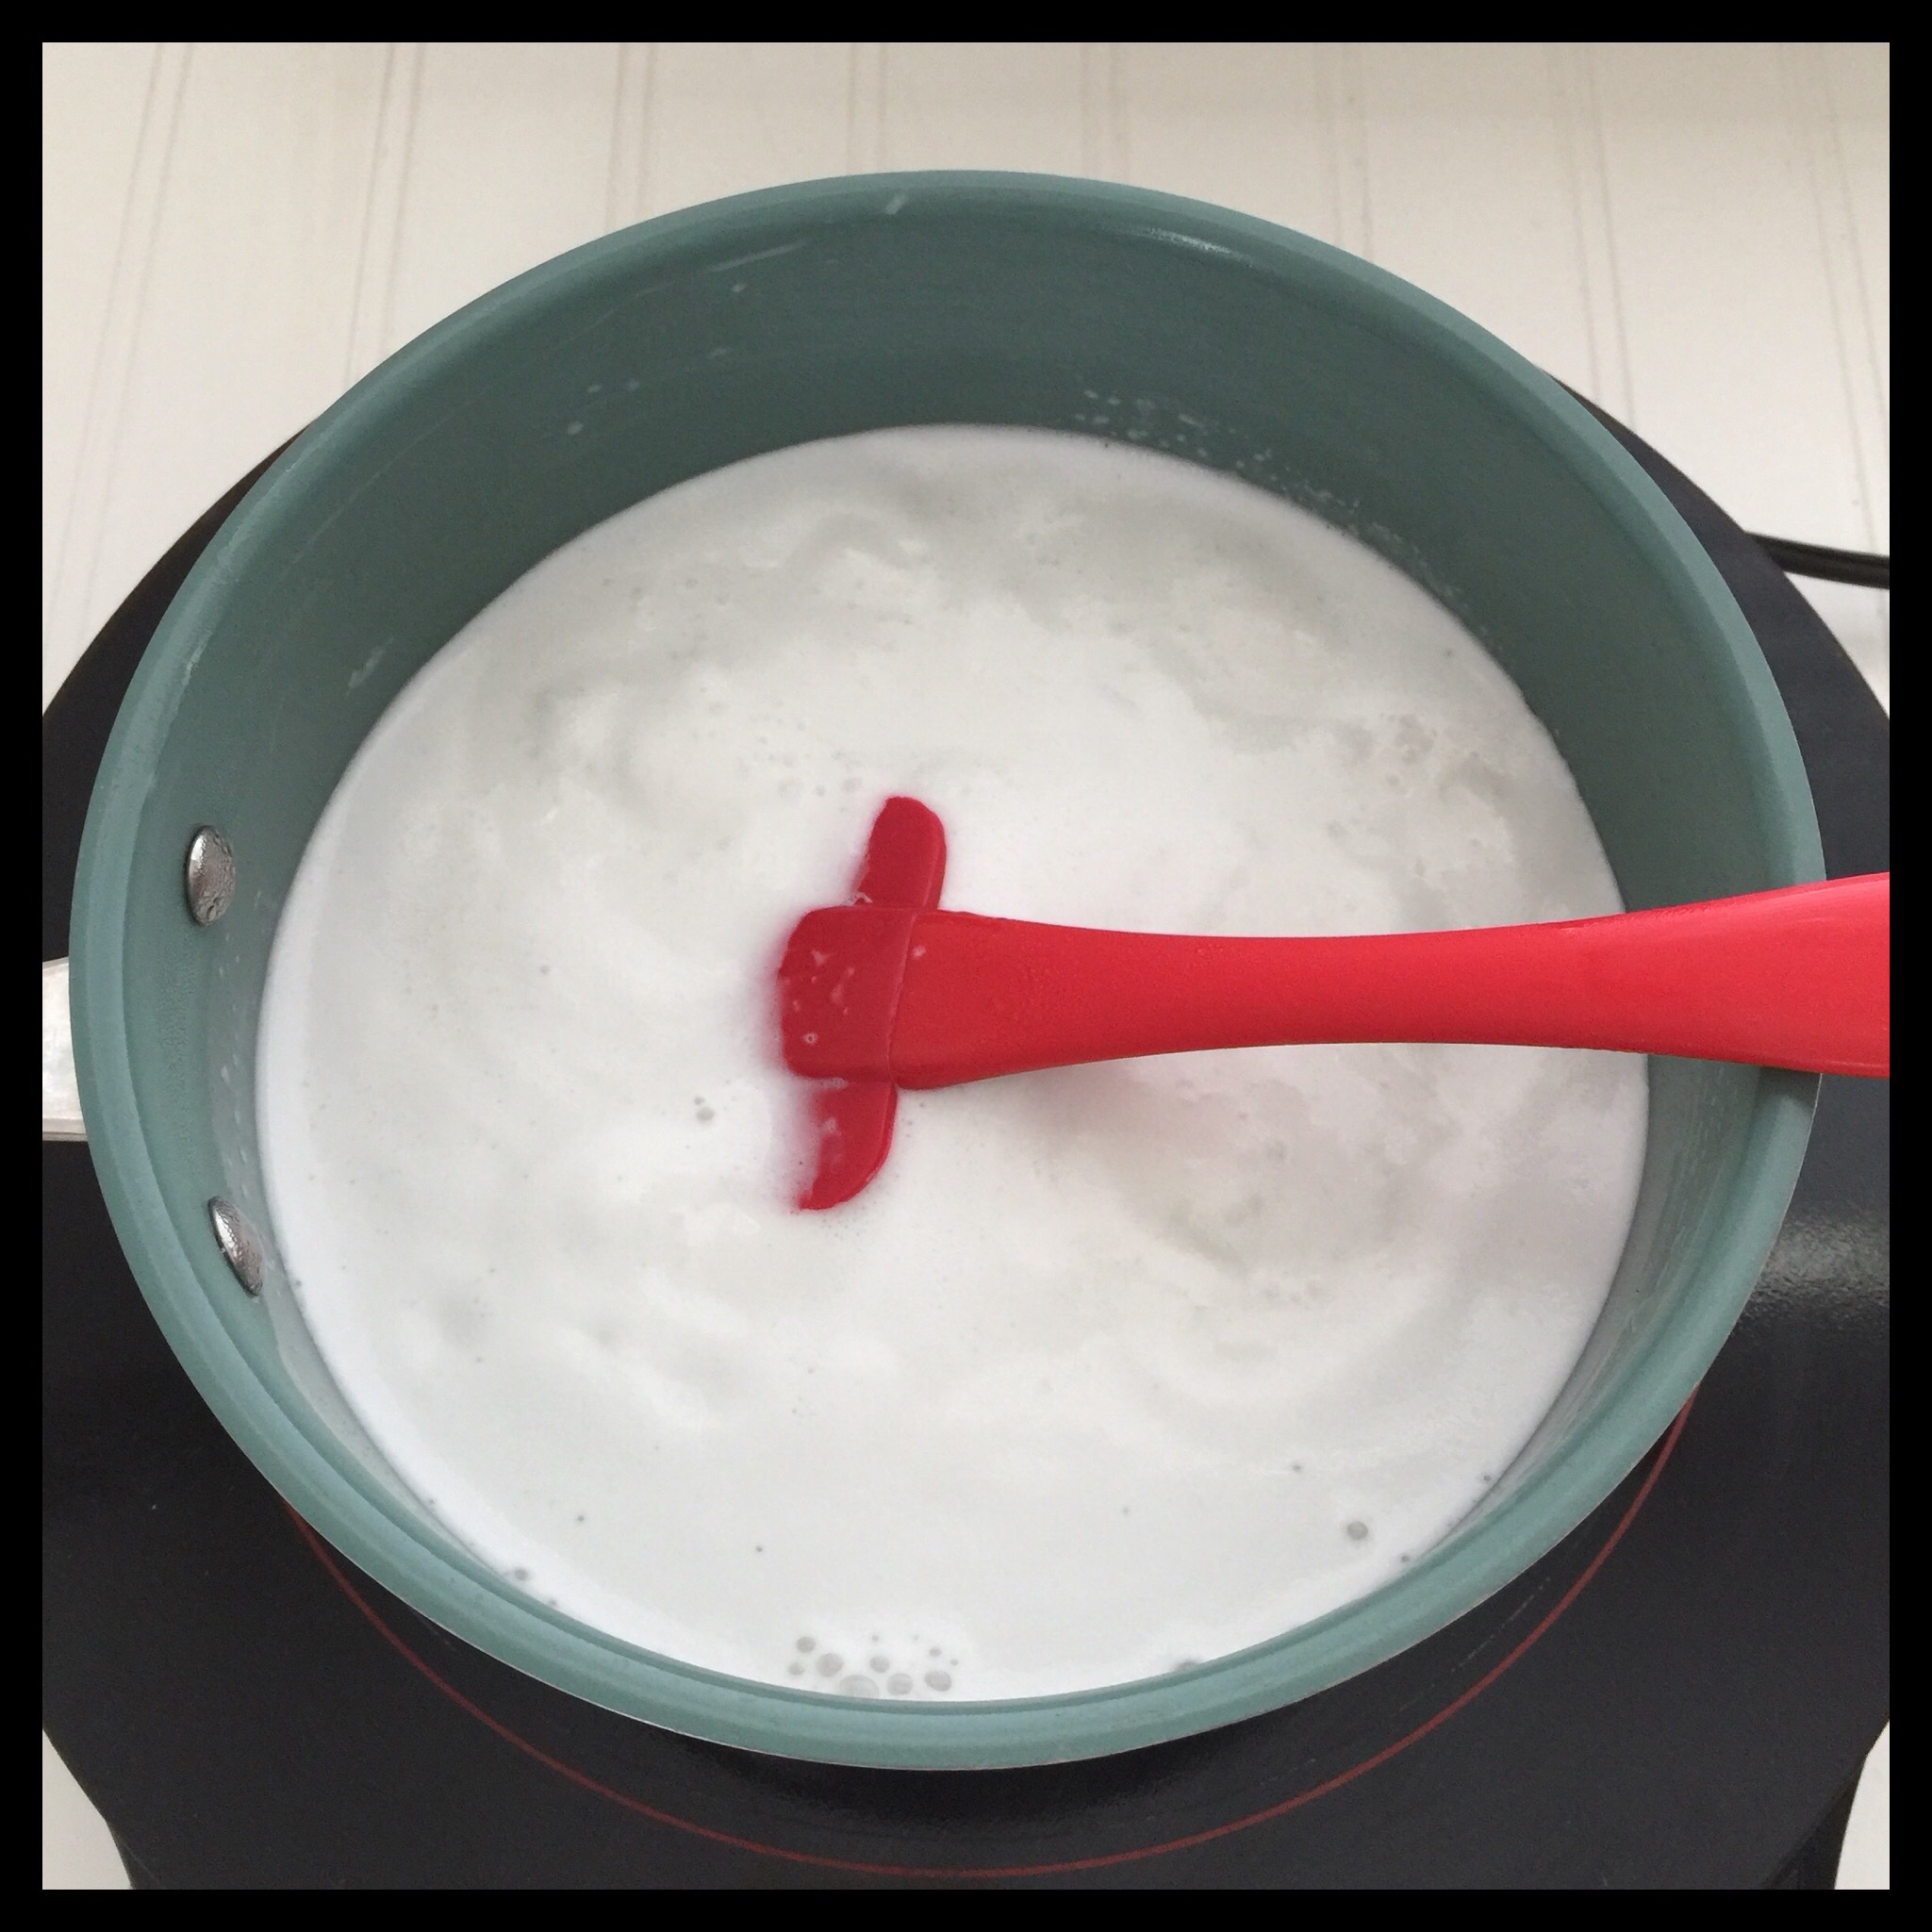
Bring the coconut milk to a boil over medium-high heat, reduce the heat, and simmer until you reach the target weight. (If you must make this recipe without a scale, you can measure your reduced coconut milk after about 30 minutes of simmering to see if it has decreased to 2 1/3 cups. I think it took more like 40 minutes but can’t remember for sure.)
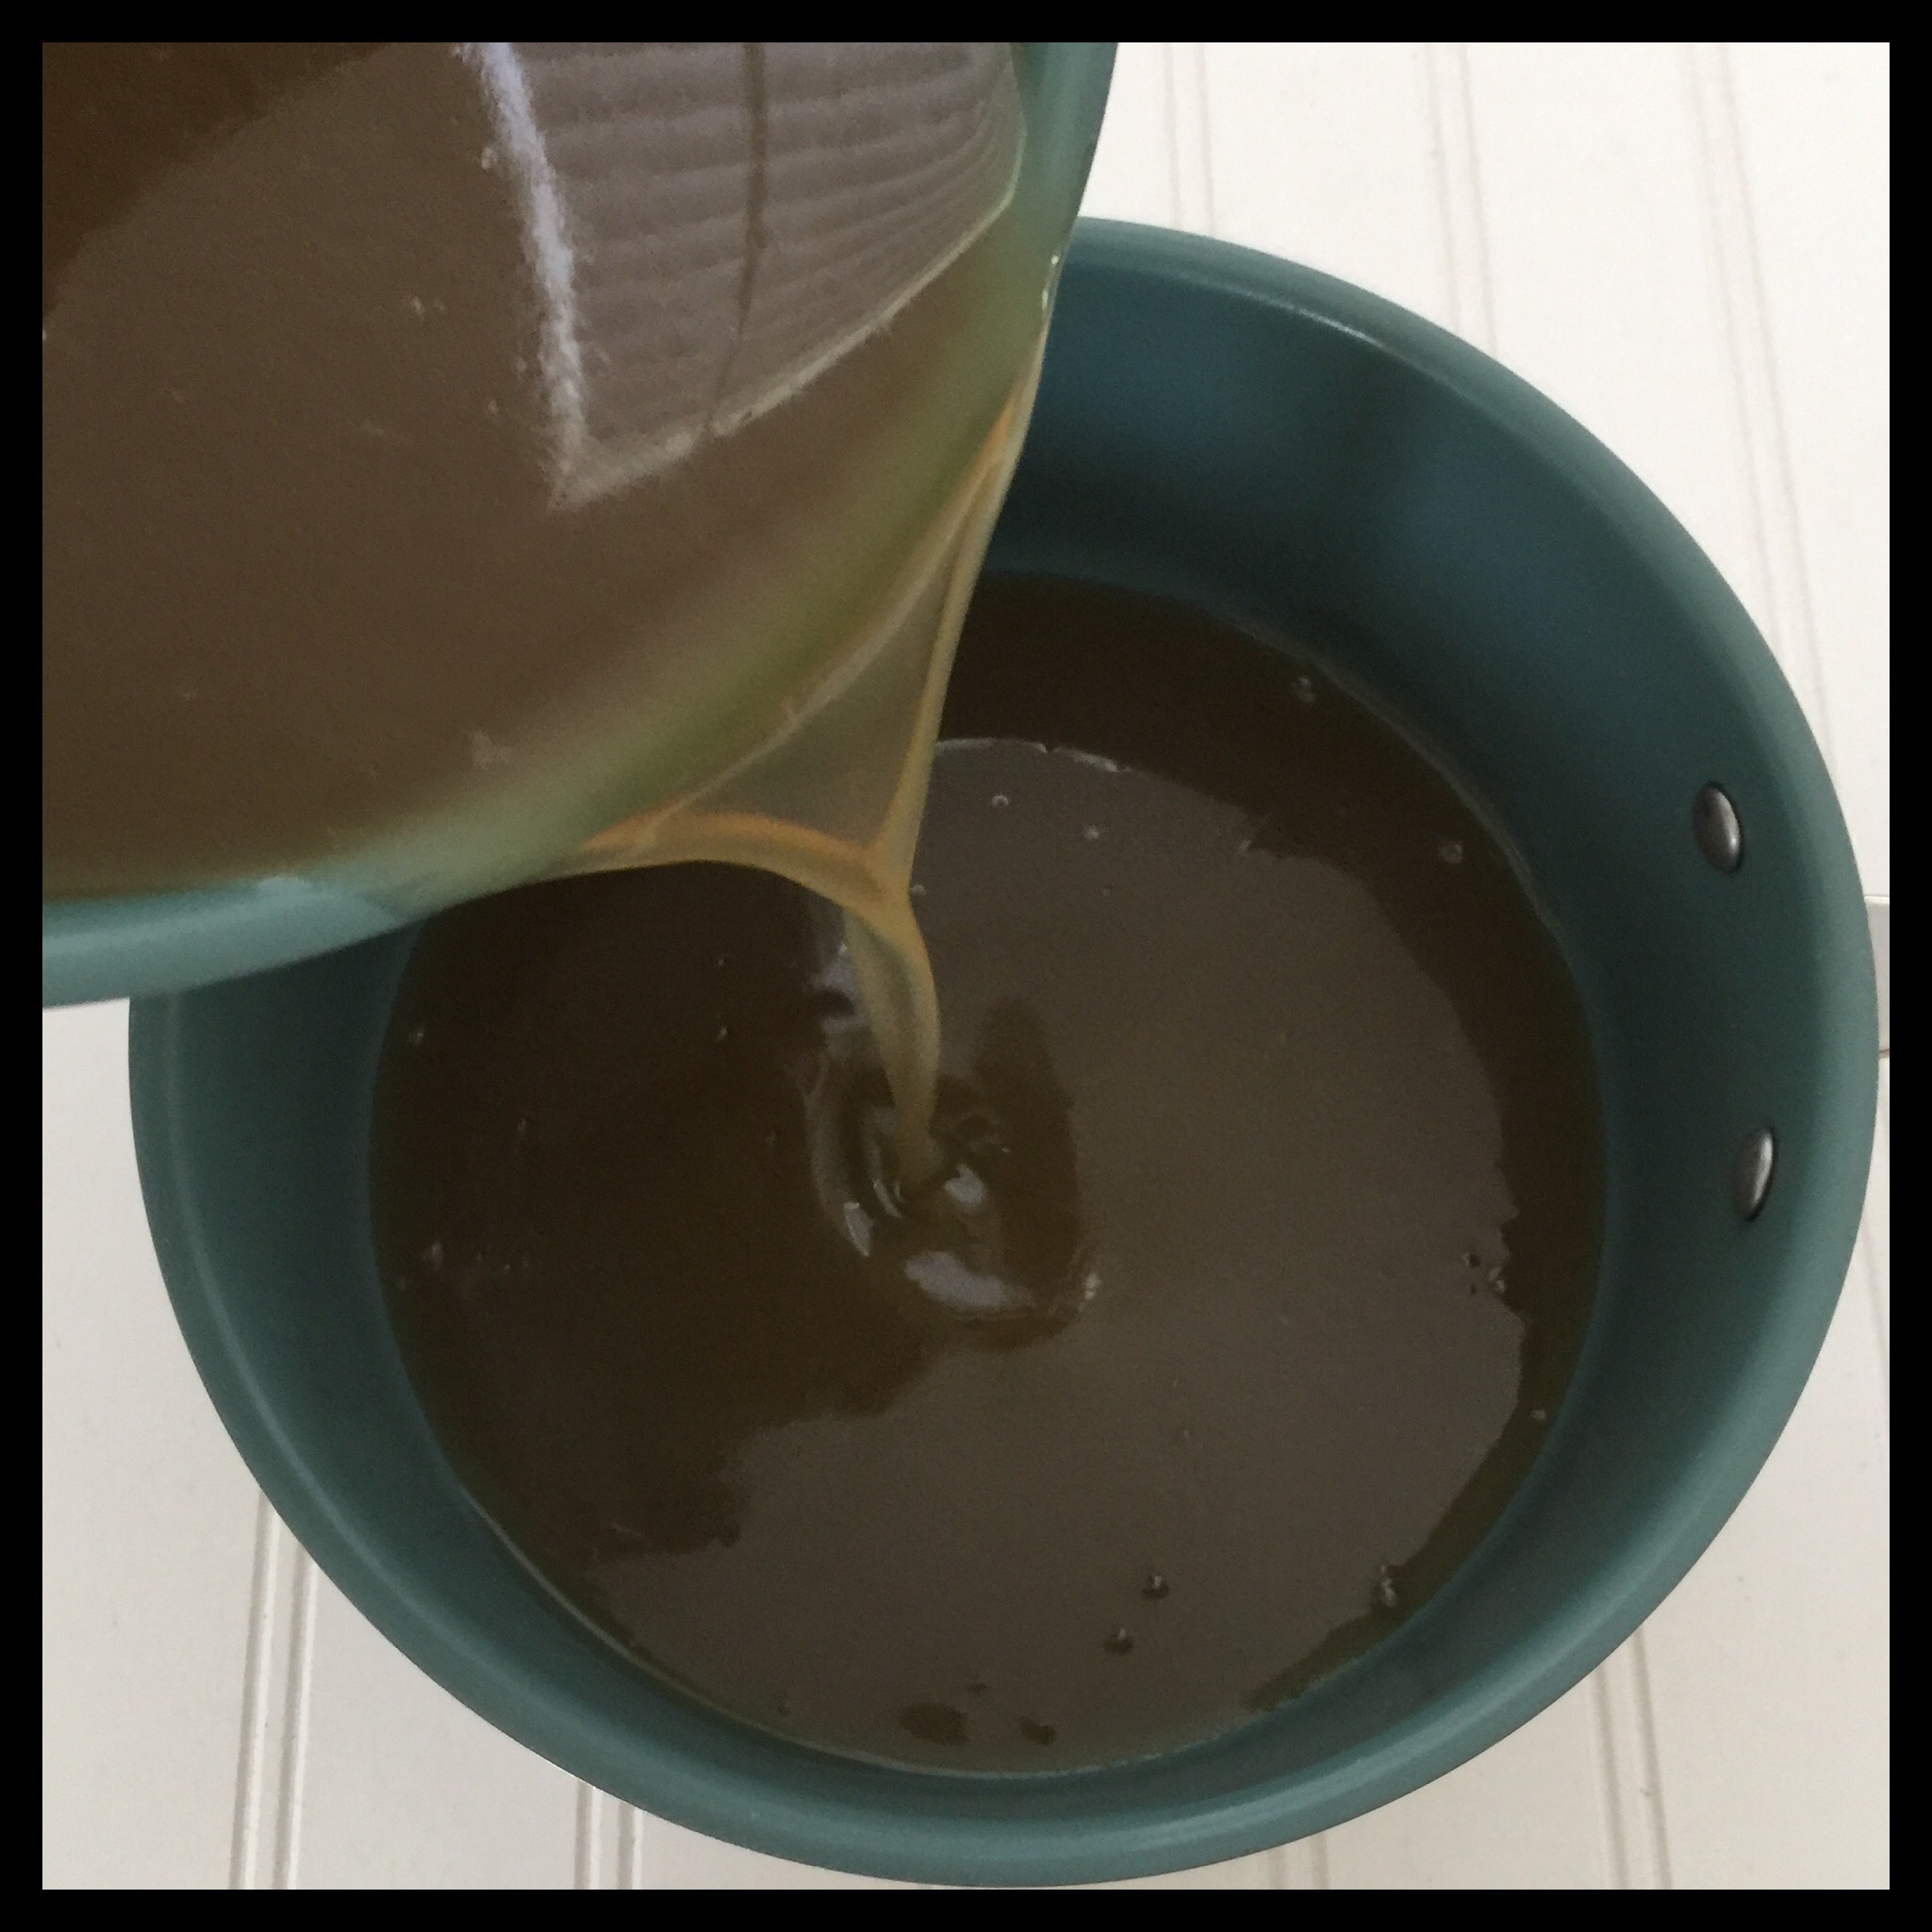
Once the coconut milk has reduced to the target weight, add the vegan sugar and vegan brown sugar:
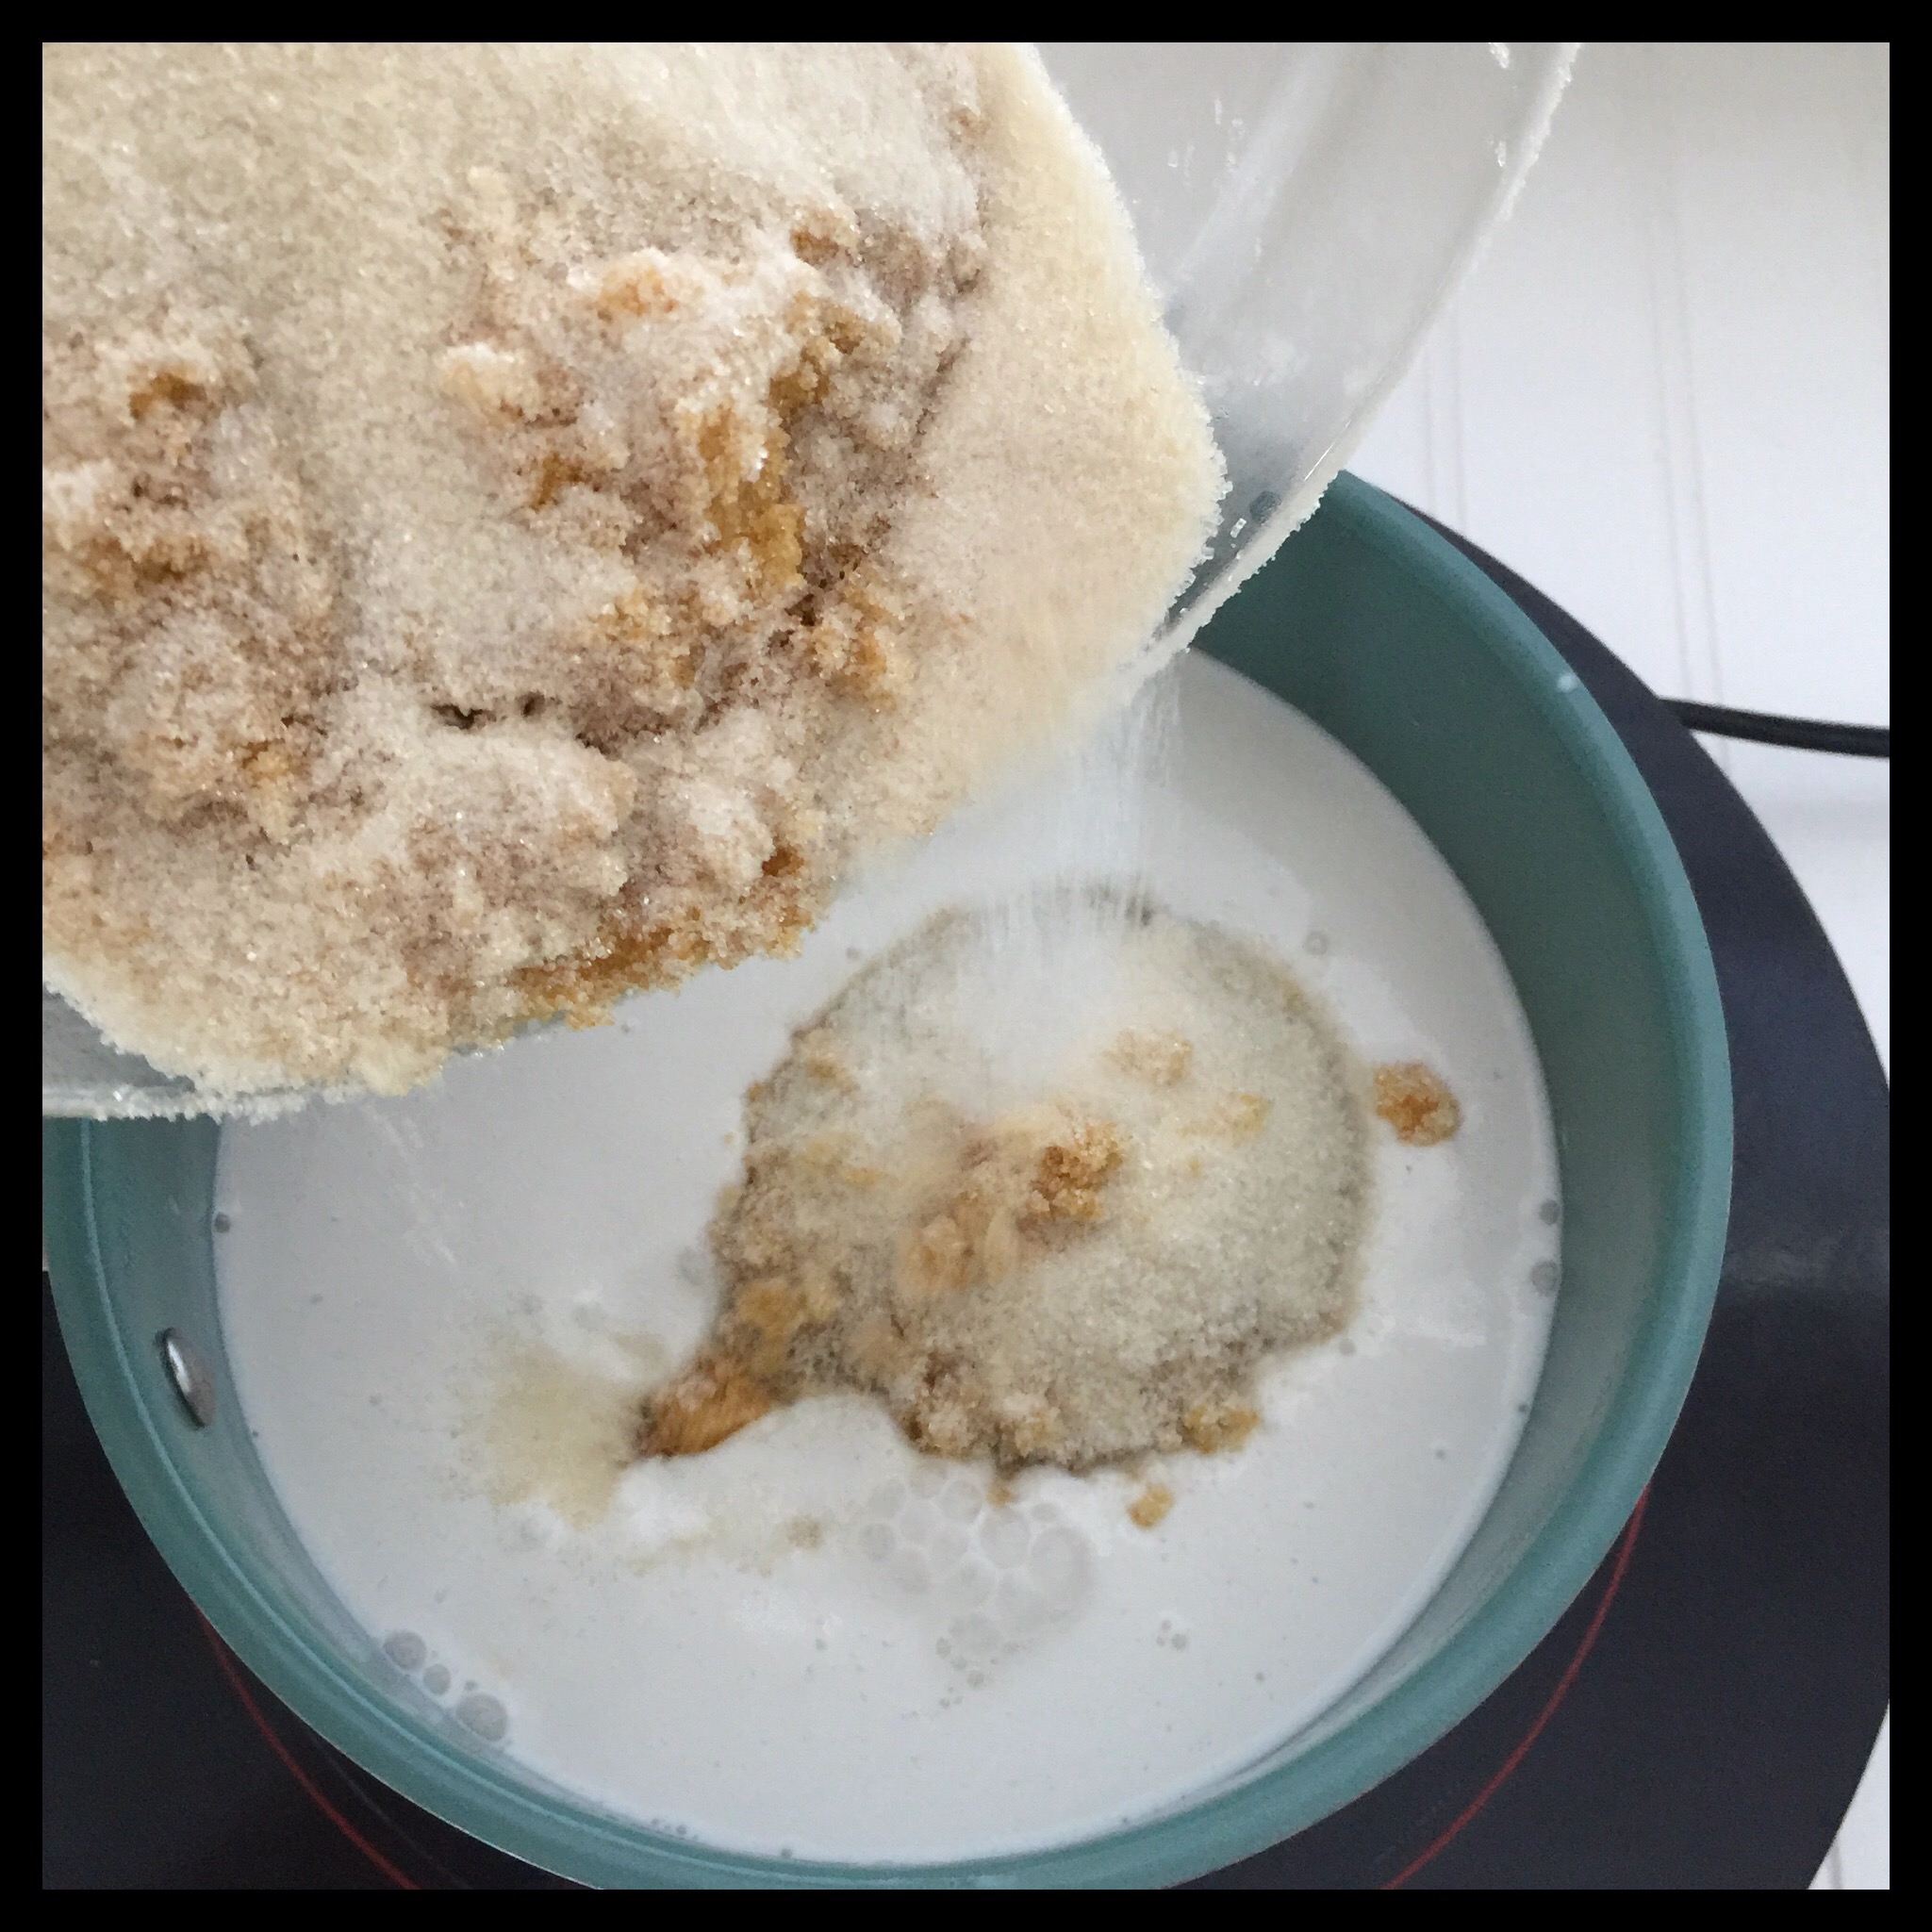
Stir on medium-low heat until all of the sugar has dissolved:
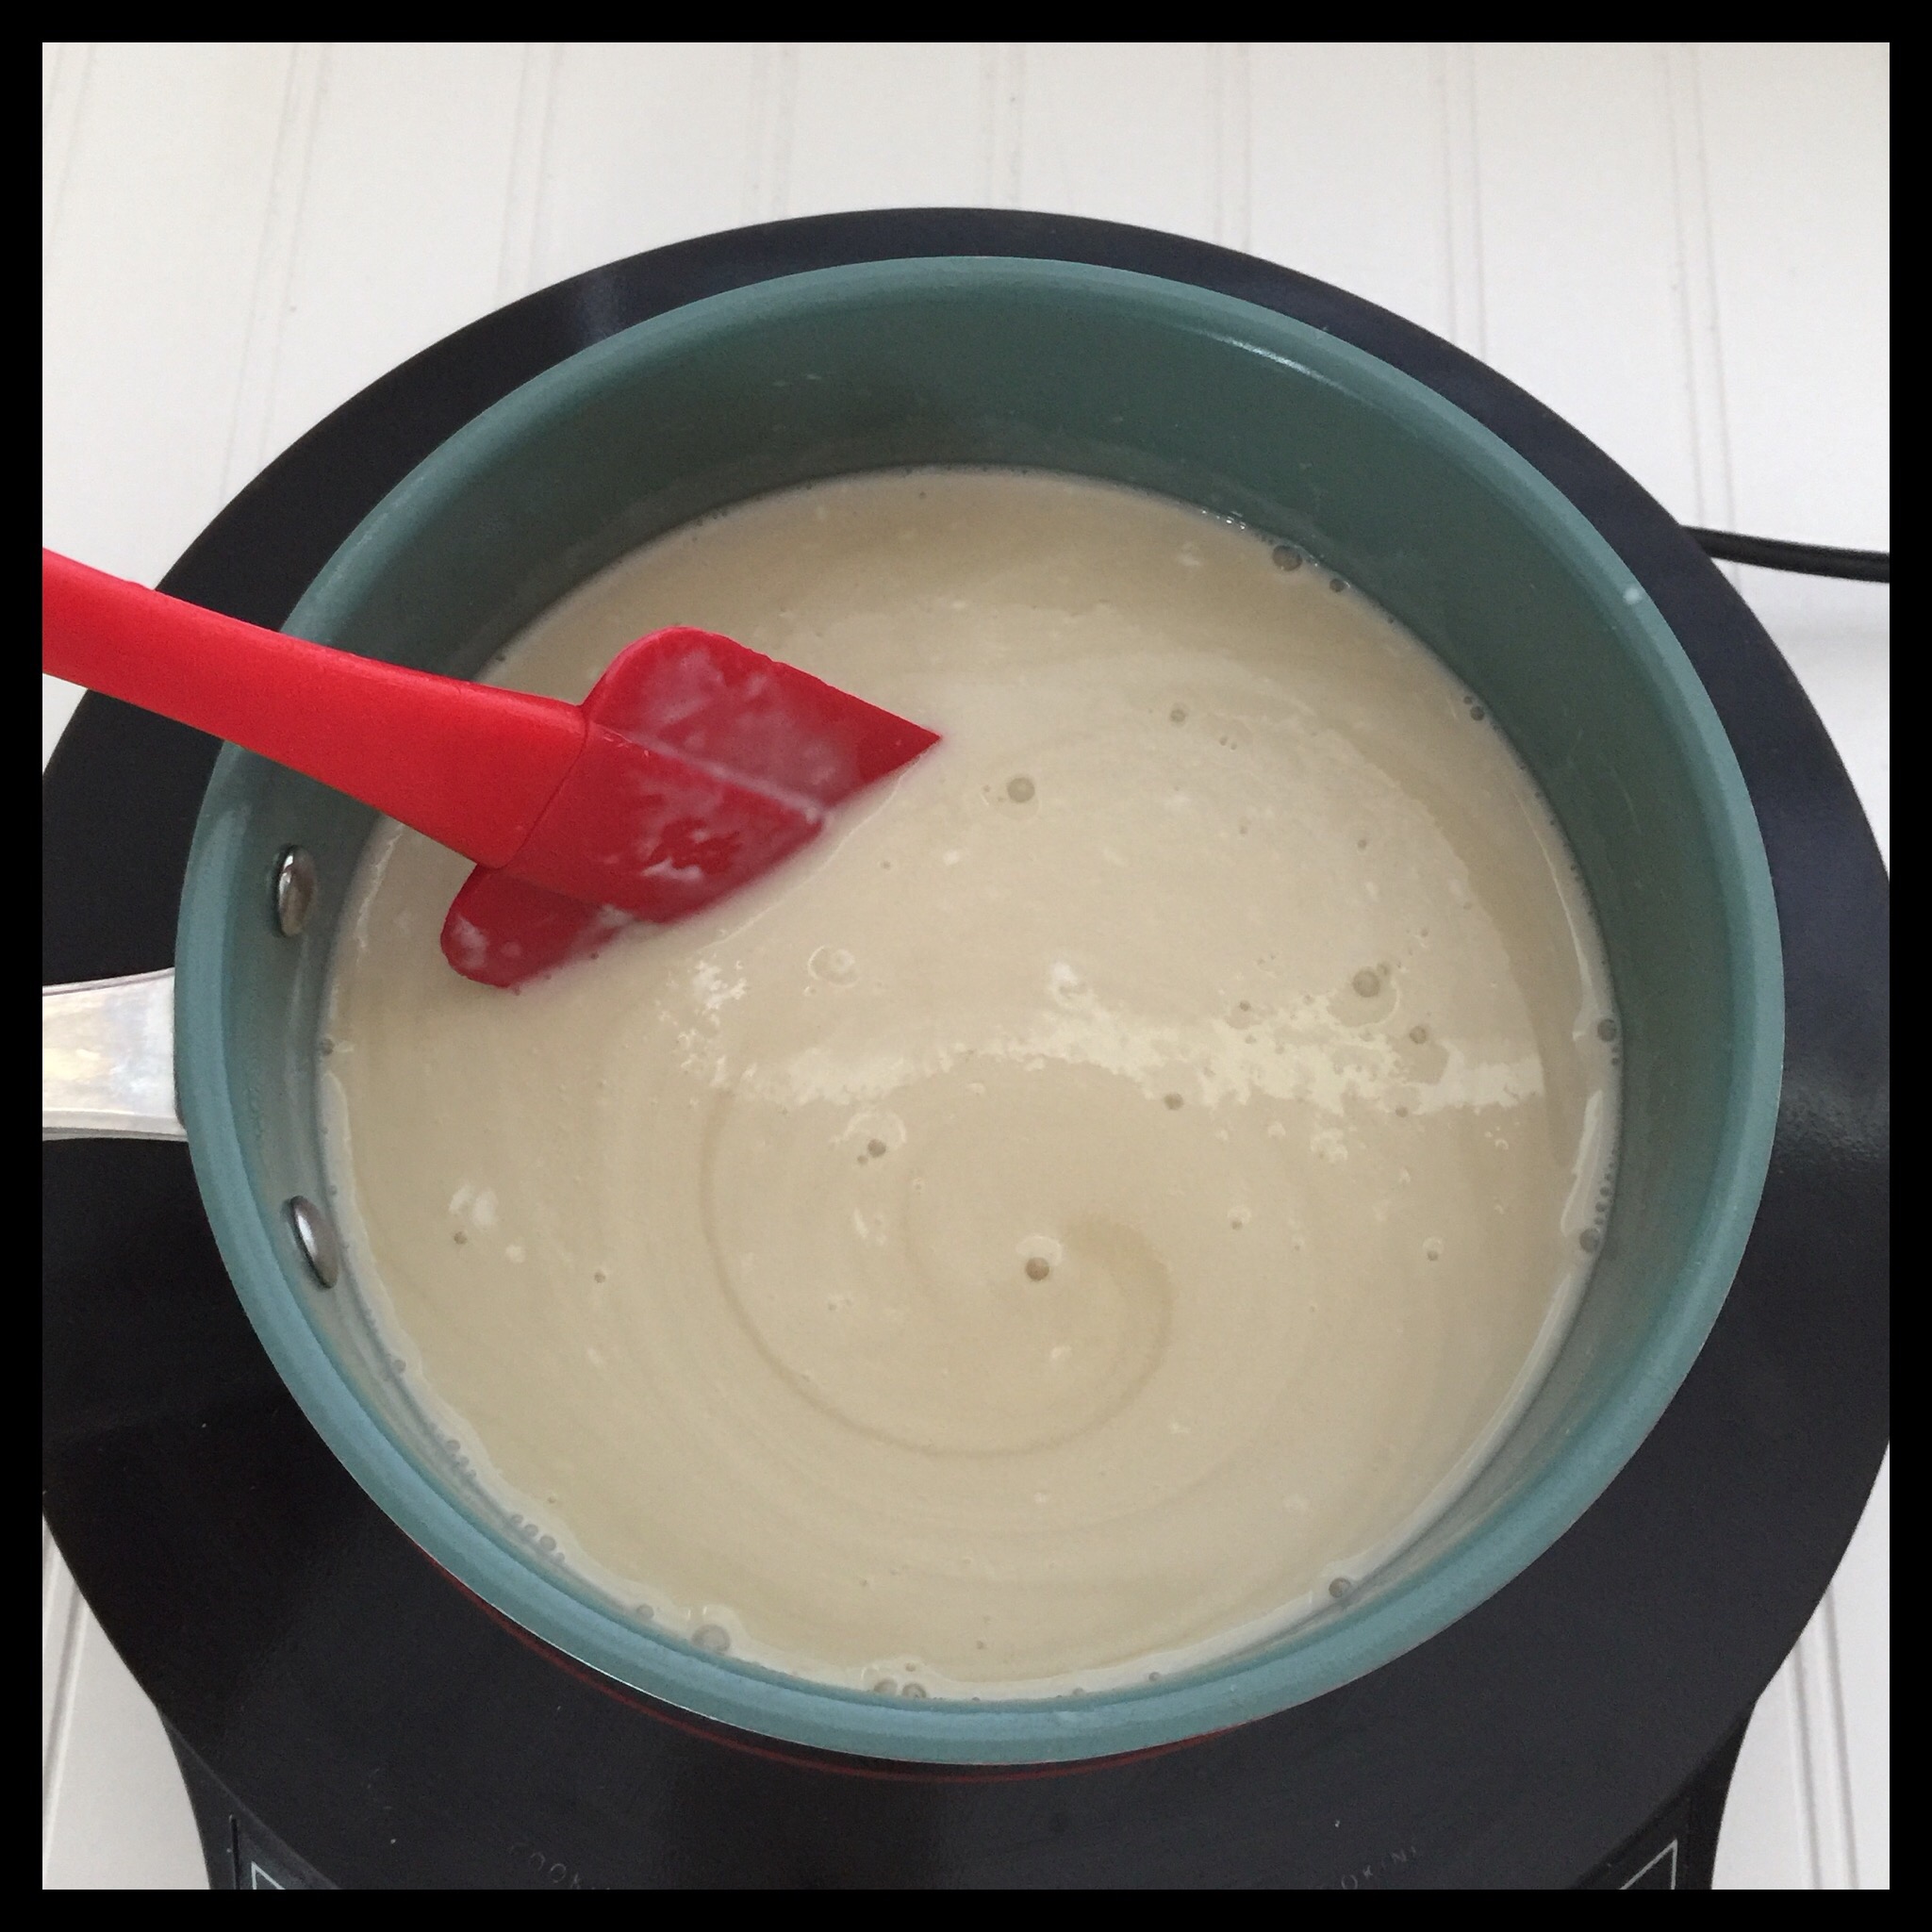
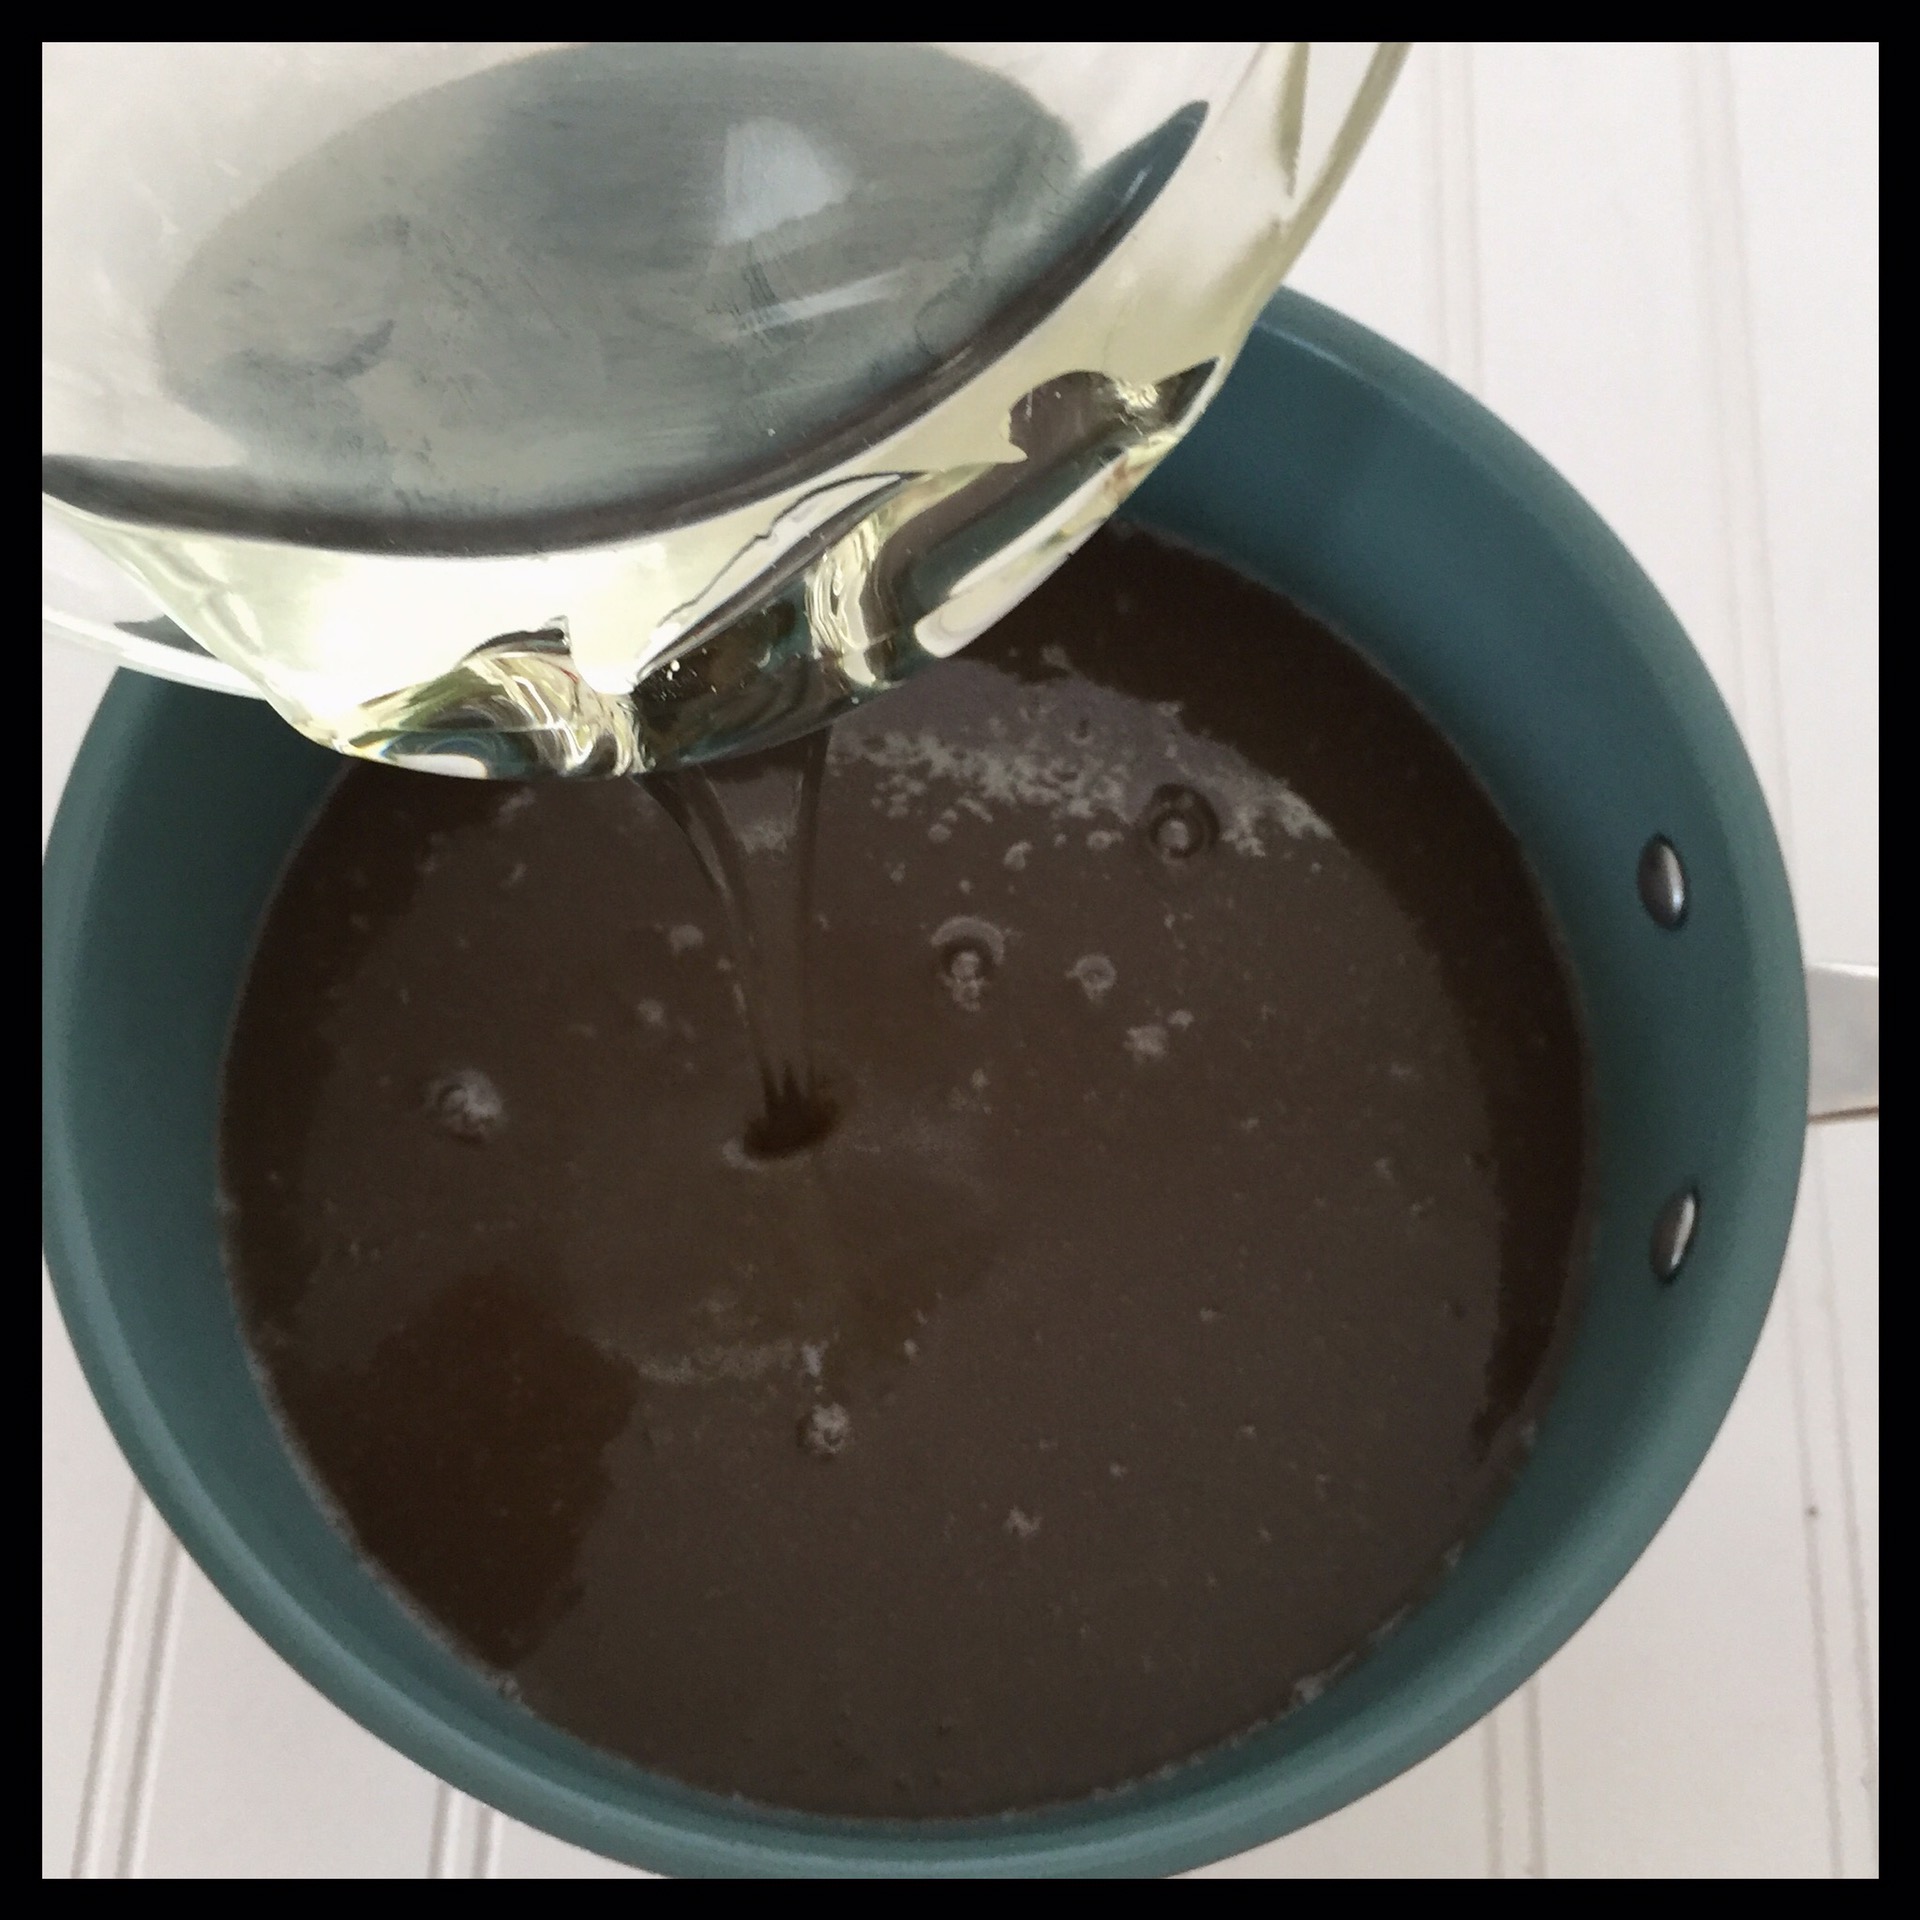
Pour the sugar mixture into a 3 or 4 quart-sized saucepan. (I have always used a non-stick pan but am not sure if this is strictly necessary.) Switch spatulas after you scrape out the smaller saucepan. Changing pans and spatulas makes sure that you don’t have any loose sugar crystals around in the next step which could cause your finished caramel to crystallize.
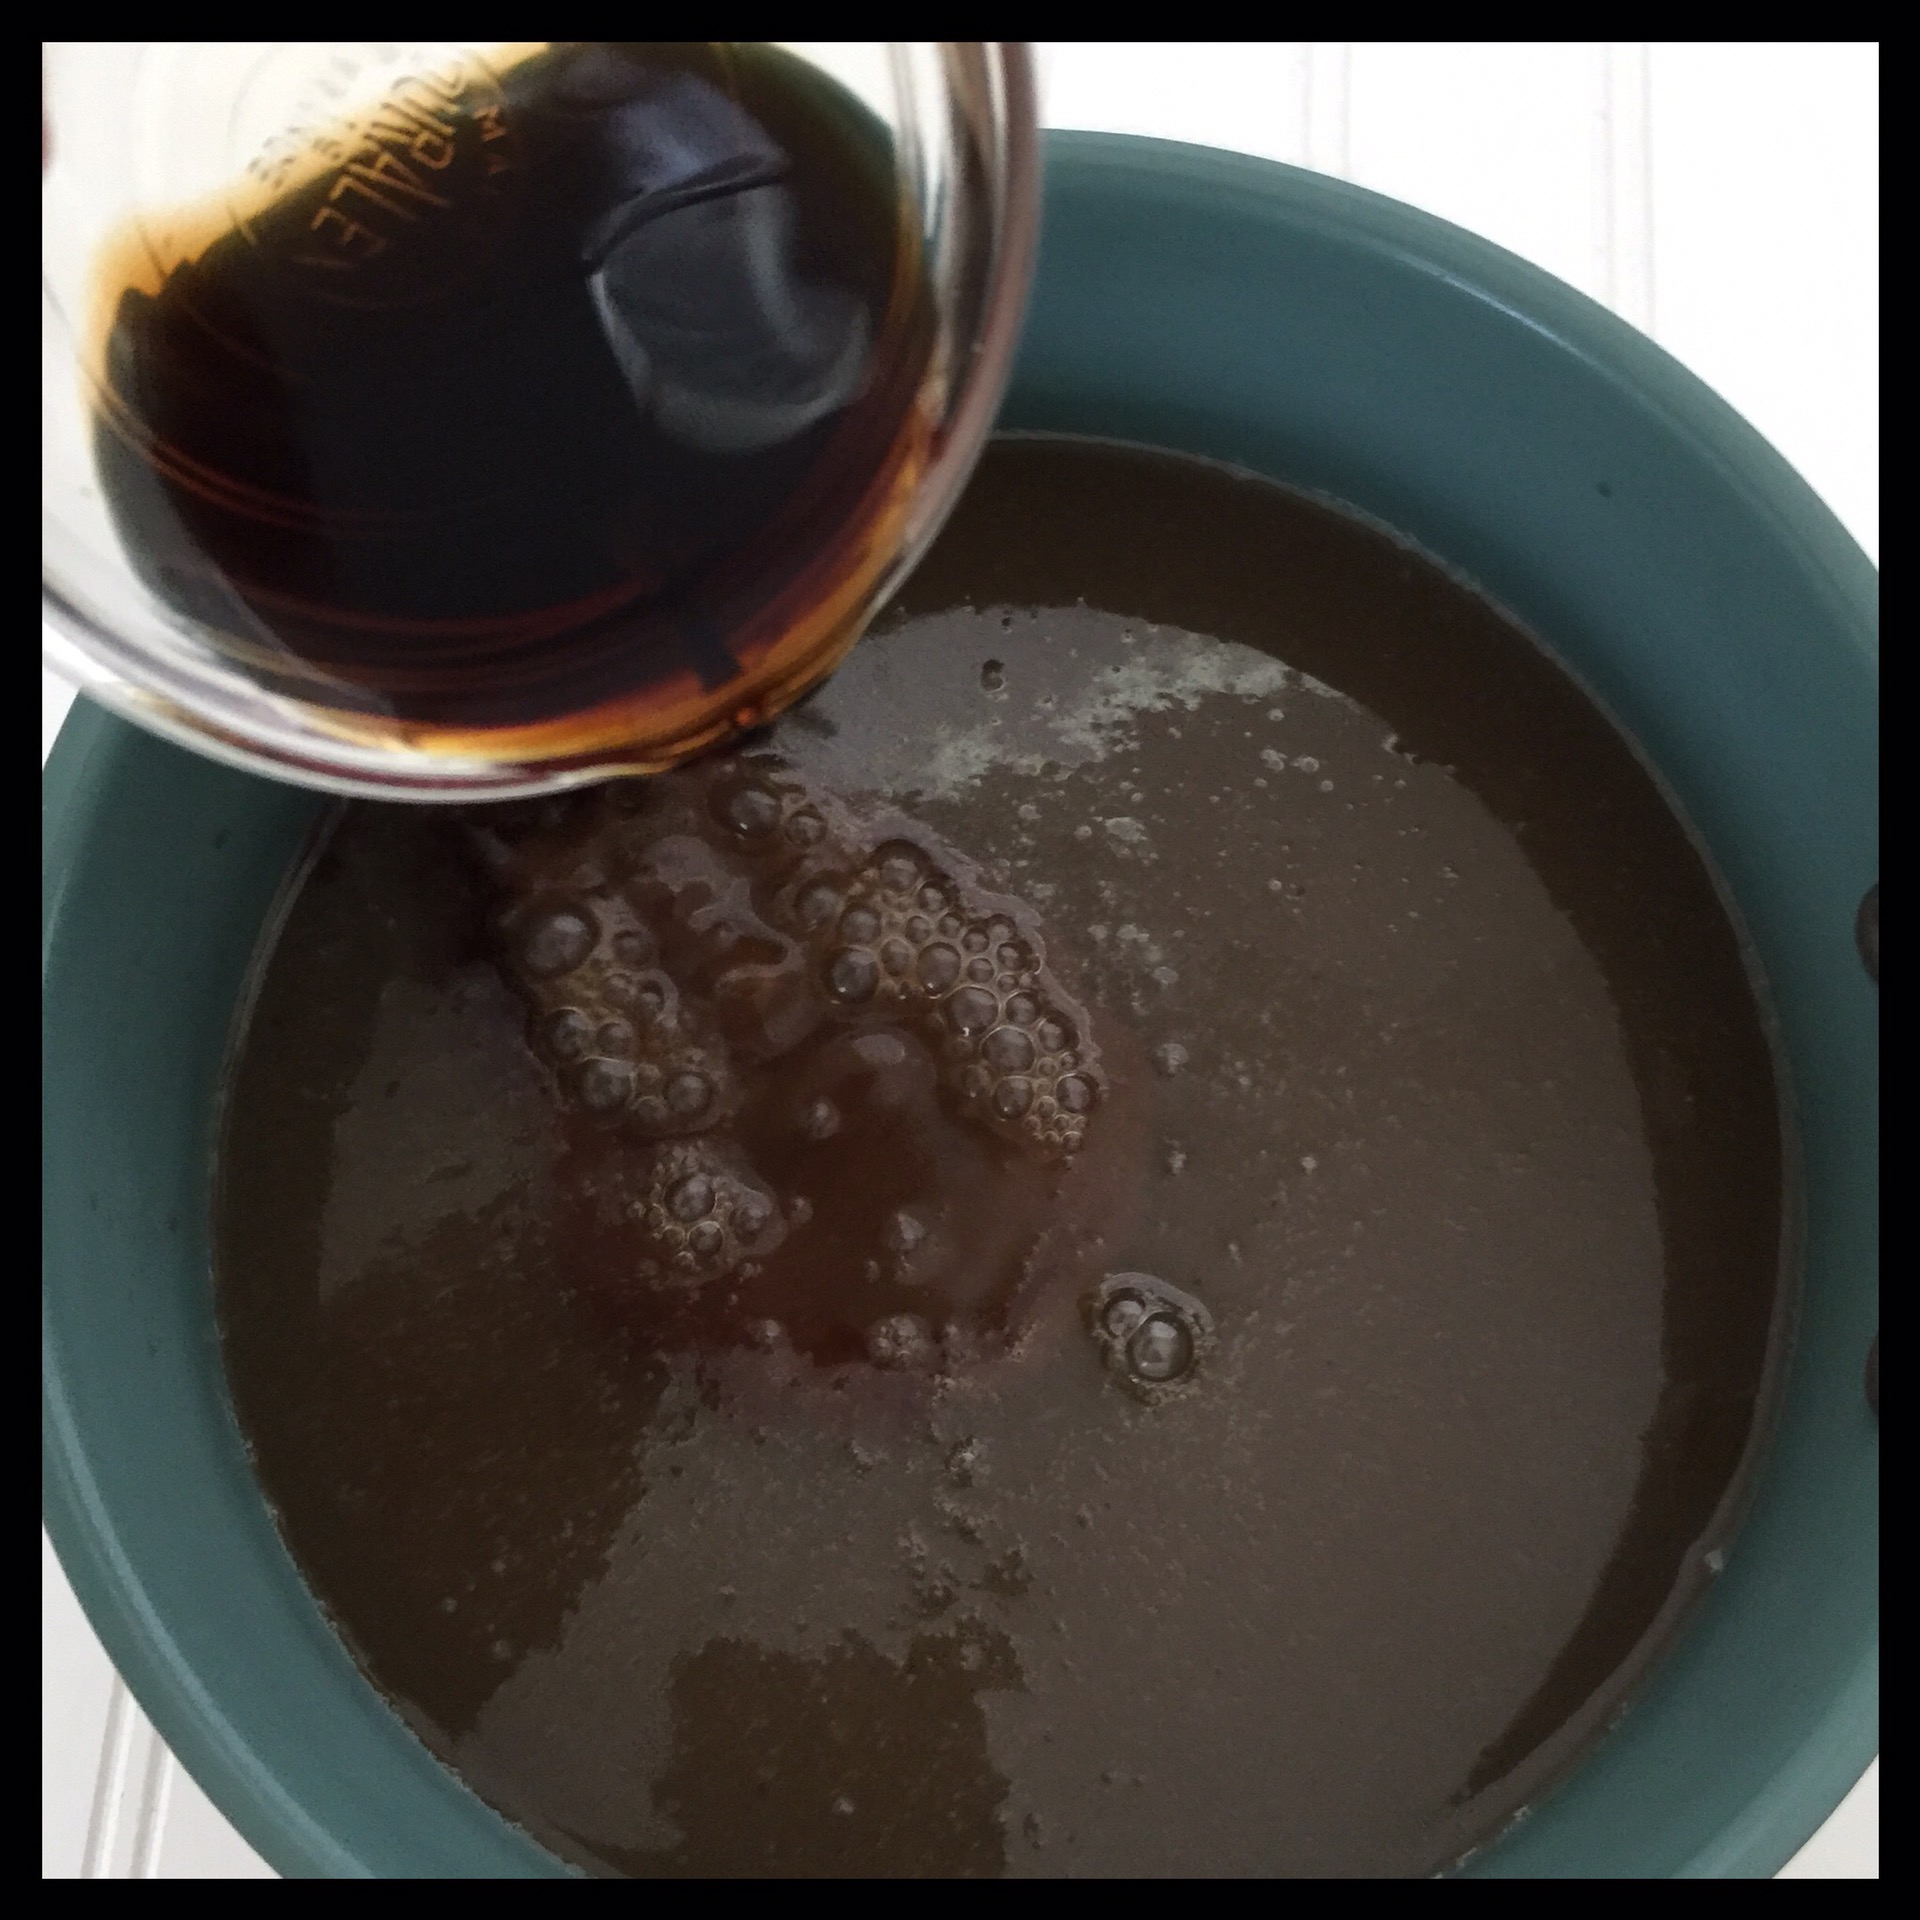
Add the Karo Syrup and the vanilla, then stir to combine:
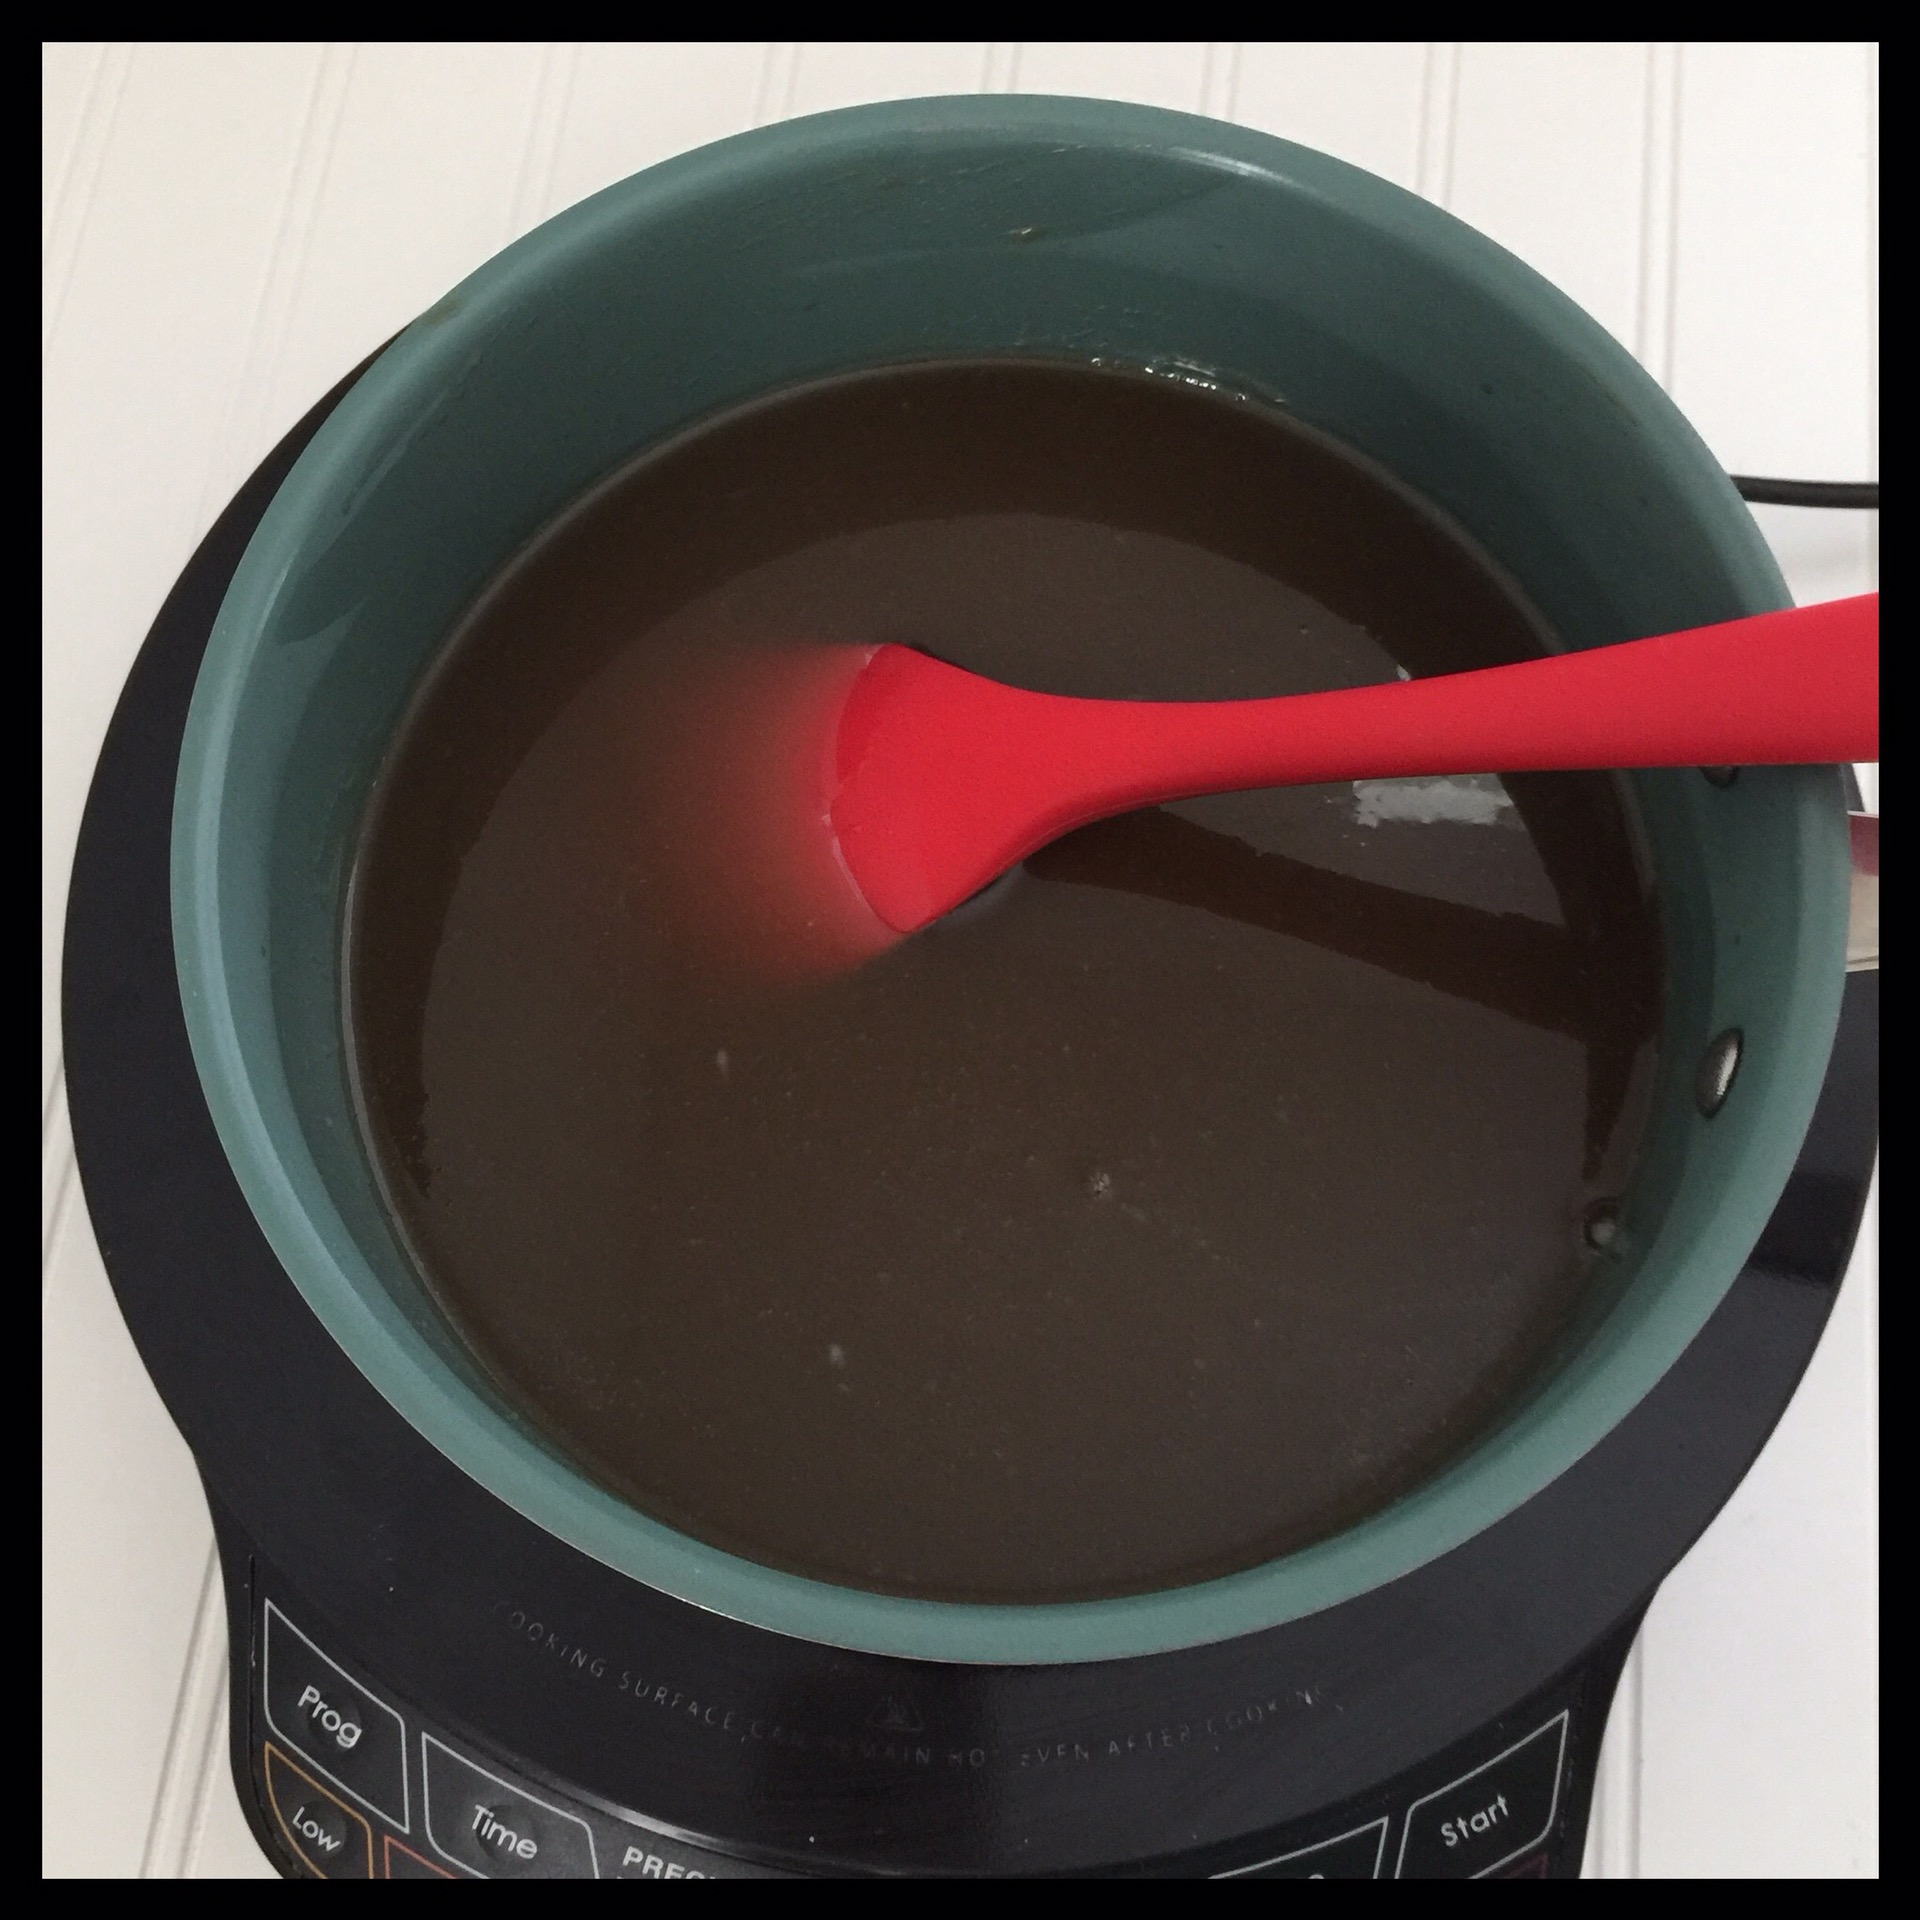
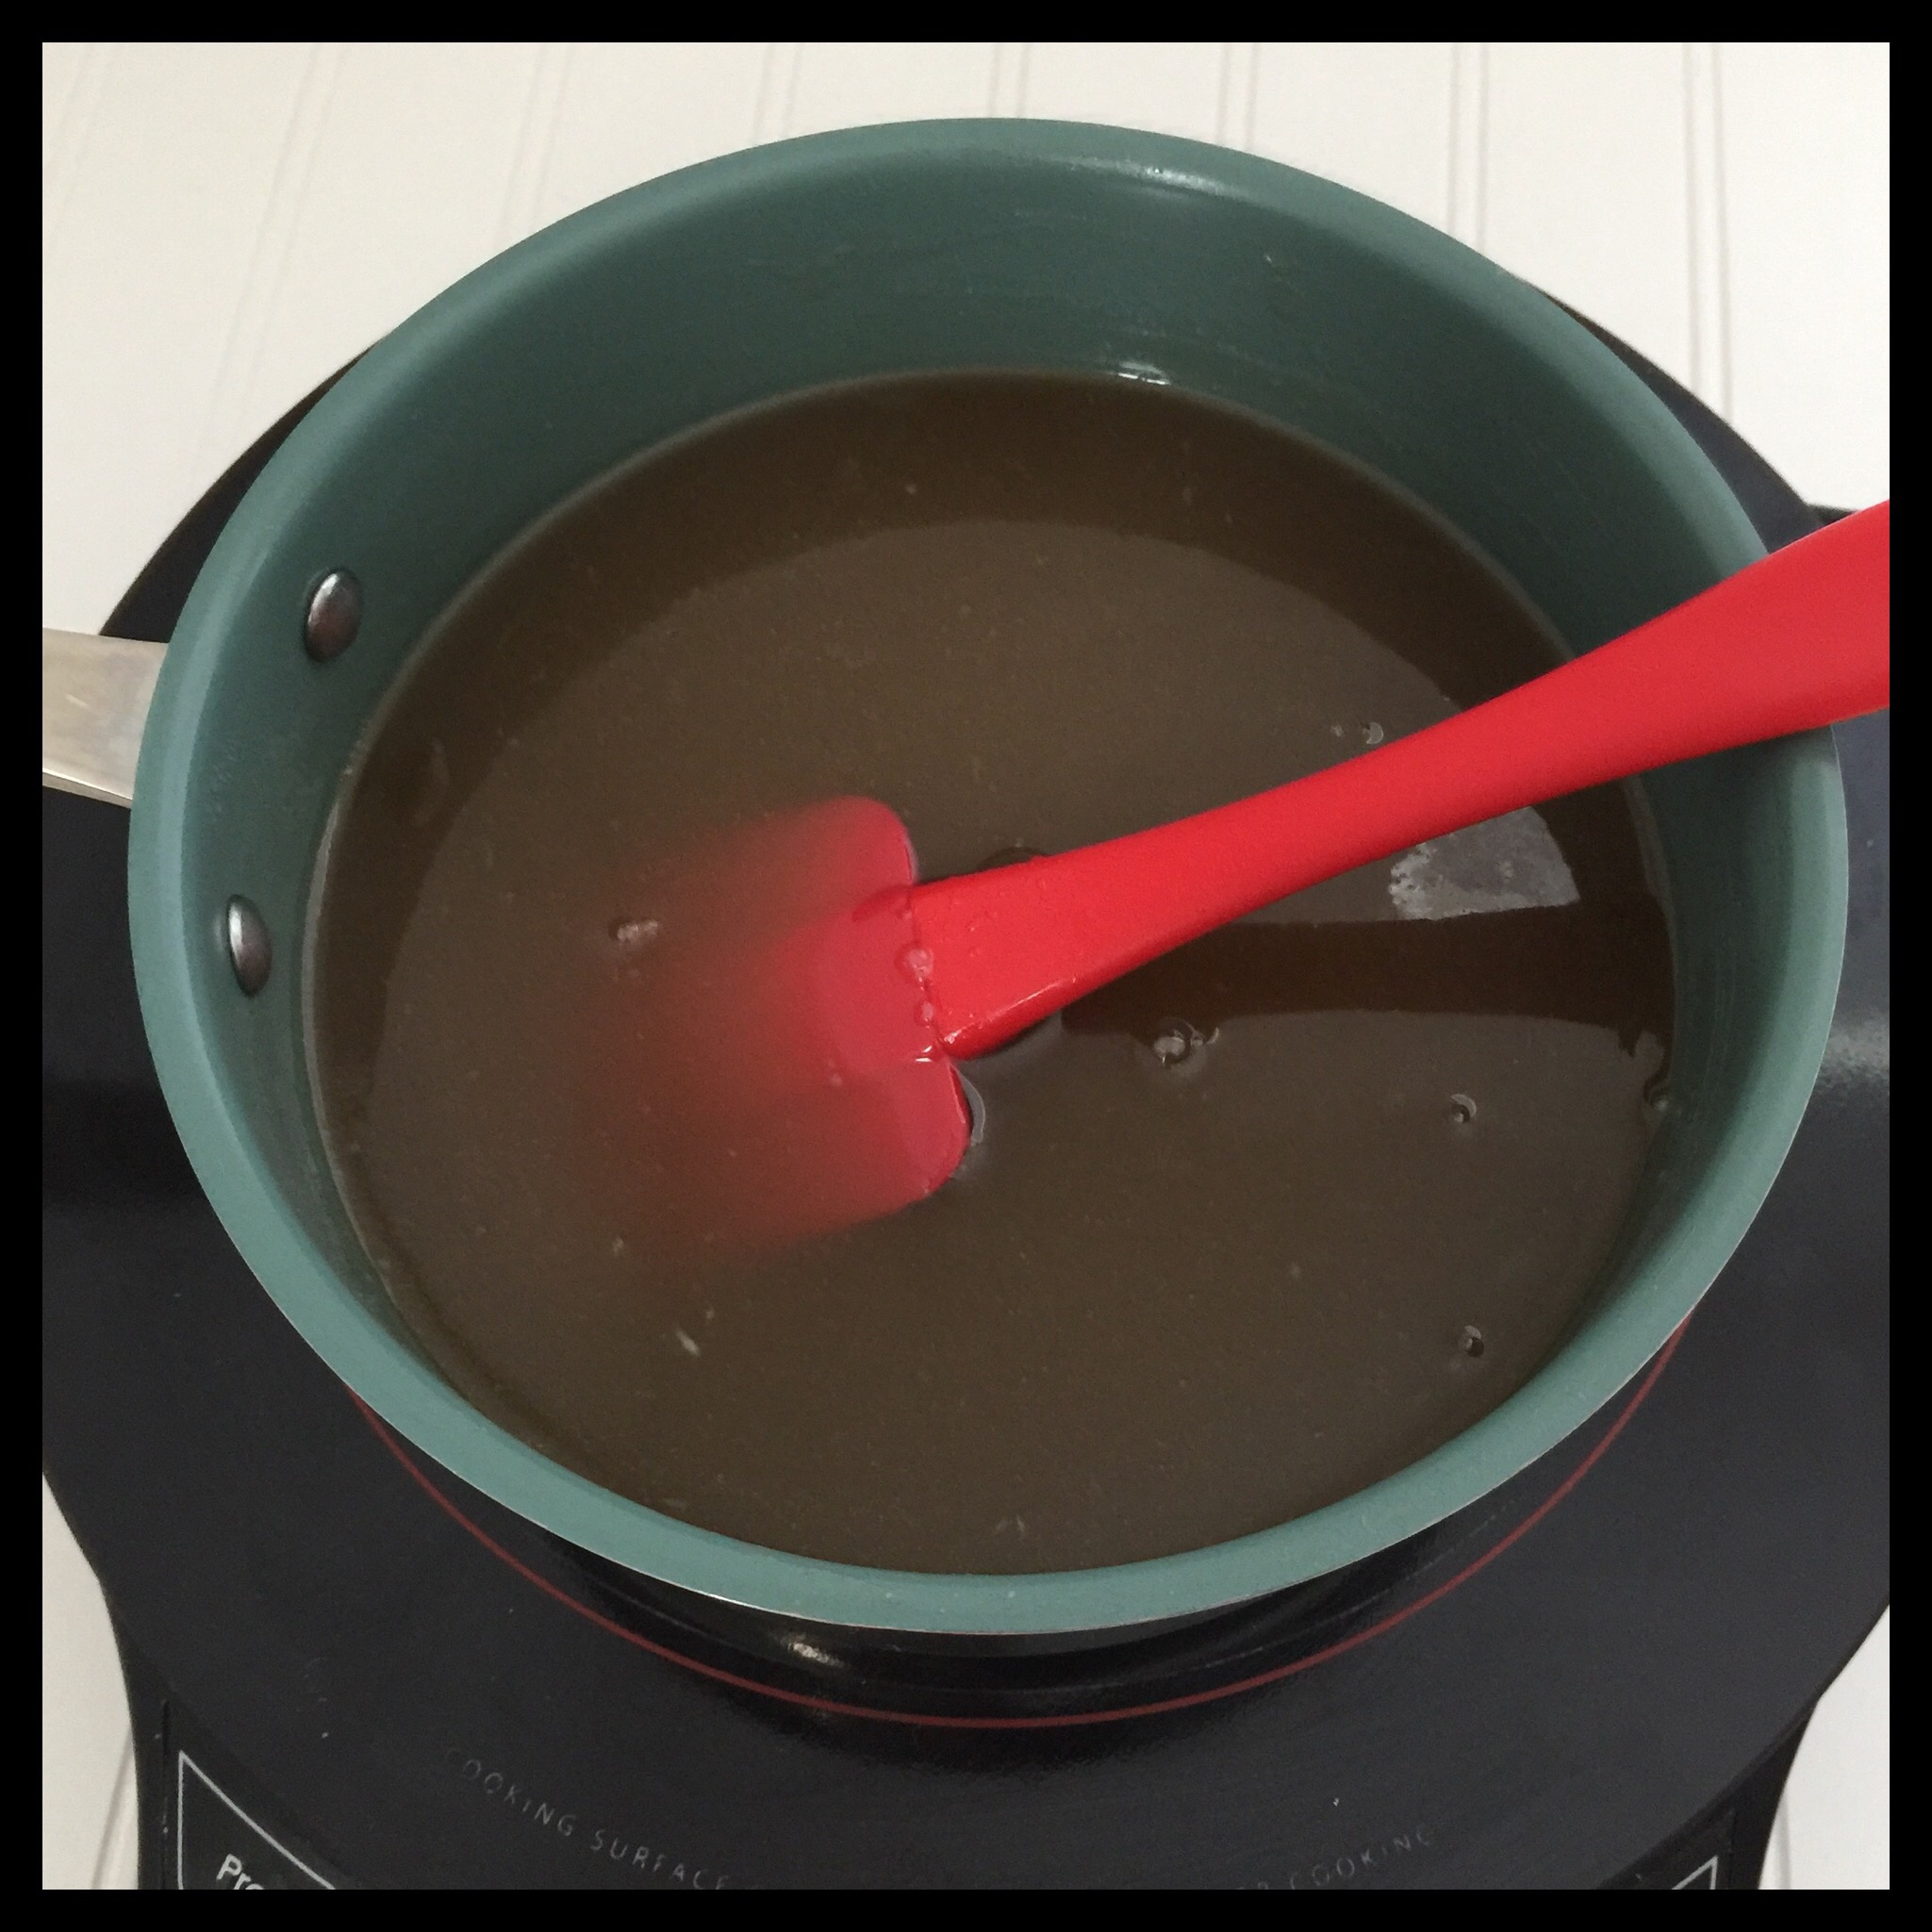
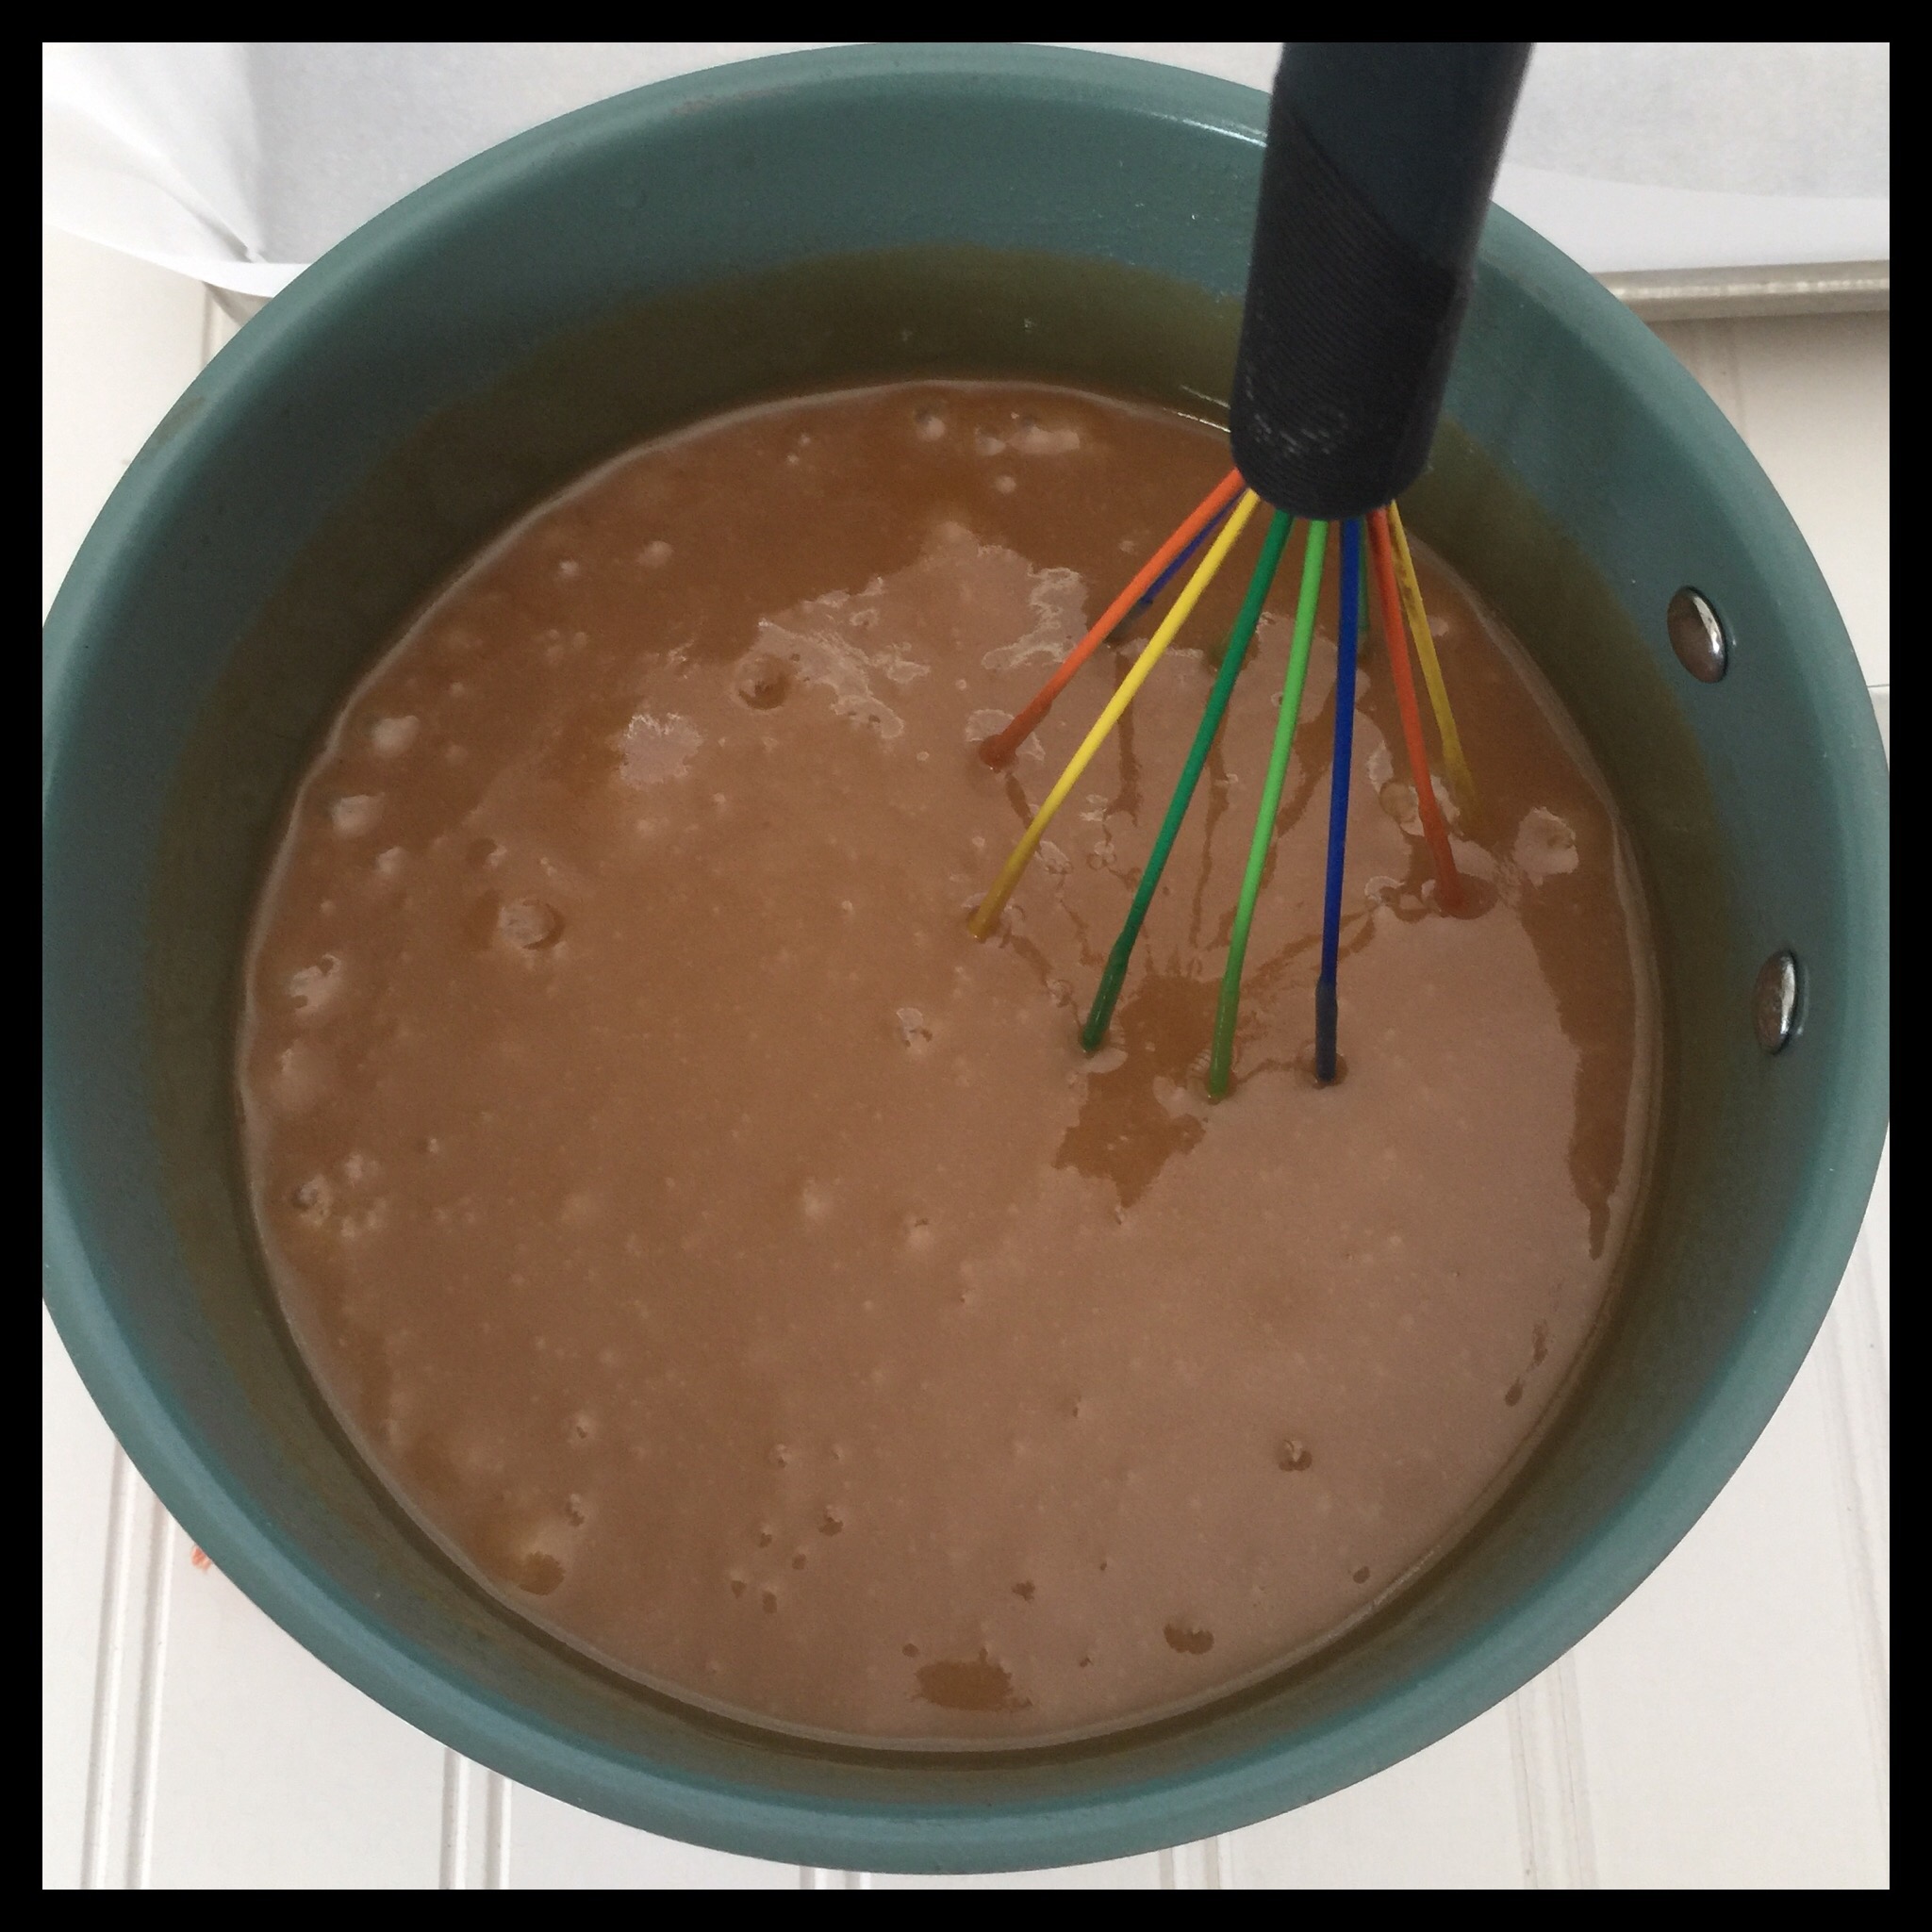
Bring the mixture to a boil, then reduce the heat just enough to keep the mixture from boiling over. Continue to keep the temperature as high as you can, and turn it down as needed. On my induction cooktop, I have to keep adjusting the temperature between 230 and 275 degrees Fahrenheit during this step, which takes about 30 minutes. I also stir gently but continuously to make sure the syrup doesn’t burn on the bottom. You want it to look like this:
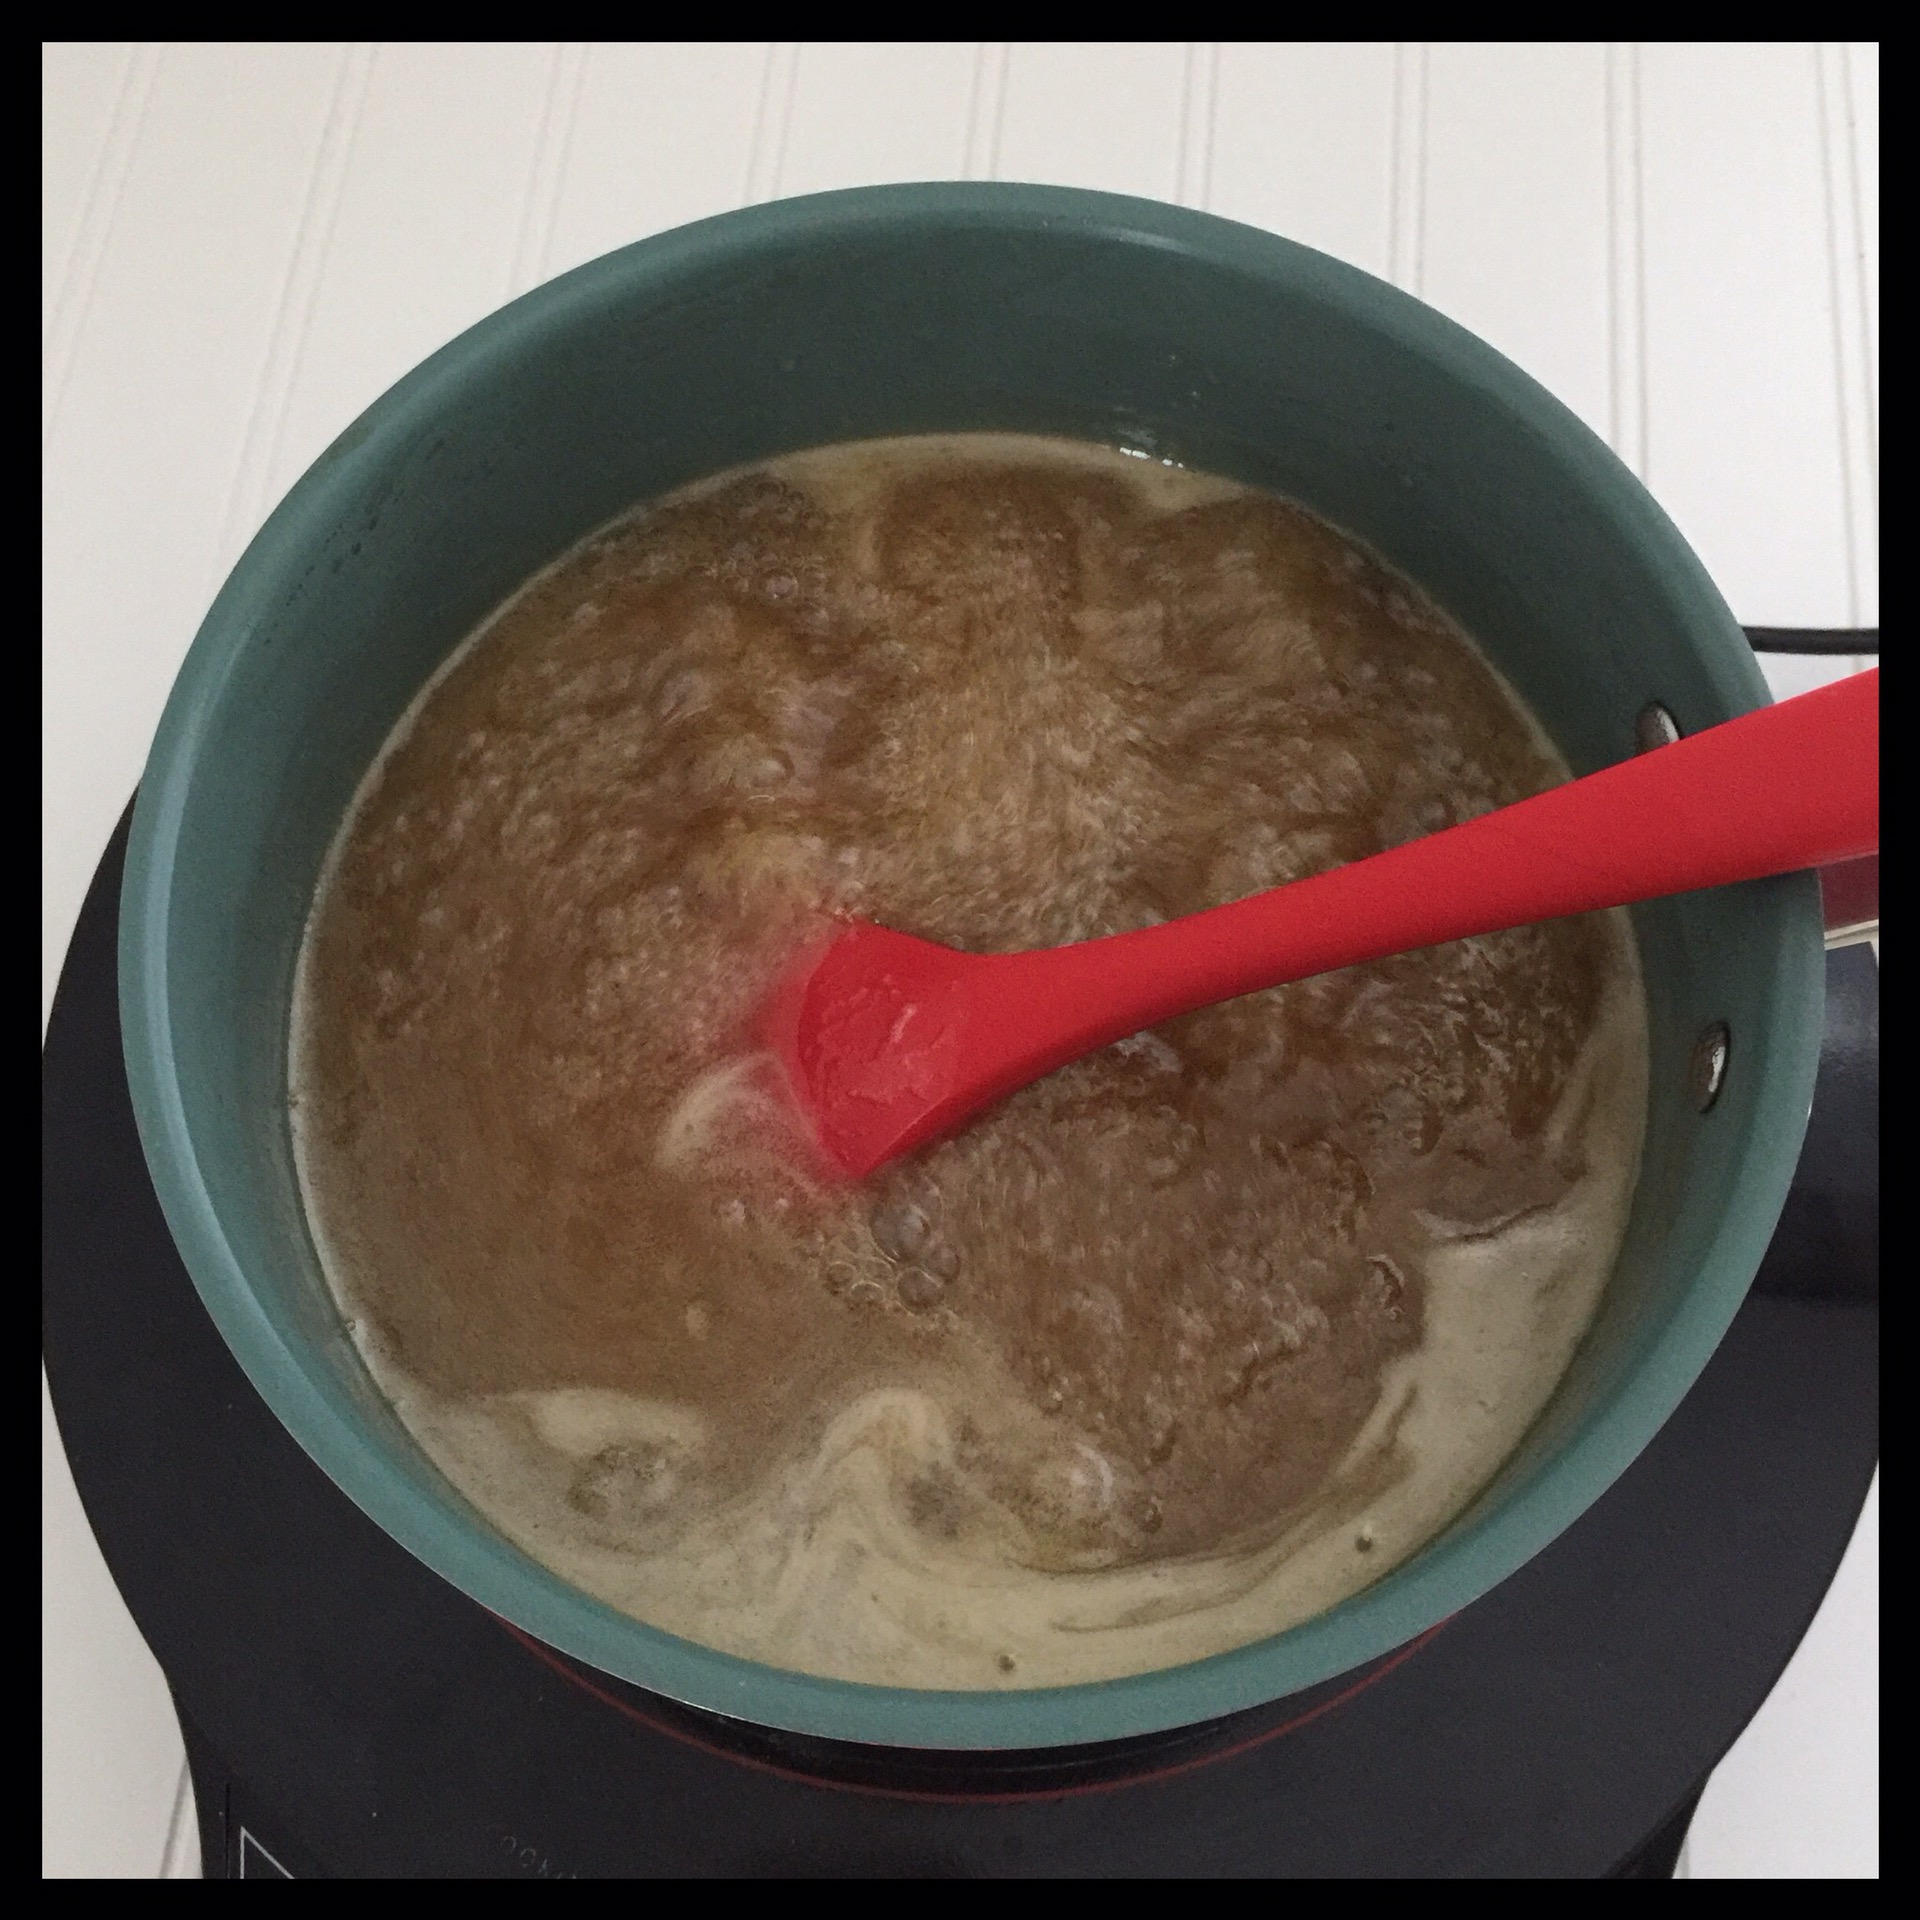
The temperature is too high here:
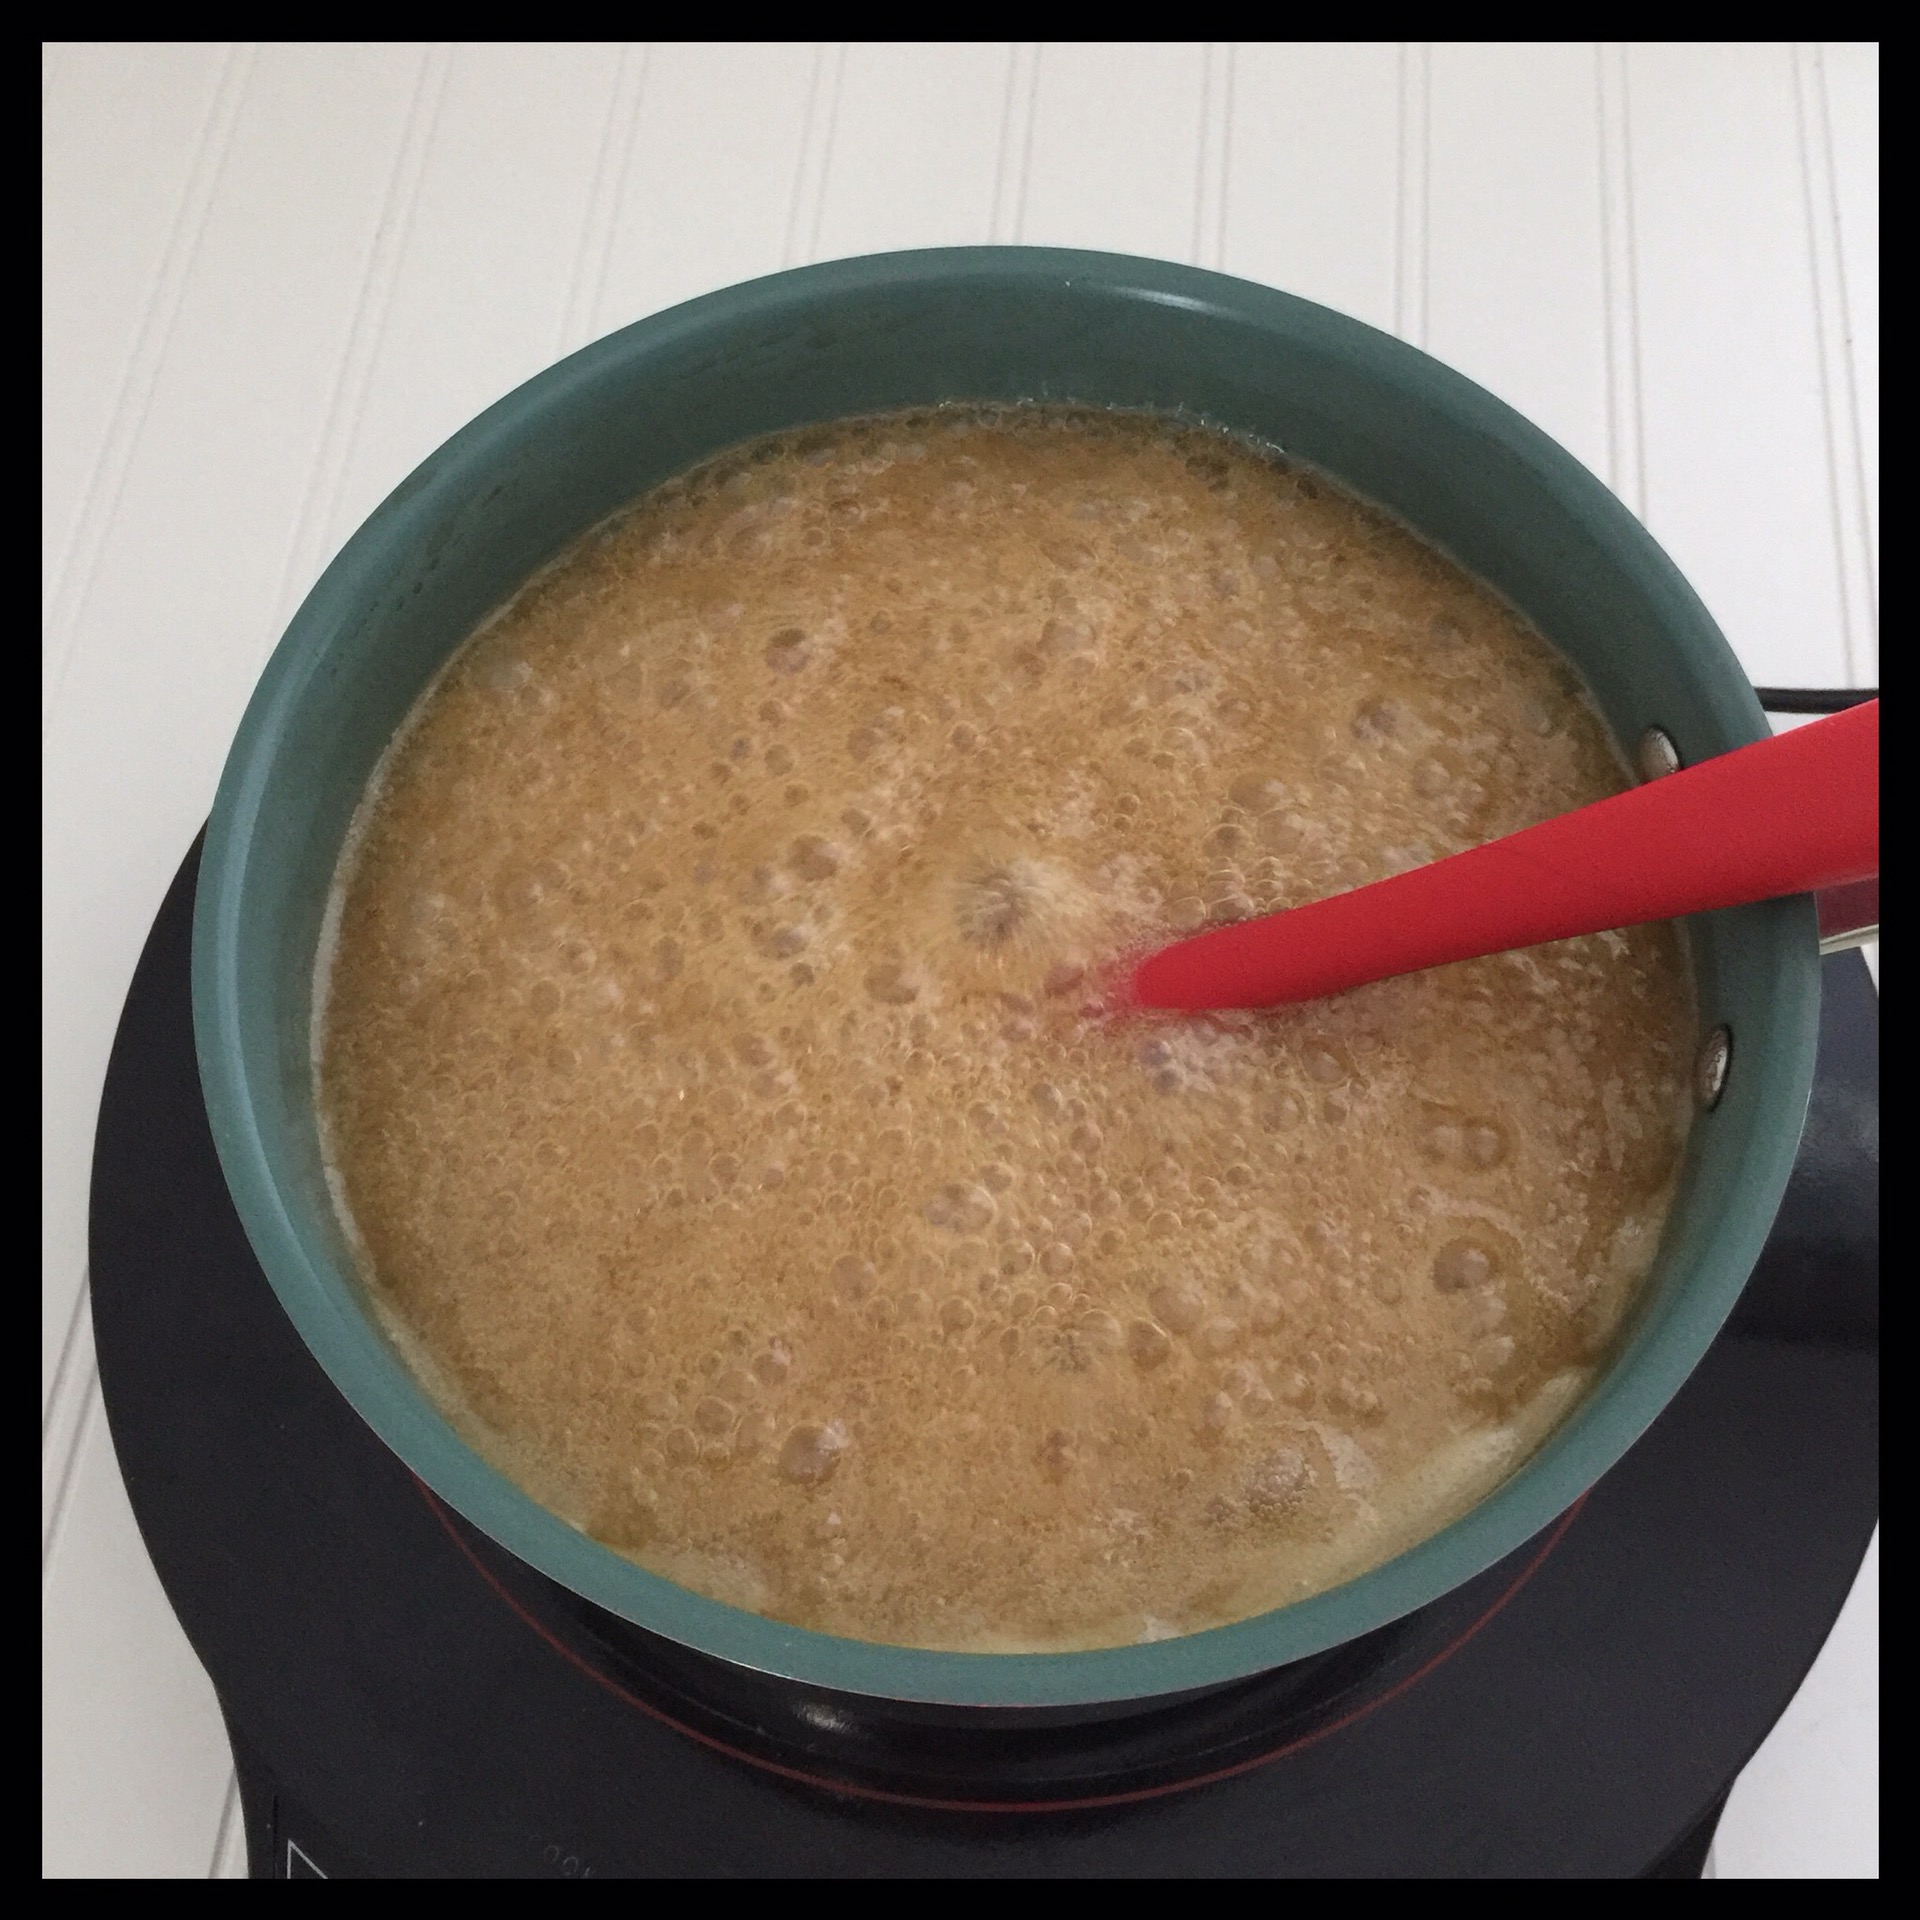
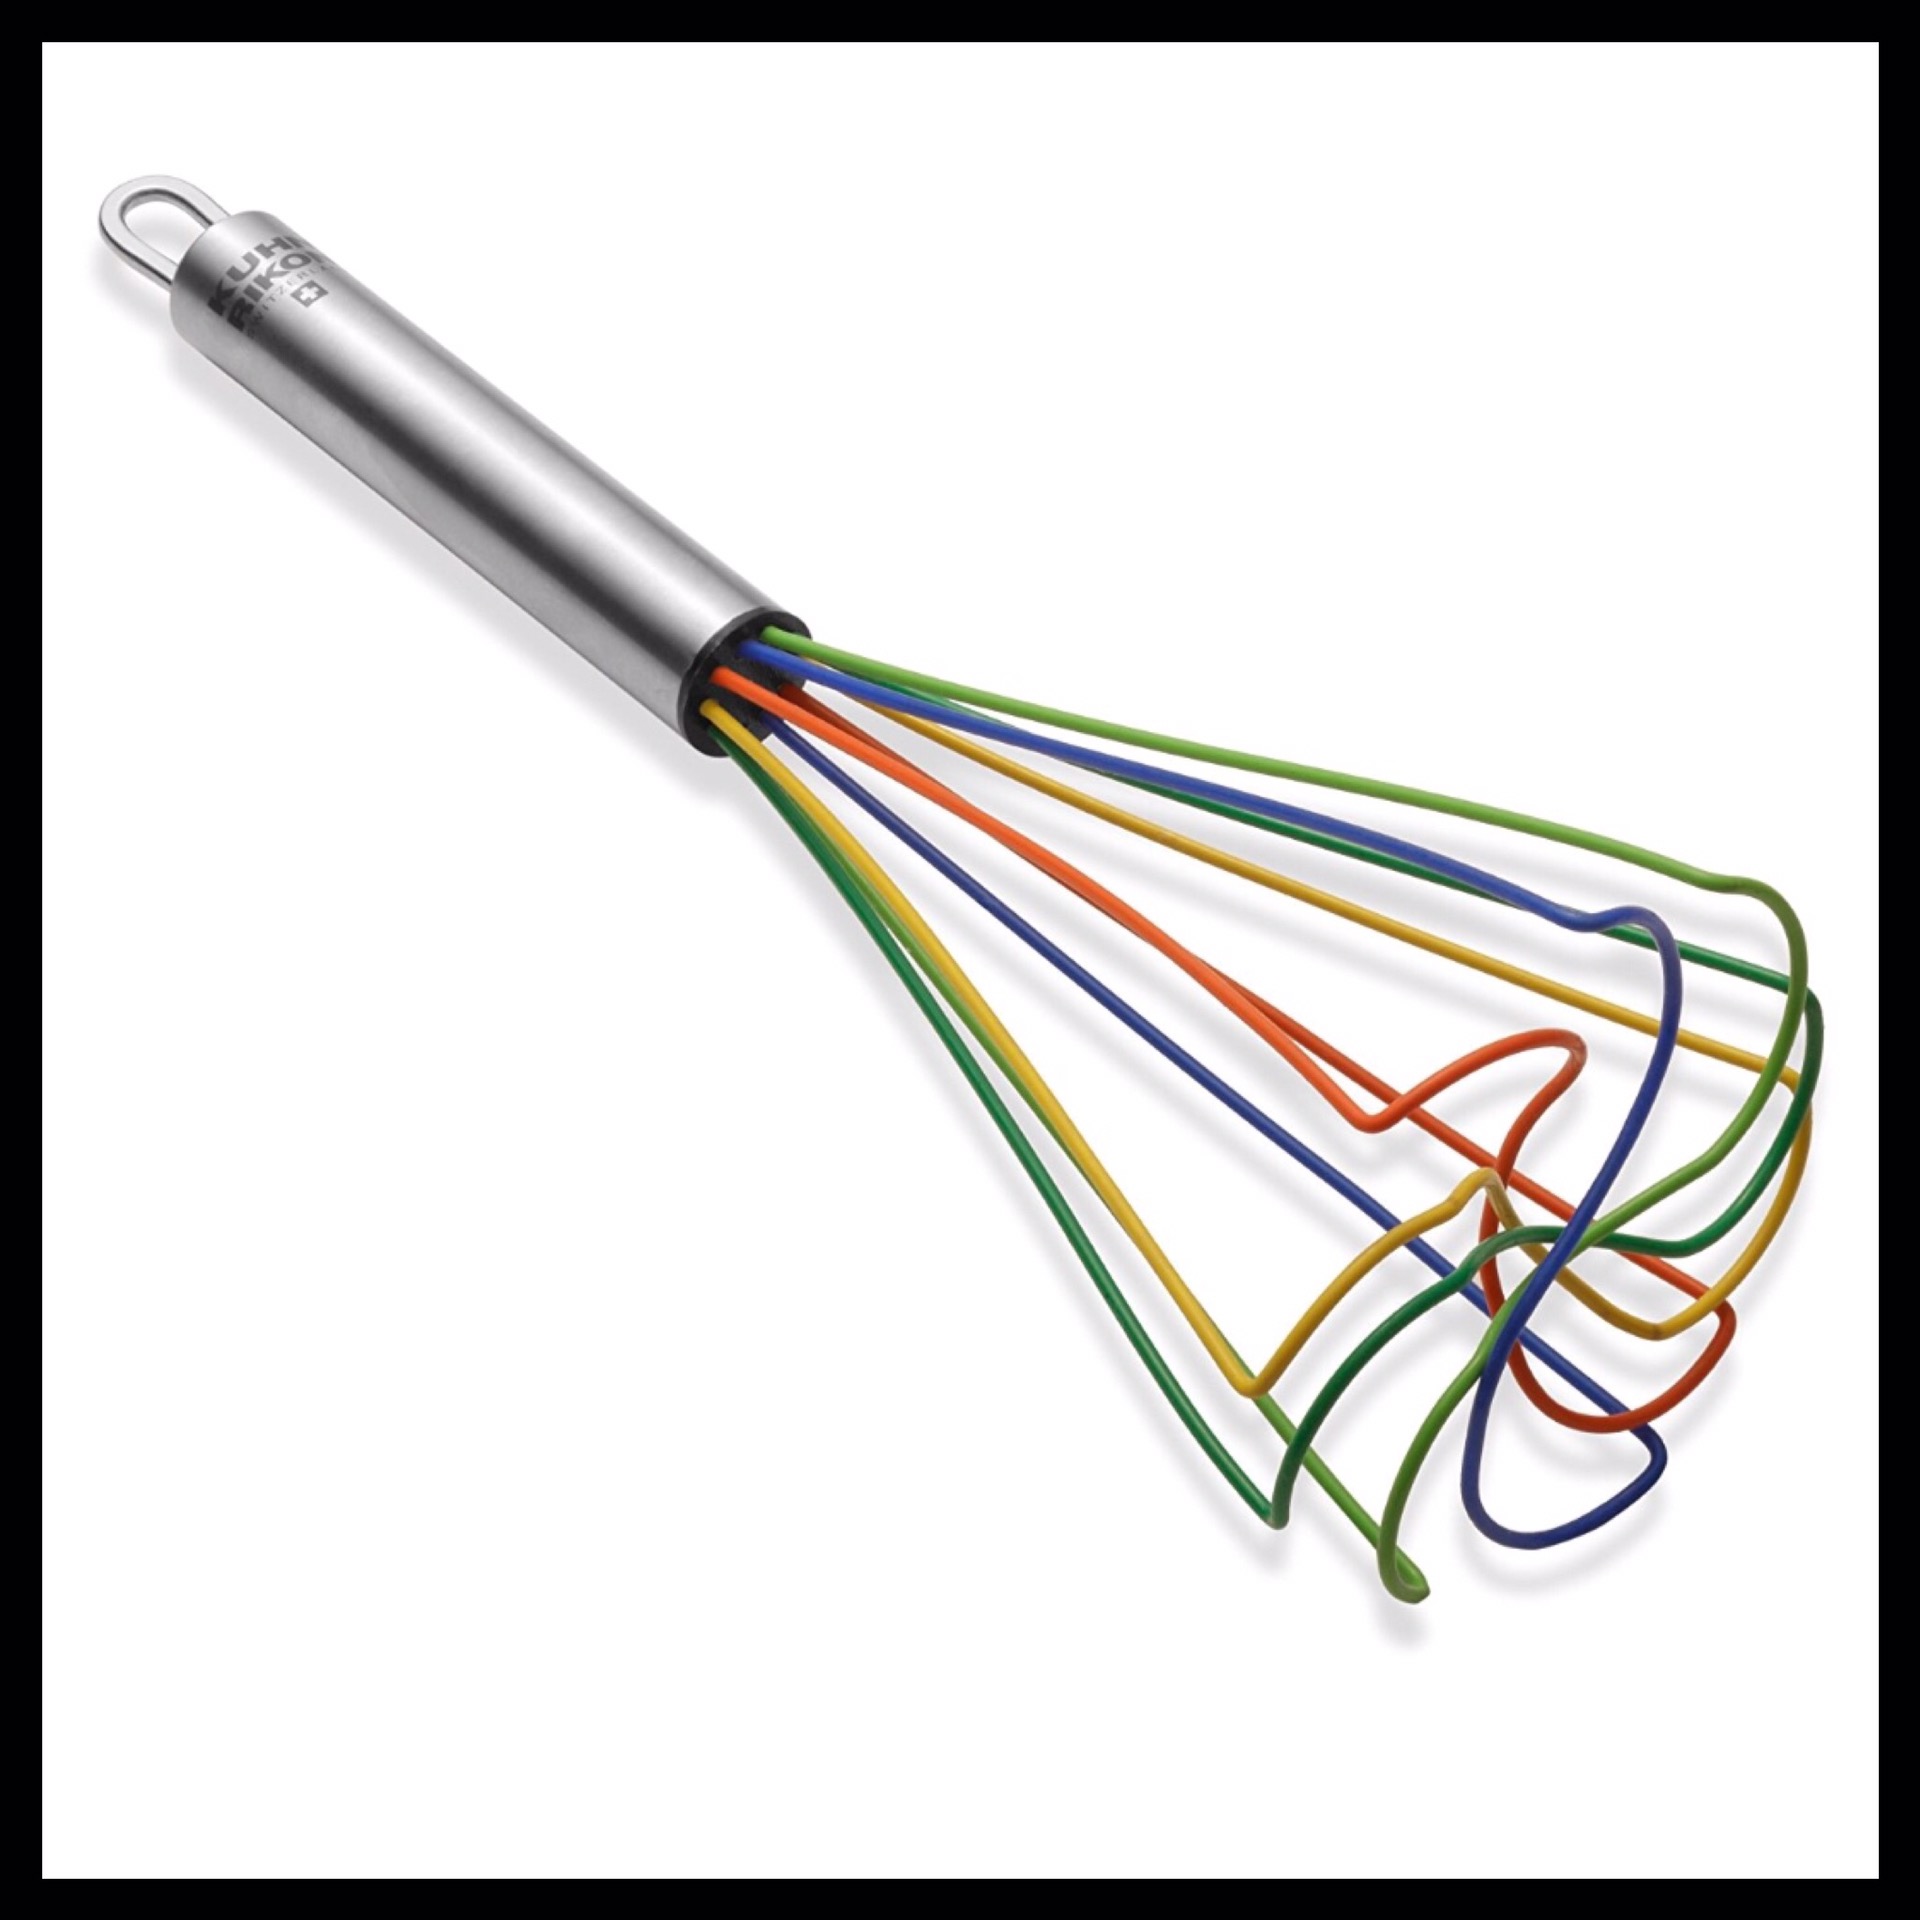
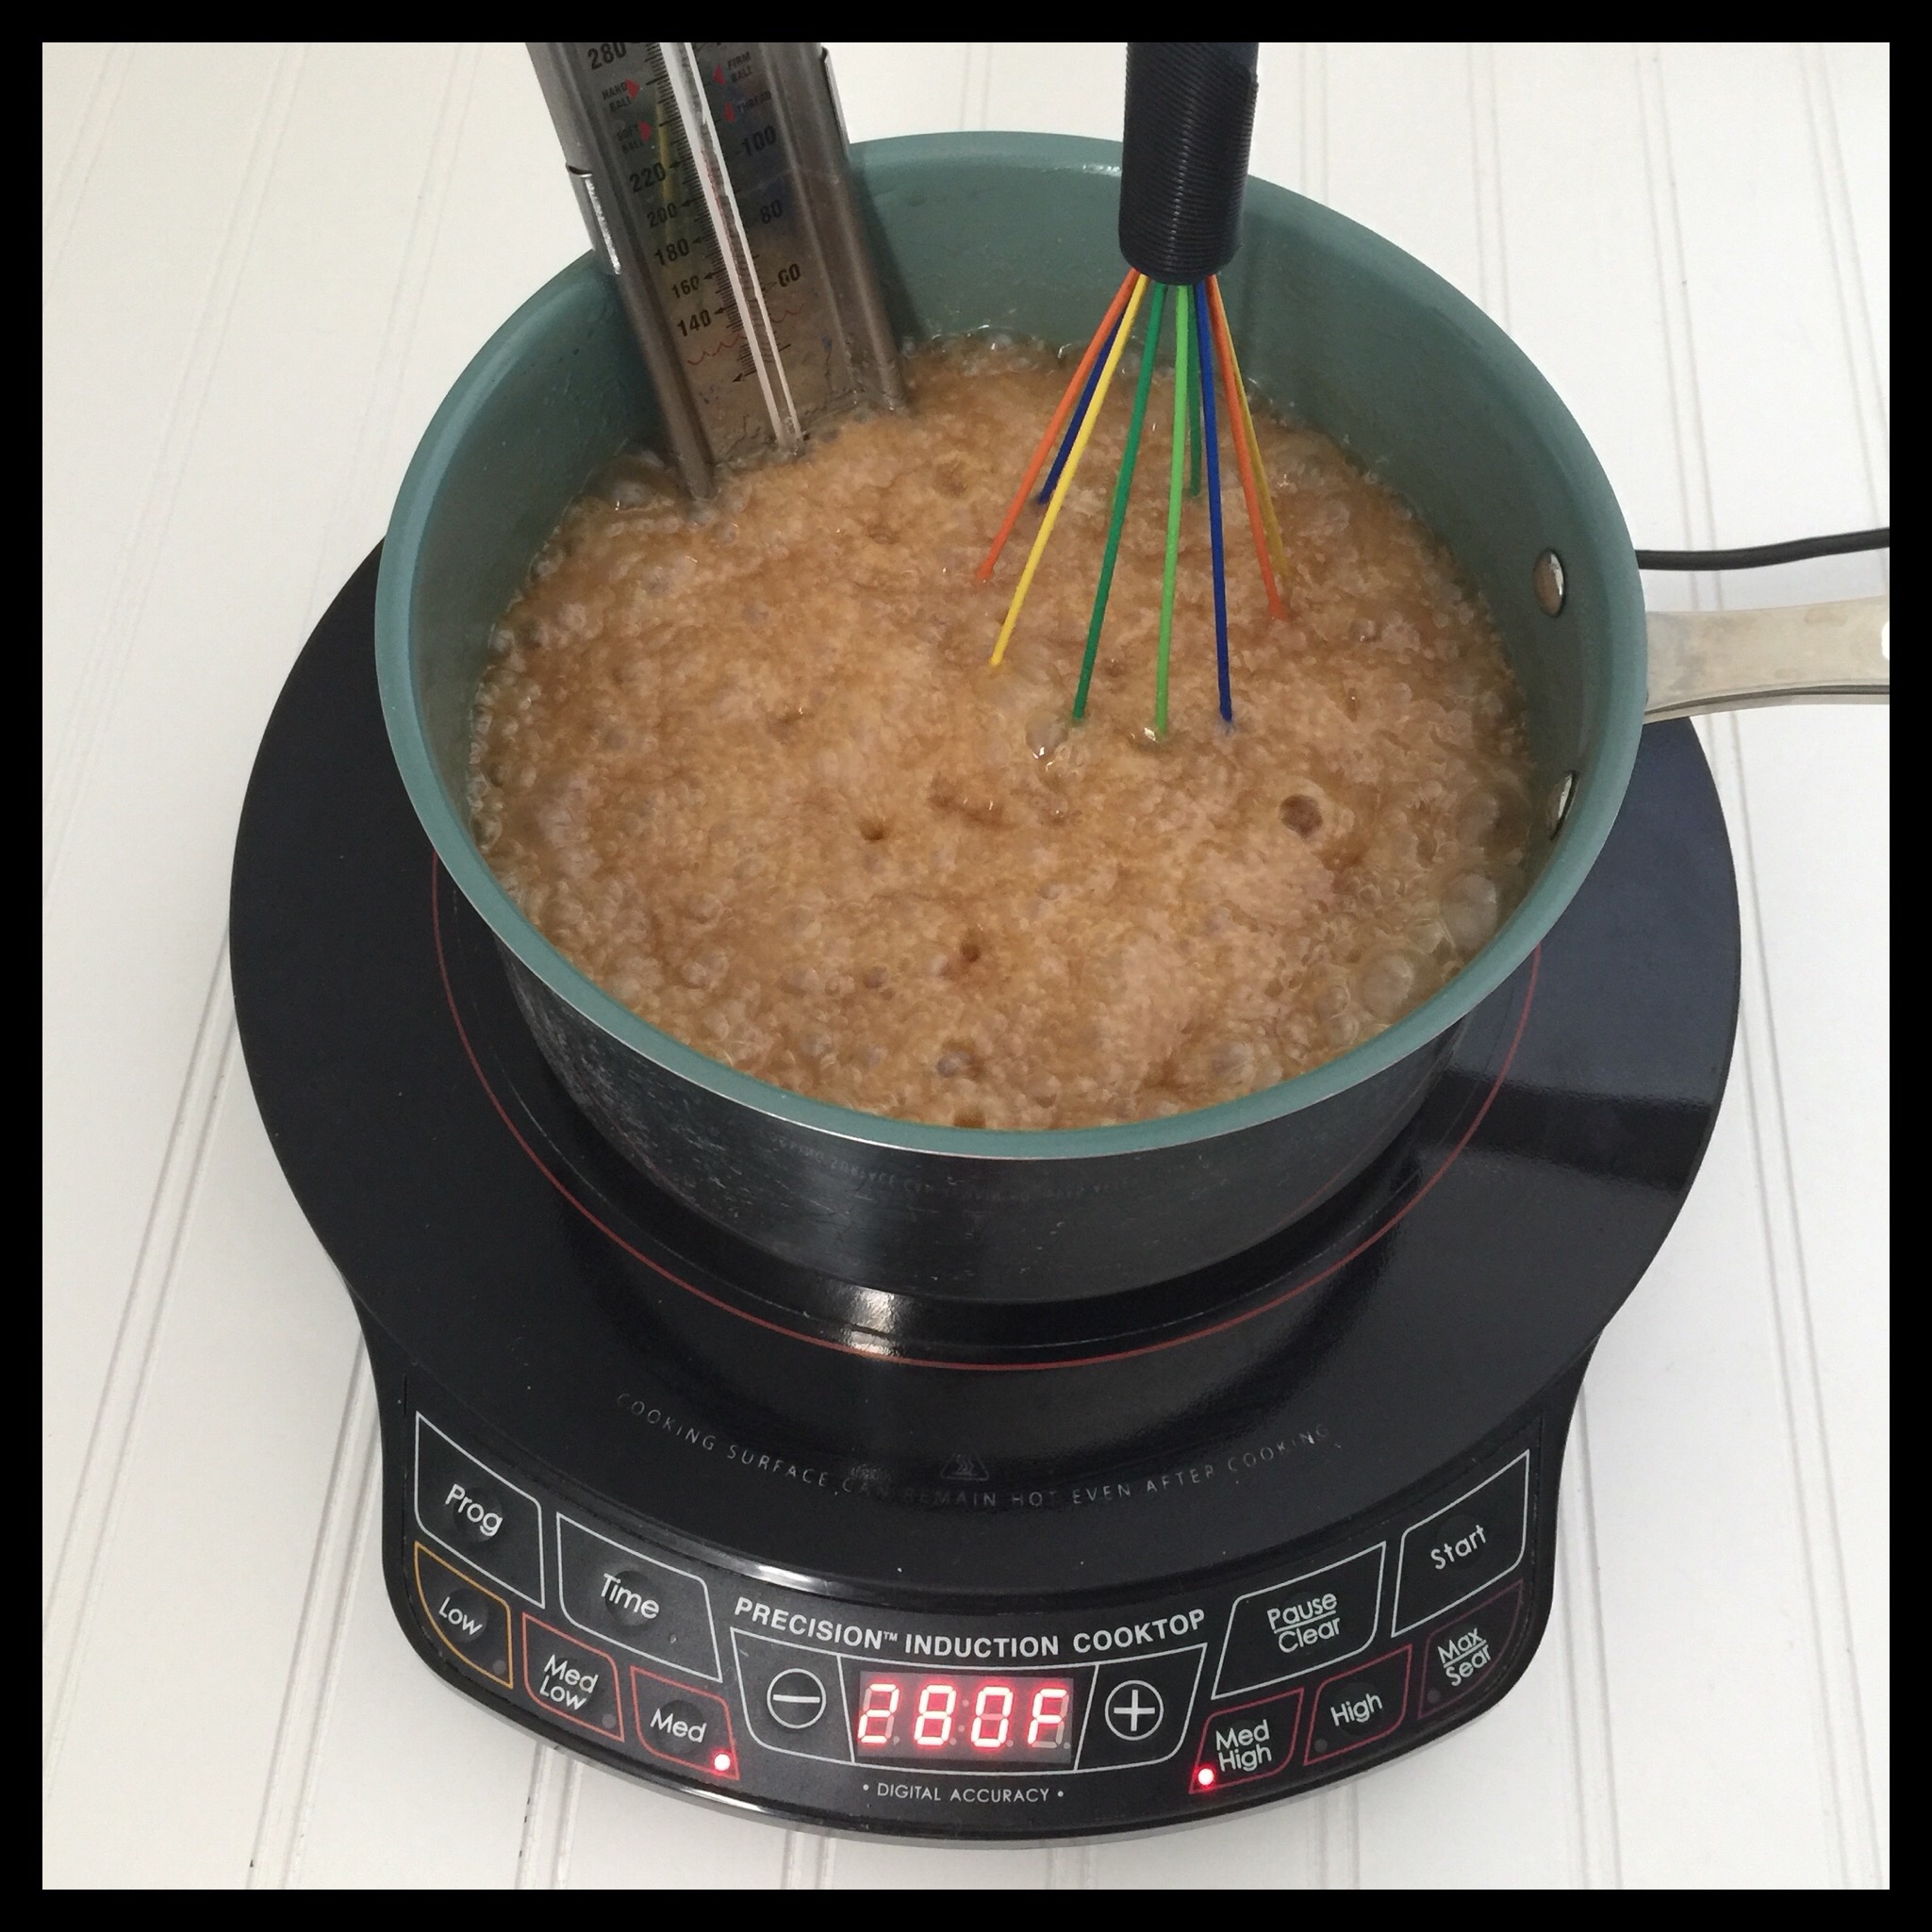
Once you can keep the temperature up without the syrup trying to boil over, switch to a whisk and whisk the syrup really well. After that, you just need to whisk gently to keep the syrup from burning on the bottom. A tornado whisk makes this really easy to do because it is flat against the bottom of the pan. I use mine for all of my gravies and sauces as well.
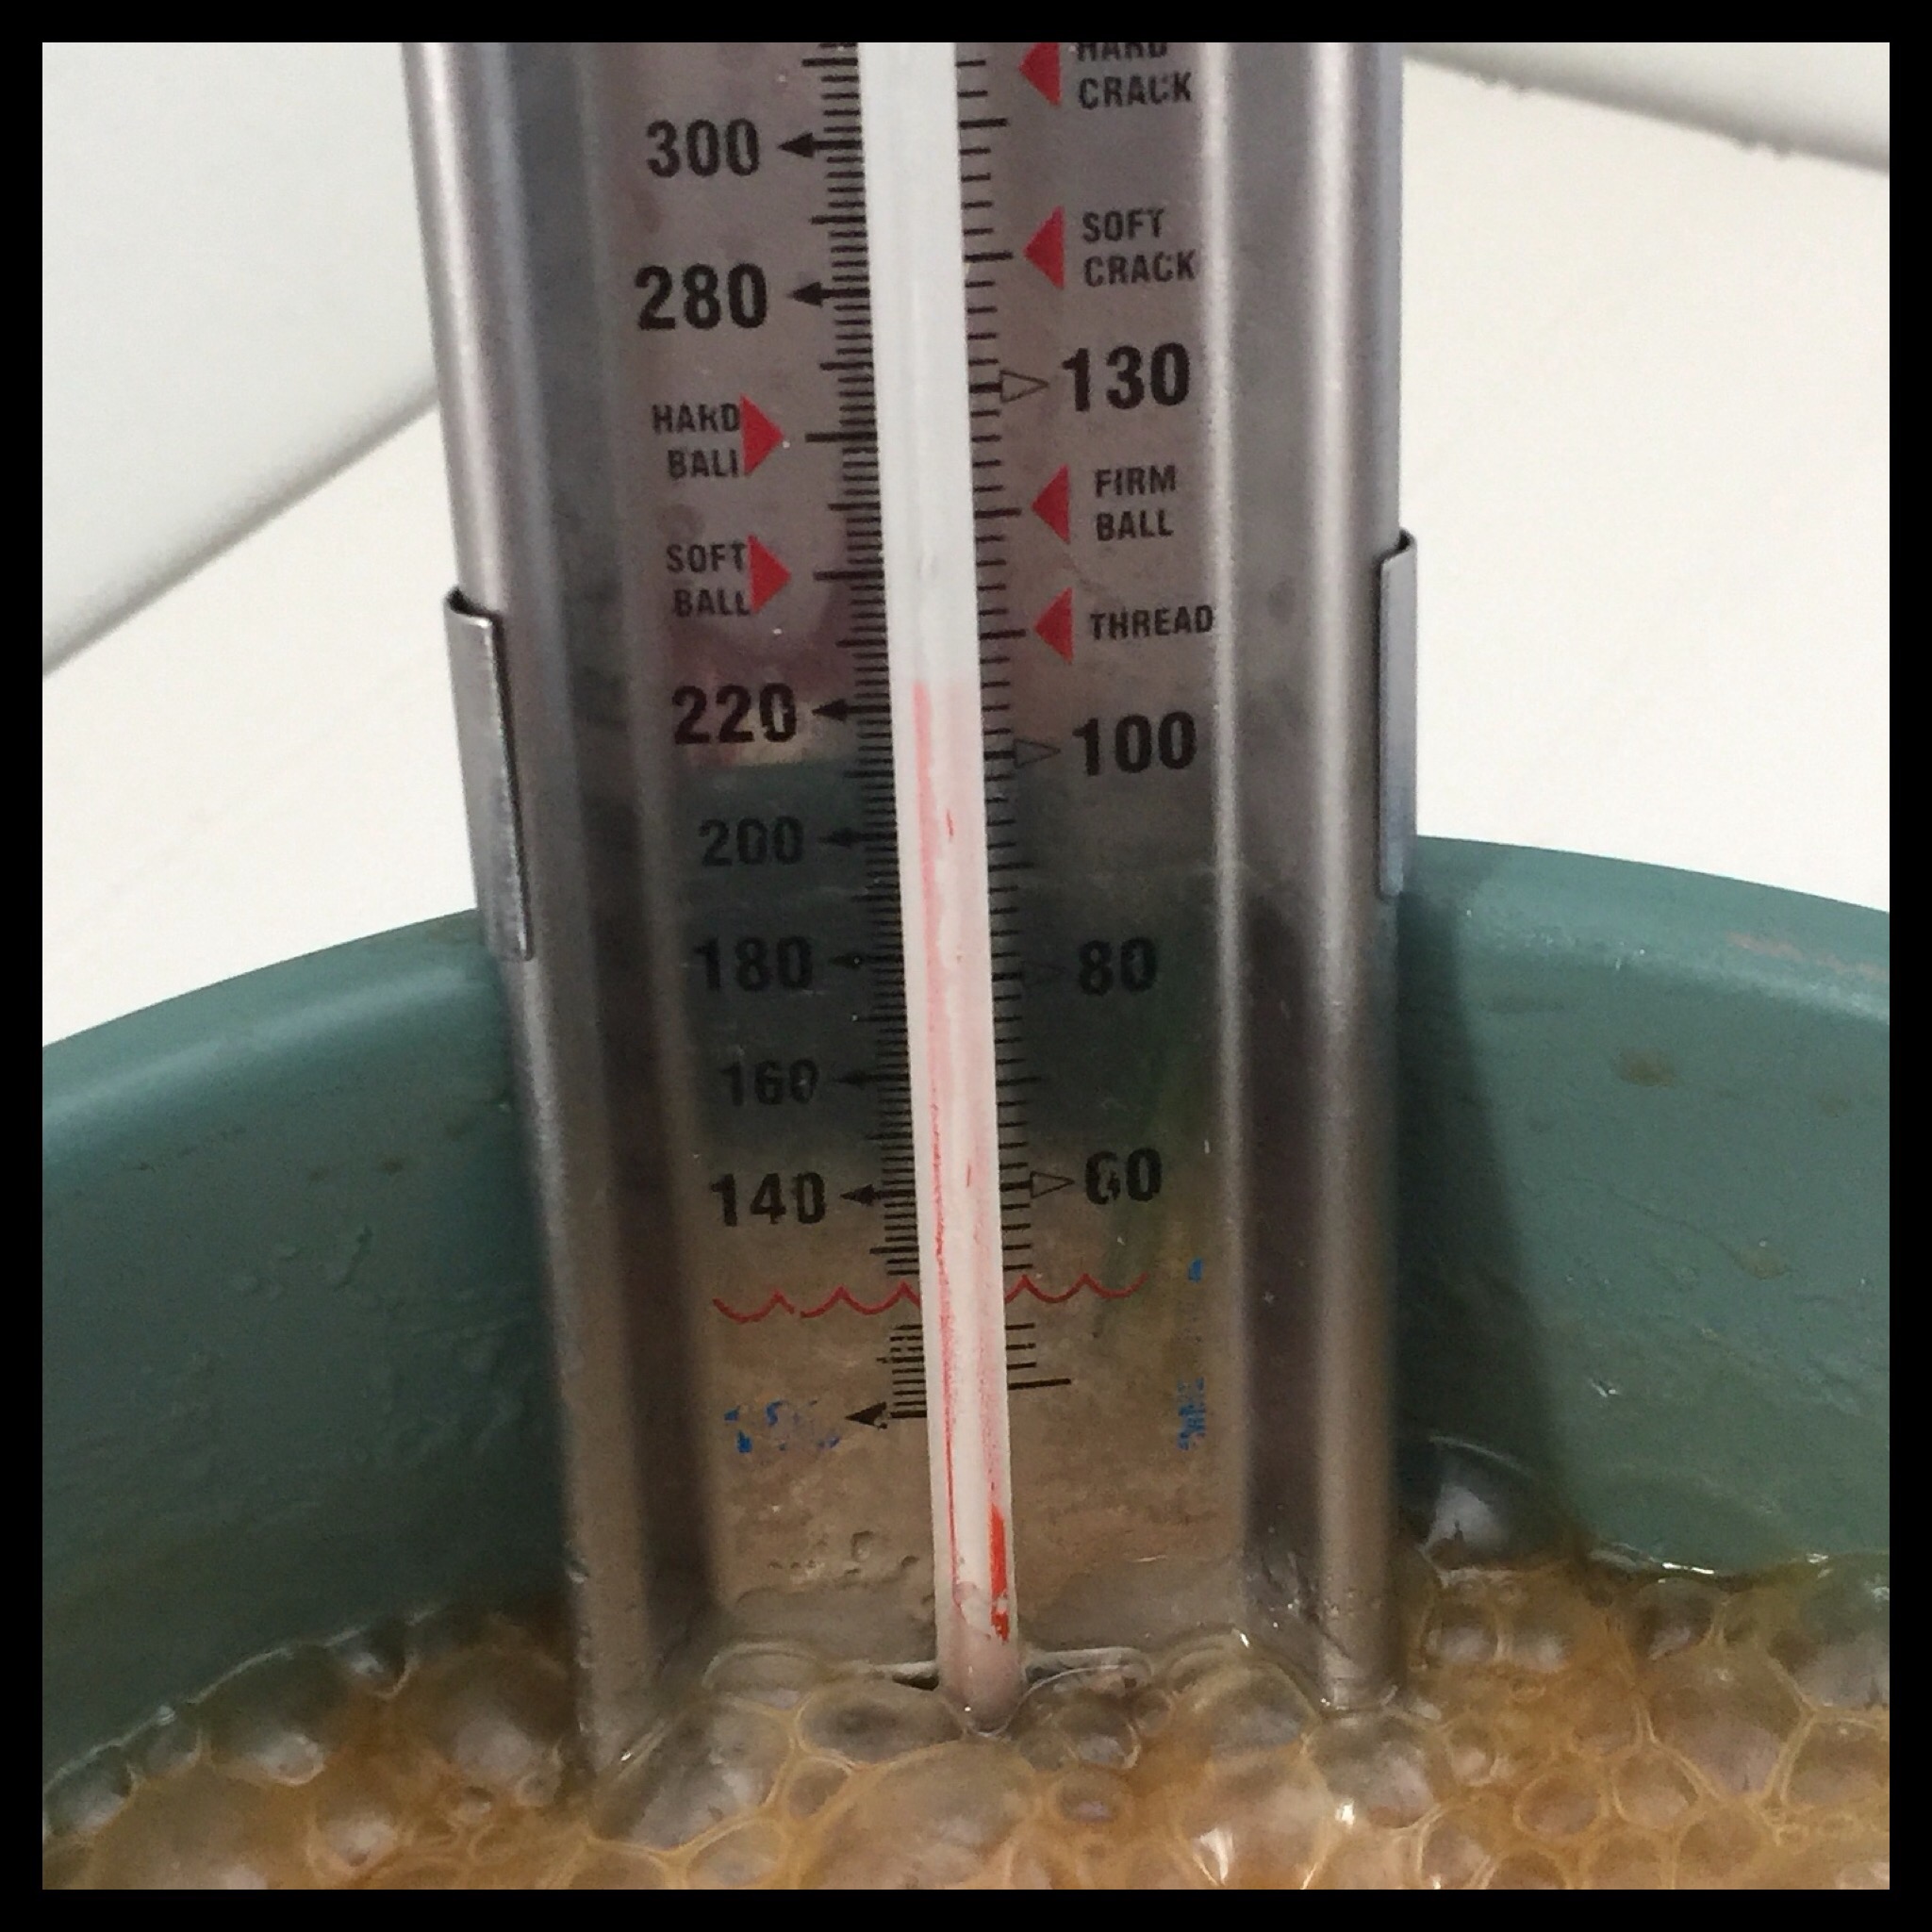
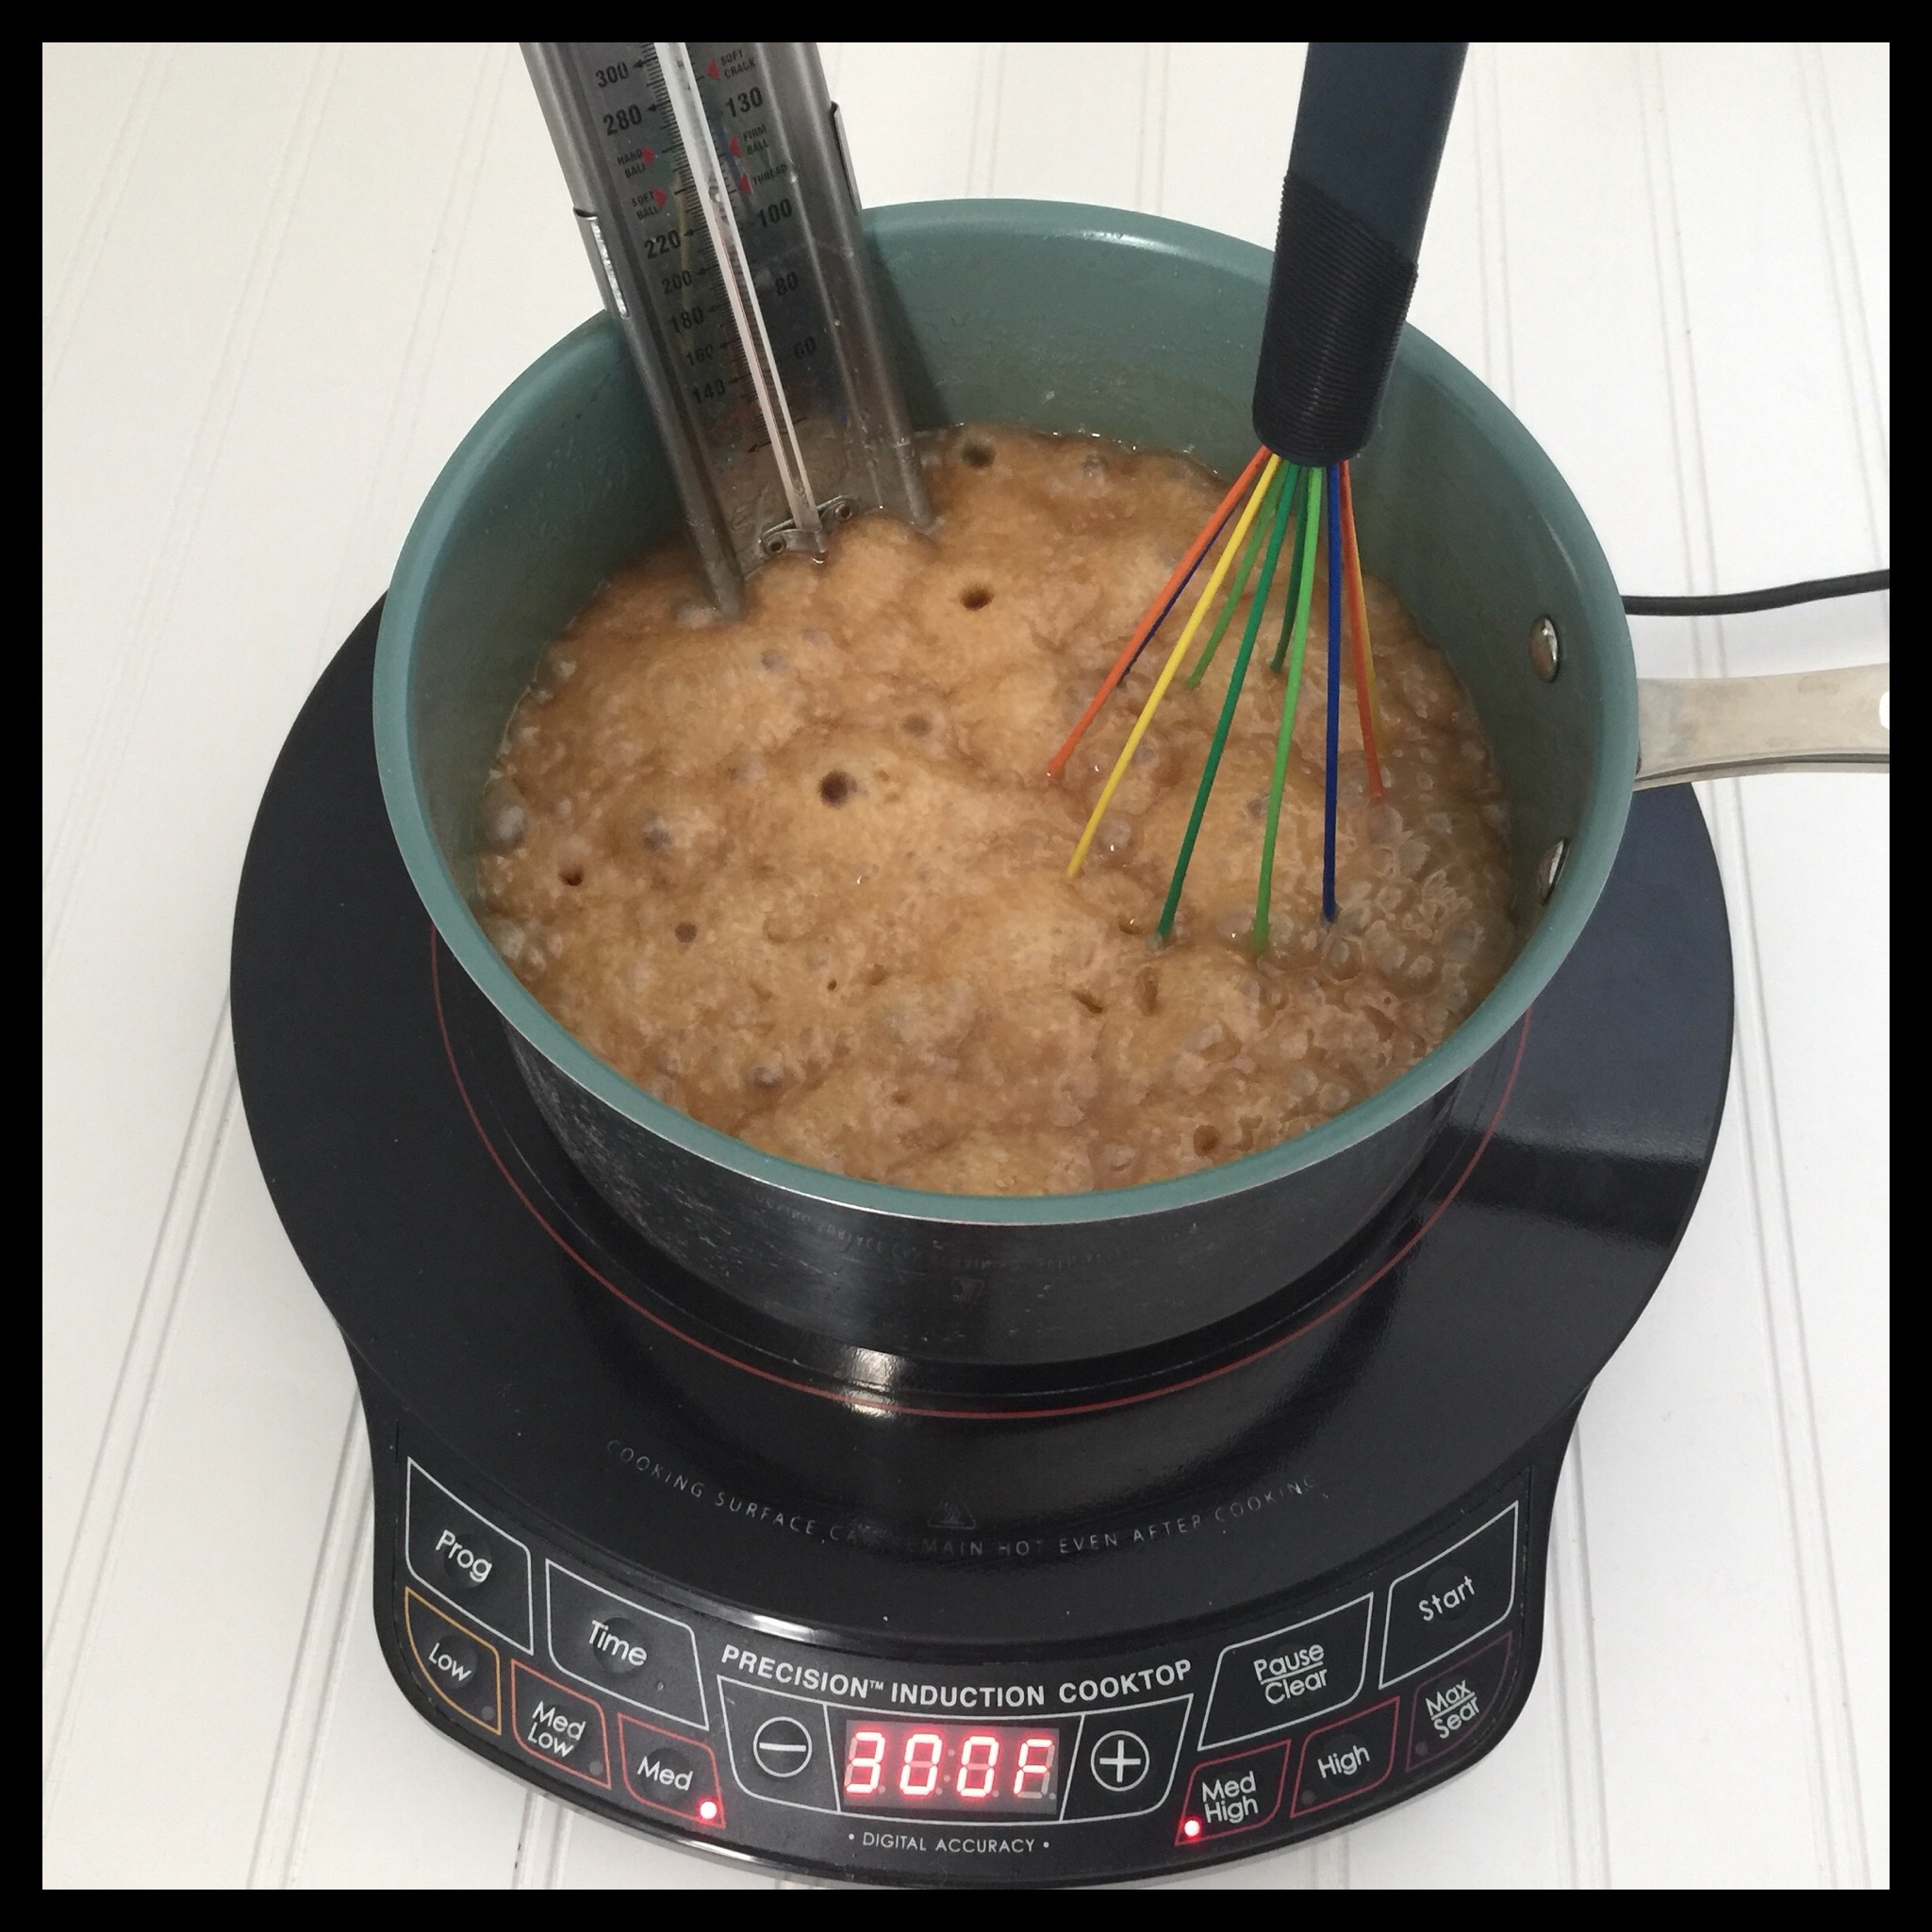
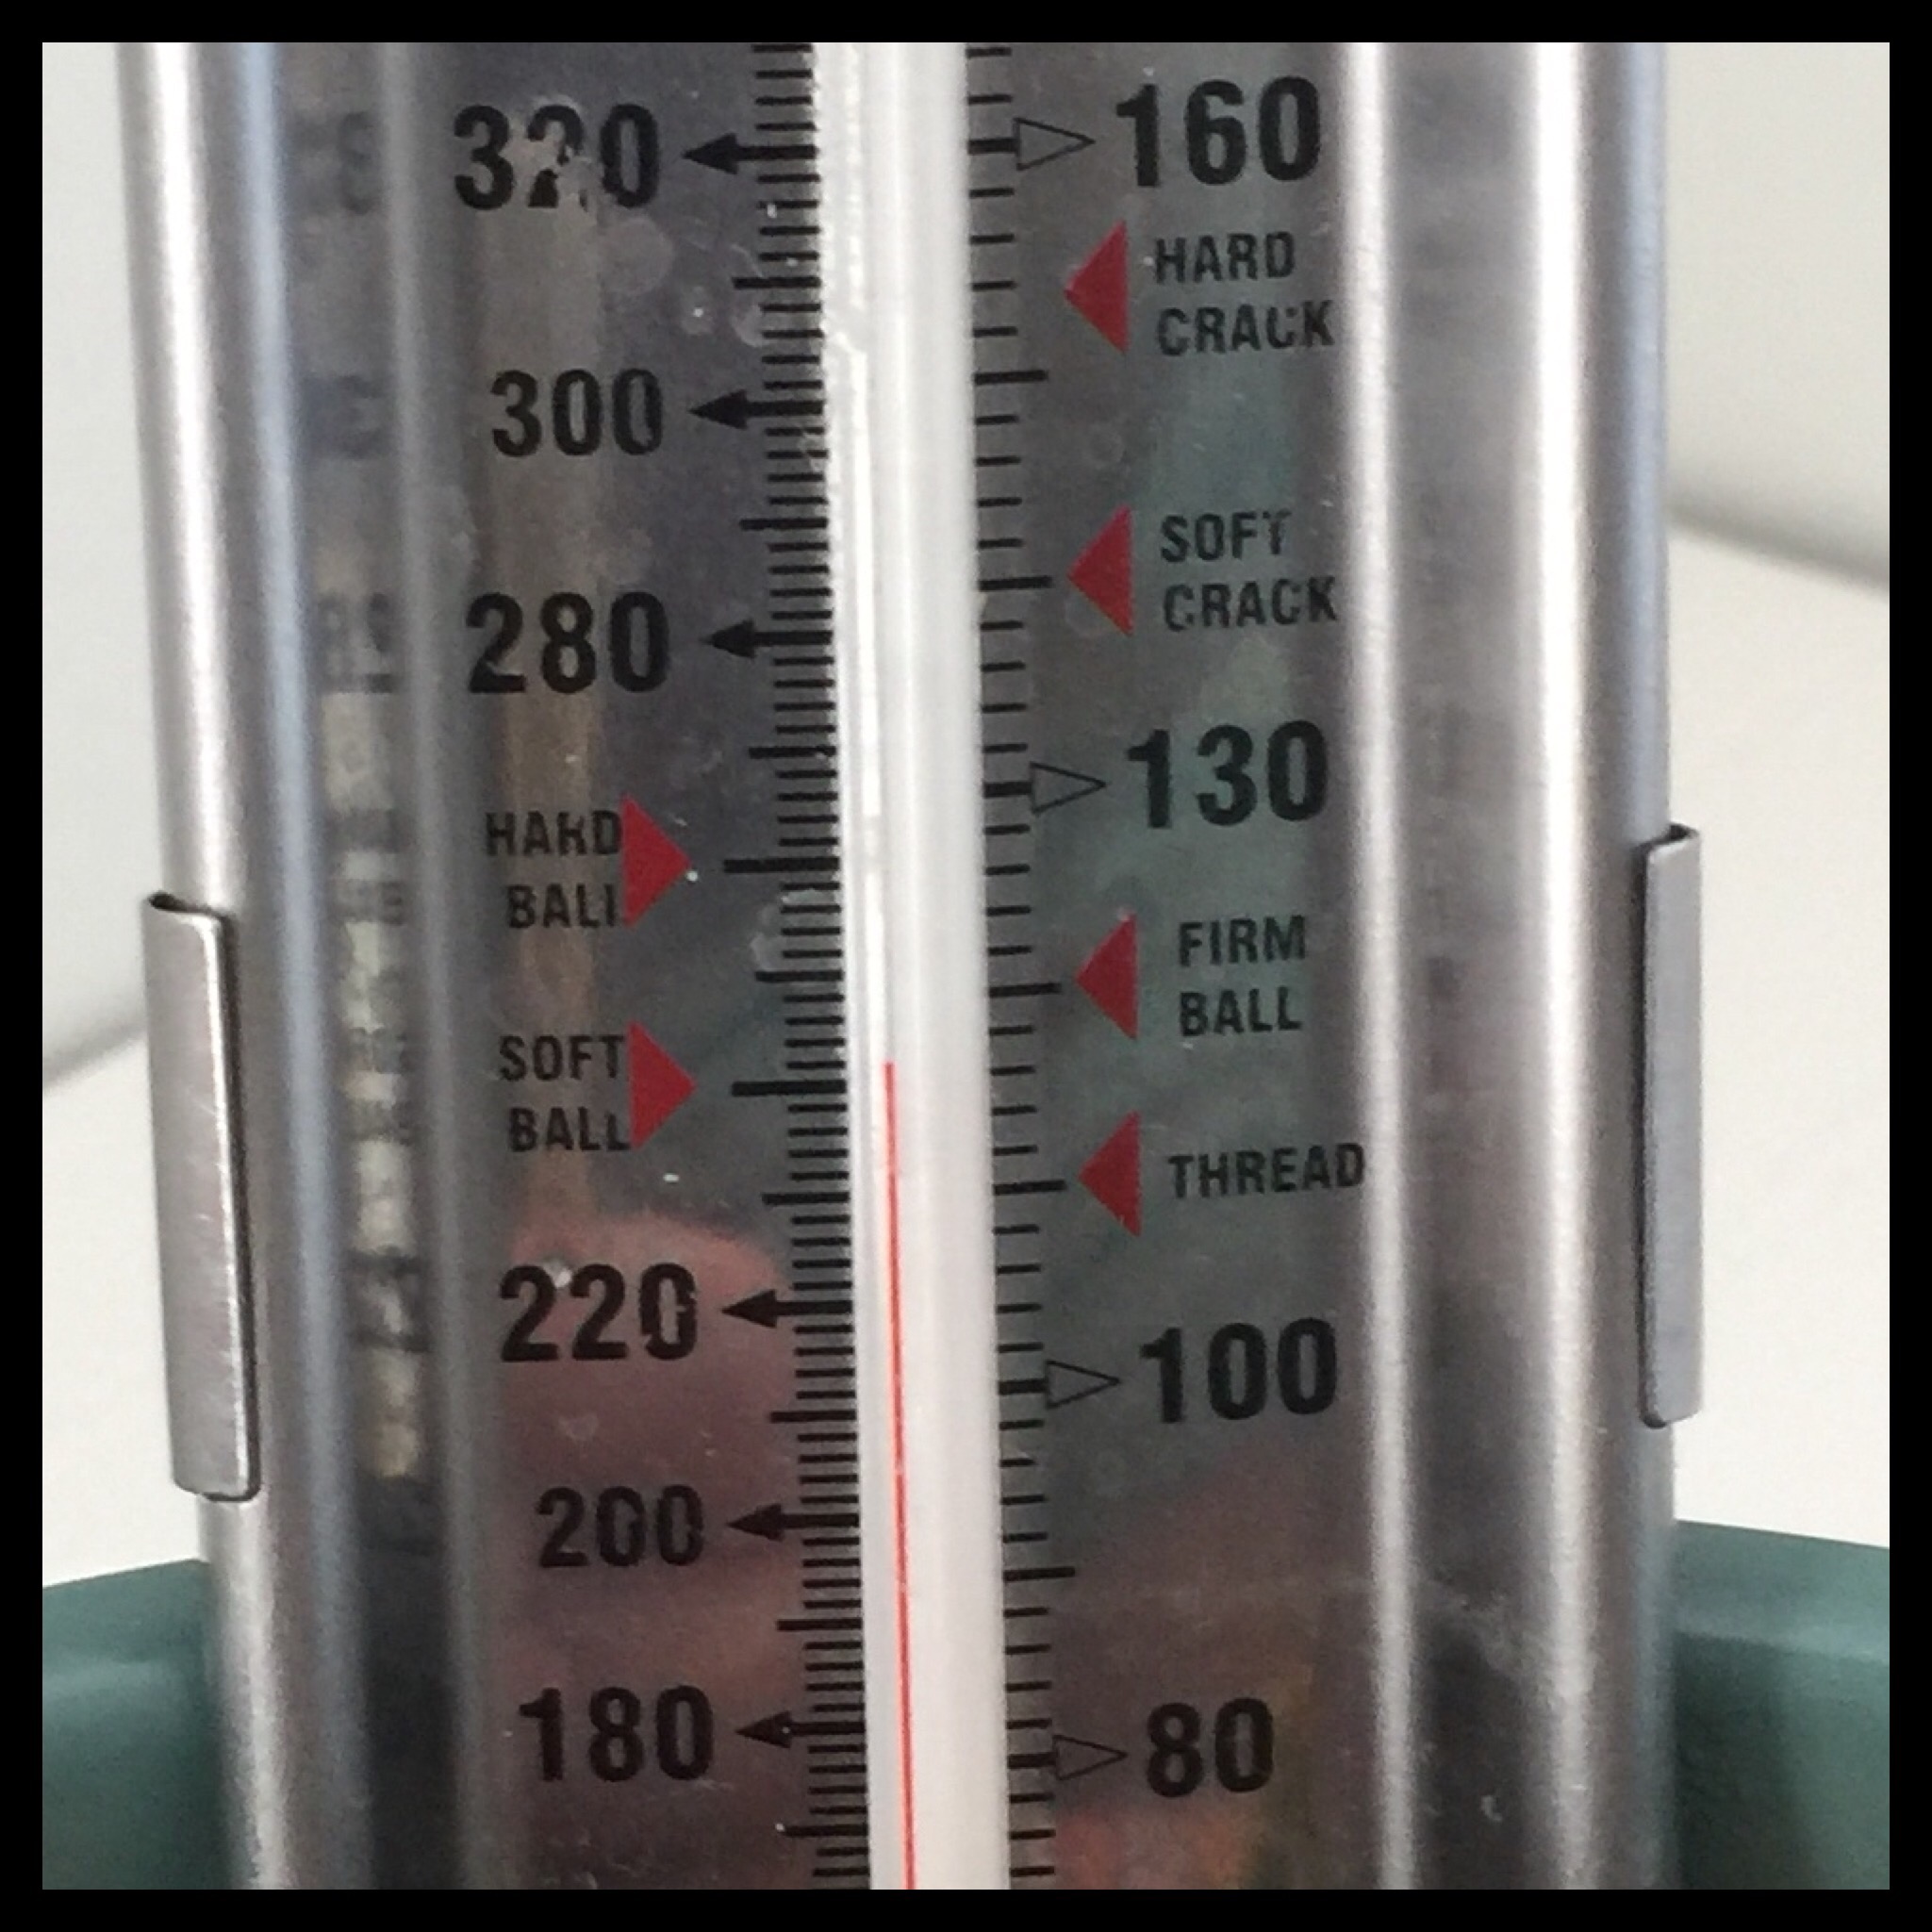
Clip your candy thermometer to the side of the pan. Continue to gradually raise the heat until you are at a little more than medium-high (300 degrees Fahrenheit on my induction cooktop). It takes 20 to 30 more minutes to do this.
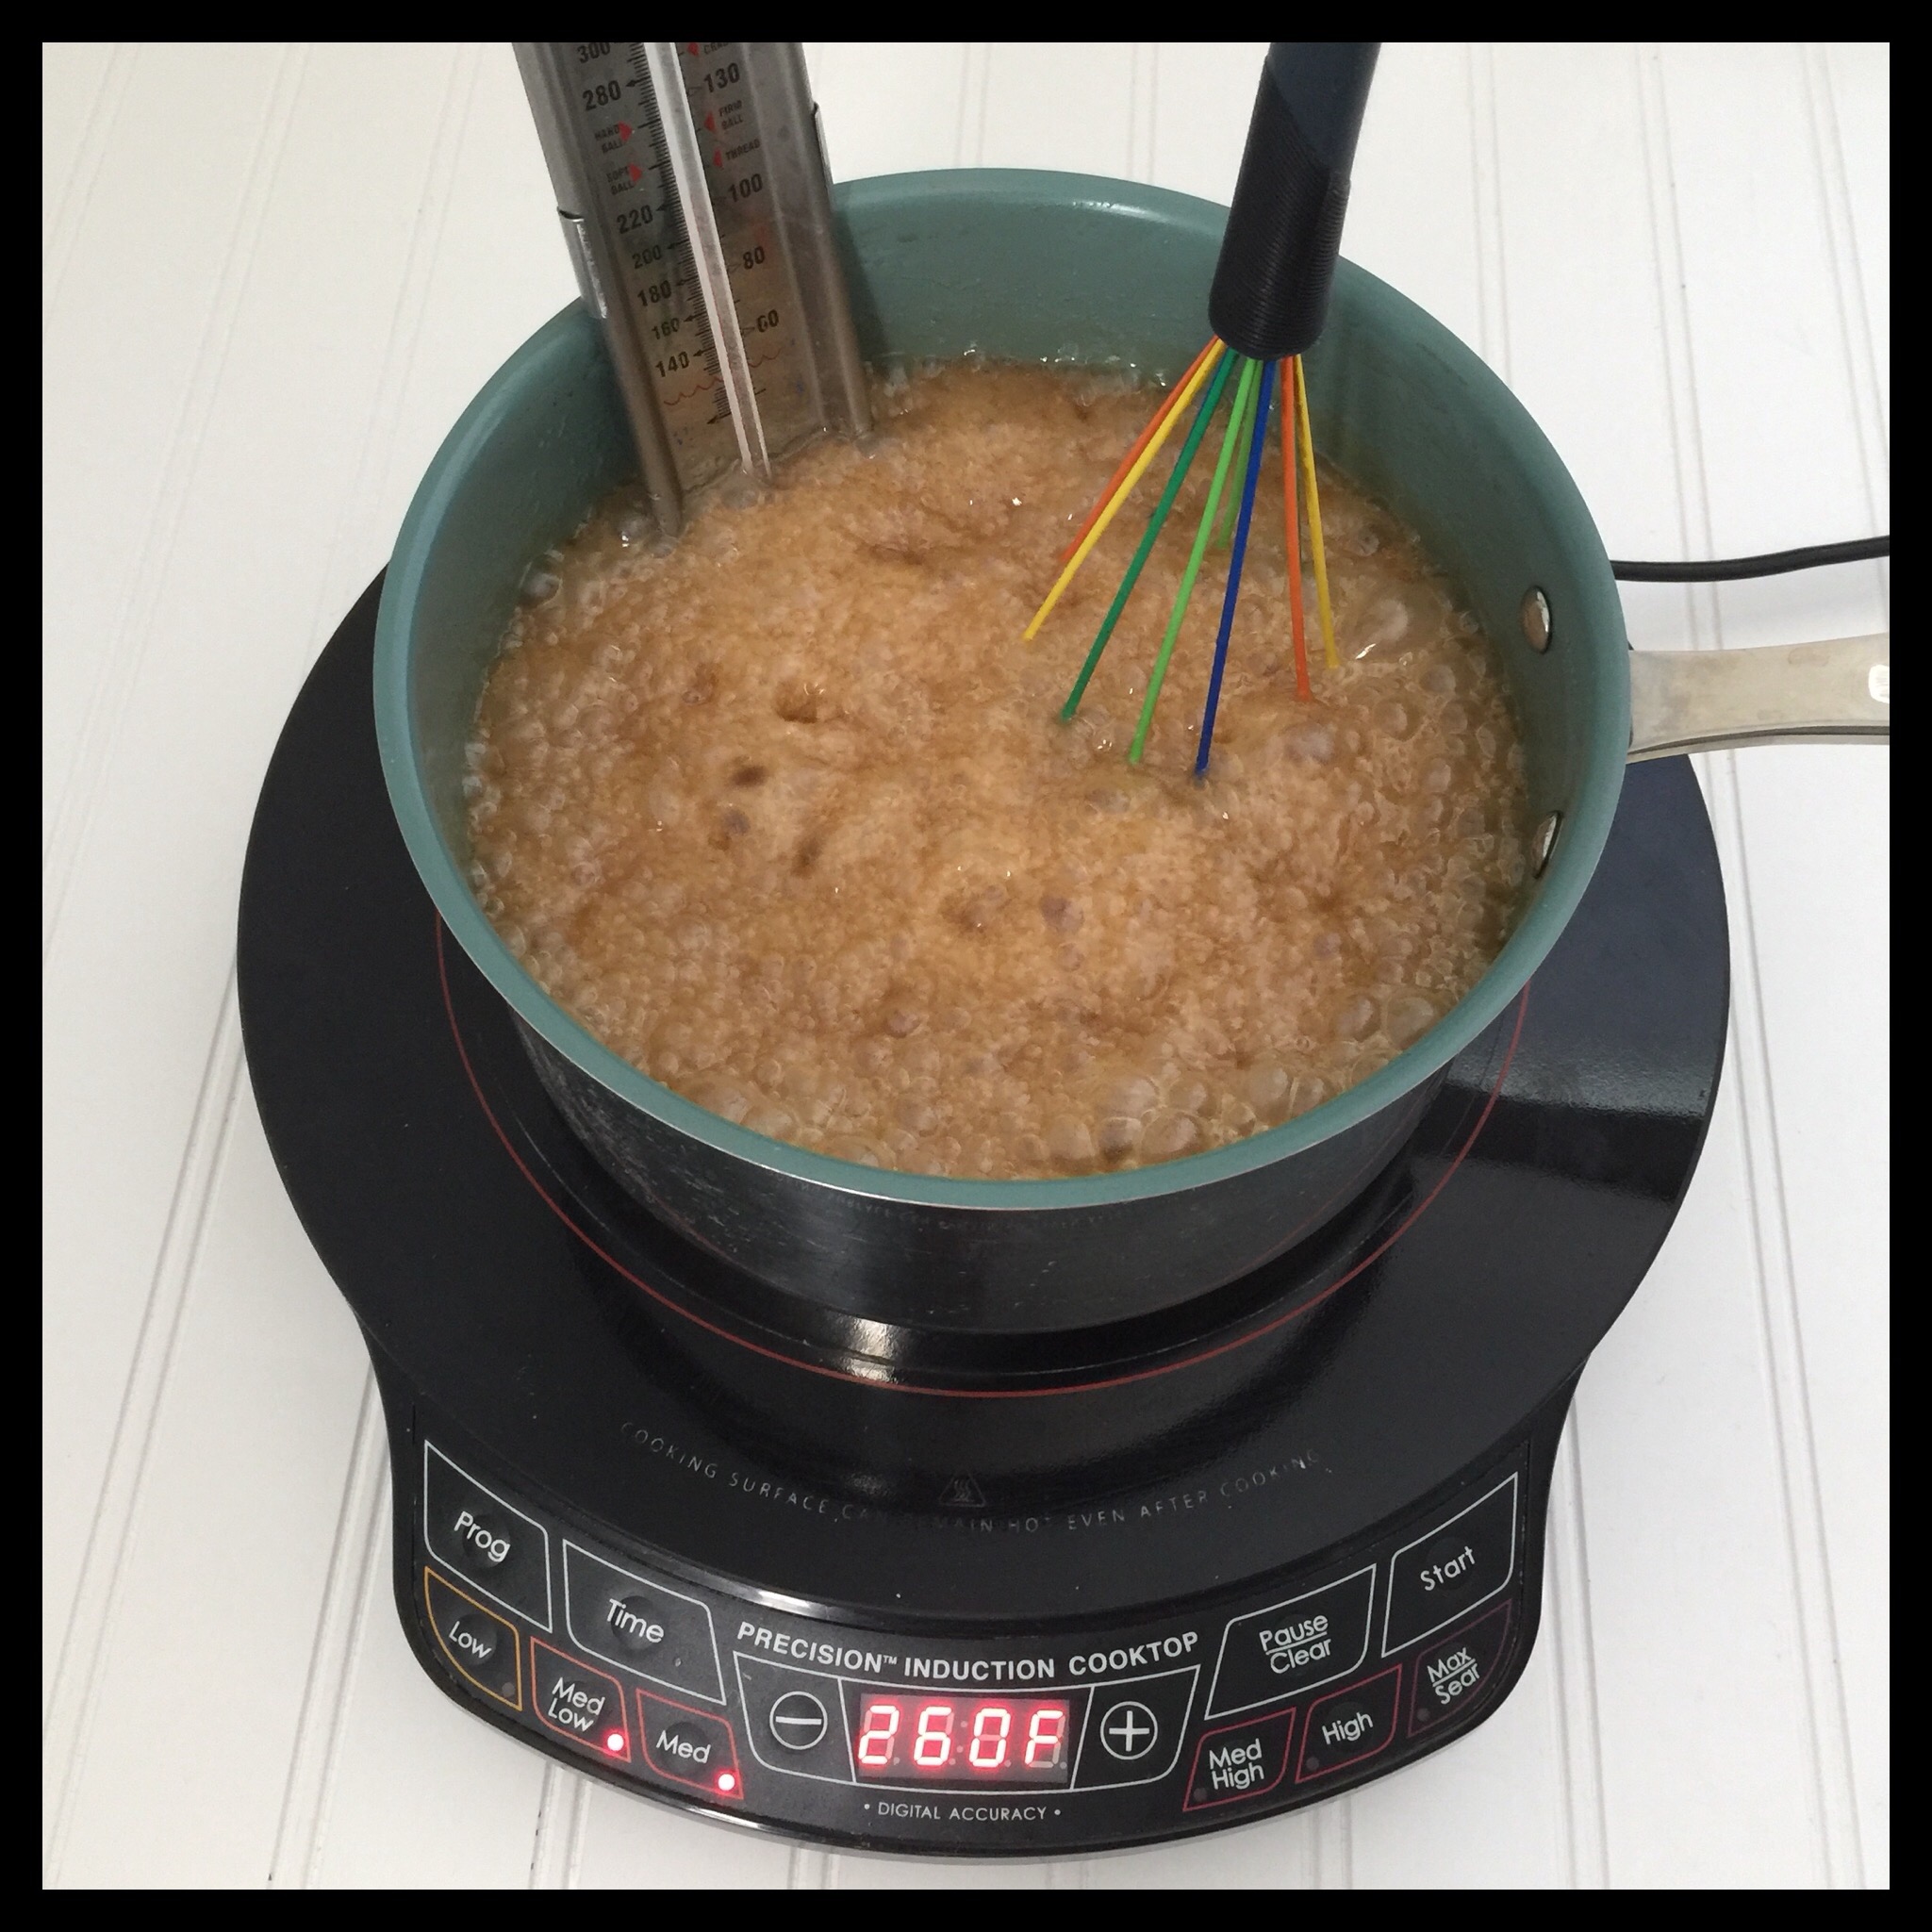
Keep an eye on the thermometer, but you will probably be stuck at 220 degrees Fahrenheit for awhile. Be patient and keep whisking!
You can stop whisking long enough to wash your spatula and get set up for the final step:
The caramel will start to get darker and thicker as you raise the temperature.
When the caramel reaches 230 degrees Fahrenheit, you will need to start watching the thermometer closely.

The caramel is nearly done here:
Be sure to read your thermometer at eye level as it gets close to the target temperature. For very soft caramels that won’t quite hold their shape at room temperature, this is 242 degrees Fahrenheit. For soft caramels that will just hold their shape, this is 244 degrees, and you want 246 degrees for quite firm caramels. There is not a lot of difference in these temperatures so watch the thermometer very closely!
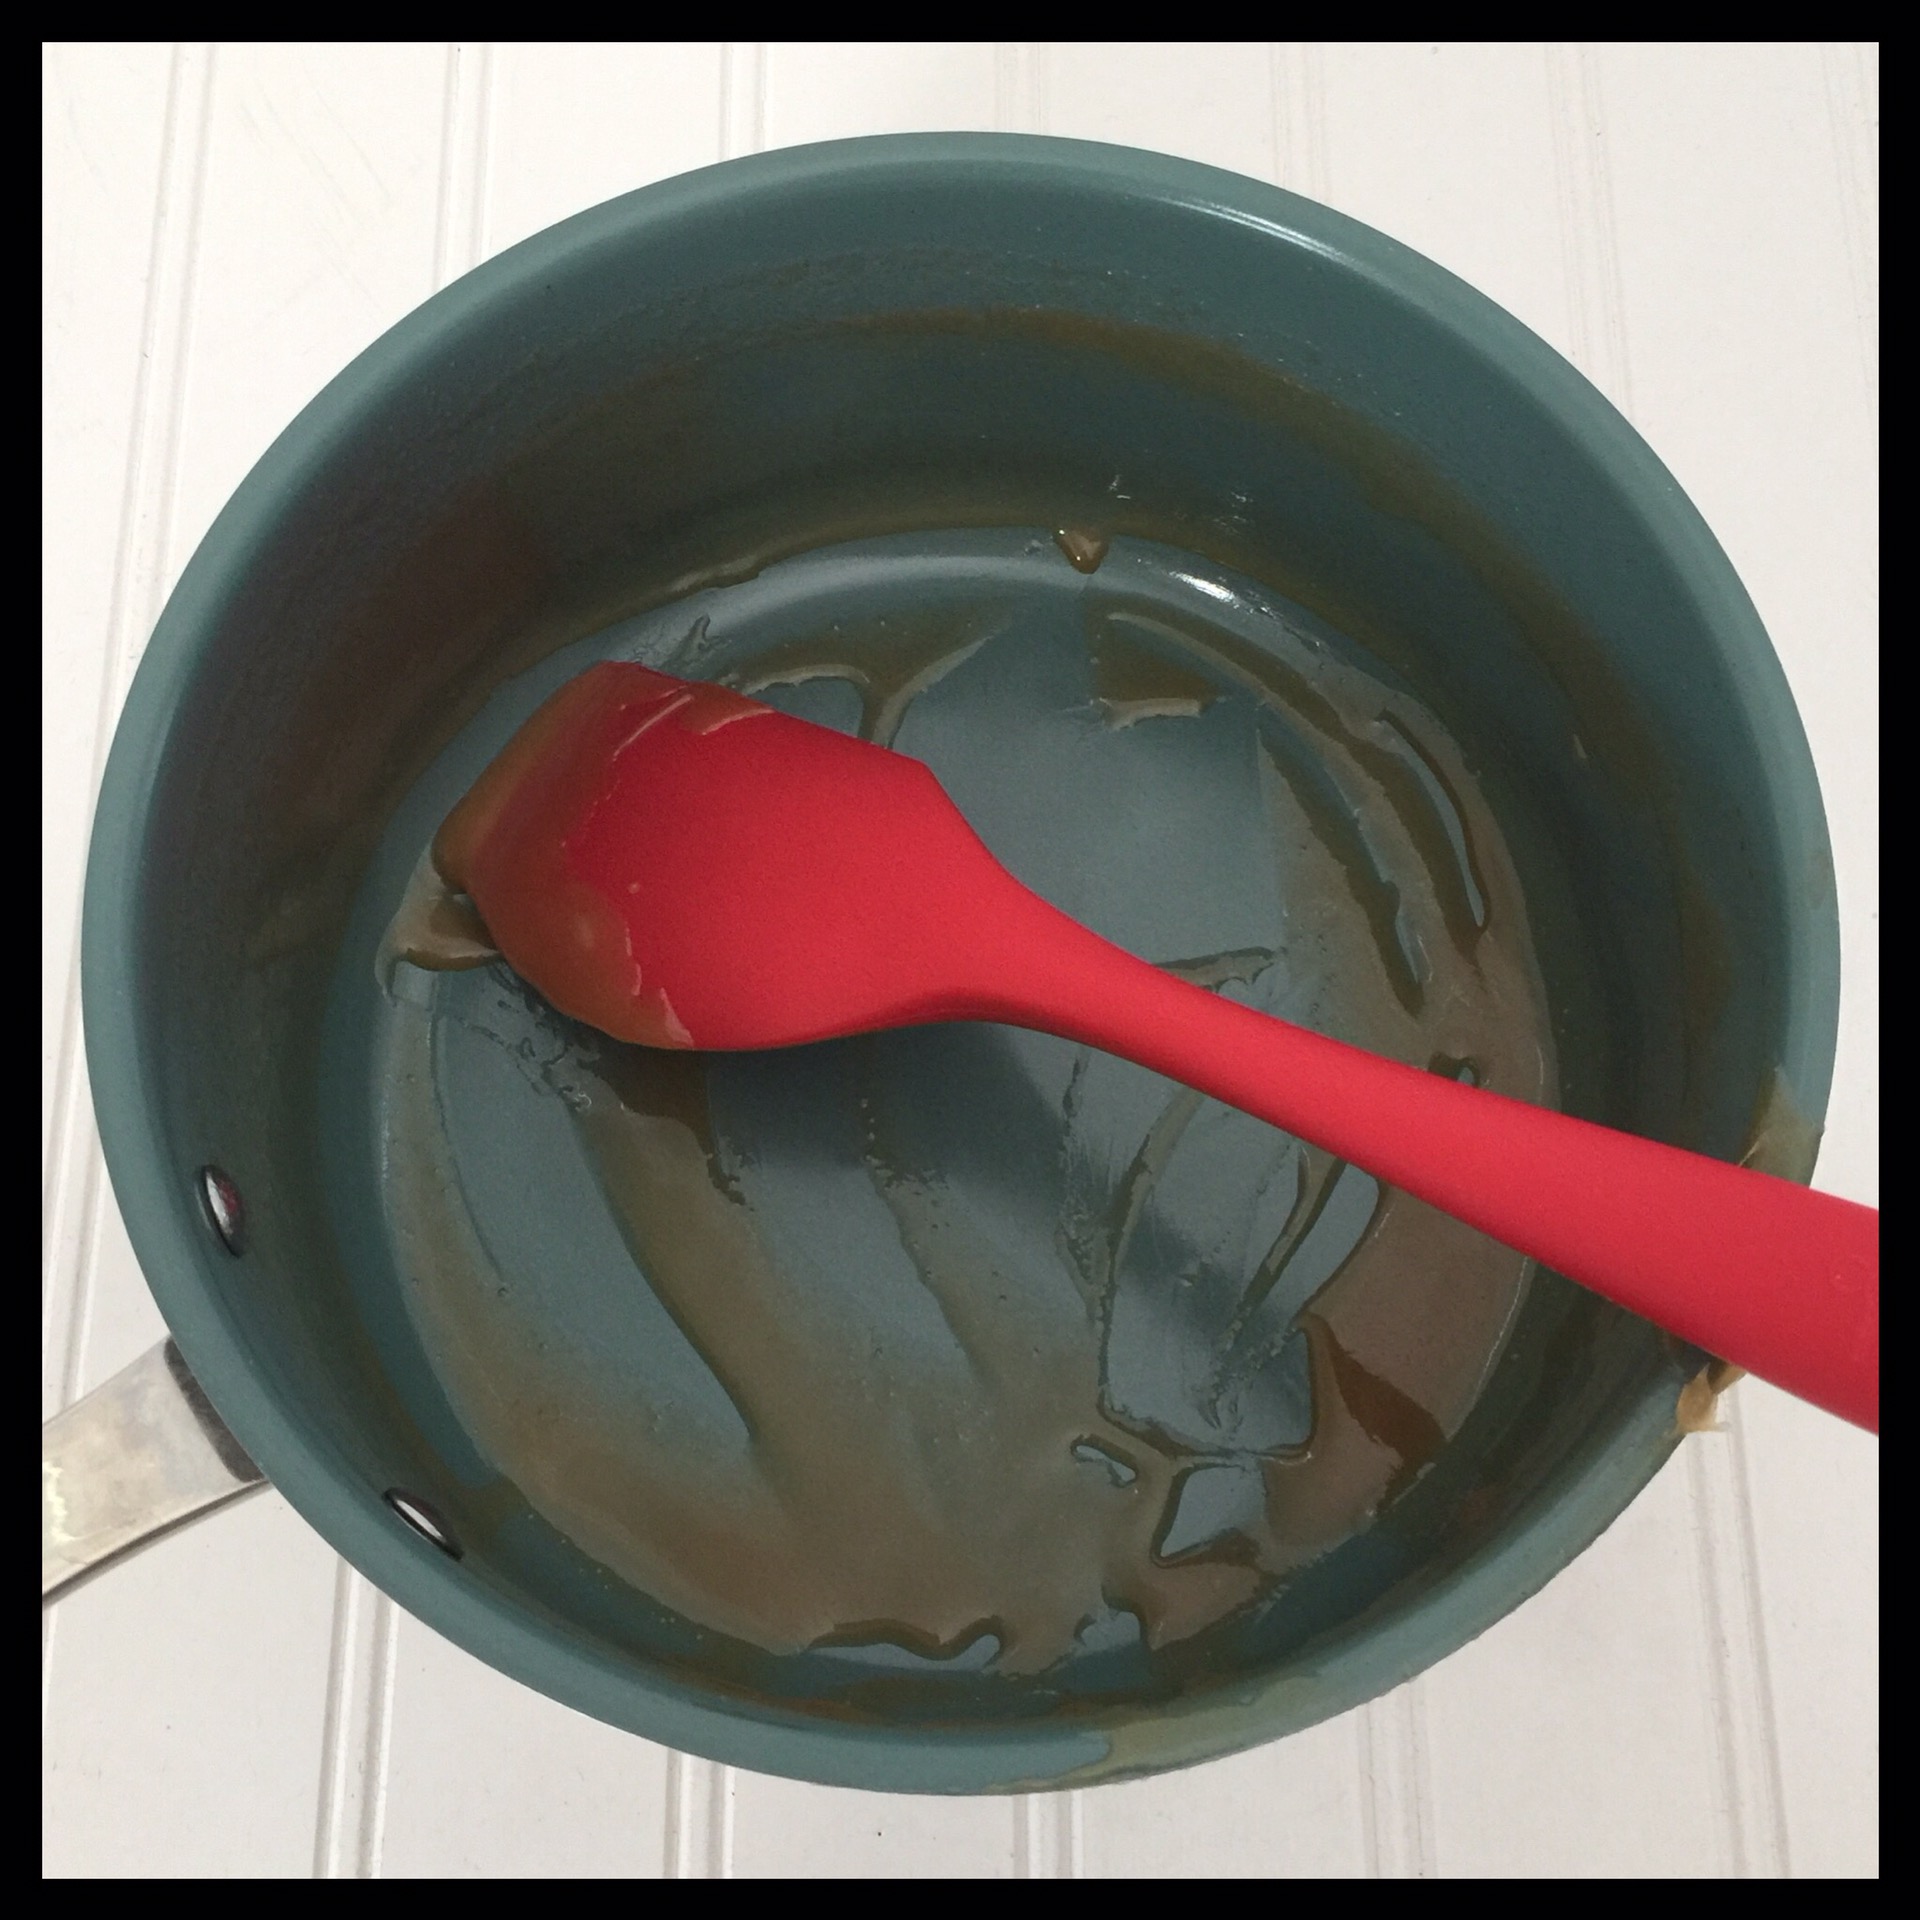
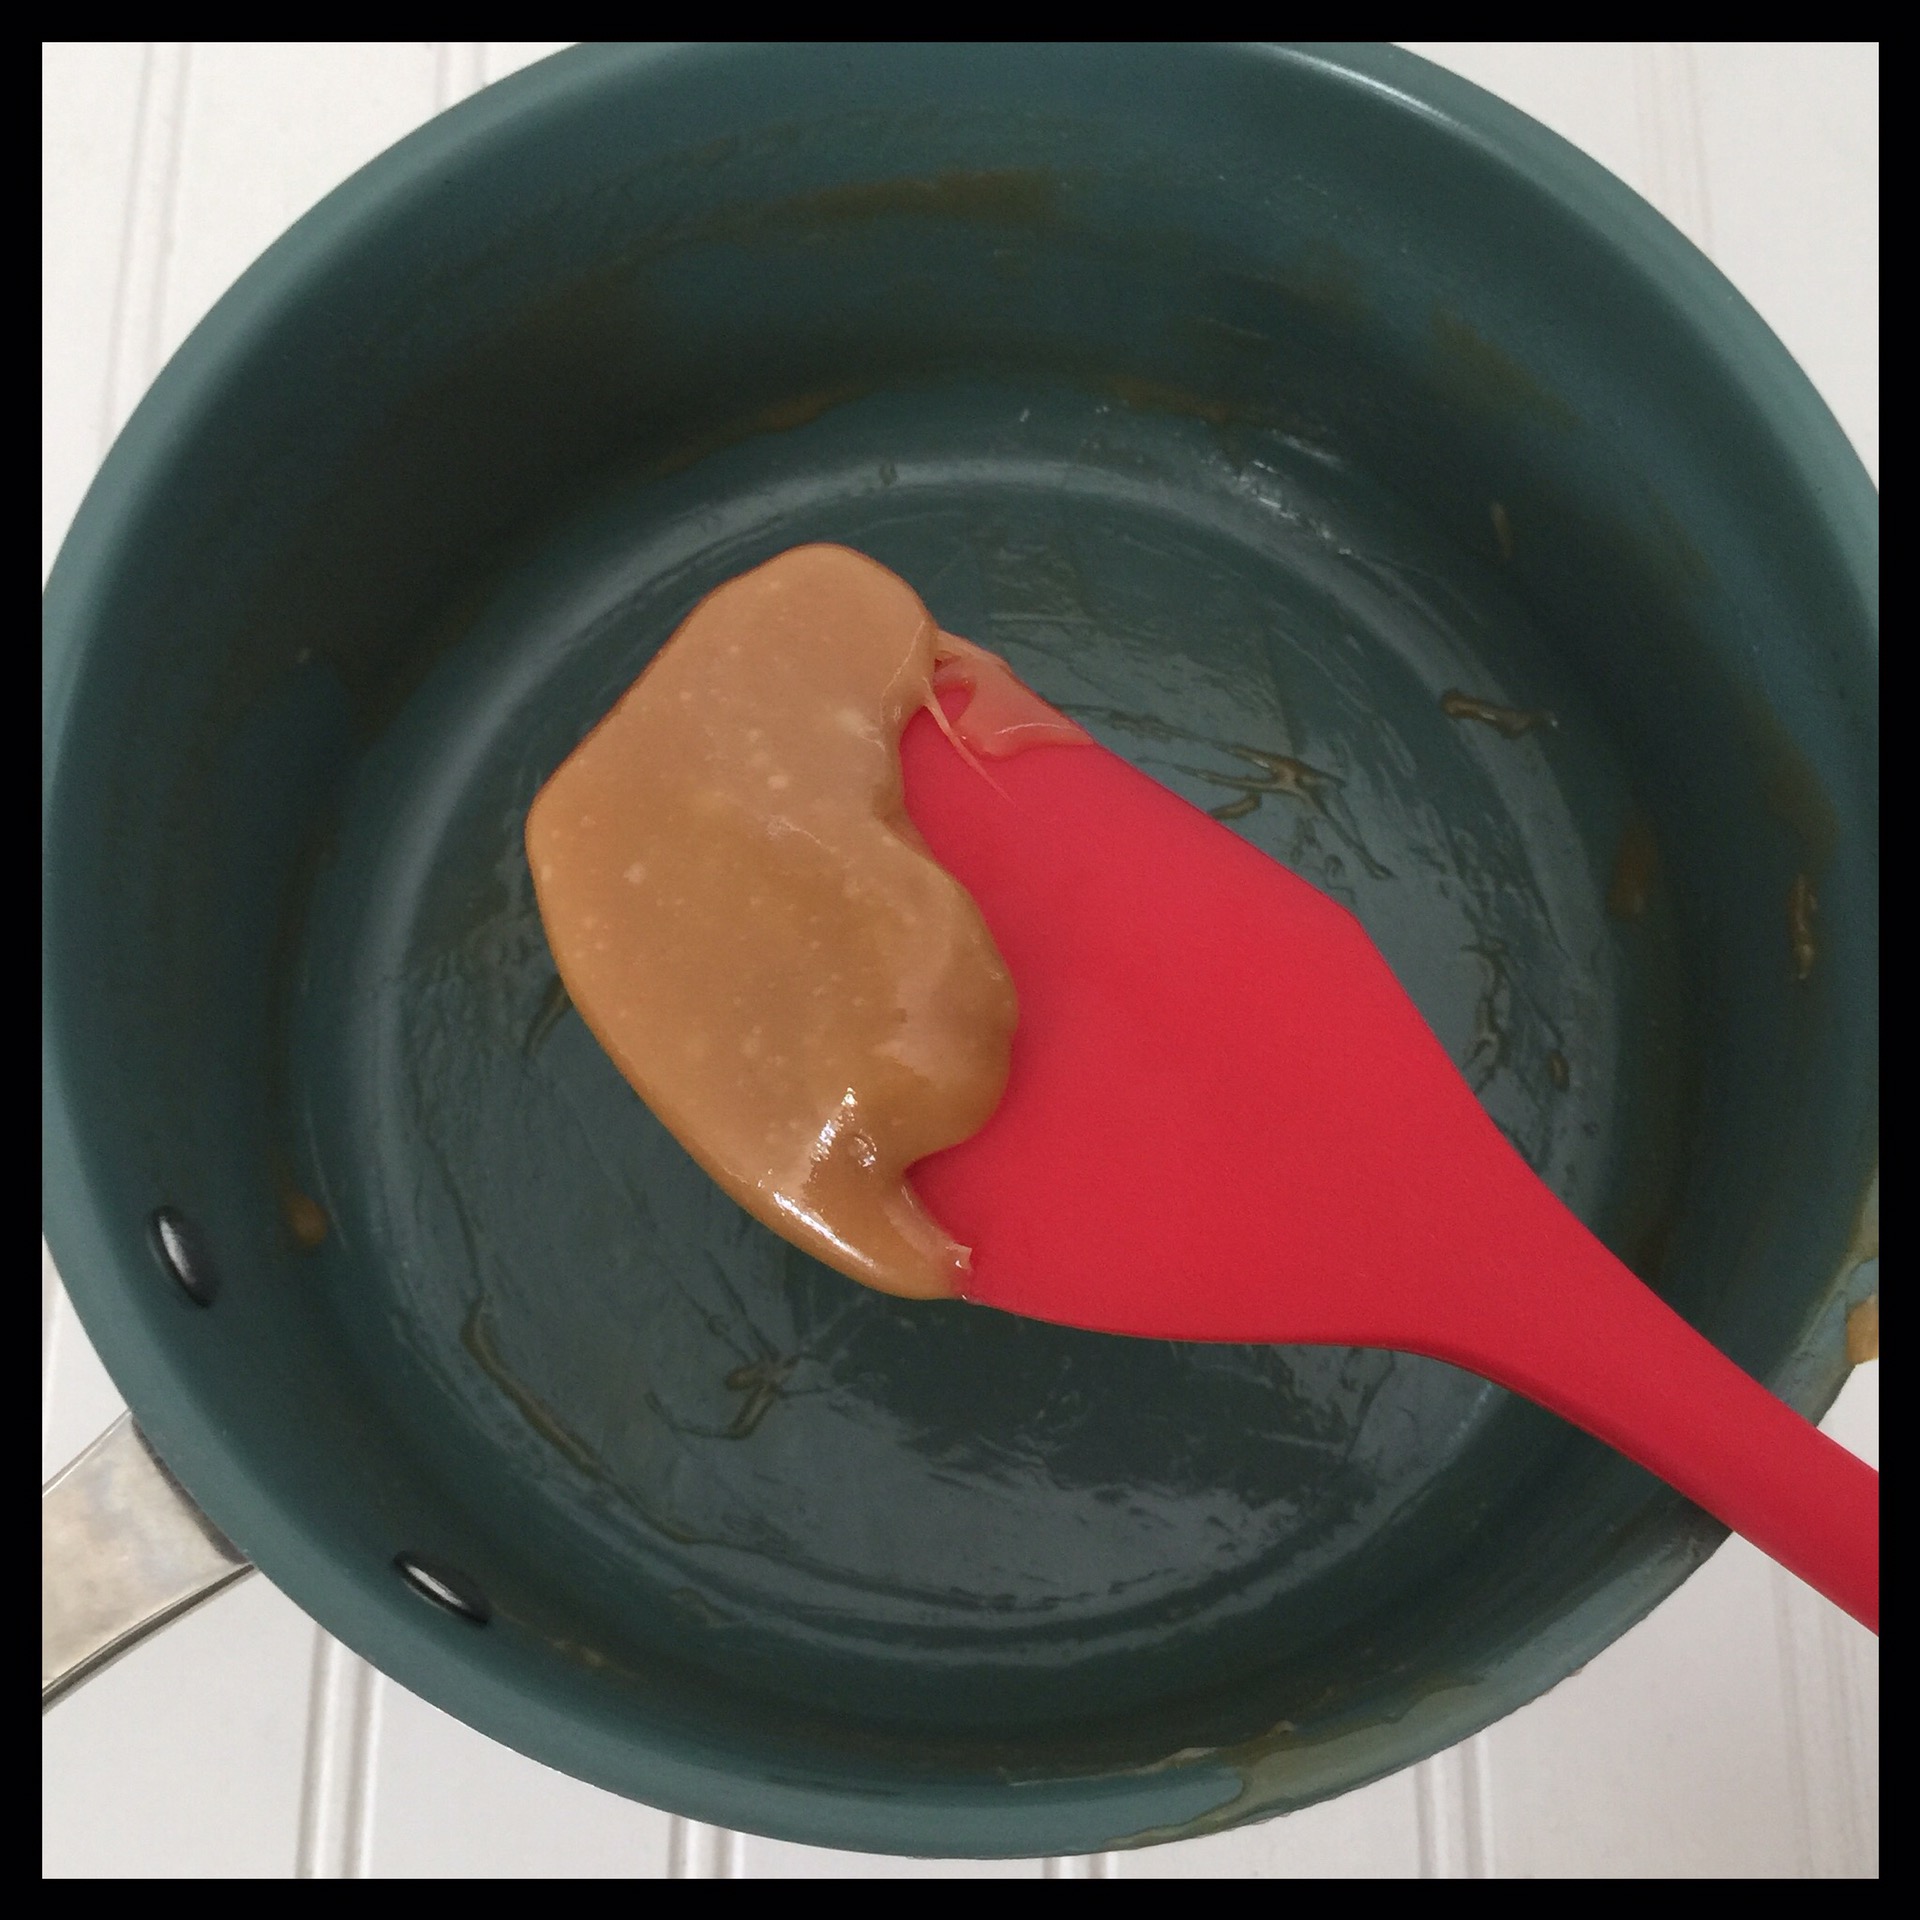
Once your caramel reaches your target temperature, remove the pot from the heat and quickly whisk in the salt and vegan butter:

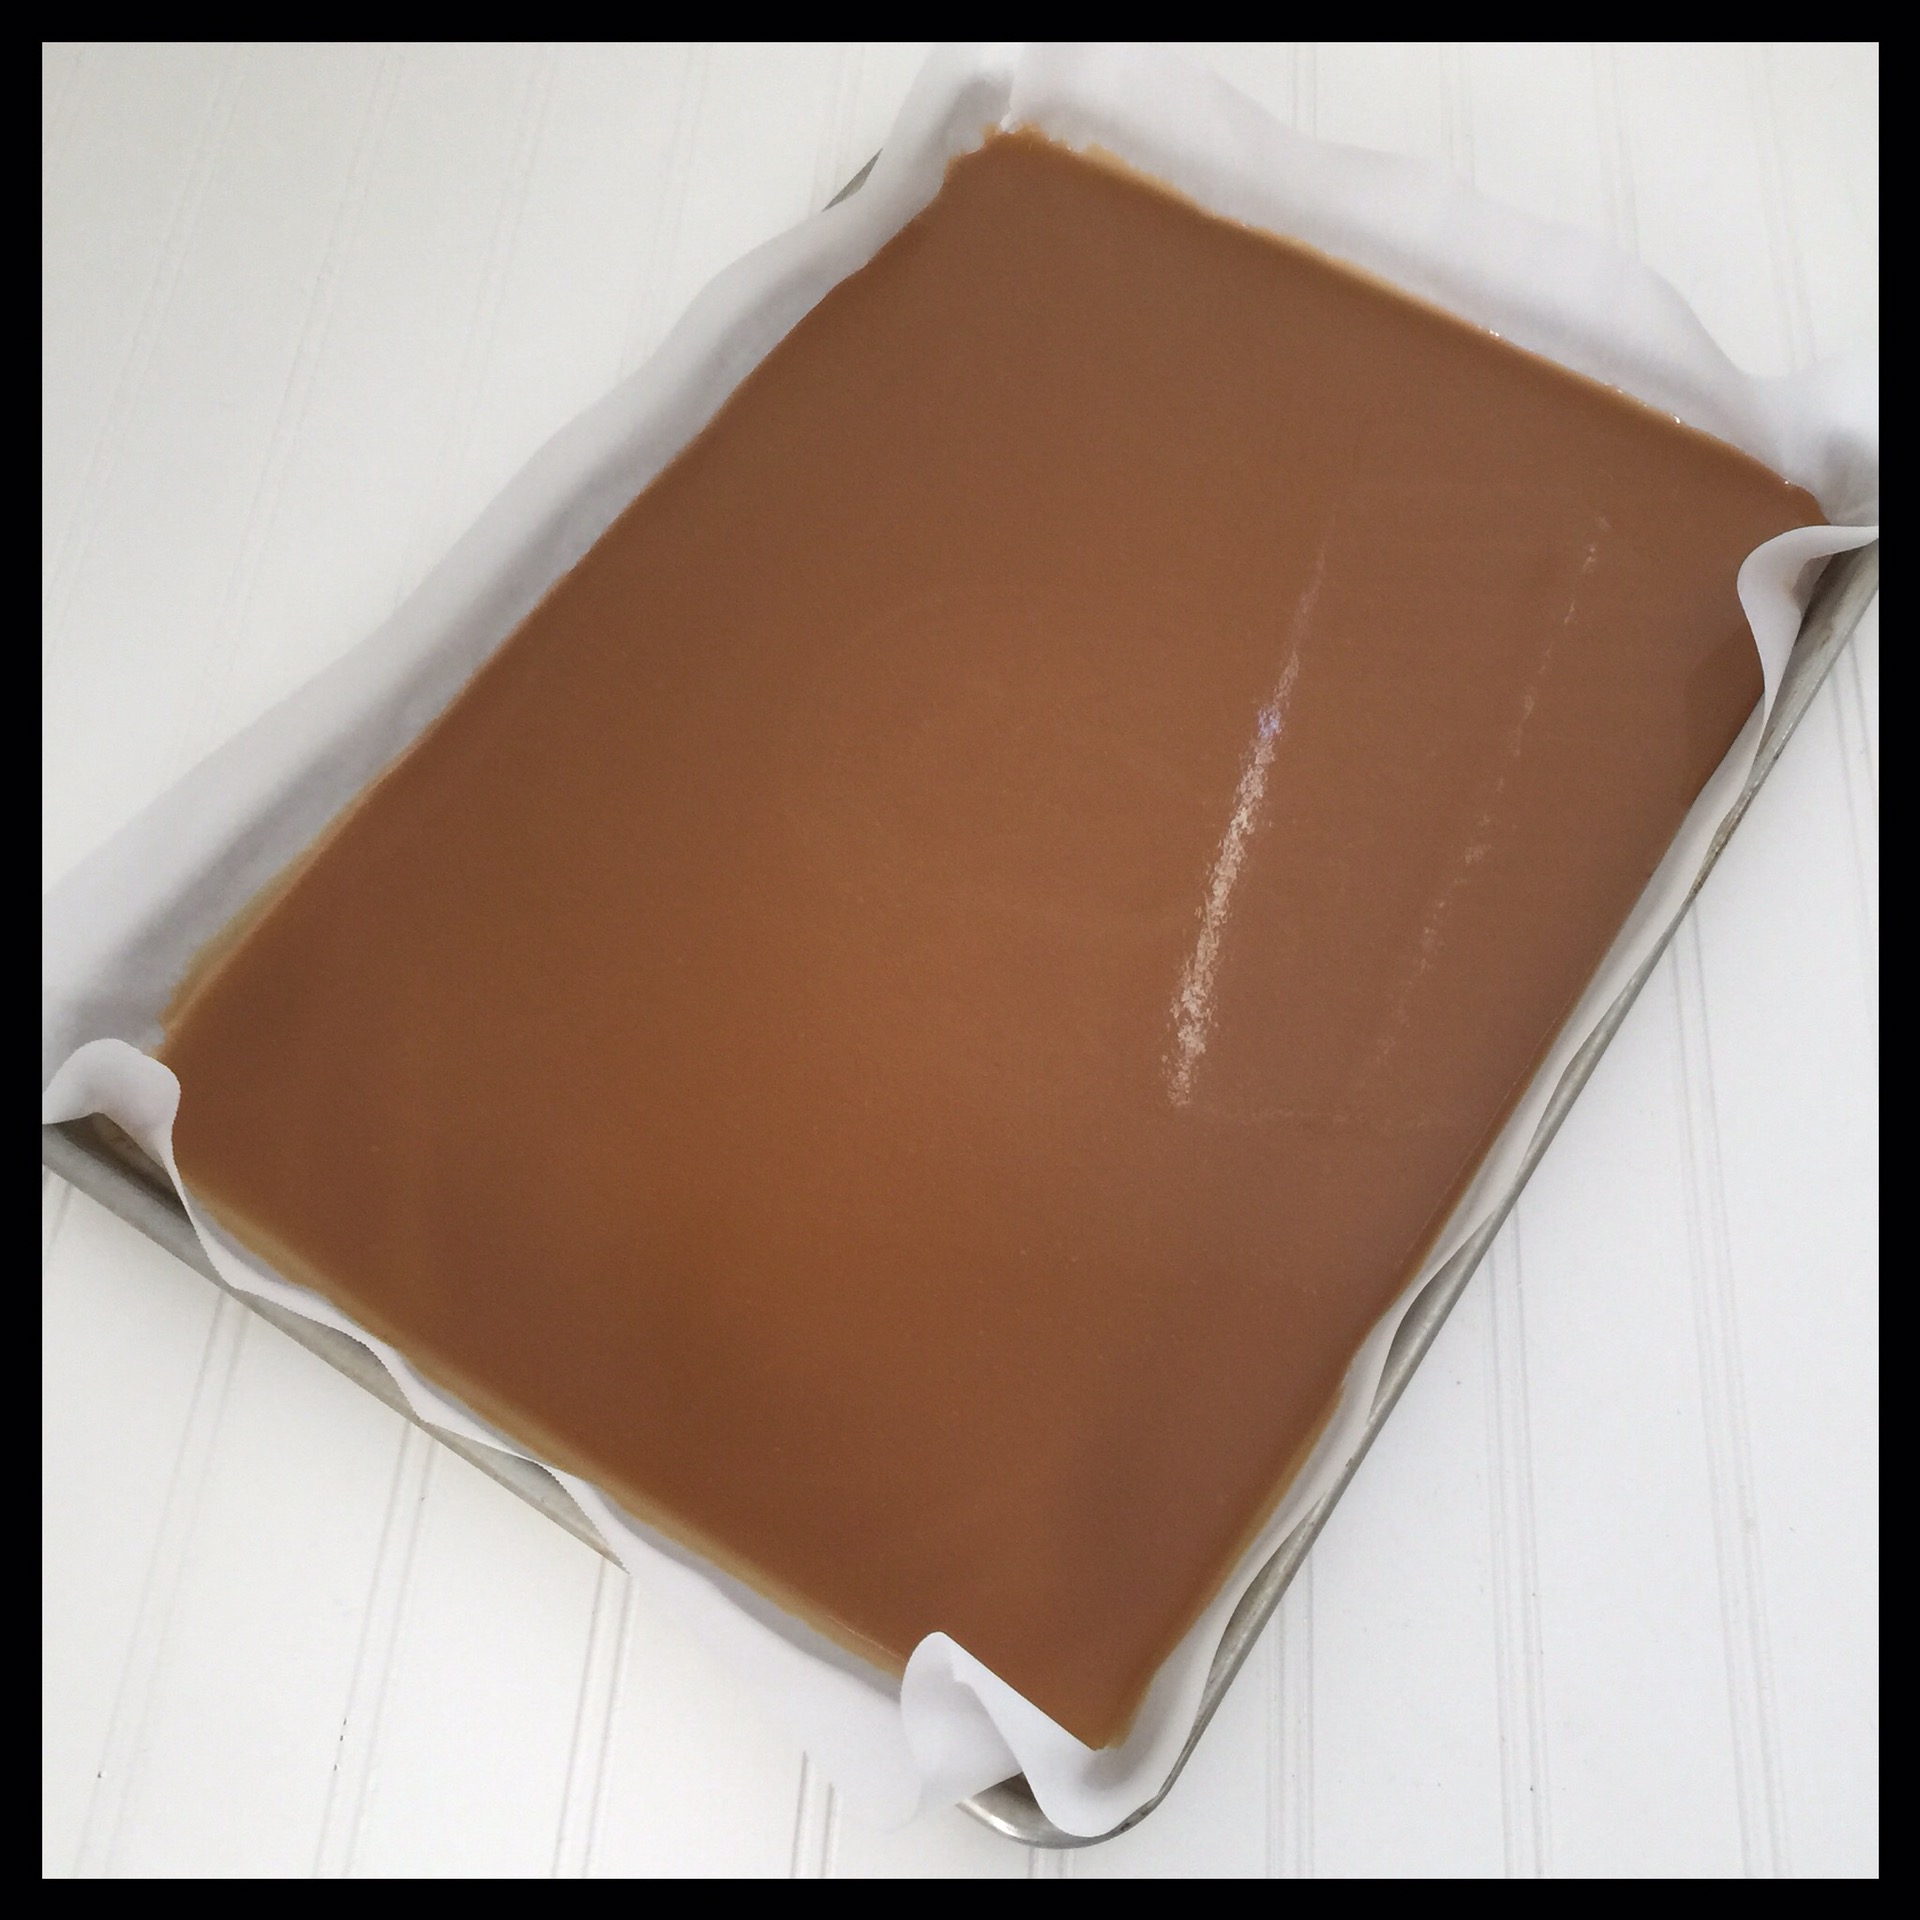
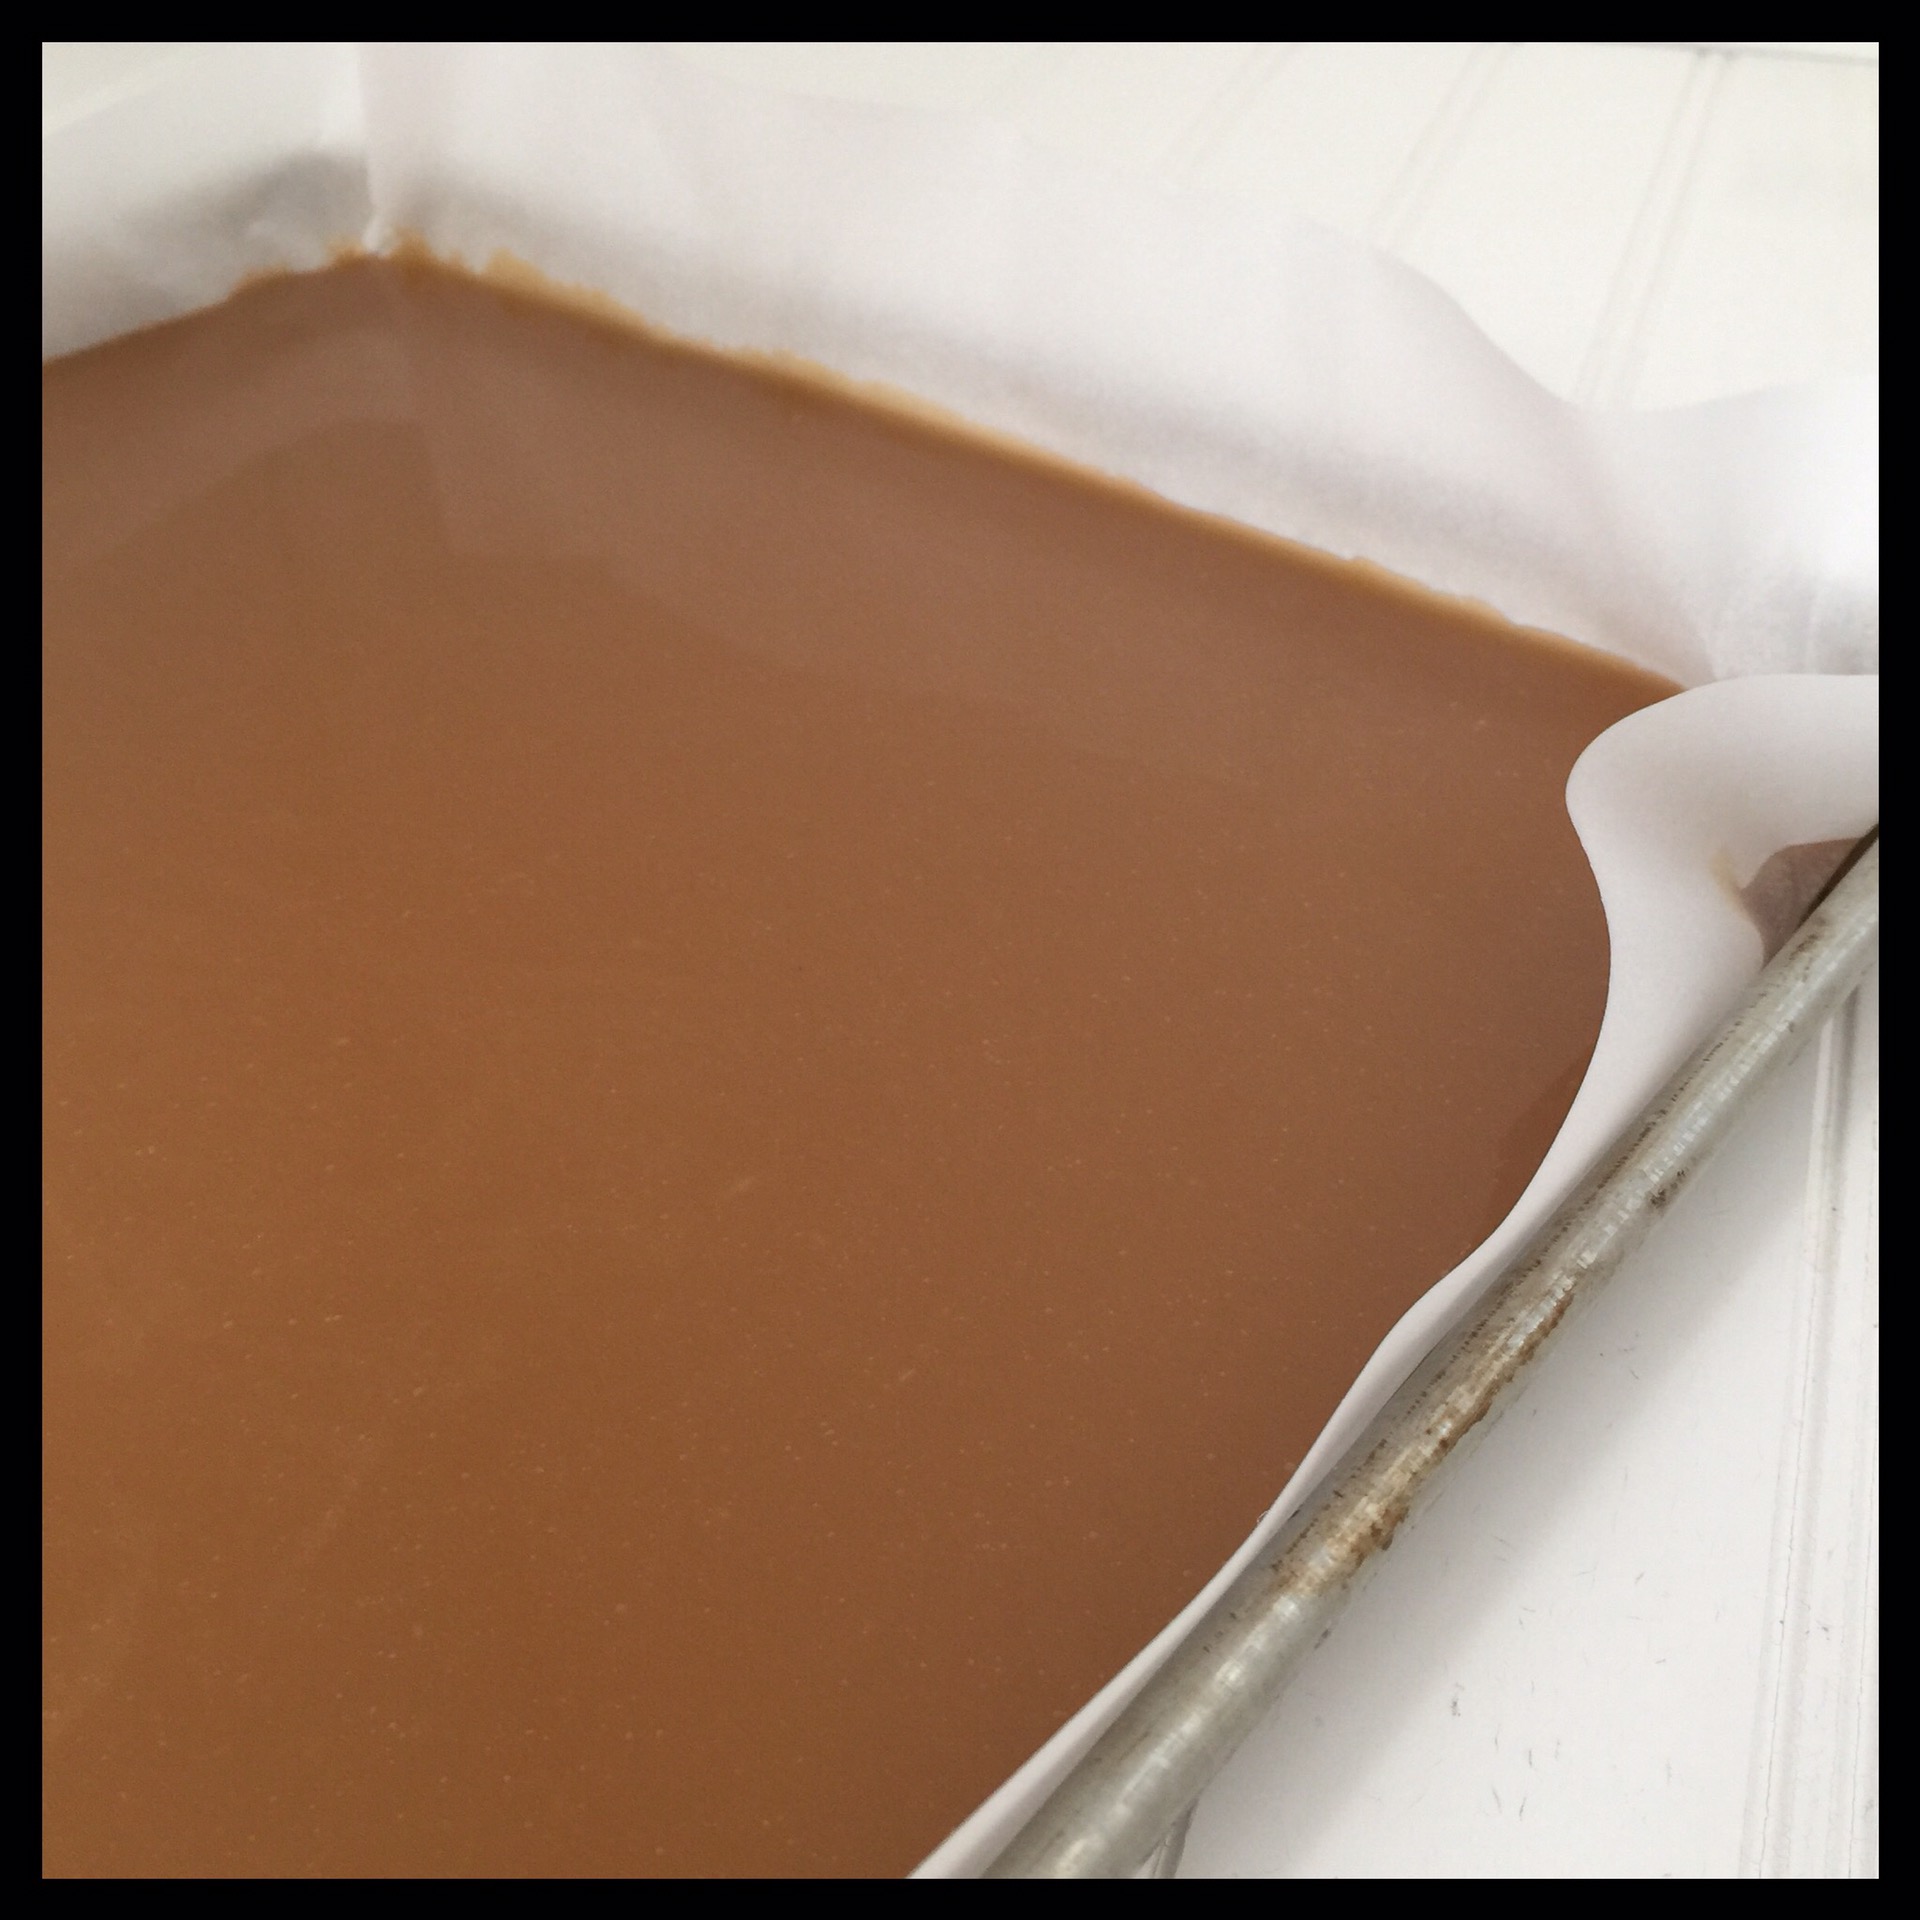
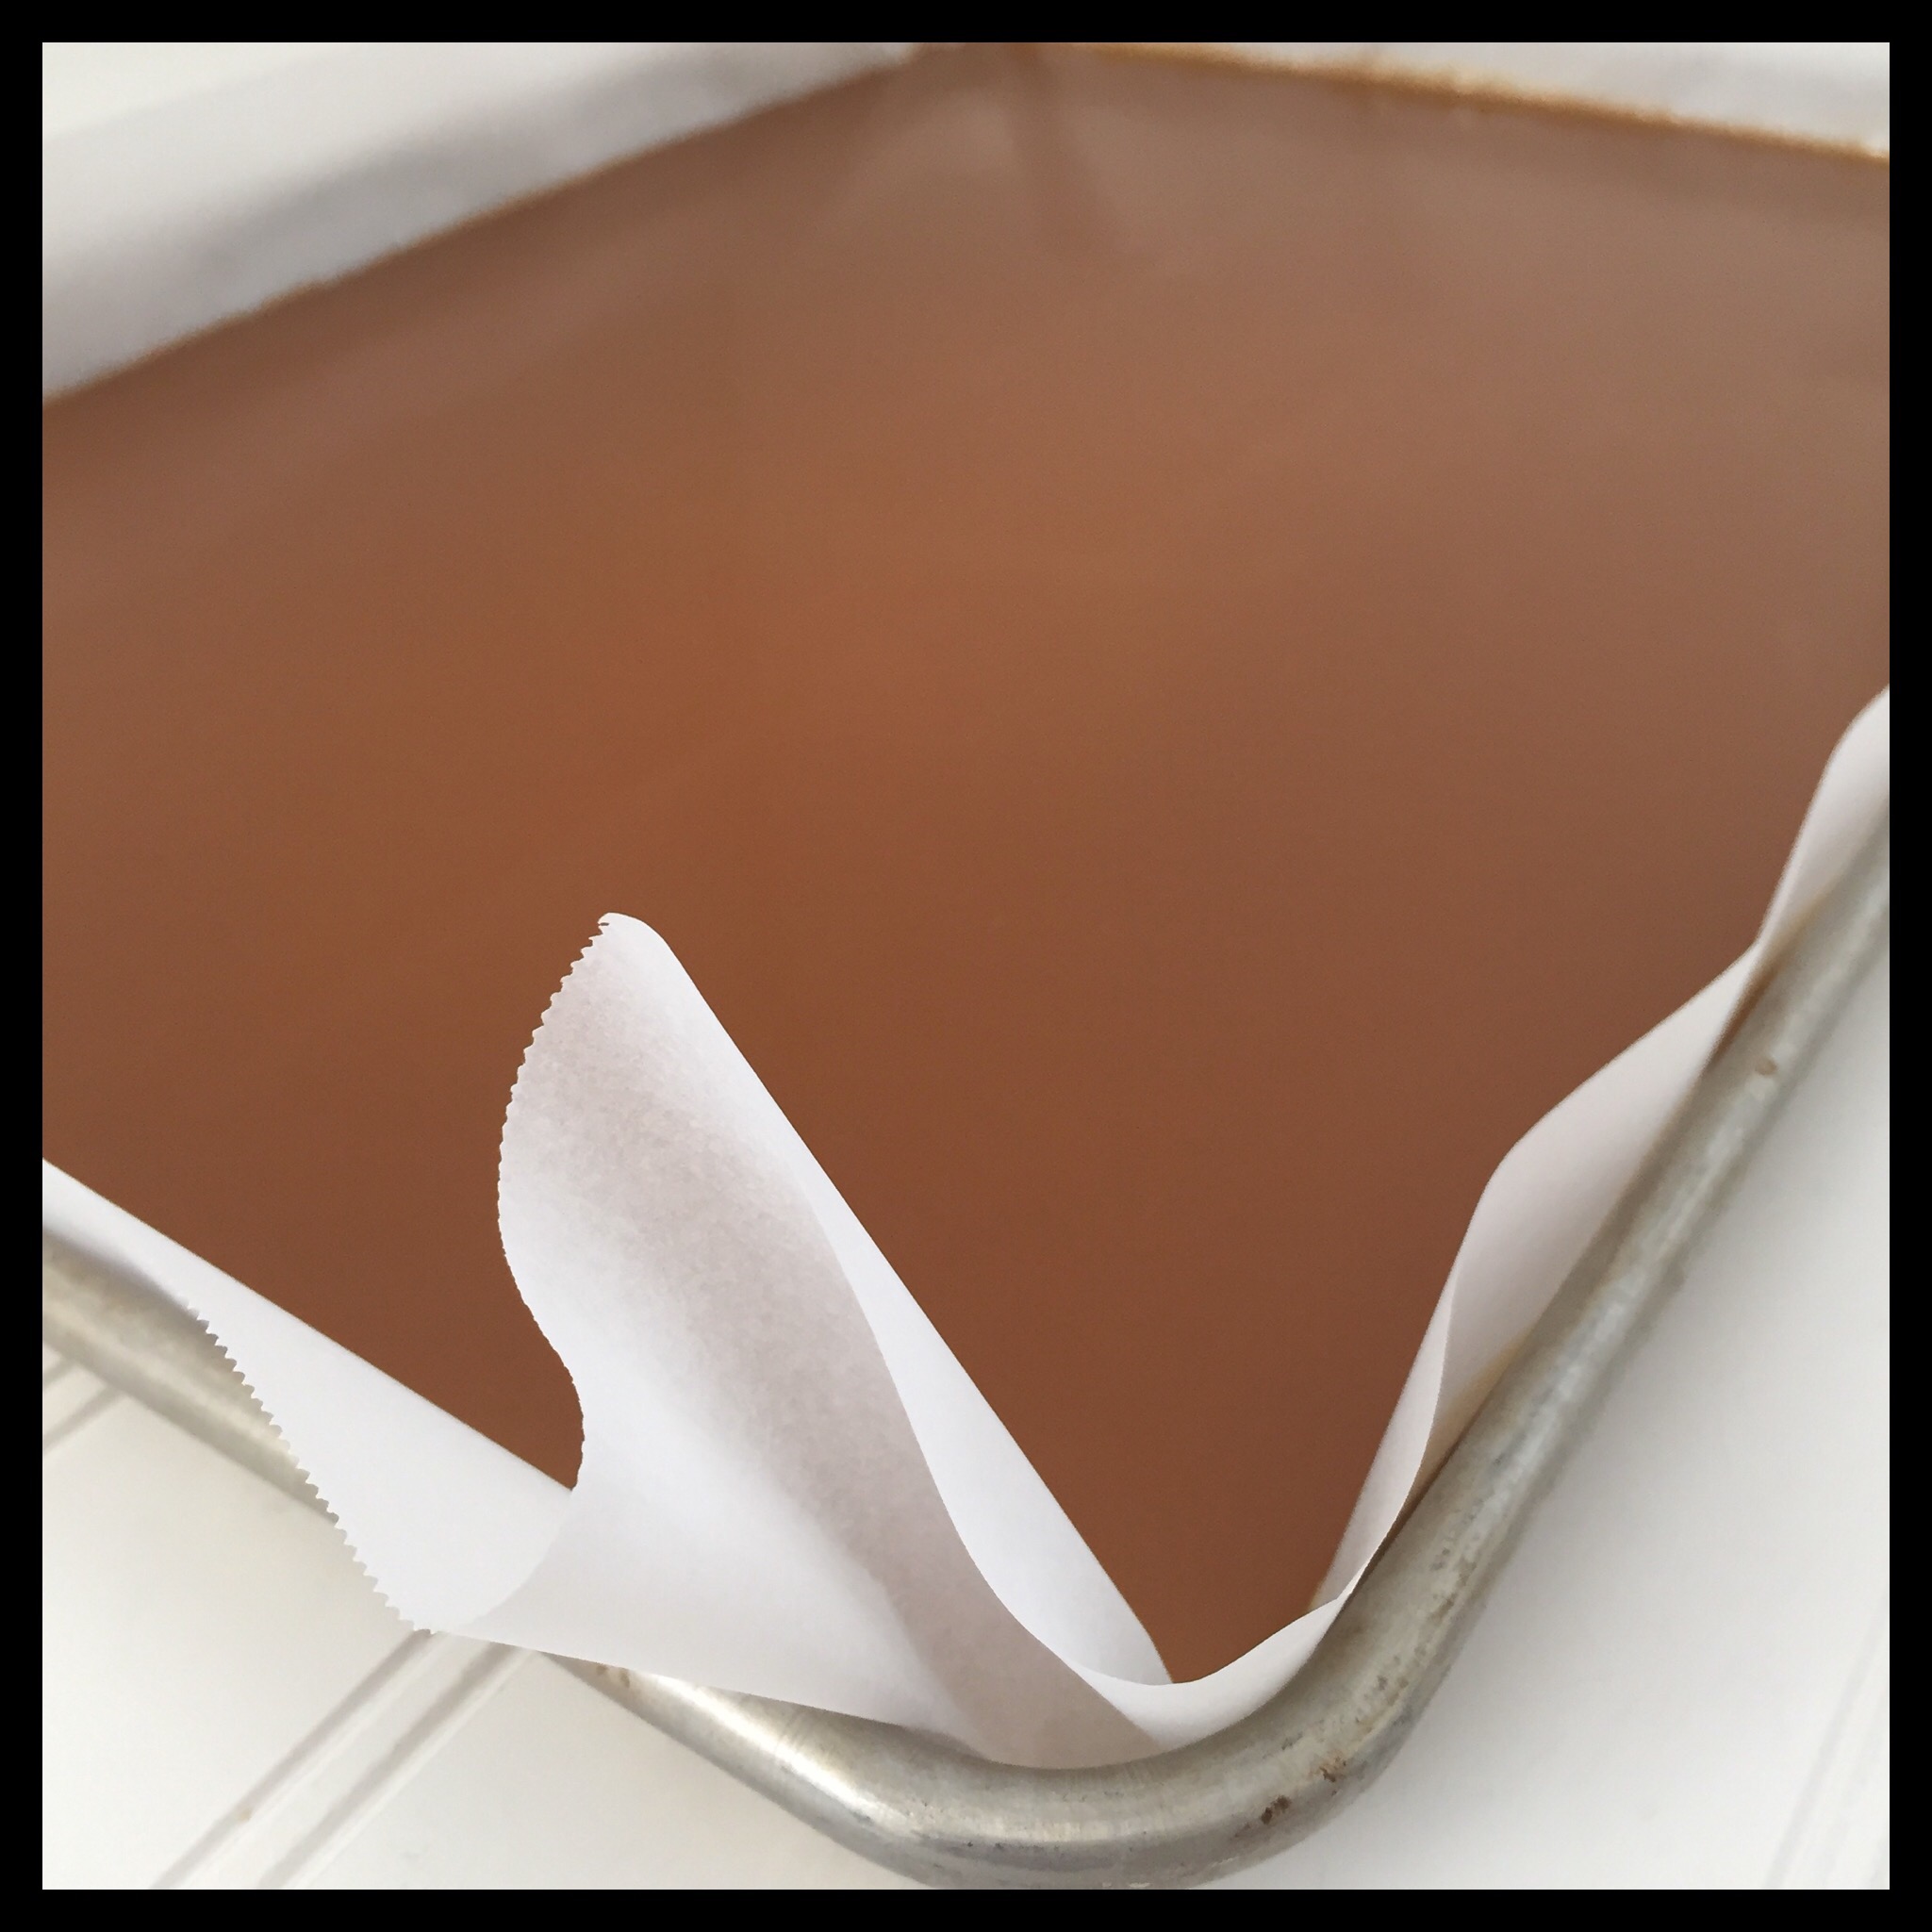
Pour the caramel into your prepared pan and tilt the pan to get the caramel to spread out evenly. Be very careful as the pan can get hot enough to burn you.

Do not try to scrape out the pot until after the caramel is in the pan. That bit is for you to test!
Let your caramel cool completely before removing it from the pan. If you made very soft caramels, you will also need to refrigerate the caramel (after it is room temperature) to be able to cut it.
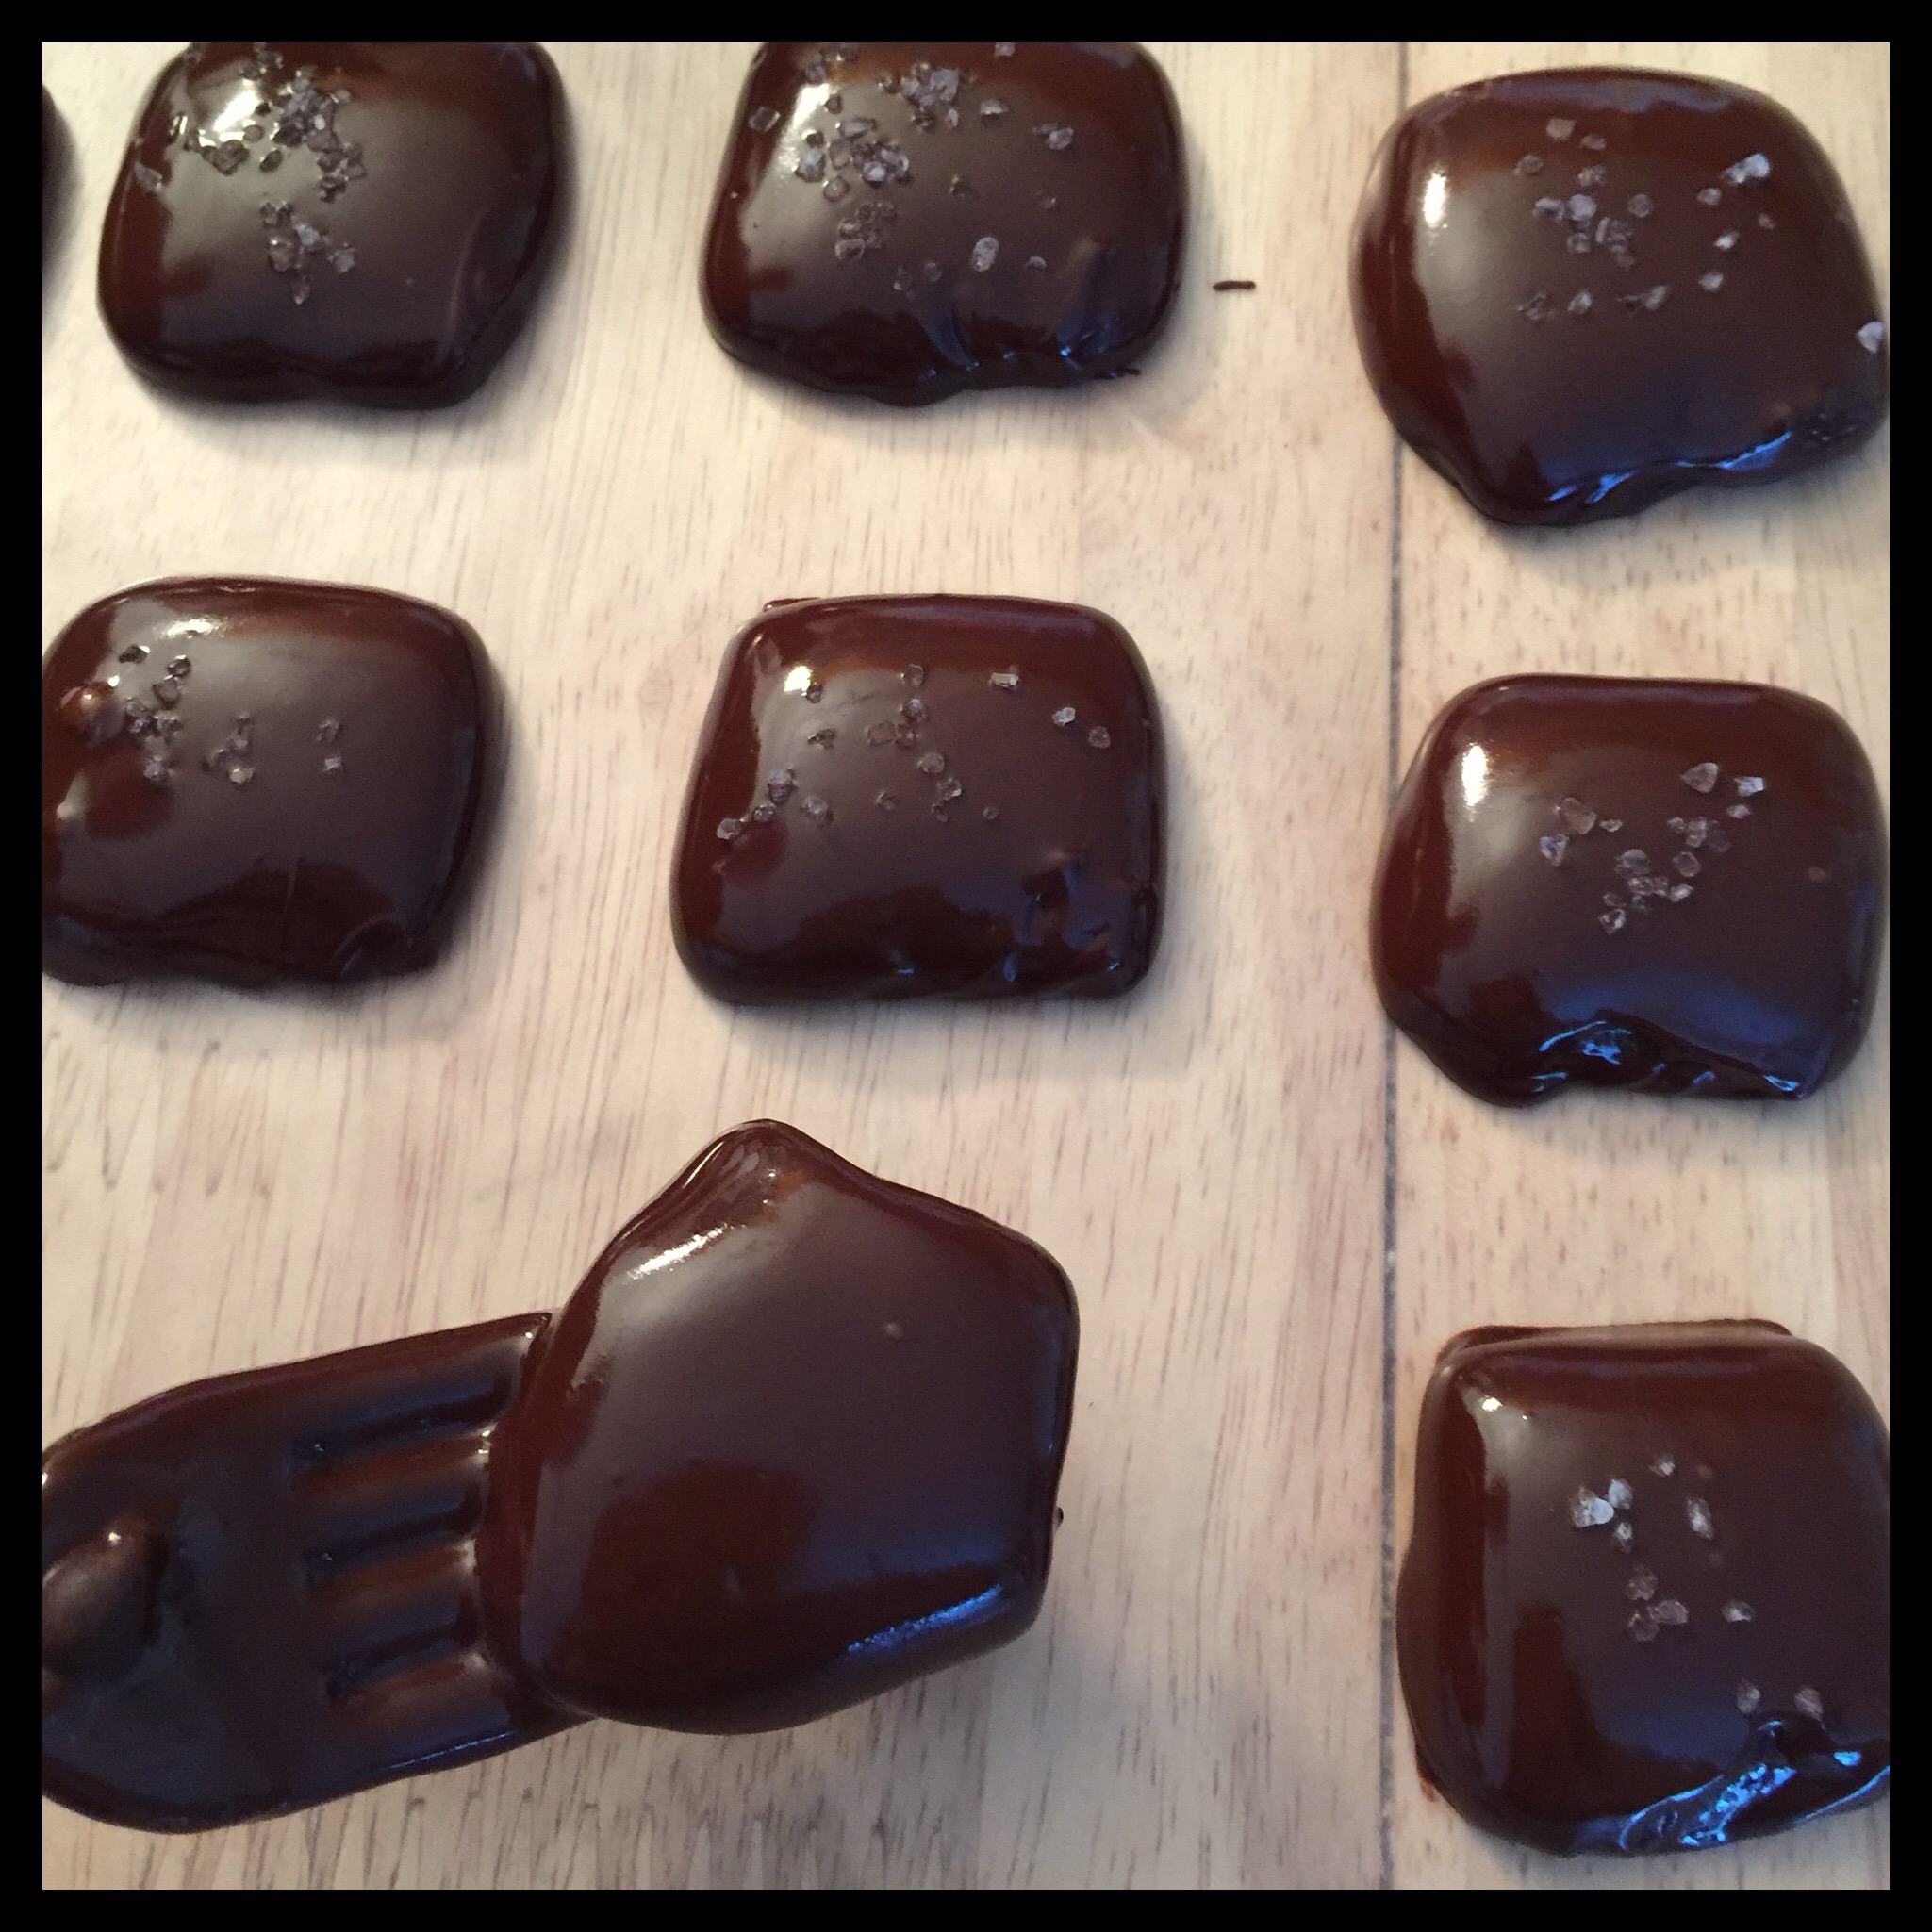
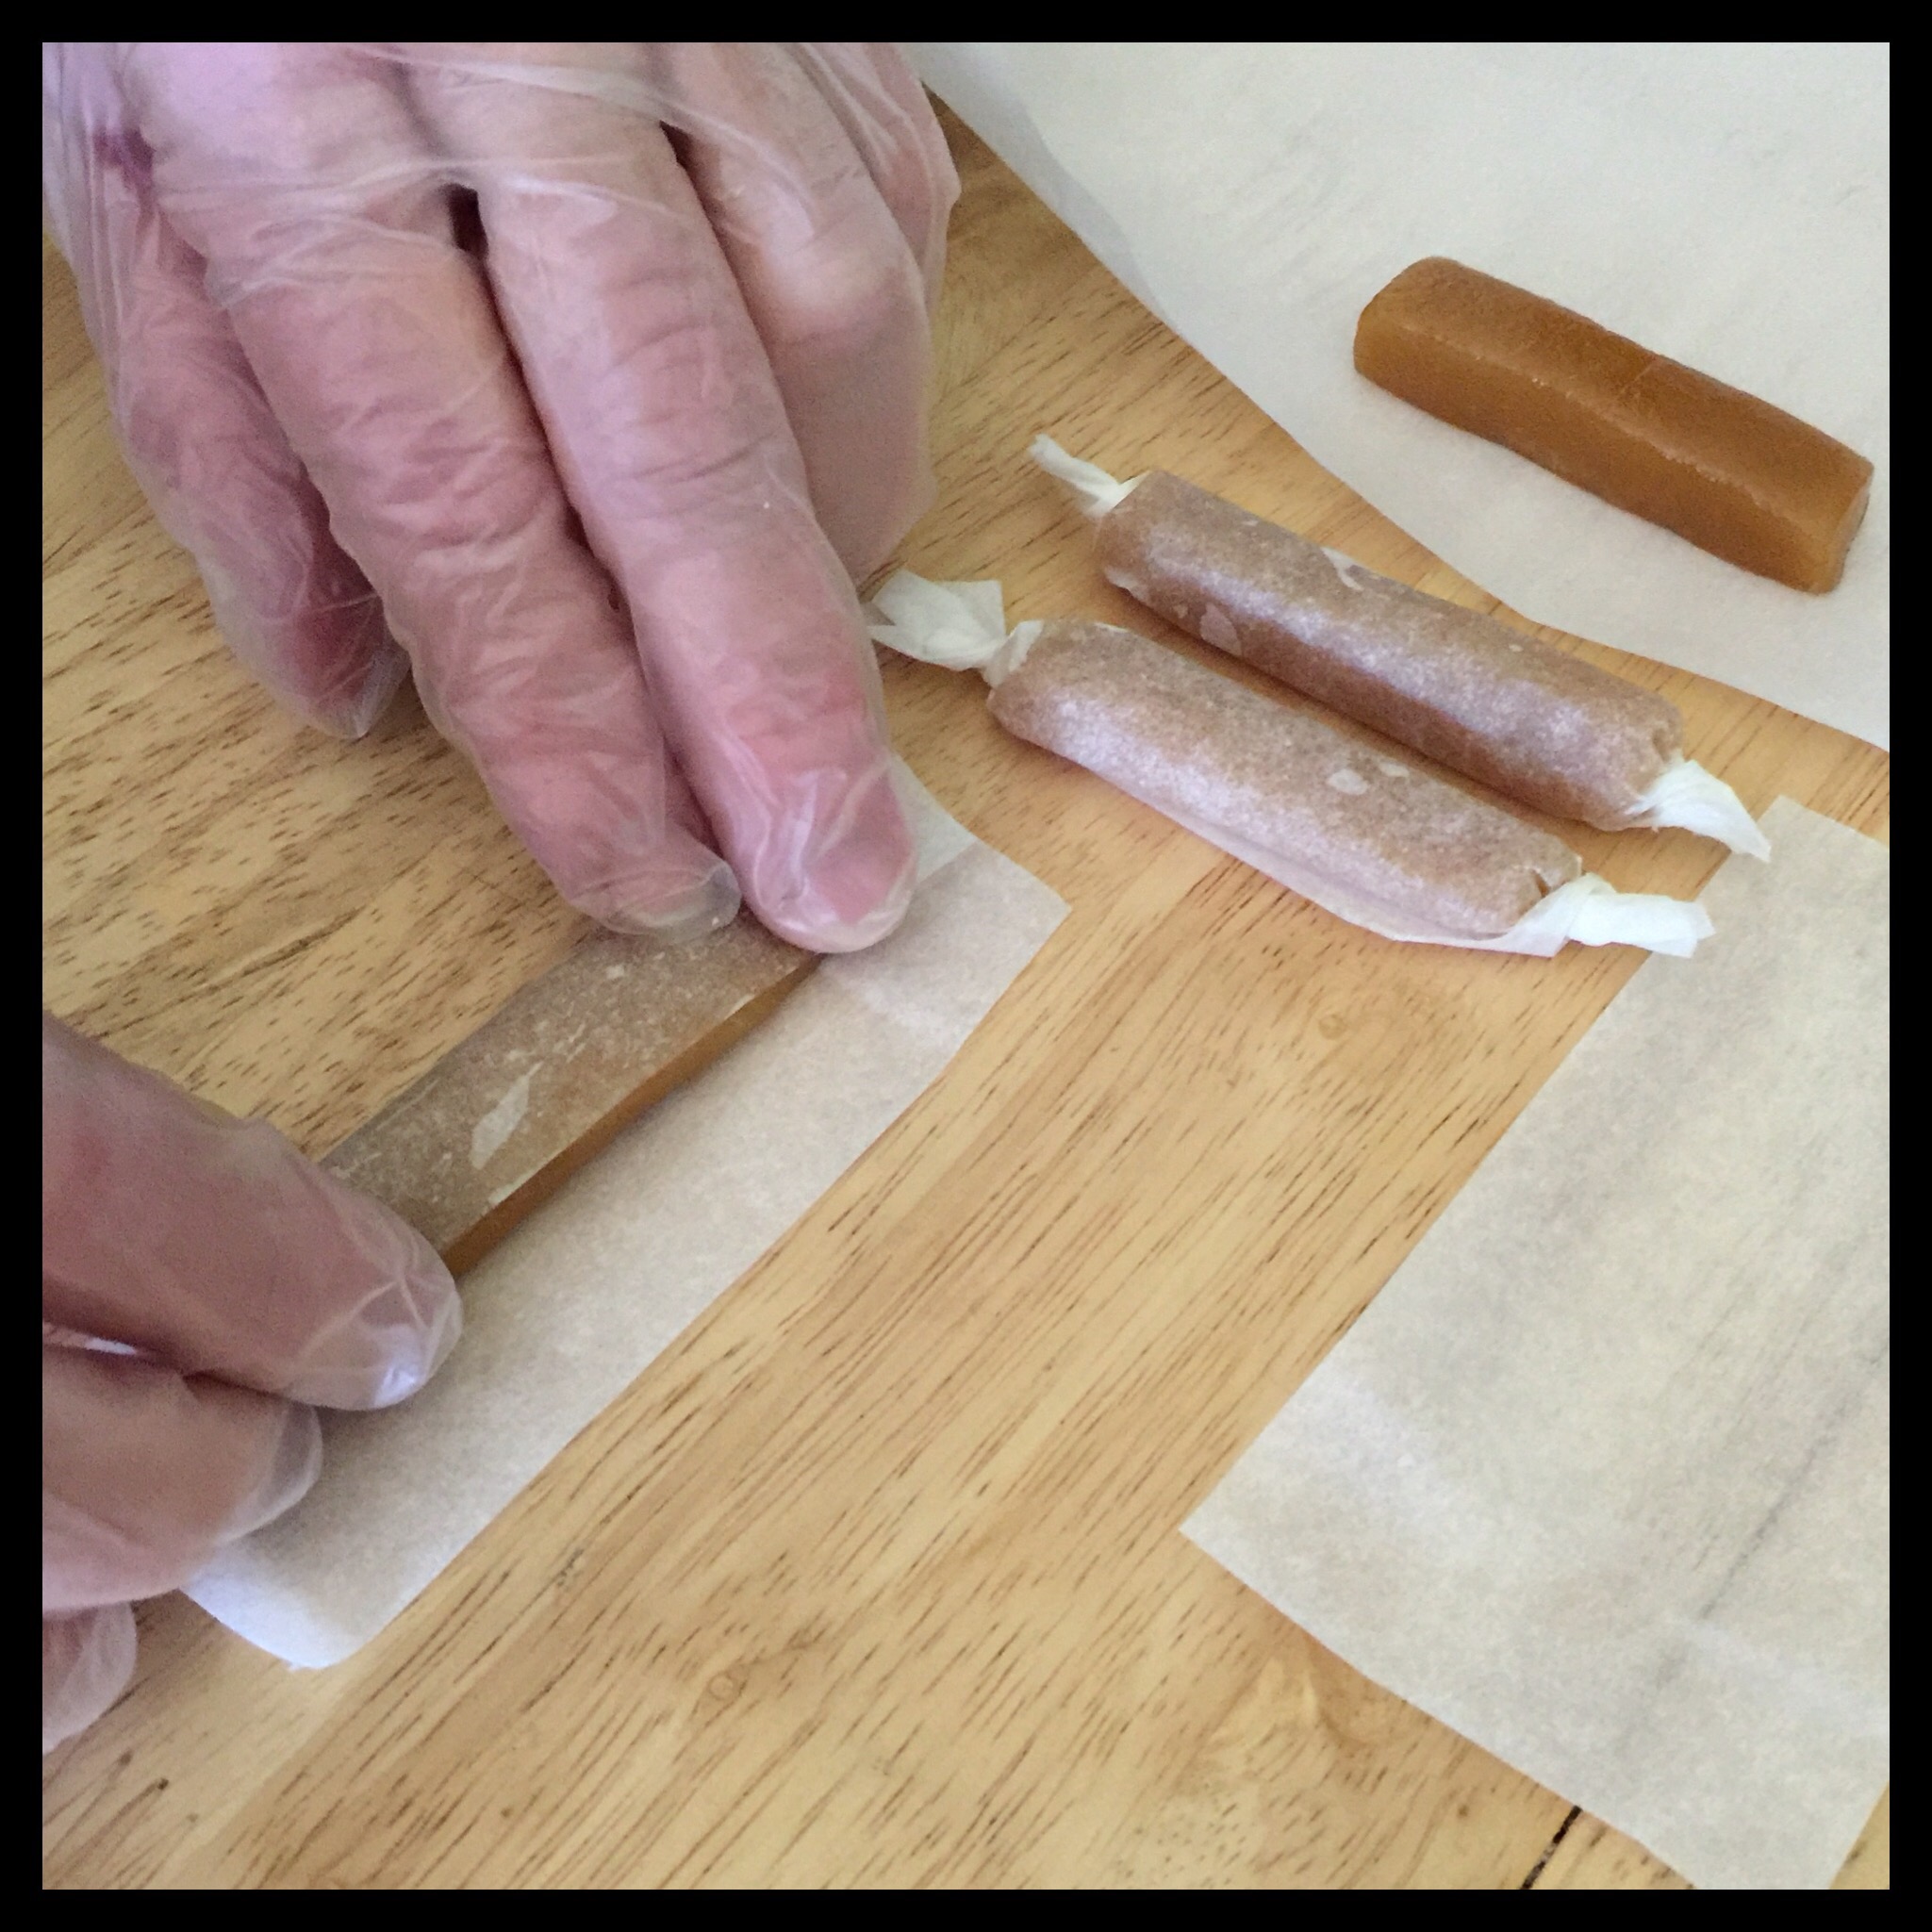
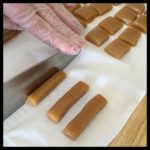
Once your caramel is cool, spray a knife with non-stick spray then wipe off the excess. Cut the caramels as desired.
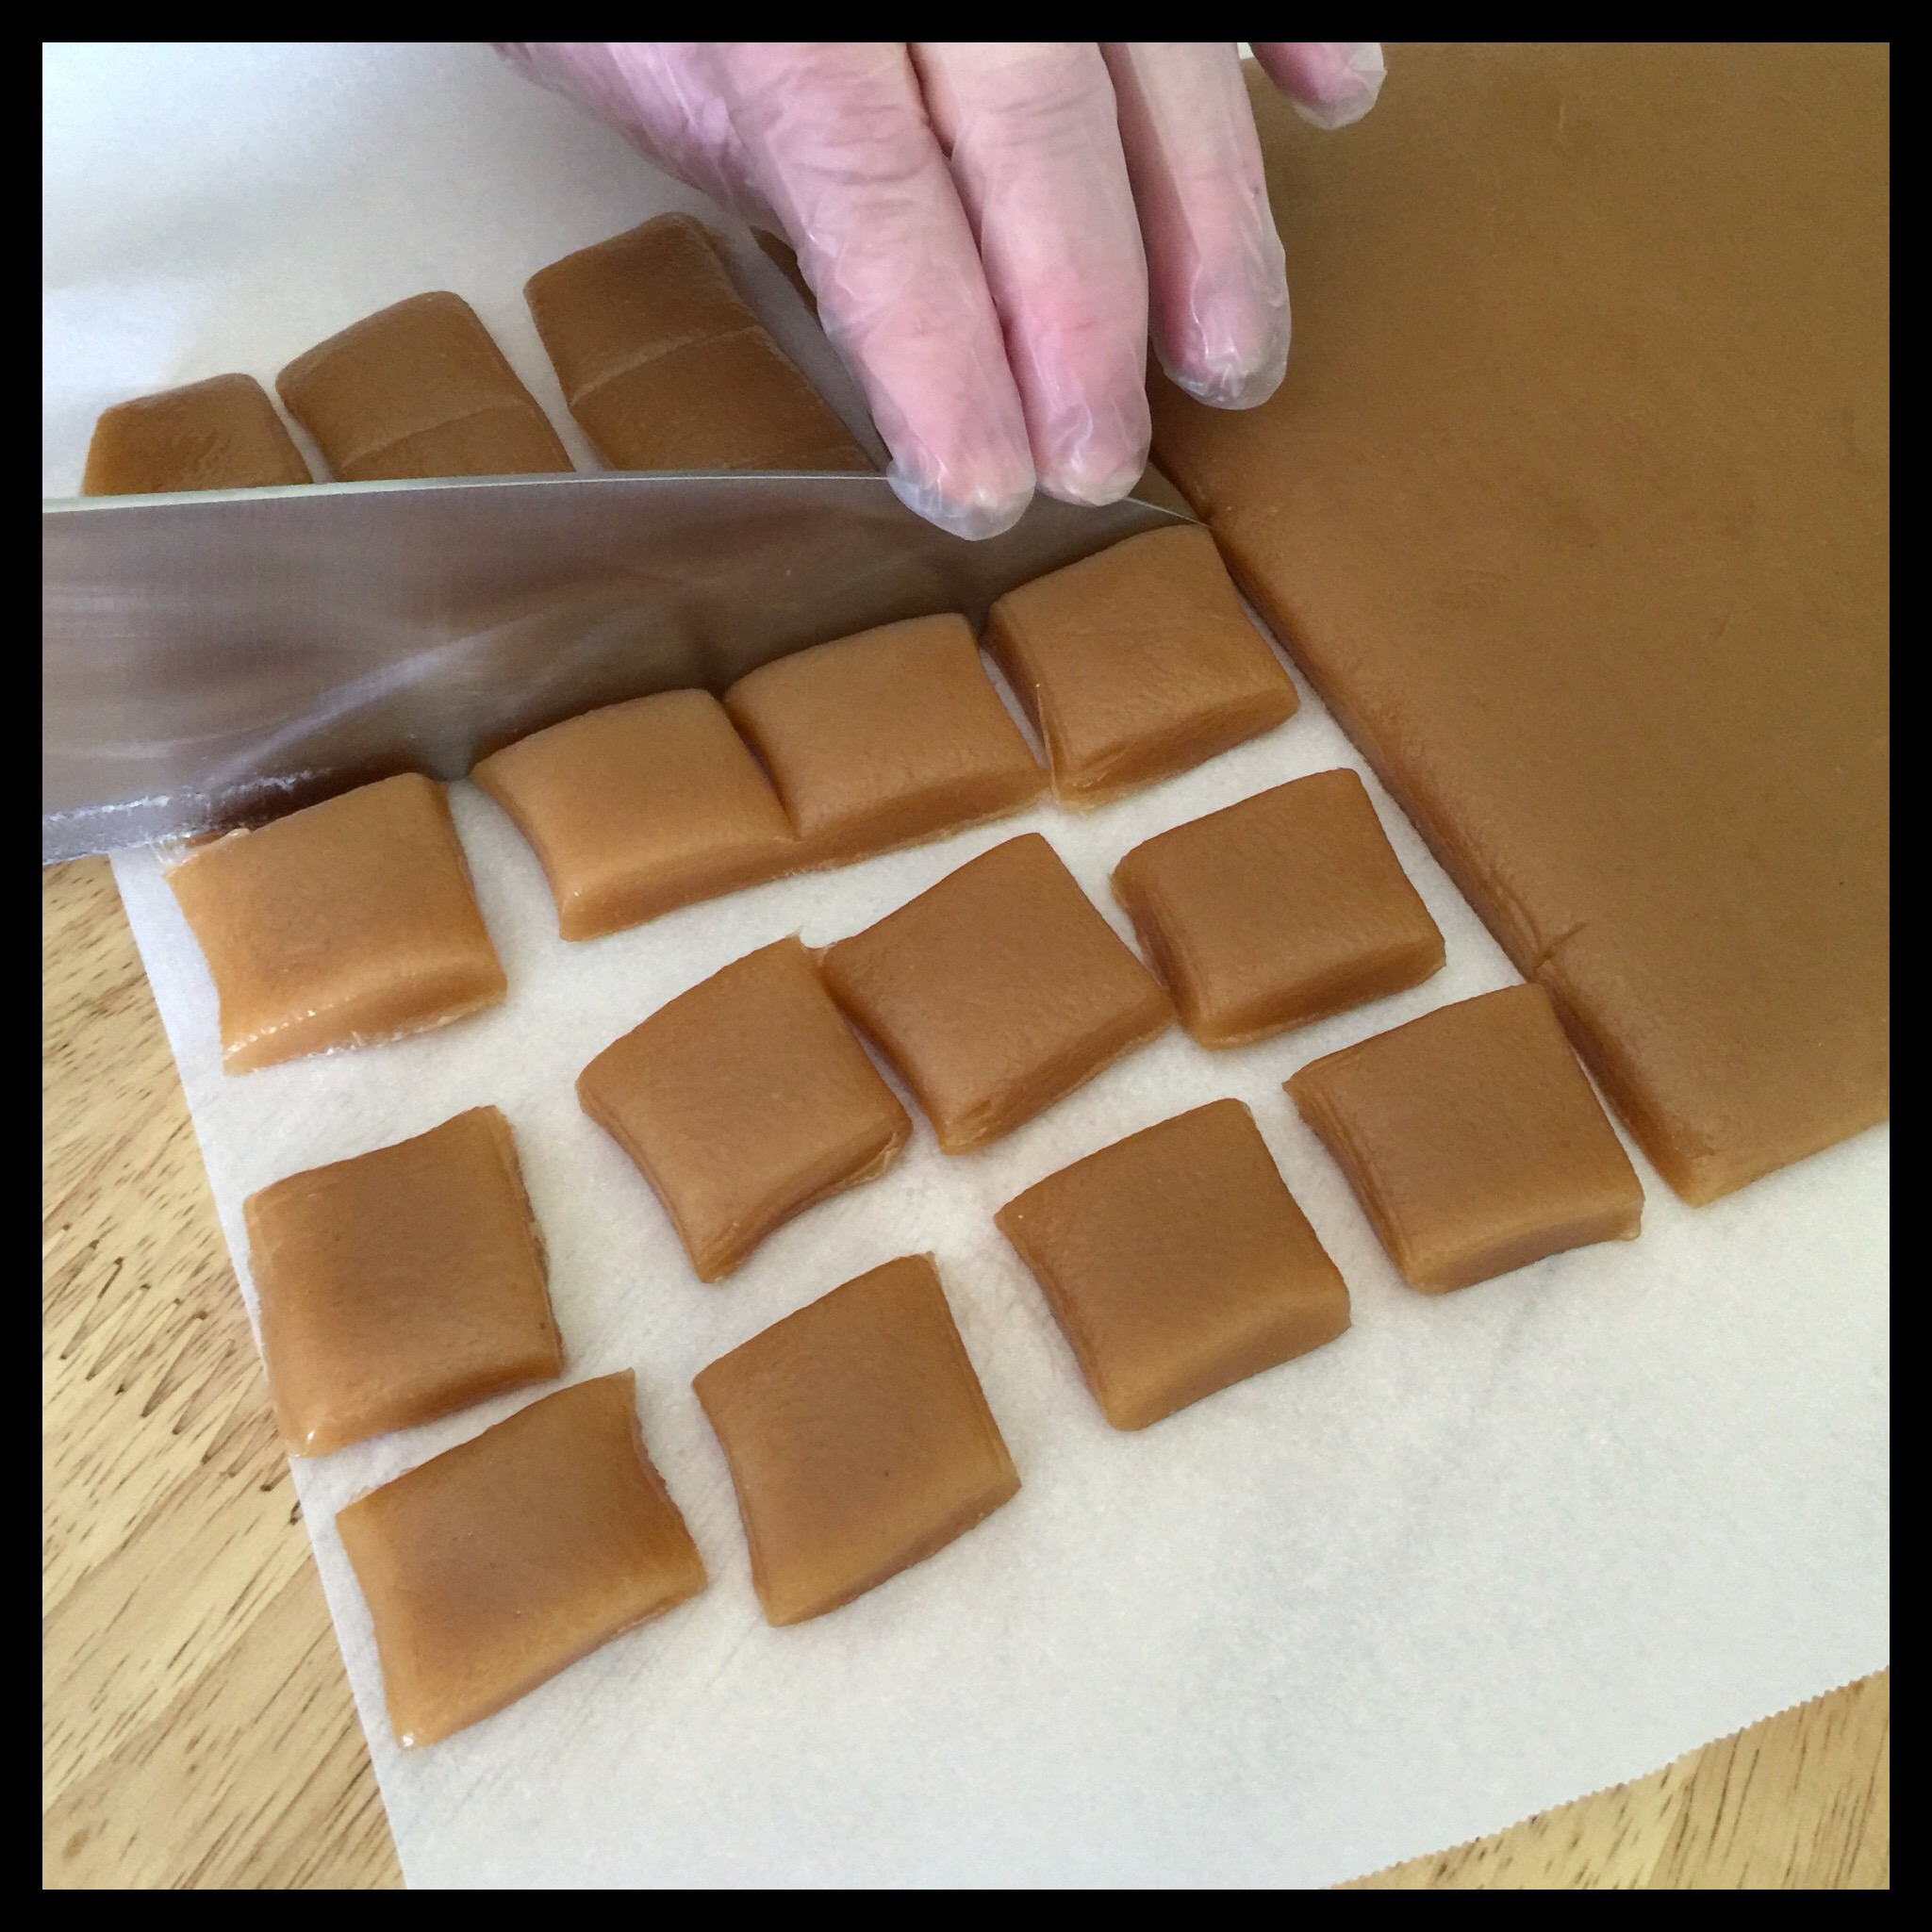
Either dip each piece in tempered chocolate or wrap in a piece of parchment paper:

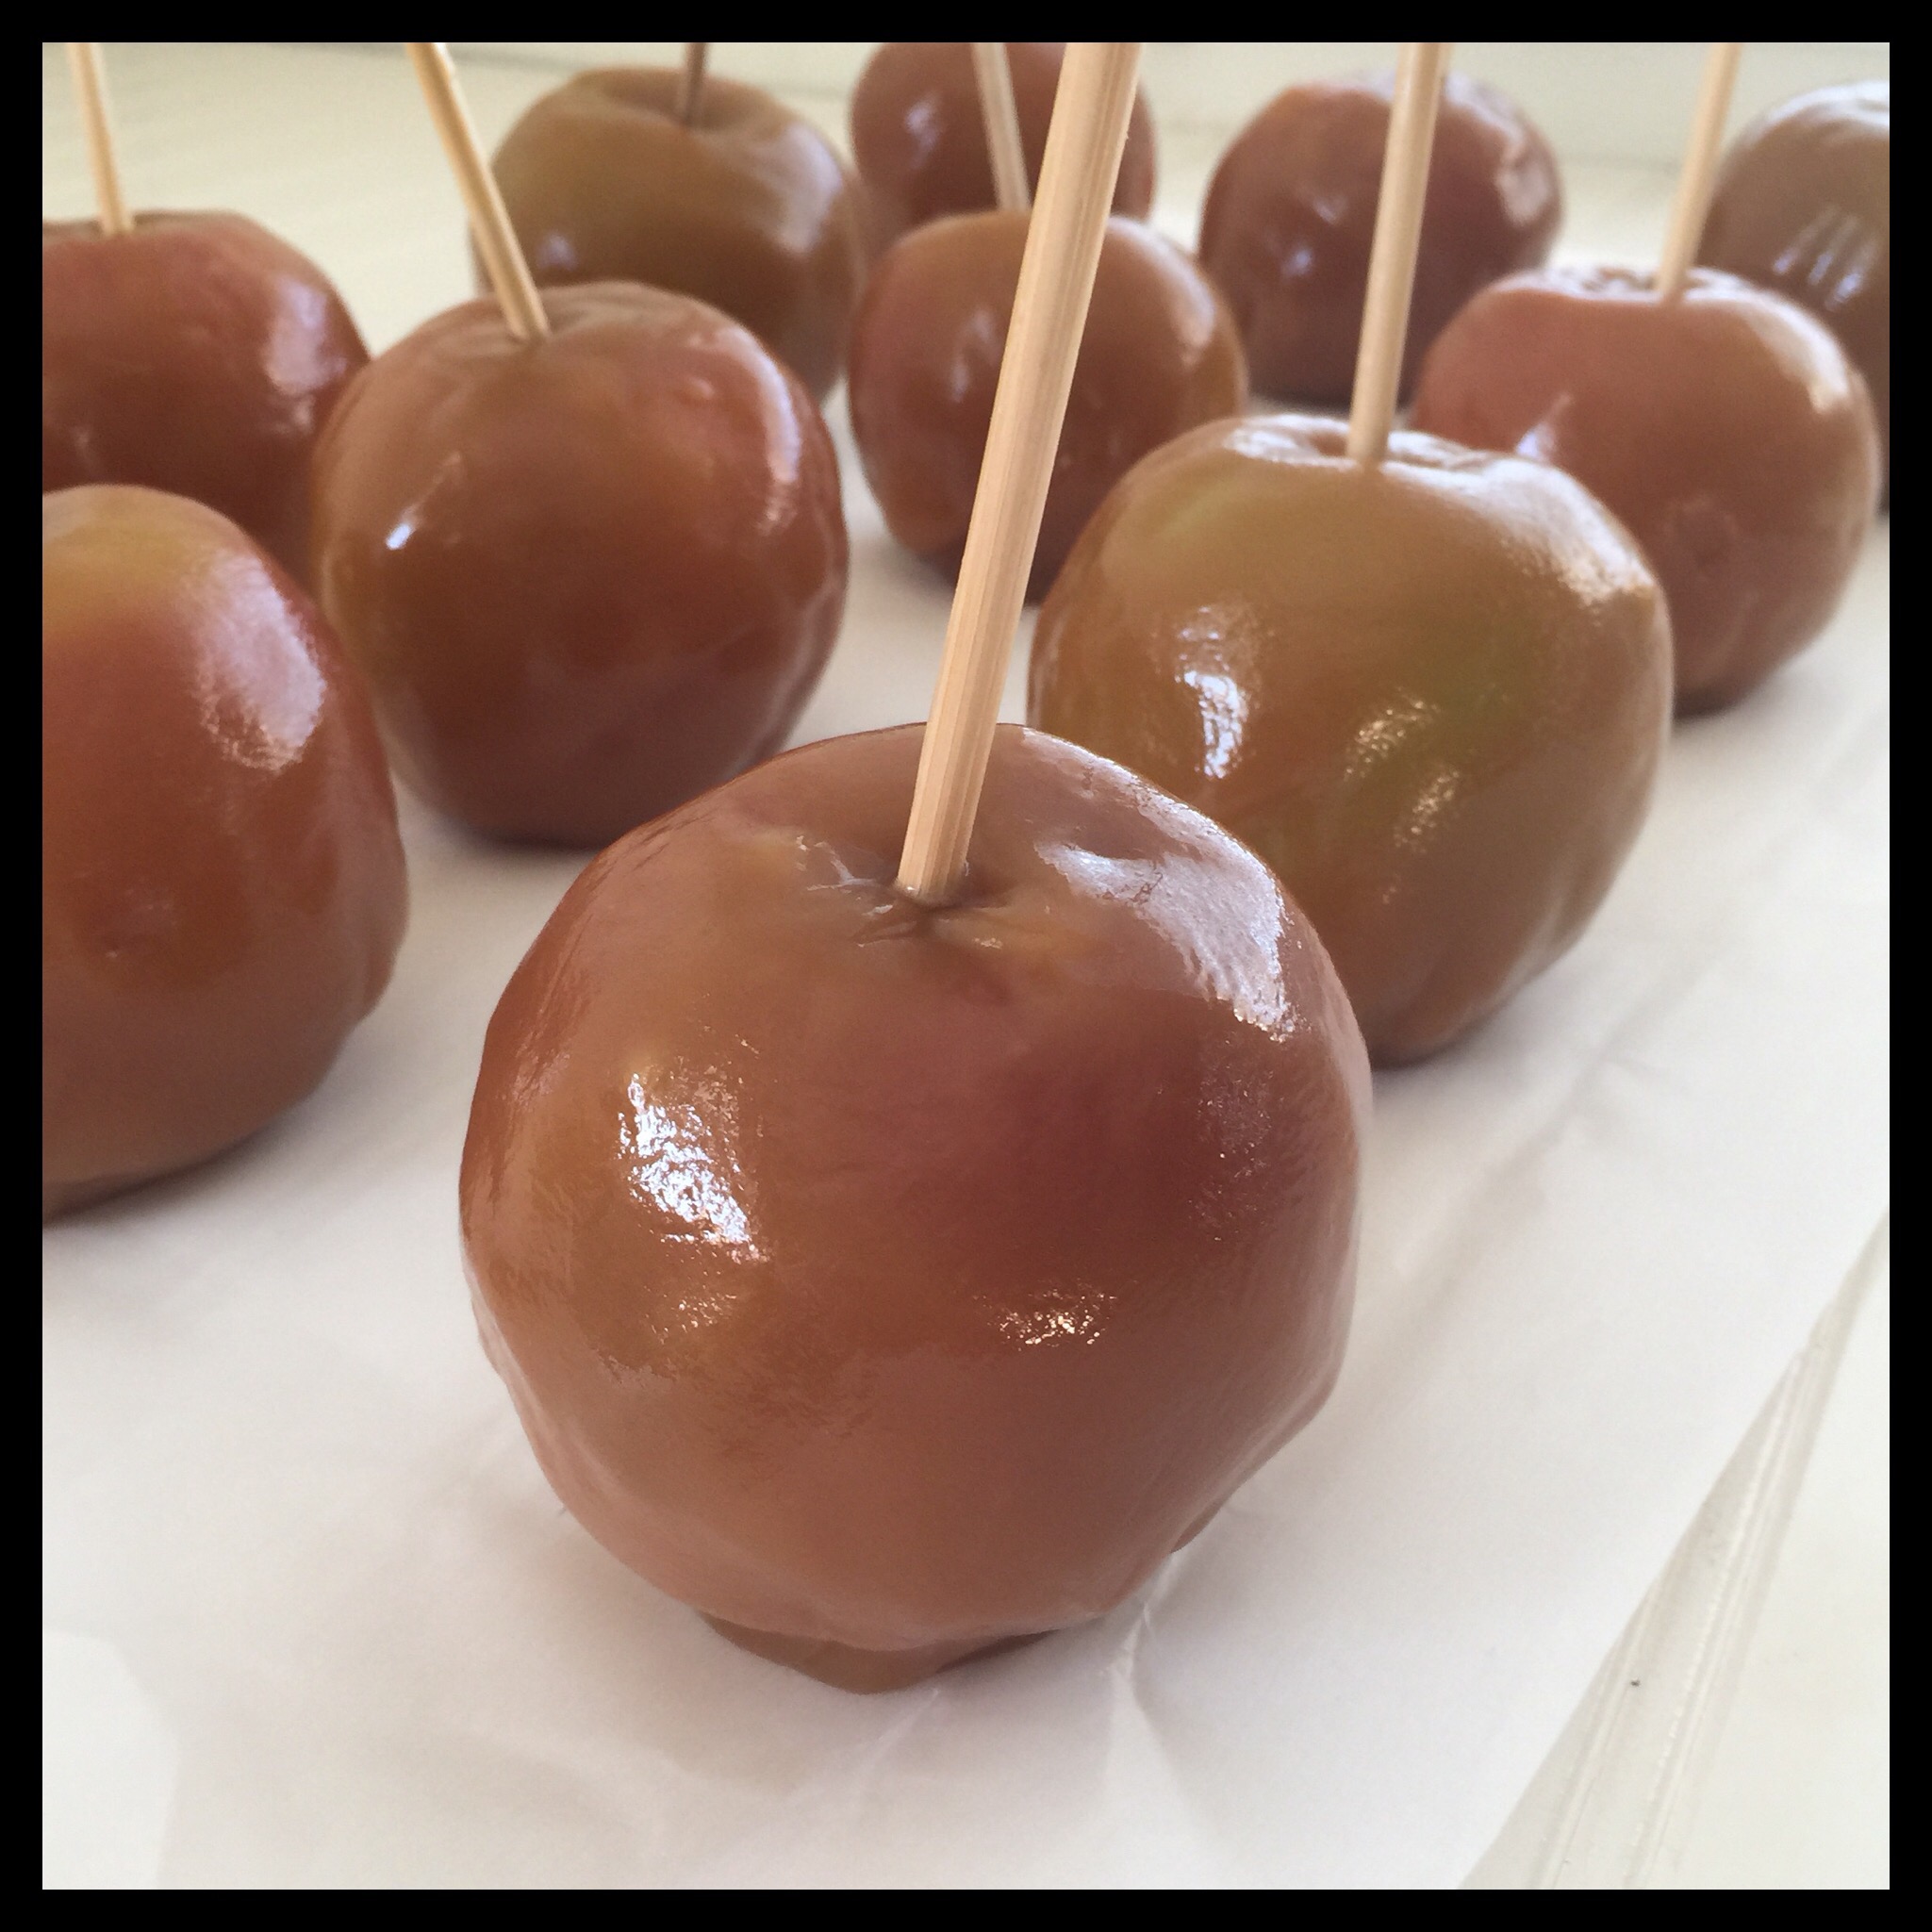
Directions for how to cut and wrap the caramel to make caramel apples coming up in my next post!
Note: Caramel can be a bit finicky, especially if it is the first time you are making homemade candy. There is a very narrow window for the temperature, so your caramel may turn out a little softer or harder than you would prefer. It will still taste great, though! As long as you don’t burn it (and you won’t if you follow the directions), you can even salvage a batch that crystallizes by heating it up with a little non-dairy milk and turning it into a yummy caramel dip for apples or a caramel sauce for desserts. So, even if you are a candy-making novice, I really hope you will give this delicious caramel recipe a try!
Vegan Caramels
These vegan caramels are soft, chewy, and absolutely delicious!
Ingredients
- 1 13.5 oz can Coconut Milk
- 1 13.5 oz can Light Coconut Milk
- 225 g (2/3 c) Karo Syrup
- 30 g (2 TBS) Vanilla Extract
- 400 g (2 c) Vegan Sugar
- 280 g (1 1/4 c packed) Vegan Light Brown Sugar
- 12.8 g (2 tsp) Salt
- 30 g (2 TBS) Vegan Butter (I use Earth Balance)
Instructions
-
Line your pan with parchment paper, making sure to fold the corners of the paper so the paper sits flat in the pan. Use an 8” x 8” pan for thick caramels, a 9” x 13” pan for thin caramels, or a 13” x 18” pan for caramel apples.
-
Add the regular and light coconut milks to a 1 1/2 to 2 quart-sized saucepan. Place a hot pad on your scale and zero it out. Weigh the pot with the coconut milk in it and write down the weight. Subtract 240 g from that weight. The remainder is your target weight.
-
Bring the coconut milk to a boil over medium-high heat, reduce the heat, and simmer until you reach the target weight. (If you must make this recipe without a scale, you can measure your reduced coconut milk after about 30 minutes of simmering to see if it has decreased to 2 1/3 cups. I think it took more like 40 minutes but can’t remember for sure.)
-
Once the coconut milk has reduced to the target weight, add the vegan sugar and vegan brown sugar. Stir on medium-low heat until all of the sugar has dissolved.
-
Pour the sugar mixture into a 3 or 4 quart-sized saucepan. (I have always used a non-stick pan but am not sure if this is strictly necessary.) Switch spatulas after you scrape out the smaller saucepan. Changing pans and spatulas makes sure that you don’t have any loose sugar crystals around in the next step which could cause your finished caramel to crystallize. Add the Karo Syrup and the vanilla, then stir to combine.
-
Bring the mixture to a boil, then reduce the heat just enough to keep the mixture from boiling over. Continue to keep the temperature as high as you can, and turn it down as needed. On my induction cooktop, I have to keep adjusting the temperature between 230 and 275 degrees Fahrenheit during this step, which takes about 30 minutes. I also stir gently but continuously to make sure the syrup doesn’t burn on the bottom.
-
Once you can keep the temperature up without the syrup trying to boil over, switch to a whisk and whisk the syrup really well. After that, you just need to whisk gently to keep the syrup from burning on the bottom. A tornado whisk makes this really easy to do because it is flat against the bottom of the pan.
-
Clip your candy thermometer to the side of the pan. Continue to gradually raise the heat until you are at a little more than medium-high (300 degrees Fahrenheit on my induction cooktop). It takes 20 to 30 more minutes to do this.
-
Keep an eye on the thermometer, but you will probably be stuck at 220 degrees Fahrenheit for awhile. Be patient and keep whisking! (You can stop whisking long enough to wash your spatula and get set up for the final step.)
-
The caramel will start to get darker and thicker as you raise the temperature. When the caramel reaches 230 degrees Fahrenheit, you will need to start watching the thermometer closely.
-
Be sure to read your thermometer at eye level as it gets close to the target temperature. For very soft caramels that won’t quite hold their shape at room temperature, this is 242 degrees Fahrenheit. For soft caramels that will just hold their shape, this is 244 degrees, and you want 246 degrees for quite firm caramels. There is not a lot of difference in these temperatures so watch the thermometer very closely!
-
Once your caramel reaches your target temperature, remove the pot from the heat and quickly whisk in the salt and vegan butter.
-
Pour the caramel into your prepared pan and tilt the pan to get the caramel to spread out evenly. Be very careful as the pan can get hot enough to burn you. Do not try to scrape out the pot until after the caramel is in the pan. That bit is for you to test!
-
Let your caramel cool completely before removing it from the pan. If you made very soft caramels, you will also need to refrigerate the caramel (after it is room temperature) to be able to cut it.
-
Once your caramel is cool, spray a knife with non-stick spray then wipe off the excess. Cut the caramels as desired. Either dip each piece in tempered chocolate or wrap in a piece of parchment paper. (Directions for how to cut and wrap the caramel to make caramel apples coming up in my next post!)
Recipe Notes
- Making caramel properly takes time, care, and some special equipment. You must use a candy thermometer, and both a digital kitchen scale and tornado whisk will make your work much easier. This is also not a recipe to attempt while you are distracted or when there are small children around. You will be boiling sugar and you do not want anyone to get burned. That said, it is not a difficult recipe as long as you follow the directions!
- Caramel can be a bit finicky, especially if it is the first time you are making homemade candy. There is a very narrow window for the temperature, so your caramel may turn out a little softer or harder than you would prefer. It will still taste great, though! As long as you don’t burn it (and you won’t if you follow the directions), you can even salvage a batch that crystallizes by heating it up with a little non-dairy milk and turning it into a yummy caramel dip for apples or a caramel sauce for desserts. So, even if you are a candy-making novice, I really hope you will give this delicious caramel recipe a try!
Thank you so much , they way that you explain the recepie is very kind and it shows you really care for
Your reader how to achieve the best of it, I’m vegan and a caramel lover🤤I’ll make it today and I’m a cook so I’m sure it will be very chewy and tasty
Thank you again for your kindness 💚
I’m so glad you like my step-by-step directions and that you are going to make the caramel! Please let me know how it turns out!
It looks like Karo syrup is a brand of corn syrup? I do not think that it’s available where I live, I’m actually not even sure I can get corn syrup at all… Would most syrups work for this recipe? Sorry if that’s a dumb question. I just want to make sure. I’m planning on using these caramels for Gretchens Caramel Volcano Cookies and I really want them to be good 🙂
Karo is a light corn syrup and there are only a couple of other options that I can think of. Lyle’s Golden Syrup or glucose syrup will probably work, but subbing a major ingredient is always a bit of an experiment. If you try one of them, please let me know how it goes!
I ended up using a light sugar based syrup and dark brown sugar instead of light and I definitely got caramel out of the project! But because this is my first time making caramel (and being a bit scatterbrained), it kind of got away from me. The caramel came out hard and I forgot to cut it while it was still soft. So I think I’m gonna shatter it with a hammer and mix it in with the cookie dough. I won’t get the volcano effect, but hopefully the cookies will still be tasty 🙂
I will make another attempt at some point.
It sounds like your caramel experiment was at least a partial success, and I hope your cookies were delicious!
Hello there! I’ve tried various different caramel recipes, and they all had the same results, where when I cooled it to room temp and put in the fridge to harden, the butter separates from the sugar. Then when I take it out of the fridge after a couple hours, it basically melts back into a sauce.
So, I was just wondering, if you’ve ever experienced that with your recipe. In your photos, your caramel looks like it held up really well, even at room temp. And I’m really looking for a really good vegan caramel!
I’ve never had that happen, Keisha, but I don’t refrigerate mine. I hope this recipe works well for you!