I have been making my own vegan honee for several years, and it’s one of my all-time favorite recipes! It looks, tastes, and bakes just like honey from bees, but without any cruelty or exploitation. I use my honee almost daily in herbal tea, on oatmeal, biscuits, or cornbread, or in recipes like granola or honee graham crackers. So, I make a batch once a month and always have some in my fridge ready to use.
I have posted four honee recipes (chamomile, dandelion, clover, and wildflower) in the past, but my updated method is easier and more streamlined. You can still choose whichever flower(s) you like best to flavor your honee, but this new method will save you some time and effort.
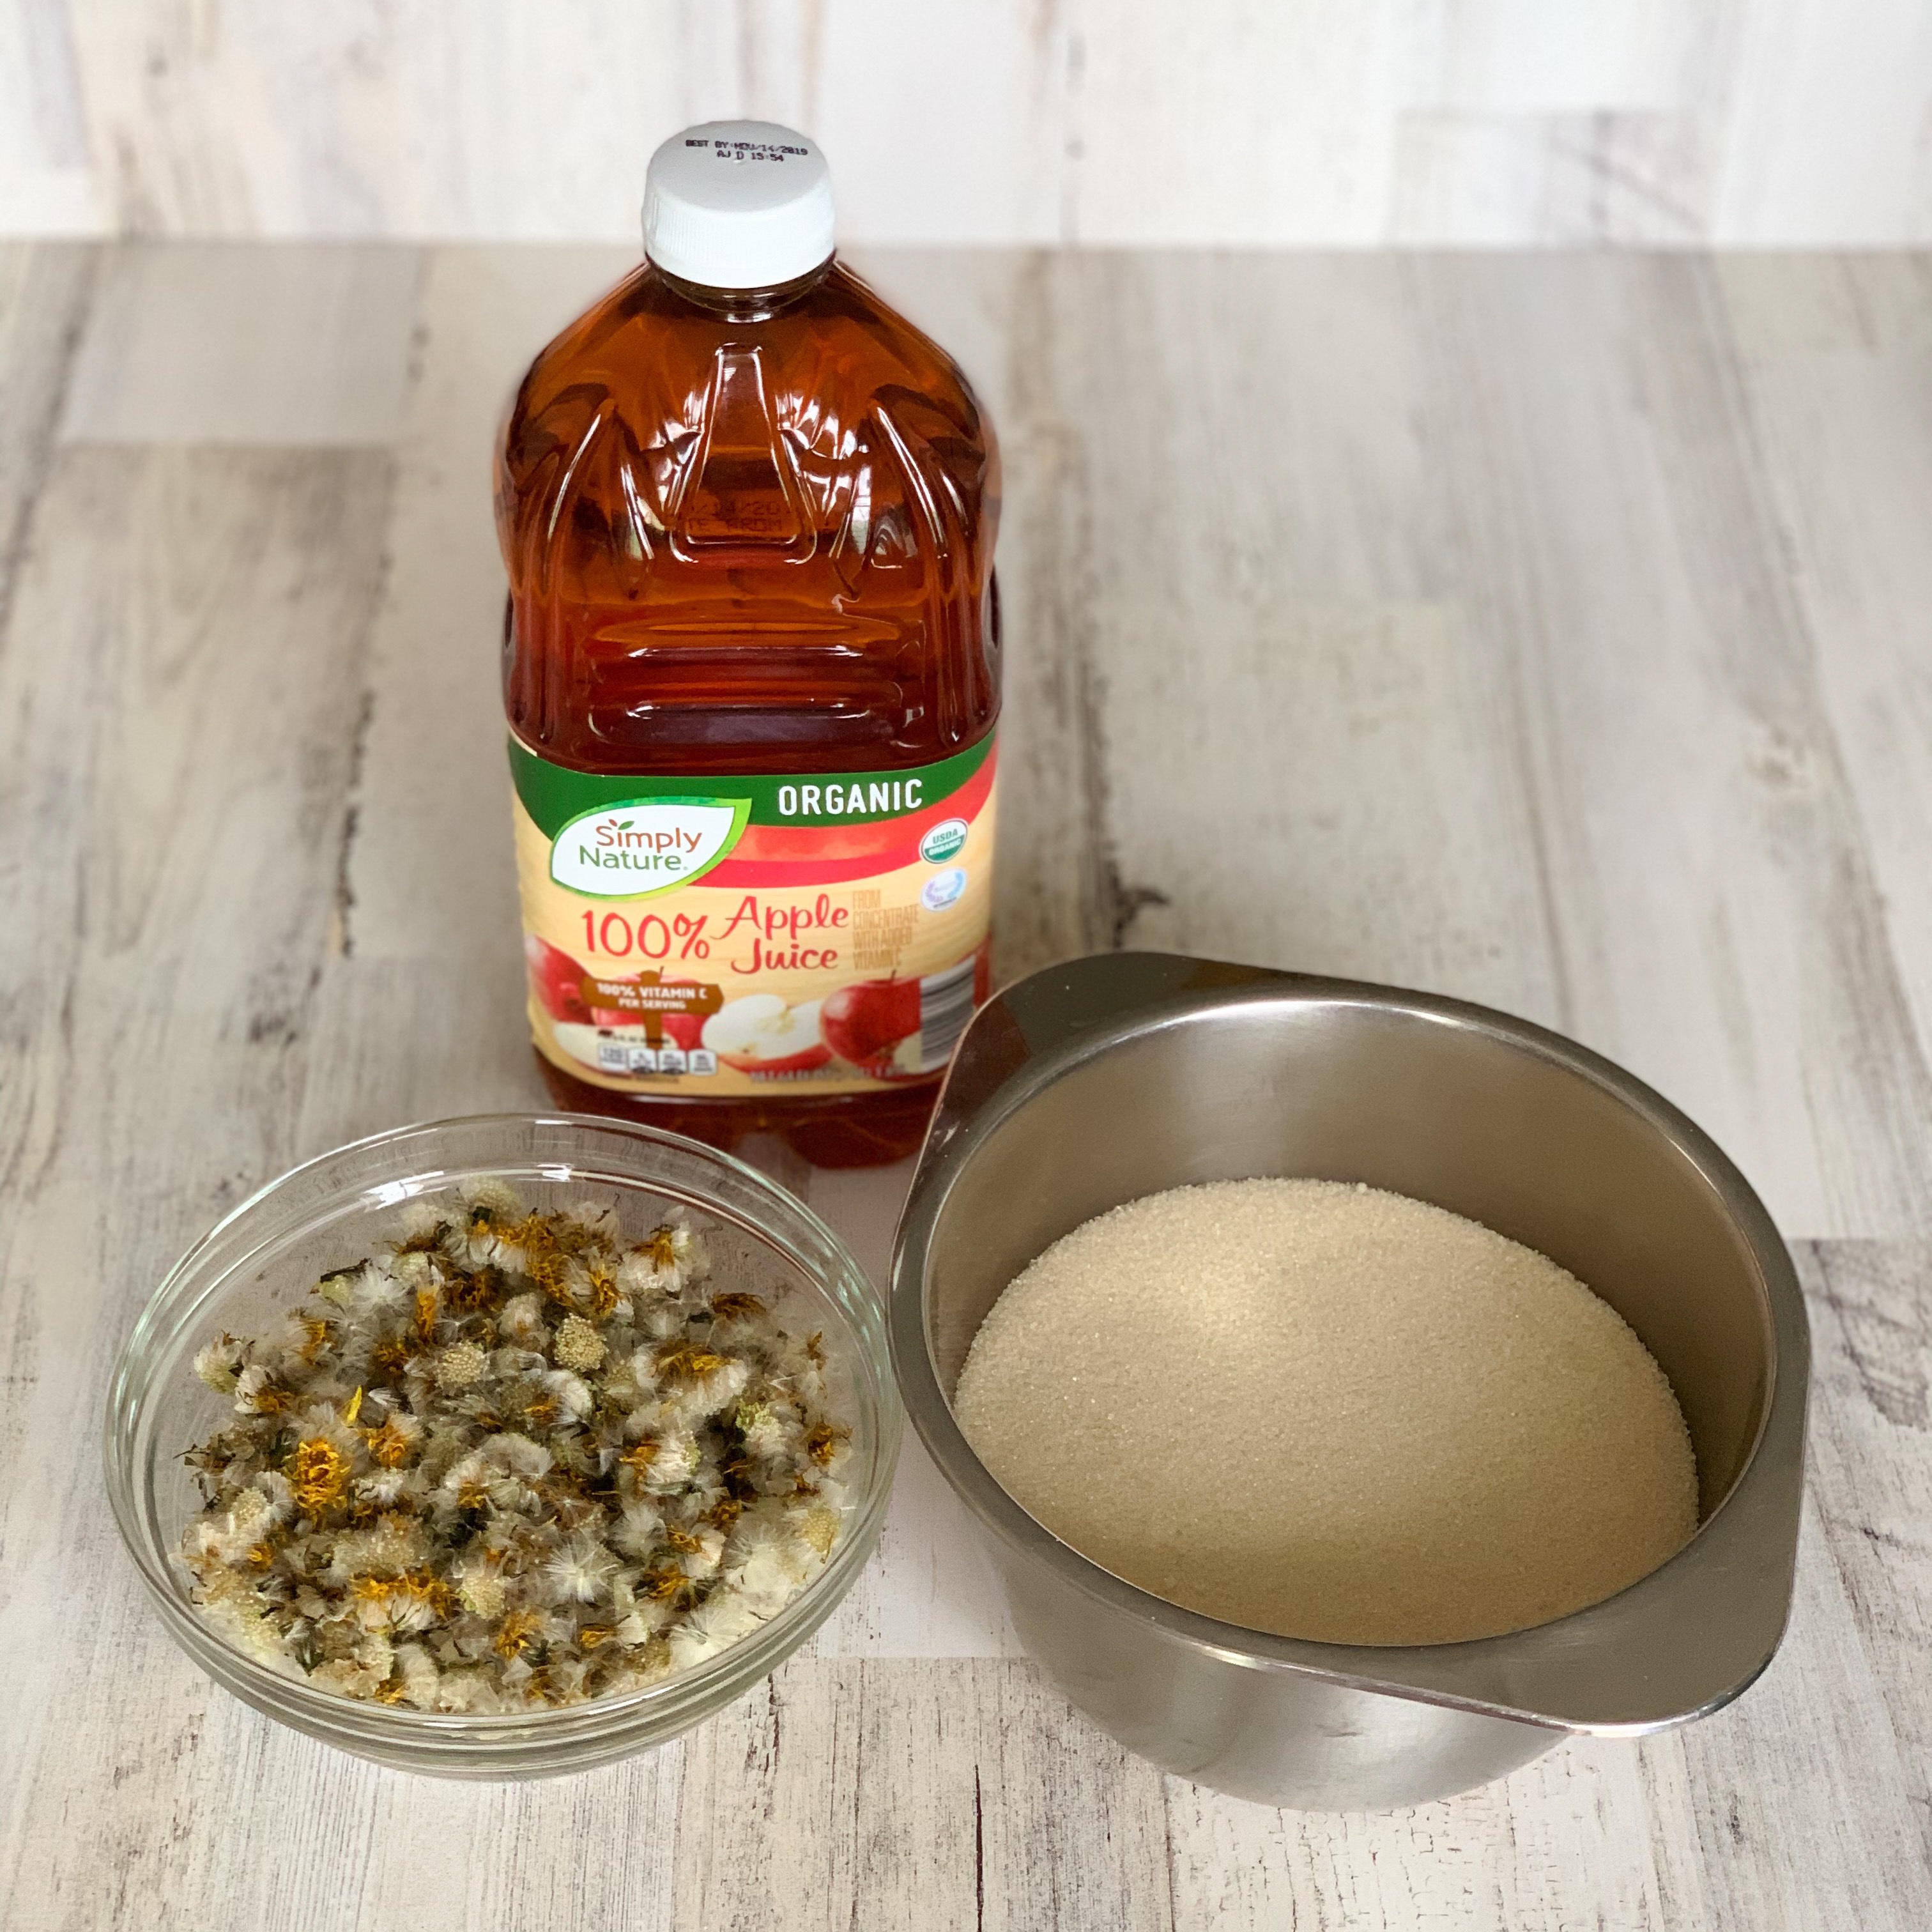
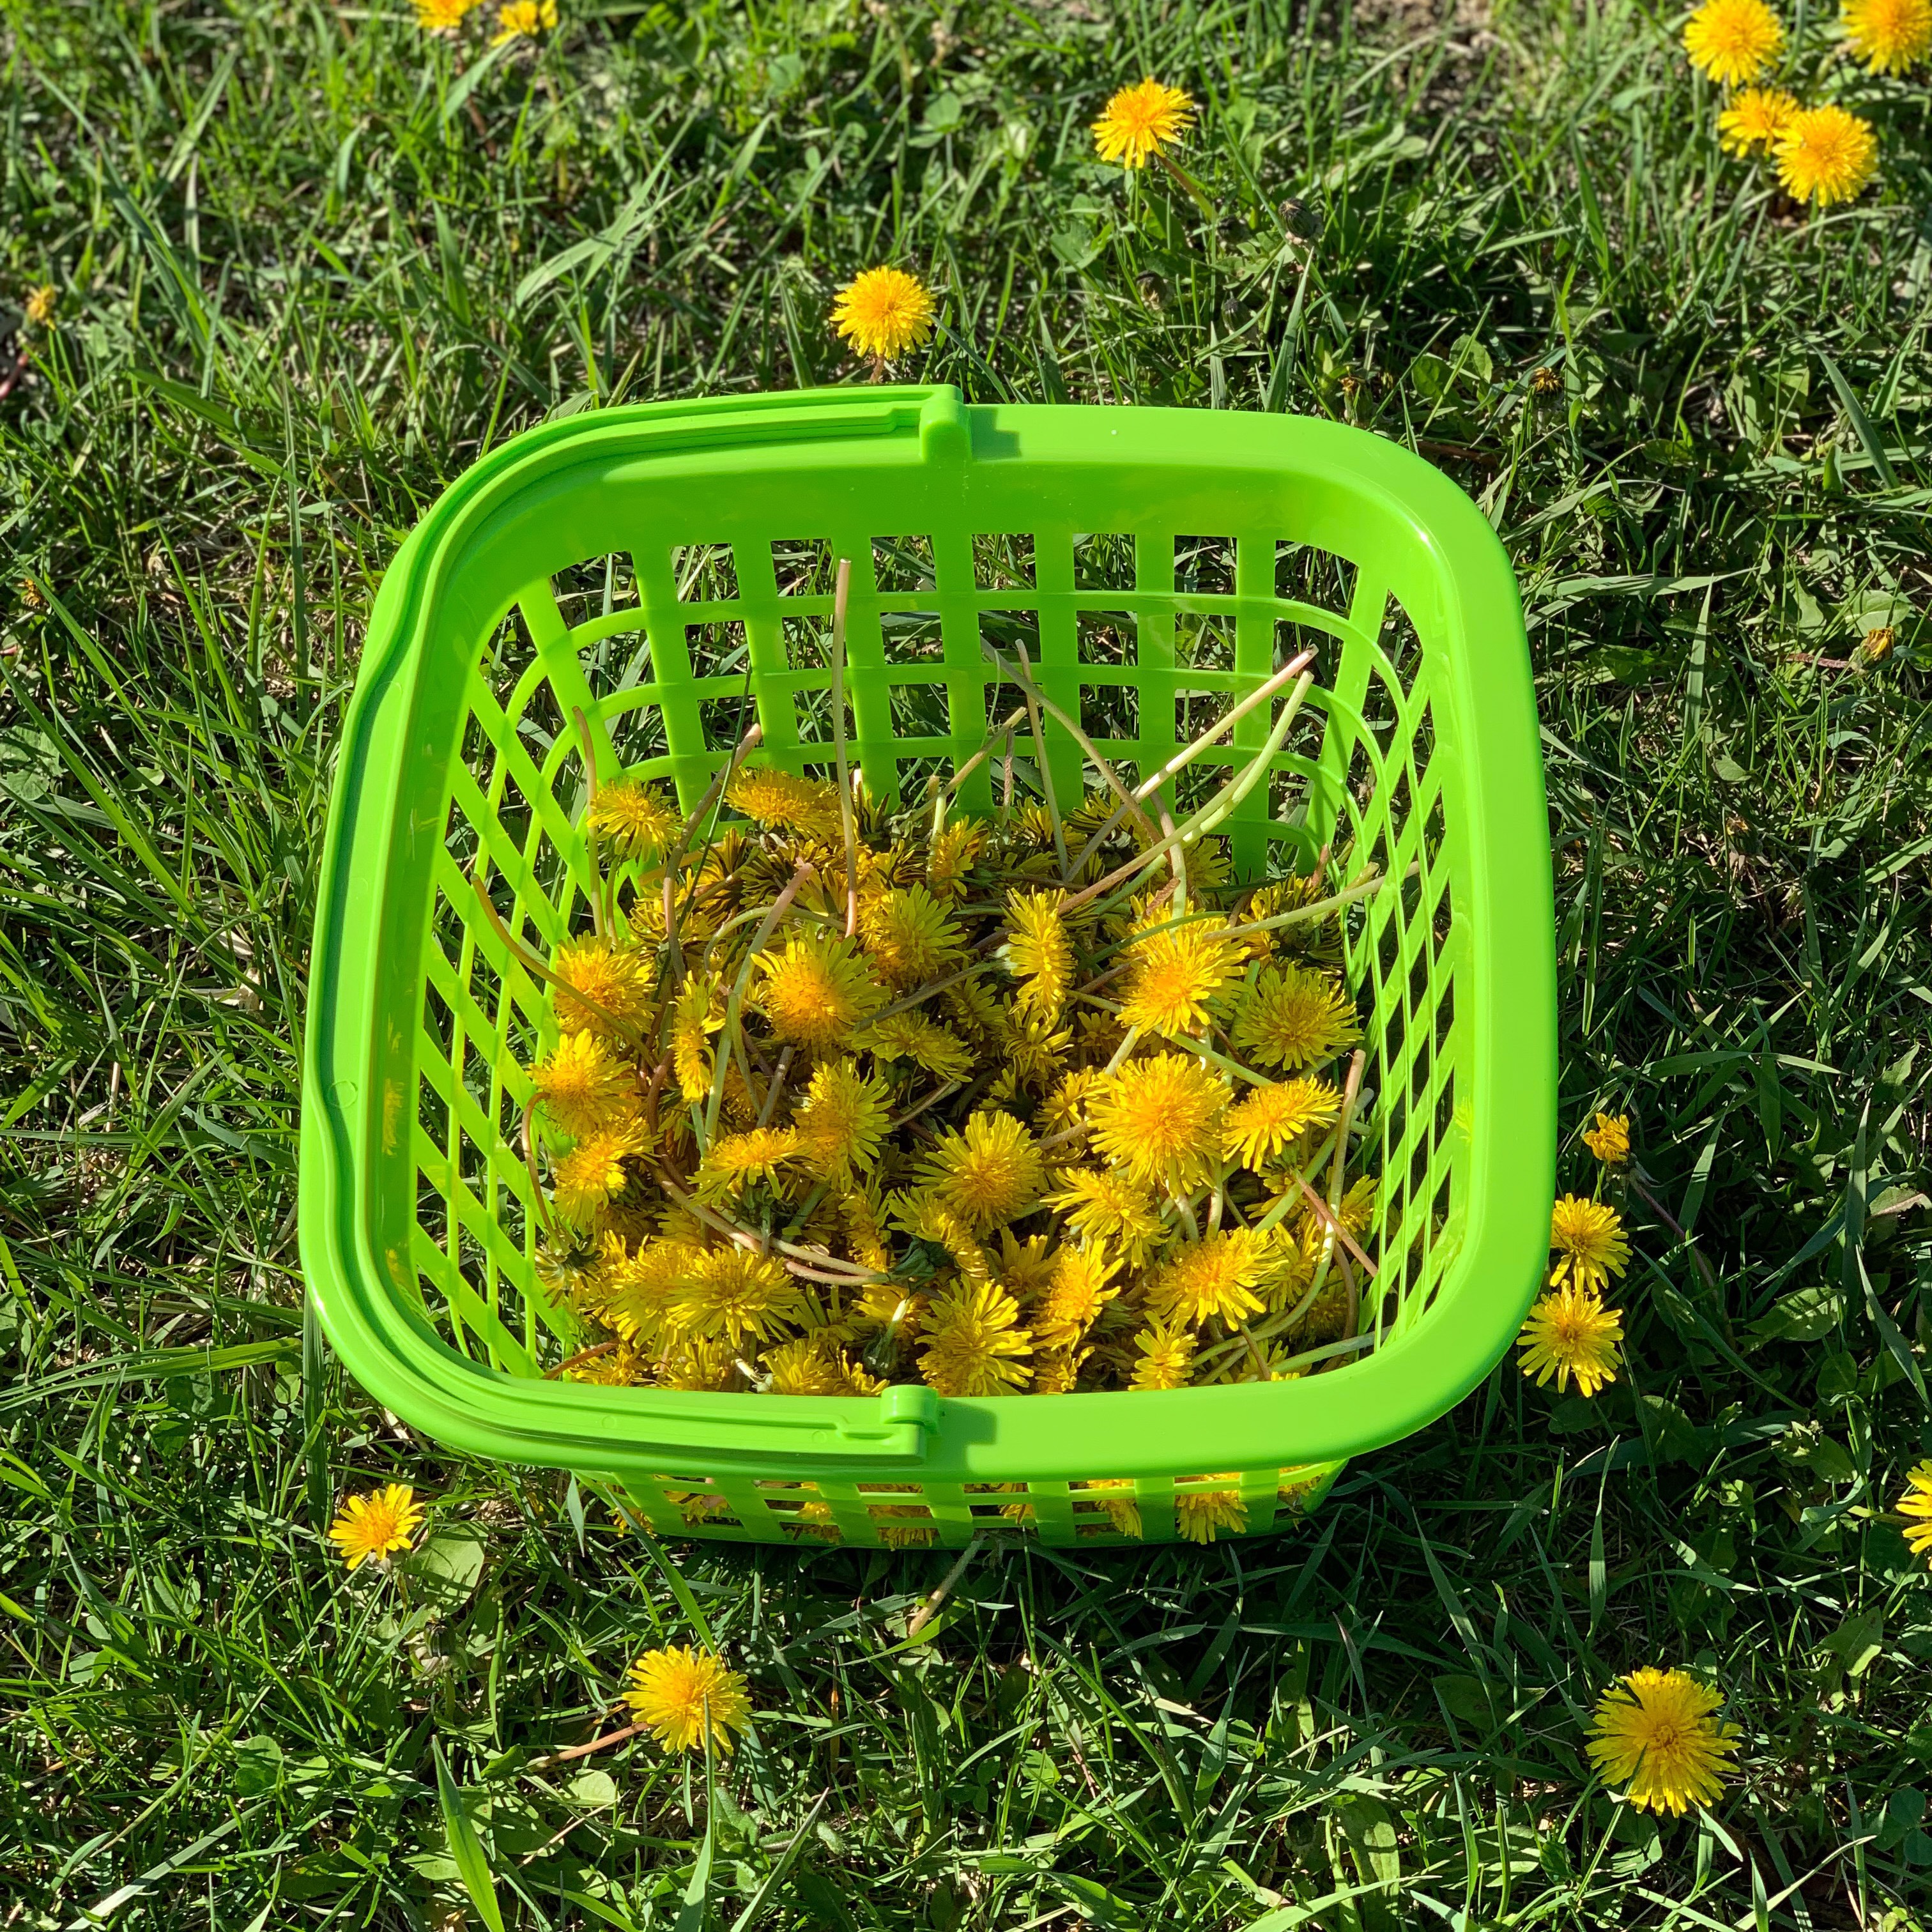
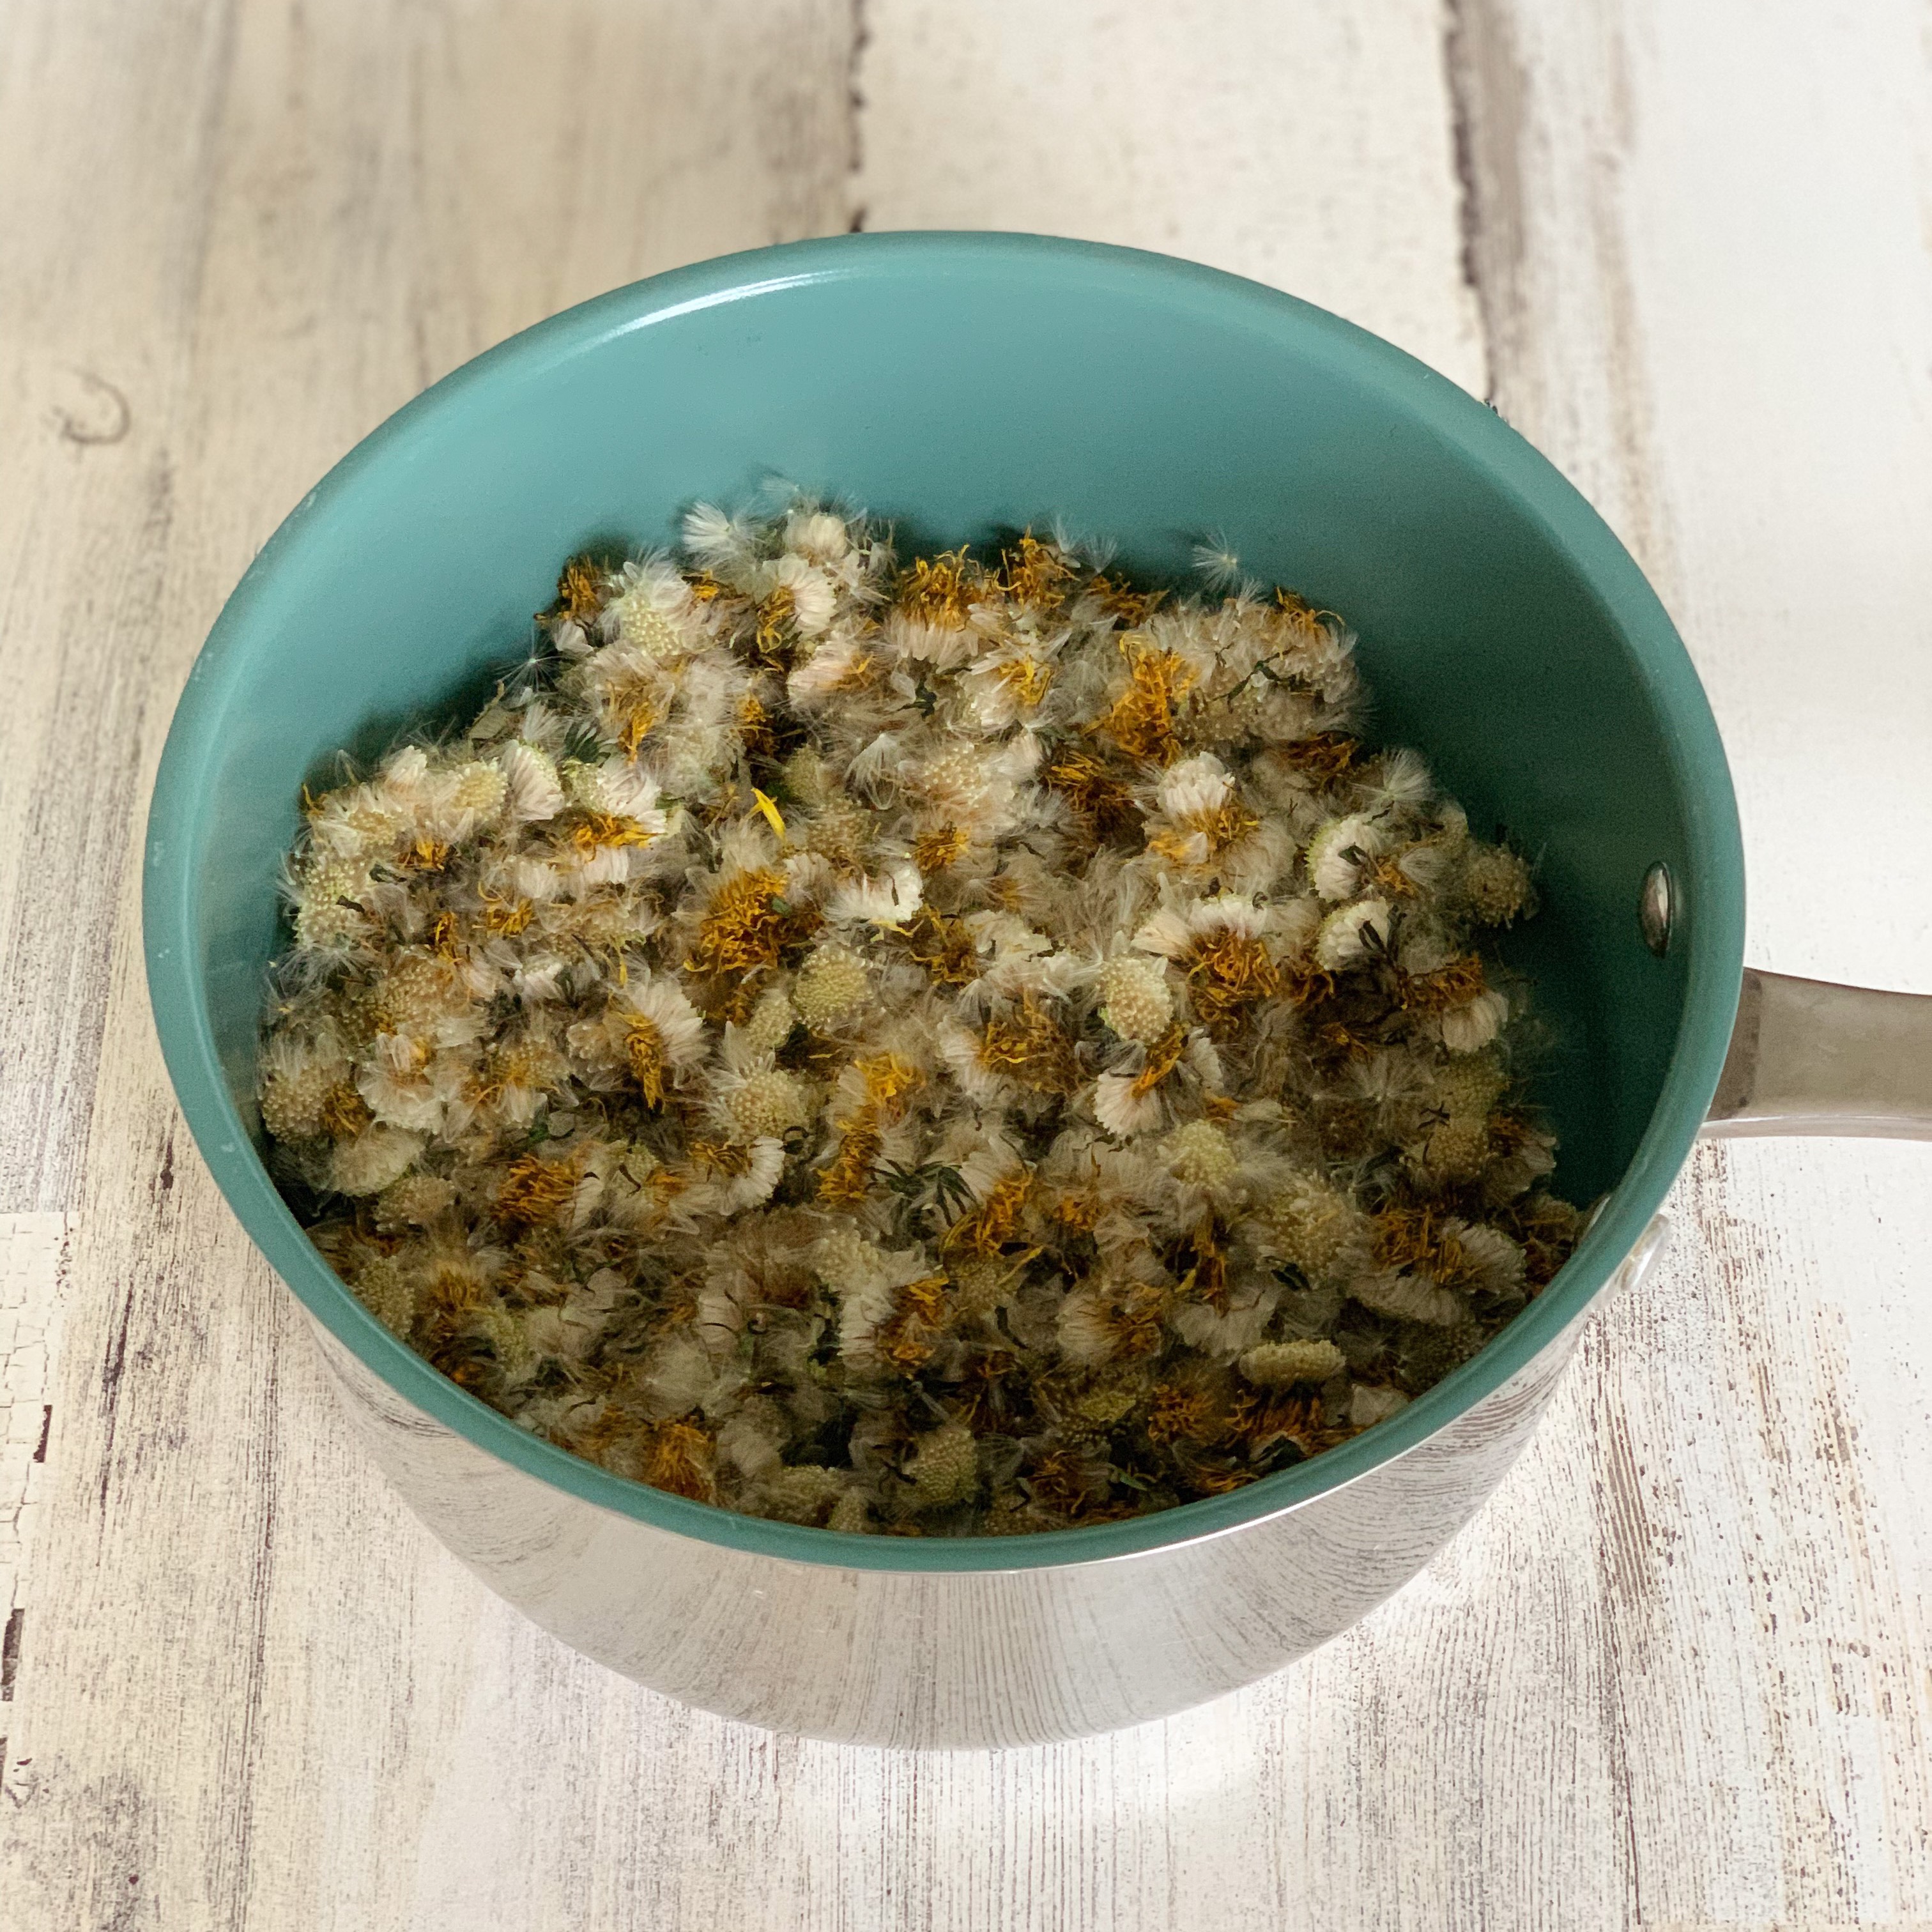
You only need three ingredients to make your own delicious vegan honee: 2 quarts of organic apple juice, 800 grams of vegan sugar, and 360 dried flowers (or three camomile tea bags). Here I am using all dandelion flowers:
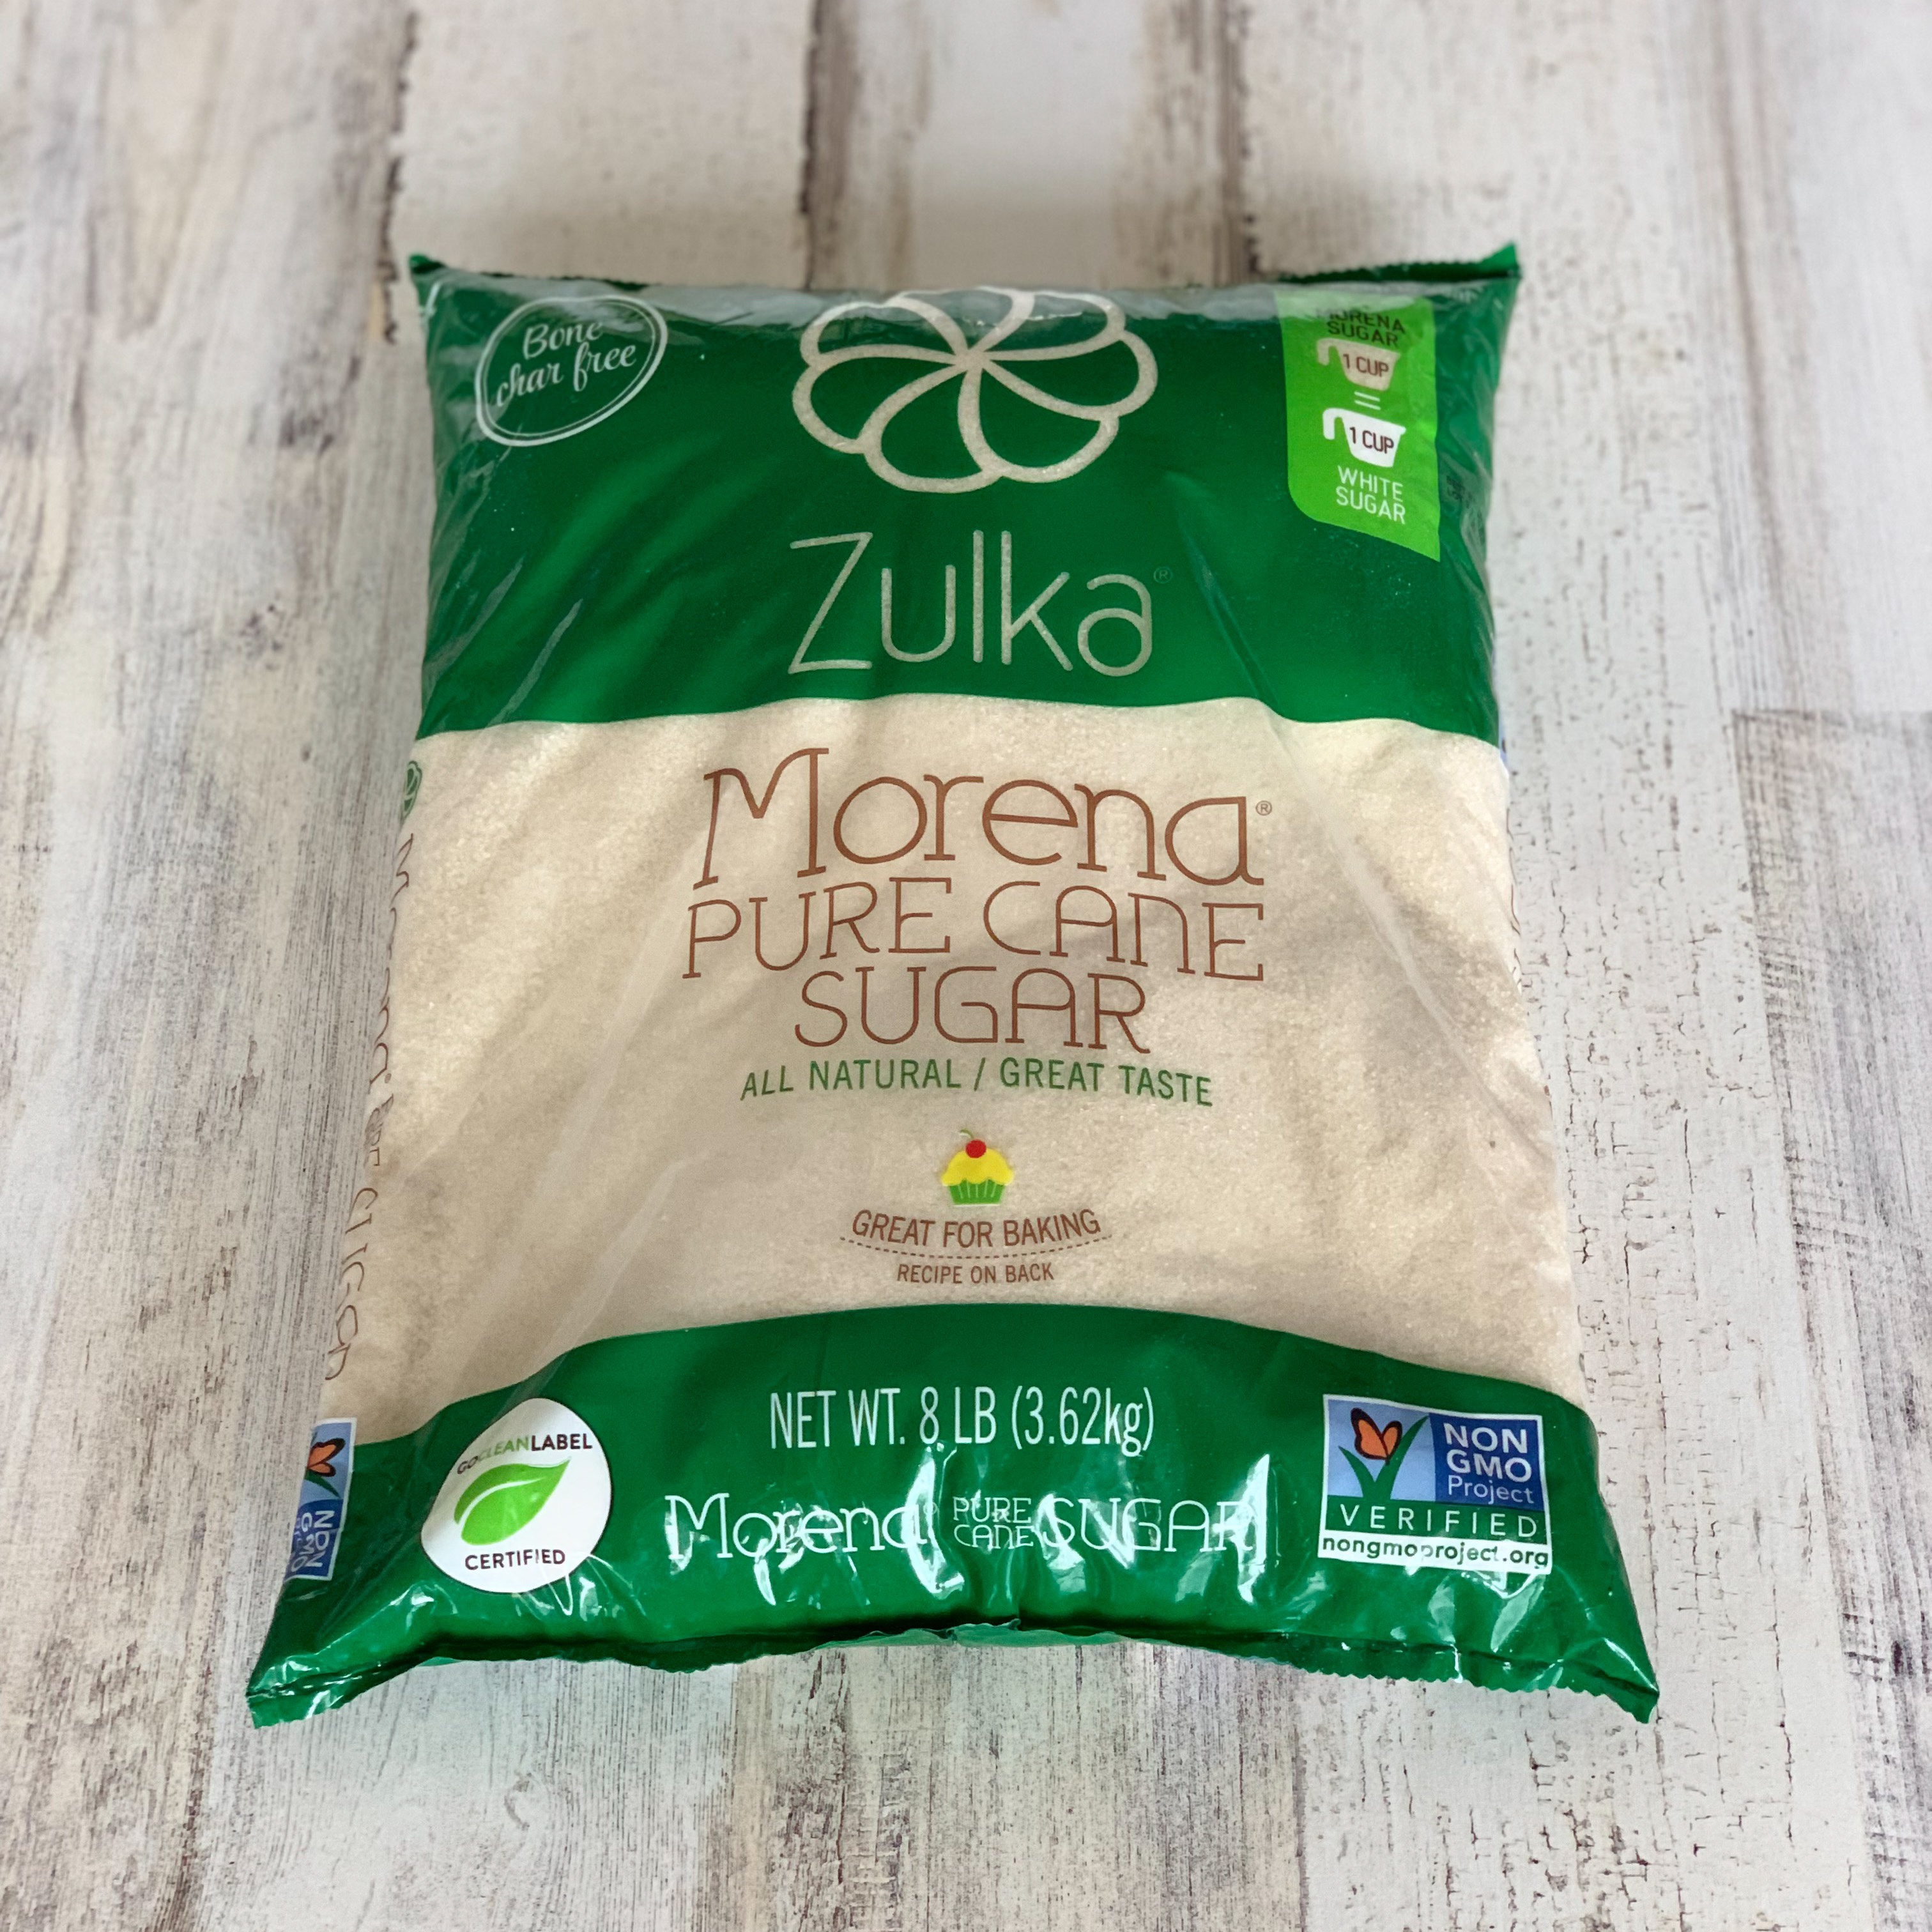
This is the vegan sugar that I use:
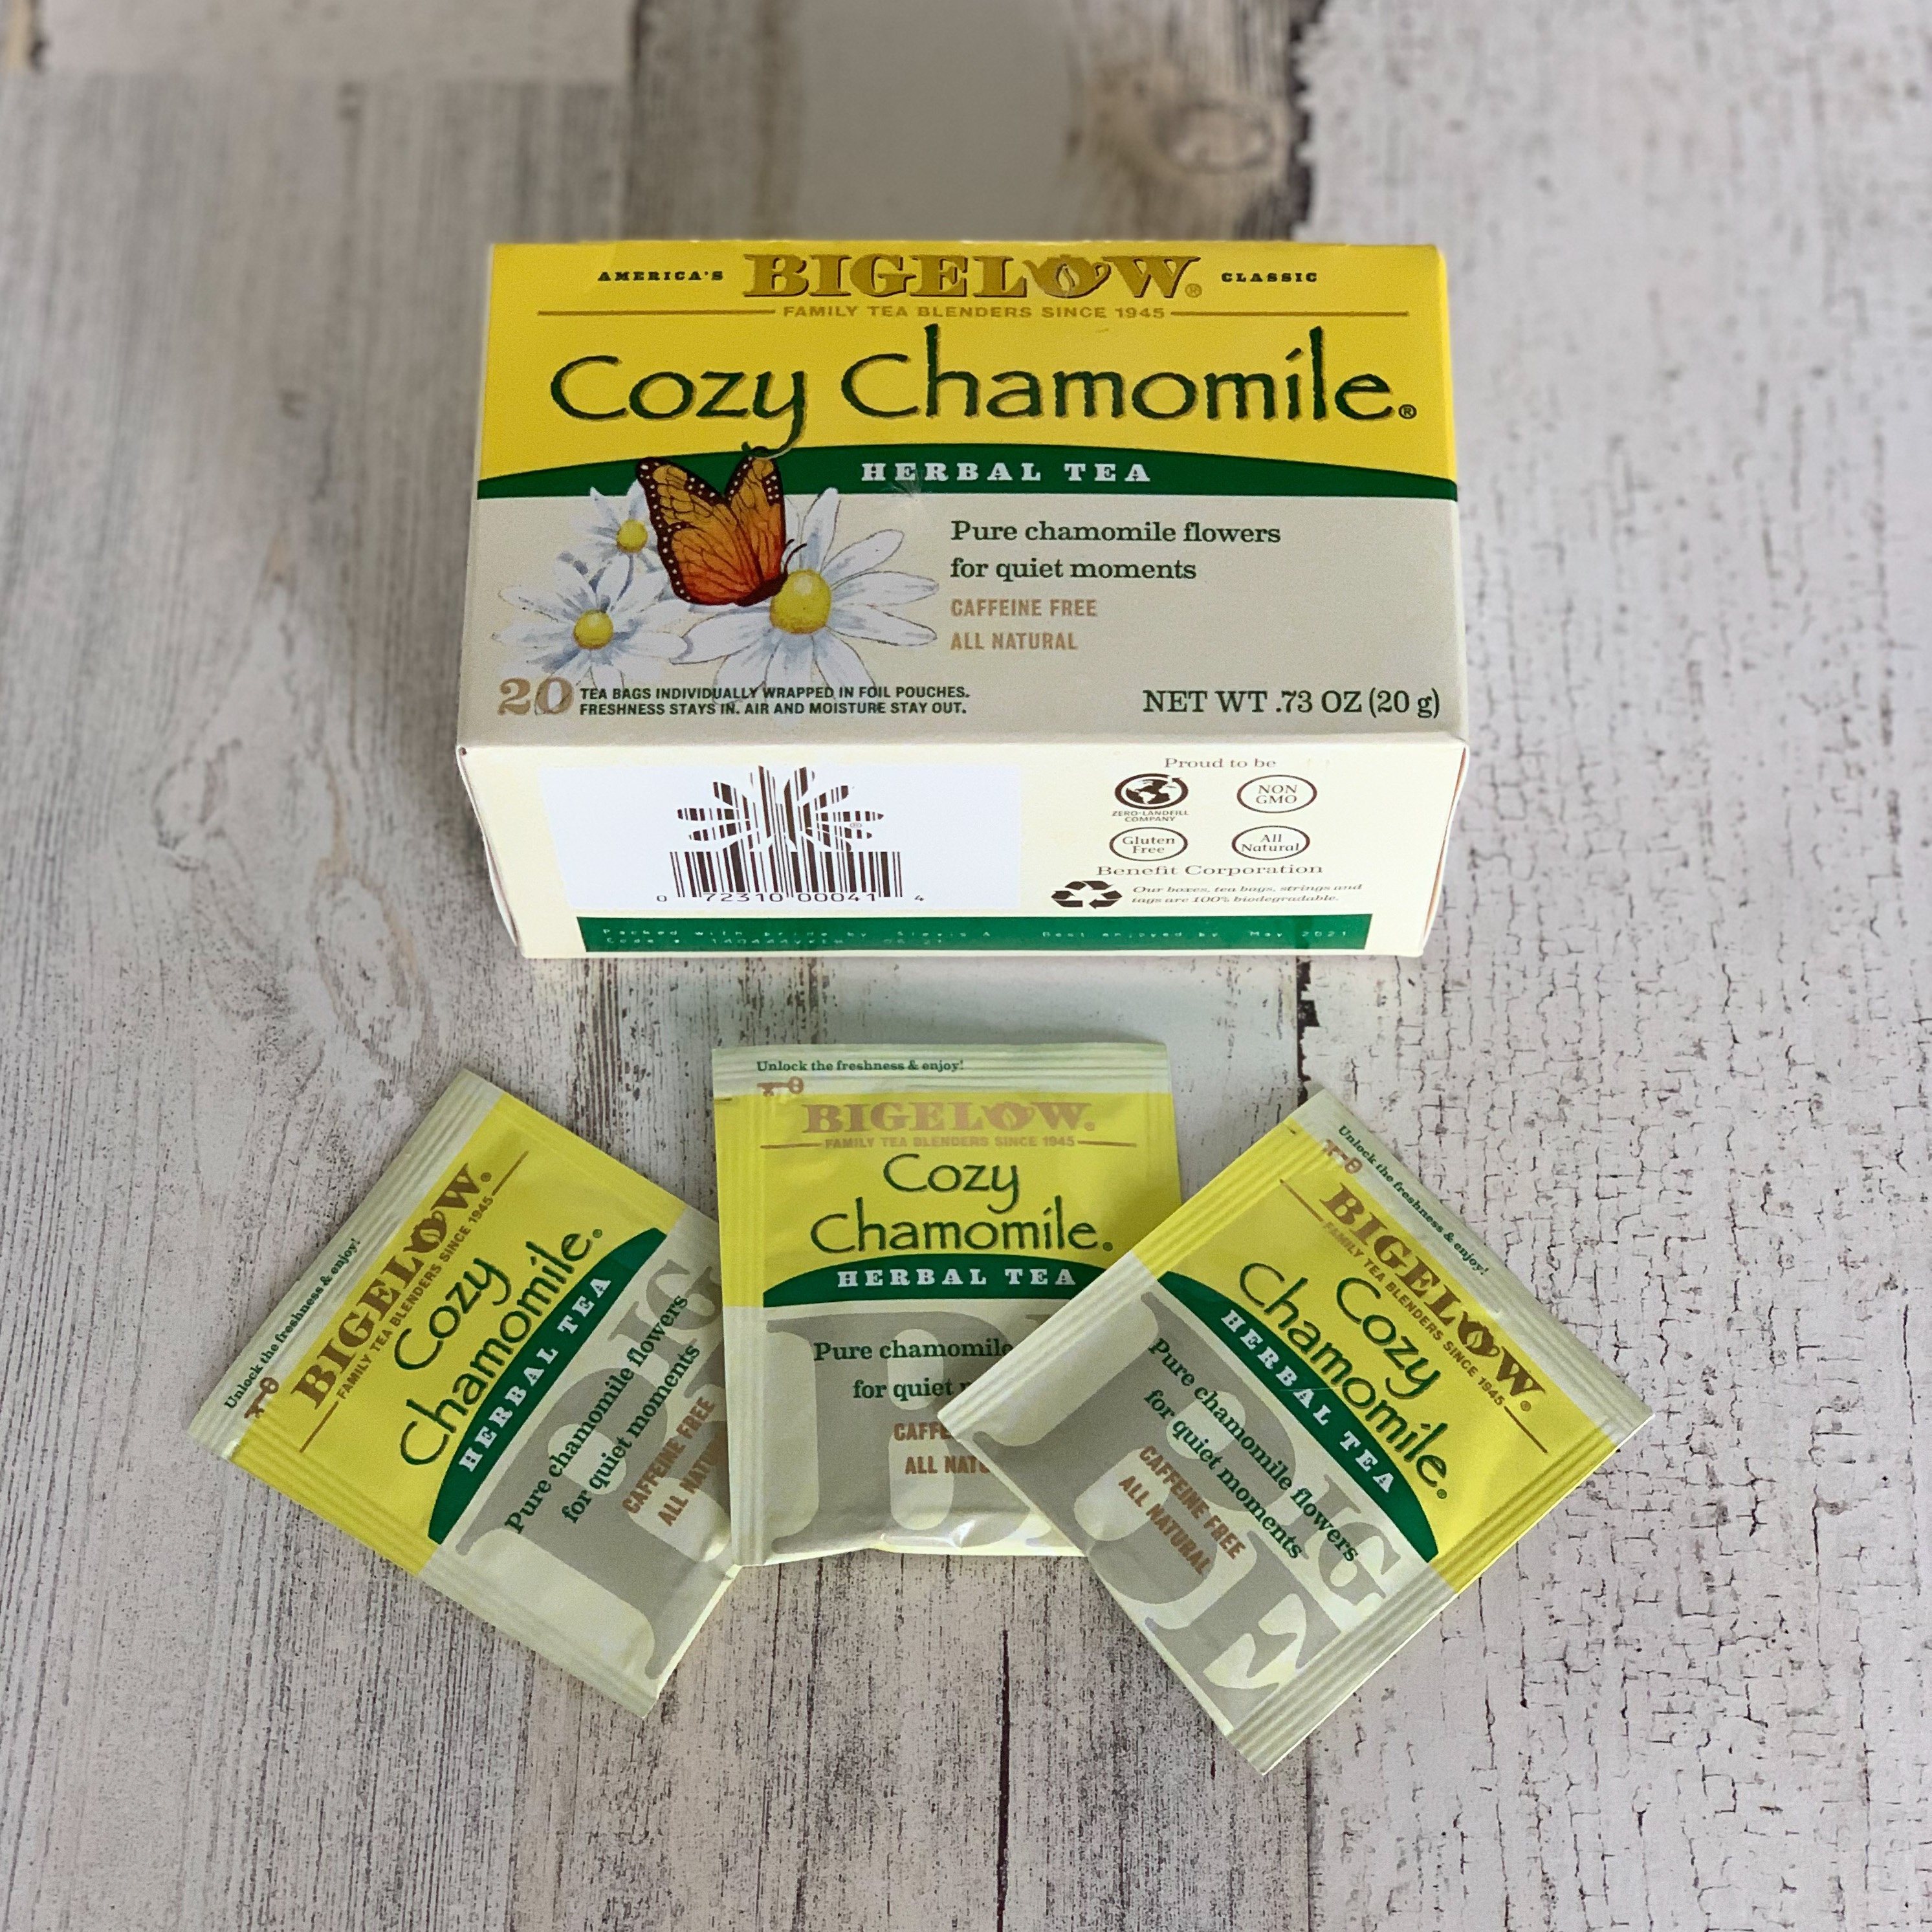
The first step in making vegan honee is to harvest and process your flowers (or just get some chamomile tea if you want the quickest version). If you are using fresh flowers, I recommend only using ones from a pesticide-free yard. If you are using tea bags, make sure that the only ingredient is chamomile flowers.
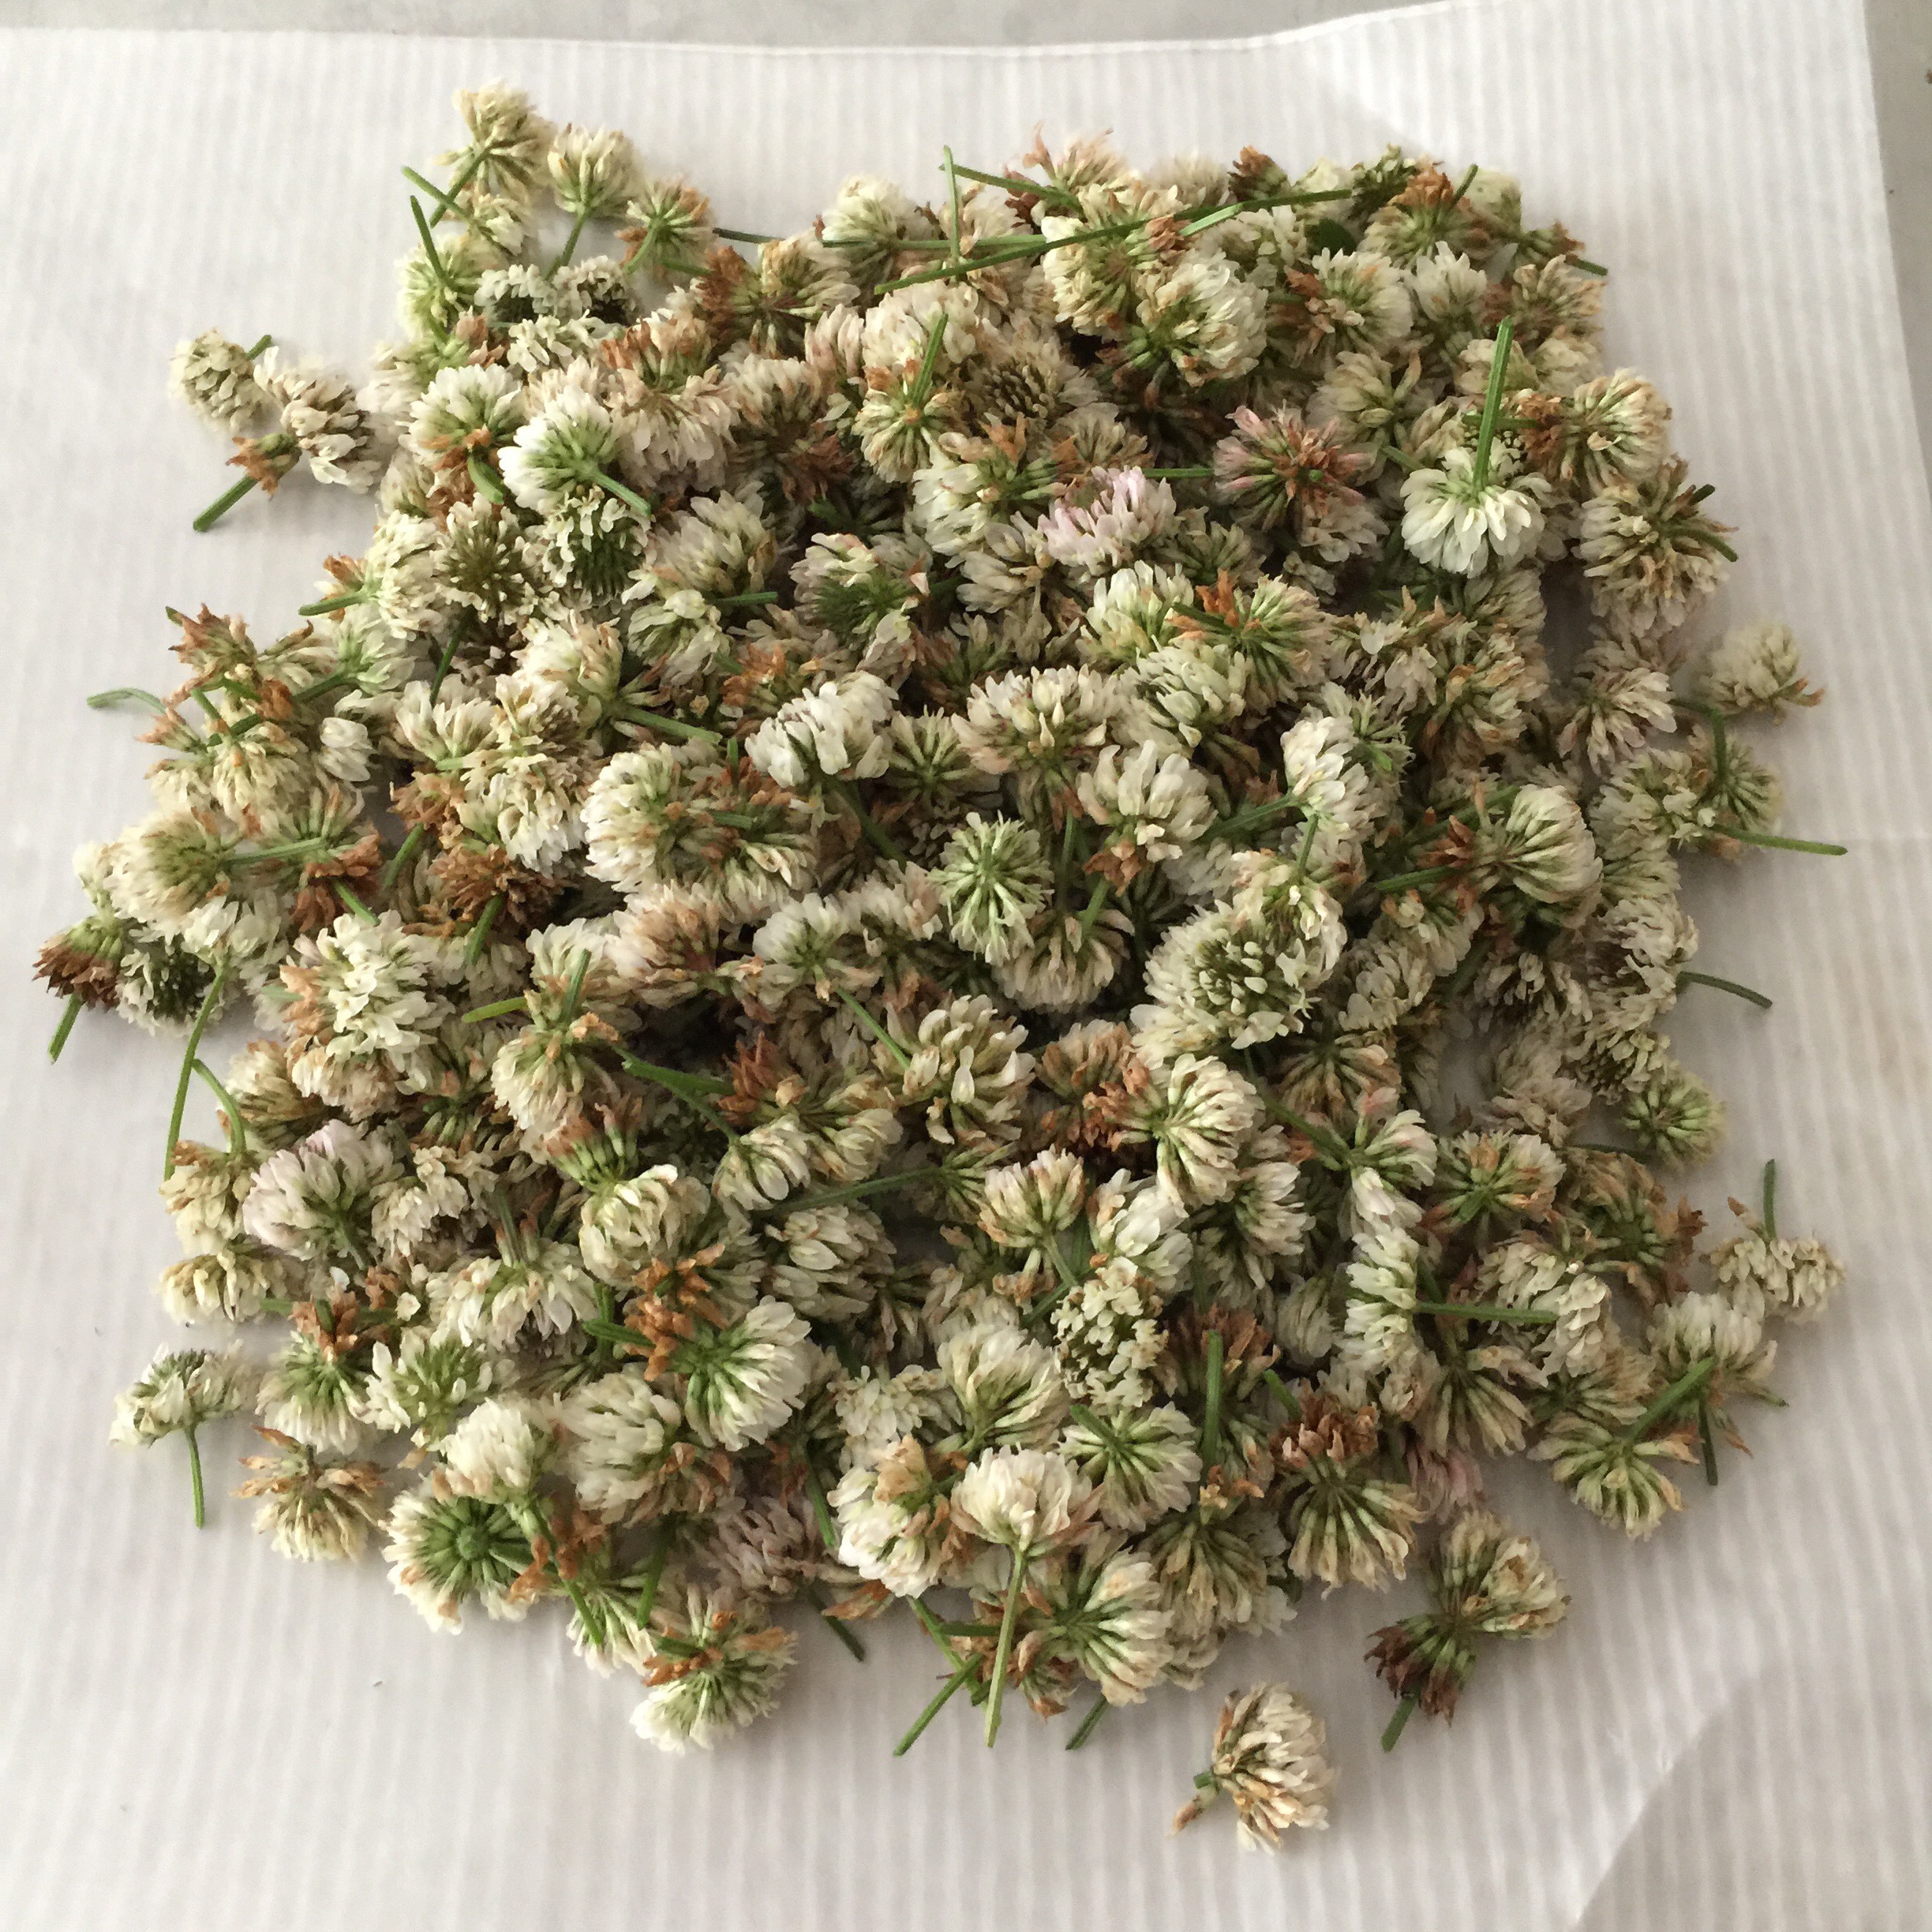
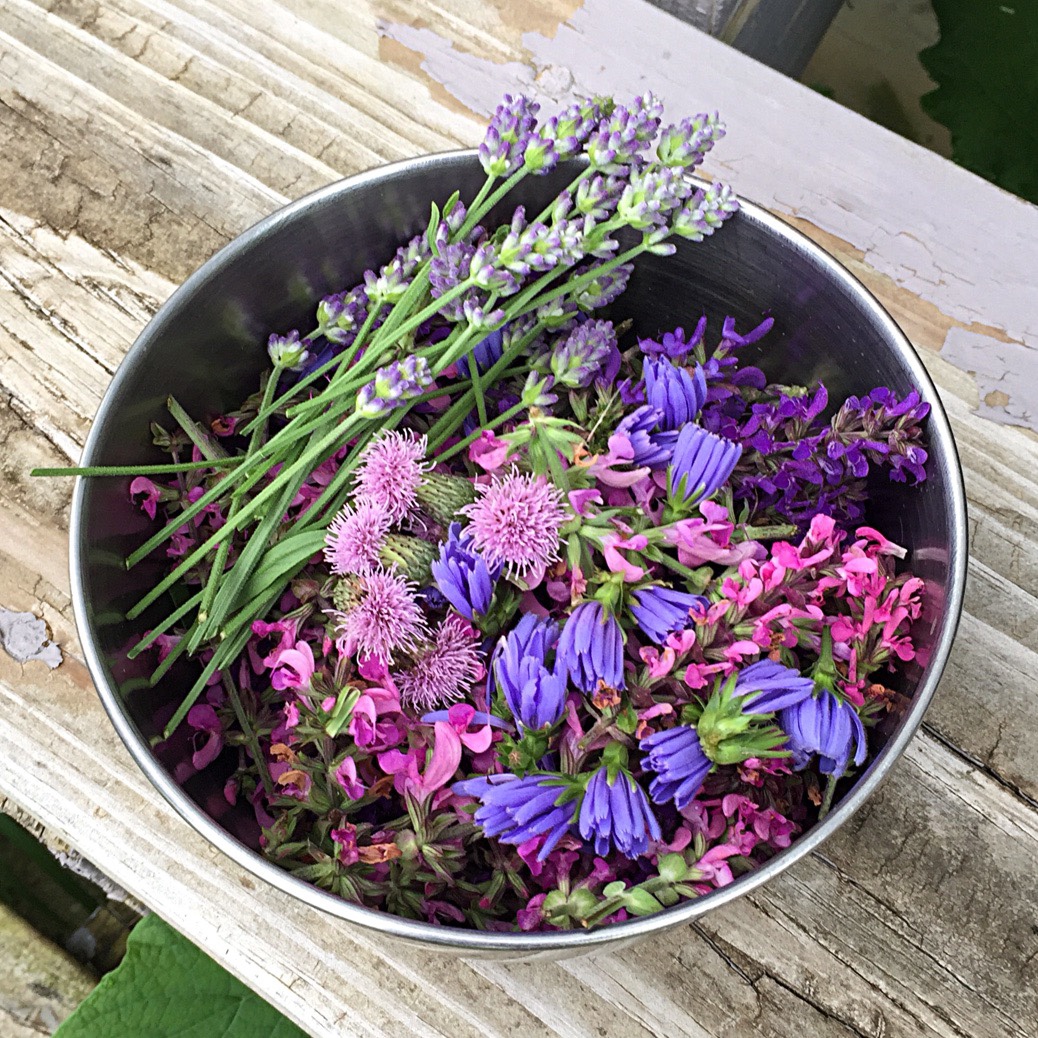
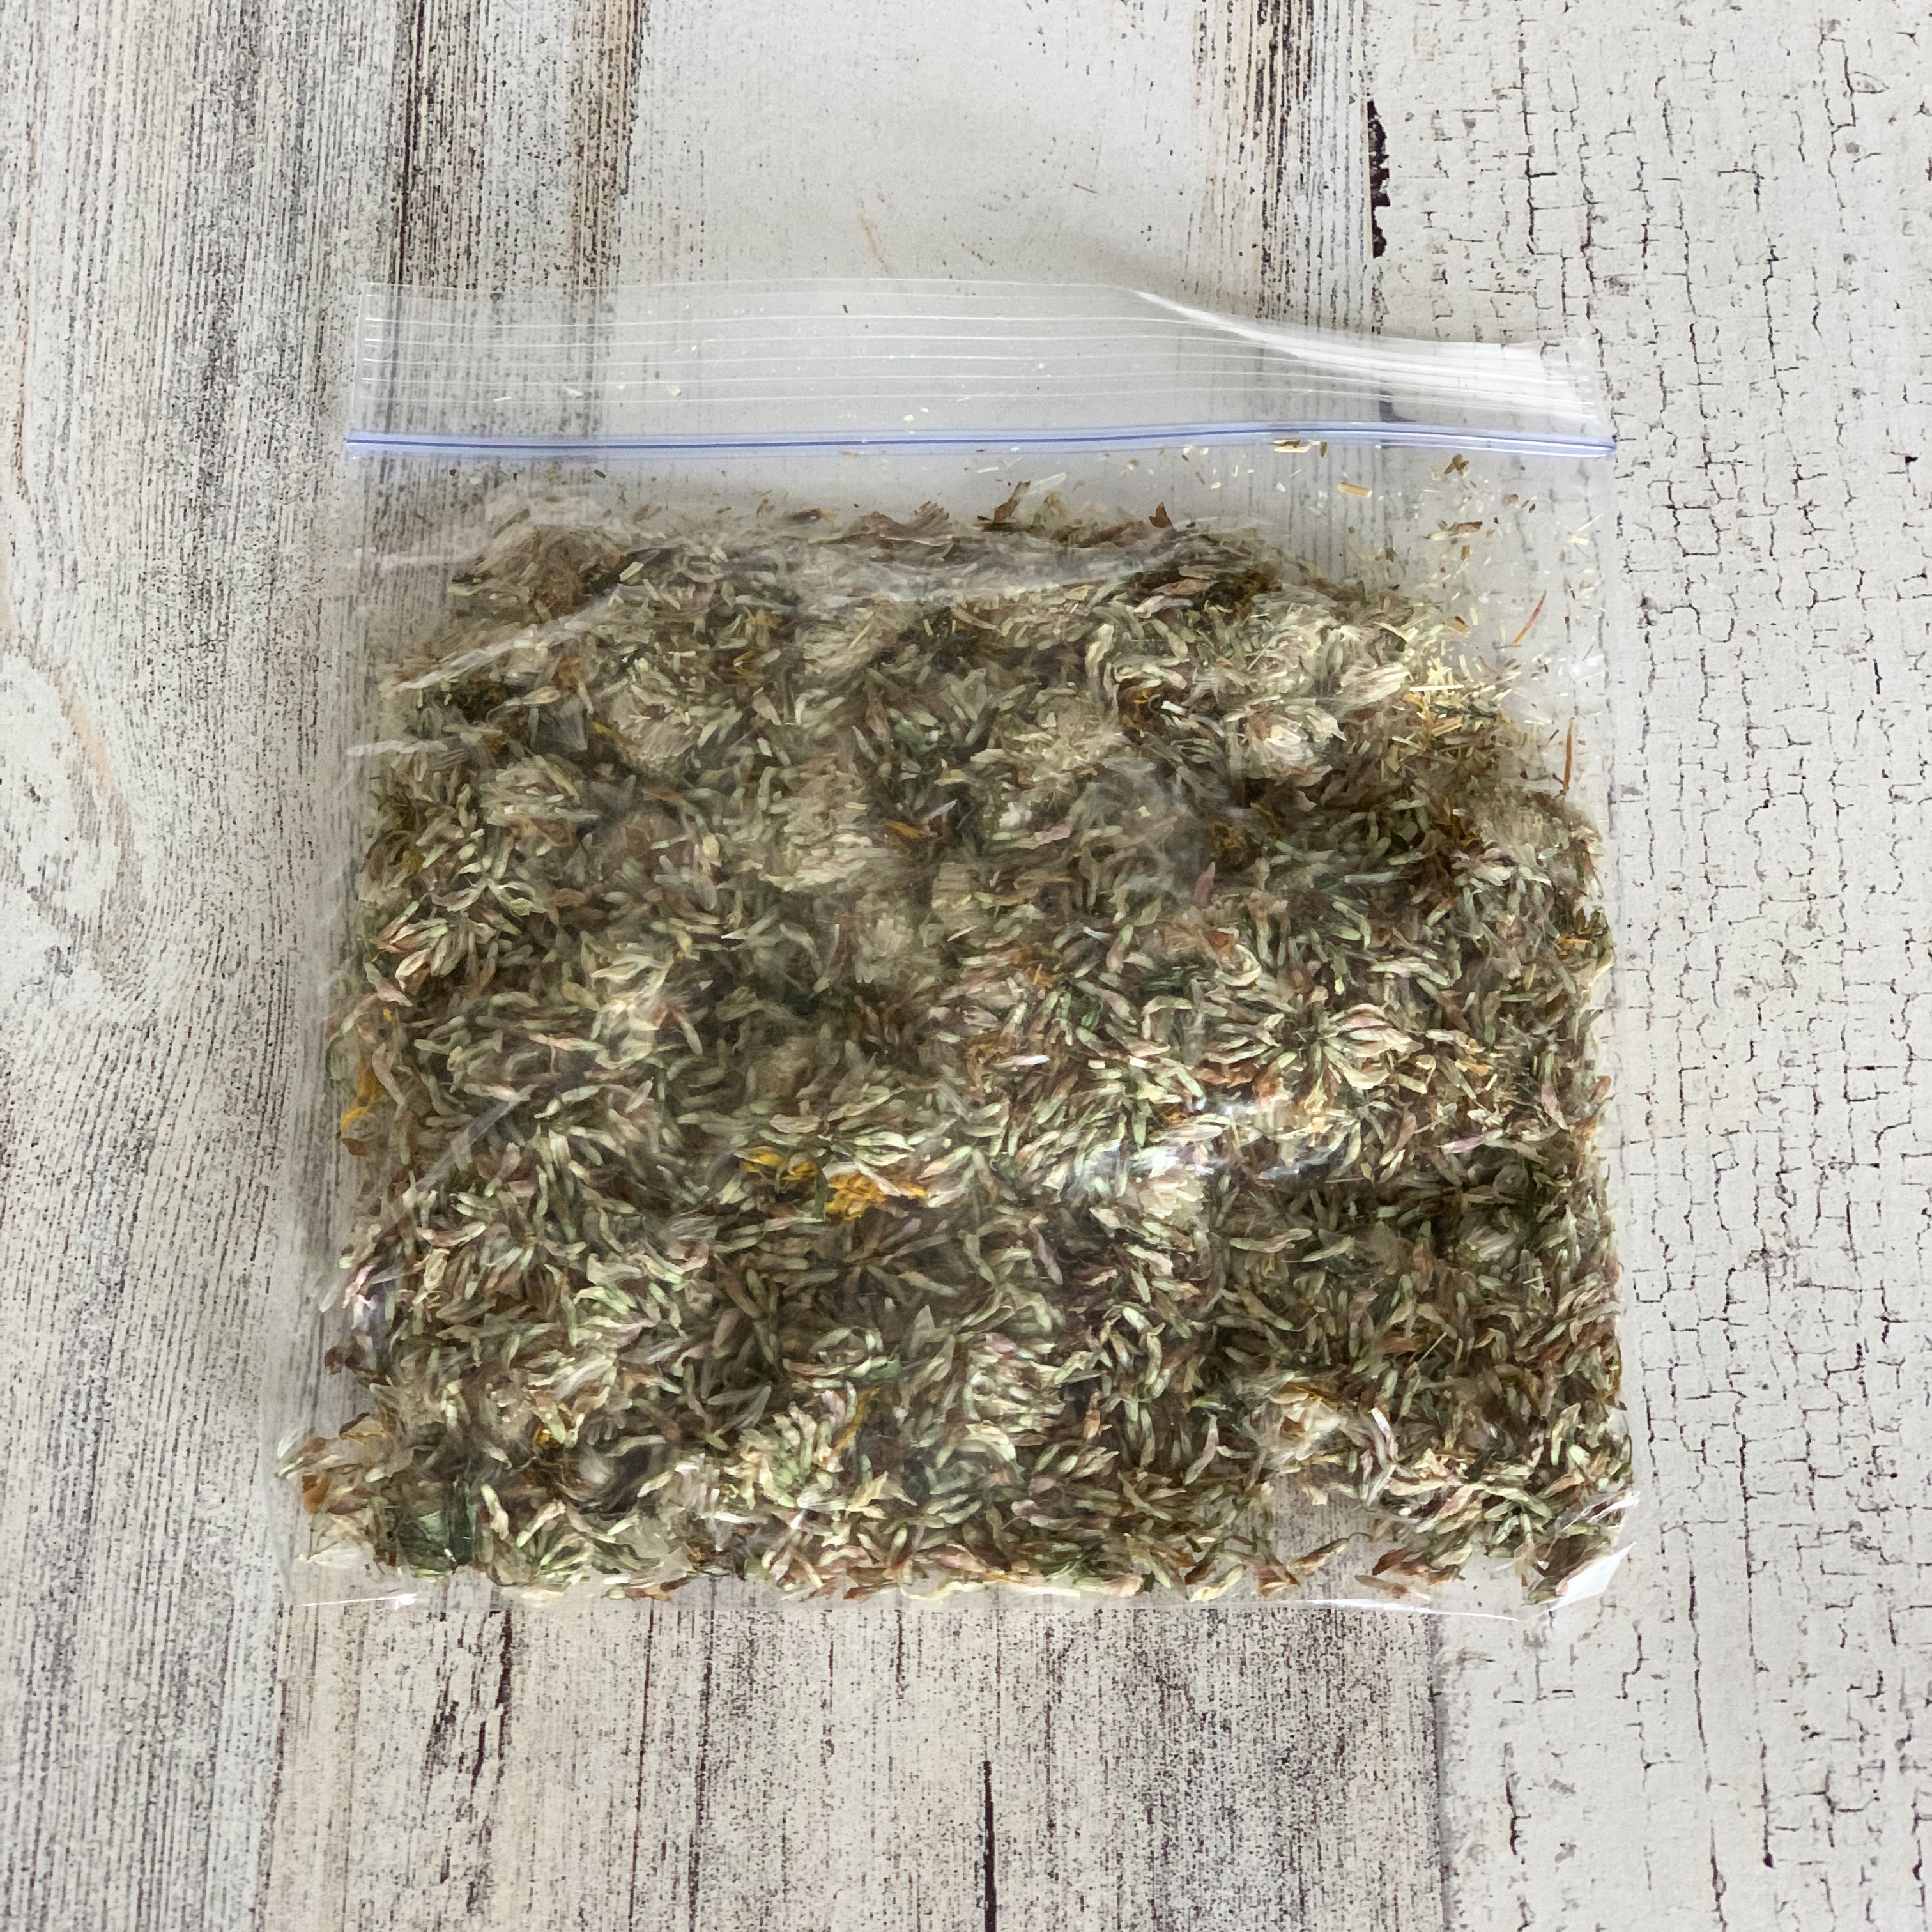
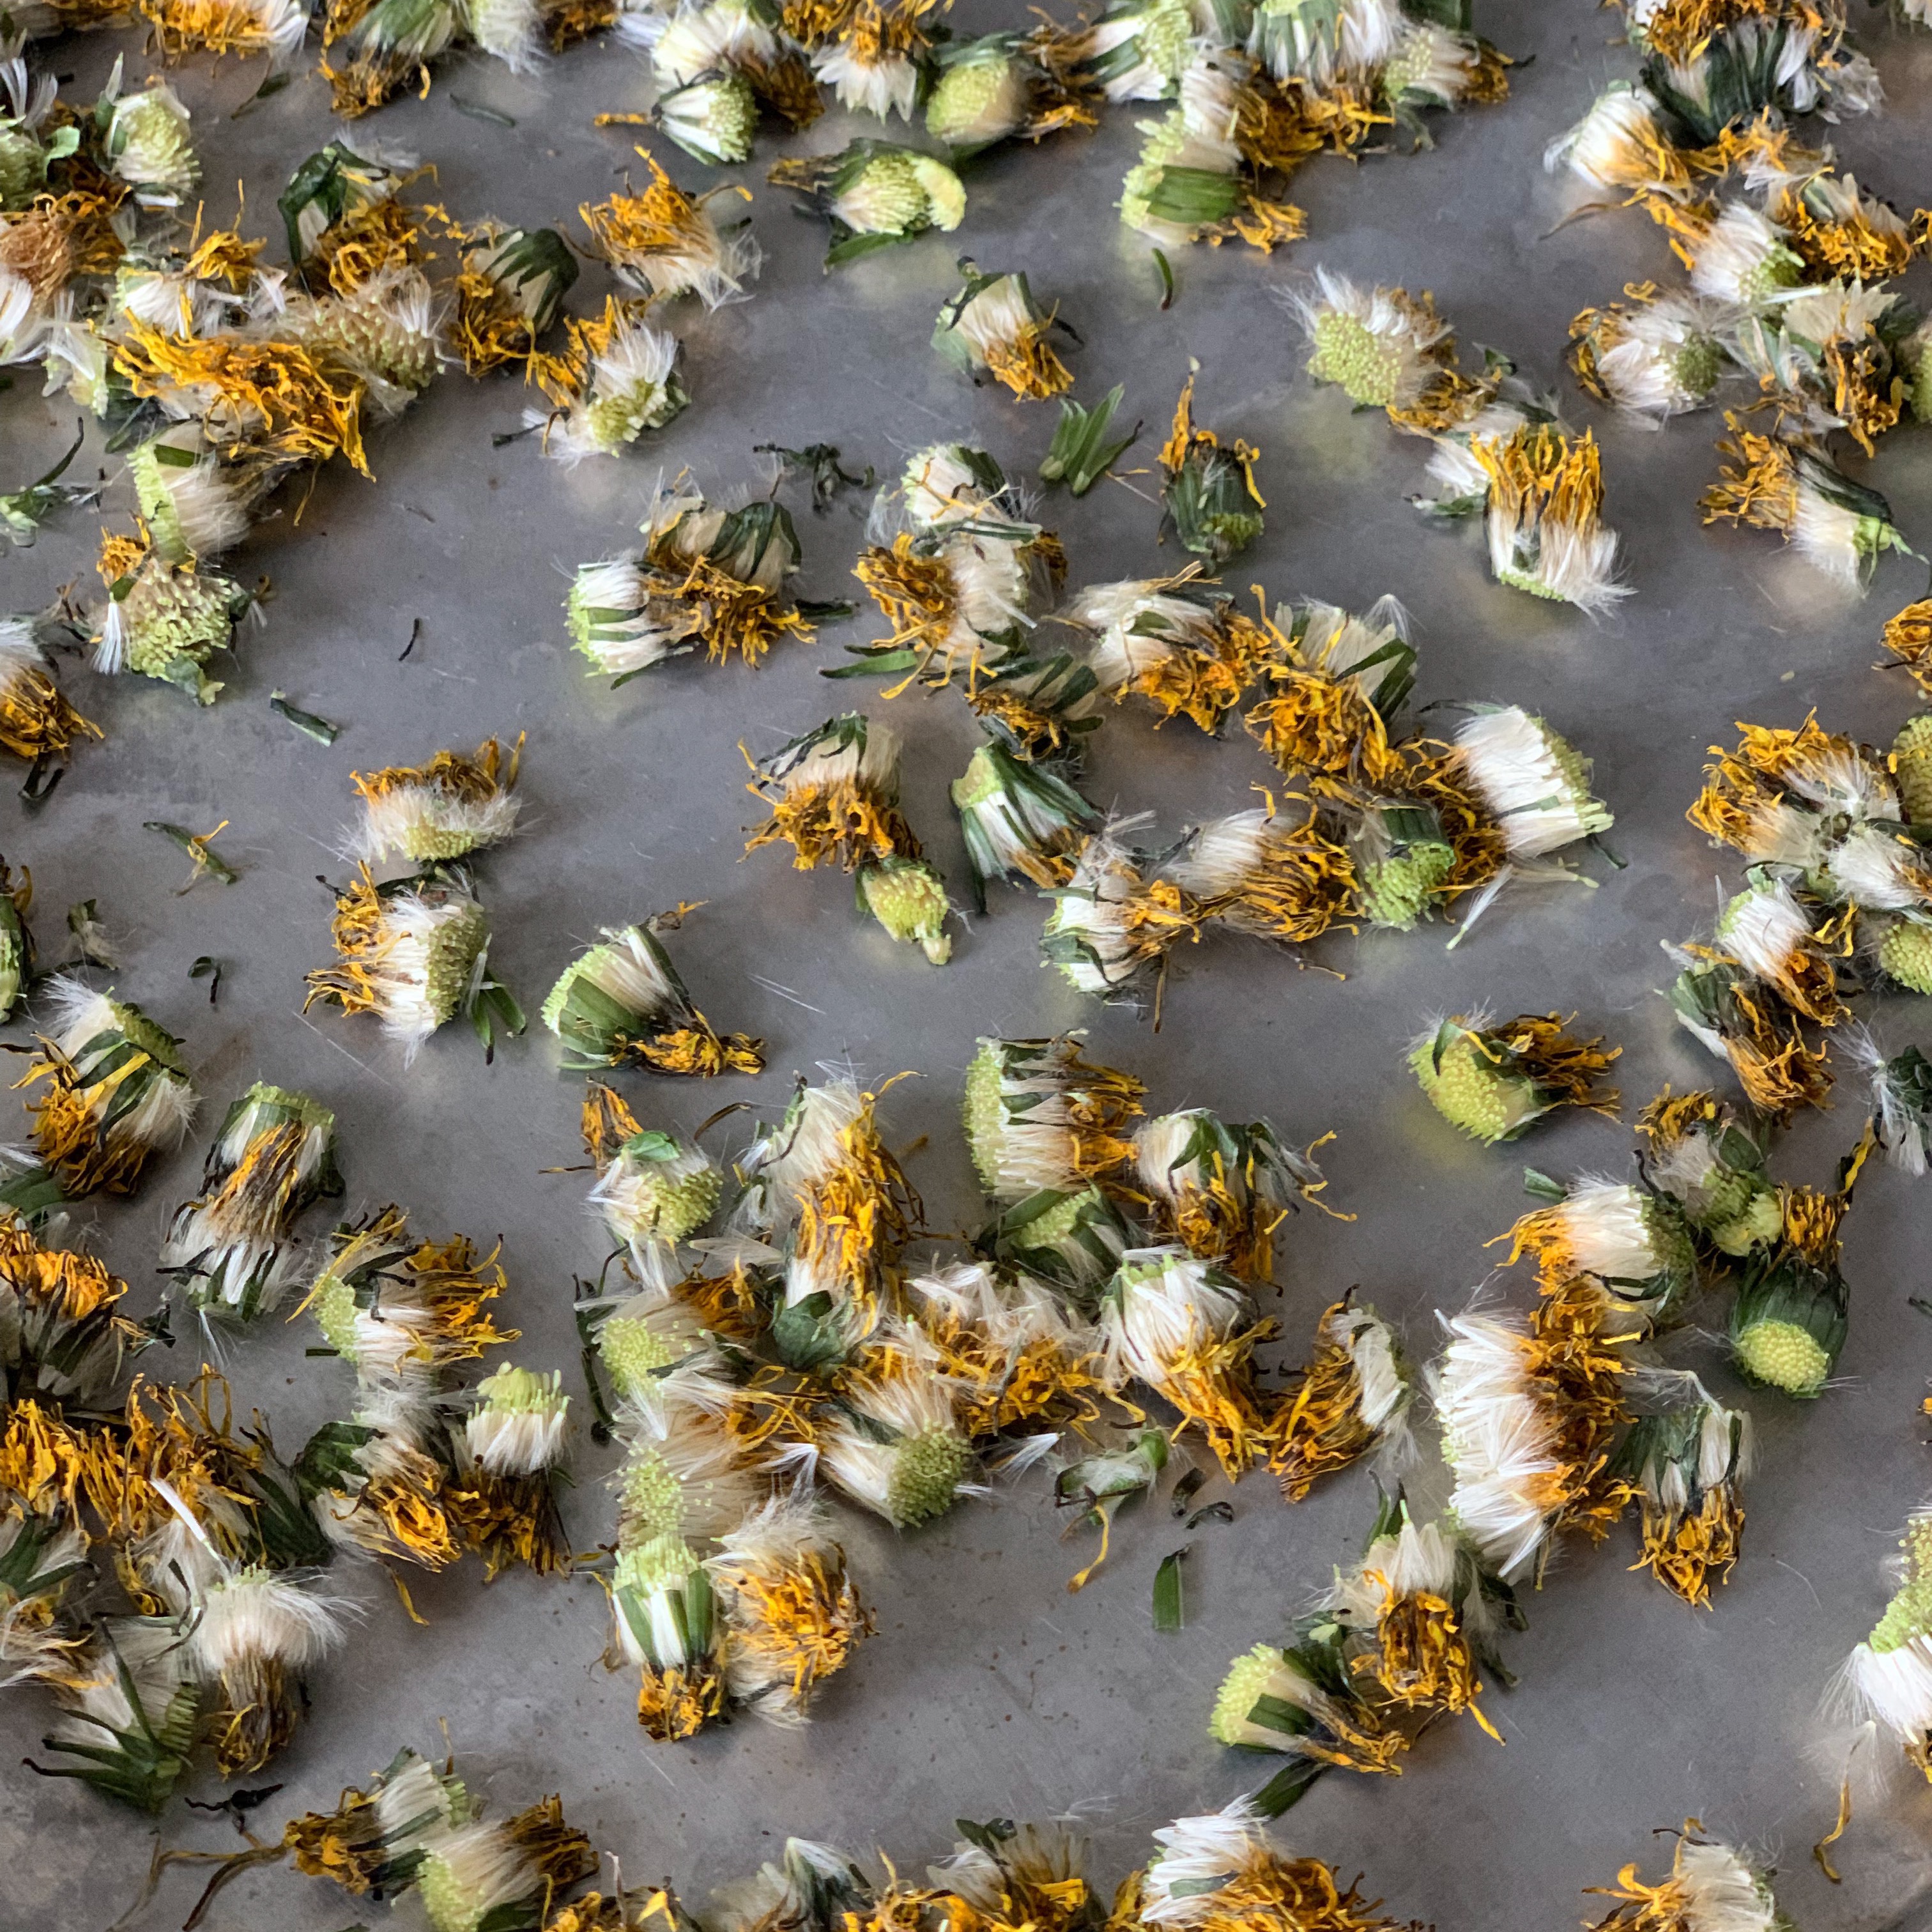
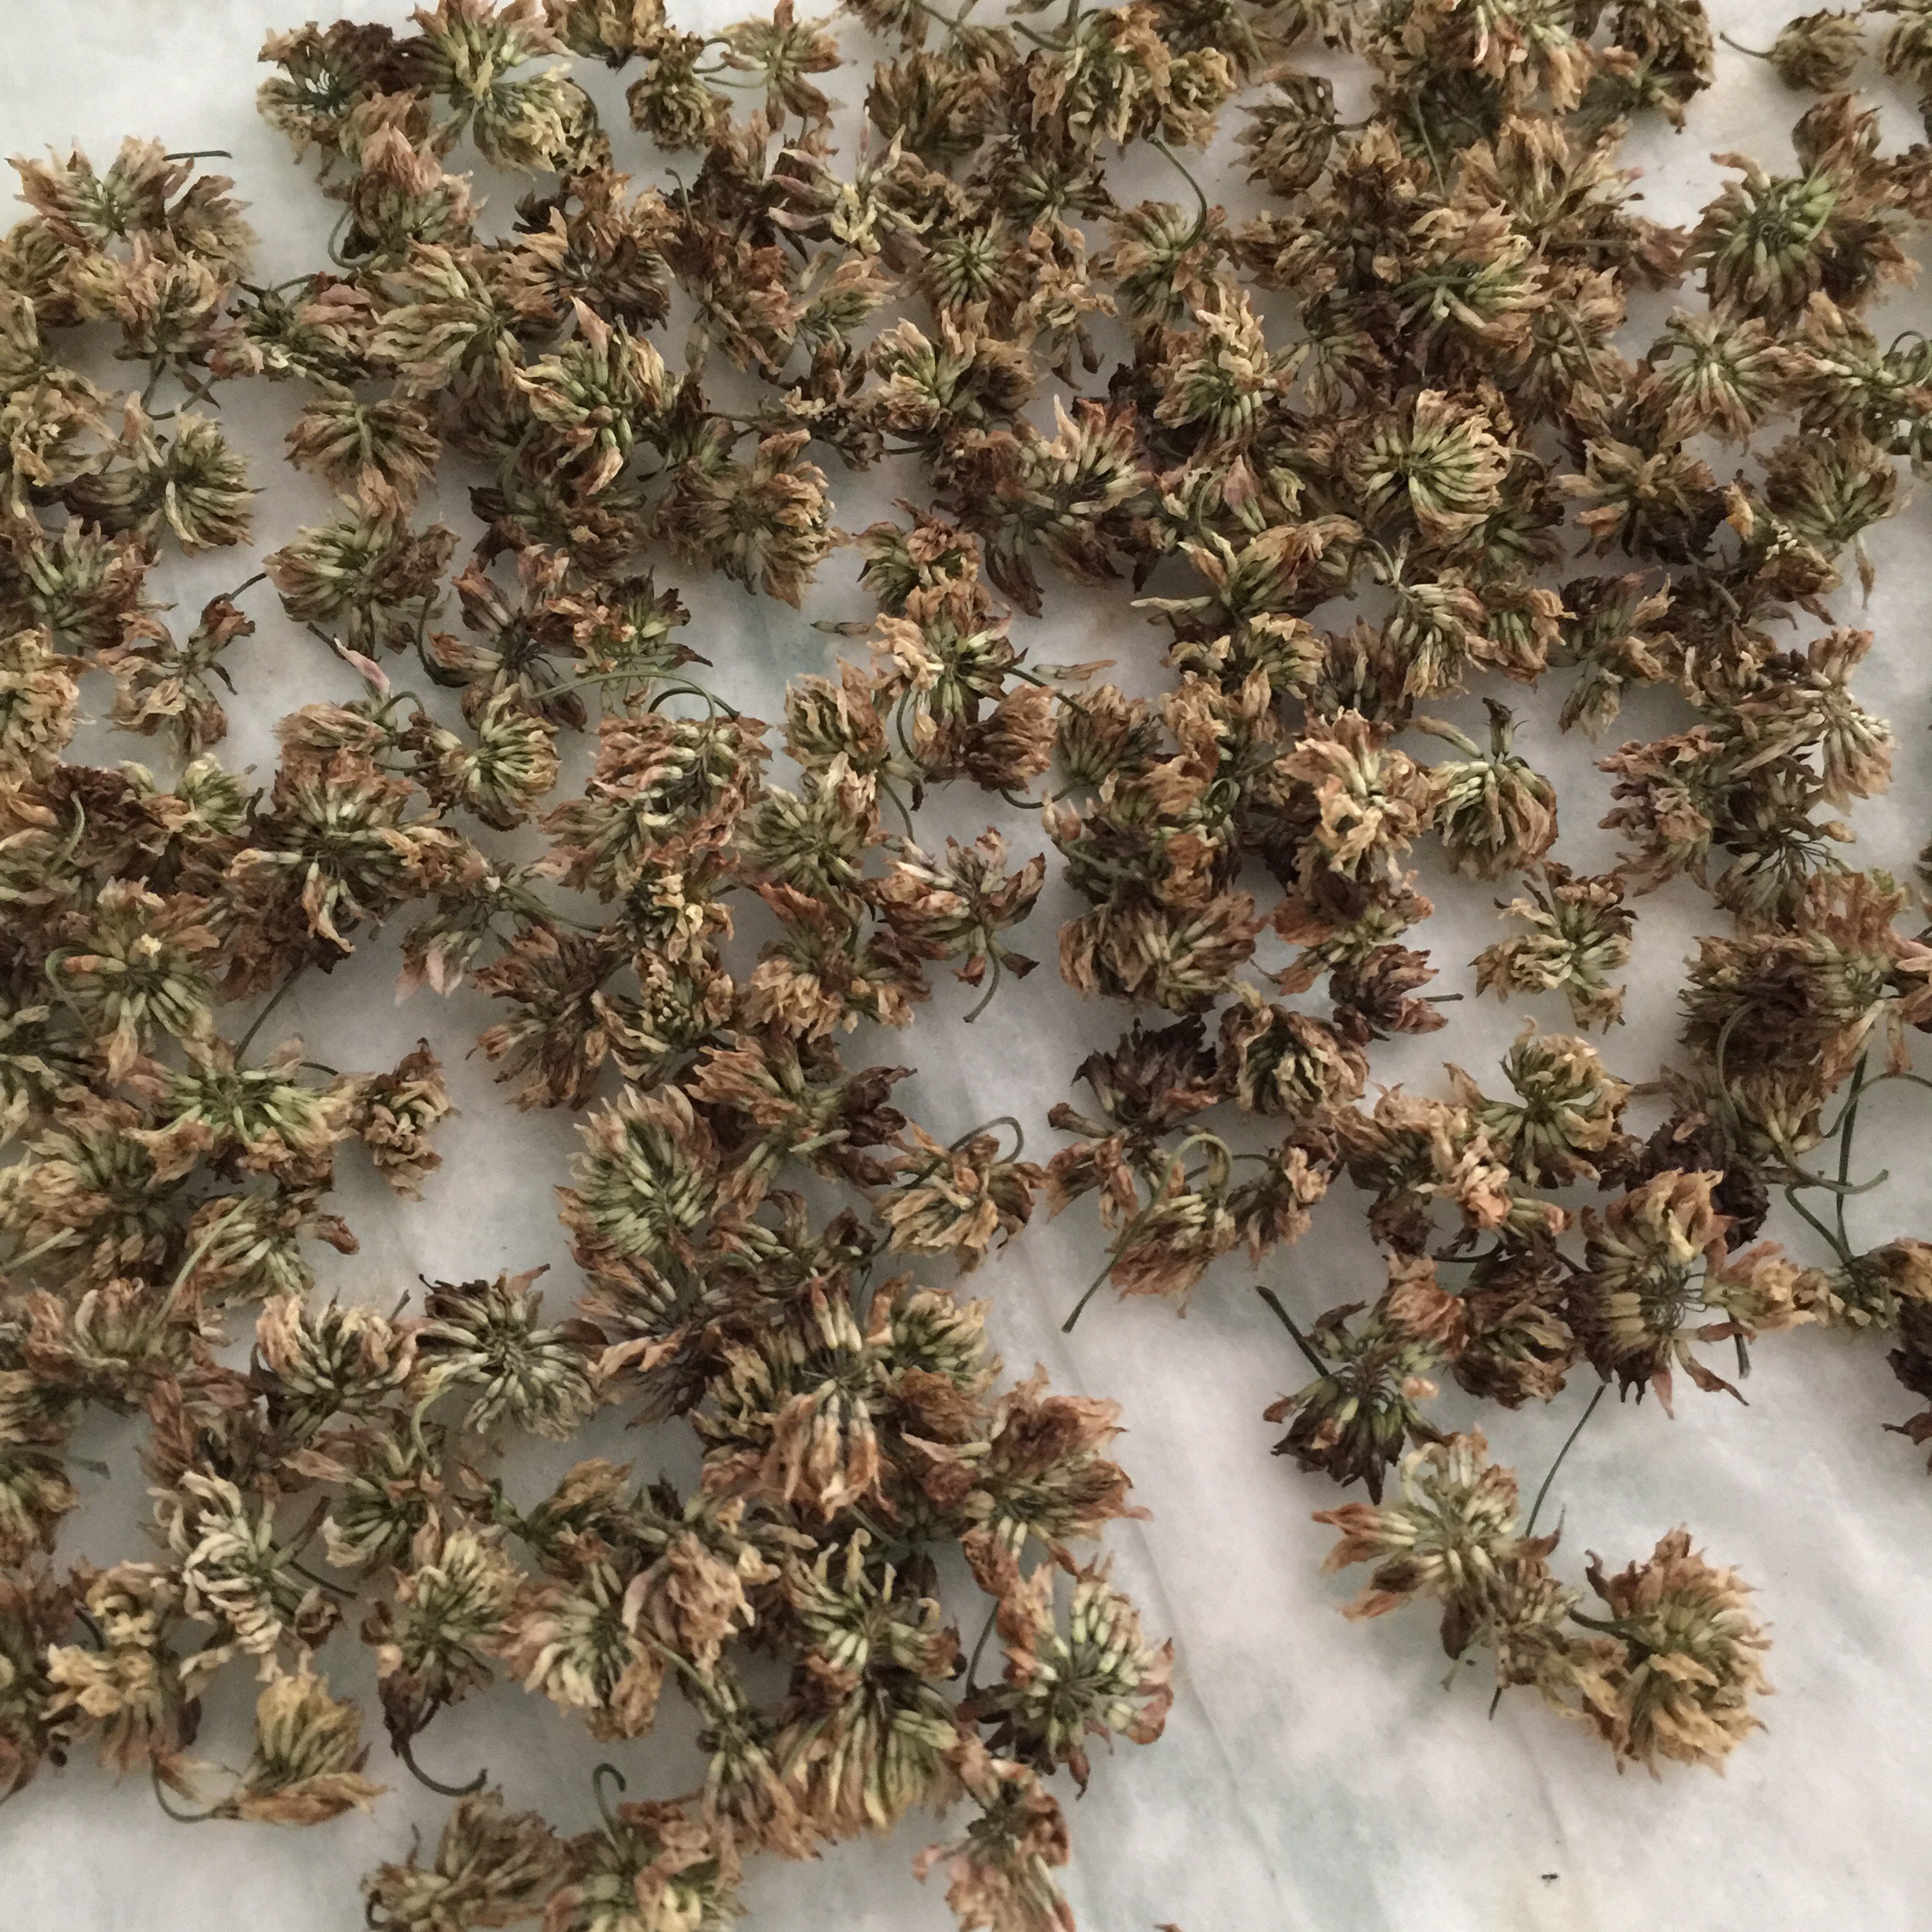
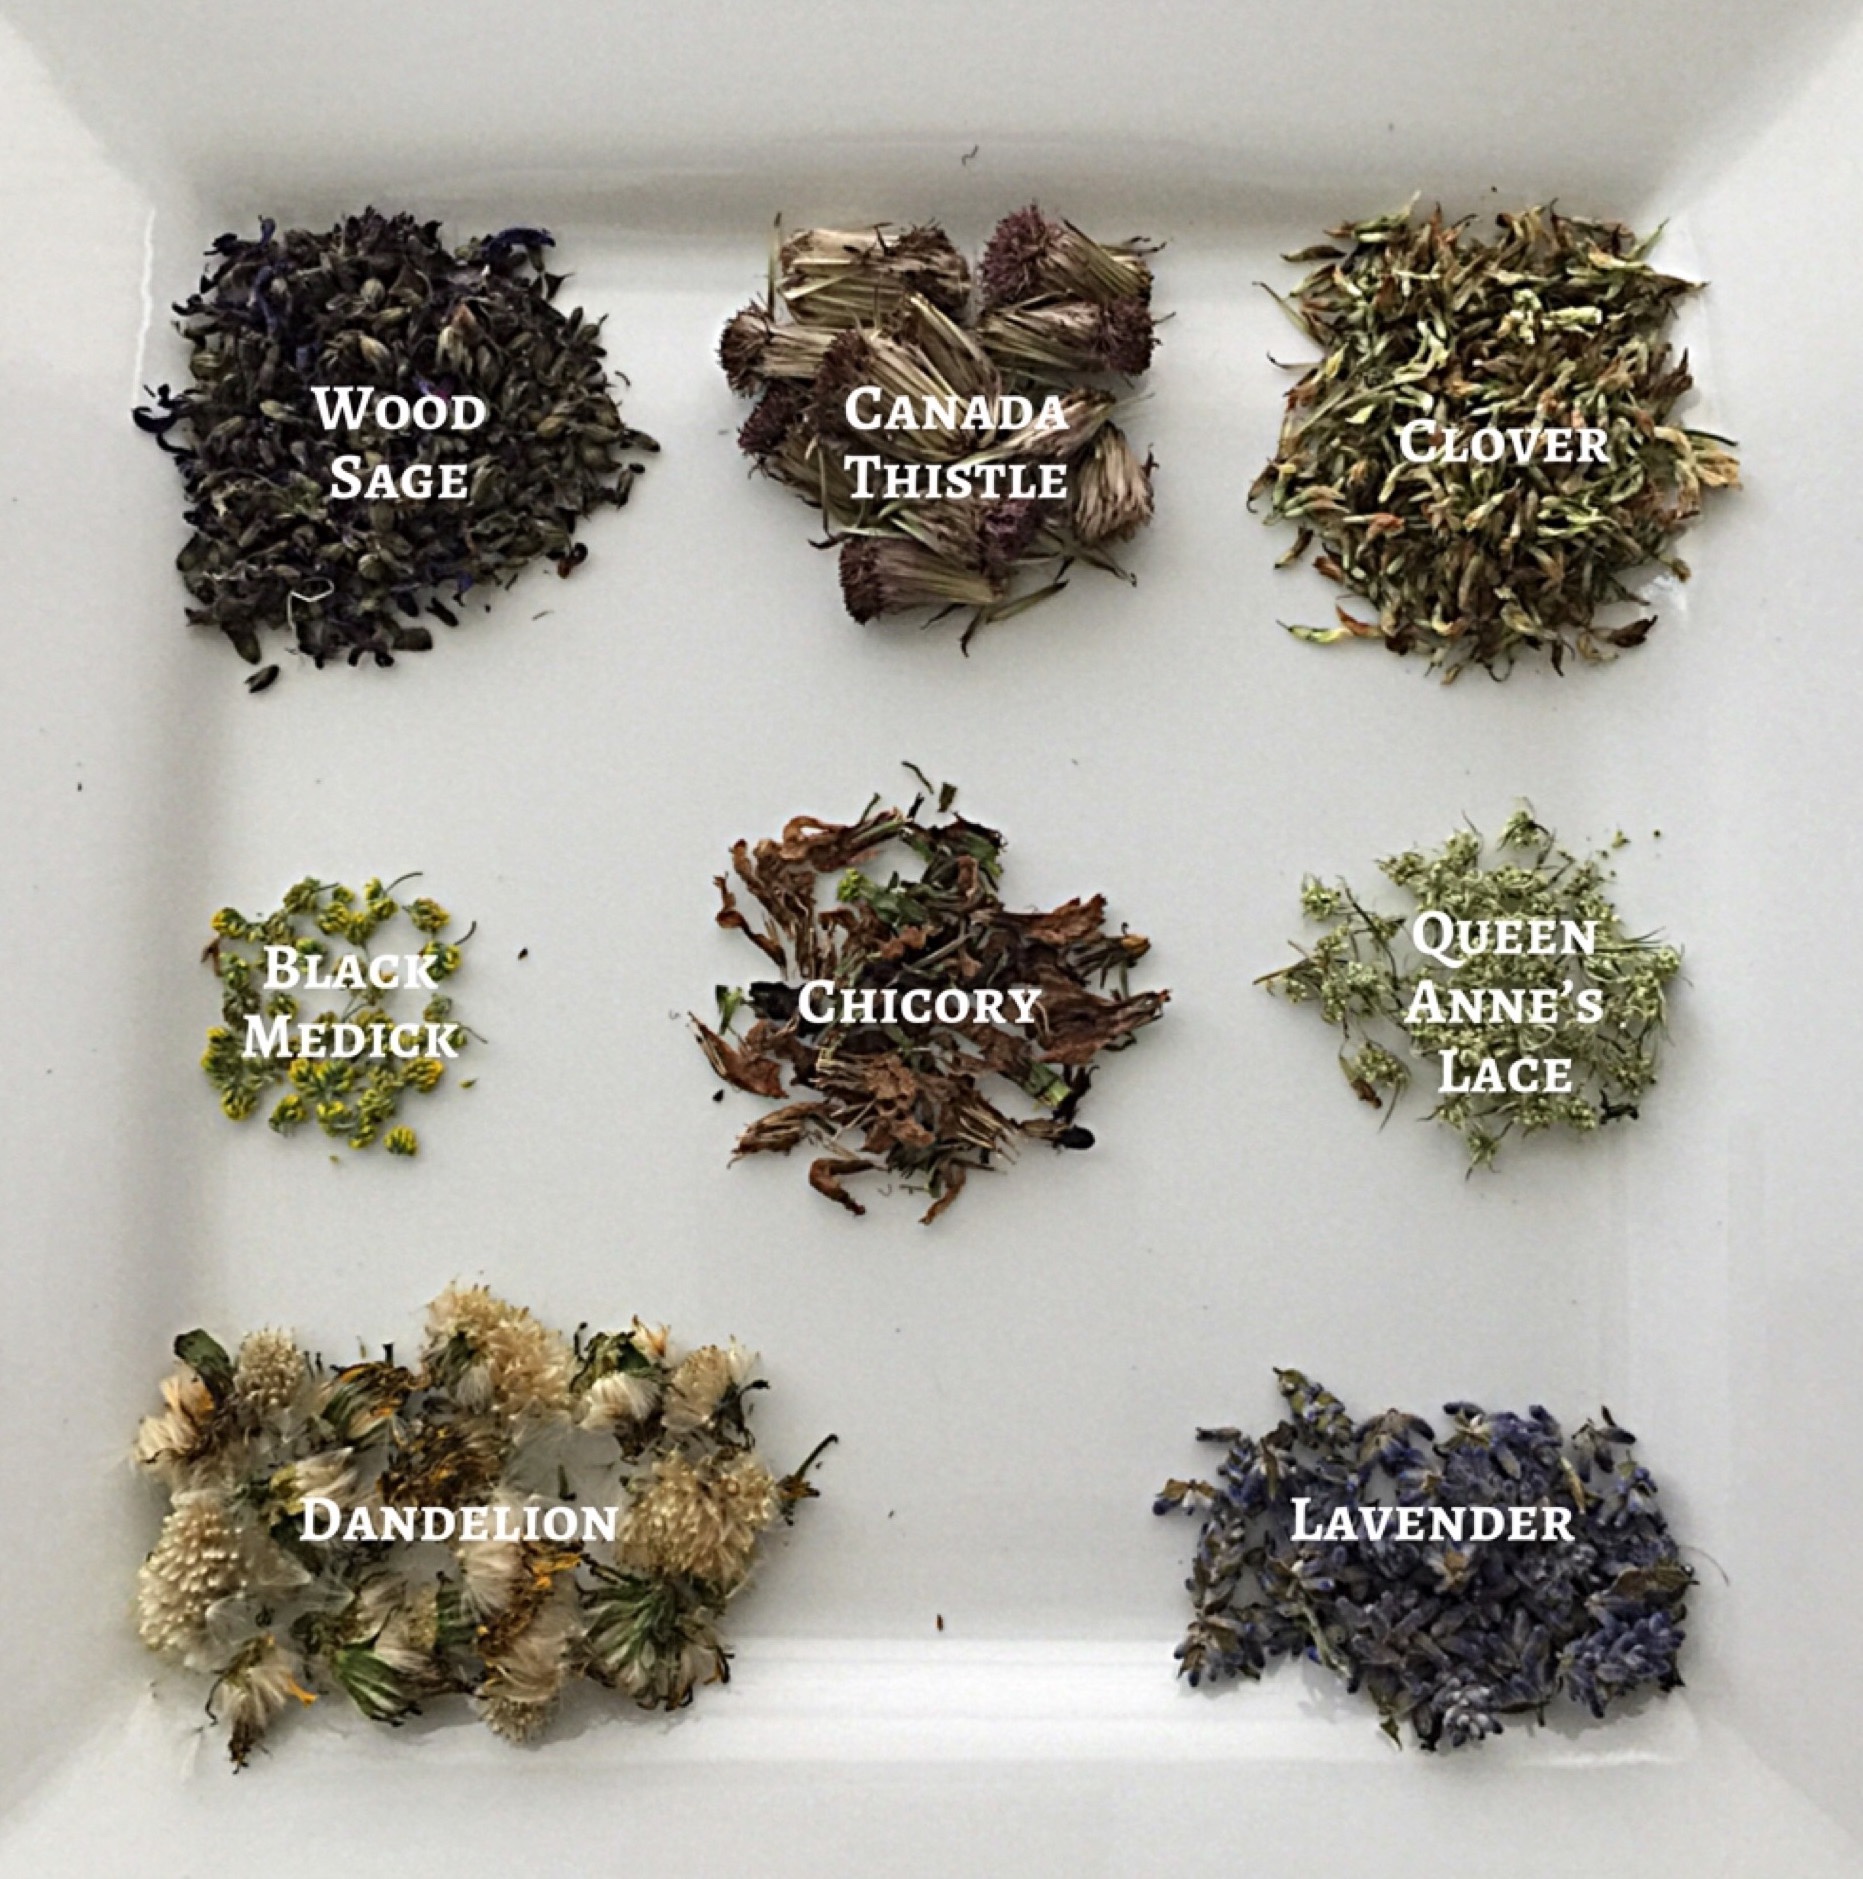
I use 360 flowers total, whether I am making honee with a single flower or with a combination of flowers. It sounds like a lot, but it only takes me about 15 minutes to harvest that many on my own. For those concerned about taking flowers from the bees, my 2.5-acre yard is a meadow of dandelions and then clover and wildflowers. There are still tens of thousands of flowers left for the bees, even if I harvest four or five batches at once! Also, I try to pick them just before the lawn is mowed. Here is what 360 dandelions, clover, or wildflowers look like:
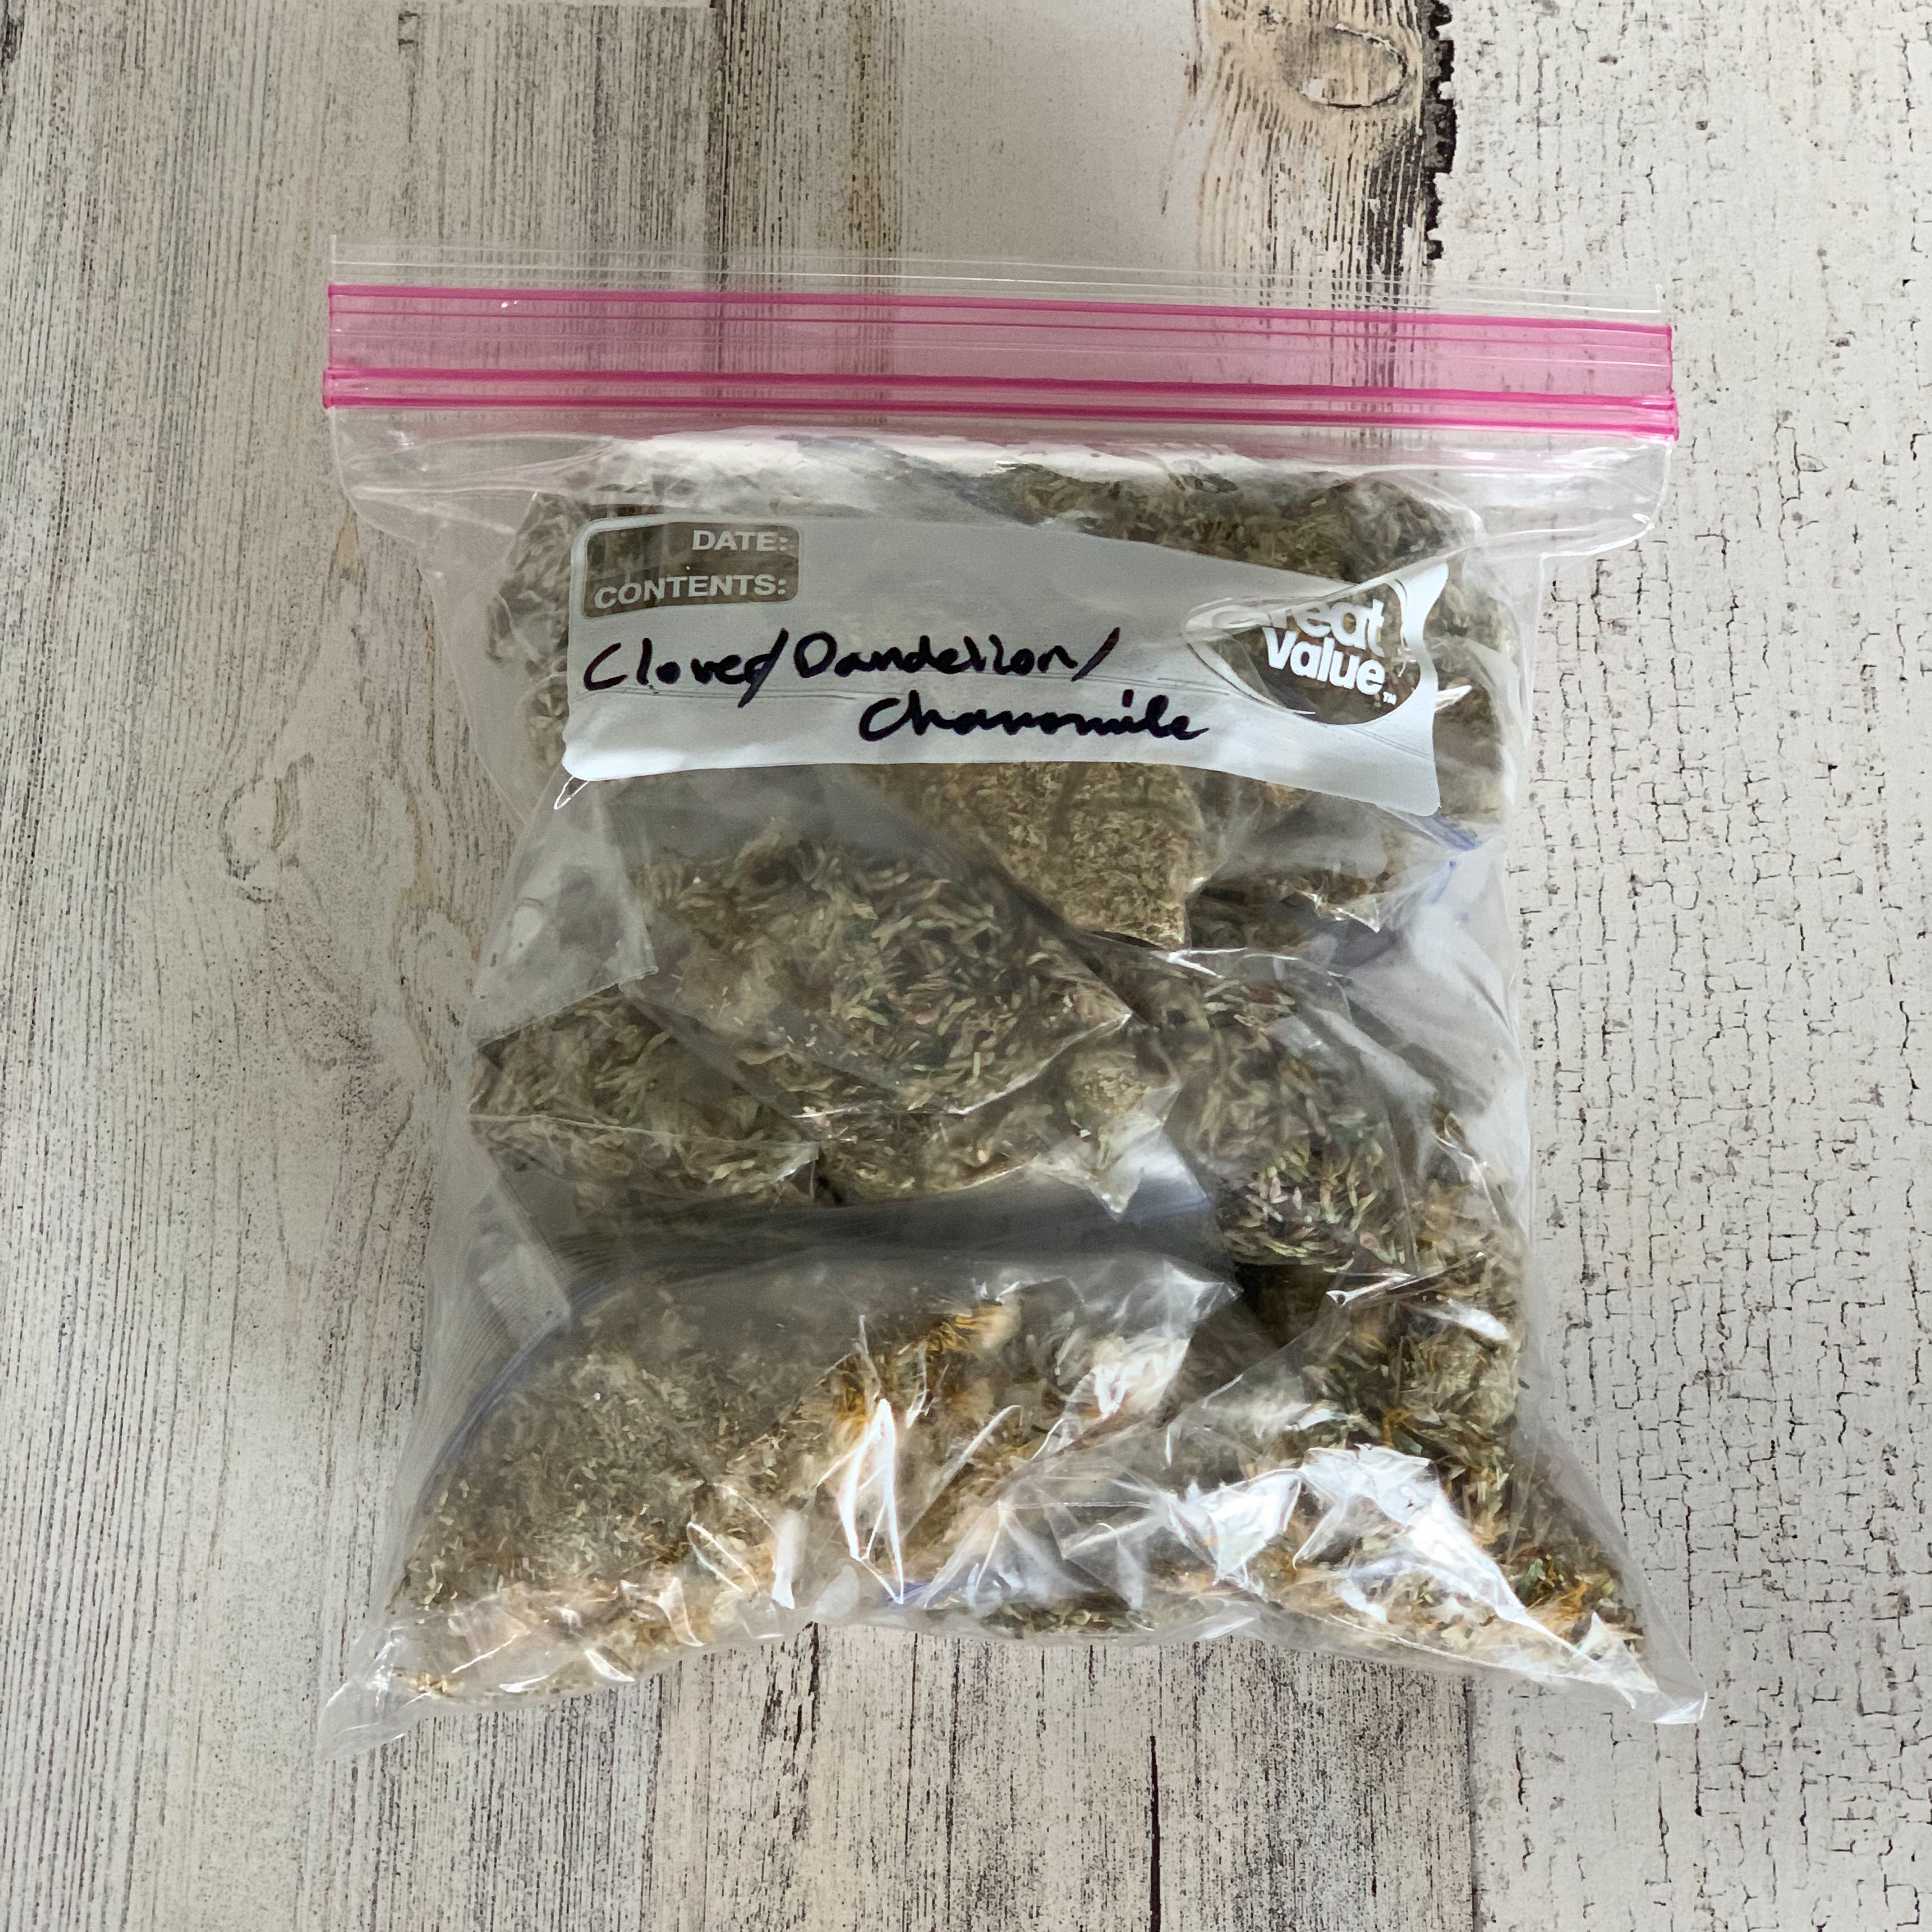
My favorite combination is 120 dandelion flowers, 120 clover flowers, and 1 chamomile tea bag. I have already harvested five batches of dandelions this year. I used one batch (360 flowers) for the honee in this post, and will use the rest (1,440 flowers) to make 12 bags of my favorite combination. The clover won’t be out for a bit yet, but I will do the same with it once it is in bloom. I do recommend keeping the different flowers separate until they are in the bags as the clover petals and chamomile tea do not stay uniformly mixed with the dandelion flowers when mixed in a big bowl. So, I process all my dandelion flowers and add an equal amount of them to each bag, then open chamomile tea bags and add one to each flower bag, and then do the same with the clover later. Here are last year’s bags:
If you are making your own dried flowers, you will need to harvest 360 flowers per batch of honee that you want to make. Next, you will want to rinse them well in a colander and then soak them in a baking soda solution (about 3 to 4 TBS of baking soda in a large bowl of water) for about 20 minutes. This will greatly reduce any pesticides that may have blown onto your flowers from your neighbors’ yards.
Then, rinse the flowers very well to remove the baking soda, and spread the wet flowers out on a towel to dry. This will take up to five days.
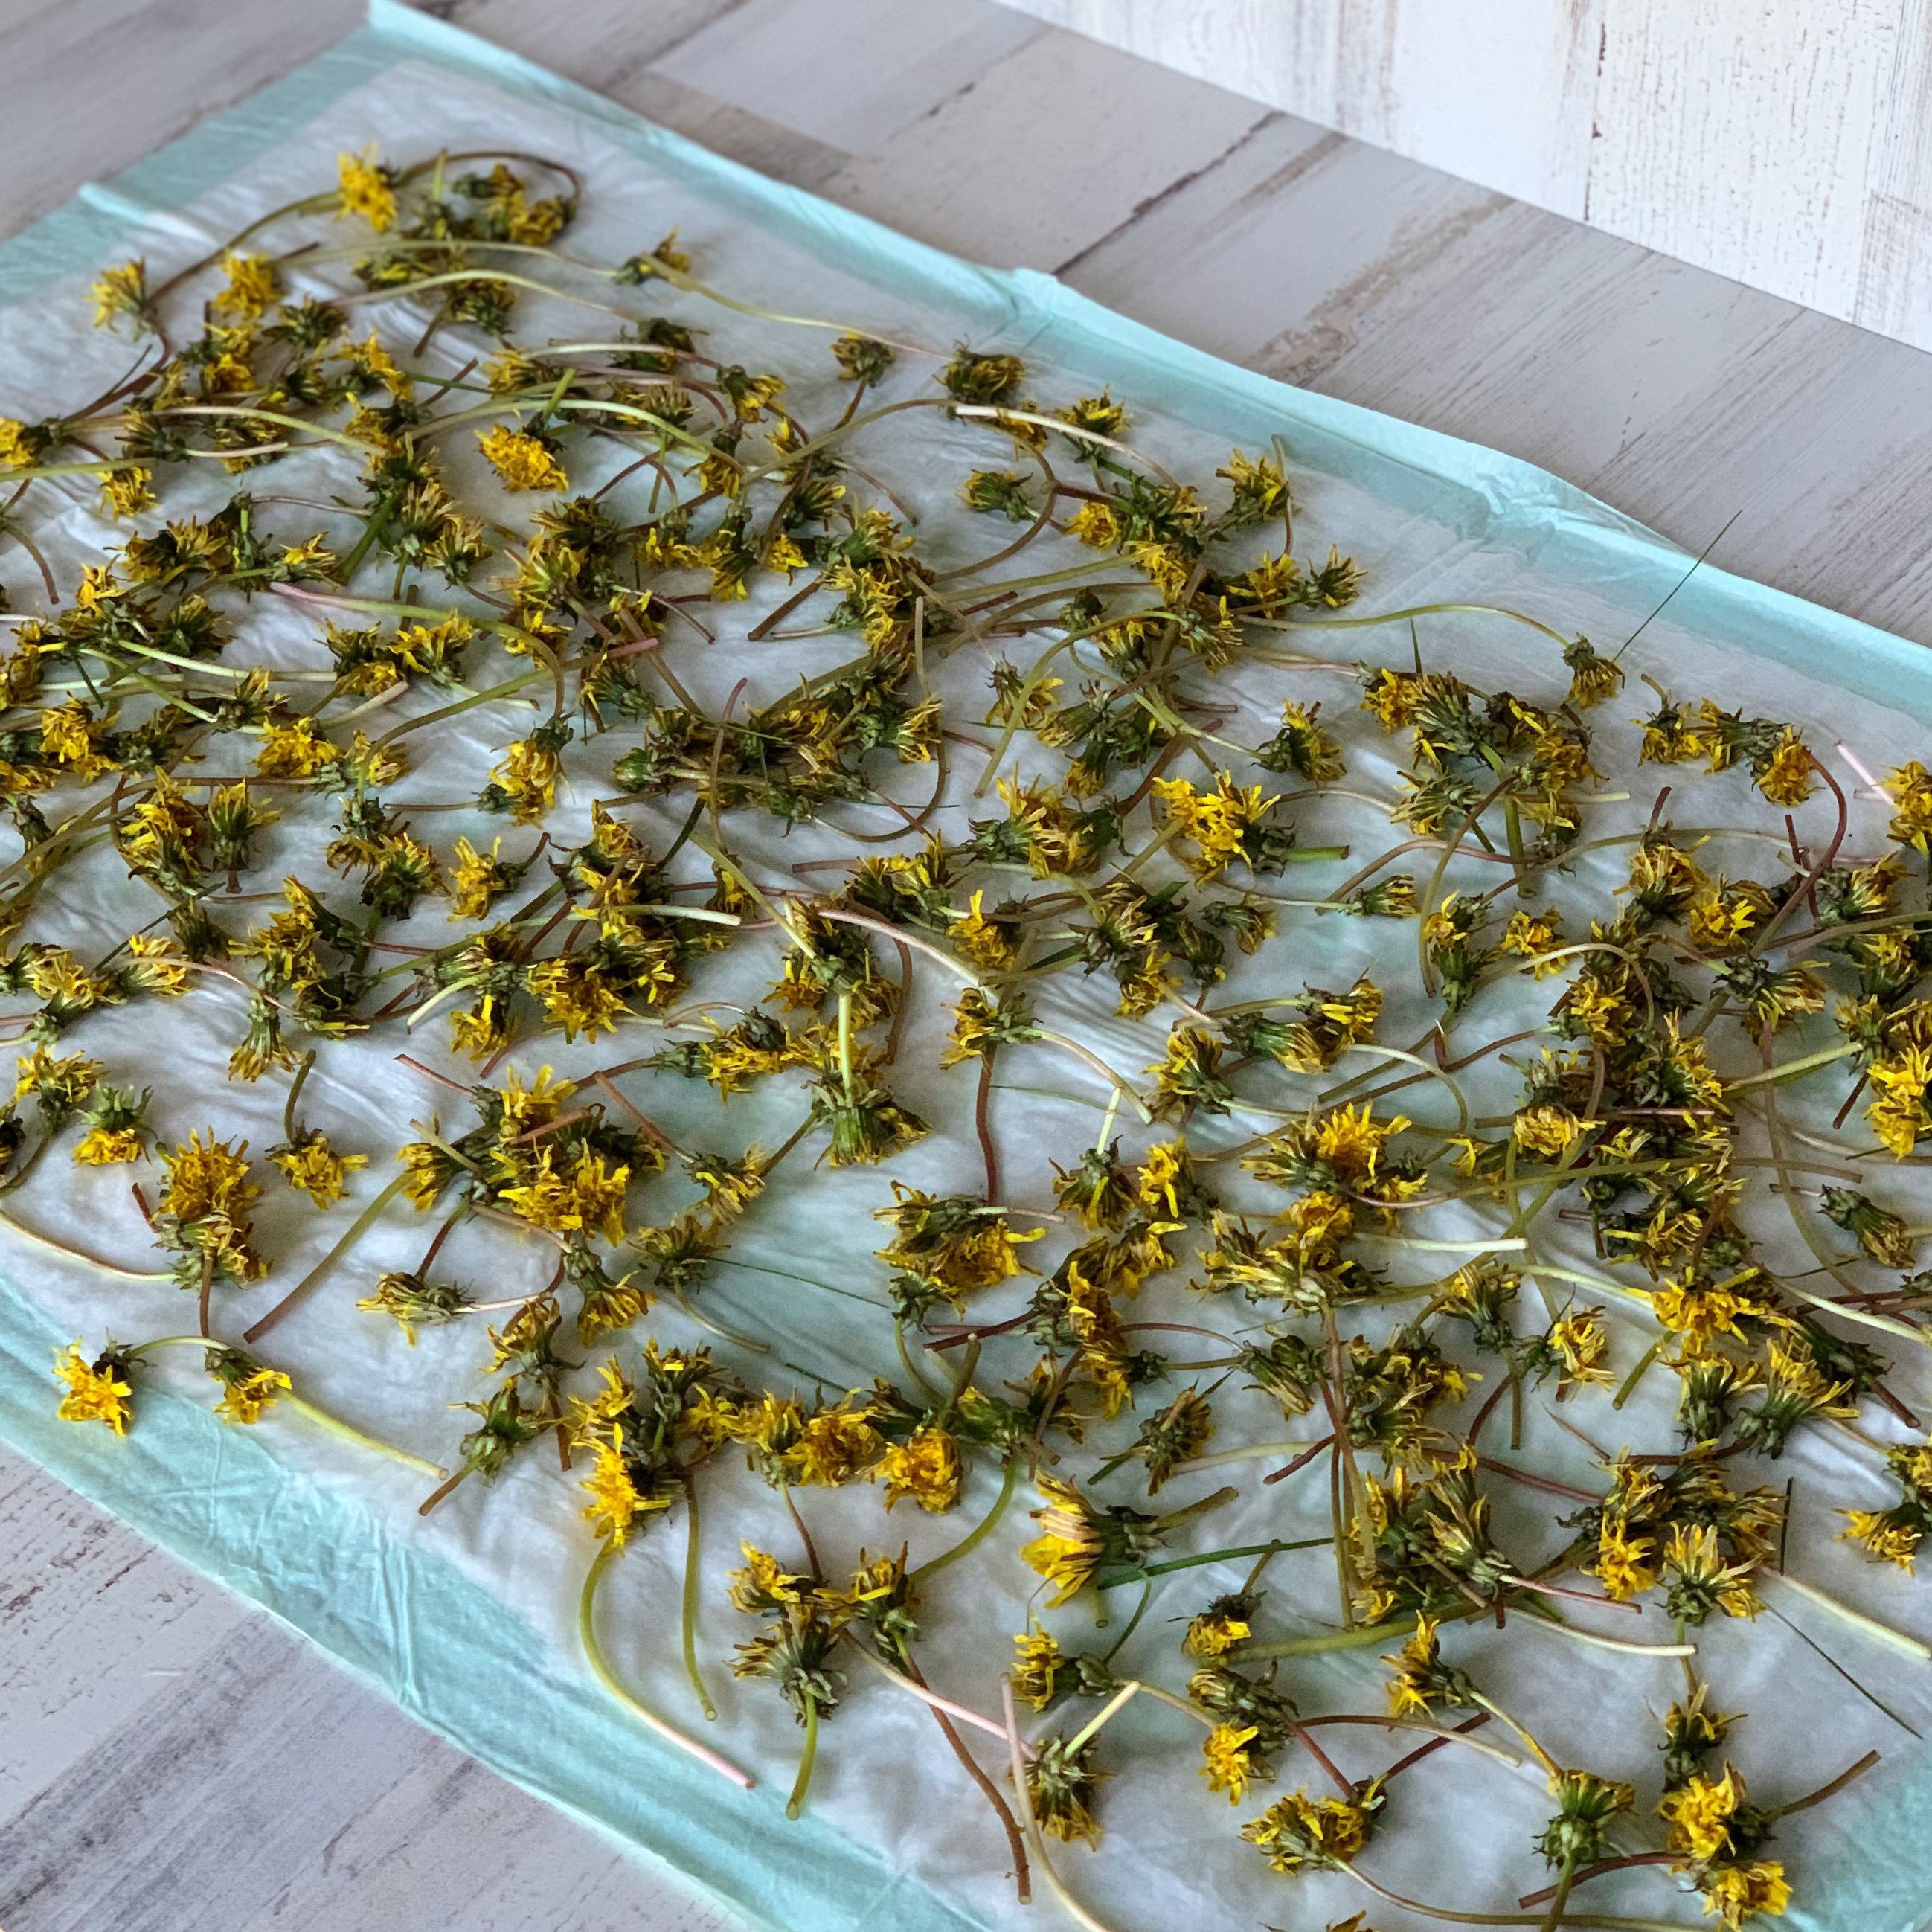
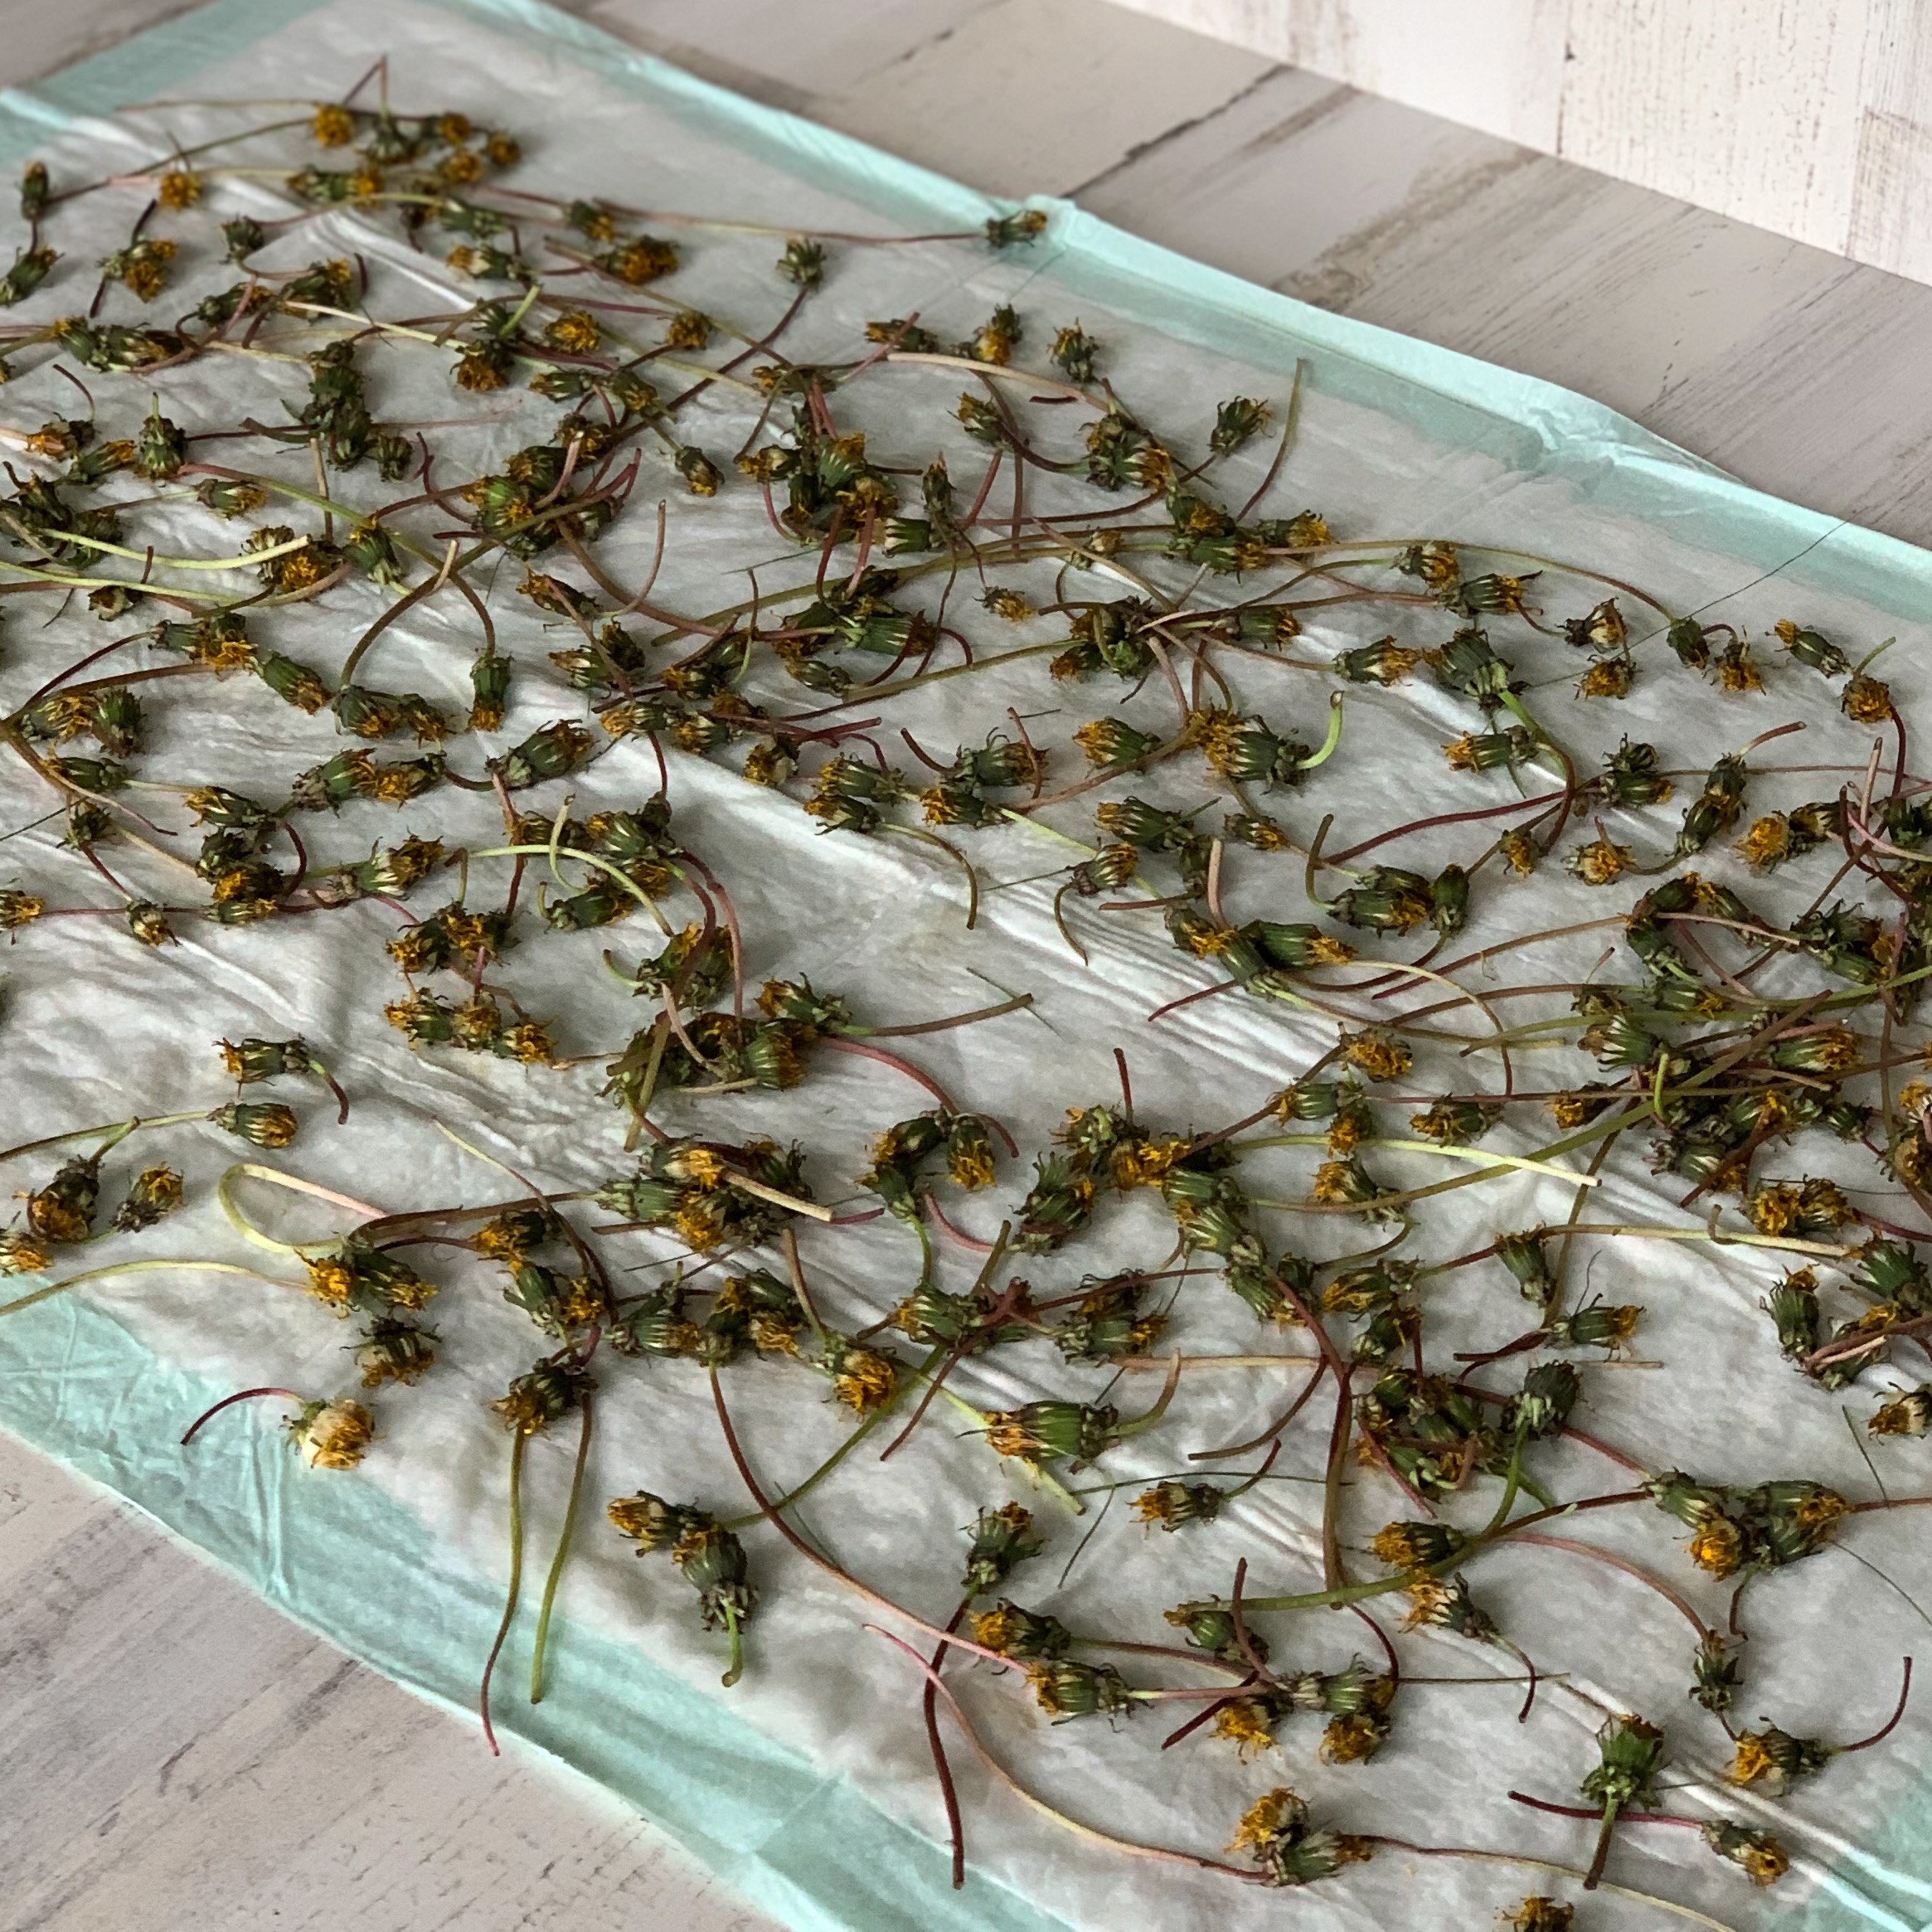
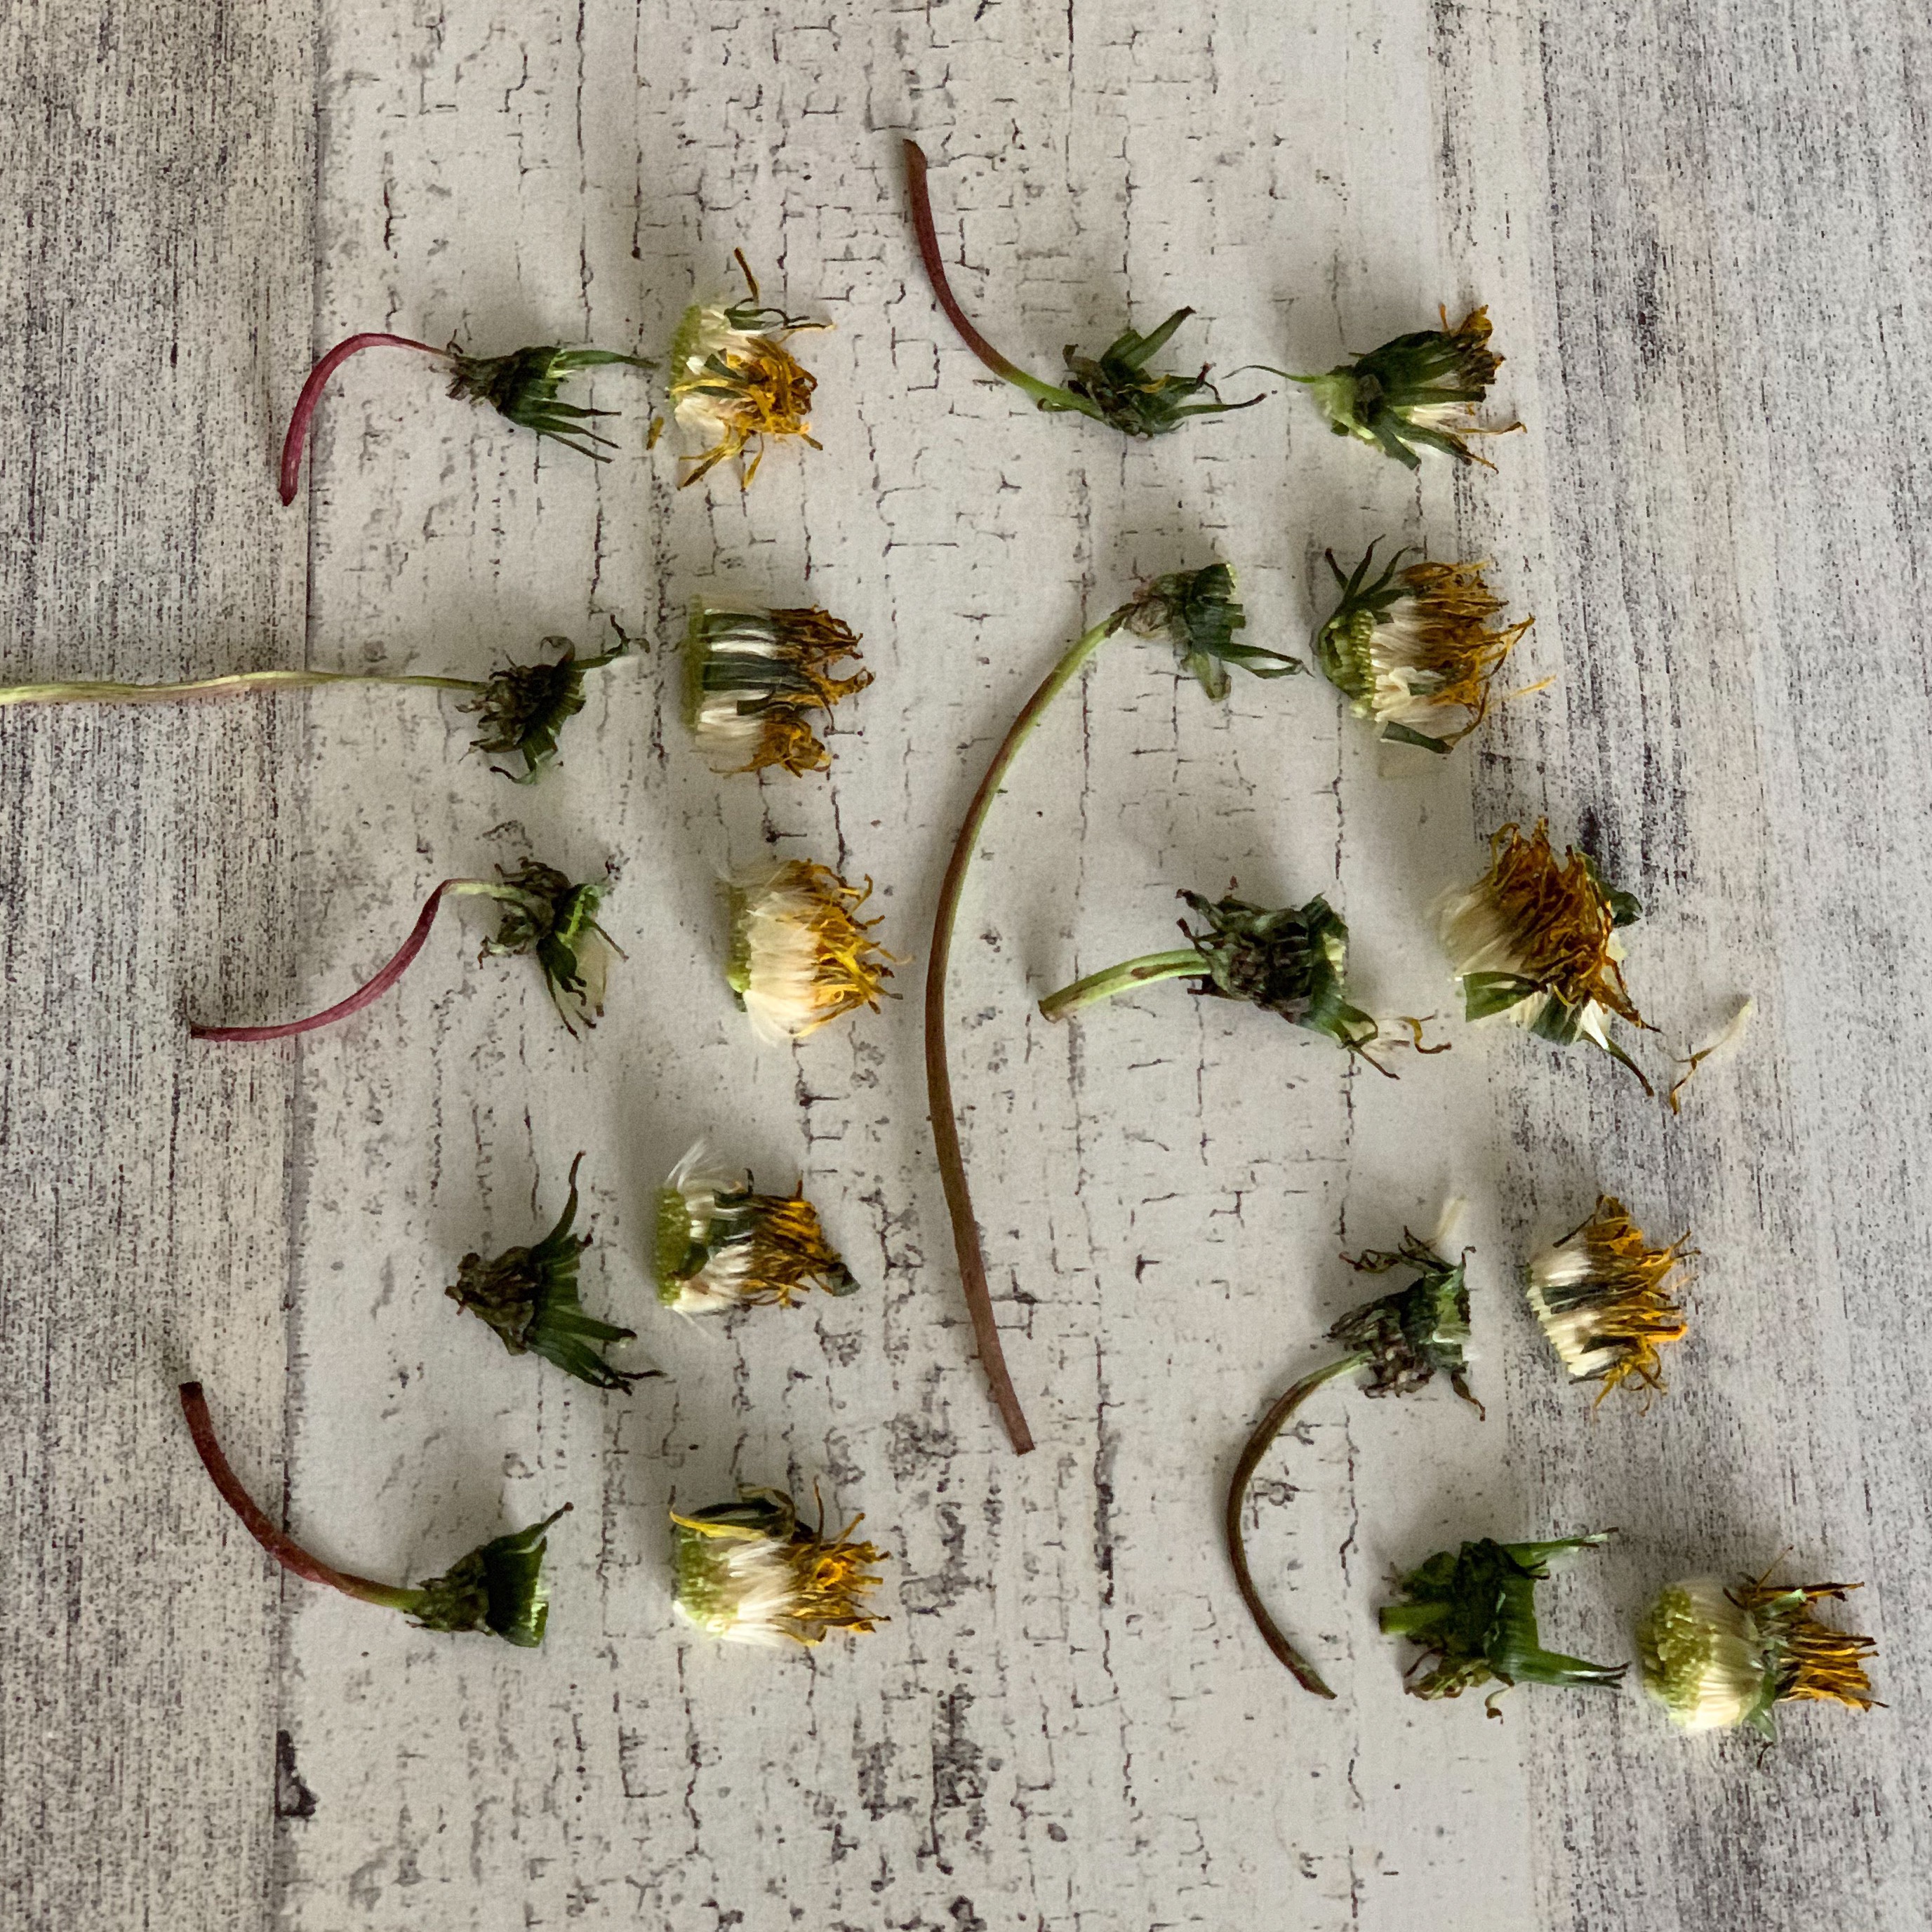
I prefer to separate the flowers before they are completely dry, especially with dandelions. They are easier to separate when still just slightly damp after about three days of drying as shown above. I then let the flowers finish drying before I use them to make honee.

You do the same with clover or wildflowers. (Please see my original wildflower honee post for directions on how to safely choose which flowers to use as some are poisonous to humans and should not be used to make honee.)
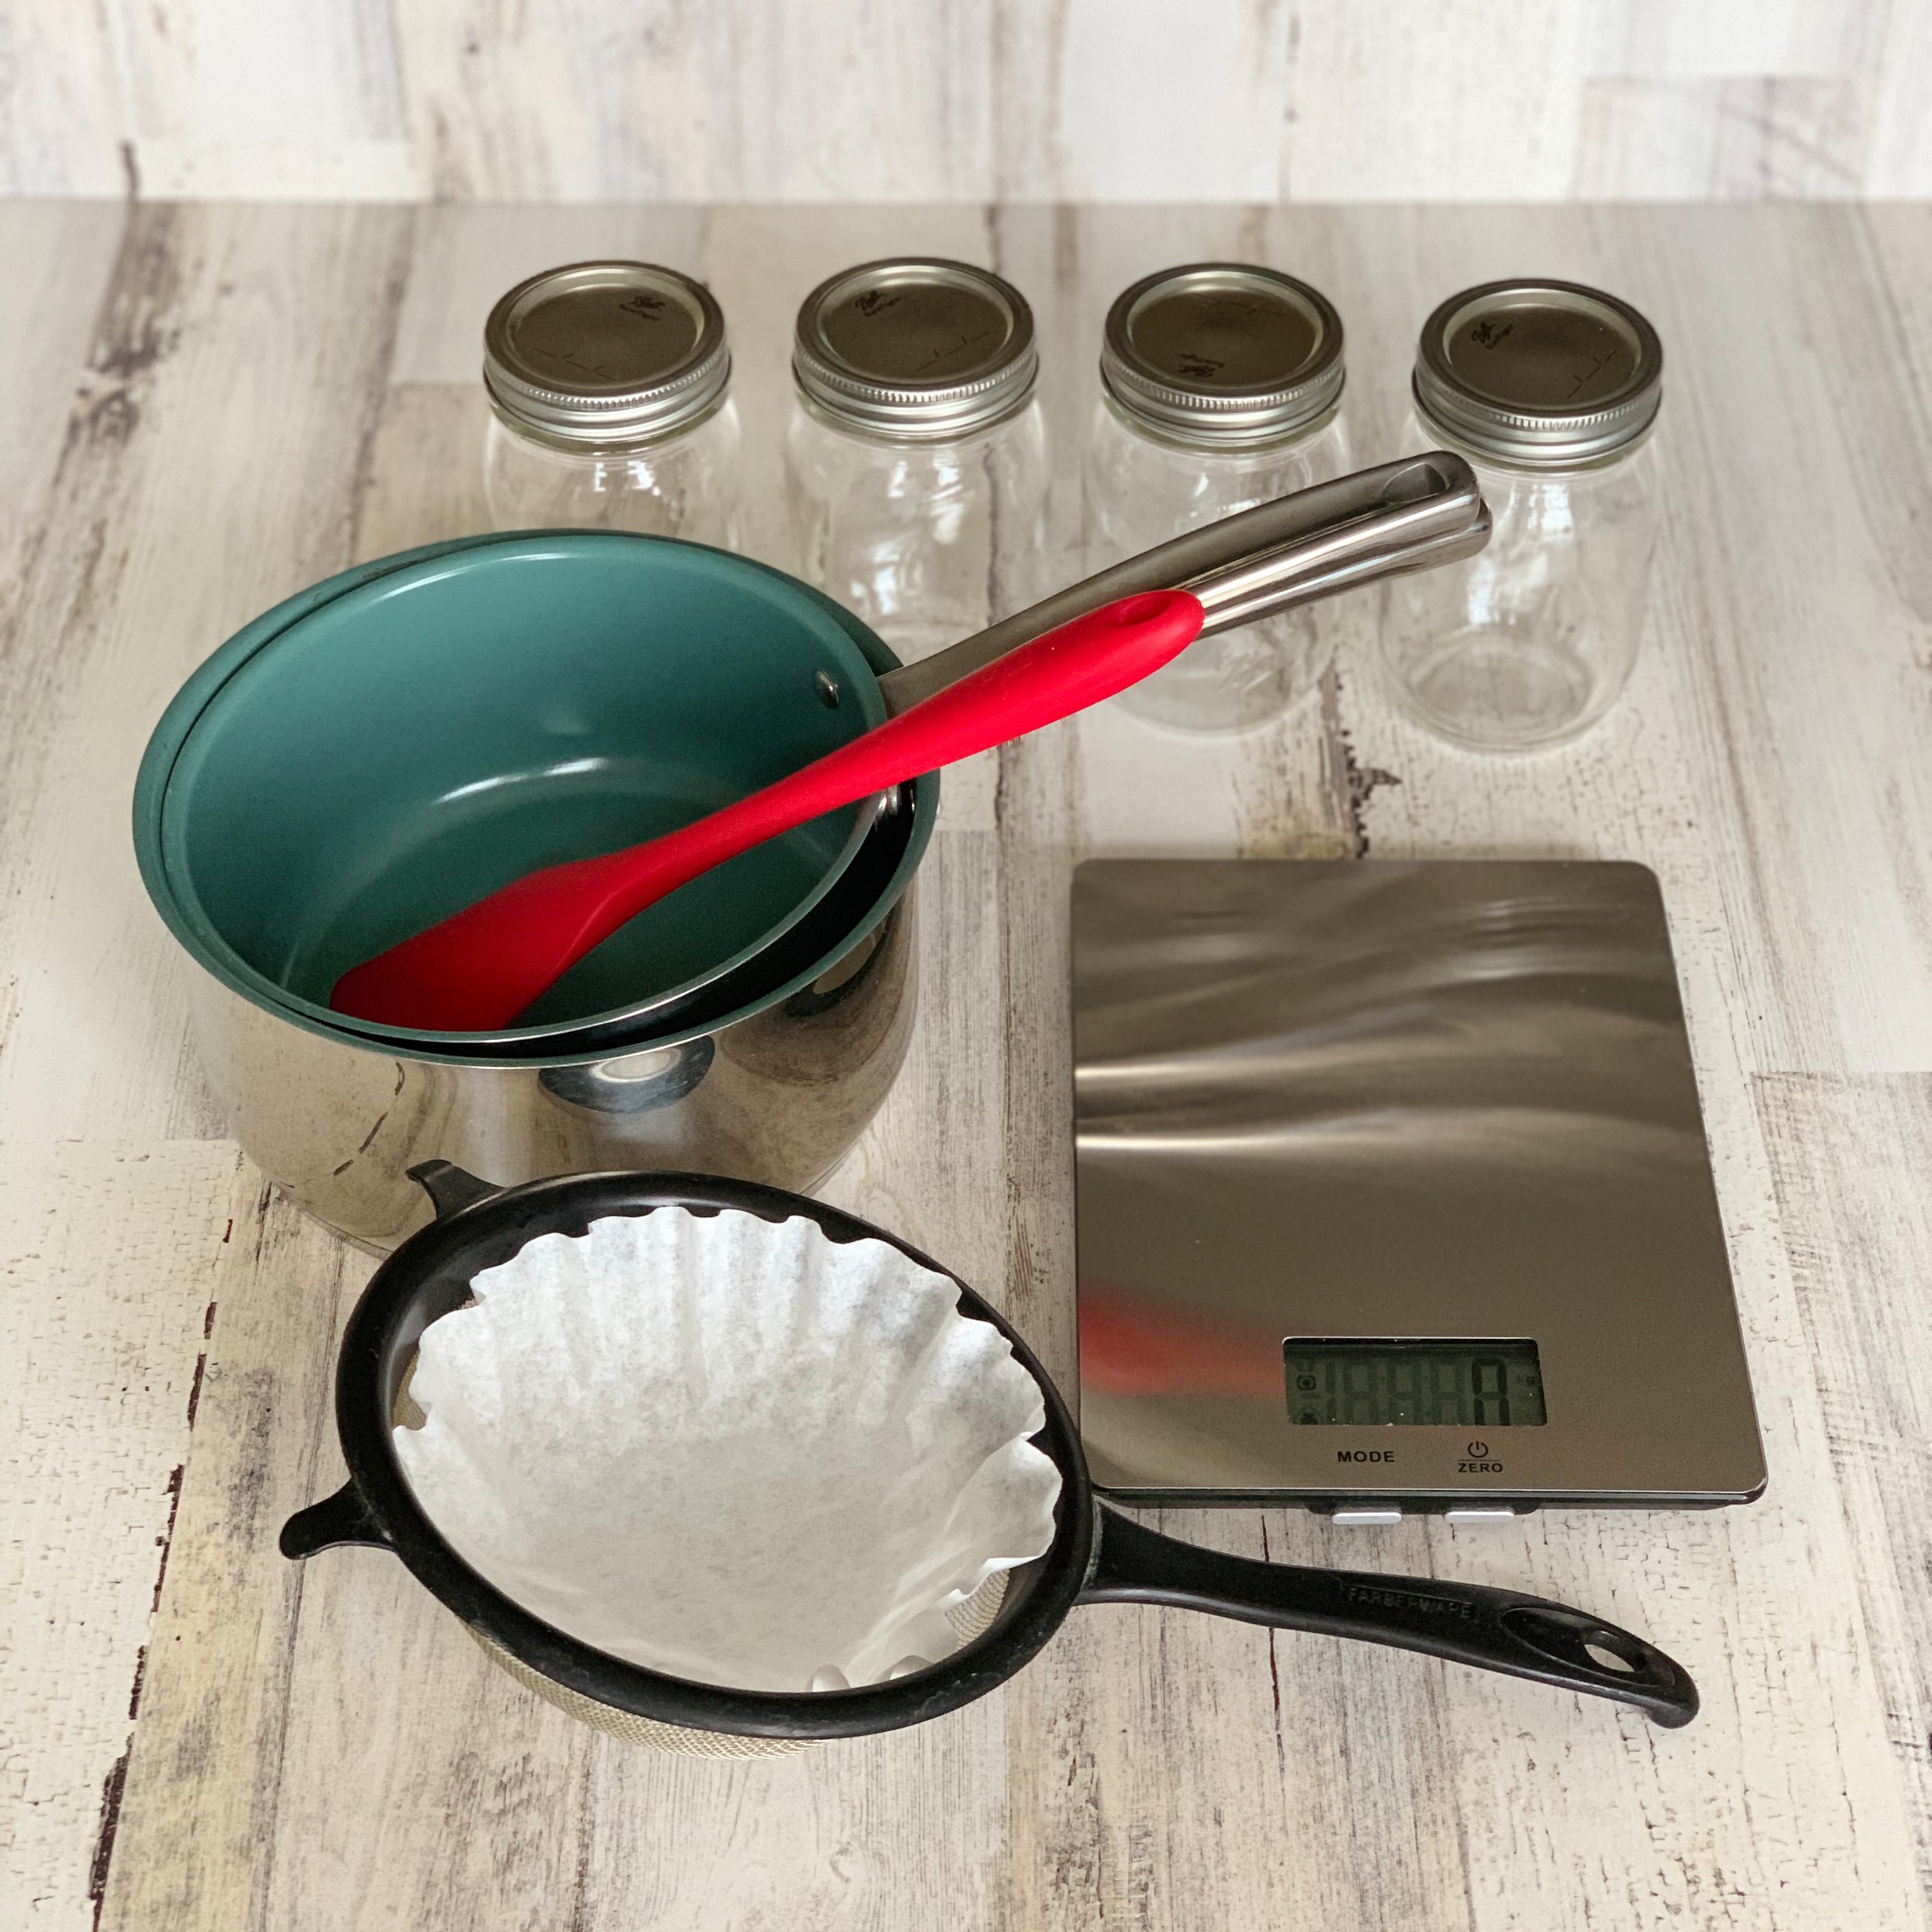
Once you have your dried flowers or tea bags ready, it is very simple to make your own delicious vegan honee! You don’t need any fancy equipment, but you do need a digital scale, two pots (a 1 1/2 or 2 quart and a 3 or 4 quart), a spatula, a strainer, a coffee filter, and some clean Mason jars. Be sure that your scale can handle the combined weight of your pot and the honee. (I use an 11-pound capacity scale for this recipe.) A digital or candy thermometer is also very helpful, and can be used in lieu of a scale if need be. I prefer to use both temperature and weight, but either one will work.
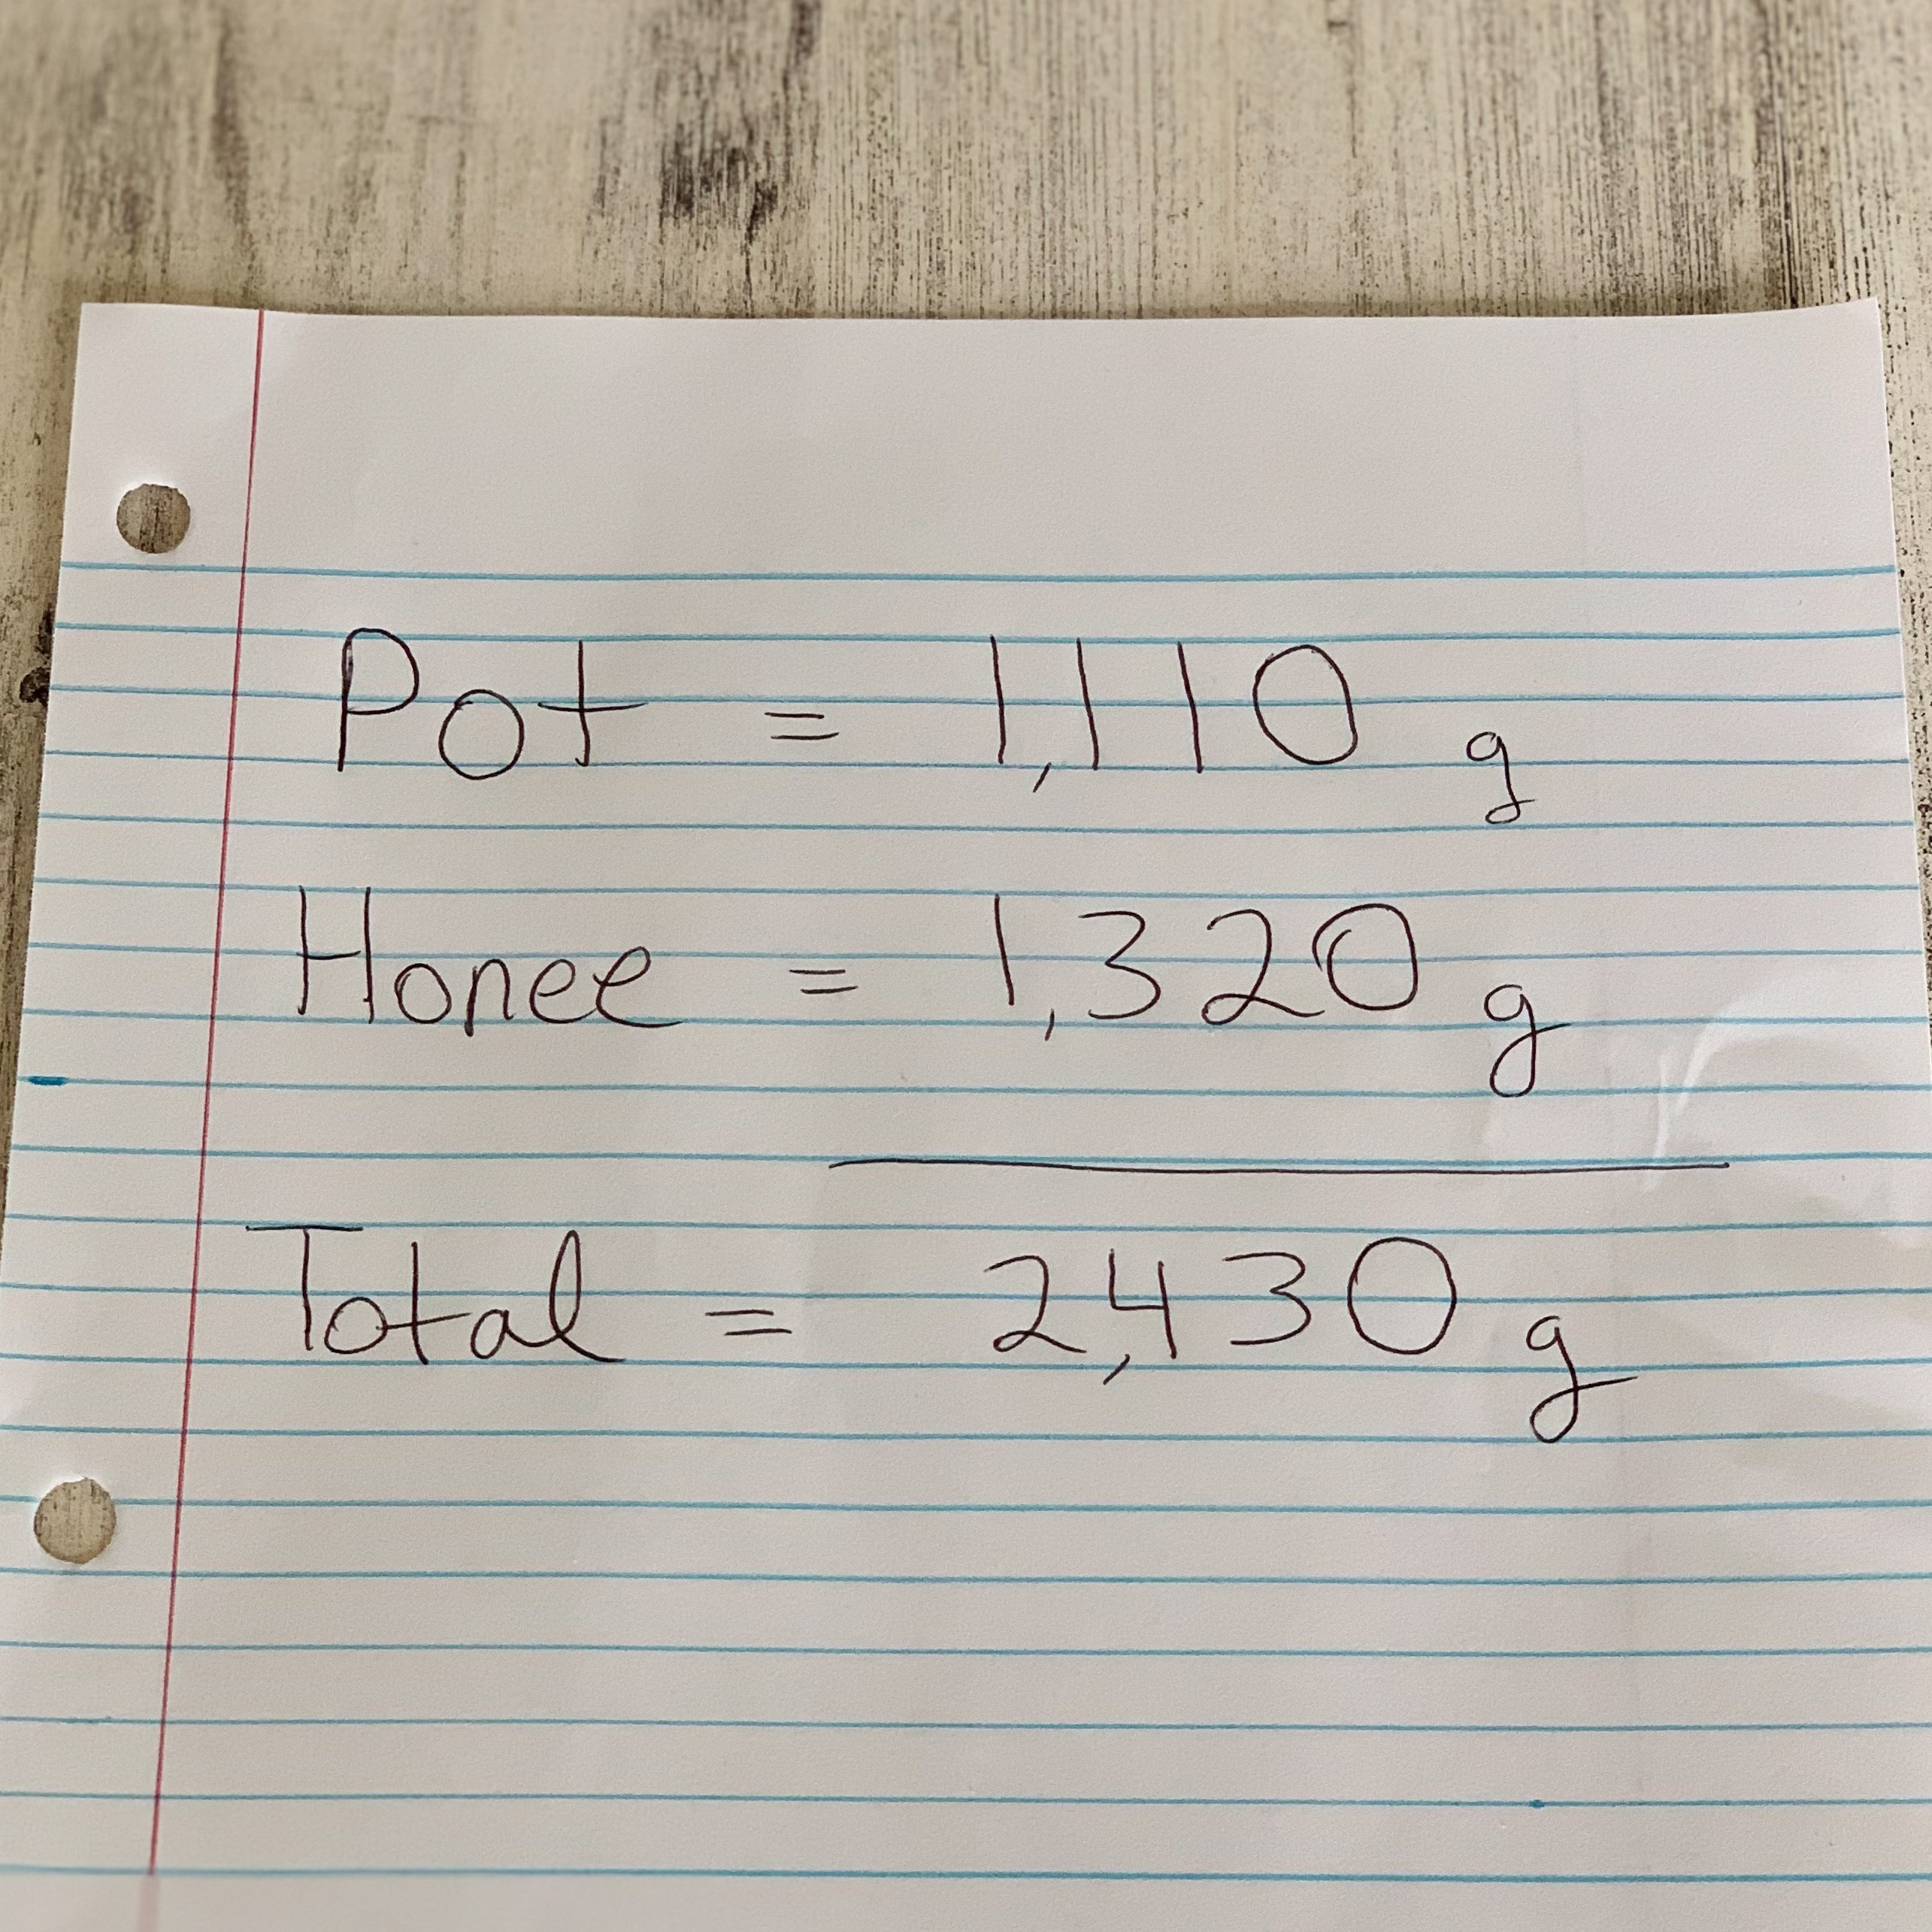
First, weigh your larger pot and write down how much it weighs.
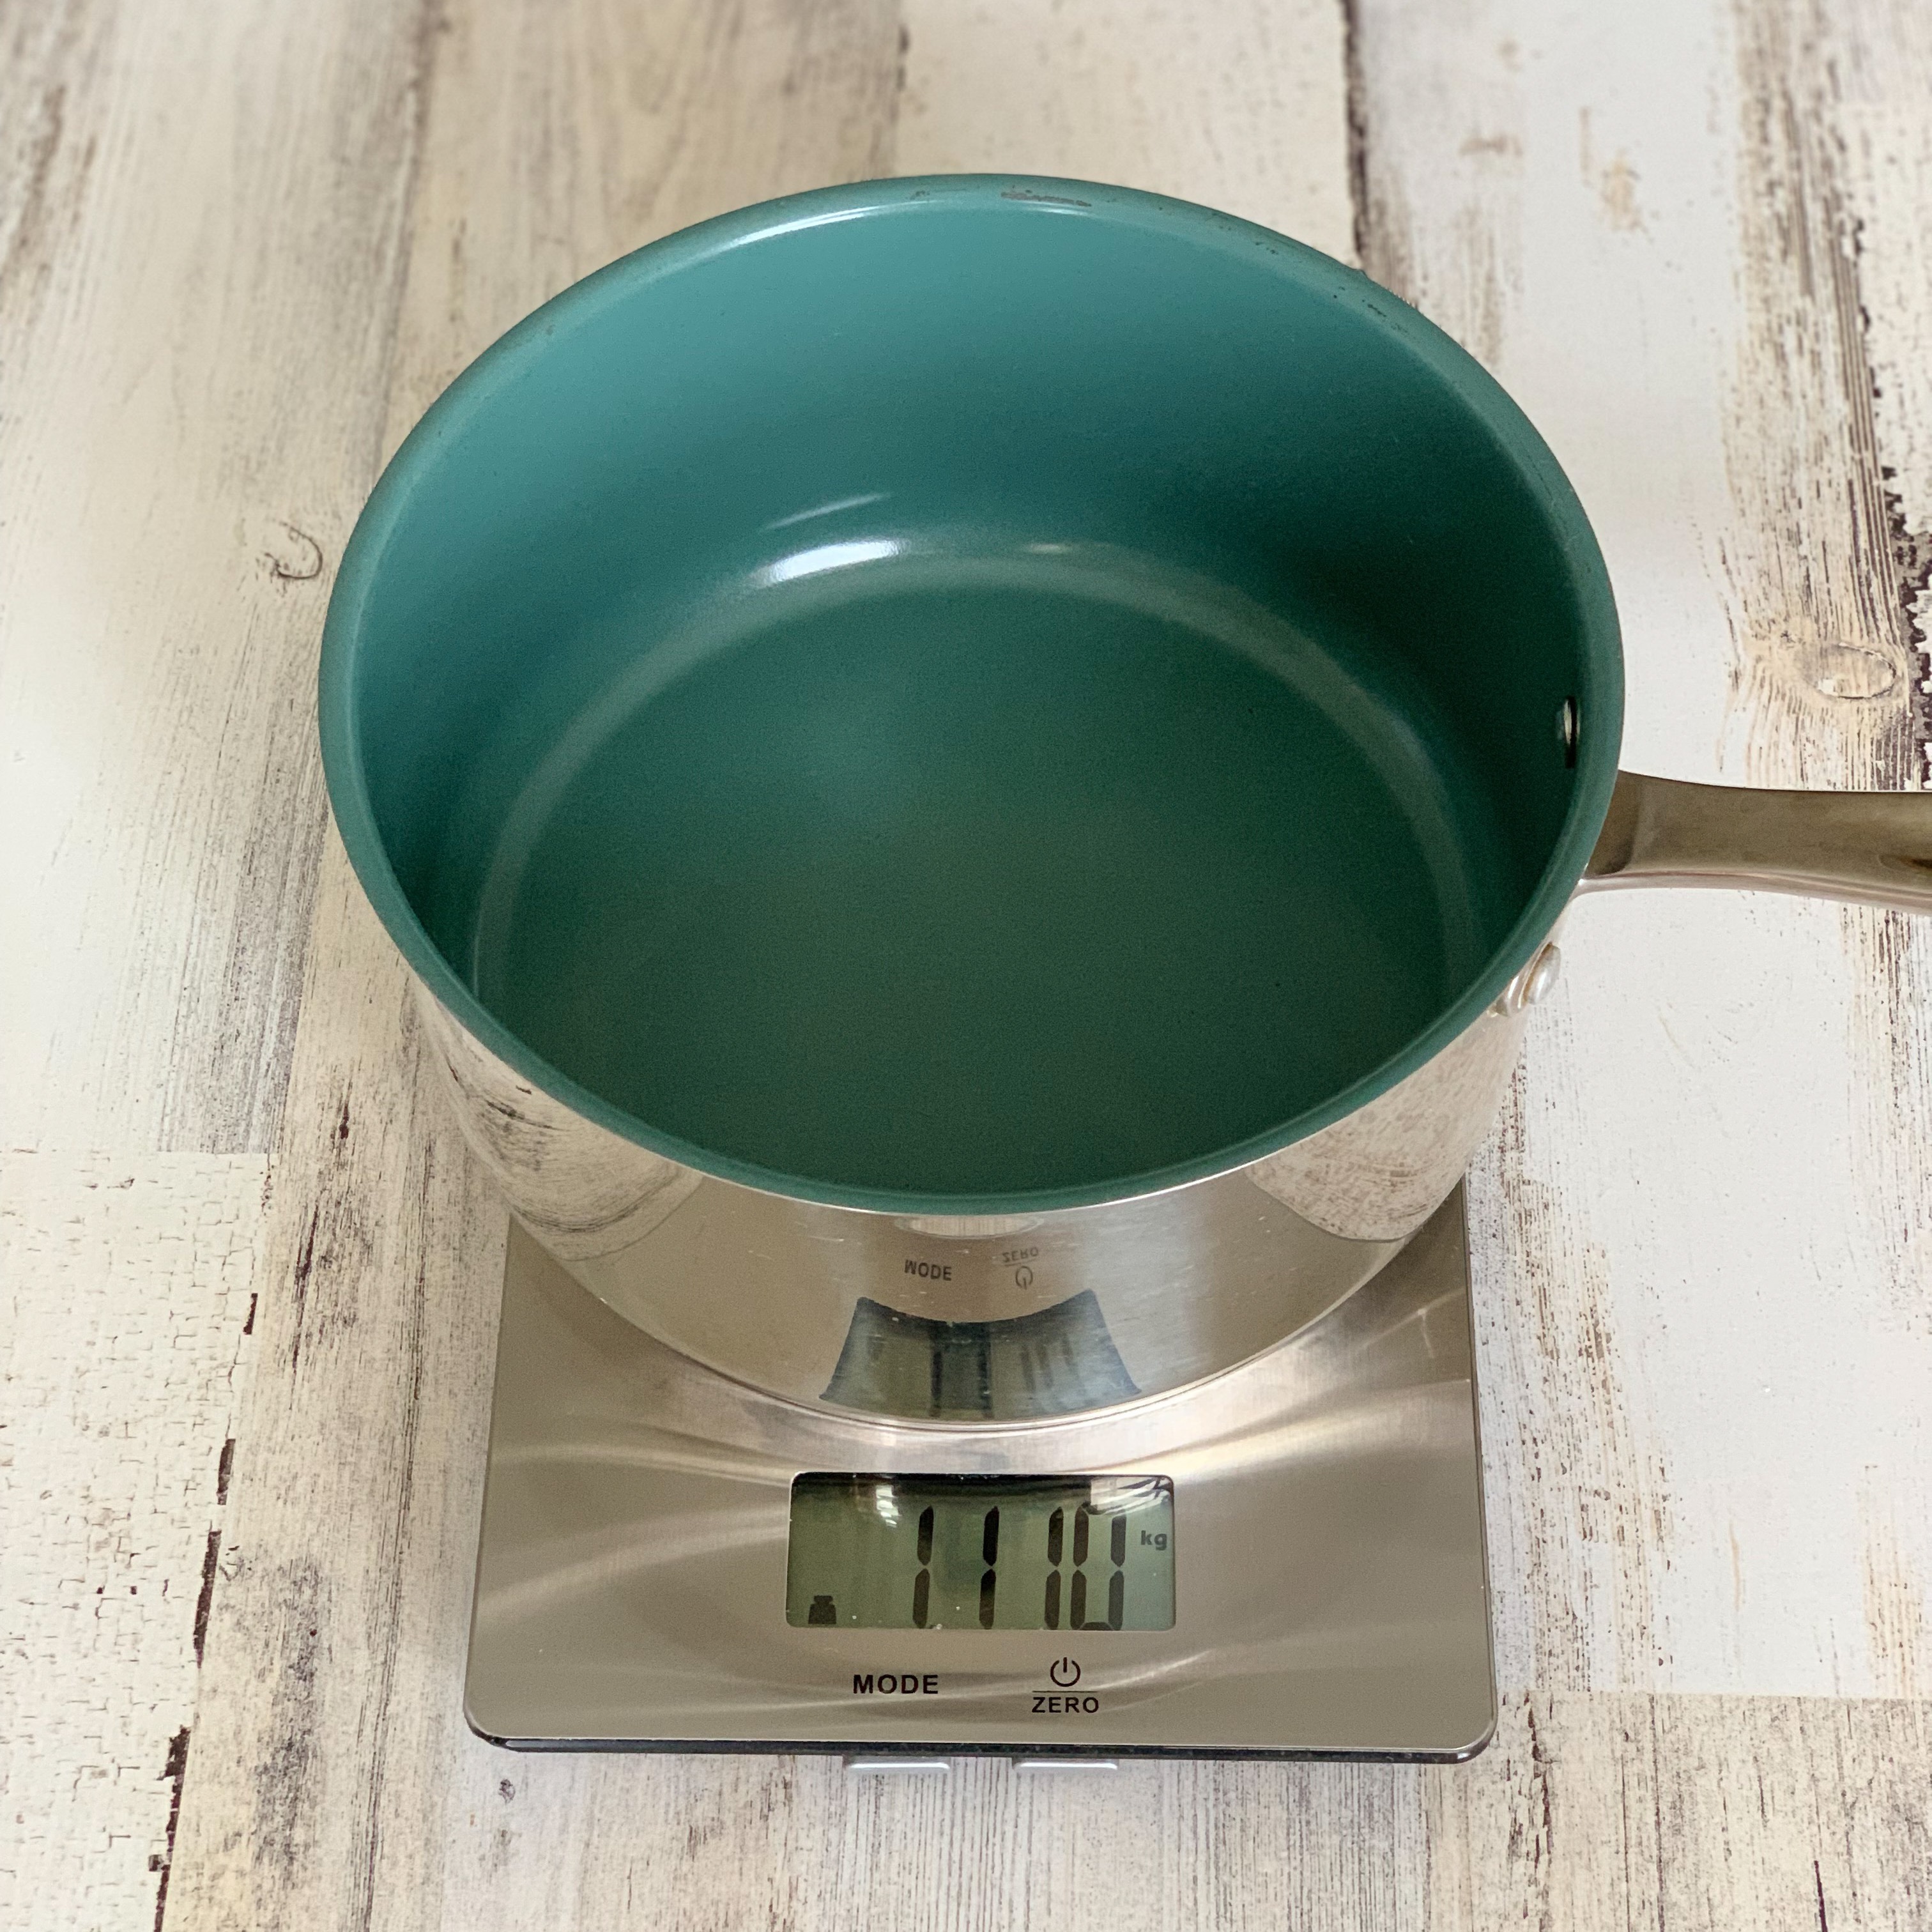
Then add 1,320 grams to the weight of your pot. This is how much your finished honee in the pot should weigh. Please note that your pot and total will be different from mine as your pot will be a different weight.
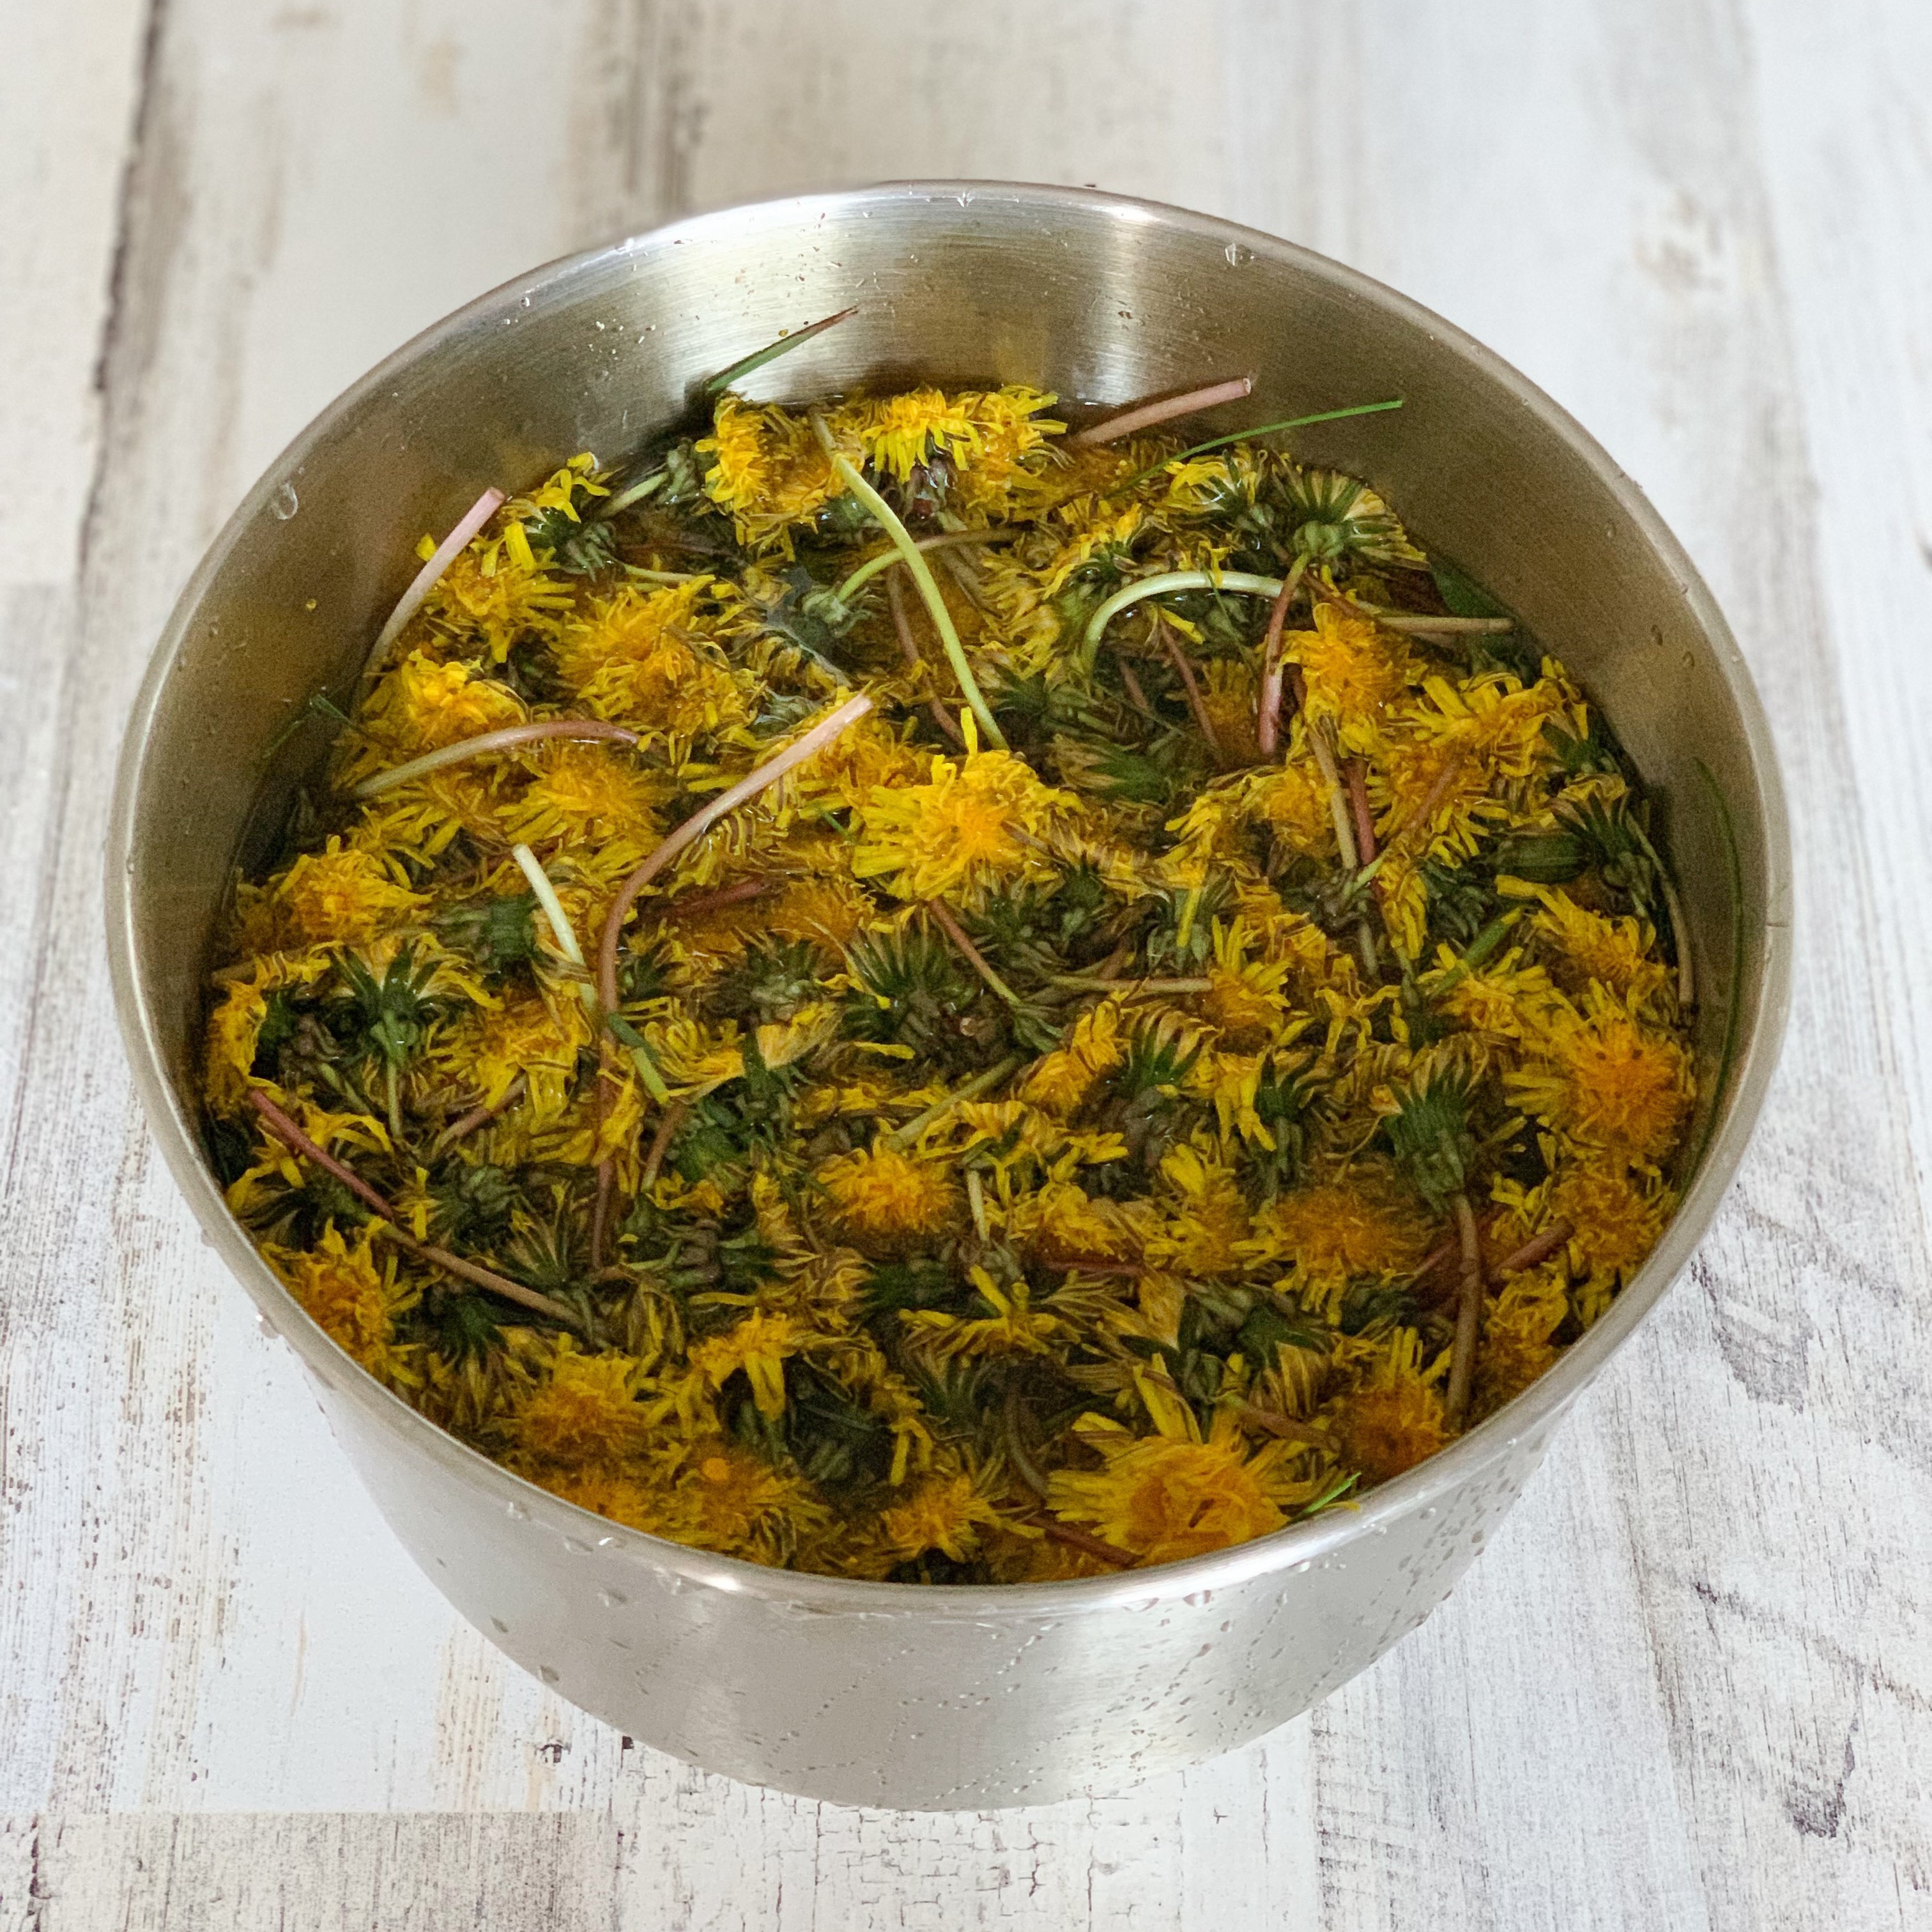
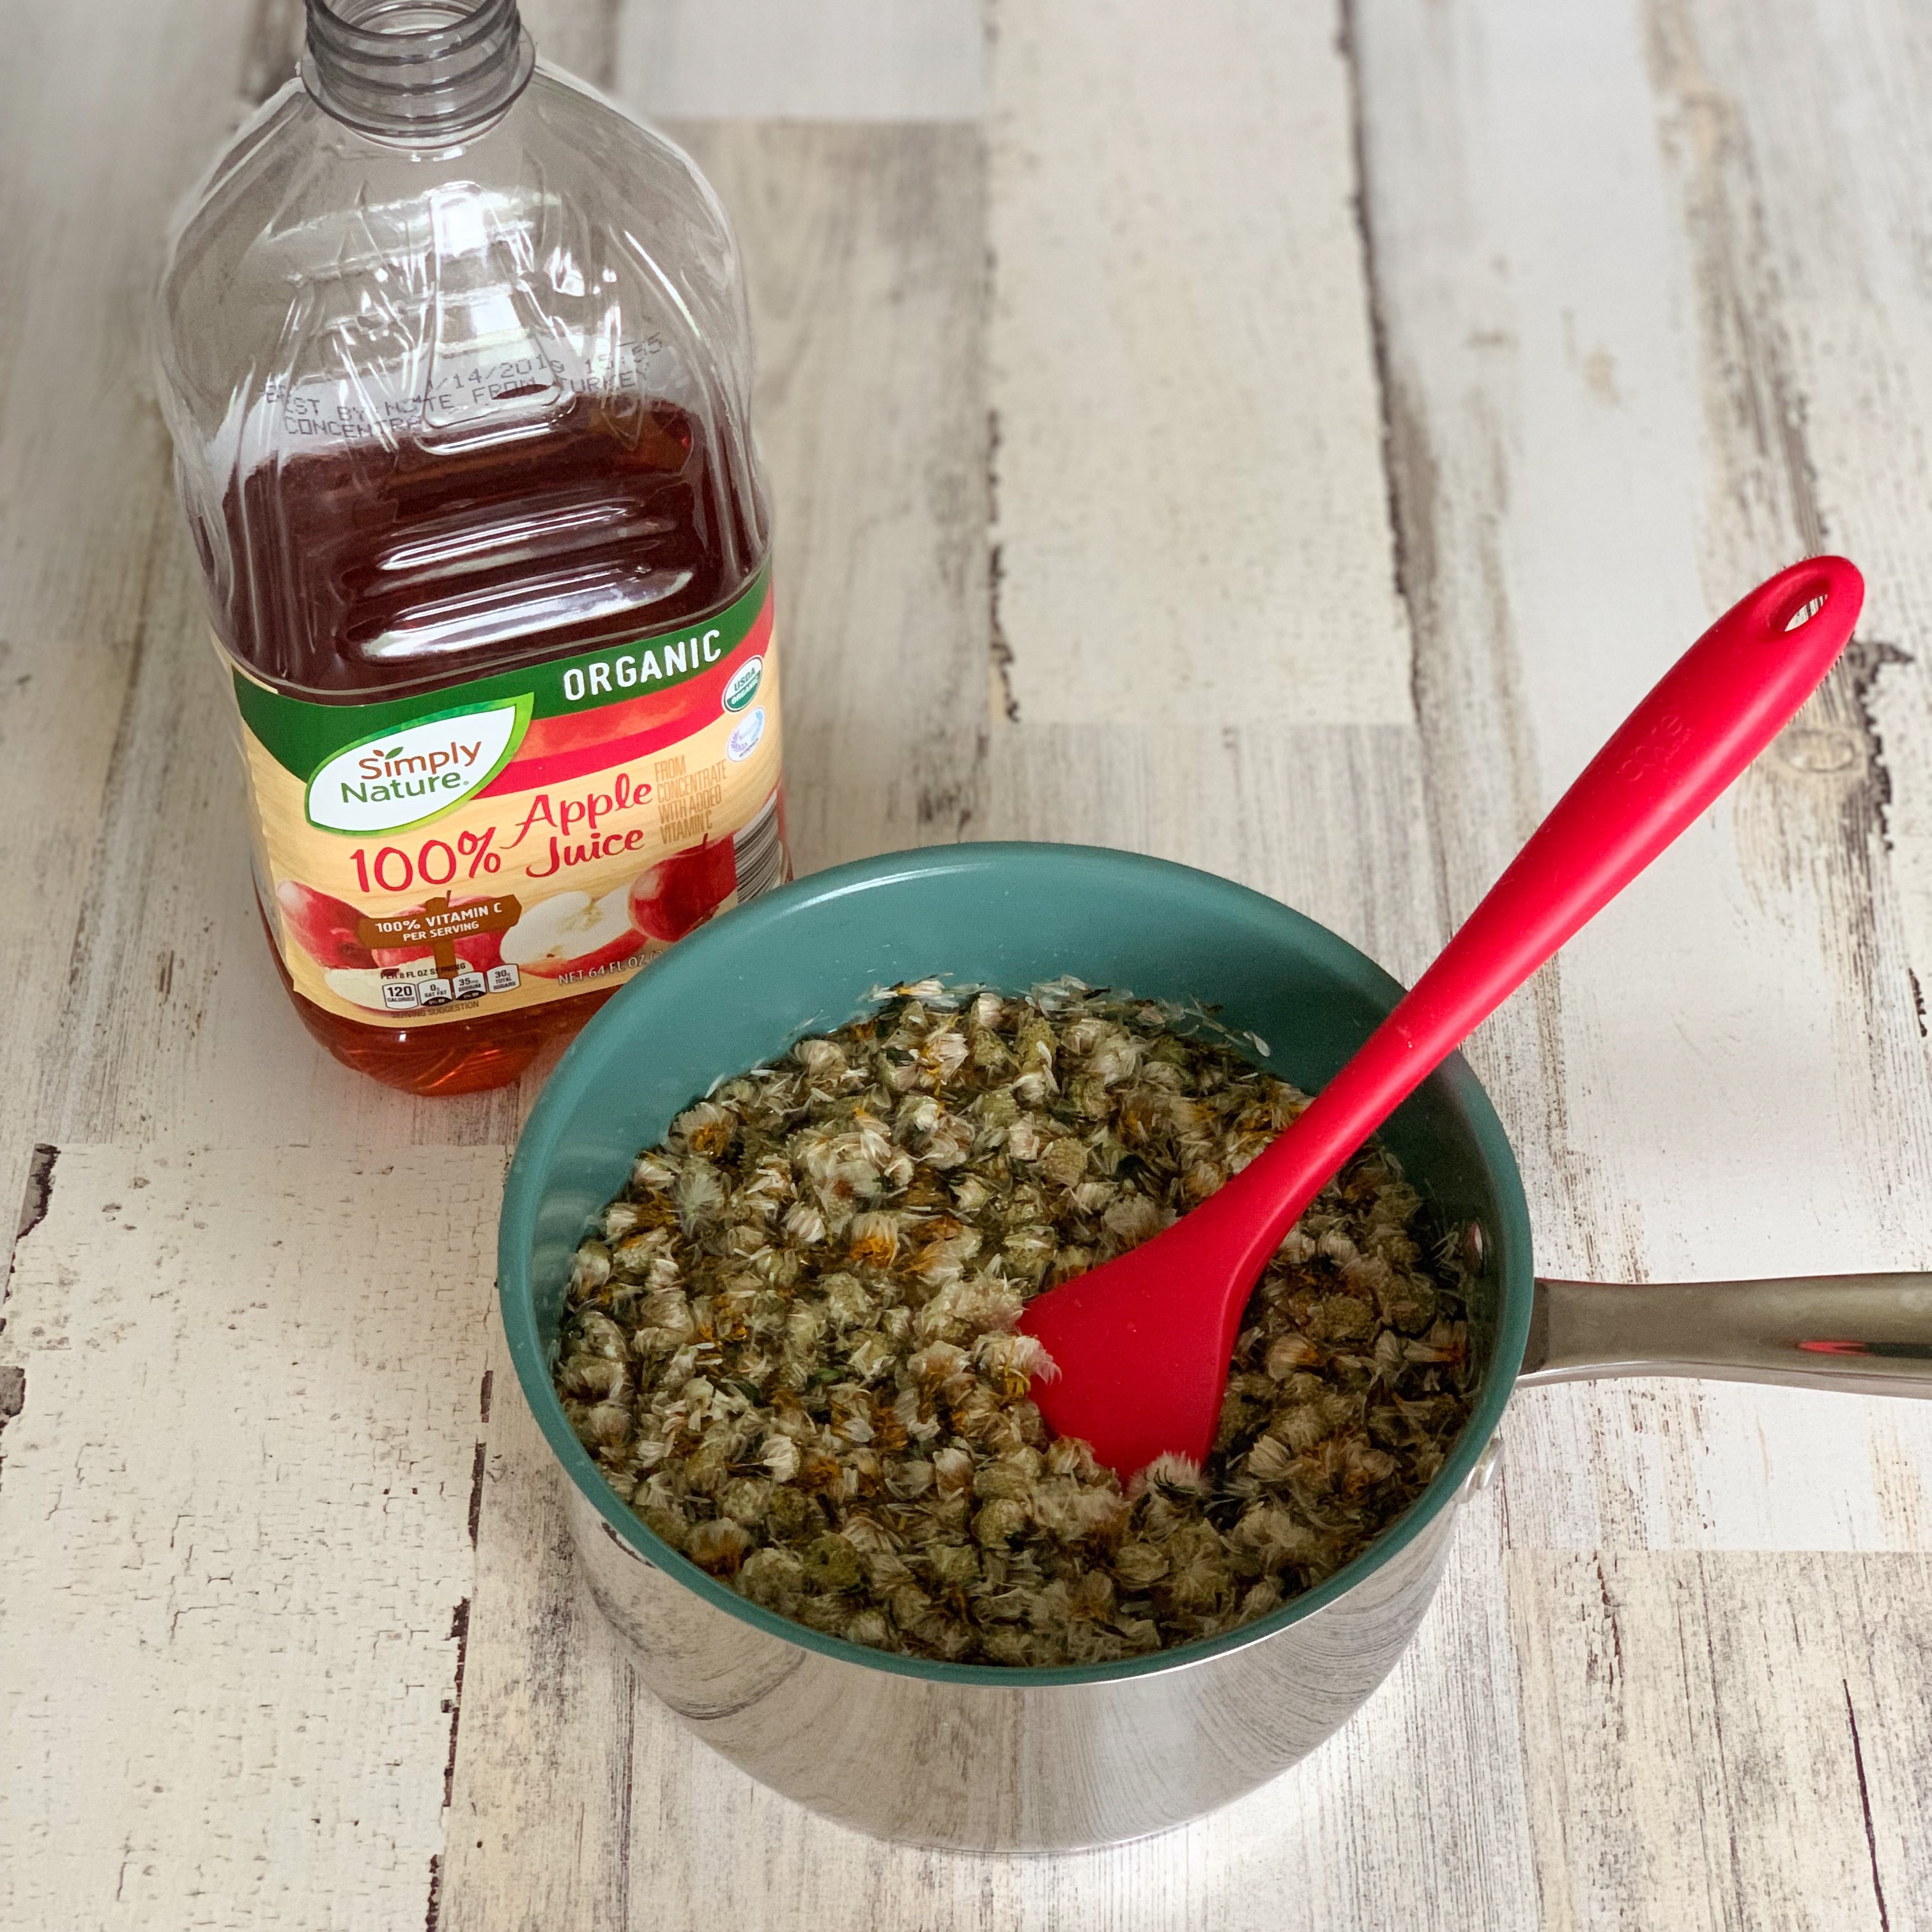
Add your dried flowers to the smaller pot, then pour 3 to 4 cups of your apple juice onto the flowers. If you are using chamomile tea bags, open them up and pour the loose powder into the pot. The flowers will try to float on top at first, but will sink as they soak up the juice.
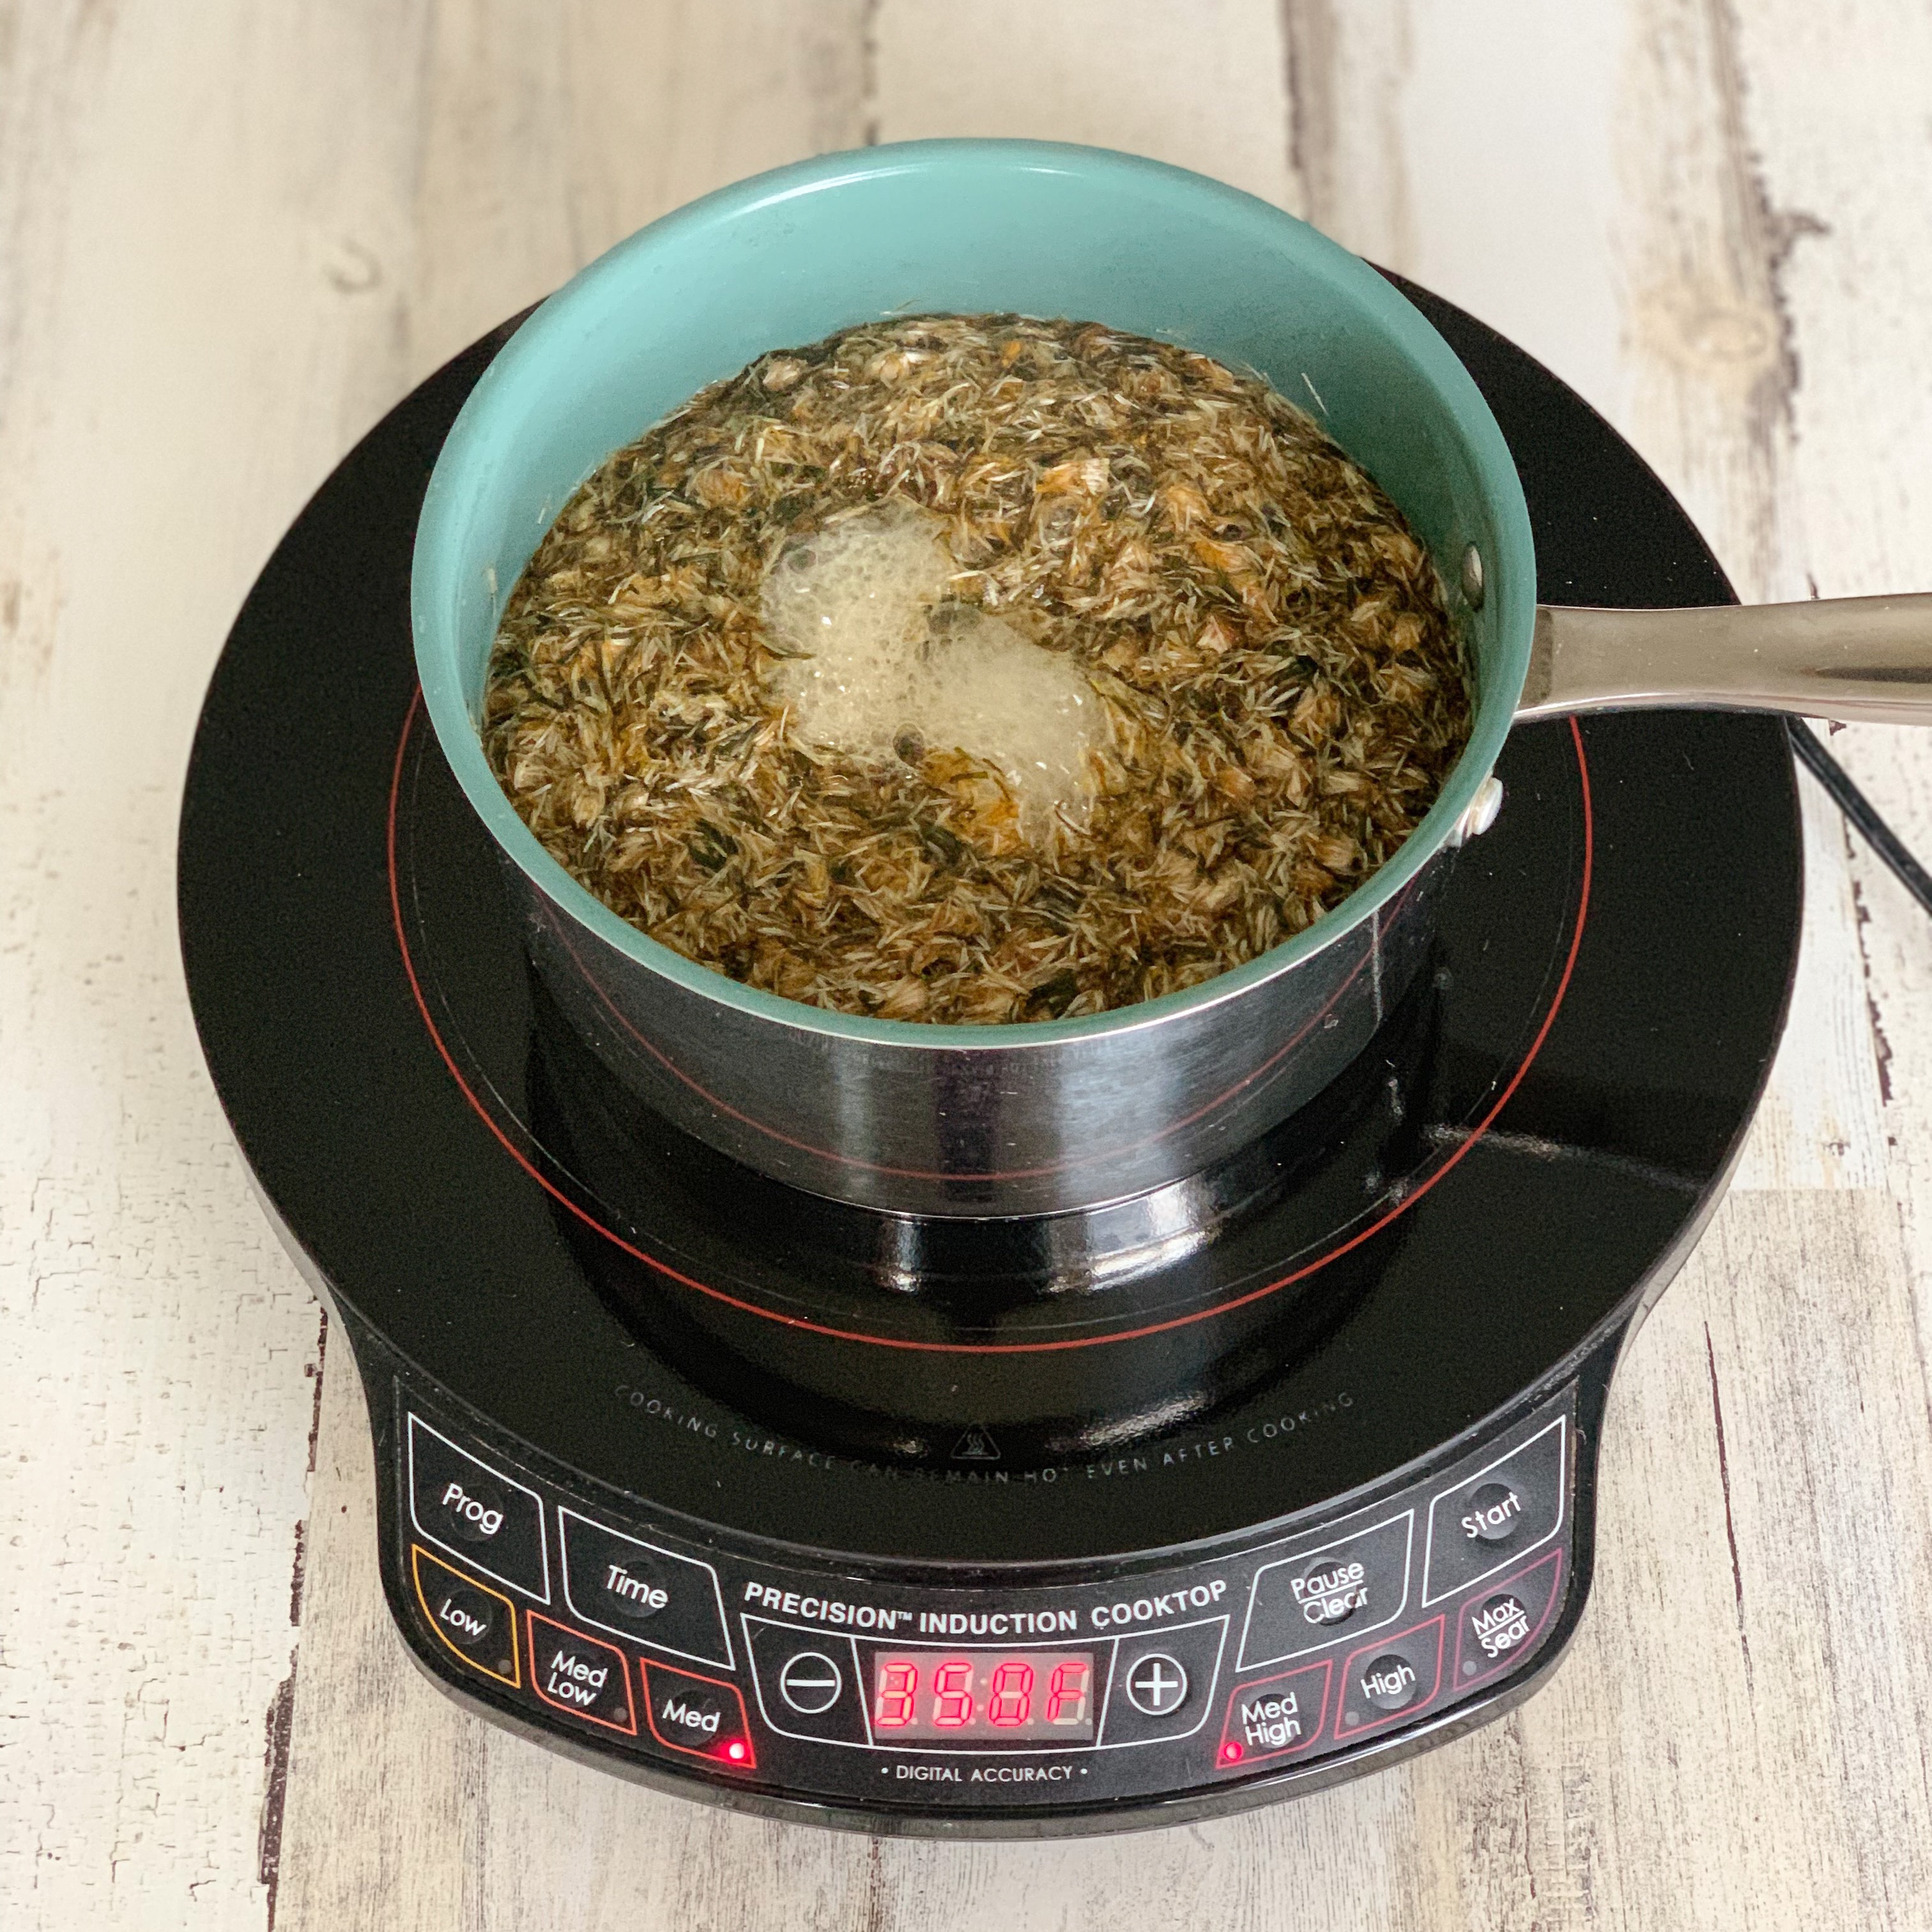
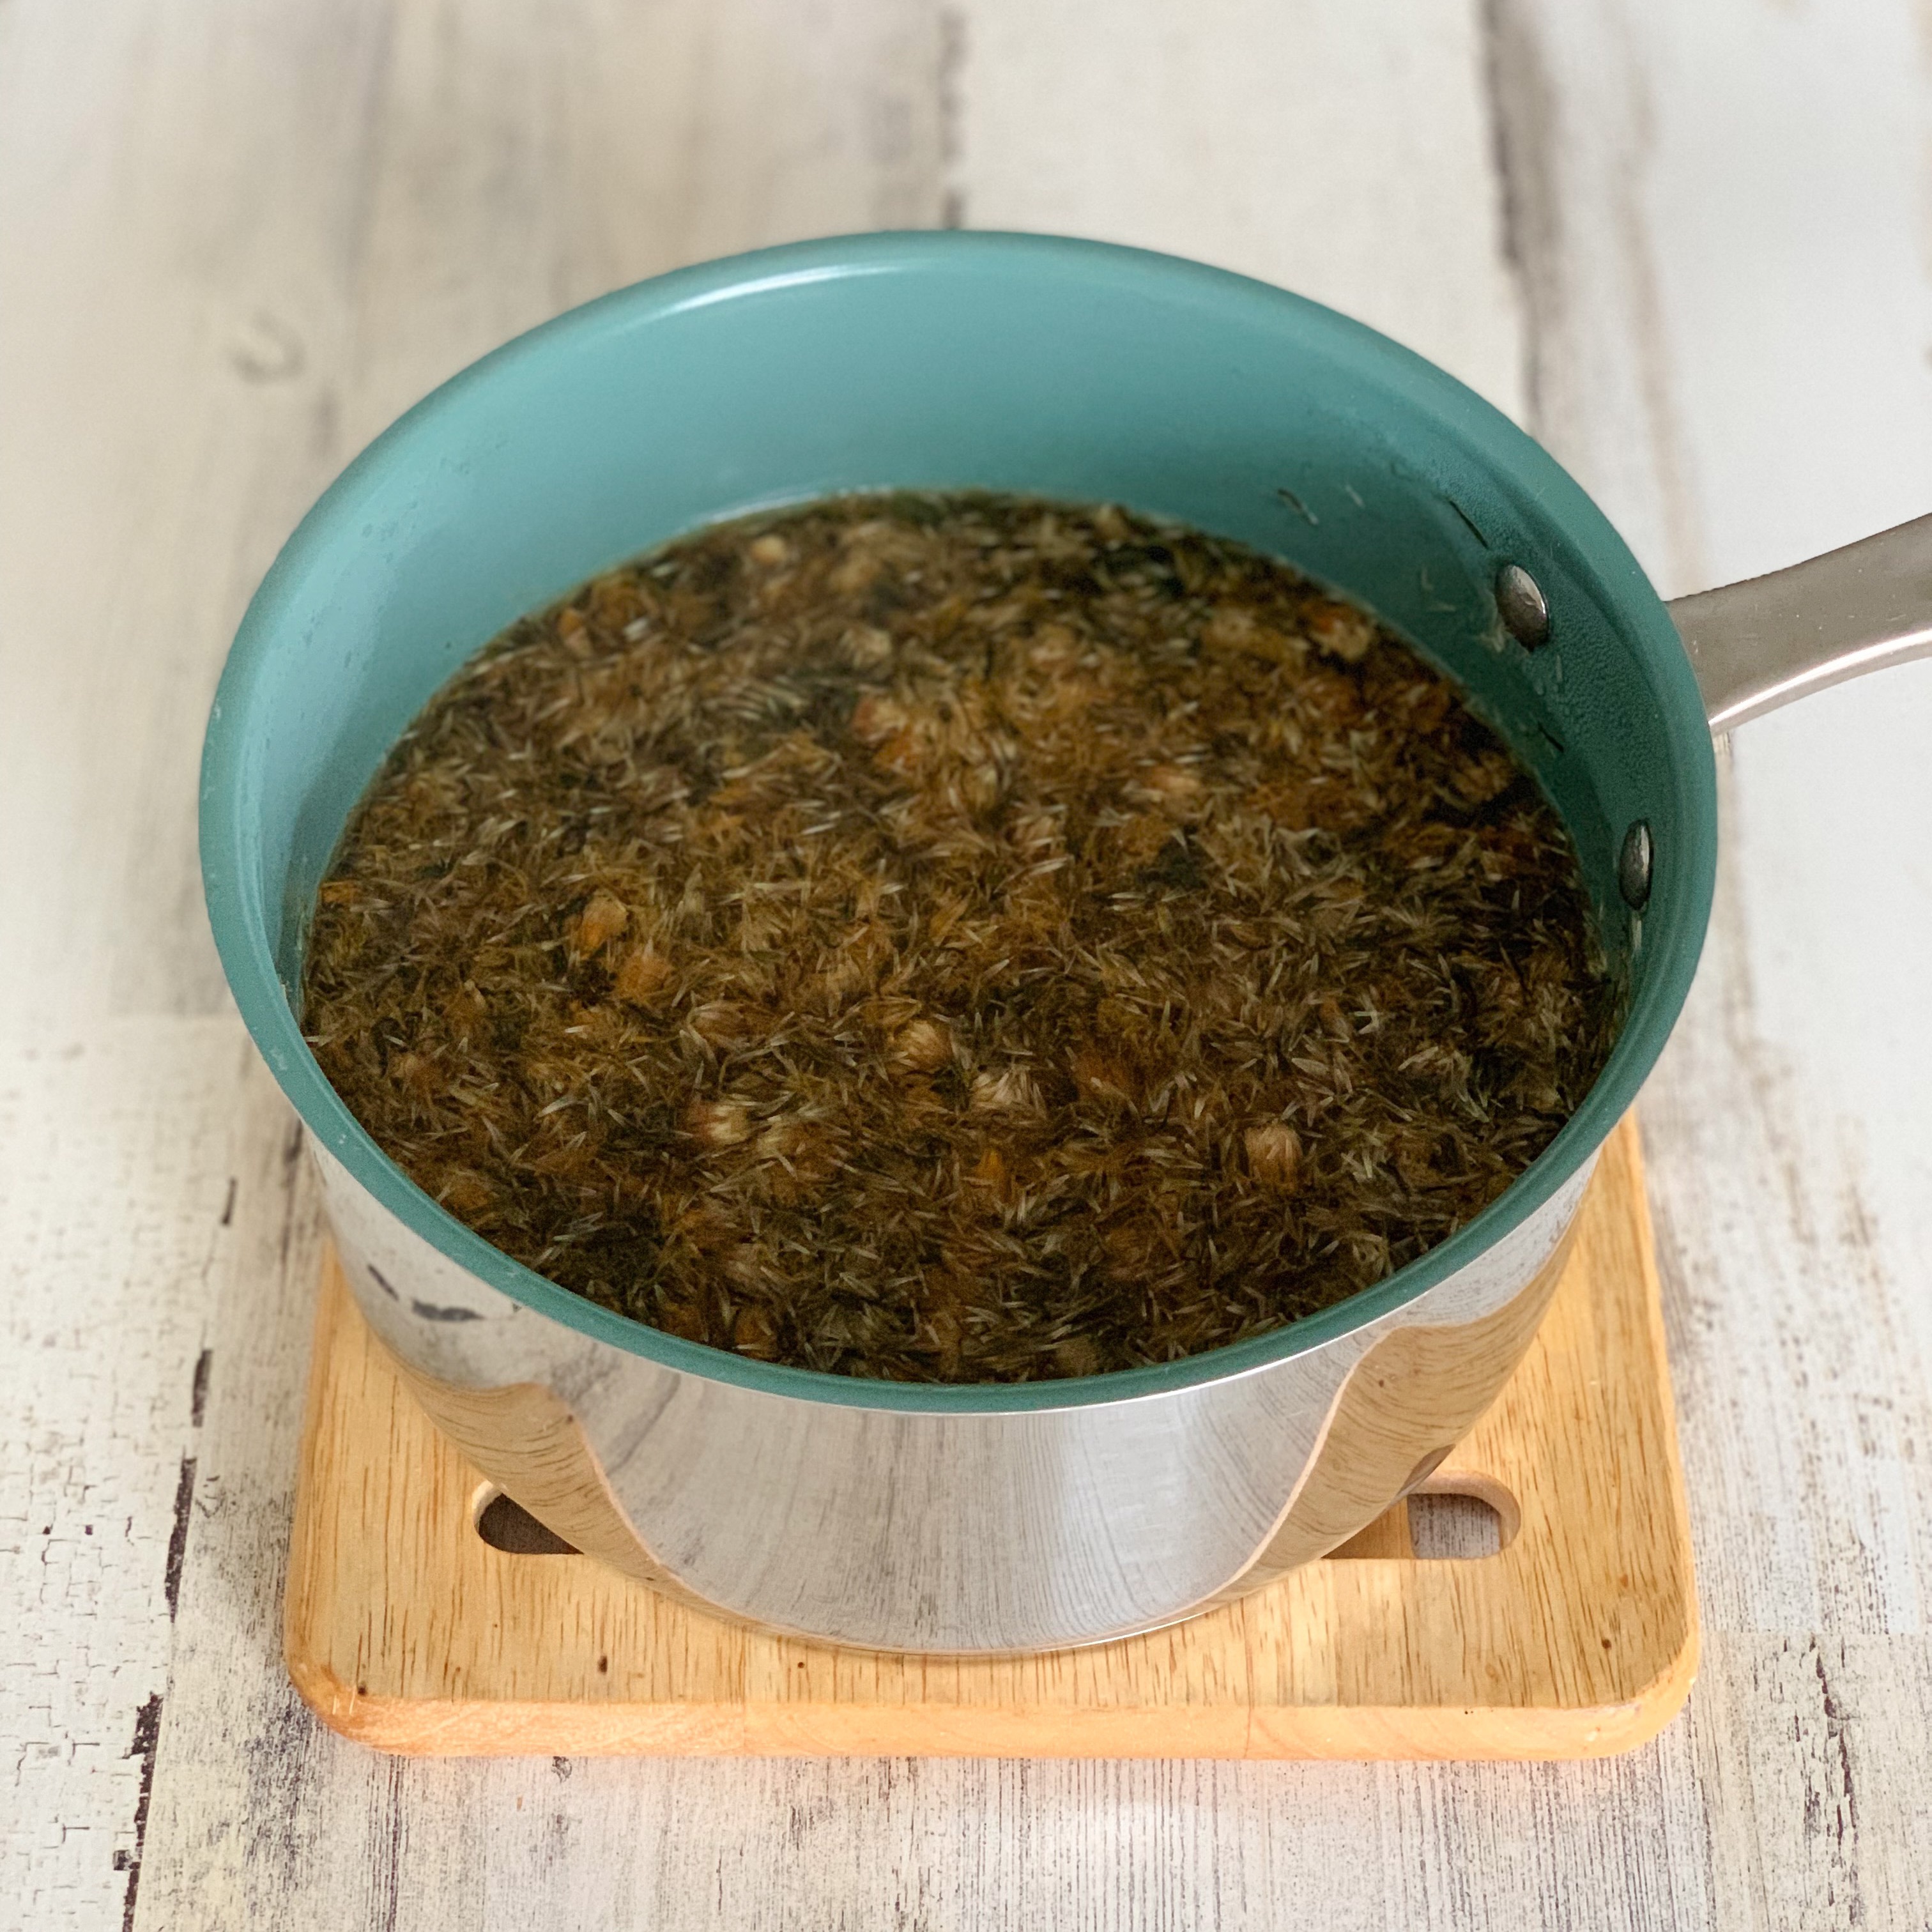
Bring the juice to a boil over medium-high heat, then remove the pot from the burner and let the flowers or tea steep for two hours:
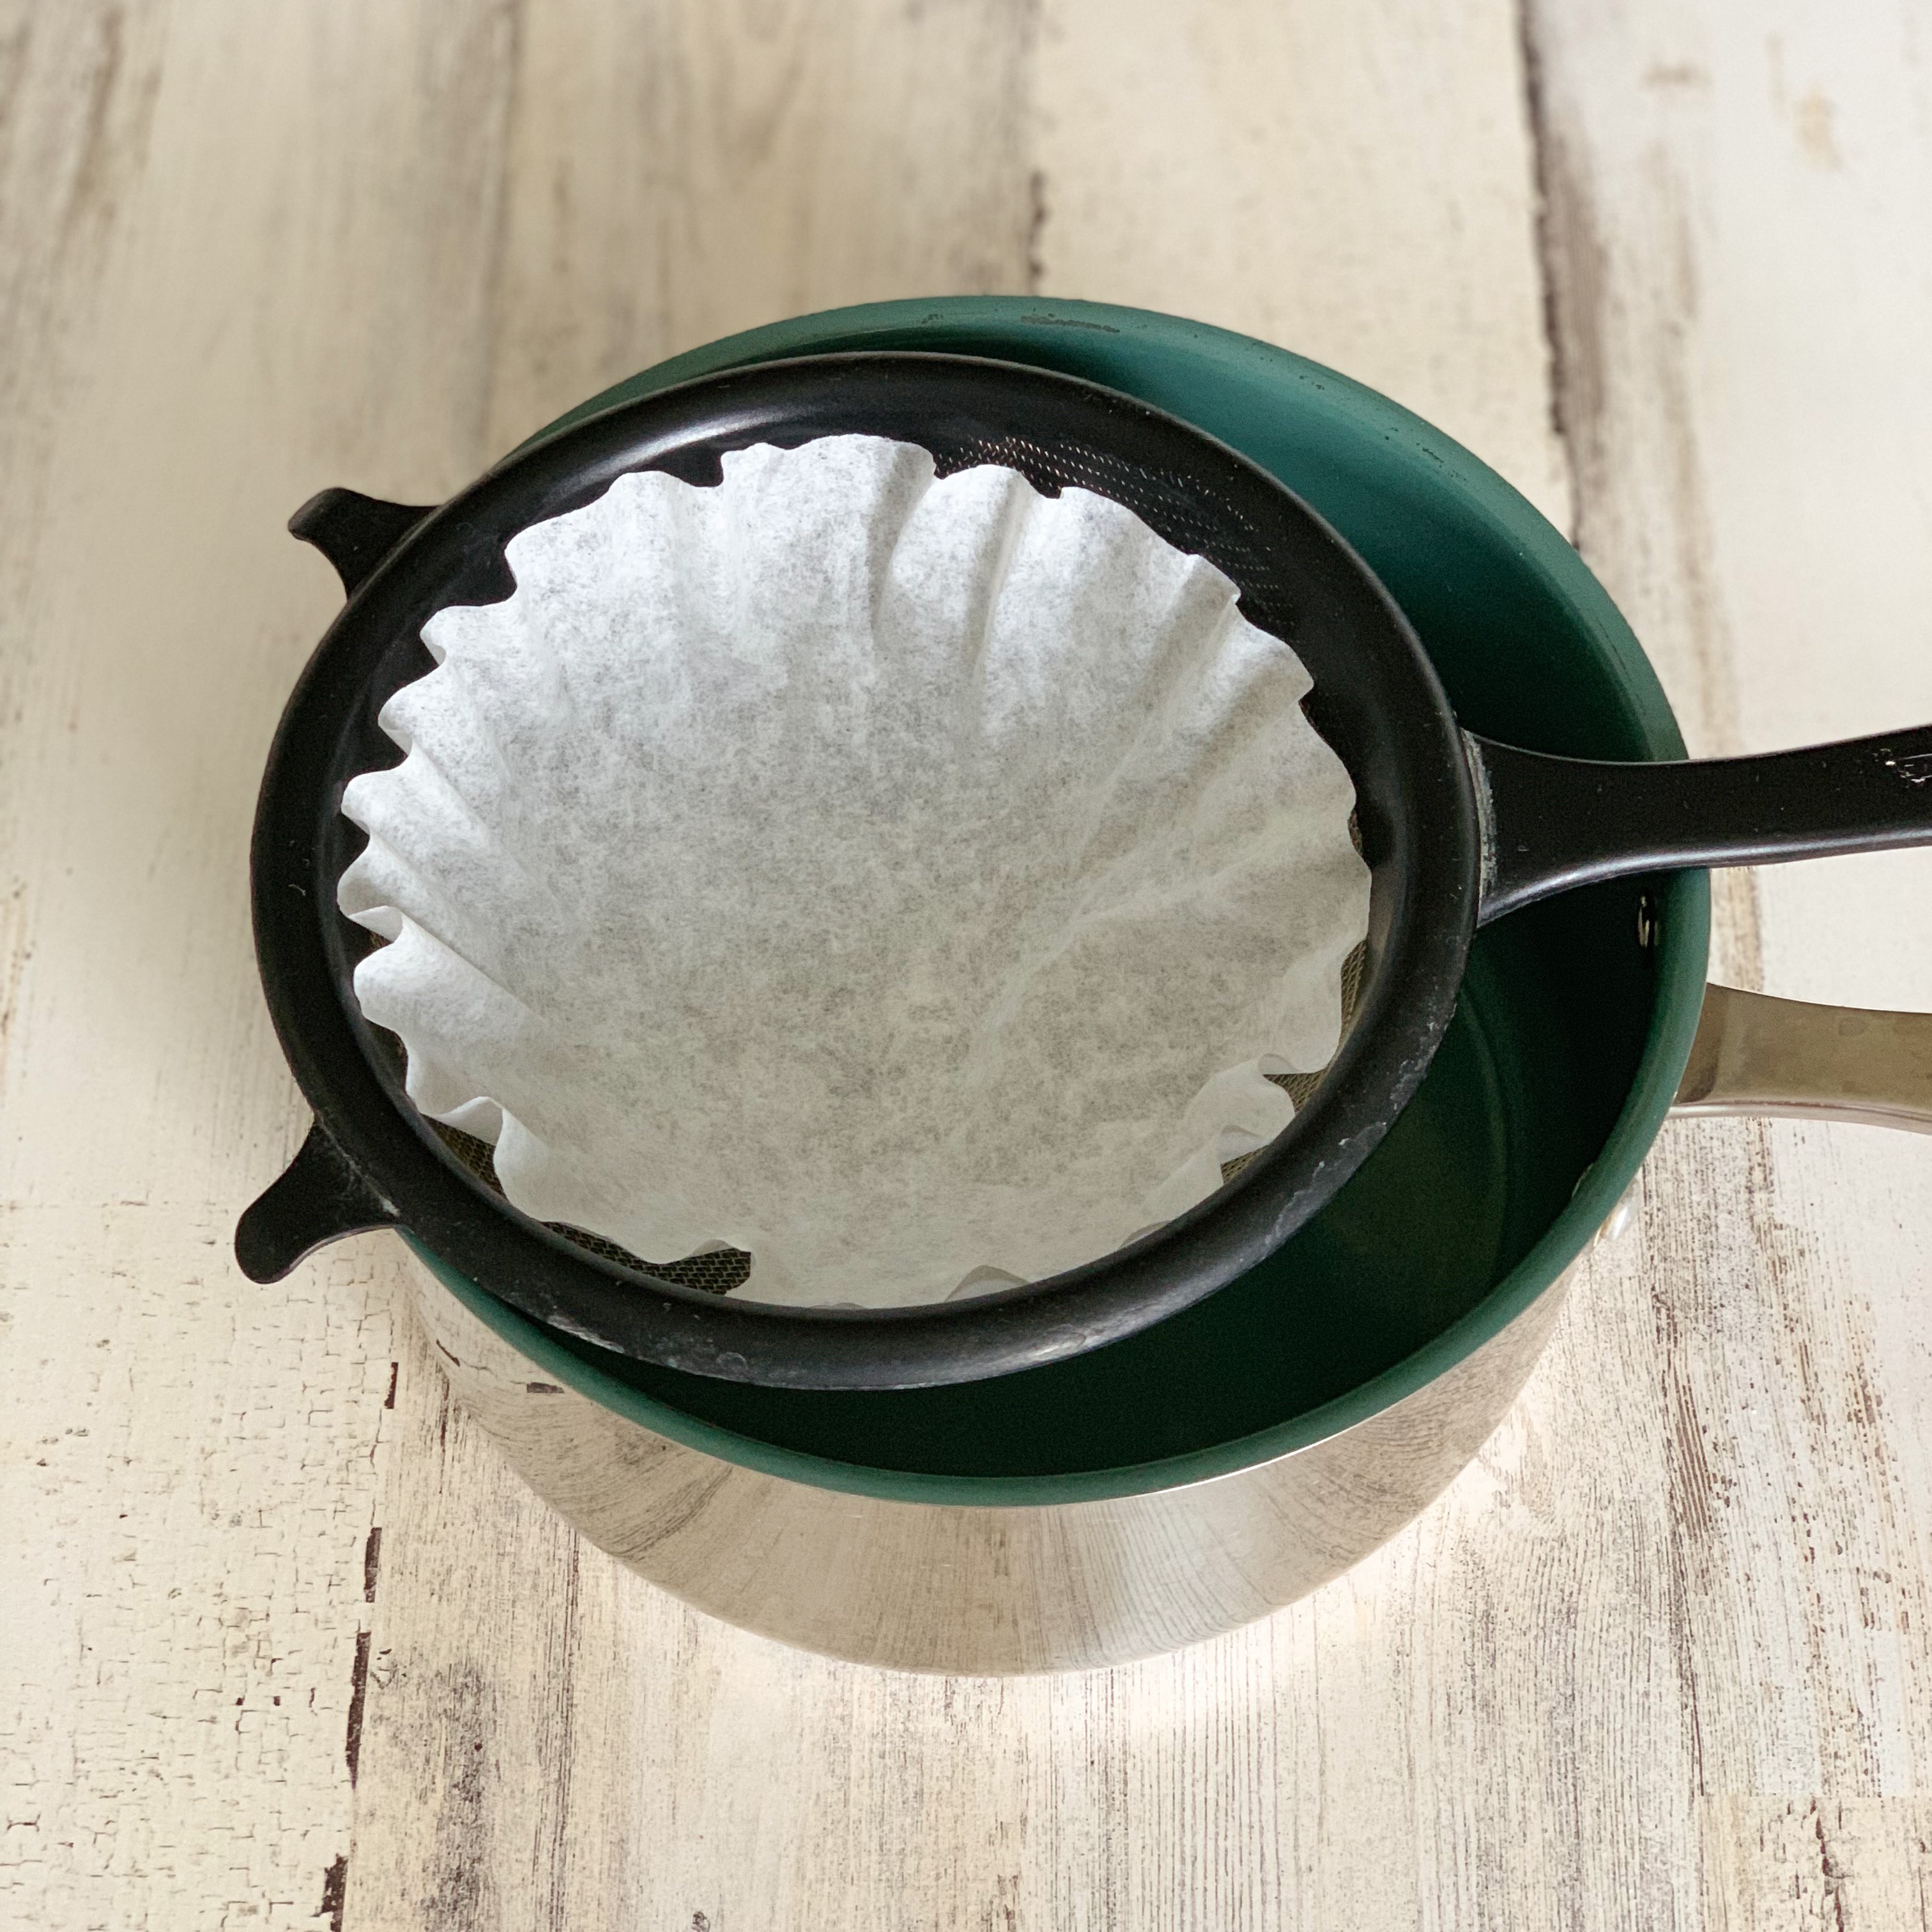
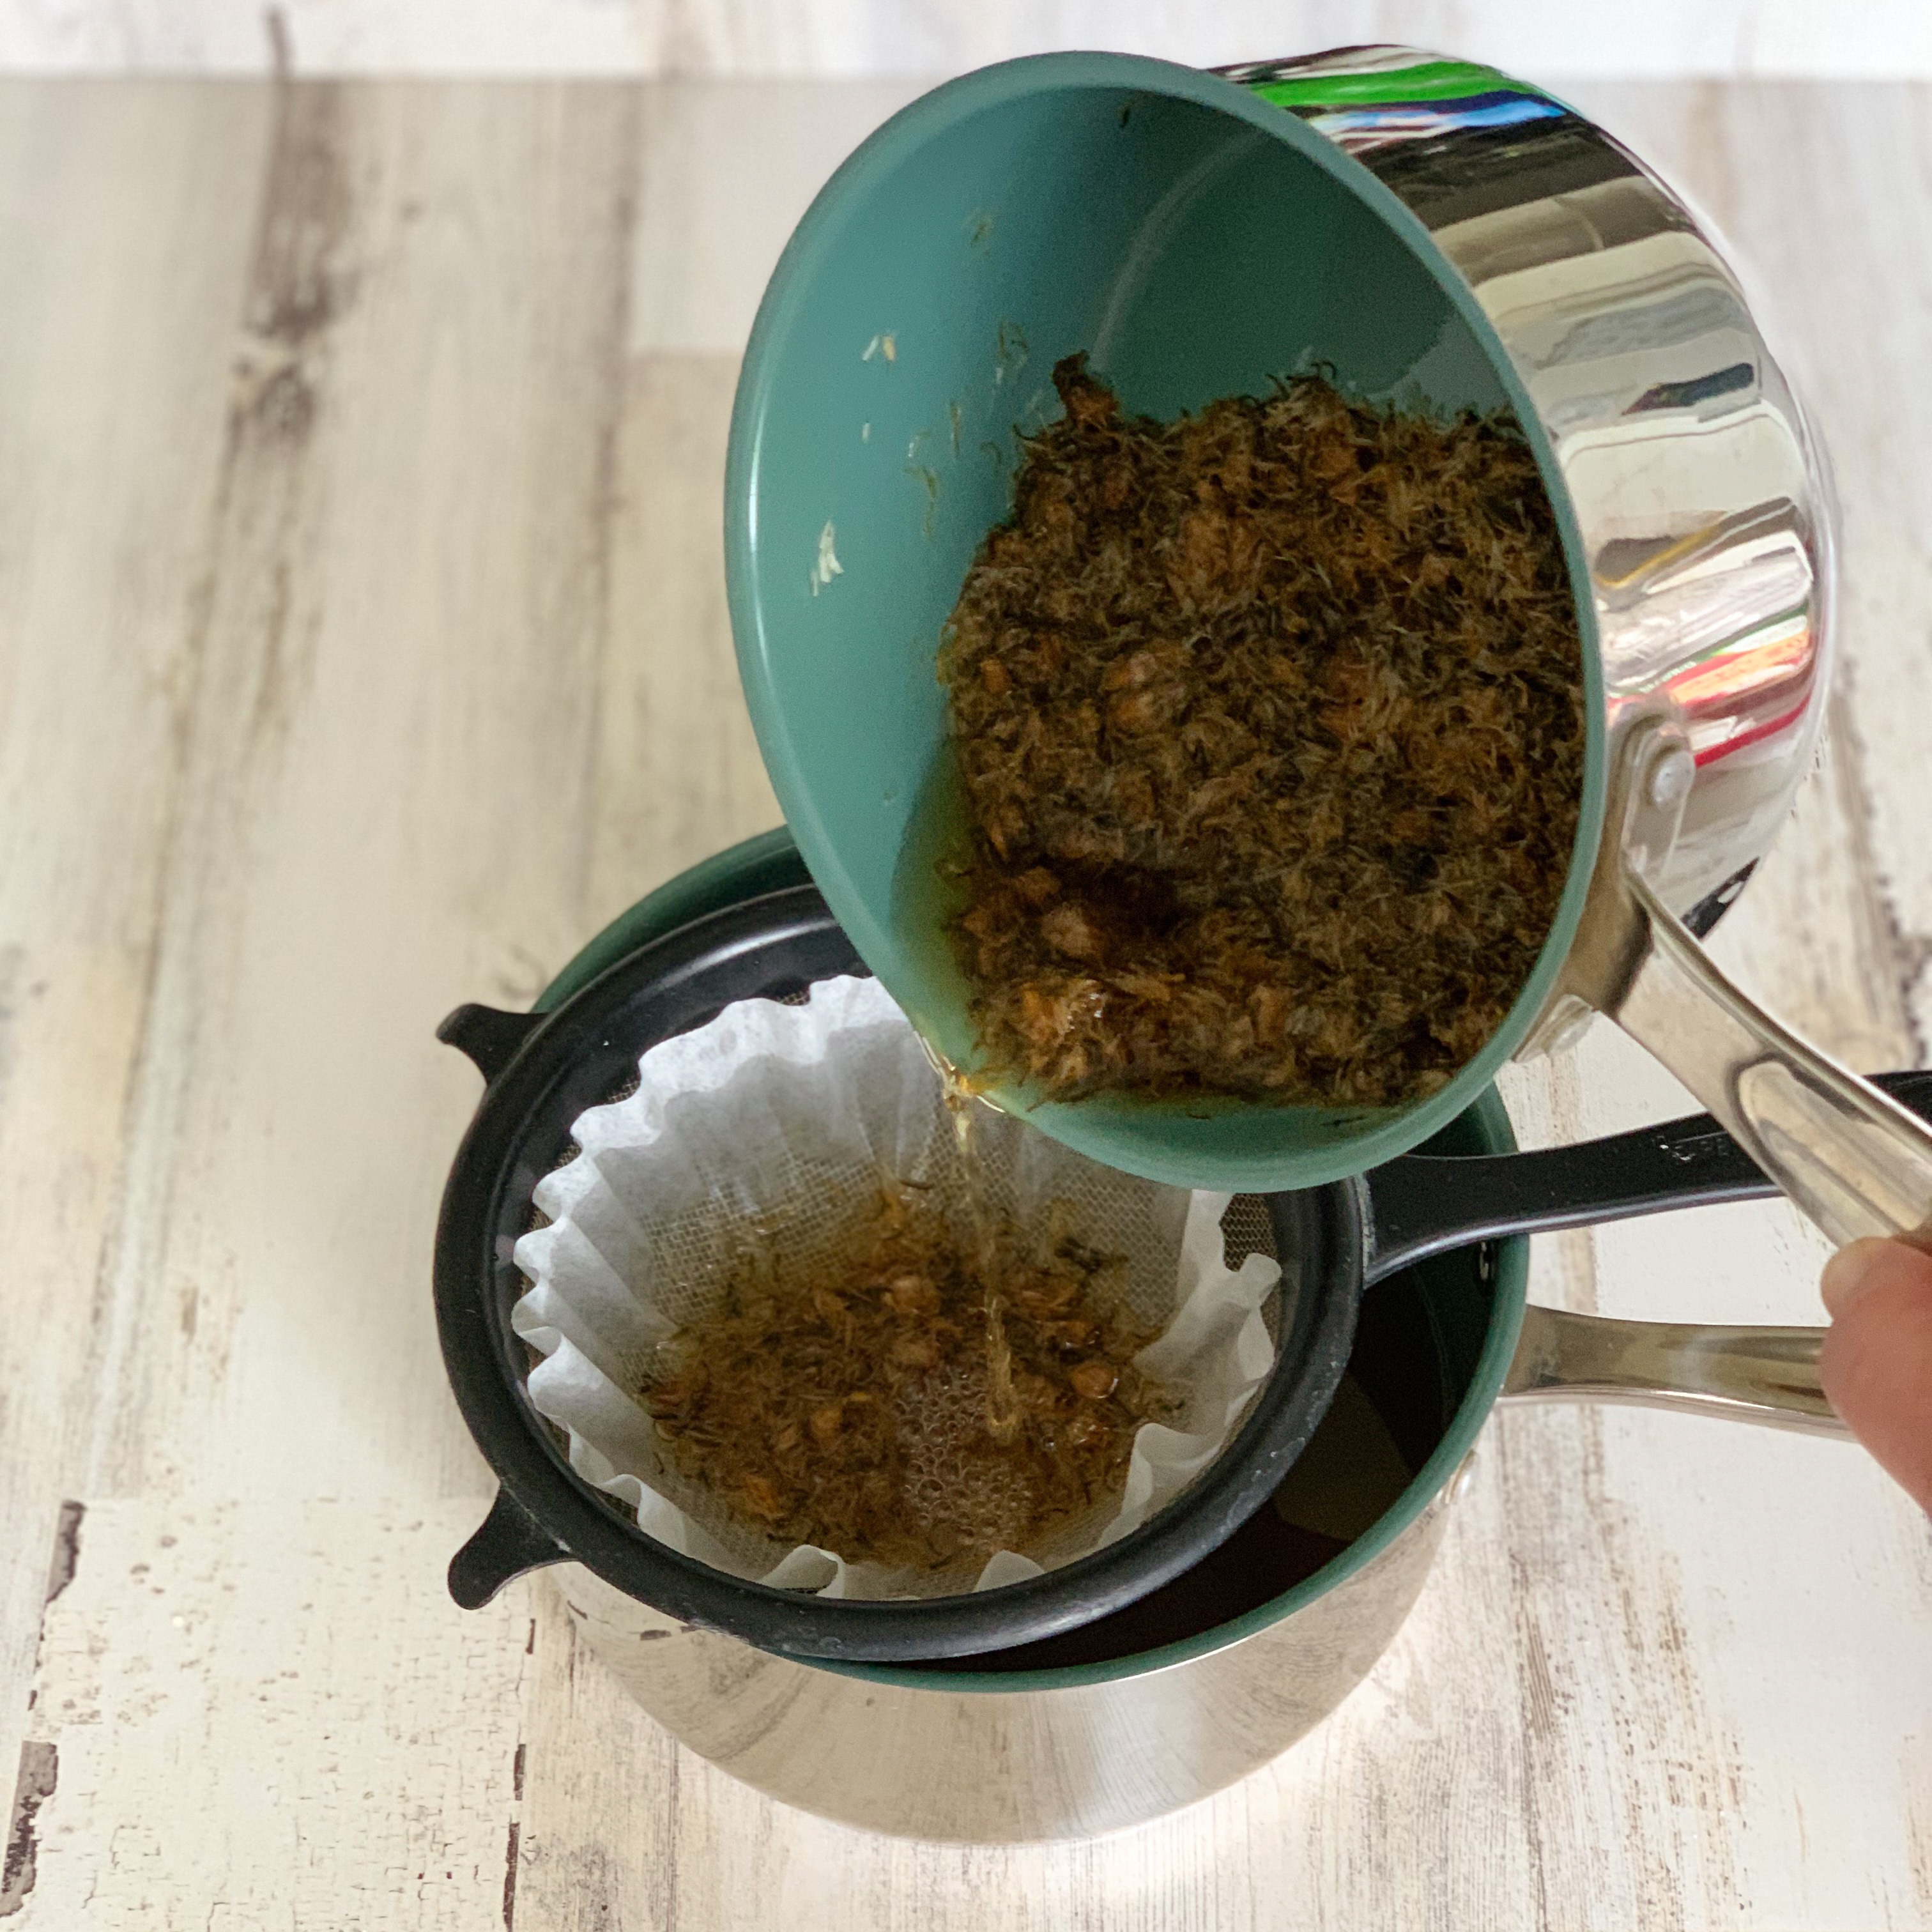
Place the strainer lined with the coffee filter into your larger pot, then carefully pour the juice and flowers into the liner:
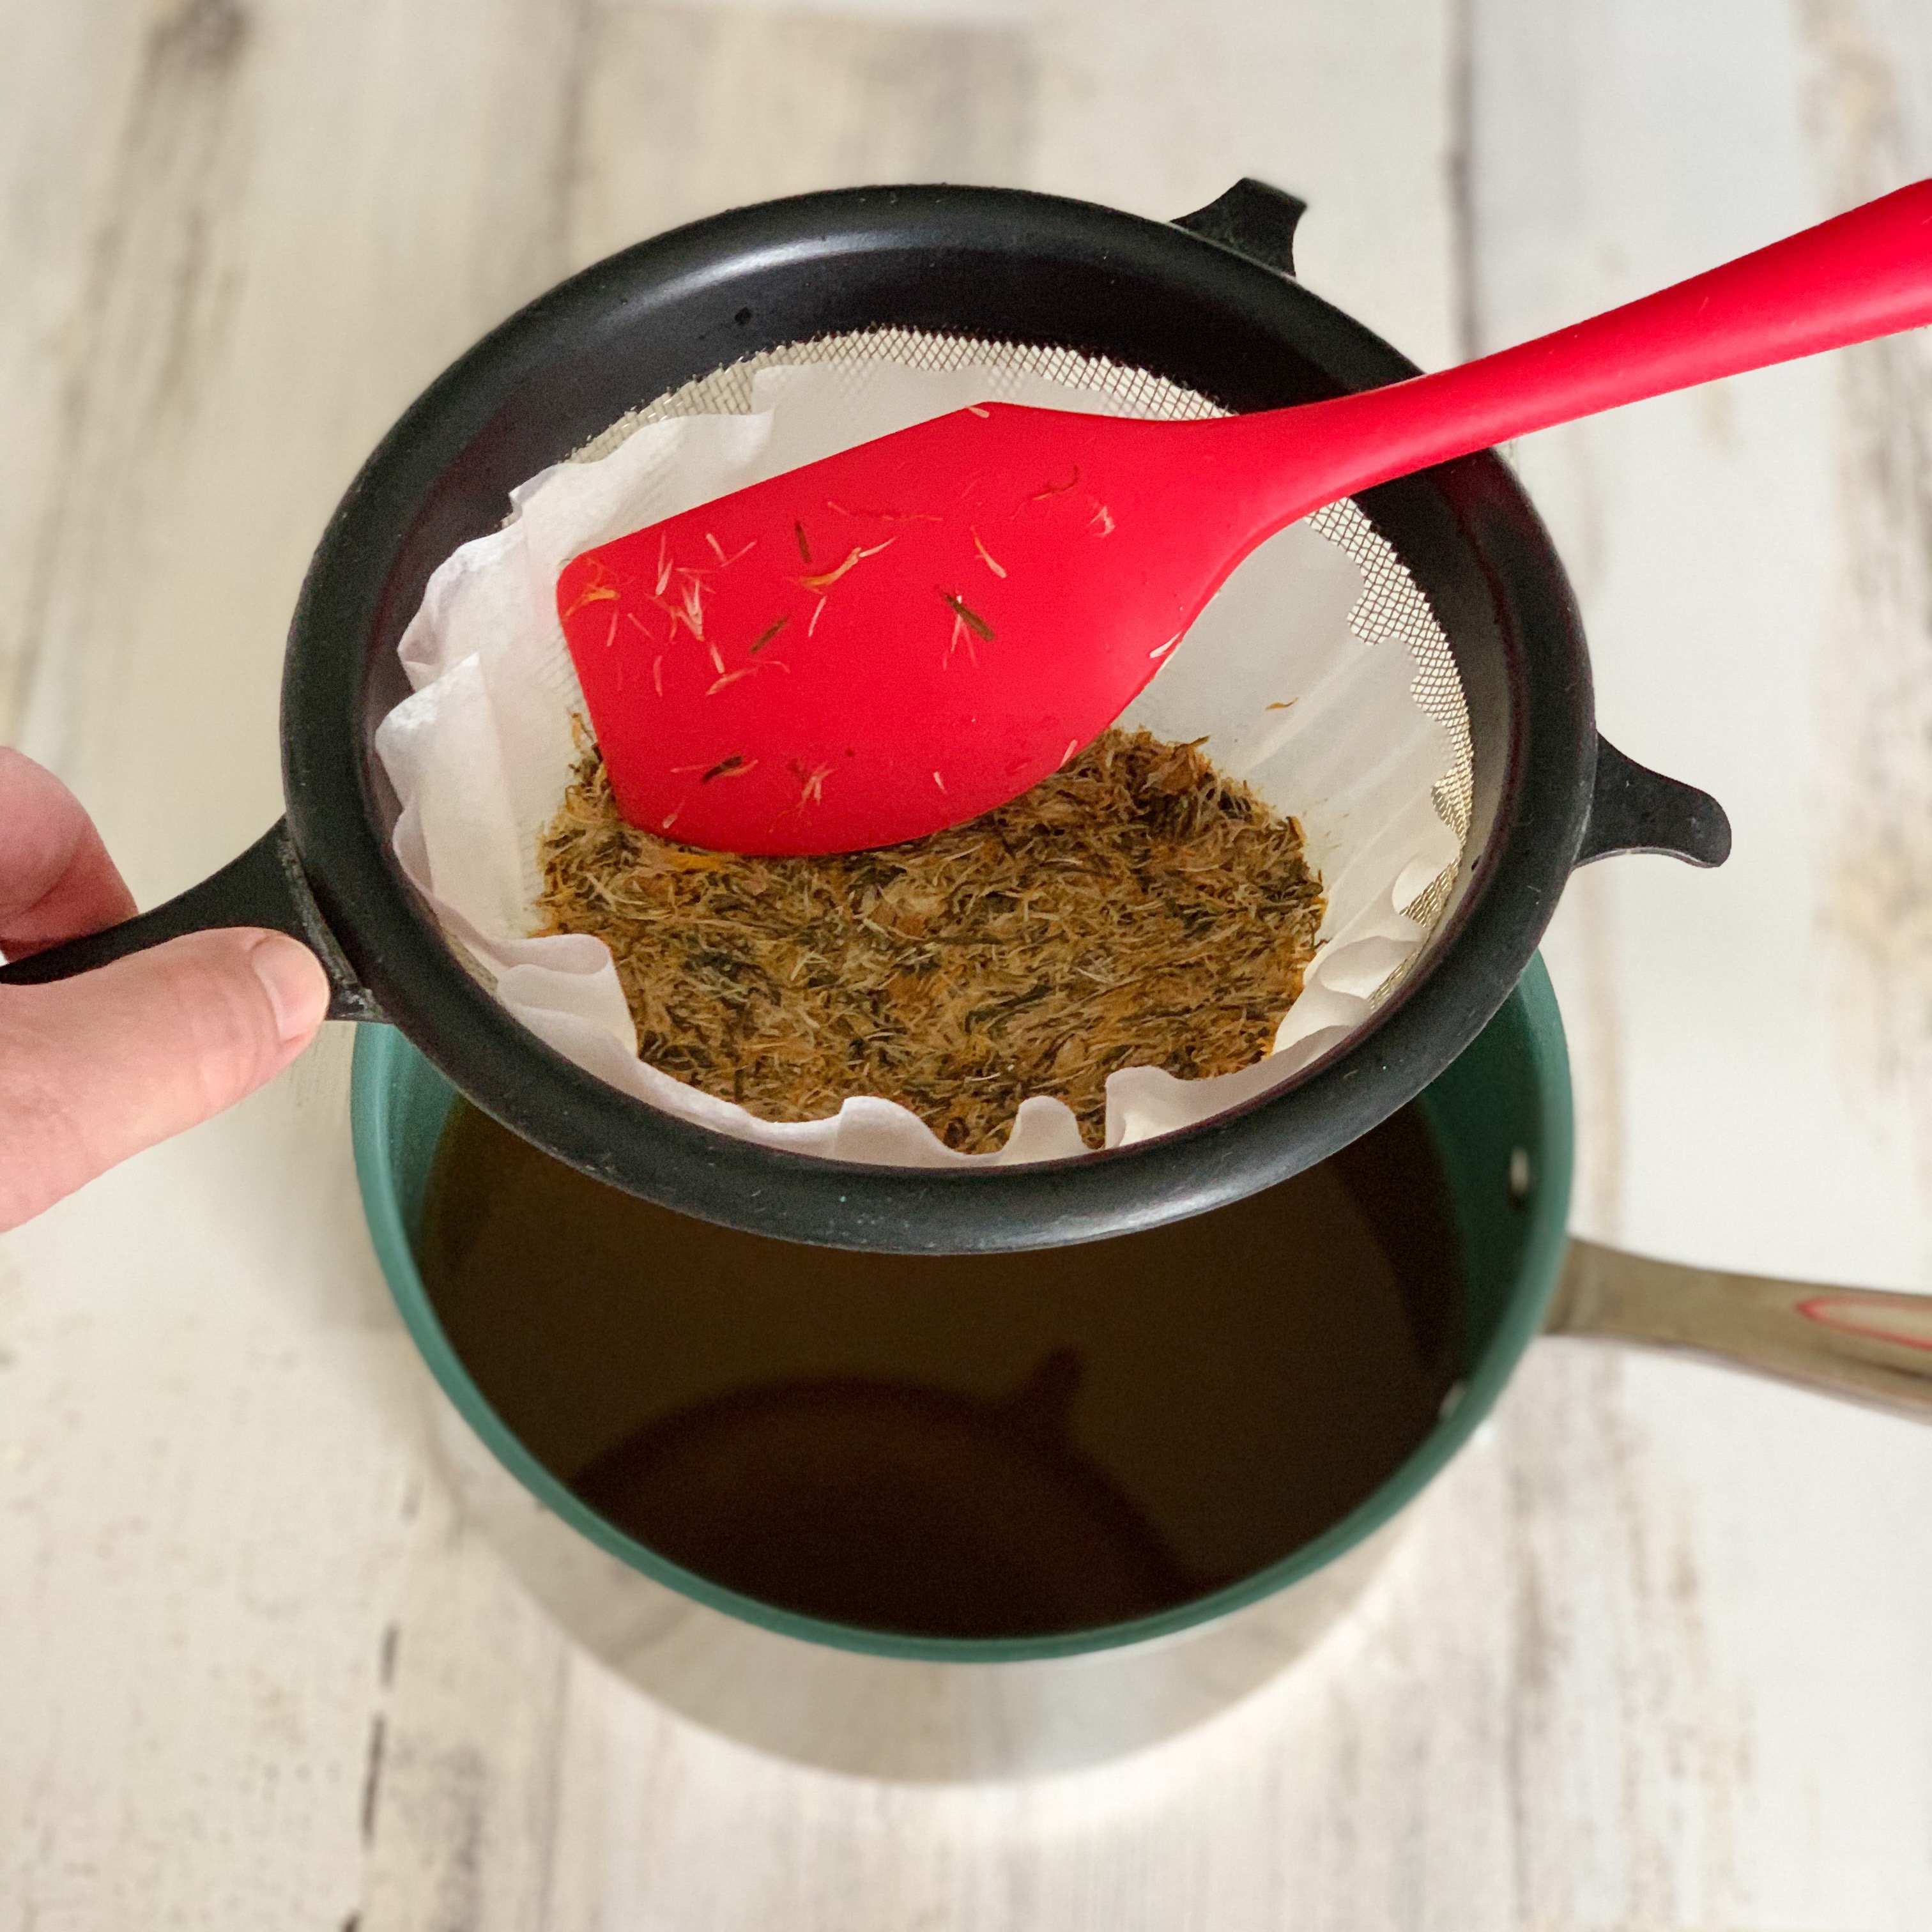
Push all the juice you can out of the flowers with your spatula:
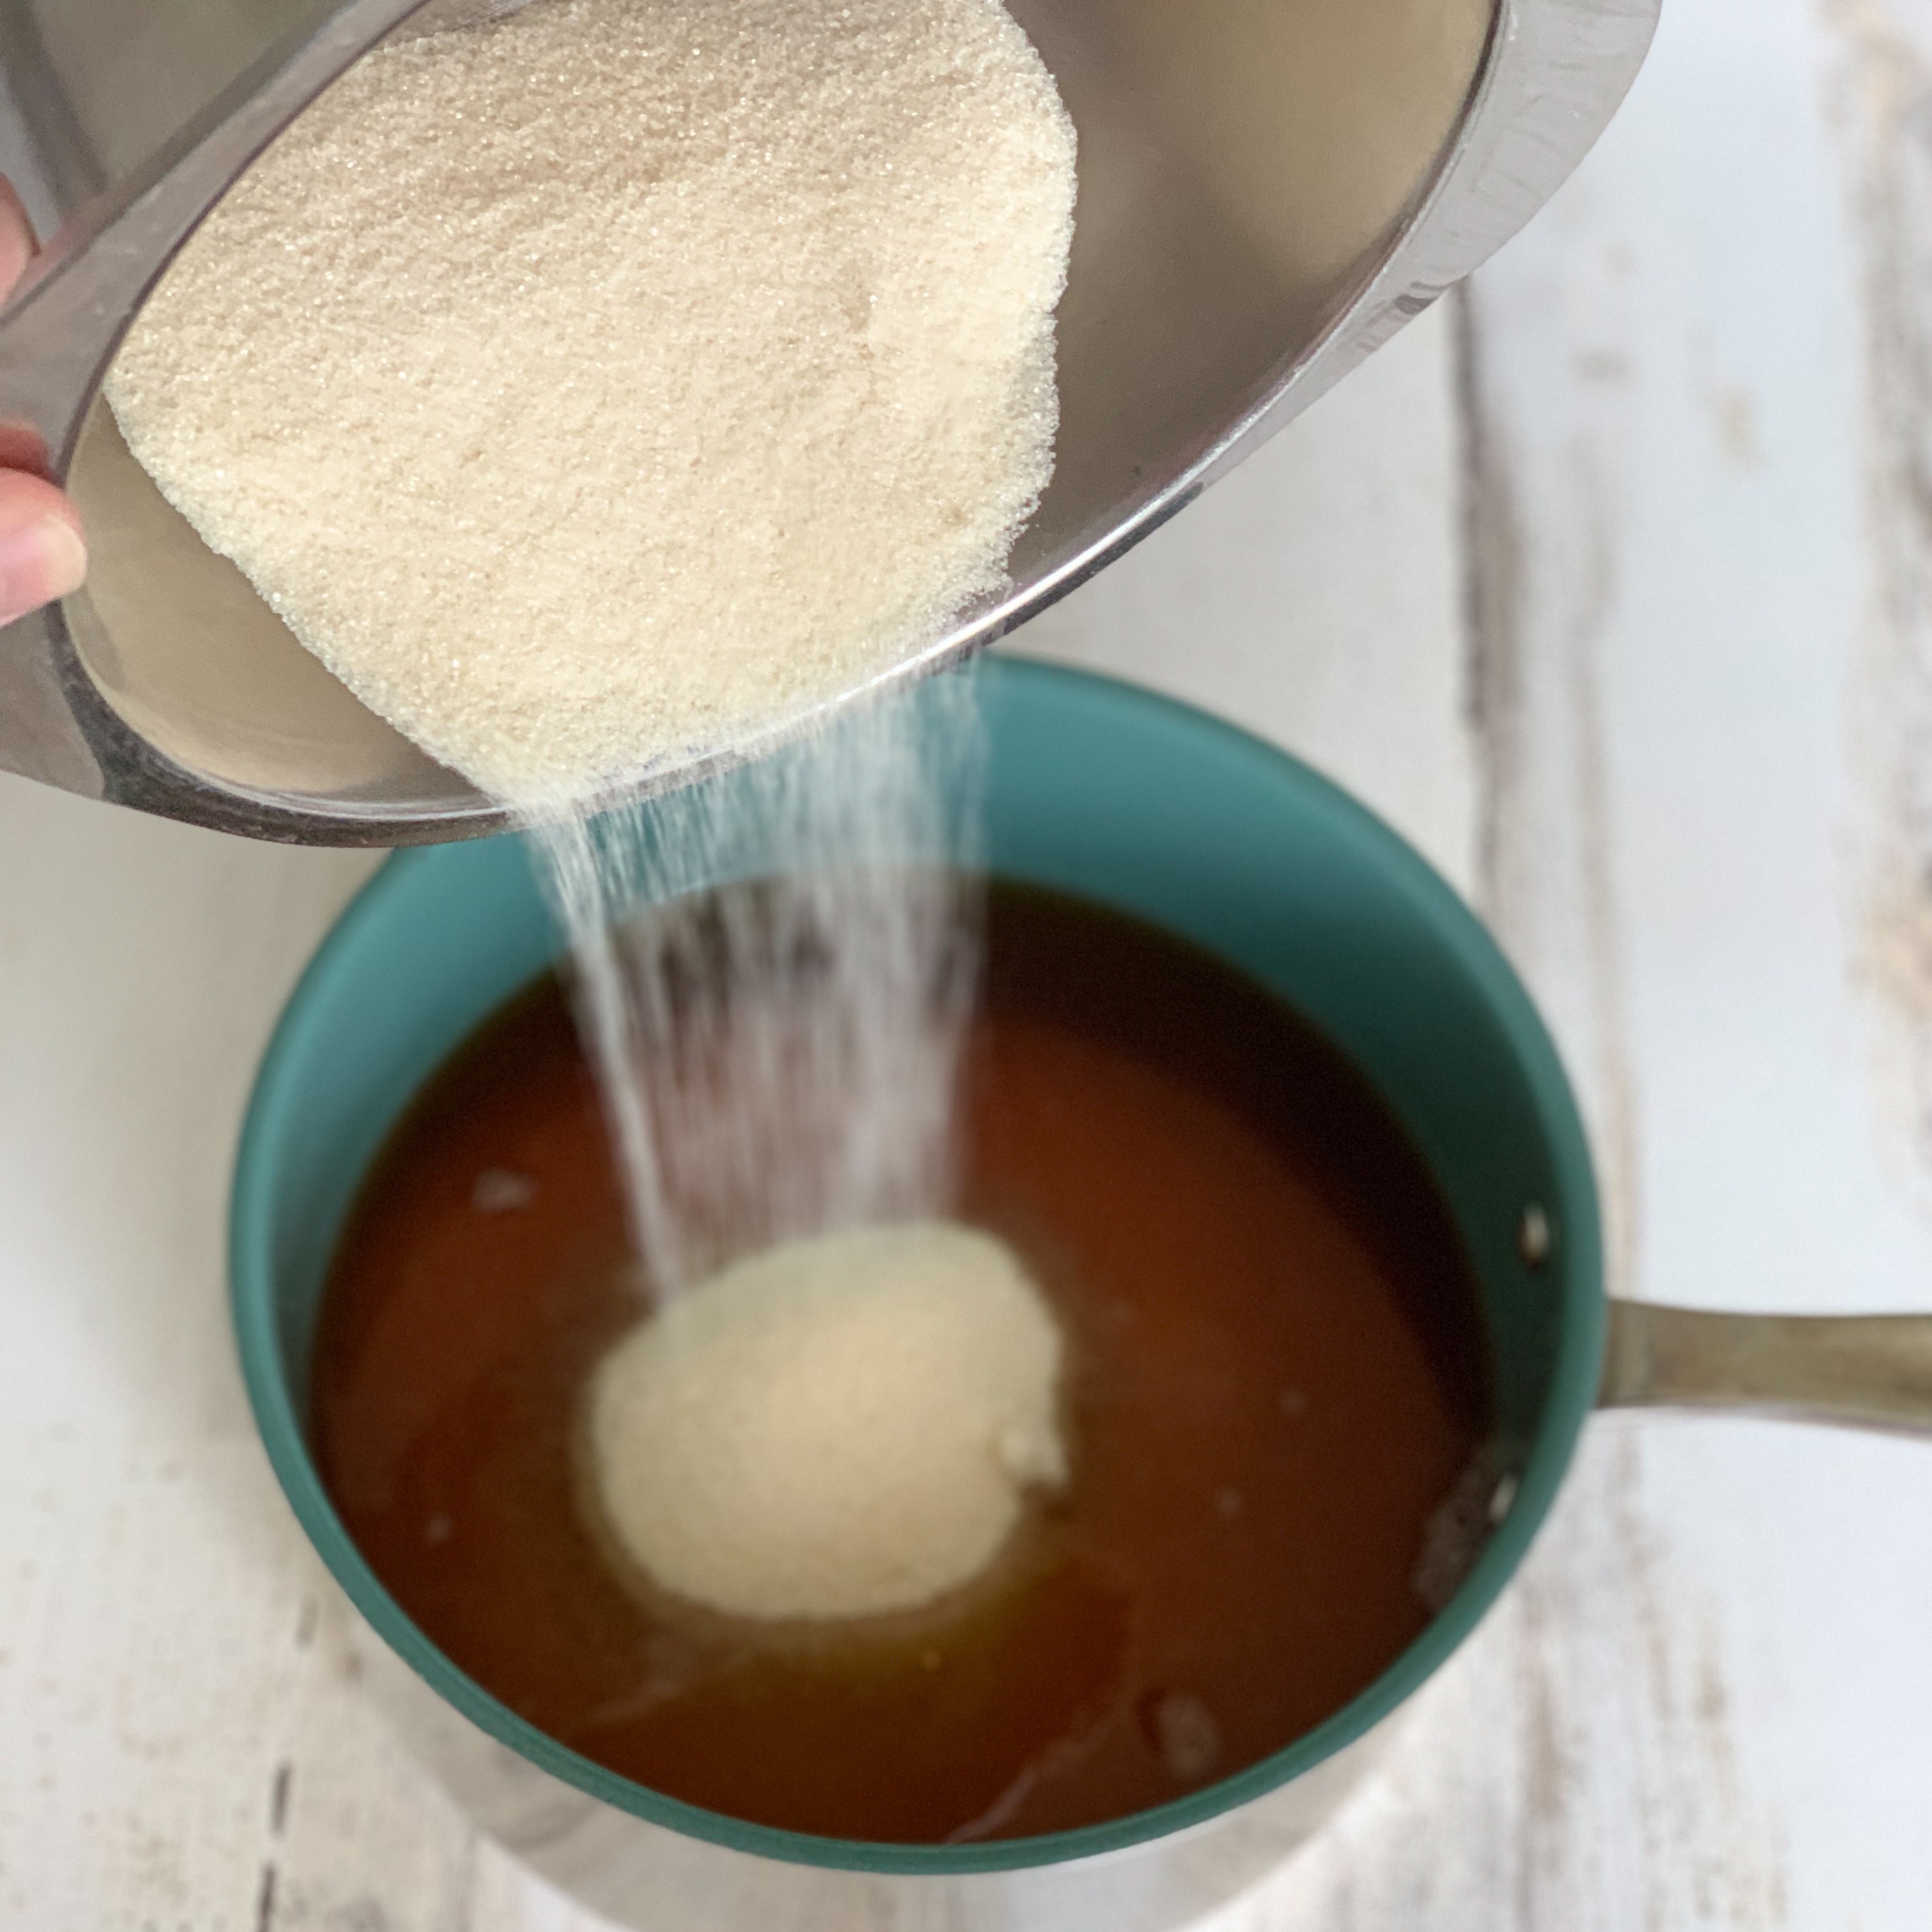
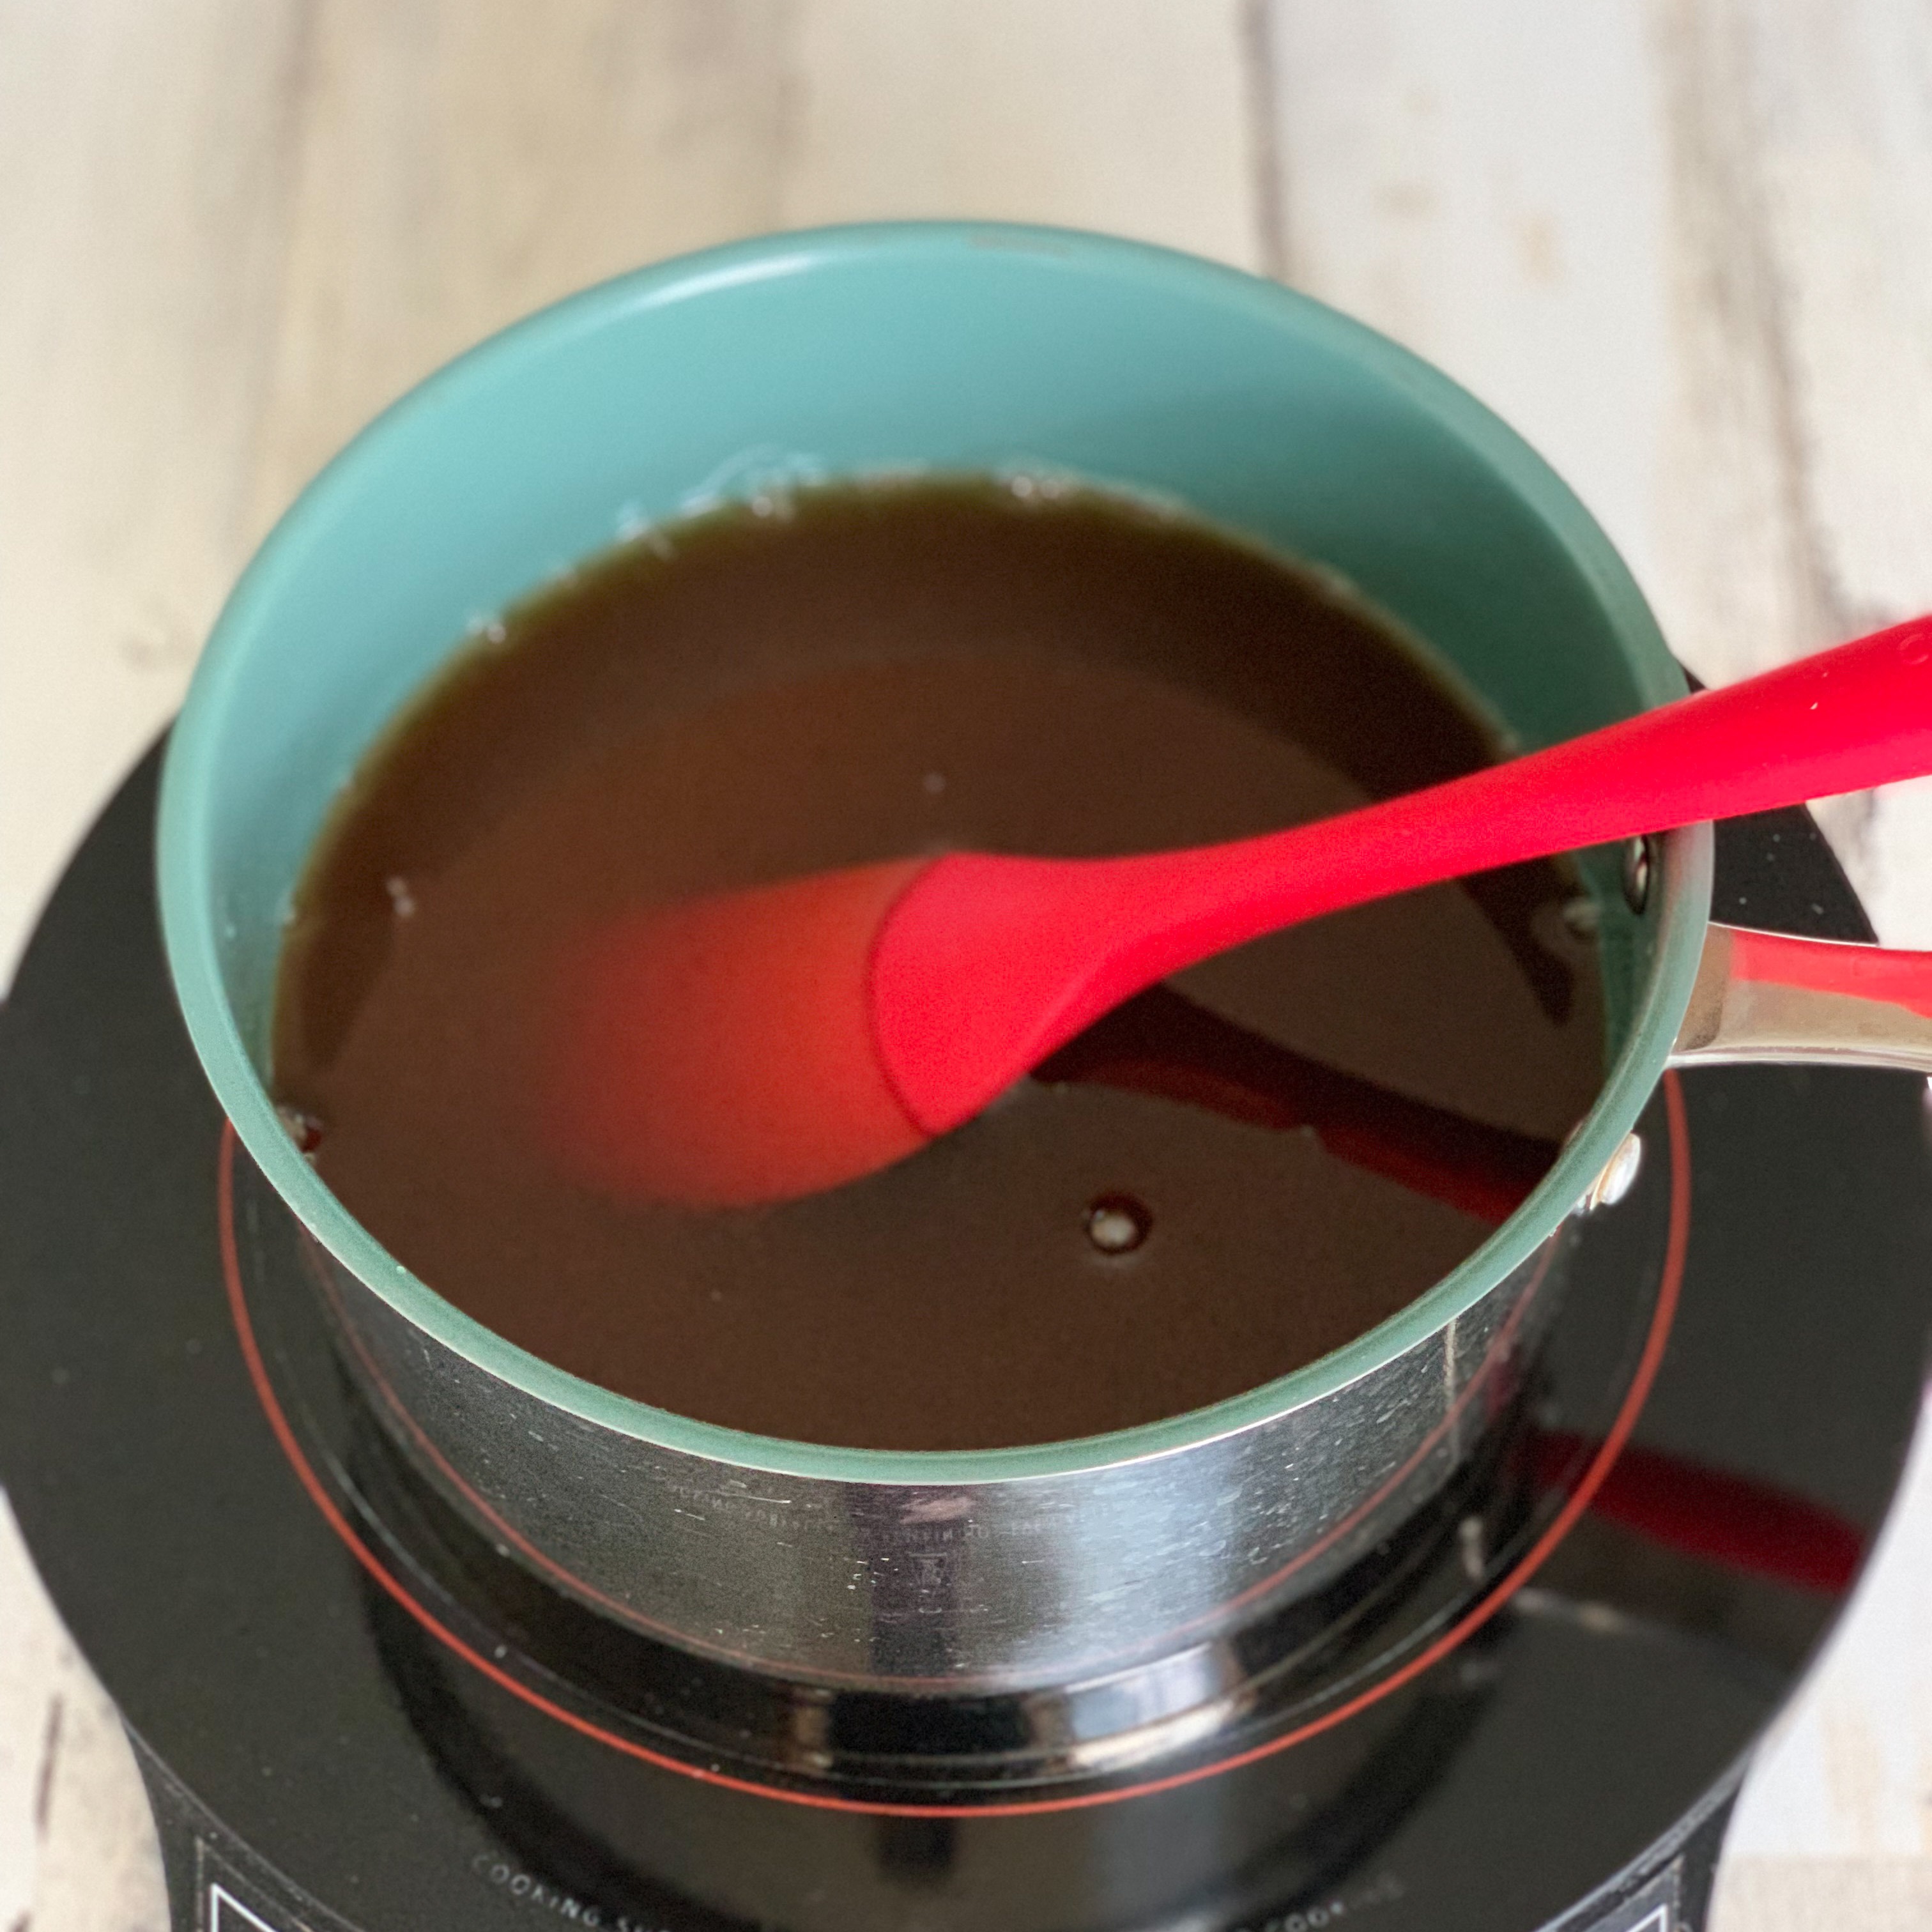
Discard the liner with the pressed flowers. Add the sugar to your flower-infused juice, then heat while stirring constantly until the sugar has dissolved:
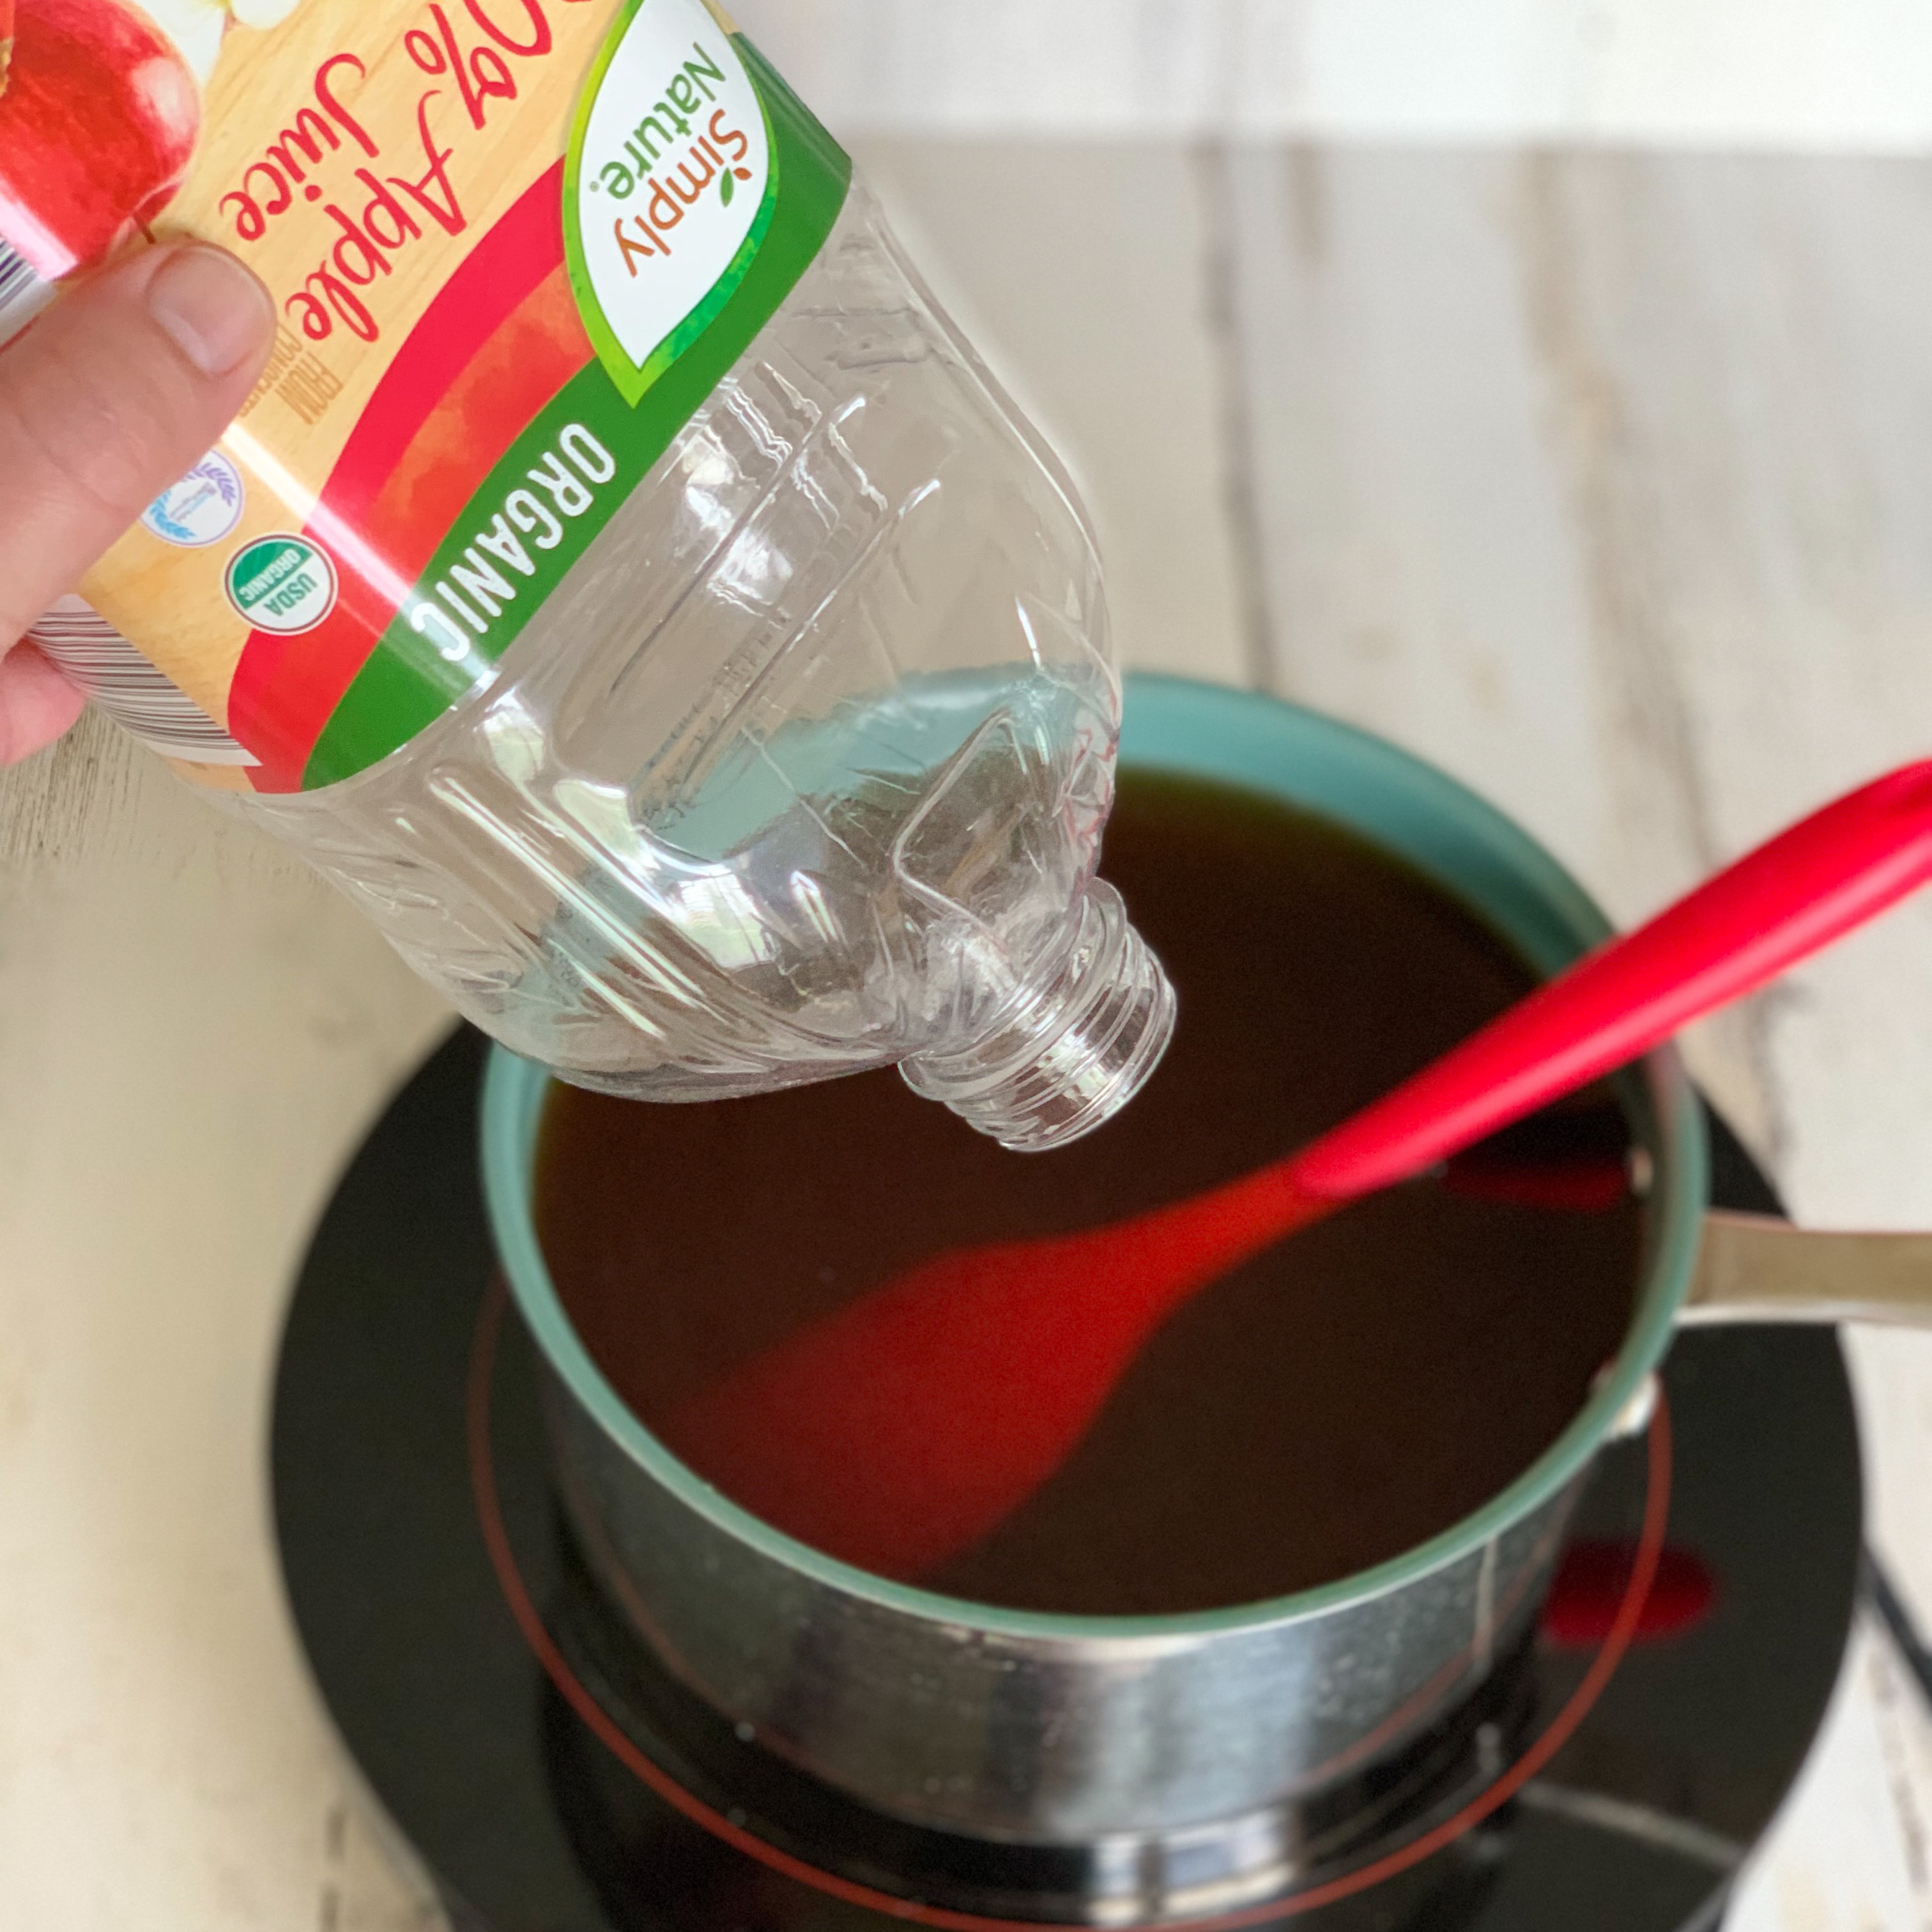
Add the rest of the juice and stir to combine:
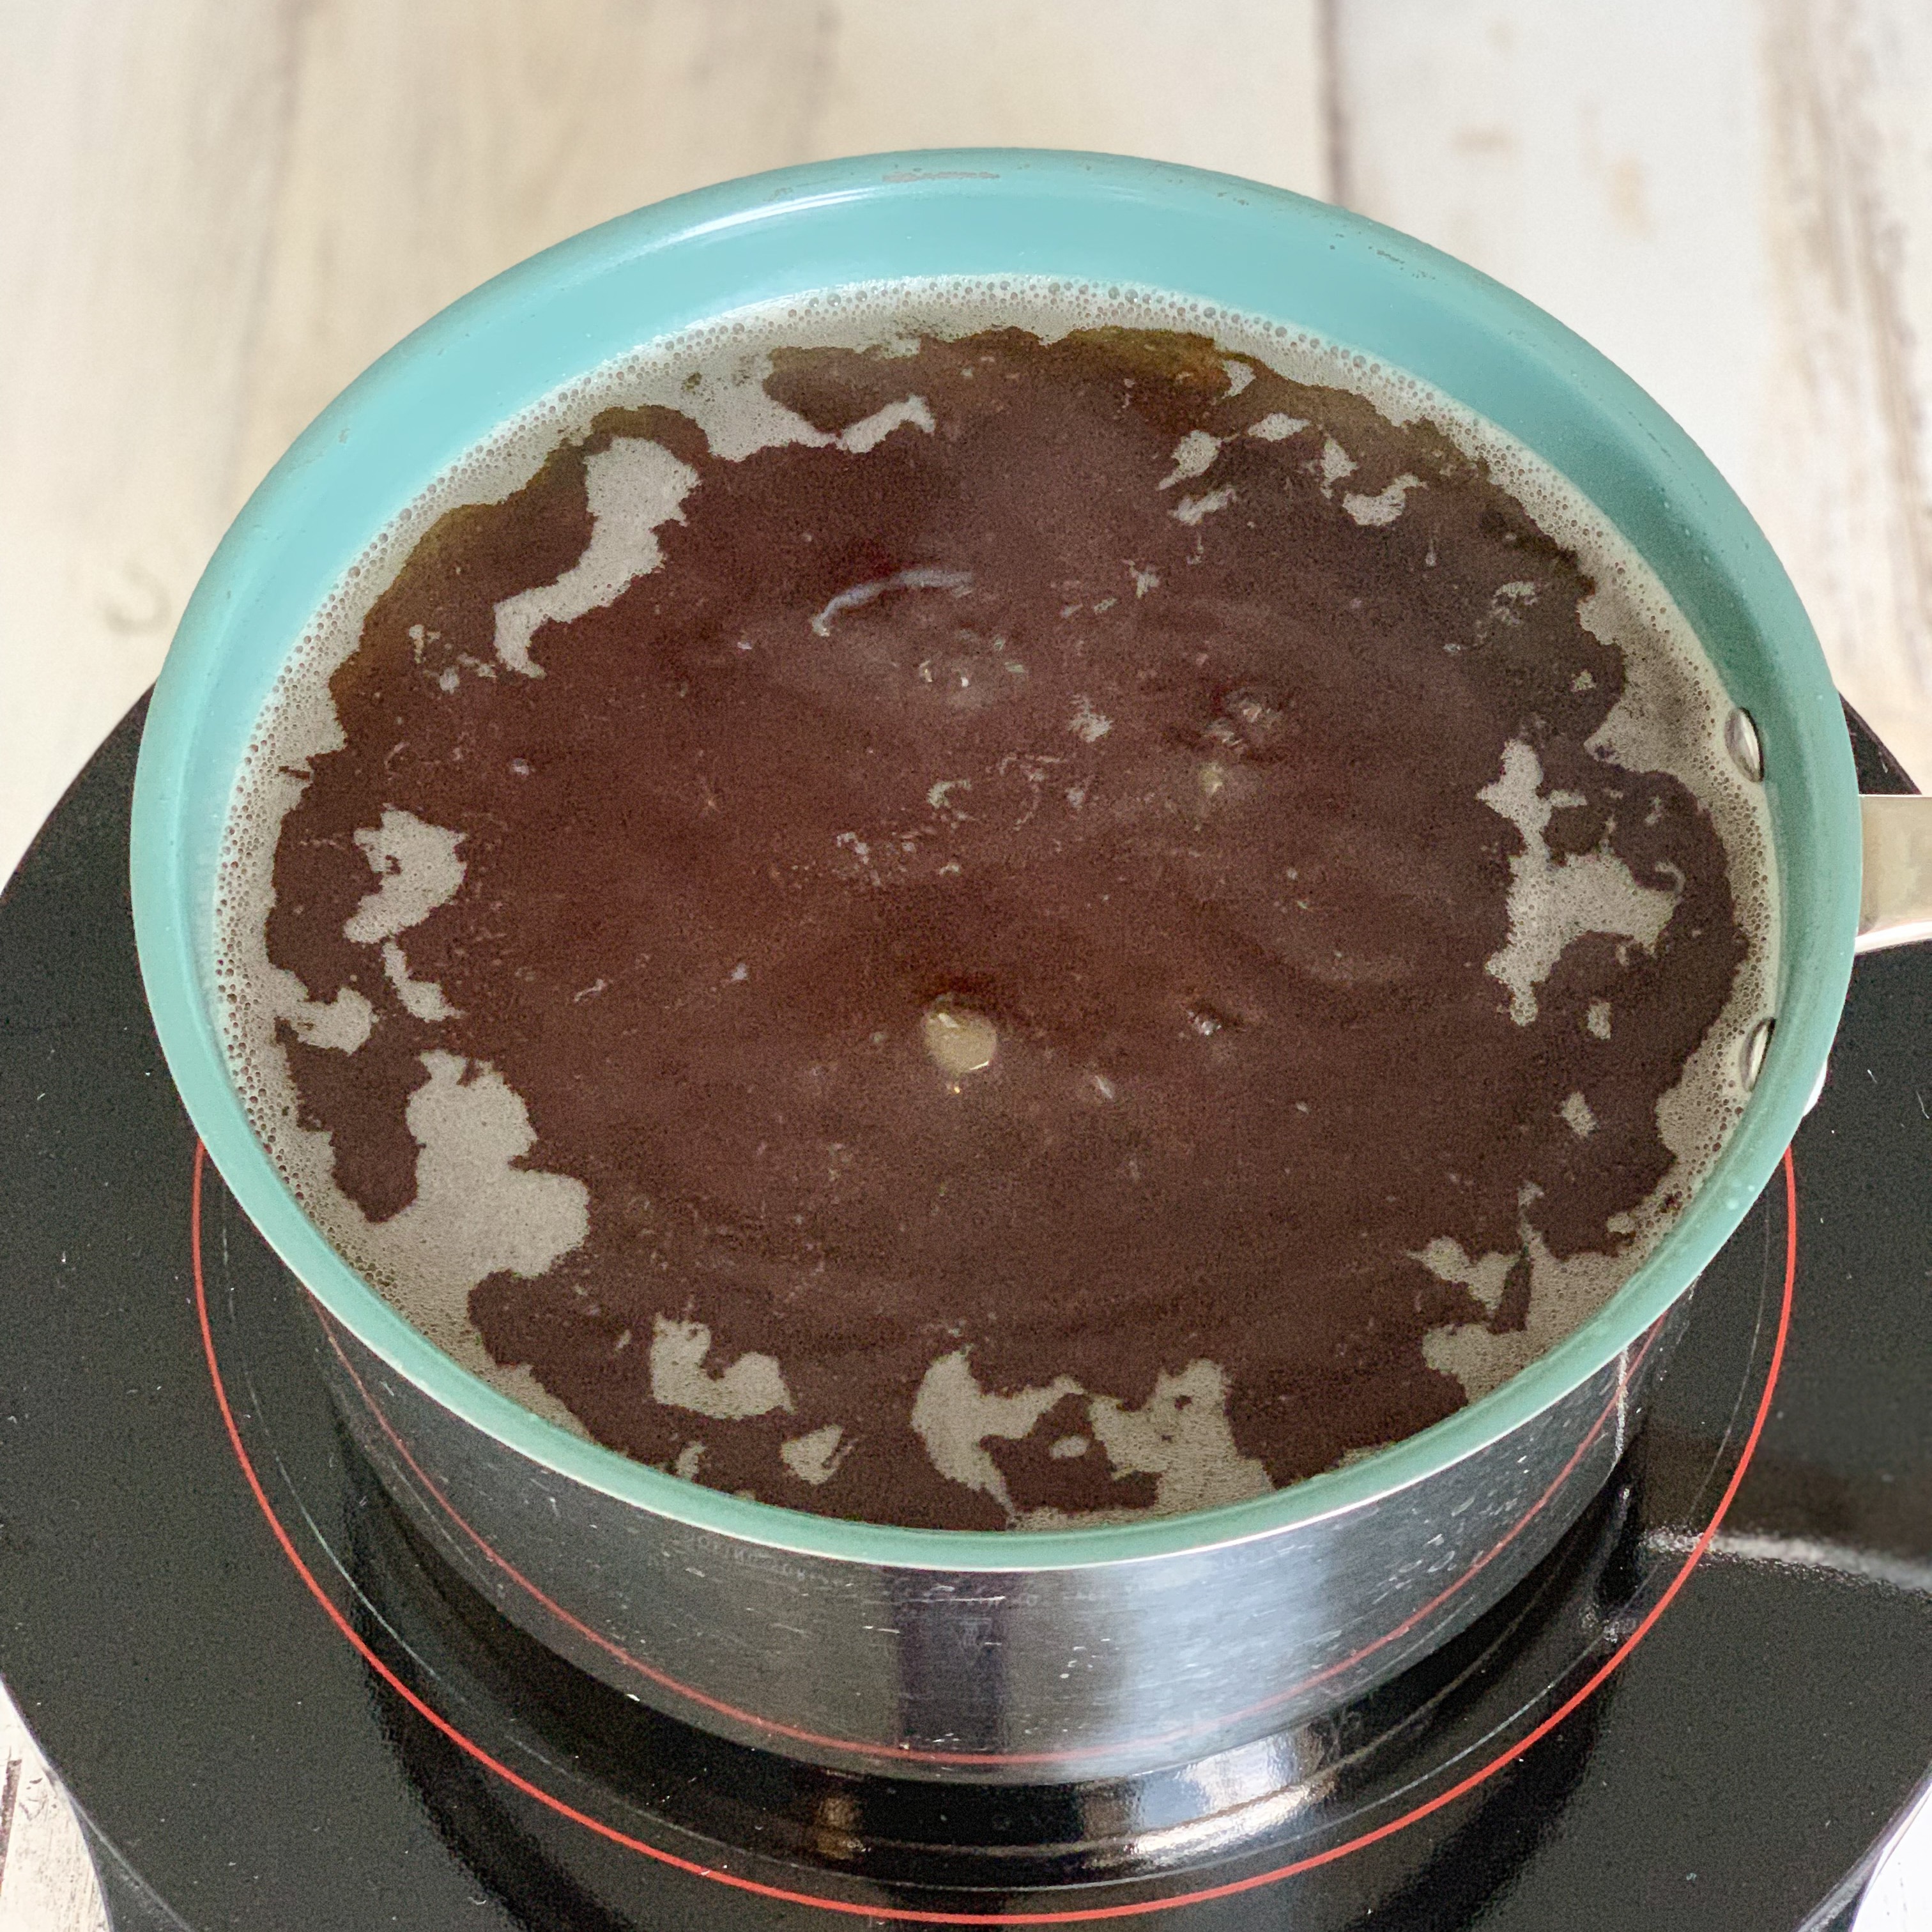
Bring the mixture to a boil, then reduce the heat and simmer for two hours to start:
Stir the syrup every 20 to 30 minutes to prevent it from burning on the bottom:
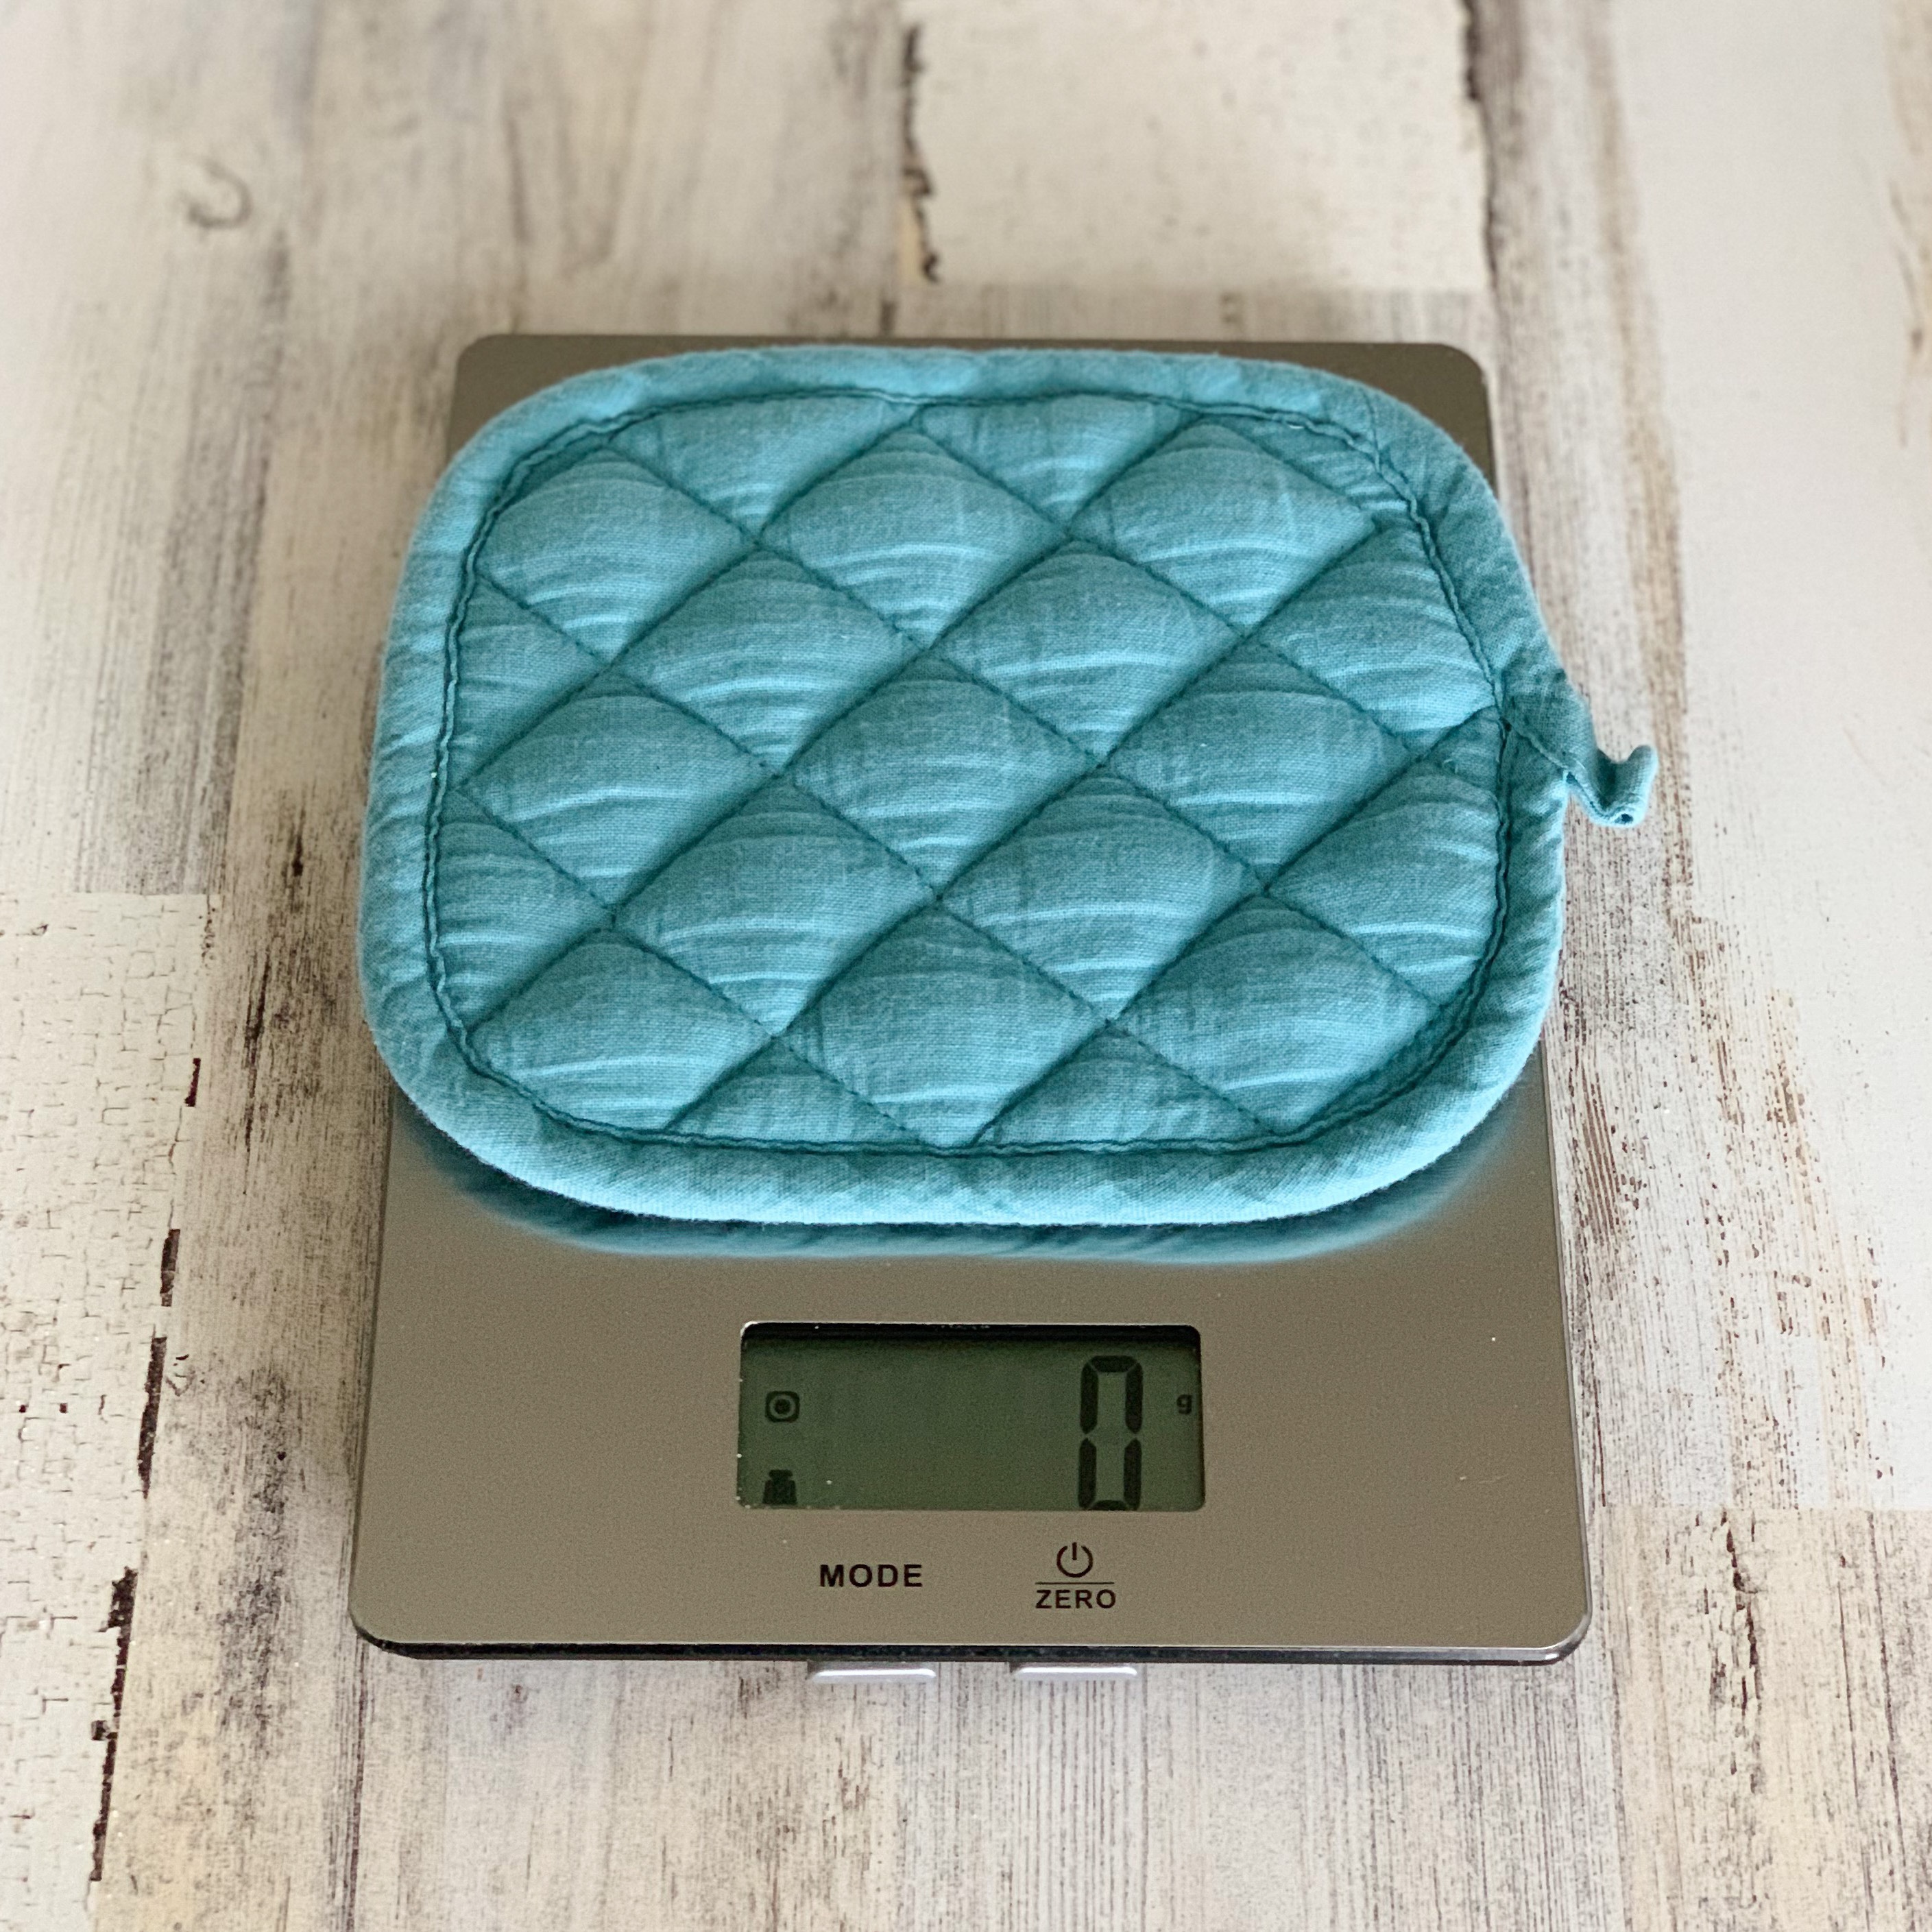
After the two hours of simmering, check the weight of your pot with the honee to see how close you are to your target weight. Check every 15 minutes once you are within 200 grams, every 10 minutes once you are within 100 grams, every 5 minutes once you are within 50 grams, and every minute once you are within 10 grams. To check the weight, place a hot pad on your scale, then zero or tare the scale so it reads zero with the pad in place:
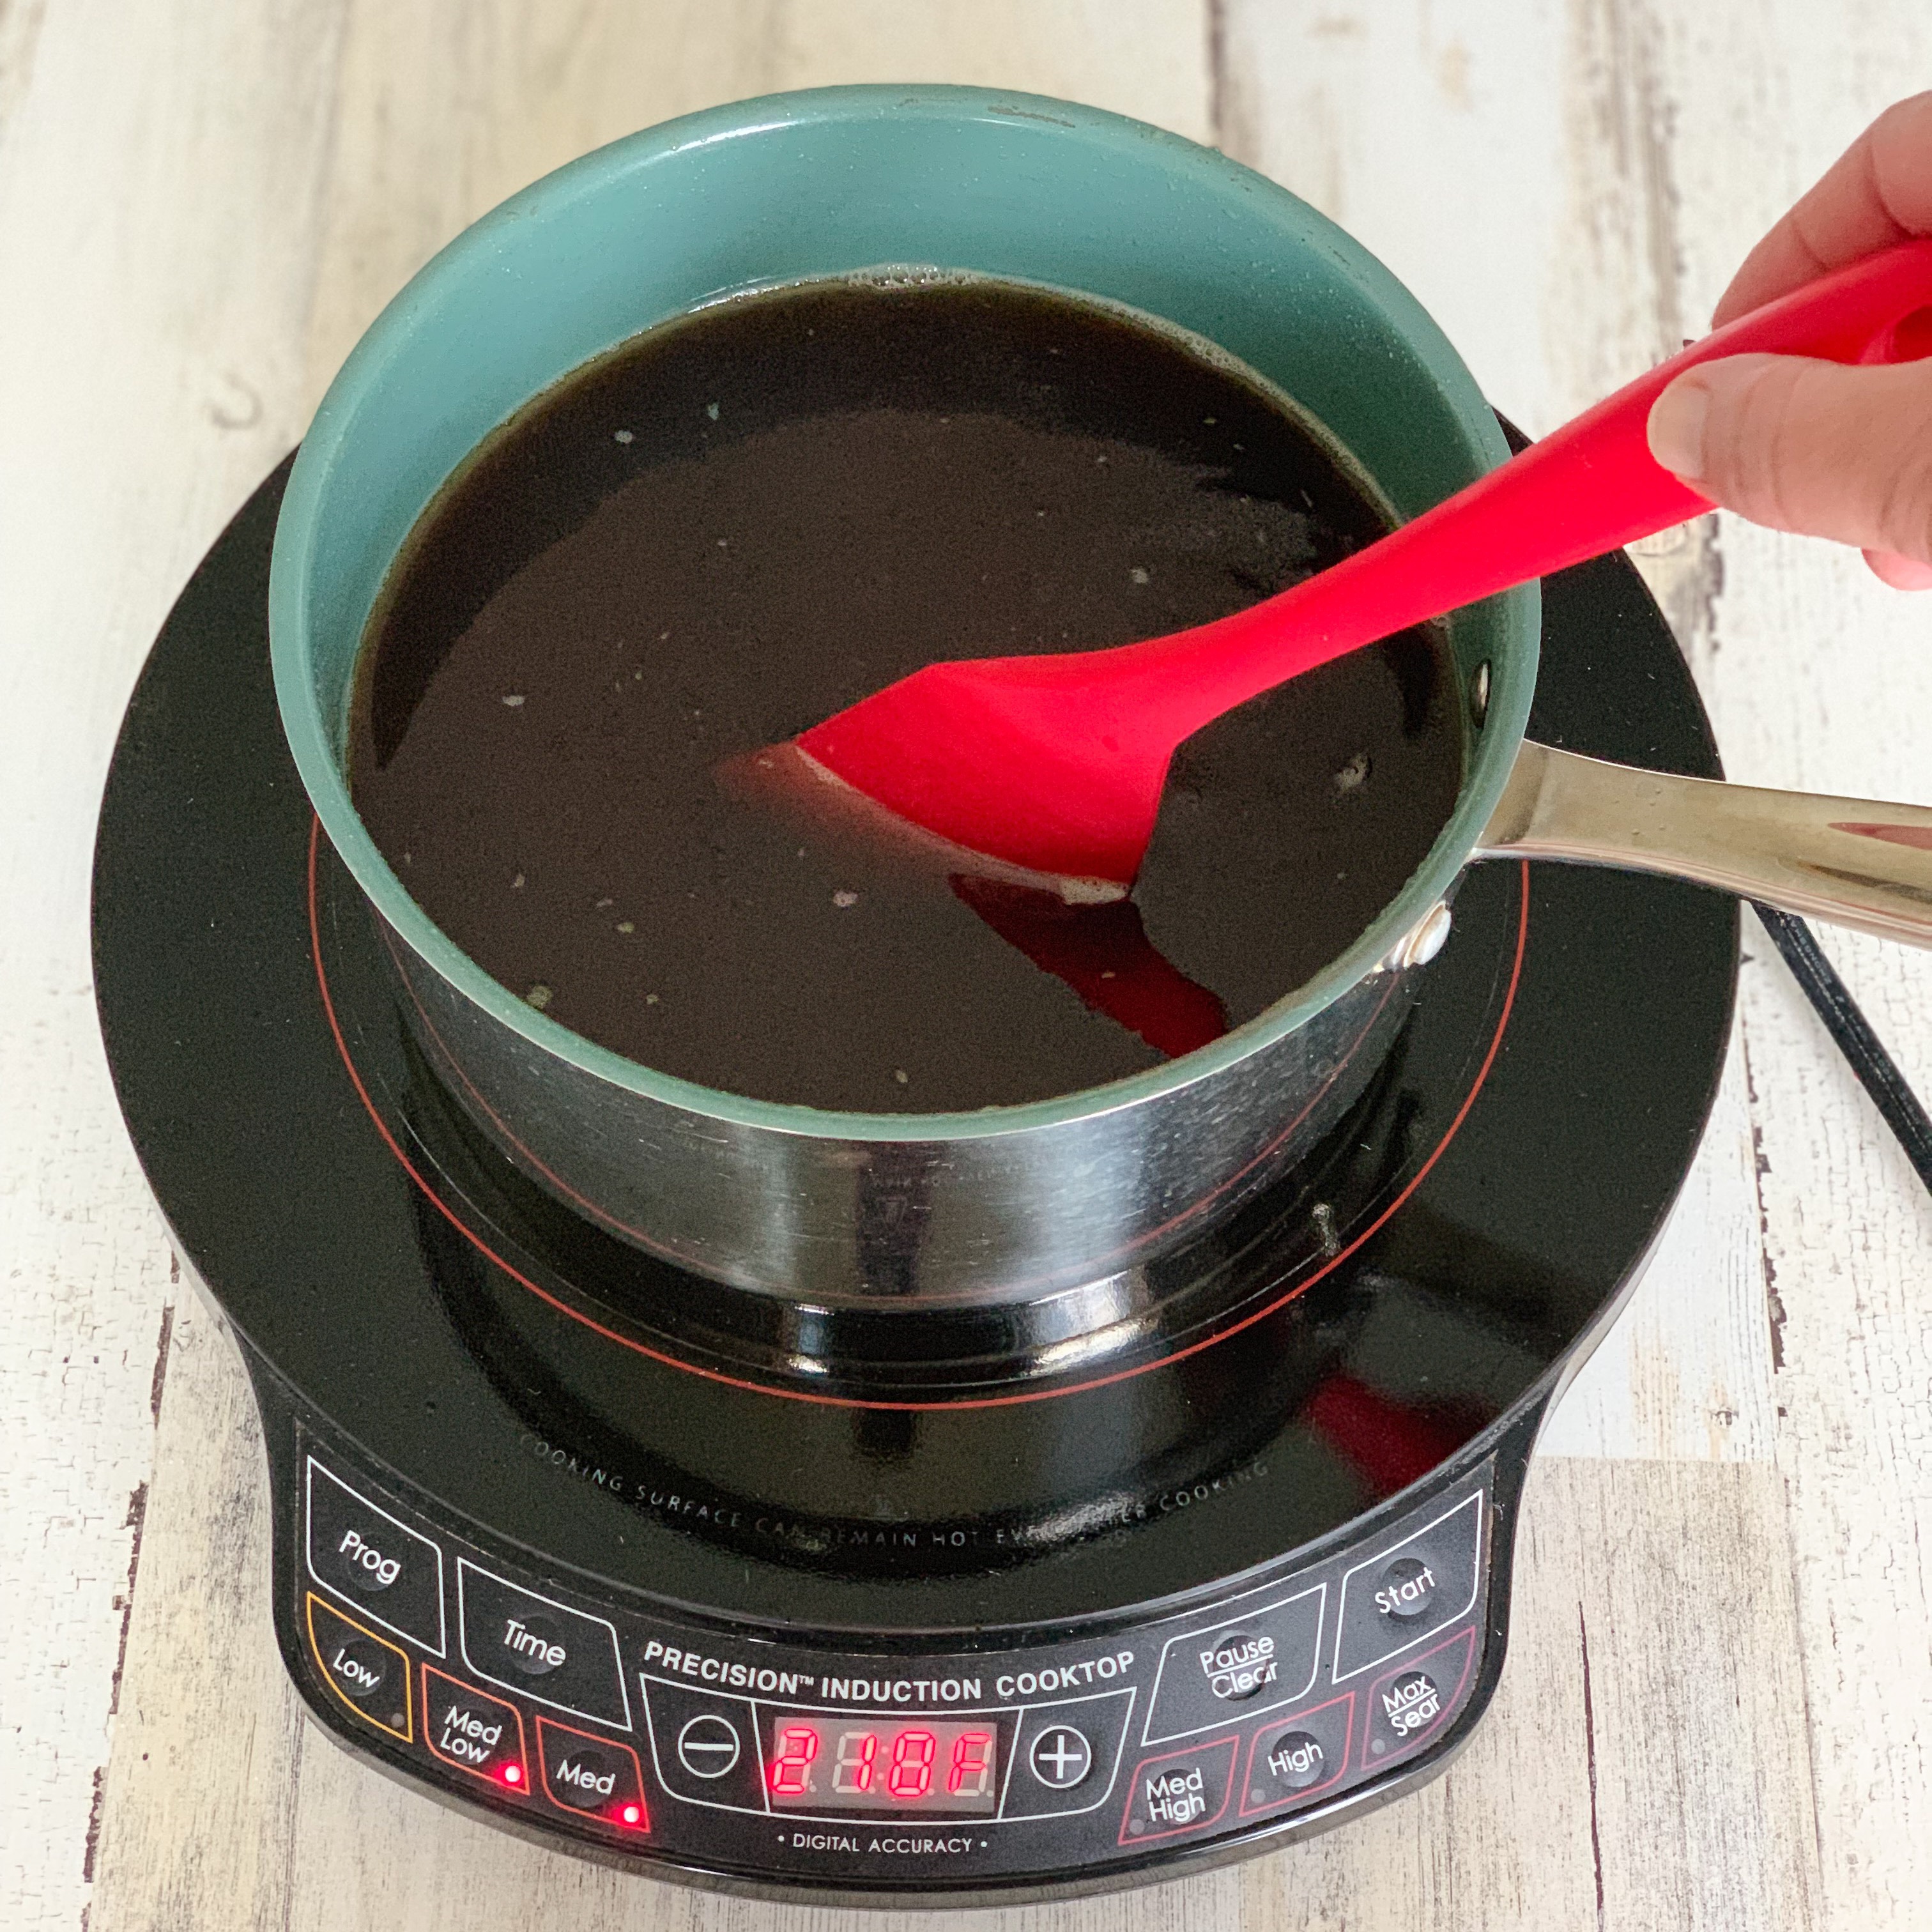
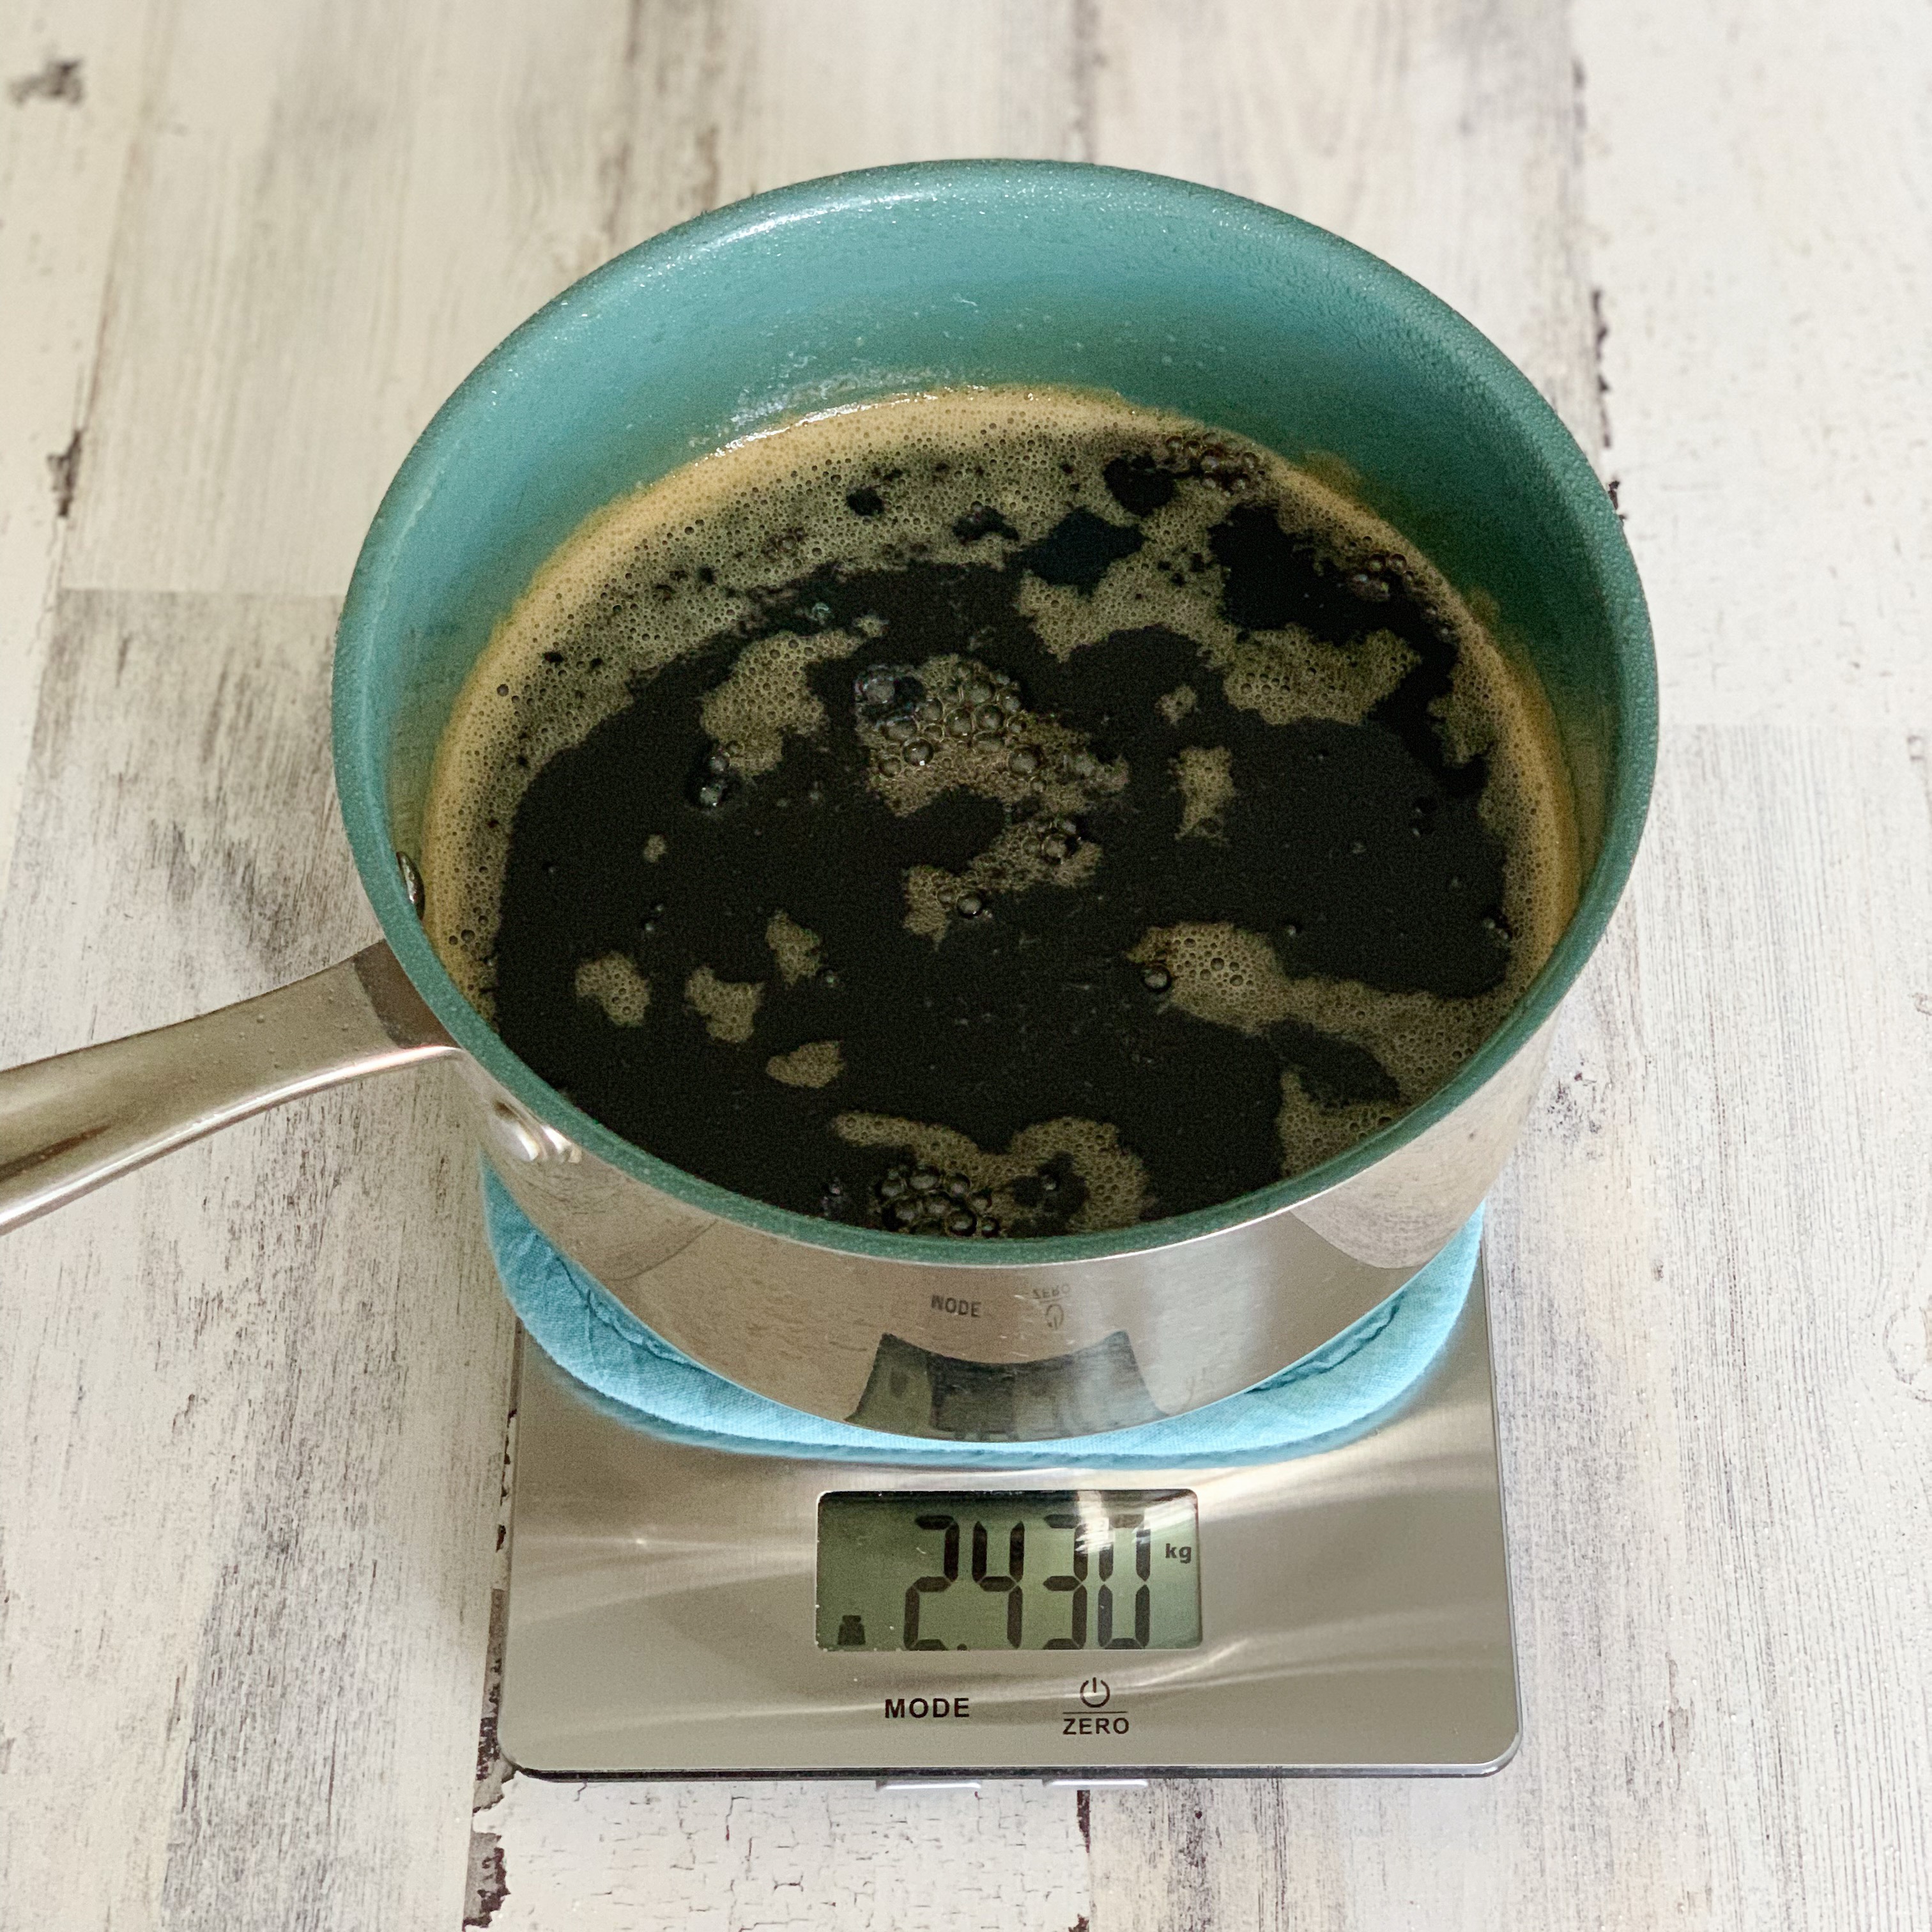
Then, place the pot onto the pad and read the weight. Your honee is done when it reaches your target weight. You can also check the temperature periodically as a guide. Your honee should be 231 to 232 degrees Fahrenheit for the perfect consistency. It will still seem way too thin, but will thicken considerably as it cools. This is why you must use a scale and/or thermometer to make honee as it is impossible to correctly judge when it is done otherwise.
Place your Mason jars onto a trivet or hot pad (to protect your table from the heat), and very carefully pour the boiling hot syrup into them.
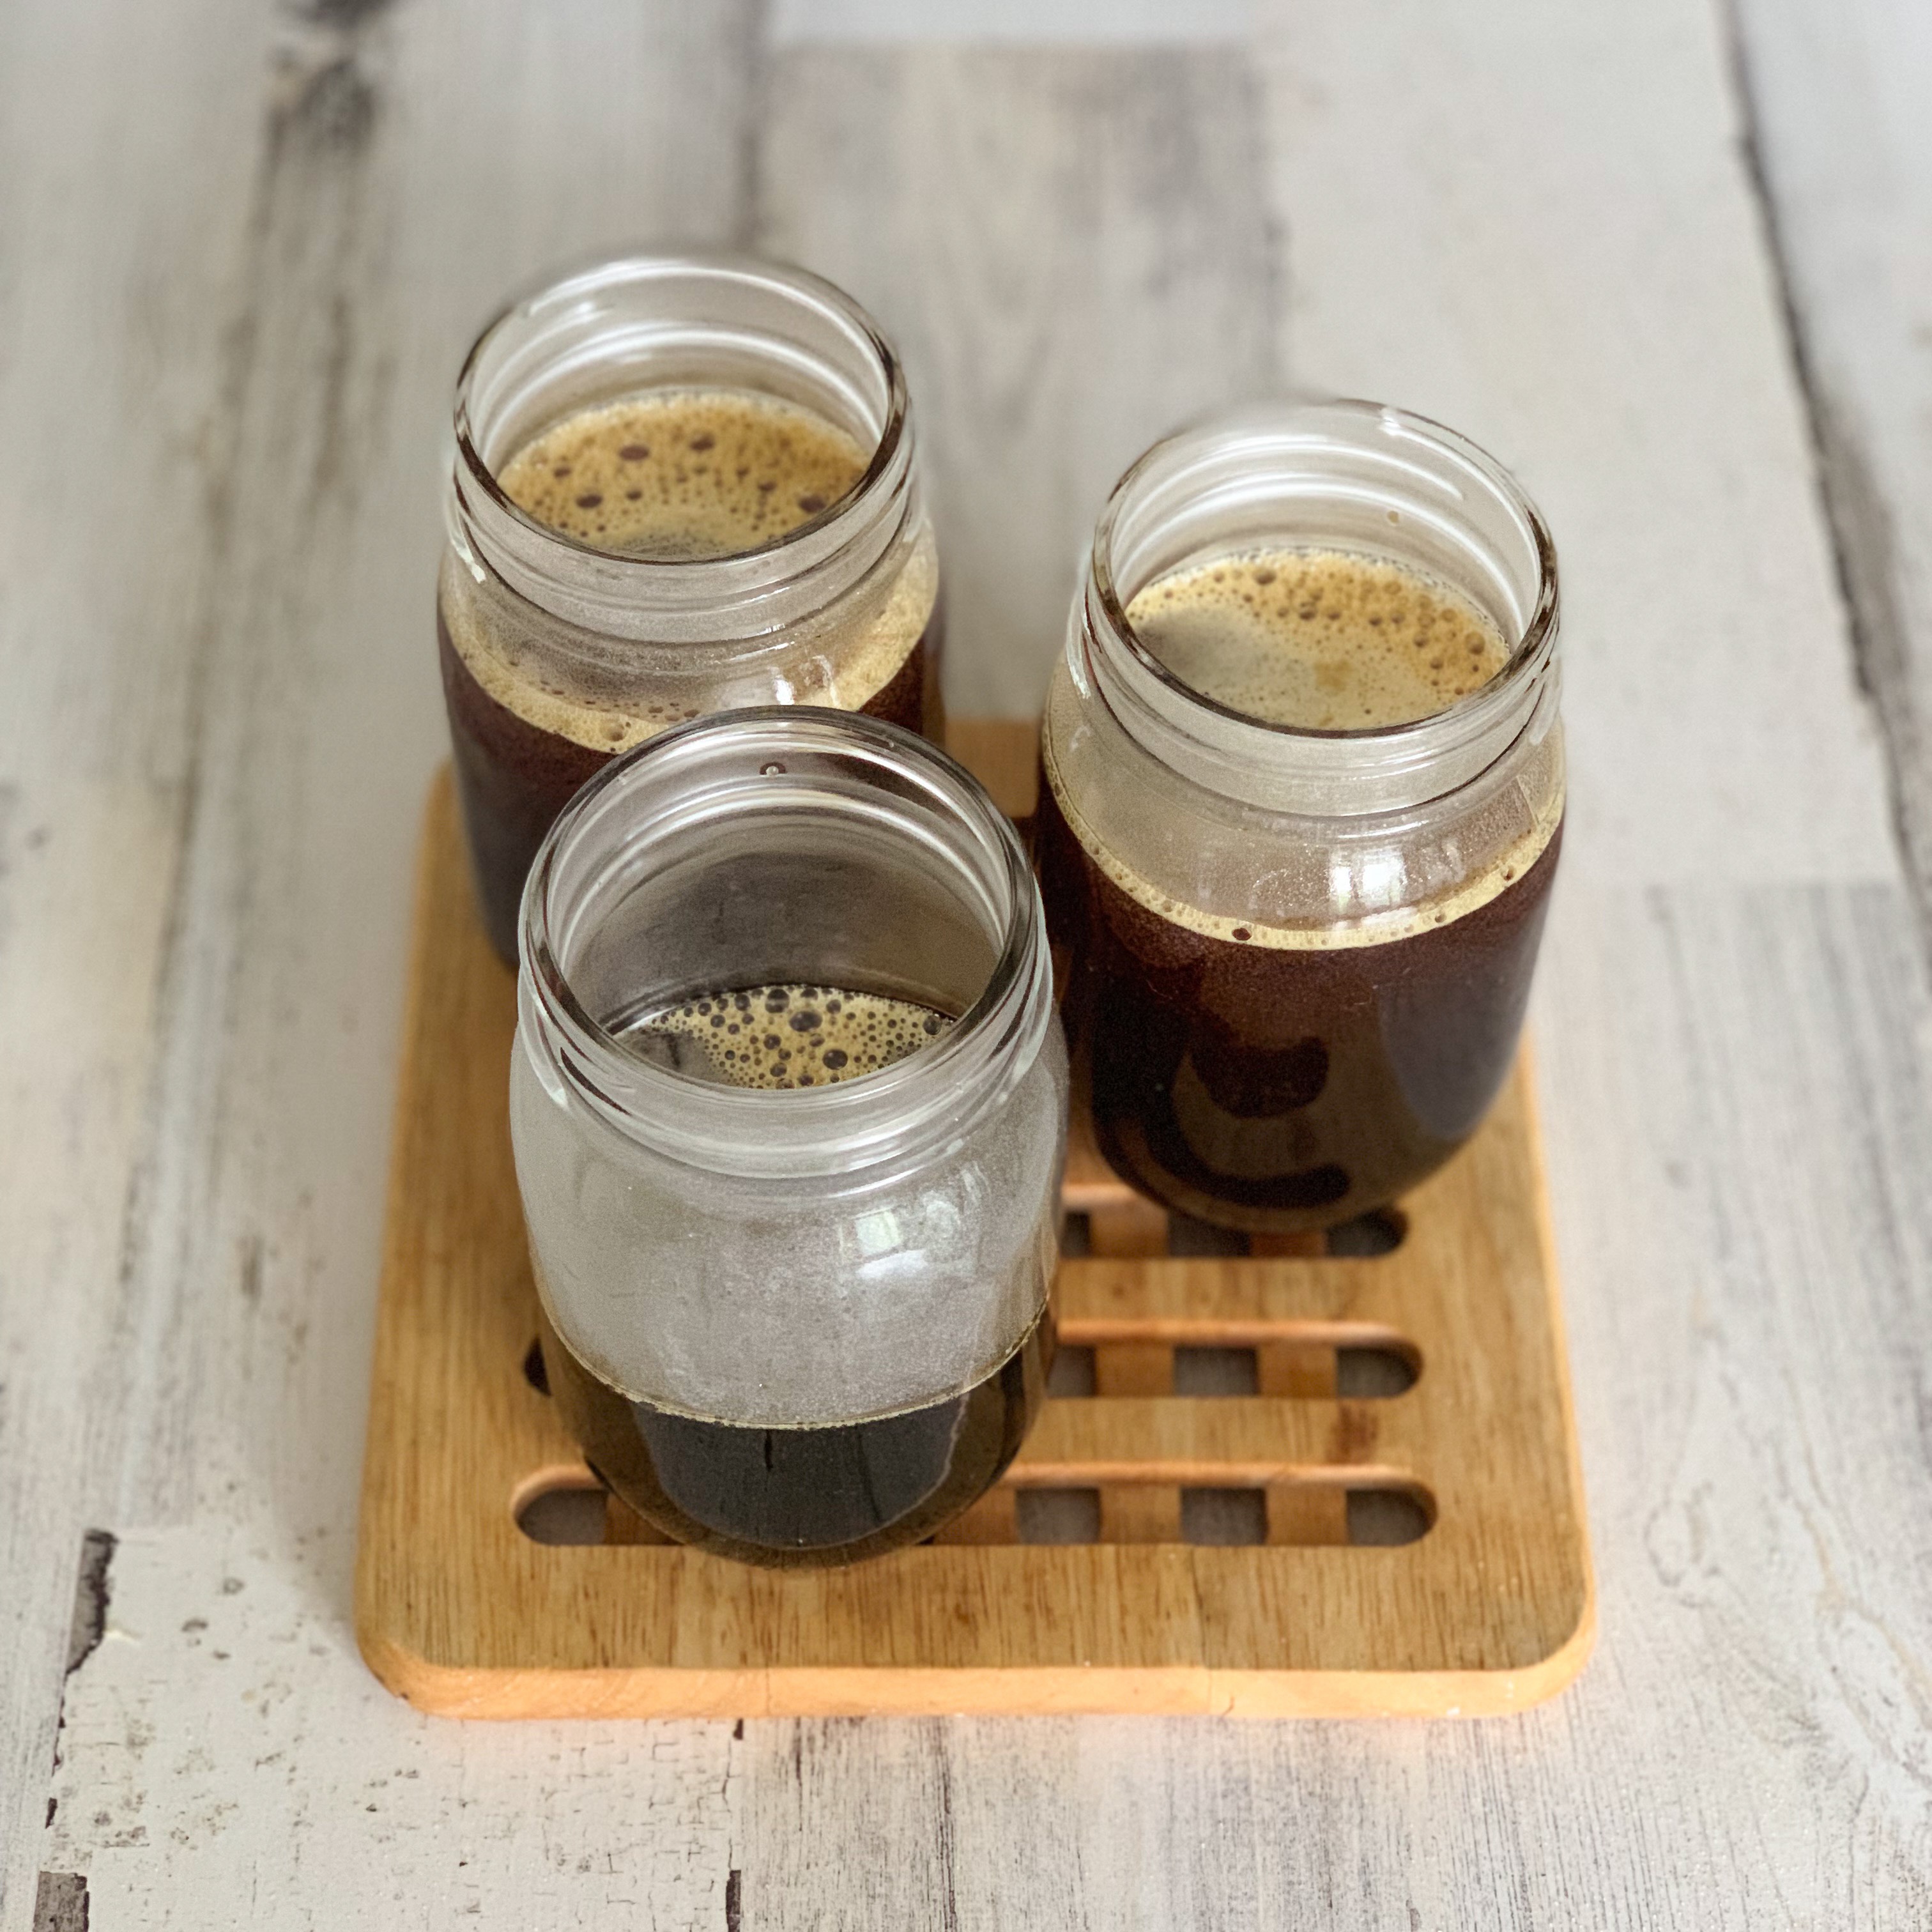
Immediately screw a lid onto each one, using a hot pad to hold the jar while you do so. The jars are definitely hot enough to burn you, so be careful!
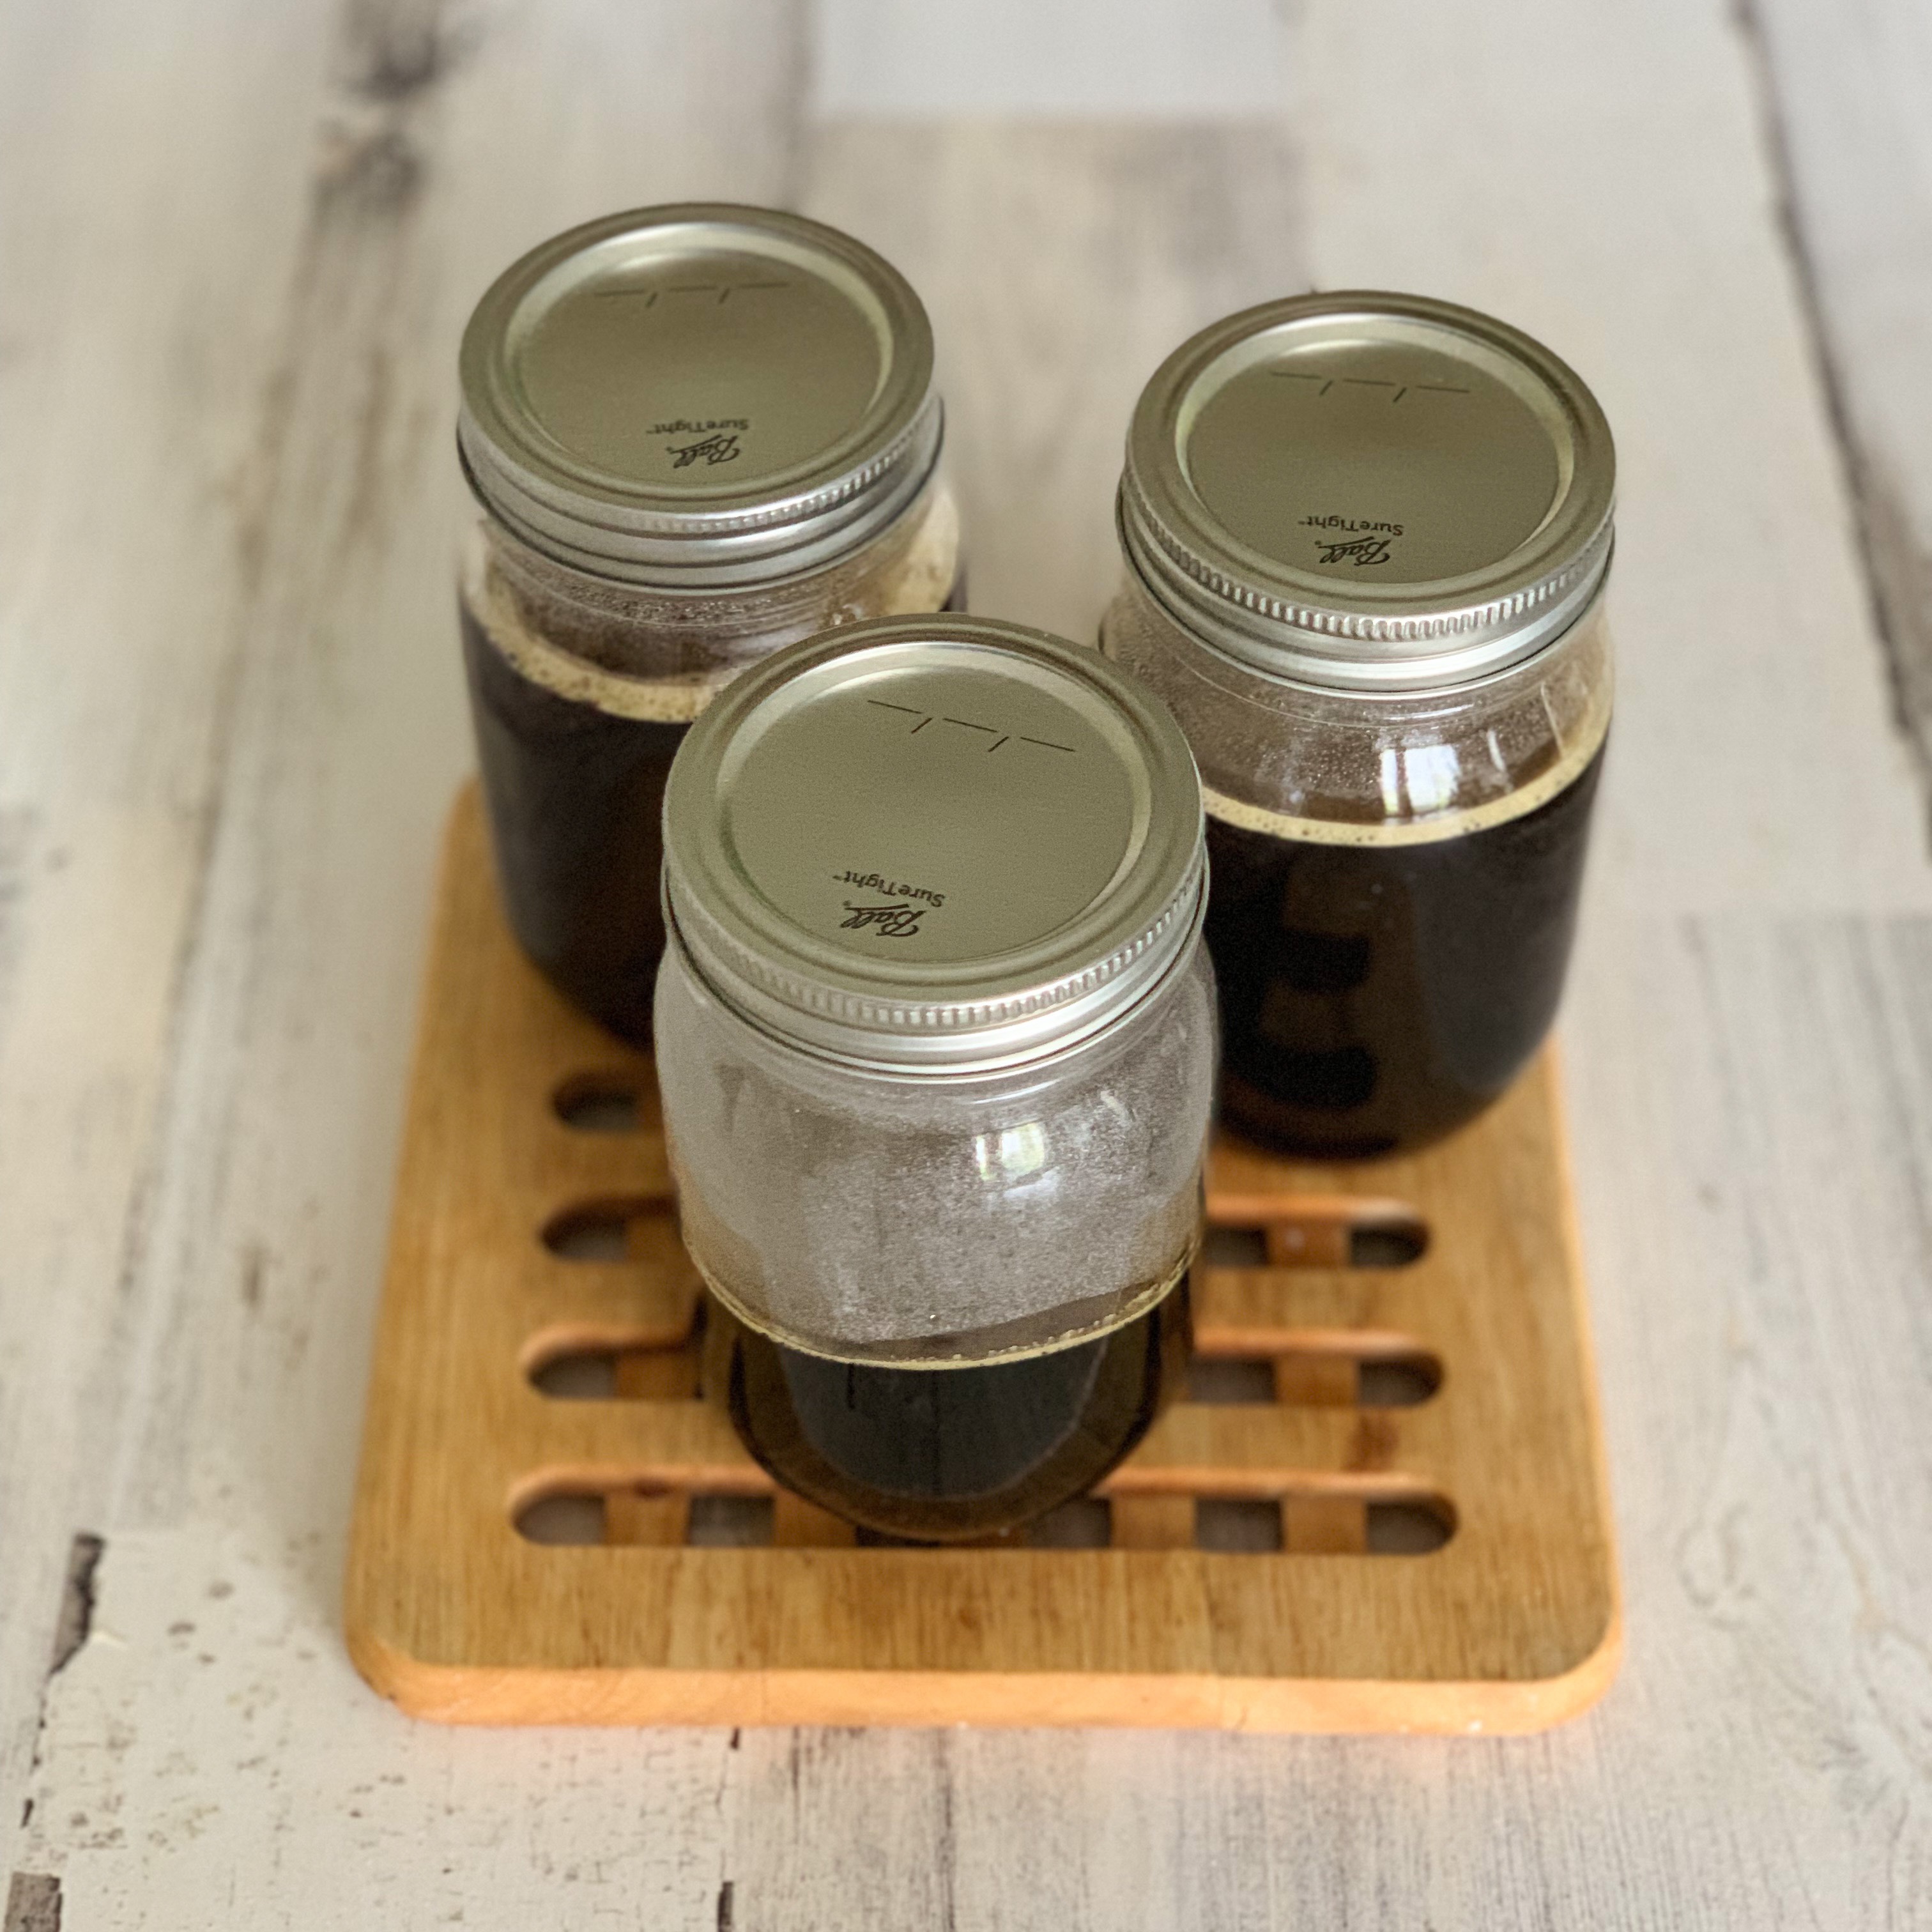
Allow the jars to cool to room temperature, then store your honee in the fridge. Using this method, the jars will self-seal and will last for up to six months as long as they stay sealed and refrigerated. You can use any size Mason jars that you like as long as together they will hold nearly four cups of honee. (The ones above are pint-size jars and two are not quite big enough as Mason jar sizing goes right to the top of the jar.)
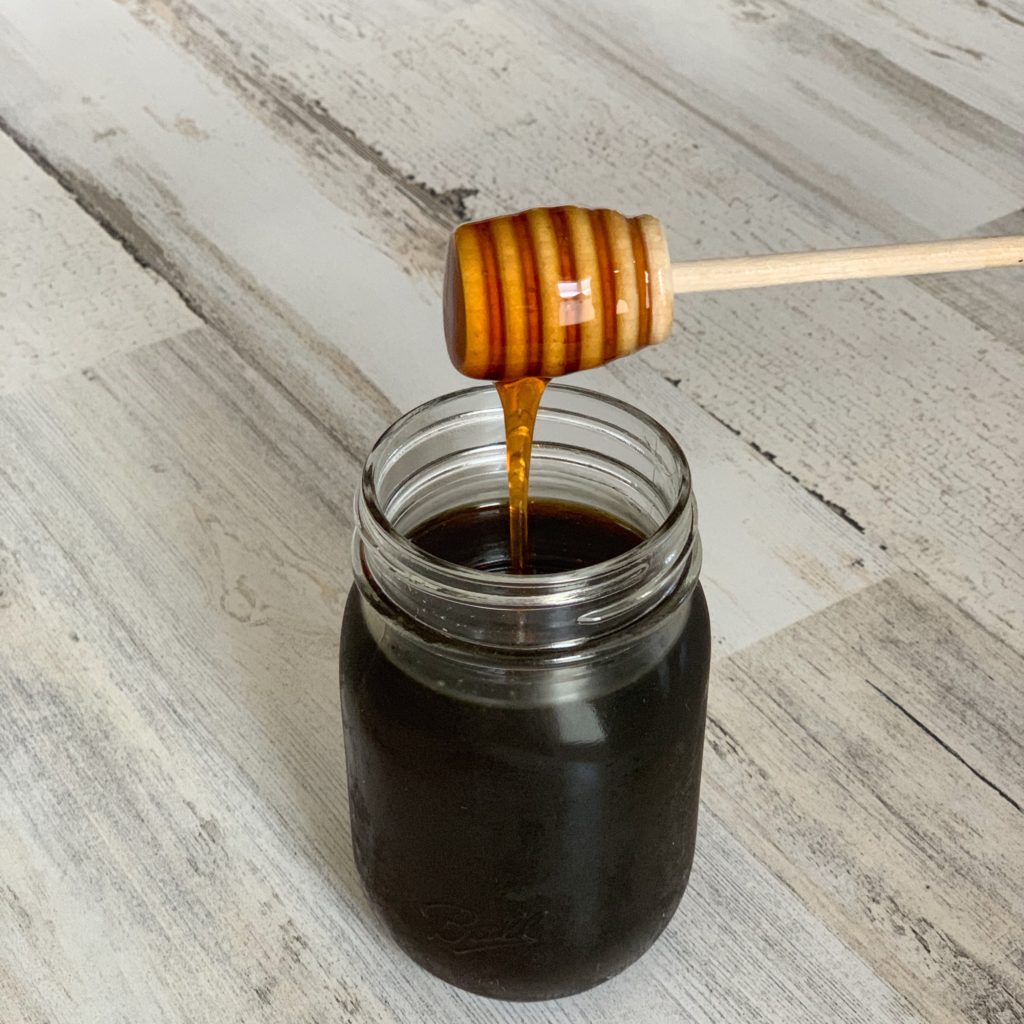
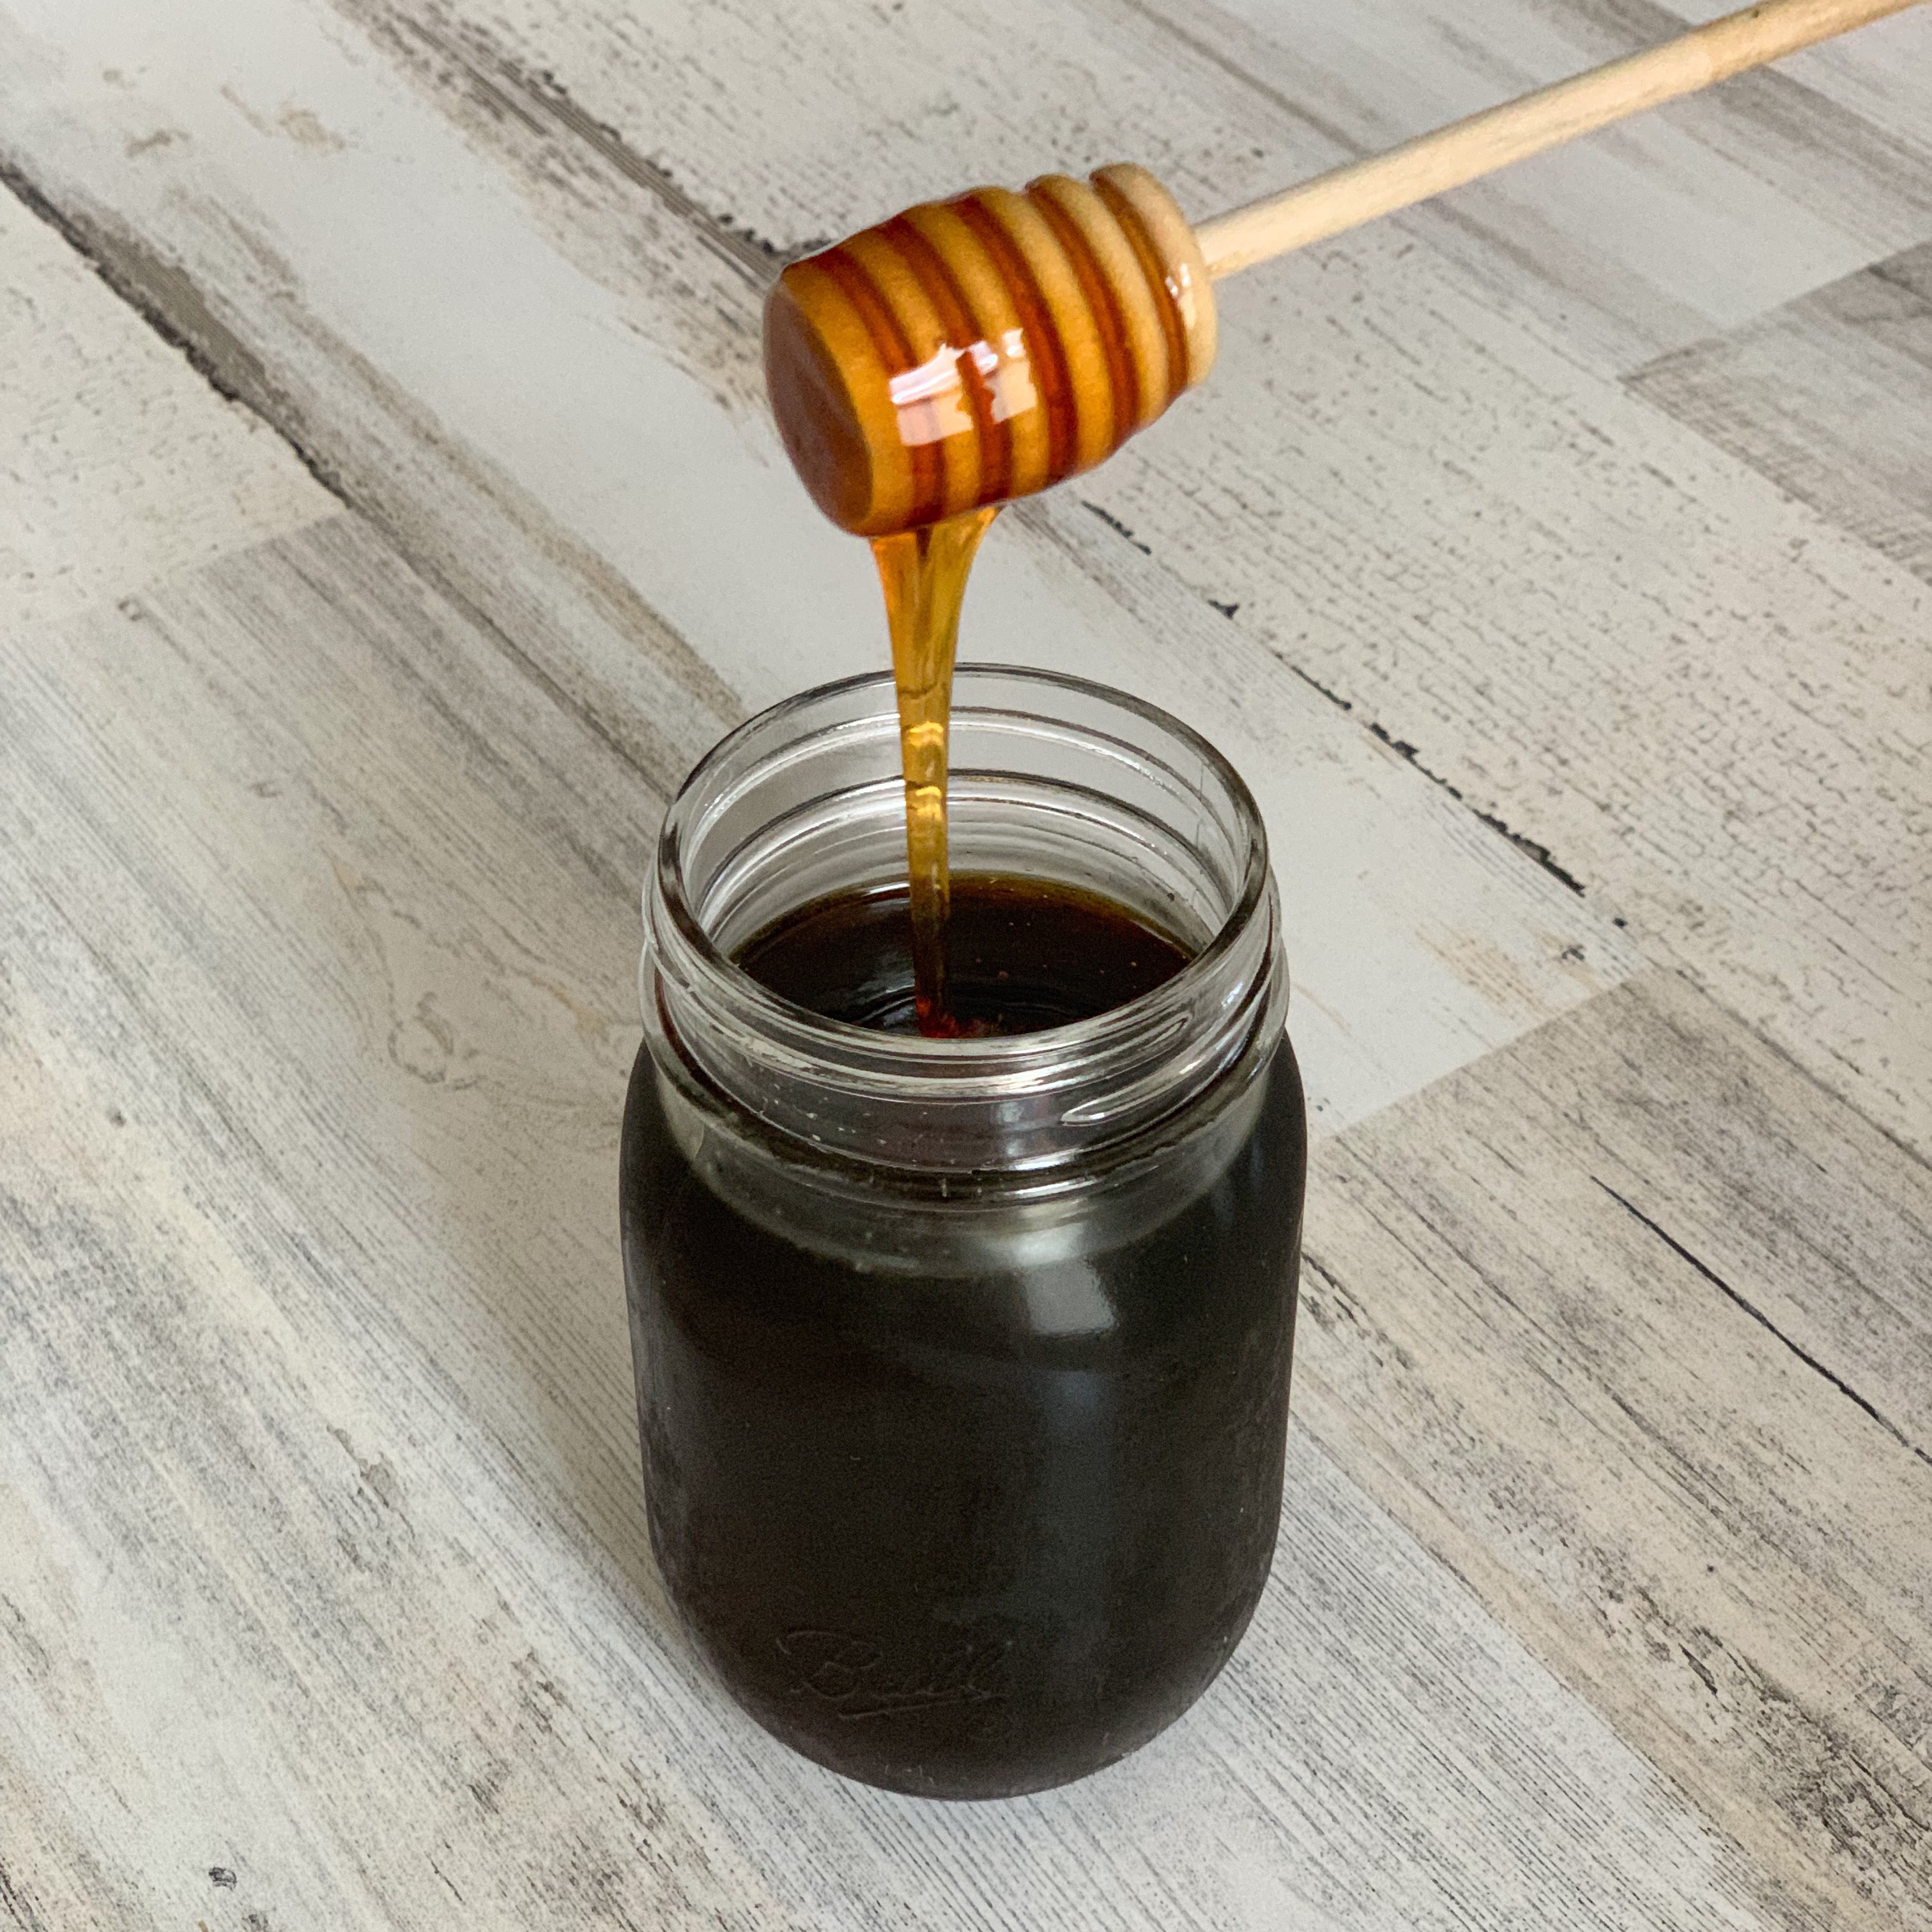
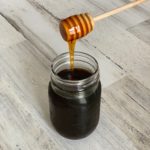
This is what the finished honey looks like after it has been chilled. It is truly beautiful and delicious!

The Ultimate Guide to Making Vegan Honee!
Make beautiful and delicious vegan honee from three simple ingredients (organic apple juice, vegan sugar, and either dried flowers or chamomile tea bags). This vegan honee looks, tastes, and bakes just like honey from bees, but without any cruelty or exploitation!
Ingredients
- 2 quarts Organic Apple Juice
- 800 grams Vegan Sugar
- 360 Dried Flowers (or 3 Chamomile Tea Bags)
Instructions
-
Harvest and process 360 flowers according to the directions in the blog post. Or, you can just use 3 chamomile tea bags to save time. (Just be sure the only ingredient in the tea is chamomile flowers.)
-
Gather your ingredients and equipment. You will need two pots (a 1 1/2 or 2 quart and a 3 or 4 quart), a spatula, a strainer, a coffee filter, and some clean Mason jars. Be sure that your scale can handle the combined weight of your pot and the honee. (I use an 11-pound capacity scale for this recipe.)
-
First, weigh your larger pot and write down how much it weighs. Then add 1,320 grams to the weight of your pot. This is how much your finished honee in the pot should weigh. Please note that your pot and total will be different from mine in the blog post as your pot will be a different weight.
-
Add your dried flowers to the smaller pot, then pour 3 to 4 cups of your apple juice onto the flowers. If you are using chamomile tea bags, open them up and pour the loose powder into the pot. The flowers will try to float on top at first, but will sink as they soak up the juice.
-
Bring the juice to a boil over medium-high heat, then remove the pot from the burner and let the flowers or tea steep for two hours.
-
Place the strainer lined with the coffee filter into your larger pot, then carefully pour the juice and flowers into the liner. Push all the juice you can out of the flowers with your spatula. Discard the liner with the pressed flowers.
-
Add the sugar to your flower-infused juice, then heat while stirring constantly until the sugar has dissolved.
-
Add the rest of the juice and stir to combine. Bring the mixture to a boil, then reduce the heat and simmer for two hours to start. Stir the syrup every 20 to 30 minutes to prevent it from burning on the bottom.
-
After the two hours of simmering, check the weight of your pot with the honee to see how close you are to your target weight. Check every 15 minutes once you are within 200 grams, every 10 minutes once you are within 100 grams, every 5 minutes once you are within 50 grams, and every minute once you are within 10 grams. To check the weight, place a hot pad on your scale, then zero or tare the scale so it reads zero with the pad in place. Then, place the pot onto the pad and read the weight. Your honee is done when it reaches your target weight. It will still seem way too thin, but will thicken considerably as it cools. This is why you must use a scale to make honee as it is impossible to correctly judge when it is done otherwise.
-
Place your Mason jars onto a trivet or hot pad (to protect your table from the heat), and very carefully pour the boiling hot syrup into them. Immediately screw a lid onto each one, using a hot pad to hold the jar while you do so. The jars are definitely hot enough to burn you, so be careful!
-
Allow the jars to cool to room temperature, then store your honee in the fridge. Using this method, the jars will self-seal and will last for up to six months as long as they stay sealed and refrigerated. You can use any size Mason jars that you like as long as together they will hold nearly four cups of honee. (Two pint-size jars are not quite large enough as Mason jar sizing goes right to the top of the jar.)
My aunt used to make clover honey every year and we (myself and my cousins) would go collect the clovers for her.
Thank you for sharing! Making your own vegan clover honee would be a lovely way of honoring your Aunt’s tradition!
Hi! Thank you so much for the information and recipes! Was wondering how long the honey lasts for? Thank you!
Hi Stacey Ann! I usually err on the side of caution and say six months refrigerated, but I recently found a small jar in the very back of the bottom shelf of my fridge that was over a year old and still good! (It had slipped down and gotten hidden behind a storage bin or it would have been used long ago!) Please note that you can’t count on six months if you are waiting for the honee to cool down before filling the jars. The long-lasting jars were filled with boiling honee and sealed themselves with an audible pop. They still need to be stored in the fridge because they are not considered properly processed for canning, but this method definitely increases their refrigerated life span.