
In Part One, I discussed how I learned to make wonderful gluten free breads, and in Part Two I covered the ingredients and equipment that you need to make my bread recipes. Now, I’ll go over the essential tips and techniques you will use to make awesome GF breads in your own kitchen. I’ve including some videos from Bake With Jack that highlight some of my favorite tips. Jack is a baker and YouTuber from the UK and he makes great videos! Not all of them are applicable to gluten free bread baking, but I’ll share some that are.
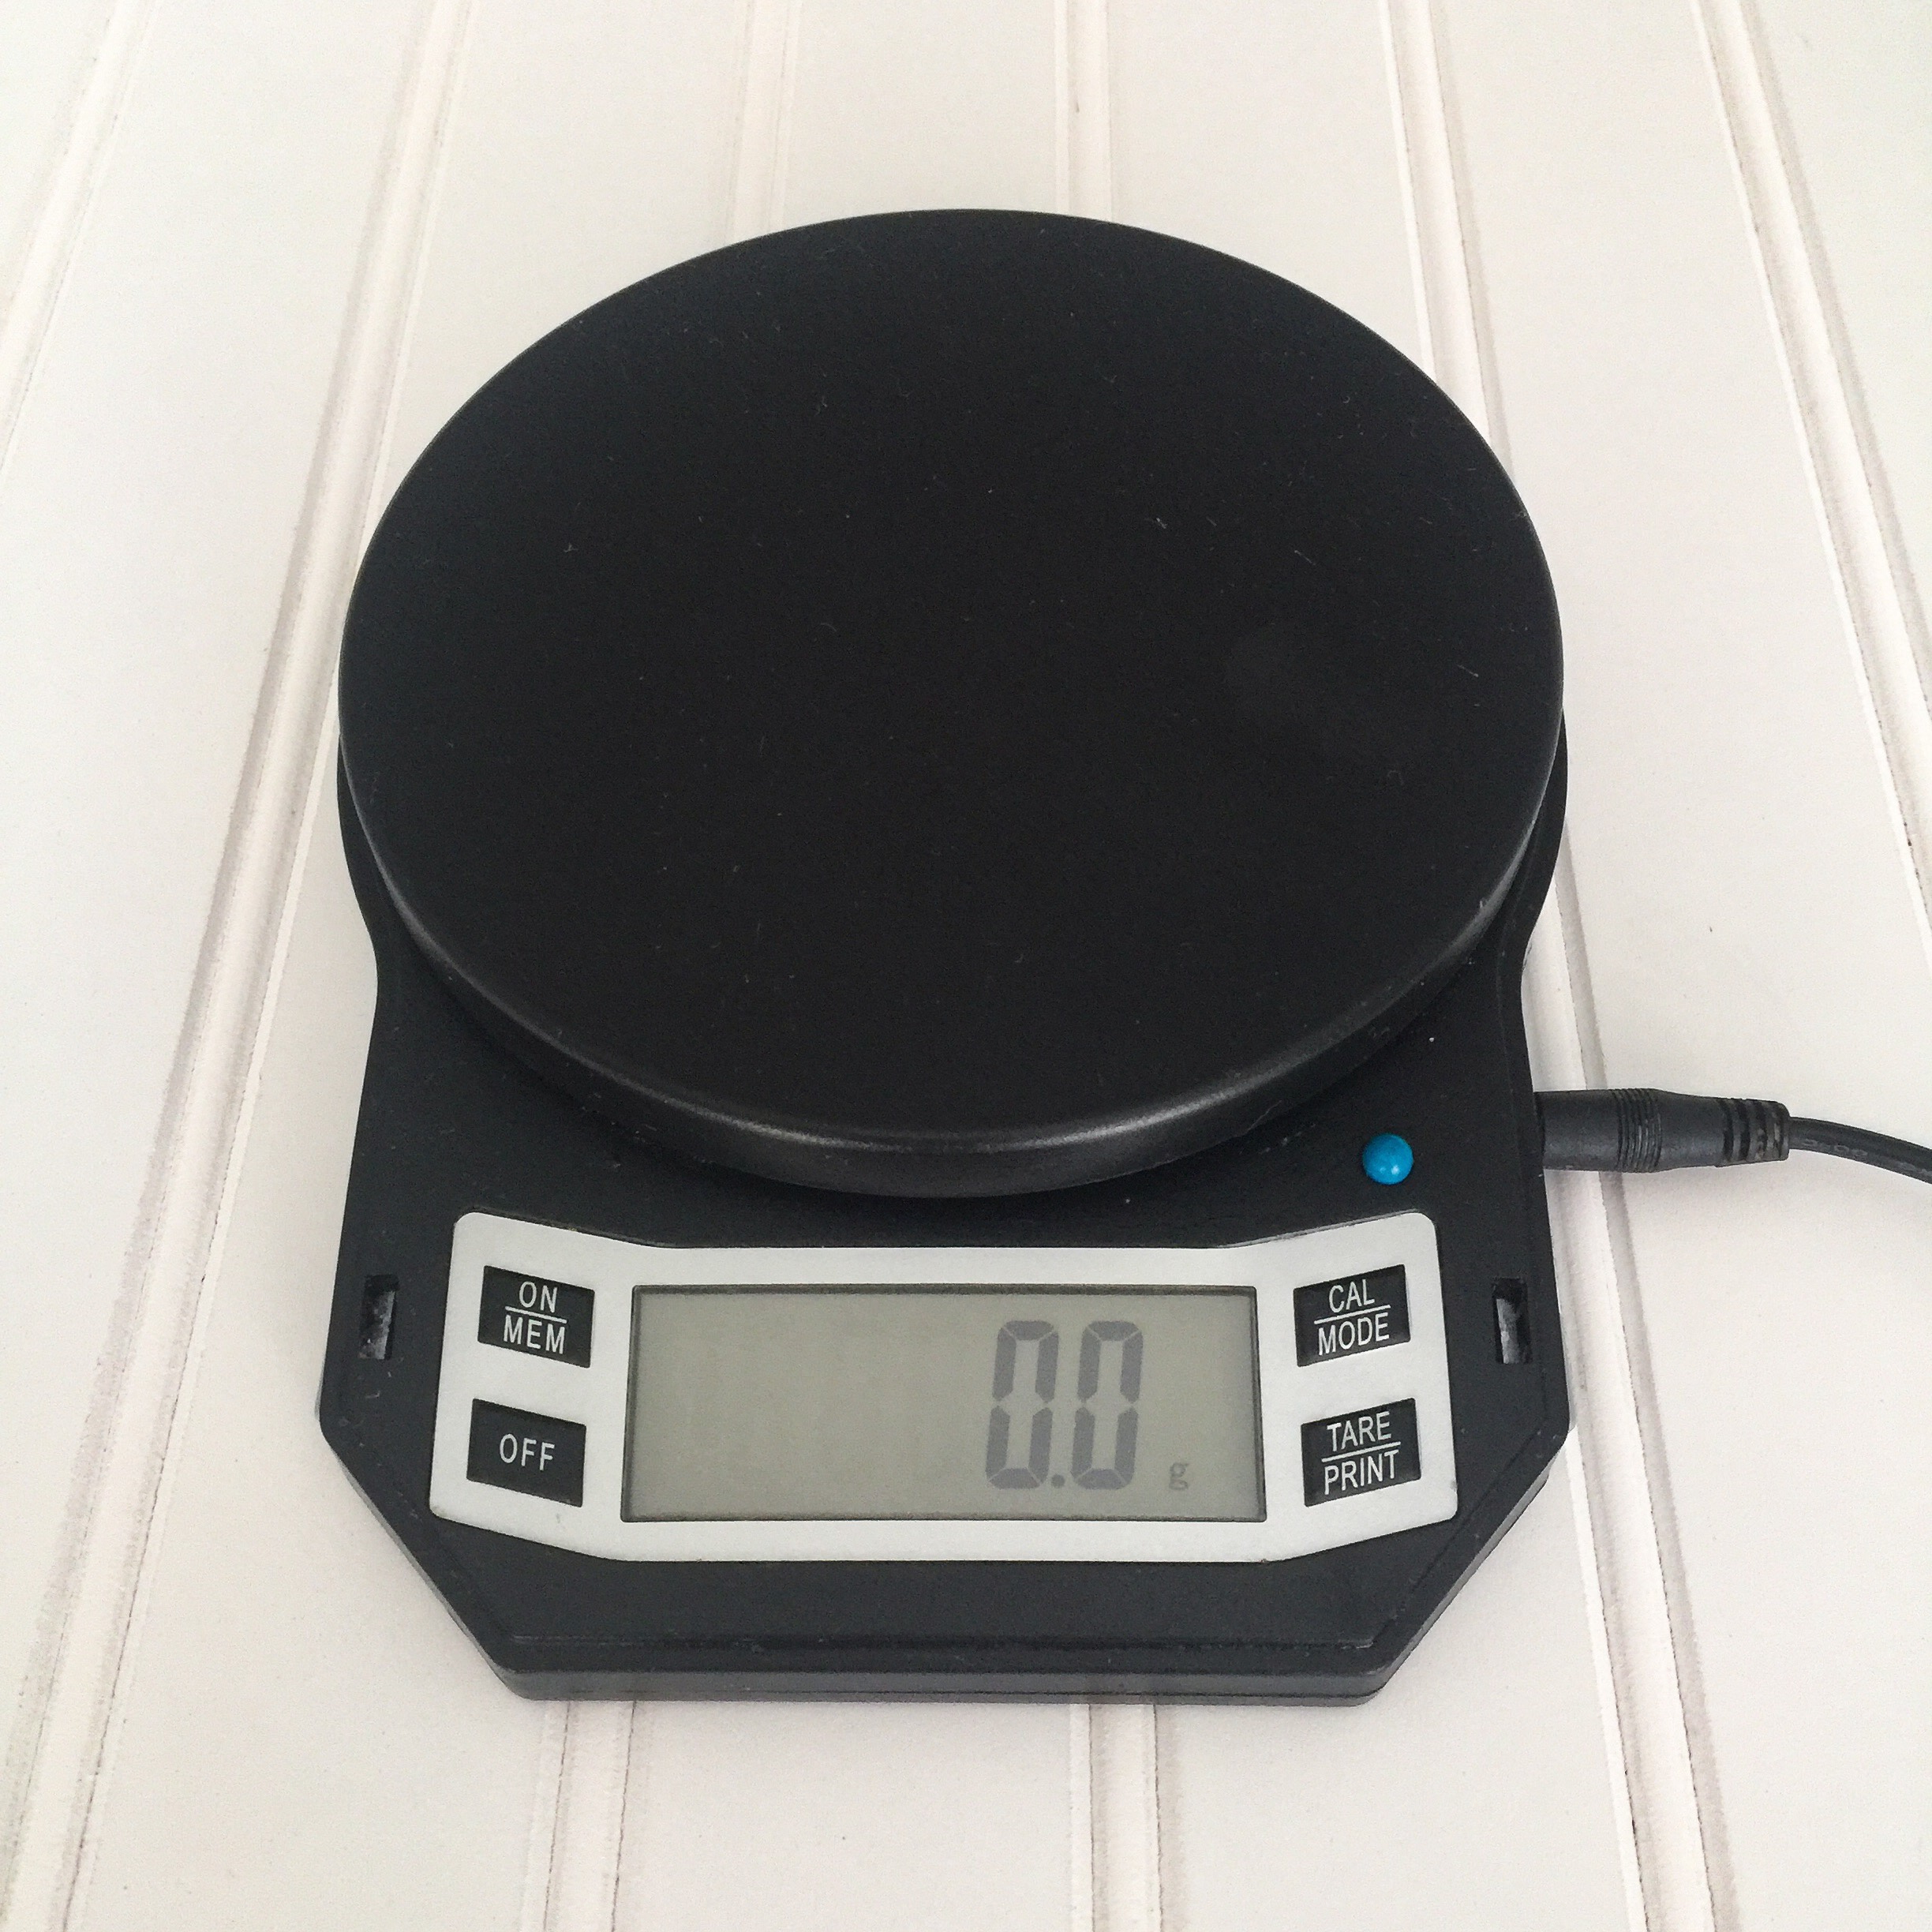
1) As I said in Part Two, it is essential to use the right ingredients. You also need to be sure that you use the correct amounts of those ingredients. You cannot accurately measure flour and water, no matter how careful you are. Therefore, I will not be giving measurements (except for the few ingredients that weigh less than 20 grams) for my new bread recipes. You must use a digital kitchen scale to weigh your ingredients if you want to bake superb gluten free bread!
2) Follow the recipes exactly as they are written. I have thoroughly tested them and any ingredient substitutions or changes in technique should be considered an experiment. There’s nothing wrong with experimenting once you are adept at bread baking, but beginners should avoid it. Also, I highly recommend making the recipe as written at least once before you try changing anything. Then you will know how the dough and the bread should look and feel, and you can tell how your changes affected the results. If you have any questions about a recipe, just leave a comment and I will do my best to answer. (If there is a substitution that will work, I will gladly let you know!)

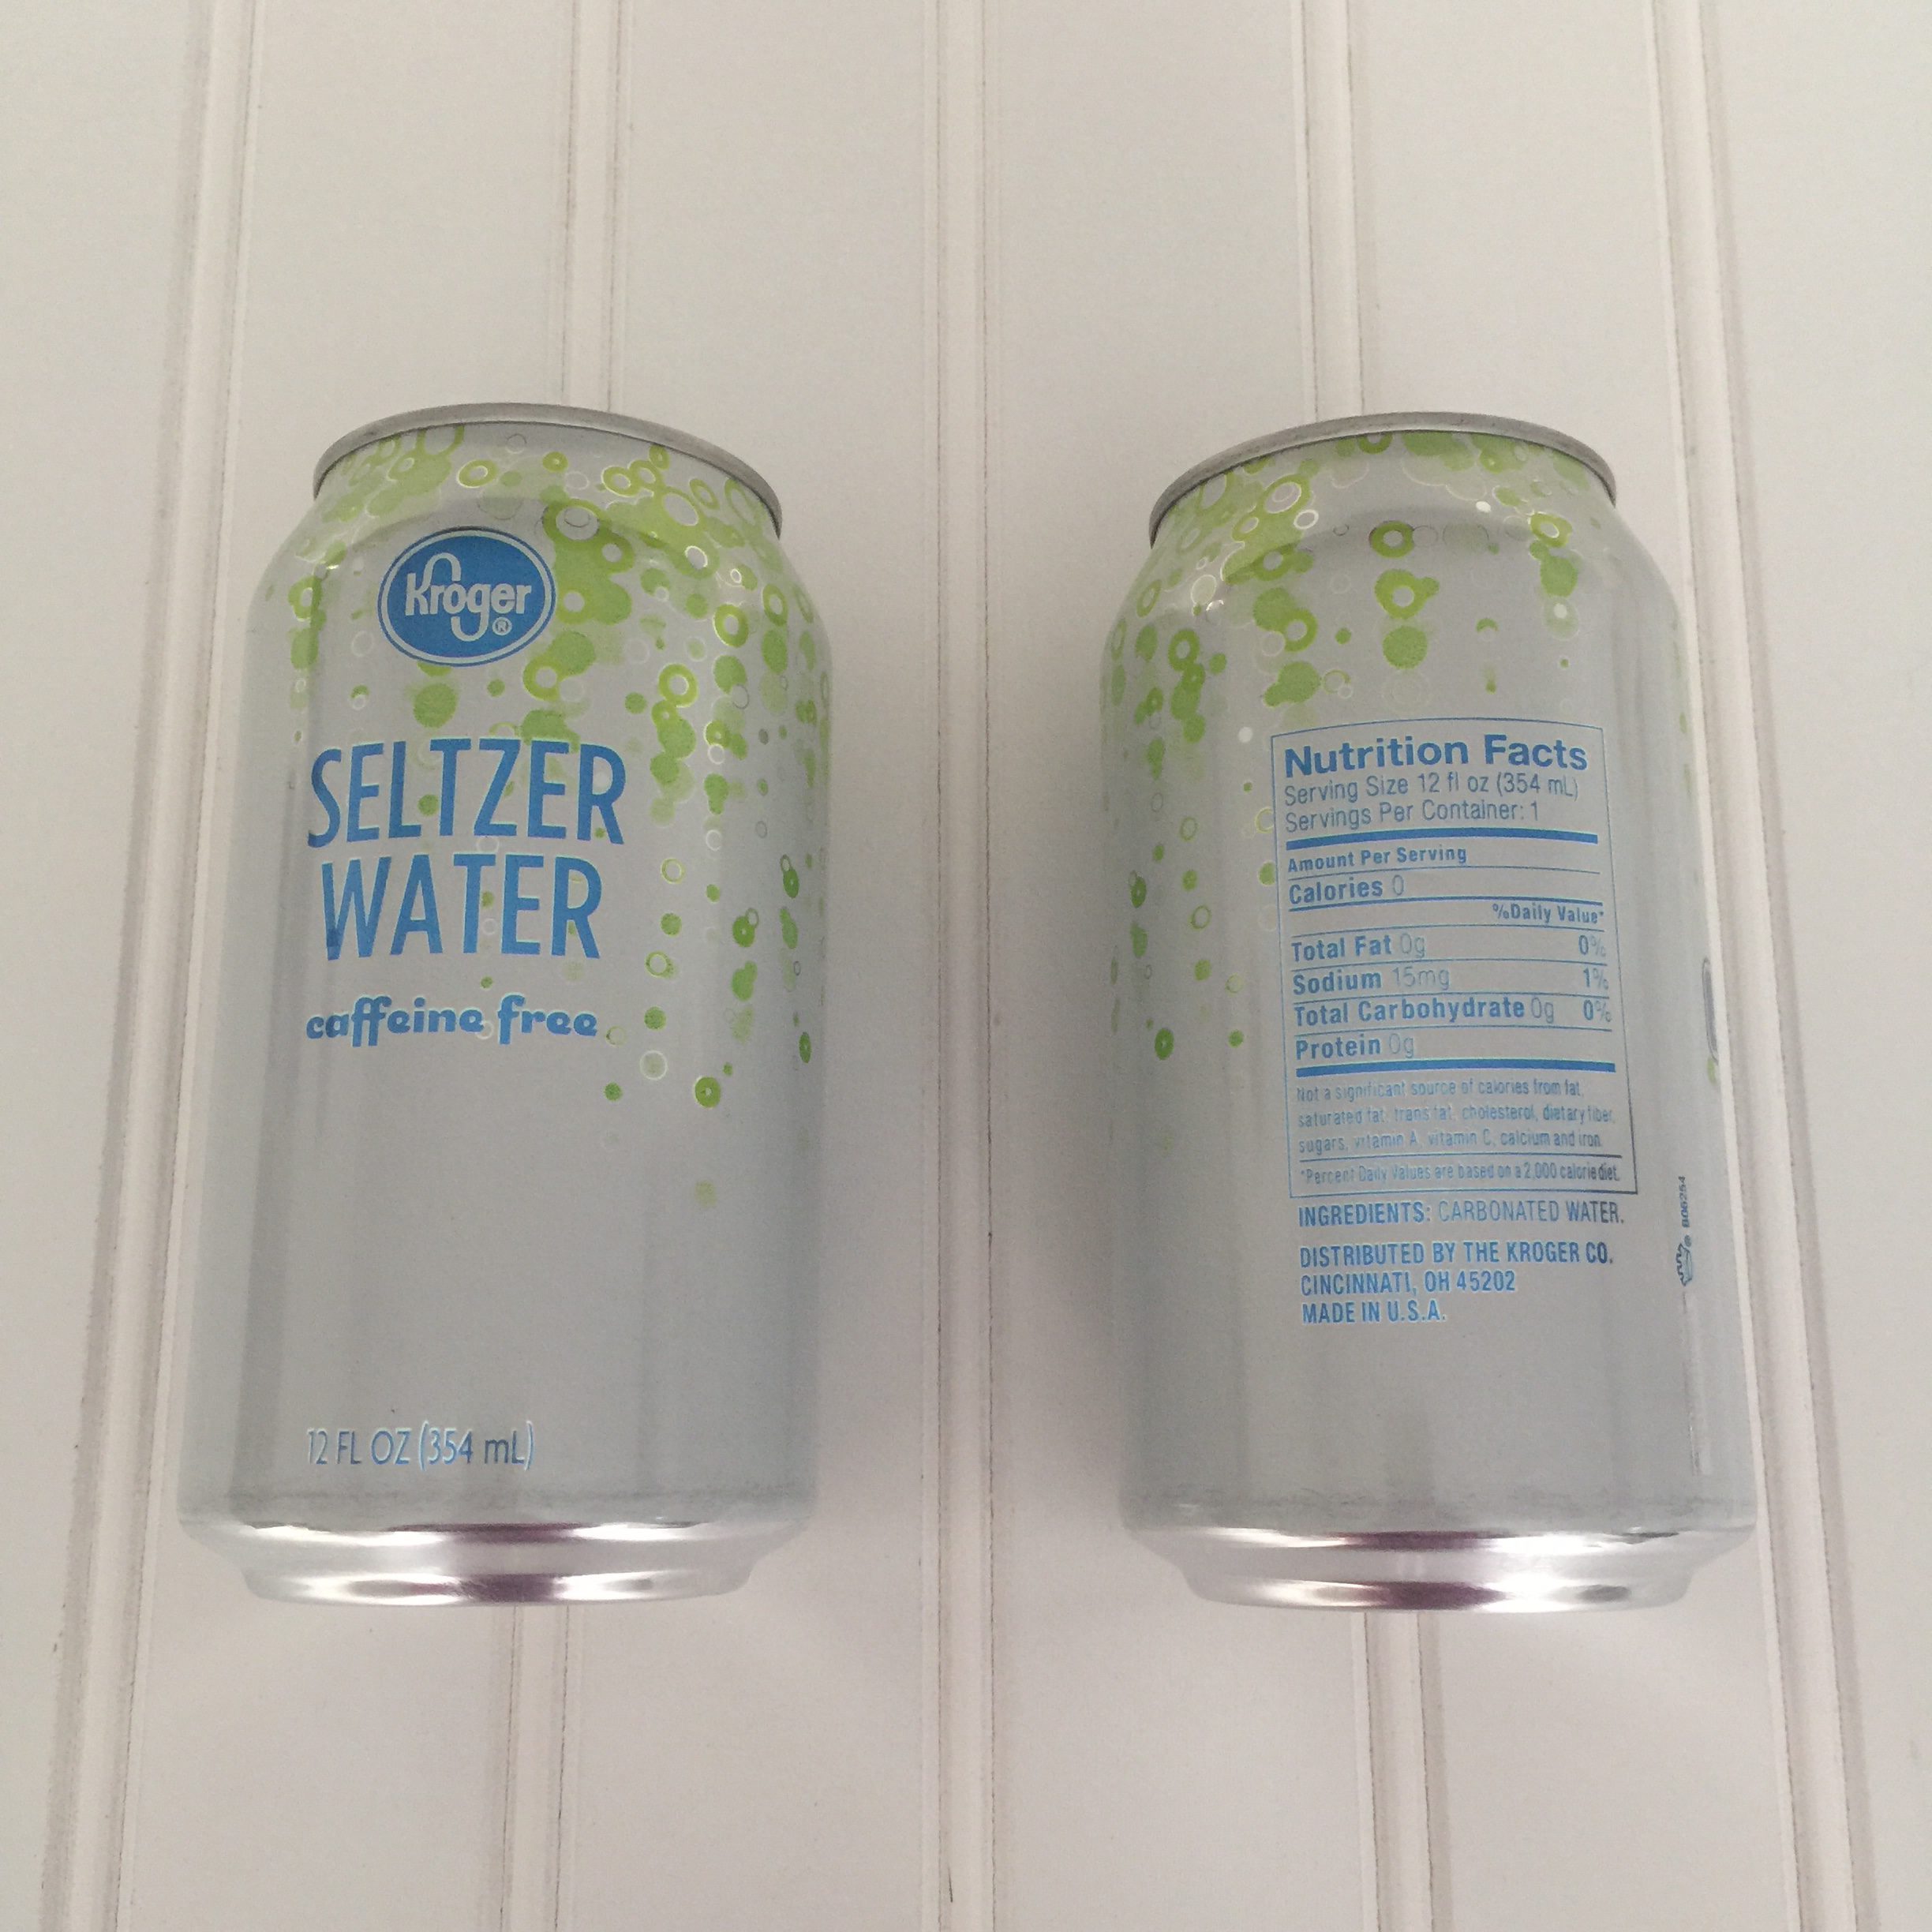
3) Use seltzer water as the liquid in your bread. It really makes a difference in the lightness and aeration of gluten free bread. I recommend buying it in cans instead of in liter bottles, unless you are making a large sandwich loaf and will be using nearly the full bottle. Seltzer water loses its fizz very quickly so you will want to open a new bottle or can every time you make bread.
4) Use room temperature flour. If you store your flour in the fridge or freezer, weigh the amount you need and then allow it to come to room temperature before you start the recipe.

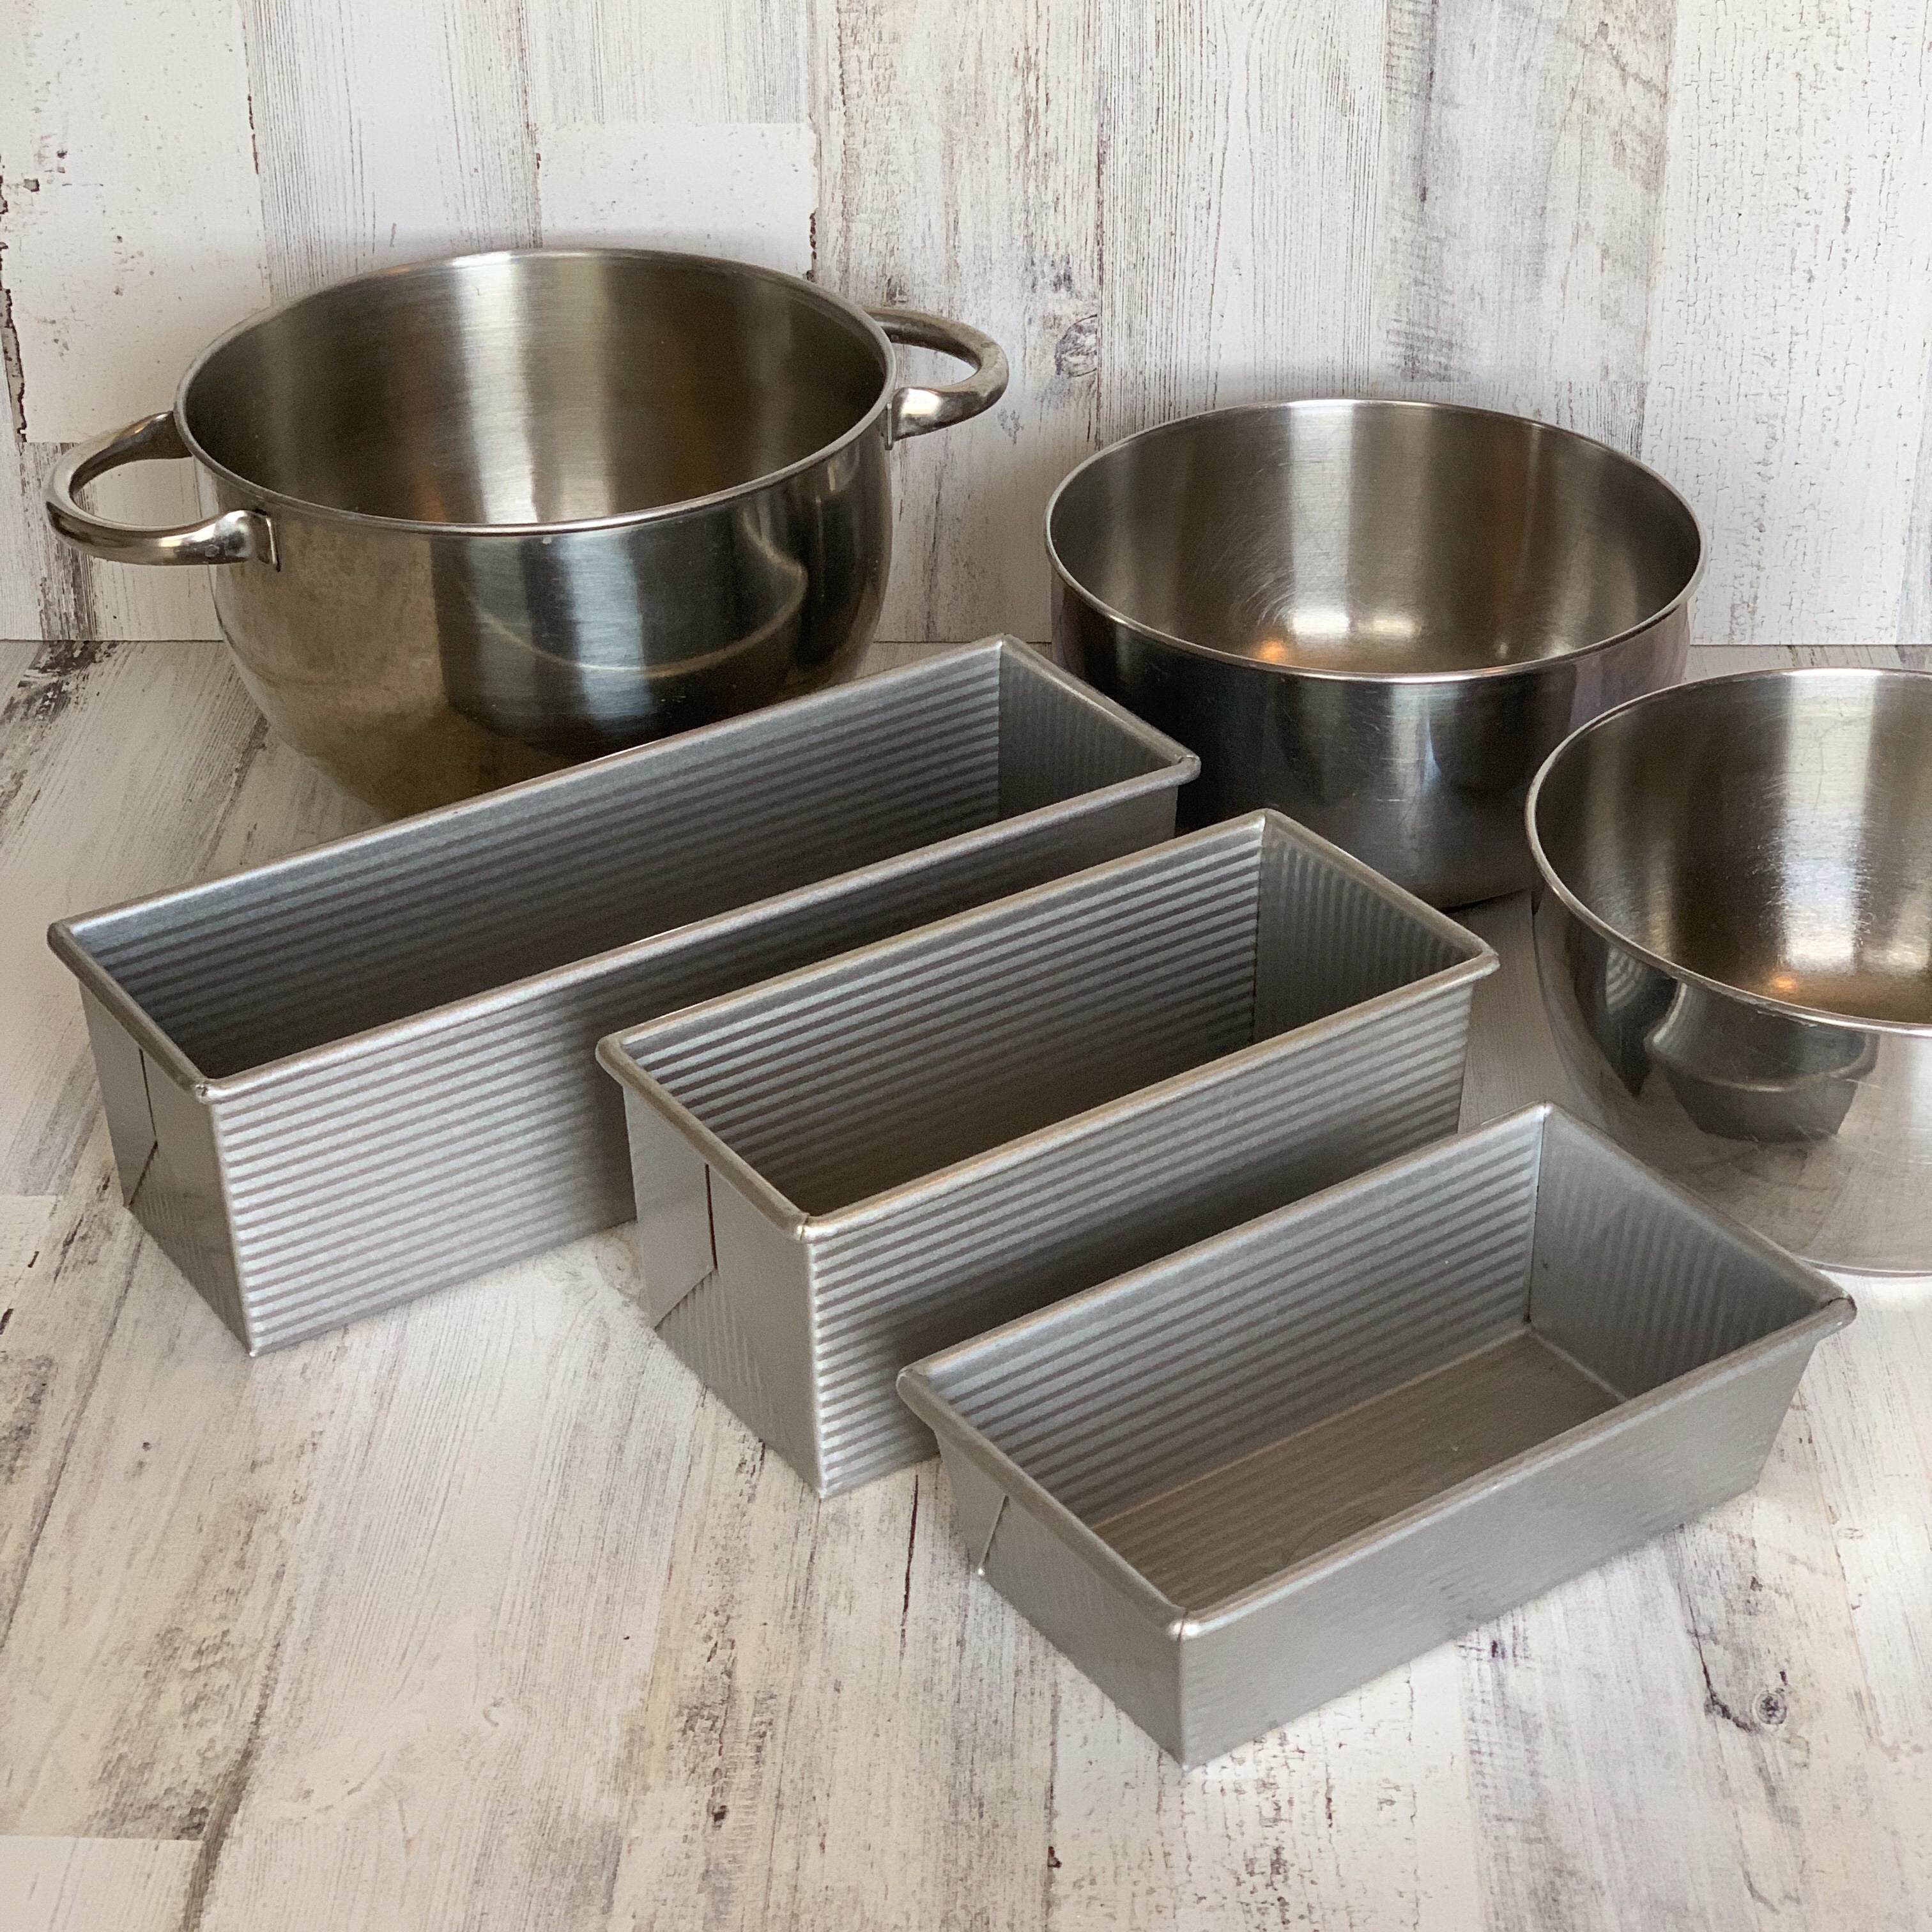
5) Use the right loaf pan for the amount of dough you are making. If you use too large a pan, your loaf will be short and wide. If you use too small a pan, your dough may overflow. I will be giving you two or three size options for each bread dough recipe. Be sure to use the recommended pan size for the recipe you are using. (Or, be sure you choose the right size recipe to fit your pan!) The same is true for a banneton or proofing basket.
6) Make a checklist for your ingredients and recipe steps. Double check your weights and make sure you add all of the ingredients at the right times. Weighing ingredients is much easier than measuring, but you do need to pay attention to what you are doing. This is not the time to multi-task. Be sure that you have zeroed the scale properly before you weigh each ingredient. Also, other than weighing your flour in your mixing bowl, I recommend using a smaller bowl to weigh each ingredient before adding it to your mixing bowl. That way, you can easily remove some if you accidentally add too much.

7) Set a timer for each of the waiting and baking times. I never rely on watching the clock as it is far too easy to get distracted.

8) Keeping a bread journal is an incredibly simple and useful tool to improve your bread baking abilities. It will help you to know what happened when something doesn’t go right, and will also be invaluable when you make a perfect loaf and want to know later exactly what you did. Record the date, the room temperature and humidity, the recipe you are using, the pan you use, which flour you choose, and anything else you do. Especially take notes on any new or different thing you do and how it affects the recipe. (For example, you get a phone call and your rise time is 60 instead of 45 minutes.)
9) Use an autolyse to improve the quality of your bread. Autolyse is the method of mixing your flour and water together first, and then allowing the dough to rest for a period of time before adding the remaining ingredients. This gives the flour time to fully hydrate before you mix the dough. I also add the yeast and a small amount of sugar to the flour and water so that the yeast has a good opportunity to get started before the salt is added. (Salt inhibits the function of yeast.) Breads made with an autolyse need less mixing time, are easier to shape, have better volume and a more open crumb, get better color, and taste better than breads made without an autolyse.
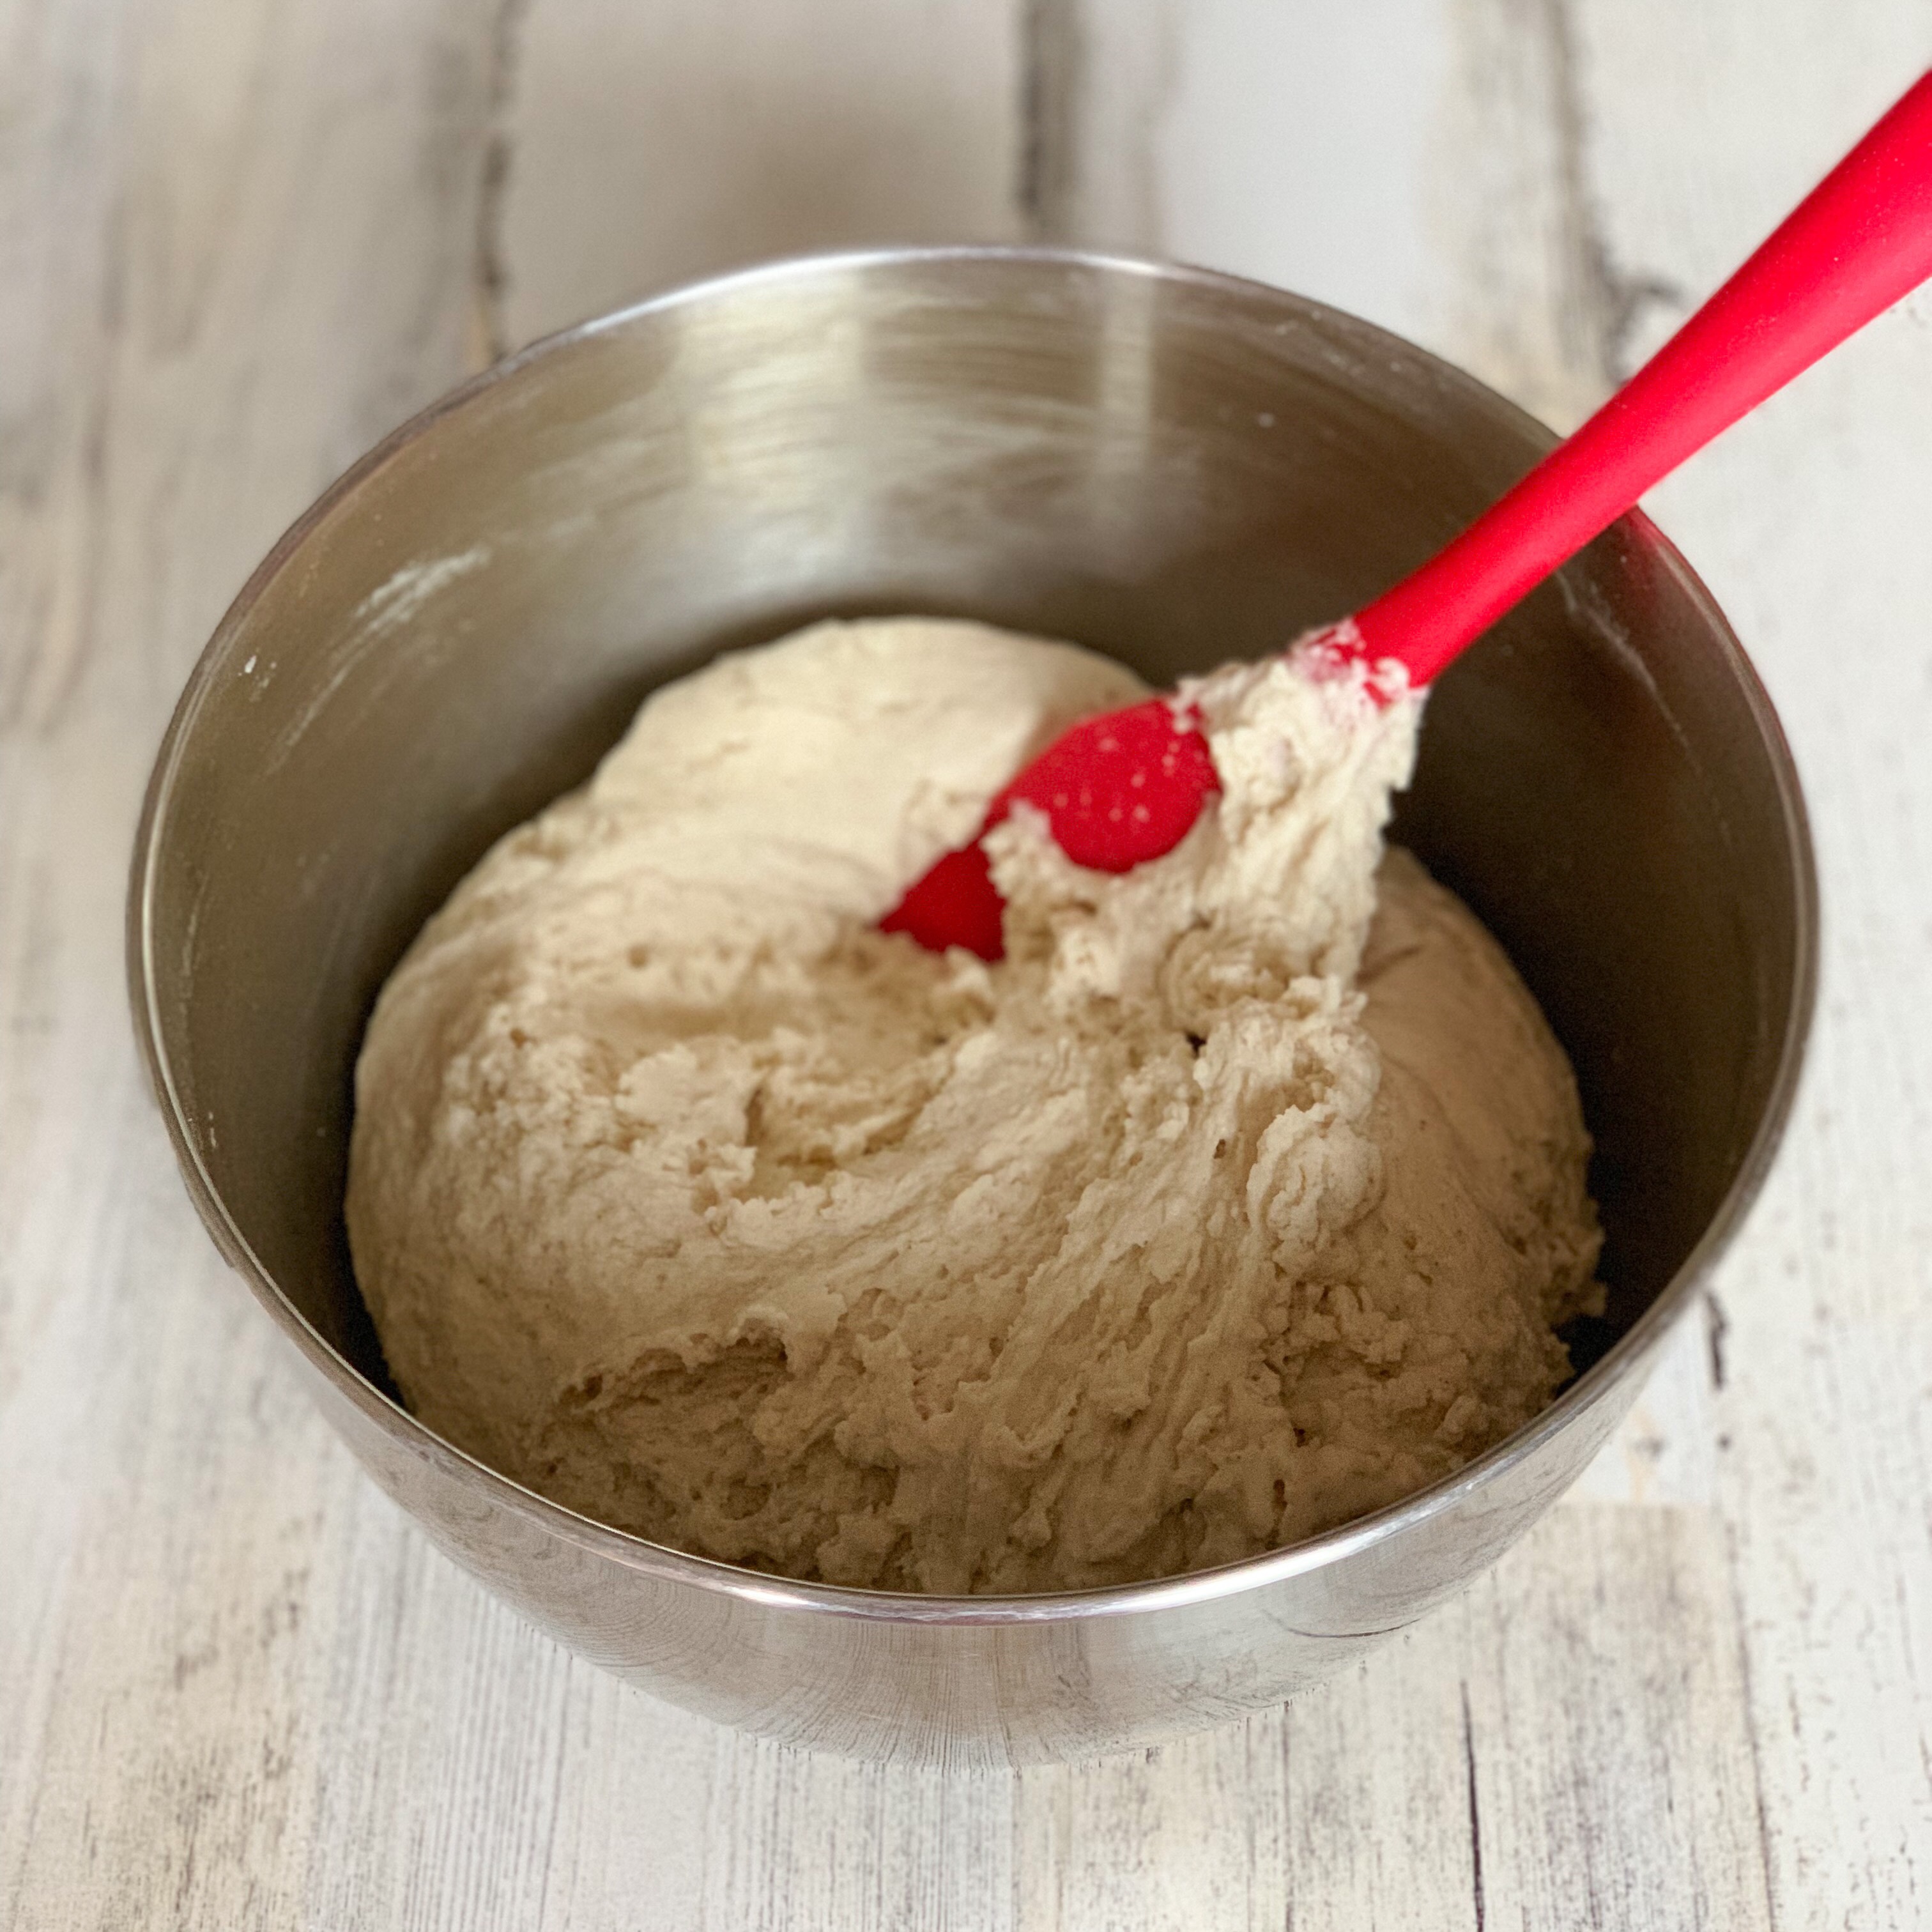
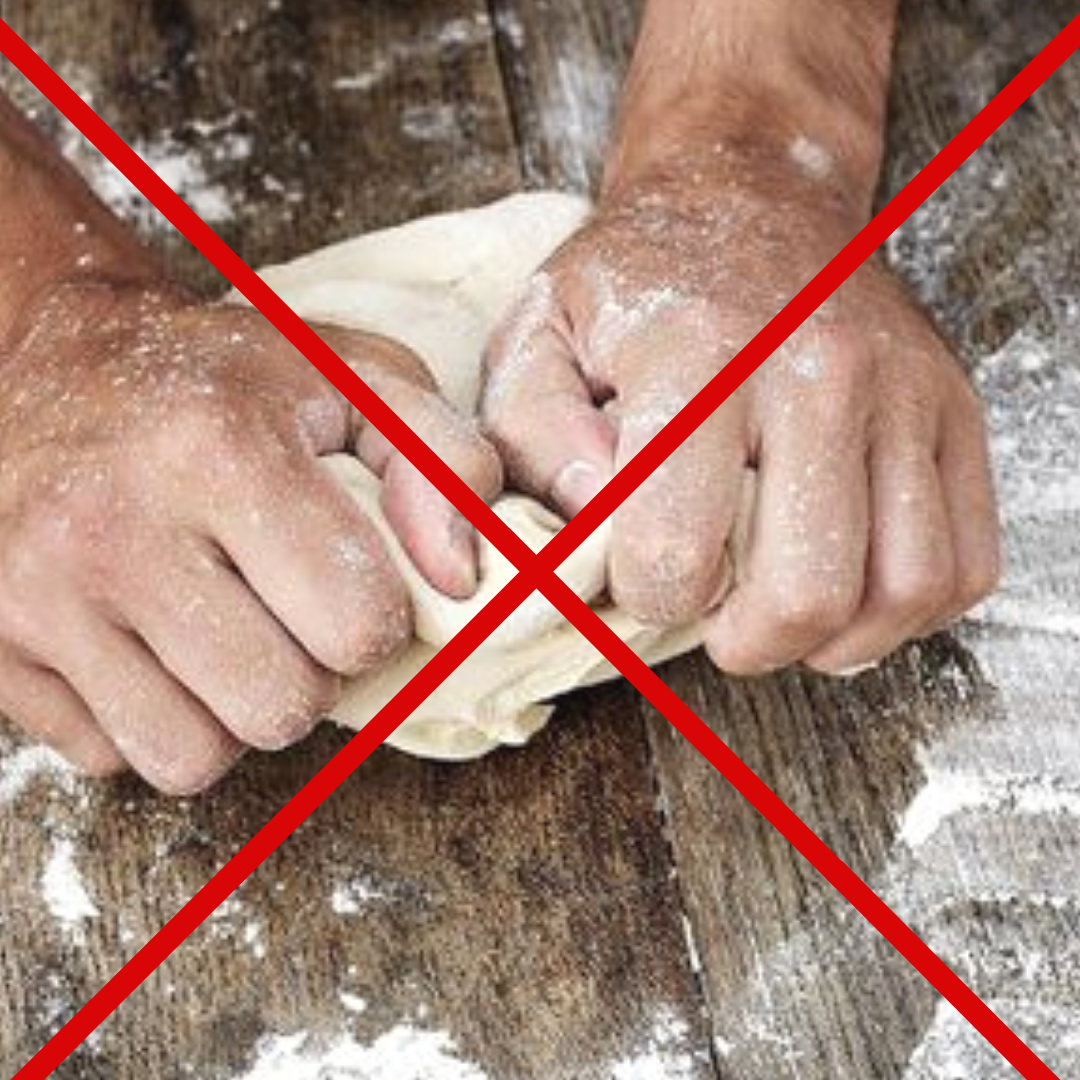
10) Do not over-mix your dough. Many gluten free bread recipes call for five or even 10 minutes of mixing, but this is neither necessary nor good for your dough. Over-mixing causes oxidation and that damages the flavor and texture of your bread. When you mix the additional ingredients into your dough after the autolyse, mix only enough to thoroughly combine everything into a cohesive dough. This should only take one to two minutes on medium speed. Also, kneading is not necessary with gluten free bread and may overwork your dough as well. Kneading is done with wheat flour dough because it develops the gluten. We don’t have any gluten, so kneading is just a waste of time.
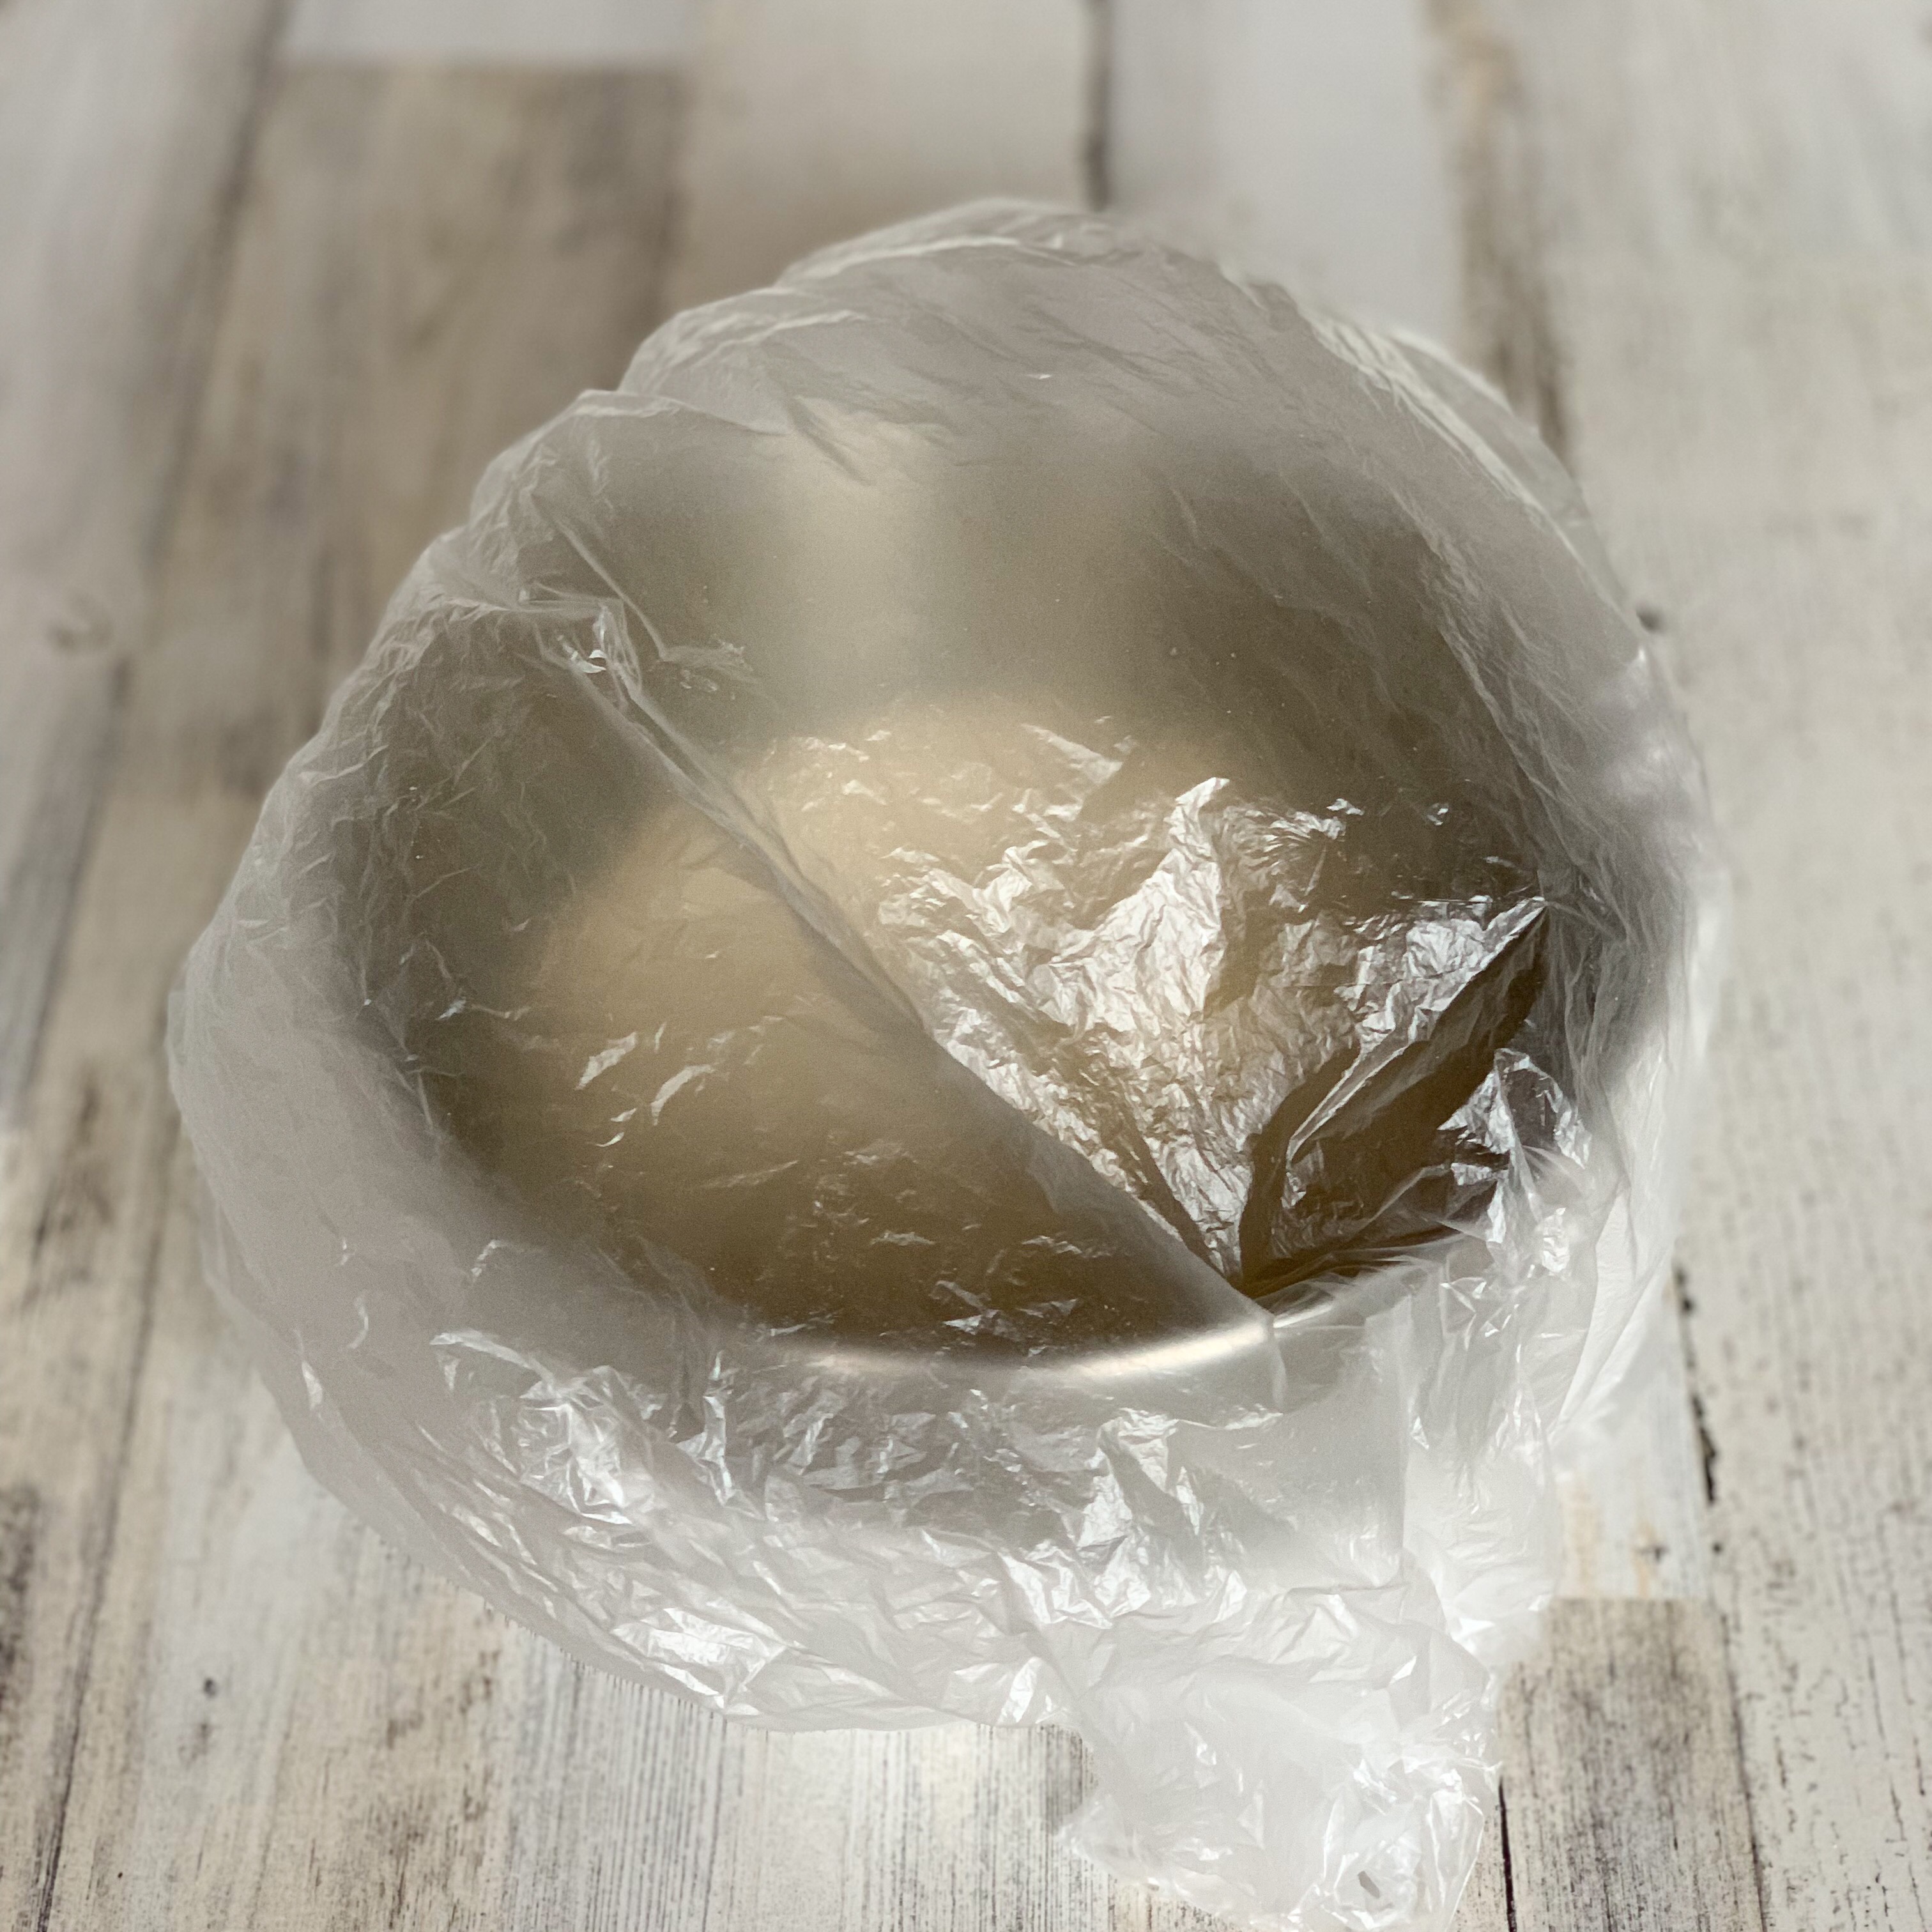
11) Create a proofing box with a clean trash bag. You don’t need to worry about a warm or draft-free location. The bag will protect your dough and it will rise well at room temperature (65 to 75 degrees Fahrenheit.) A slower rise is best for developing the best bread flavor and to prevent over-proving your dough.
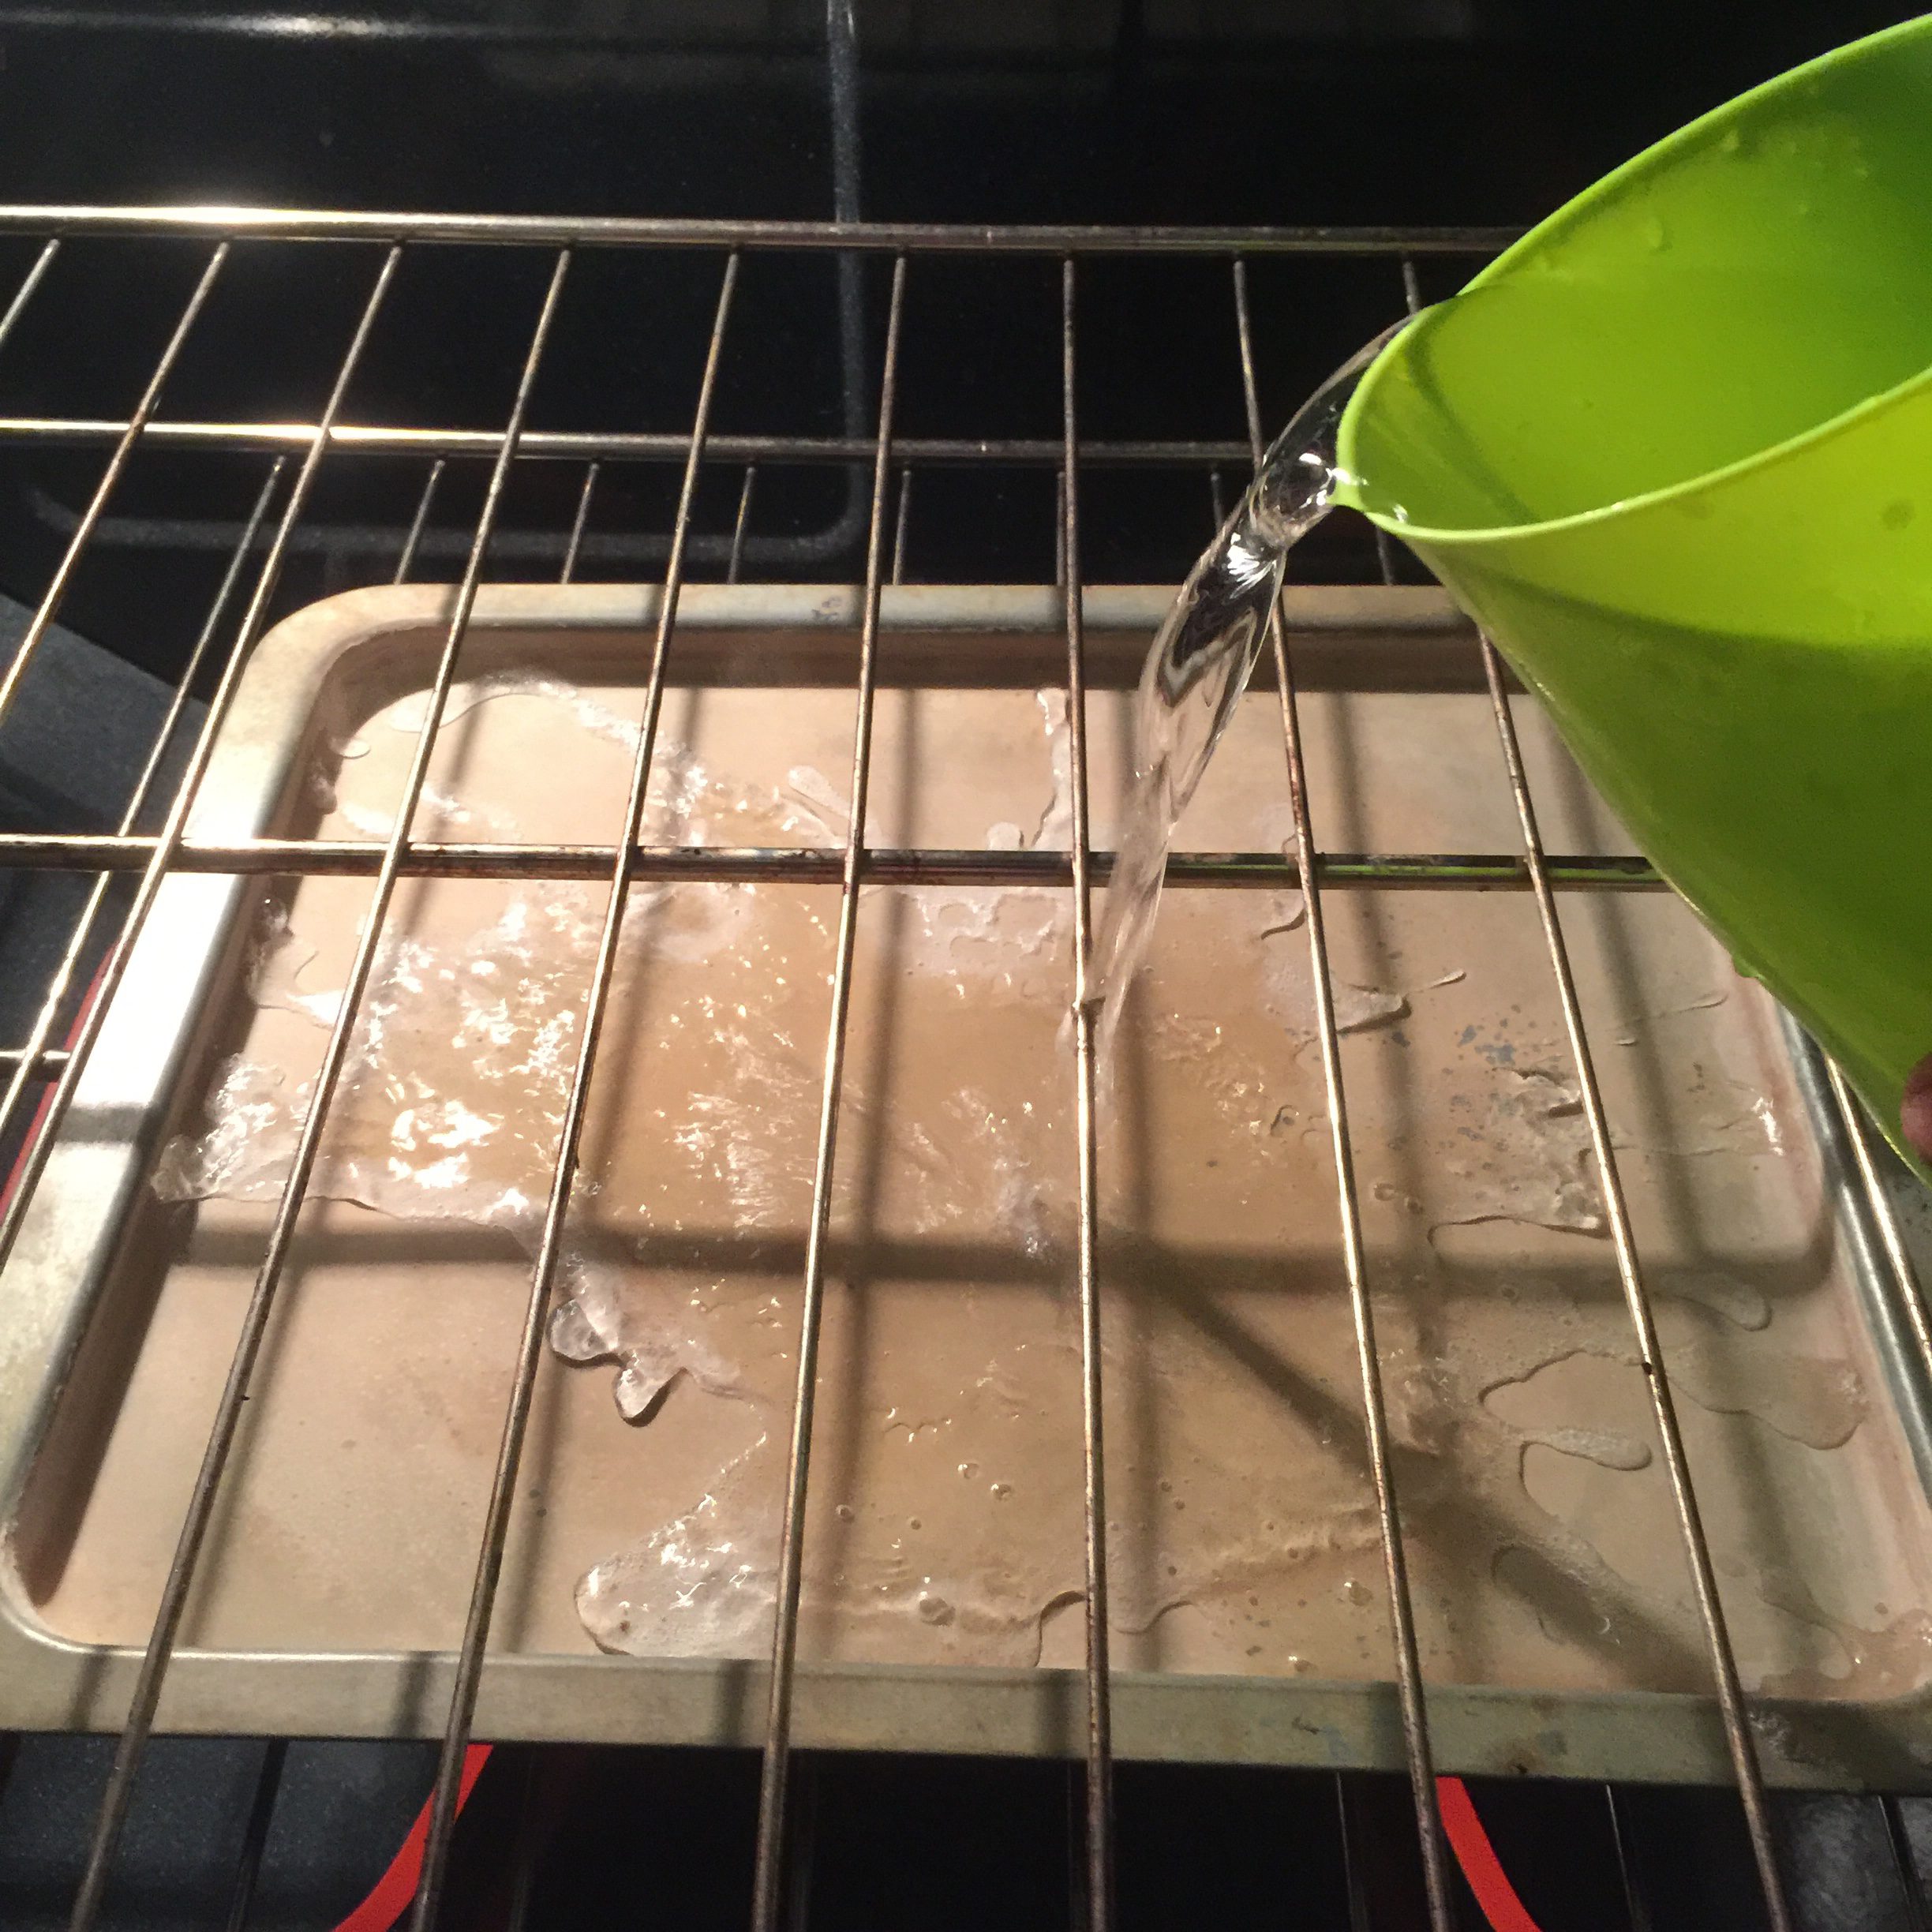
12) Bake your bread in a hot, steamy oven. This will allow for the most oven spring by getting the yeast going quickly and keeping the crust soft longer. This is important because the dough can’t continue to expand once the crust is fully set. The easiest way to create steam in your oven is to place a shallow pan of water on your bottom rack when you turn the oven on to preheat. (My method is a little different from Jack’s but feel free to try his if you wish.)
13) Relax and enjoy the process of making gluten free bread. It should be fun and you will feel so proud when you take a perfect loaf out of your oven! My recipes look much more complicated than they actually are because I show every step. None of the directions are difficult, so just follow along with the step-by-step photos and your bread will turn out great.

14) It takes practice to learn the feel of the dough and to get used to the shaping techniques. But, even your less than beautiful loaves will taste amazing!

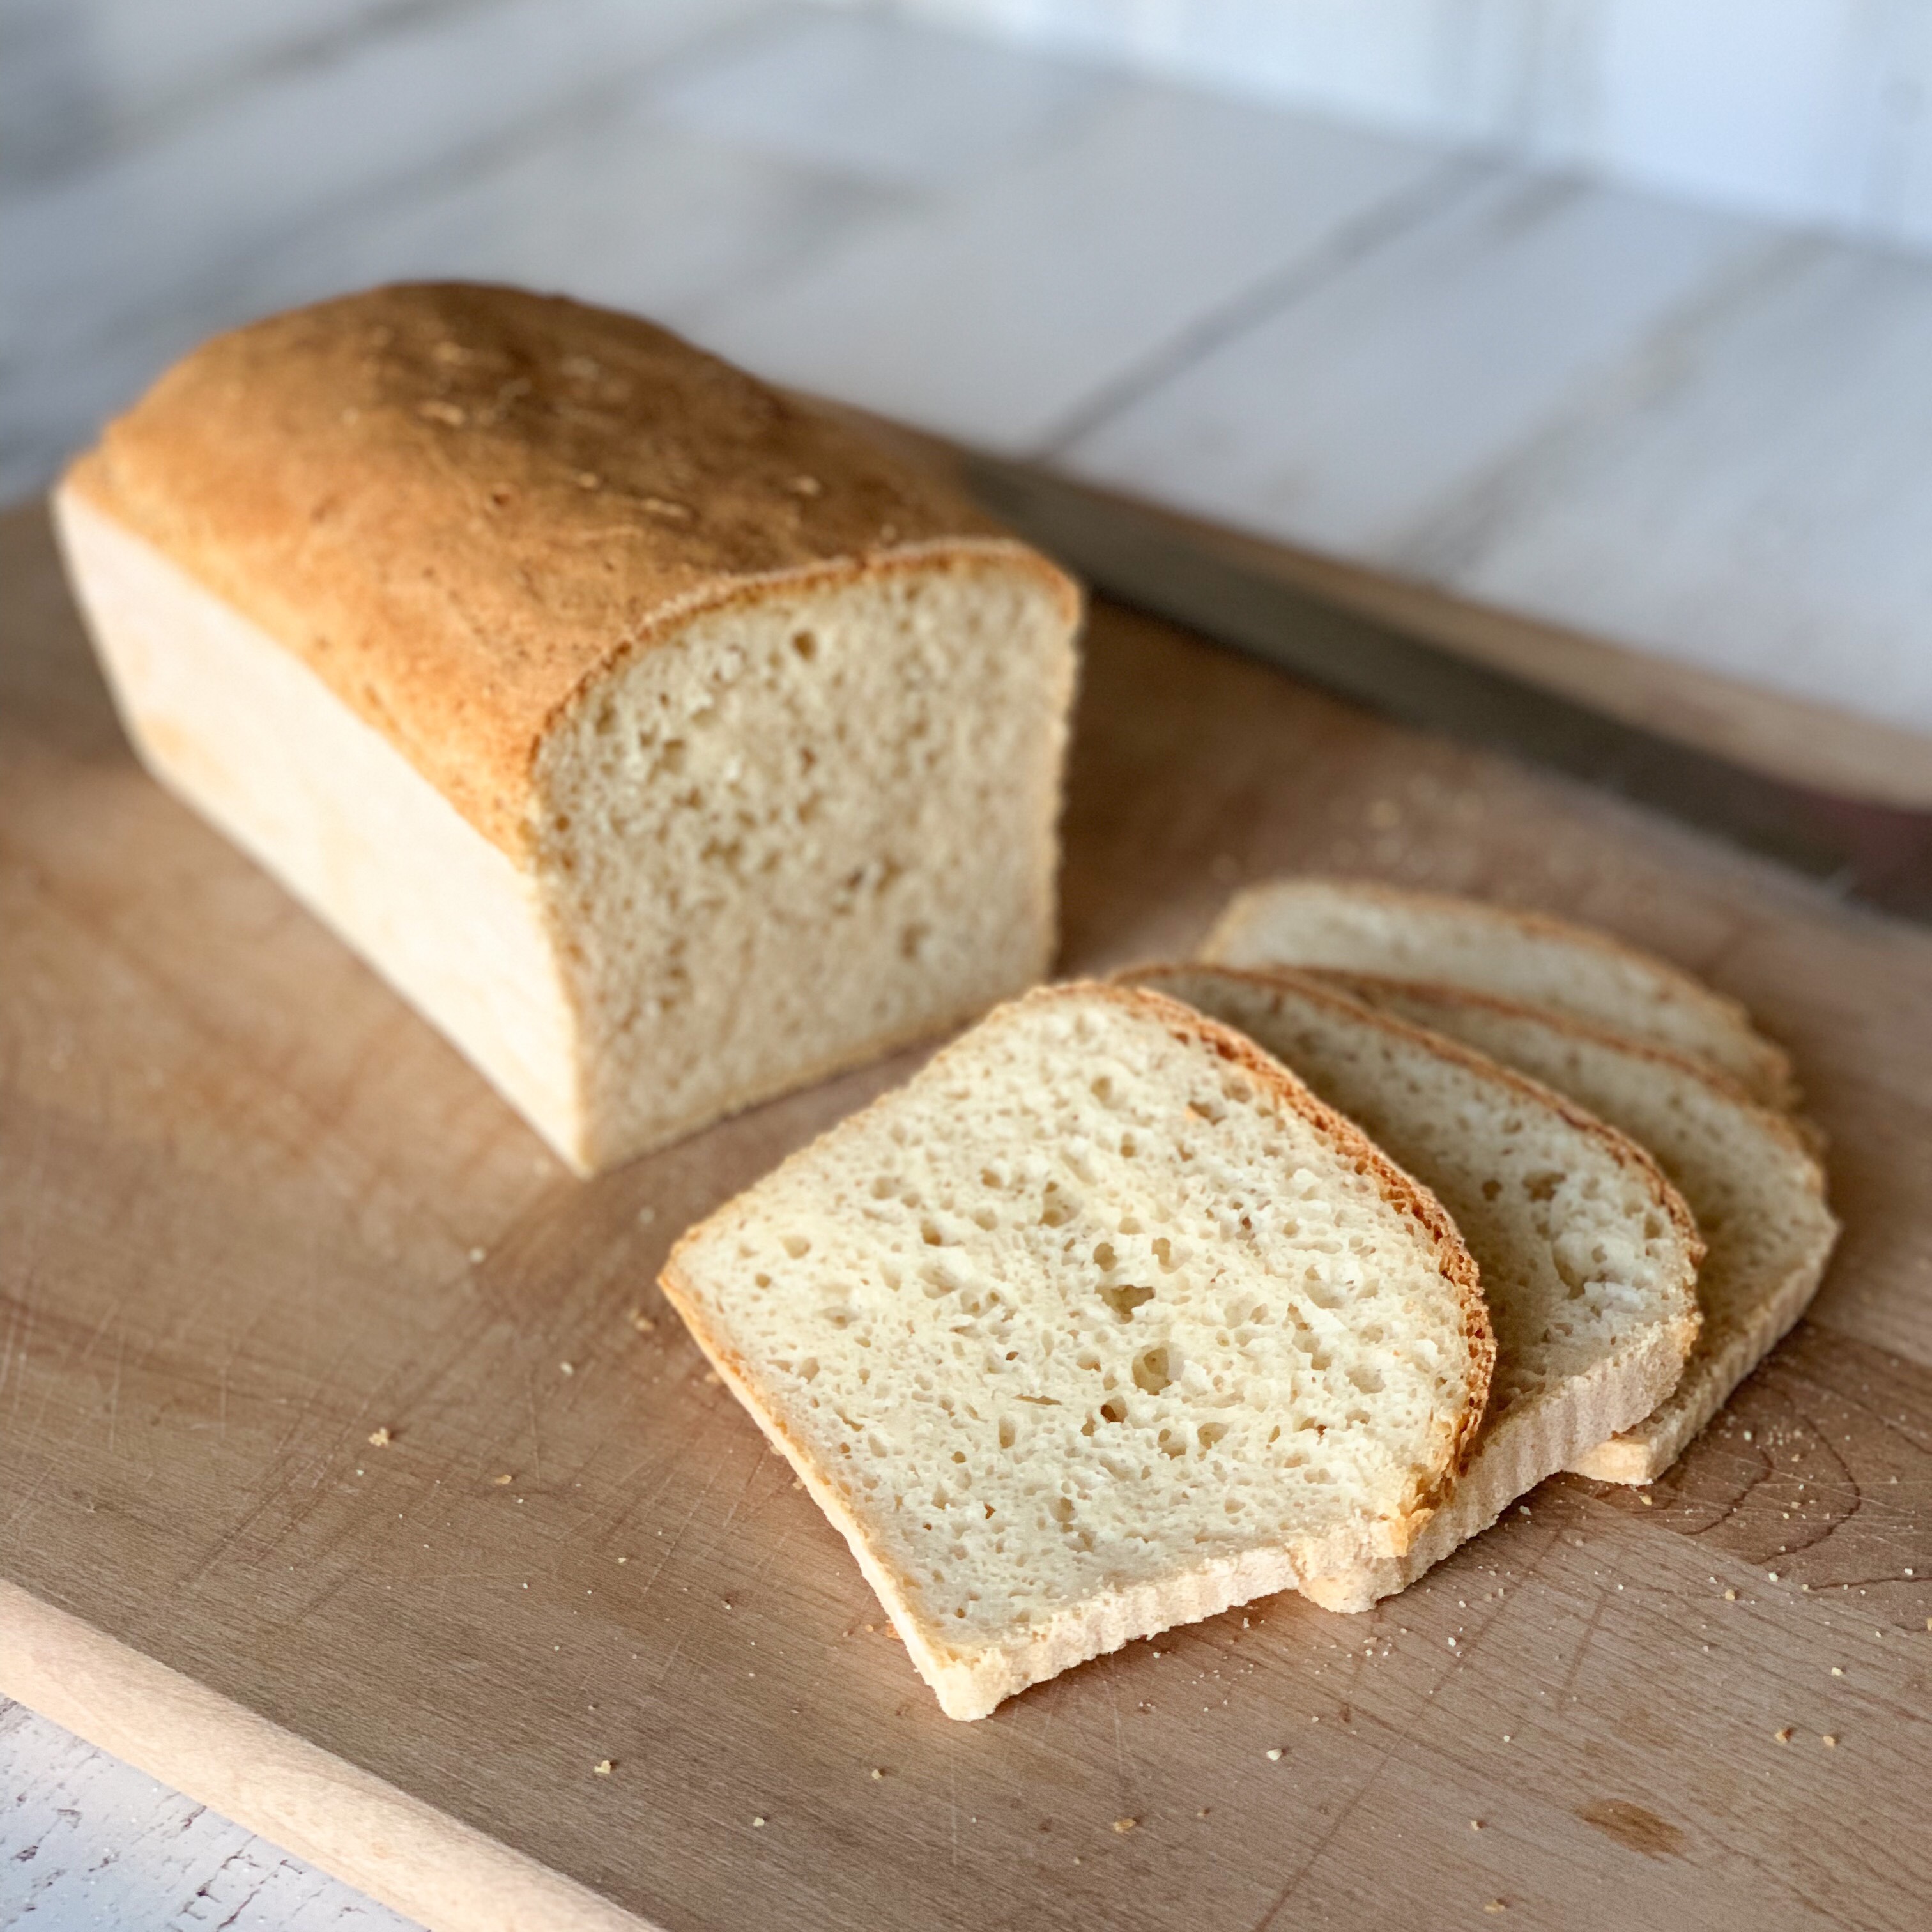
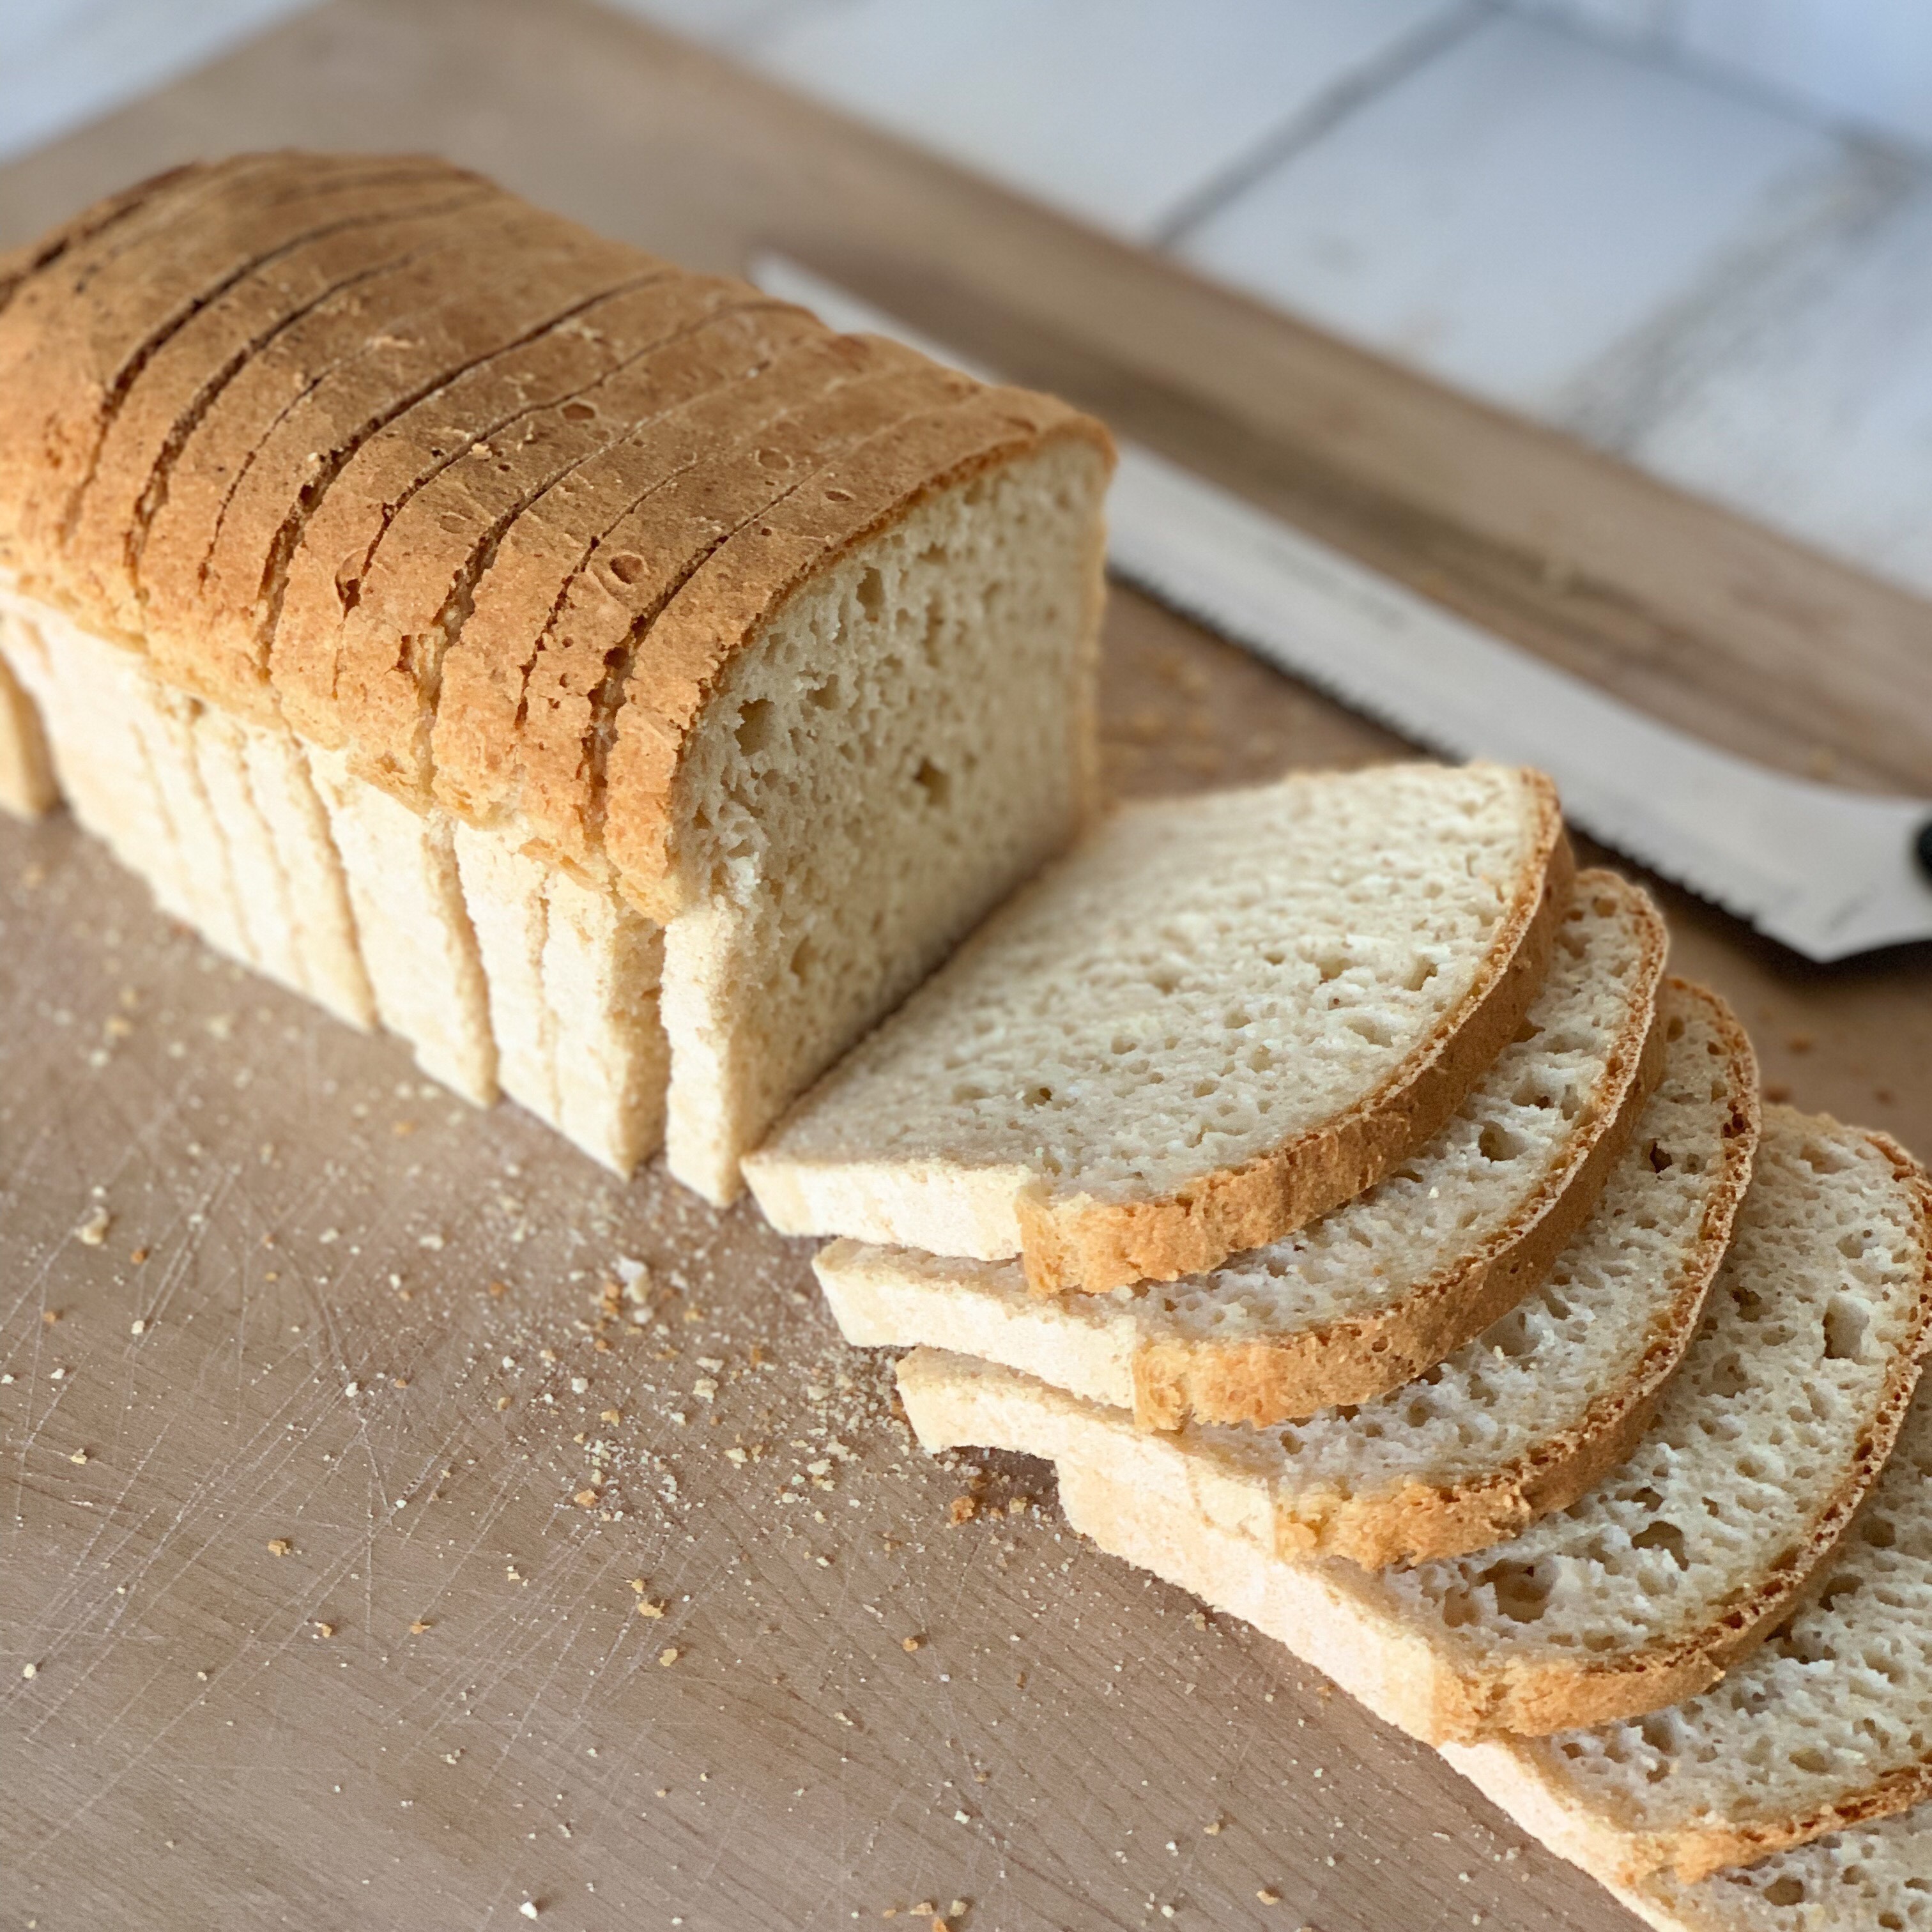
15) You must wait until your loaf is completely cool before slicing into it. I know it’s hard to wait, but even cutting the end off of a still-warm loaf of gluten free bread will ruin the texture of the entire loaf. Just don’t do it!
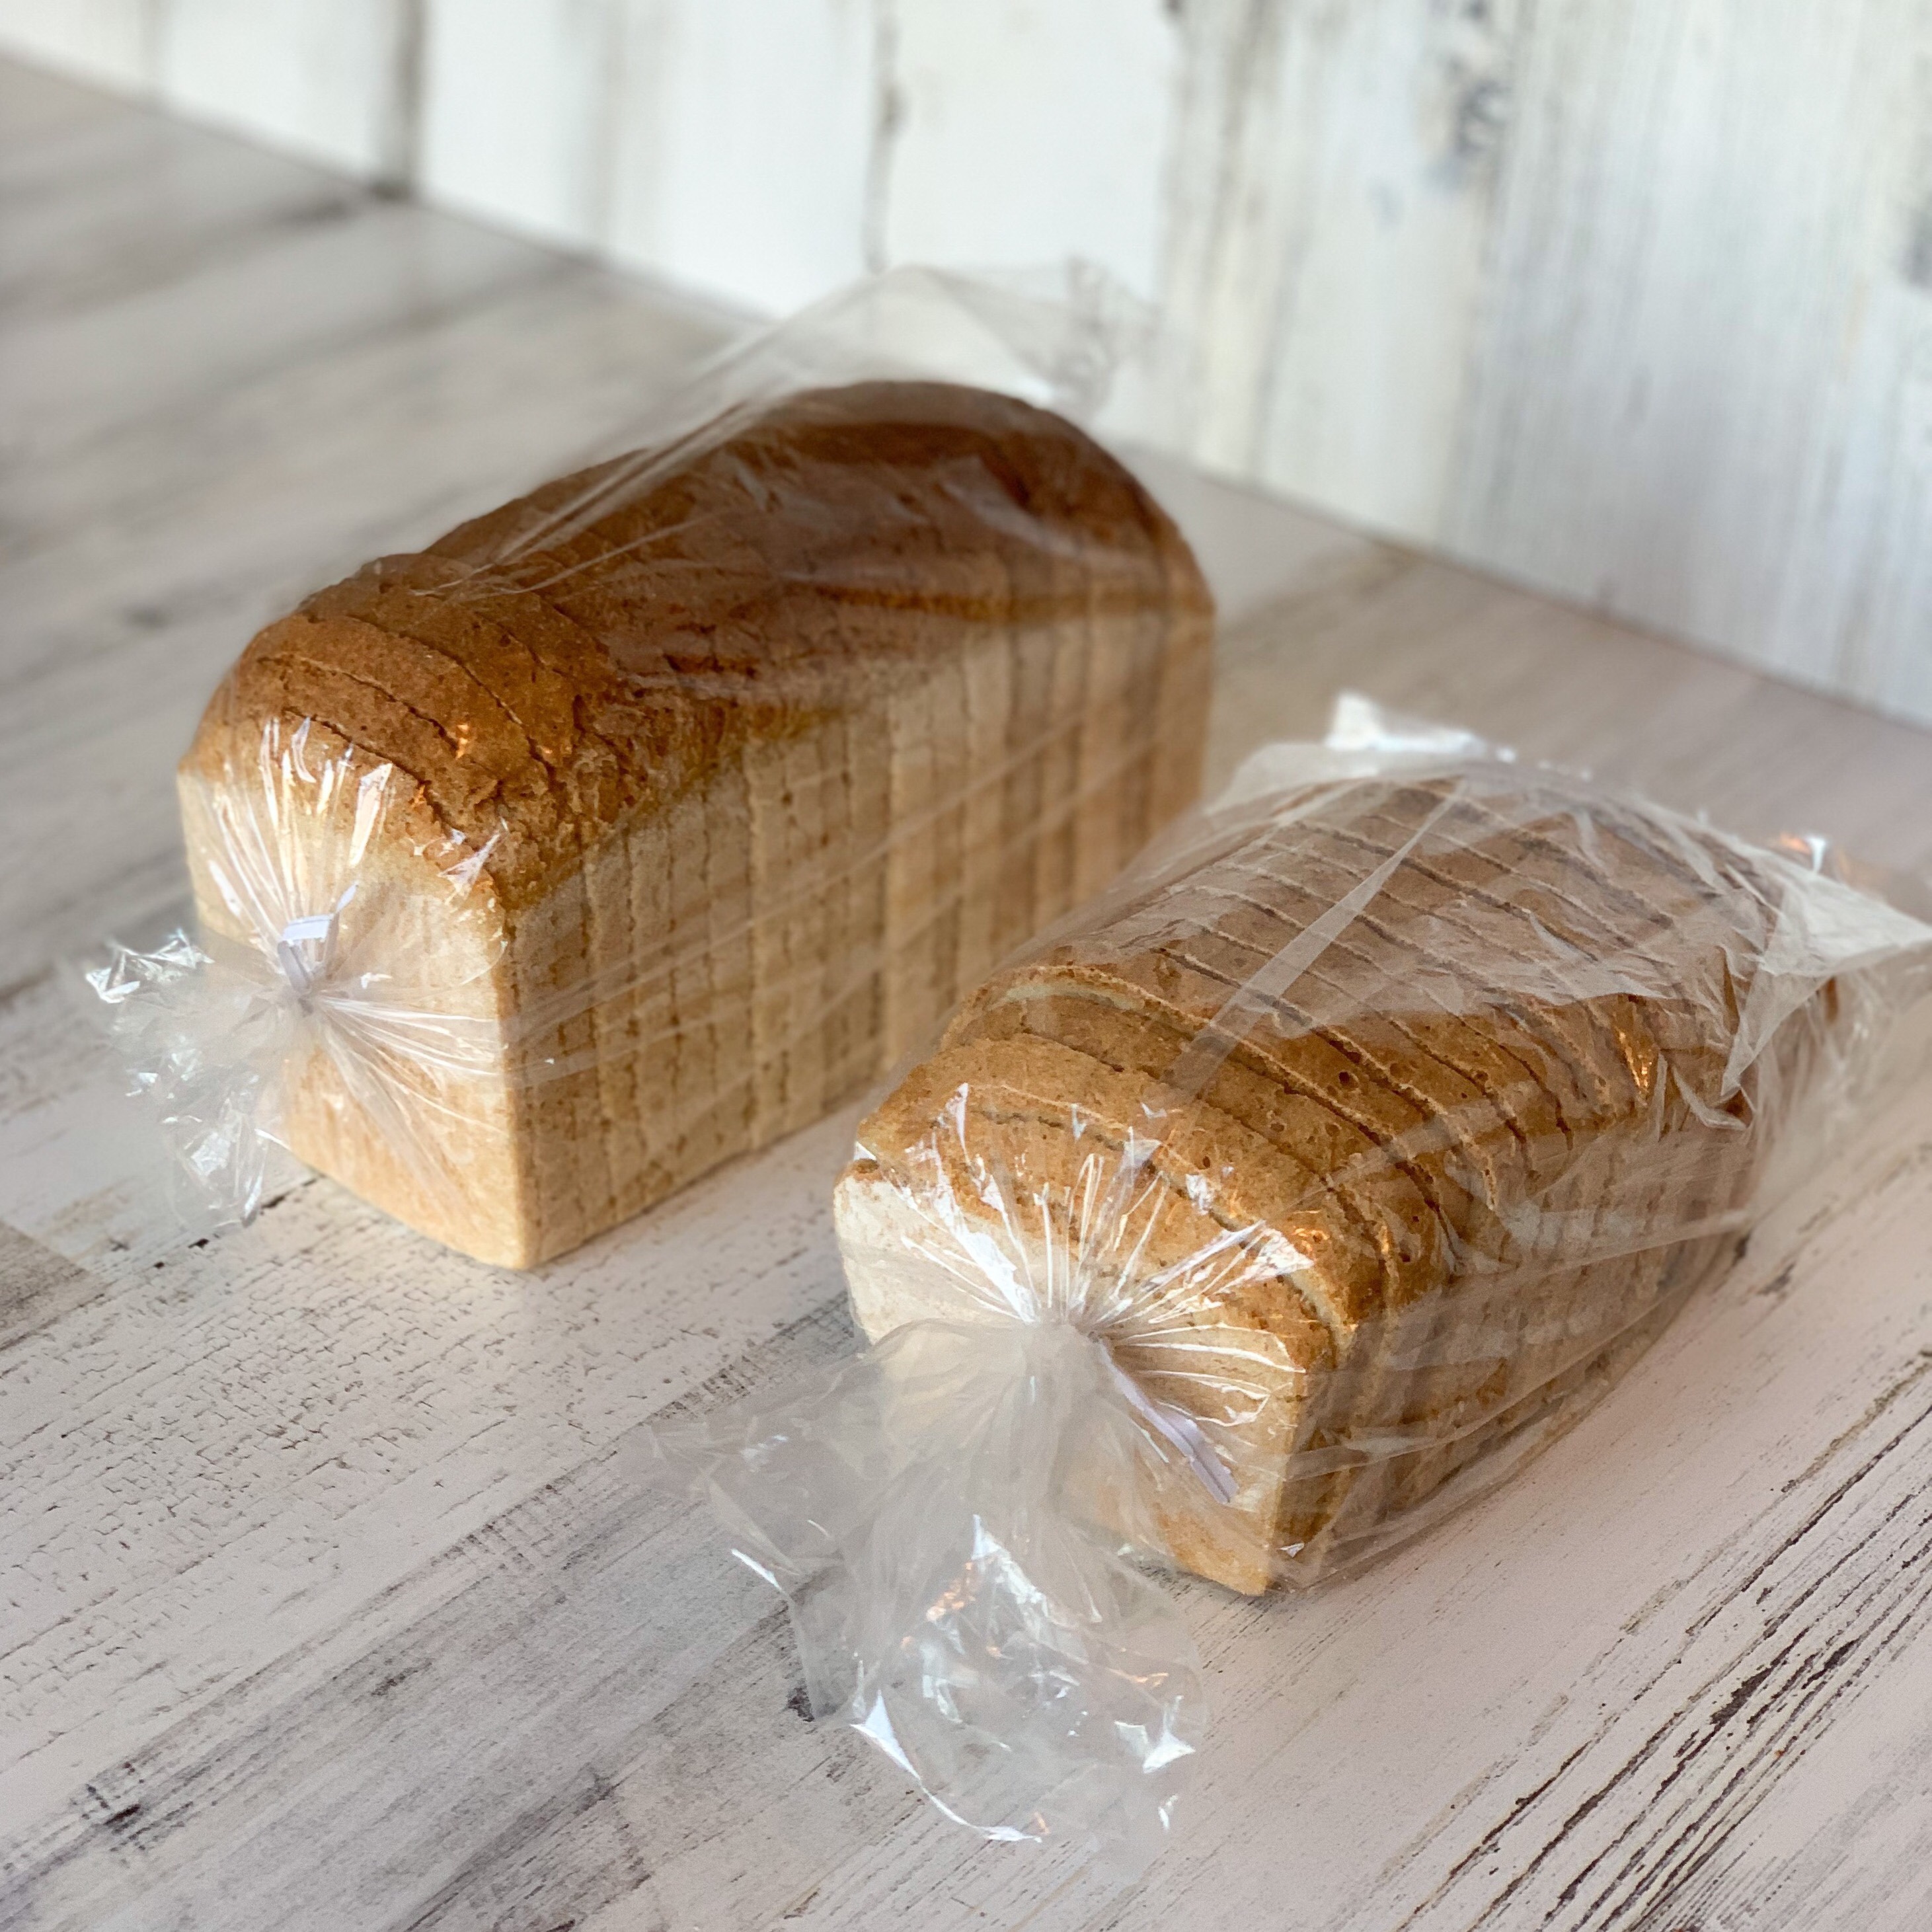
16) Do not expect fresh, homemade bread to last indefinitely on your counter. (This is also true of homemade bread made with wheat flour.) Bakery and store-bought bread have dough conditioners and preservatives added to keep them from staling. It is best to make smaller loaves of fresh bread more often, or to slice, bag, and freeze your bread as soon as it has cooled completely. (After you eat some of course!)
I have so many amazing bread recipes to share with you and I can’t wait to see all of the loaves you create in your kitchen! Please tag Vegan Kitchen Magick on Instagram or Facebook with any bread photos that you share!
Thank you I did need help
Please ask any questions that you have!
Thank you for part 3. Where do I find the recipes for sandwich bread?
Maggie
You’re welcome, Maggie! I am writing the white sandwich bread post now and it should be up tonight!
I’ve mixed up your favorite blend and purchased fresh yeast just so I get to play and I don’t even tolerate rice or potato starch. You know not that that’ll keep me from having a go because making bread is so fun.
Hi Laurel! I agree that making bread is really fun, but it’s definitely not fun to get ill from eating it. Have you looked at blend 11 on my 16 flour blends post? It is rice and potato free and might be a better choice for you.
I cannot wait for the white sandwich bread recipe! I’m very excited about making bread. Thank you so much for the series on gluten-free bread baking; it was very informative.
I’m so glad you found this series helpful, Krista, and I’m working on the white sandwich bread post now!
Thank you, I’ve been looking for a good gluten free bread recipe and yours makes the most sense to me. Can’t wait to try it.
I hope you love the bread!
I just read your article on gluten free bread I have tried with no success and I am just not happy and have given up on baking can you tell me how to and the what I need to purchase I have alot of different flours and they don’t stand up to the way I bake them I need some serious help please
Hi Linda! I only recommend Freely Vegan flour and the link for it is in my basic white bread recipe. If you use that and follow the recipe and directions exactly, you should be very successful in making bread. I suggest that you read through the entire blog post a couple of times to get familiar with the steps. The recipe is really easy to make but you want to have everything ready to go before you start: https://www.vegankitchenmagick.com/tall-fluffy-gluten-free-vegan-white-sandwich-bread/