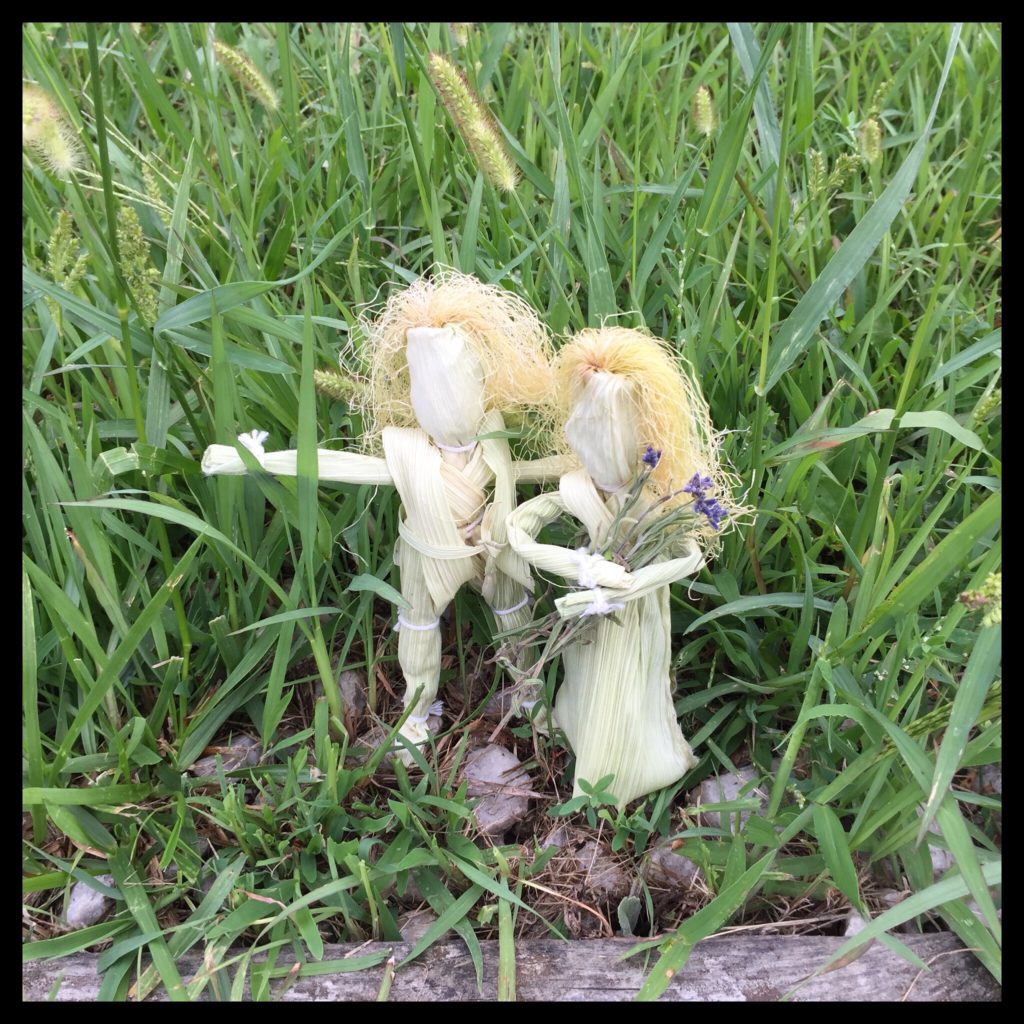
My mom and I made these Lord and Lady corn dollies for Lughnasadh, but they are also perfect for Mabon and Brigid corn dolls are traditionally made for Imbolc. We hadn’t made corn dollies before, so we watched several YouTube videos first to learn how to make them. This is the one we found the most helpful:
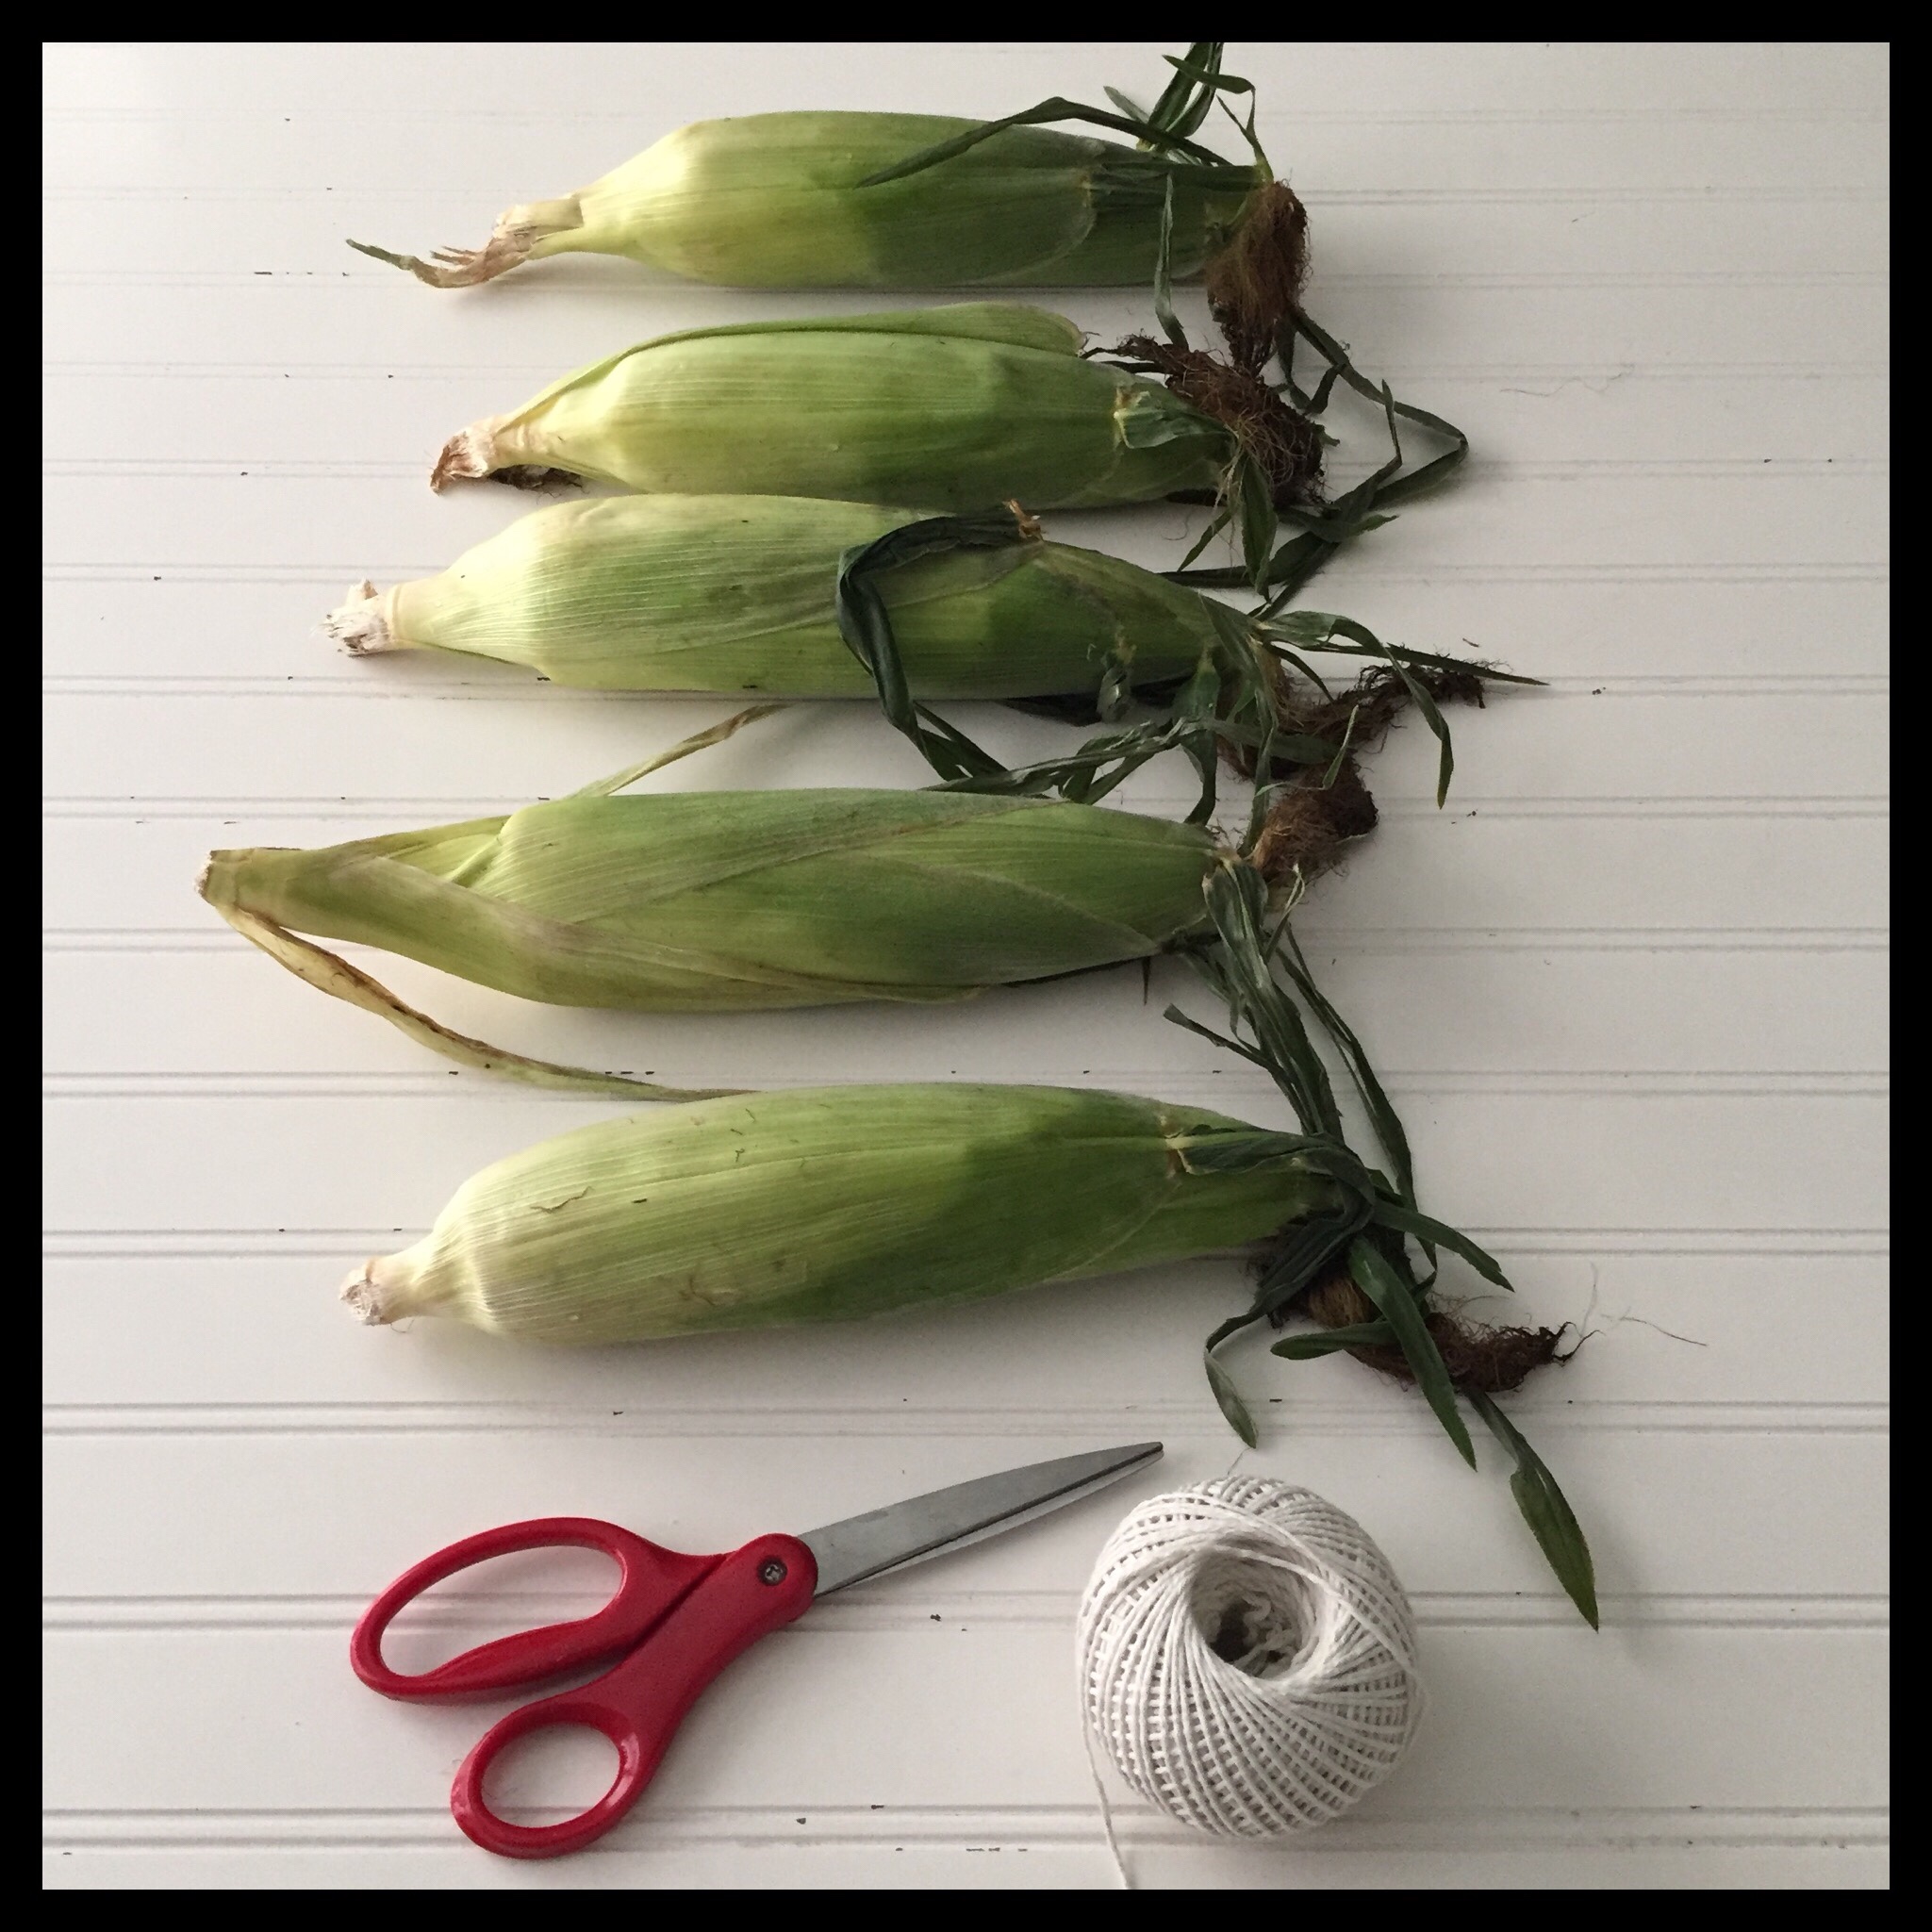
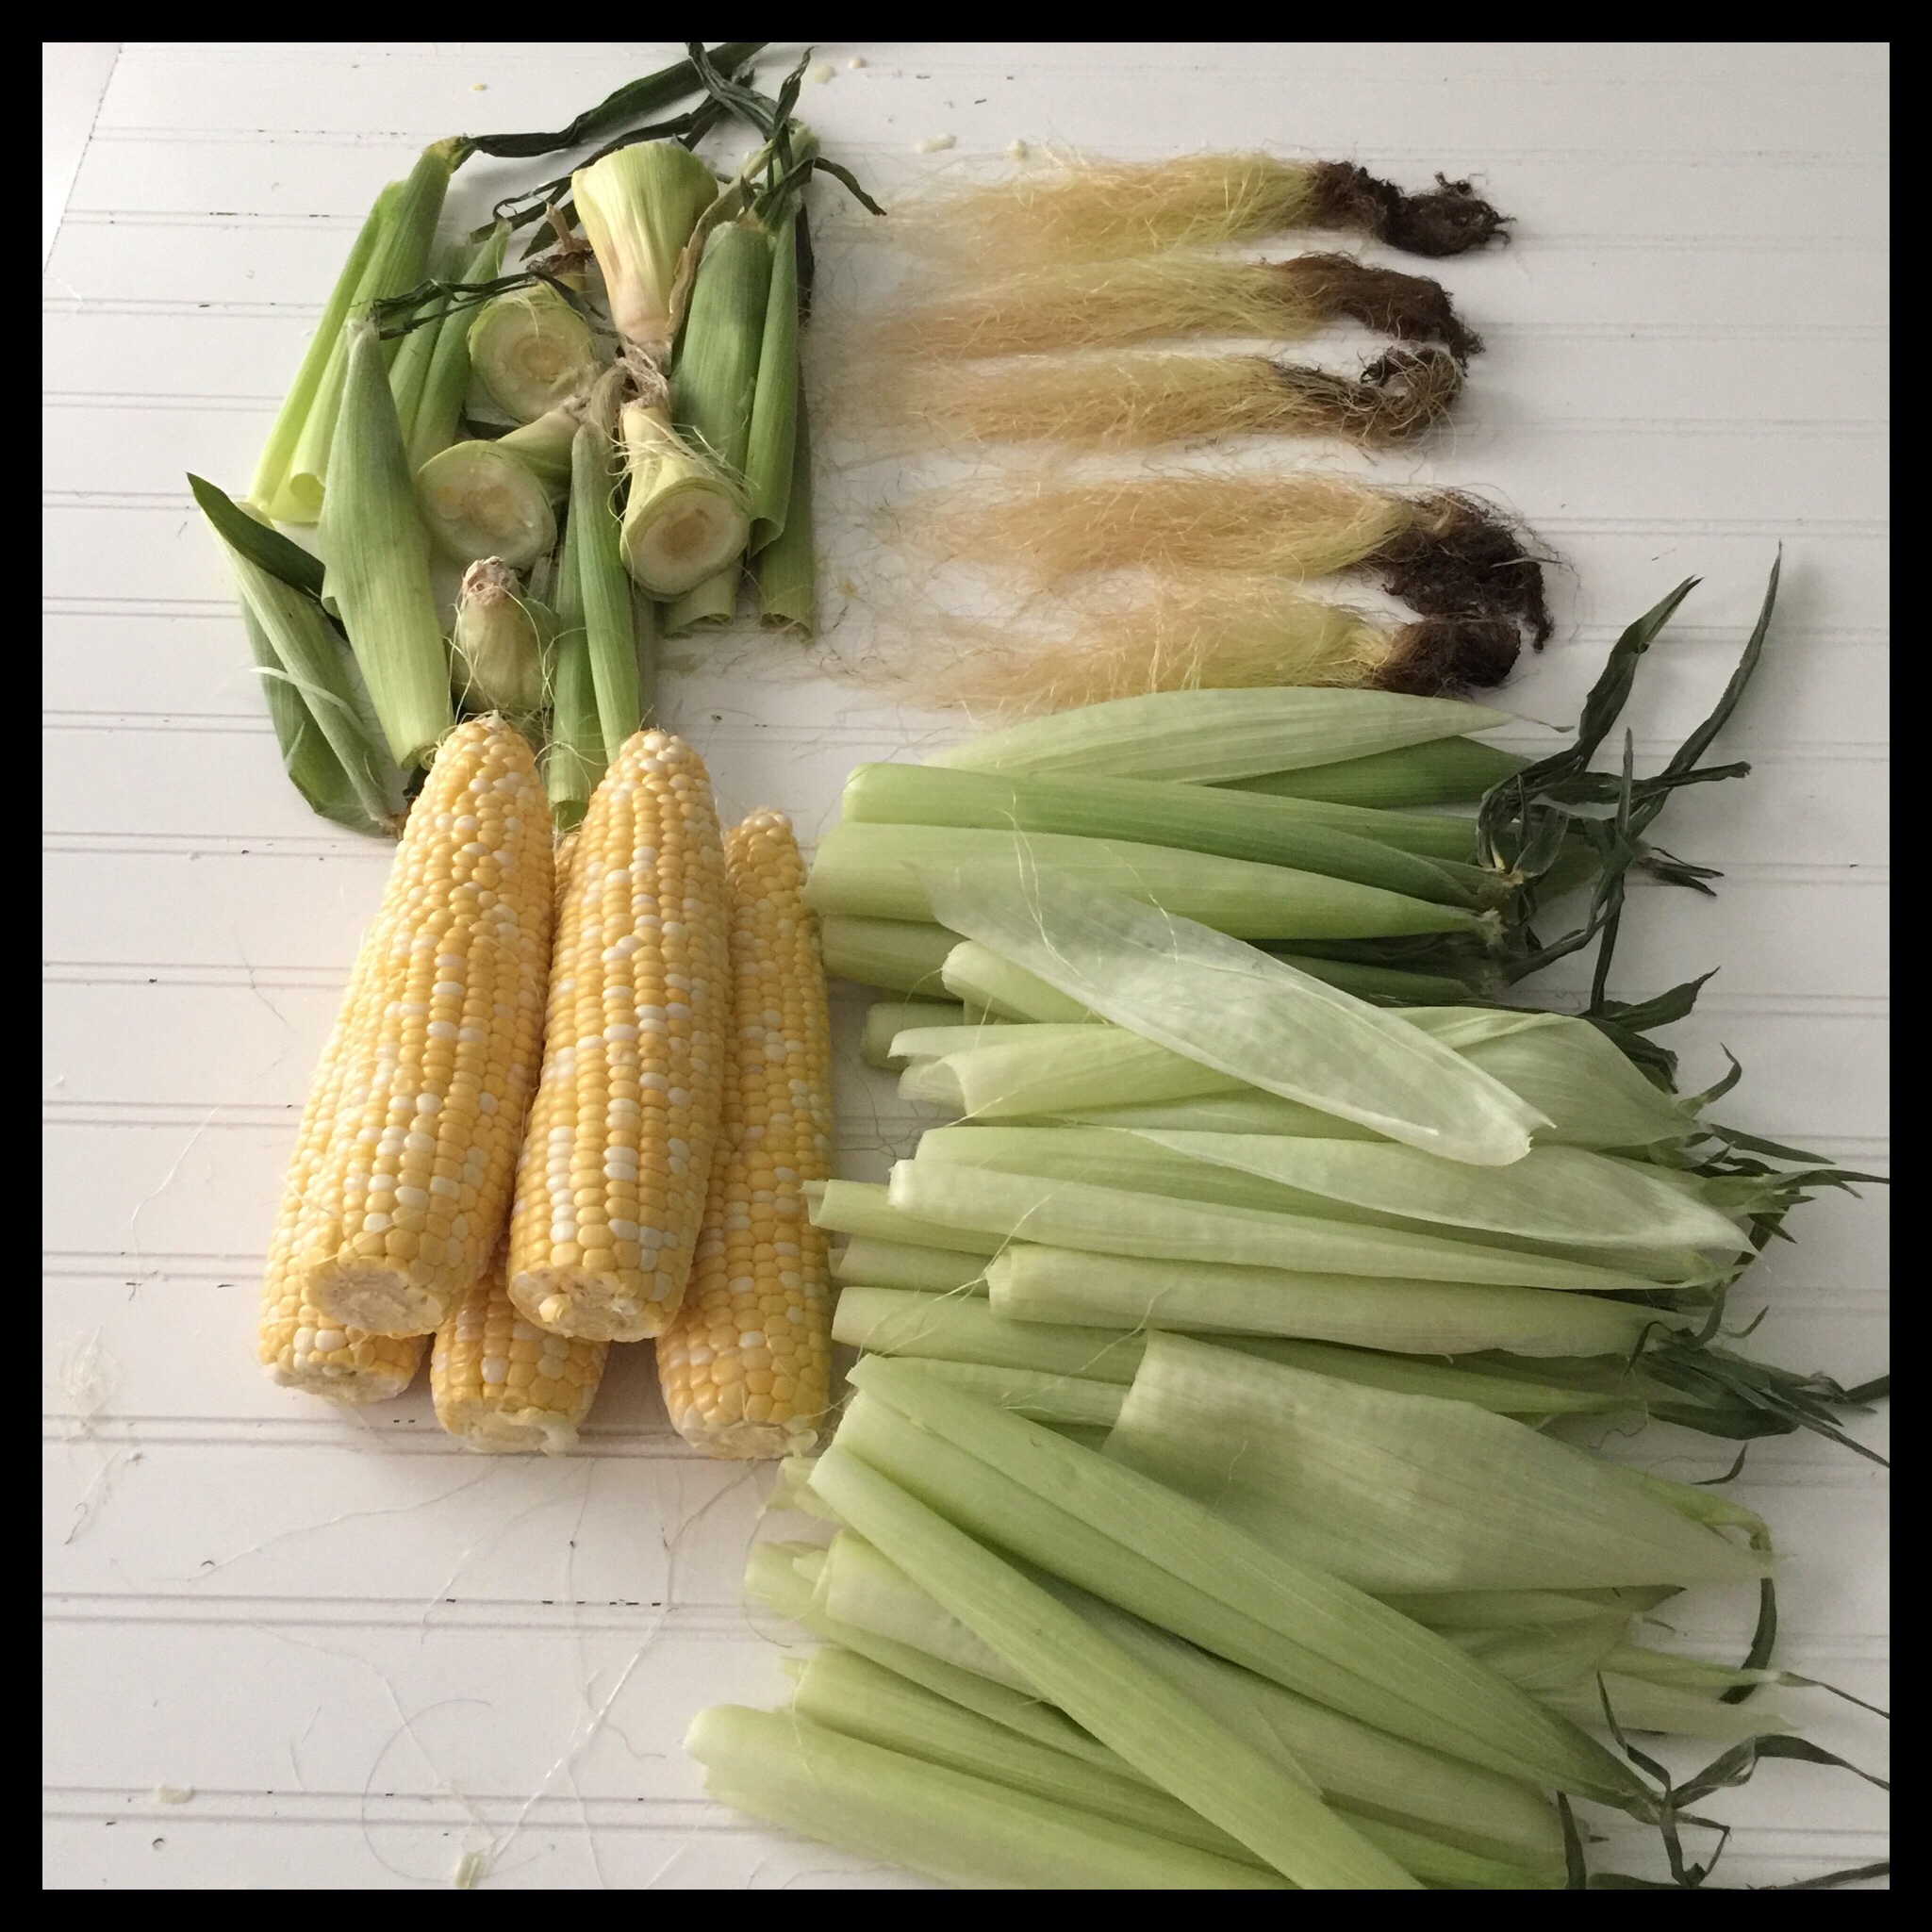
All you need to make them is fresh ears of corn, a sturdy knife, string, and scissors. You will need at least one ear of corn per doll and I would plan on one and a half.
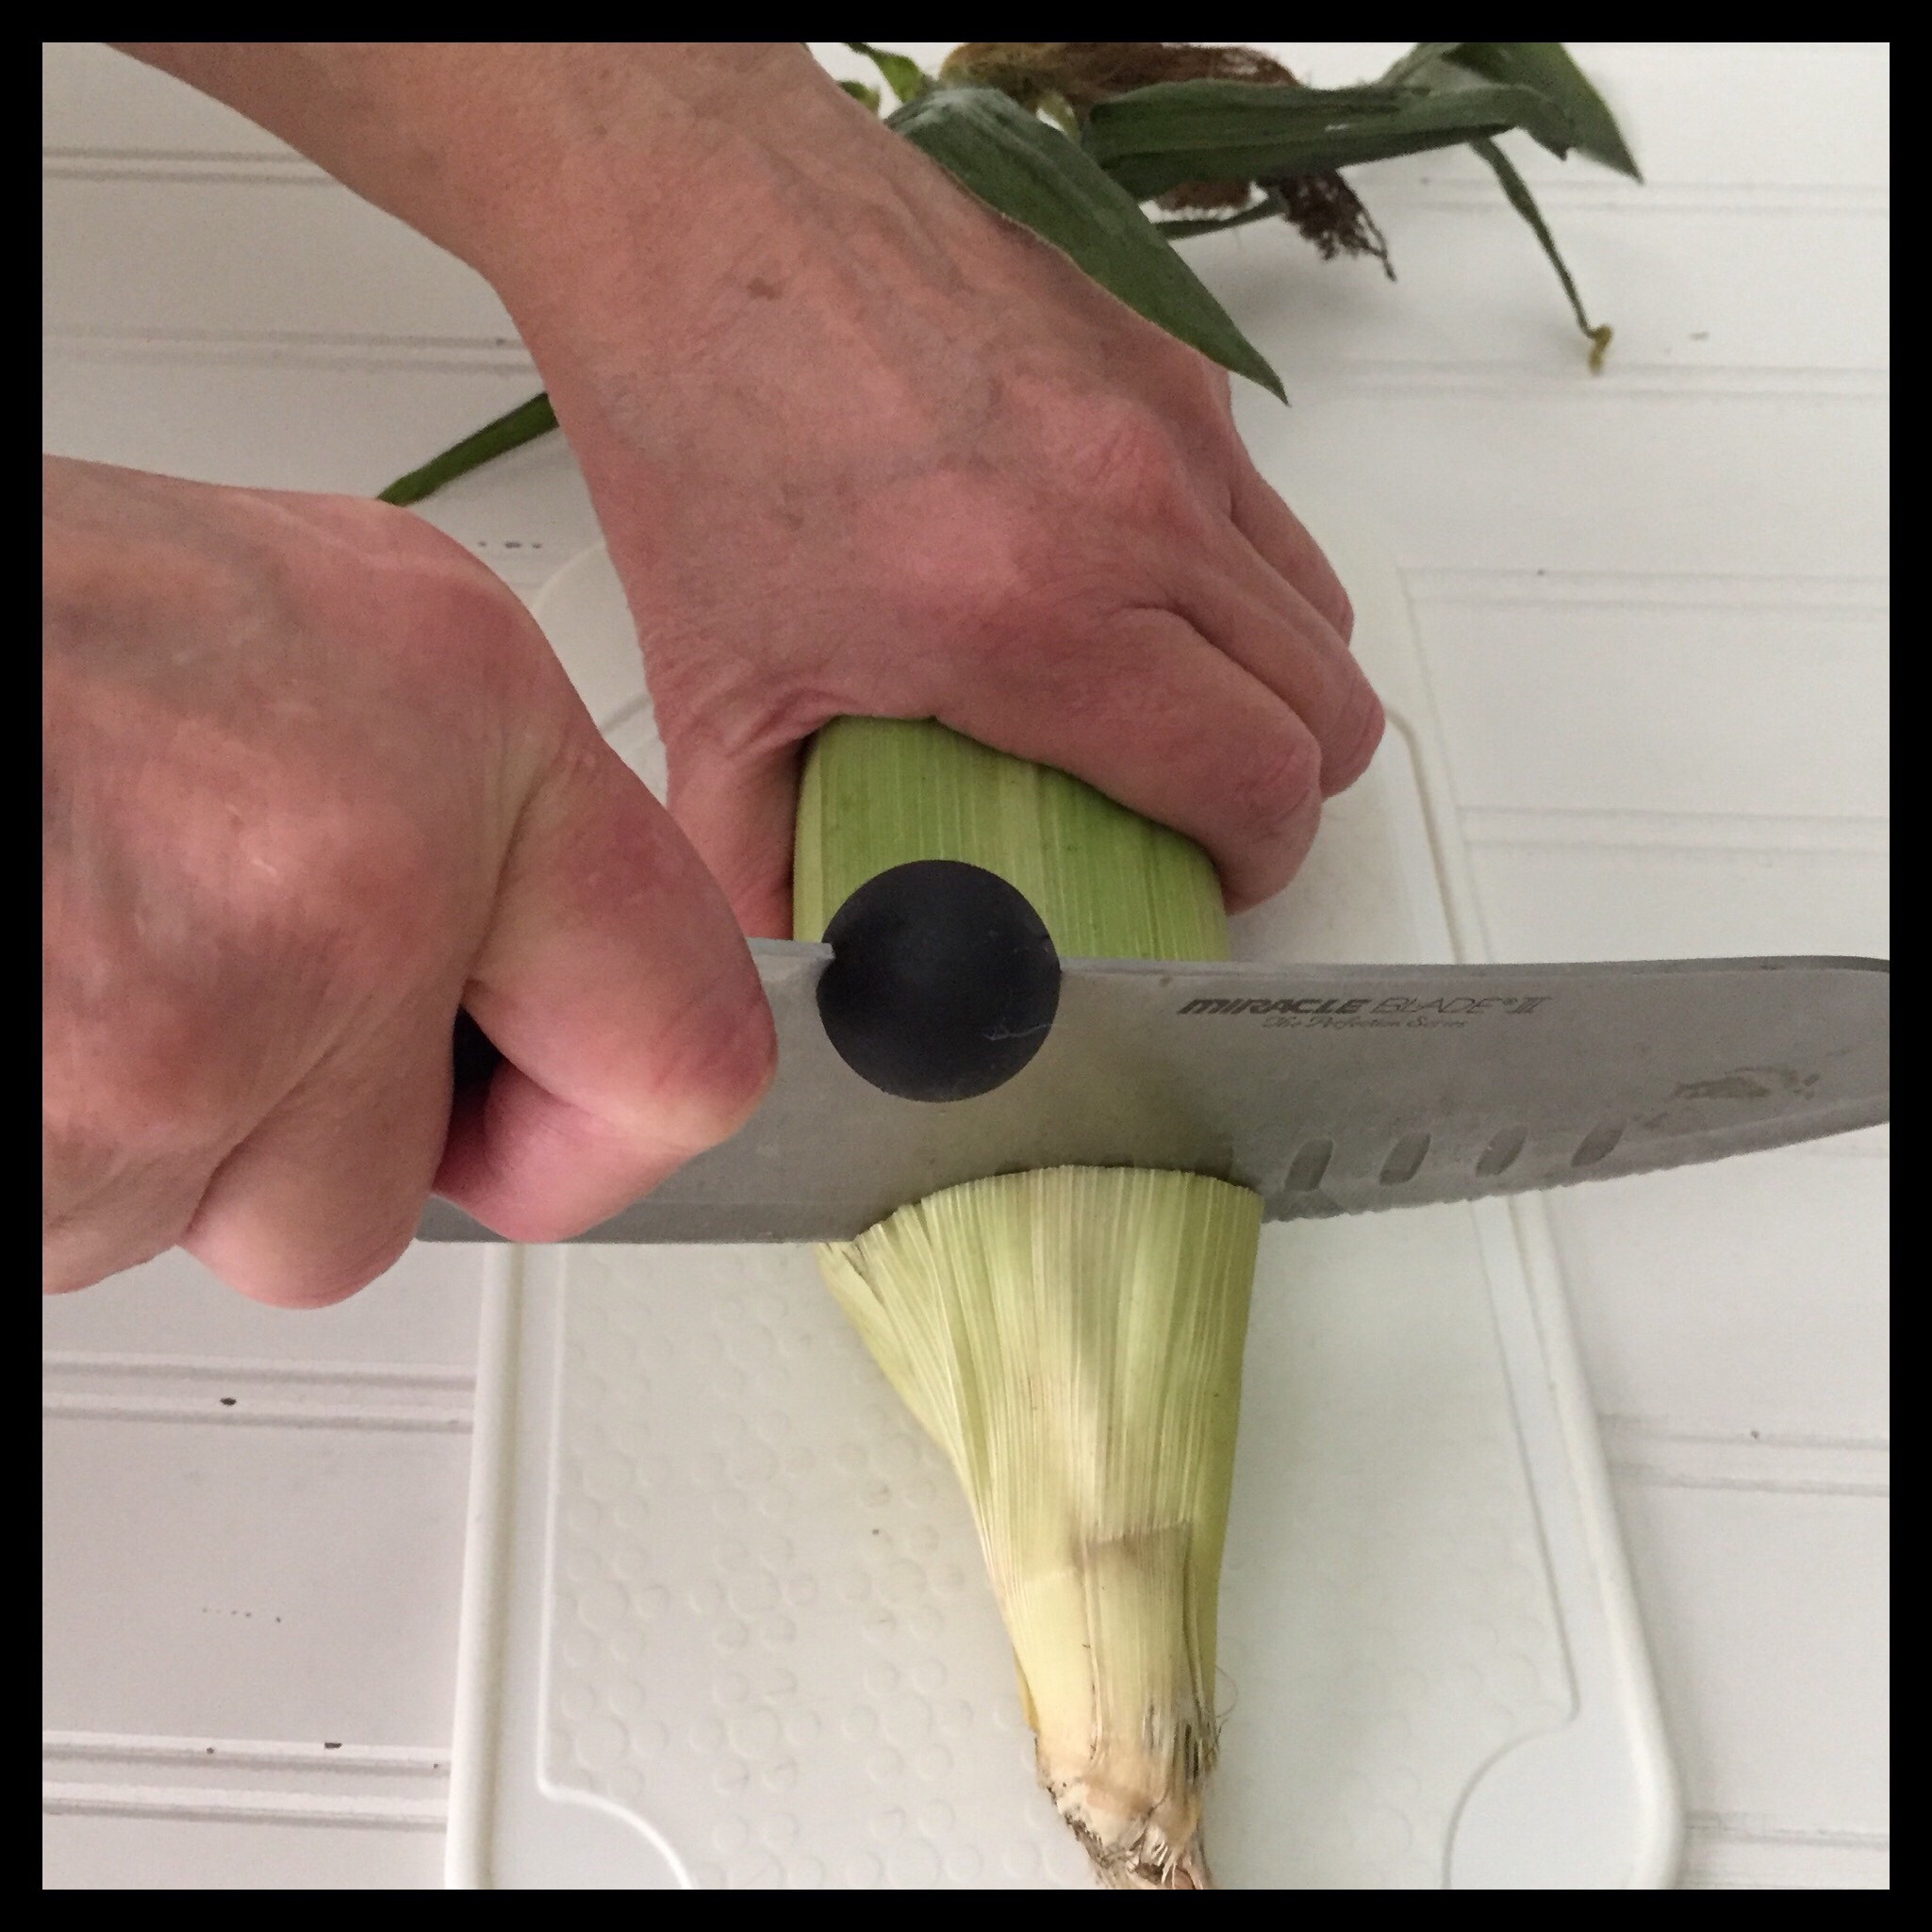
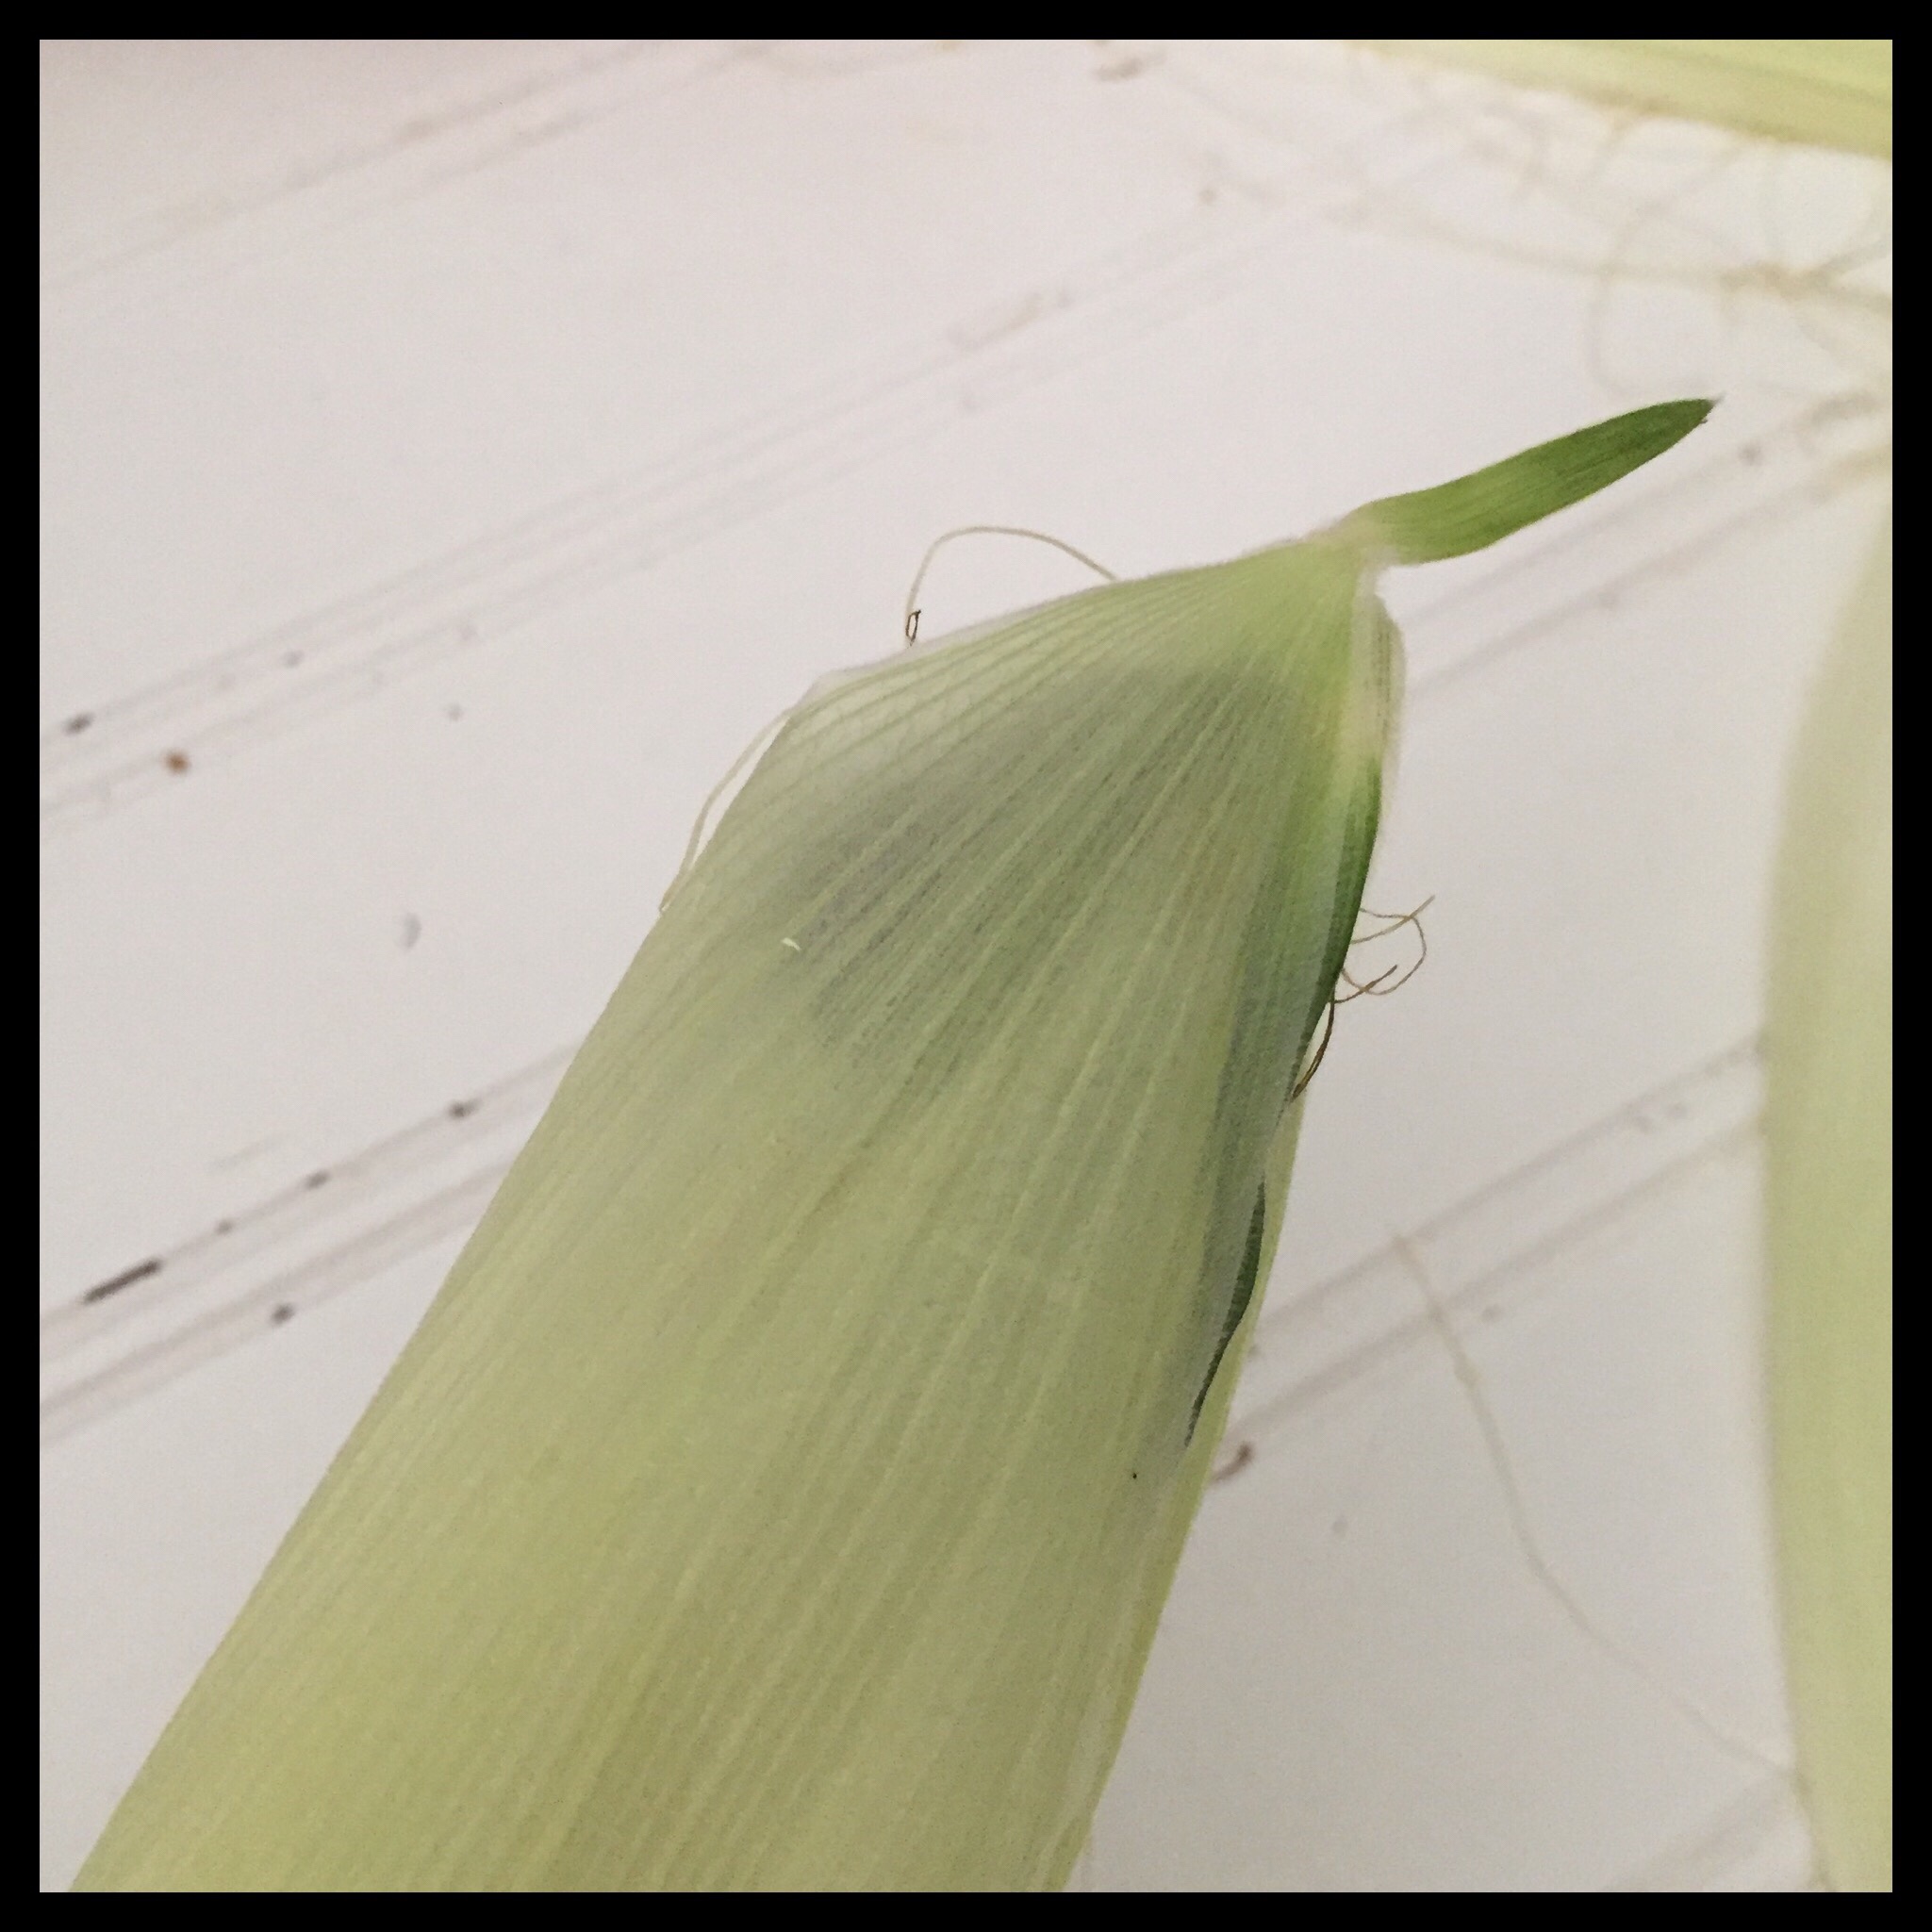
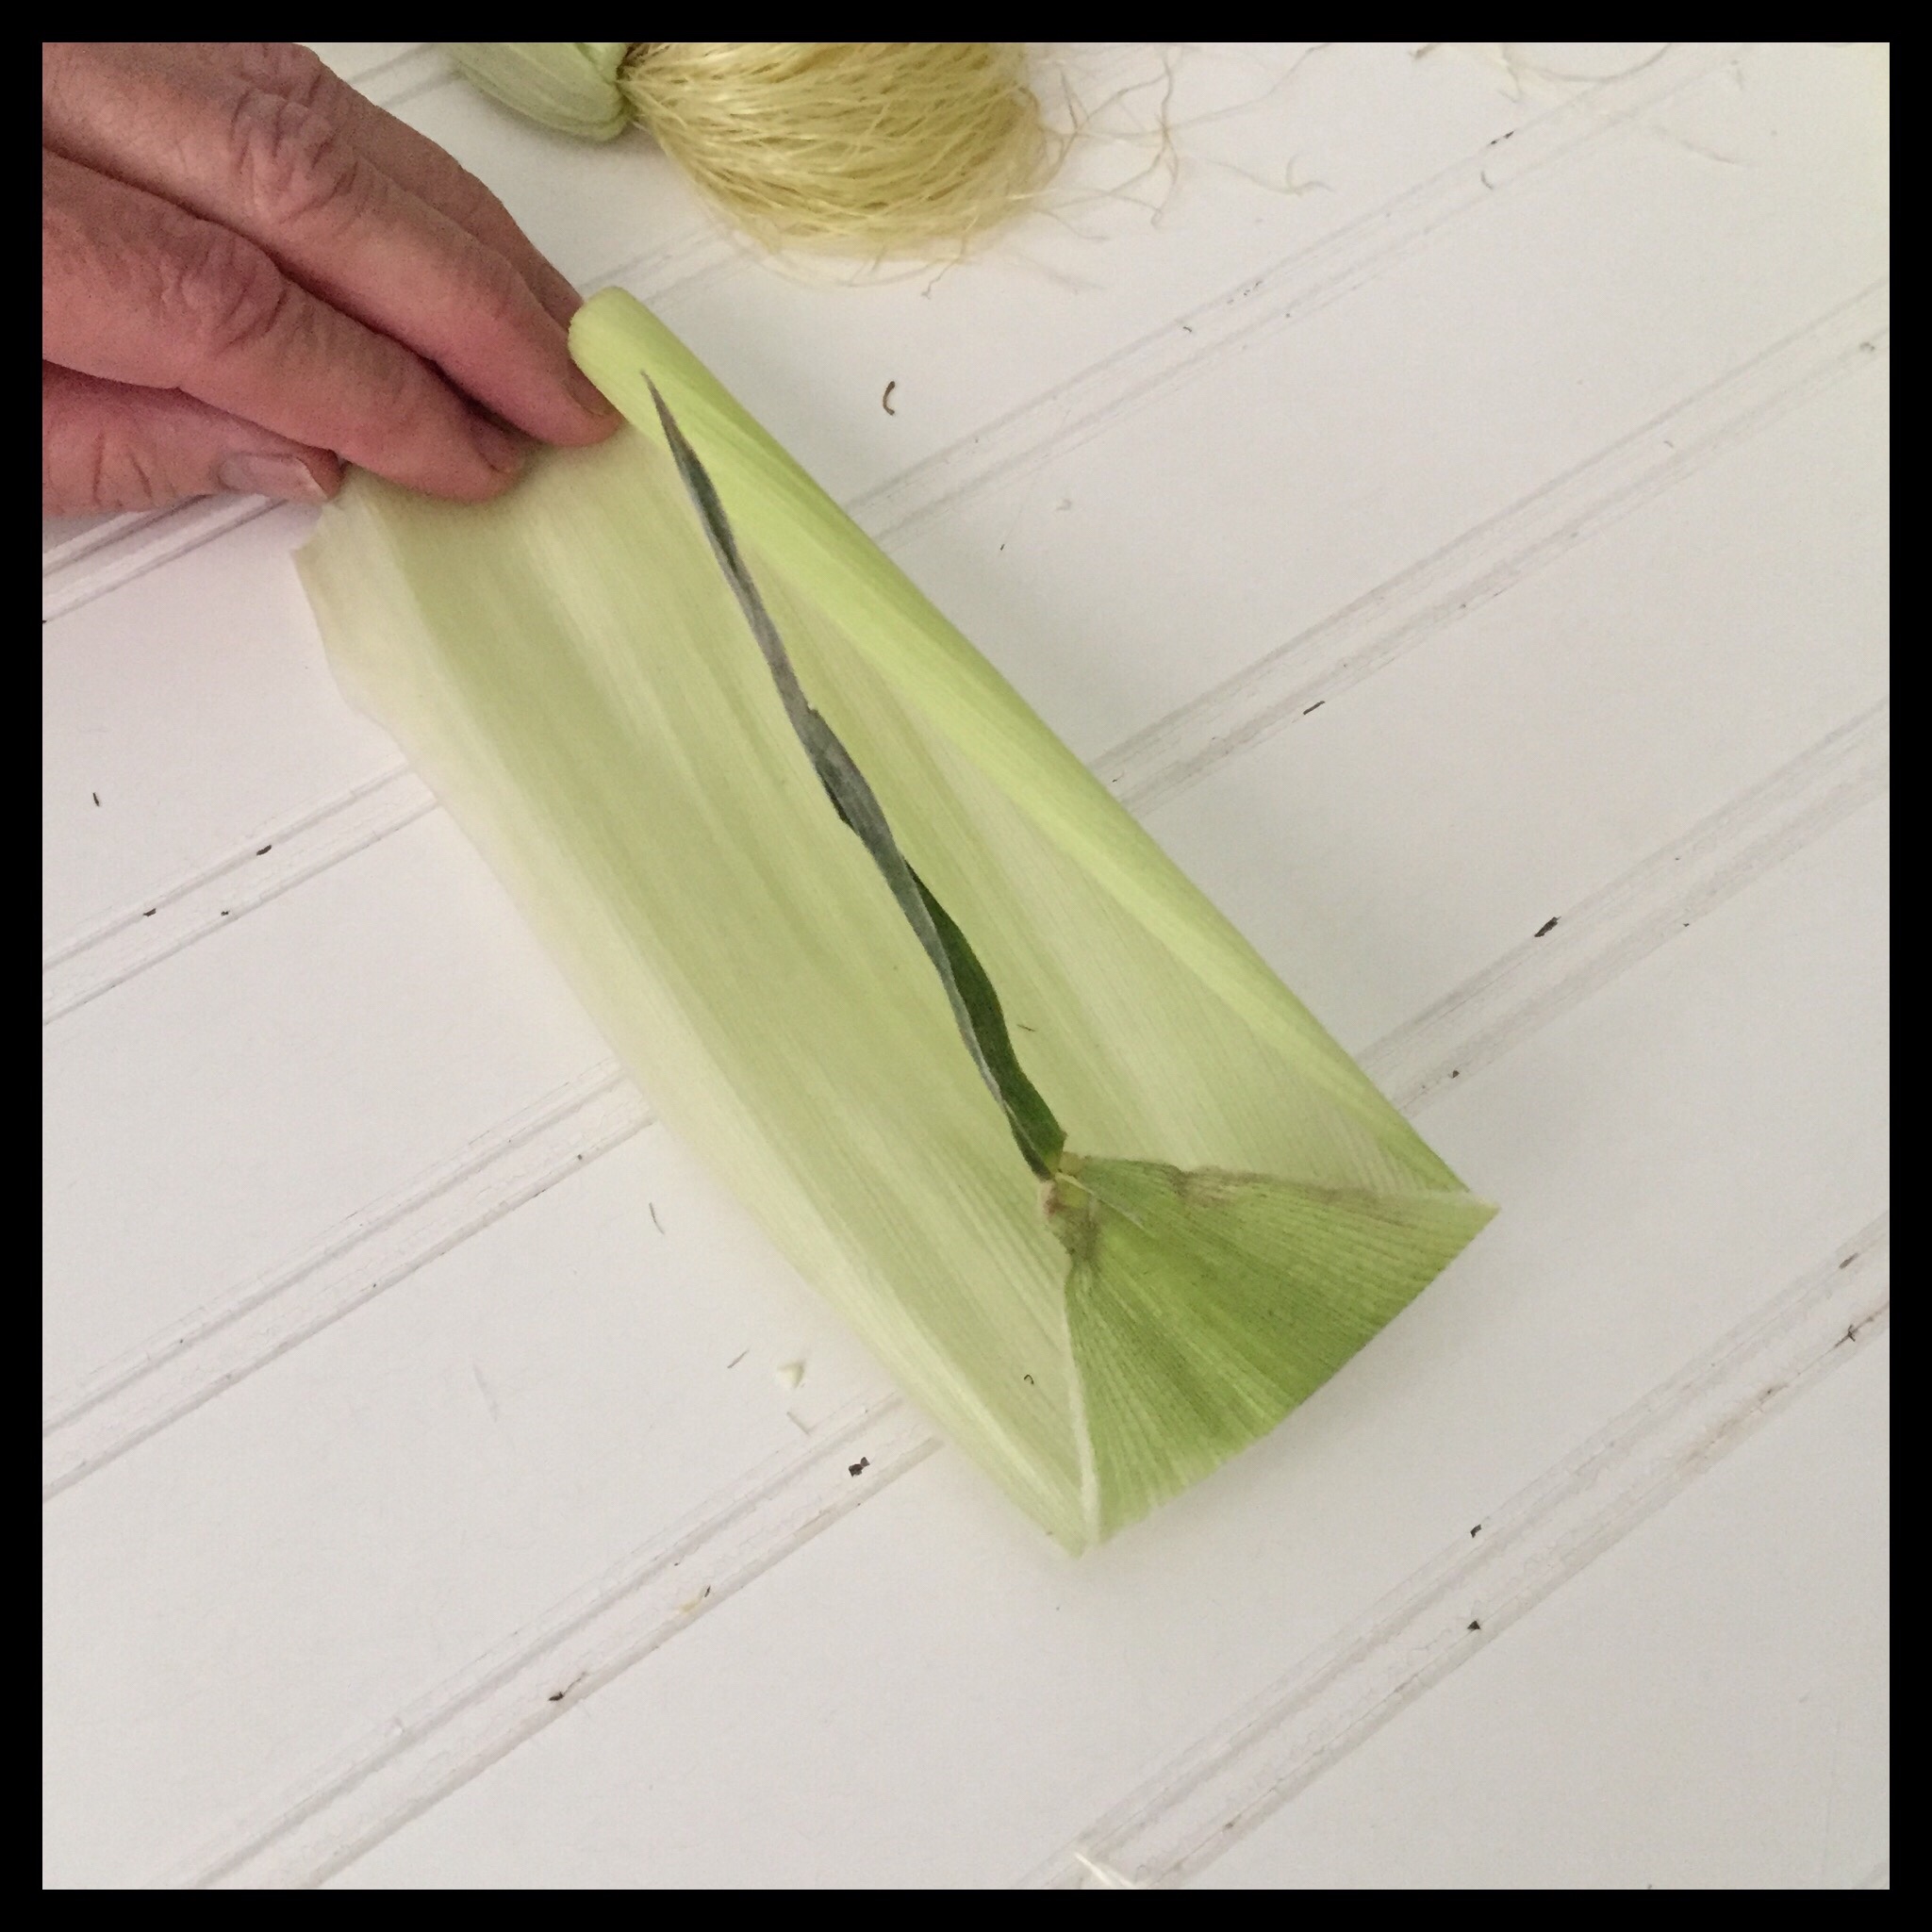
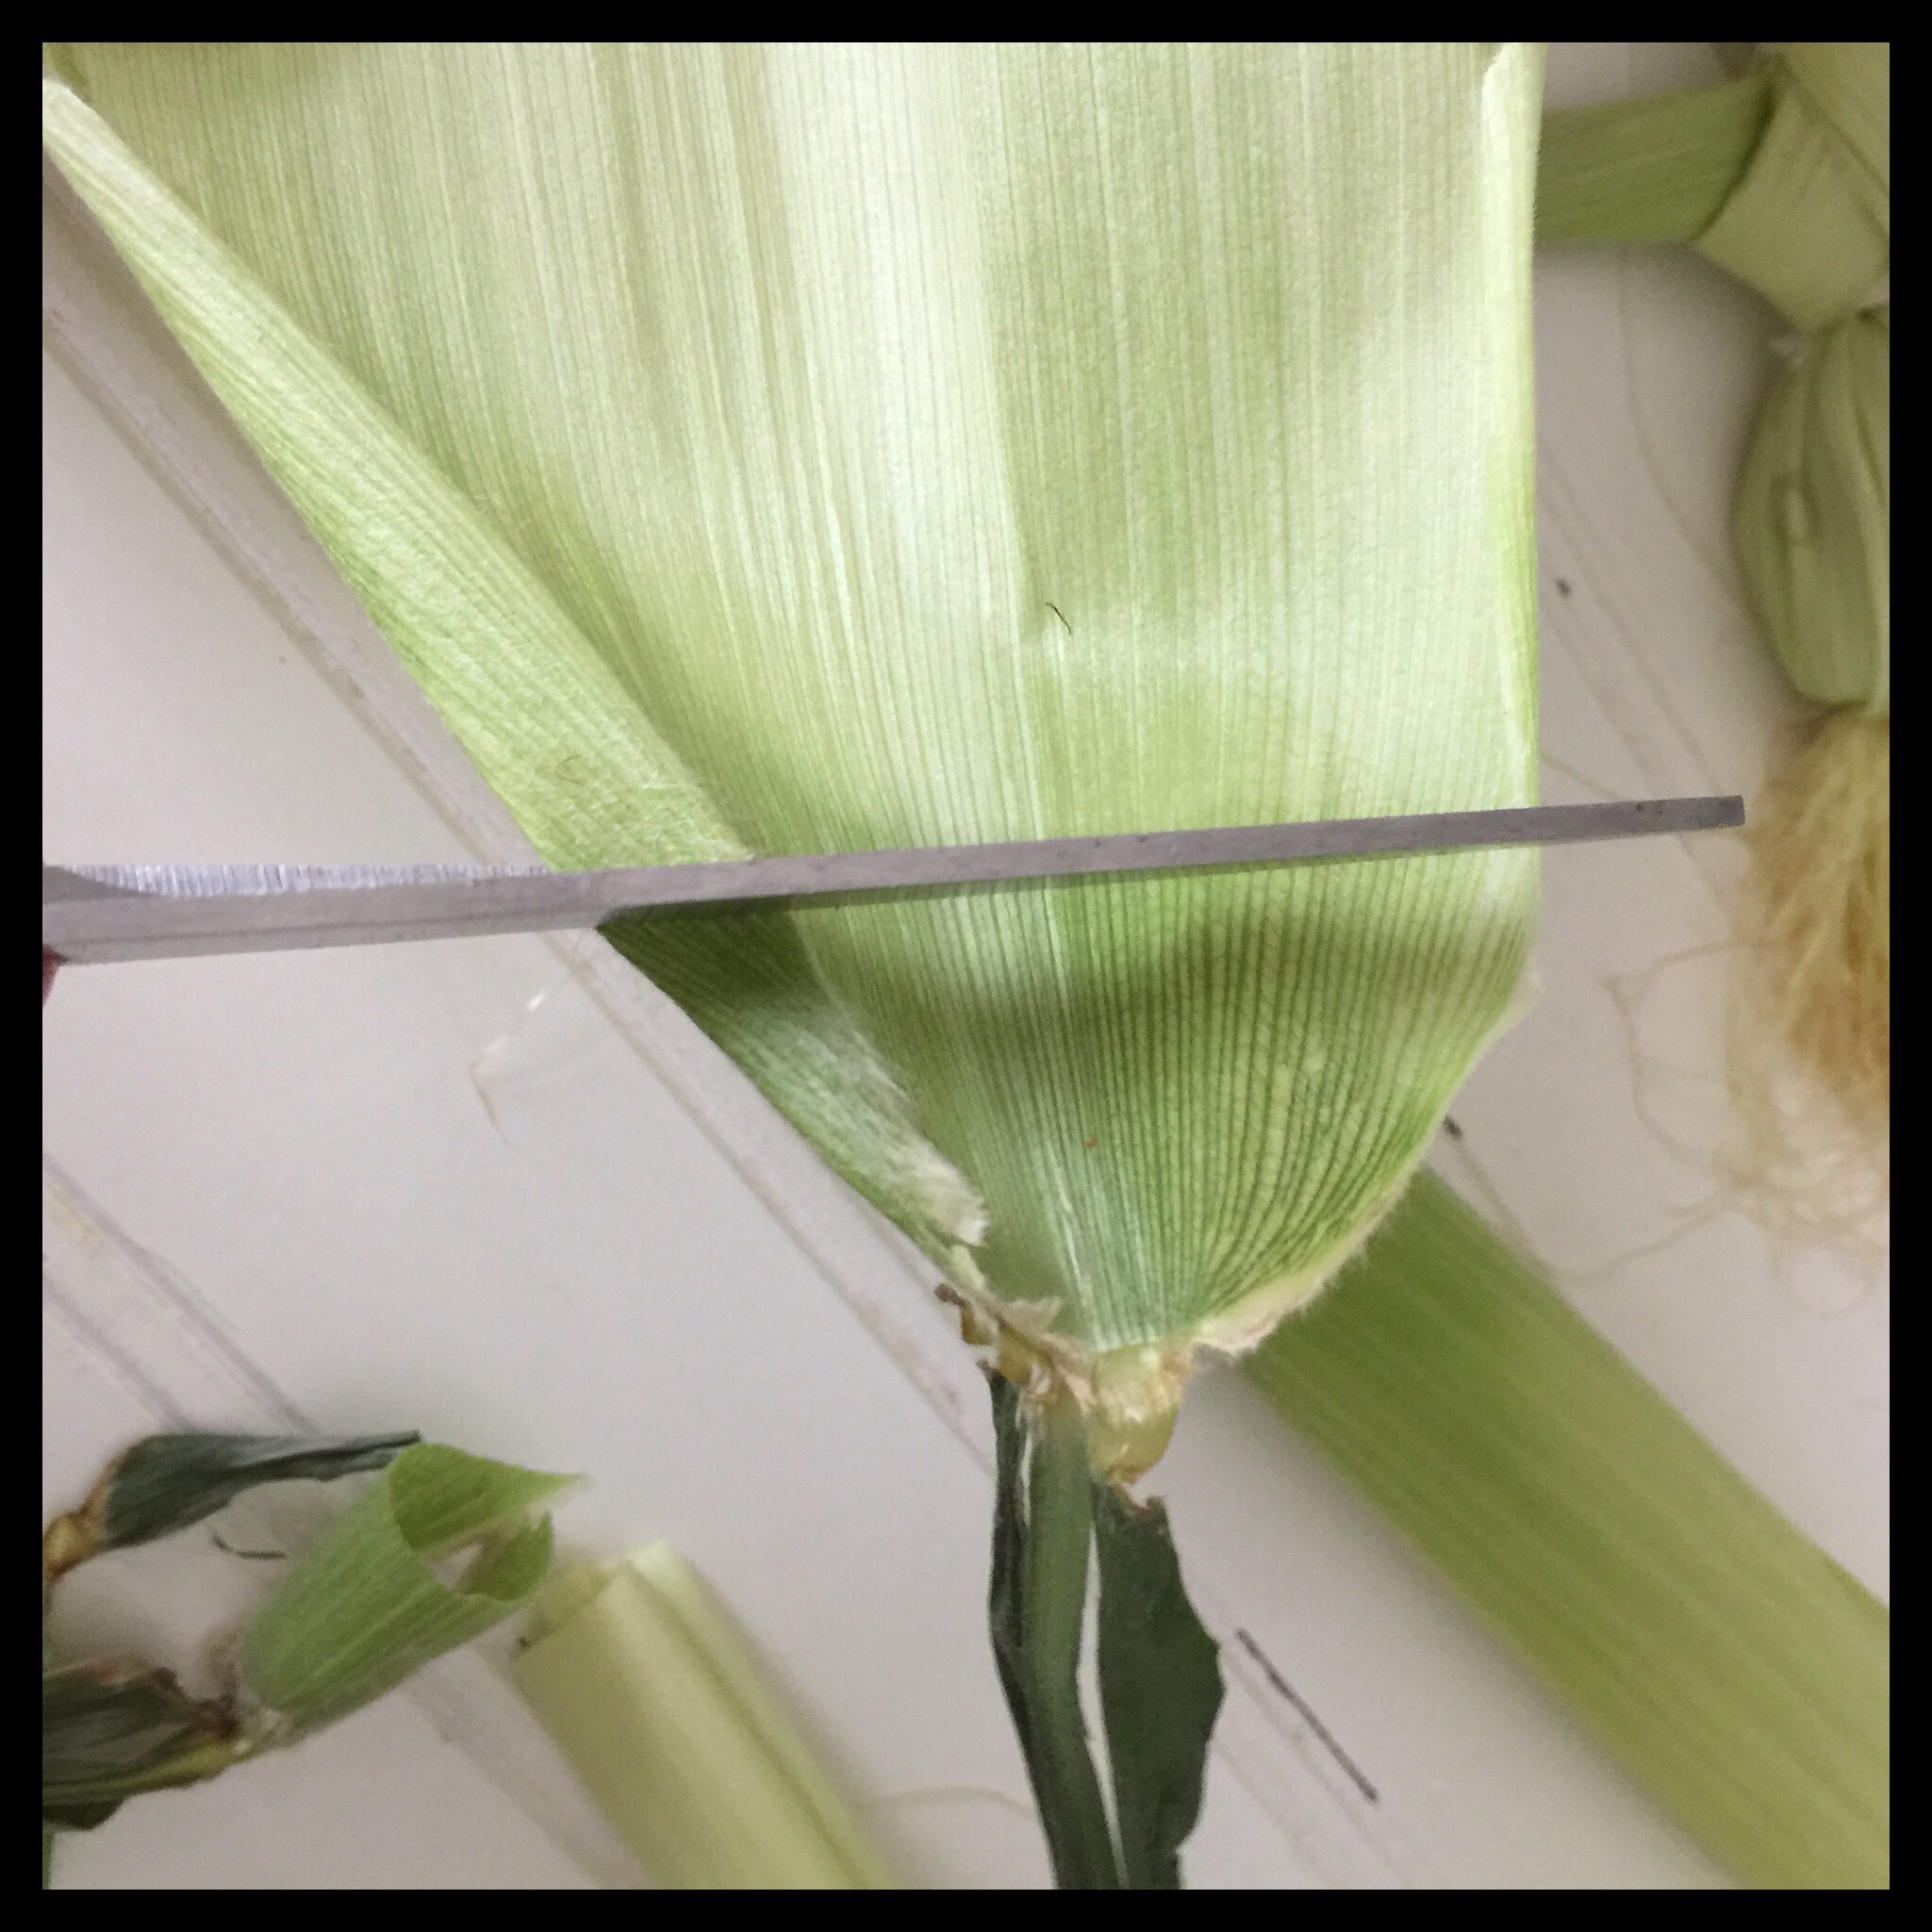
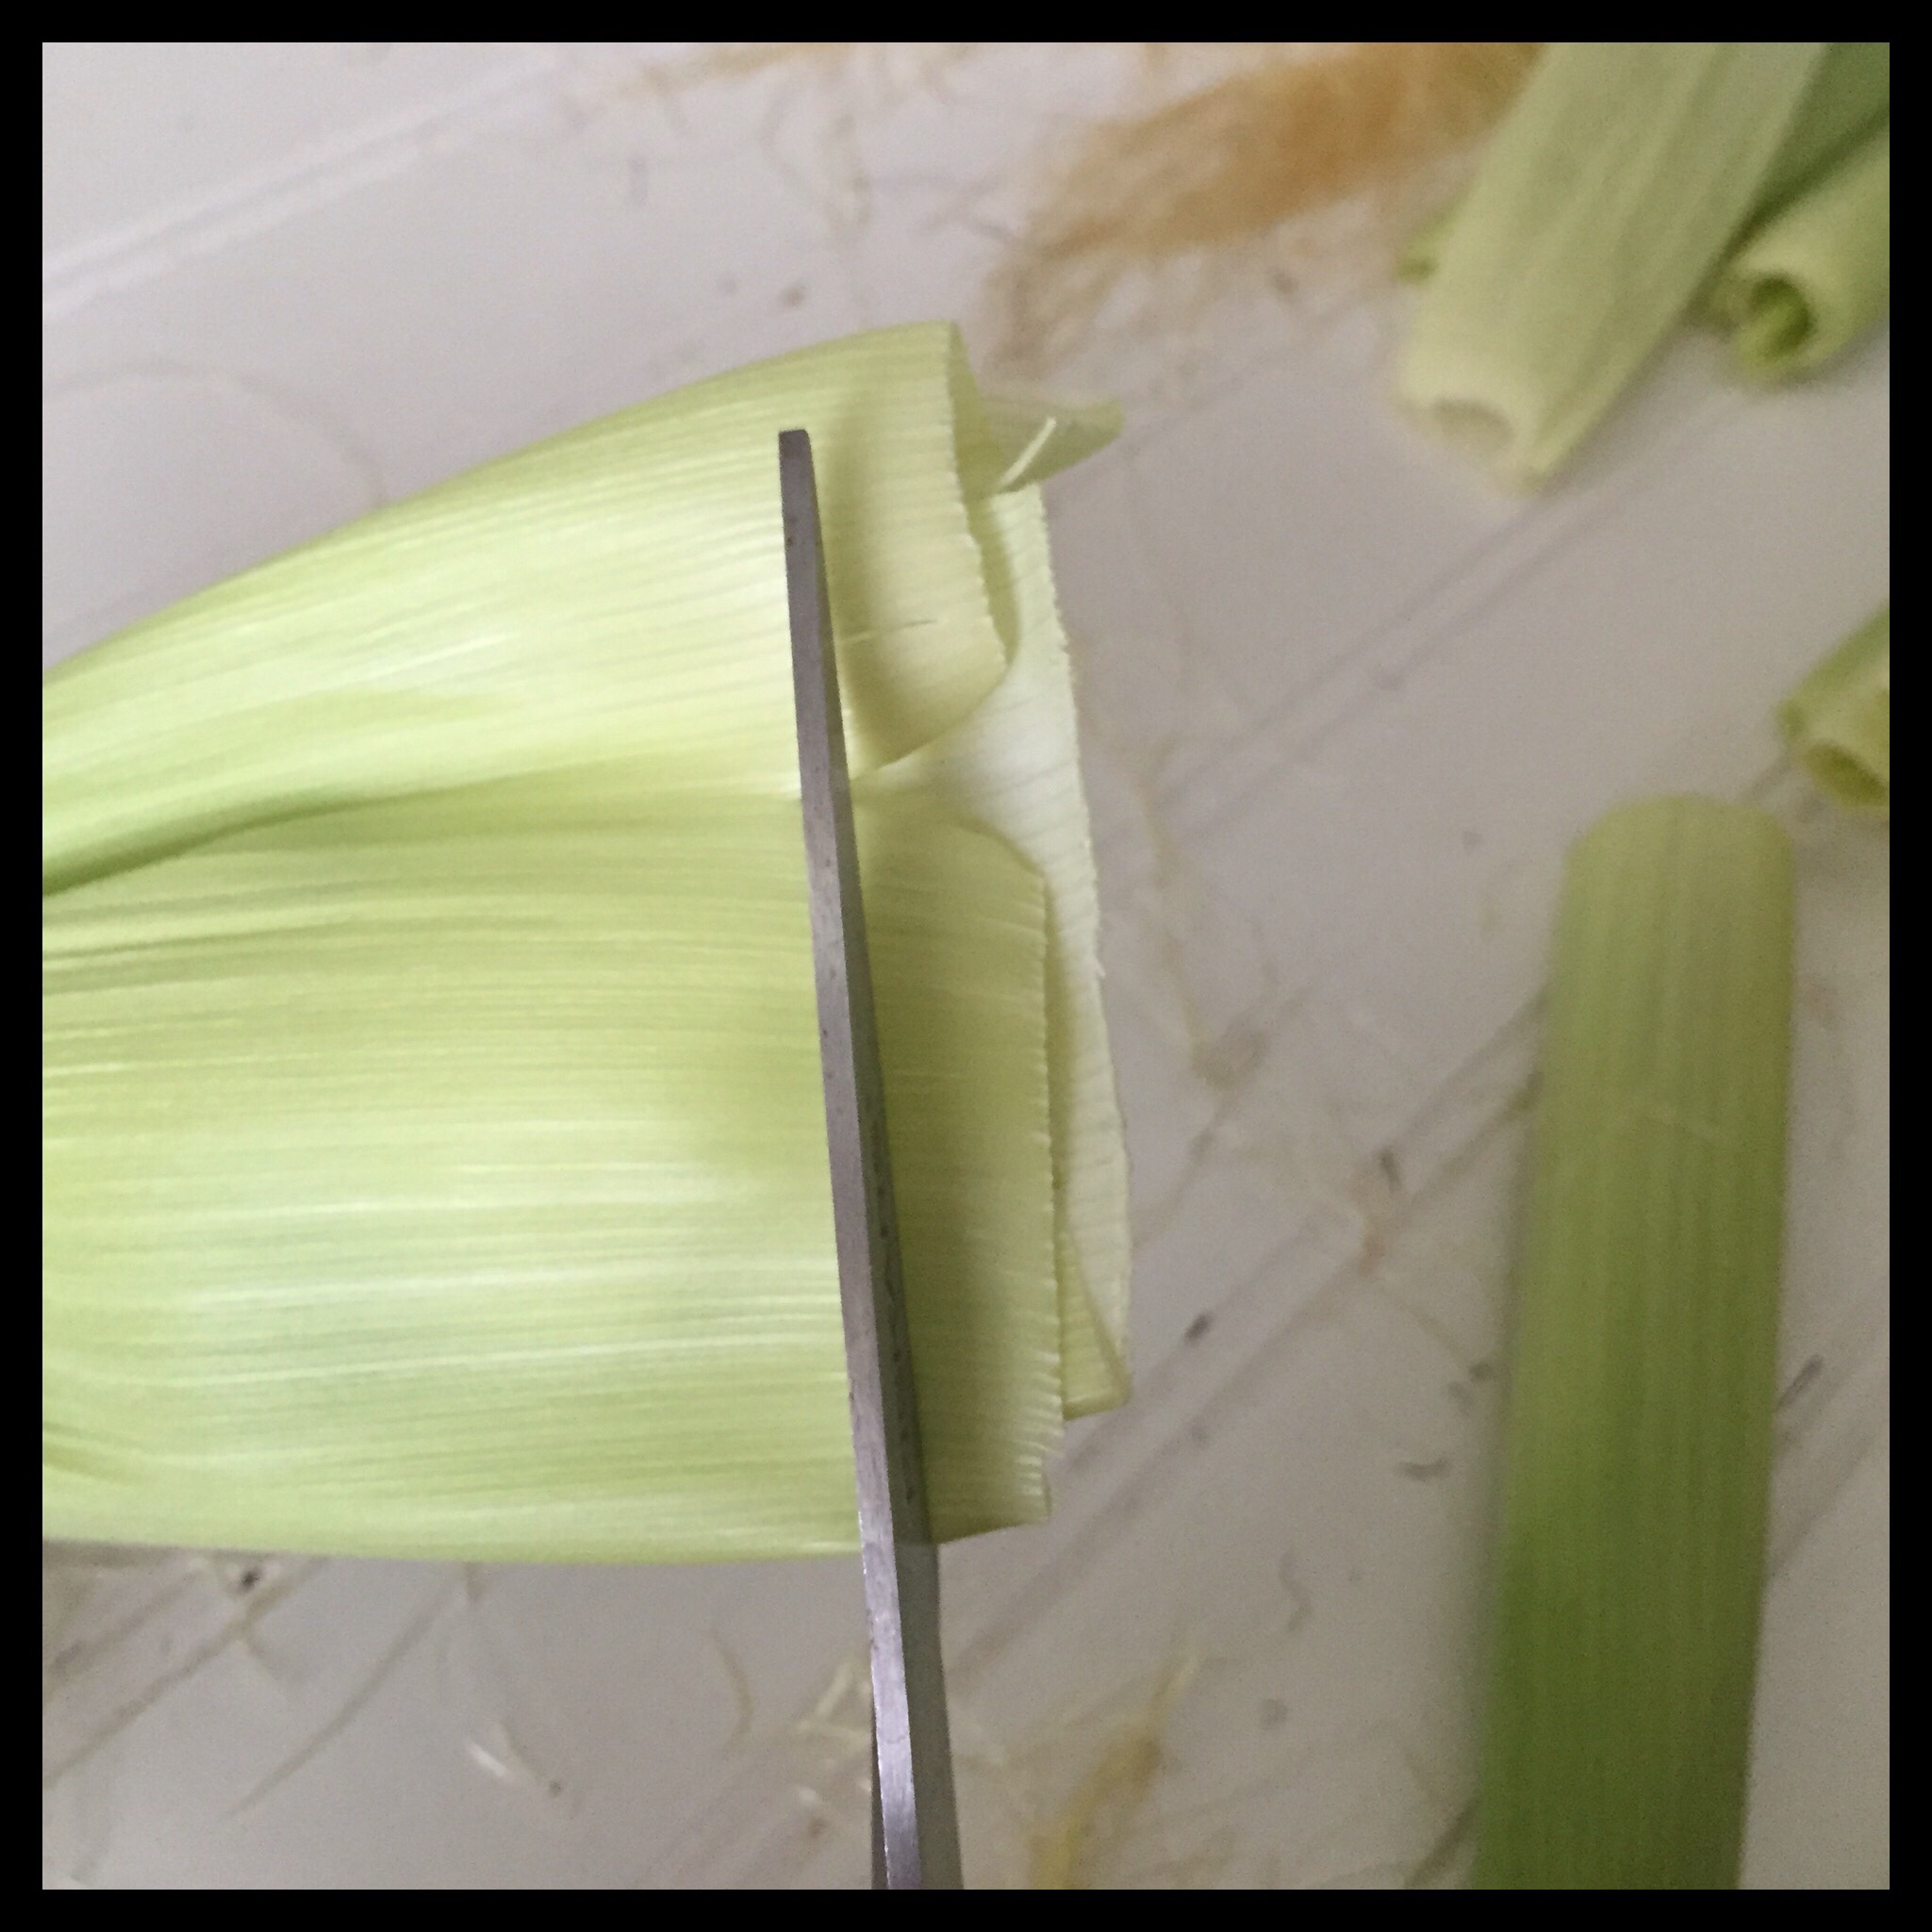
Start by cutting off the bottom end of an ear of corn. This makes it easier to remove the husk pieces without tearing them:
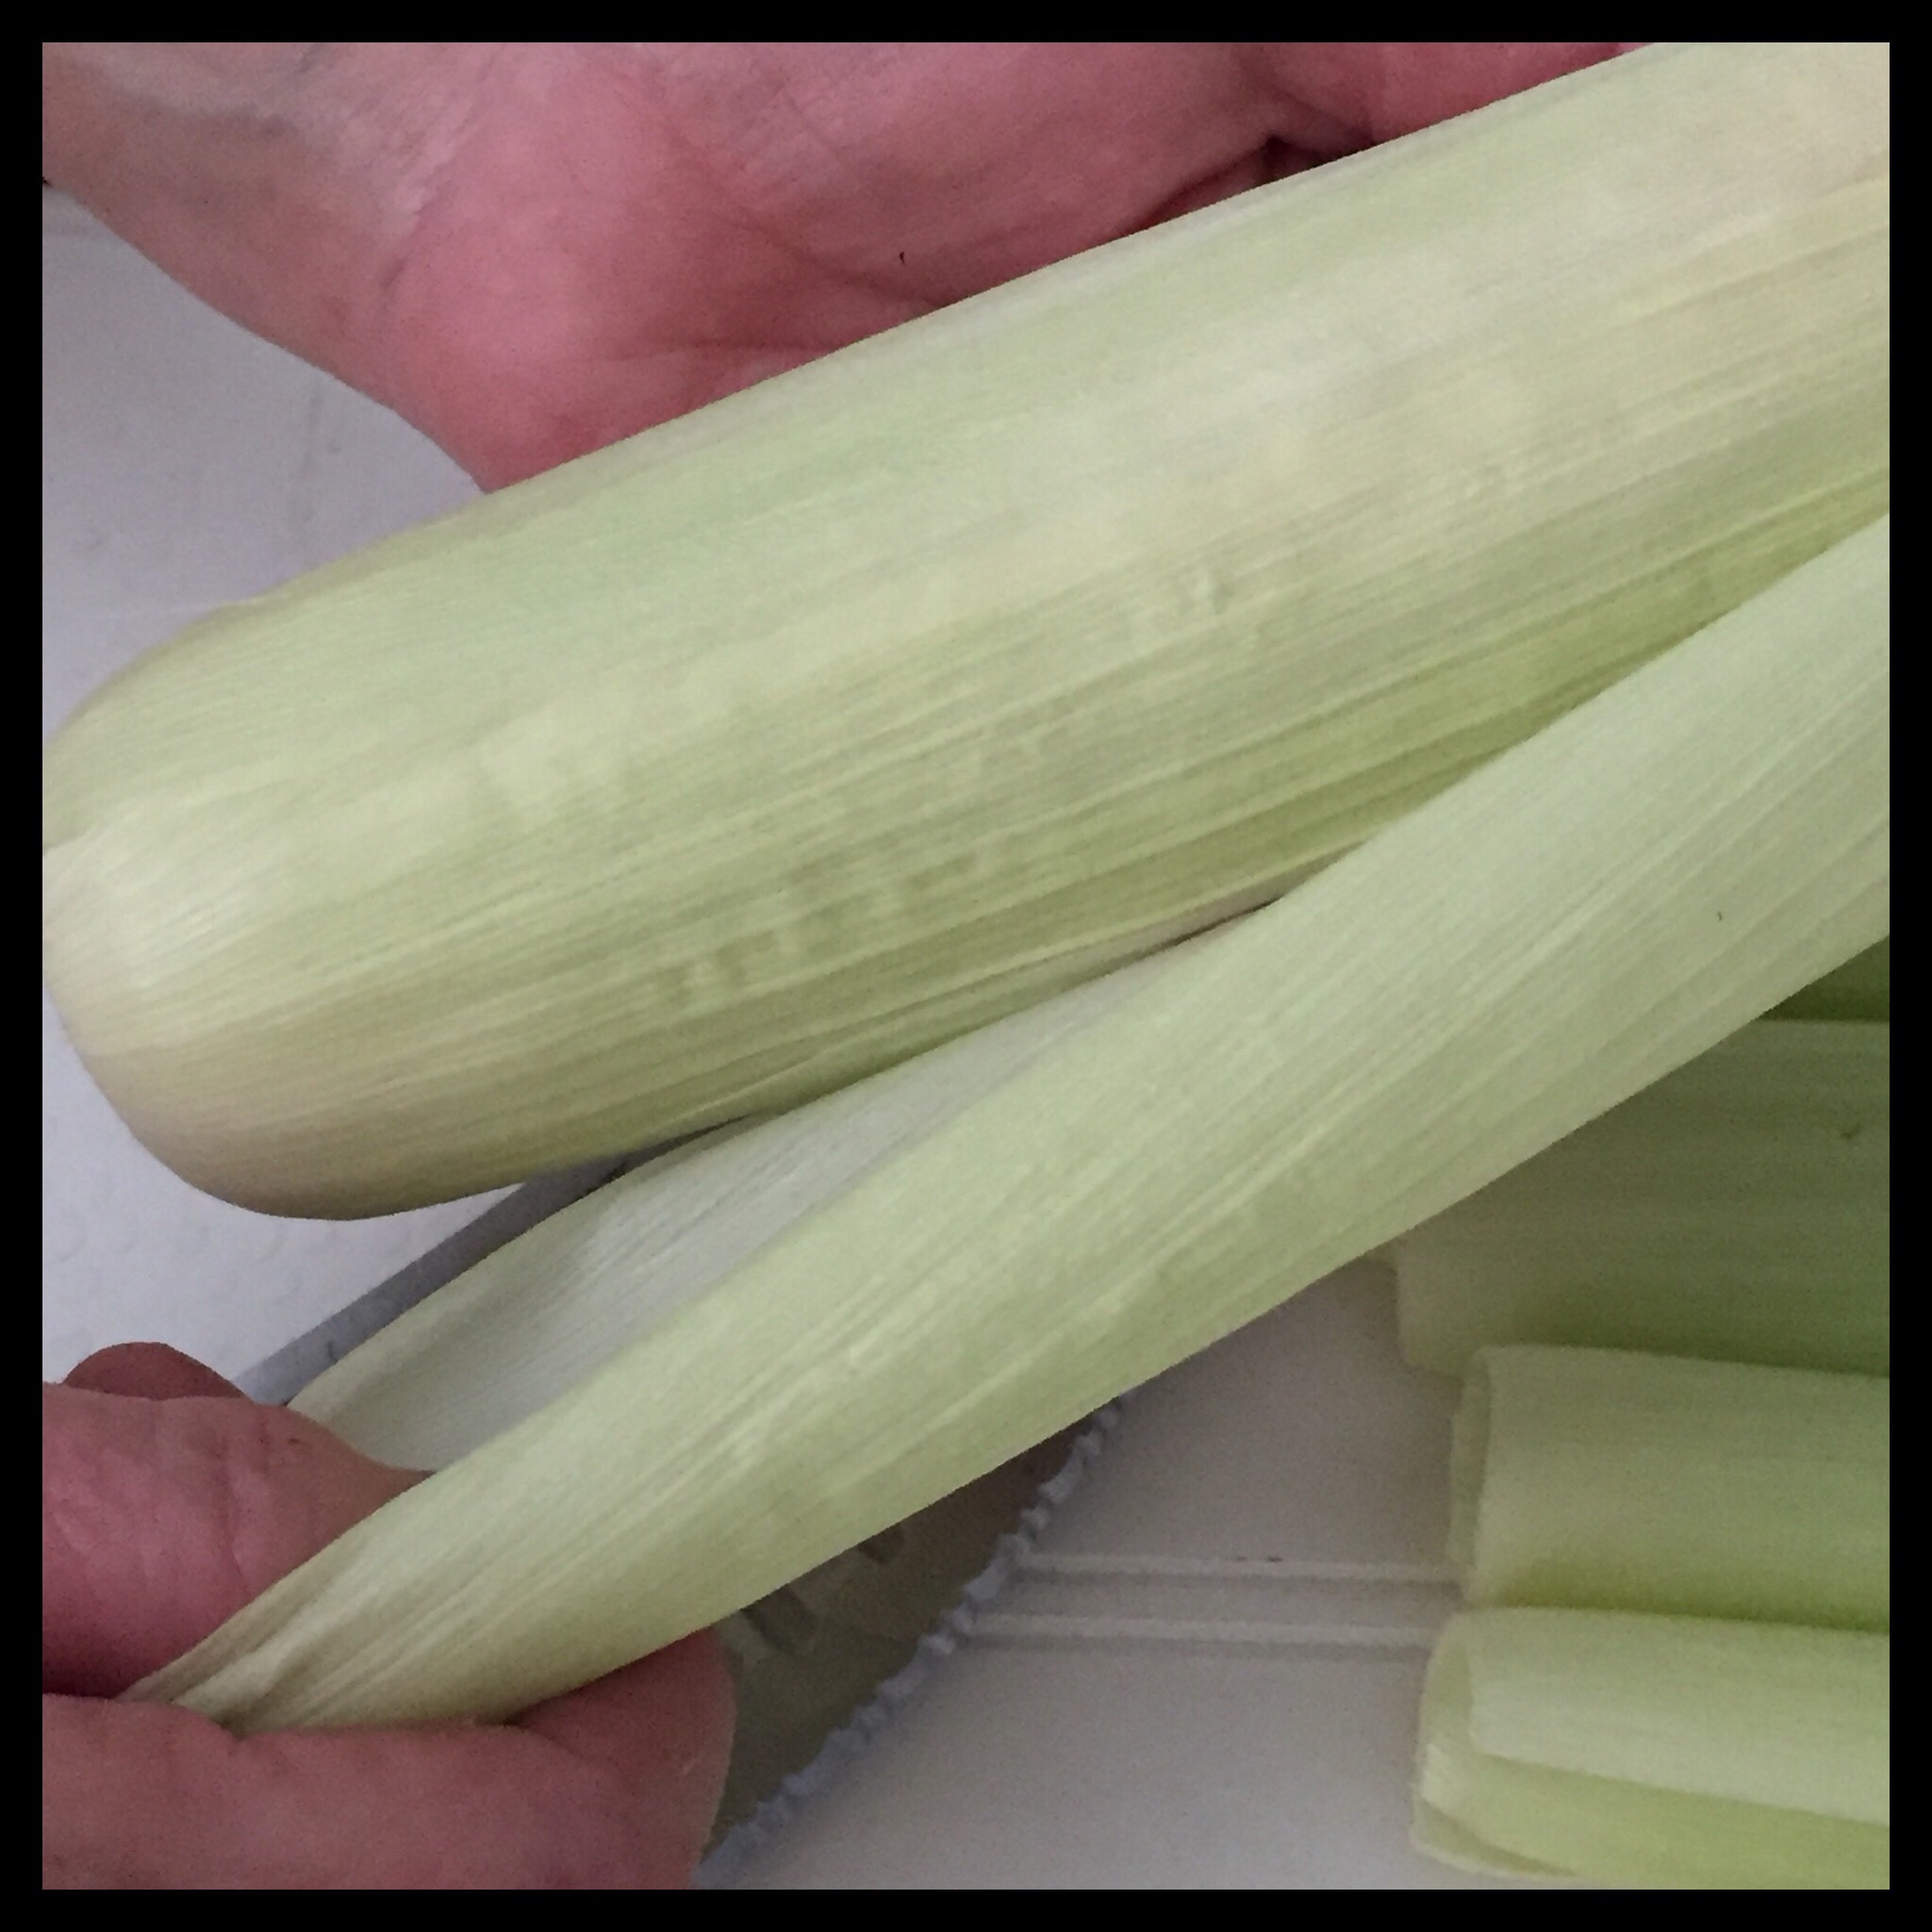
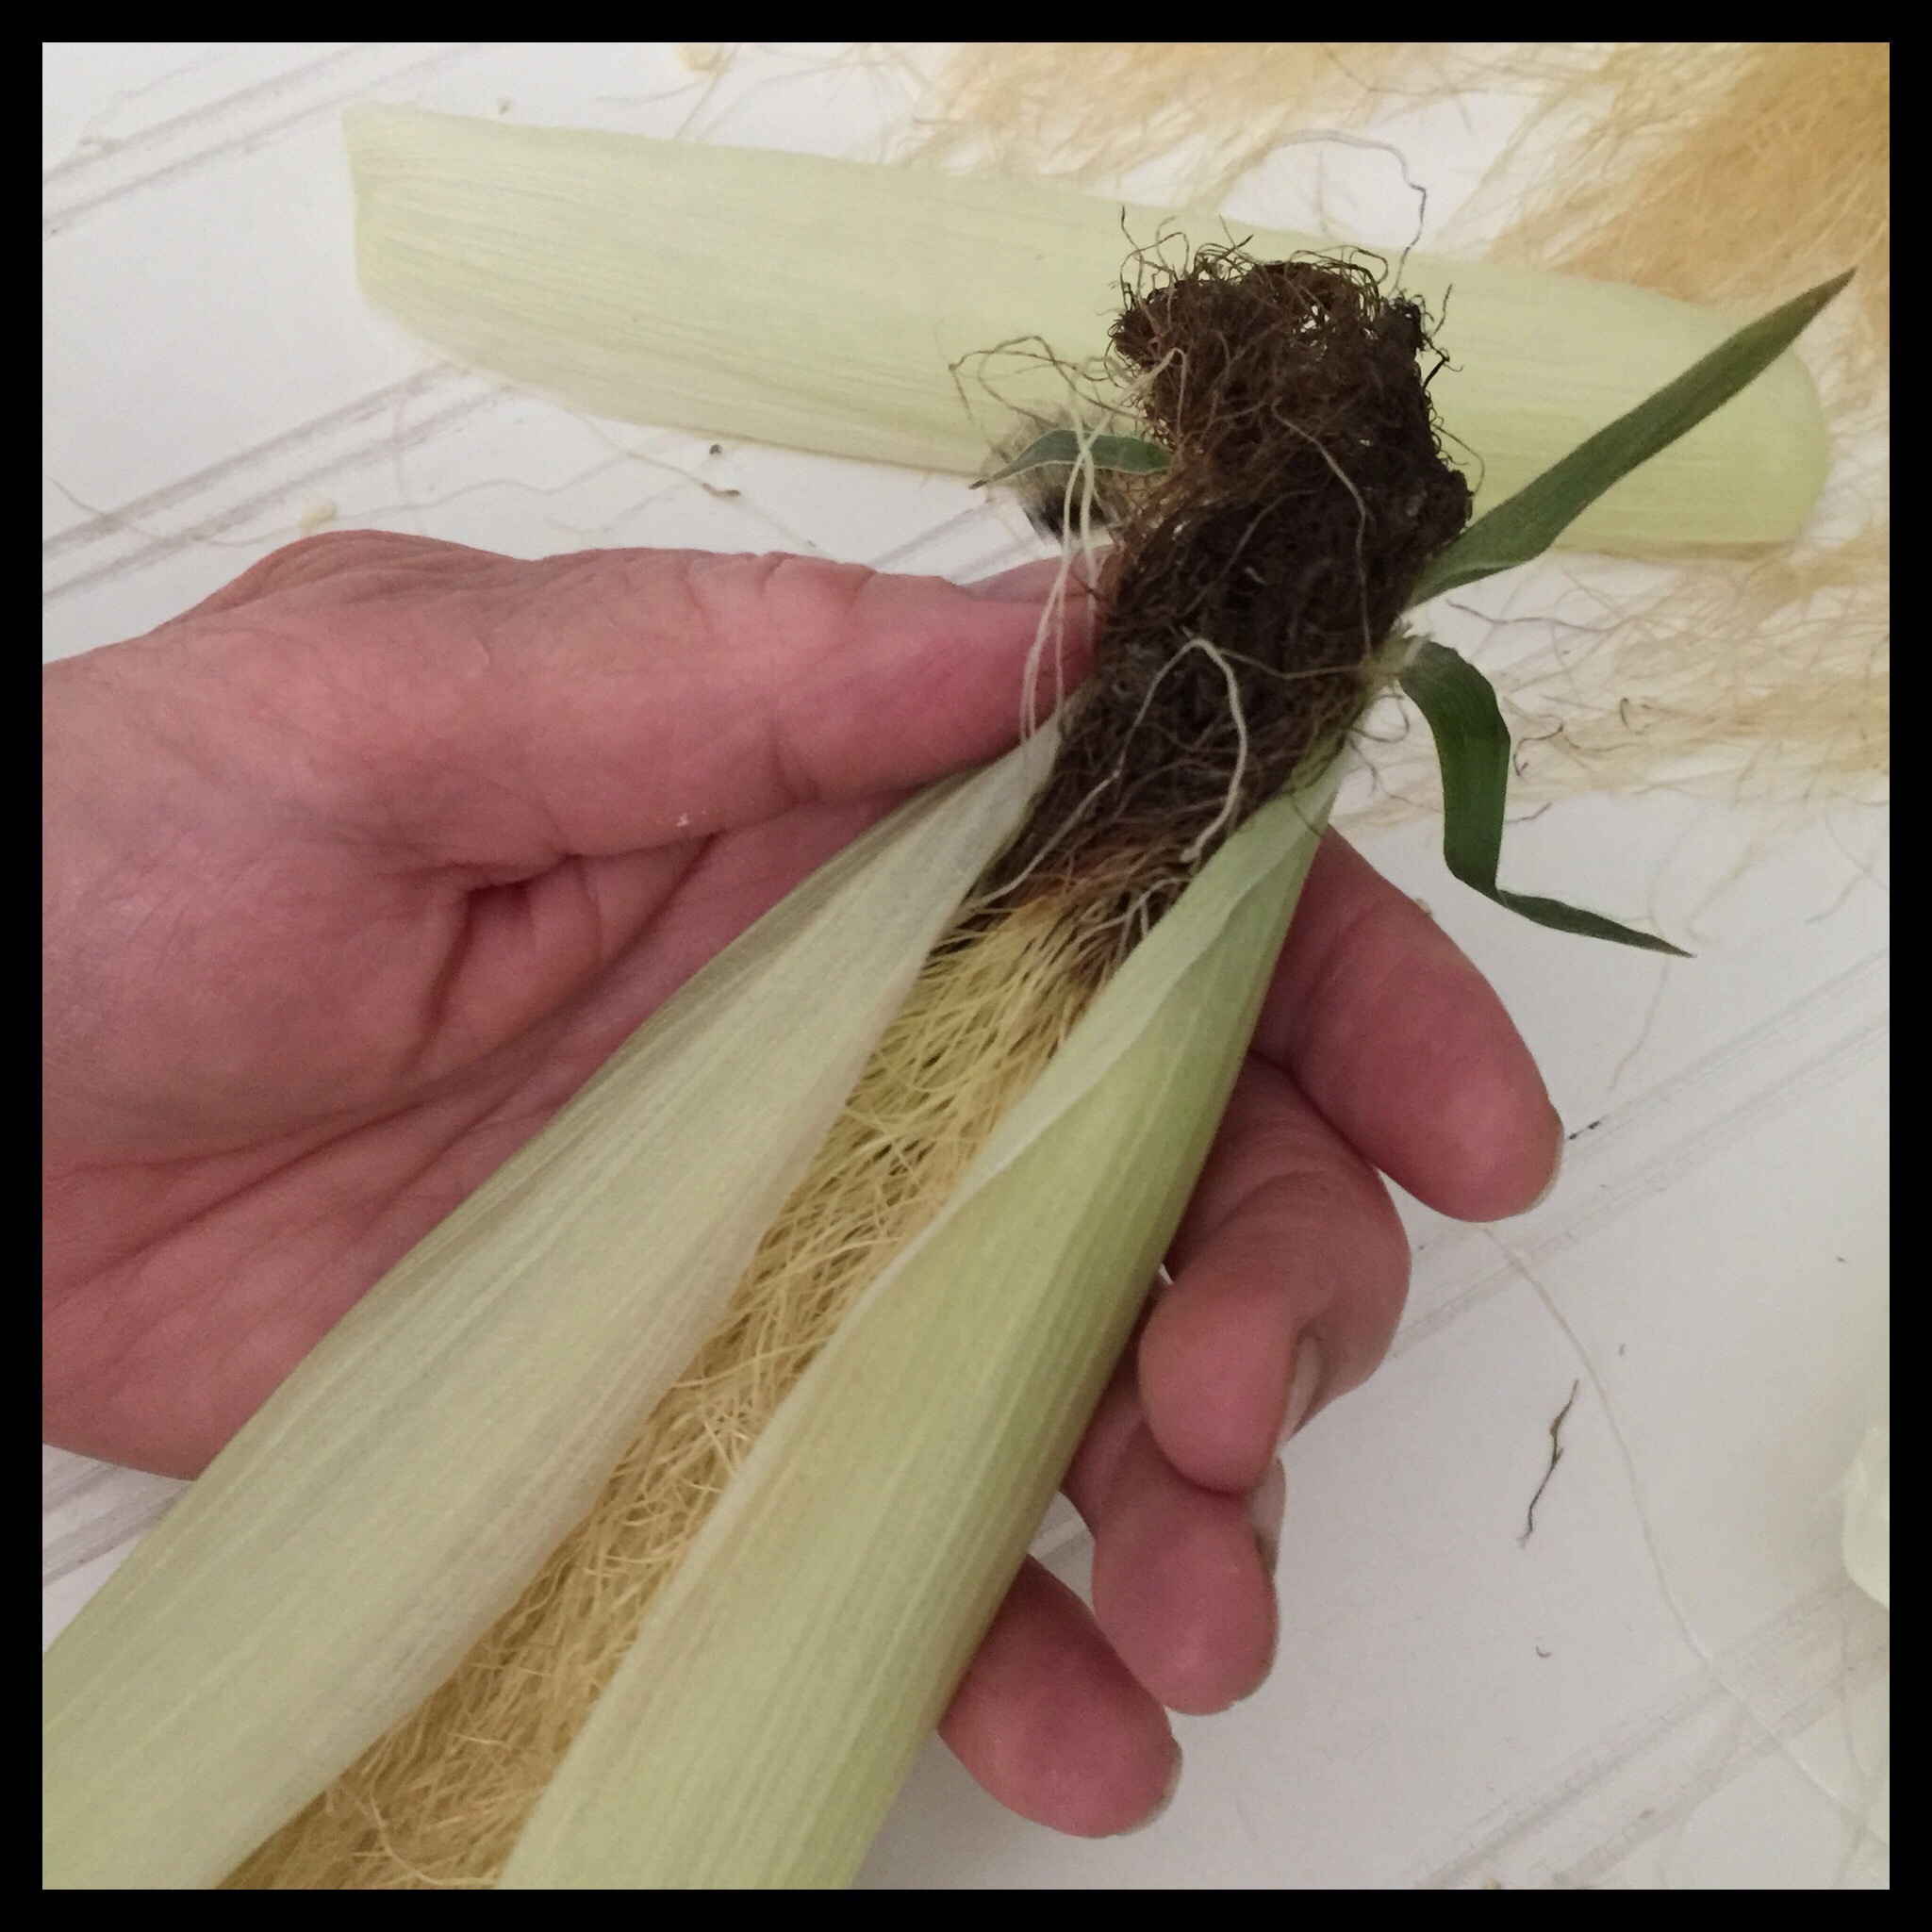
Carefully peel off the husk pieces one at a time. (Note: do not remove the husks until right before you want to make the dollies as they will start to dry out pretty quickly.)
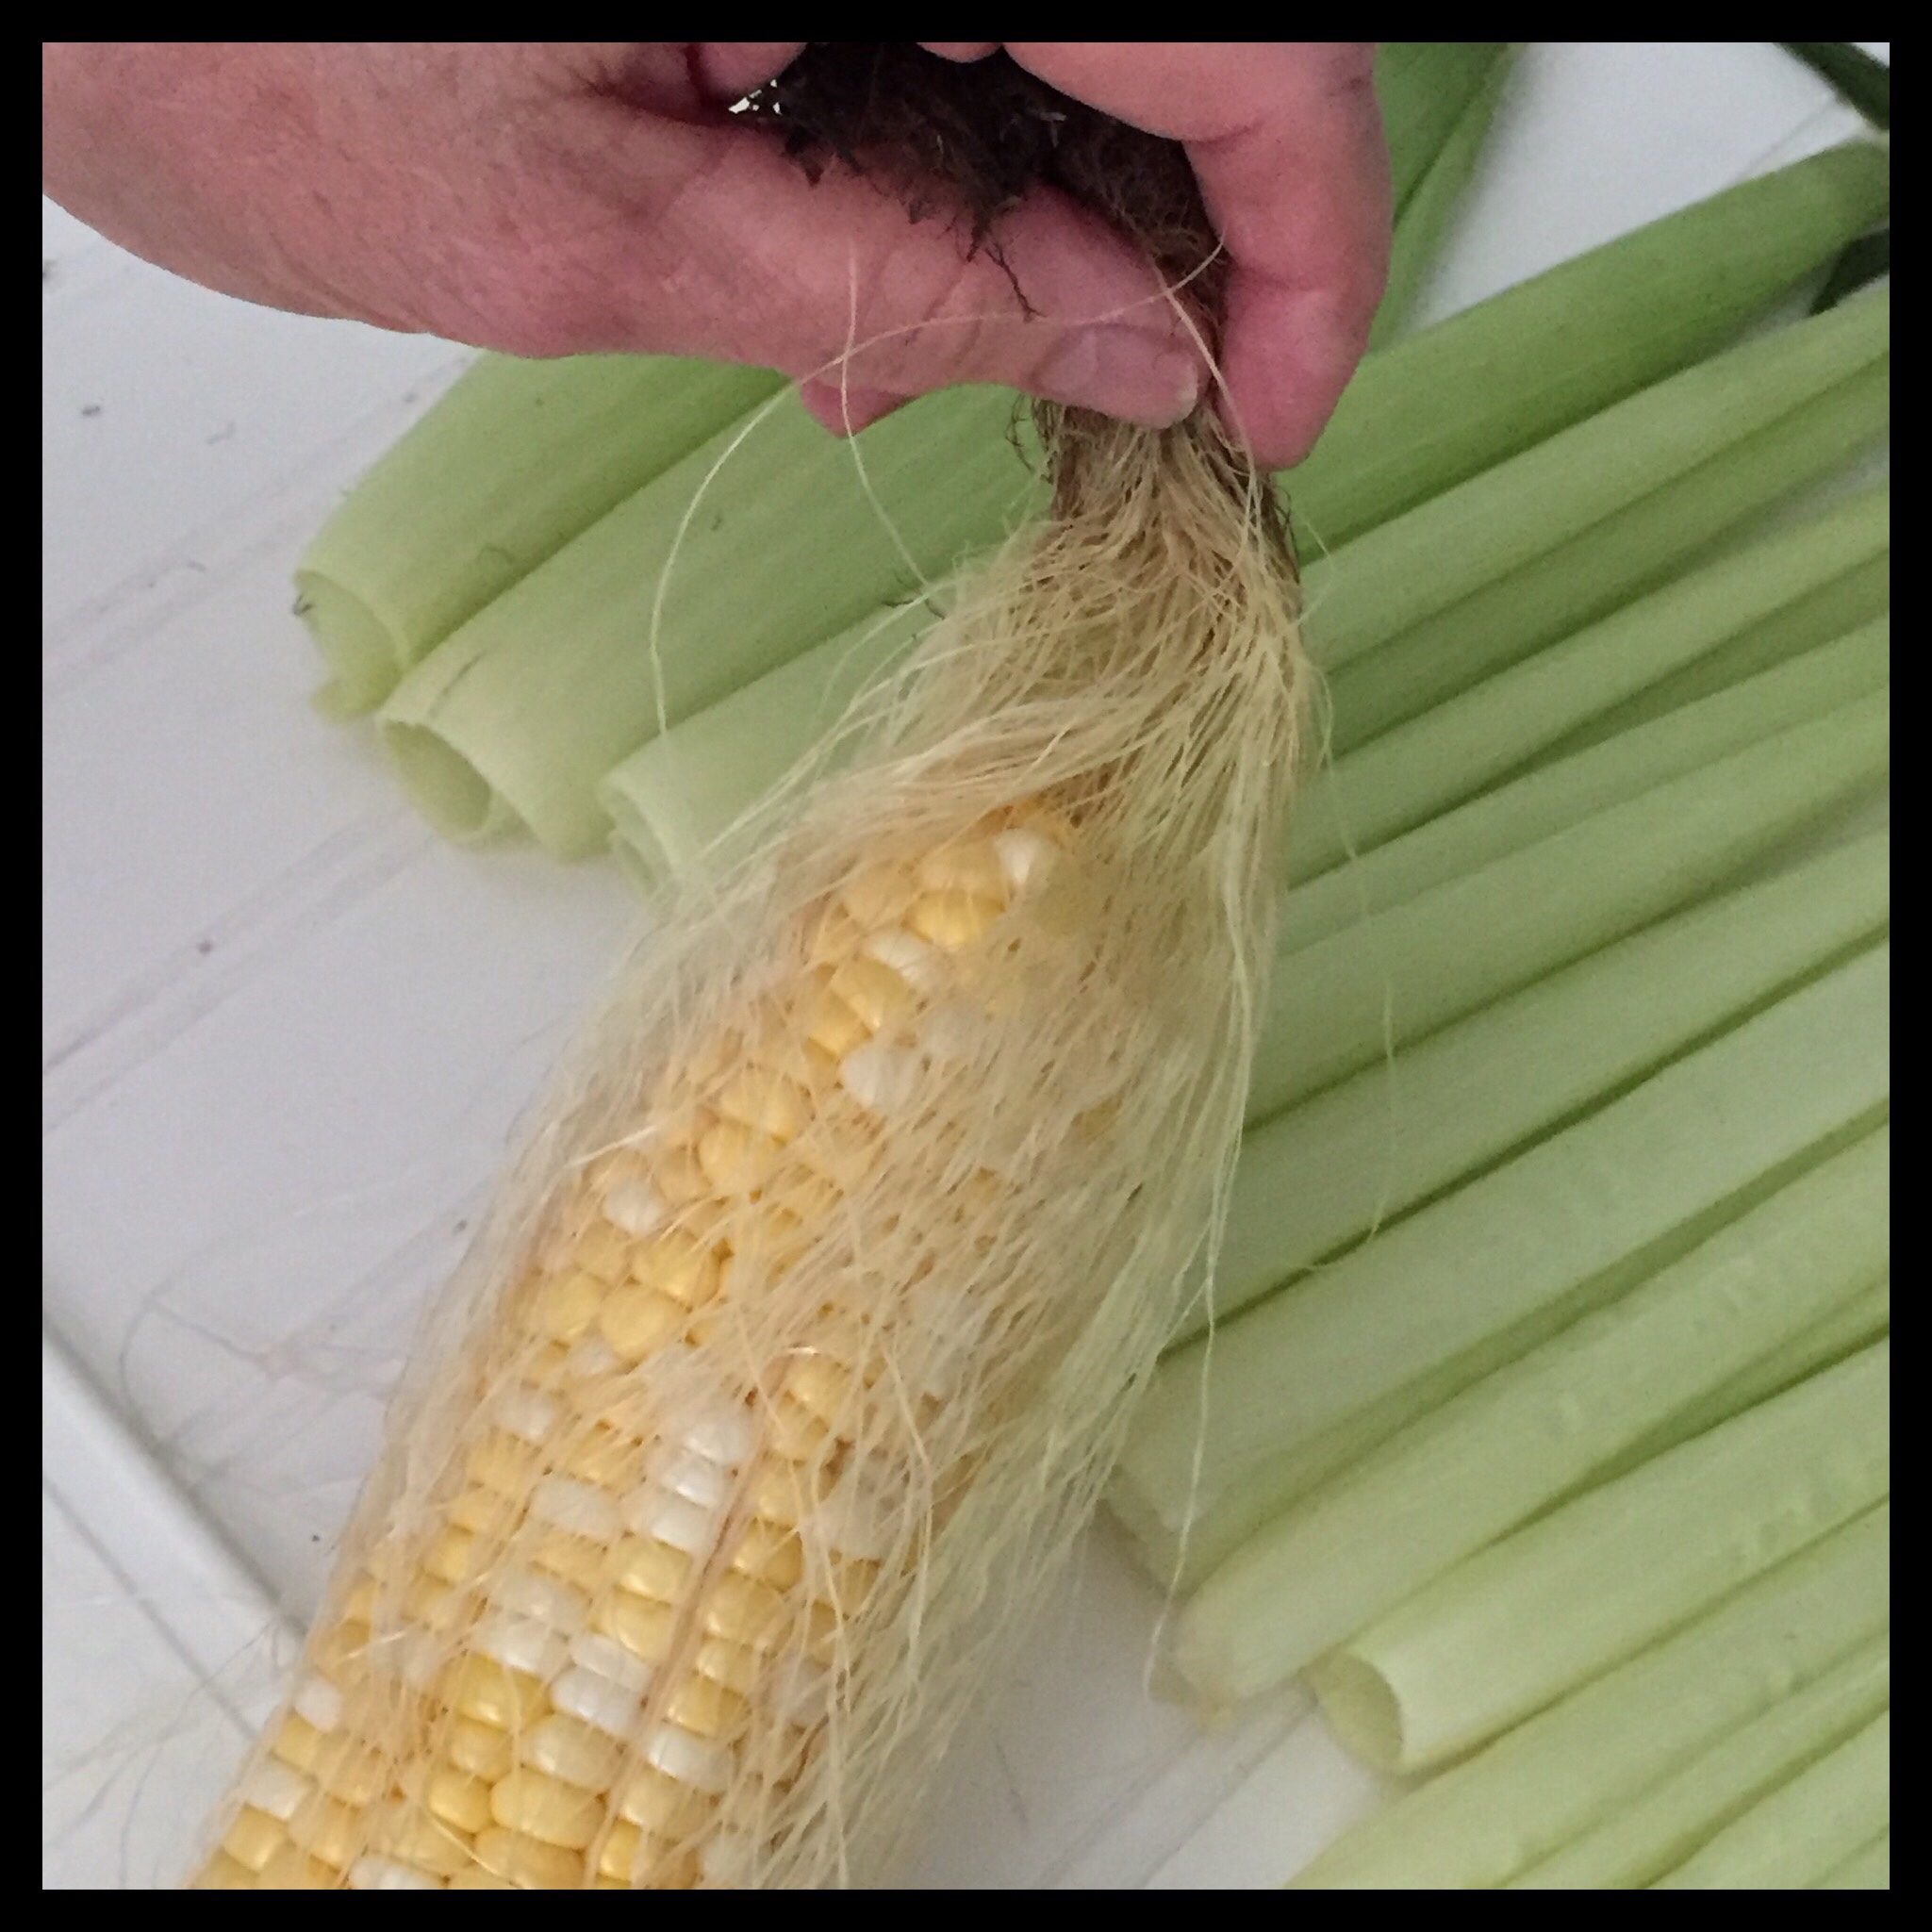
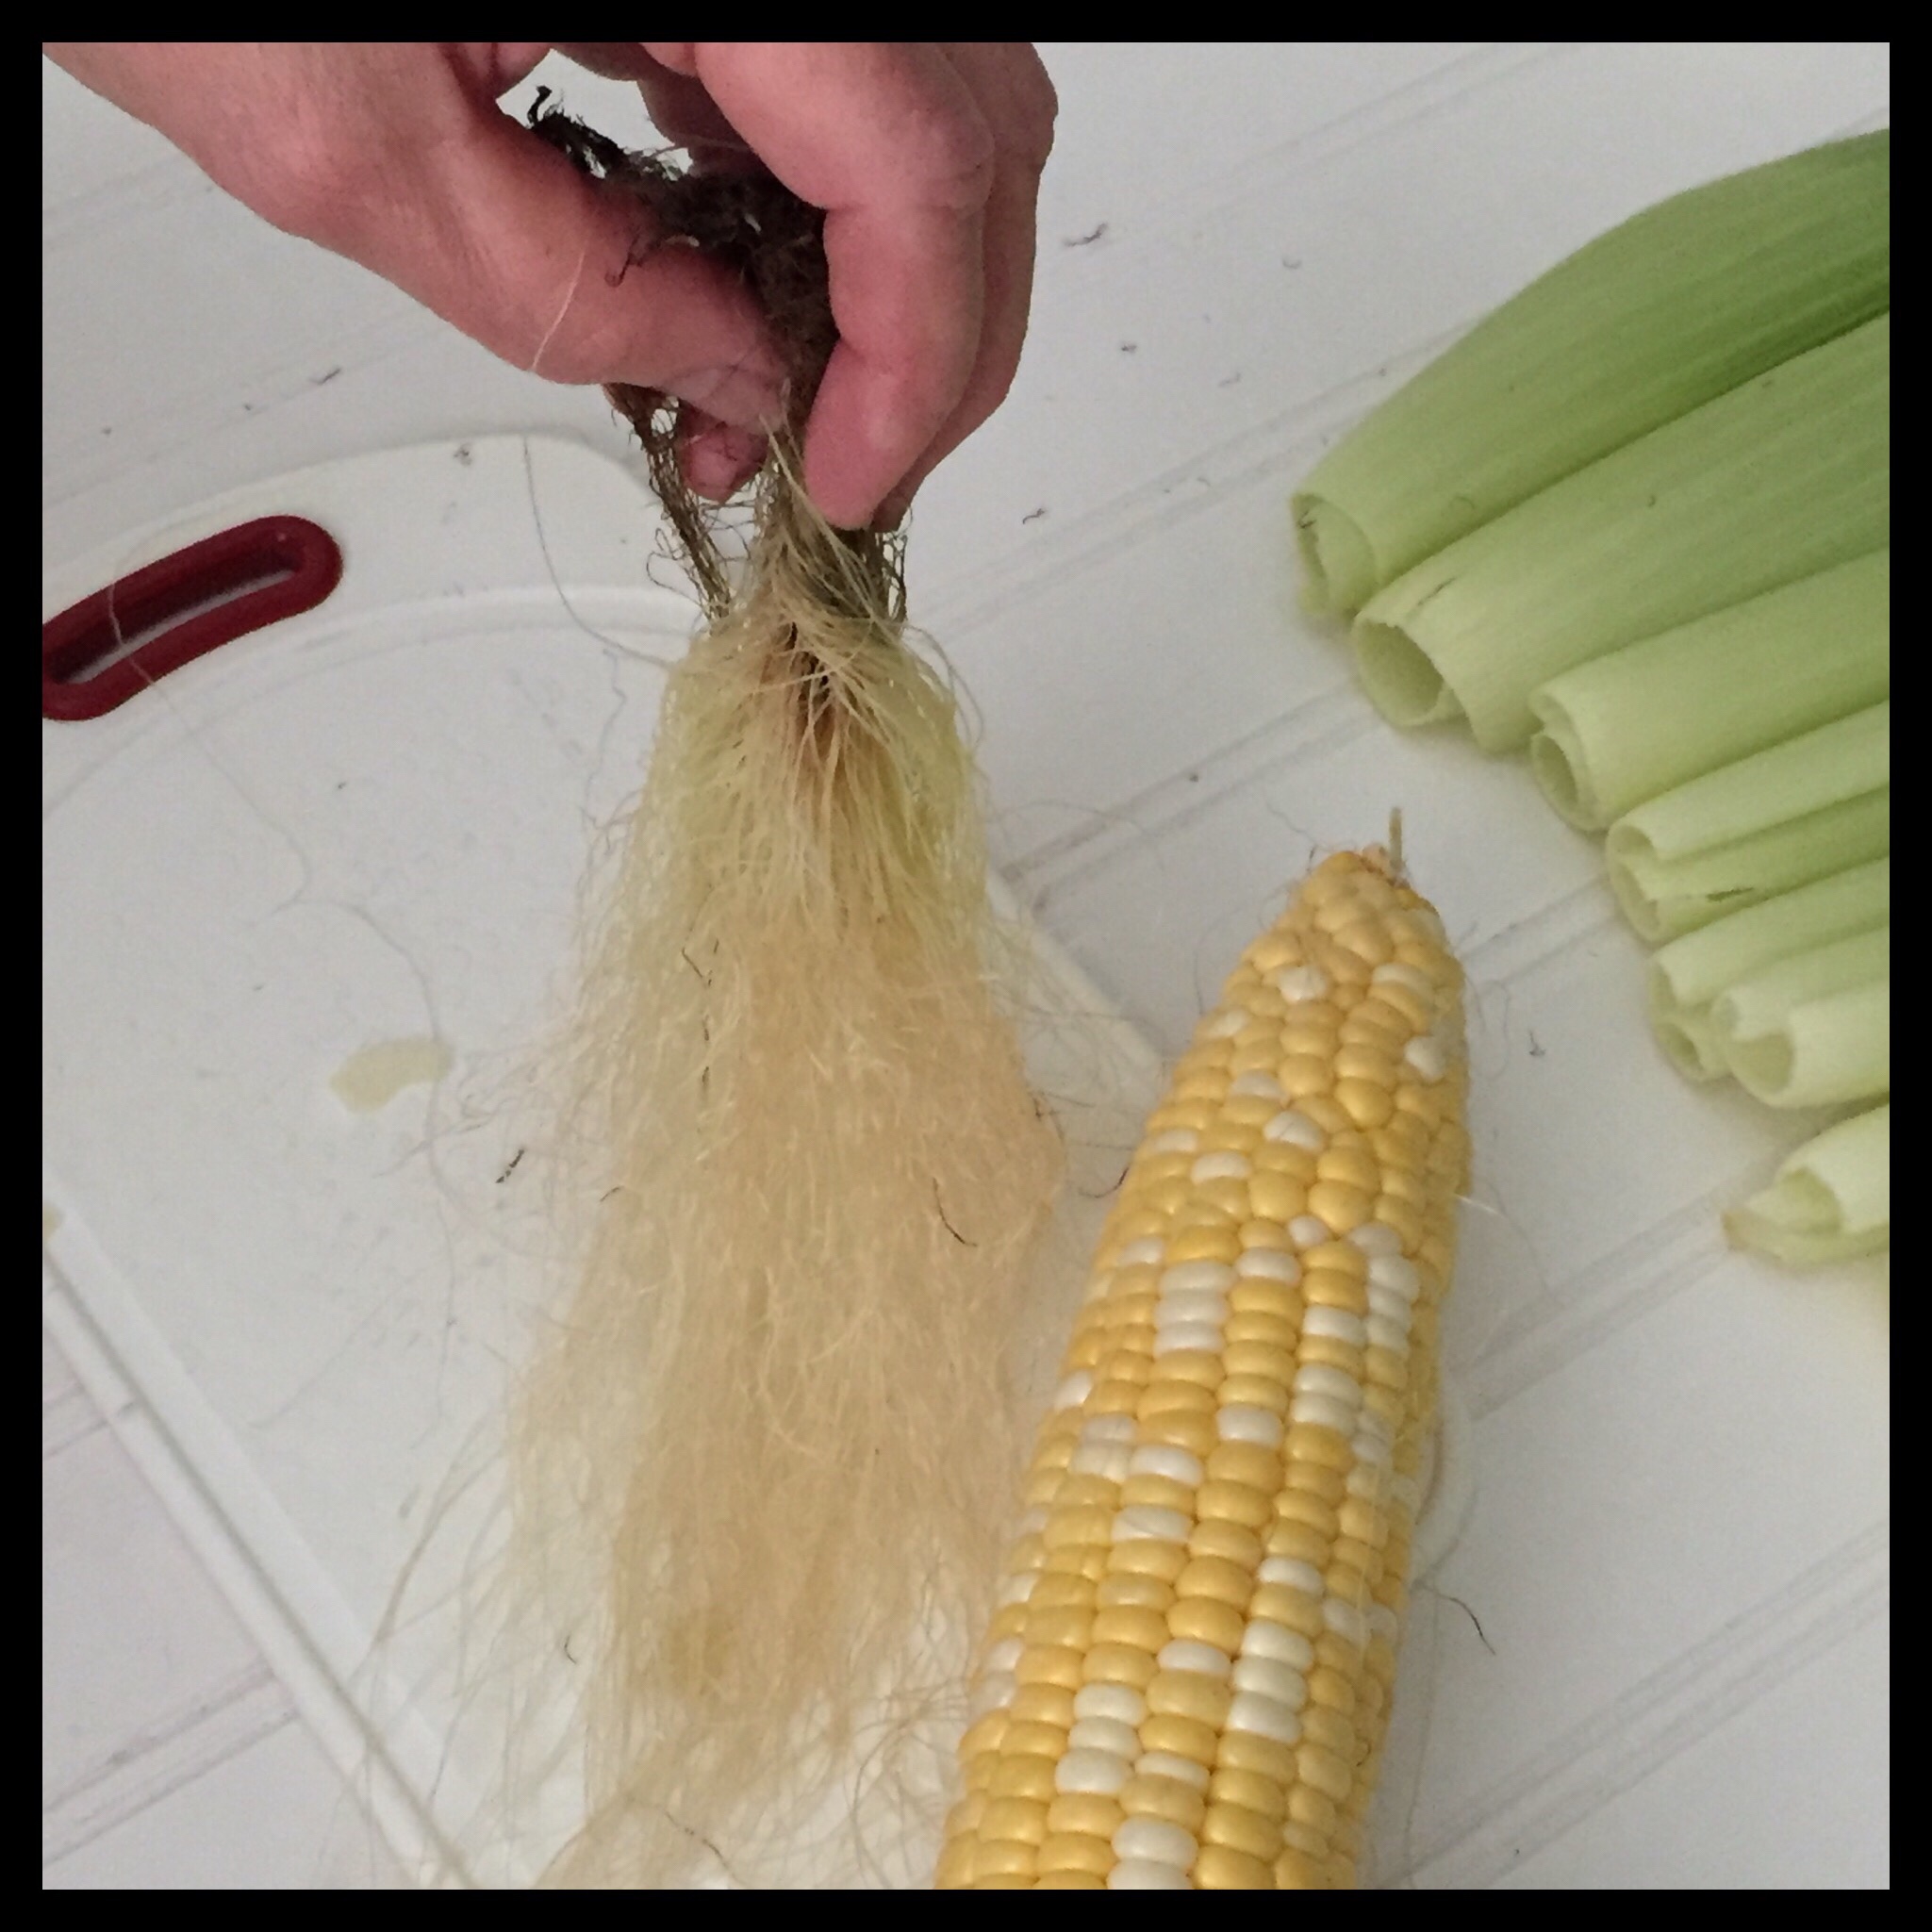
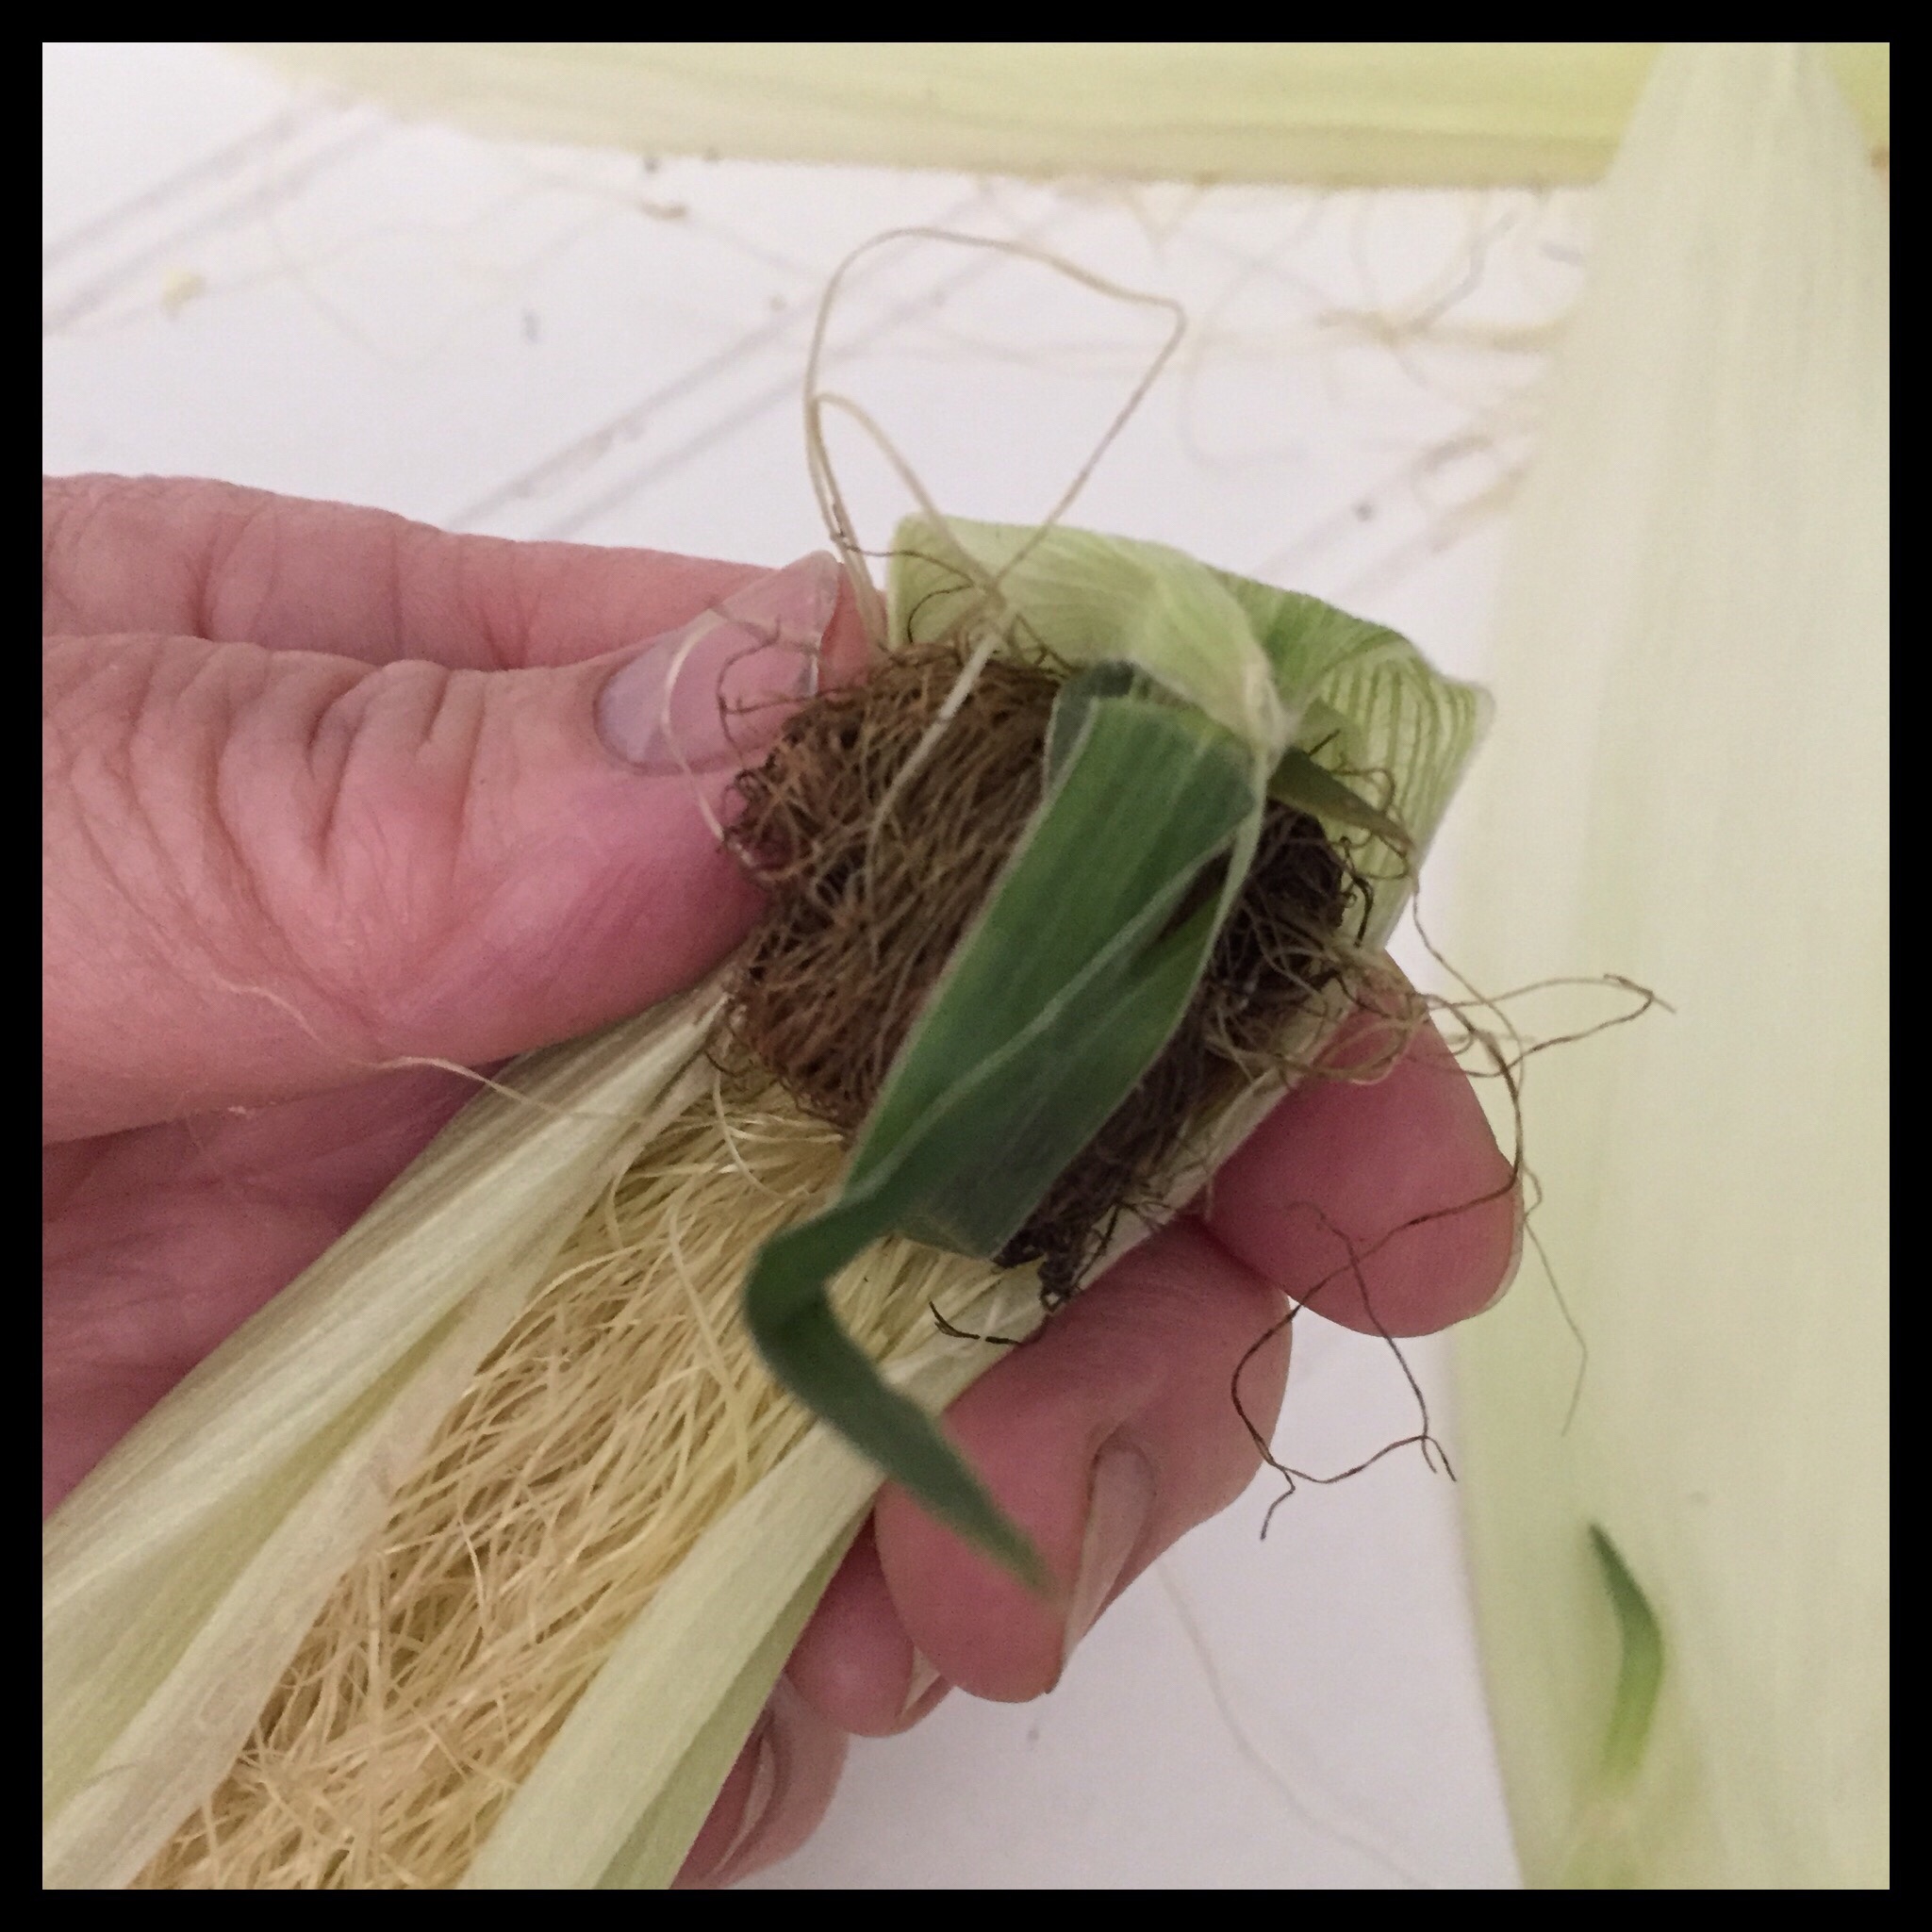
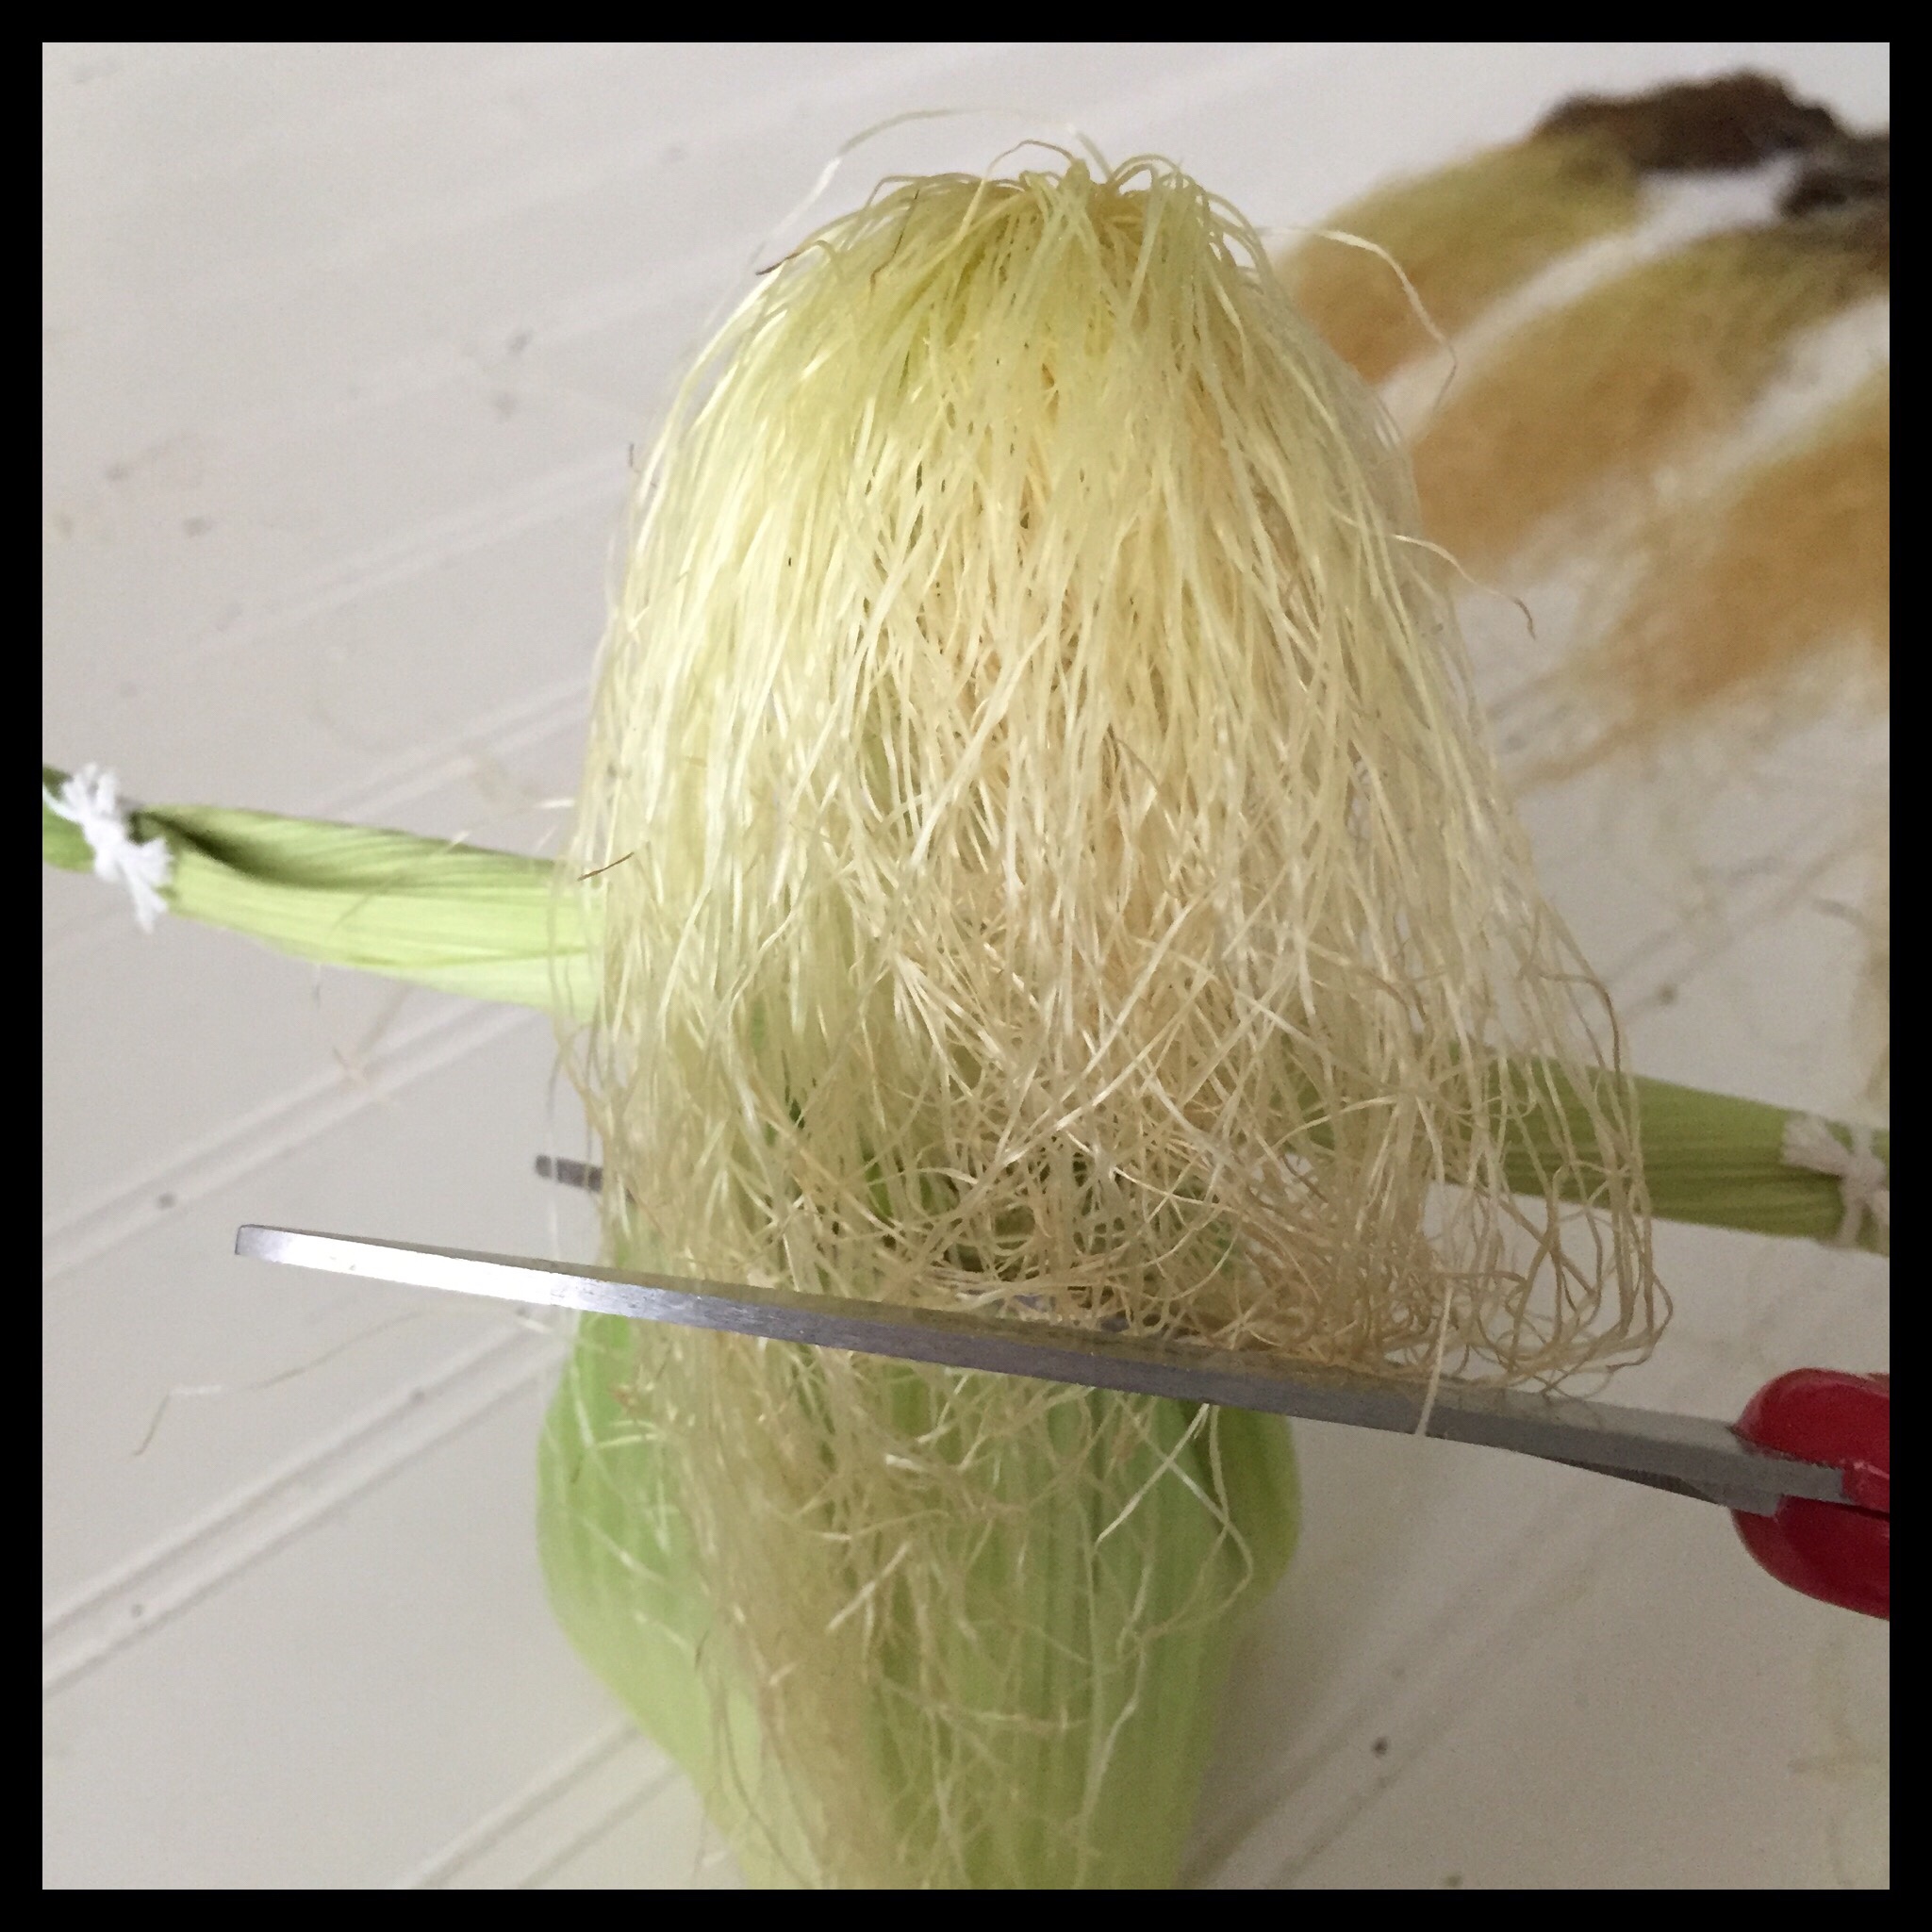
Gently remove the corn silk and reserve it for the hair:
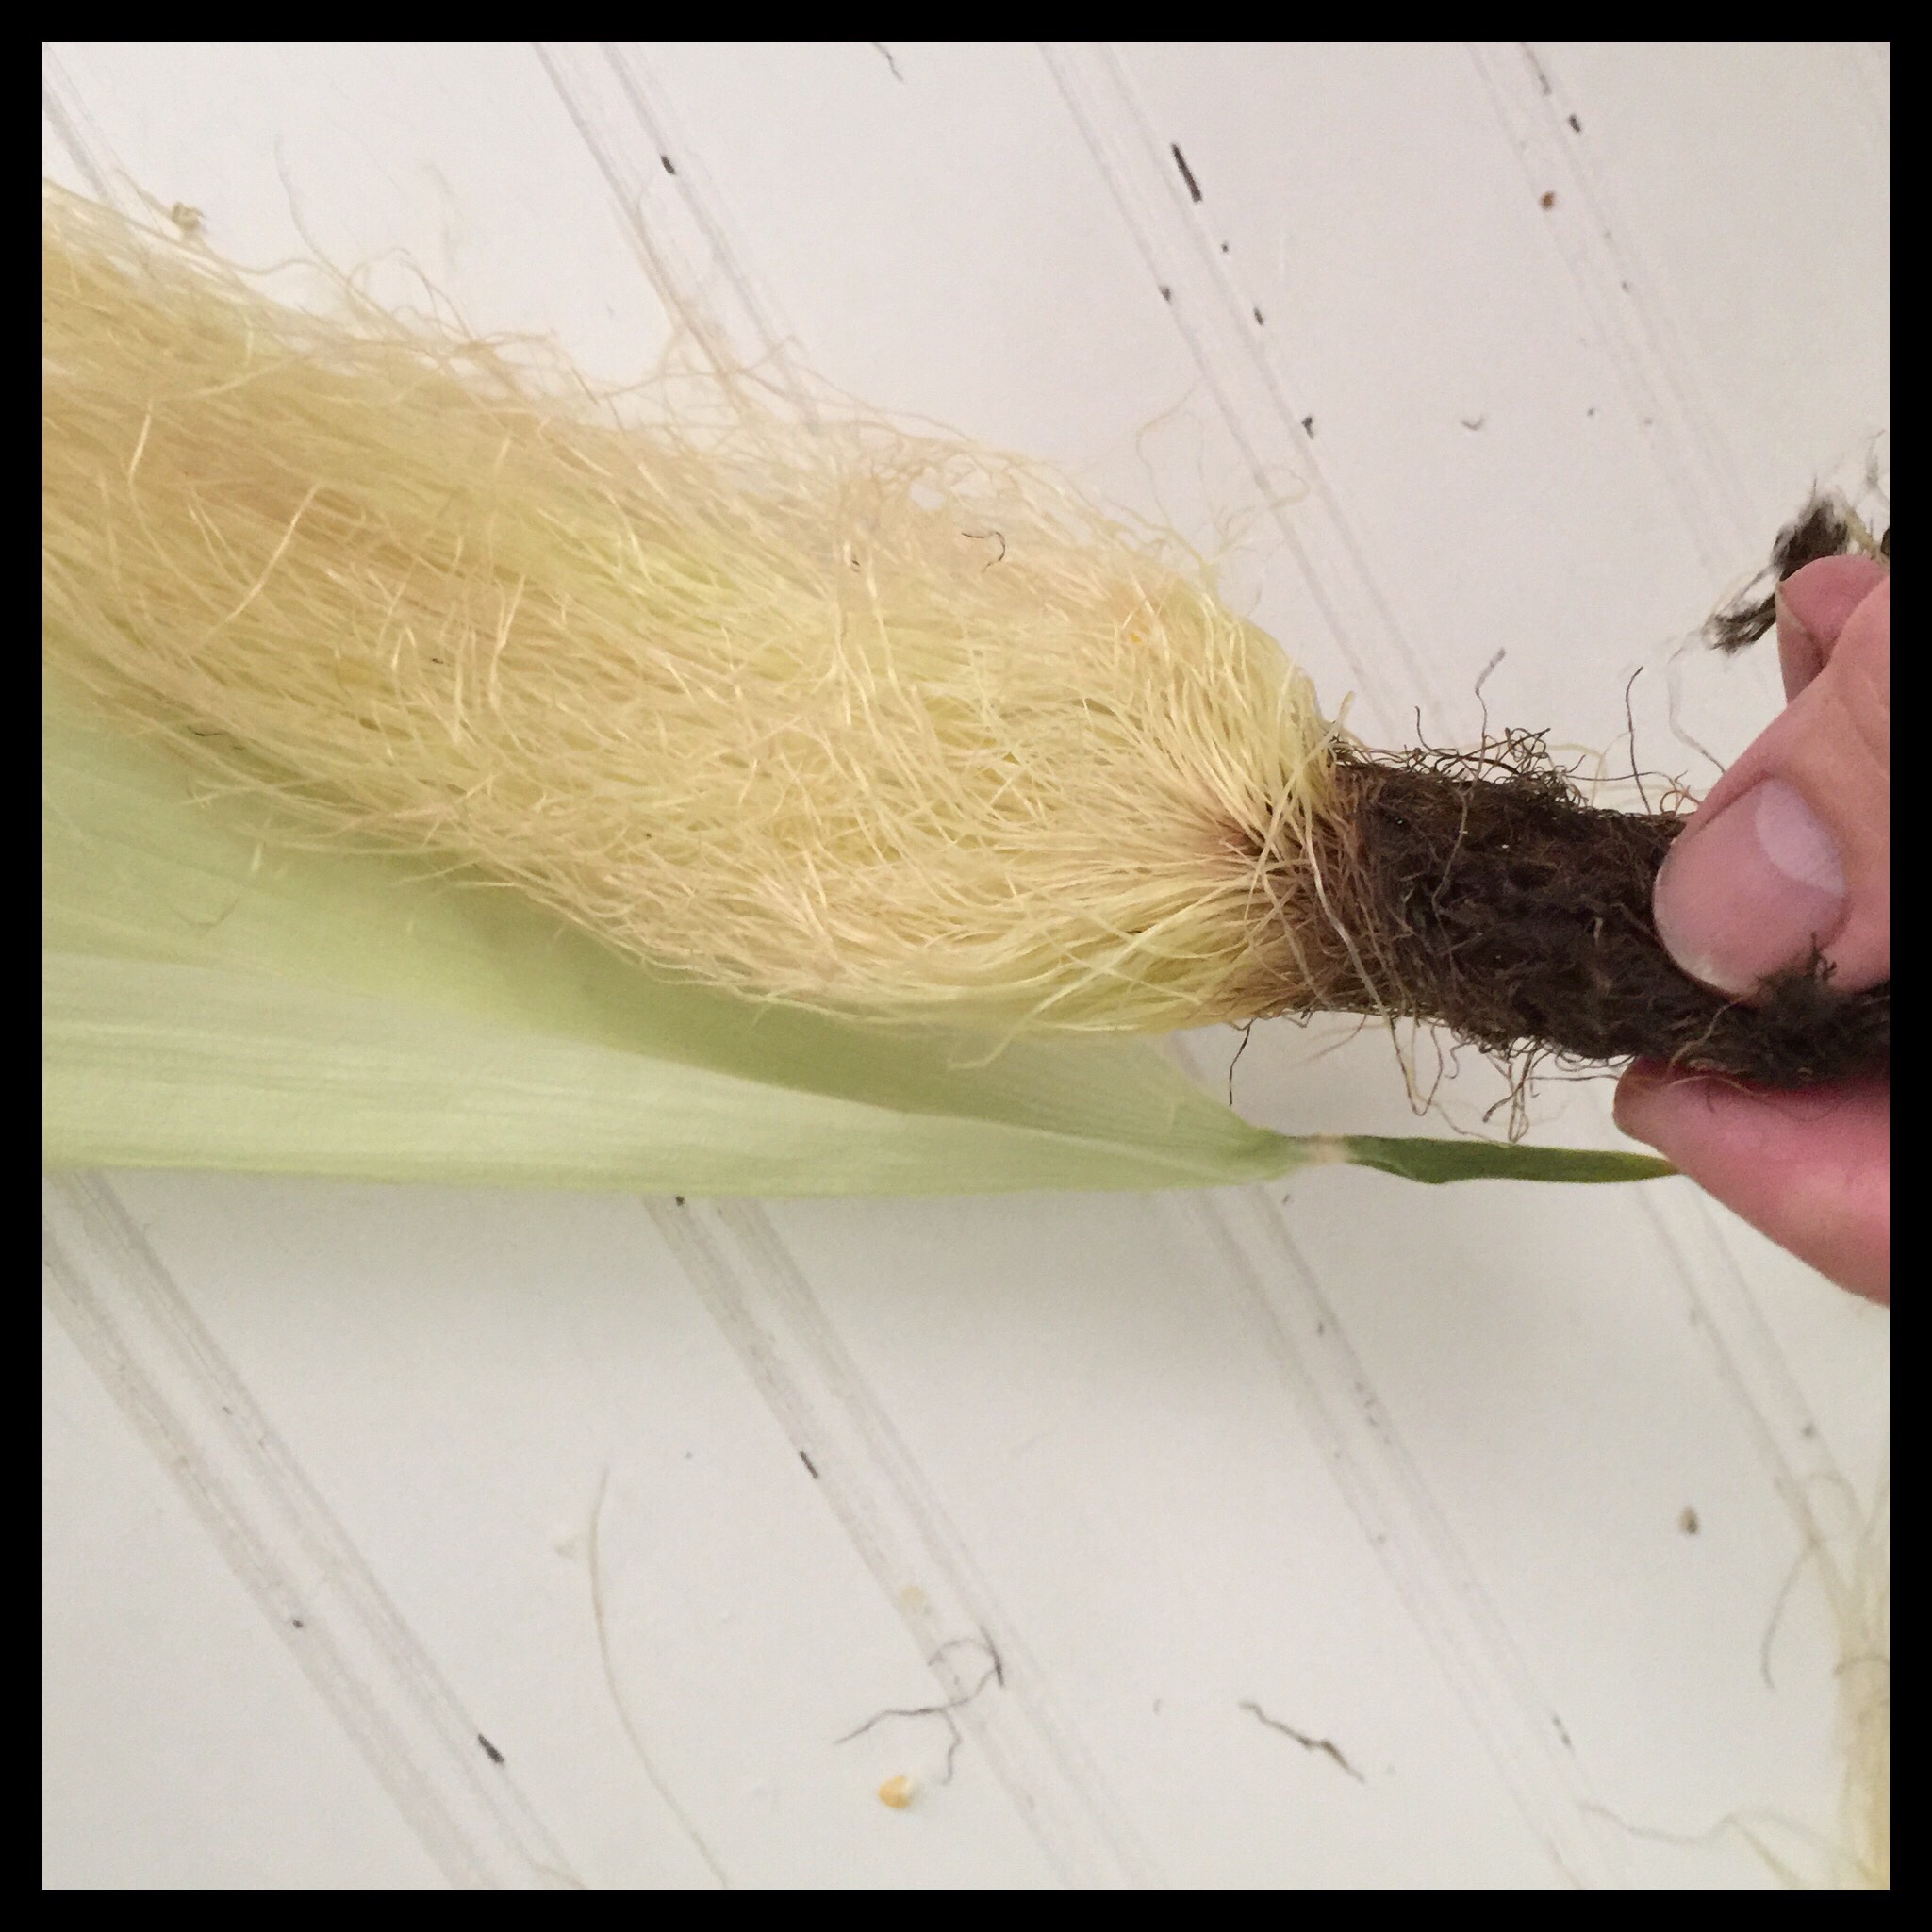
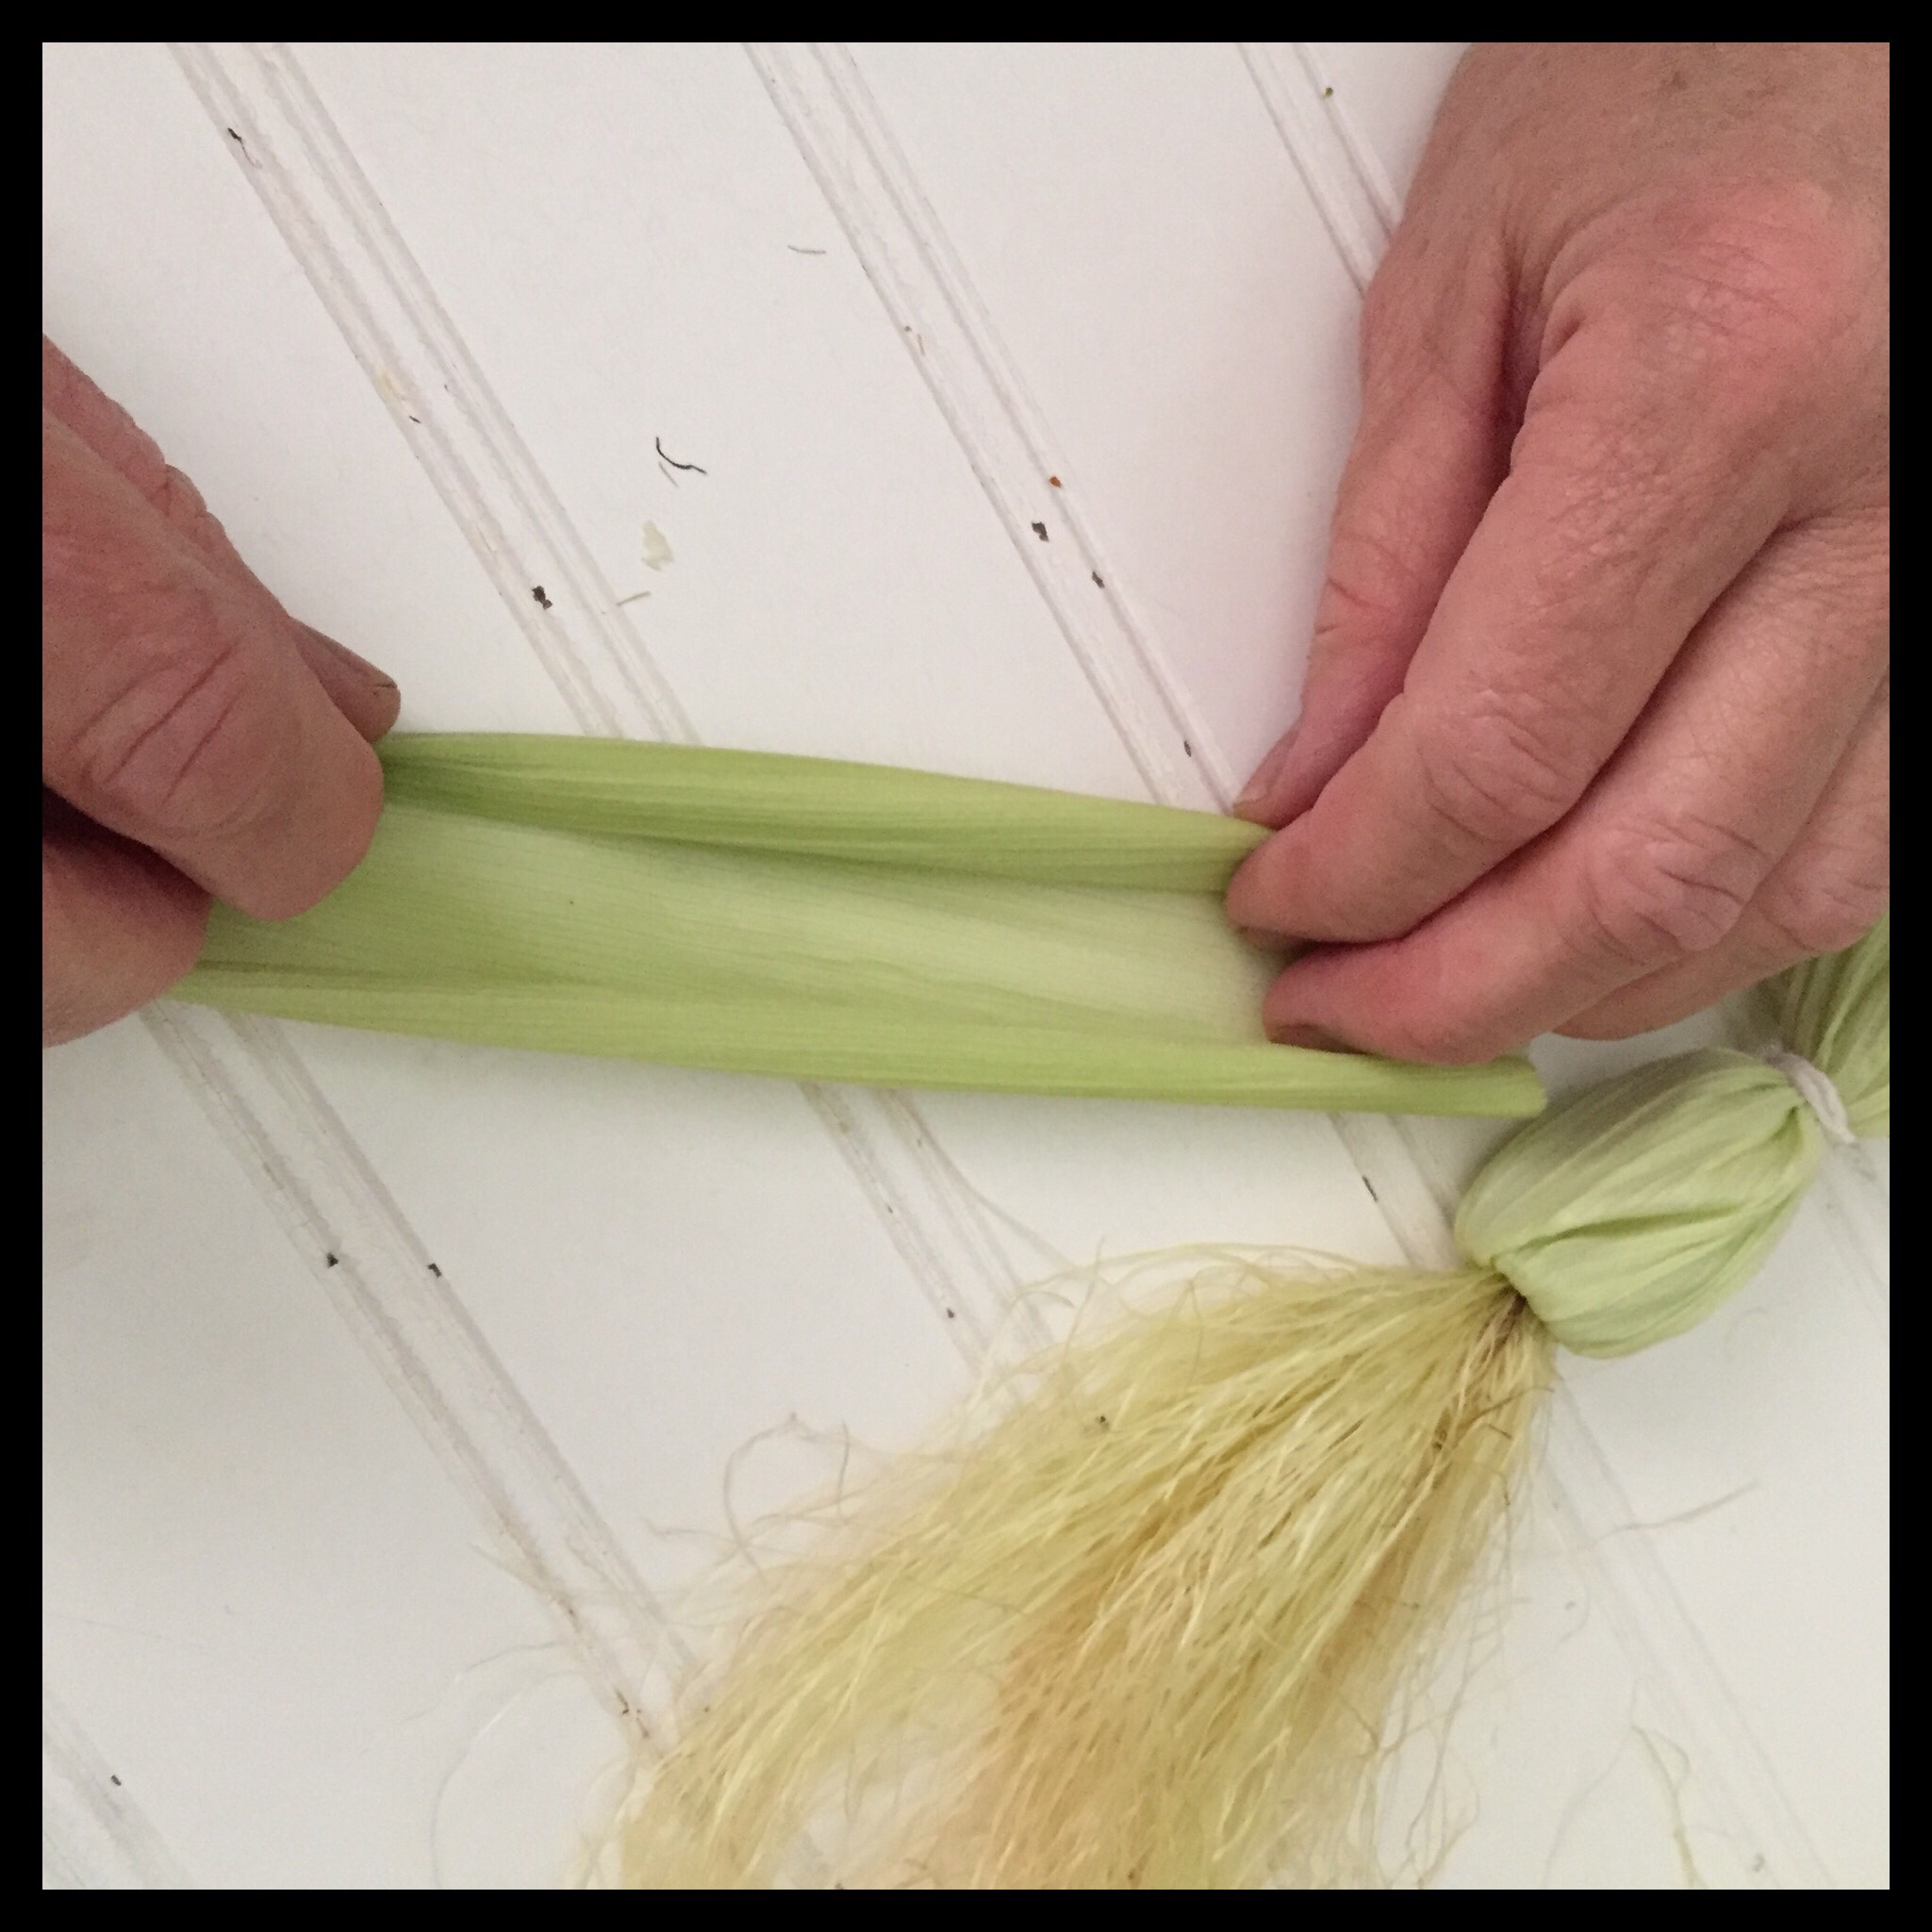
Lay a bunch of corn silk in a piece of corn husk. The brown part of the silk should be at the pointed end of the husk, and should be extended out past the end of the husk:
Roll the brown part of the silk down into a ball. This is going to be the padding for the head:
Use two or three more husks to fully cover the silk all the way around. They should be overlapping each other:
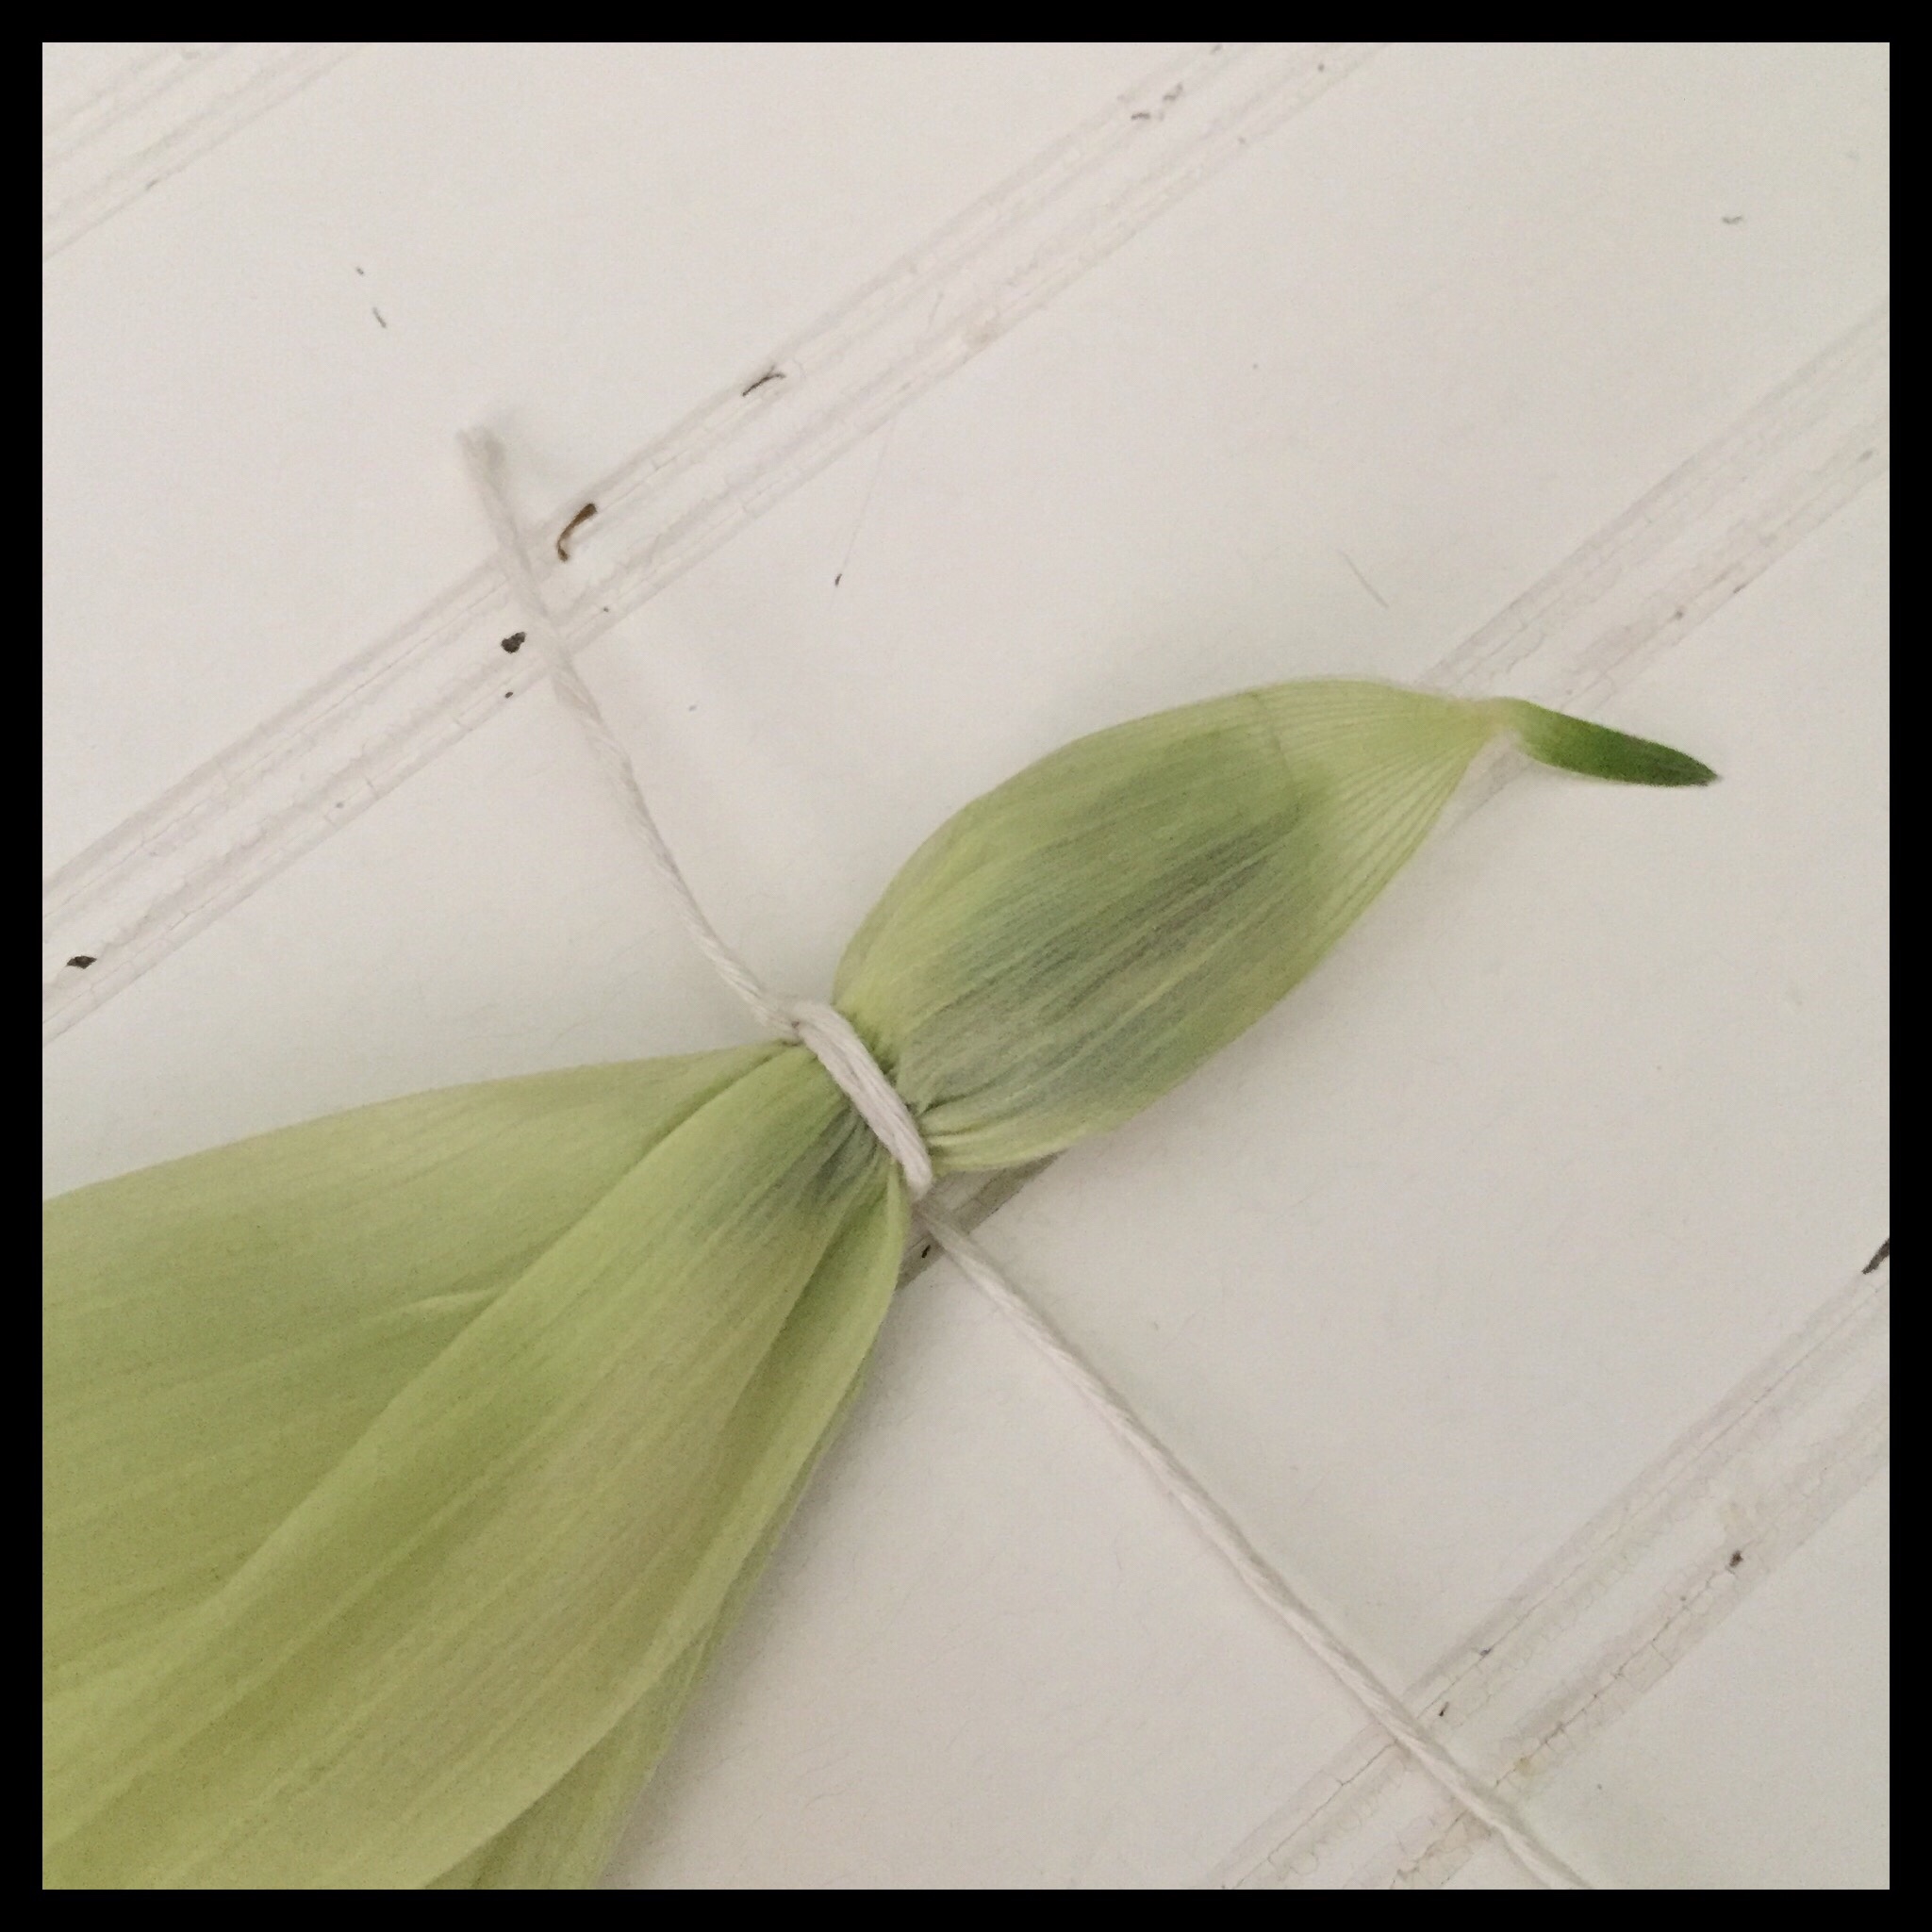
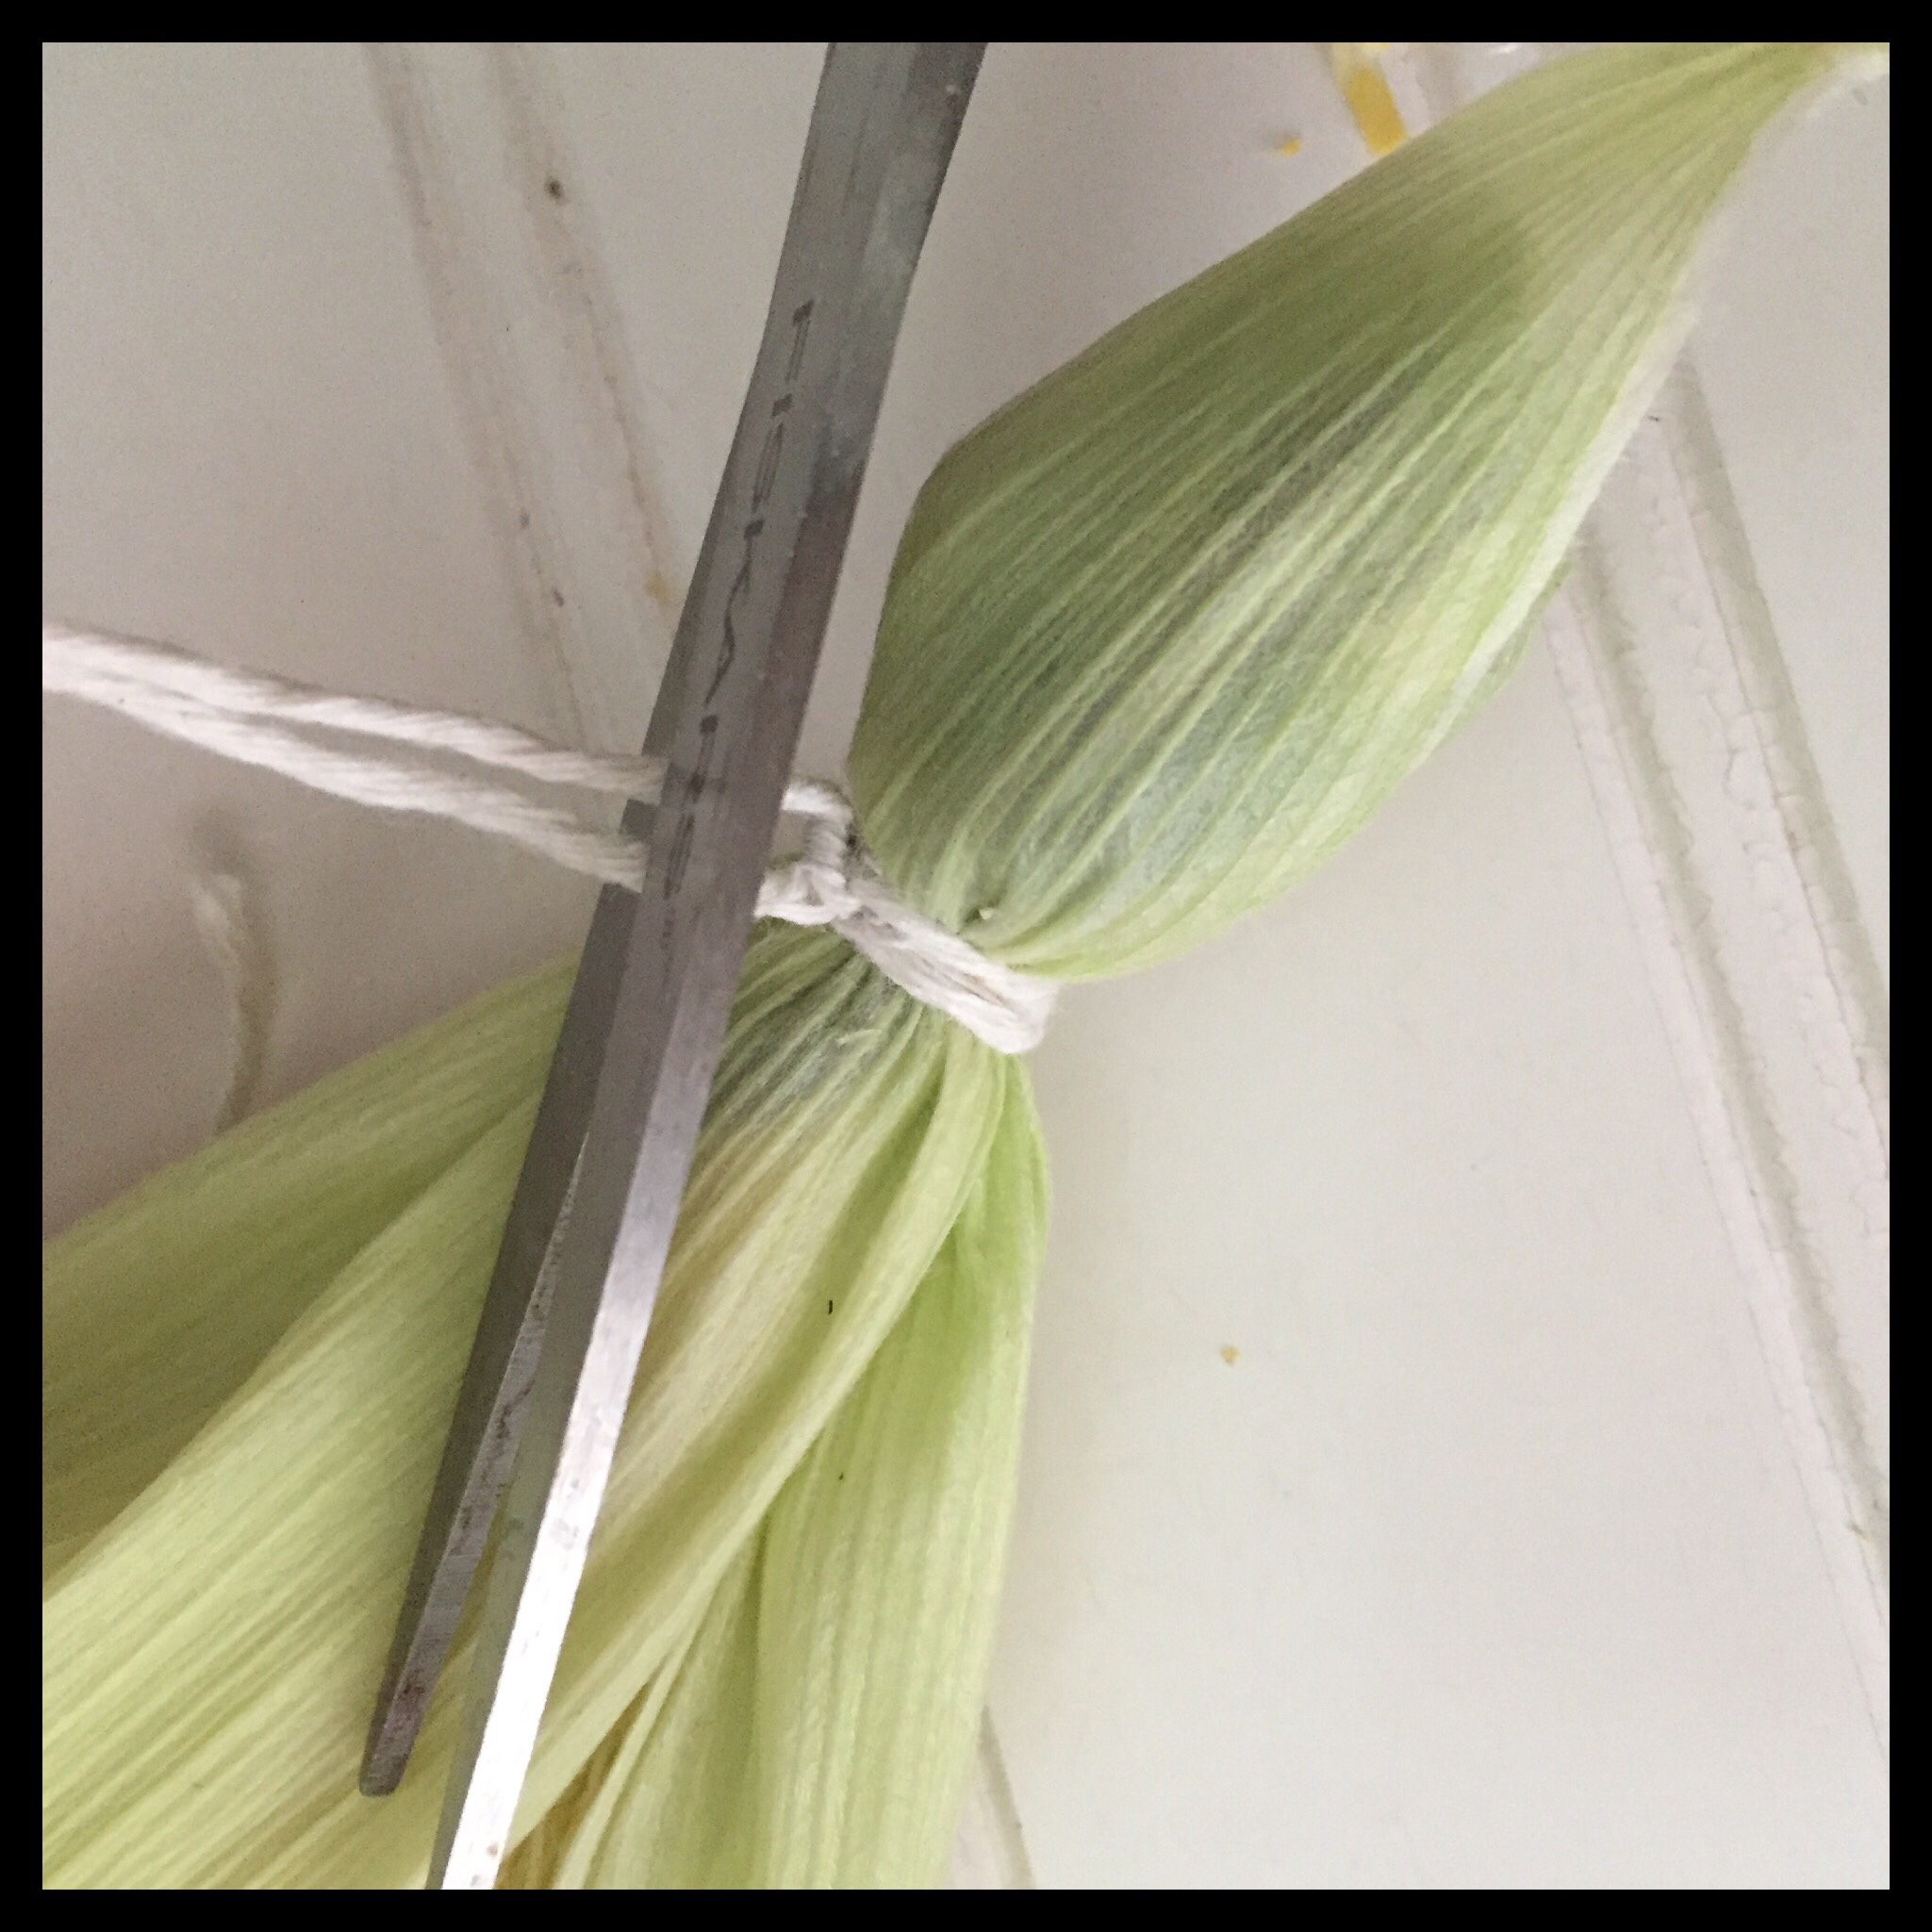
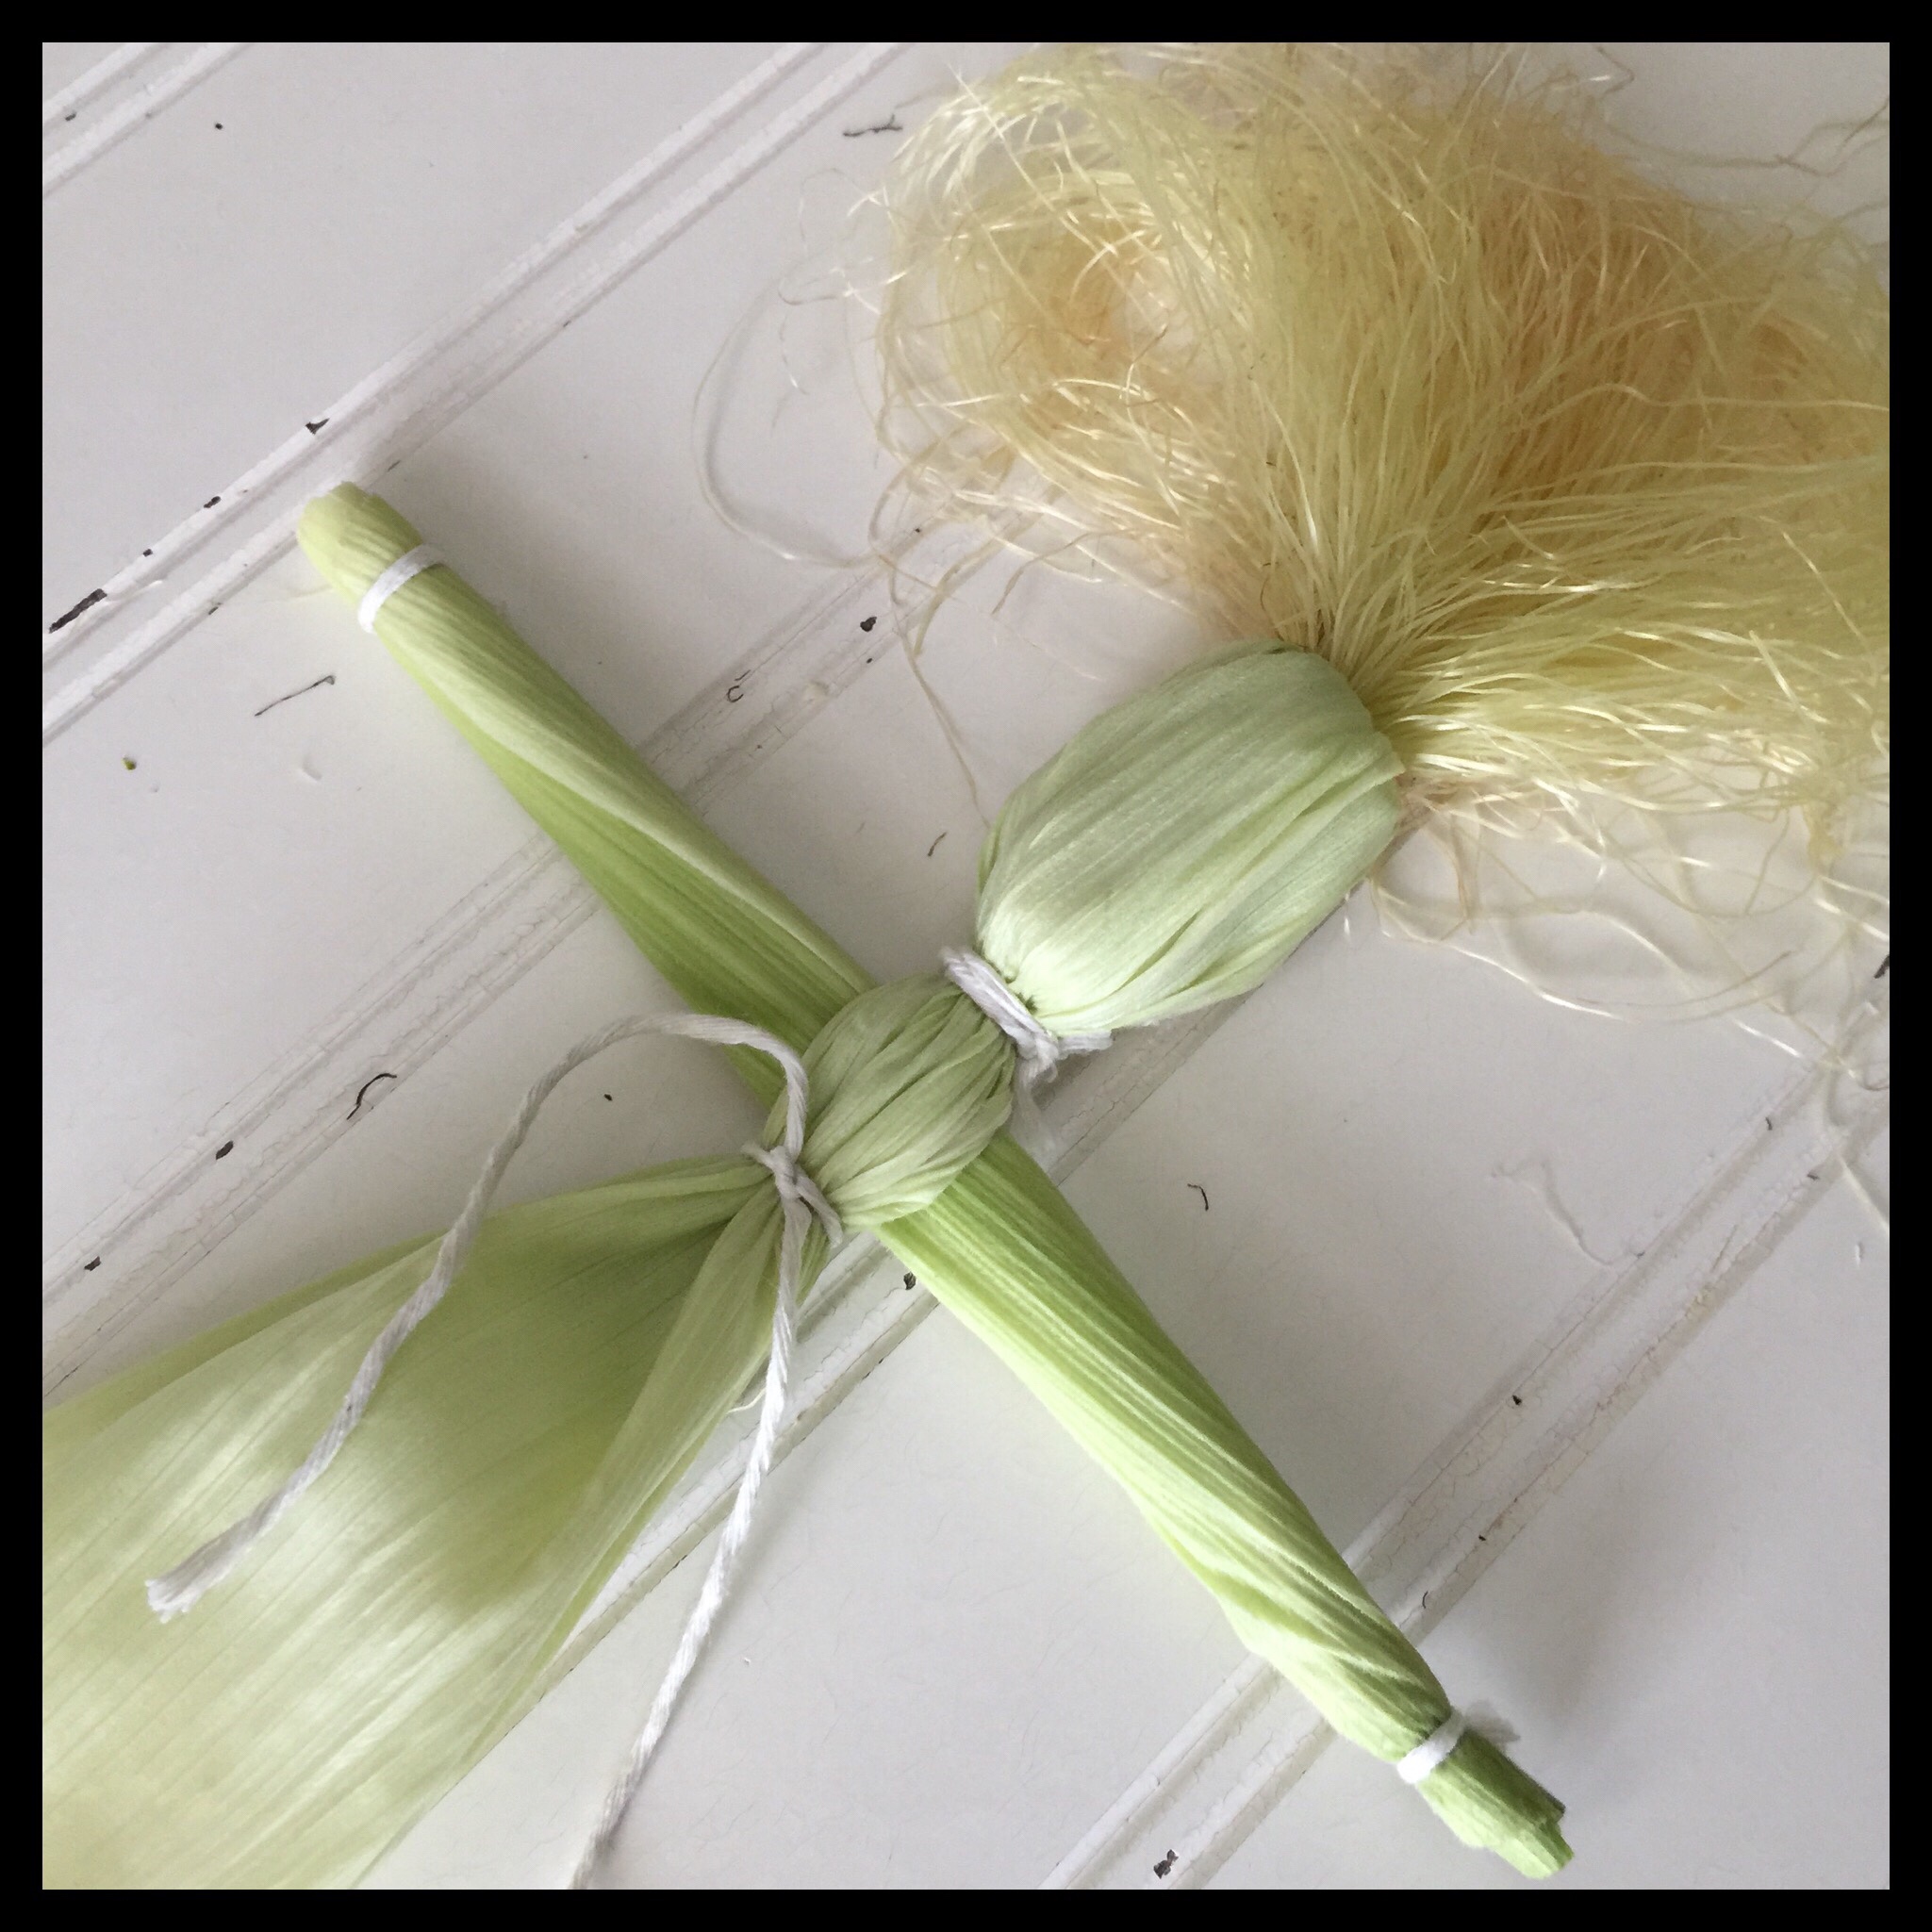
Tie a piece of string about one to one and a half inches from the top of the pointed ends of the husks and trim off the extra string:
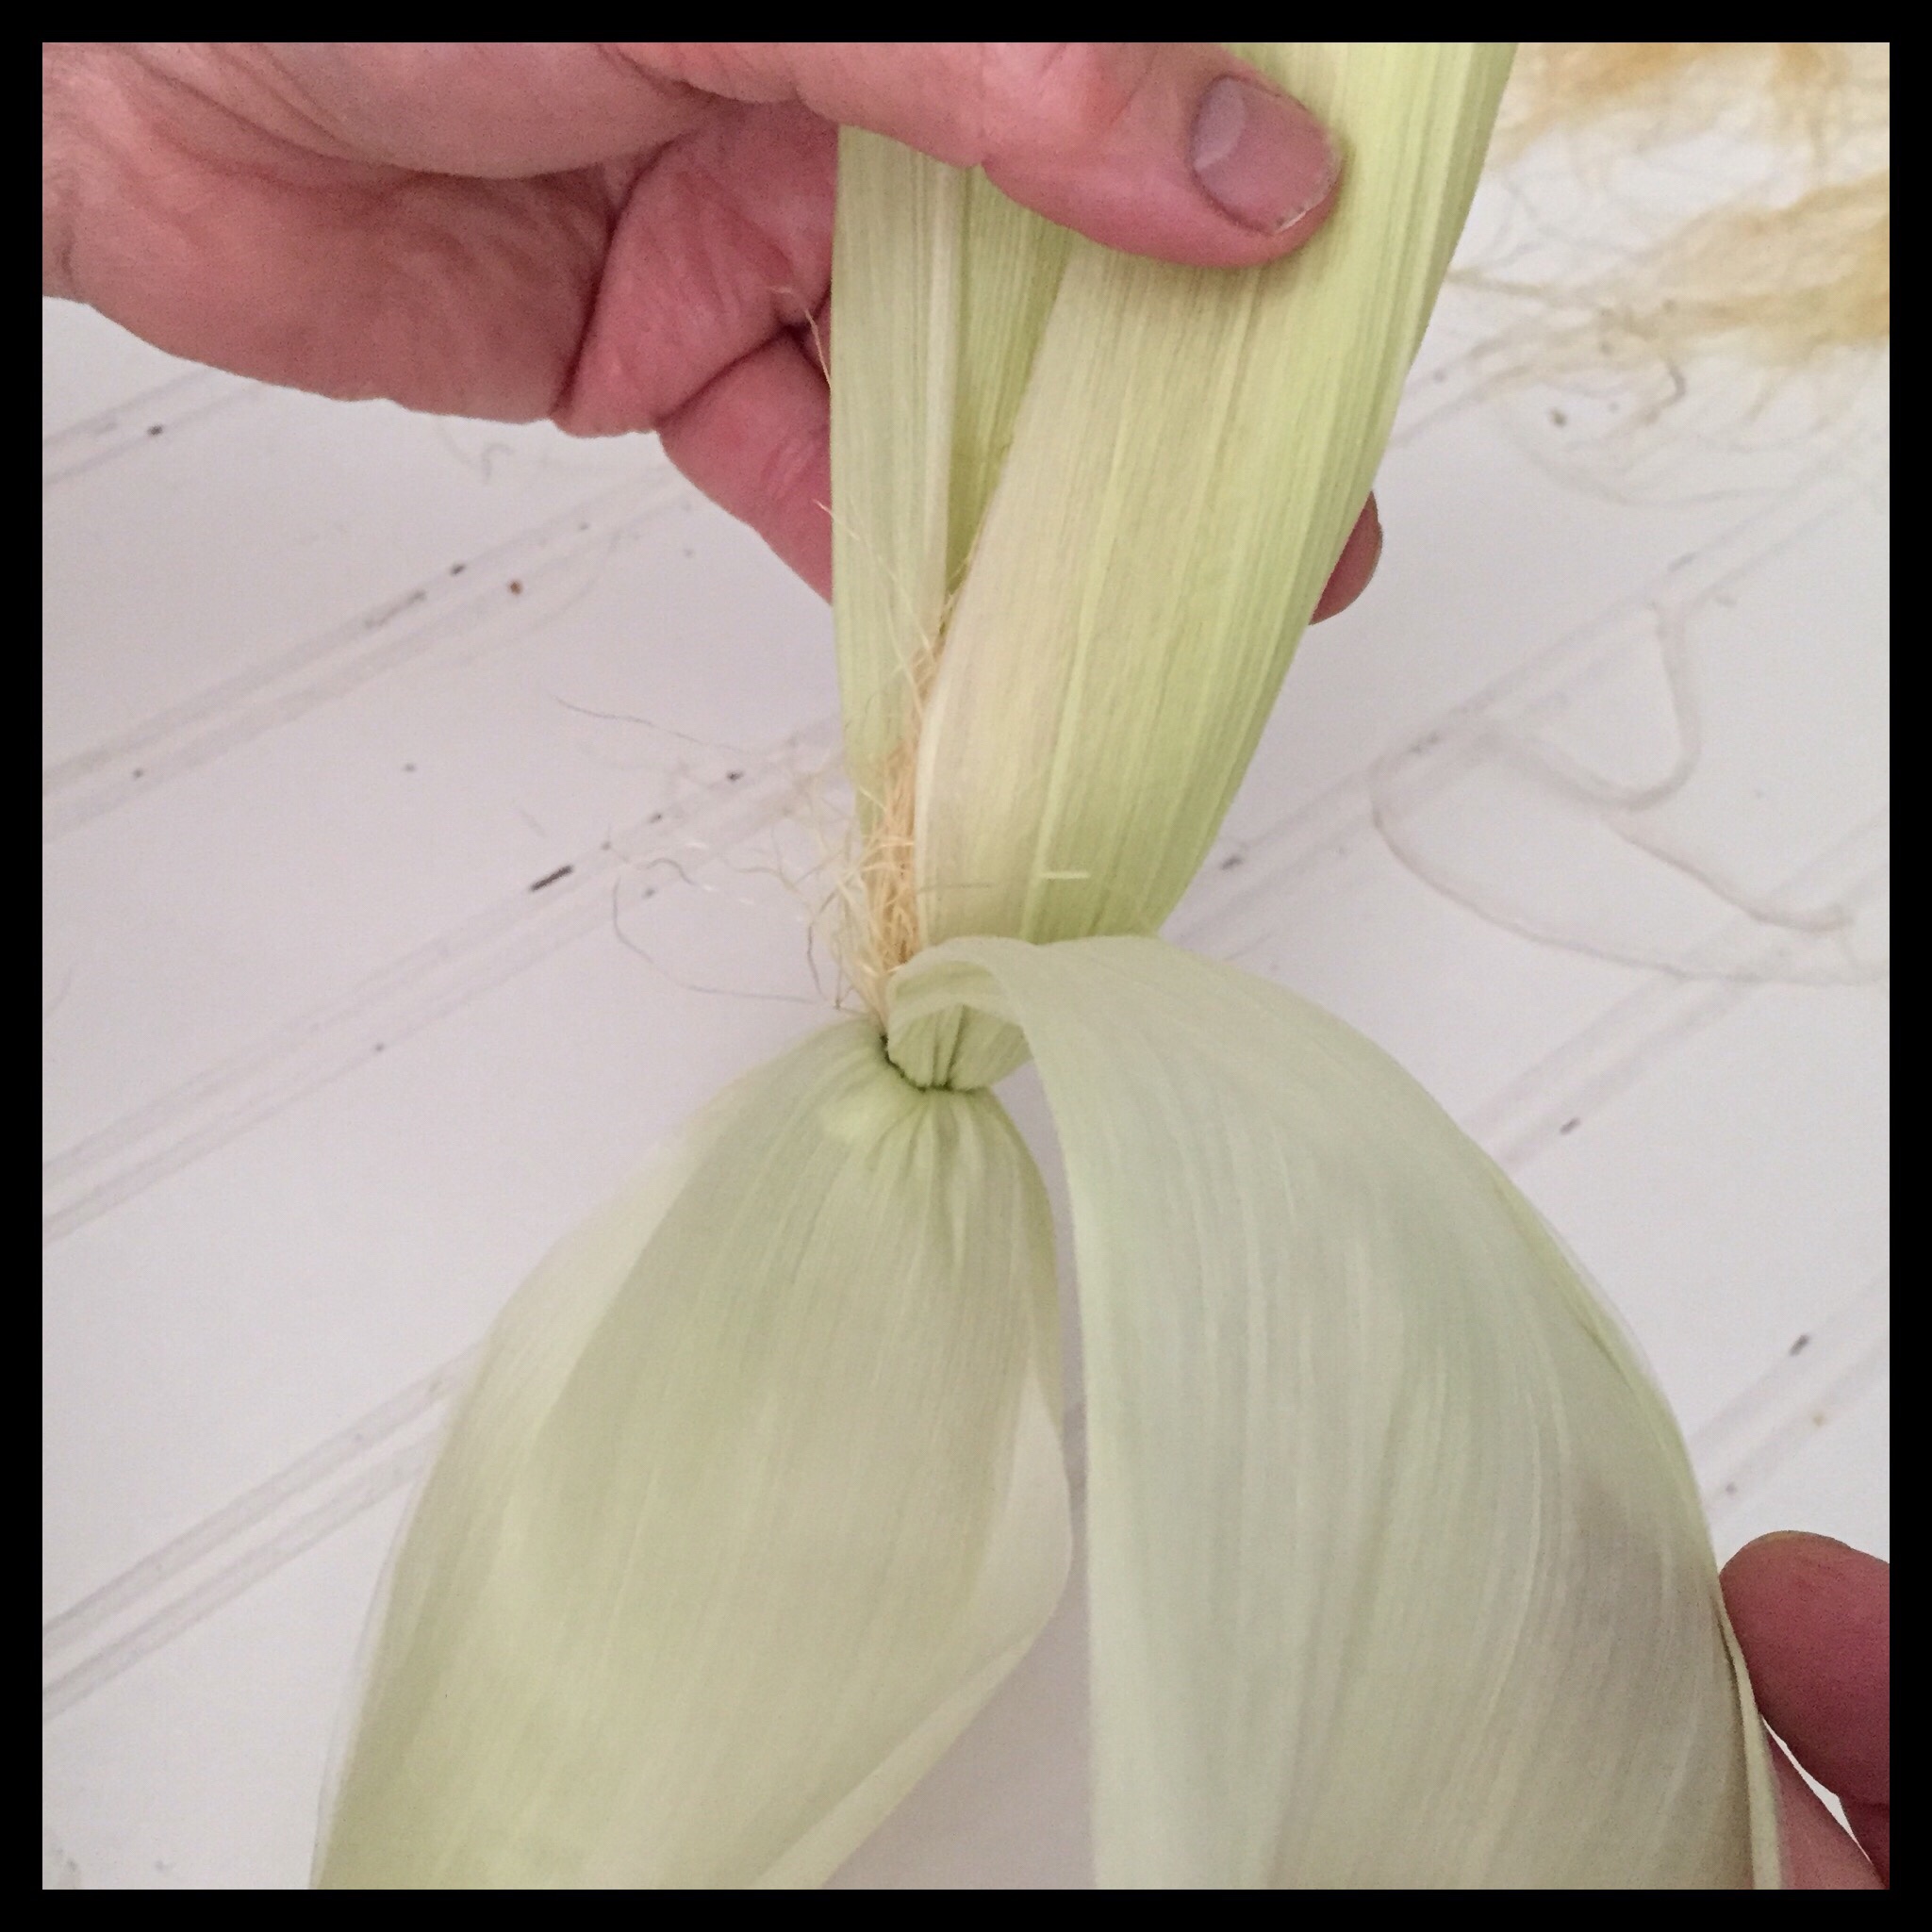
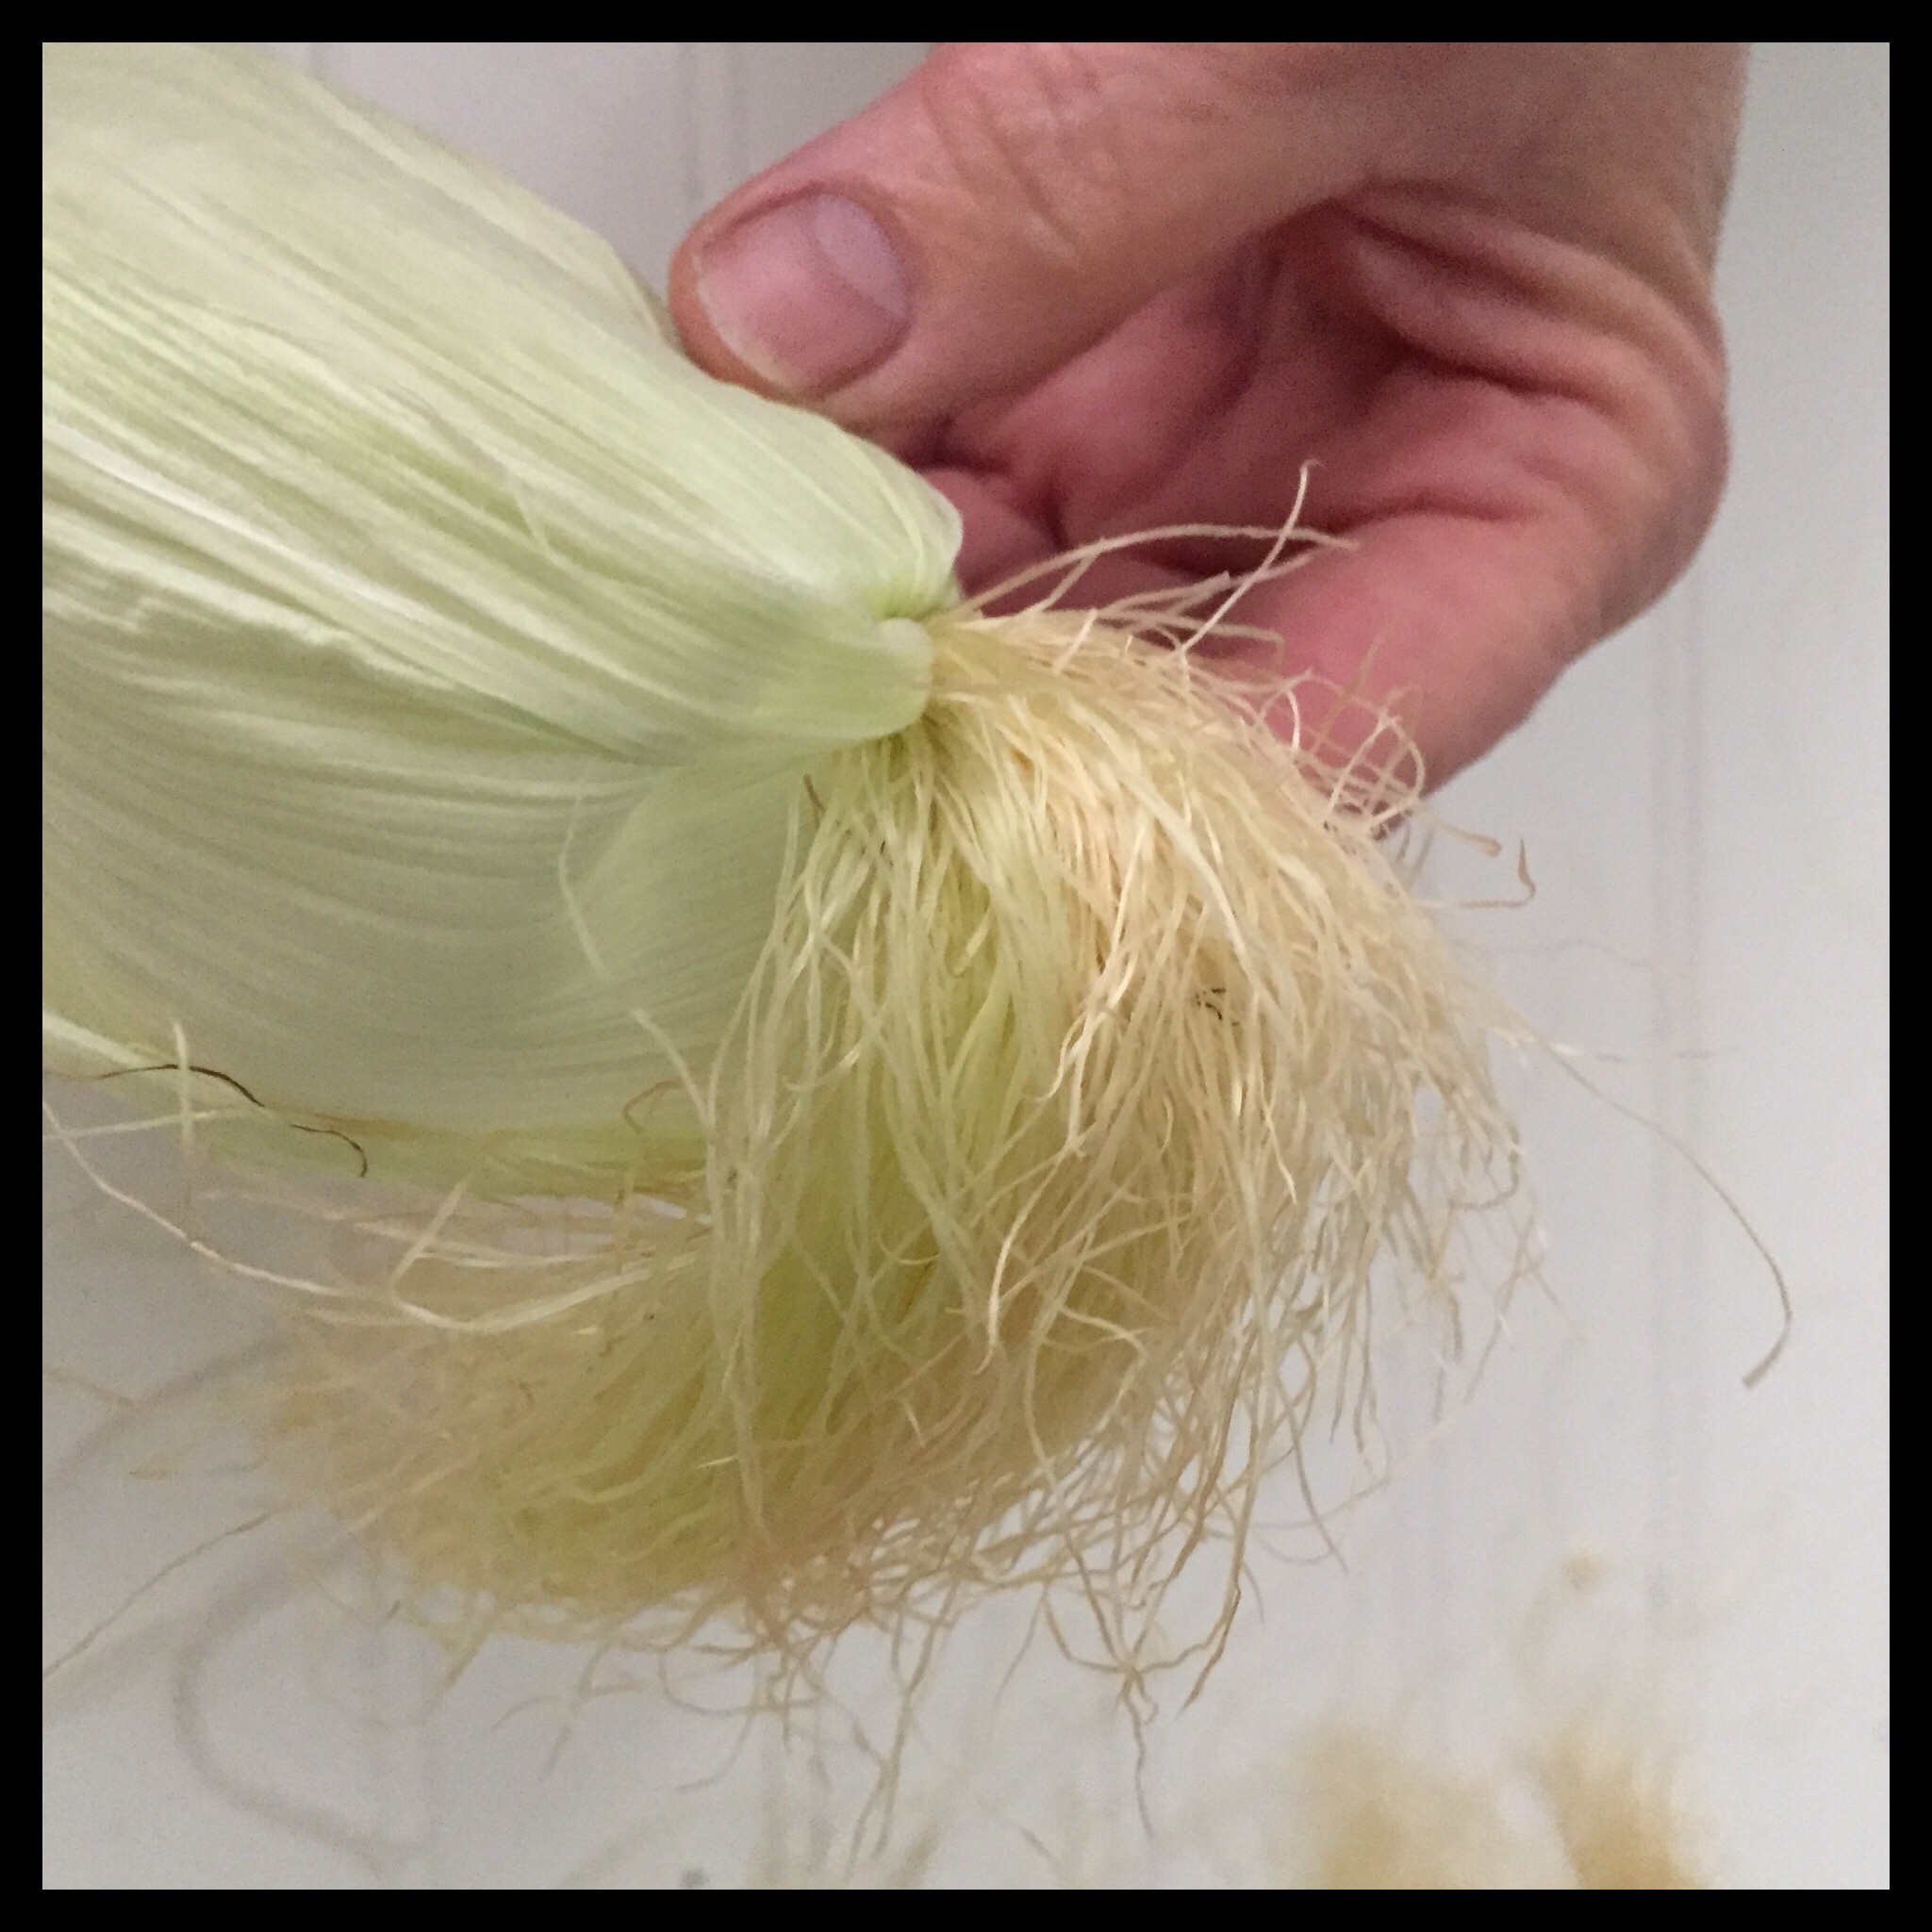
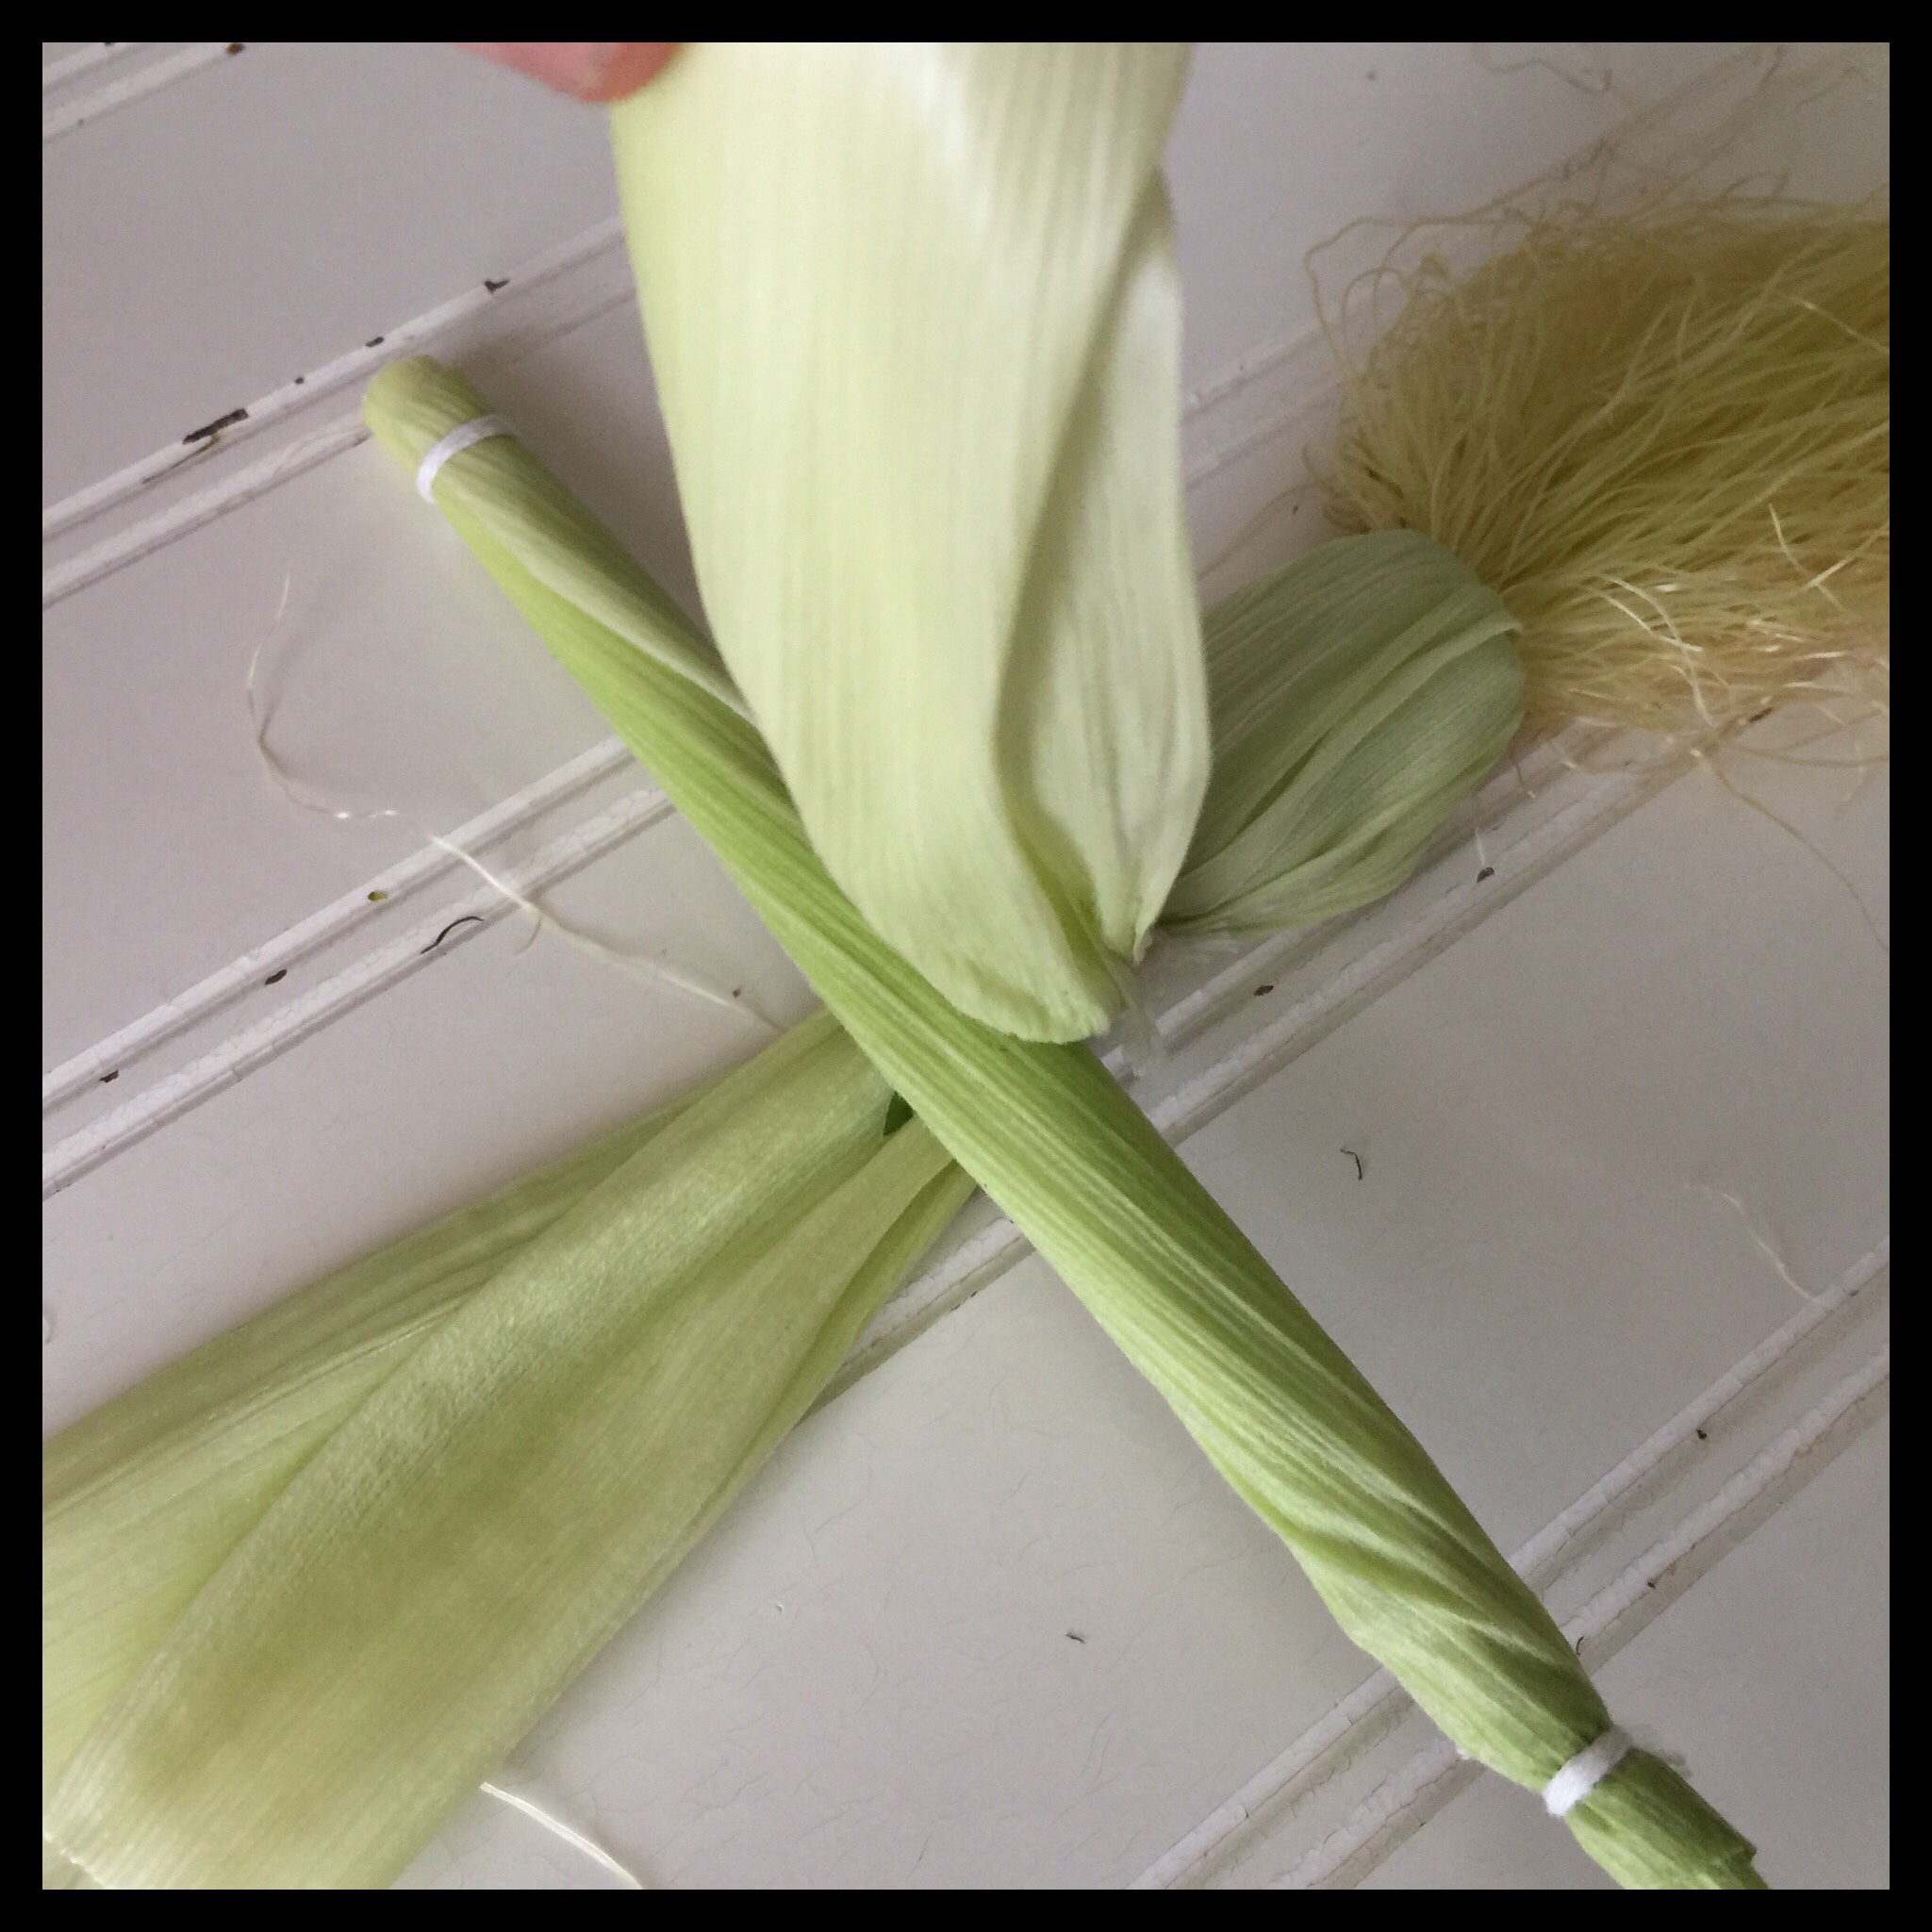
Gently fold one piece of husk back at a time over the pointed end to reveal the corn silk hair:
I didn’t get a photo, but loosely tying the hair with a piece of string helps to keep pieces from falling out while you work.
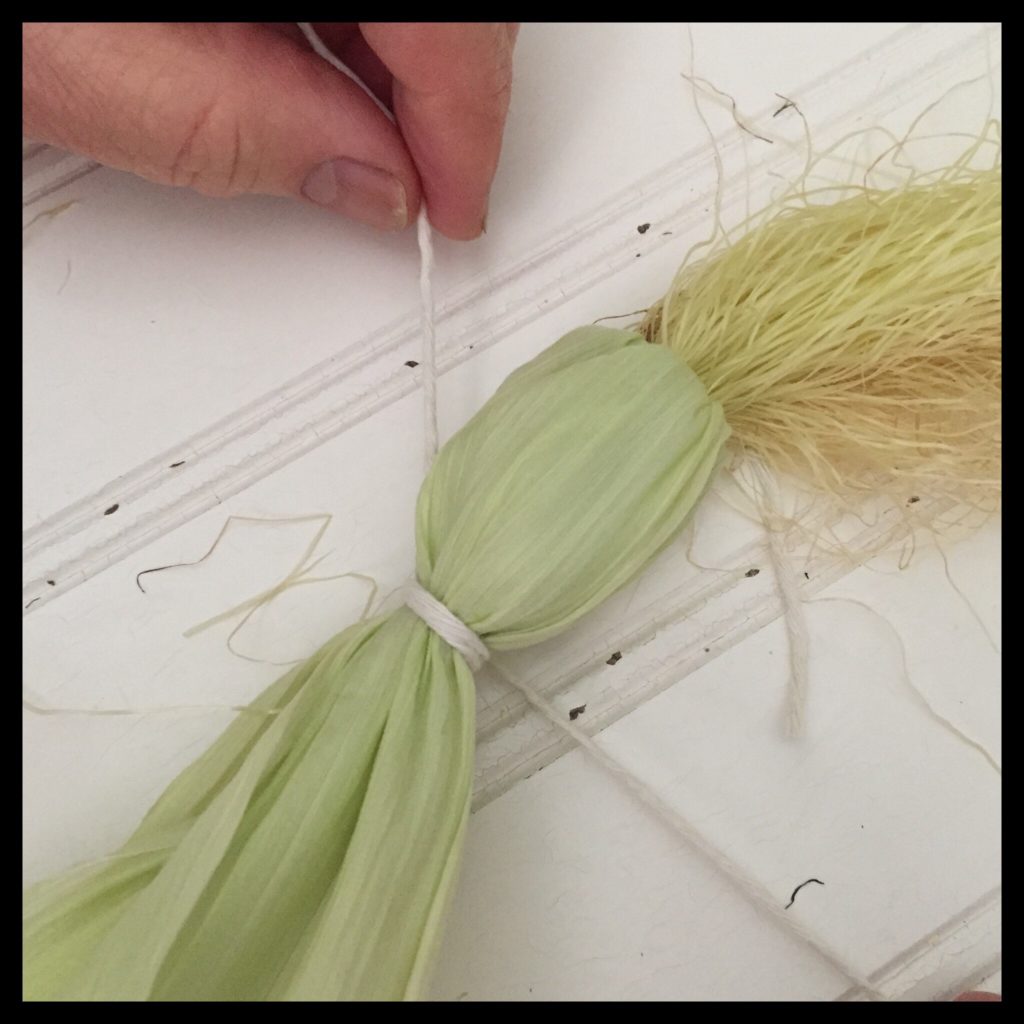
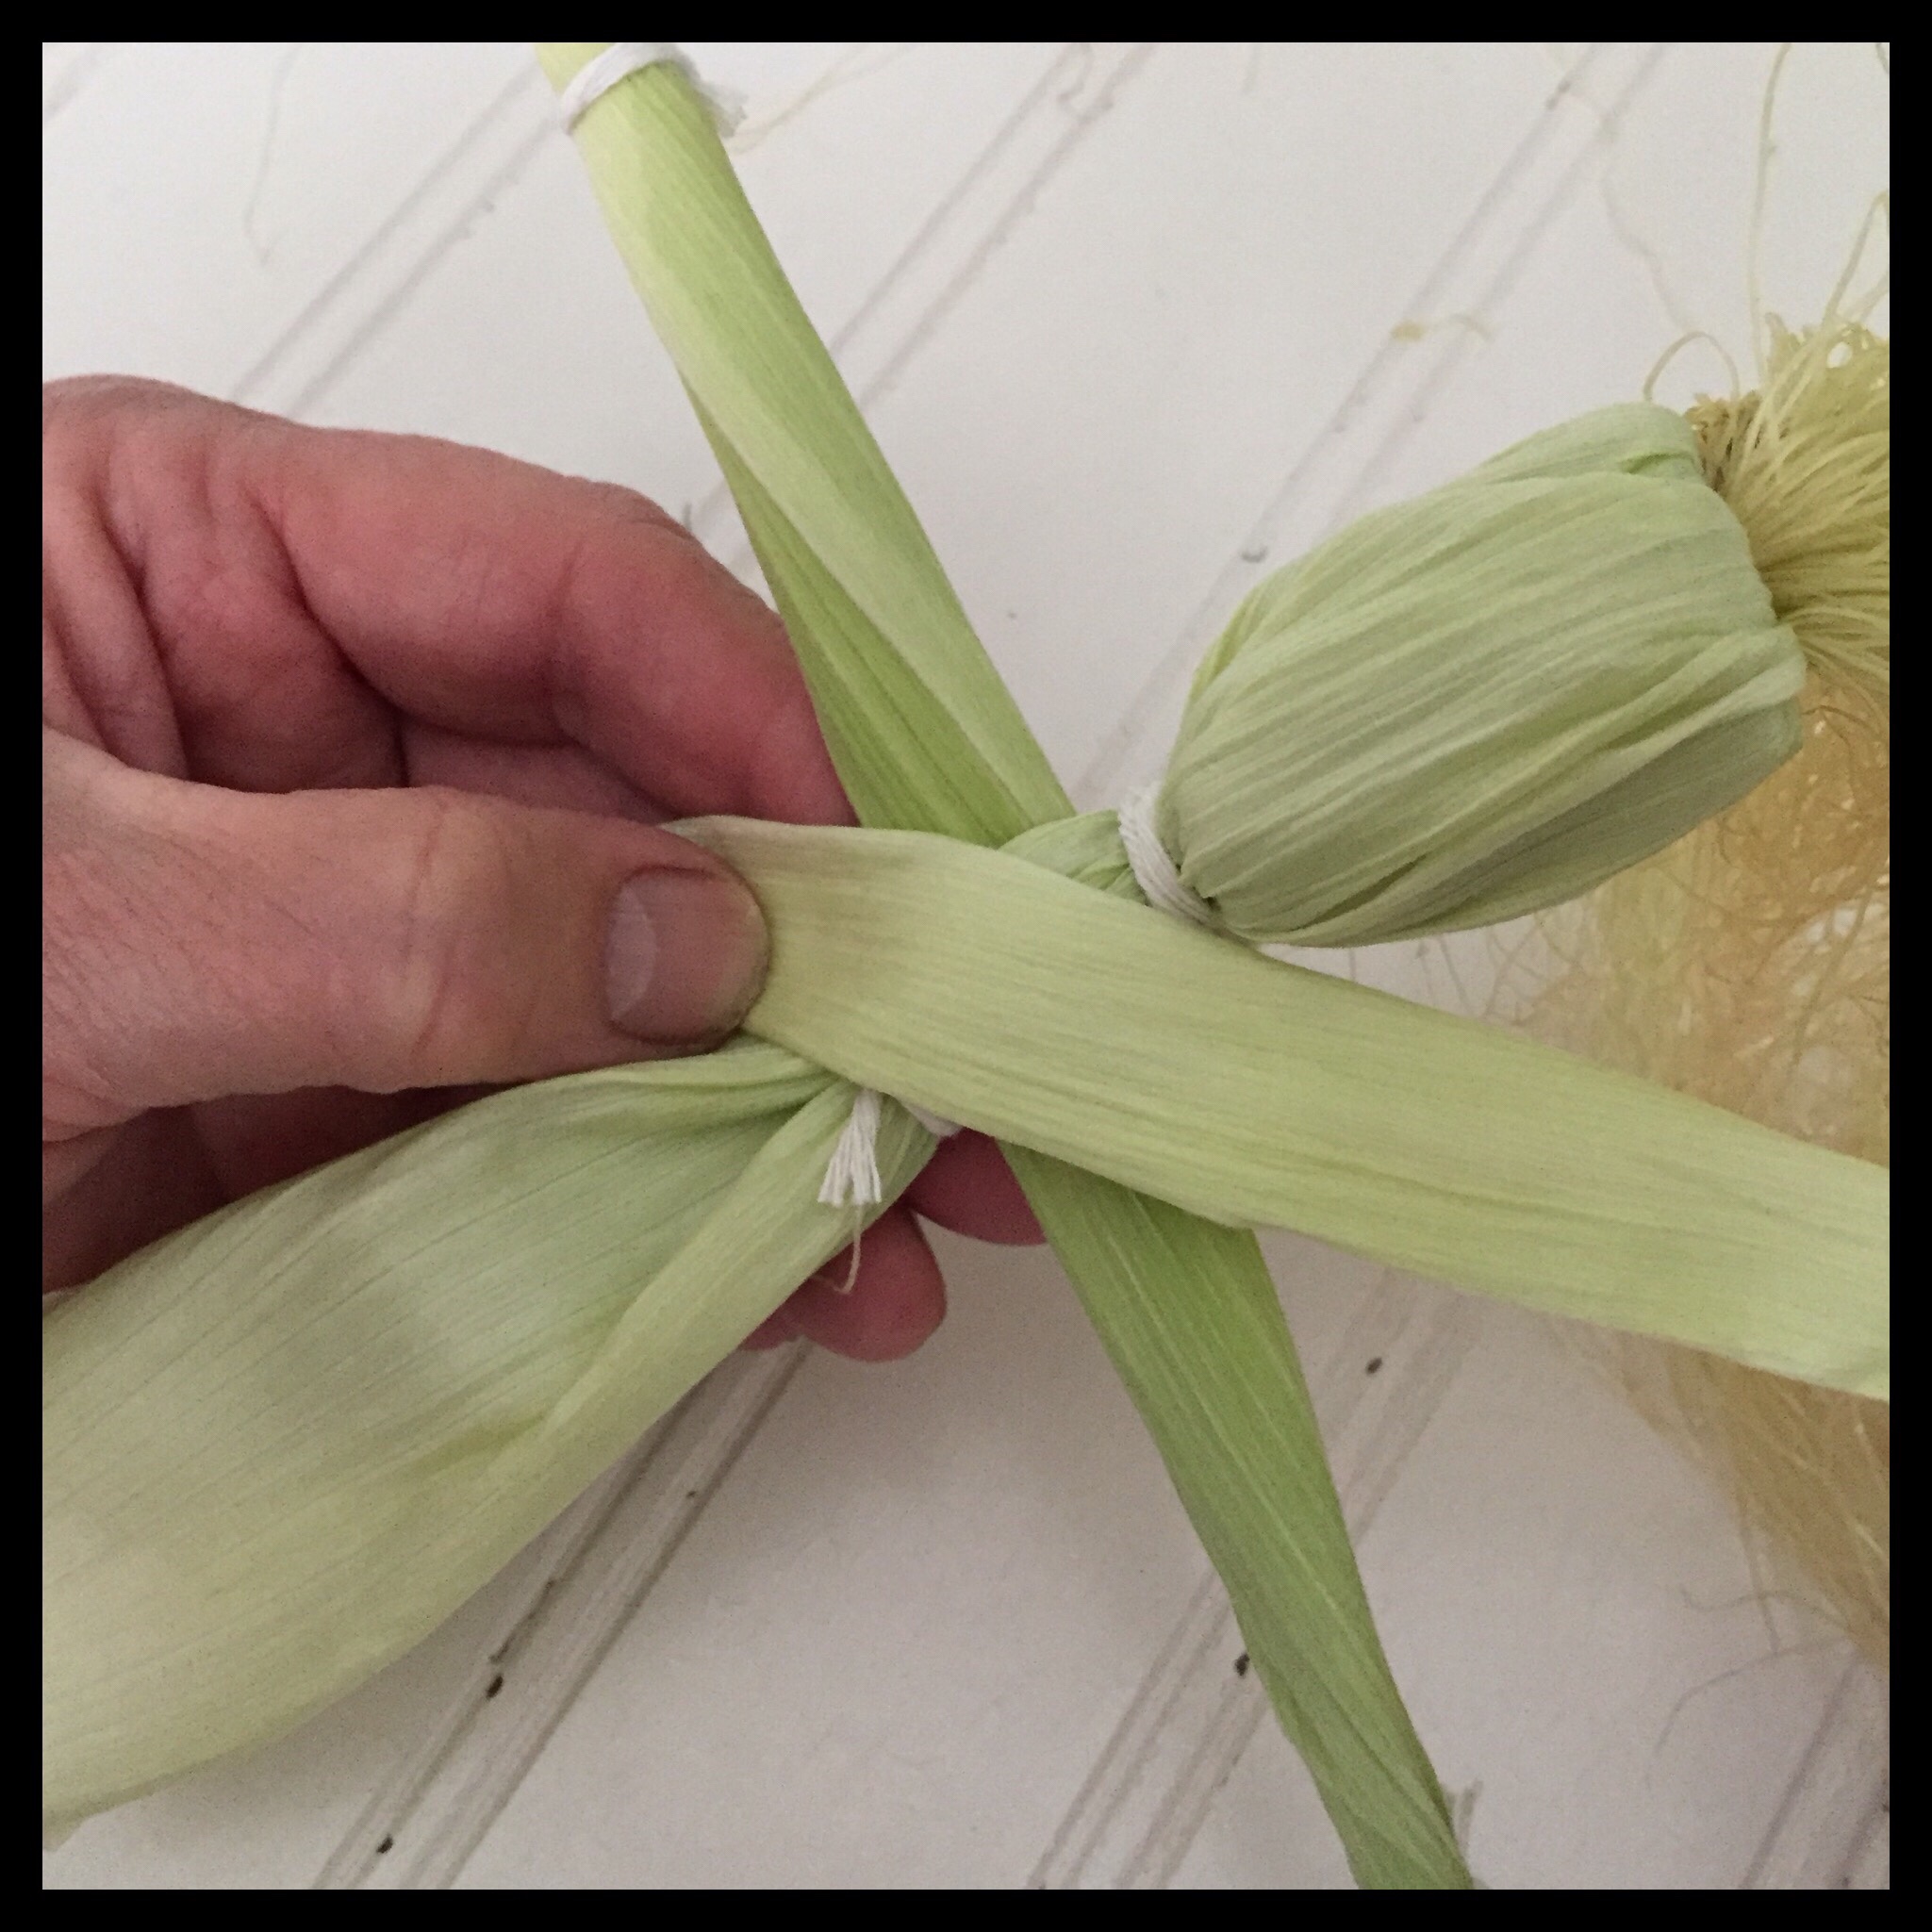
Smooth the pieces of corn husk down and decide which side looks best for the face. Tie a piece of string below the head to create the neck, being sure to tie the knot in the back:
The next step is to create the arms. Take one piece of corn husk and fold over the pointed end to make it the length of two arms:
Roll it tightly into a pencil shape, then tie the wrists. My mom decided that she also likes to tie the roll in the center first to keep it from unrolling while you tie the wrists:
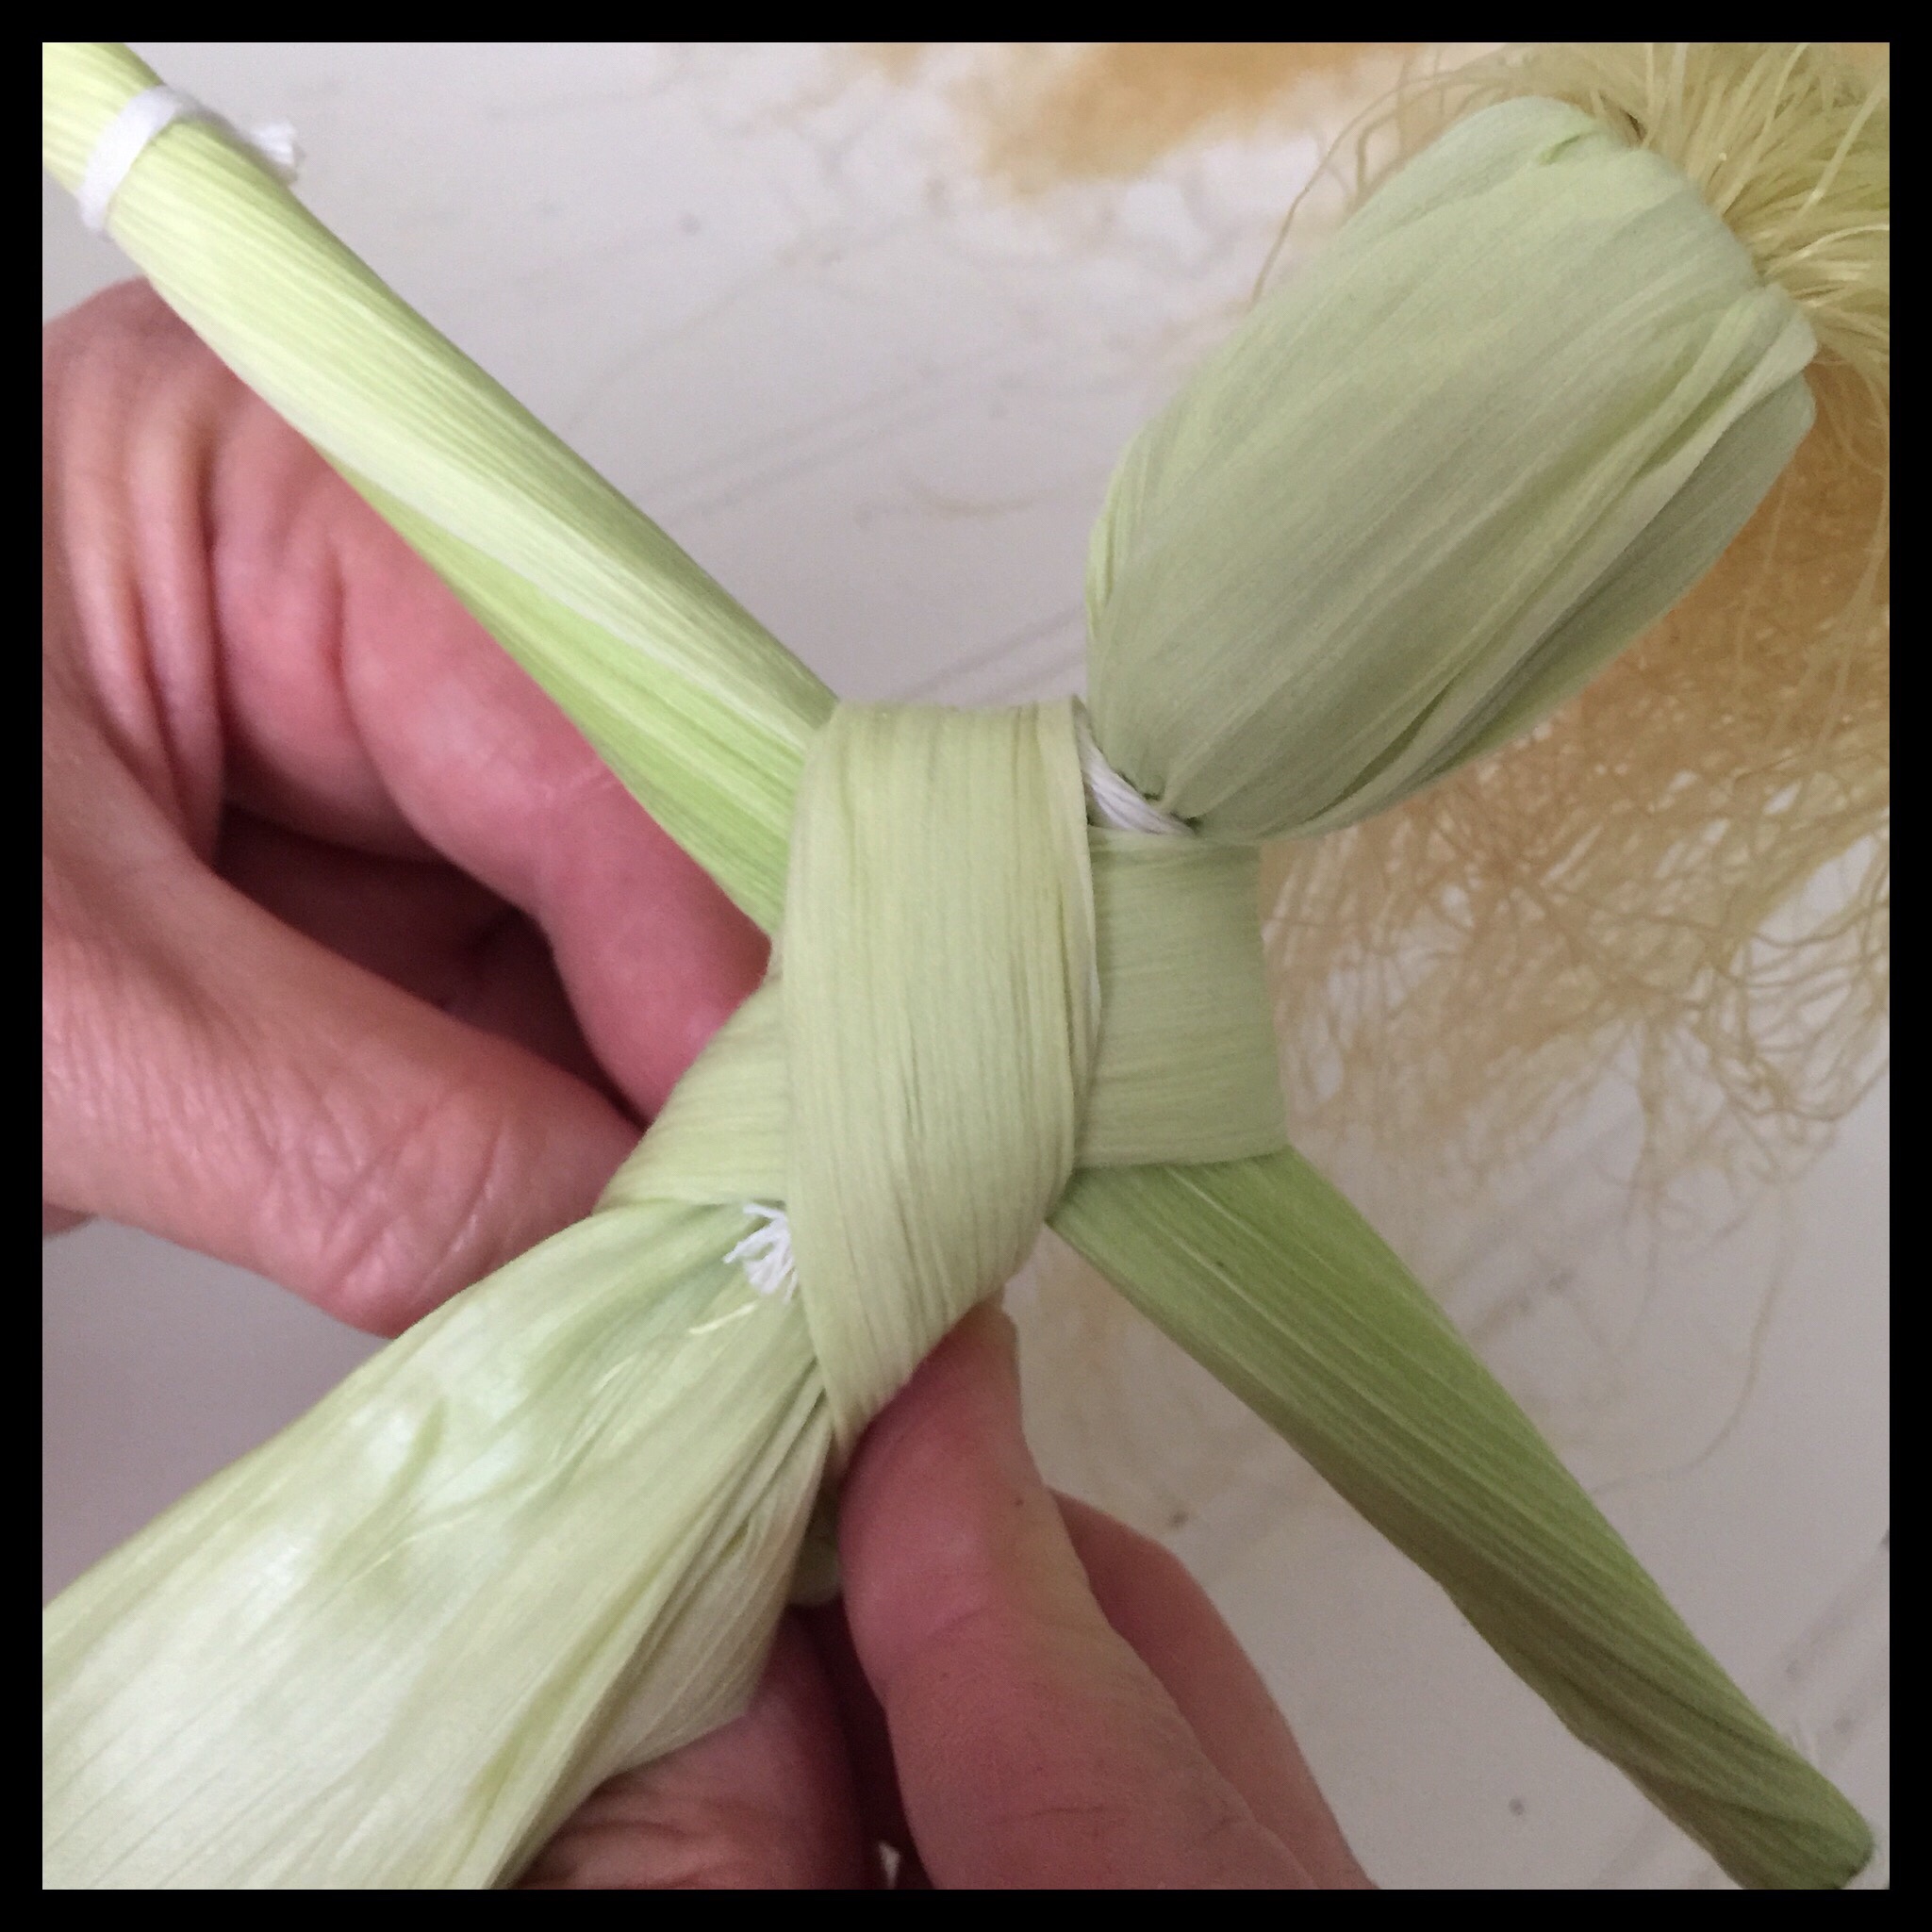
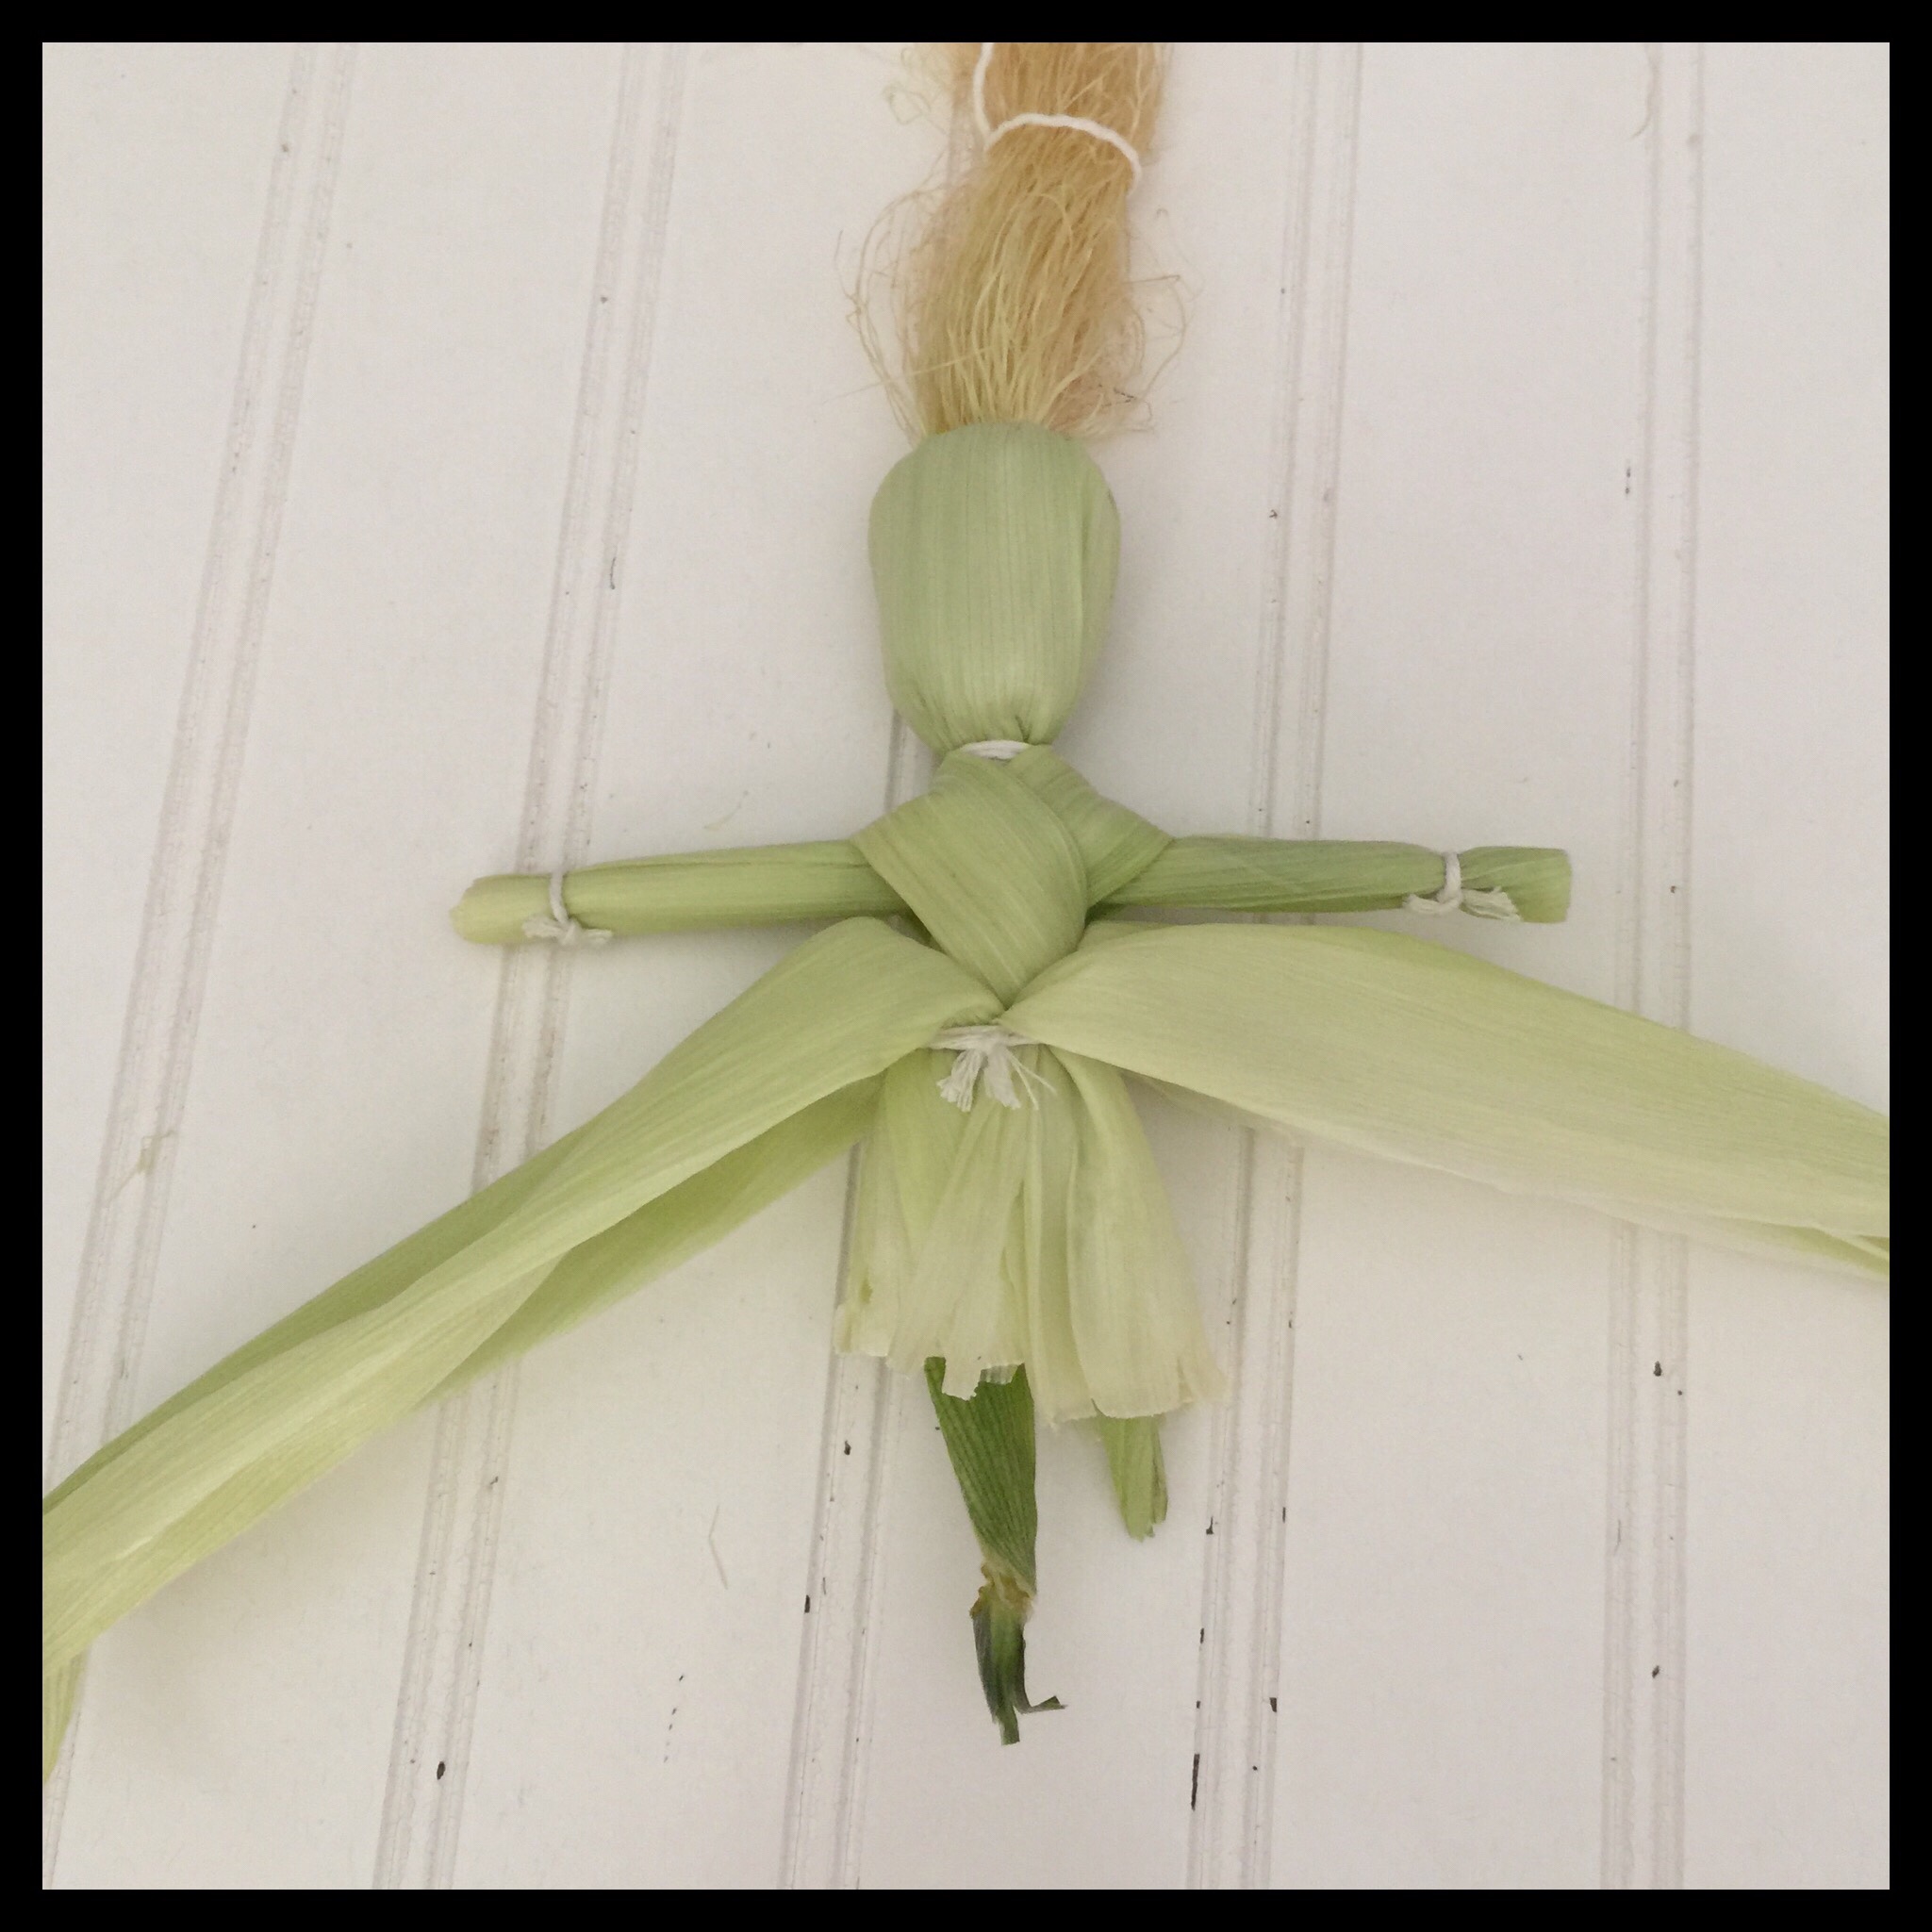
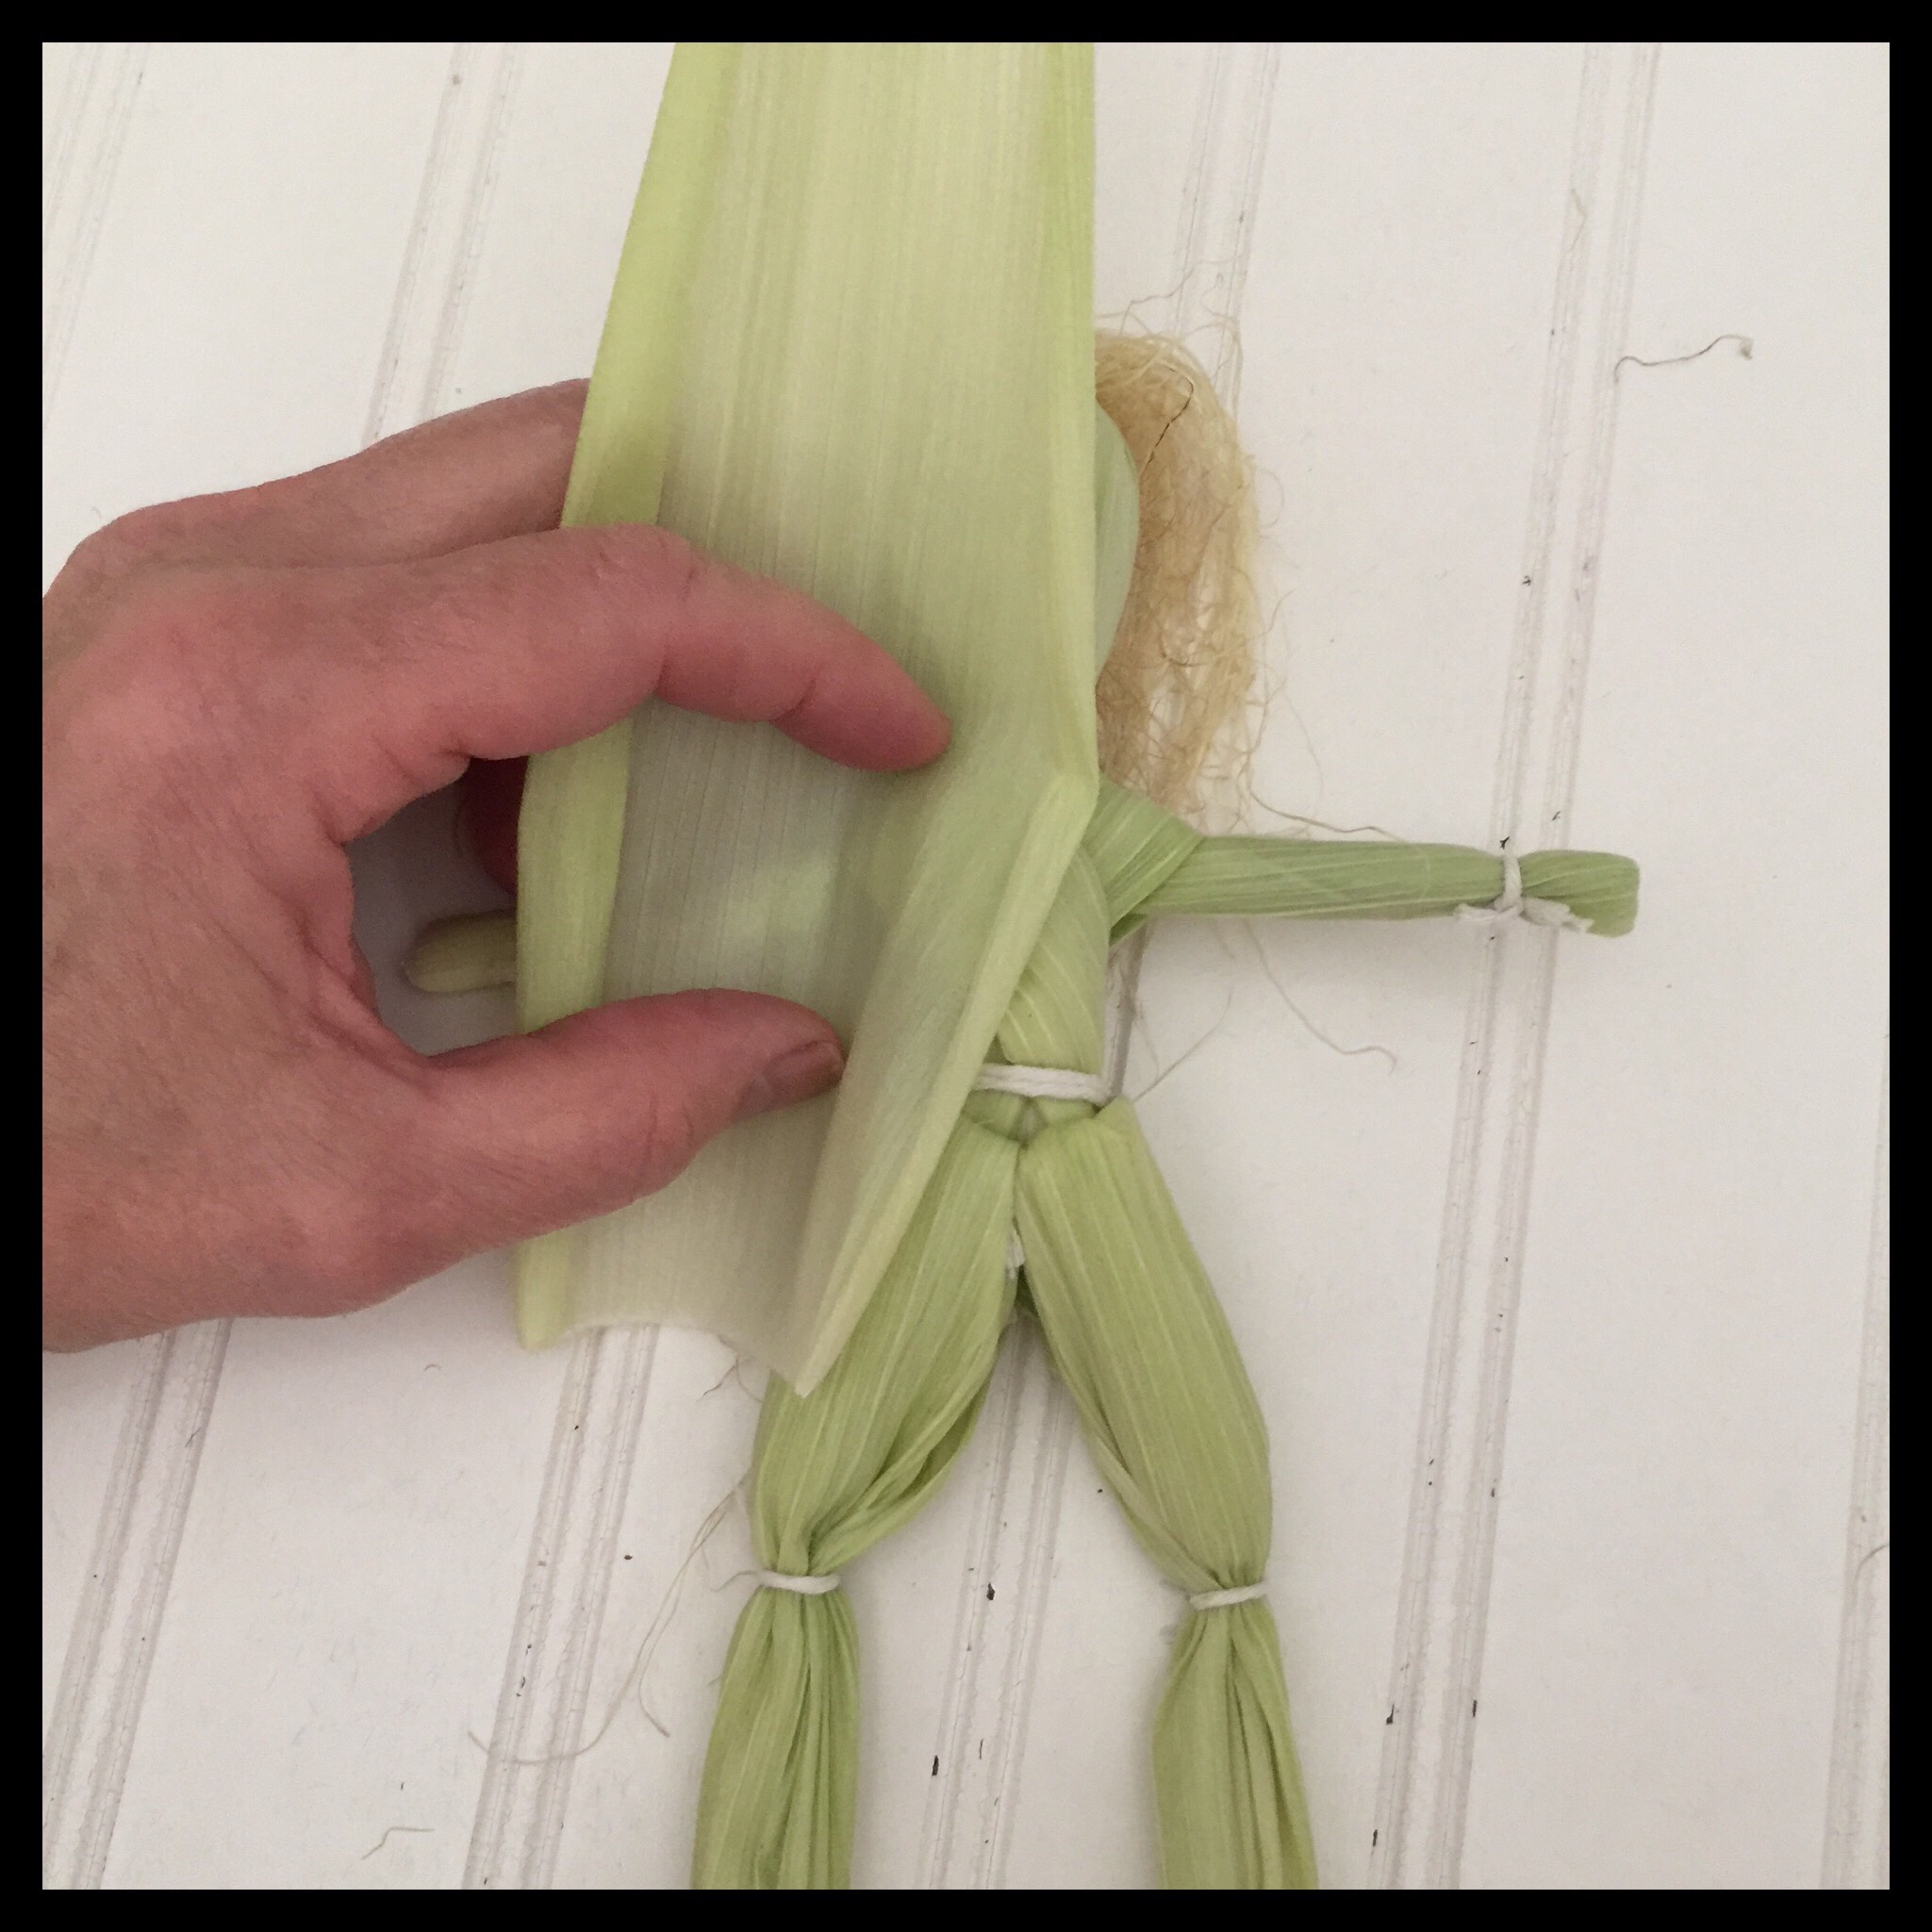
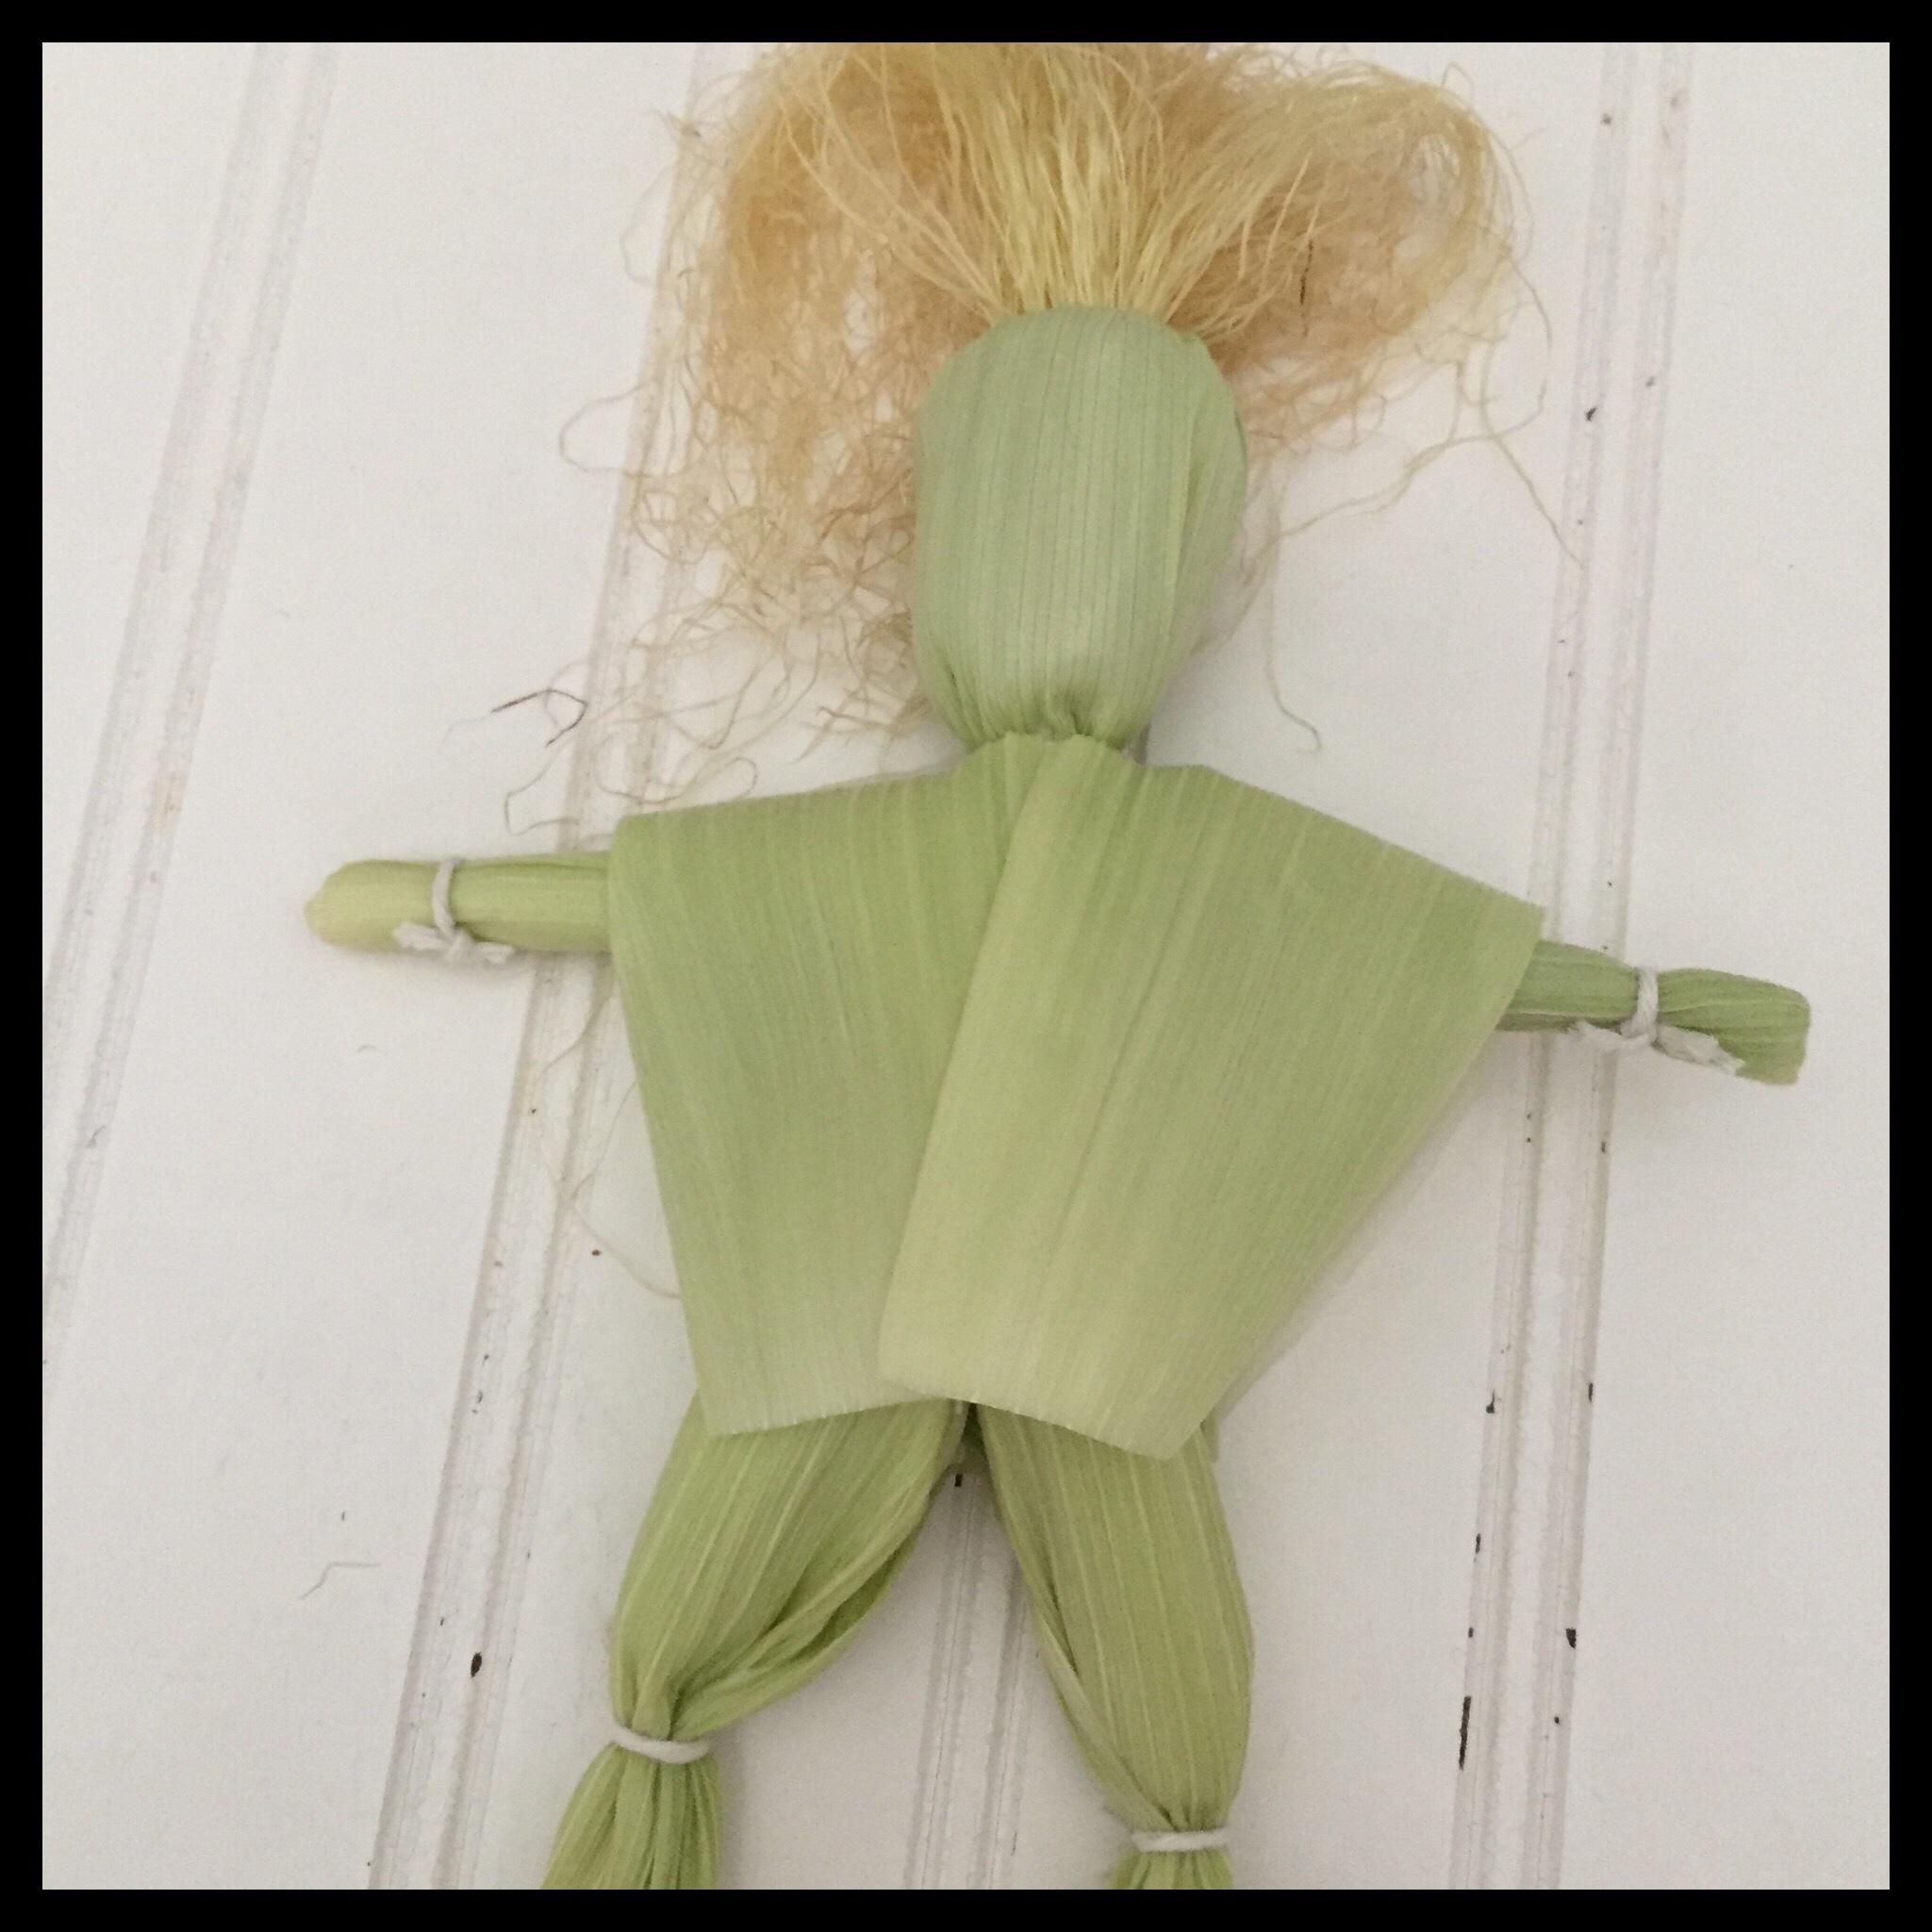
Lift up the top half of the husks and center the arm roll underneath. Position that the arms so the wrist knots are in the back. Push the roll up as far as you can, then fold the husk back down:
Tie another piece of string under the arms, making sure the arms are held in snugly.
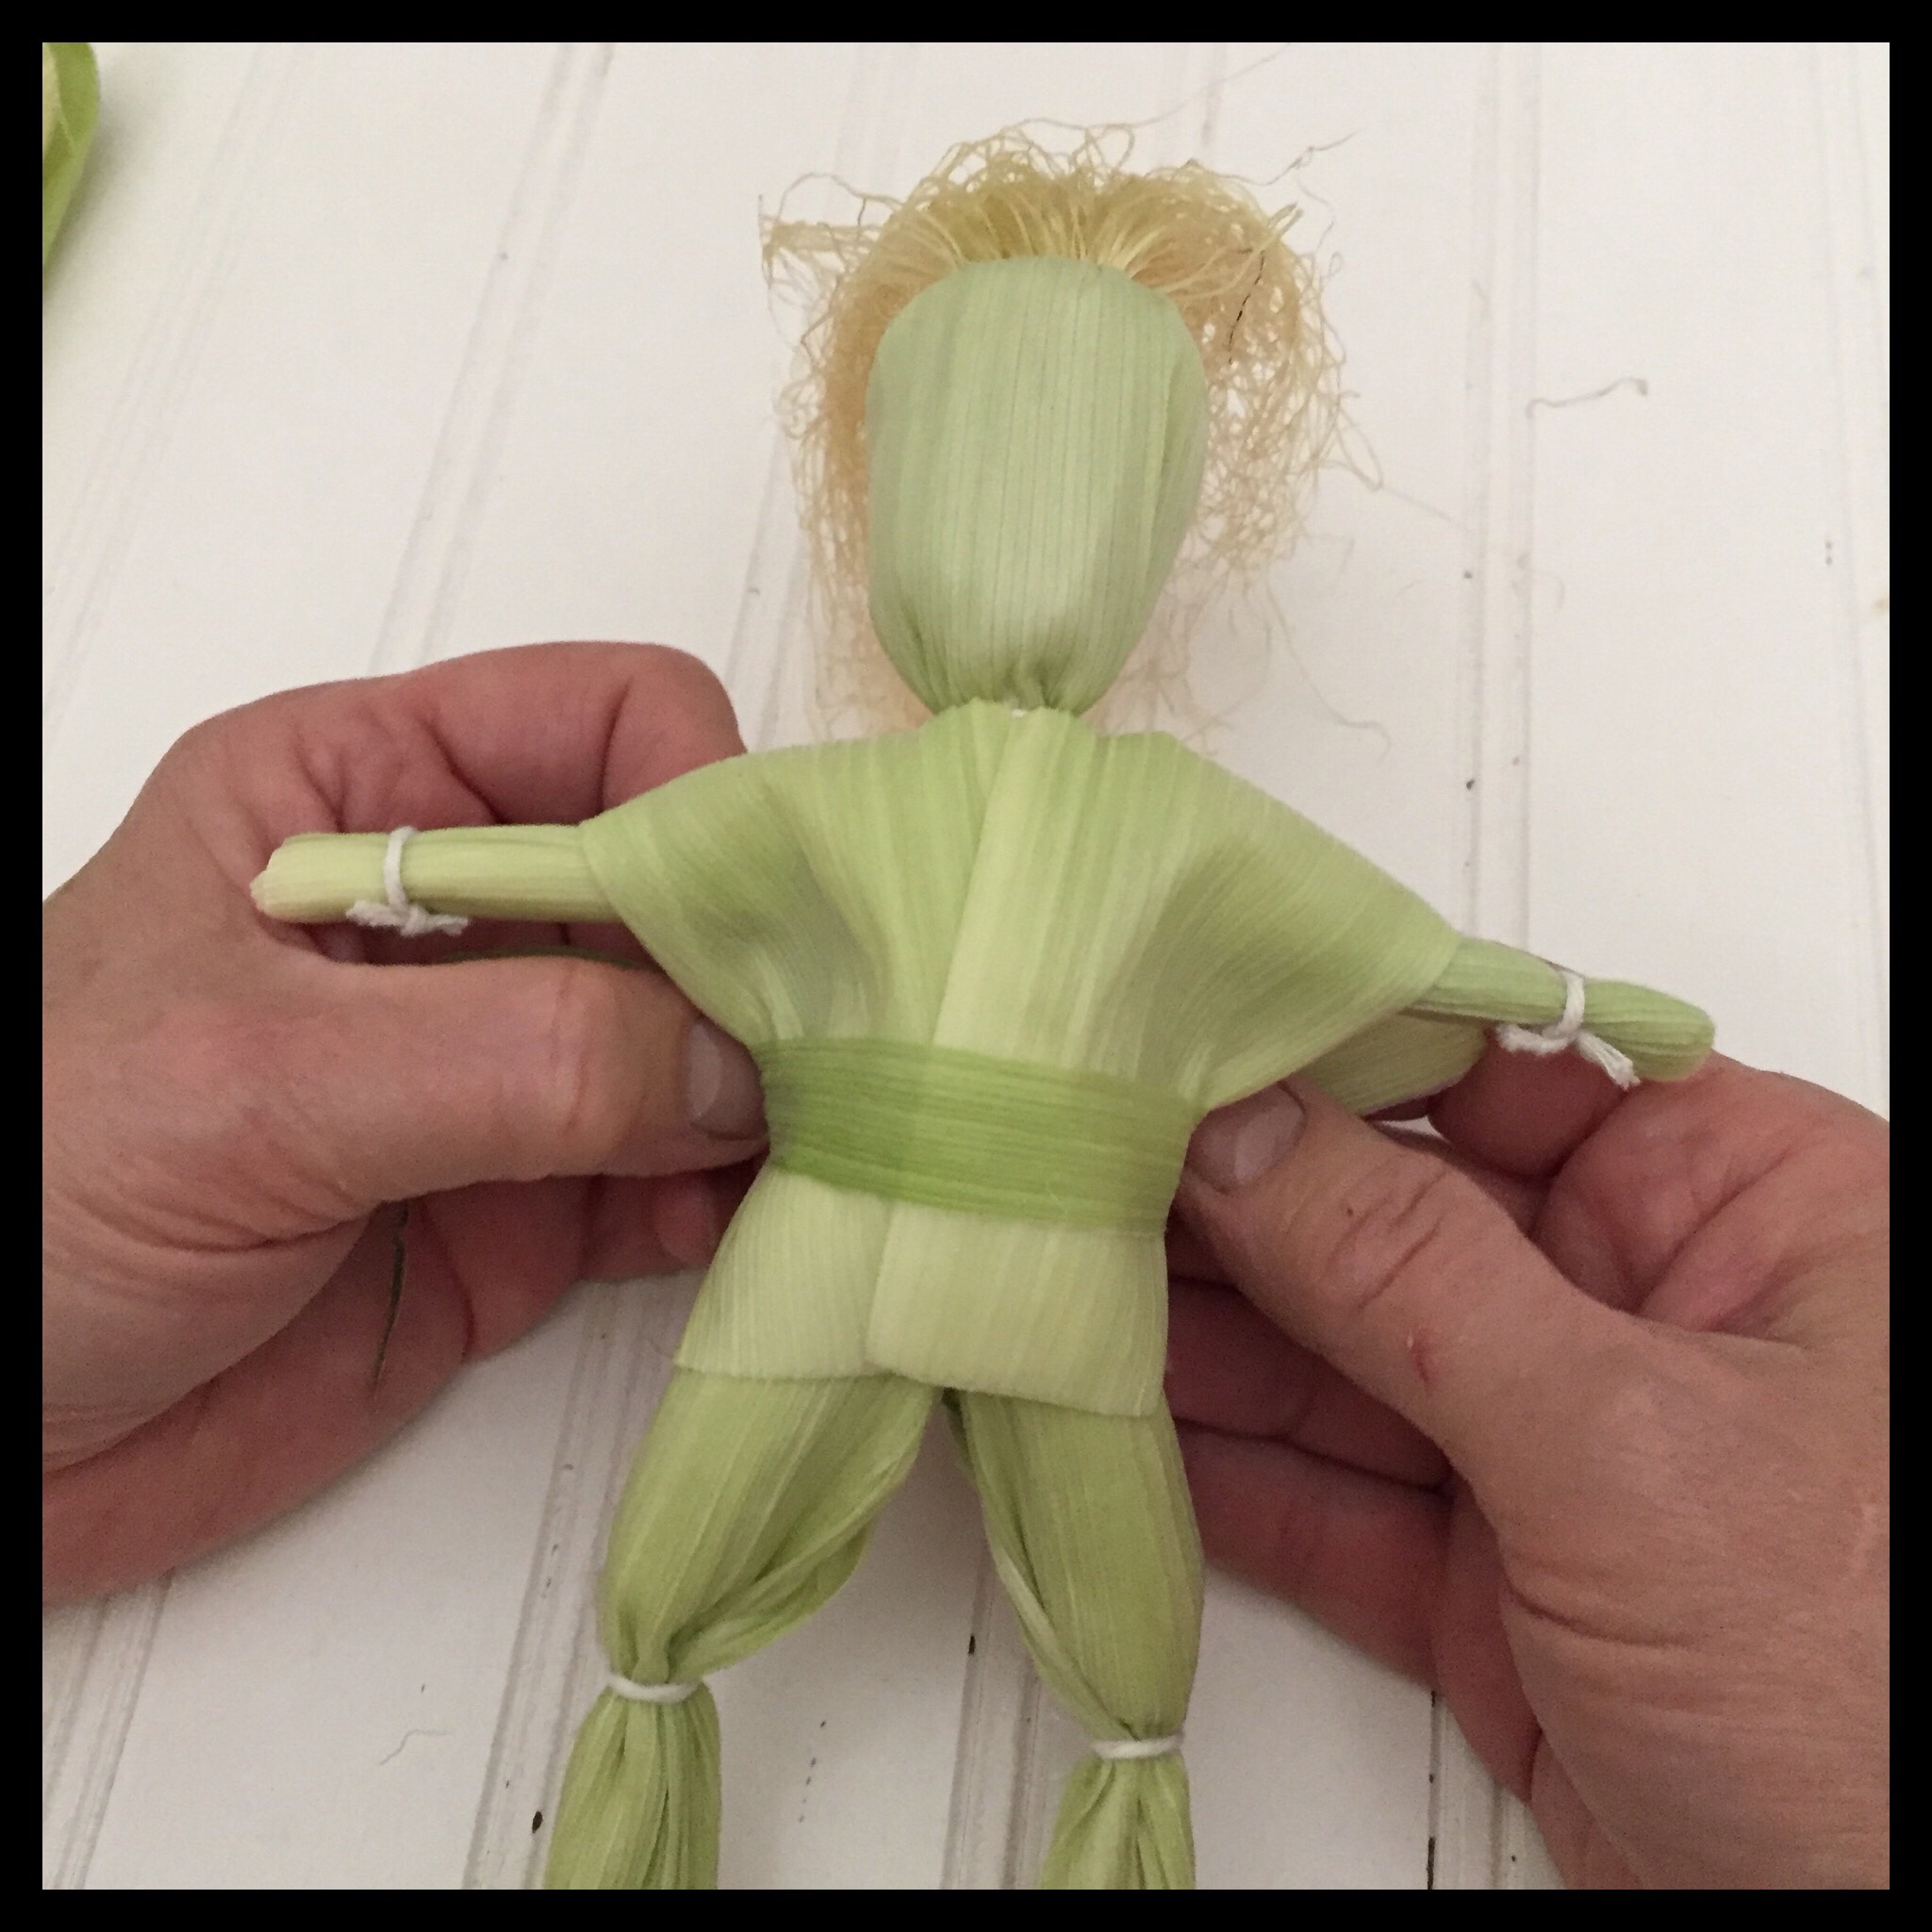
Fold a narrow husk in half lengthwise. Hold it on one side below the waist, fold it over the opposite shoulder and down in the back like a sash. Repeat on the other side, then tie the bodice in place. (We forgot to take a photo of tying the bodice in place.) You want to tie it low enough that you can tie the skirt (or legs) above this tie.
Now the steps start to differ depending on whether you are making a Lord or Lady doll. For the lady, you will now add a skirt.
Trim the pointed end off of two wide husks. Position the narrower ends below the waist with the other ends over the head. Be sure the back husk is overlapping the front husk.

Tie the skirt onto your doll, being sure that the tie is above the bodice tie:

Fold the back of the skirt down and then the front. The front of the skirt will now be overlapping the back.
Smooth the skirt down and then trim it to your desired length:
Shape the corn silk so it frames your doll’s face. Trim it to your desired length. Your Lady doll is now finished, but you may wish to tie the skirt and arms to hold them in place as they dry. (Shown below after the Lord doll instructions.)
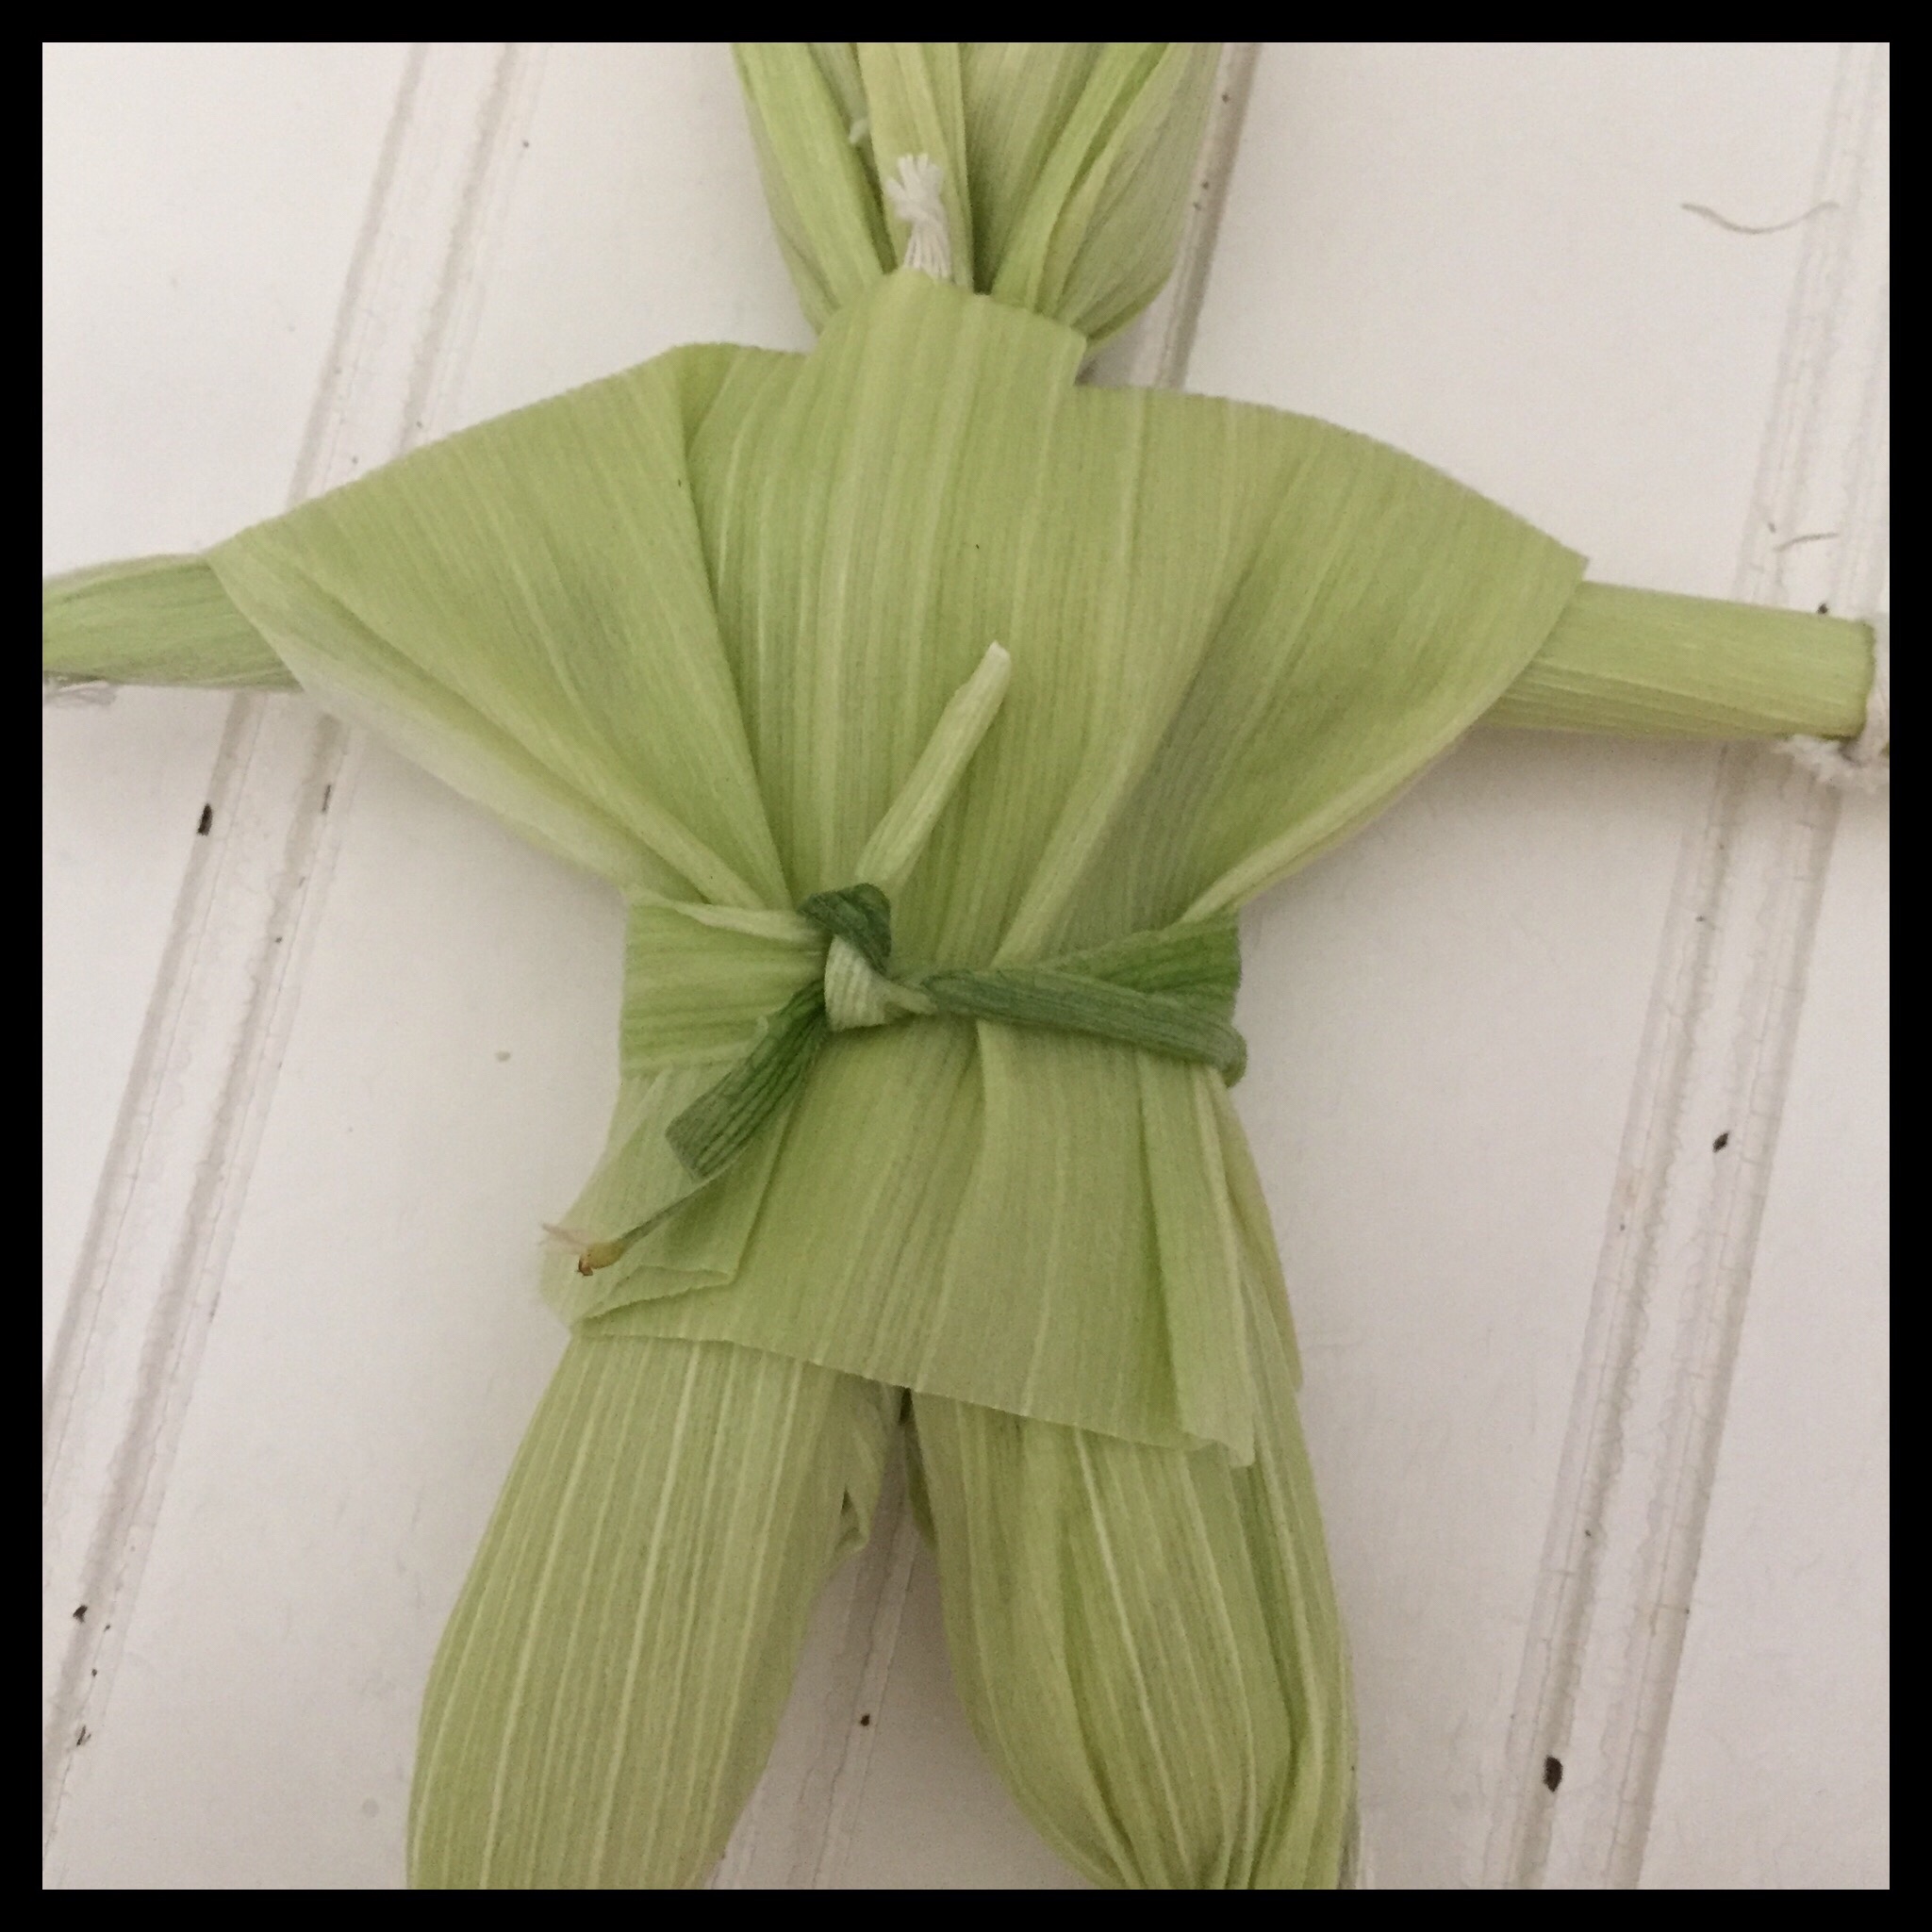
For the Lord doll, follow the steps above through tying the bodice. Then follow the steps for tying on a skirt, except position the husks left and right instead of front and back:
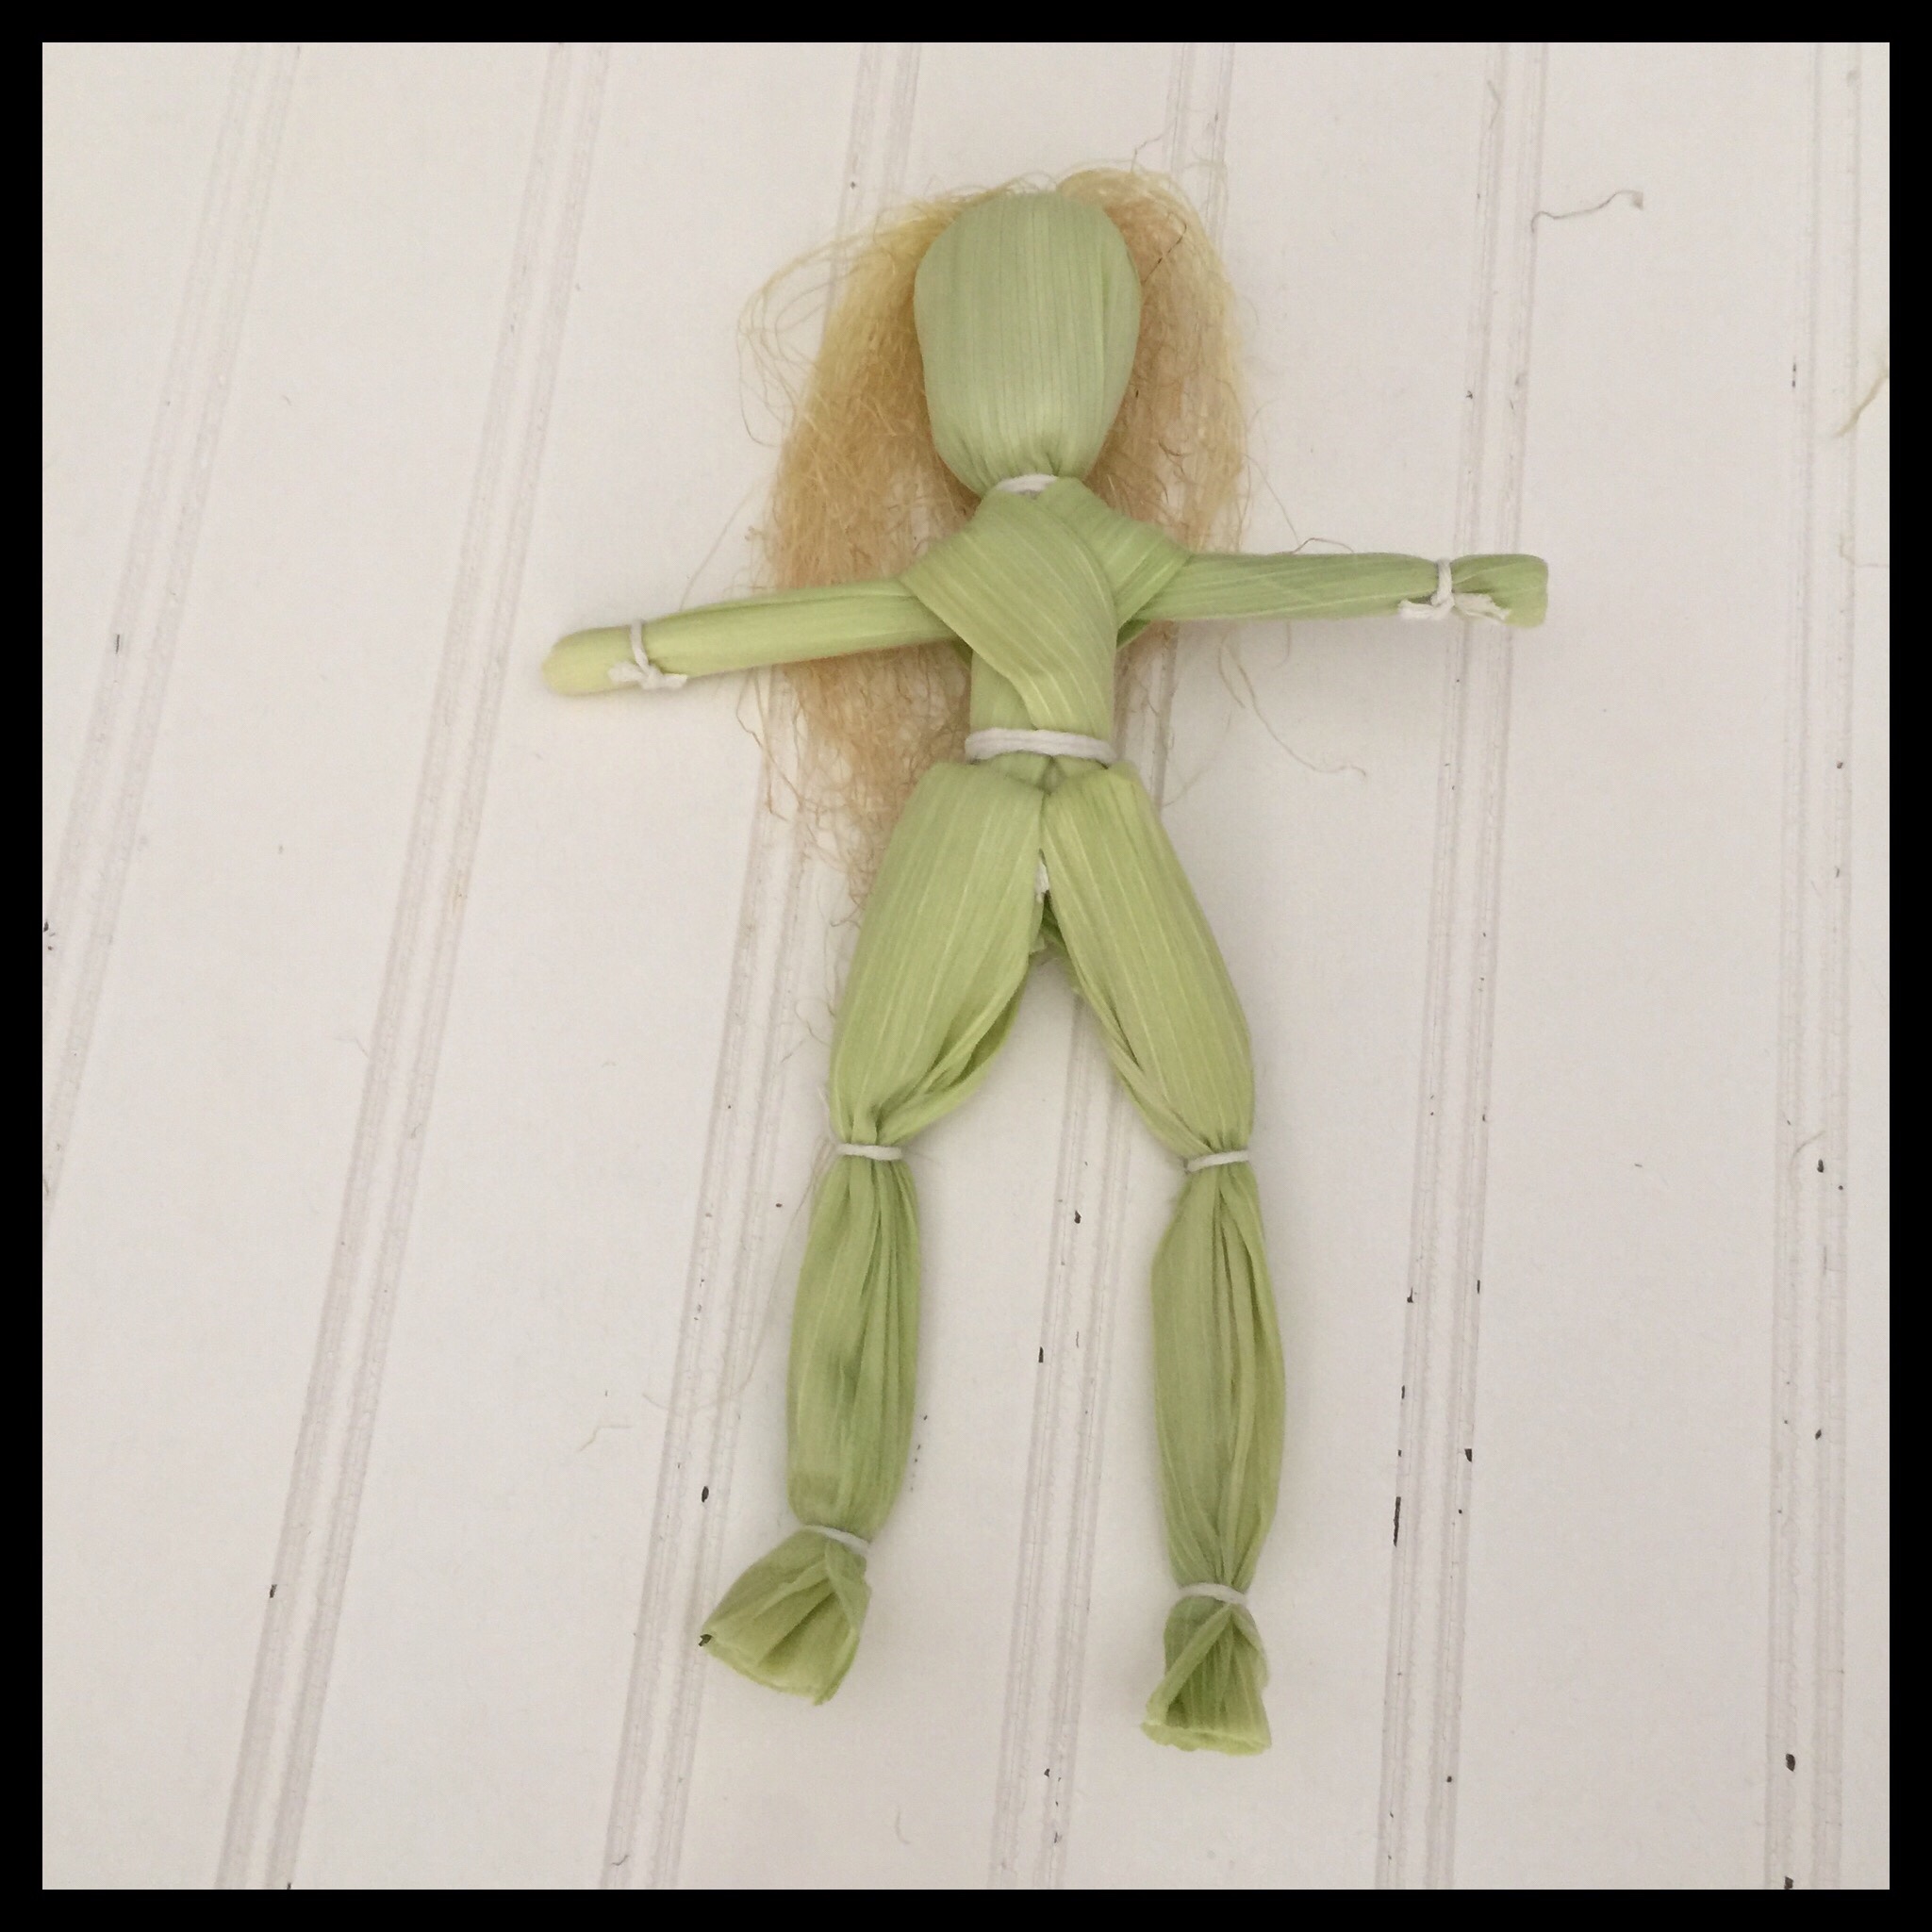
Divide the short center husks in two, then wrap the long outer husks around them to form legs:

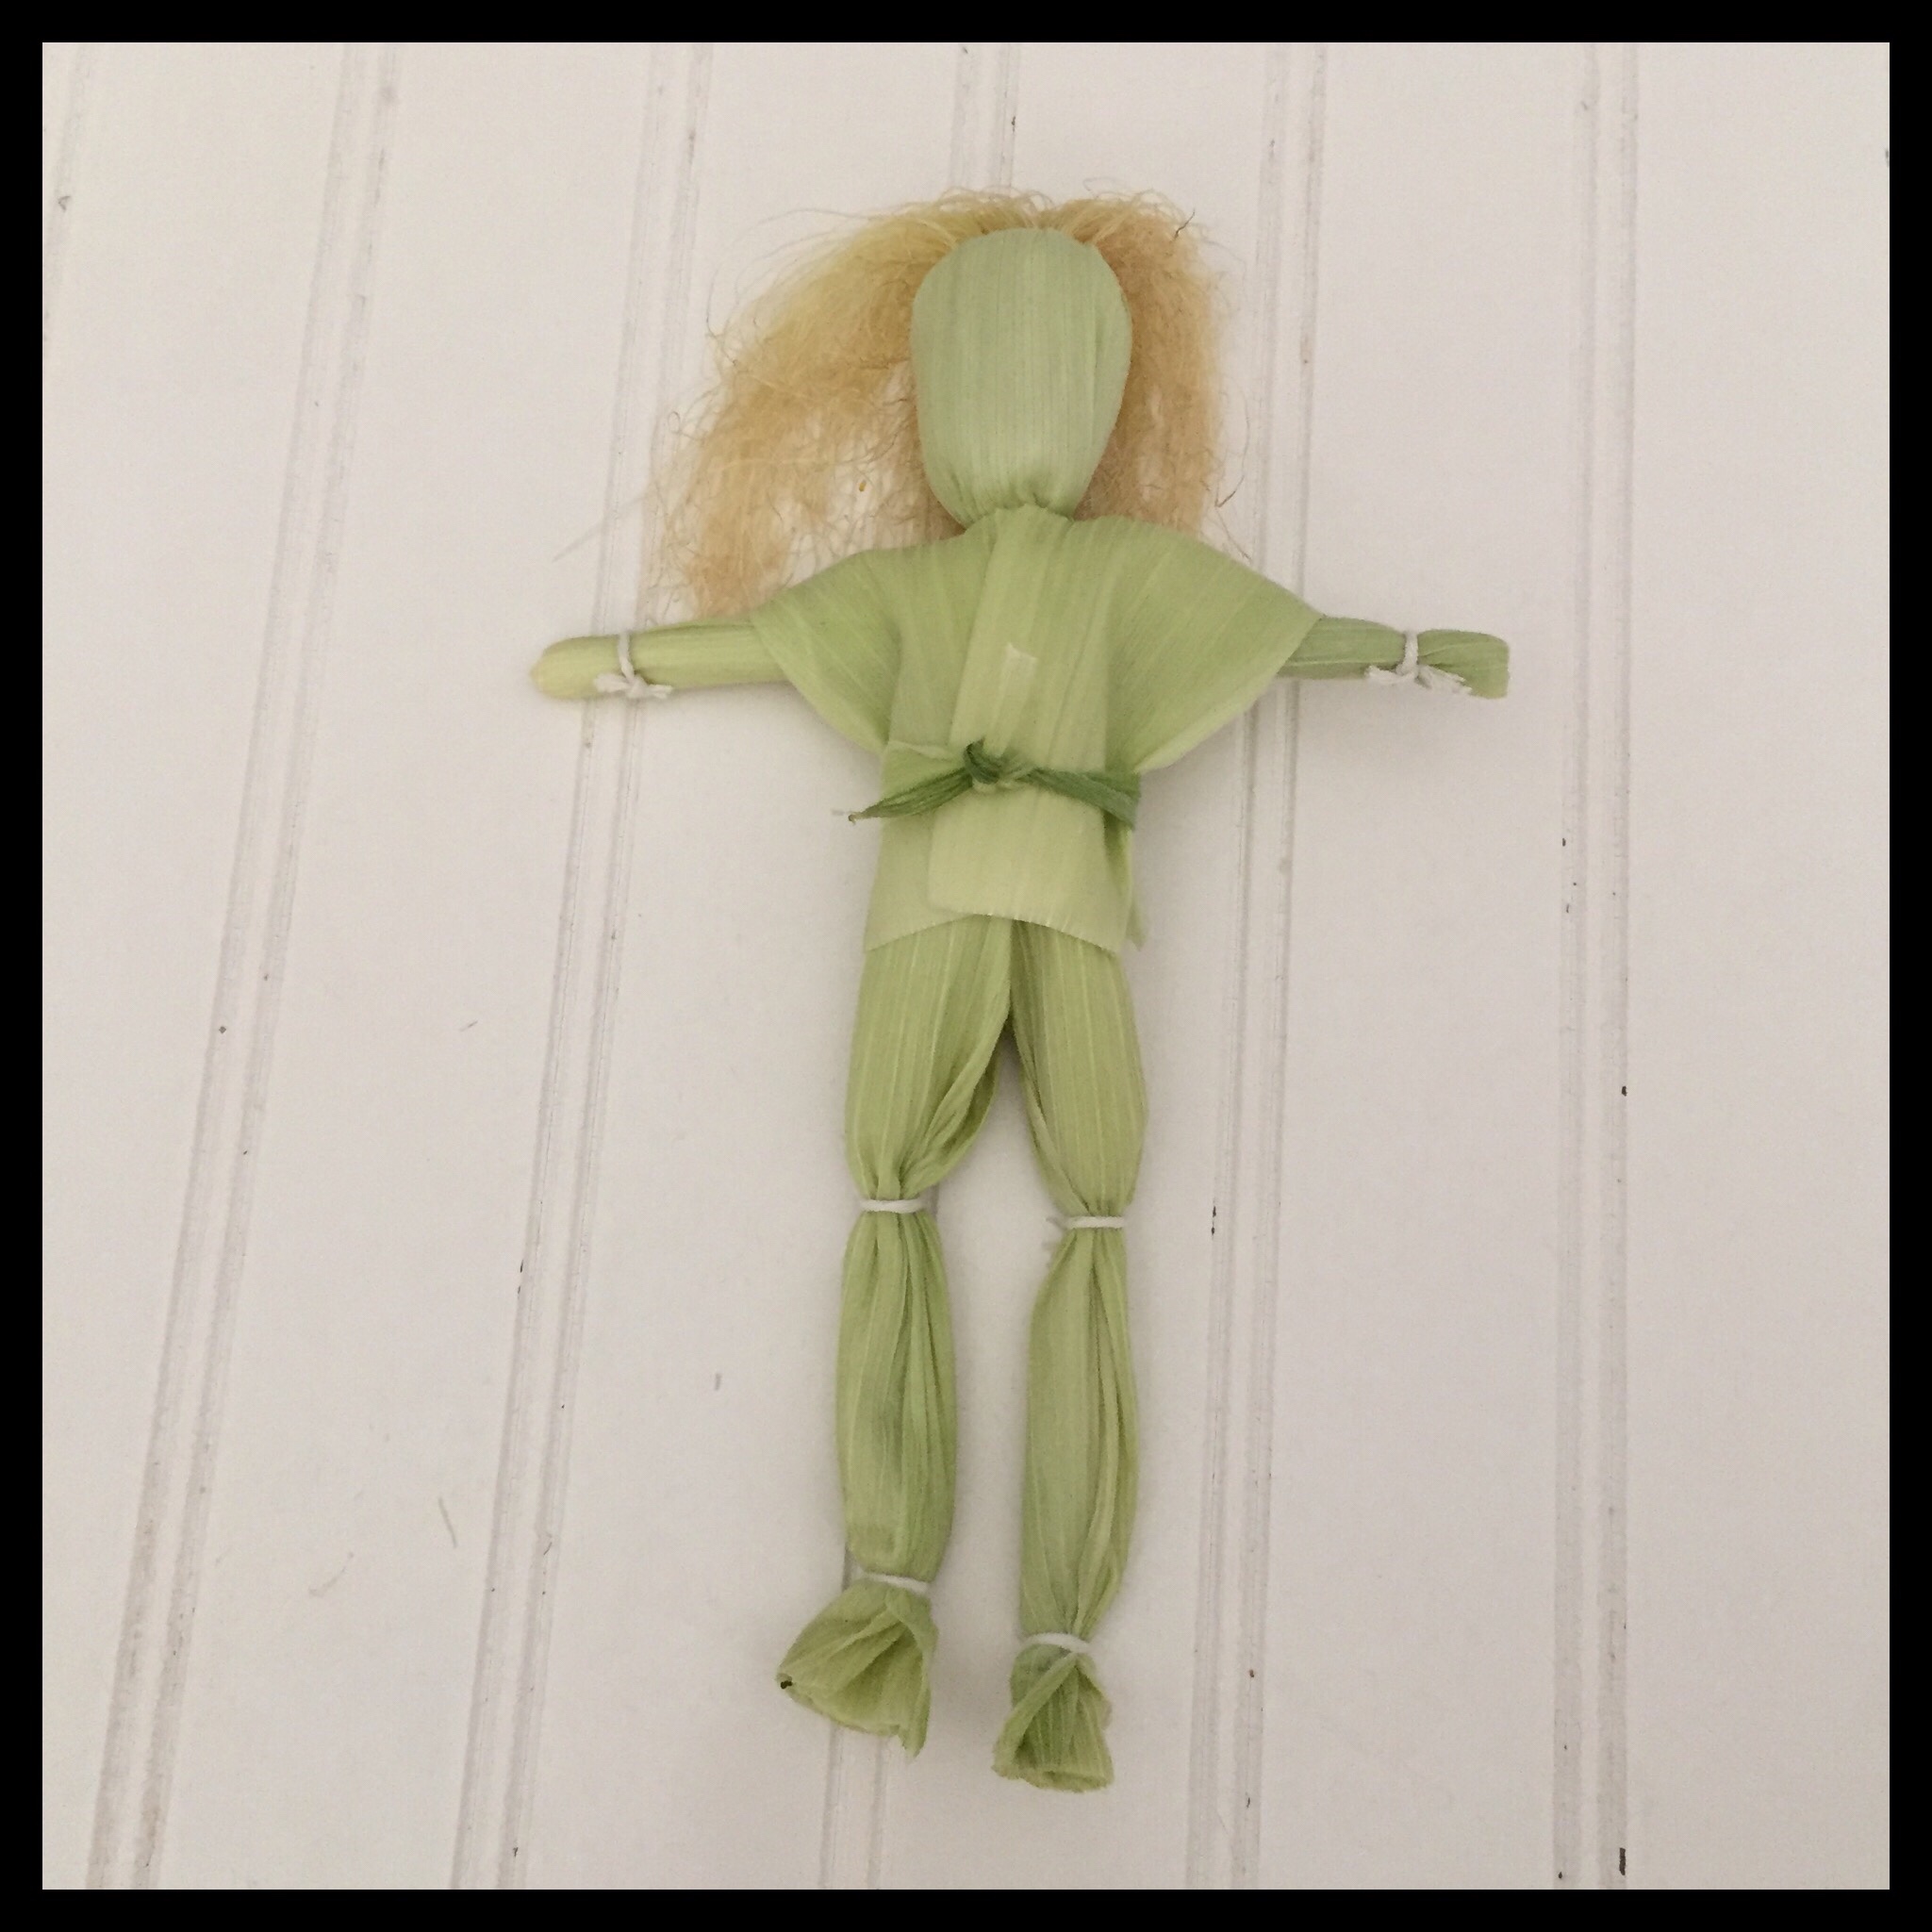
Bend the feet up and tie the ankles, then tie the knees:
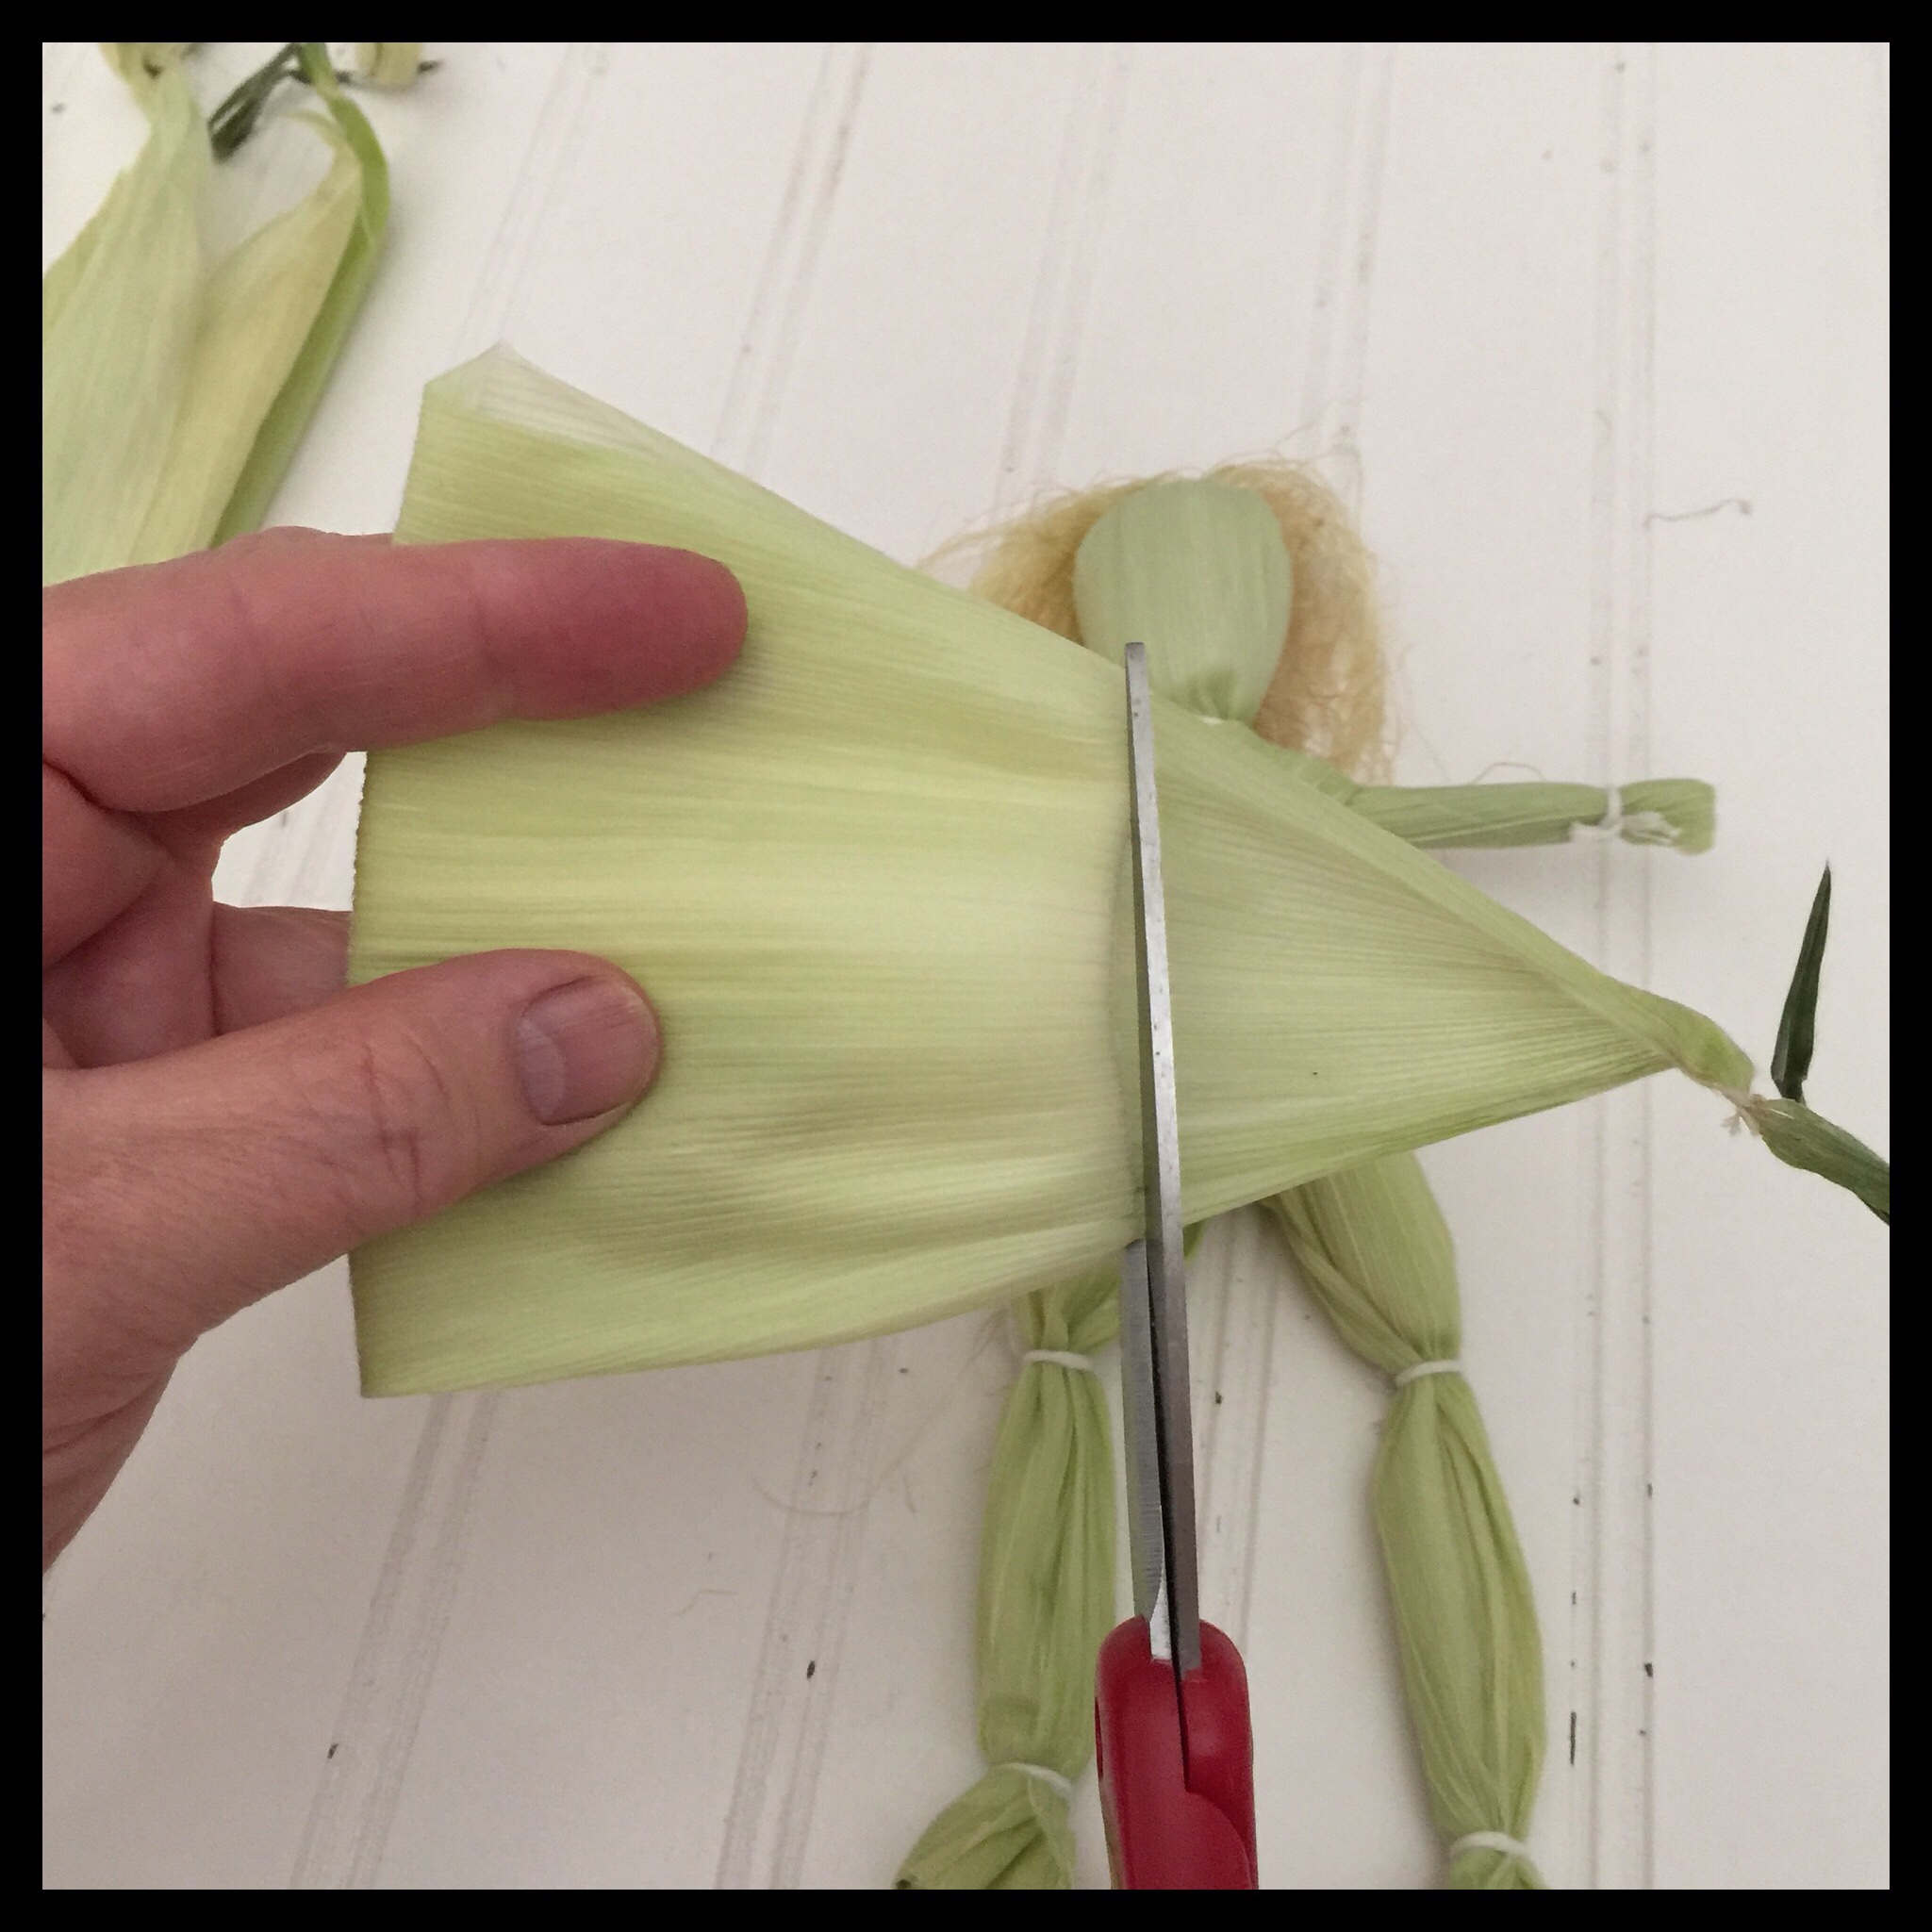
Take another husk and measure the length of a tunic from the wide end:
Fold the husk in half so you have a front and a back. Trim off the excess length:
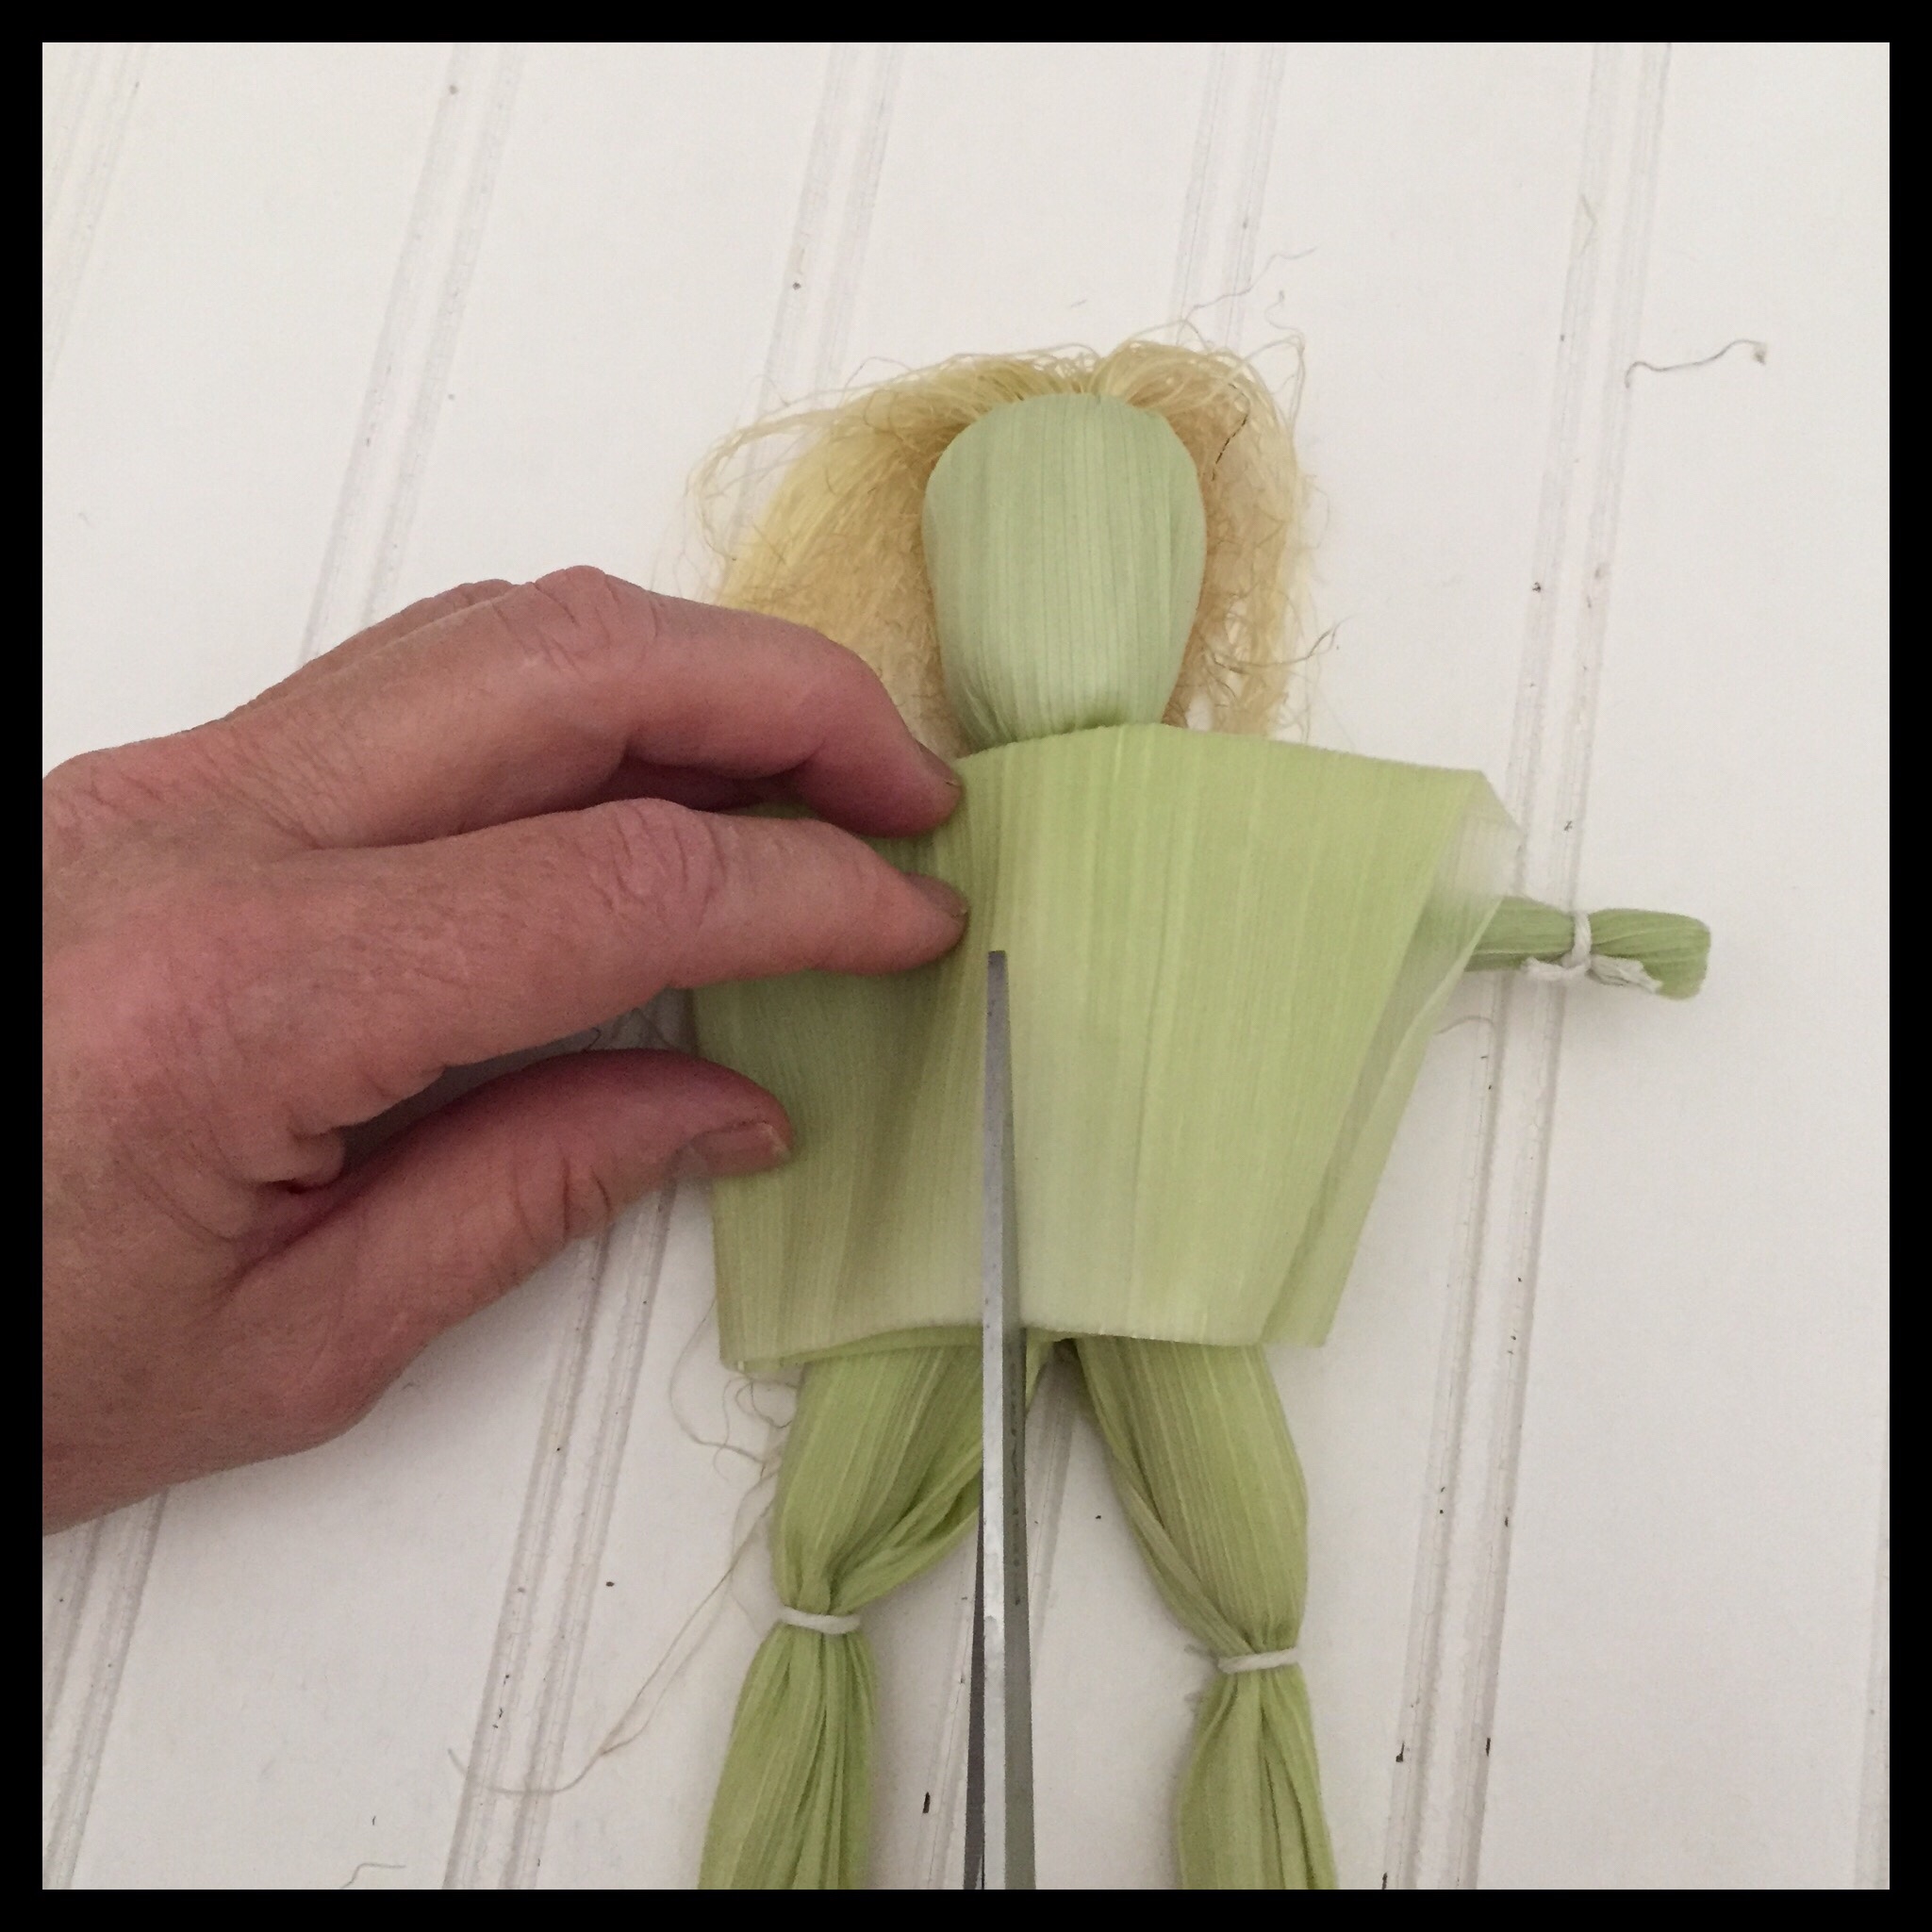
Cut up through the middle of the front piece:
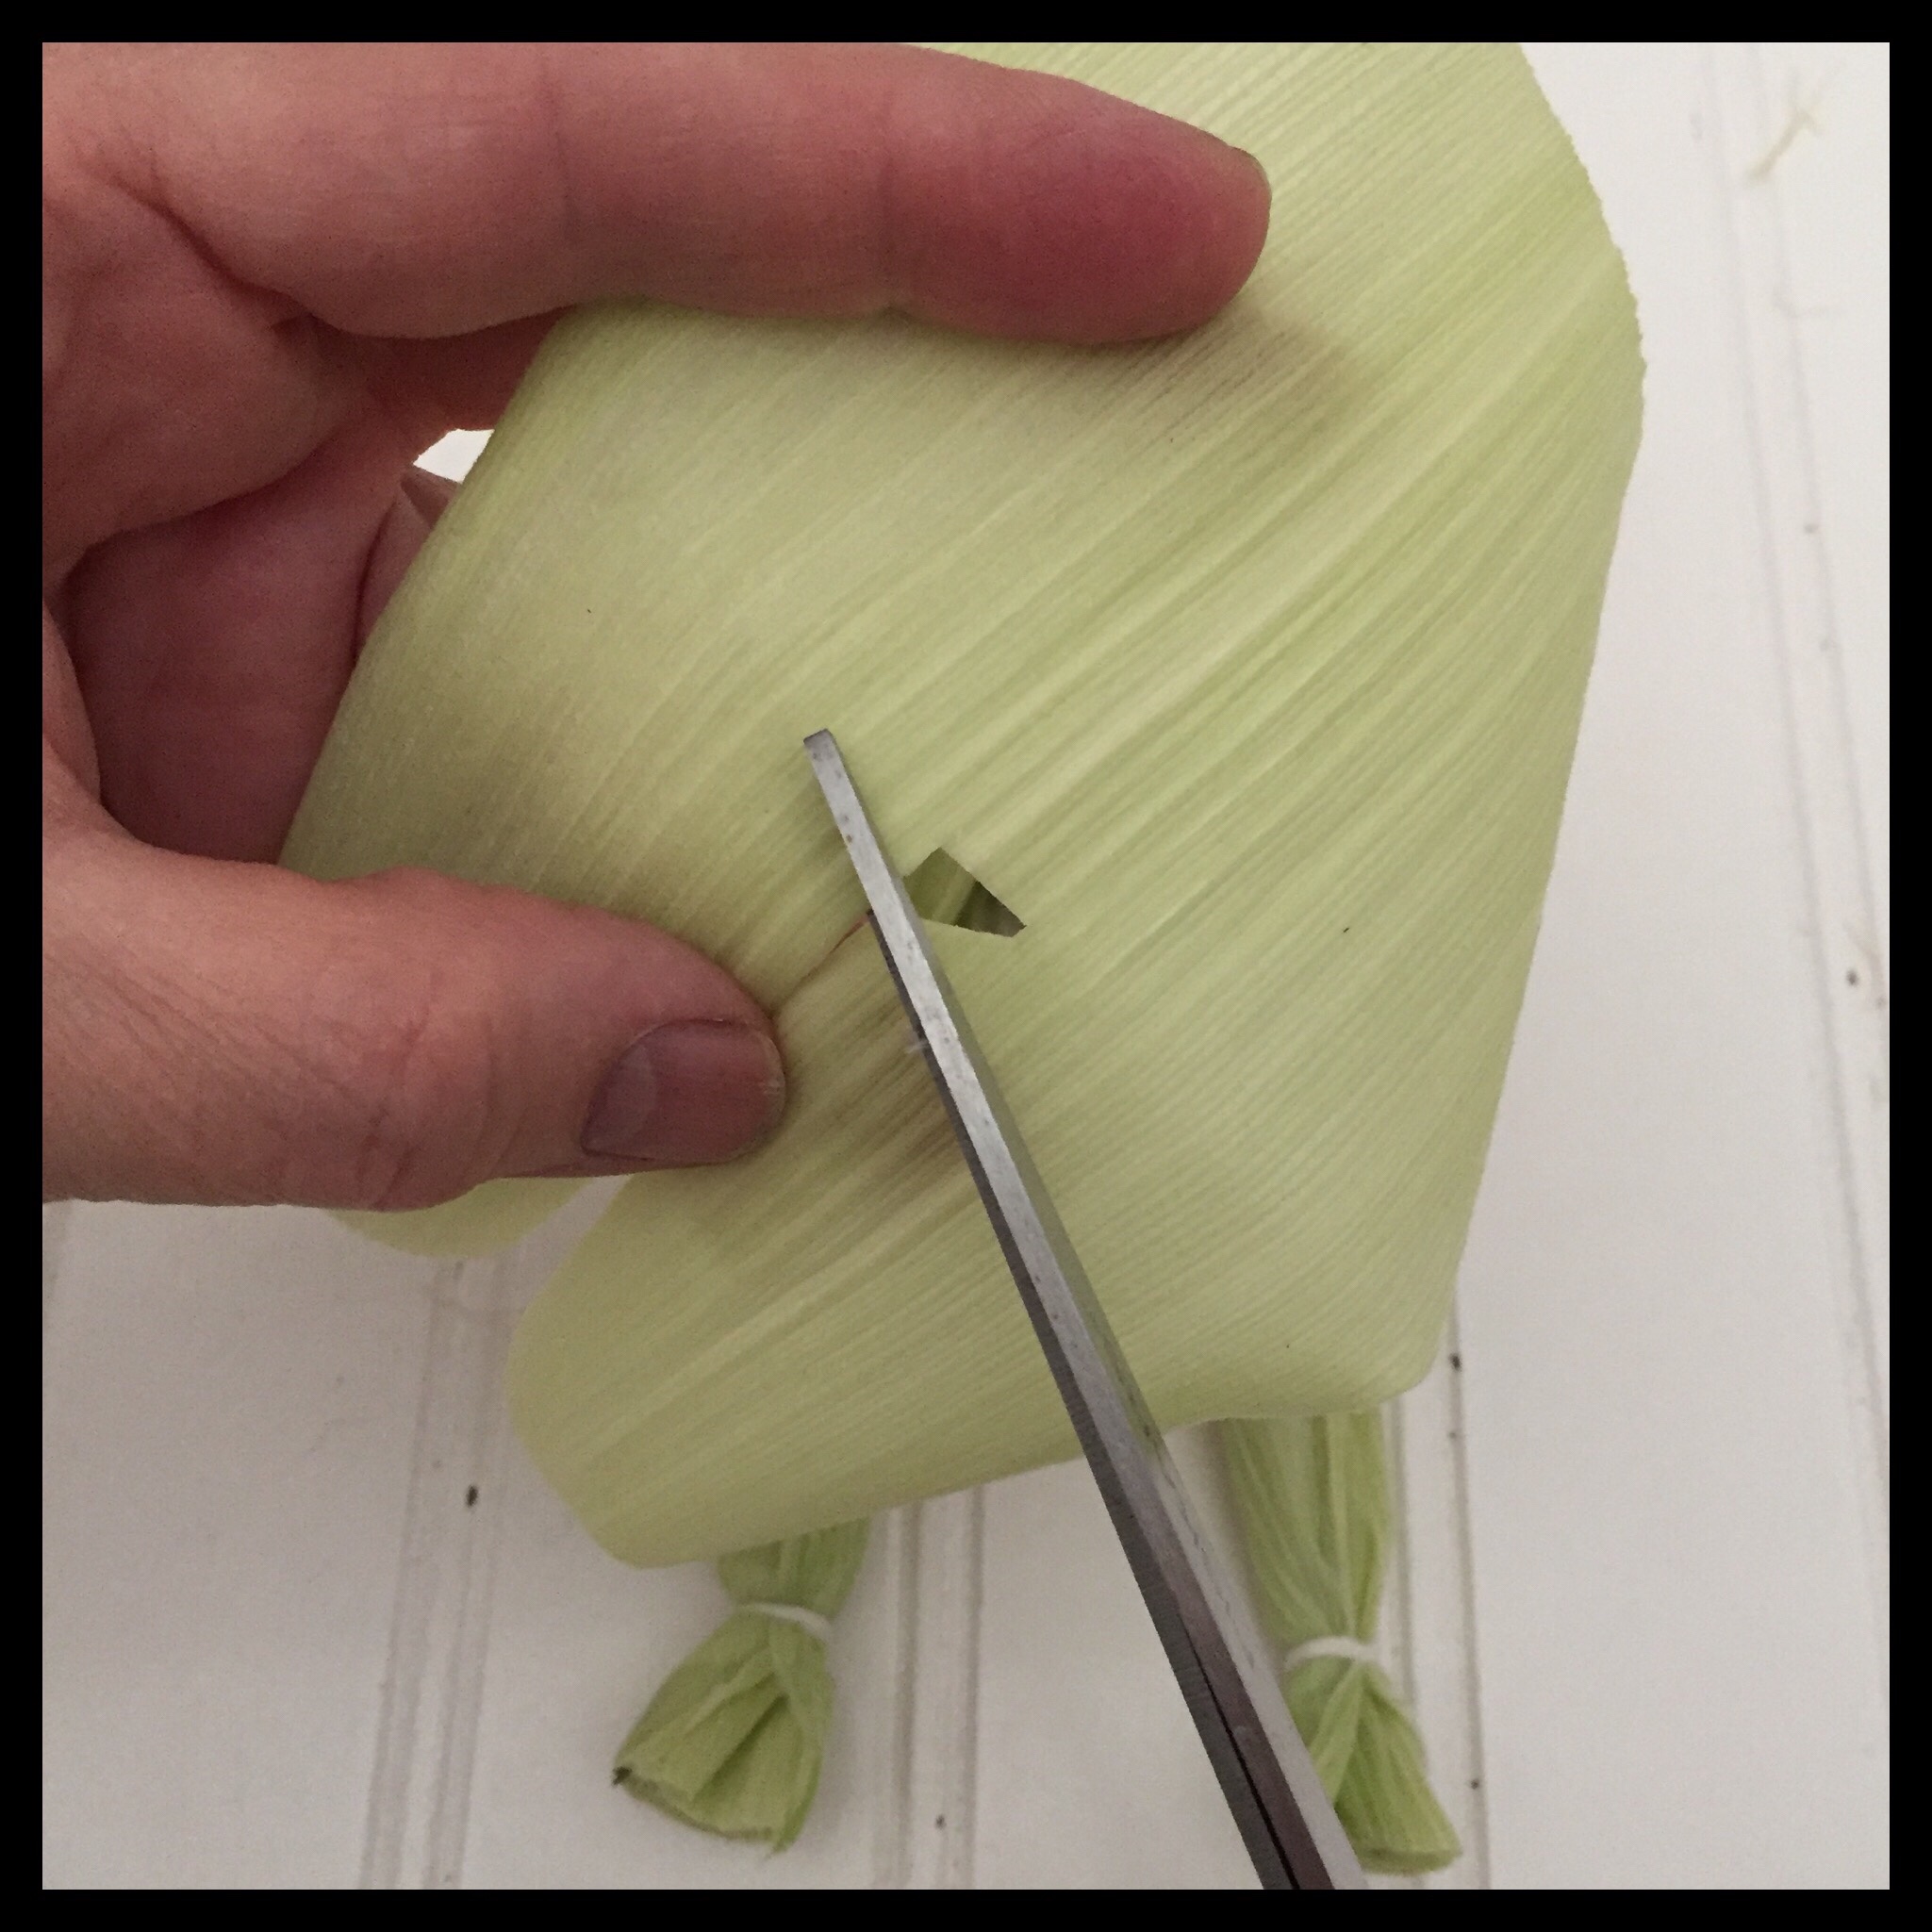
Cut a very small notch at the top of the slit in the front for the neck of the doll:
Put the tunic on the doll, overlapping the front pieces:
Cut a narrow strip of husk and tie the tunic in place. You can tie it in the front or the back as desired:
Shape and trim the hair as desired. Your Lord doll is done.
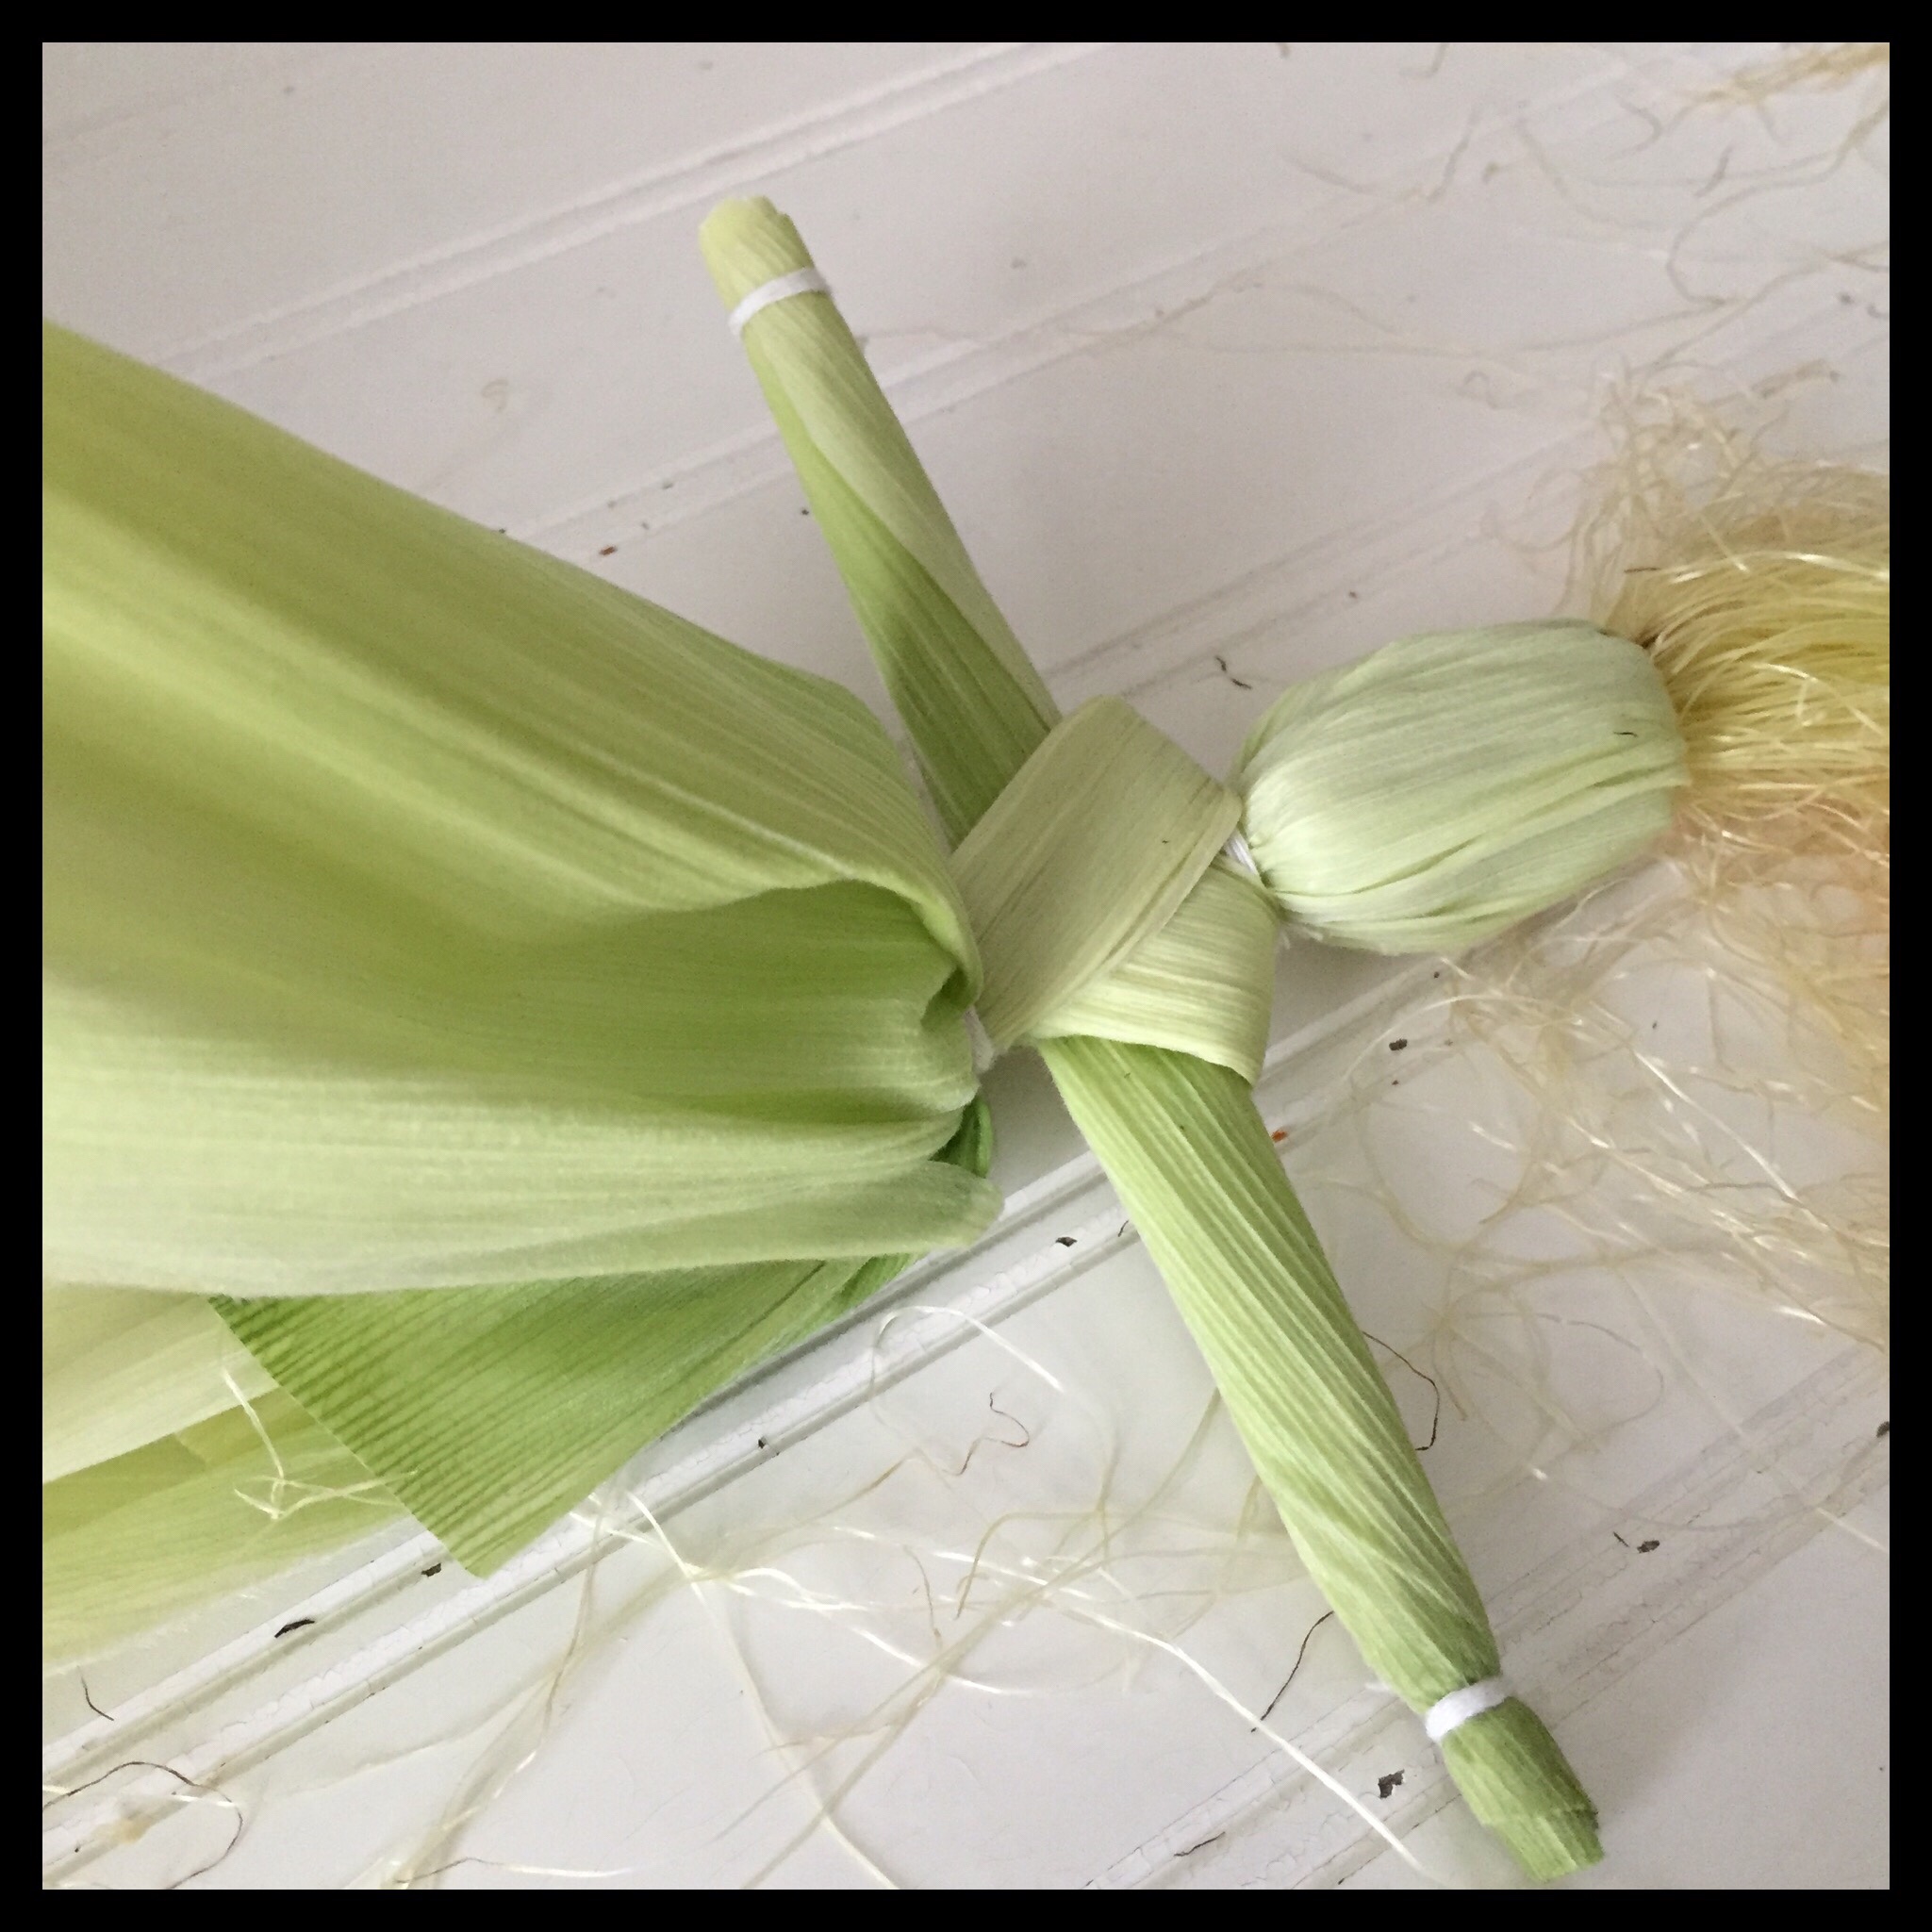
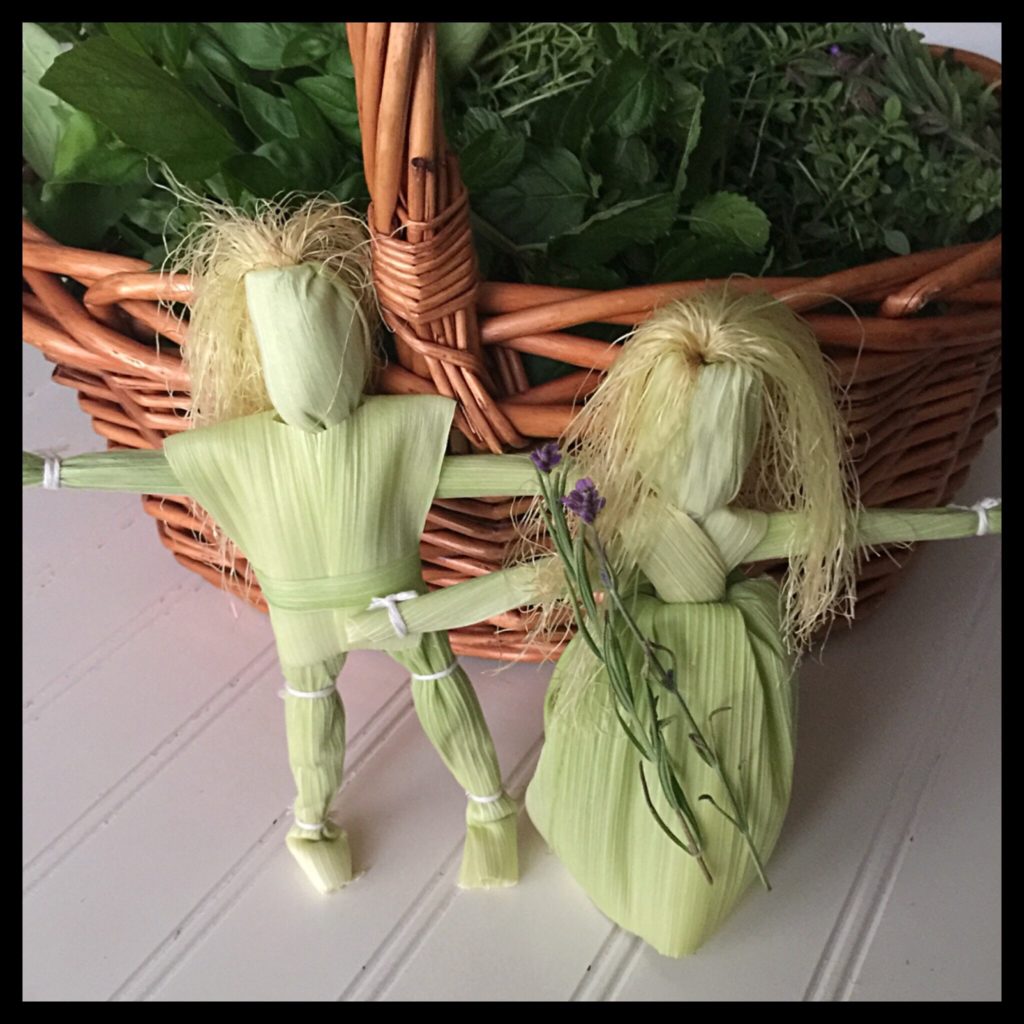
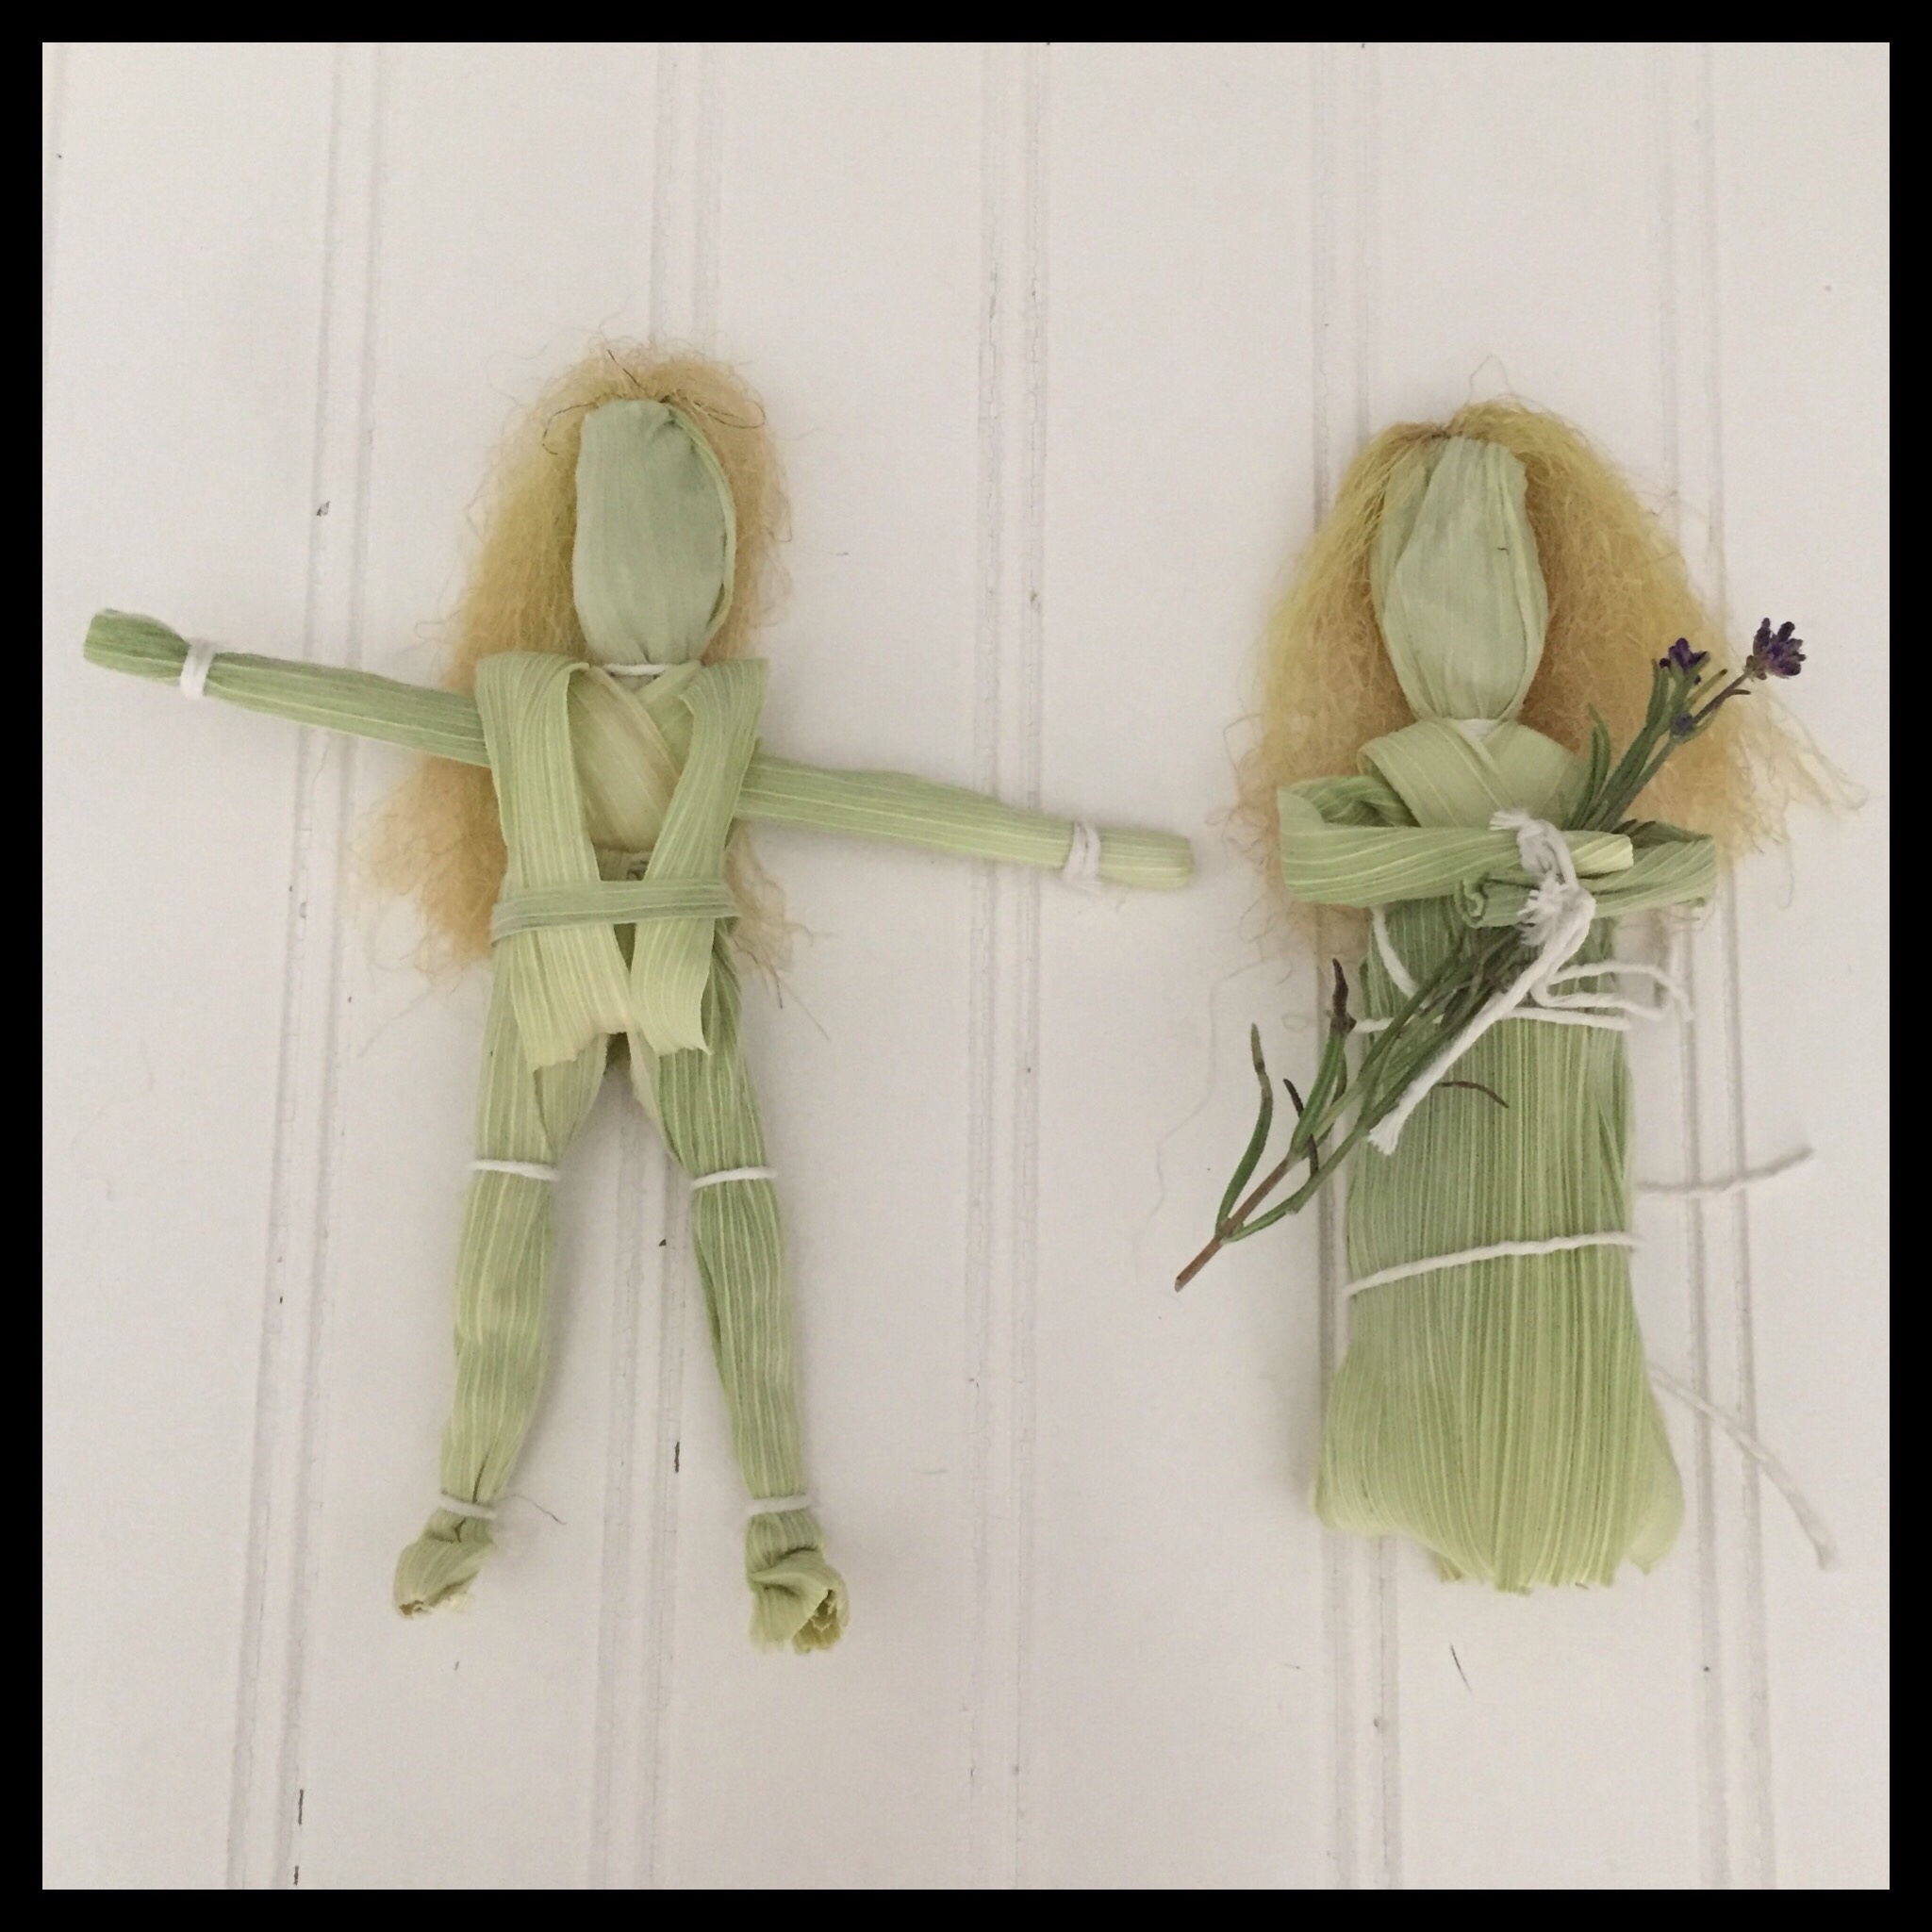
This is what my favorite Lord and Lady dollies looked like before they dried:
The skirt, tunic, and hair will shift as the dollies dry, so you may want to tie them in place. You can also tie the arms in a desired position prior to drying:
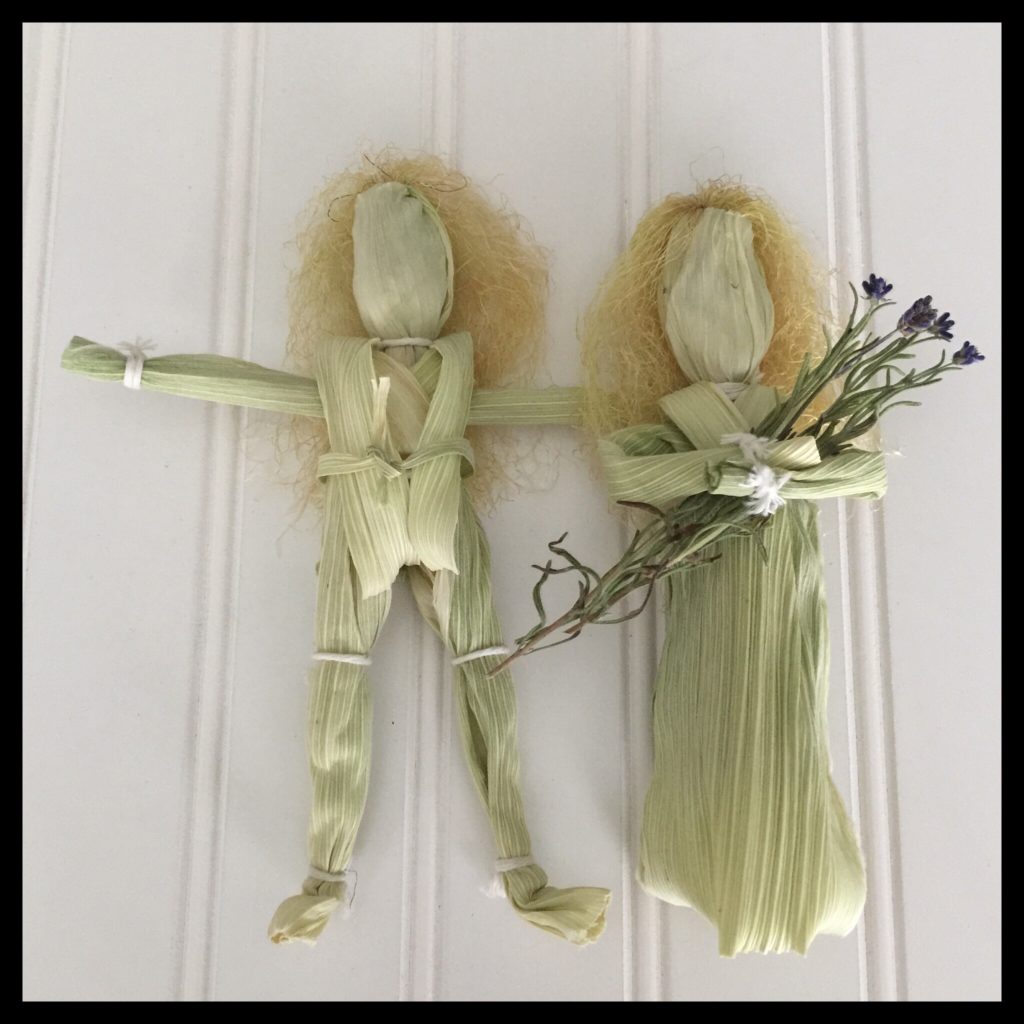
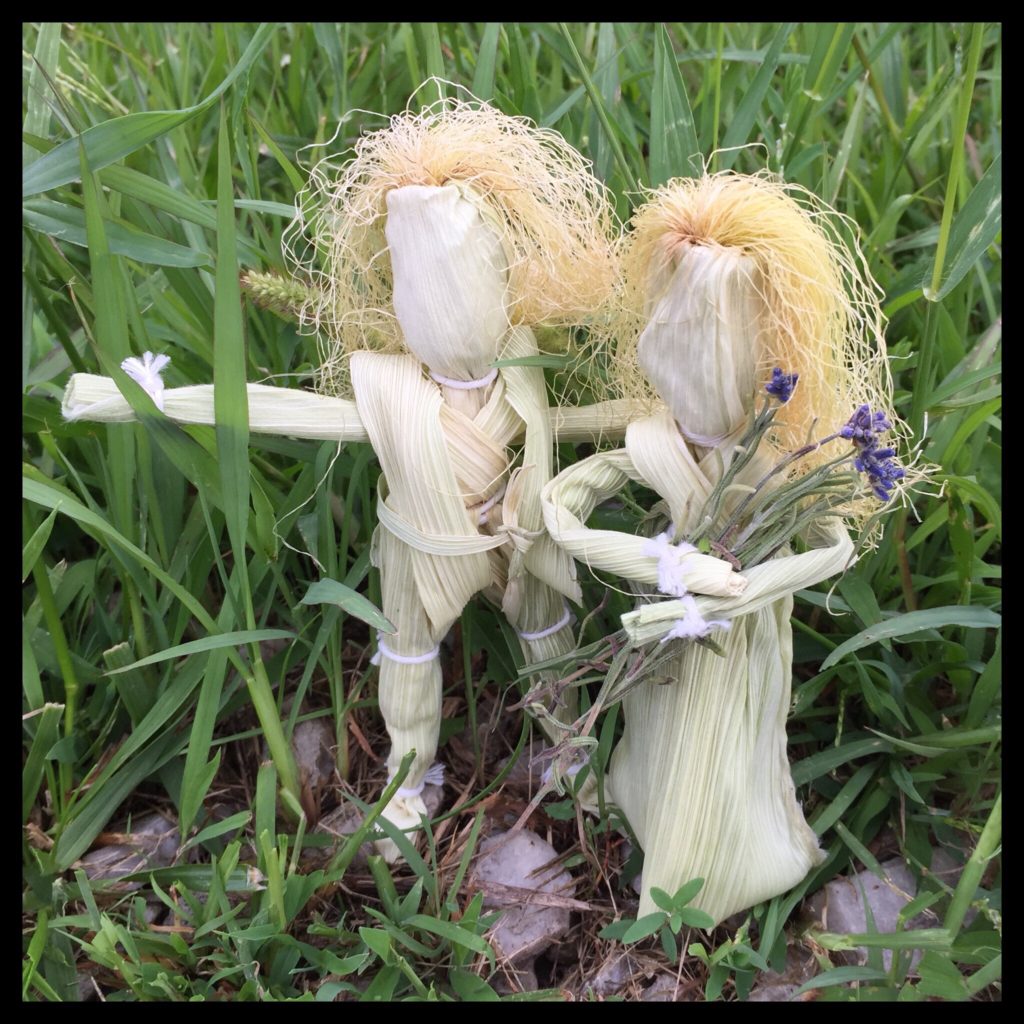
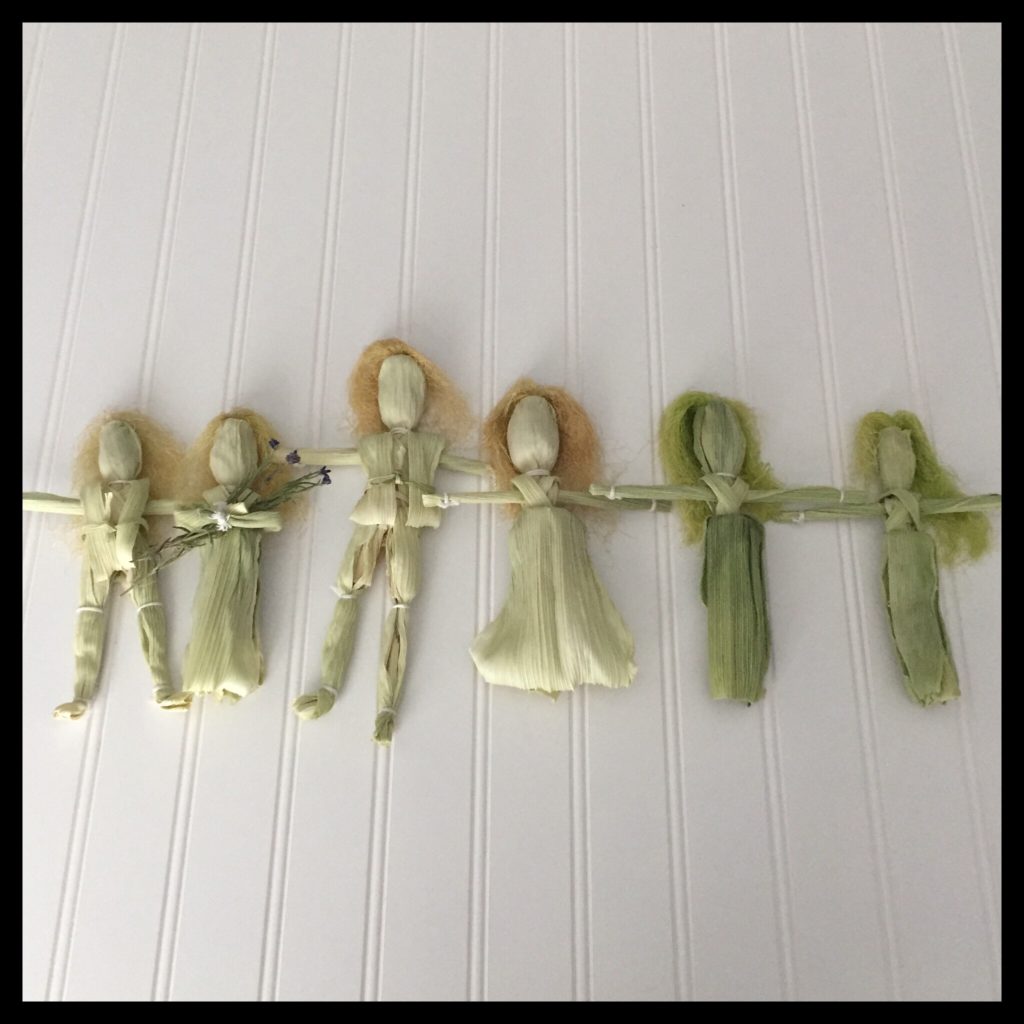
Here is what the same dollies look like fully dry:
Making corn dollies is also a great group activity! This is a photo from the Vegan Pagans of Ohio Lughnasadh Picnic. We had so much fun making corn dollies together!

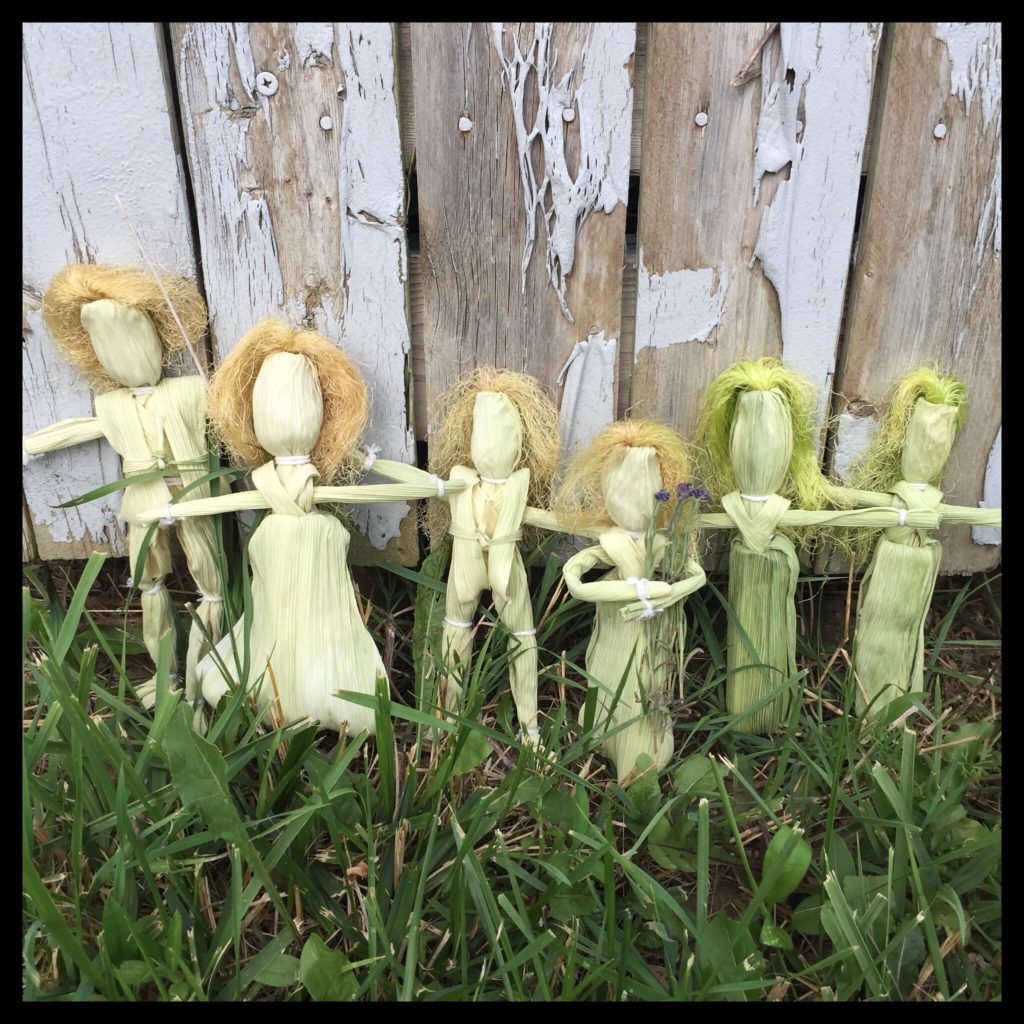
Here are all of our finished Lughnasadh corn dollies!
I love these!!! i now have a new way of making them! Thanks and Bright Blessings!!
Thank you, Karen! Blessings!
Meraviglioso post. Benedizioni dall’Italia