
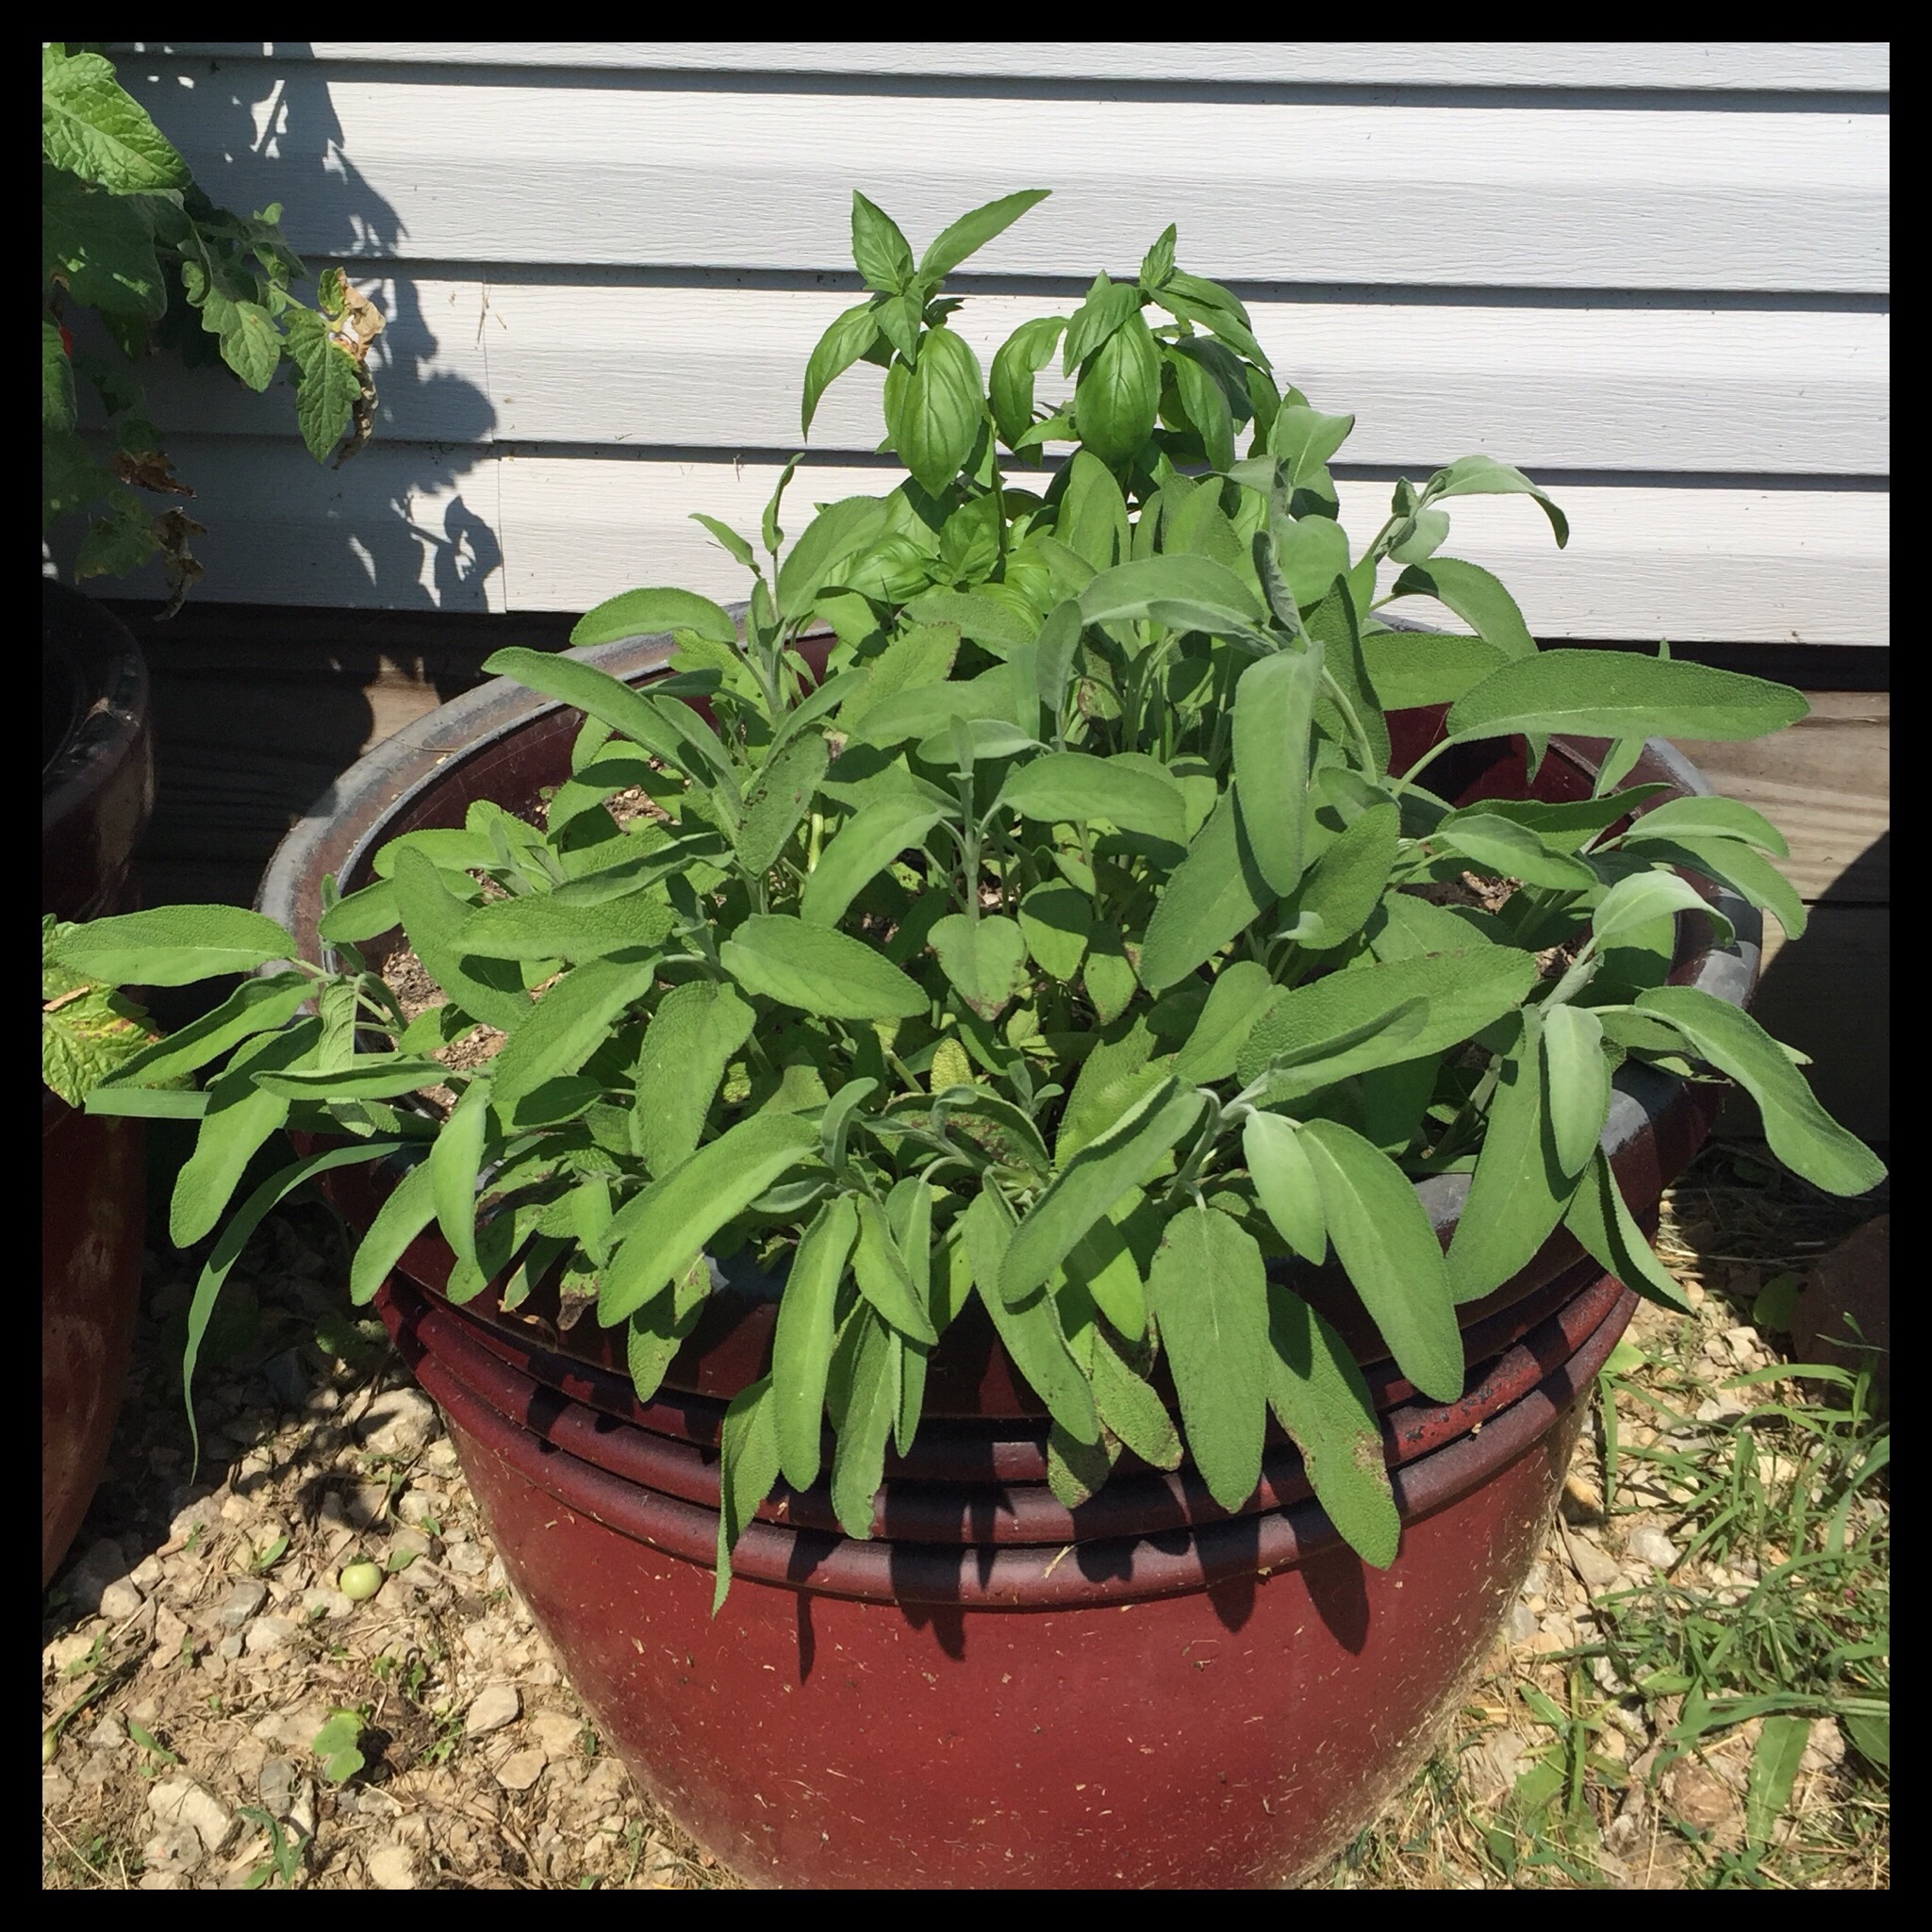
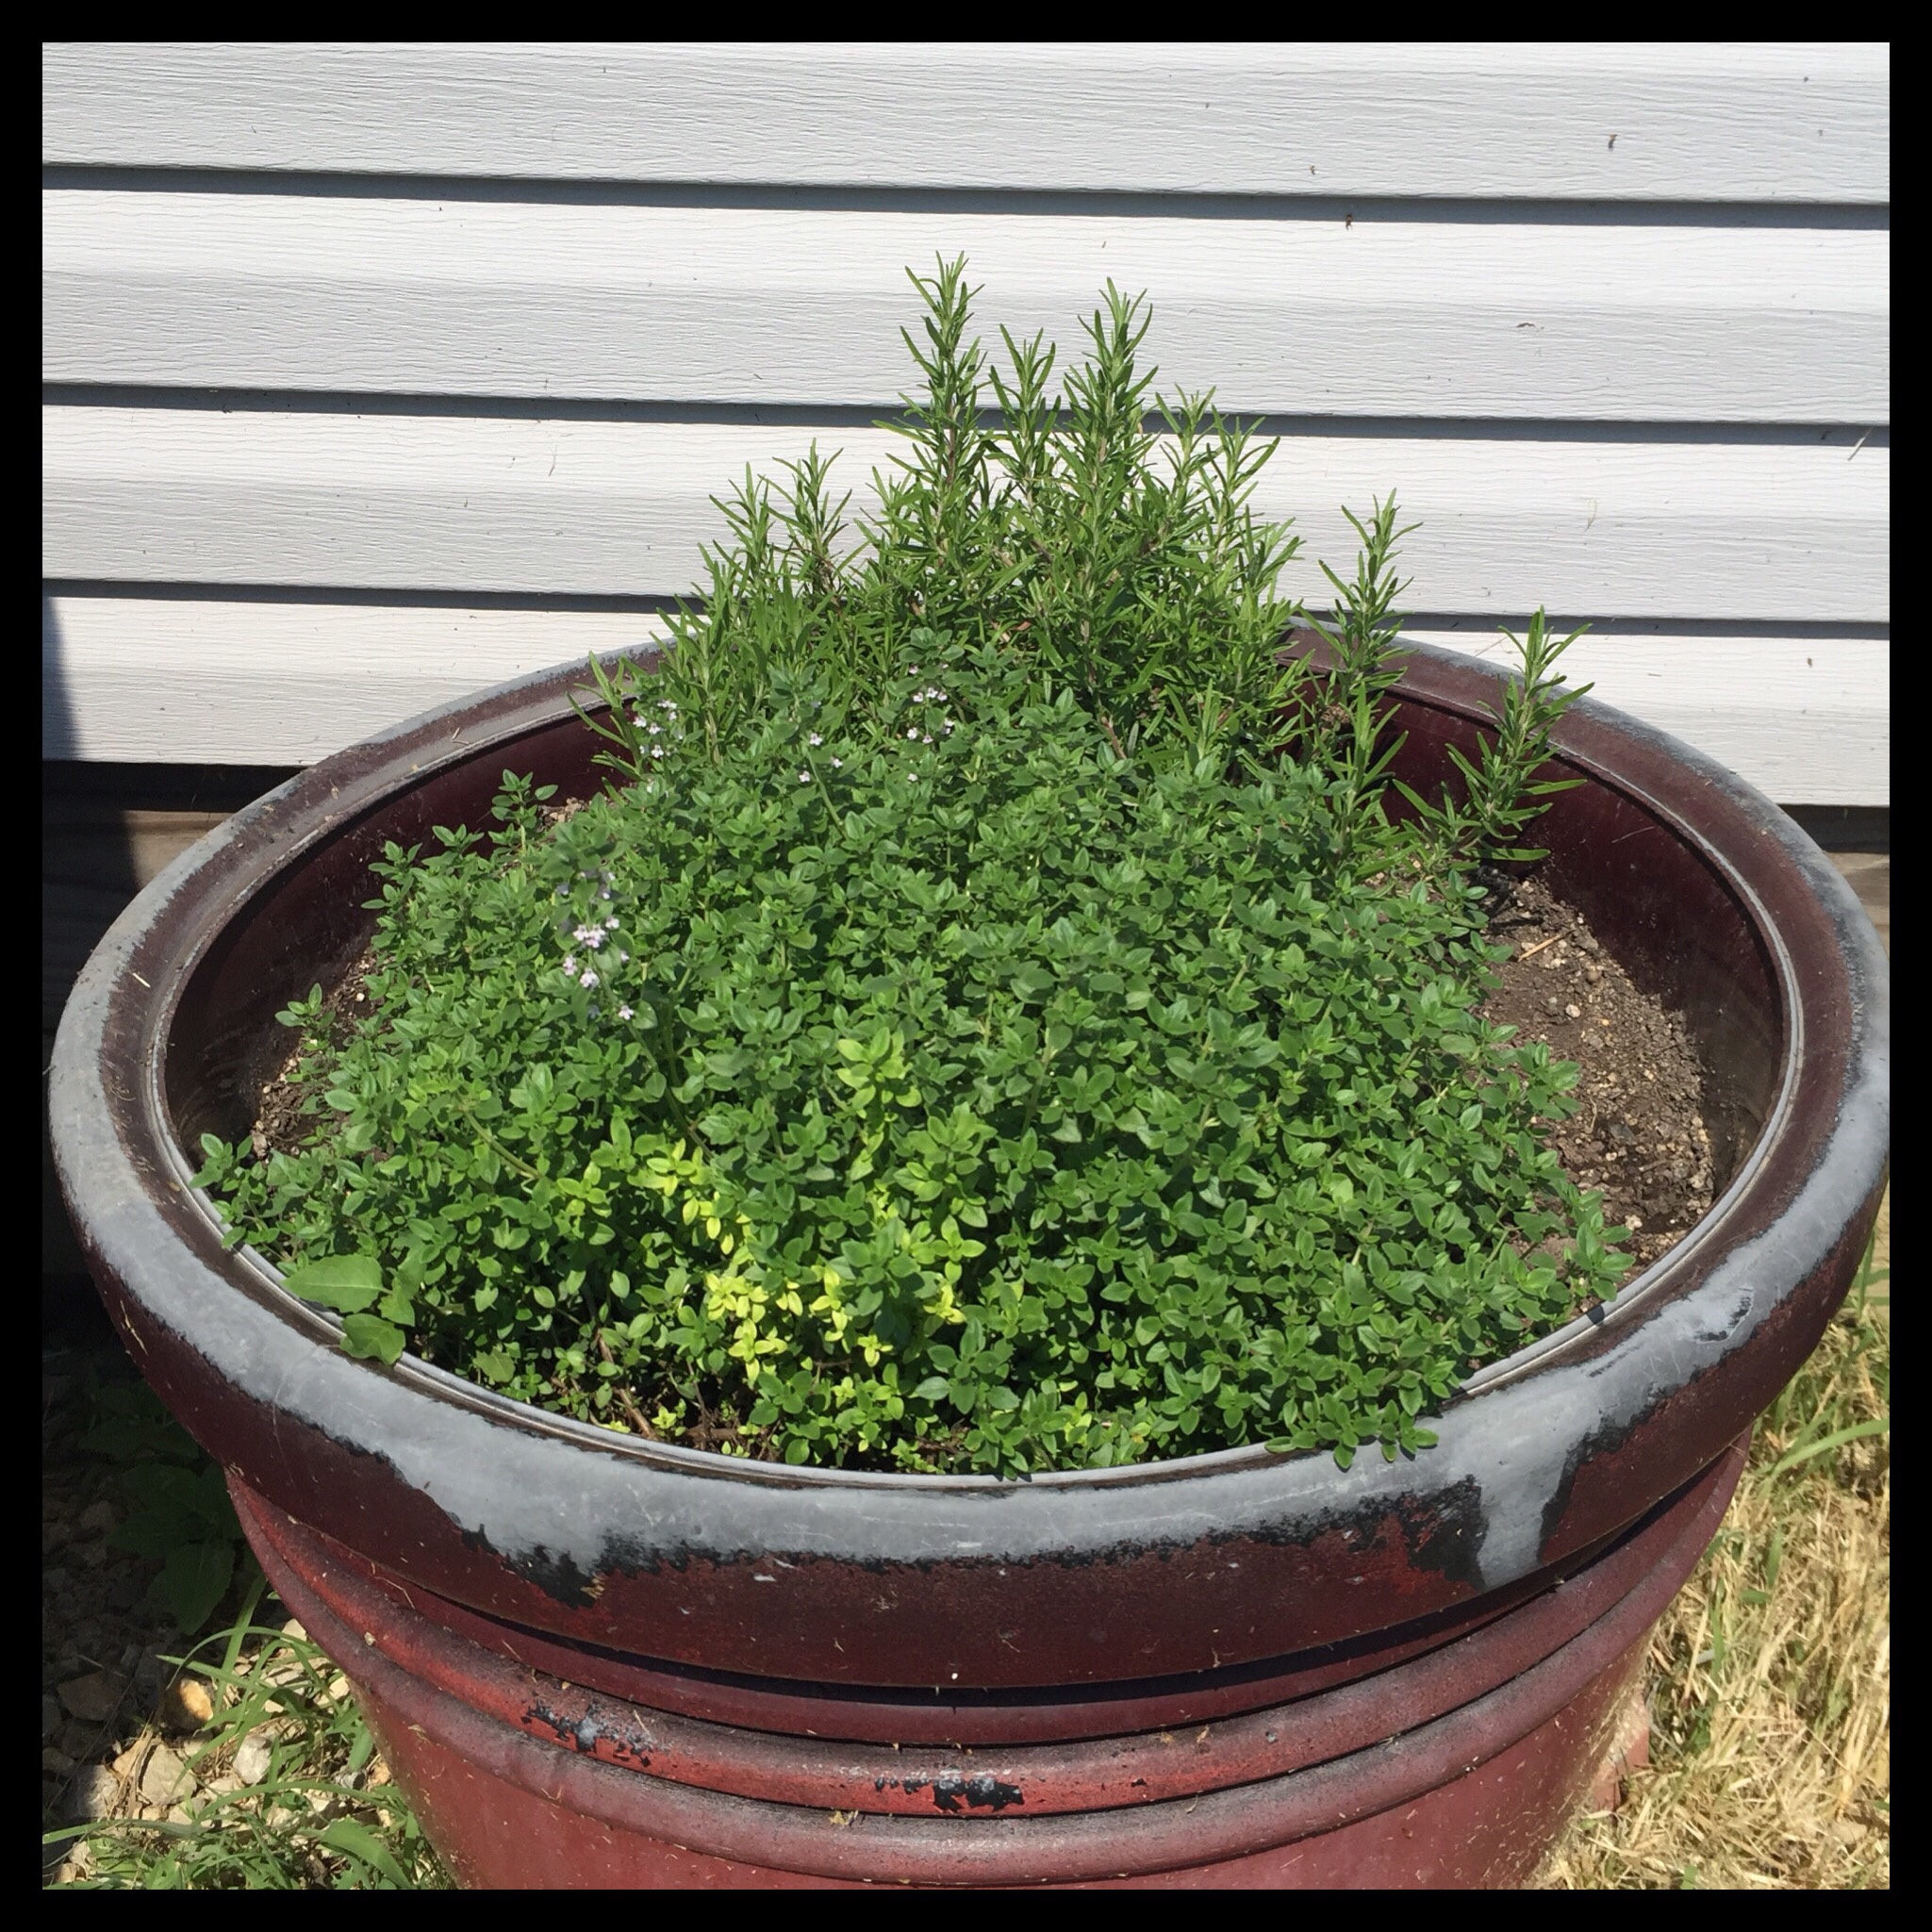
Our two sage plants have been growing really well, and we have already harvested and dried more than enough for cooking purposes for the next year. So, I decided to make my own sage bundles for smudging. (If you are not familiar with the benefits of smudging, this article explains the basics of how and why to smudge, and this article discusses the medical benefits.) Typically, white sage is used for smudge sticks, but the more common types are acceptable substitutes.
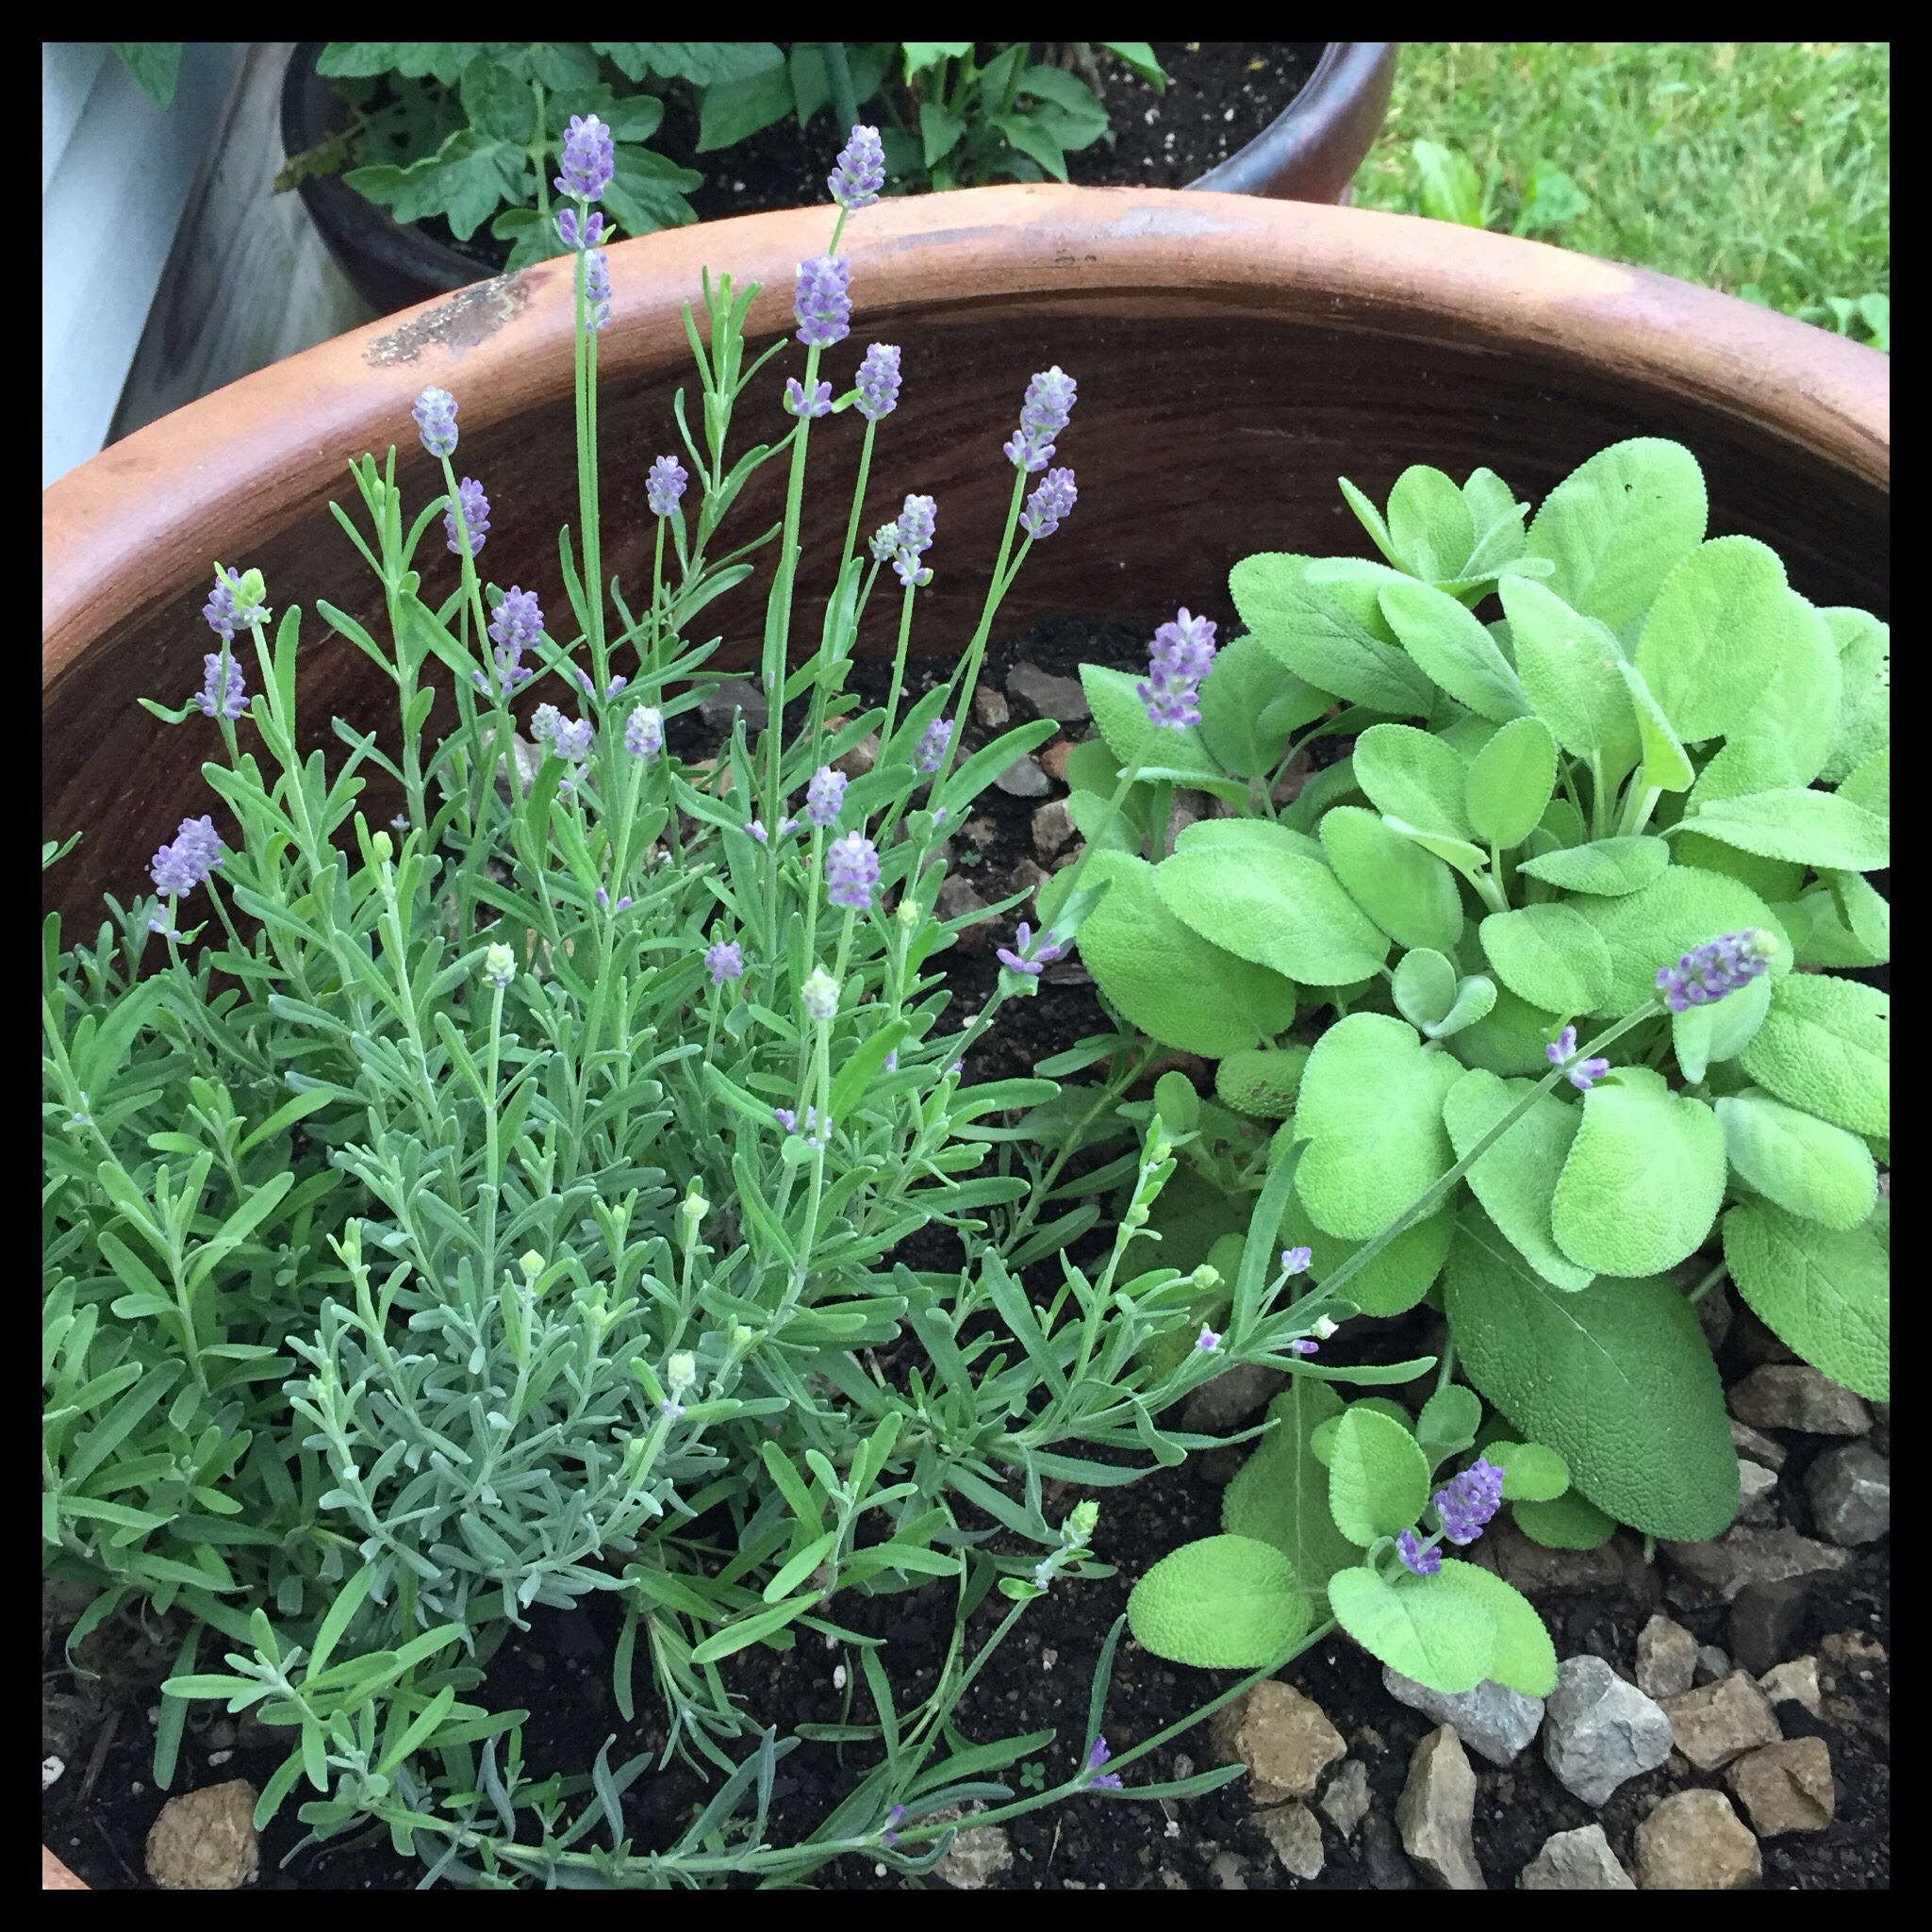
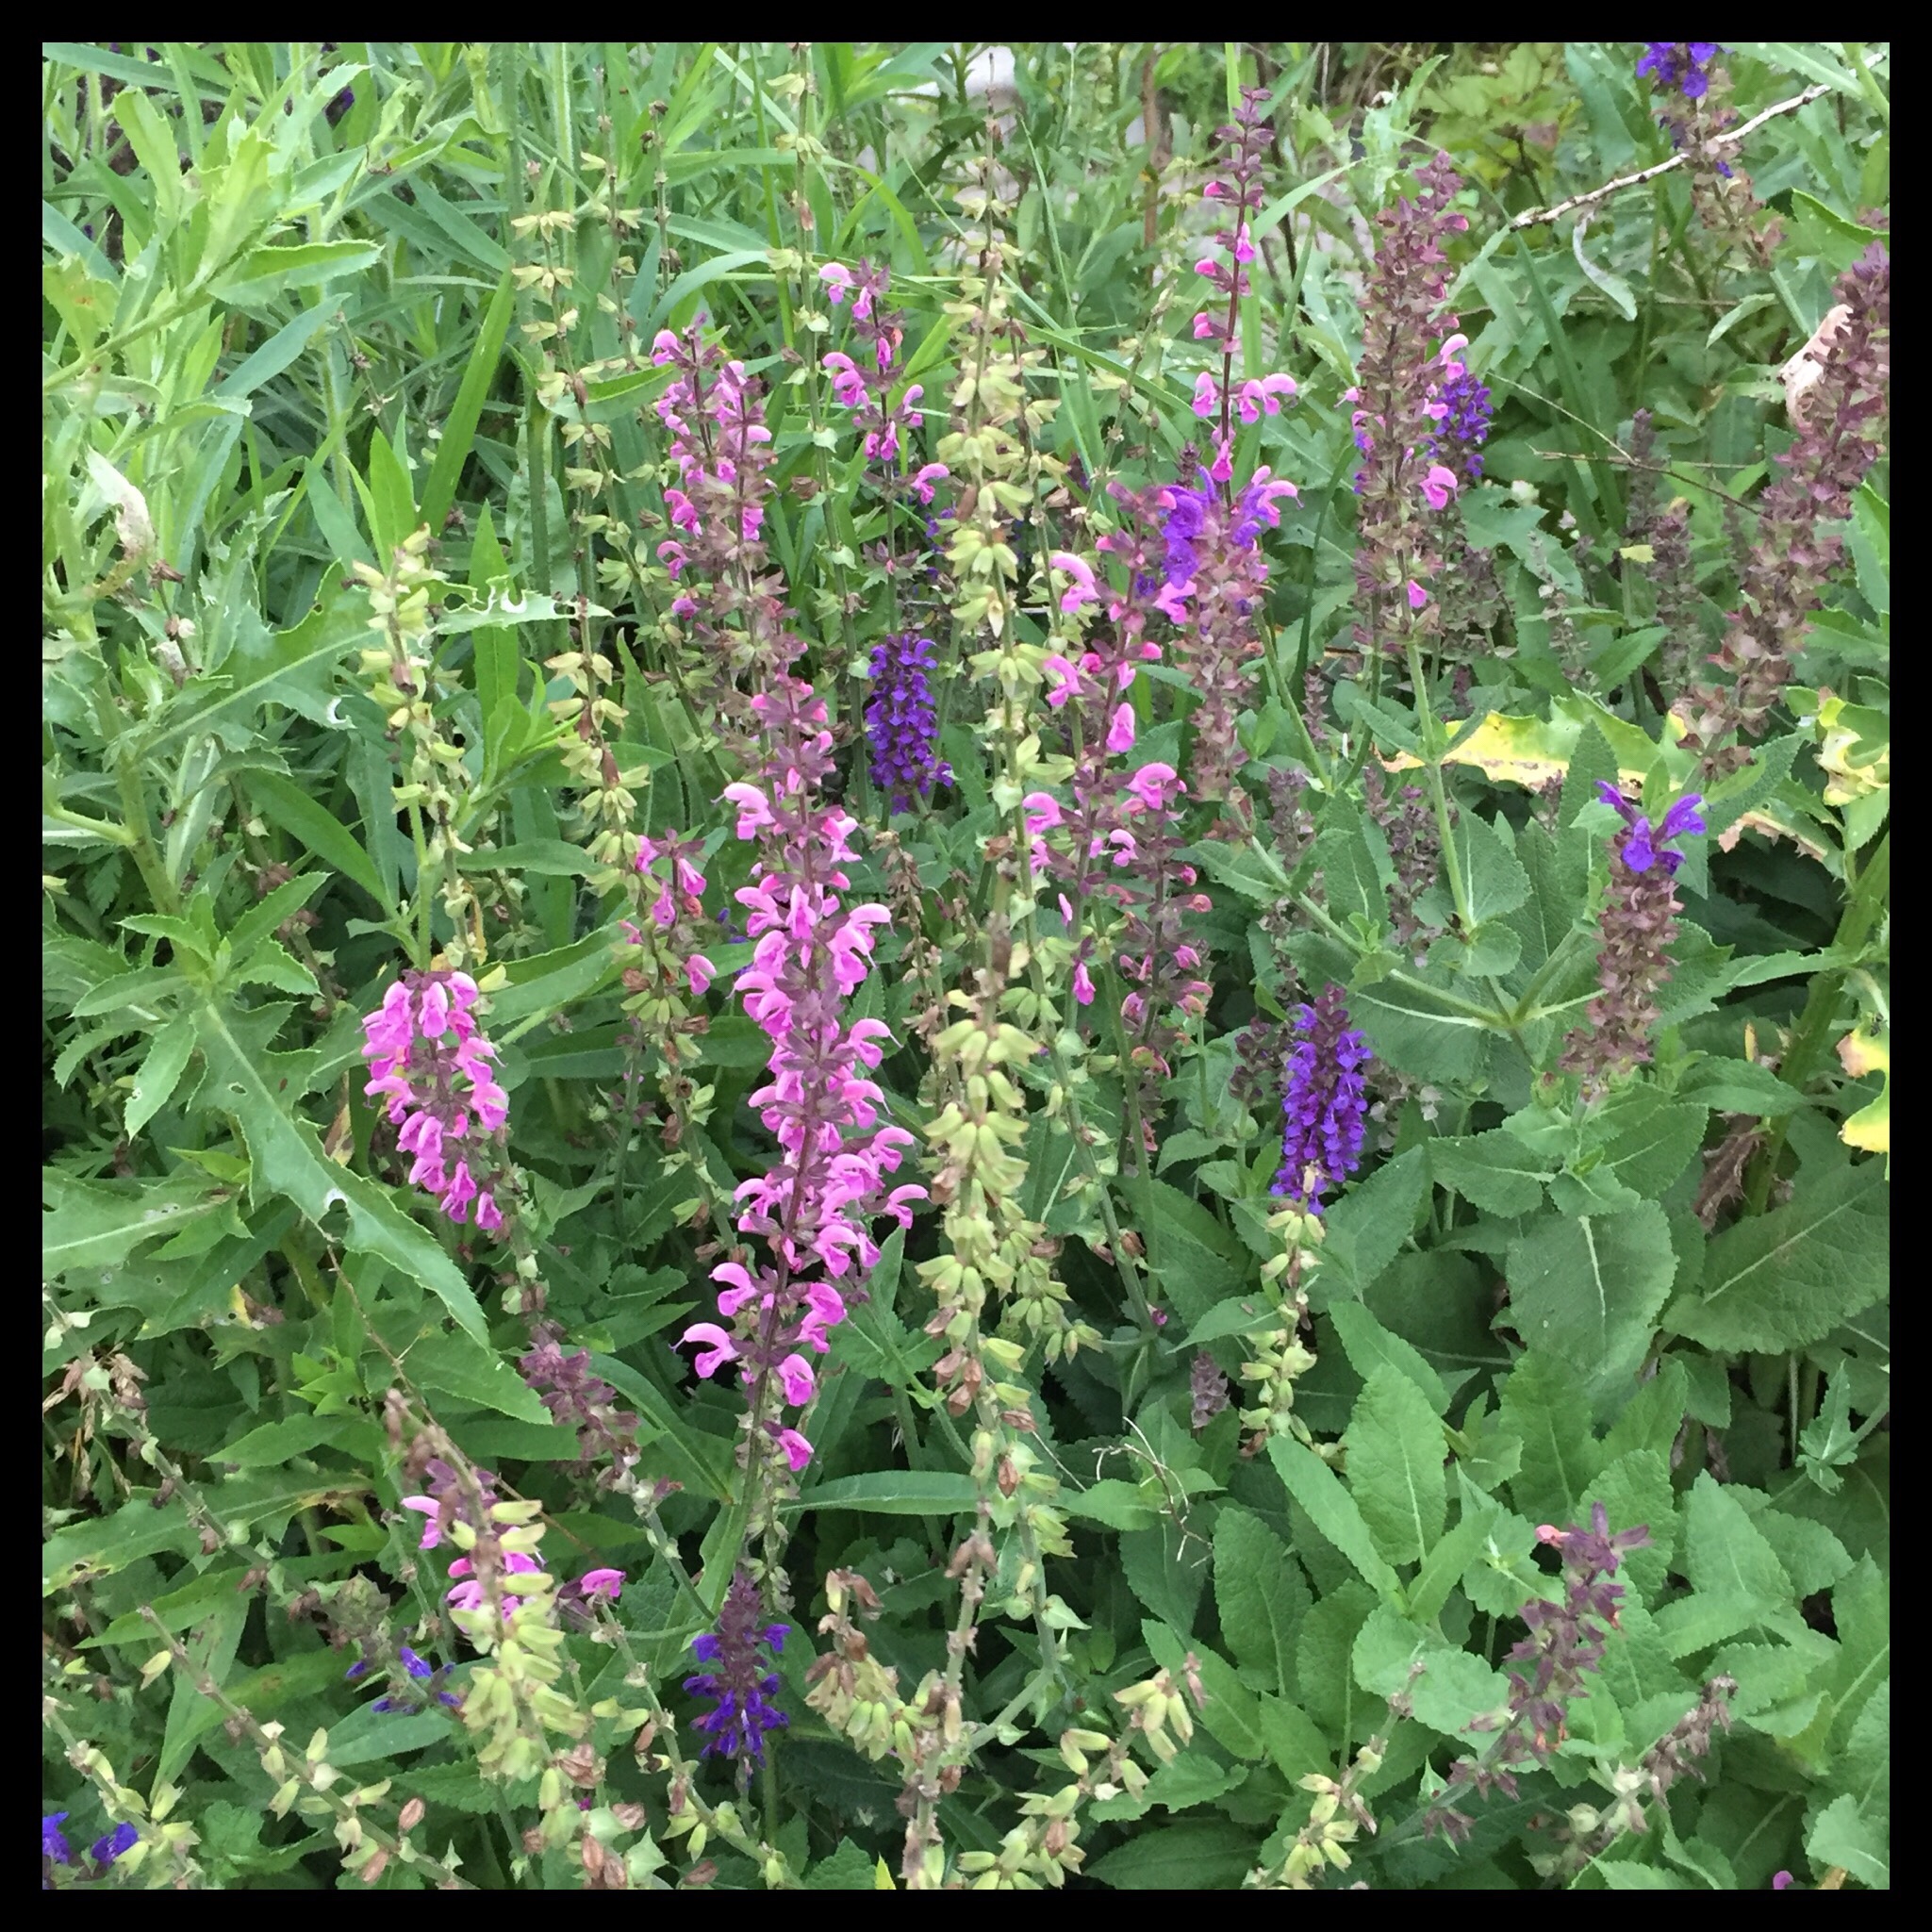
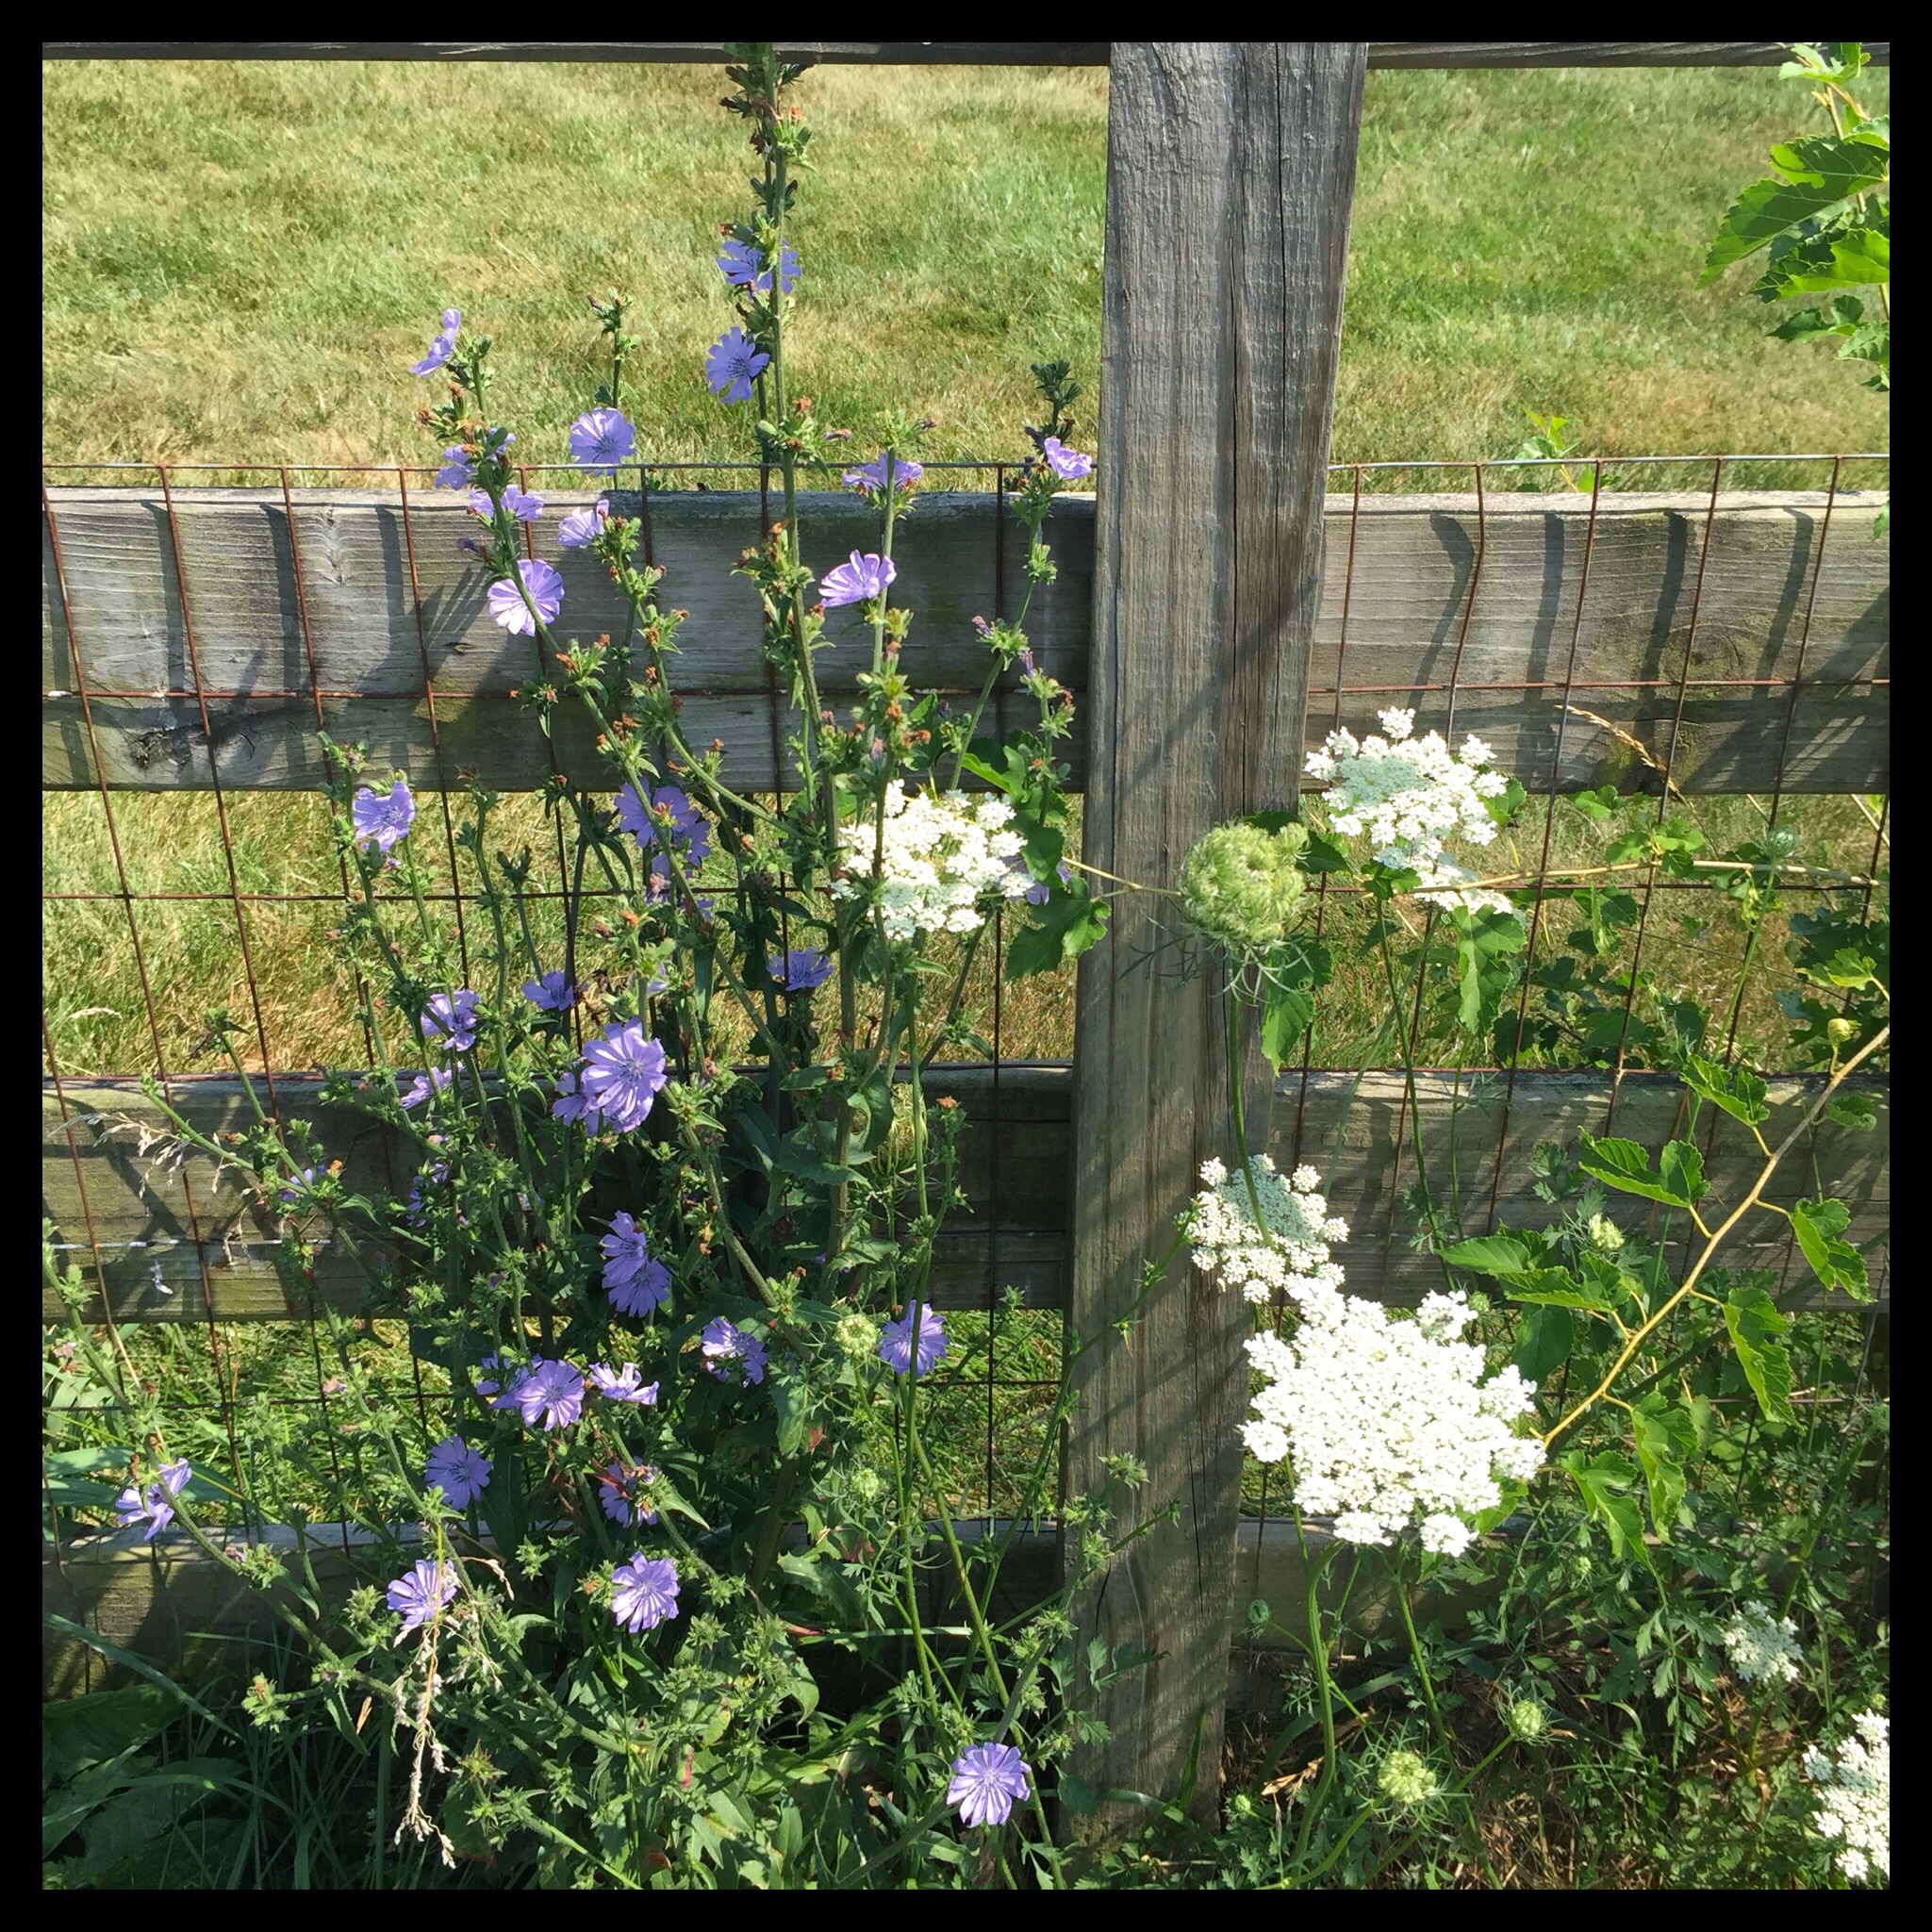
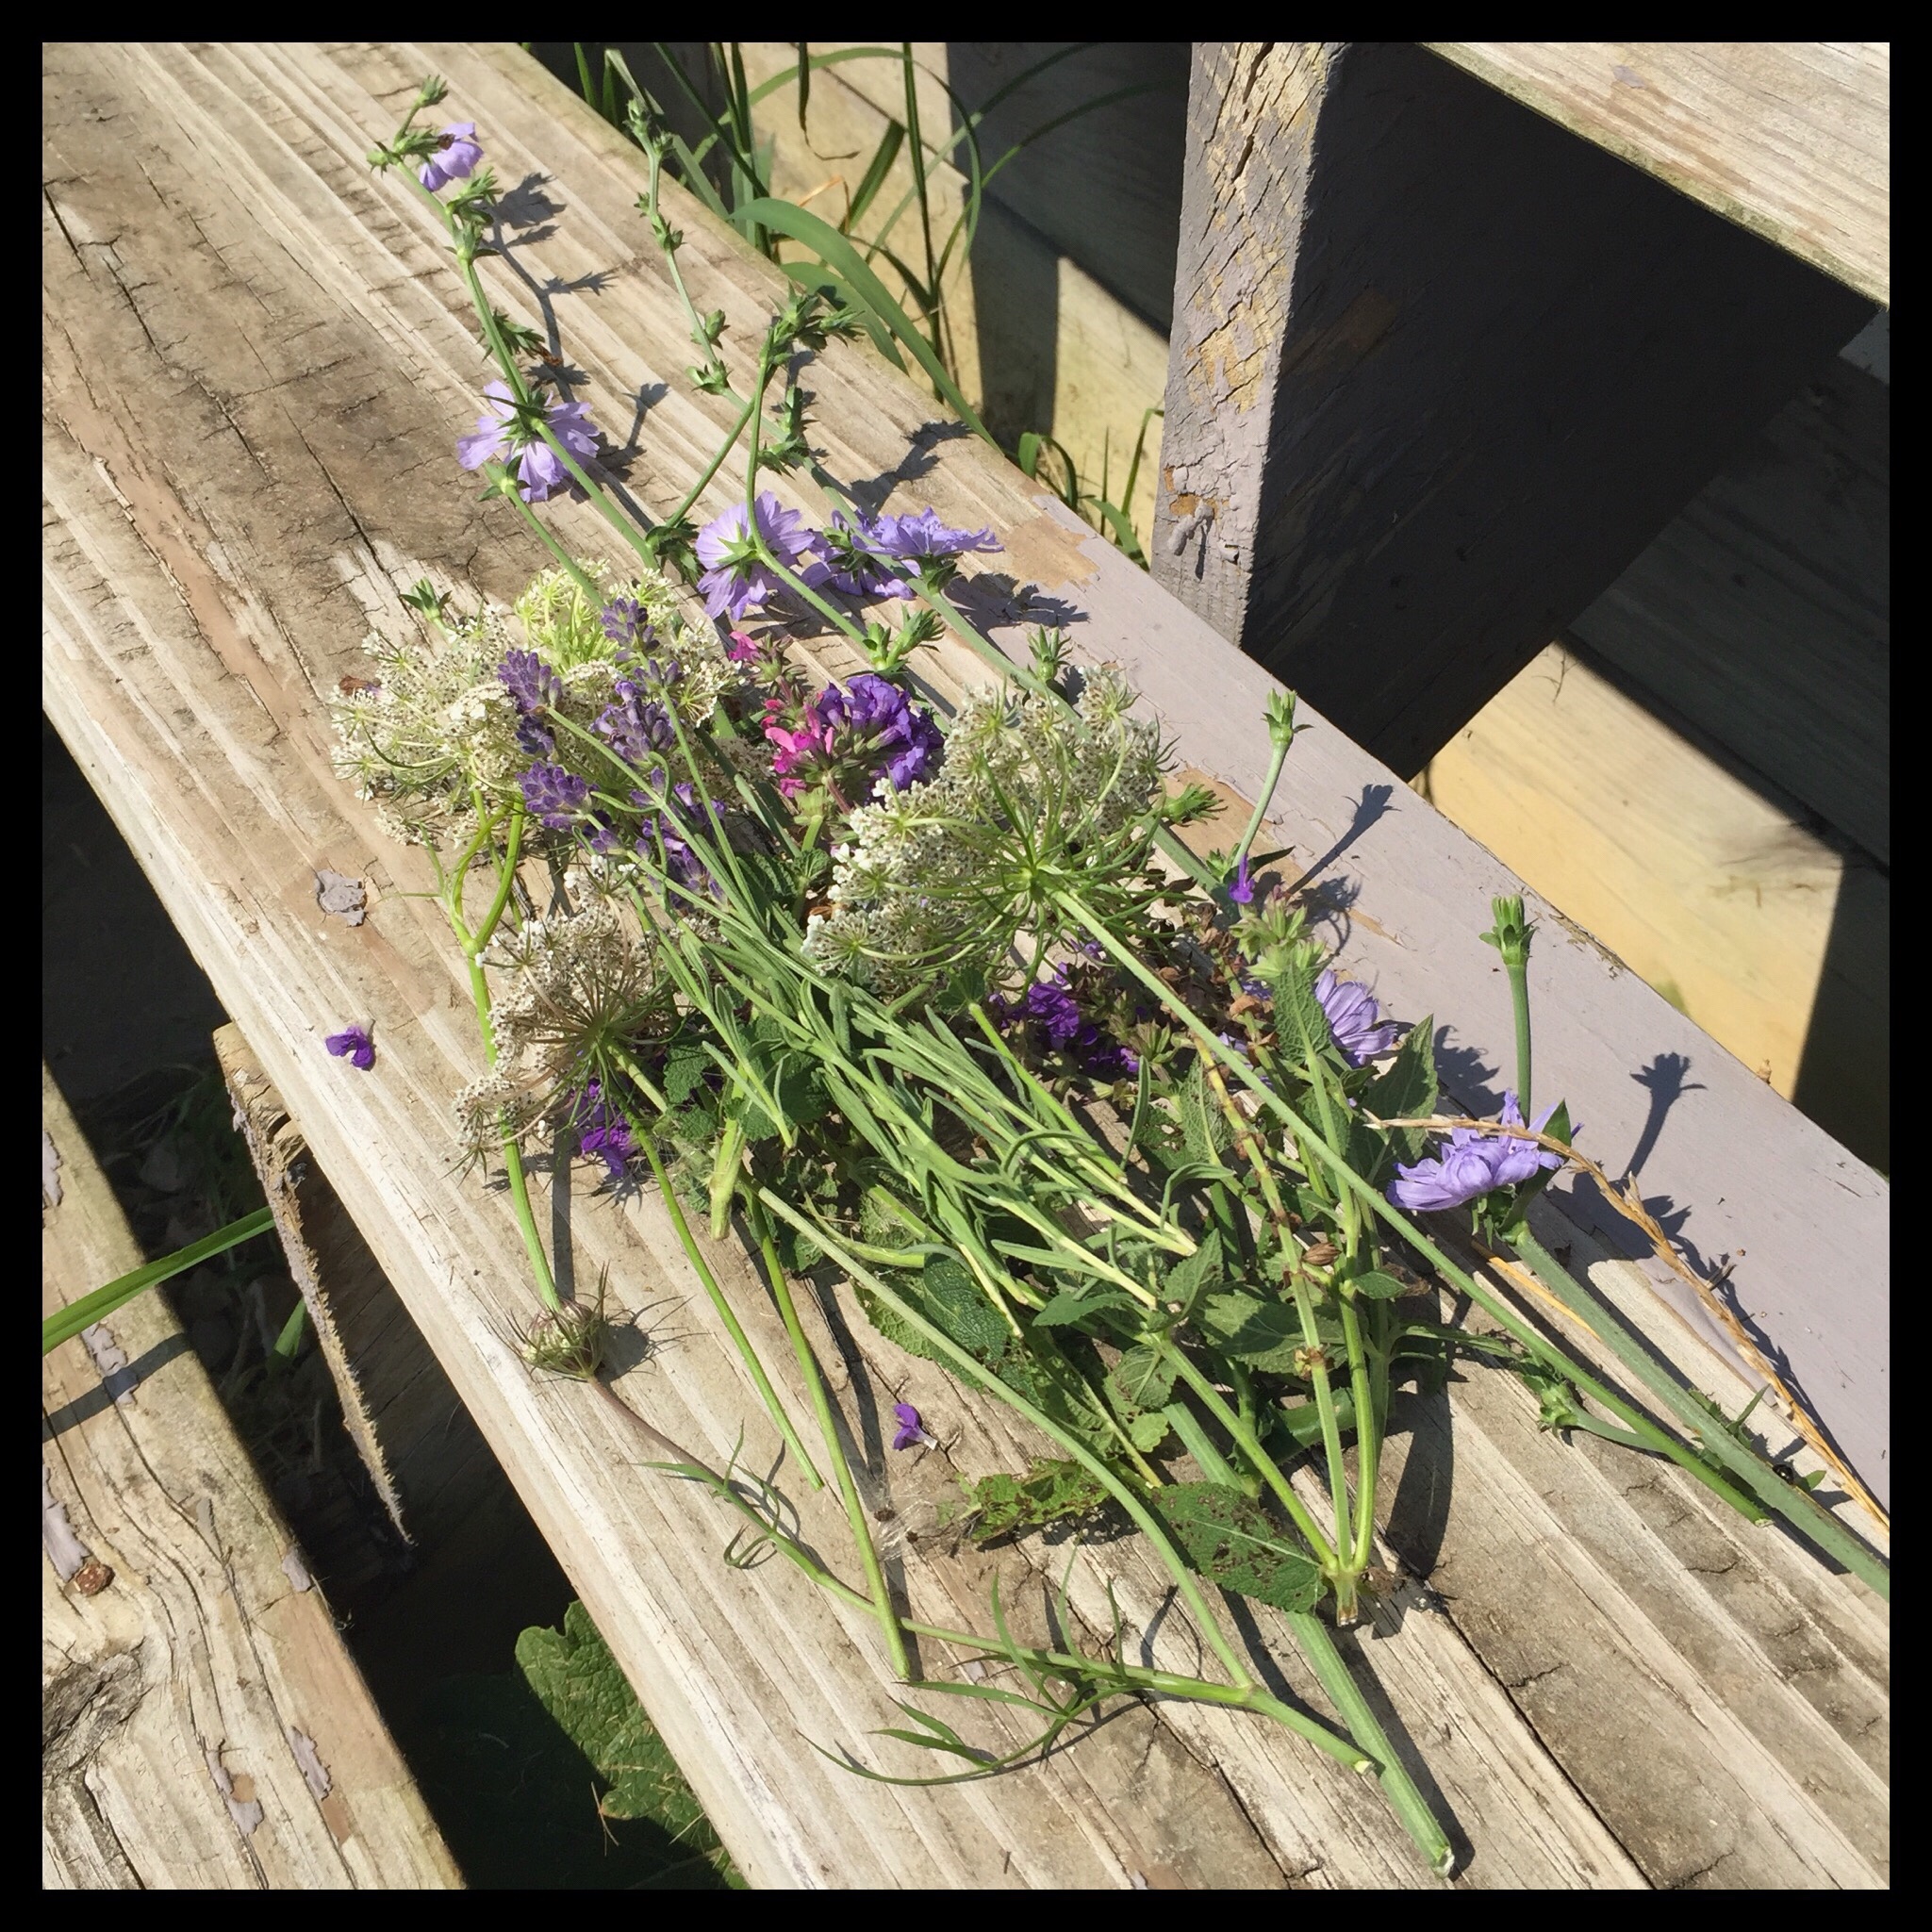
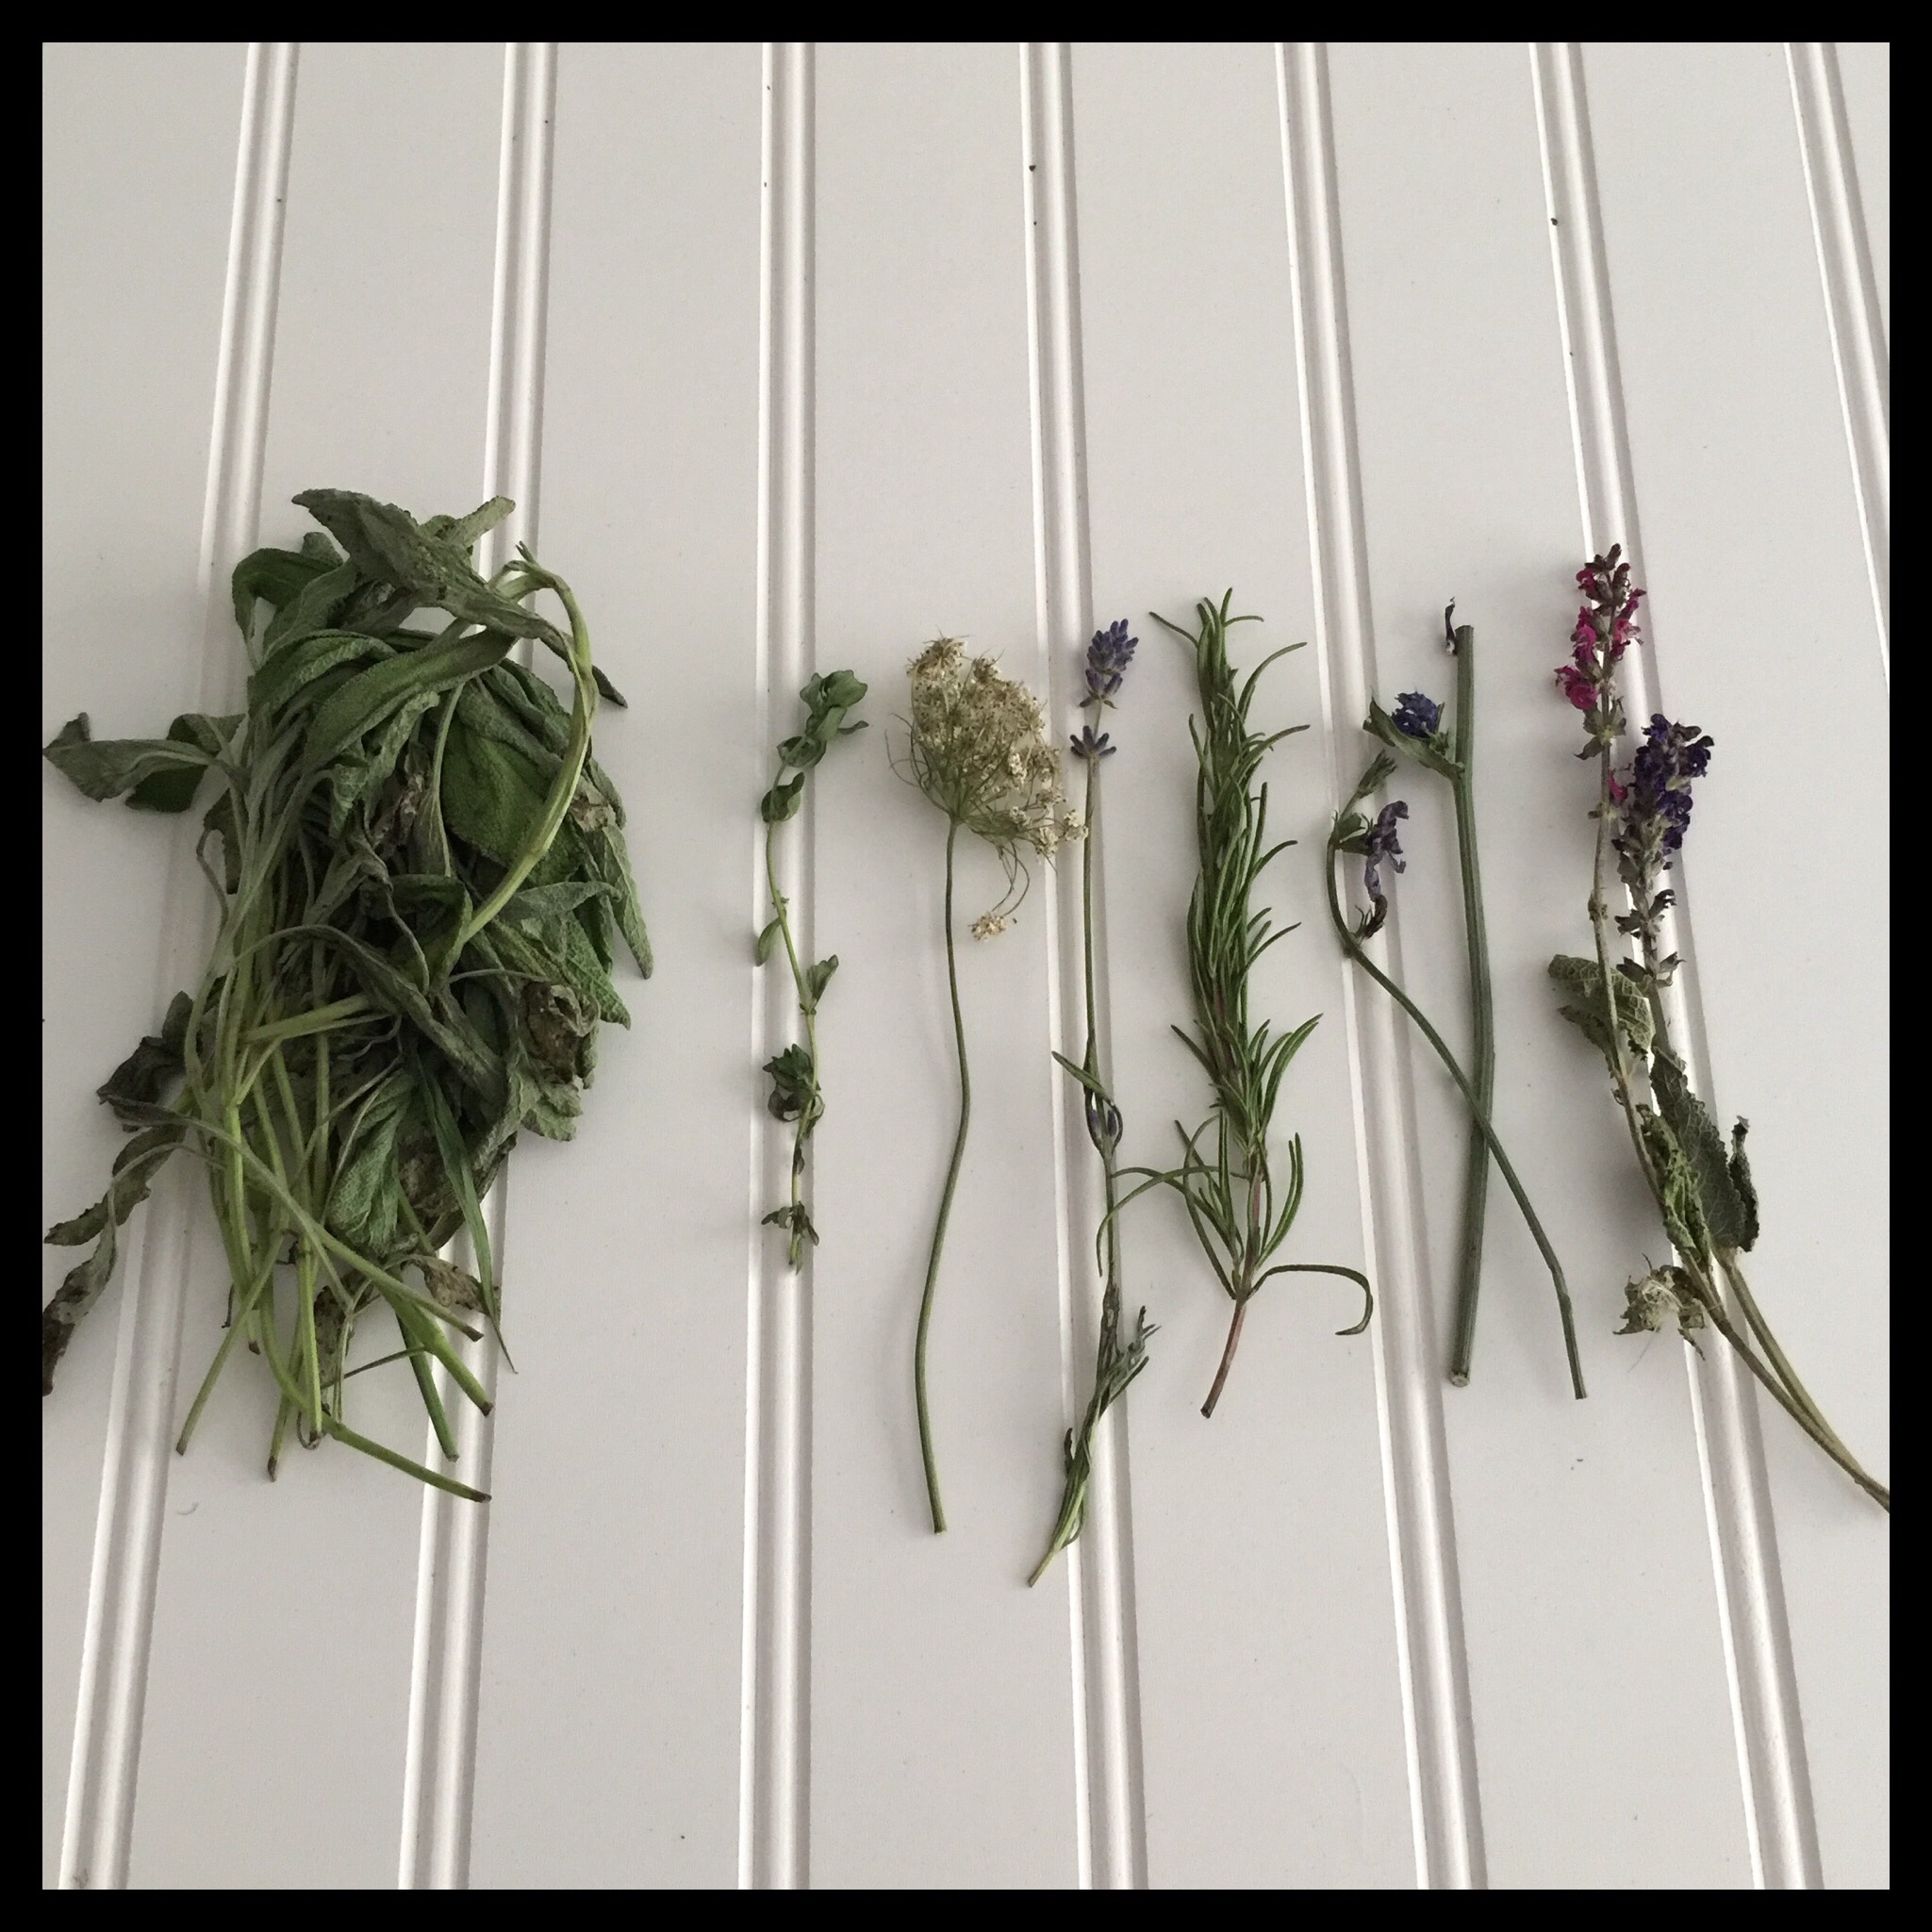
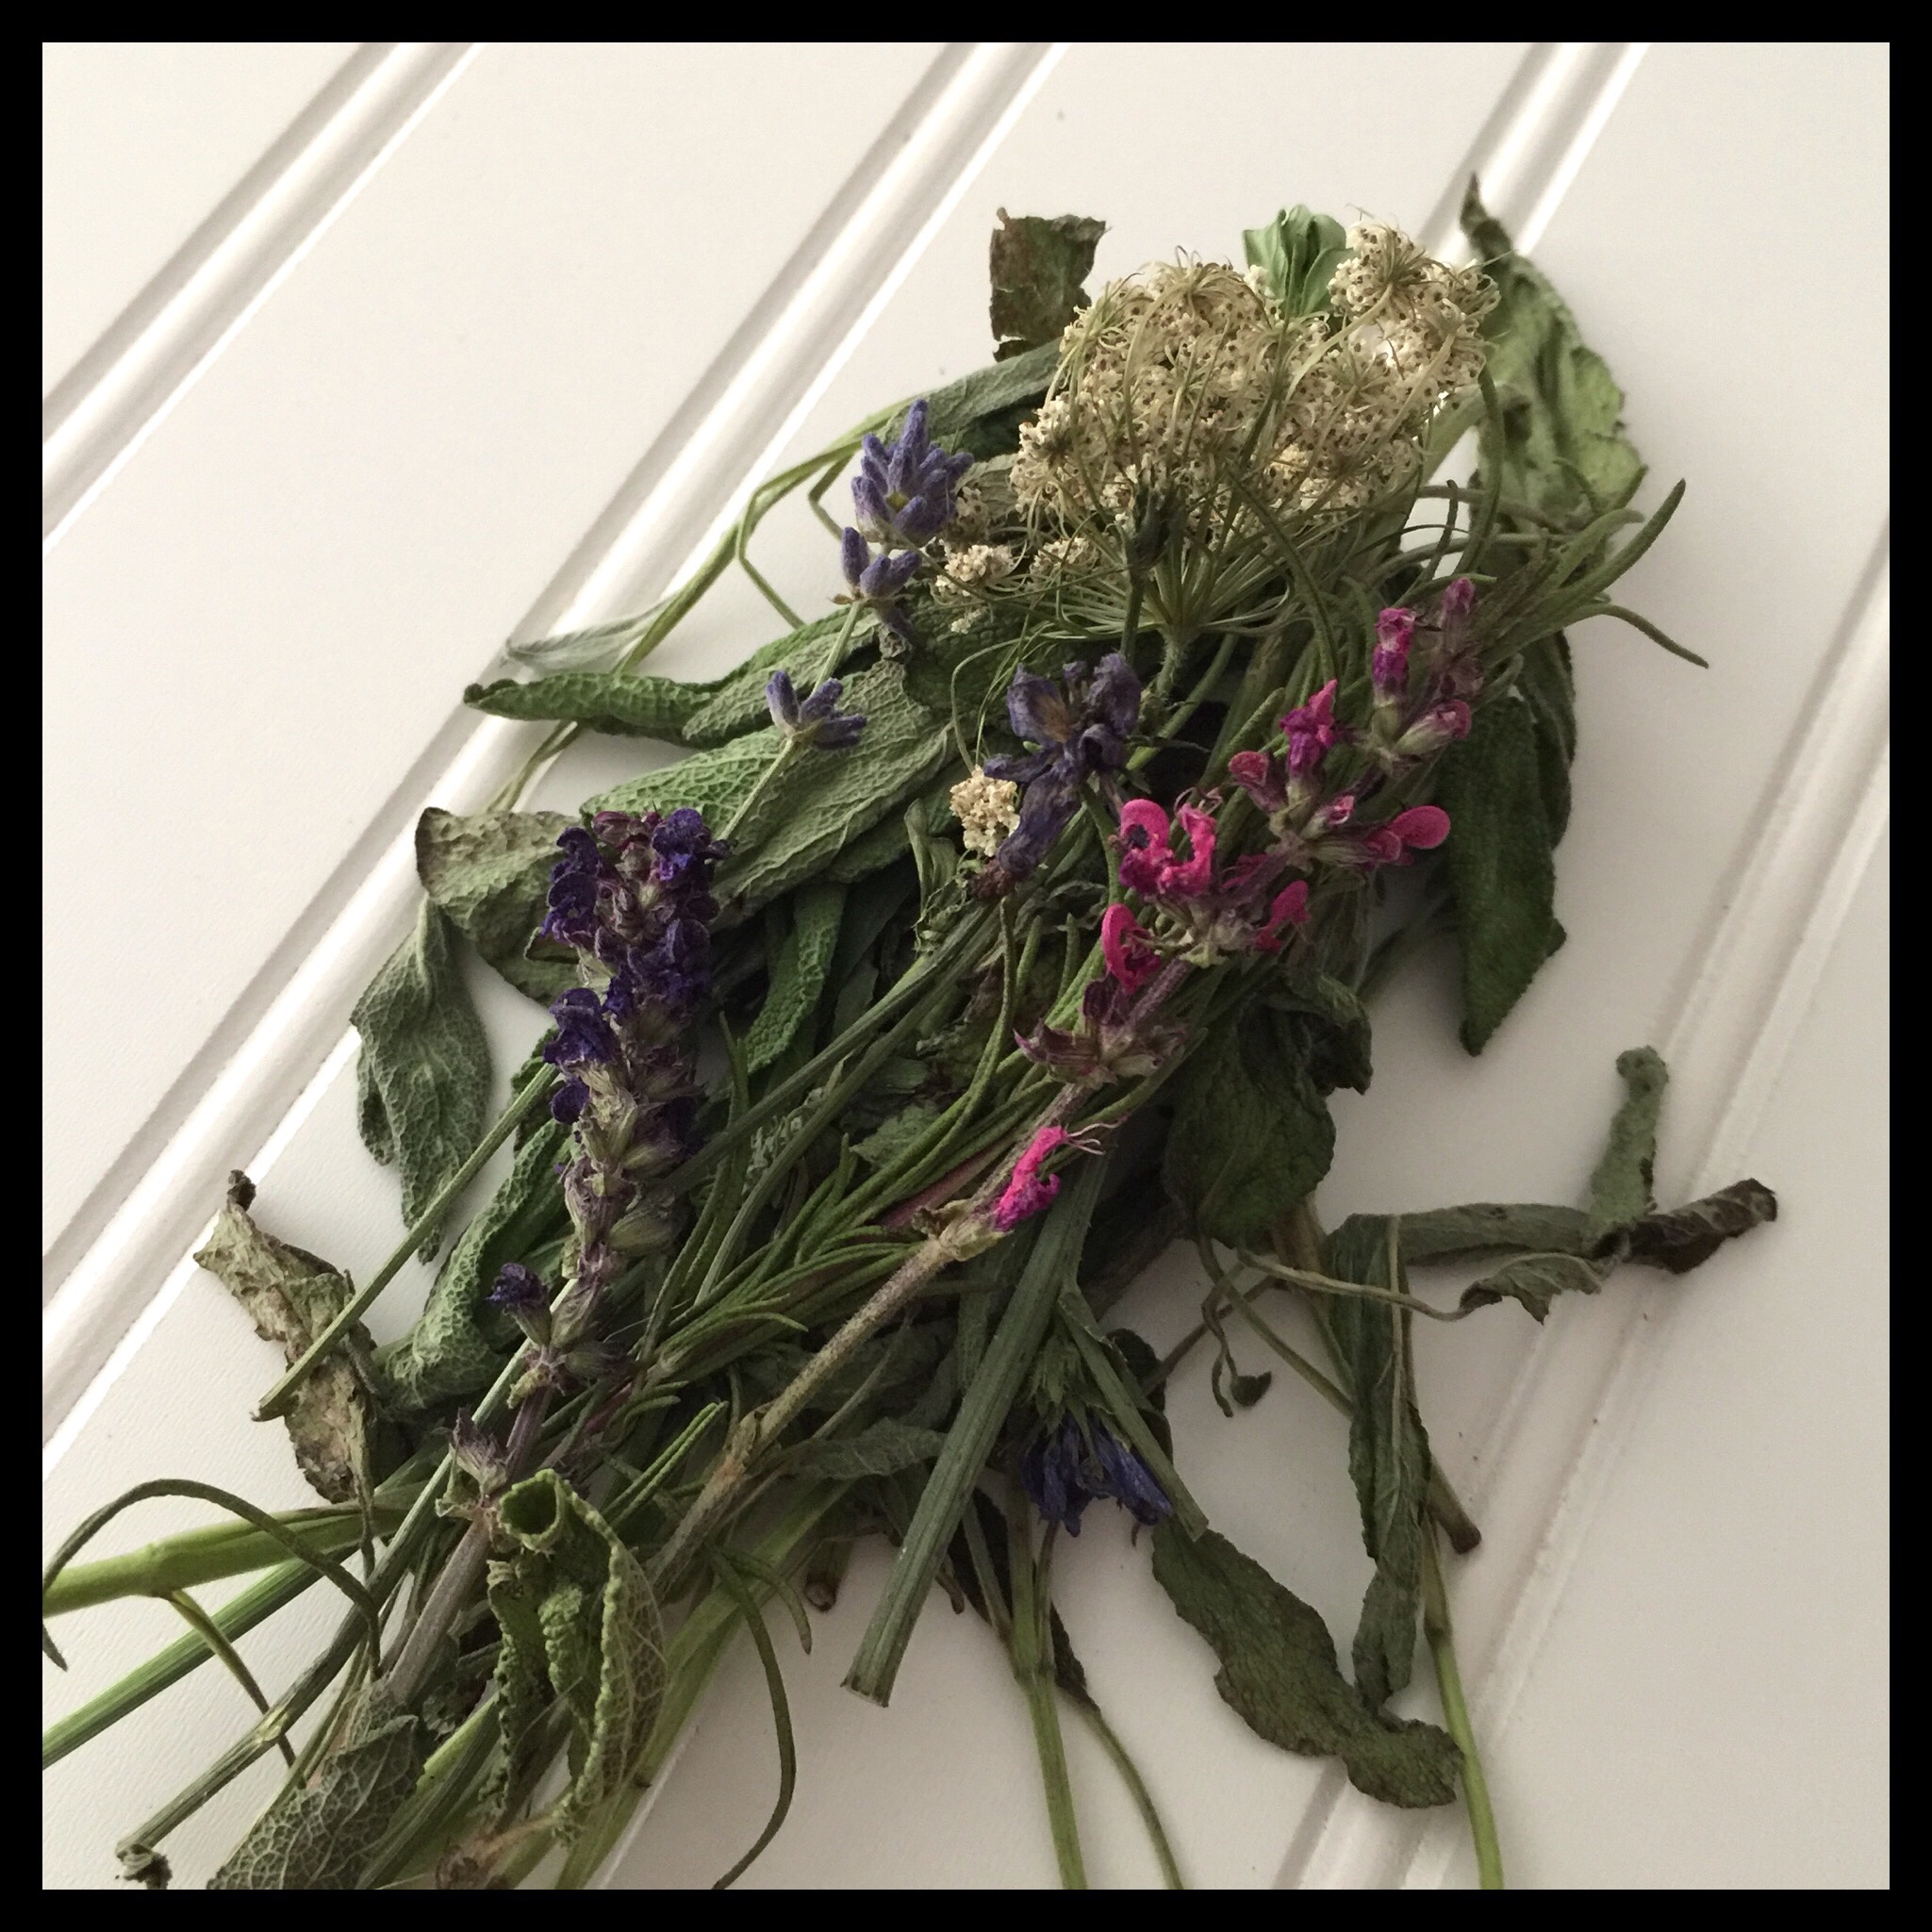
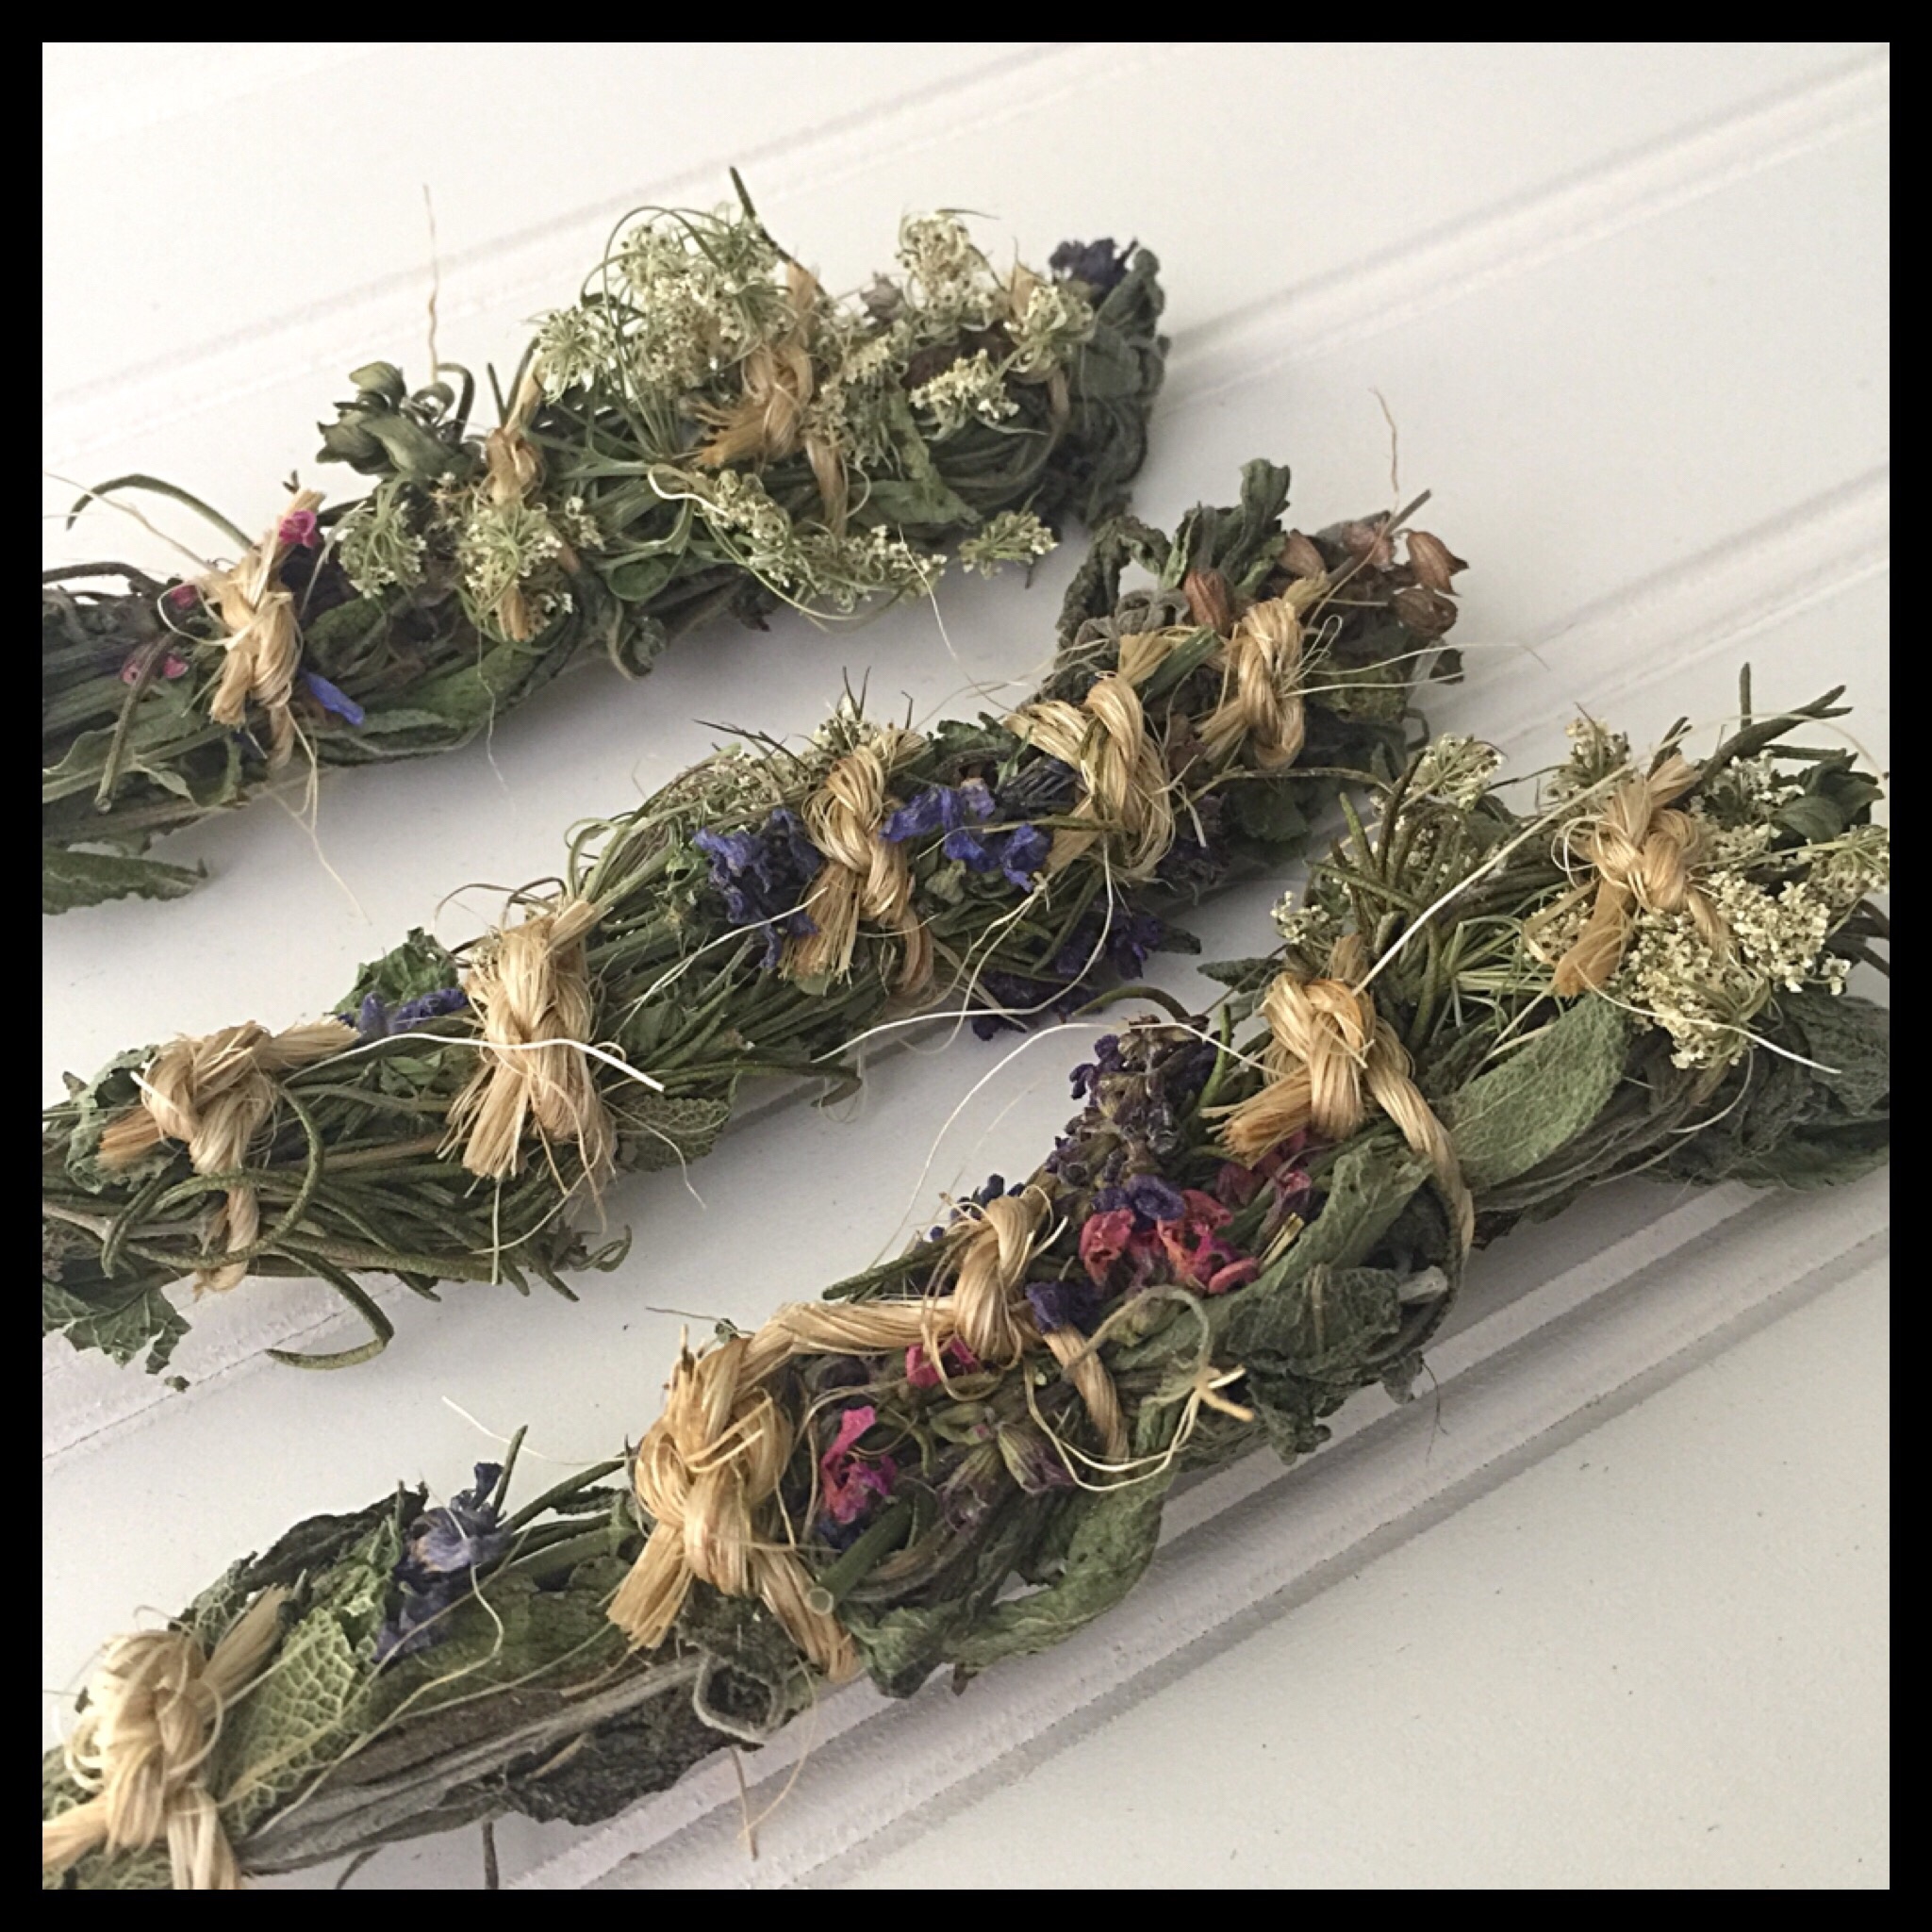
I also wanted my smudge sticks to be pretty and colorful, so I added some purple wood sage, Queen Anne’s lace, and chicory flowers. Lavender provides both color and scent, and is good for calming, protection, and cleansing.
Rosemary is good for removing negative energy and is also added for soothing and encouraging a sense of peace. Thyme is good for removing obstacles, mind blocks, and negative feelings. (This helpful article discusses the uses of thirty herbs and plants for smudging.)
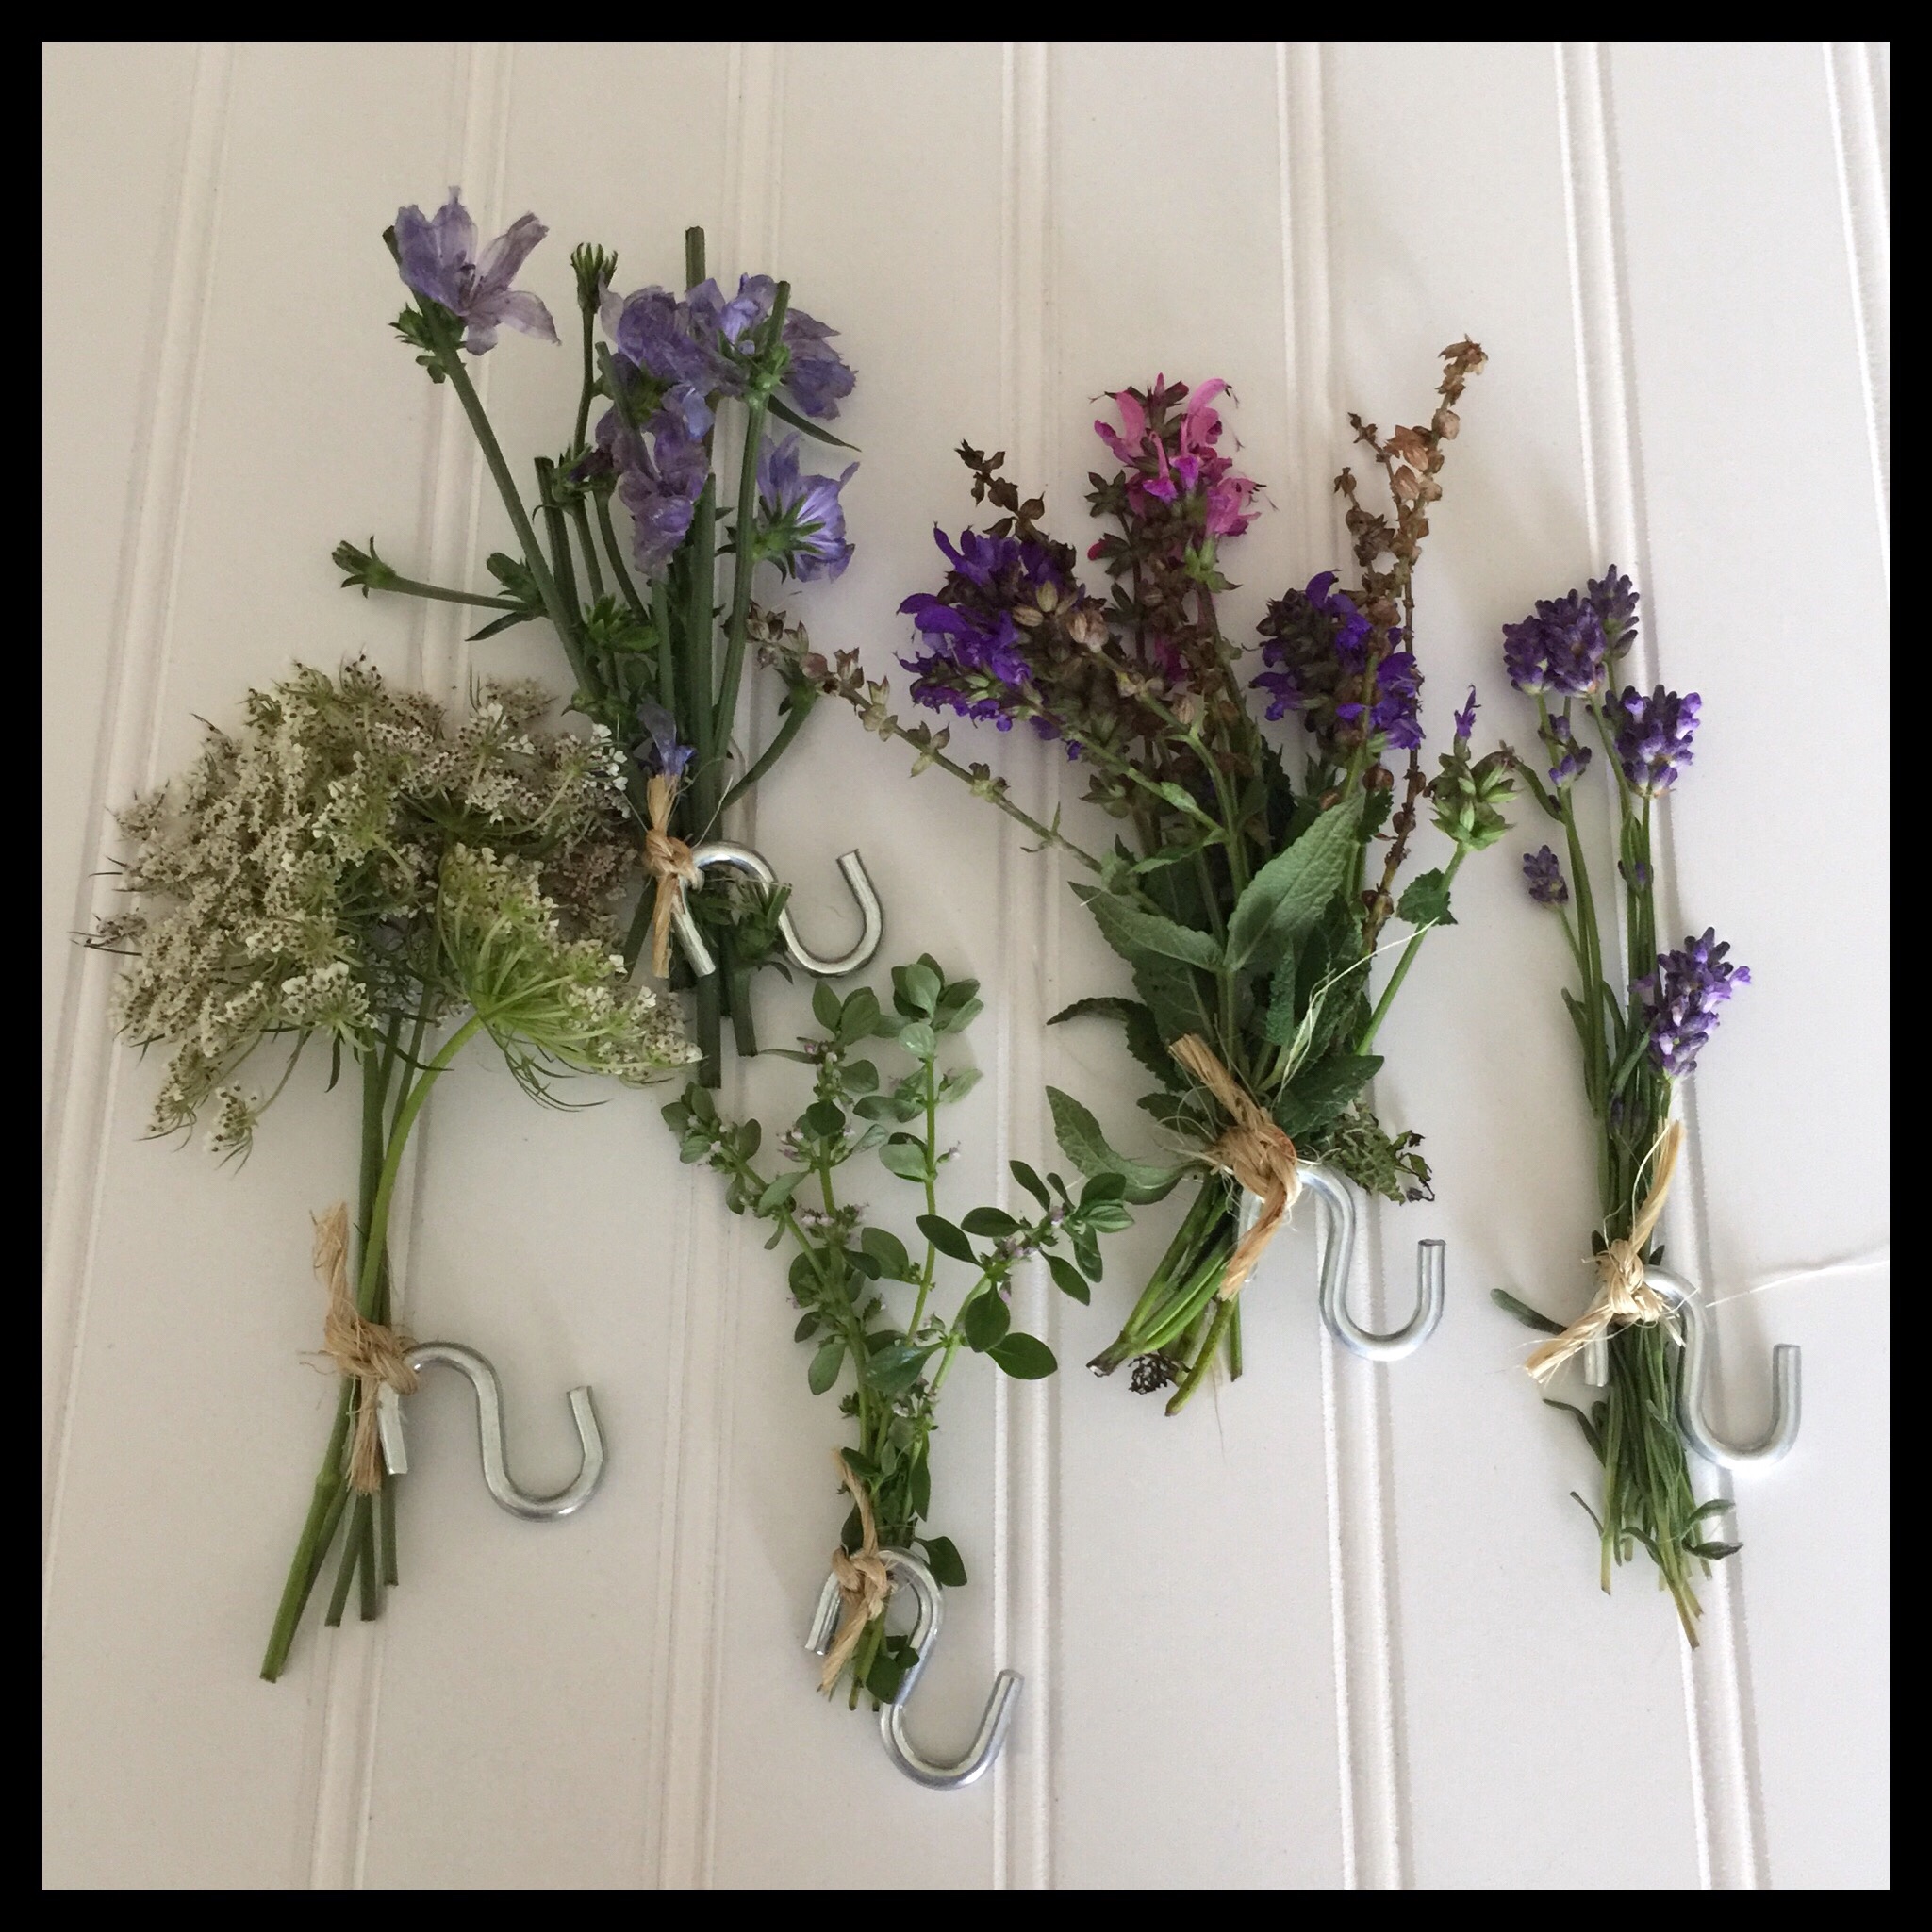
Here are my wildflowers and herbs:
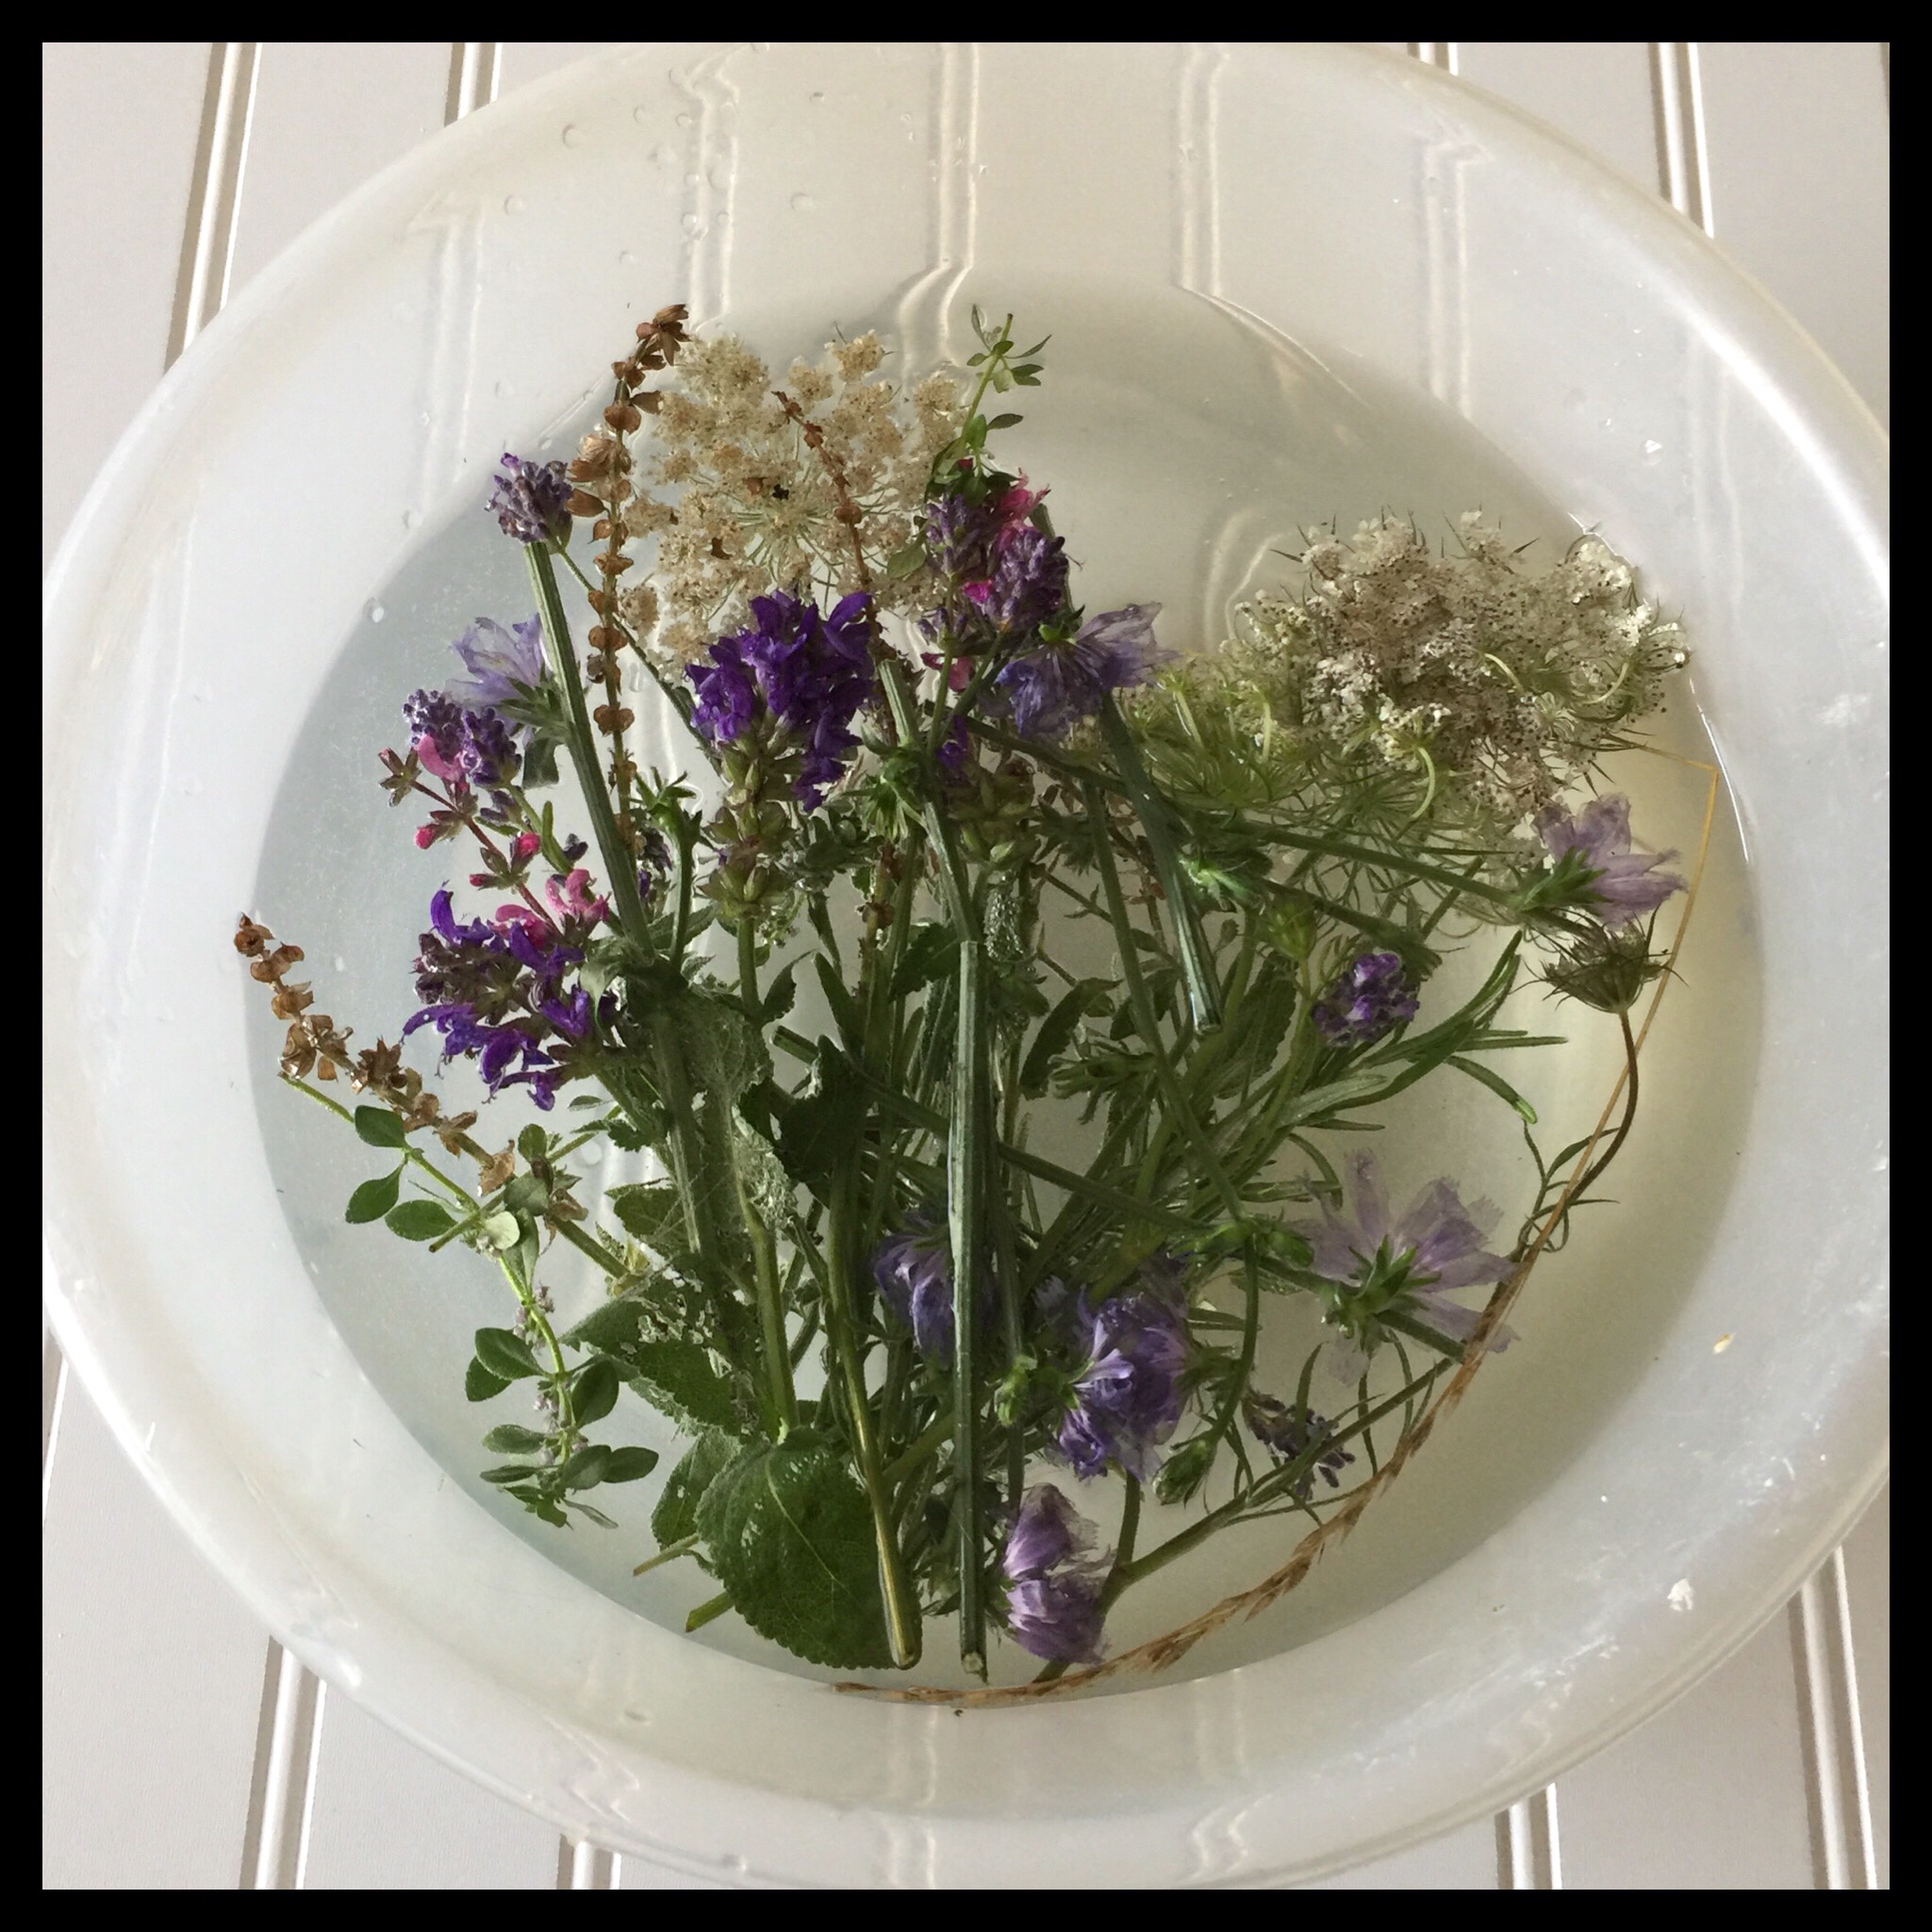
I washed the flowers and then spread them out on a pad to start drying. (I had already harvested a lot of rosemary and had both it and the sage drying separately.)
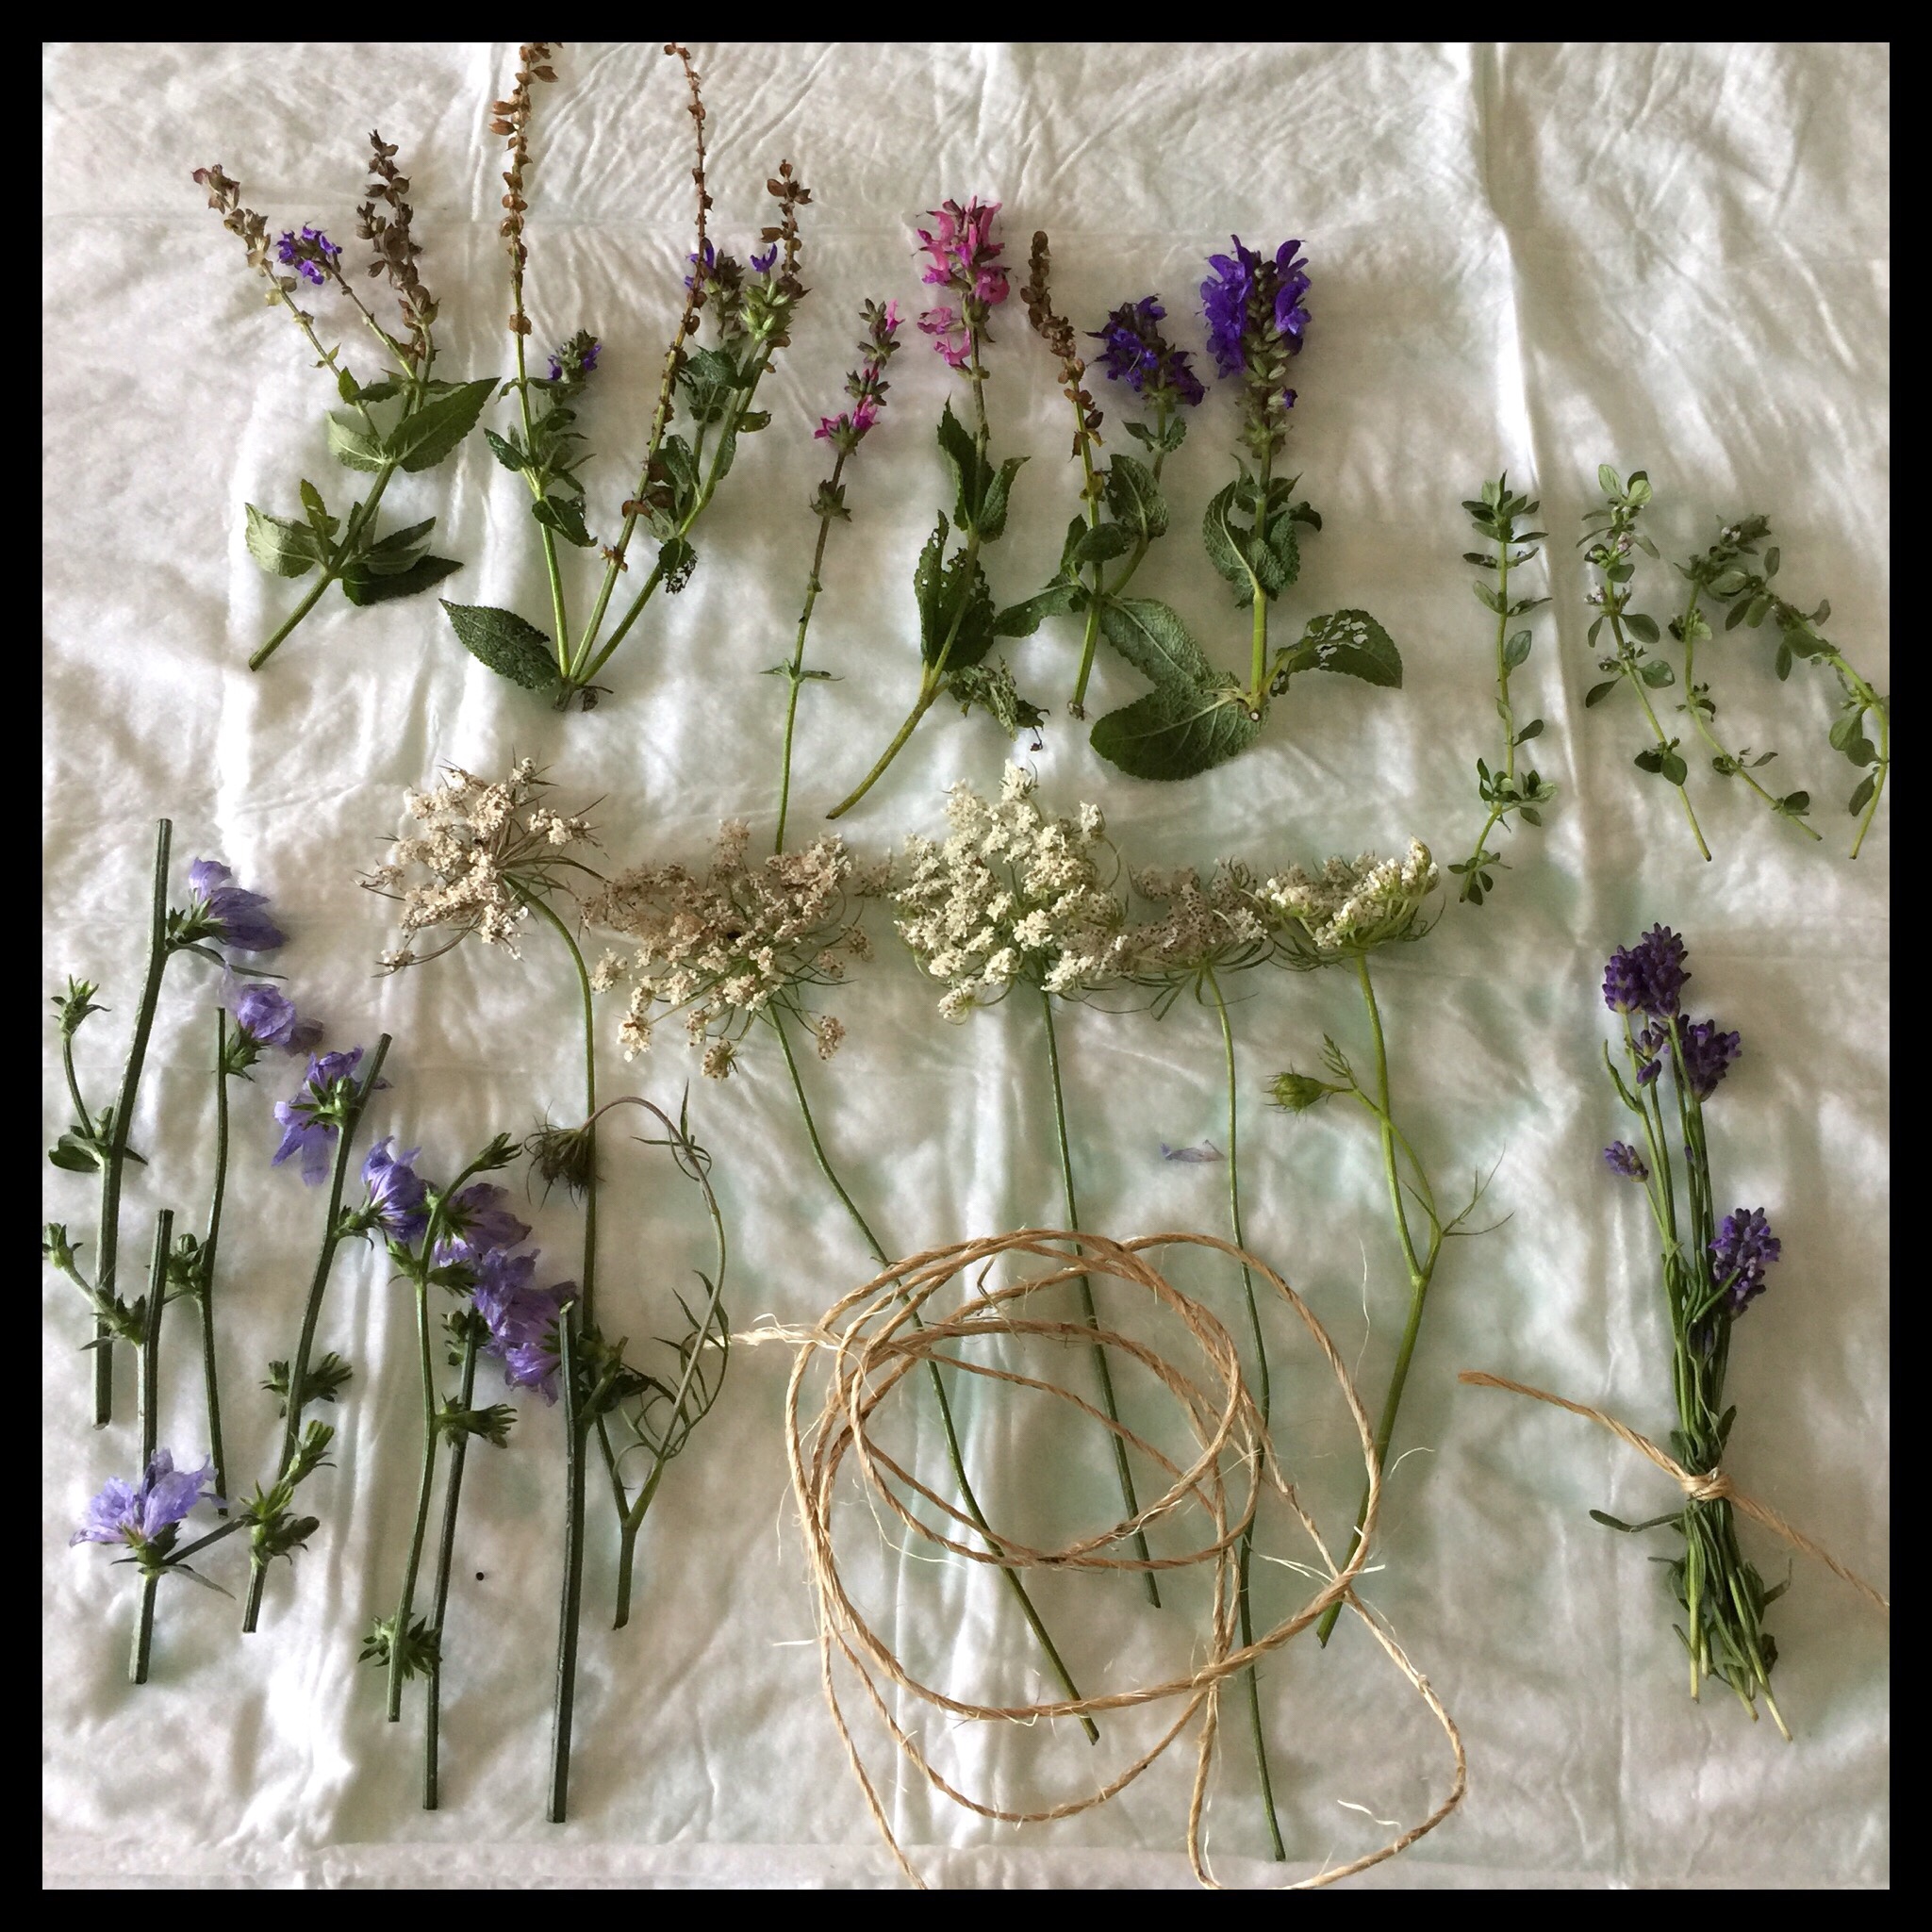
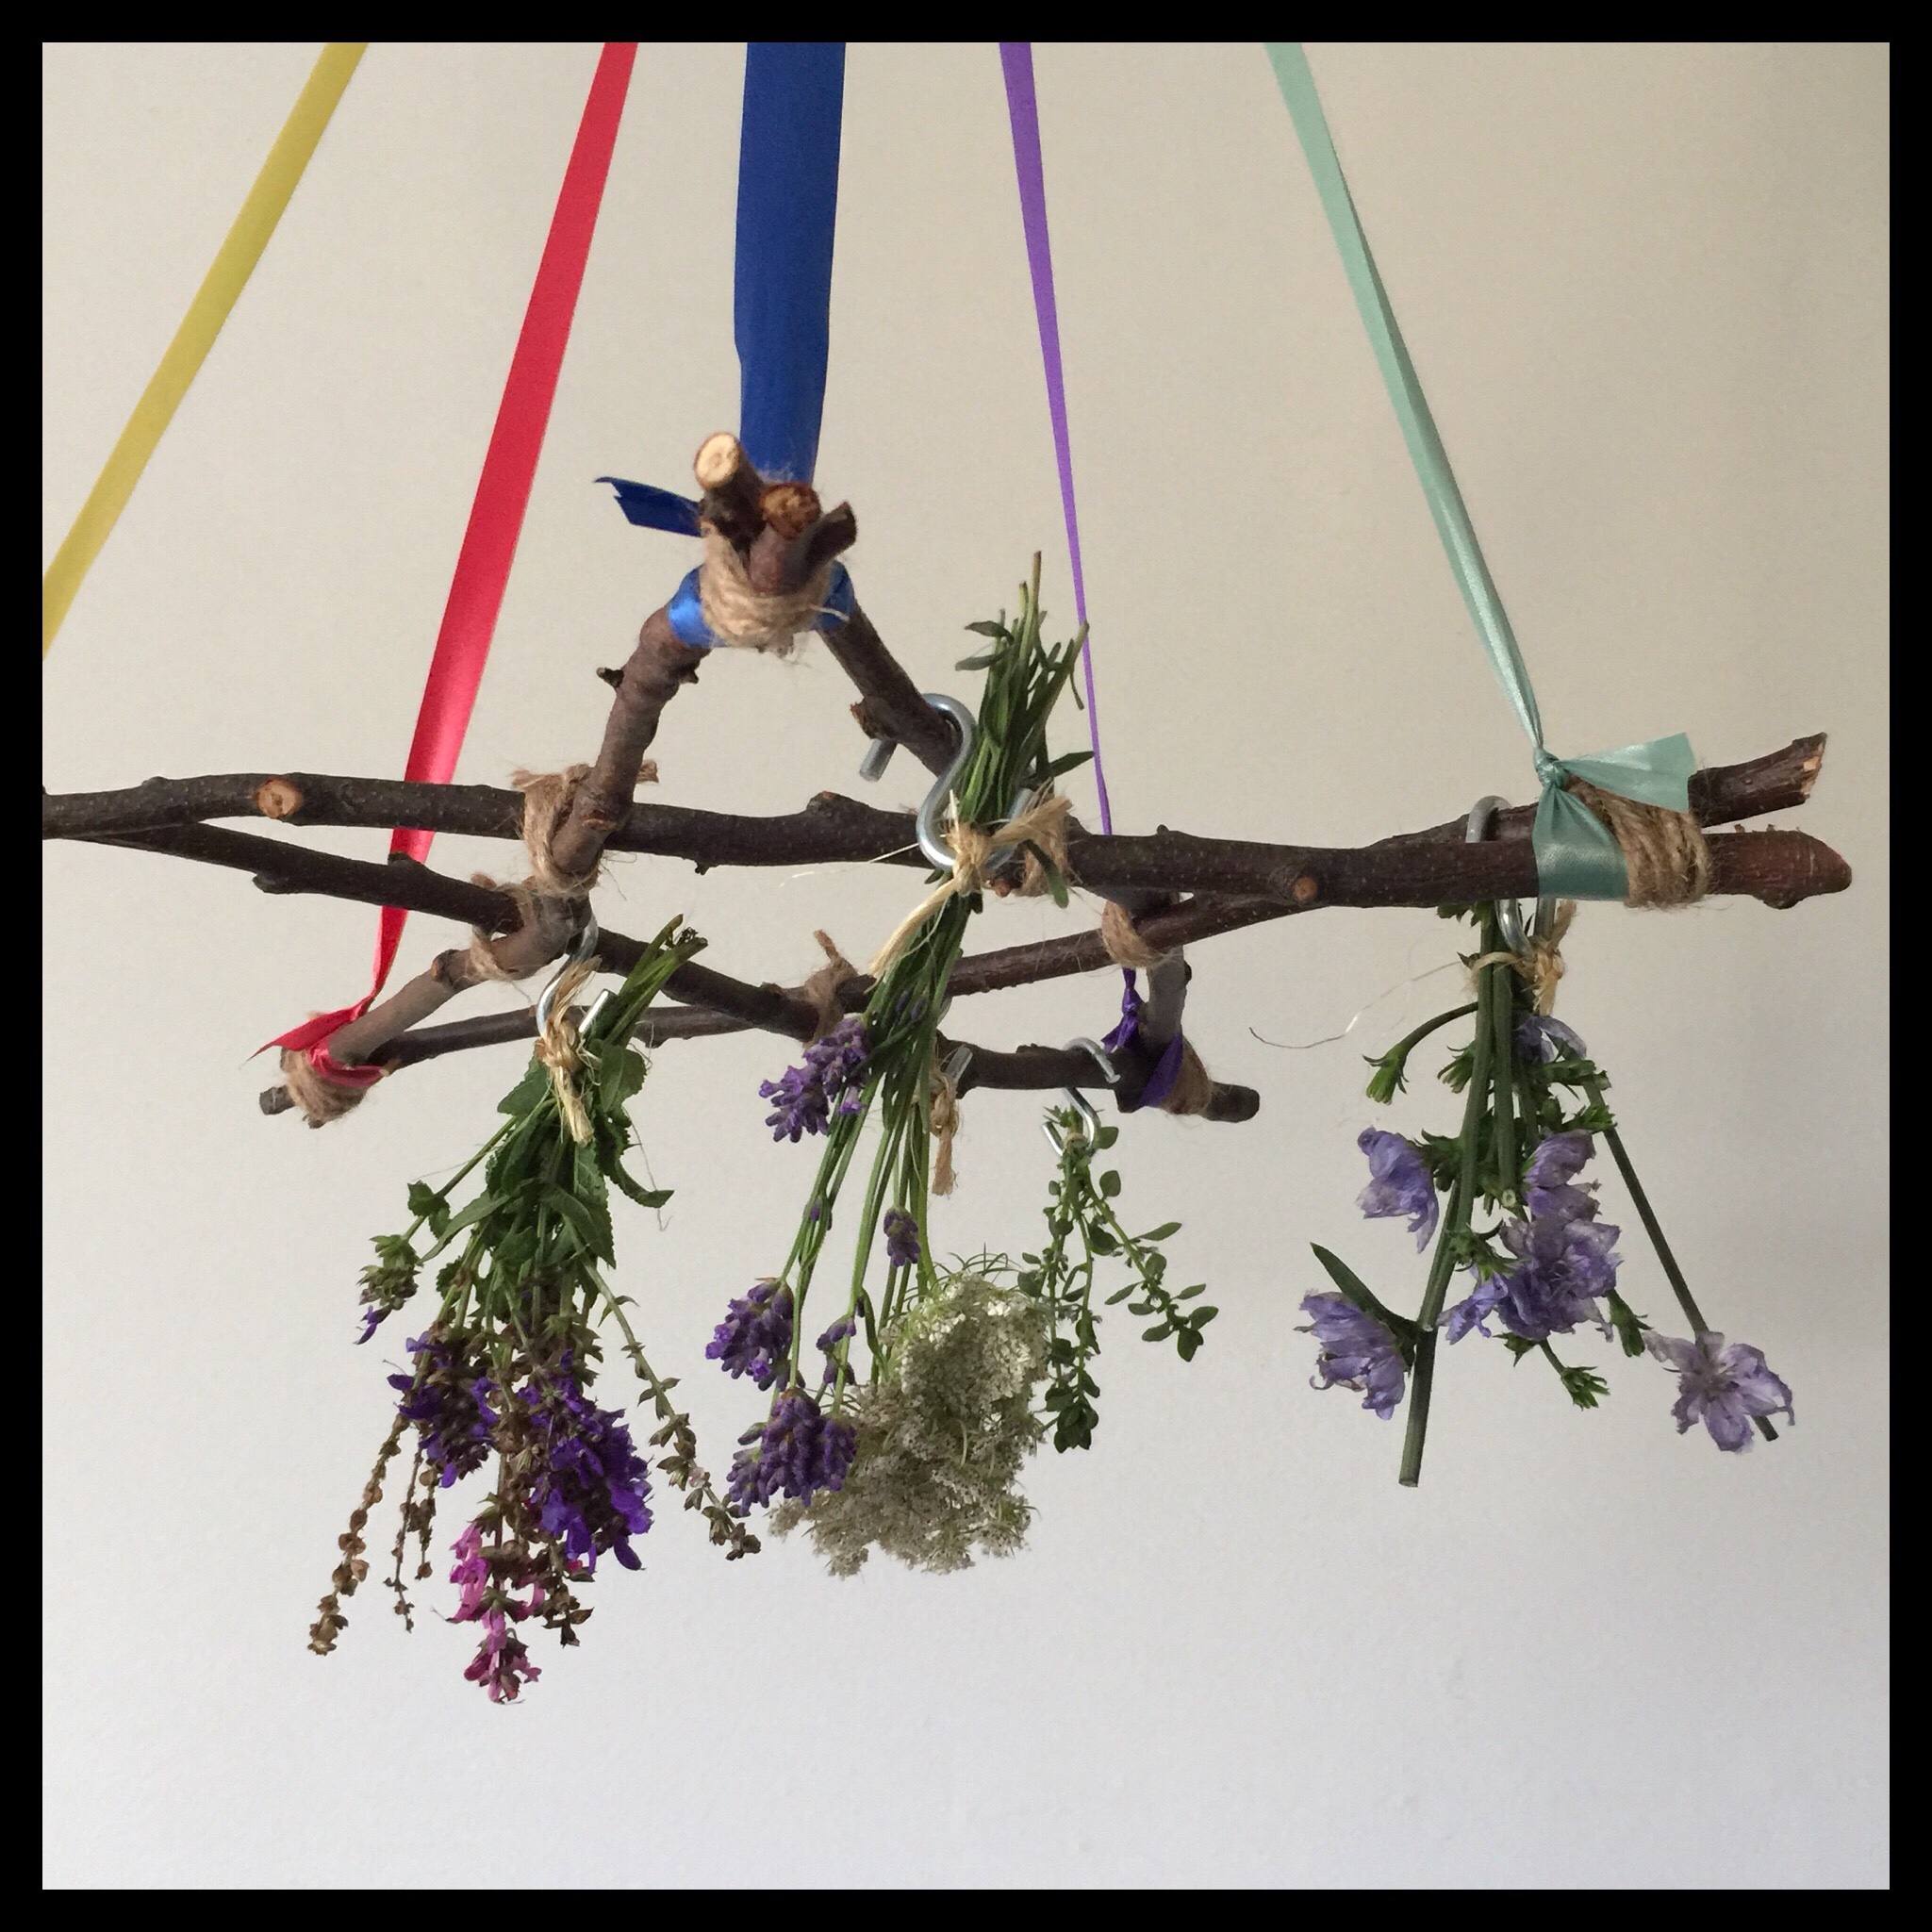
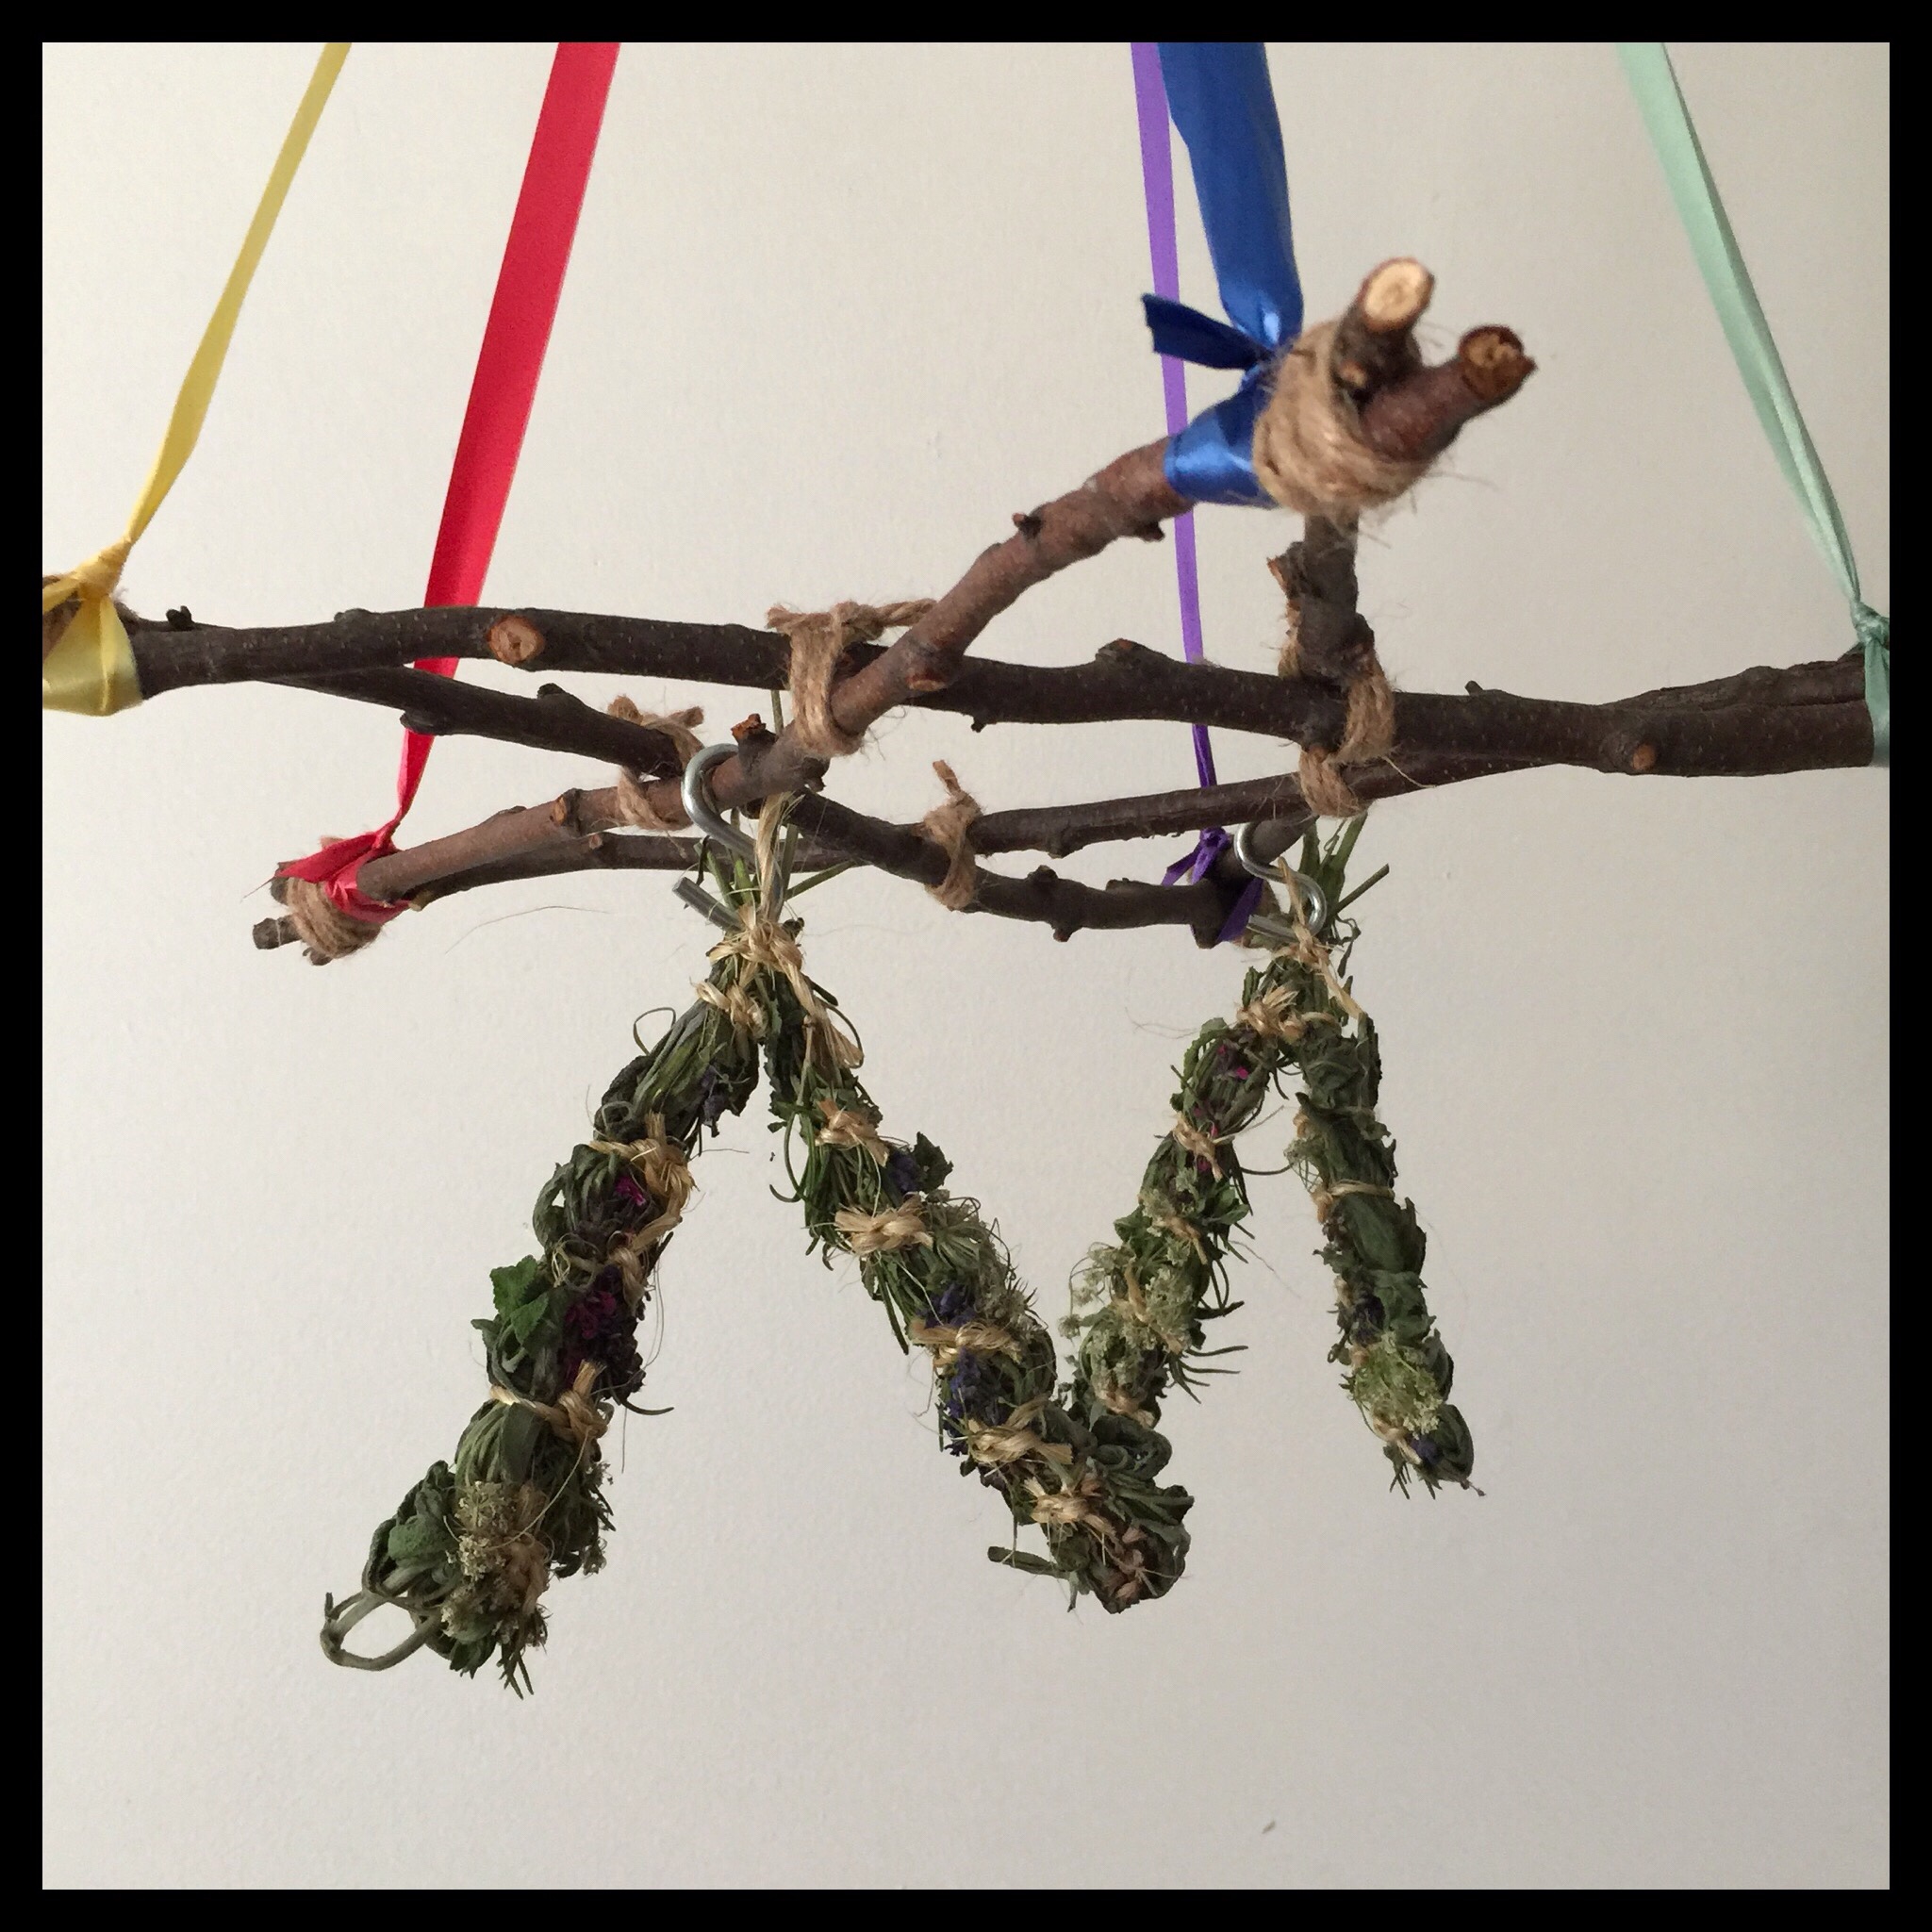
If you are using flowers for color, it is very important to dry them upside down for two to three days before using them in your smudge sticks as this really helps to prevent color fading. I tied my flower stems together with twine and hung them upside down on my herb dryer.
You want your sage to be dry enough that your bundles will not mold, but still flexible enough to bend and shape. Two to three days of drying is about right to get to this stage.
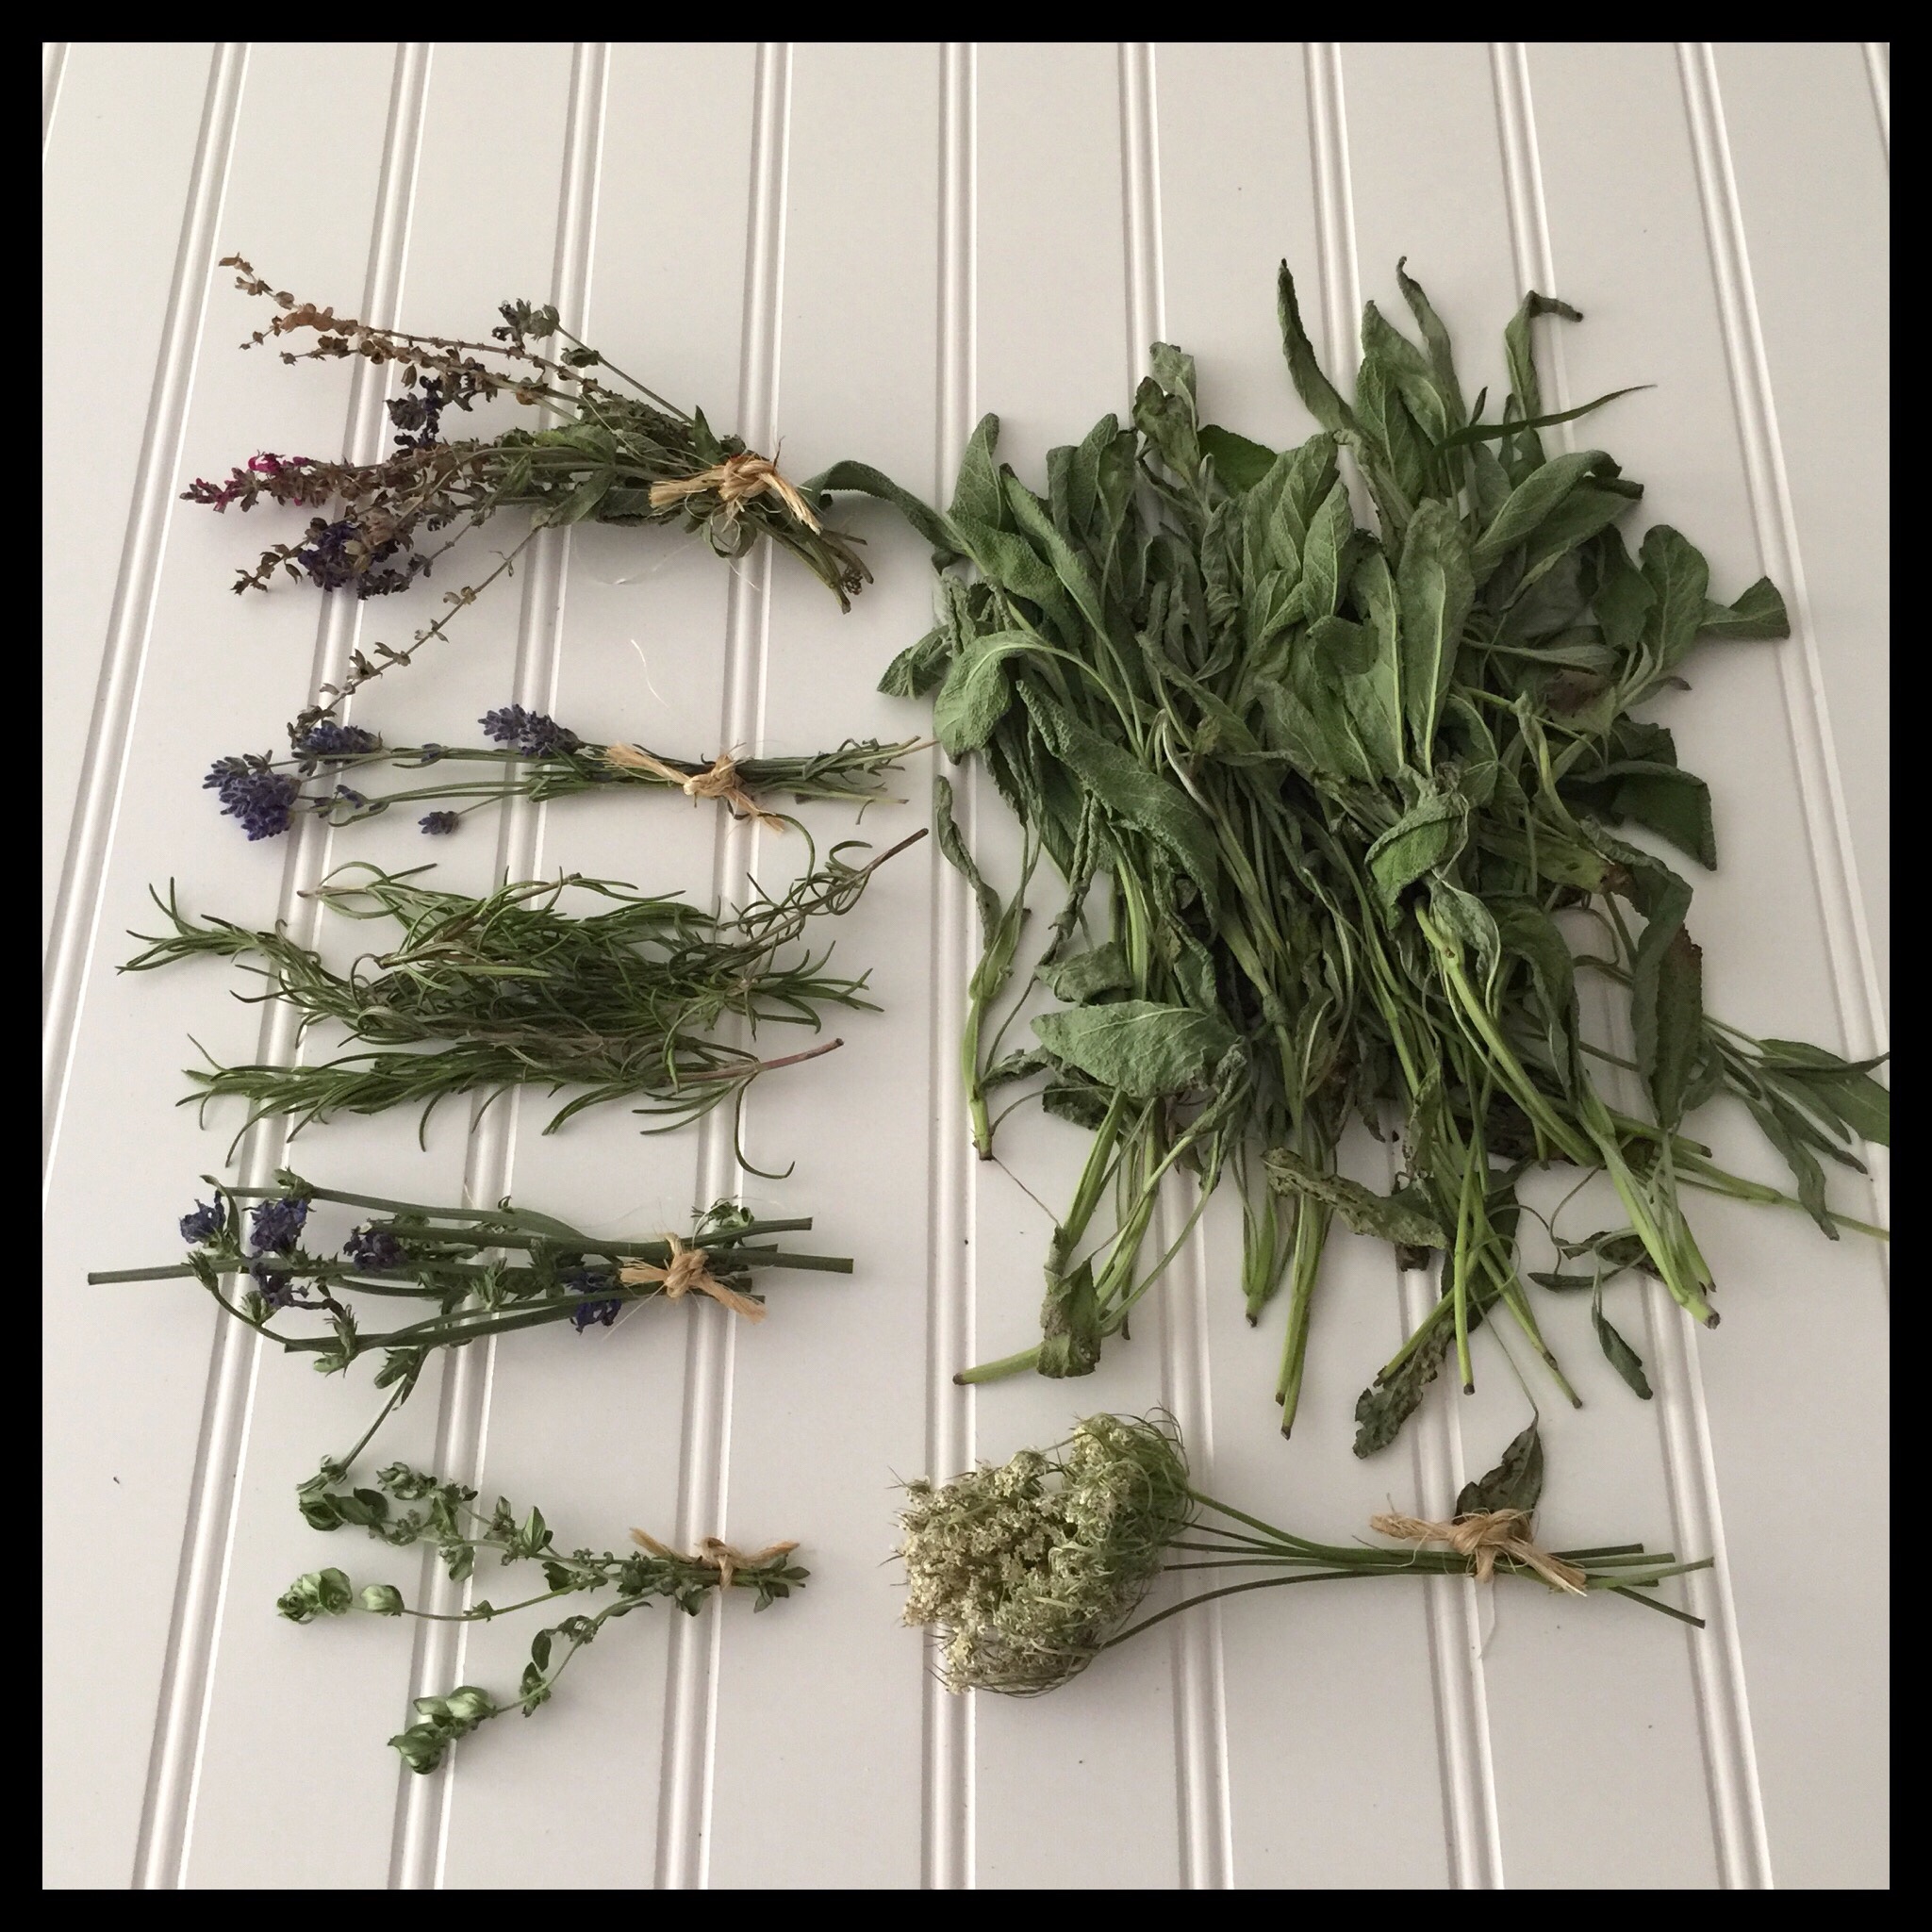
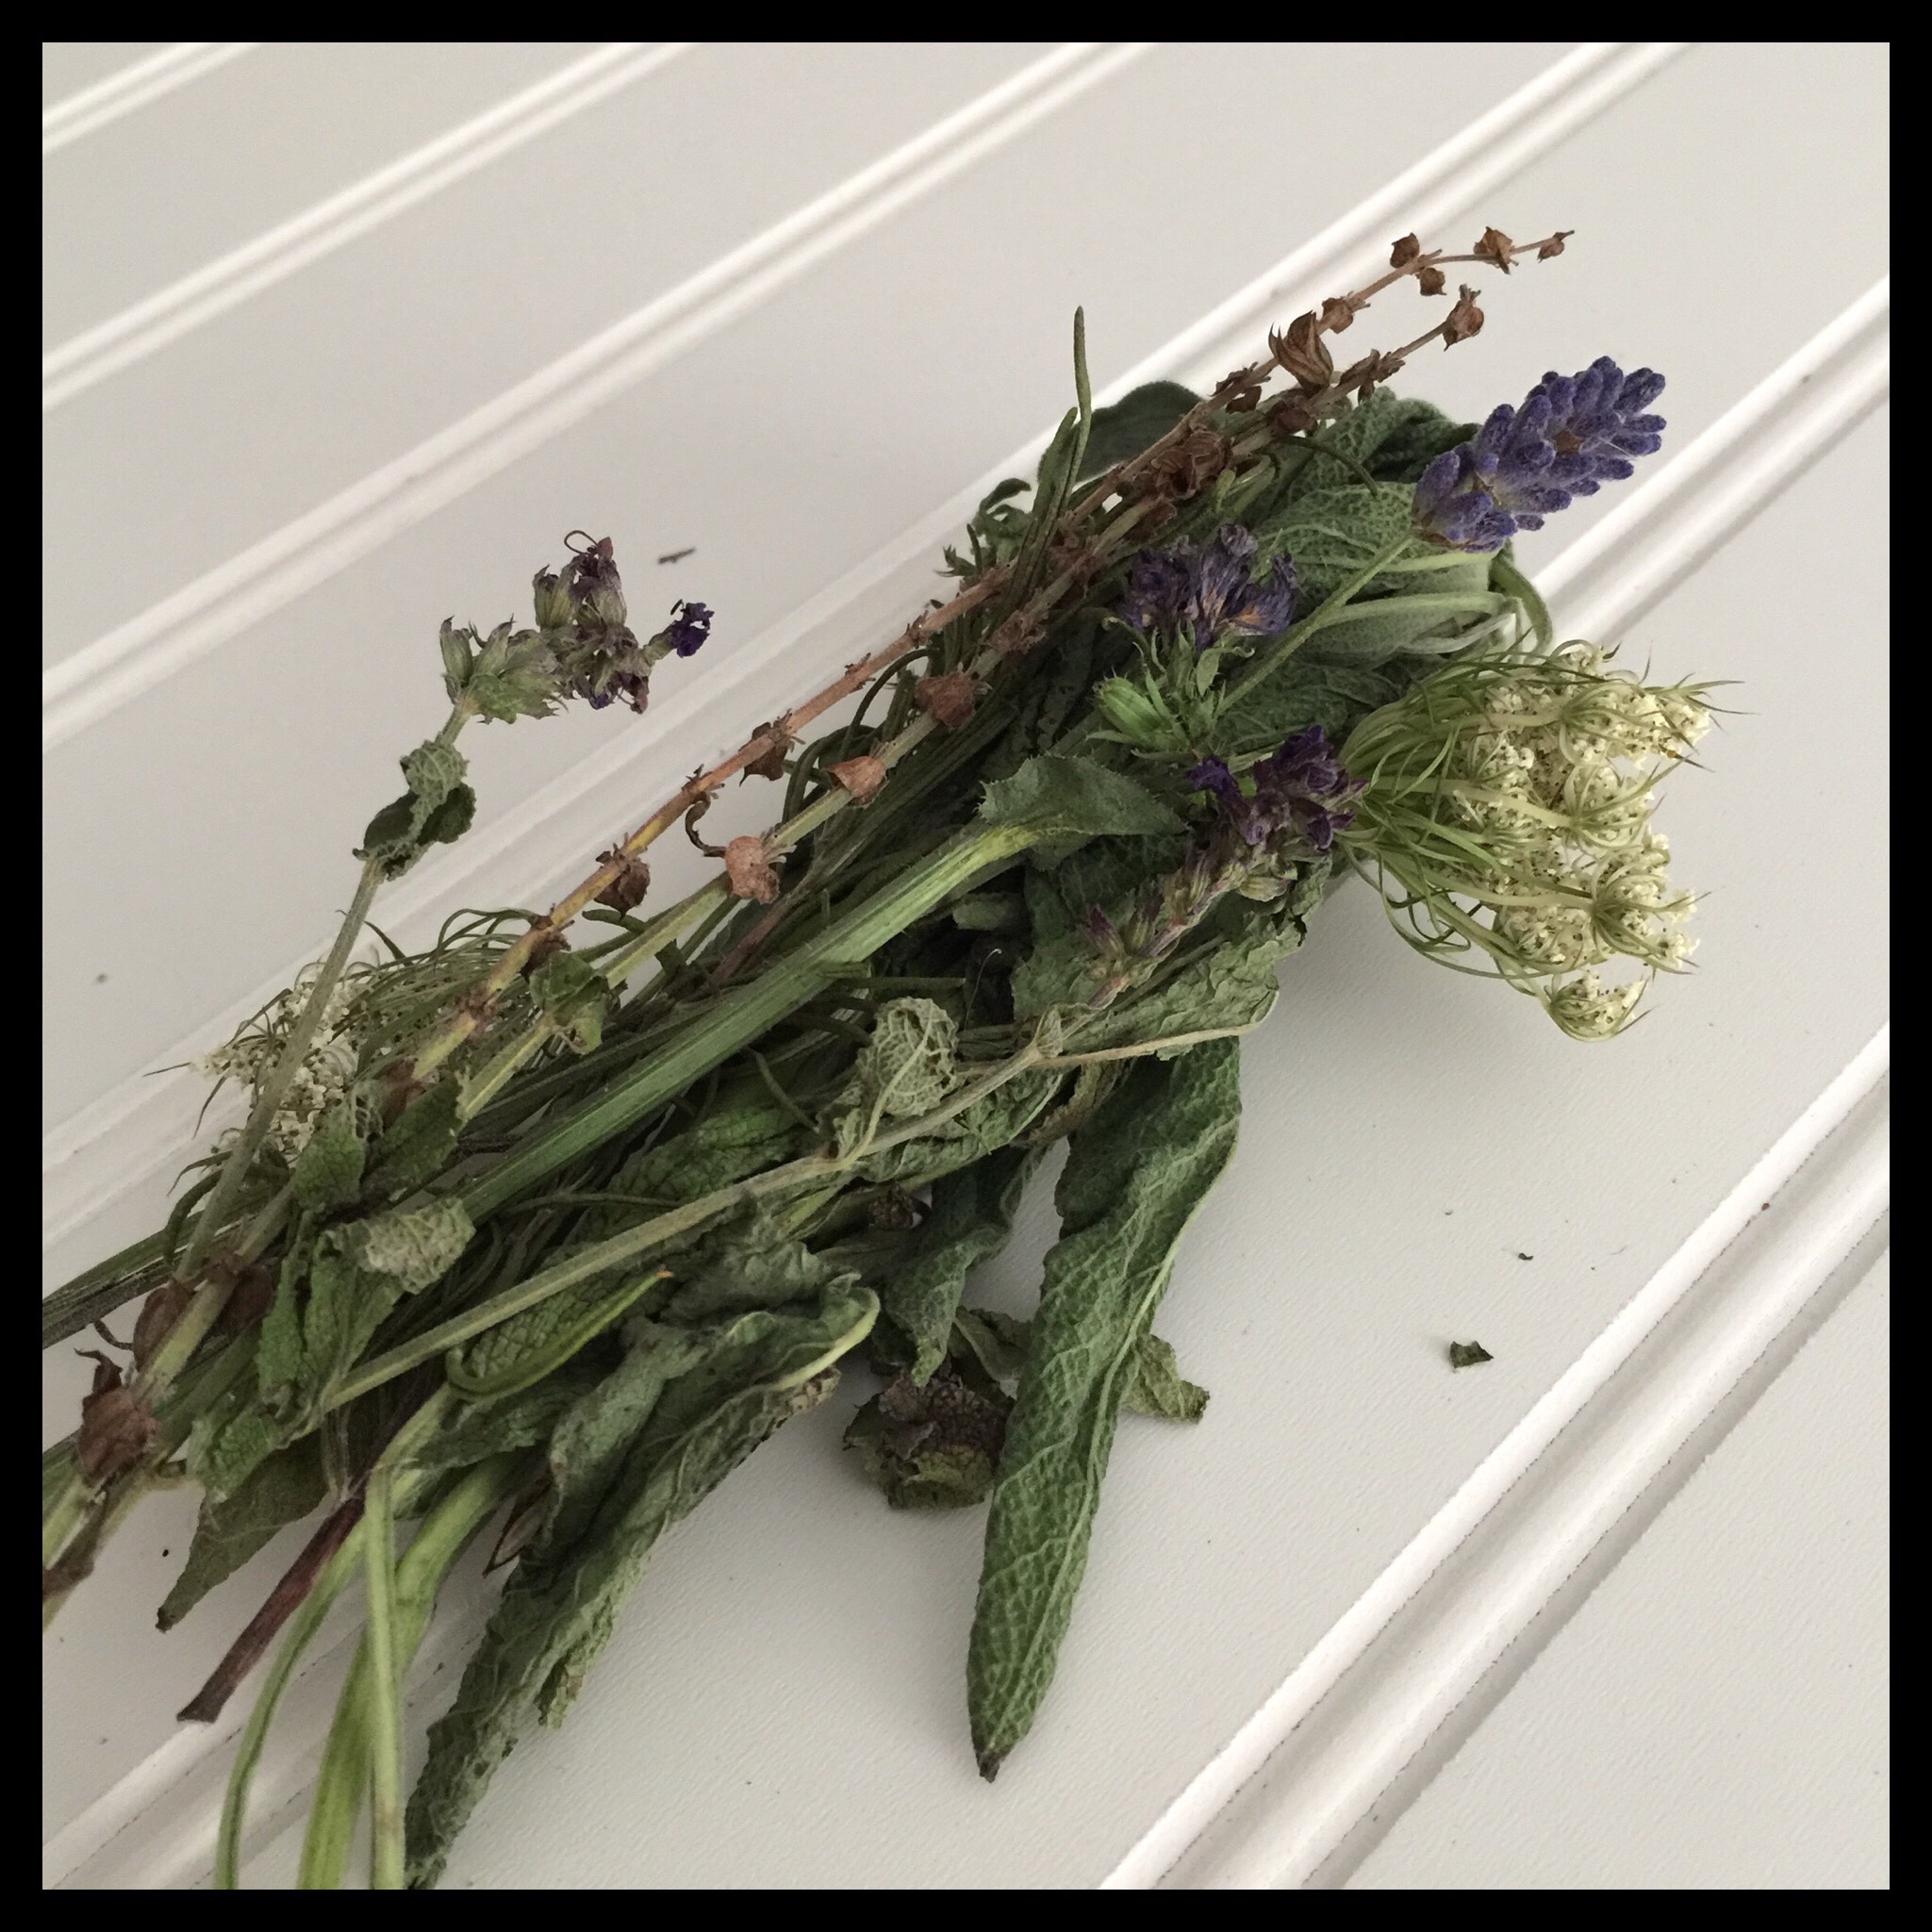
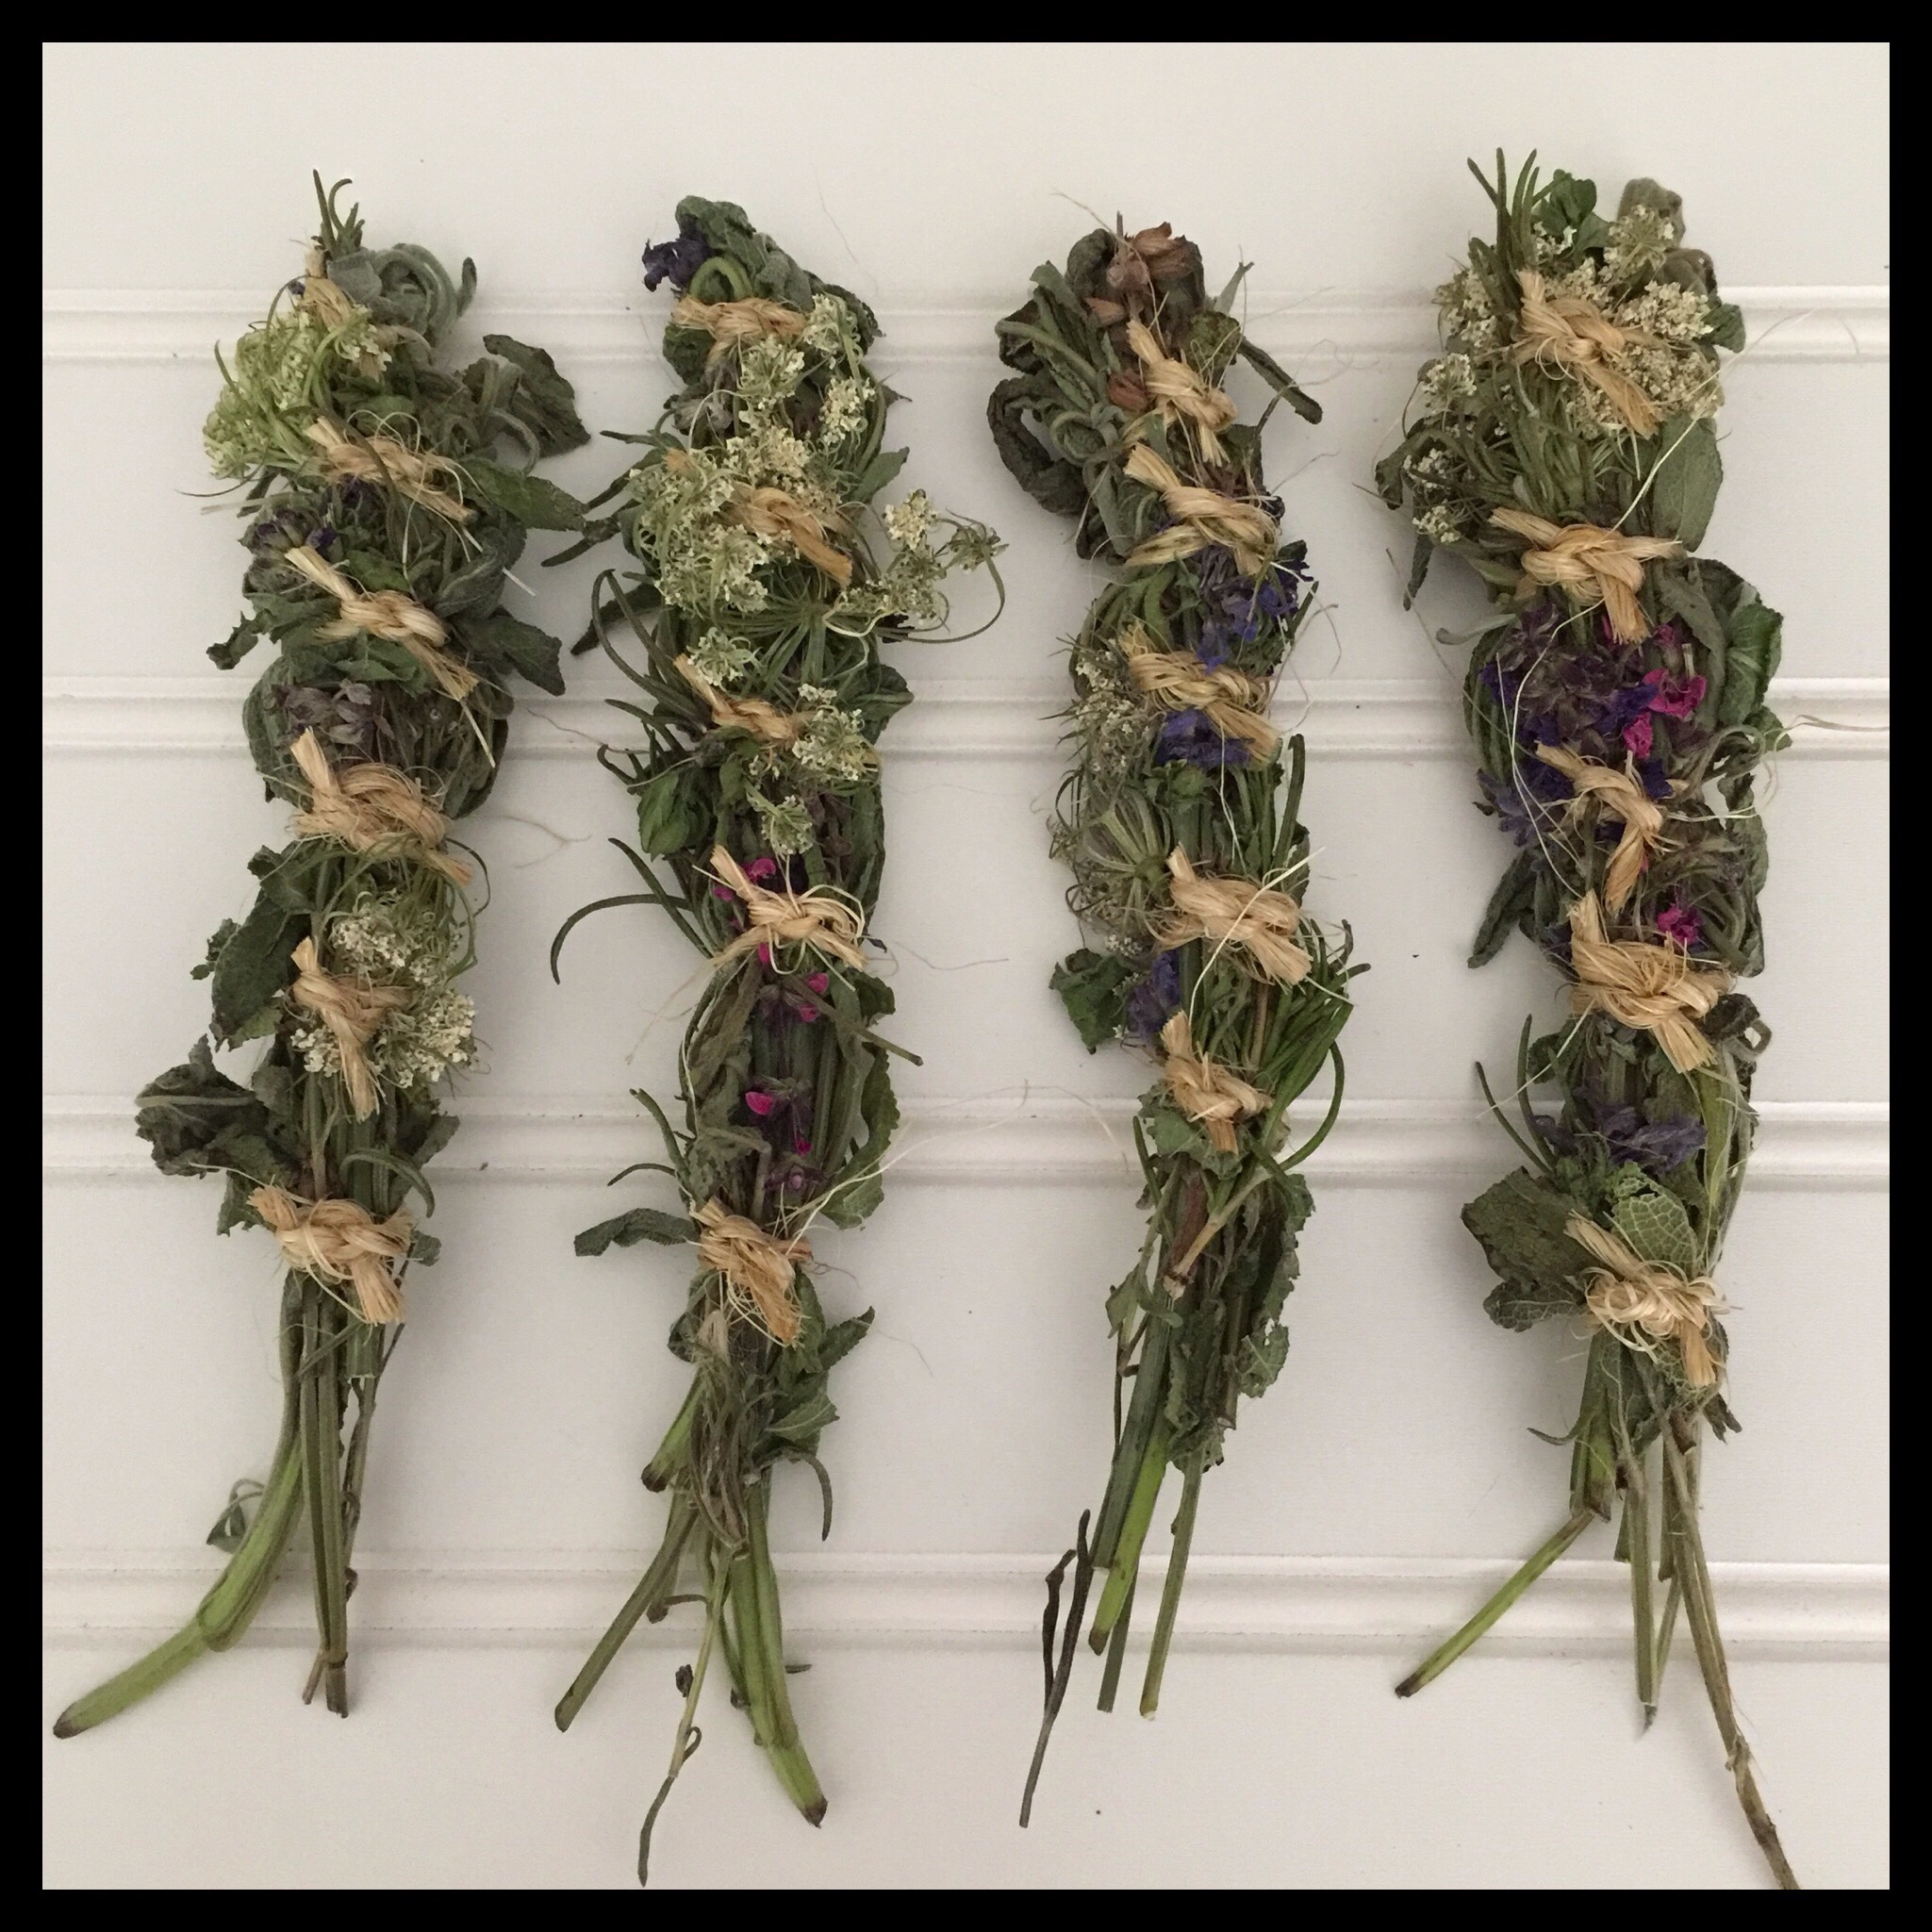
Once your sage, herbs, and flowers are dry enough, divide them into groups for each stick that you plan to make.
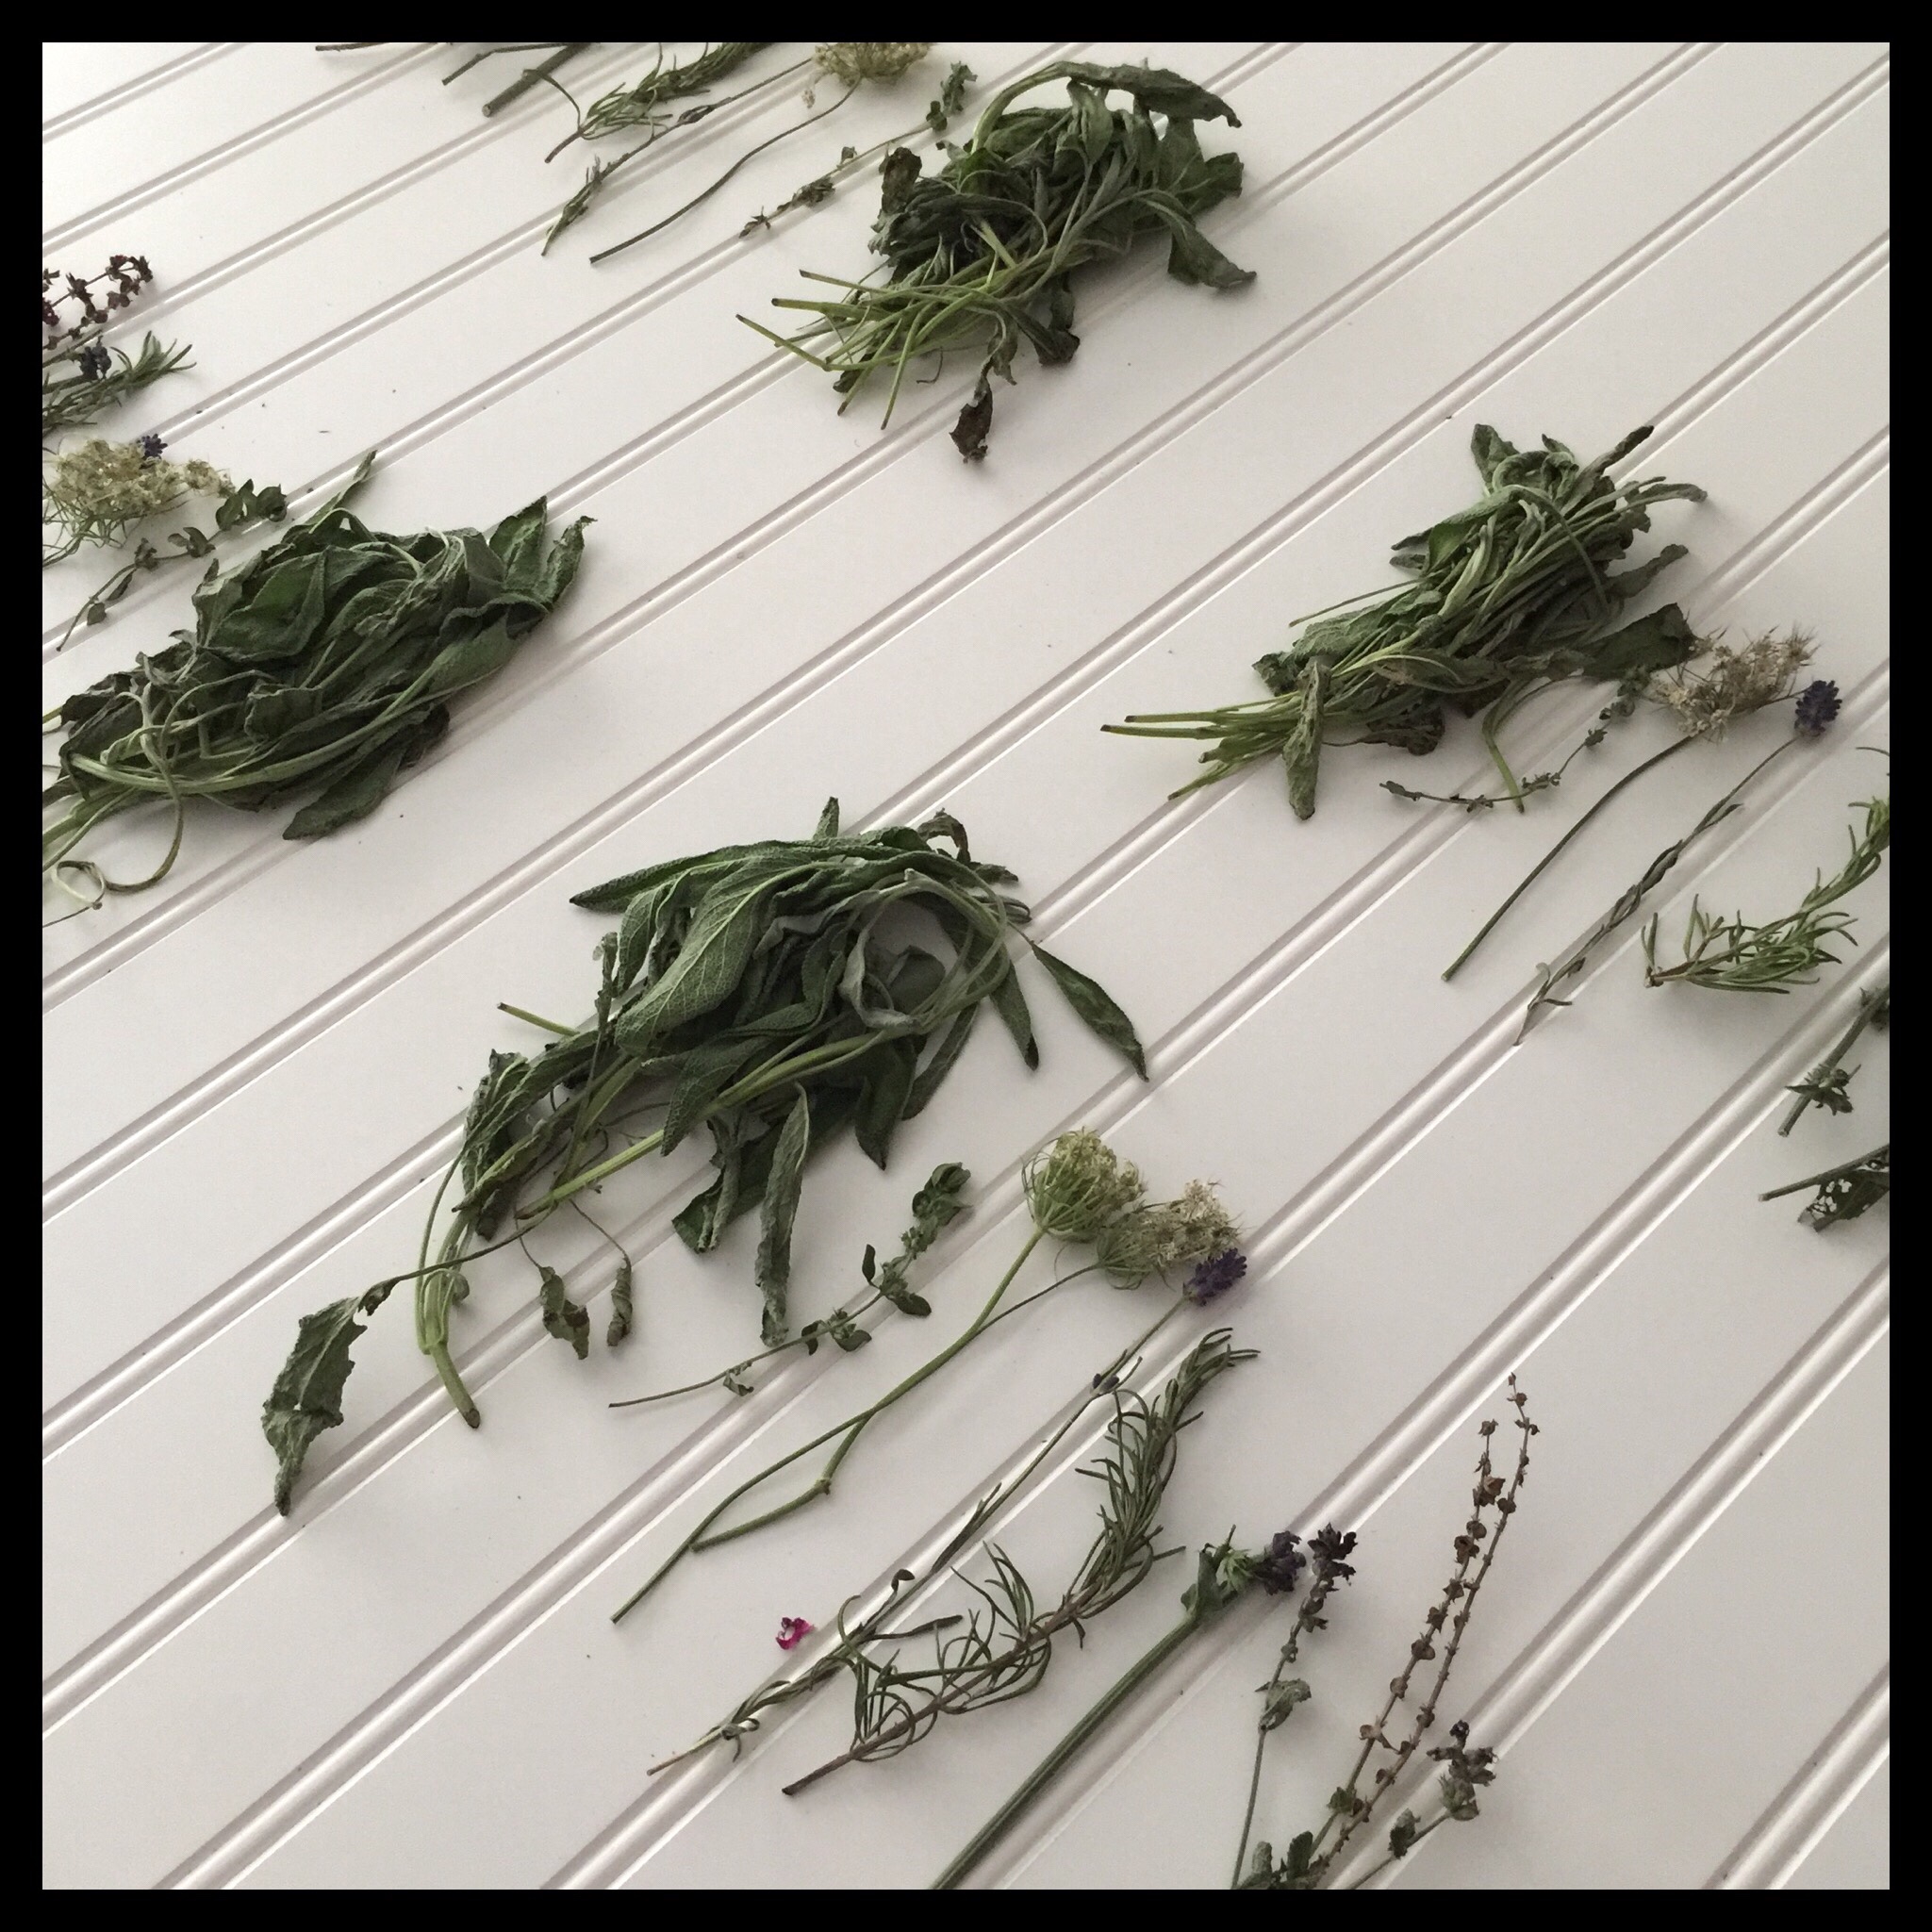
Take one group and shape it into a bundle. Be sure that your flowers are arranged so they will be on the outside of your smudge stick.
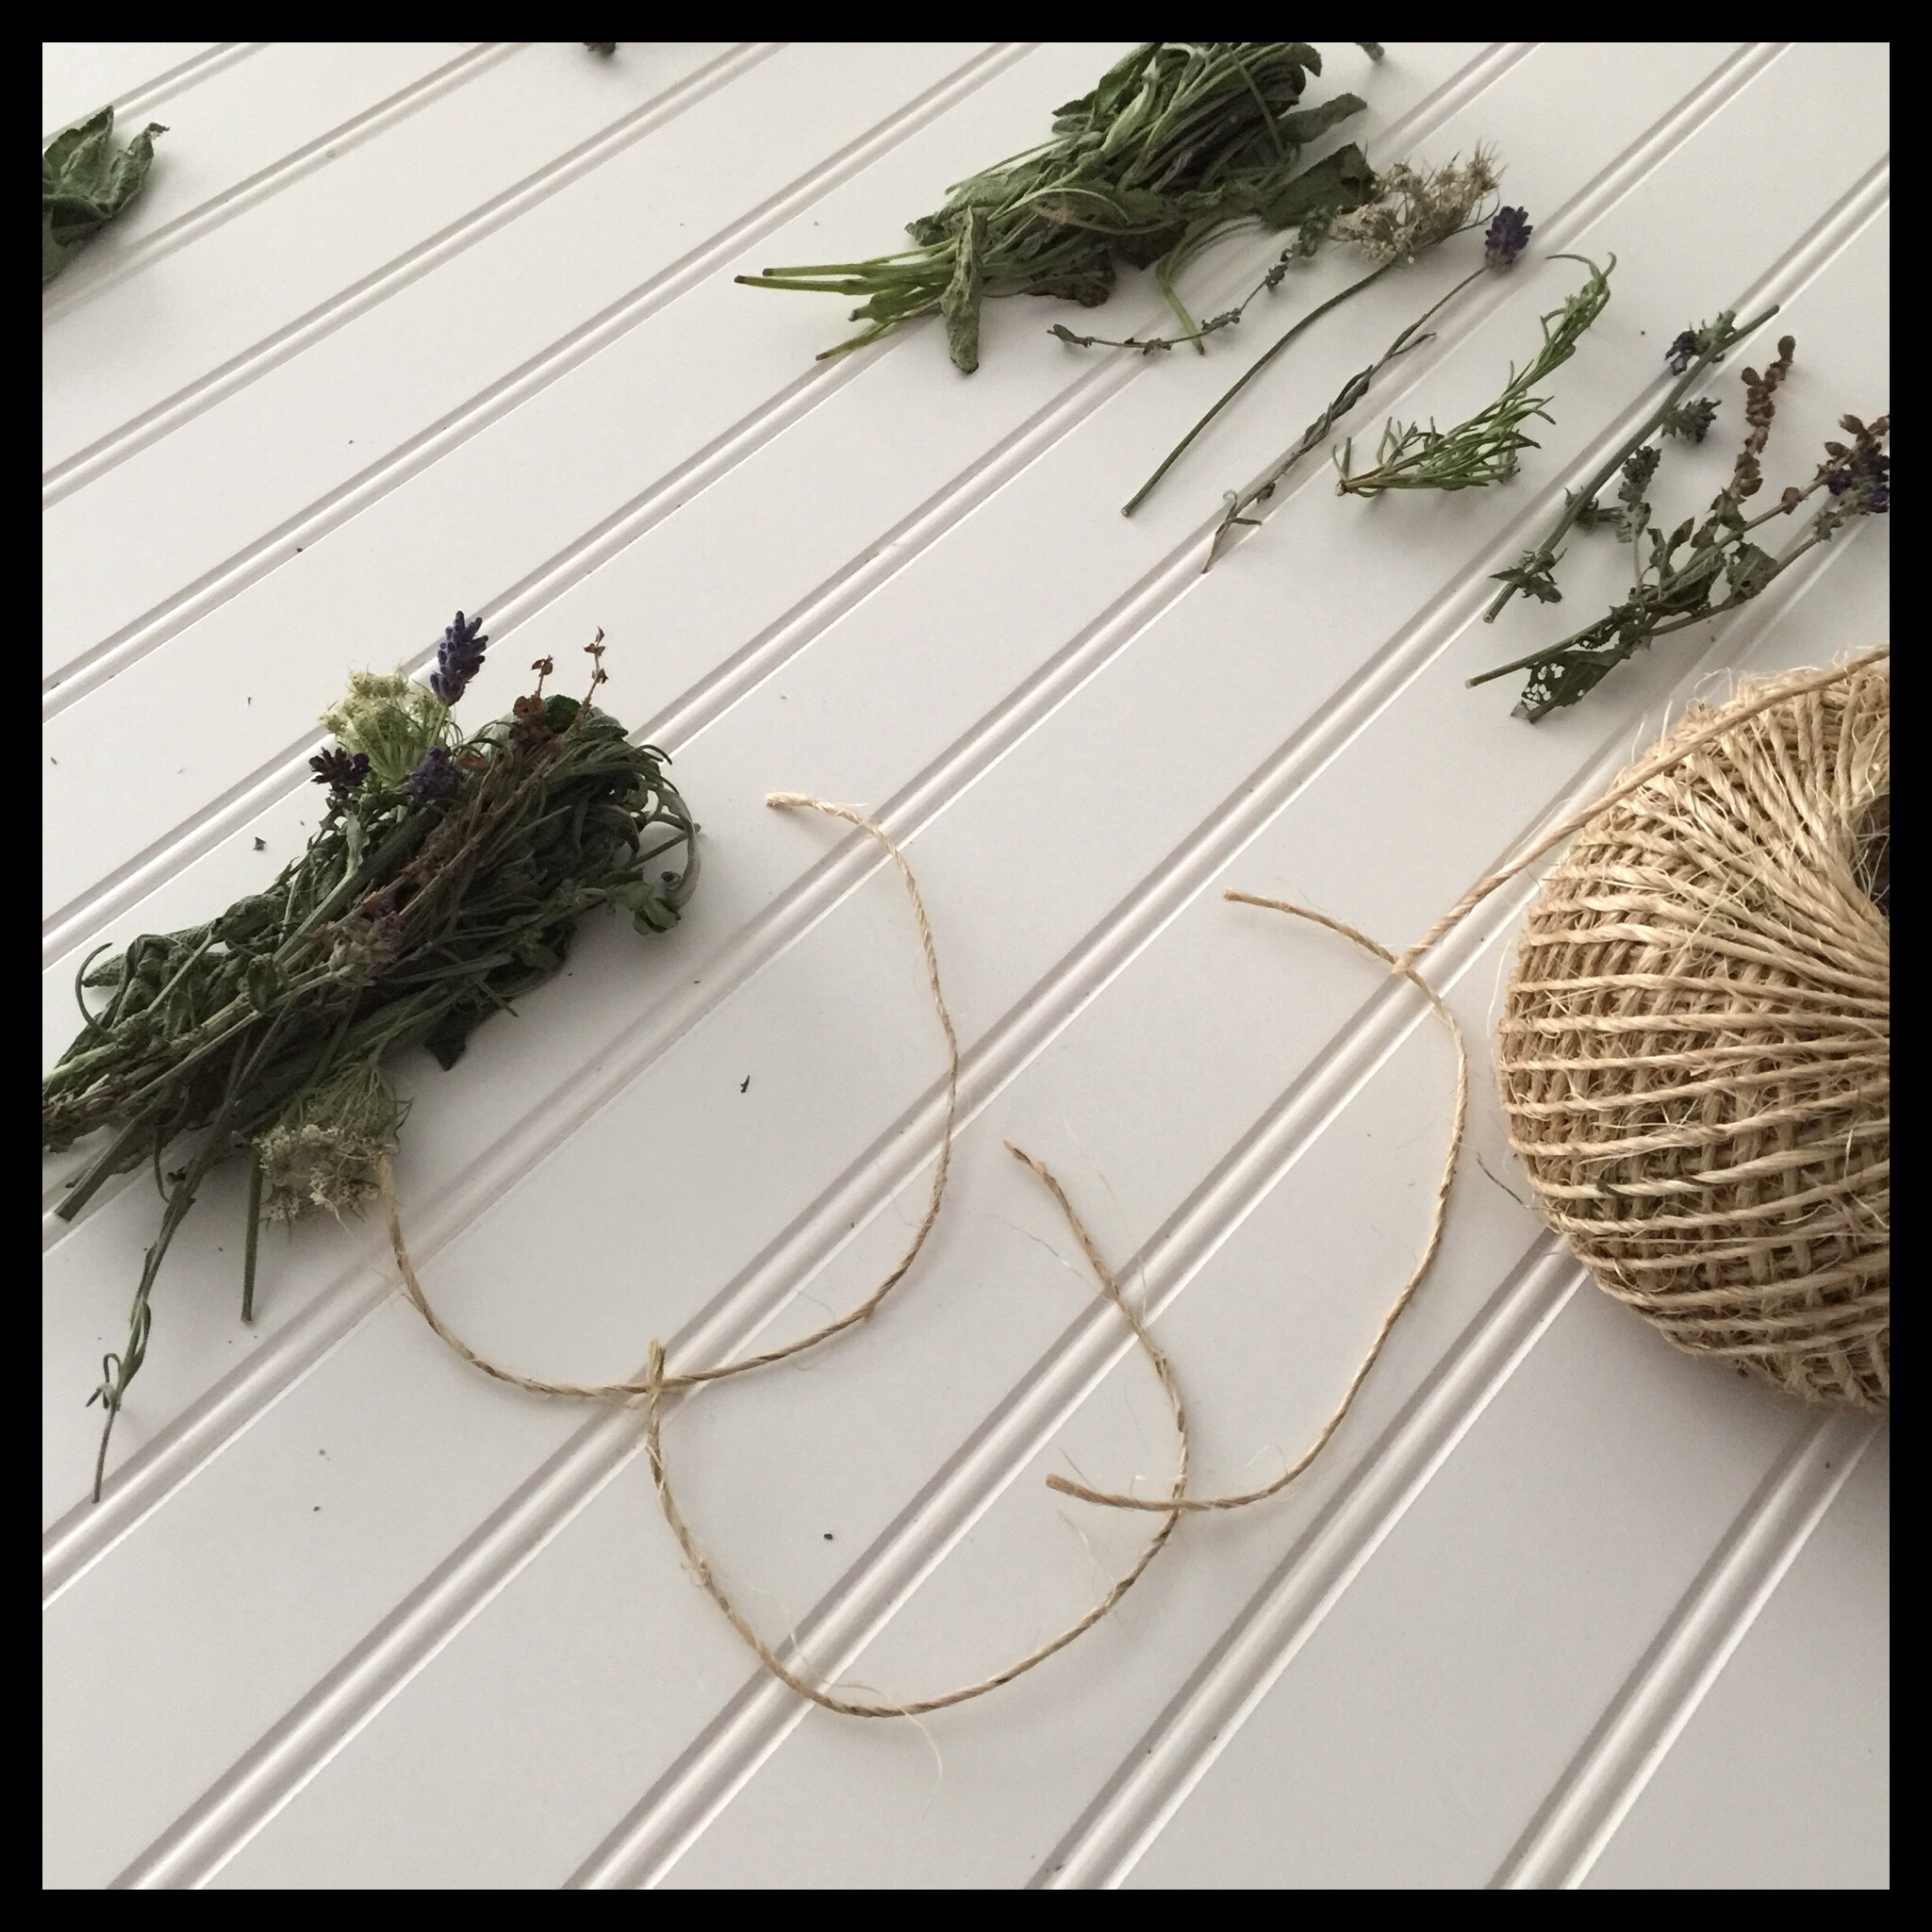
Cut lengths of thin twine to tie up your bundles. How many pieces you will need and how long they need to be will depend on the size of your smudge sticks.
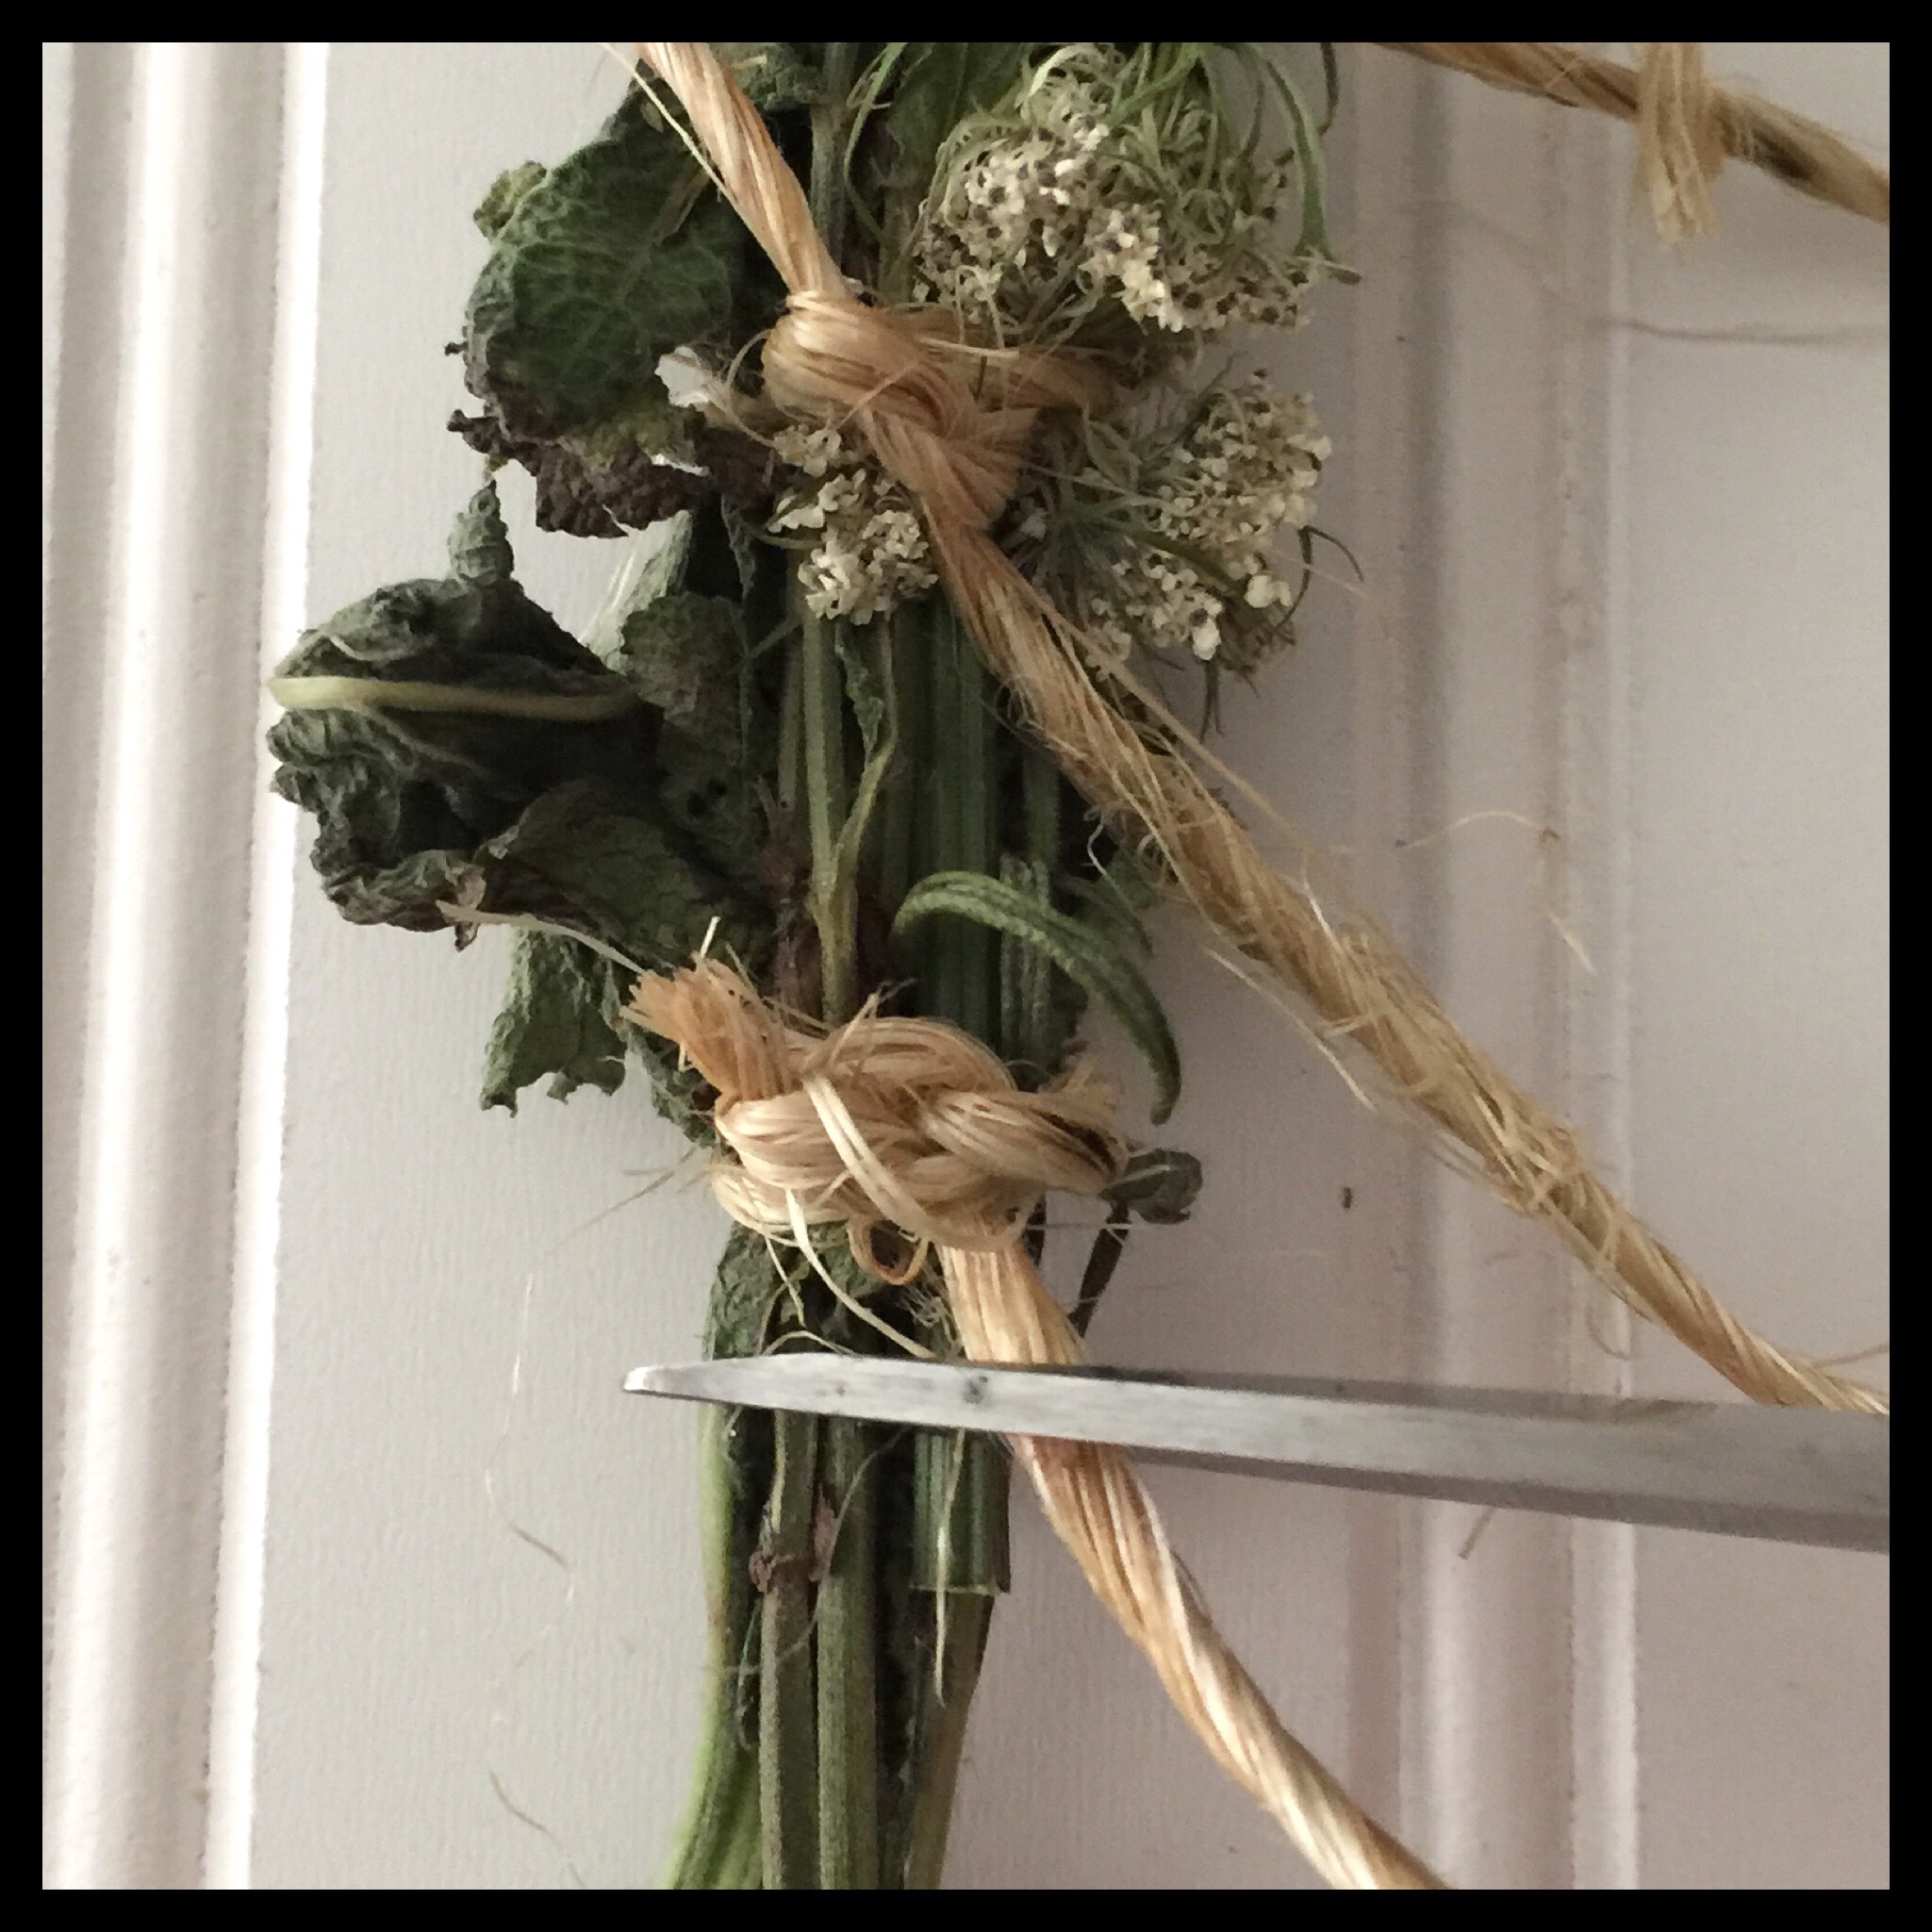
Start tying your bundles about 3/4″ from the top and work your way down. I like to tie the sticks with a double knot every 3/4″ so they hold together well. (Some people use one long piece of twine, but this can lead to your stick falling apart as the twine burns.)
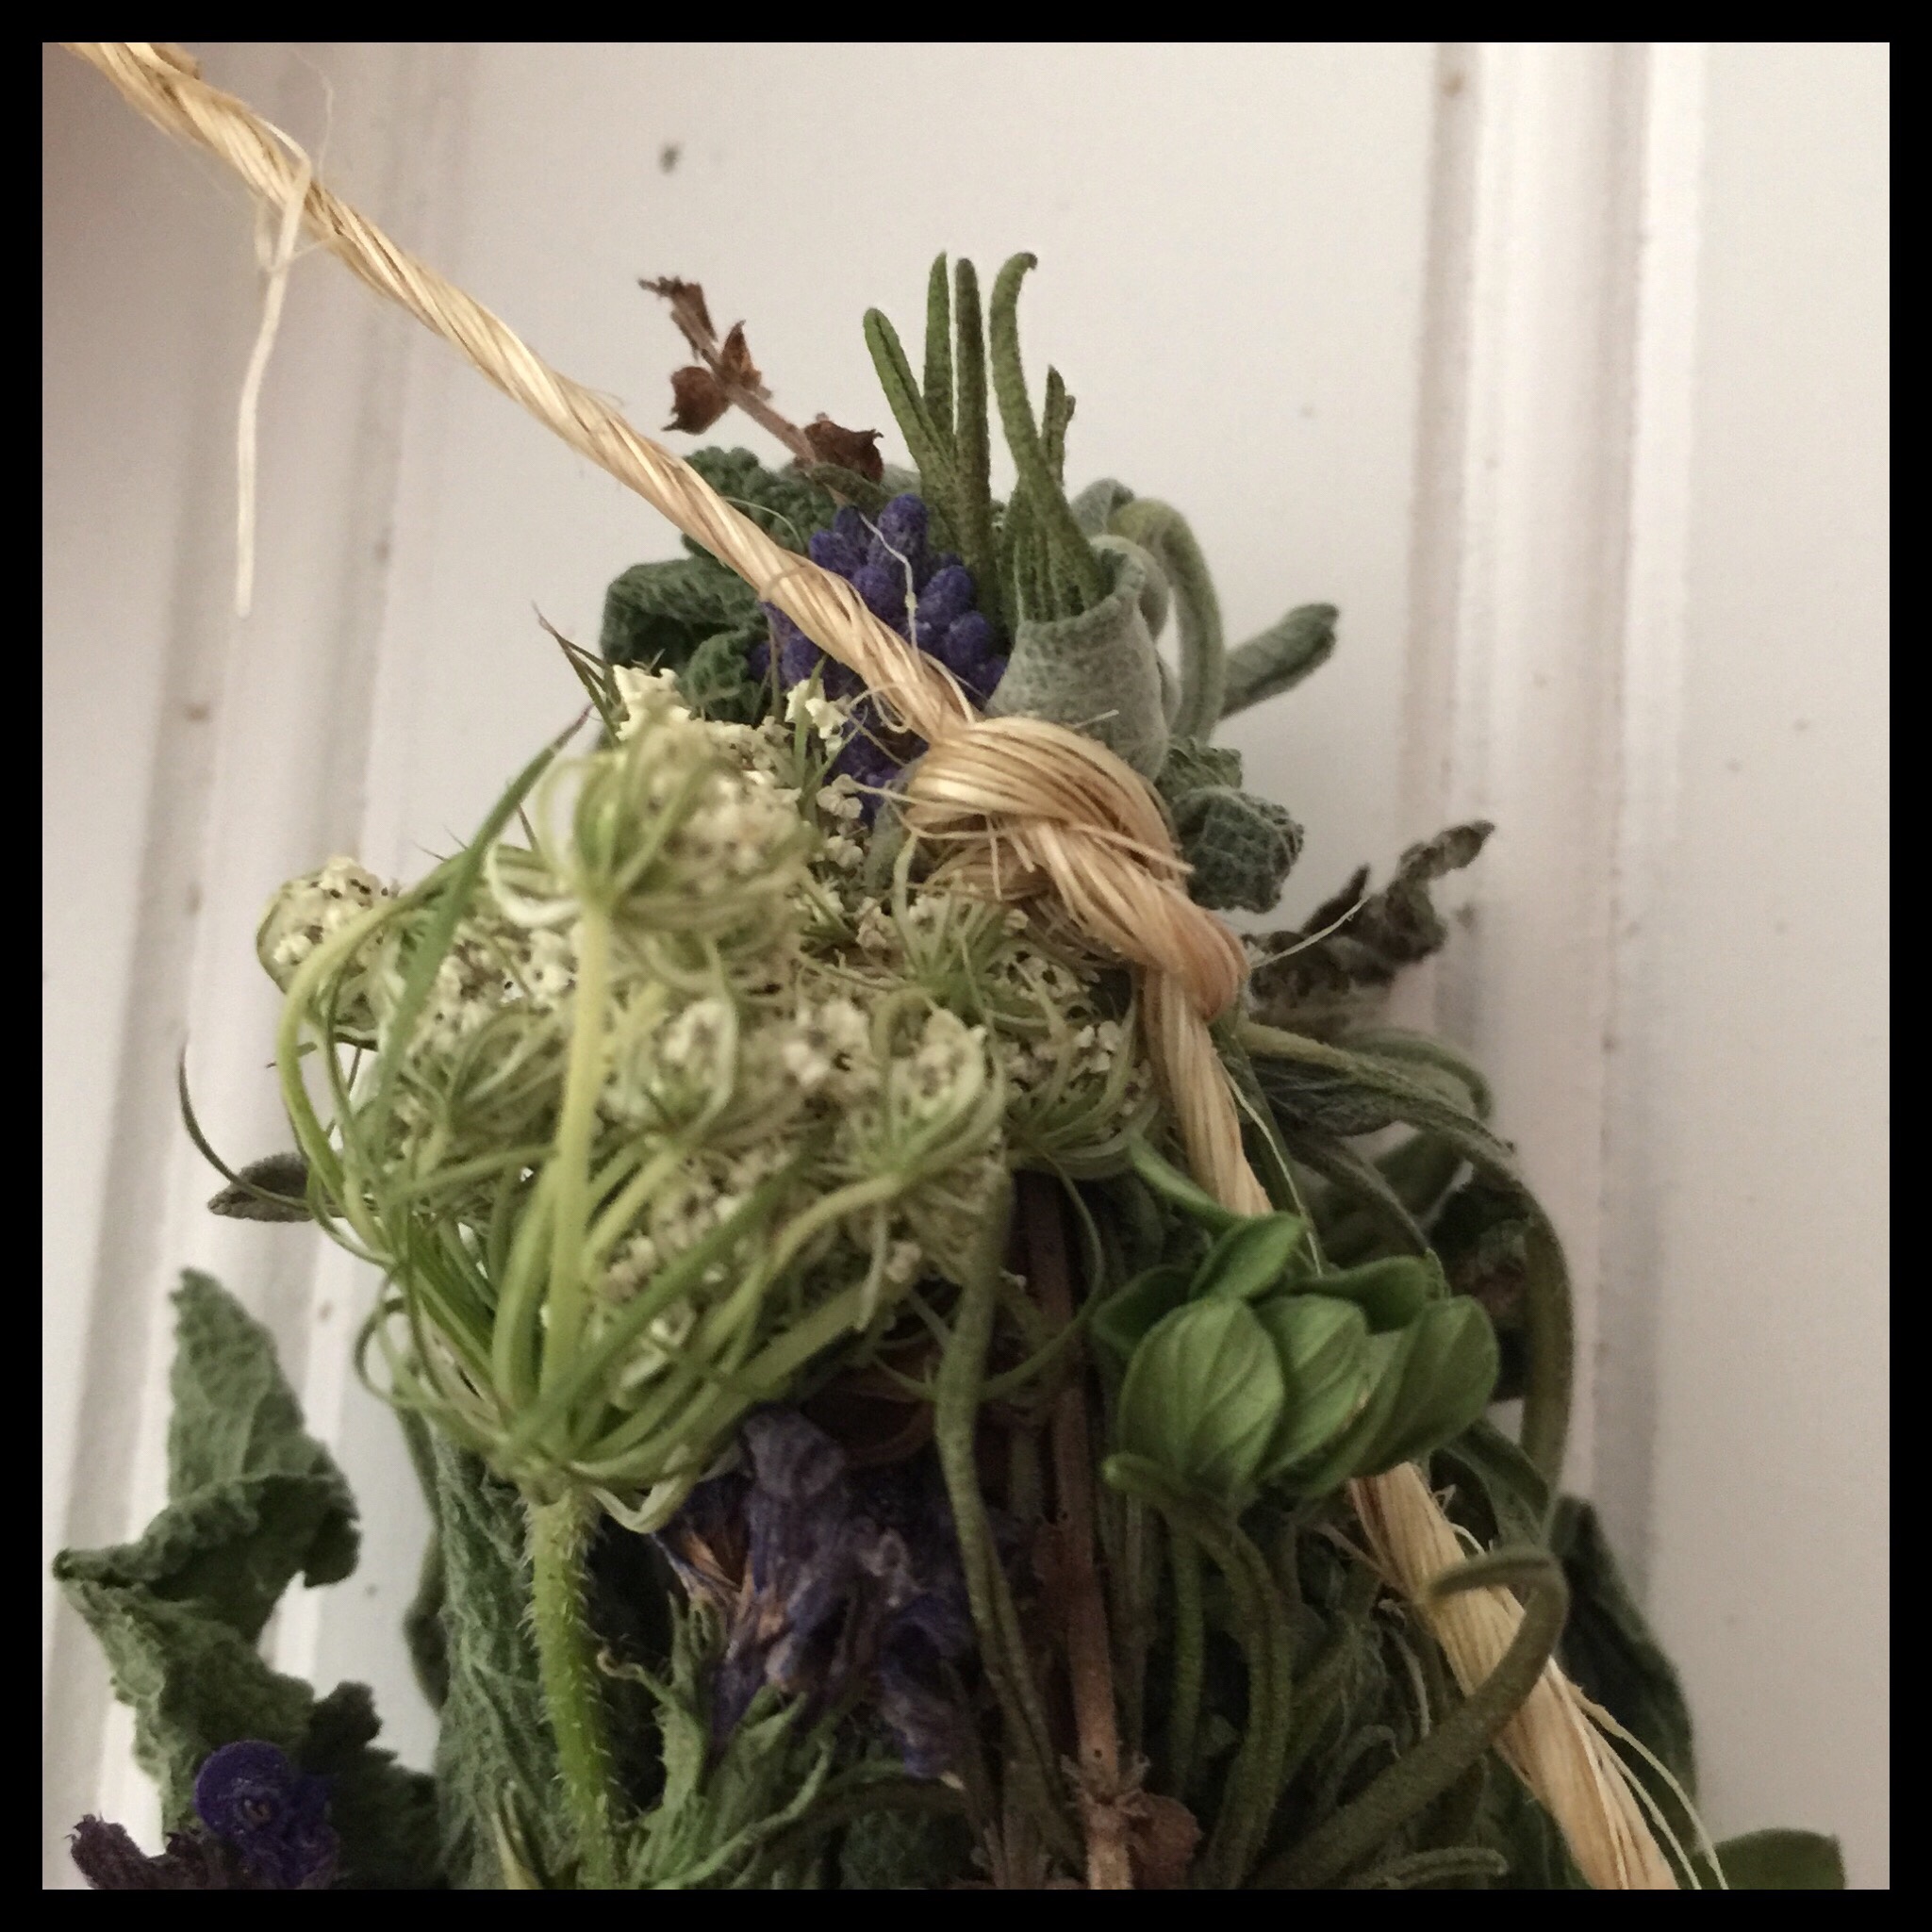
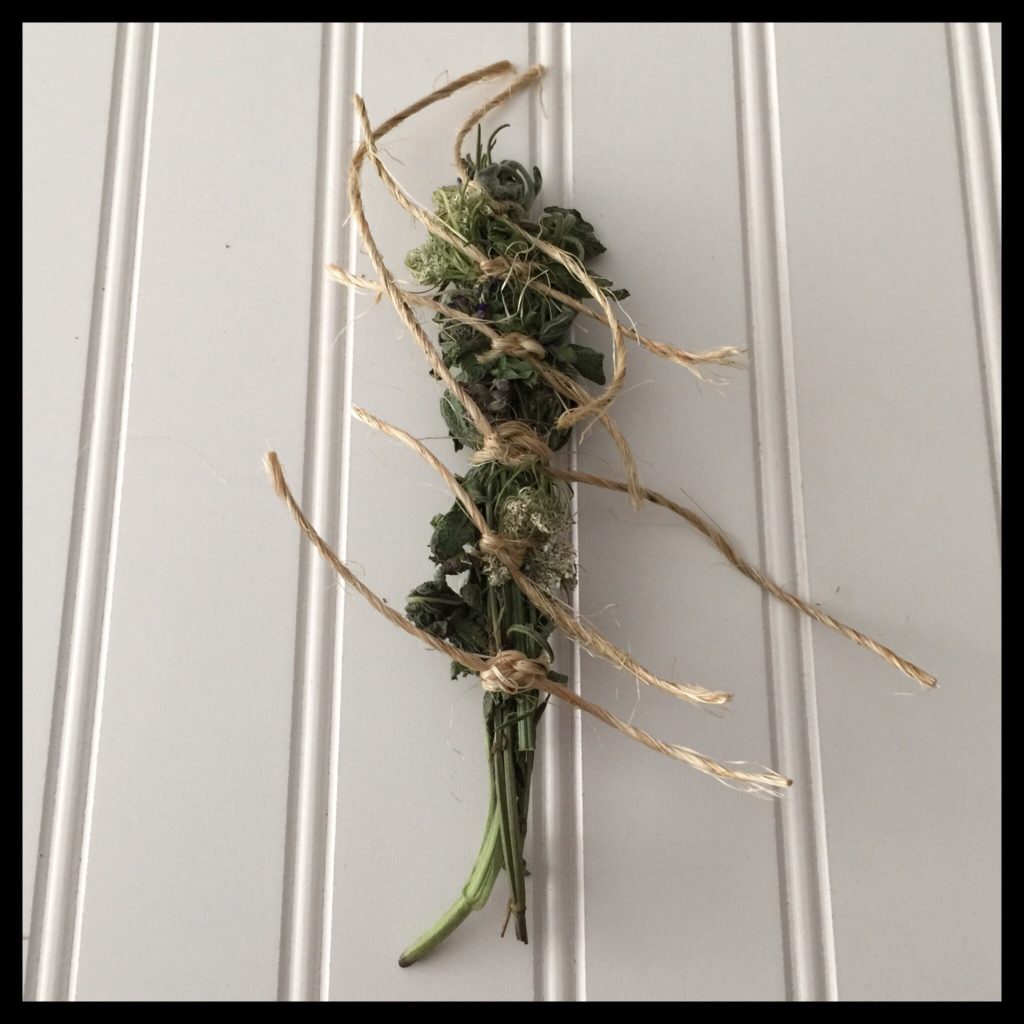
Trim the twine ends, leaving about 1/4″ of twine so the knots do not come undone.
Repeat with your remaining bundles.
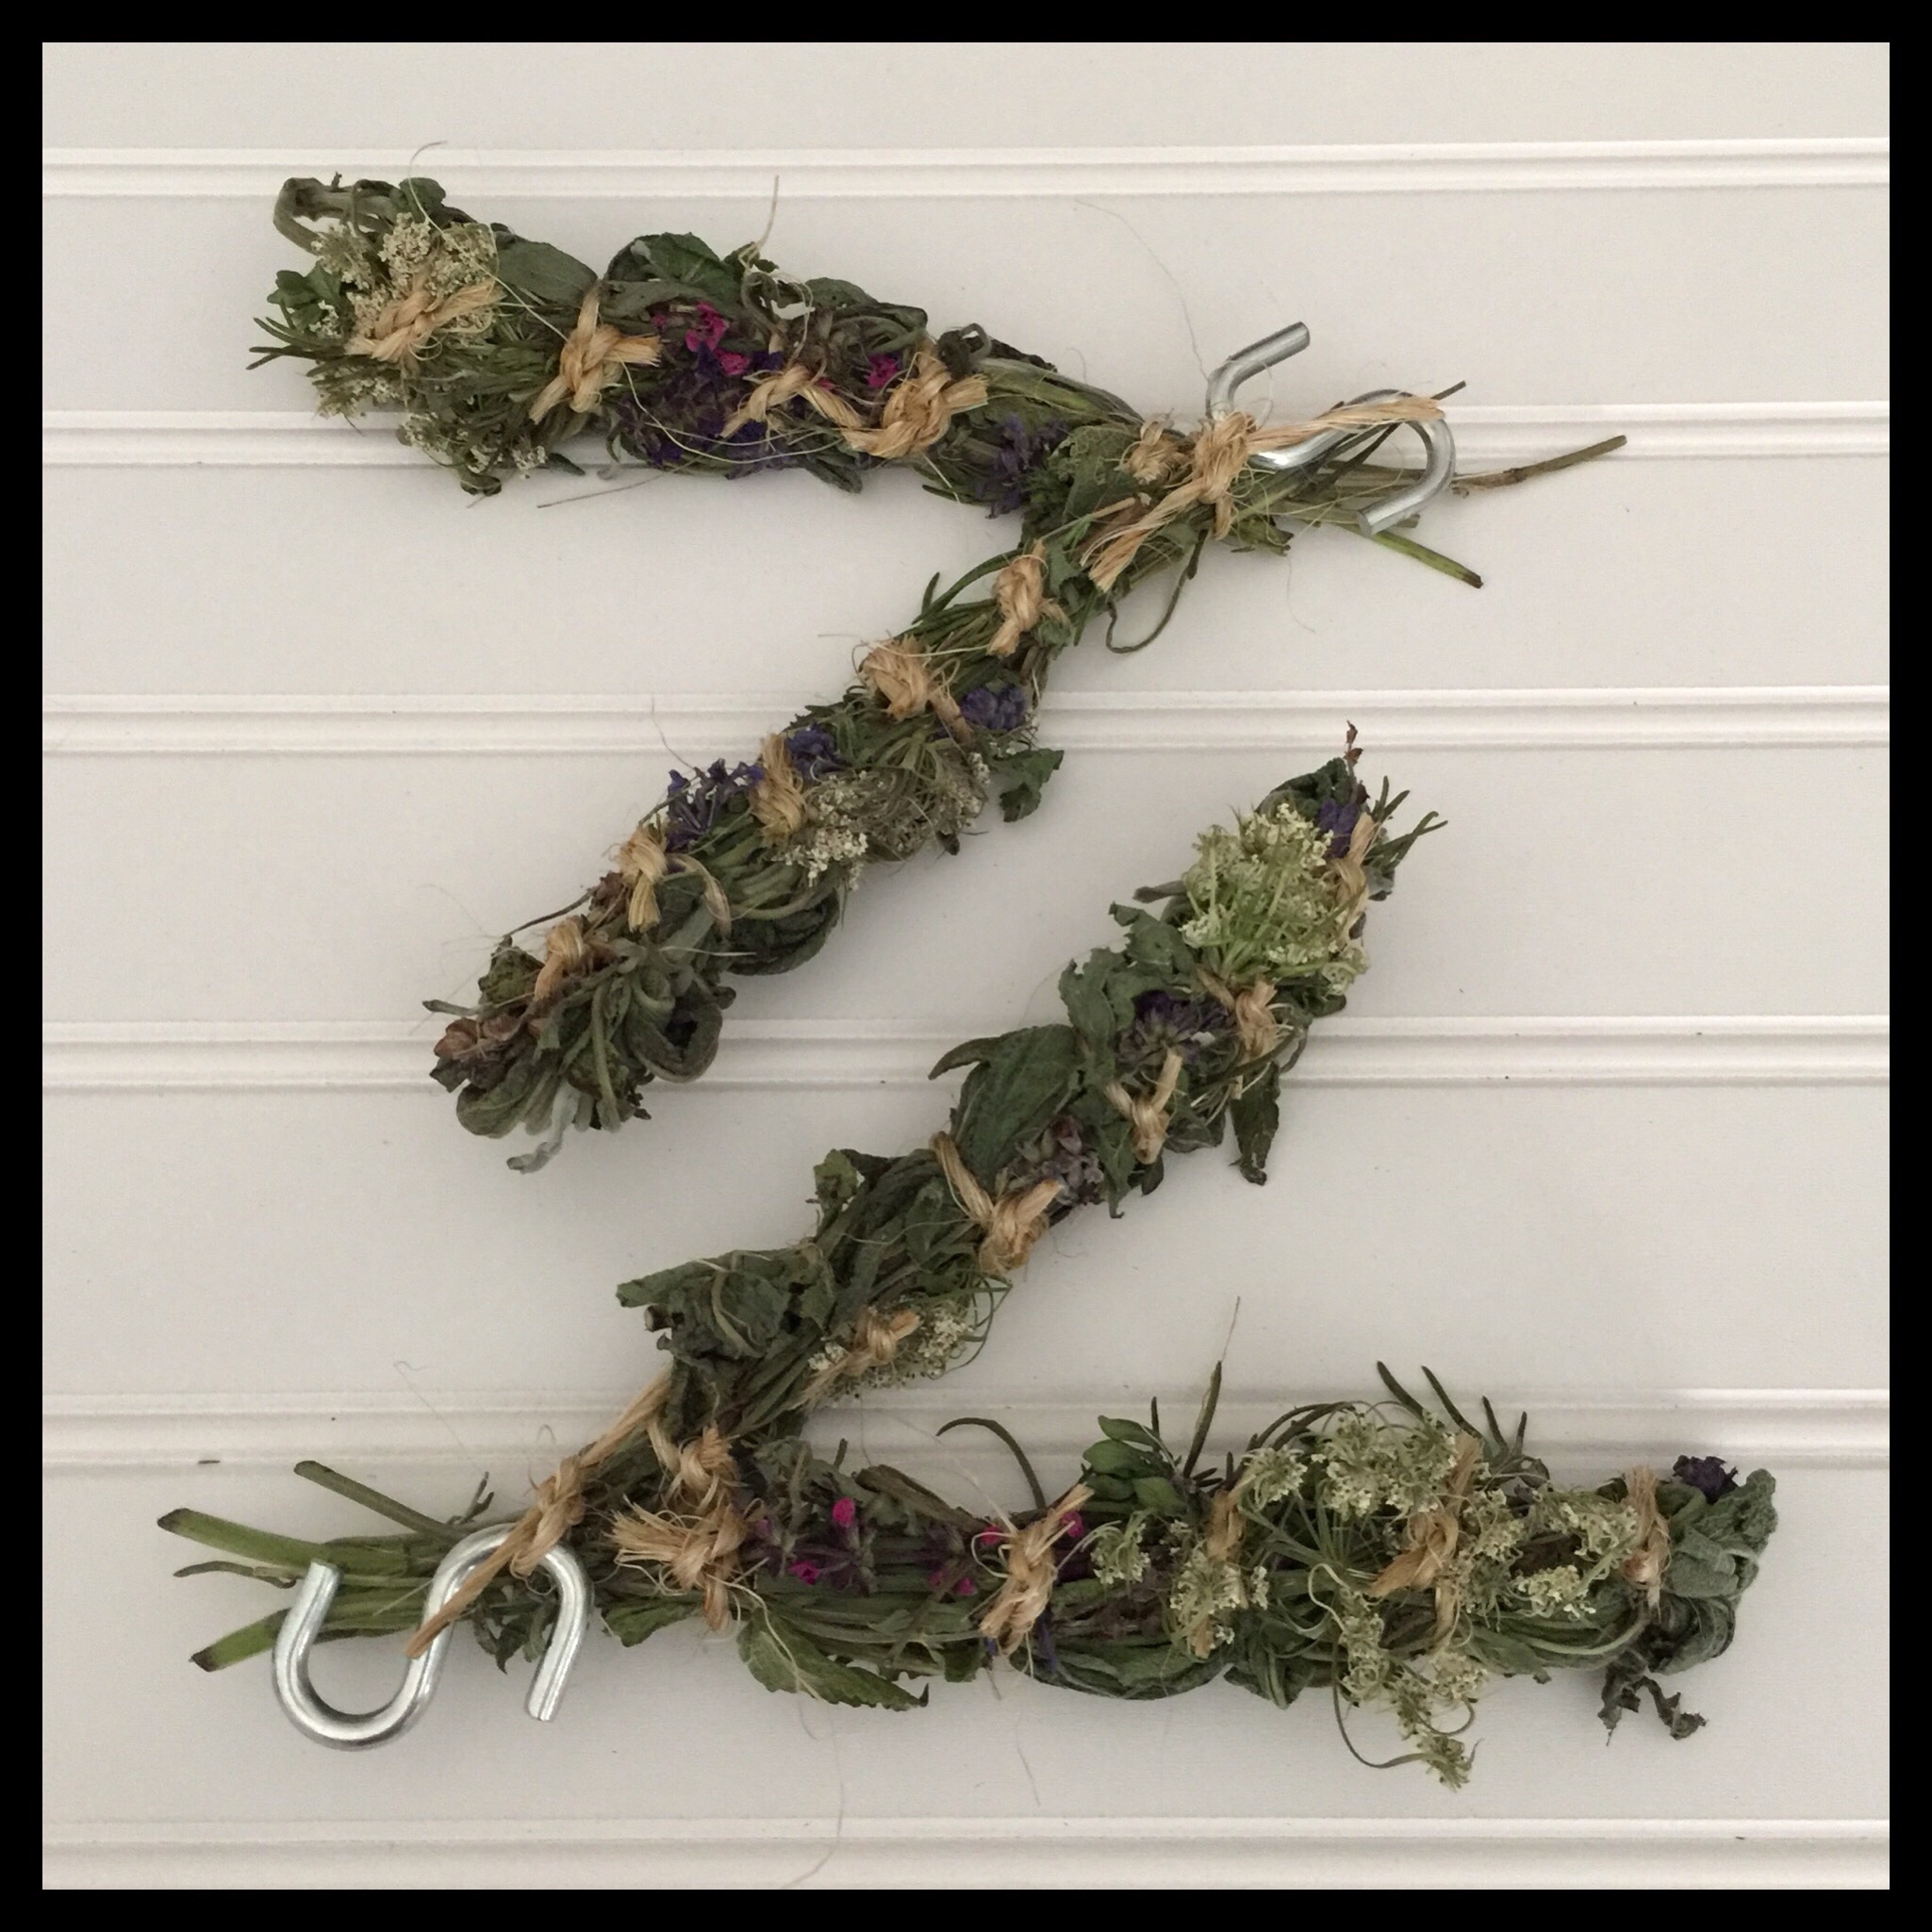
Tie the ends of two bundles together and hang them upside down for at least a few days until they are completely dry.
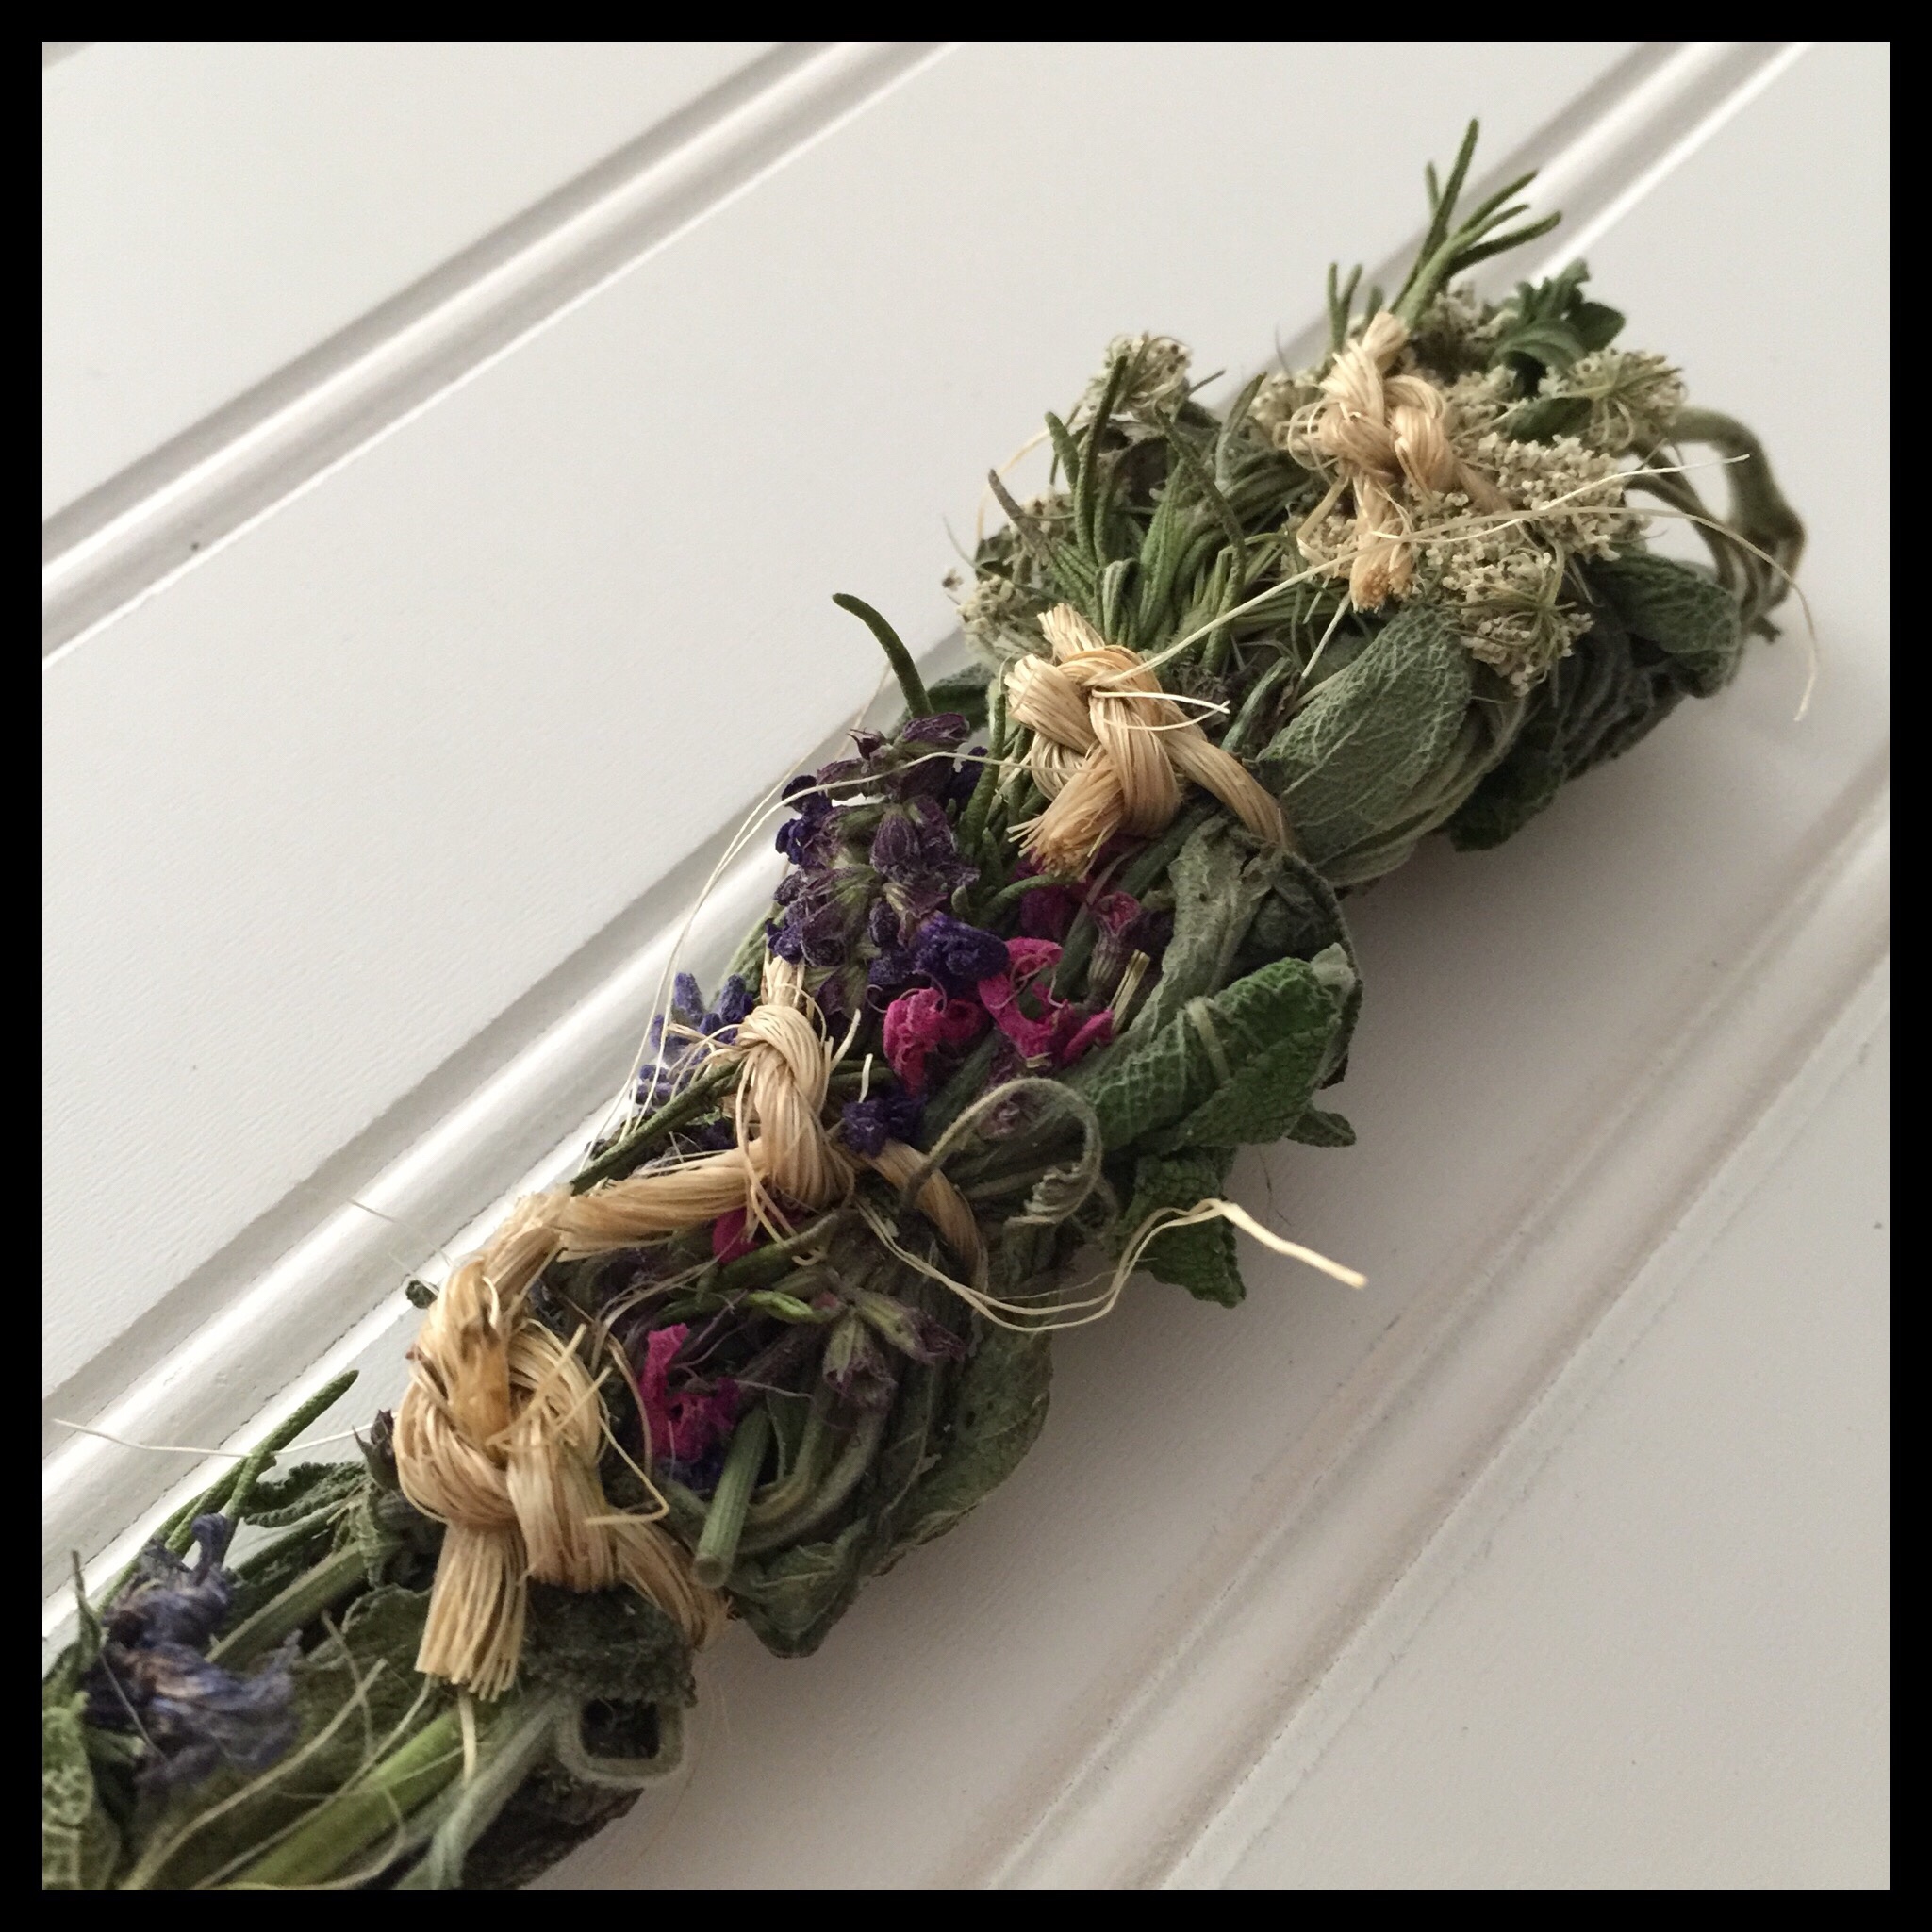
Once they are fully dry, your smudge sticks are ready to use.
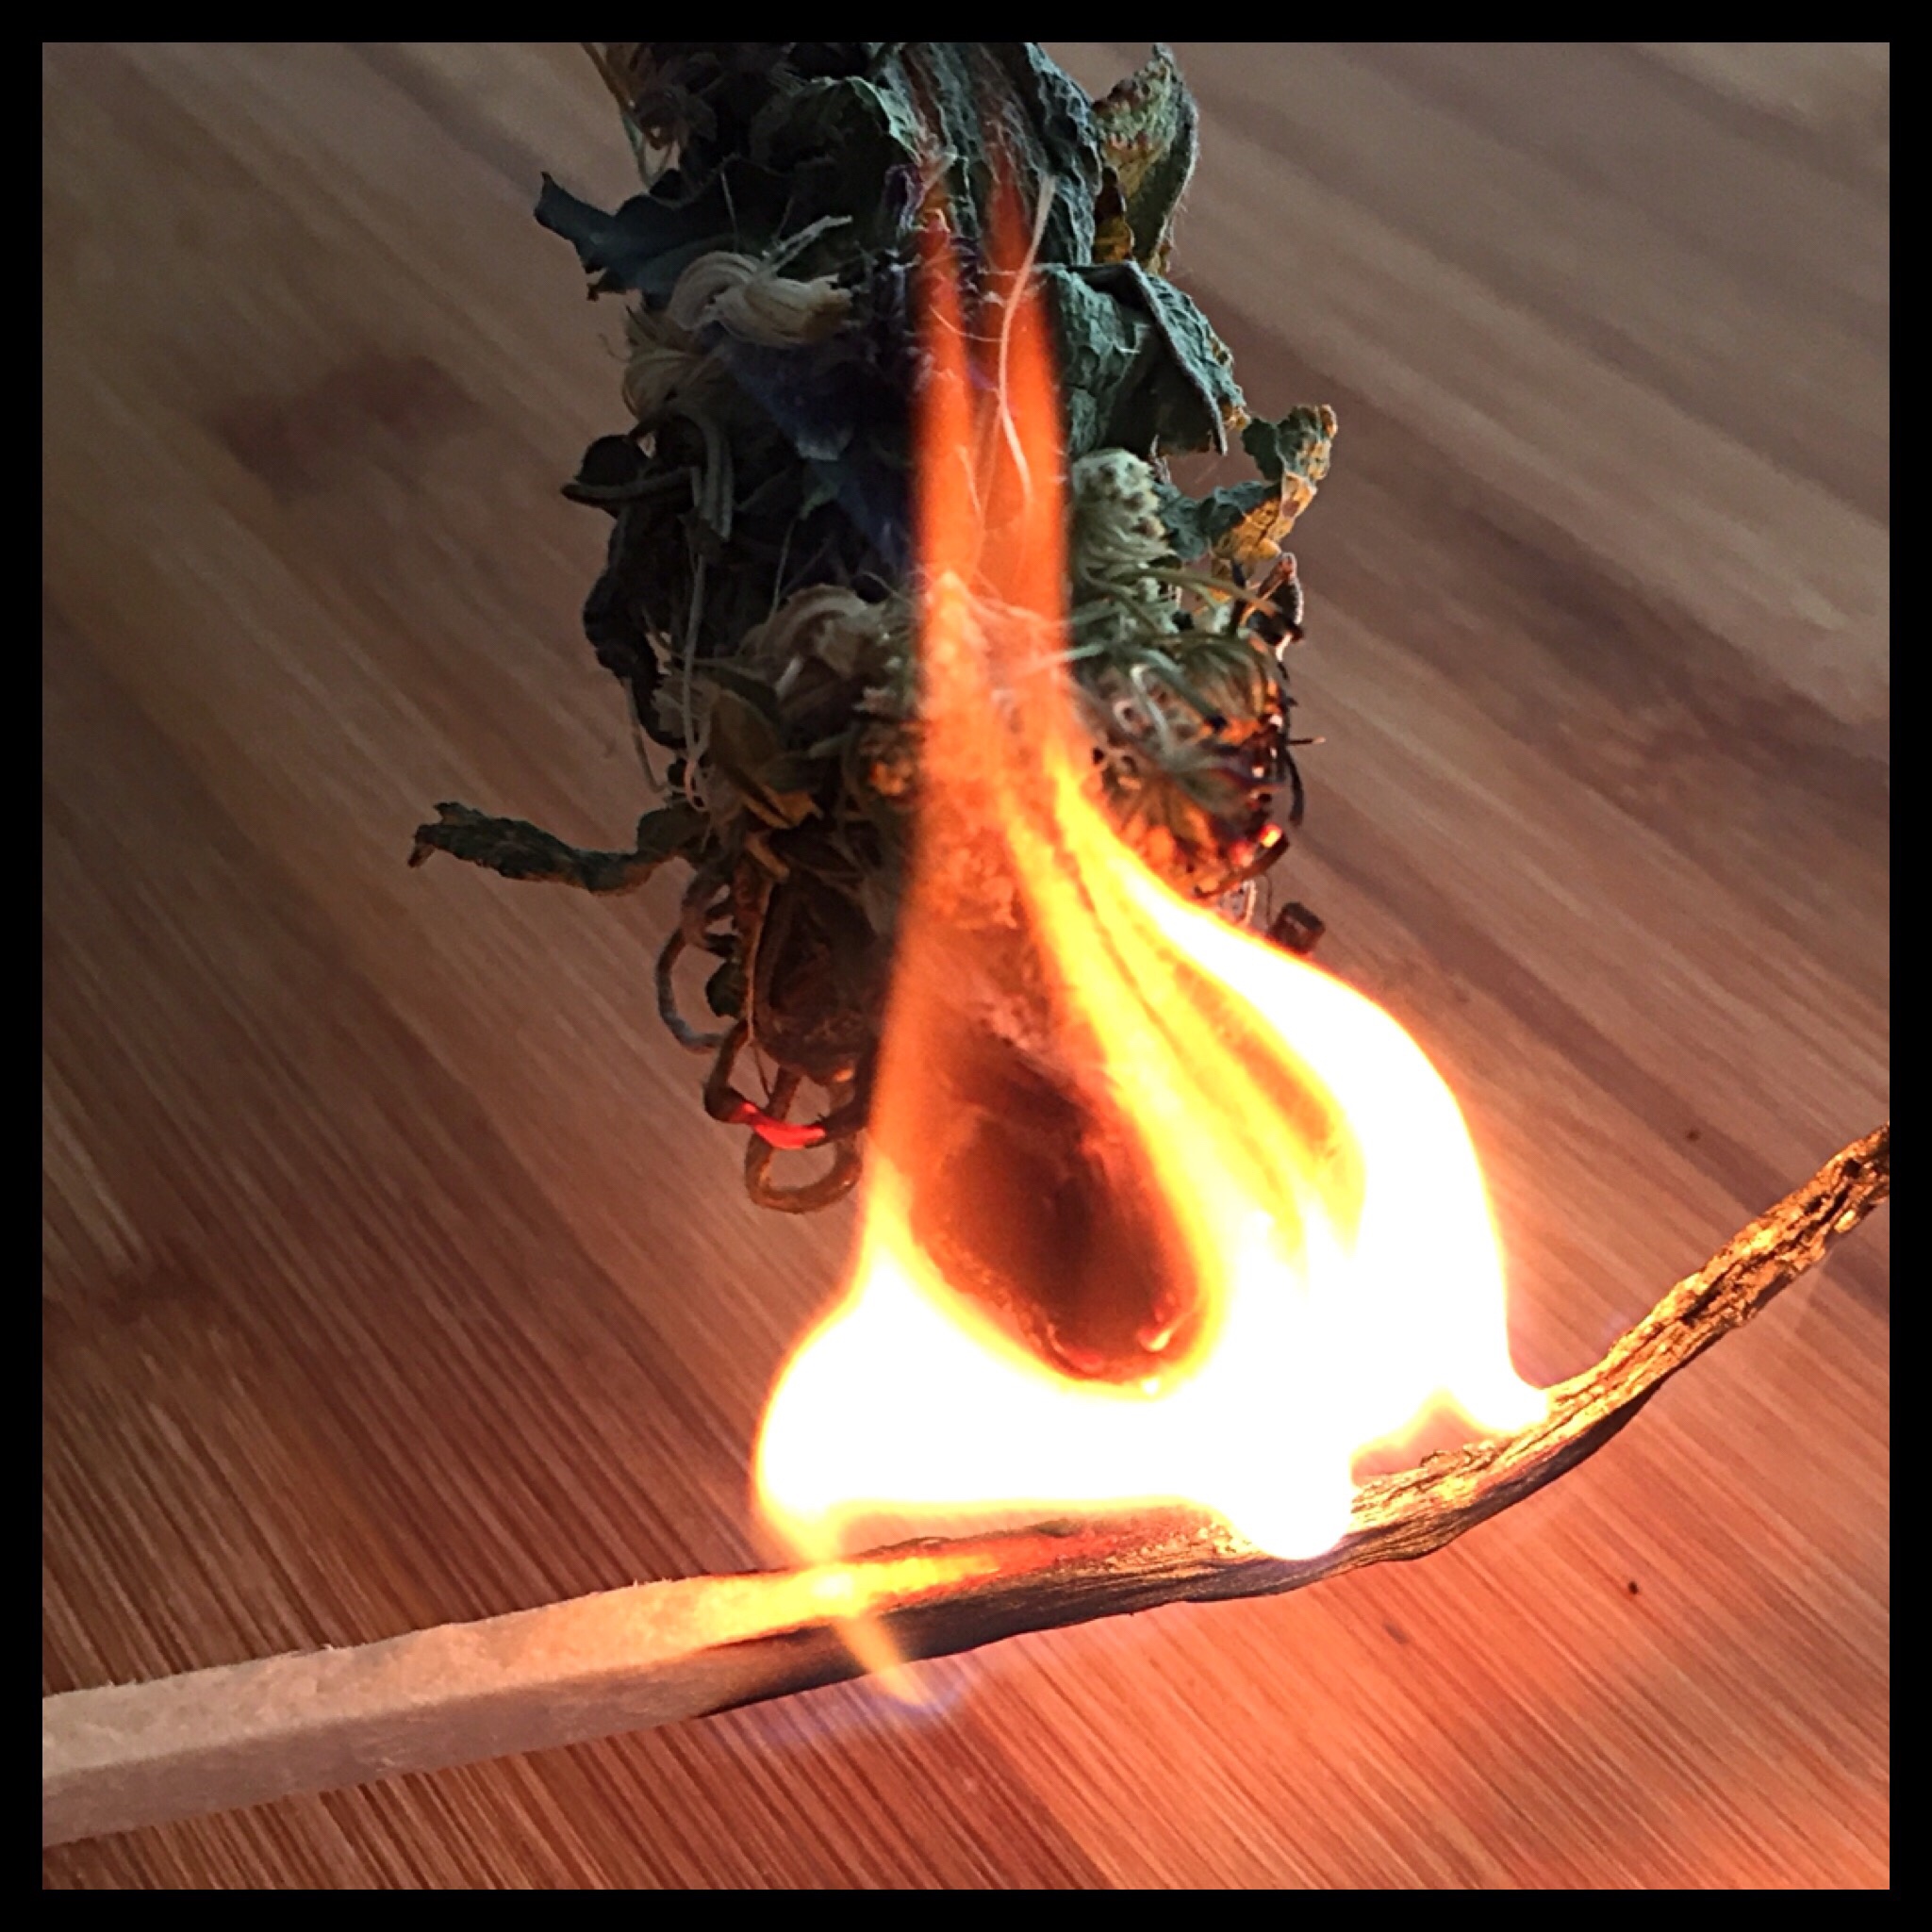
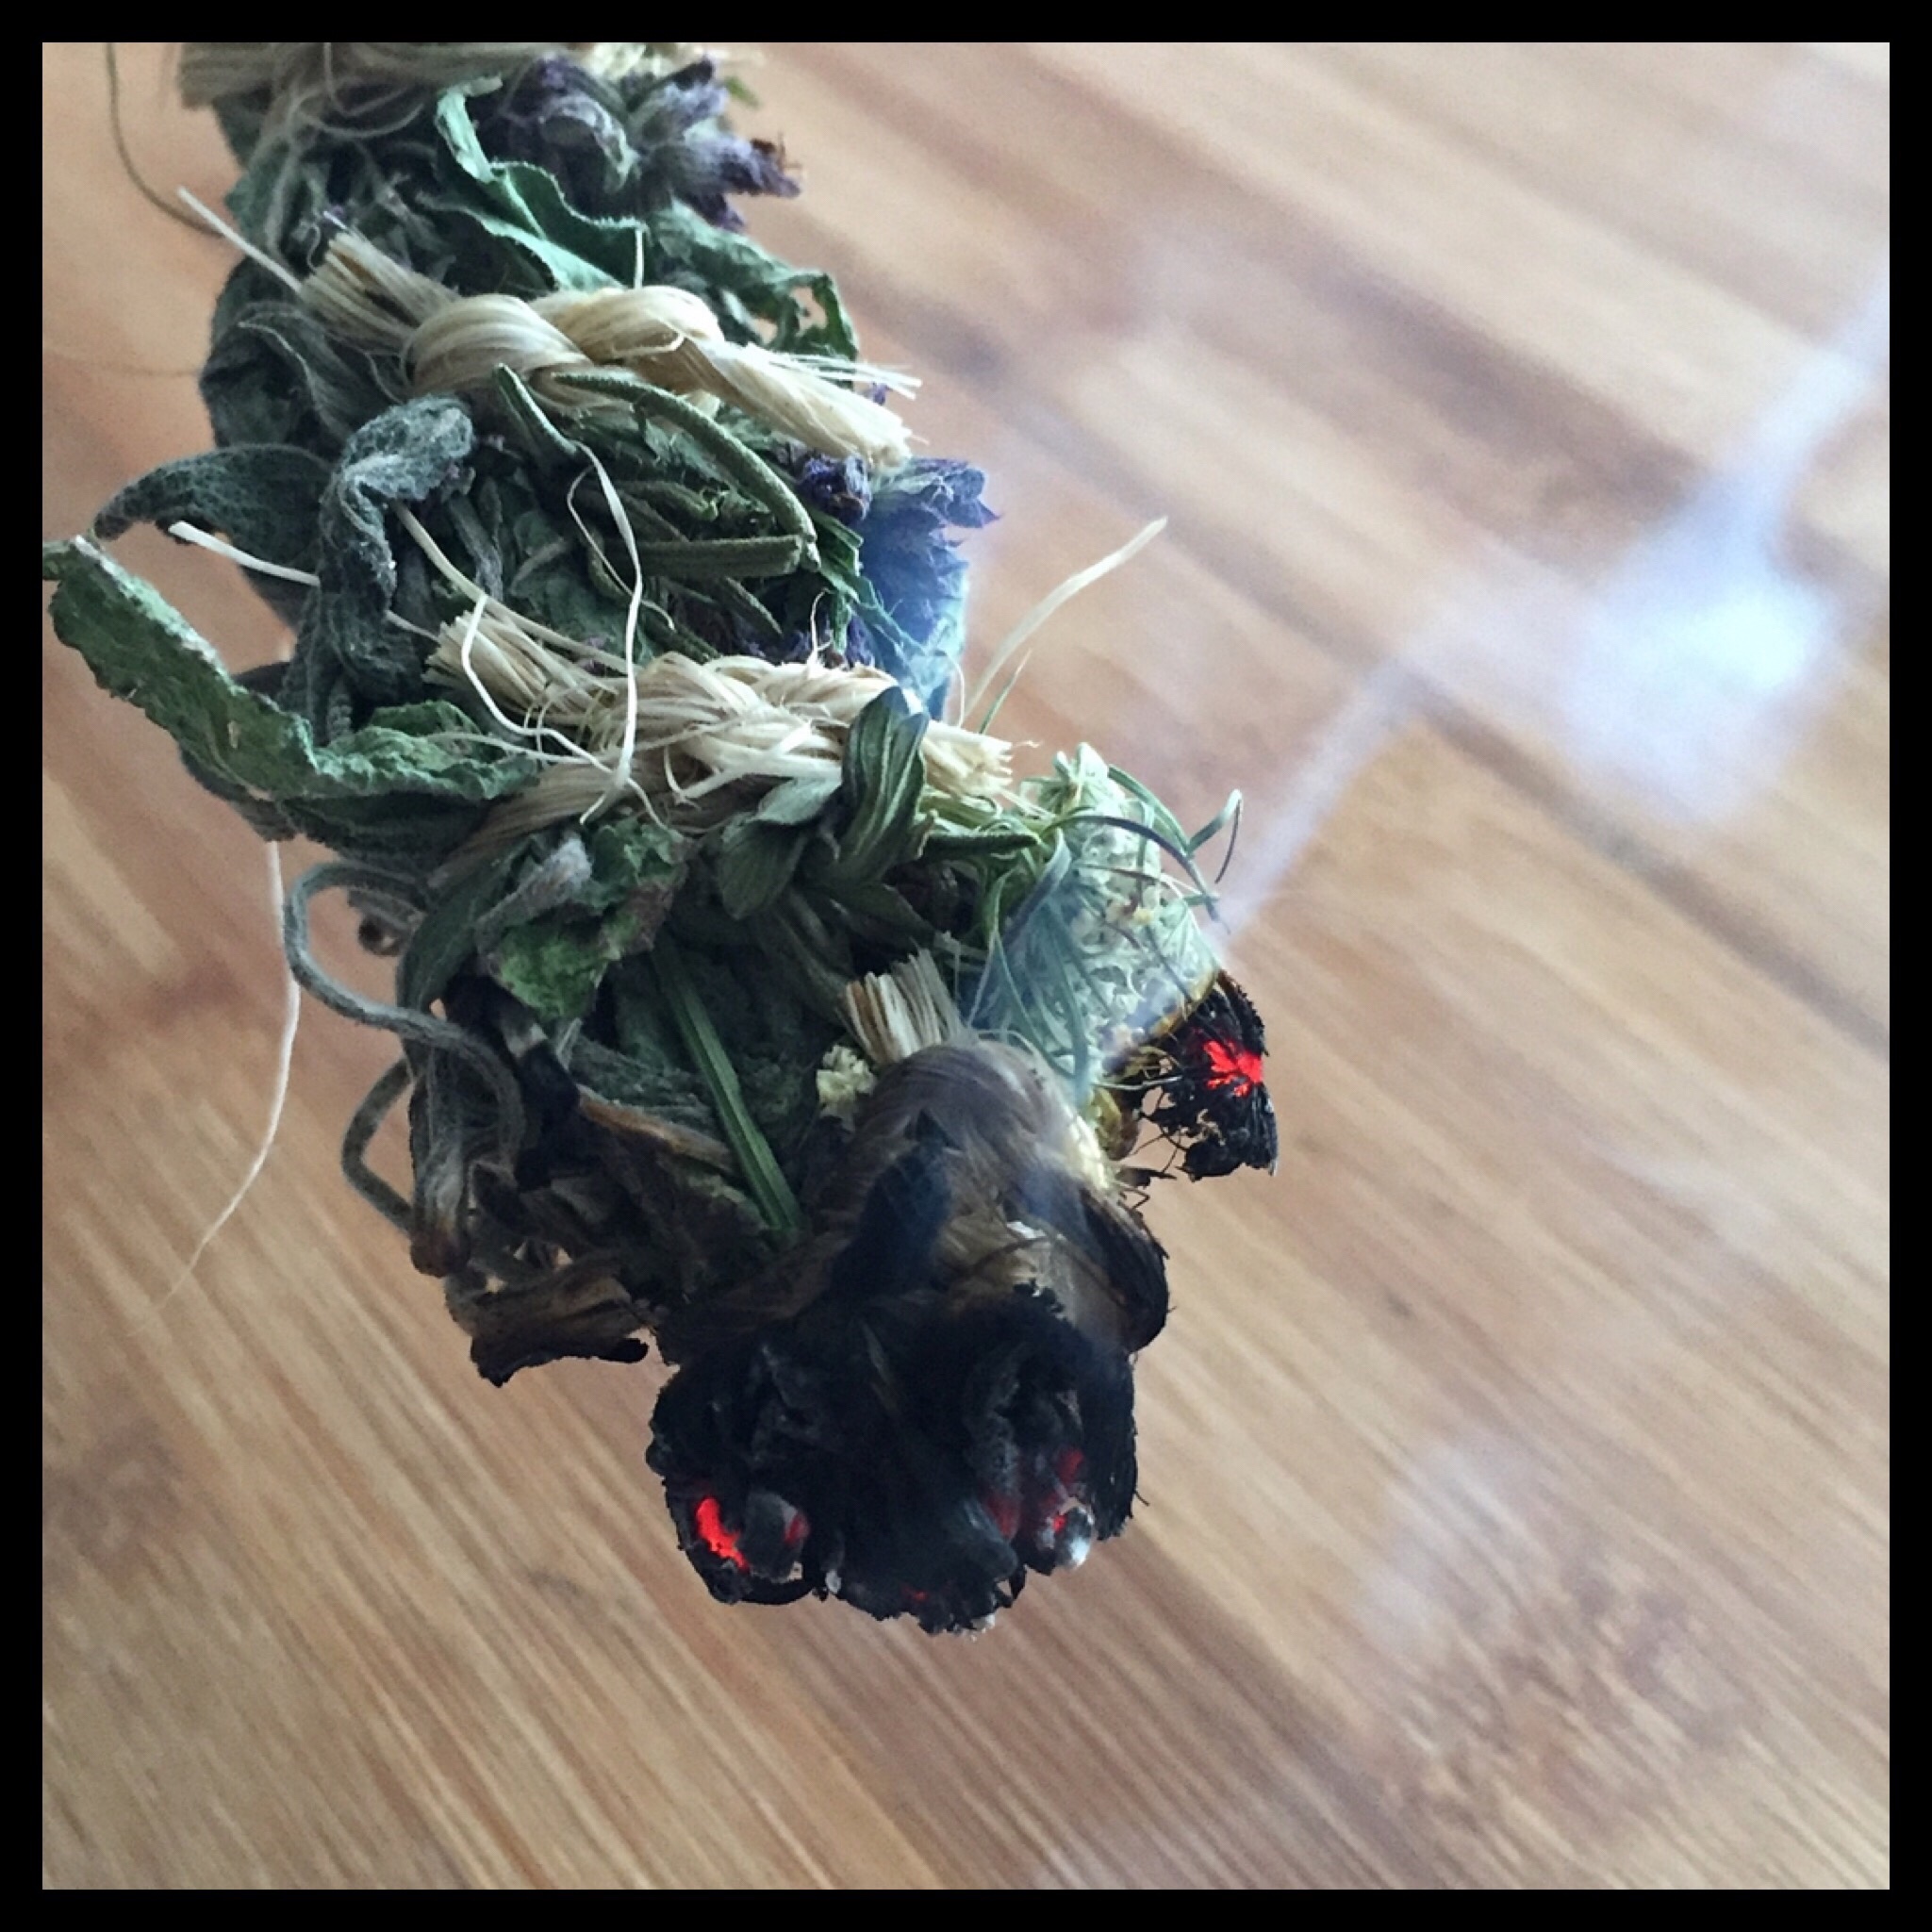
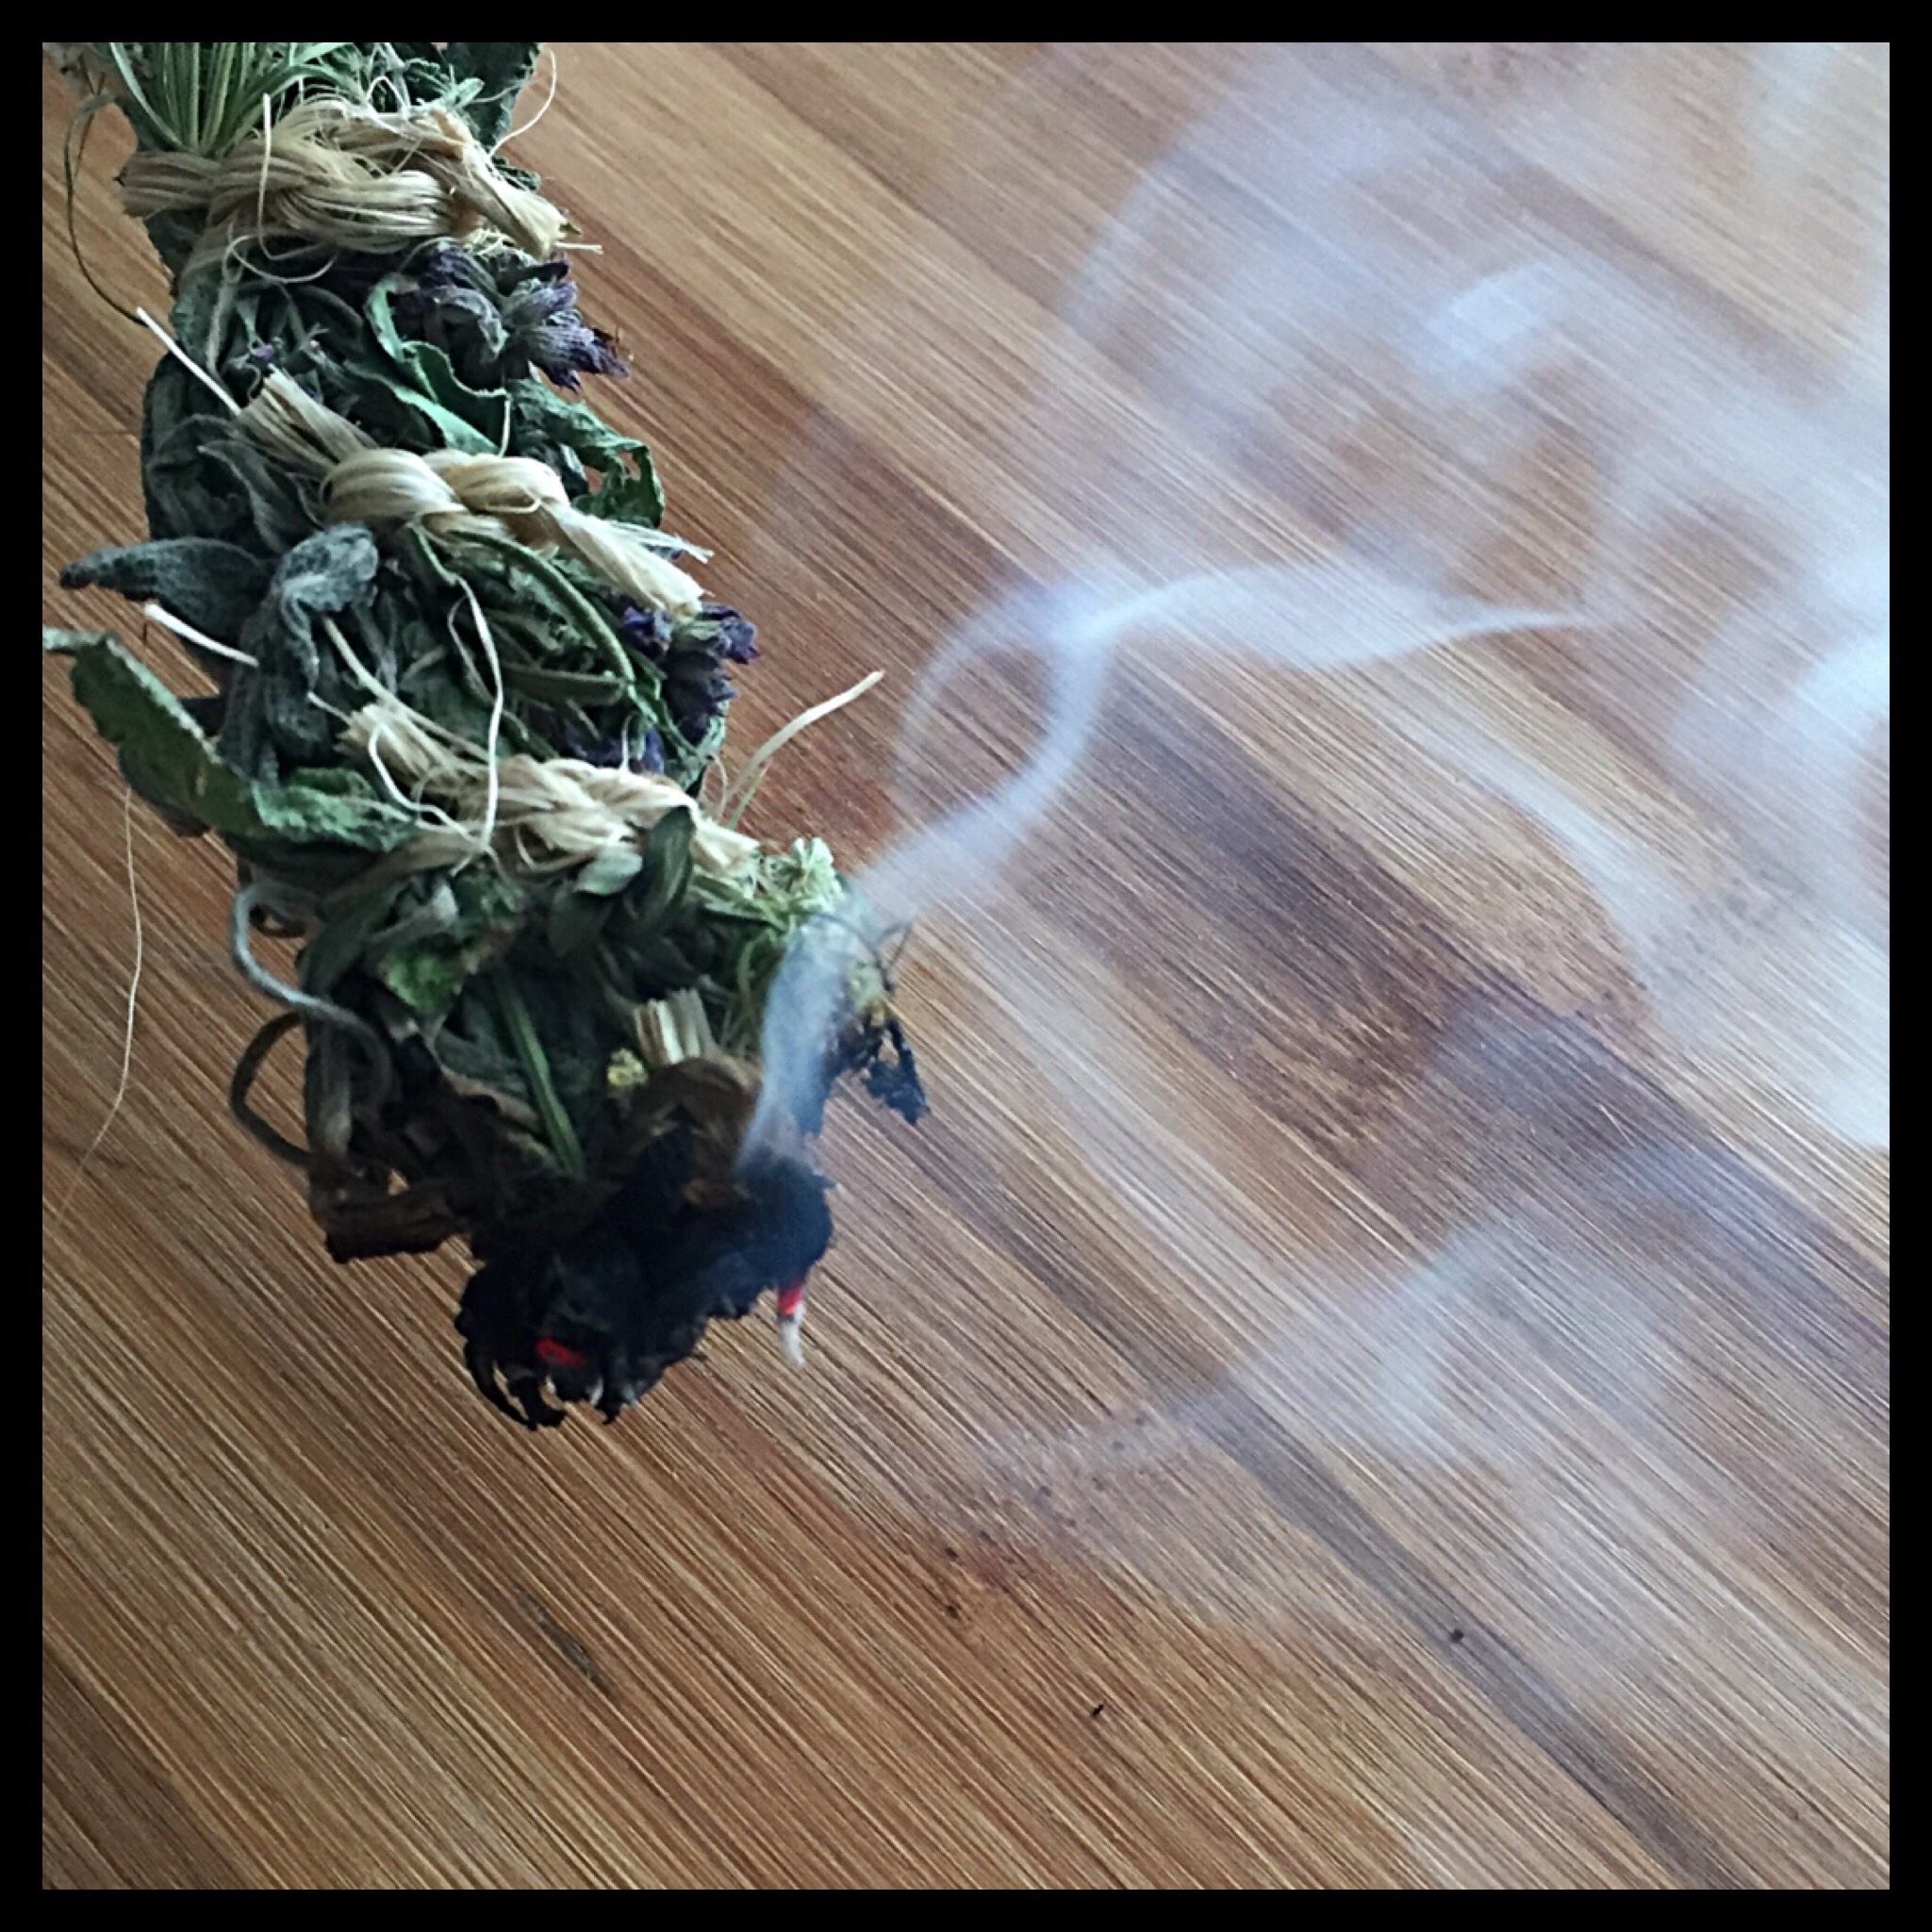
Light the top and let the flame burn out. You are ready to start smudging!
I love your sage bundle recipe. I can’t wait to try it. Thank you.
Thank you, Athena!
Please HELP Can I use Sage leaves that are powdery white or should I throw them away.
Hi Sheila, you need your sage leaves to be quite fresh to make the bundles so you can shape them. If your leaves are fresh and powdery, I don’t know what to tell you. I would think they may have a plant disease and shouldn’t be used, but that is just a guess.