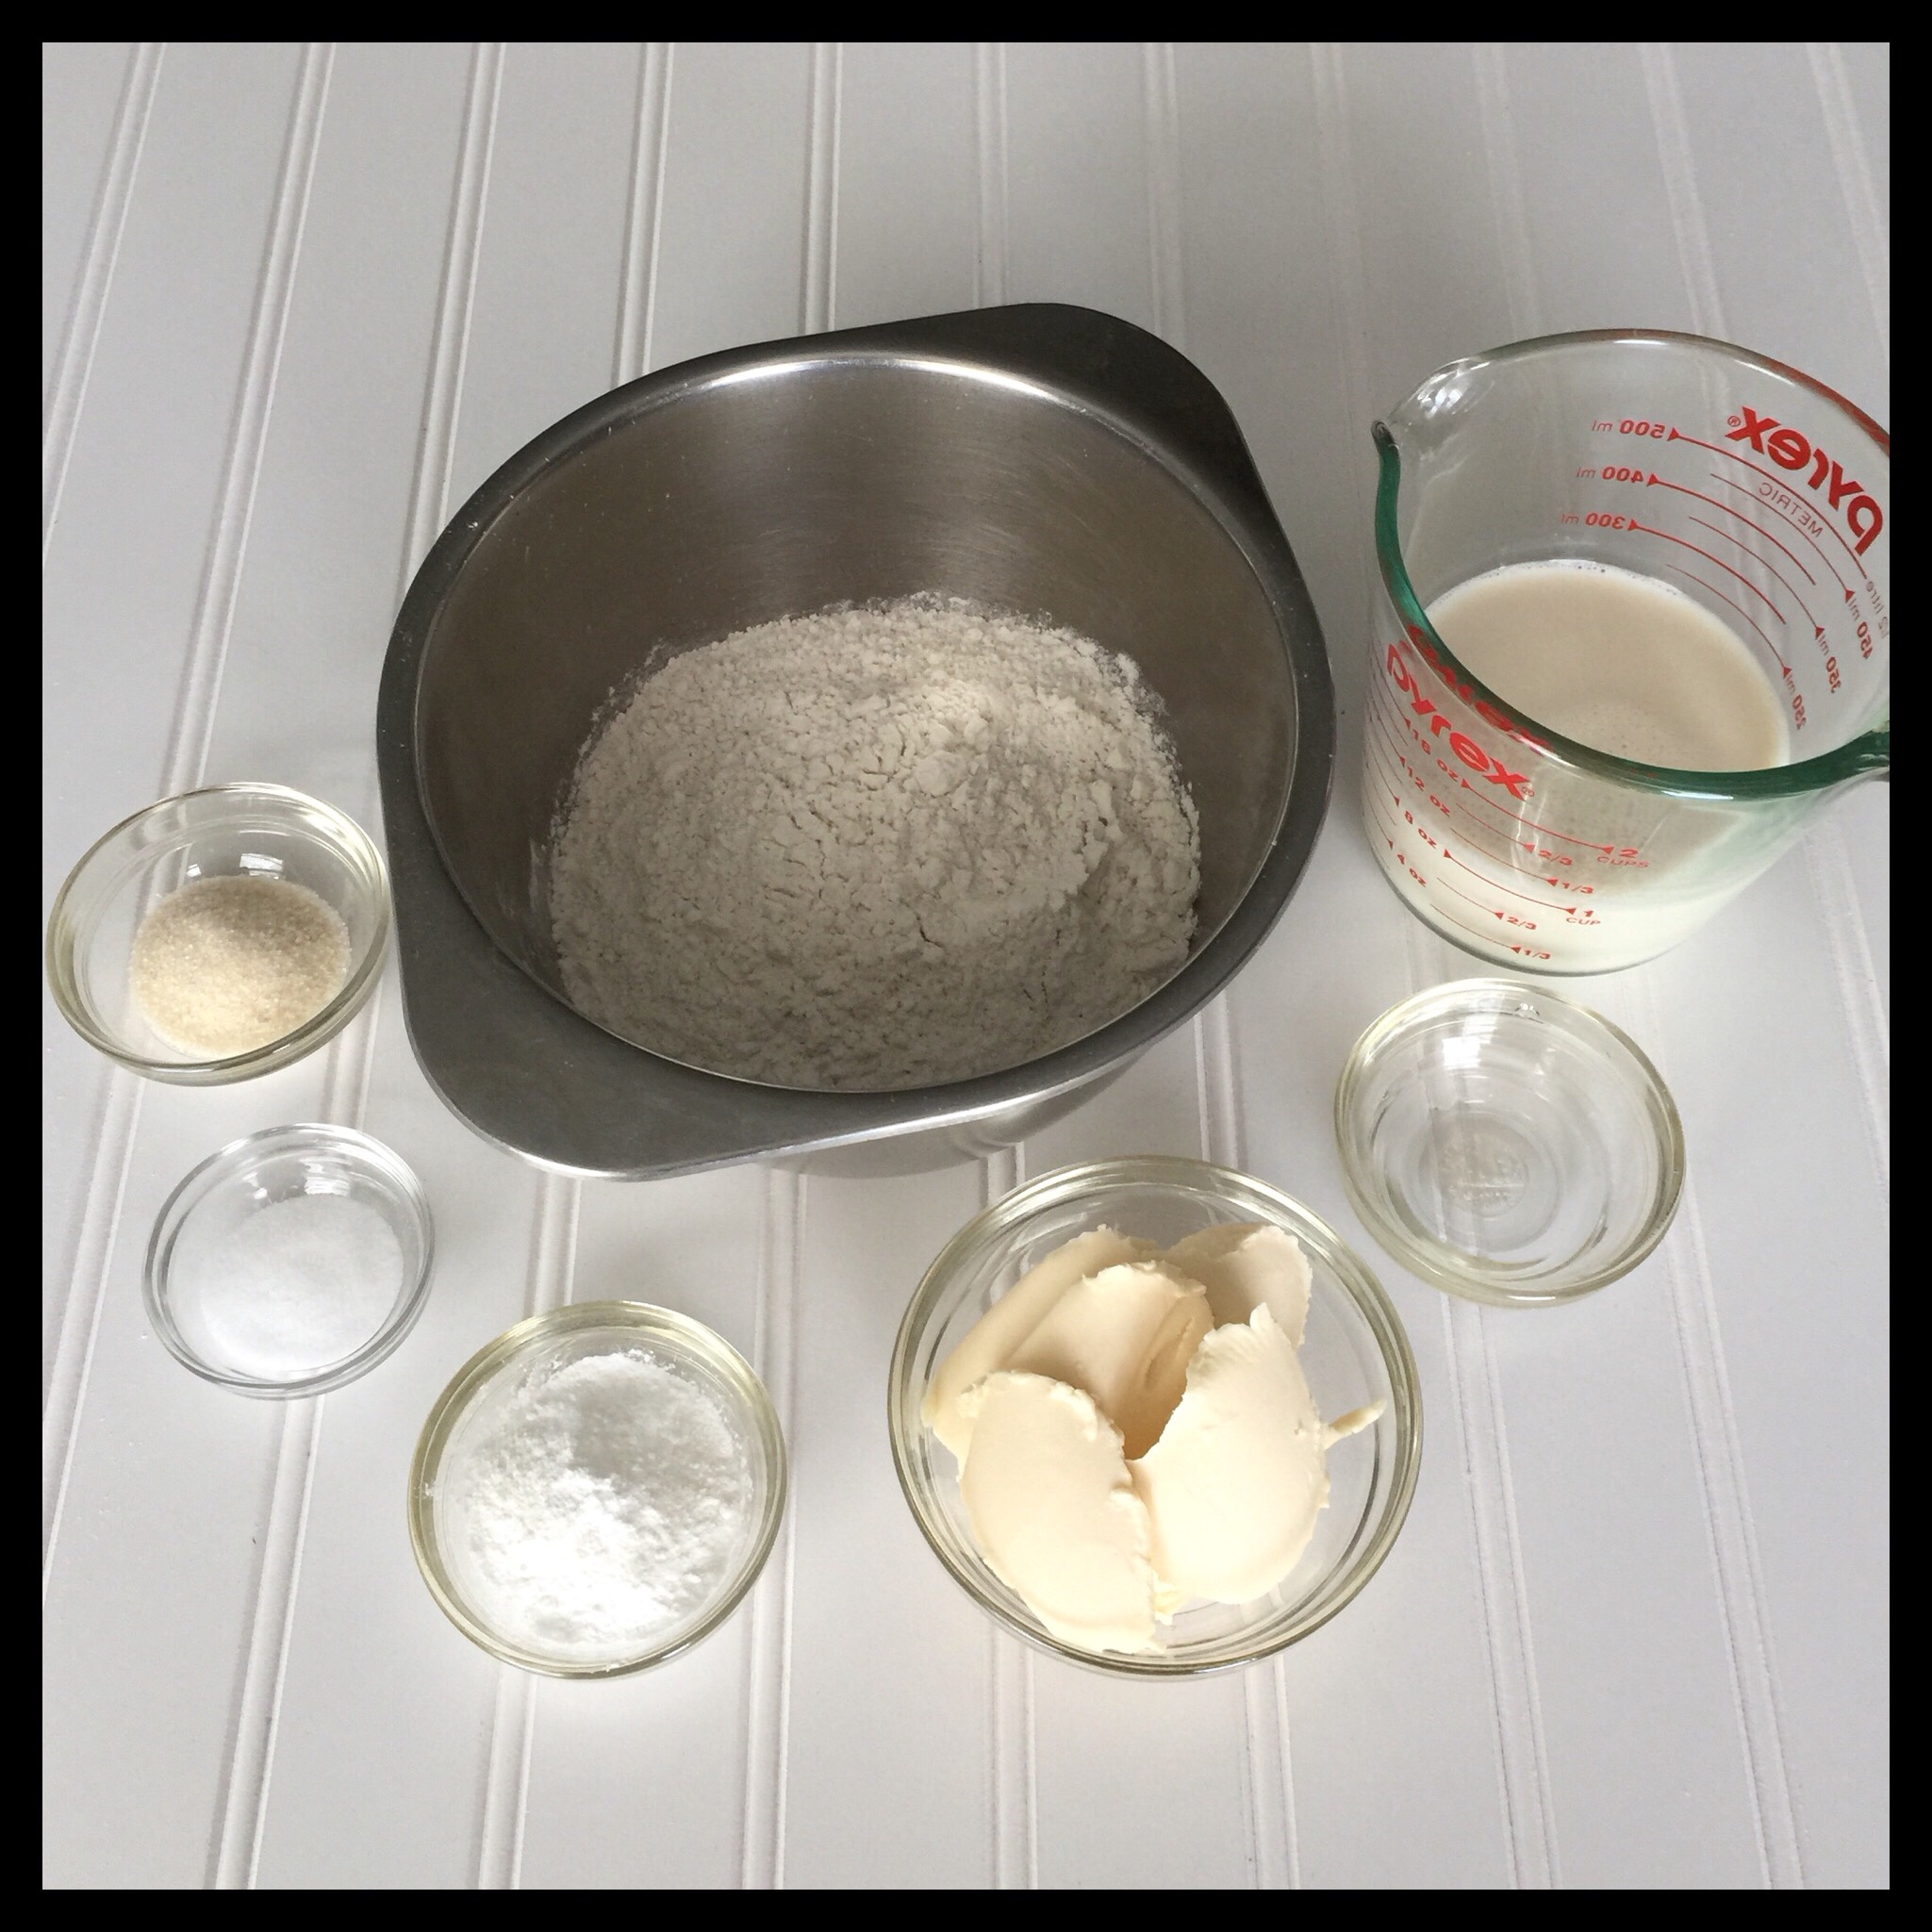
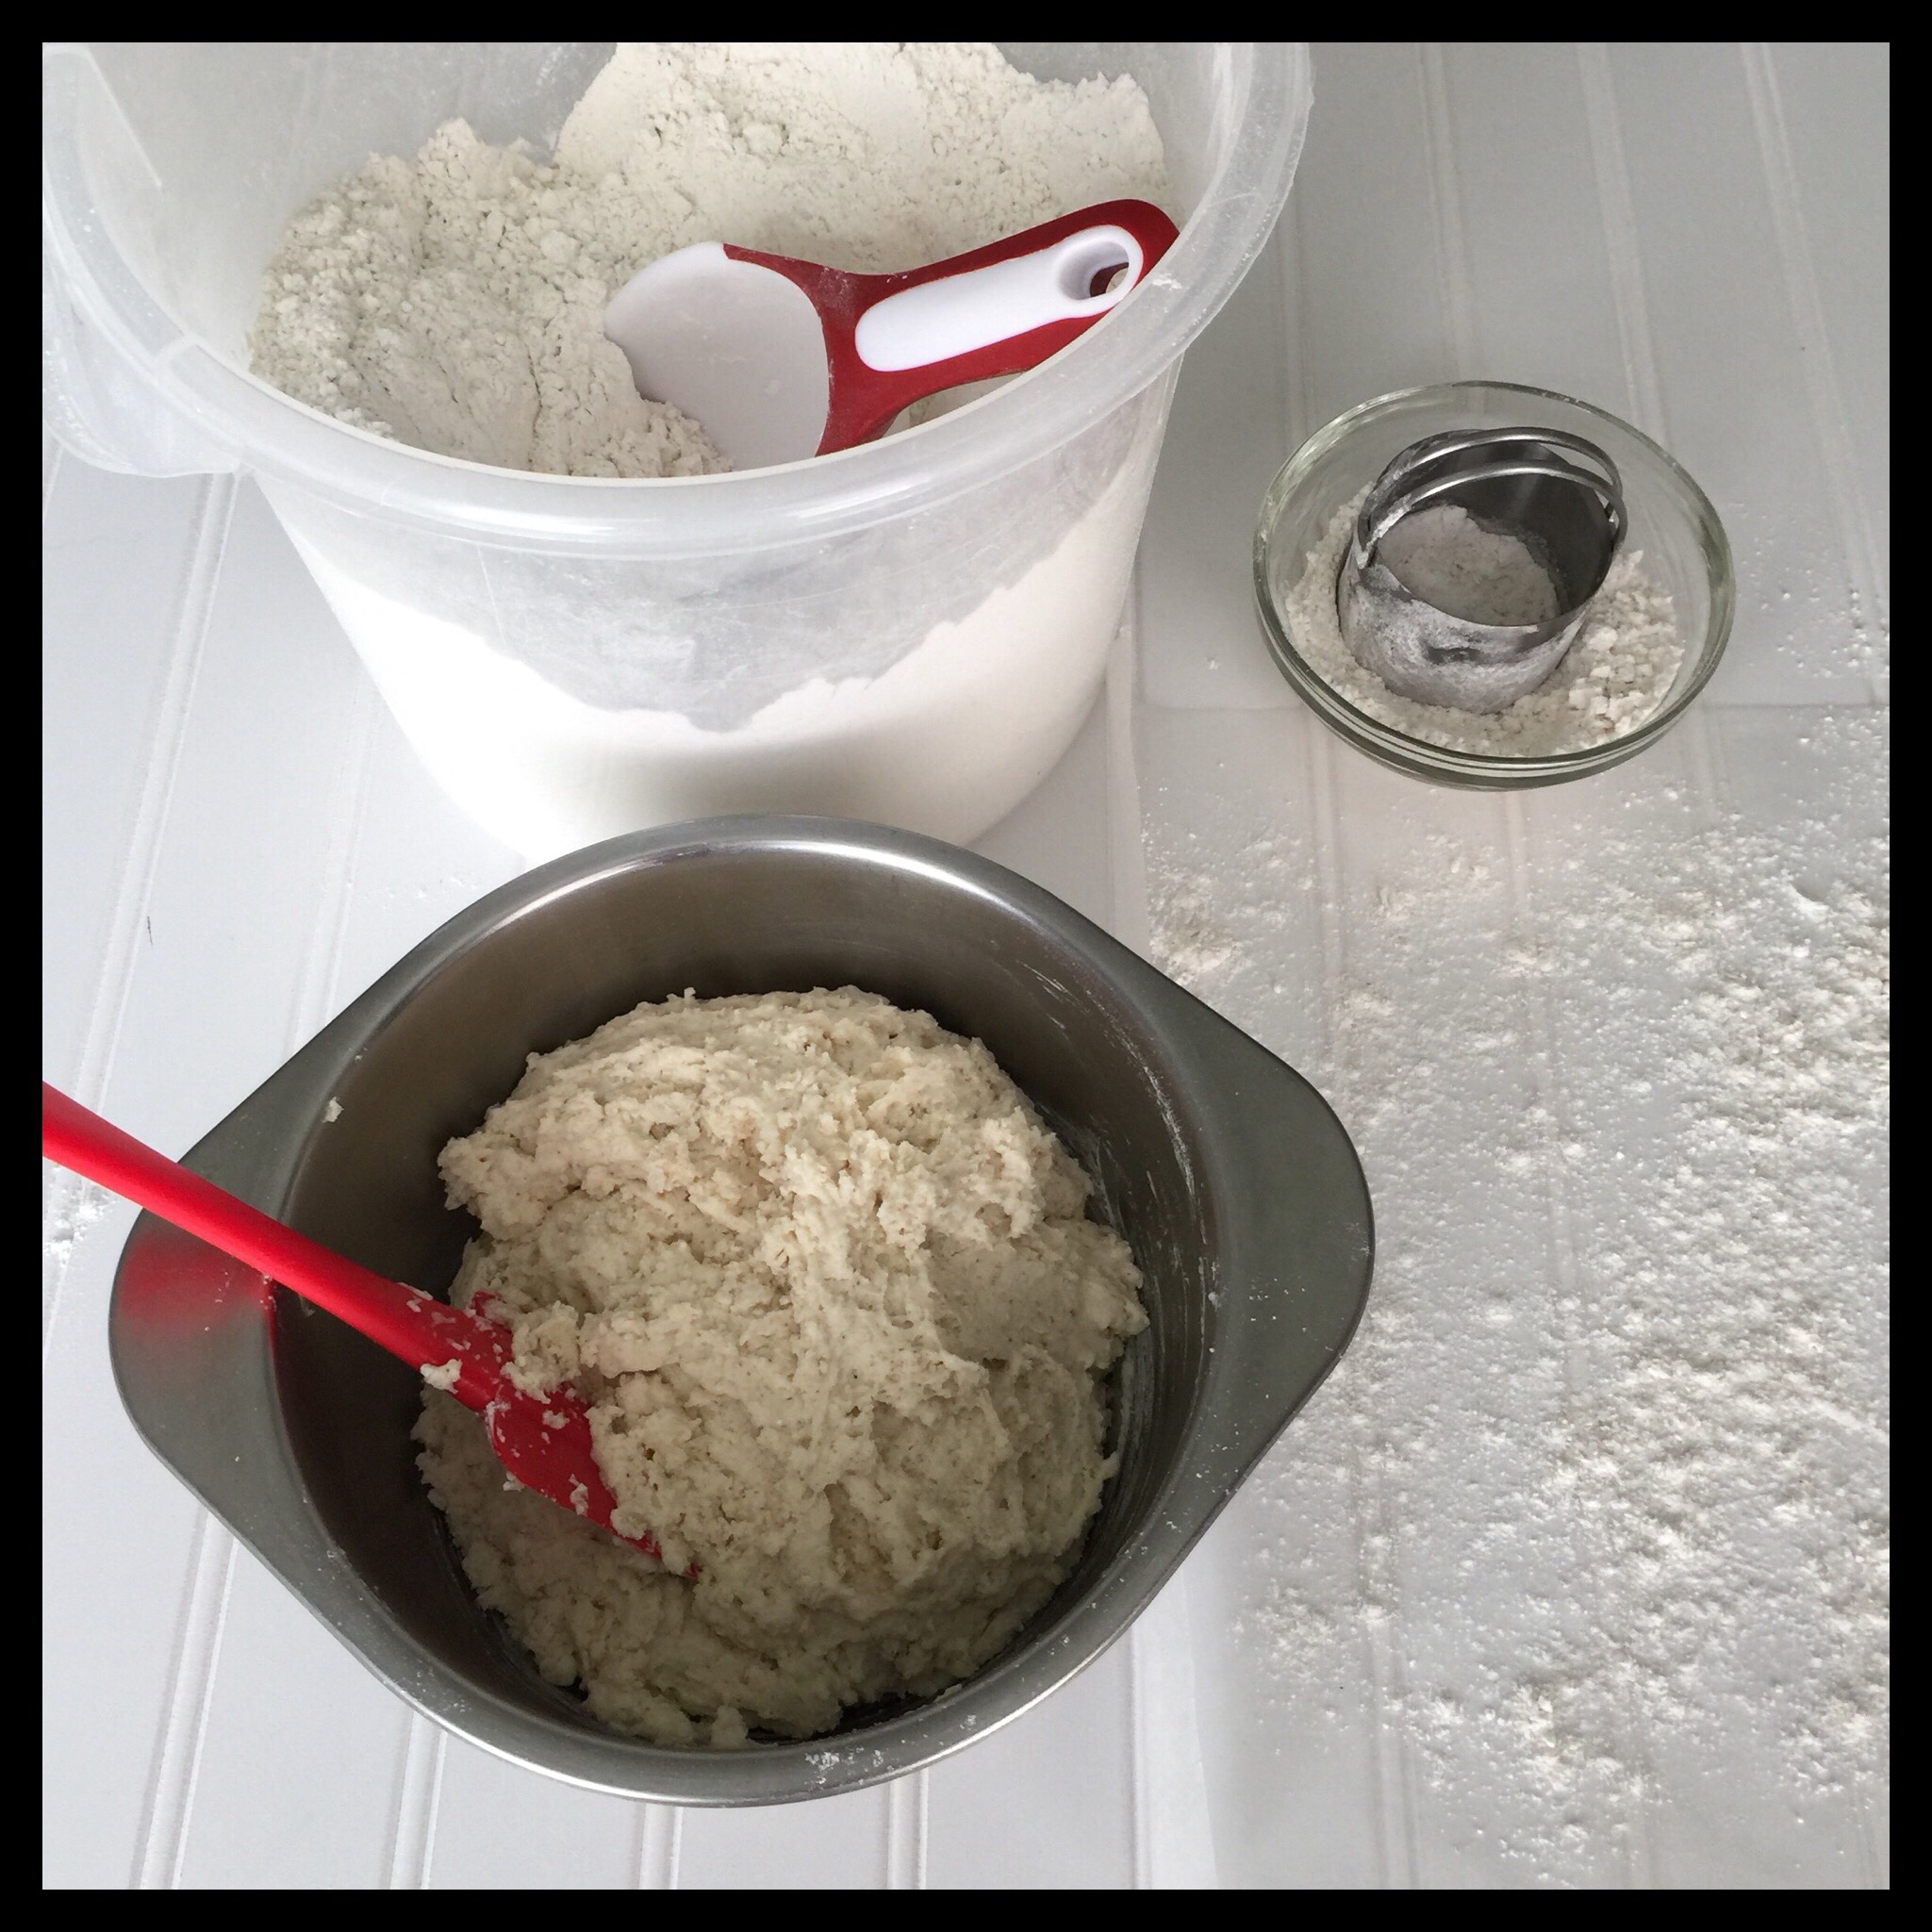
I am so excited to share this recipe! I struggled with gluten free biscuits for years, but no longer! (Note that this recipe also works great for vegan biscuits made with wheat flour as the amounts and technique are the same.) These delicious biscuits are perfectly buttery, a bit crunchy on the outside, and wonderfully light and fluffy on the inside! Here are the ingredients you will need:
I always use either Freely Vegan flour or my two-ingredient gluten free flour blend to make biscuits, and have not tested this recipe with any of my other GF flour blends. They should all work, but you may not get biscuits as light and fluffy as these if you use one of my other blends. (Update: several of my readers tried making the biscuits with Bob’s Red Mill 1:1 gluten free flour blend and got good results. So, I tested the Bob’s side by side with my two-ingredient flour. The texture of the Bob’s was not as fabulous as mine, but was still very good!) You can use all-purpose wheat flour if you are not gluten free.
There are quite a few similar recipes online, but none of them use all of the same steps that I do. It may be that not all of them are necessary when you are using wheat flour with dairy butter. For vegan and/or gluten free biscuits, though, every step in this recipe is important, so please read through all of them before beginning. Keeping your ingredients really cold is critical to getting beautiful biscuits so don’t skip the chilling times!
Start by adding the vinegar to the soy milk, then place the “buttermilk” in the freezer and set a timer for 30 minutes.
As soon as the “buttermilk” is in the freezer, melt the vegan butter (I use Earth Balance Buttery Spread) in the microwave. This only takes about 30 seconds in my microwave. Let it cool at room temperature.

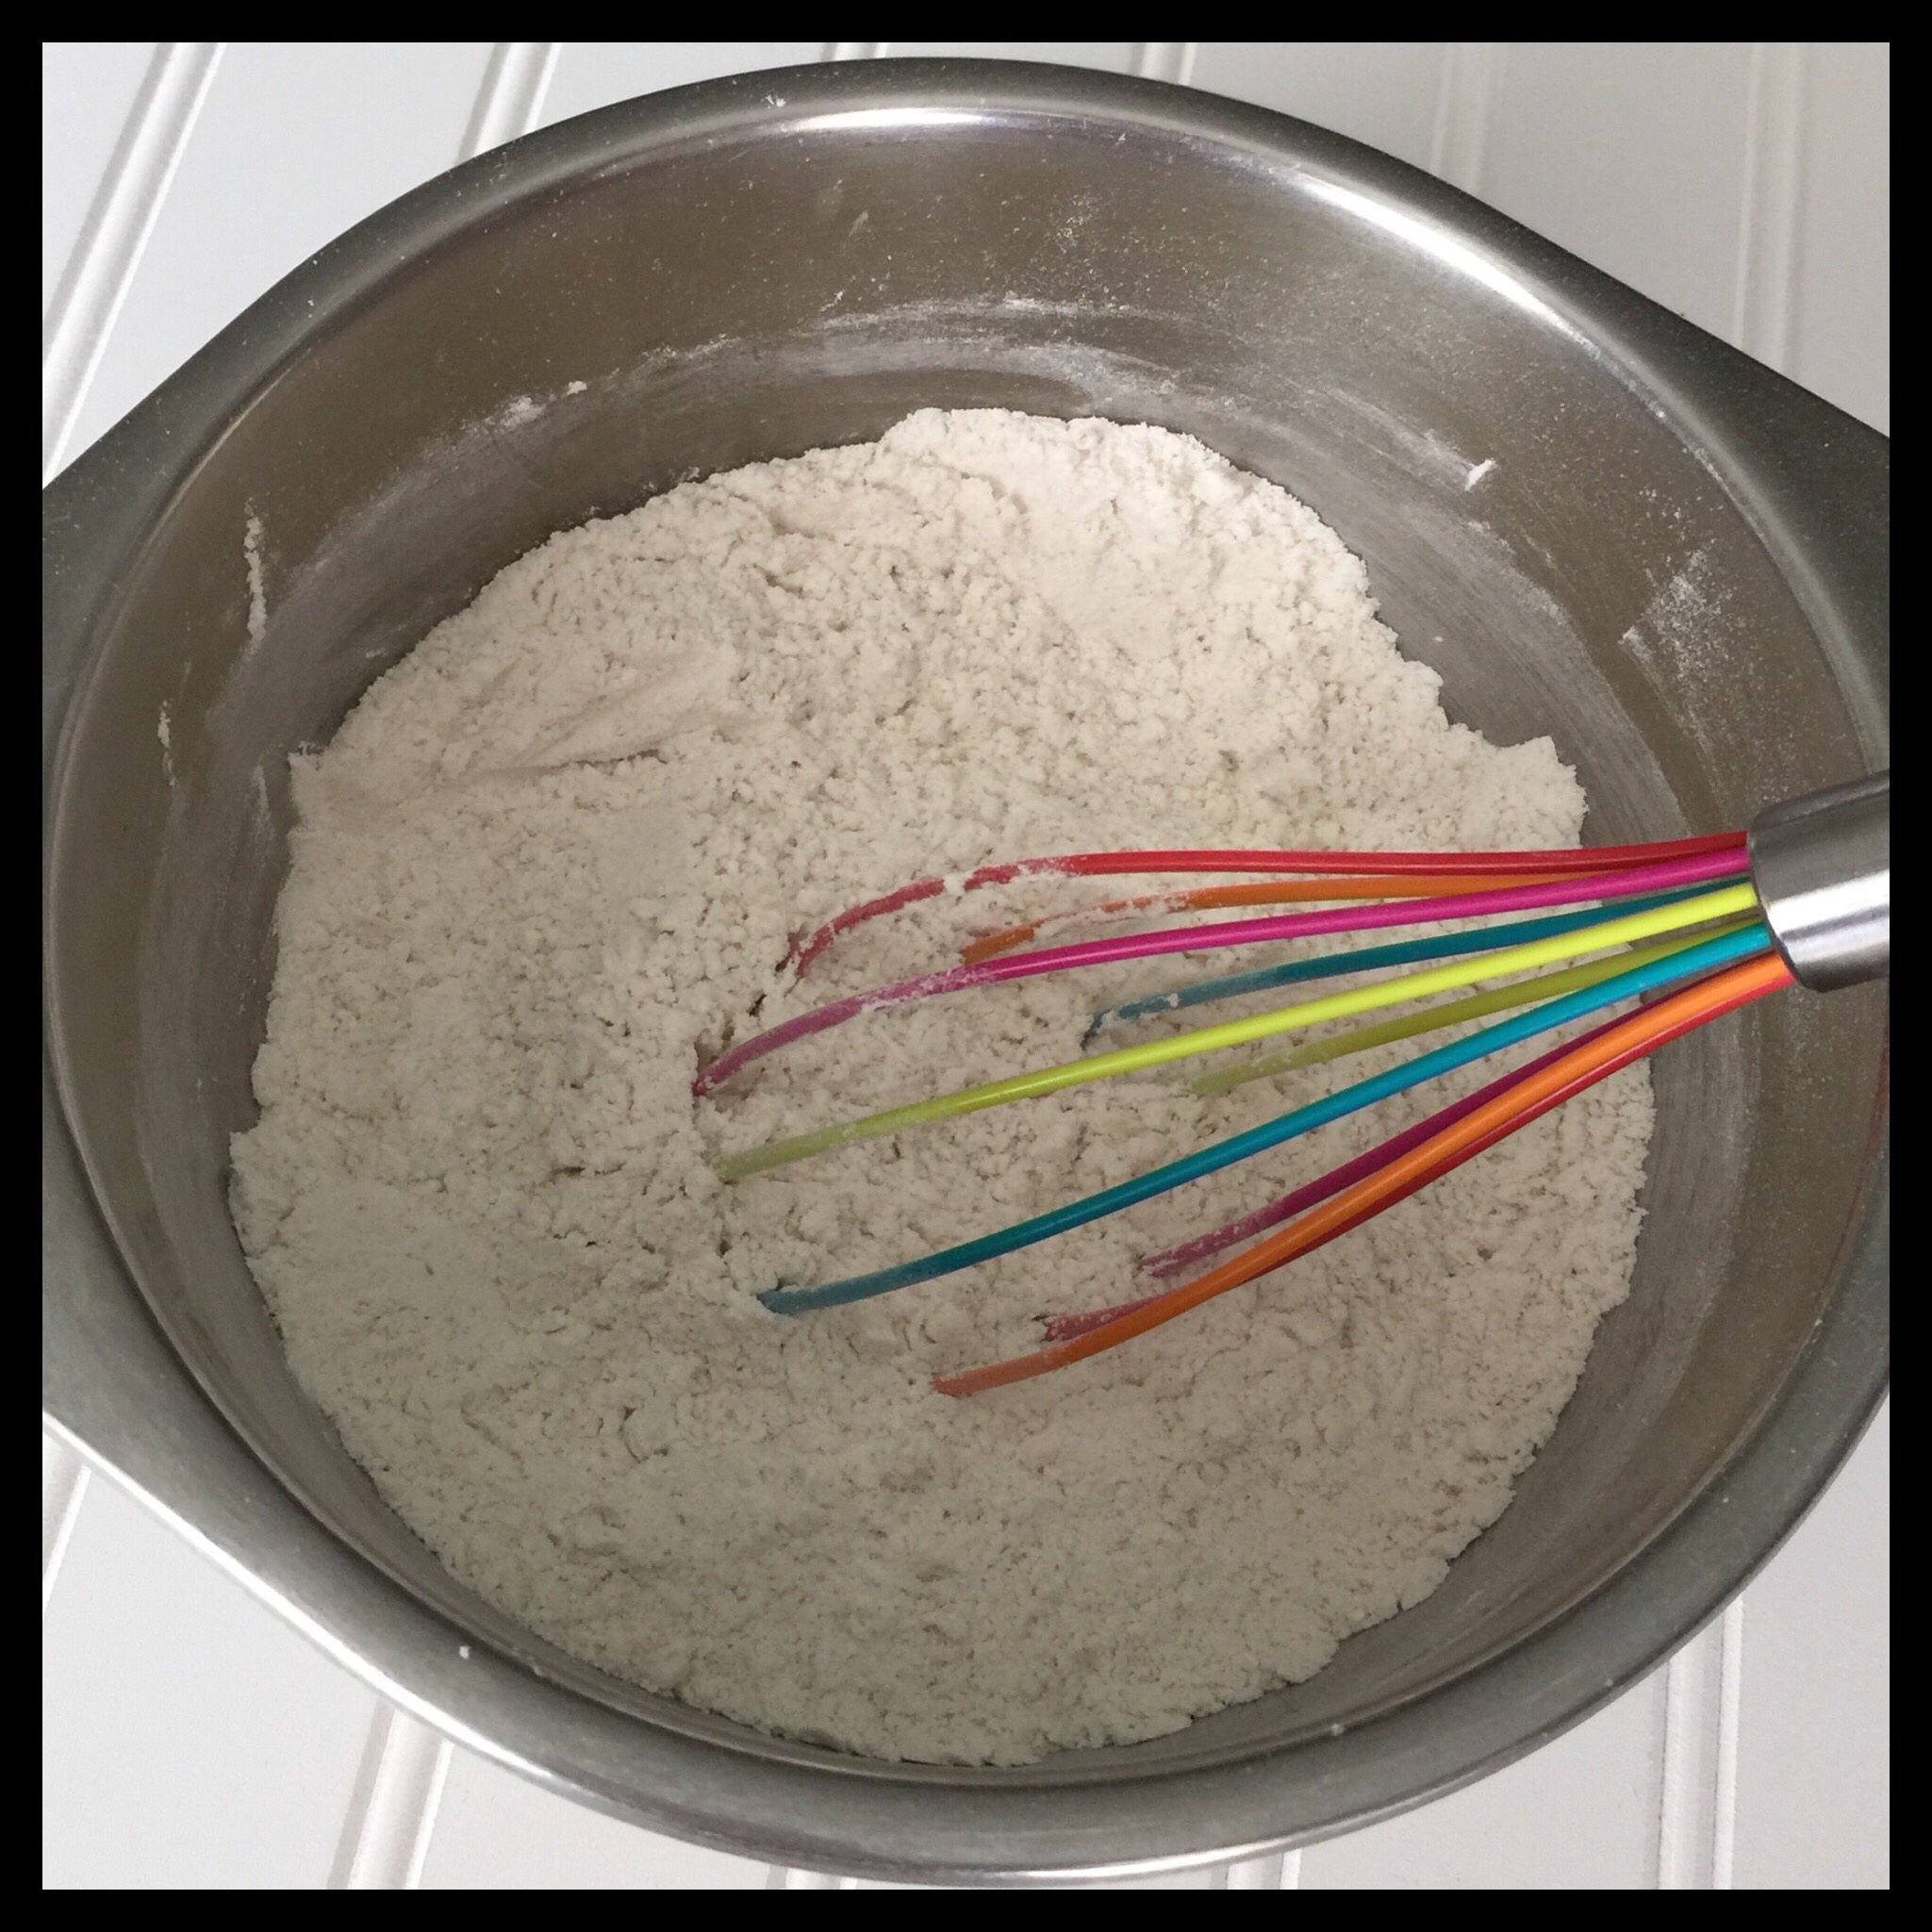
As soon as the vegan butter is melted, whisk the flour, baking powder, sugar, and salt together in a medium-sized mixing bowl. Place the bowl in the freezer.
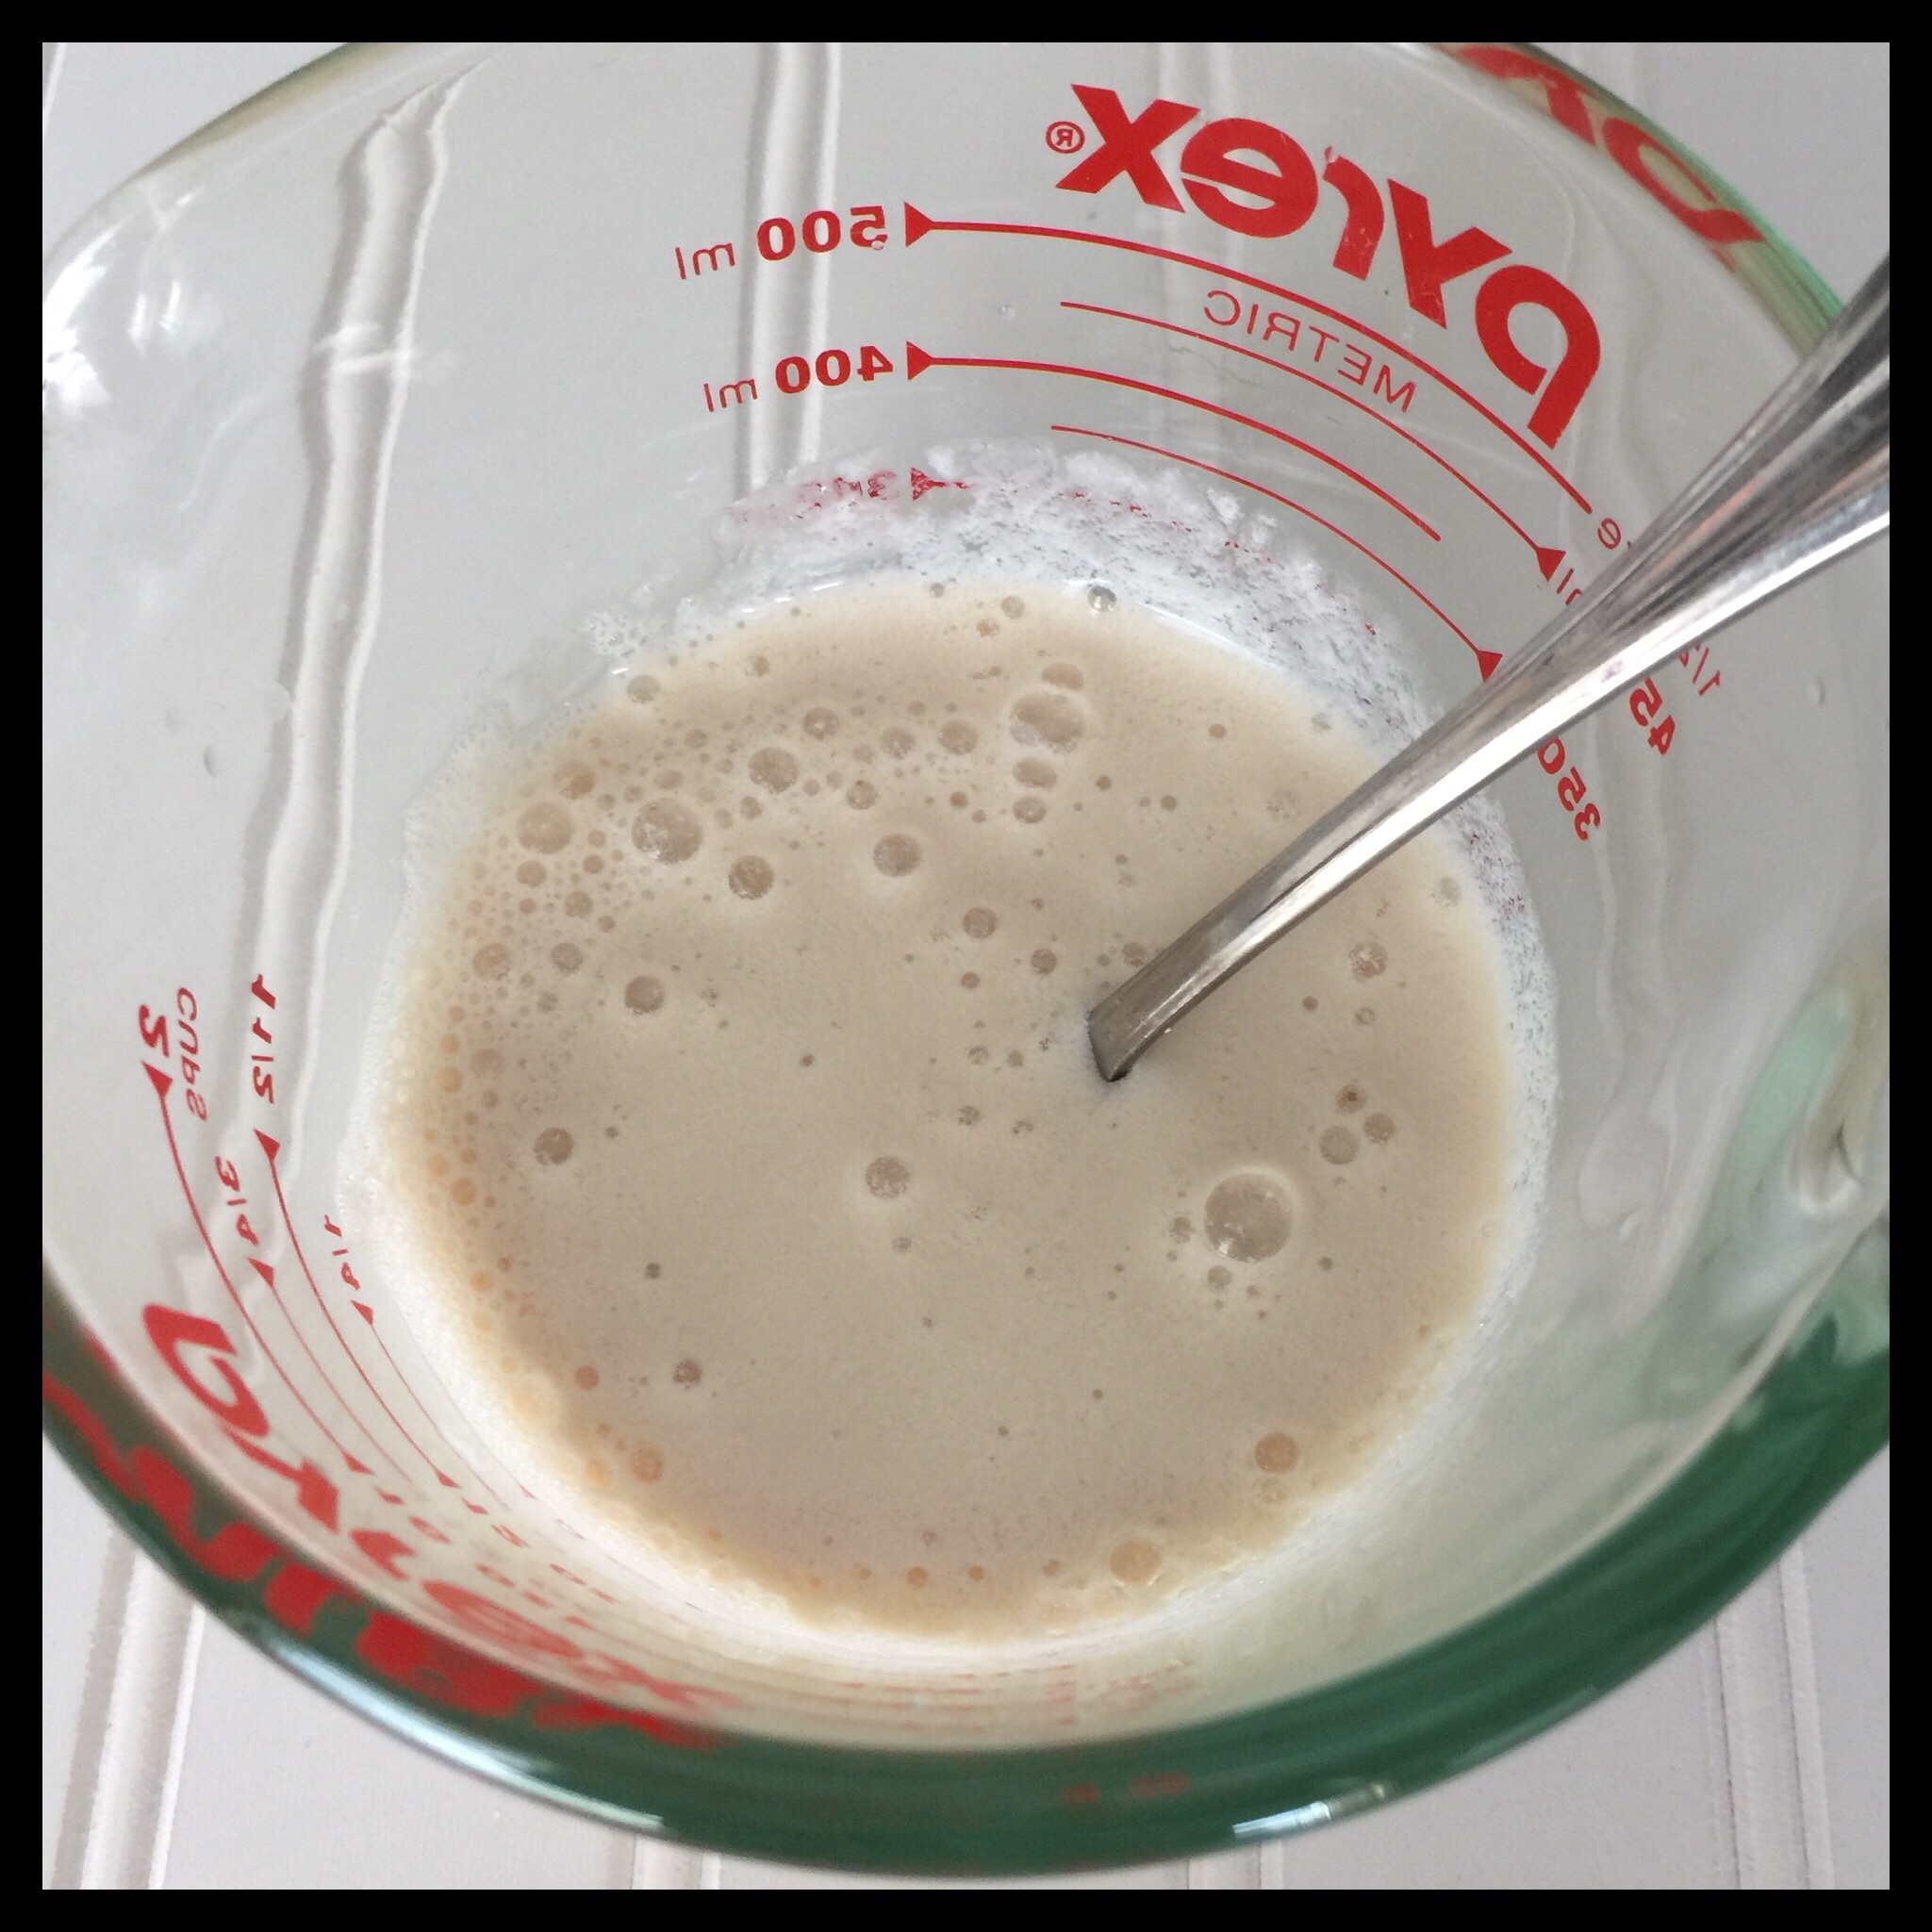
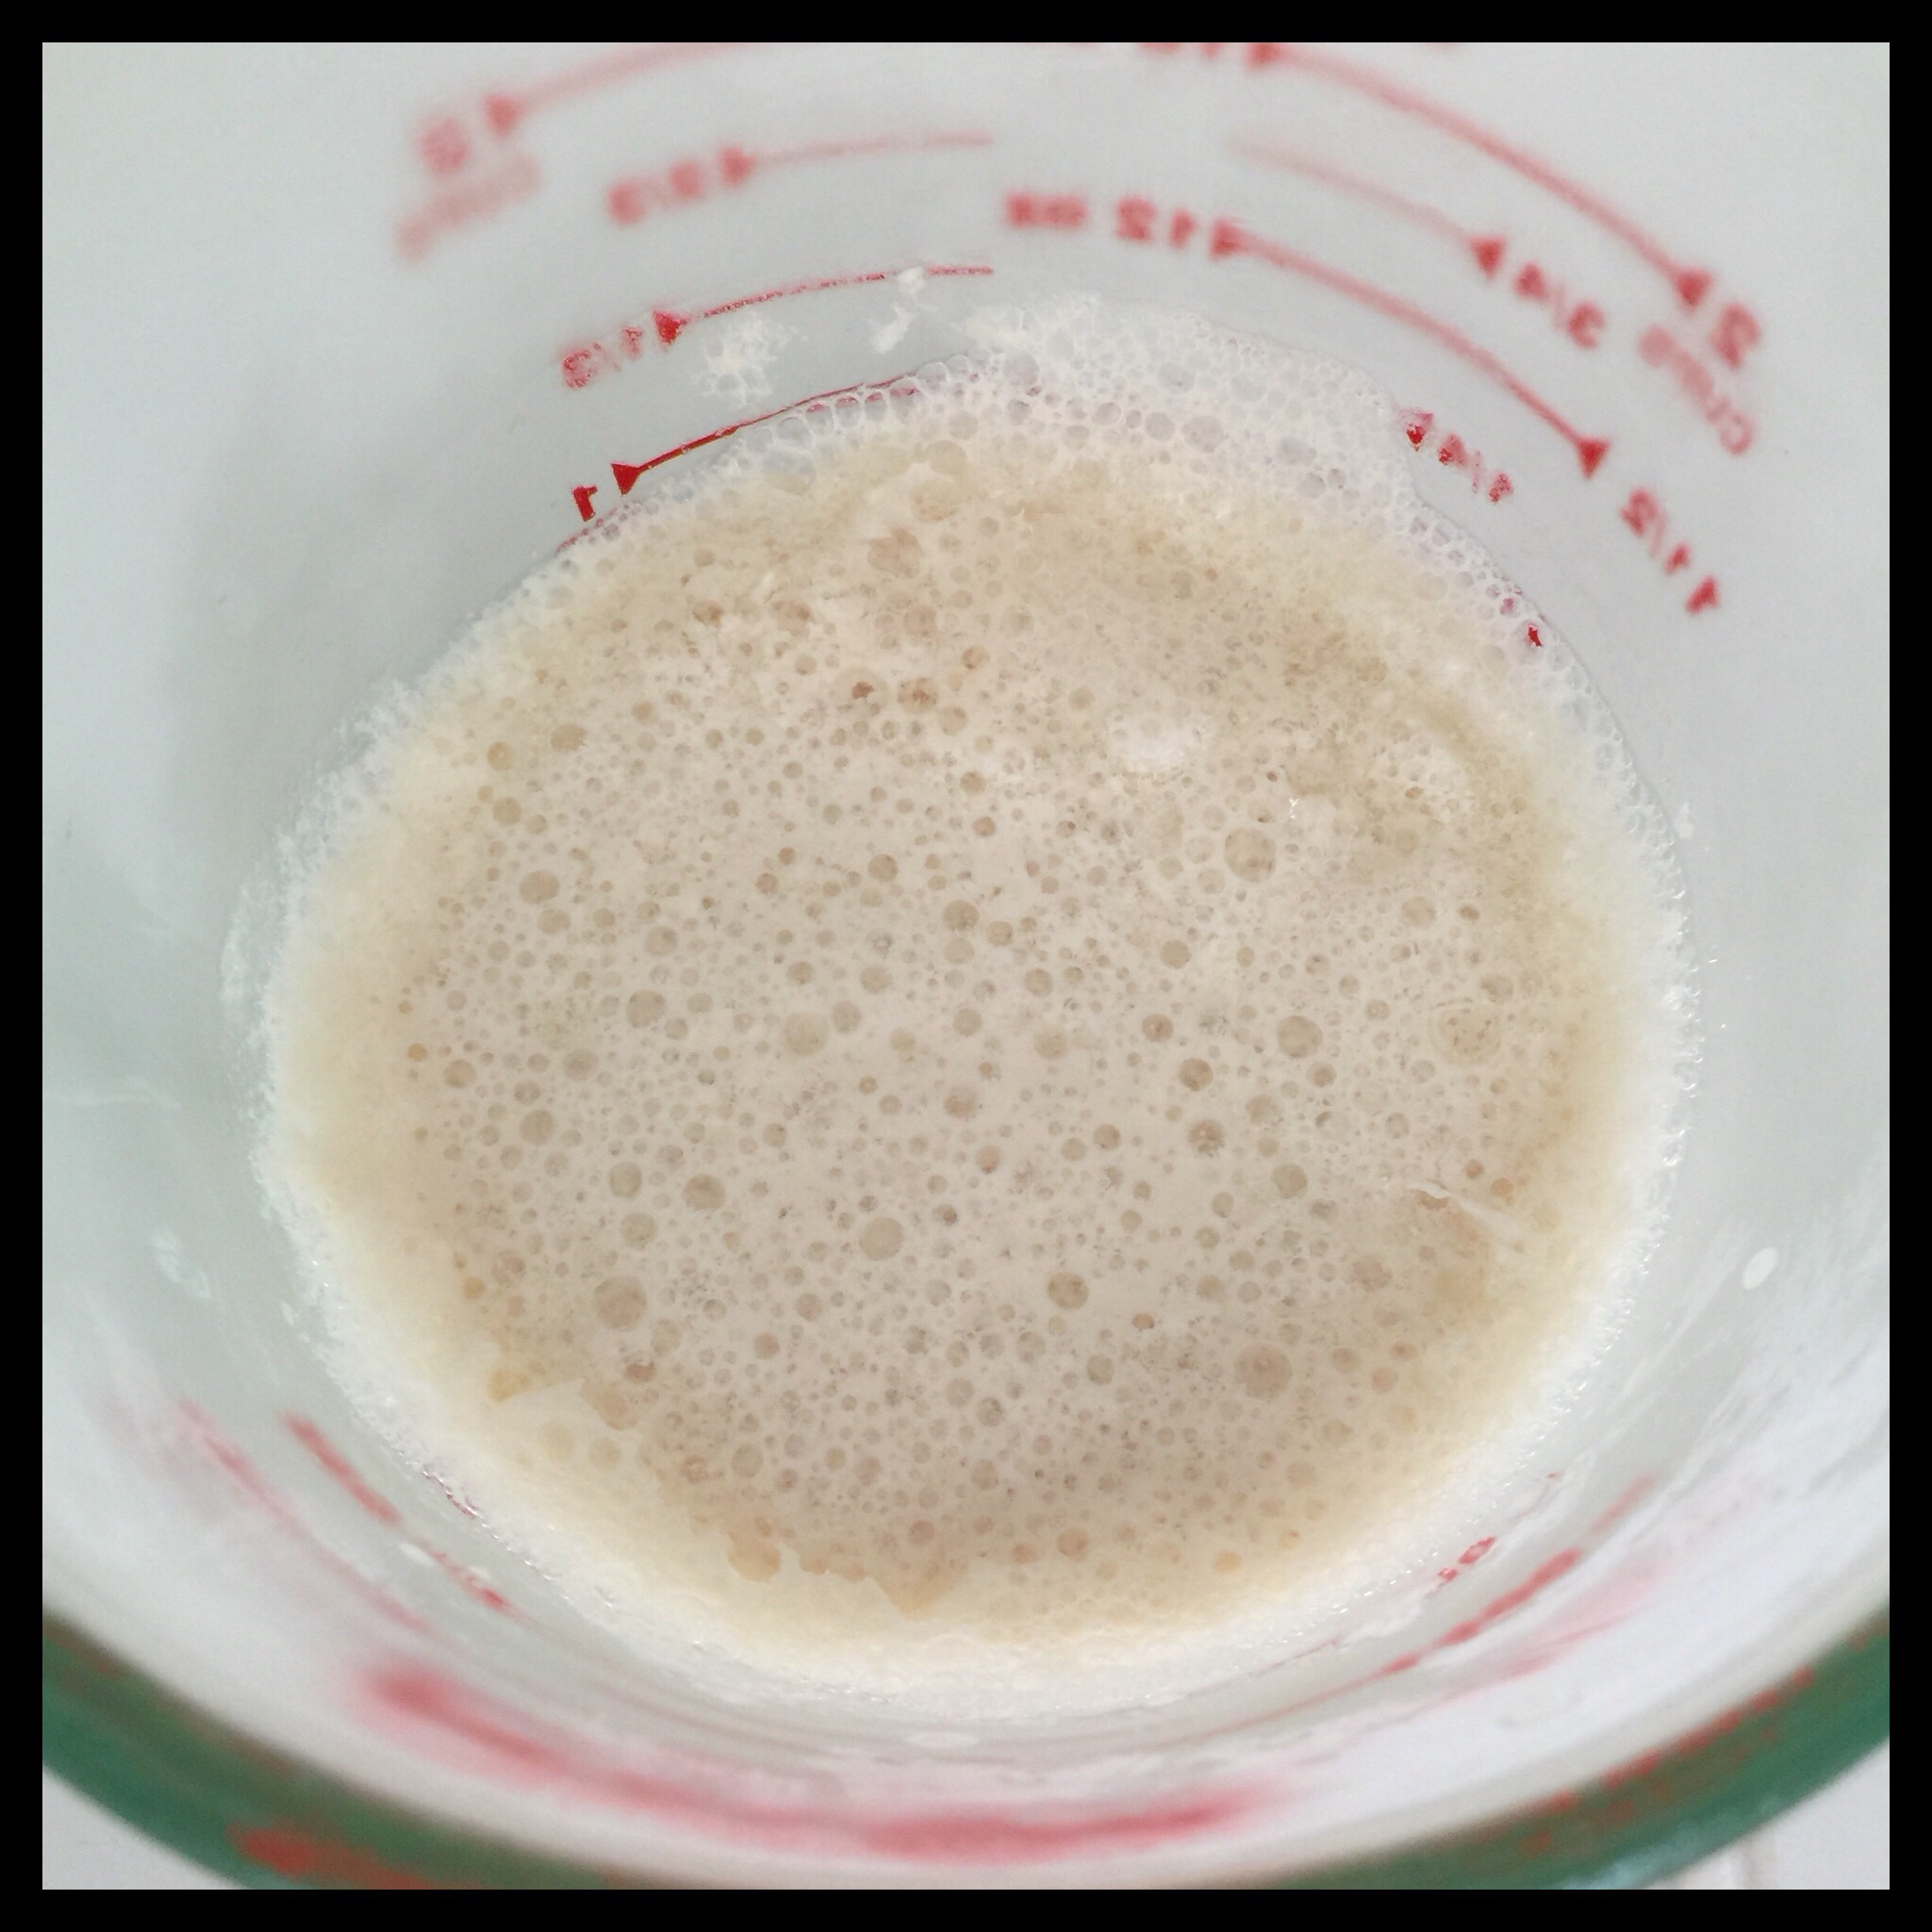
When your timer goes off, remove the “buttermilk” from the freezer. It should be starting to freeze around the edges like this:
Stir the icy bits into the “buttermilk”, then drizzle the melted and cooled vegan butter into the very cold milk one large spoonful at a time. Spoon milk over the drizzled butter but do not stir in the butter, because you want clumps of butter to form in the cold milk.
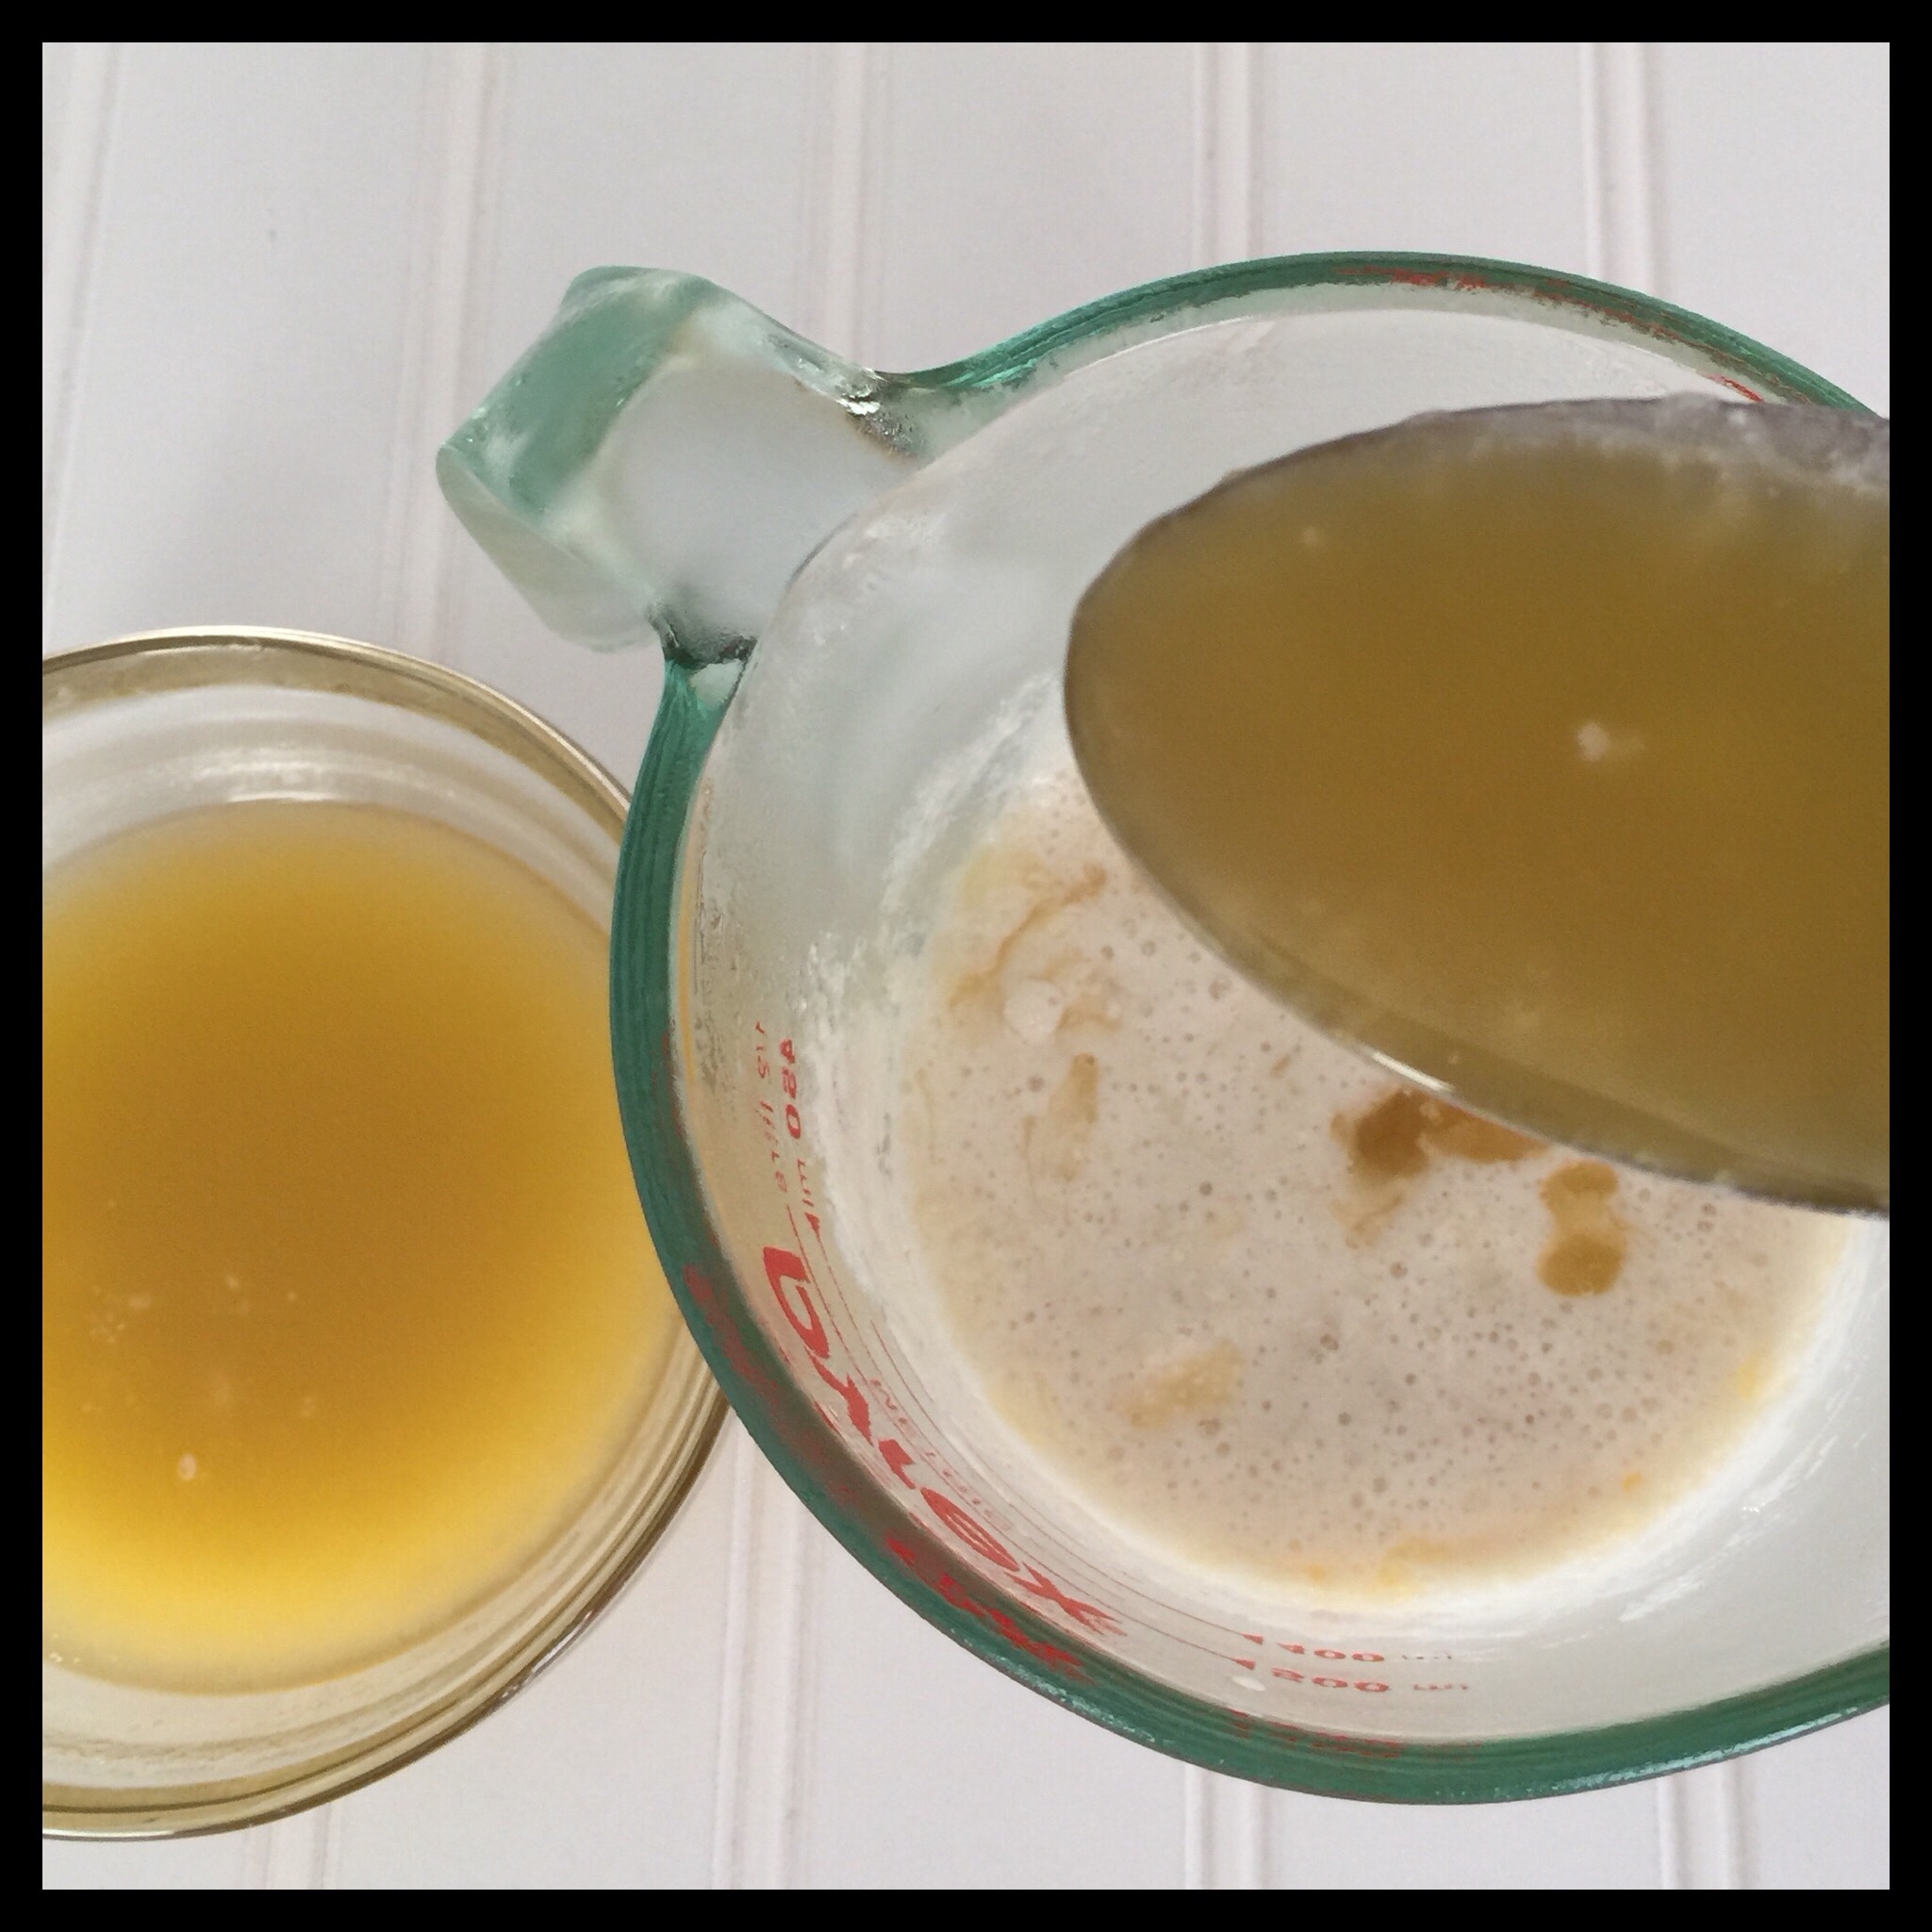
This is what you want the mixture to look like:
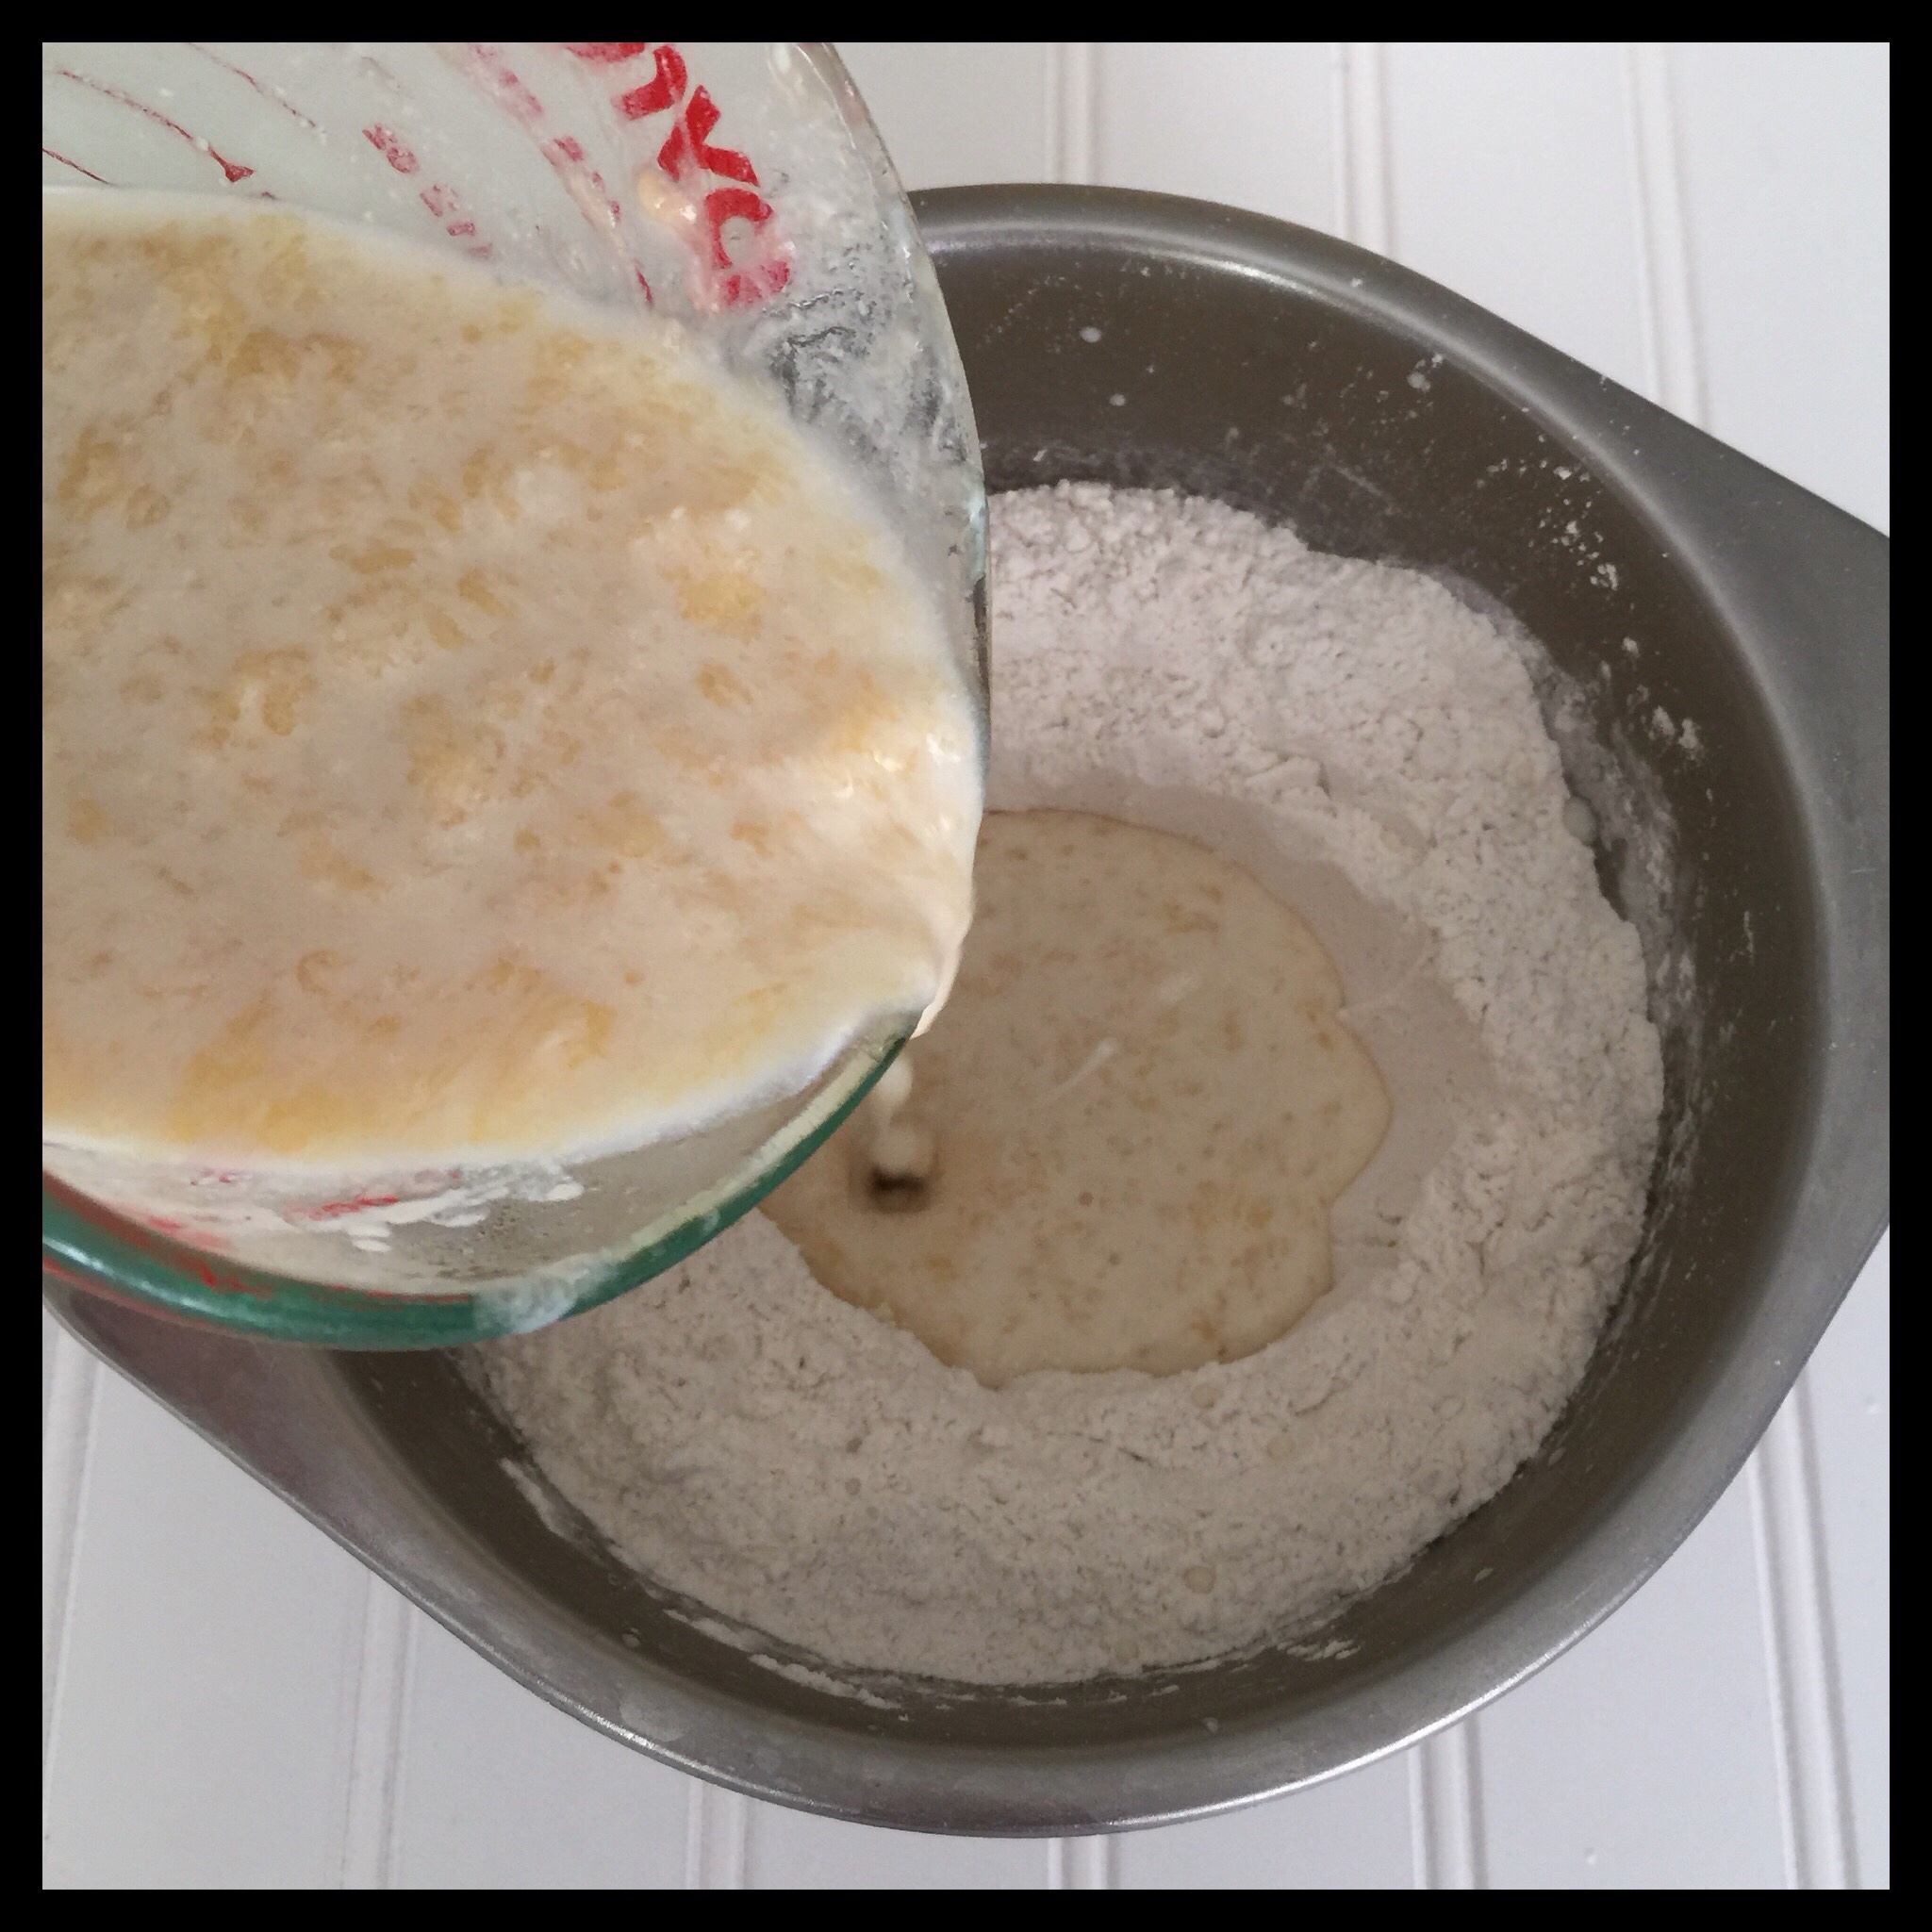
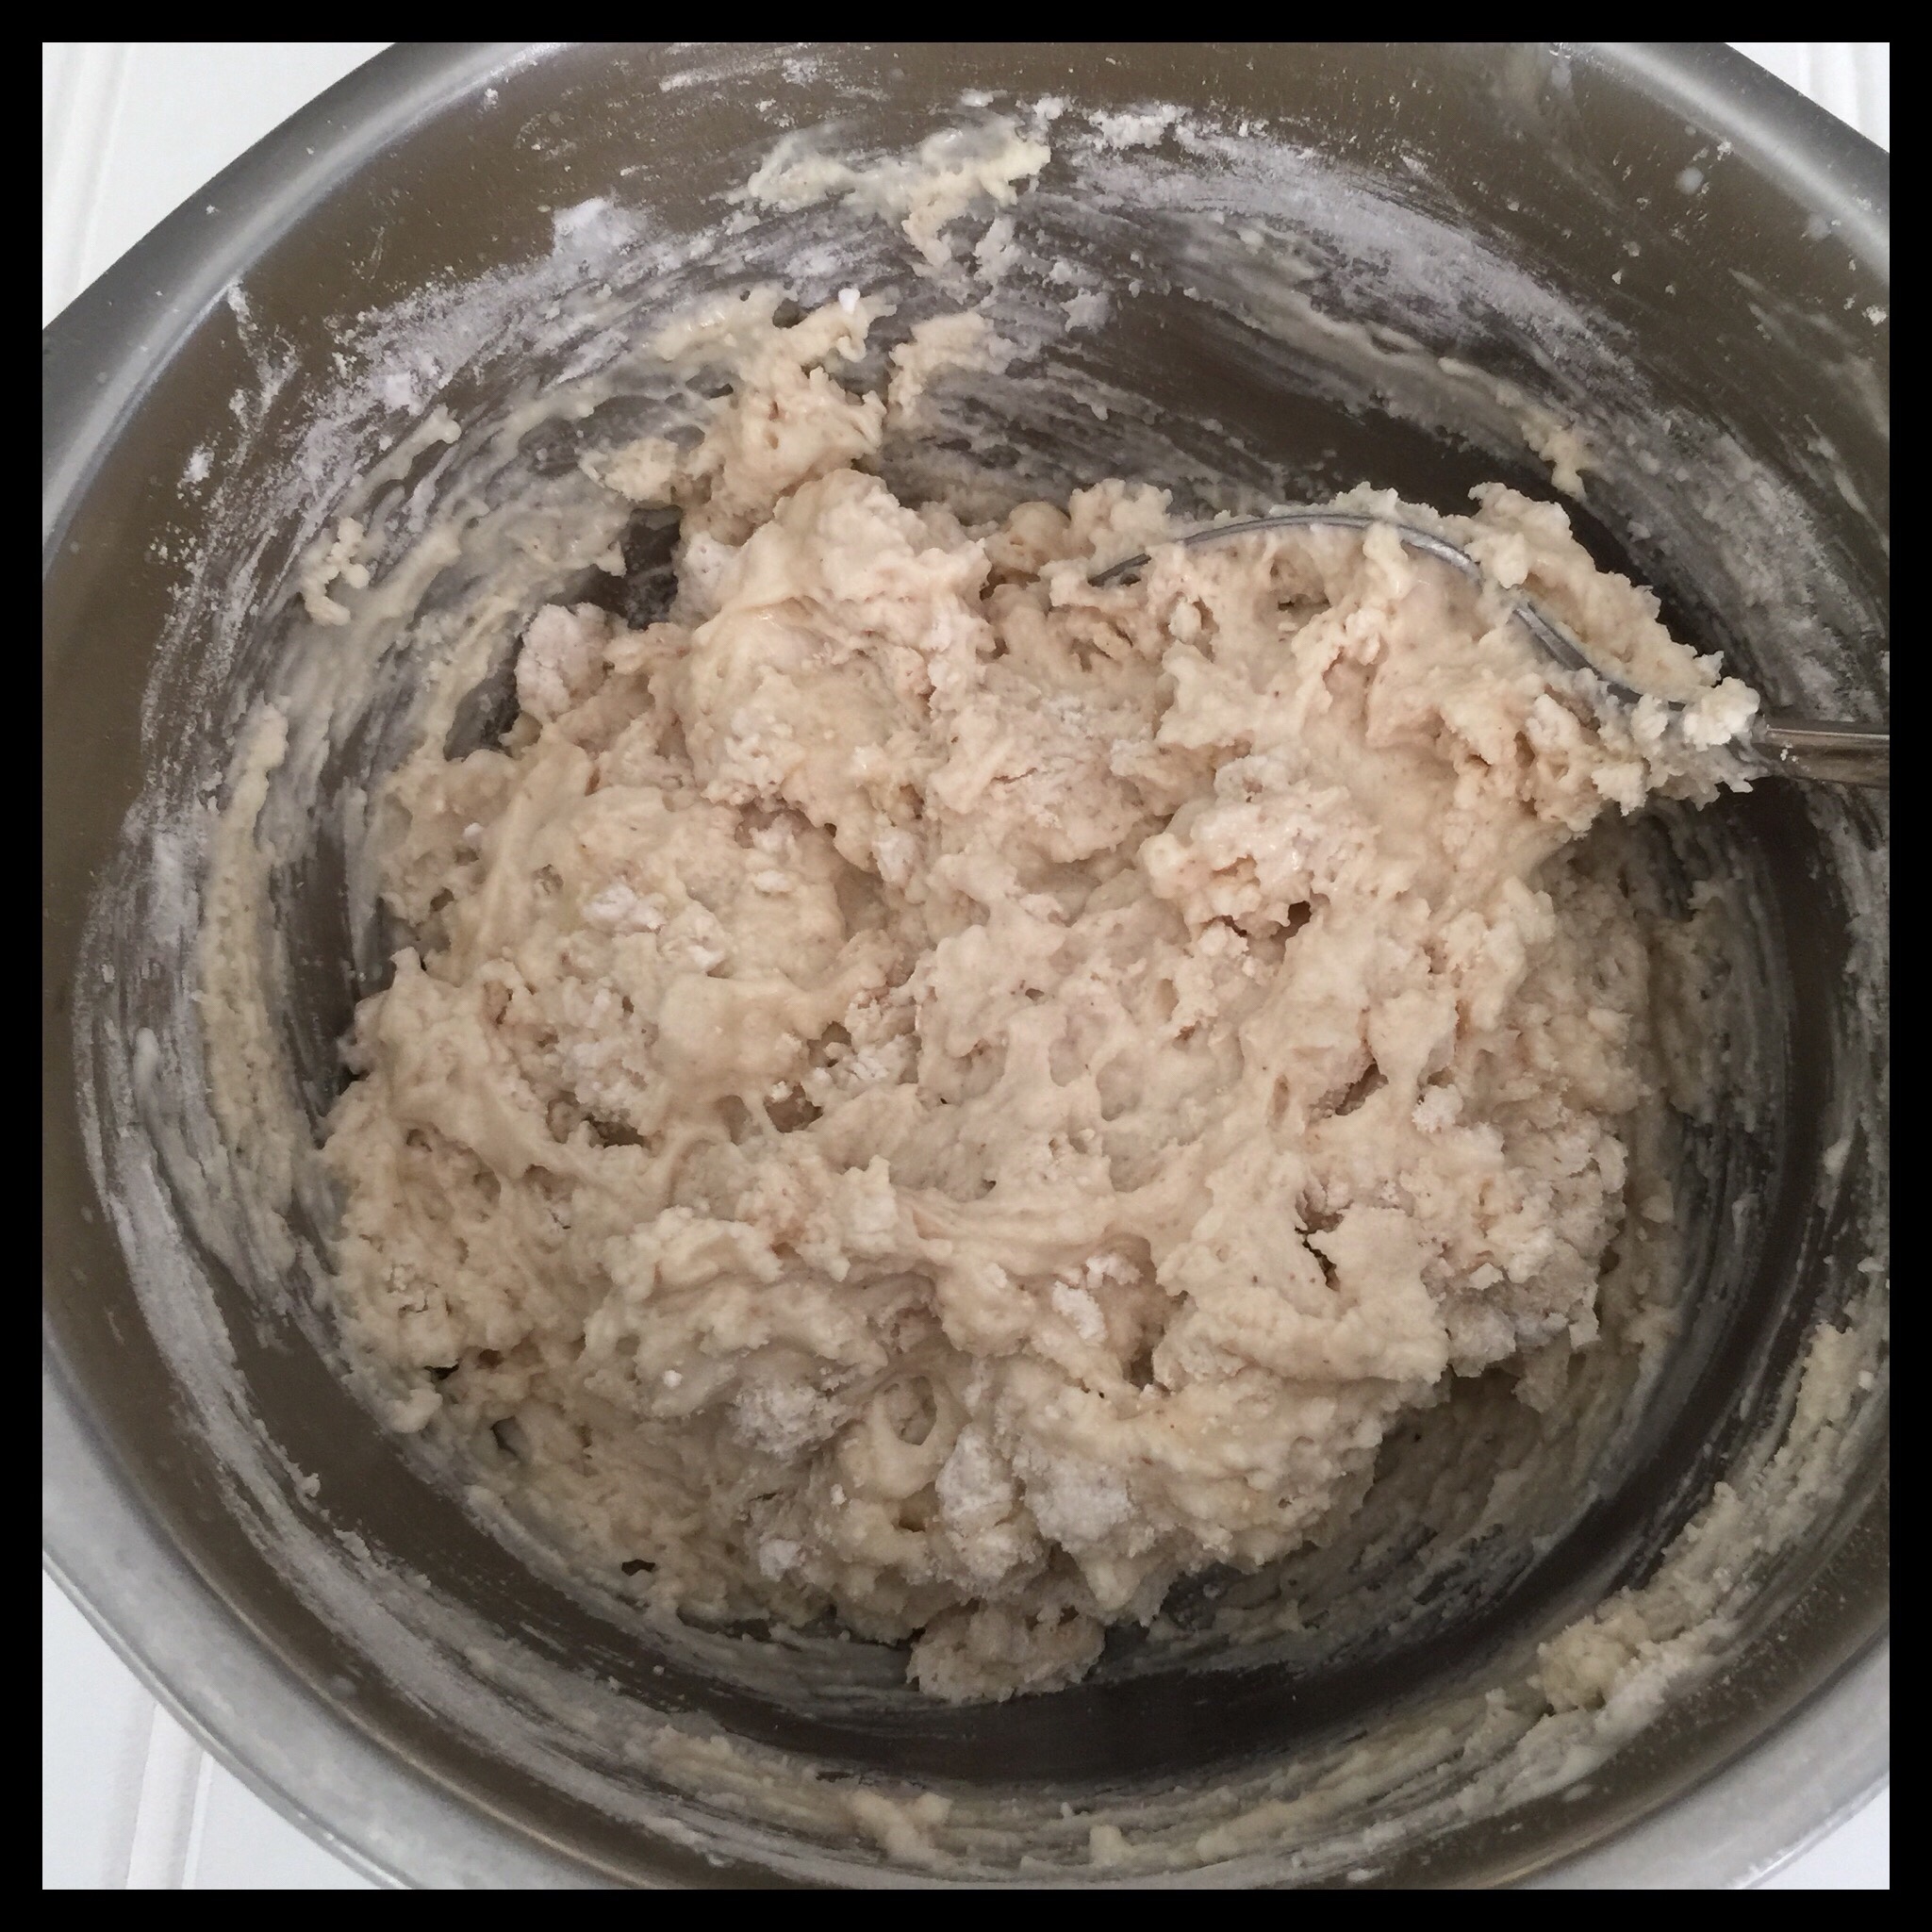
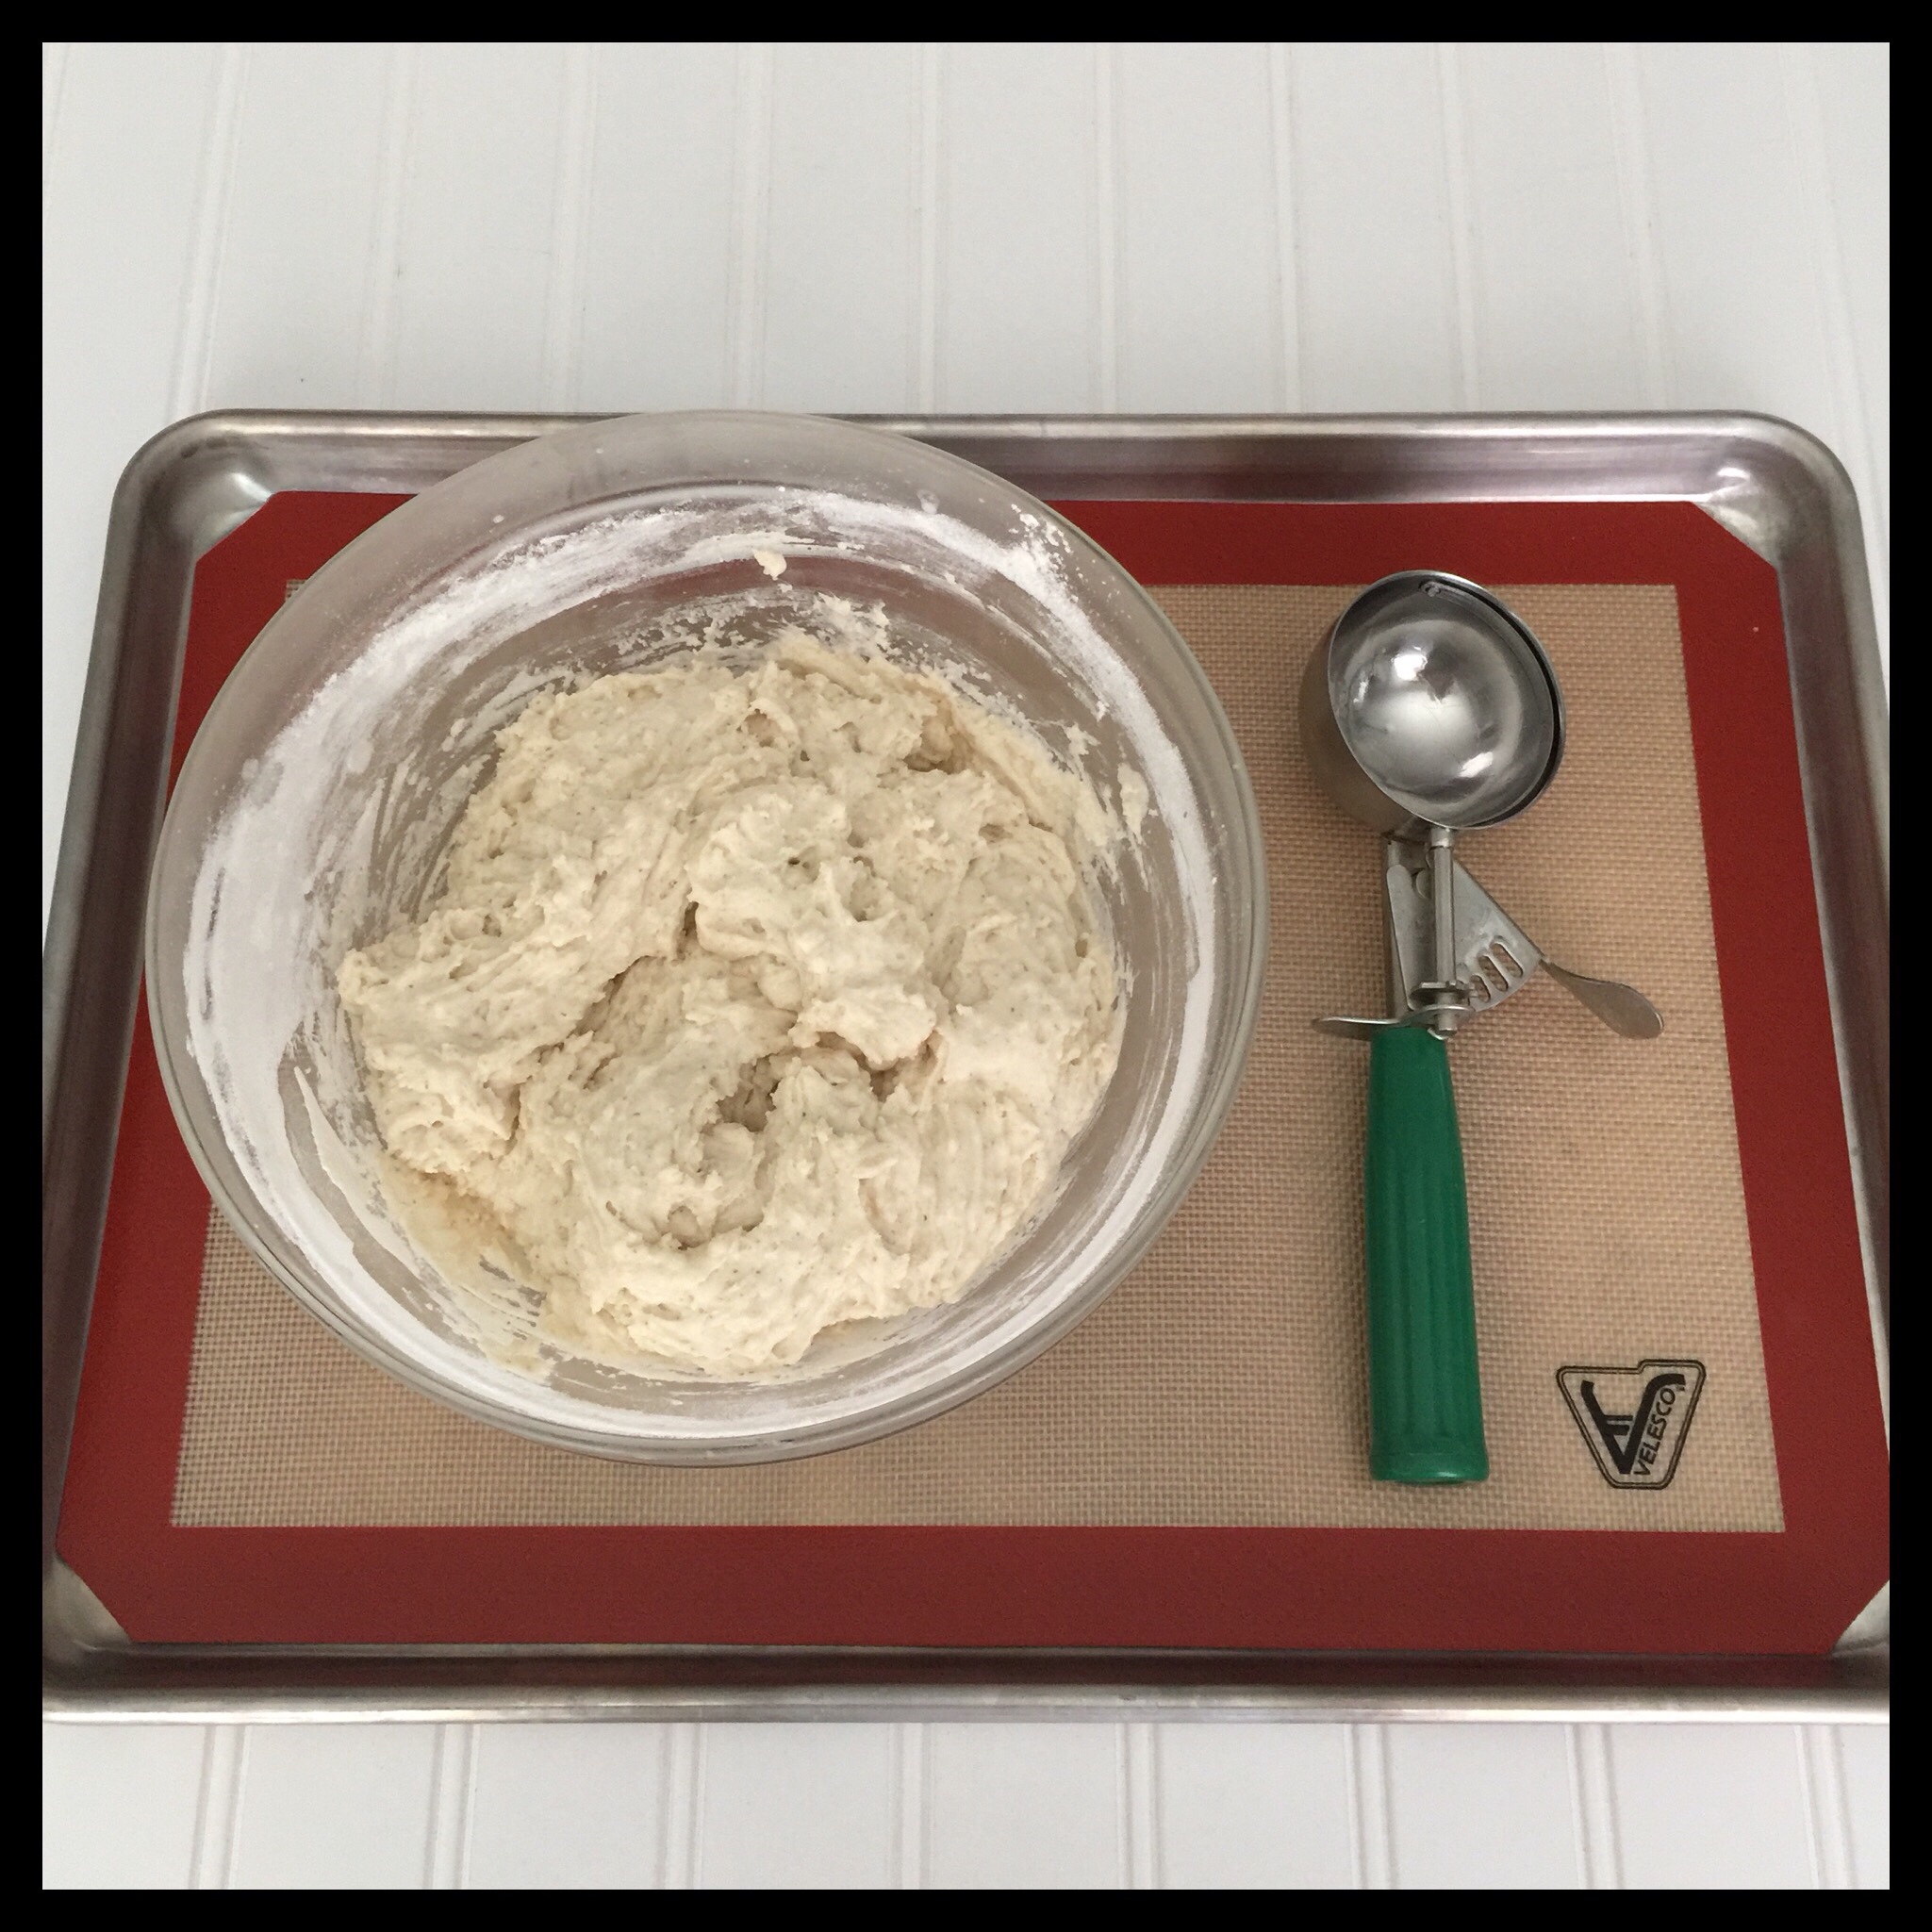
Get your bowl of dry ingredients out of the freezer, make a well in the center, then pour the liquid mixture into the well:
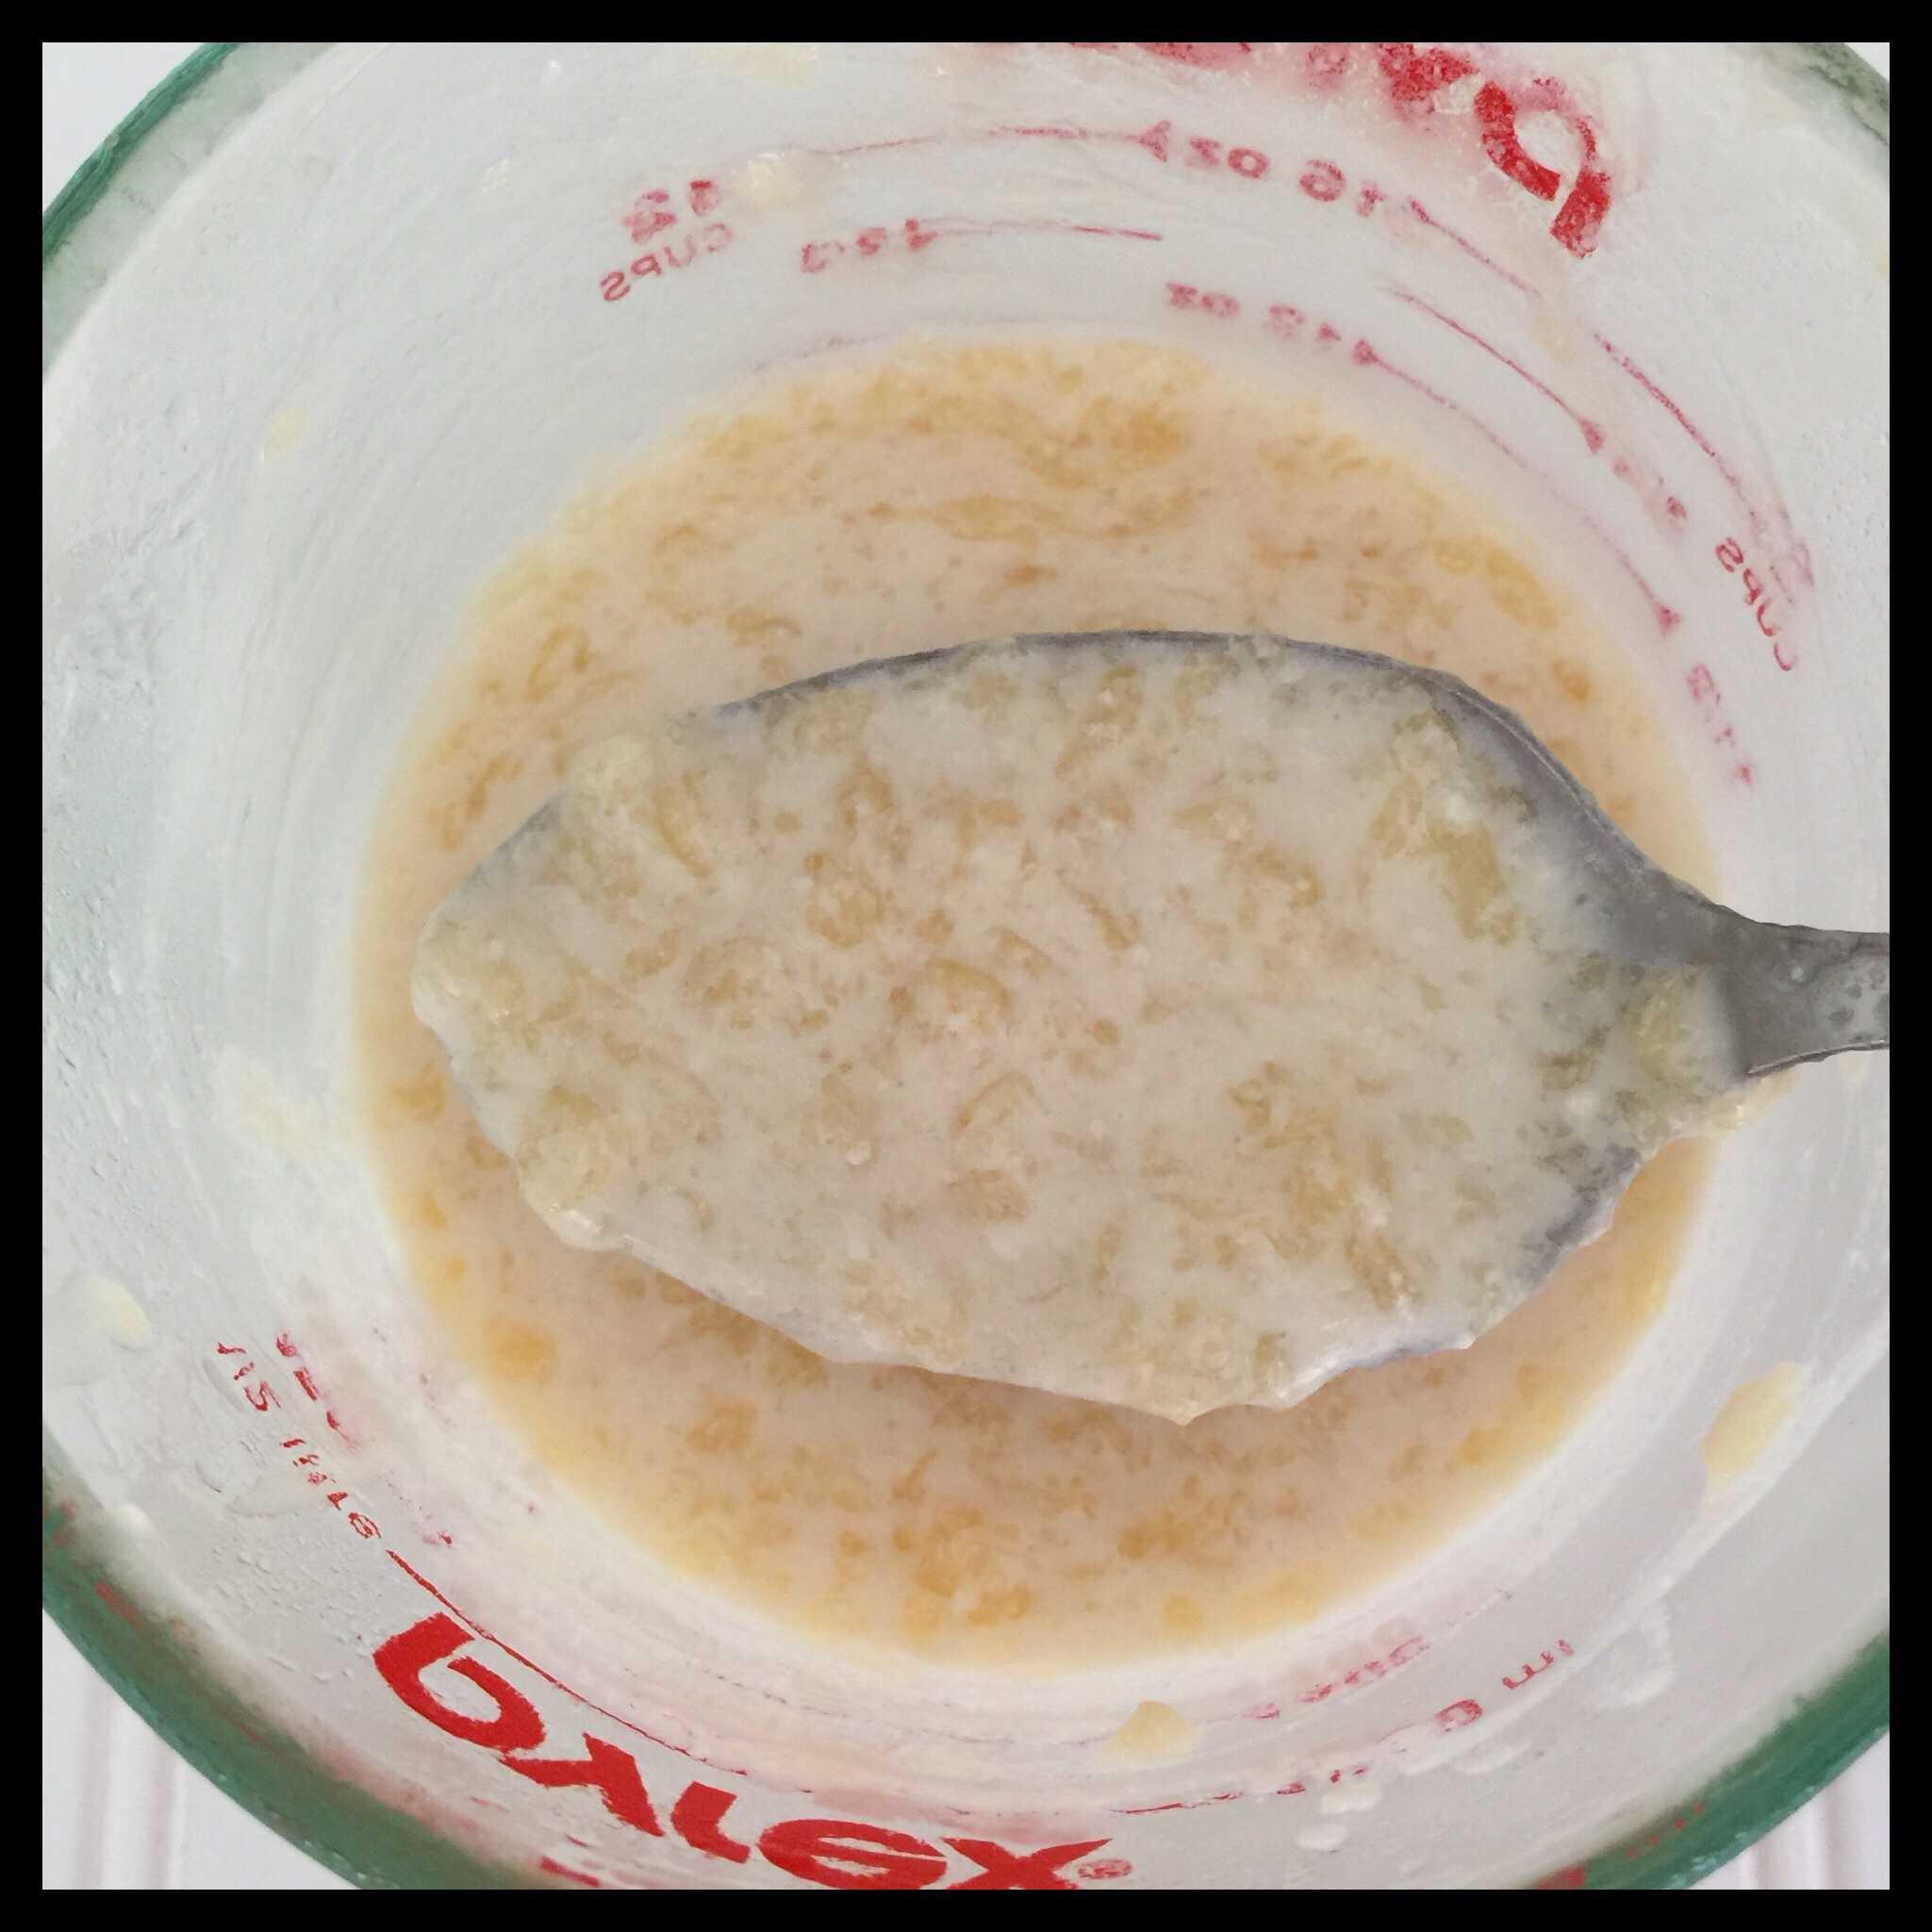
Stir just to combine, then place the bowl back in the freezer and set a timer for 10 minutes:
If you are making cut-out biscuits, you will need a biscuit cutter. I really like these that I got from Amazon because they are tall, have a sturdy handle, and have a thin, sharp cutting edge. (Scroll down to get to the directions for scooped biscuits.)
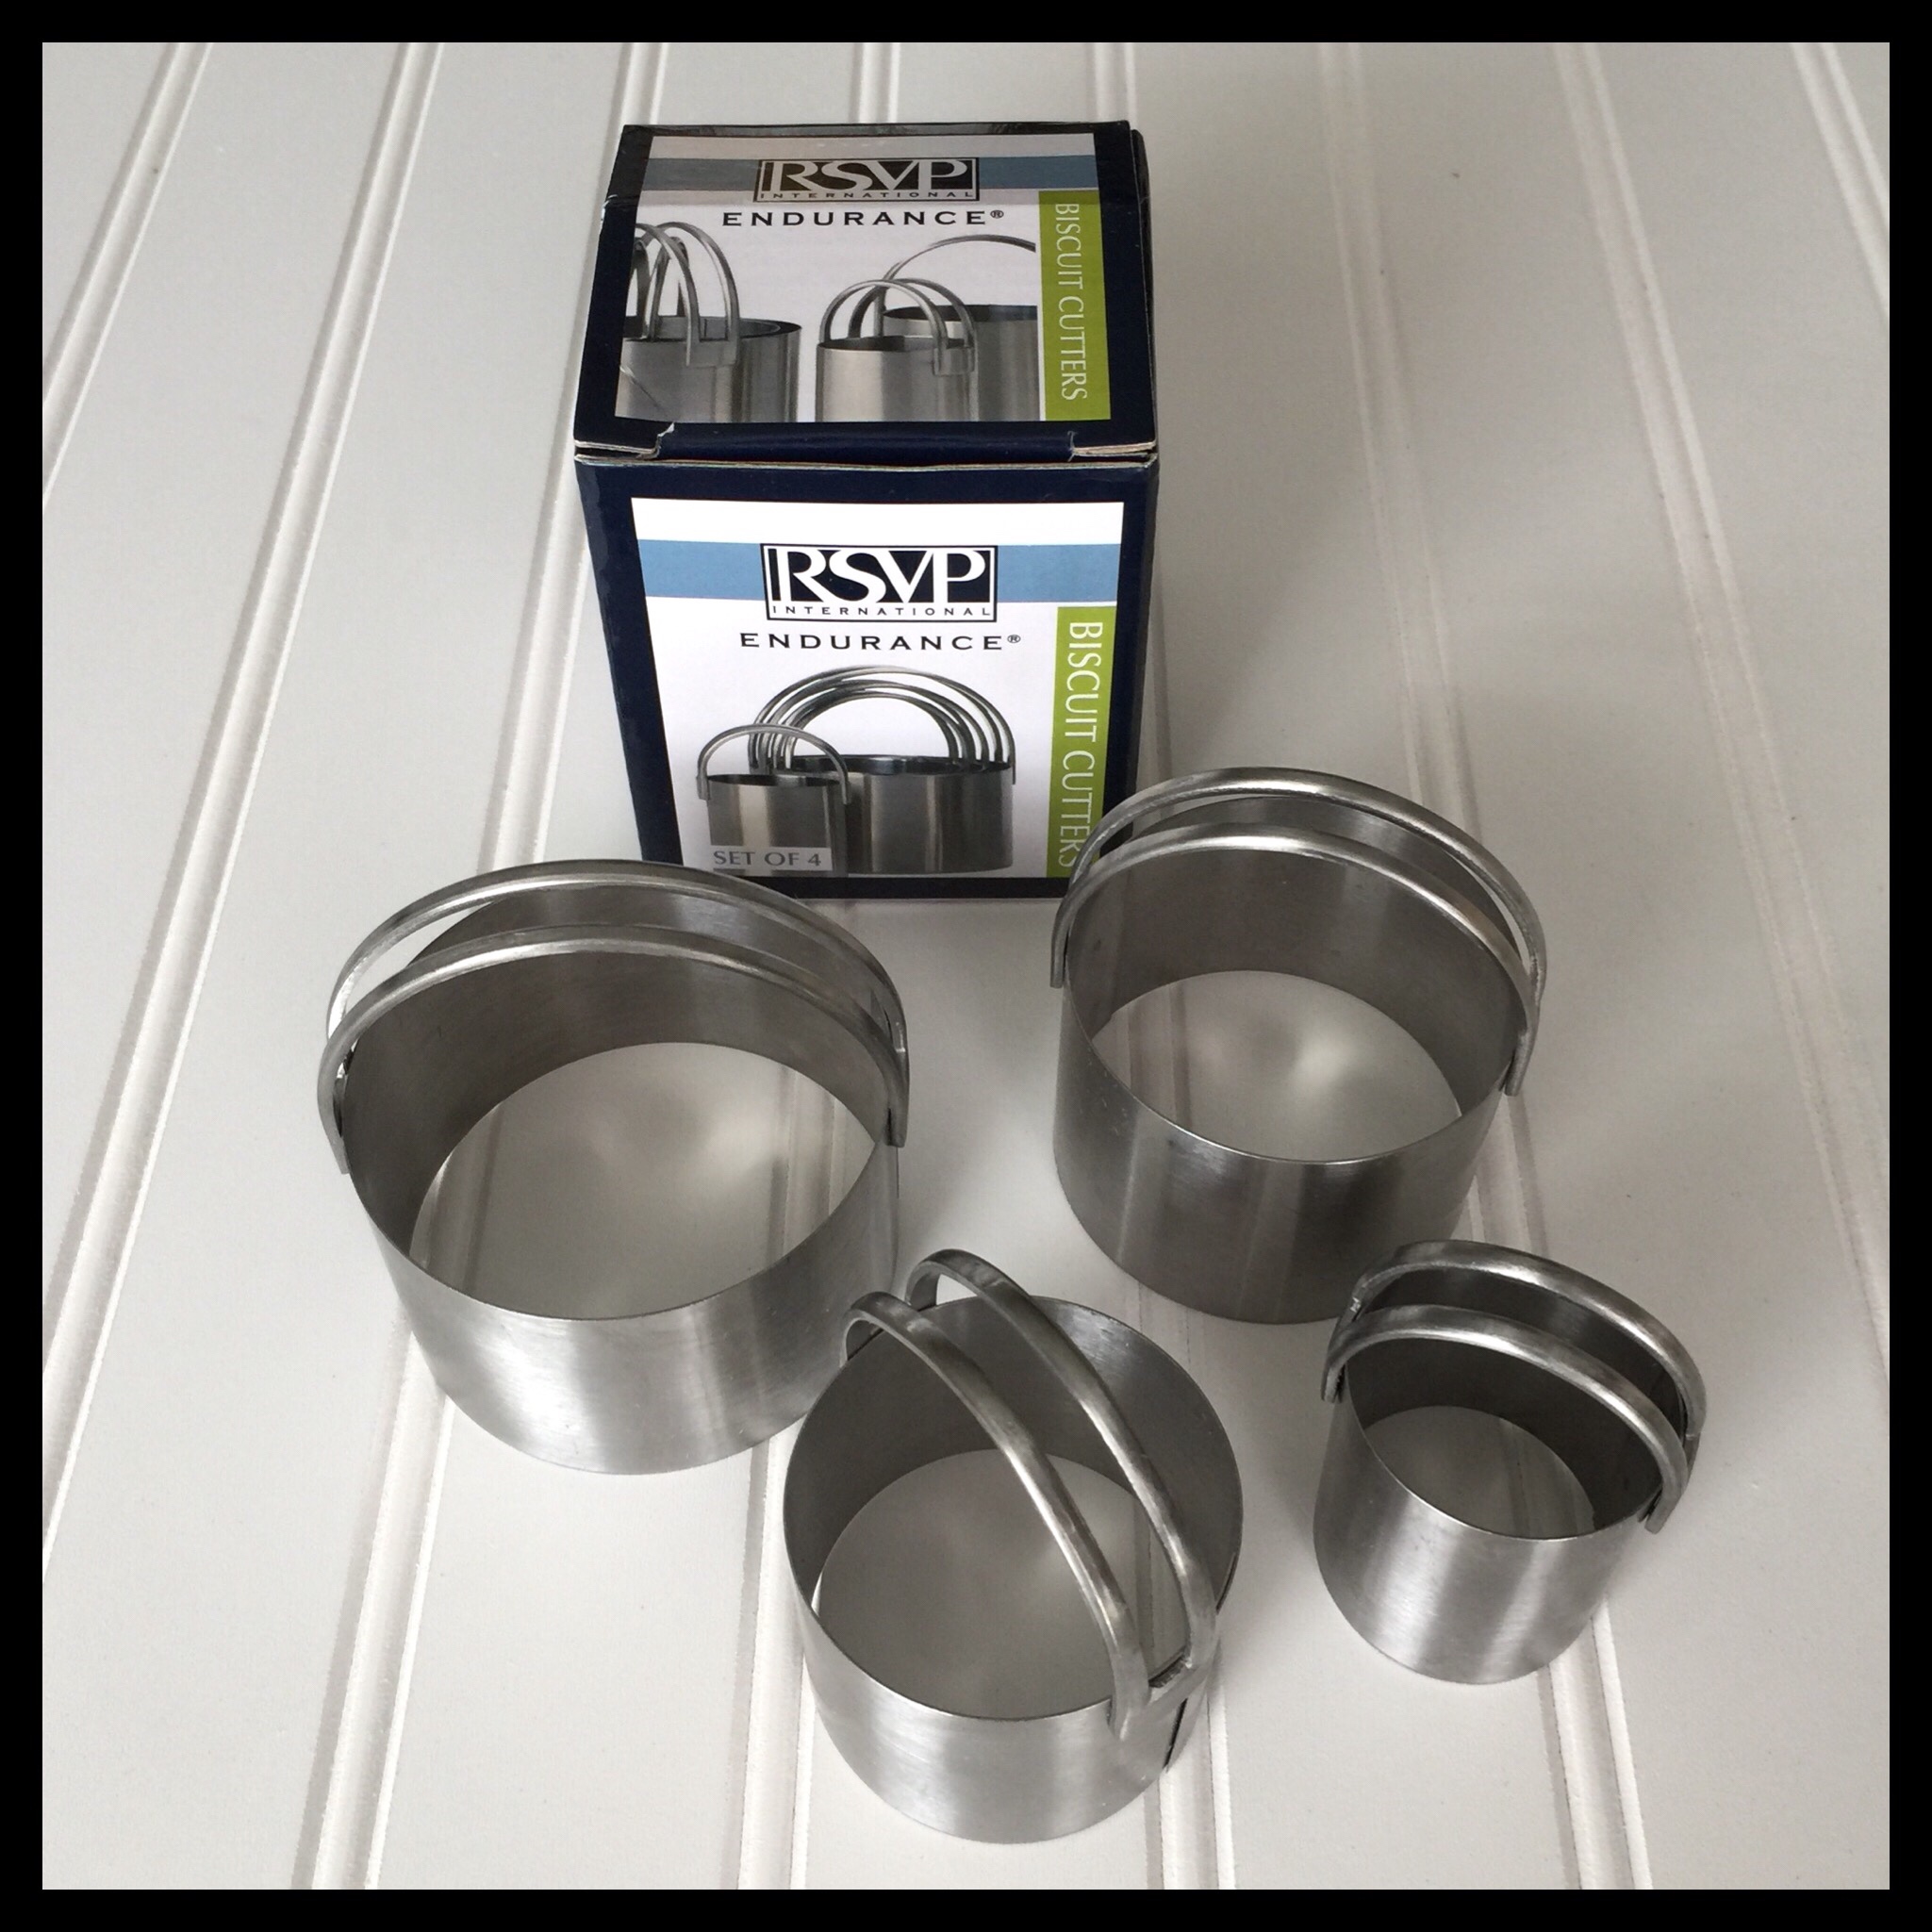
I use the second largest cutter (2 3/8″ inner diameter) for eight regular biscuits and the largest one (2 3/4″ inner diameter) for six larger biscuits.
Spray the cutter with a squirt of non-stick spray, then wipe it all over the cutter inside and out, but not the handle.
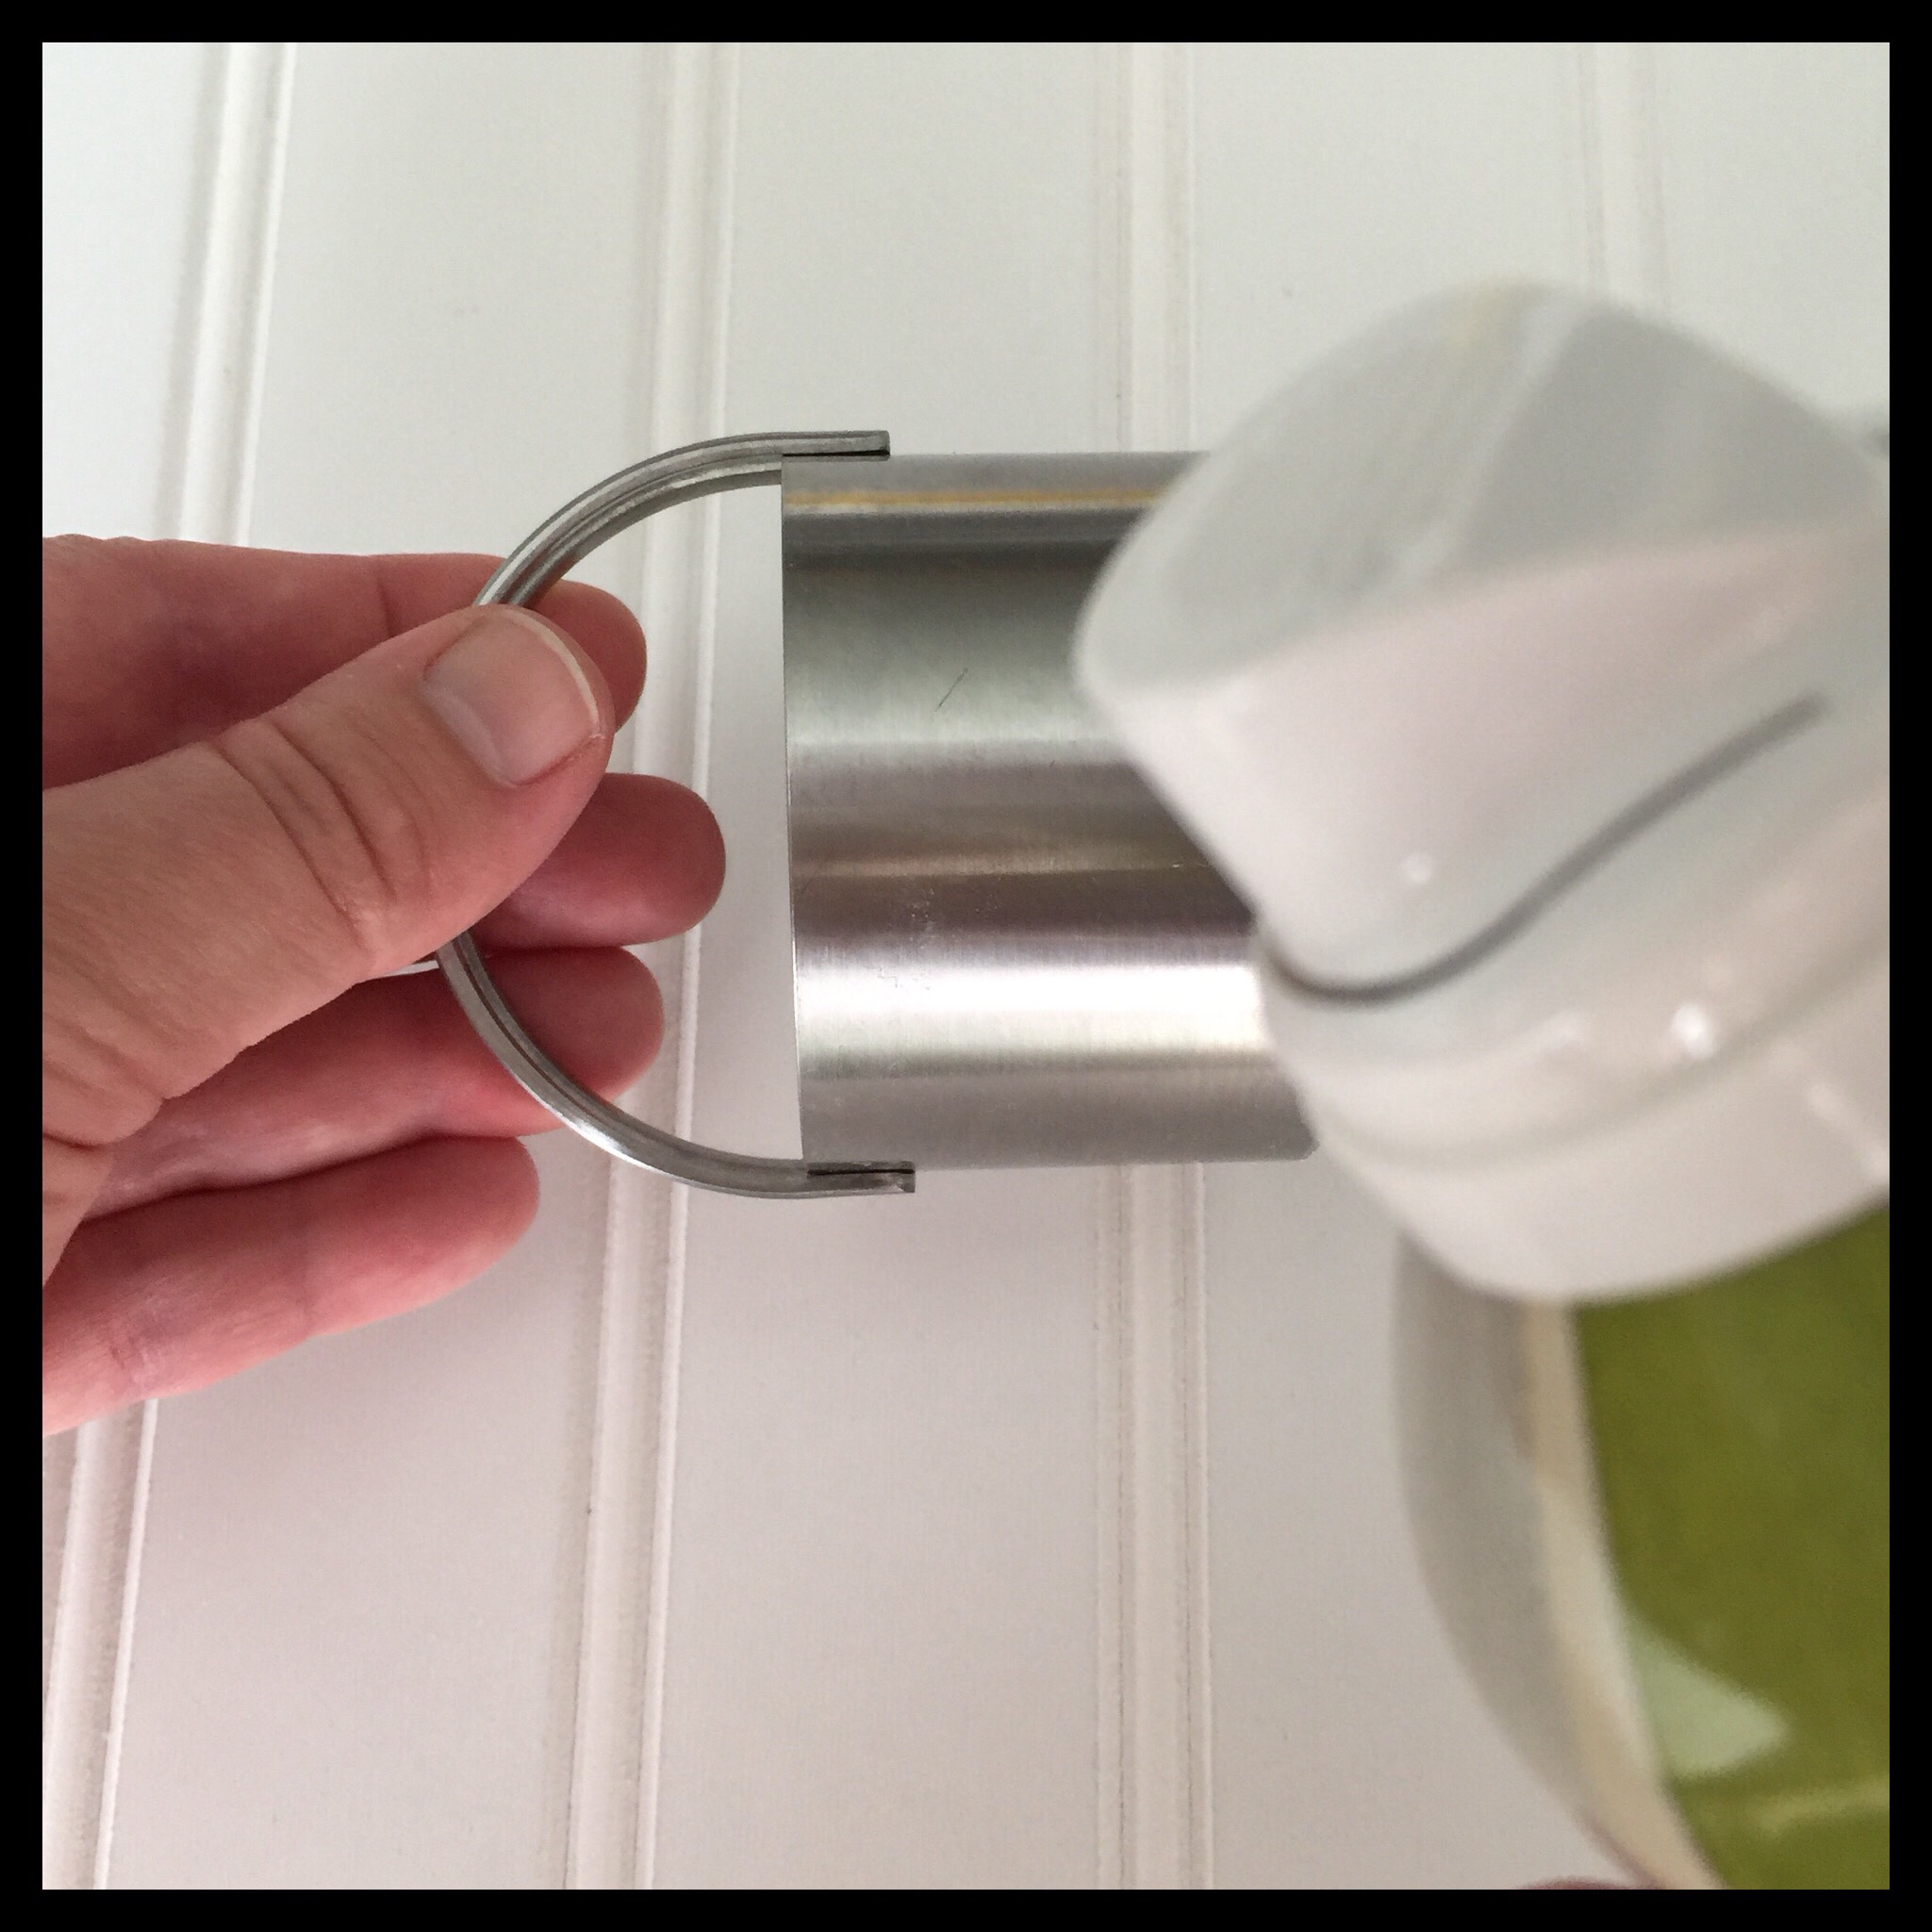
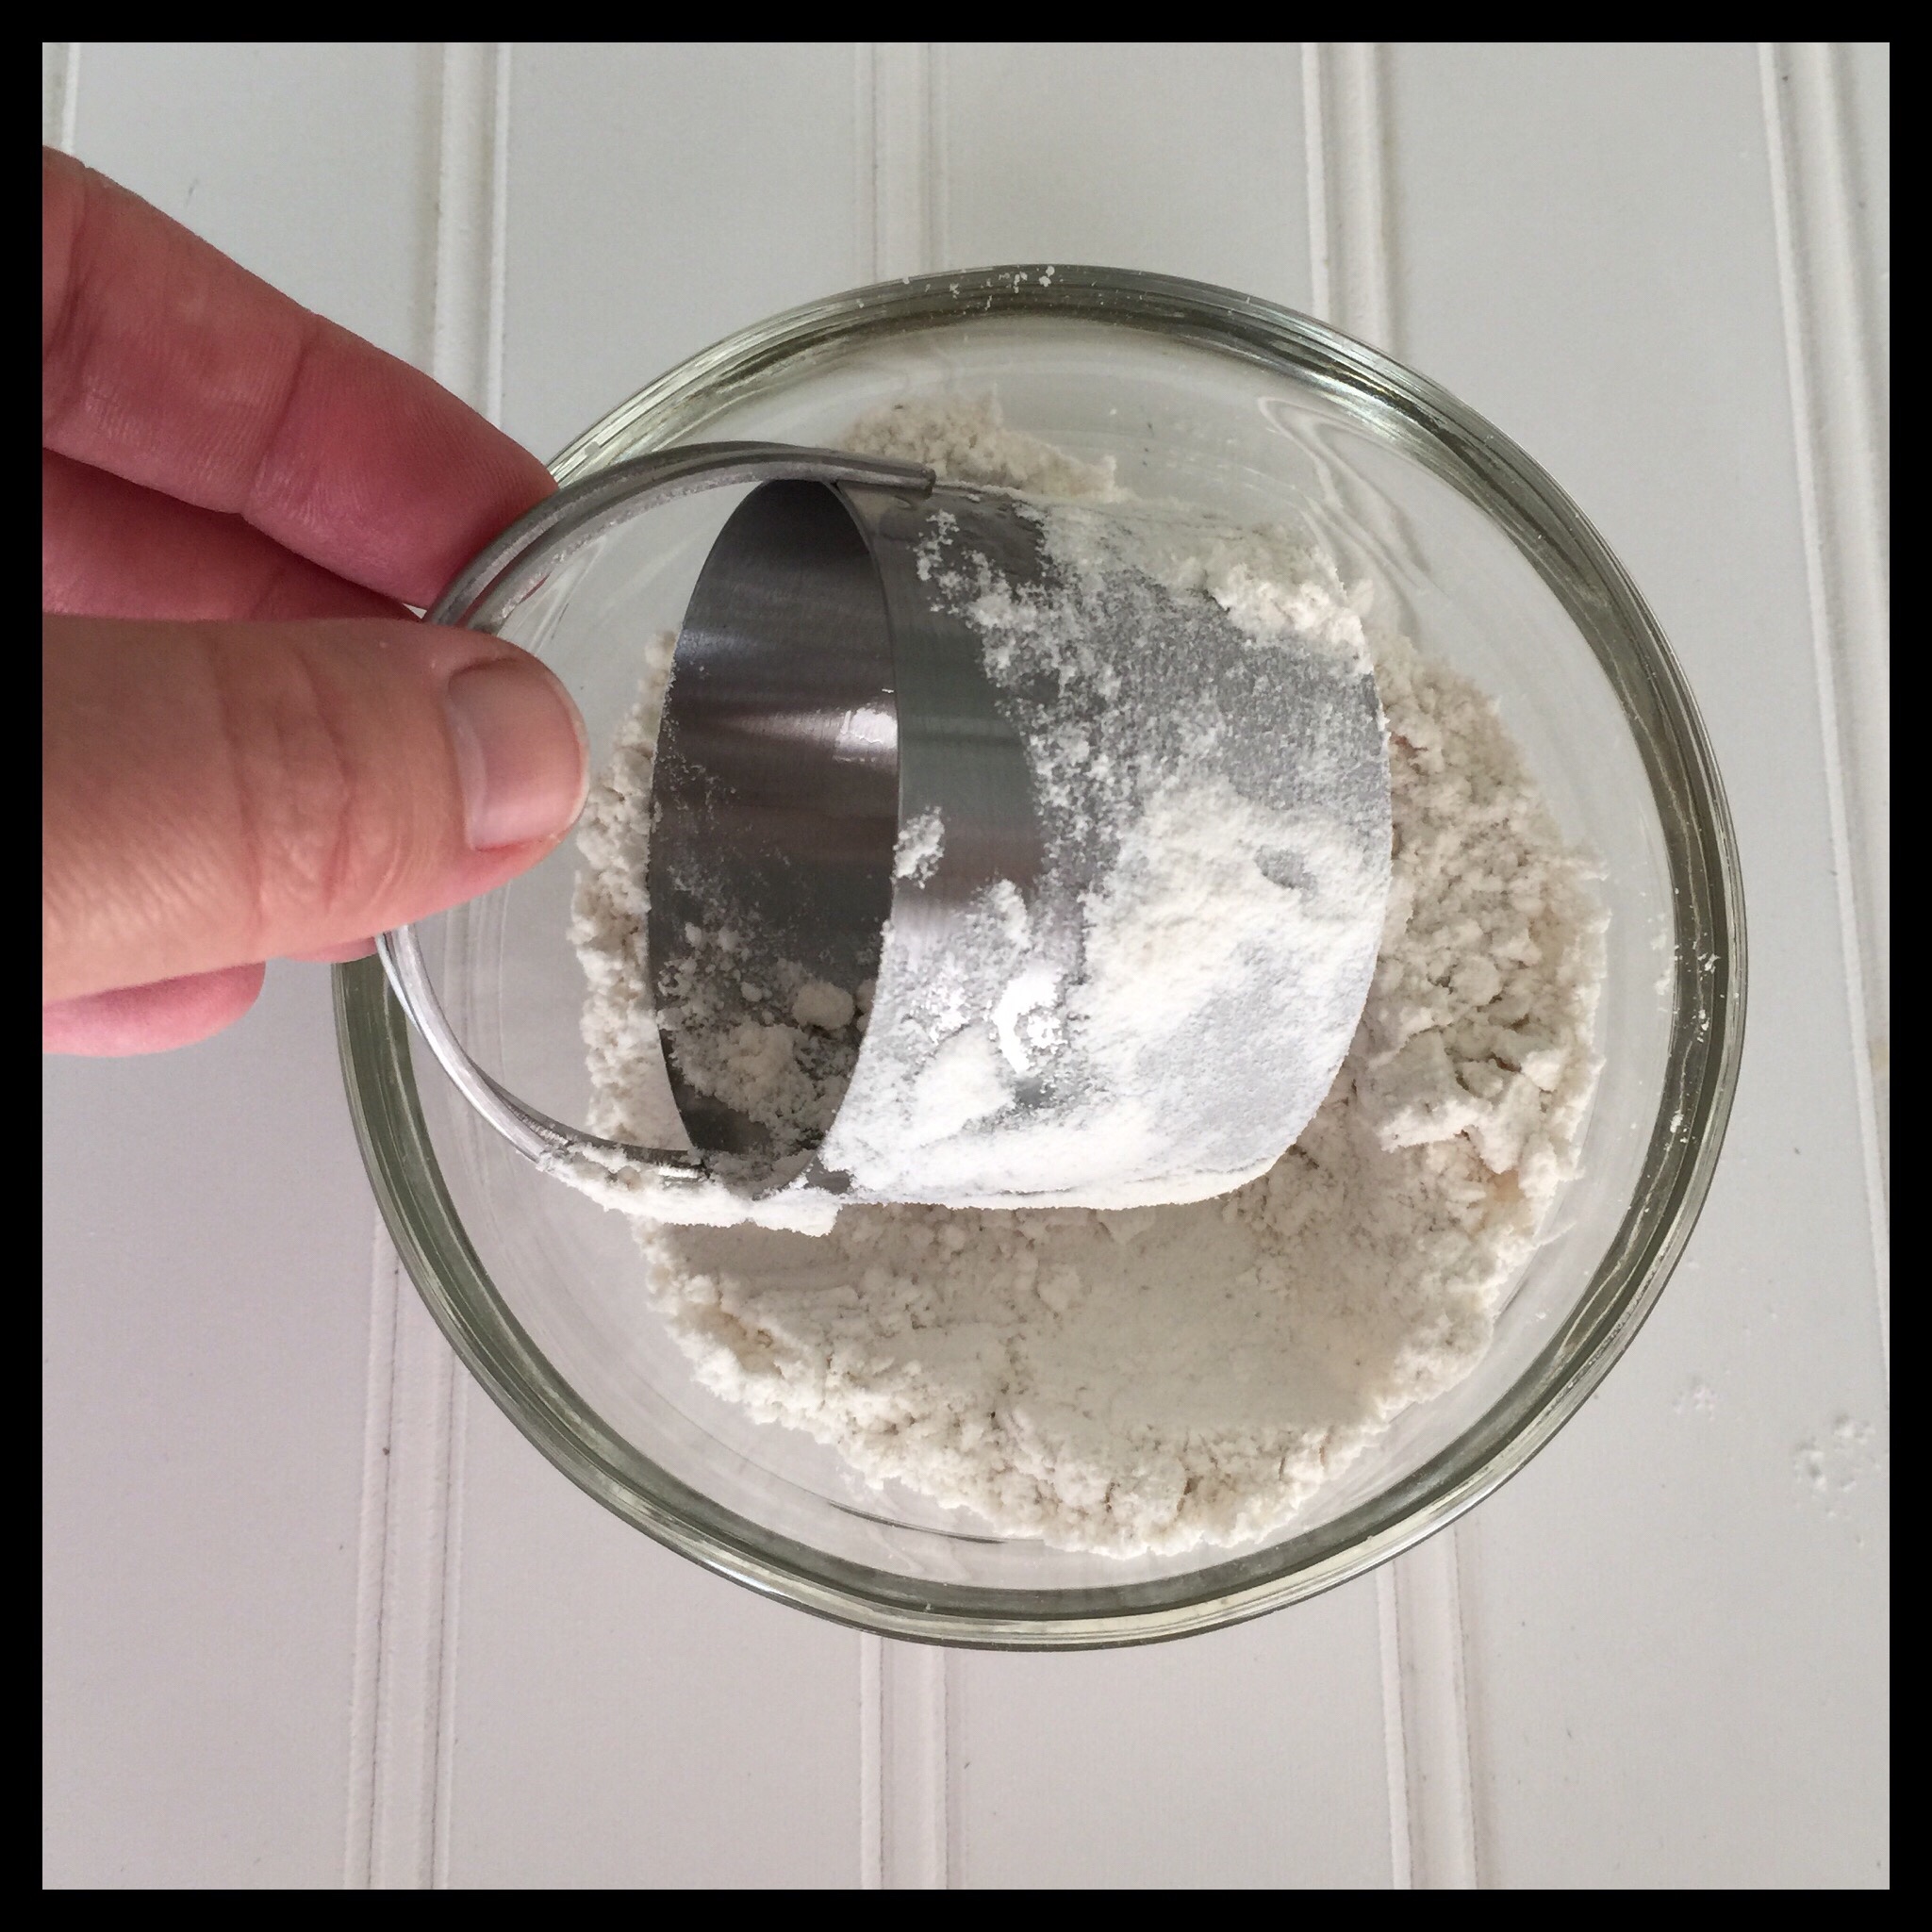
Dip the greased cutter in some flour in a small bowl to coat it. This will keep the first biscuit from sticking to the cutter. You will not need to spray the cutter again, but you will need to dip it in flour in between cutting each biscuit.
Place a piece of waxed paper down on your work surface and sprinkle it with flour. Have your greased and floured biscuit cutter ready too:
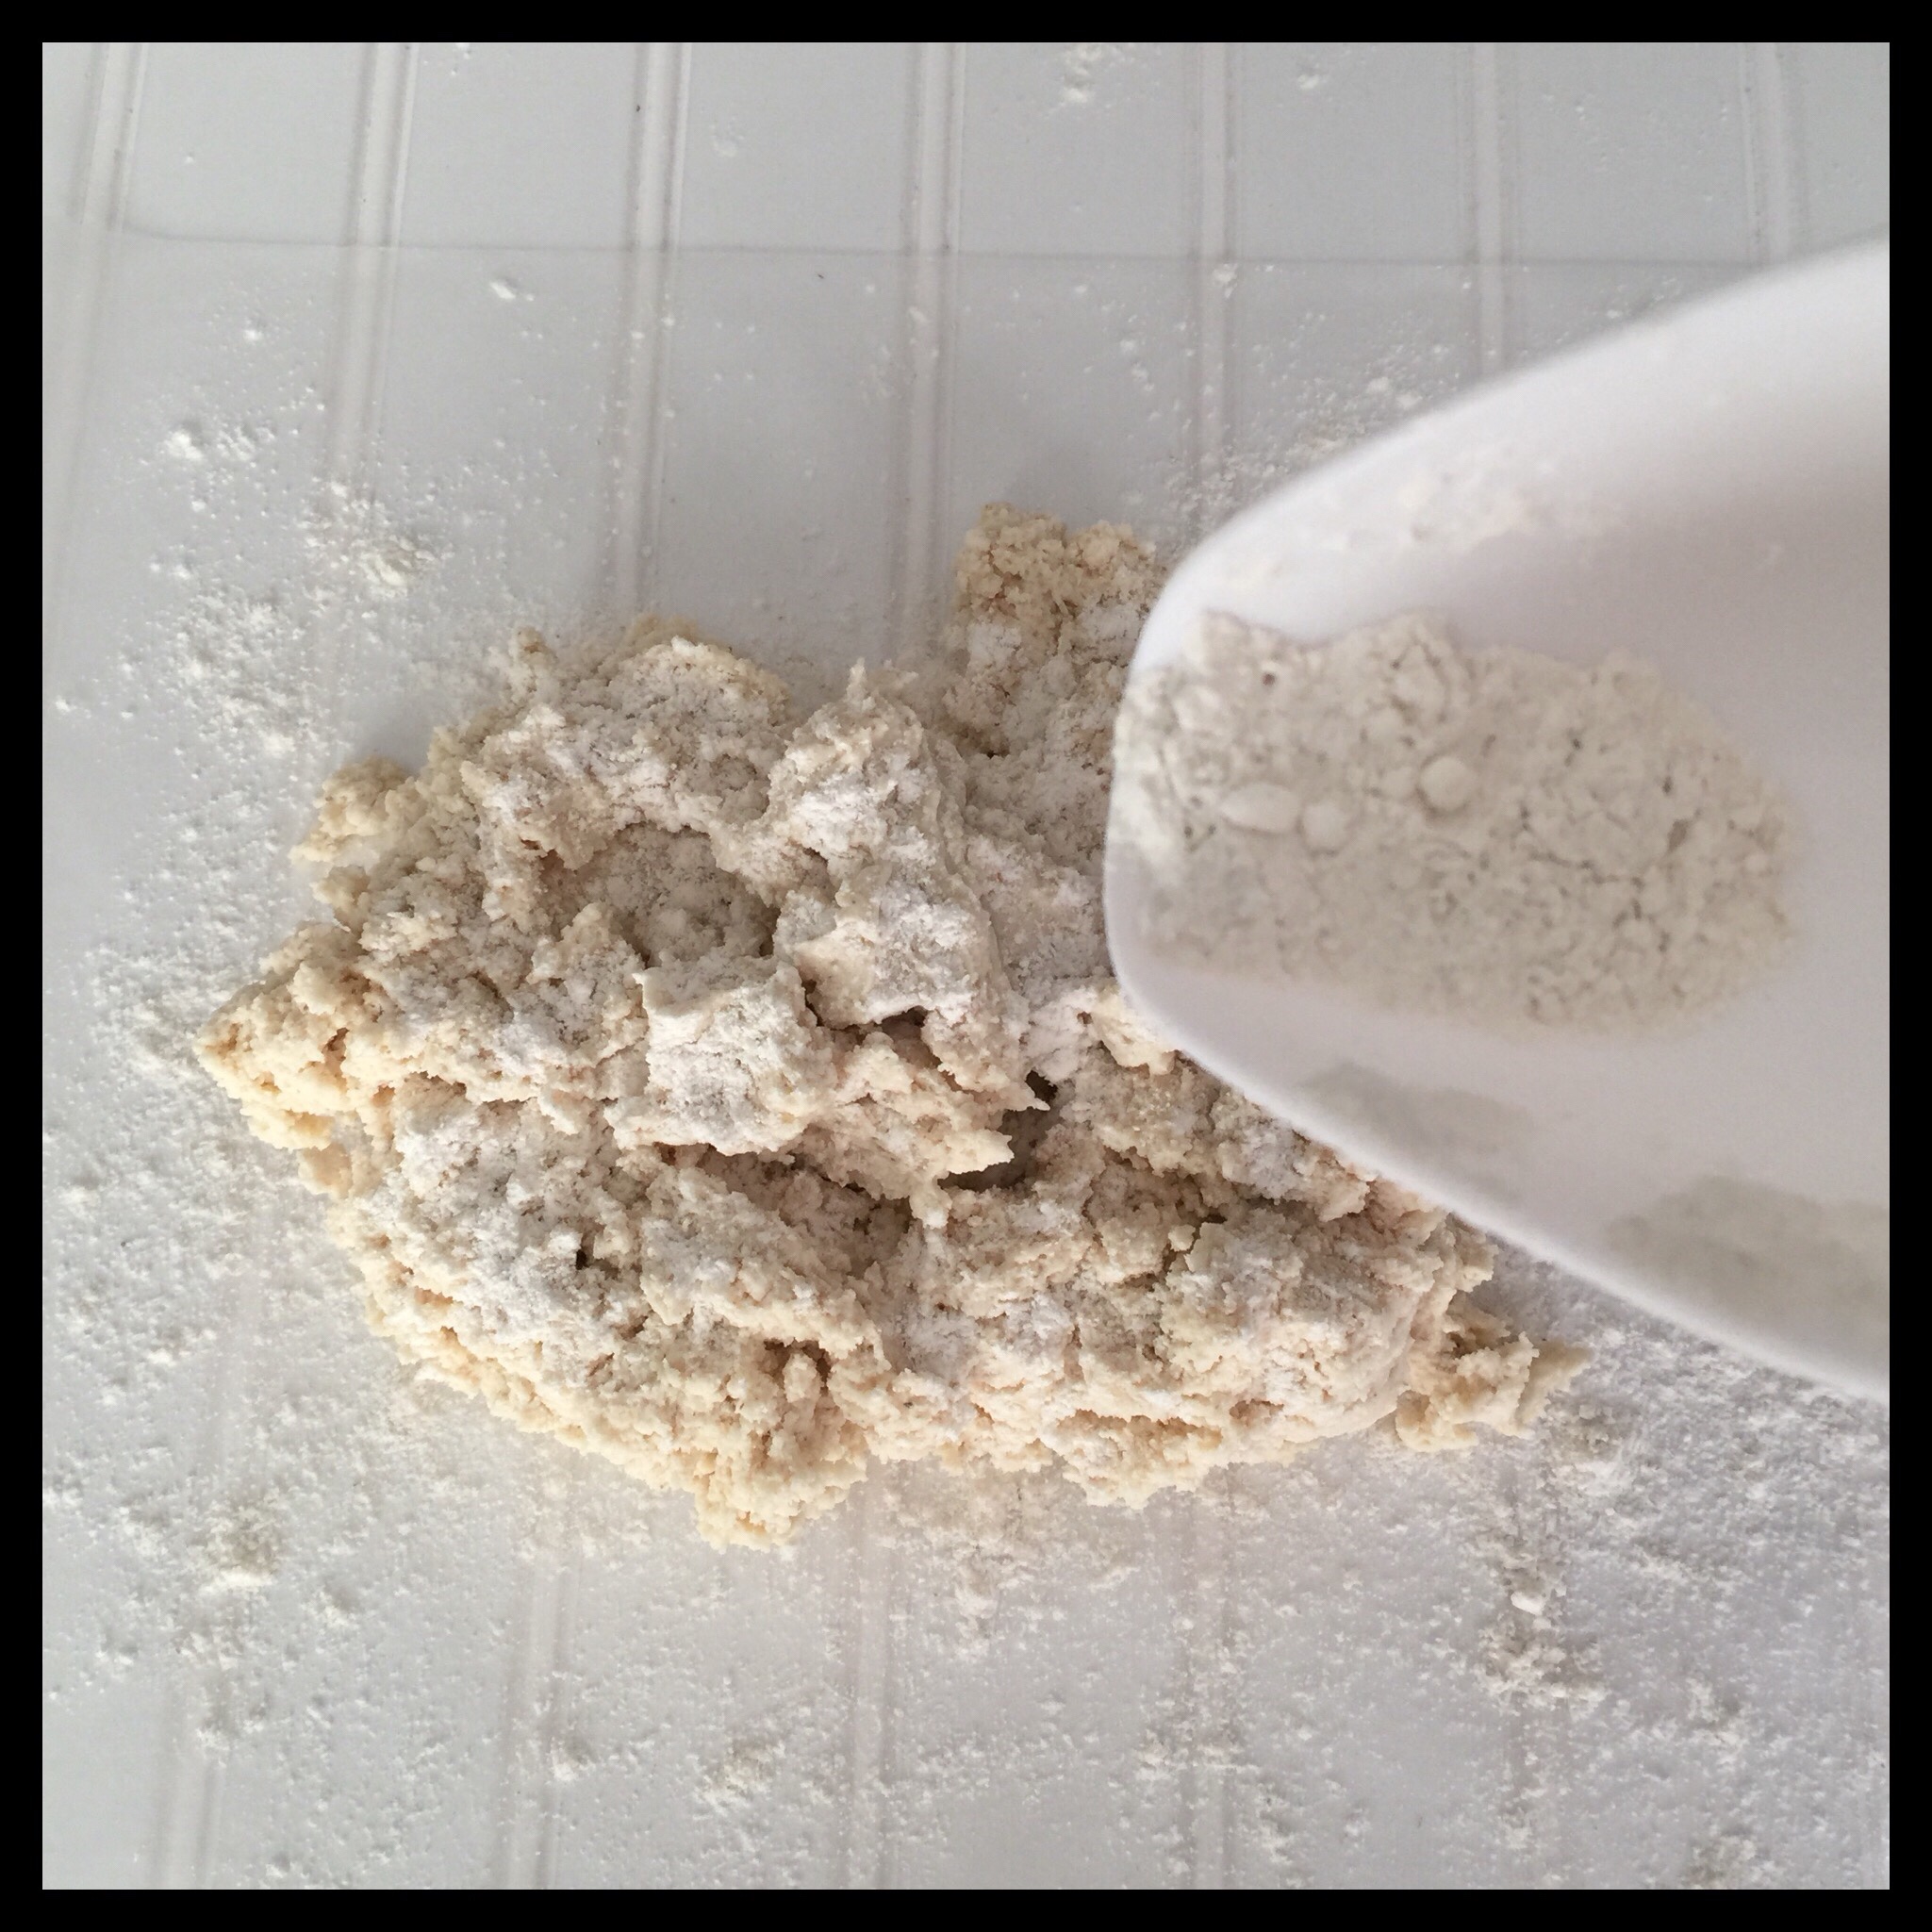
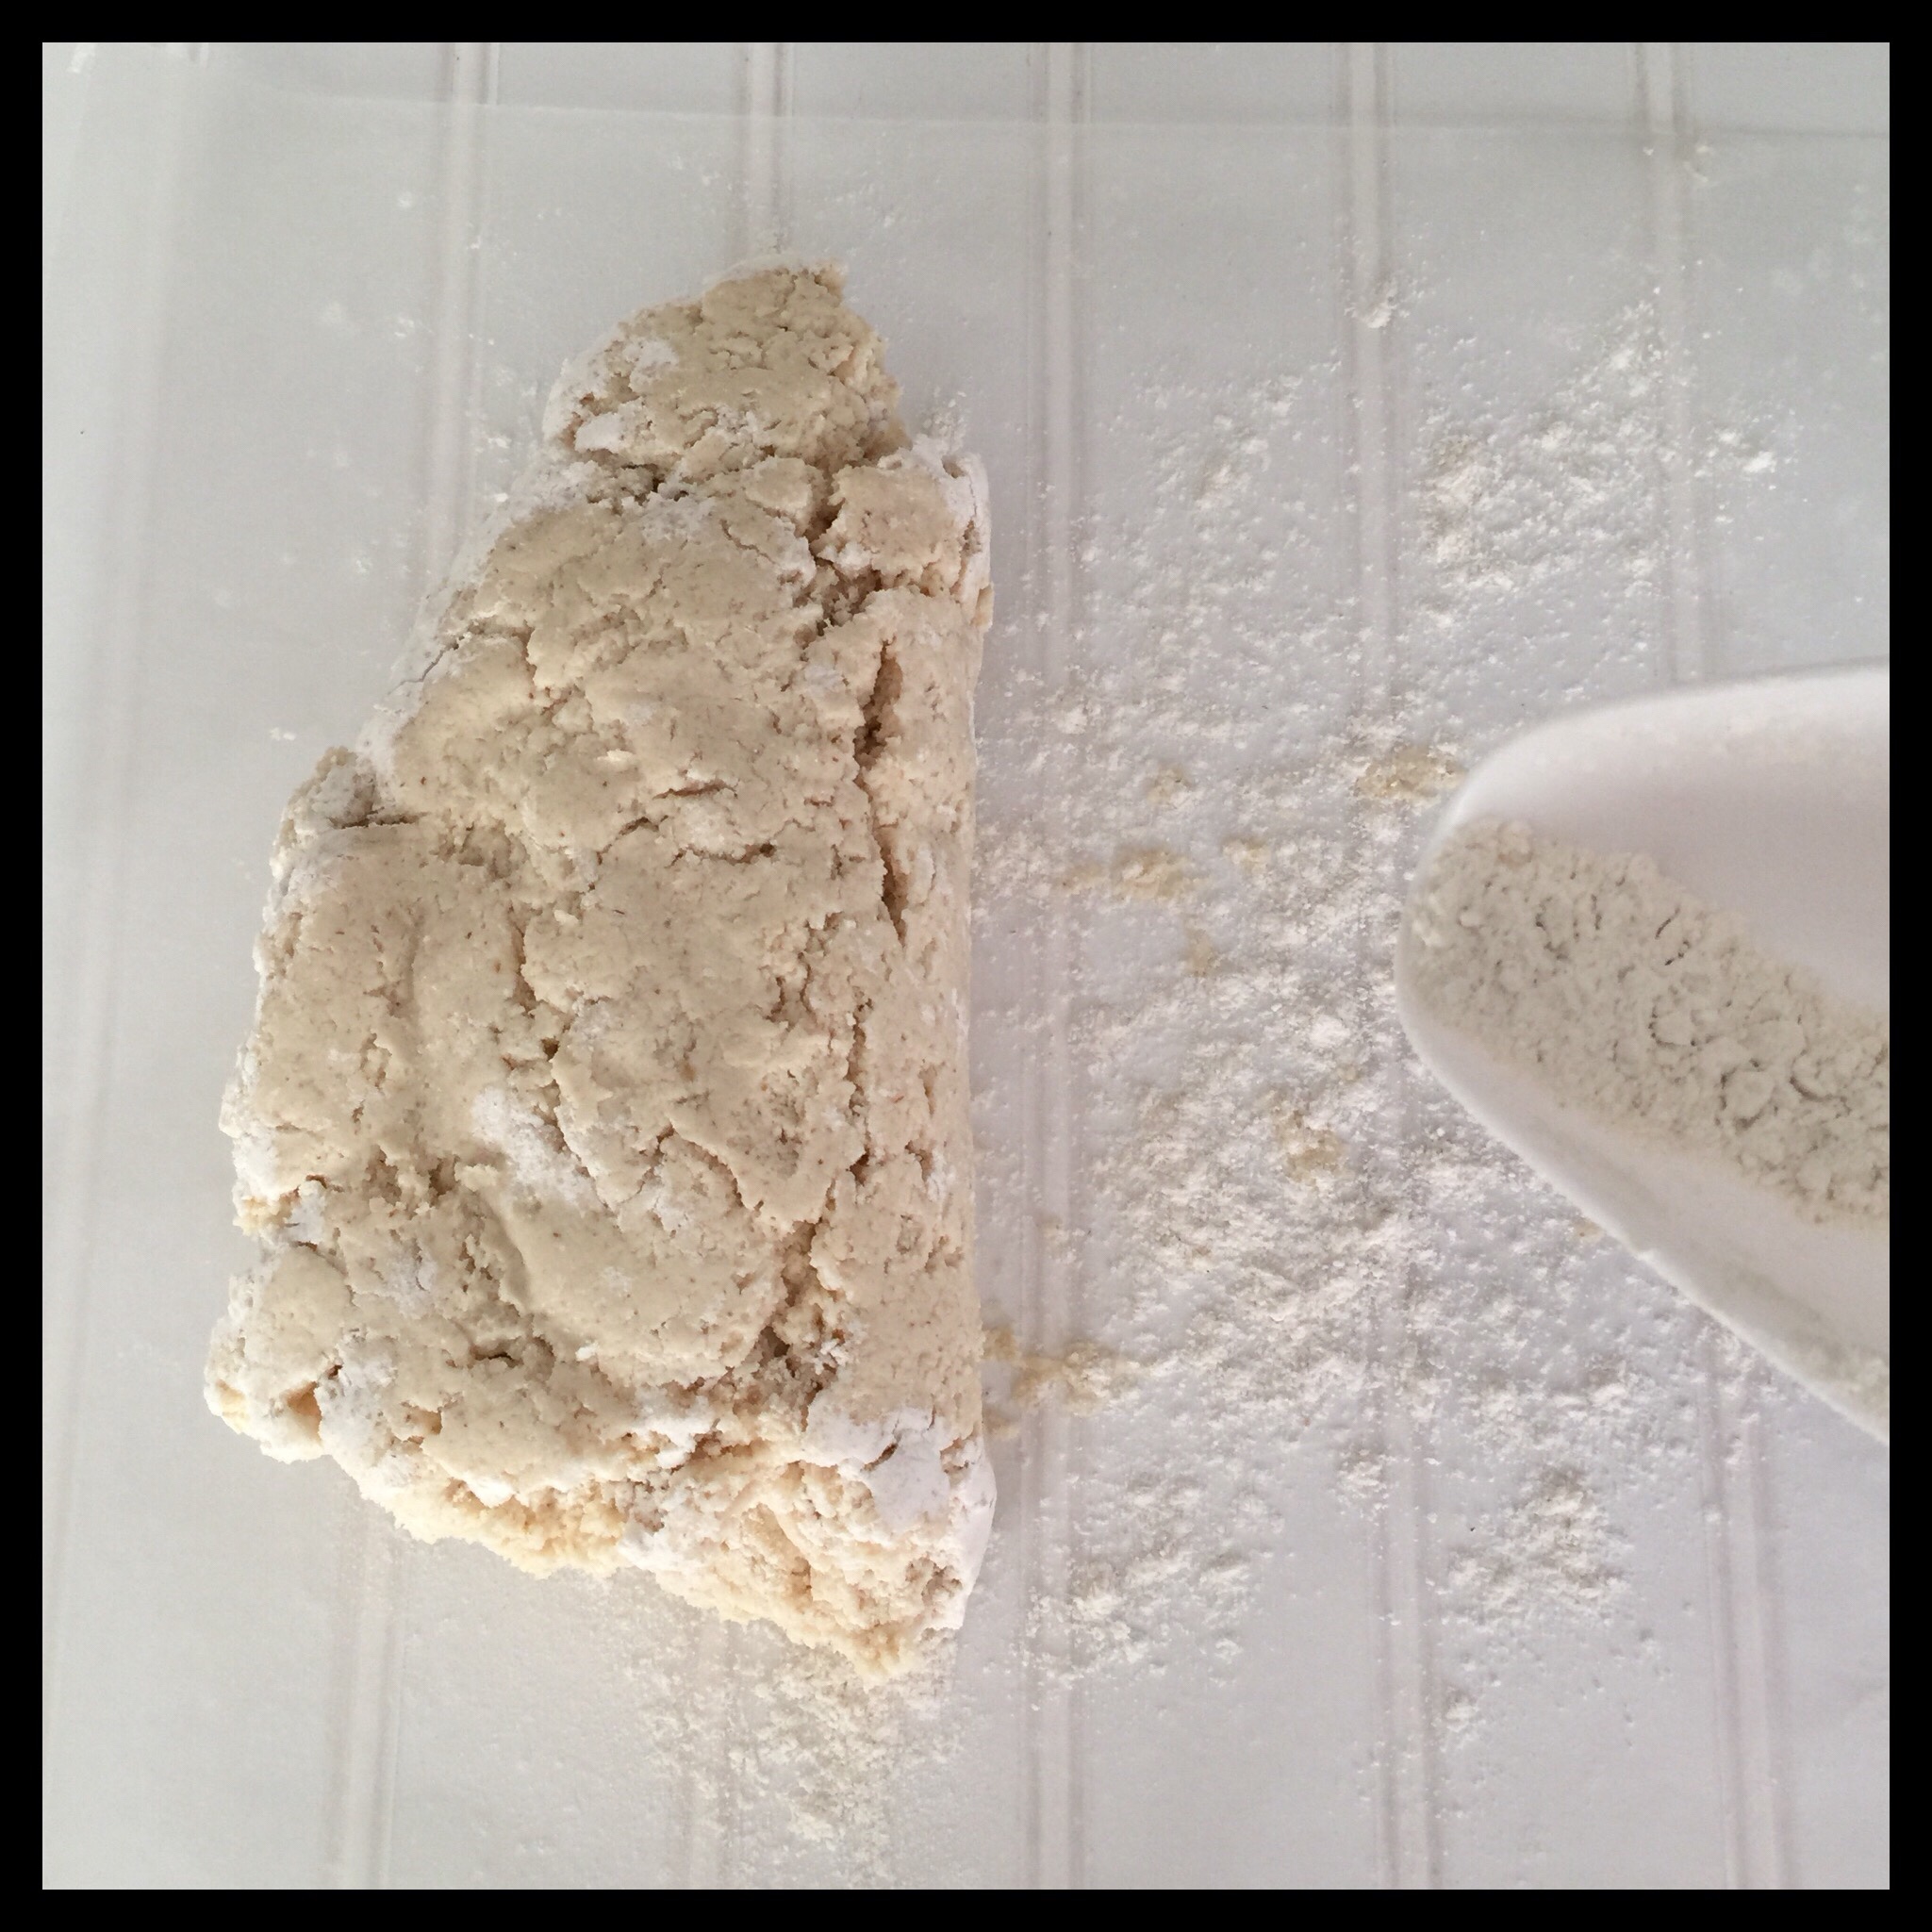
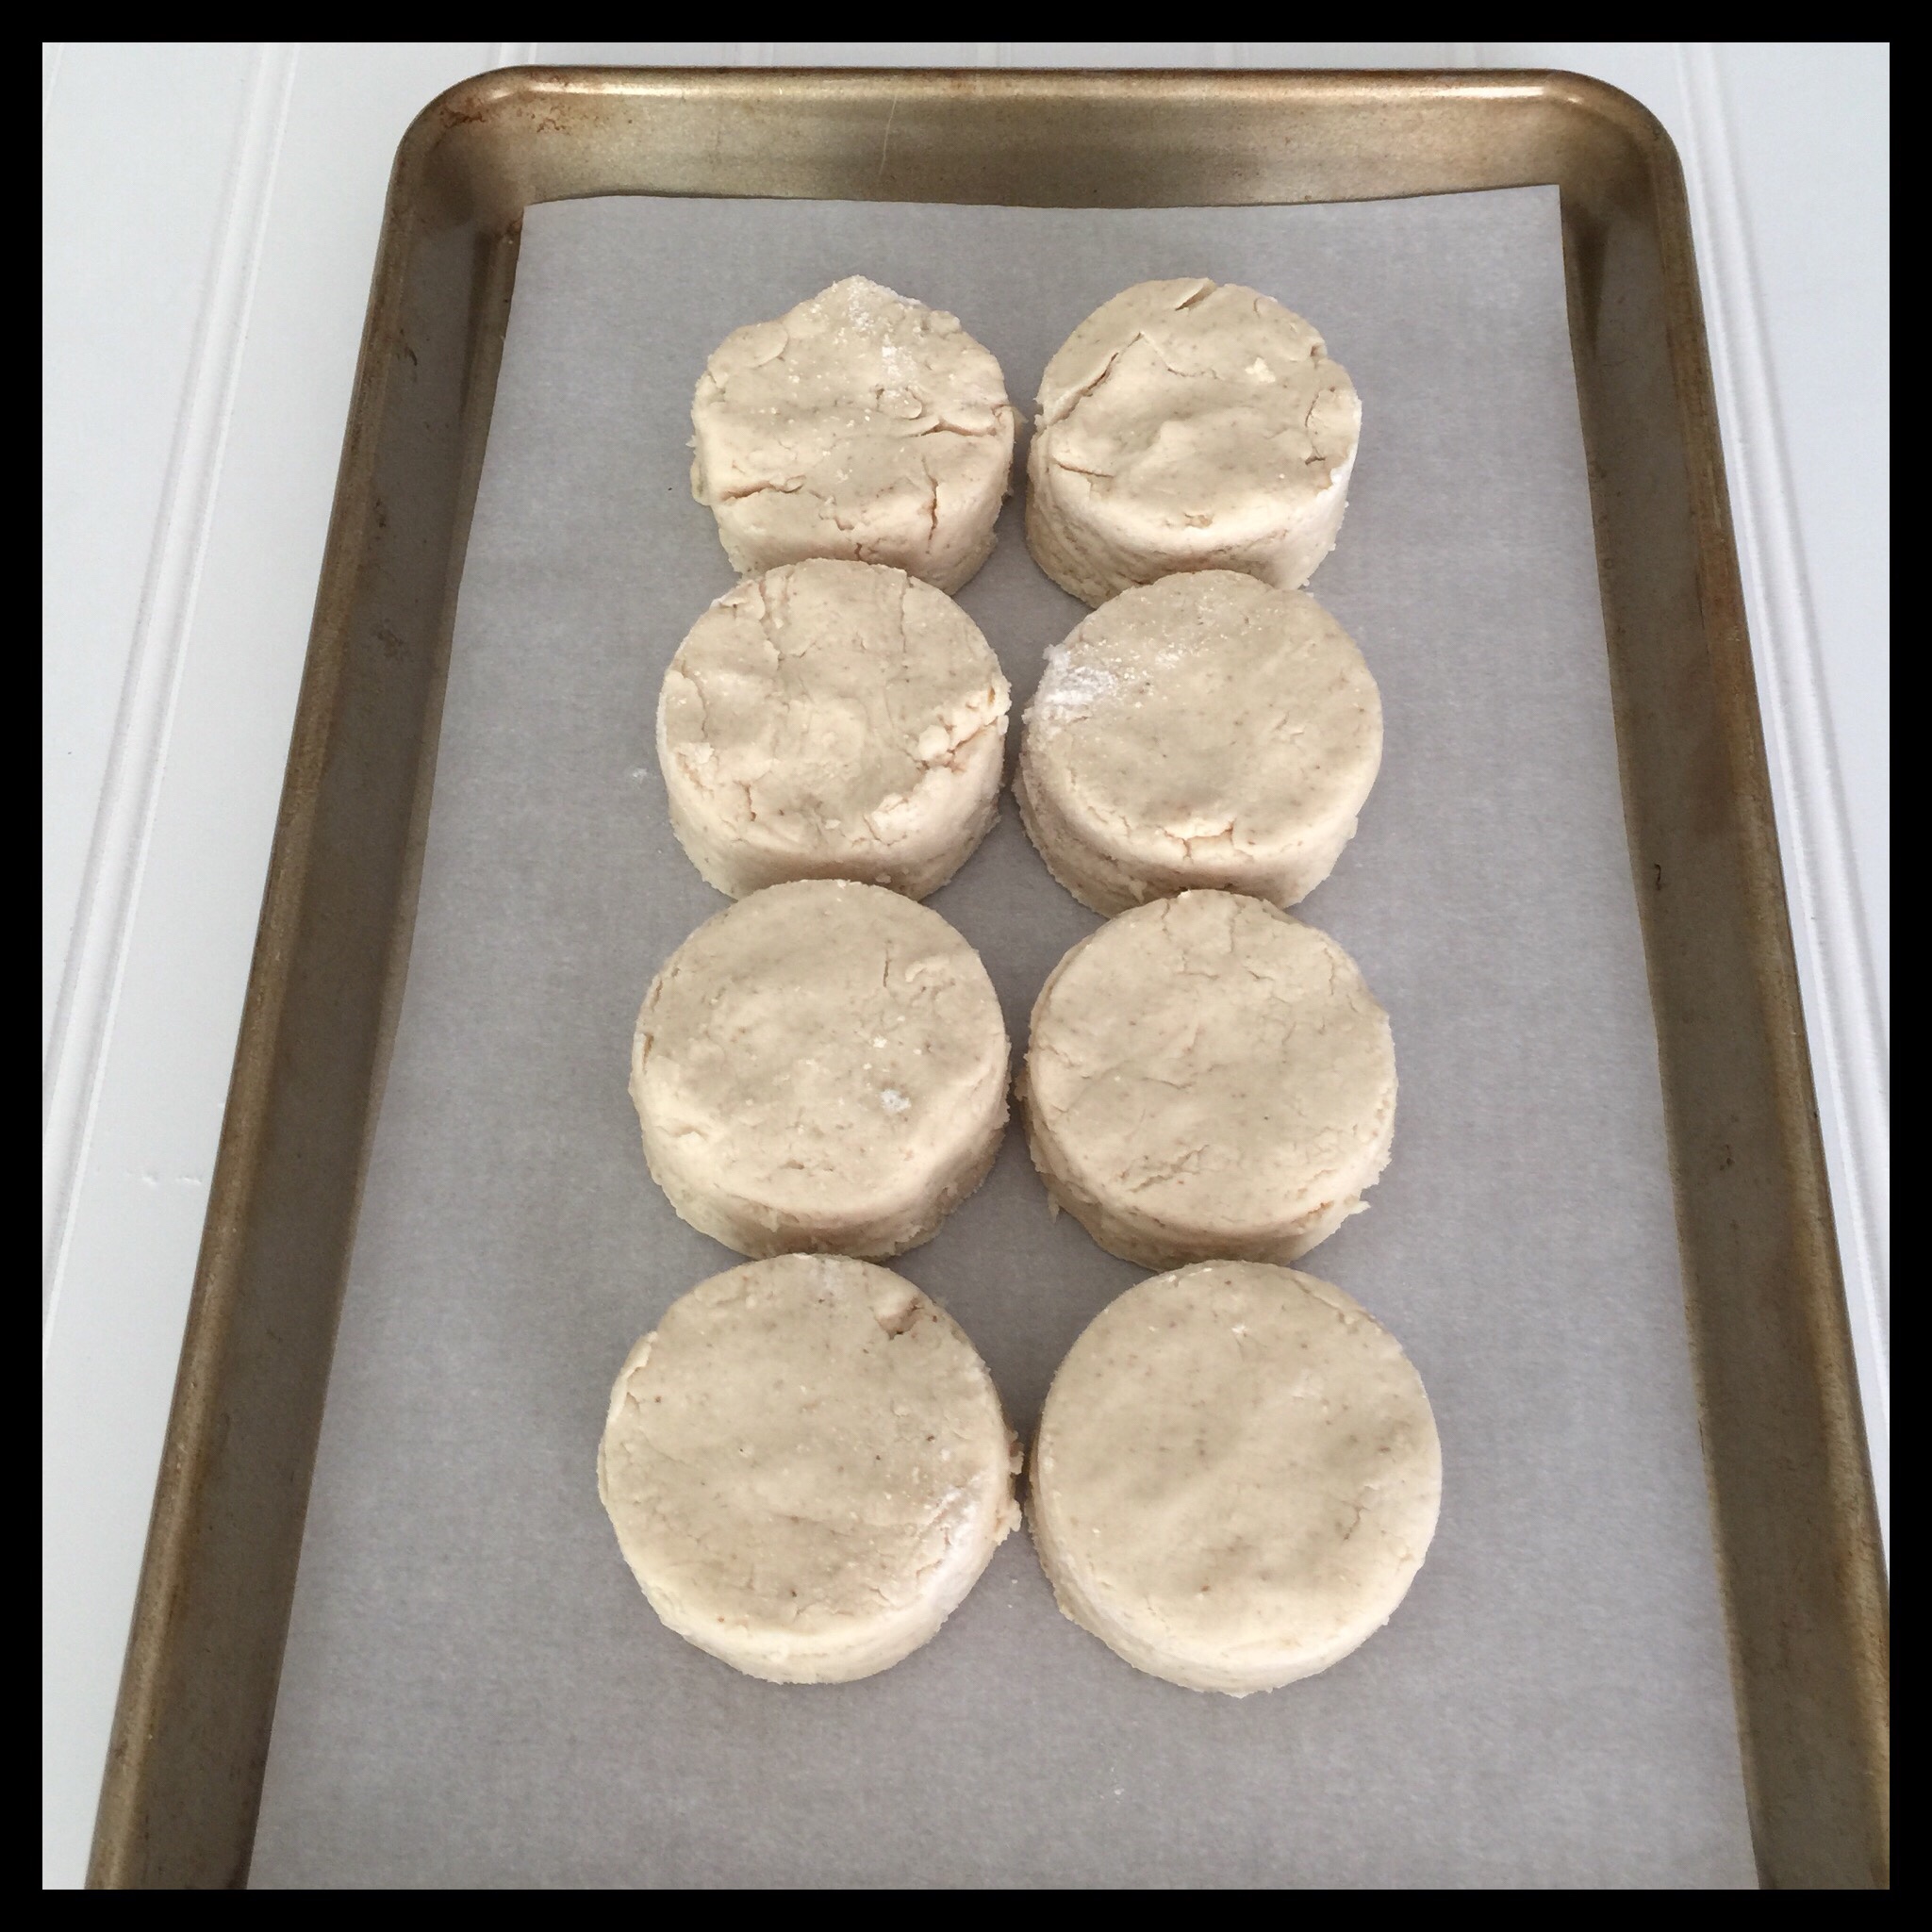
Get your biscuit dough out of the freezer, scrape it out onto the floured waxed paper, and sprinkle it with more flour:
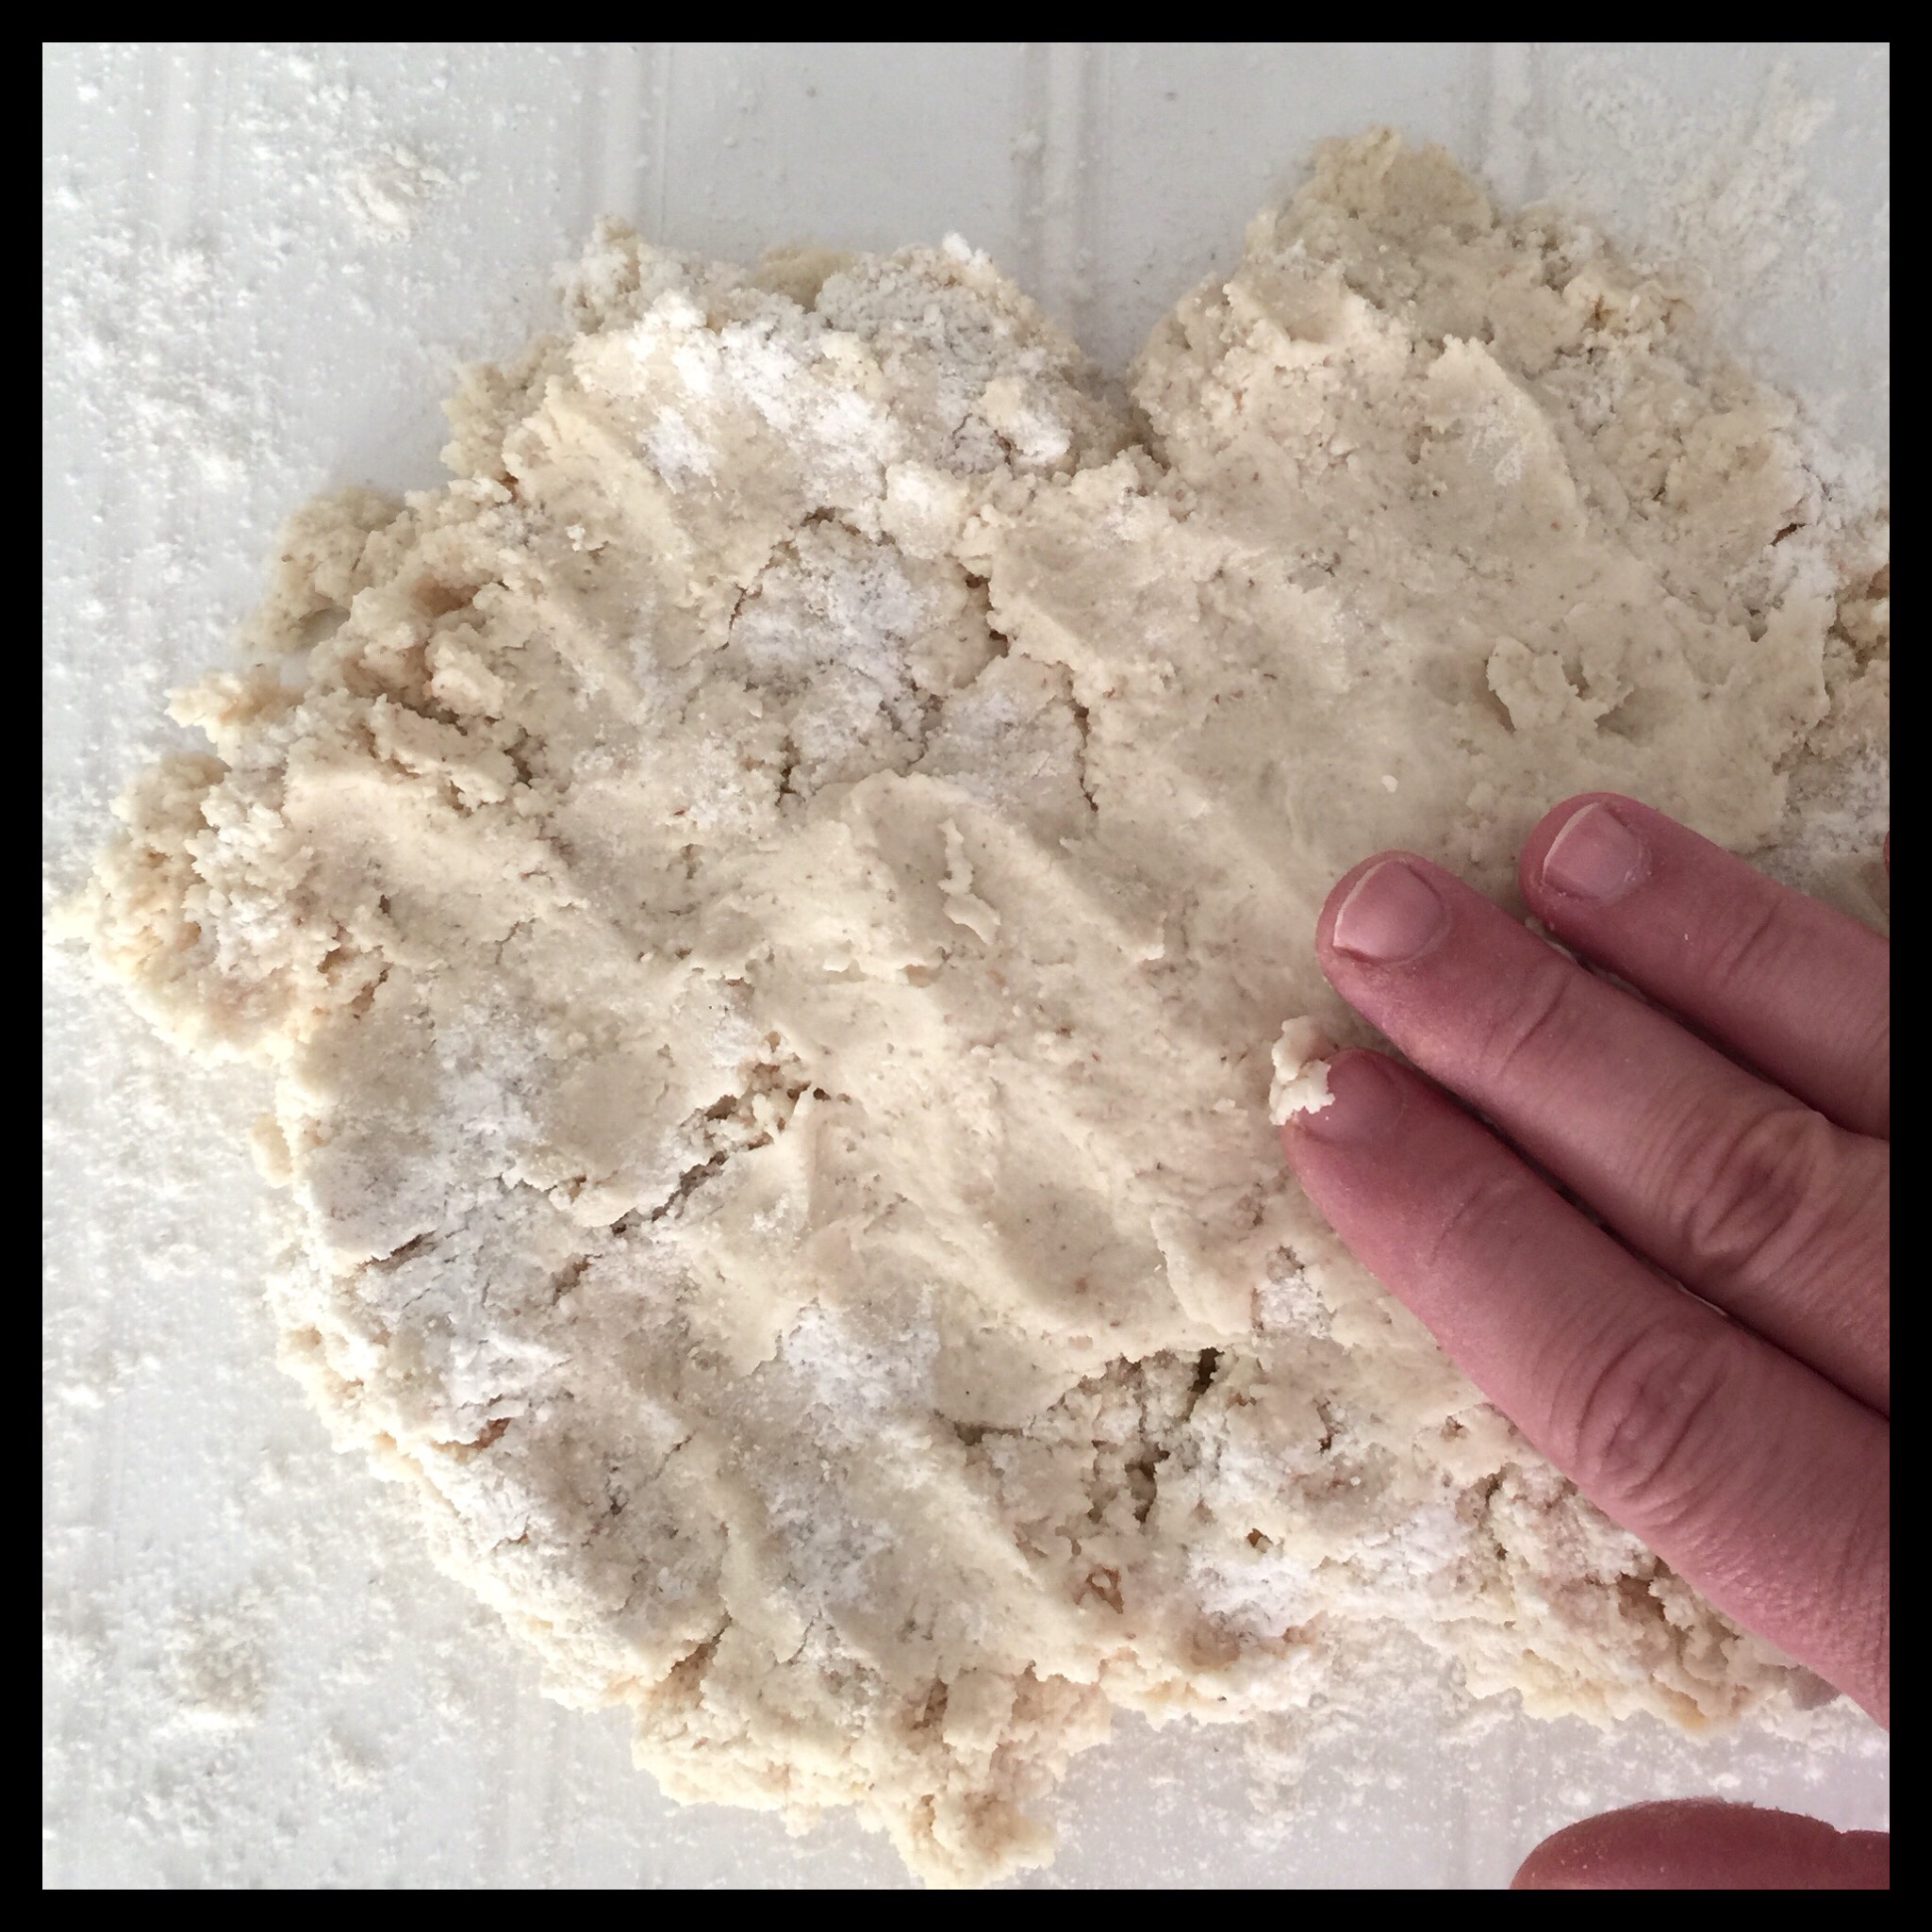
Gently pat the floured dough out to about 1/2″ thick:
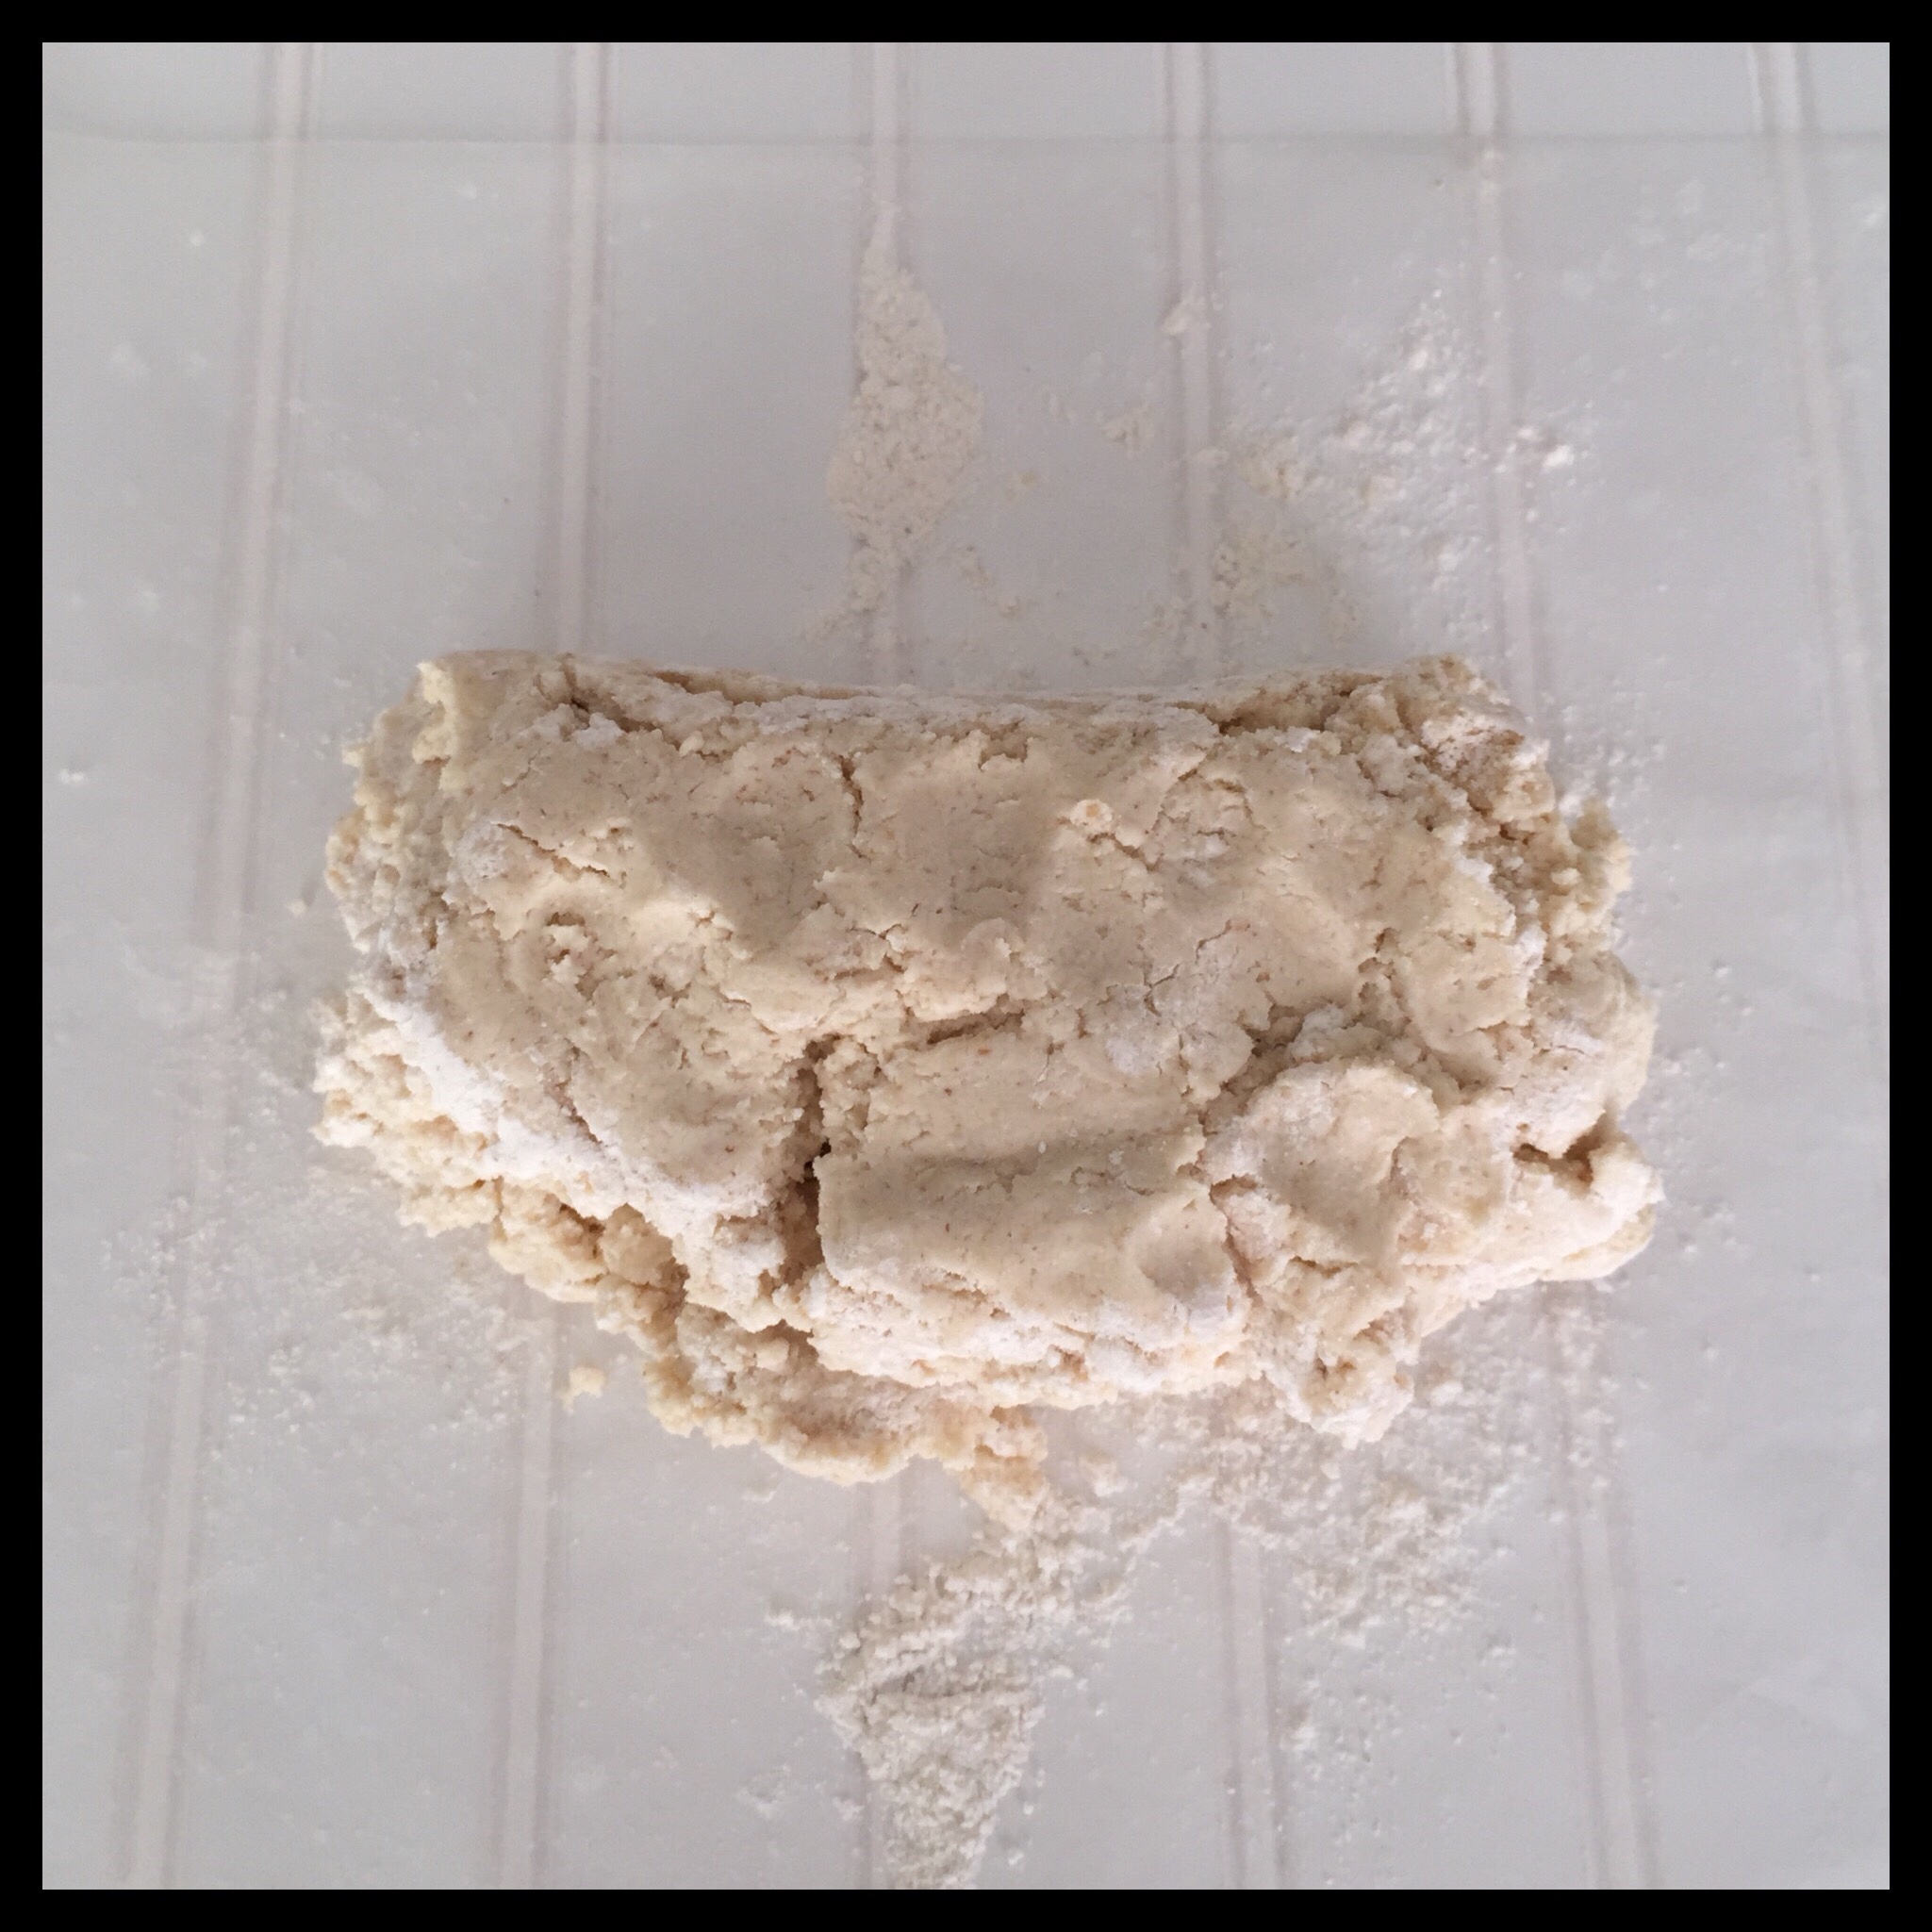
Use the waxed paper to fold the dough in half as shown:
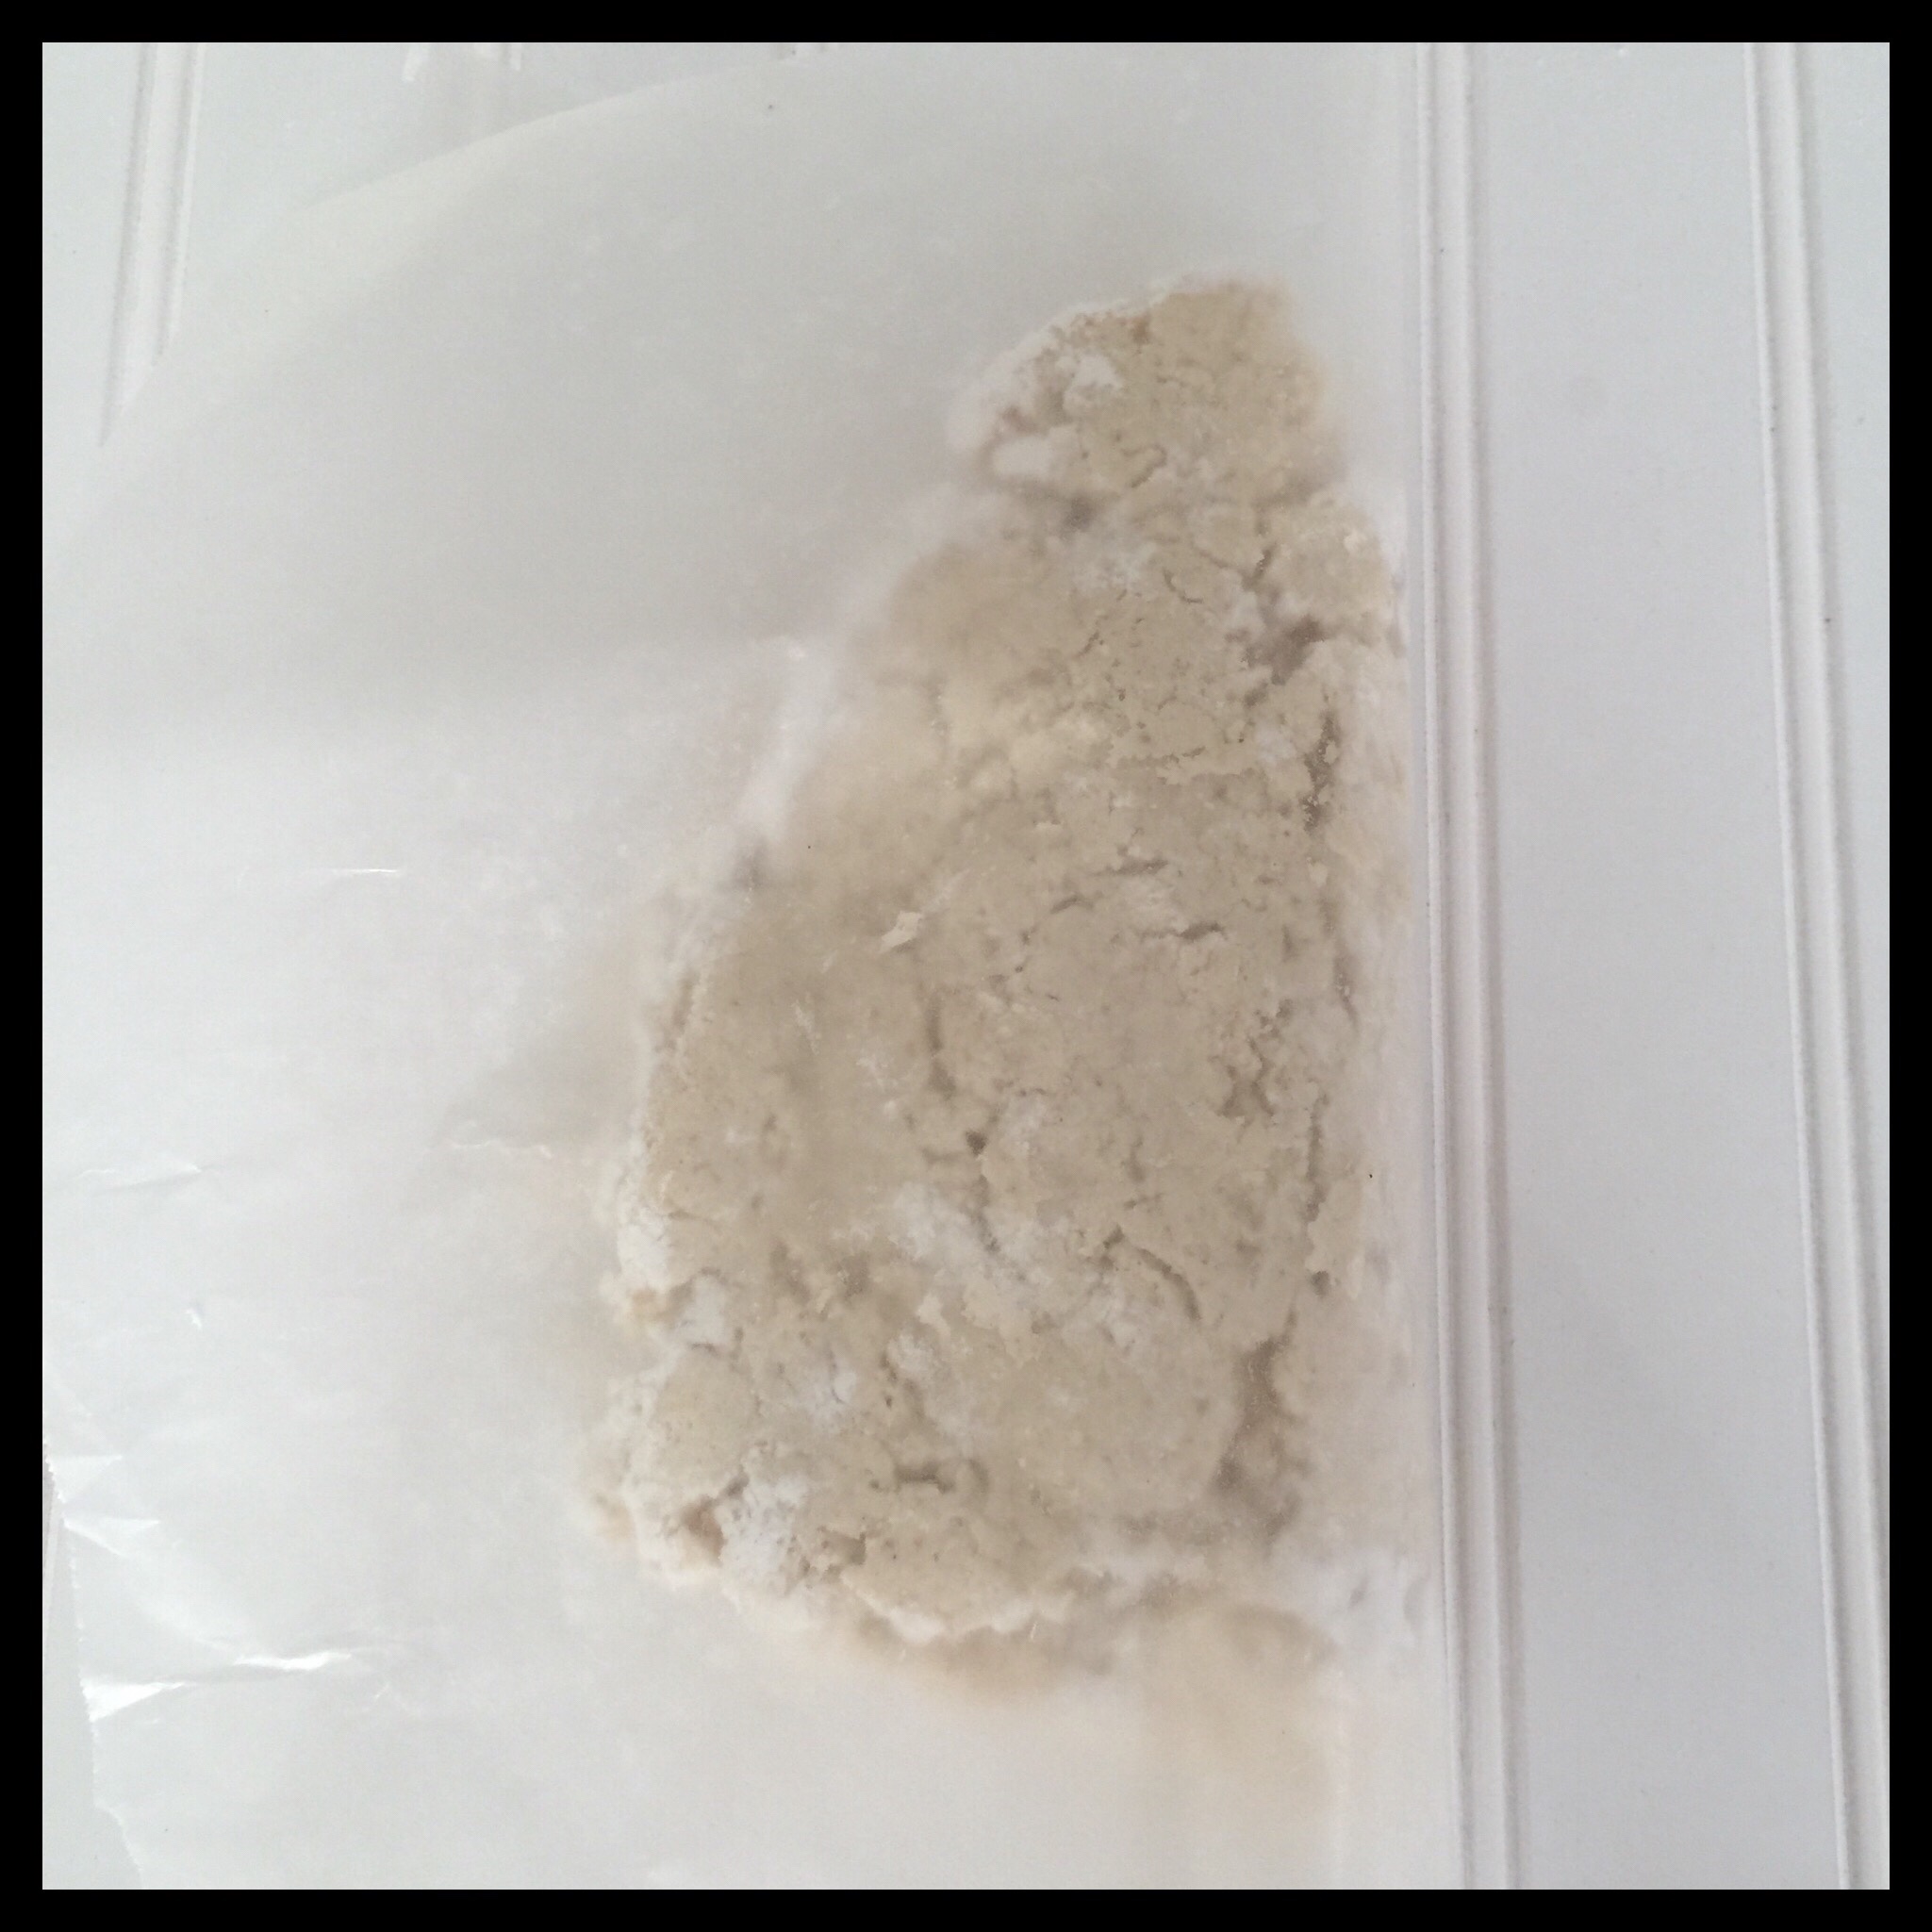
Fold the waxed paper back down, and add more flour if needed:
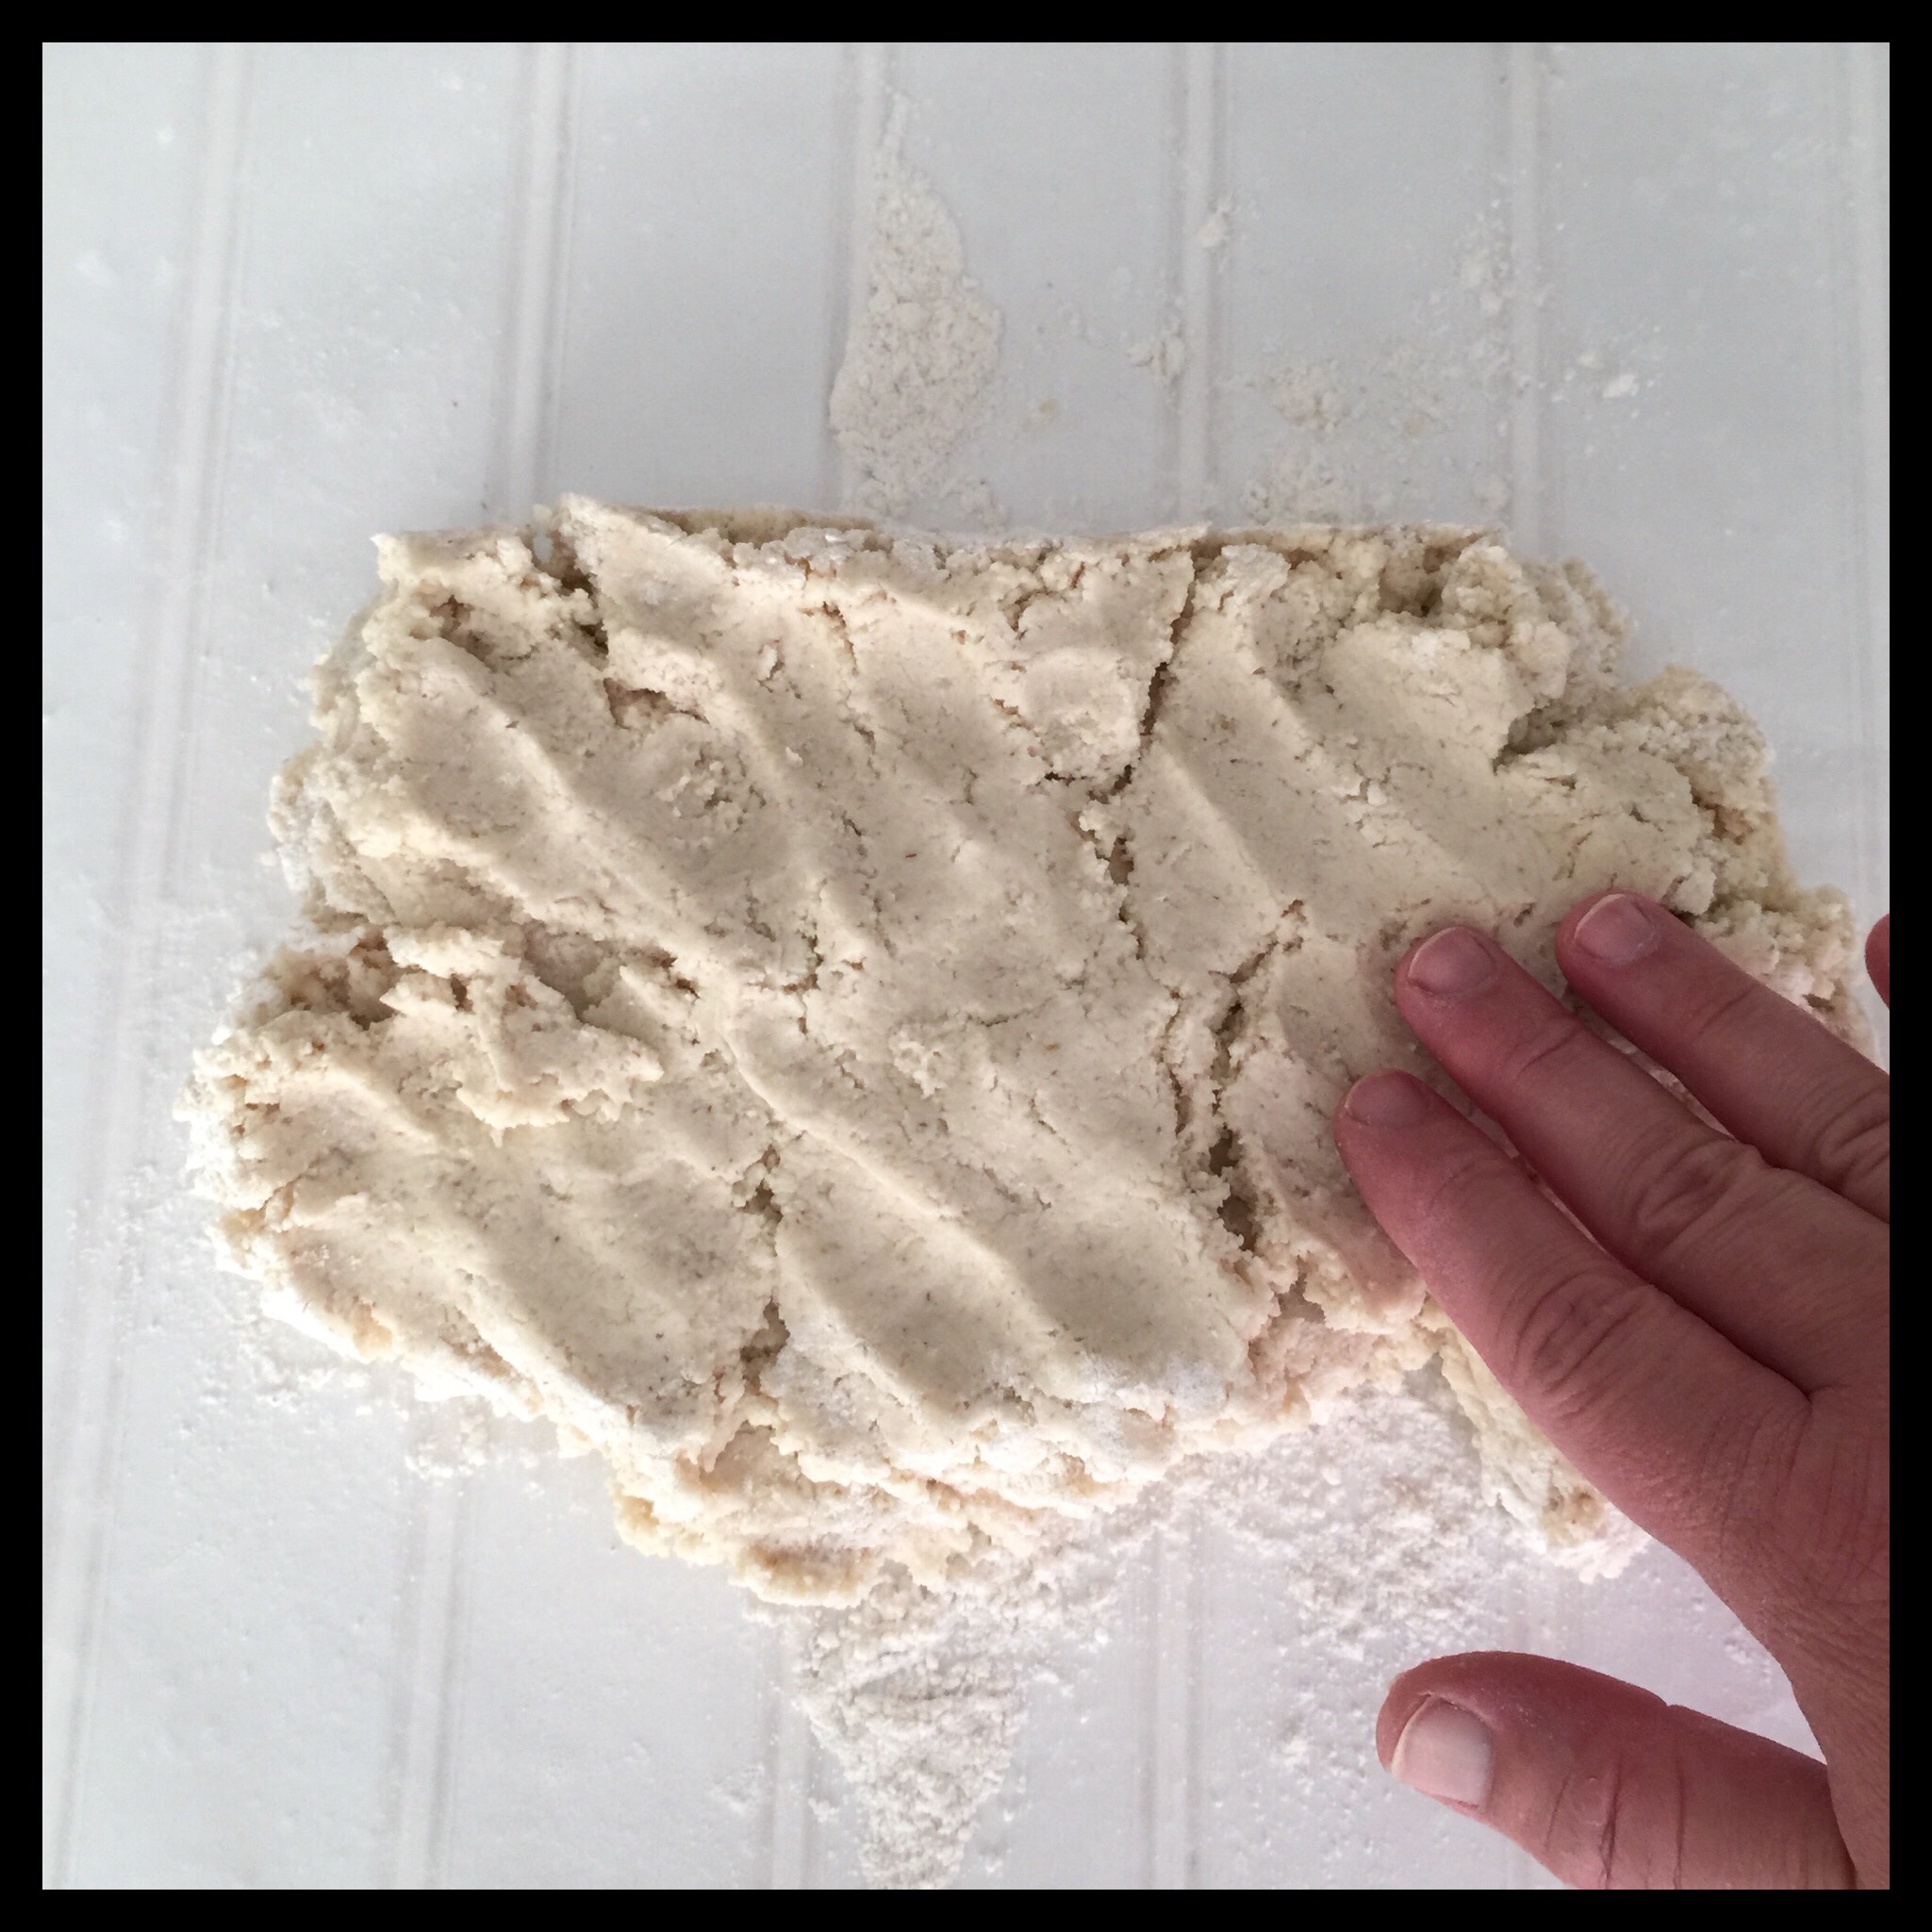
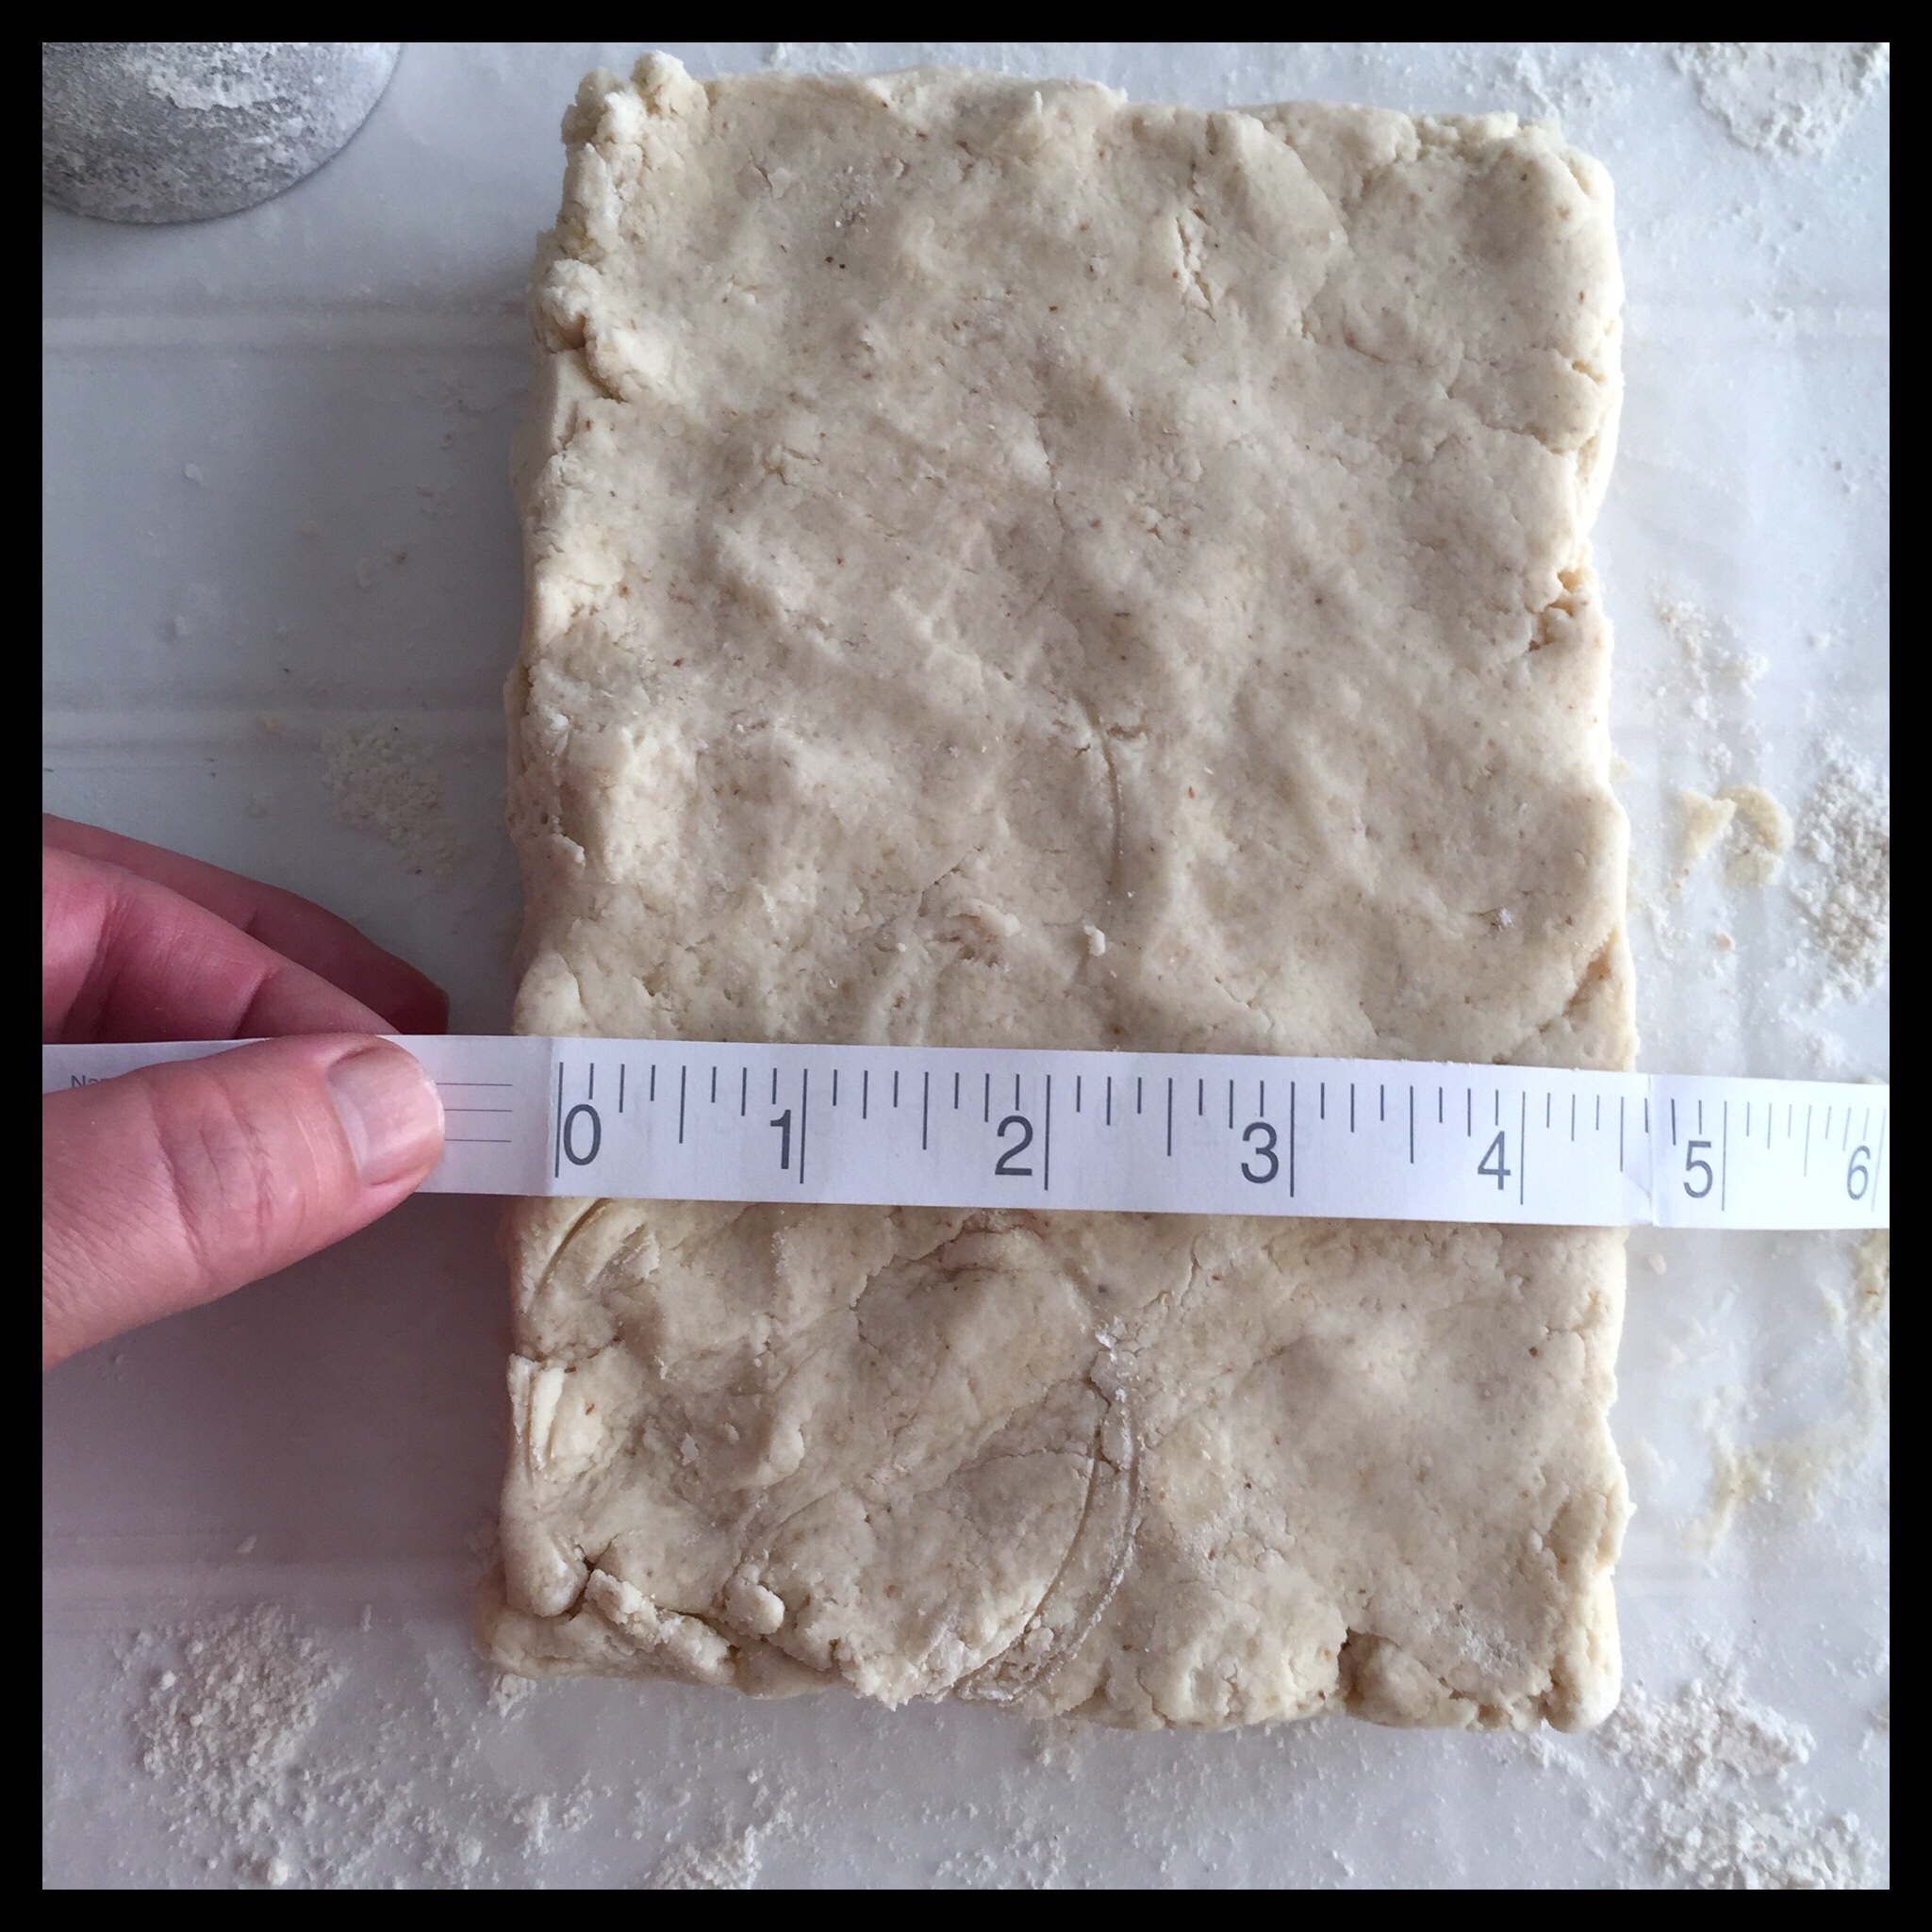
Turn the dough sideways, and gently pat it out again. Repeat the folding and patting out a total of five times, shaping the dough for cutting after the last fold.
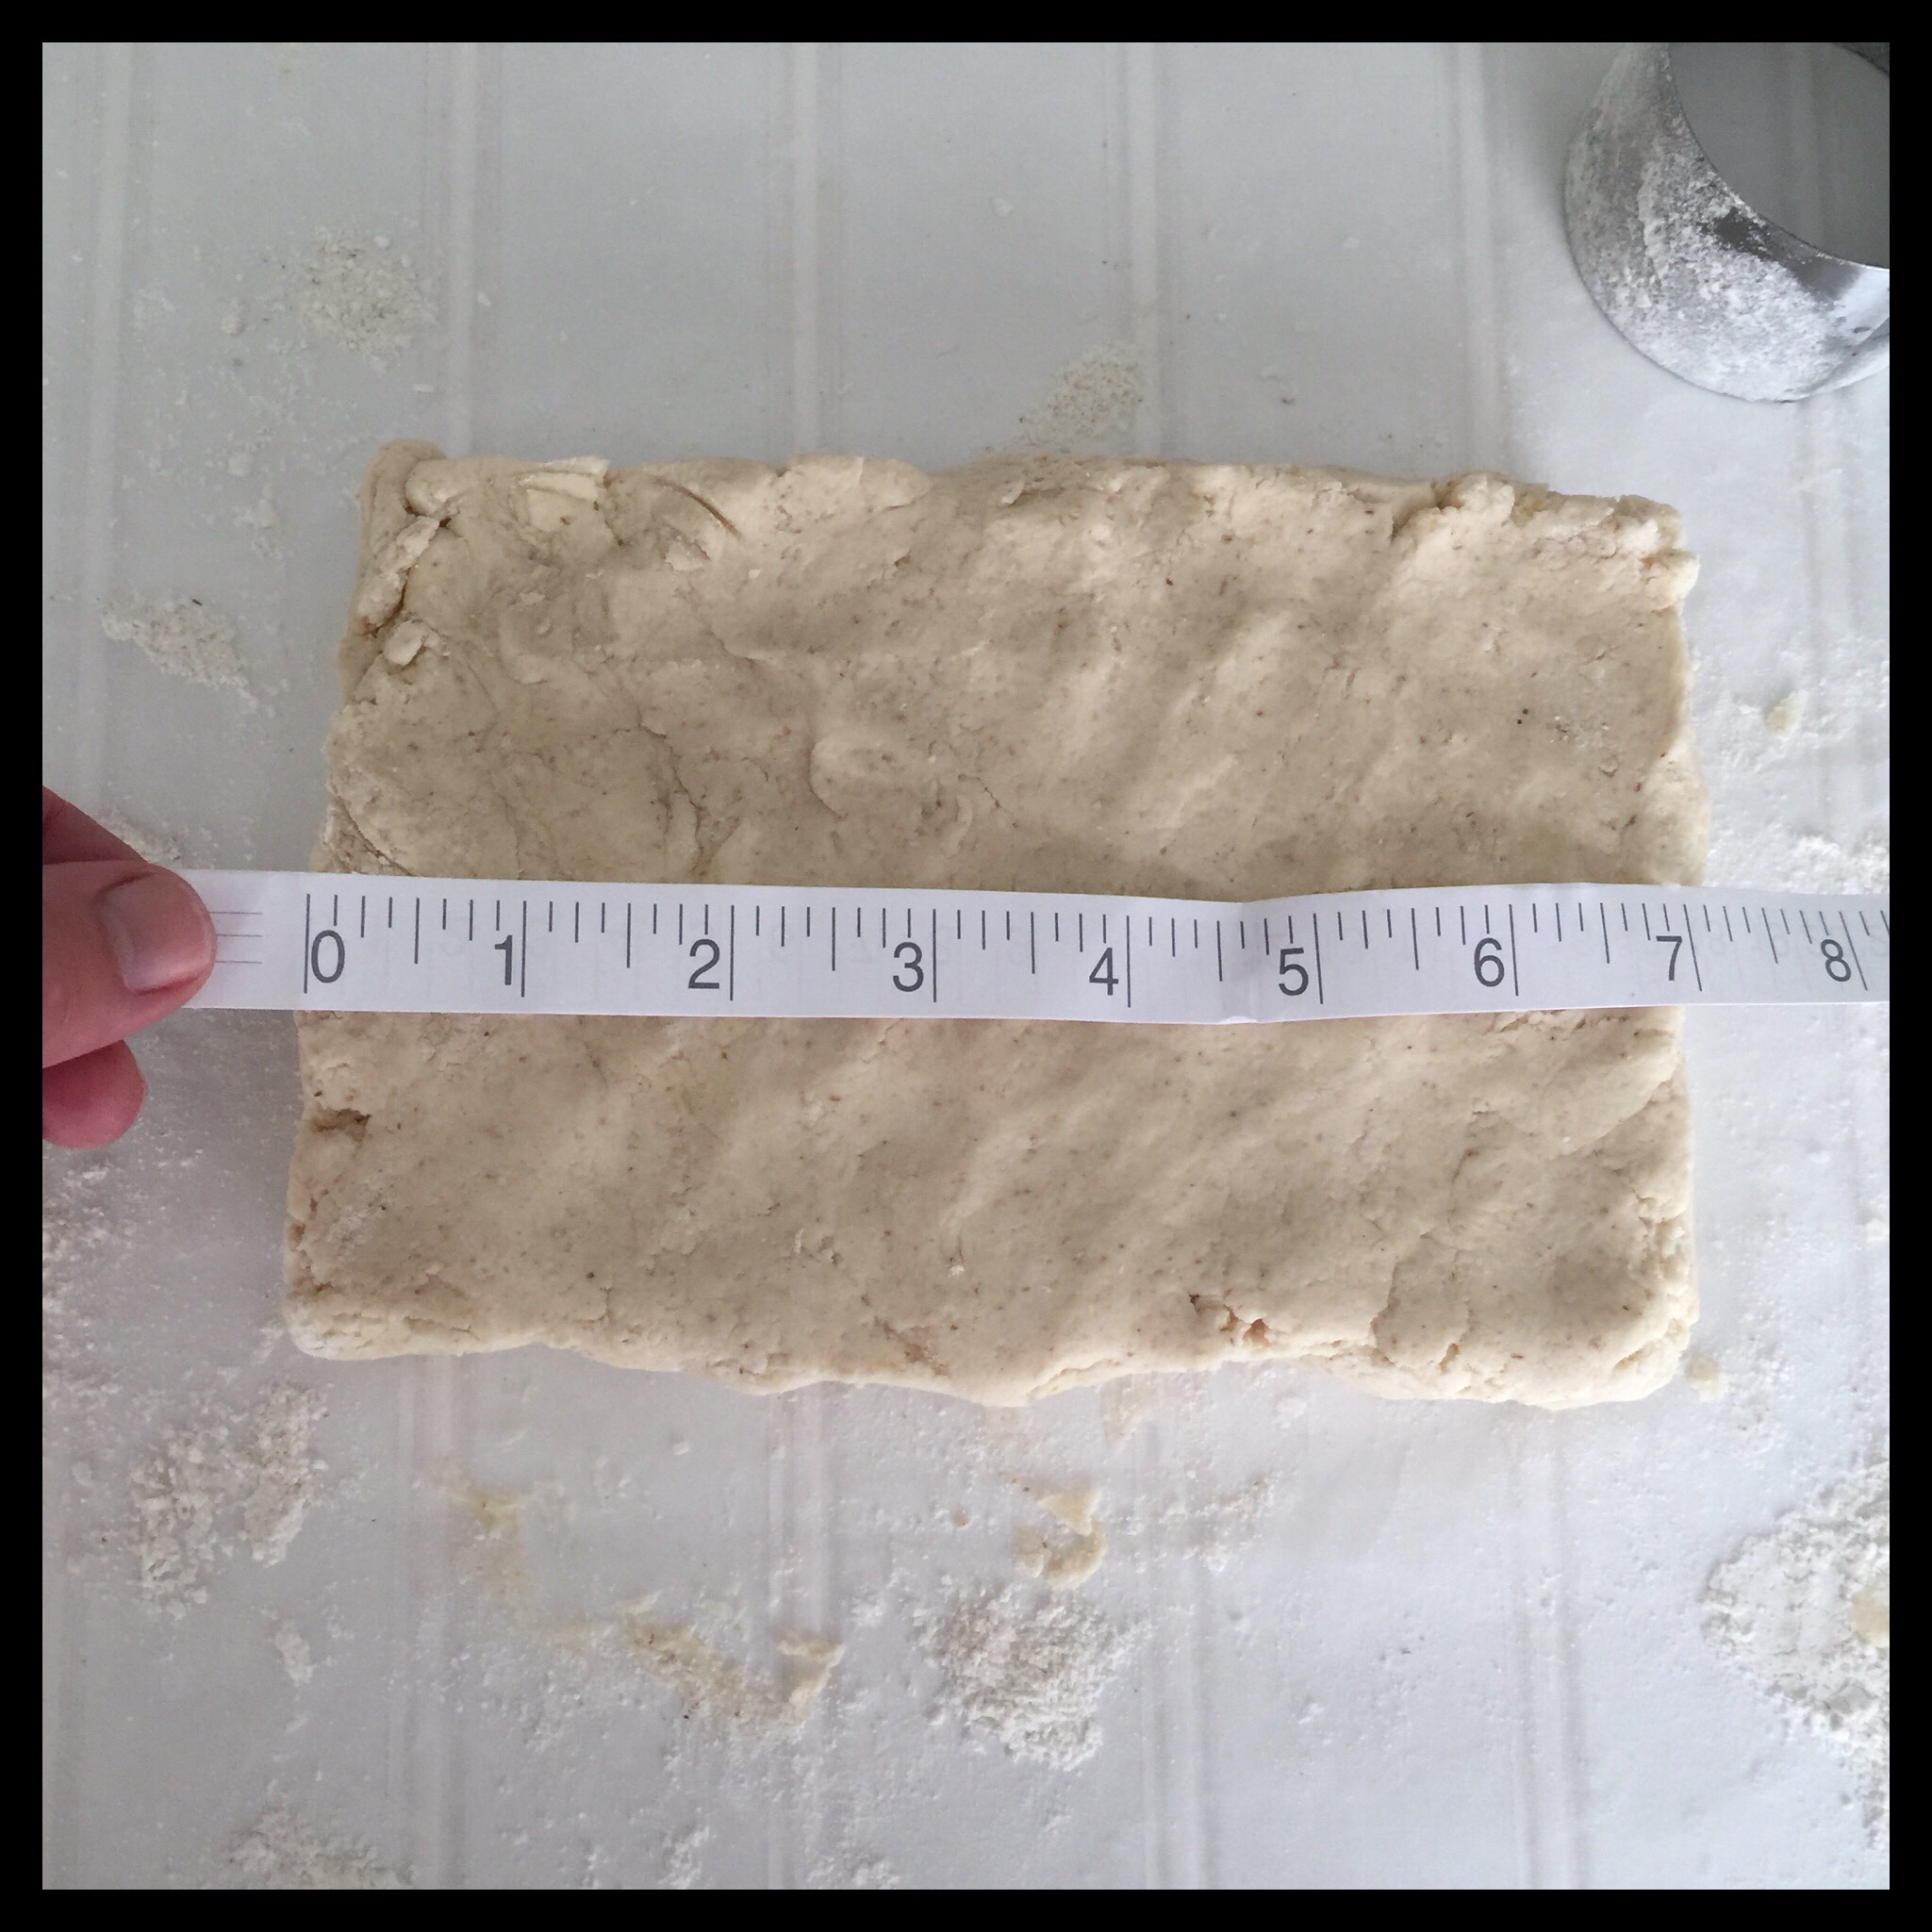
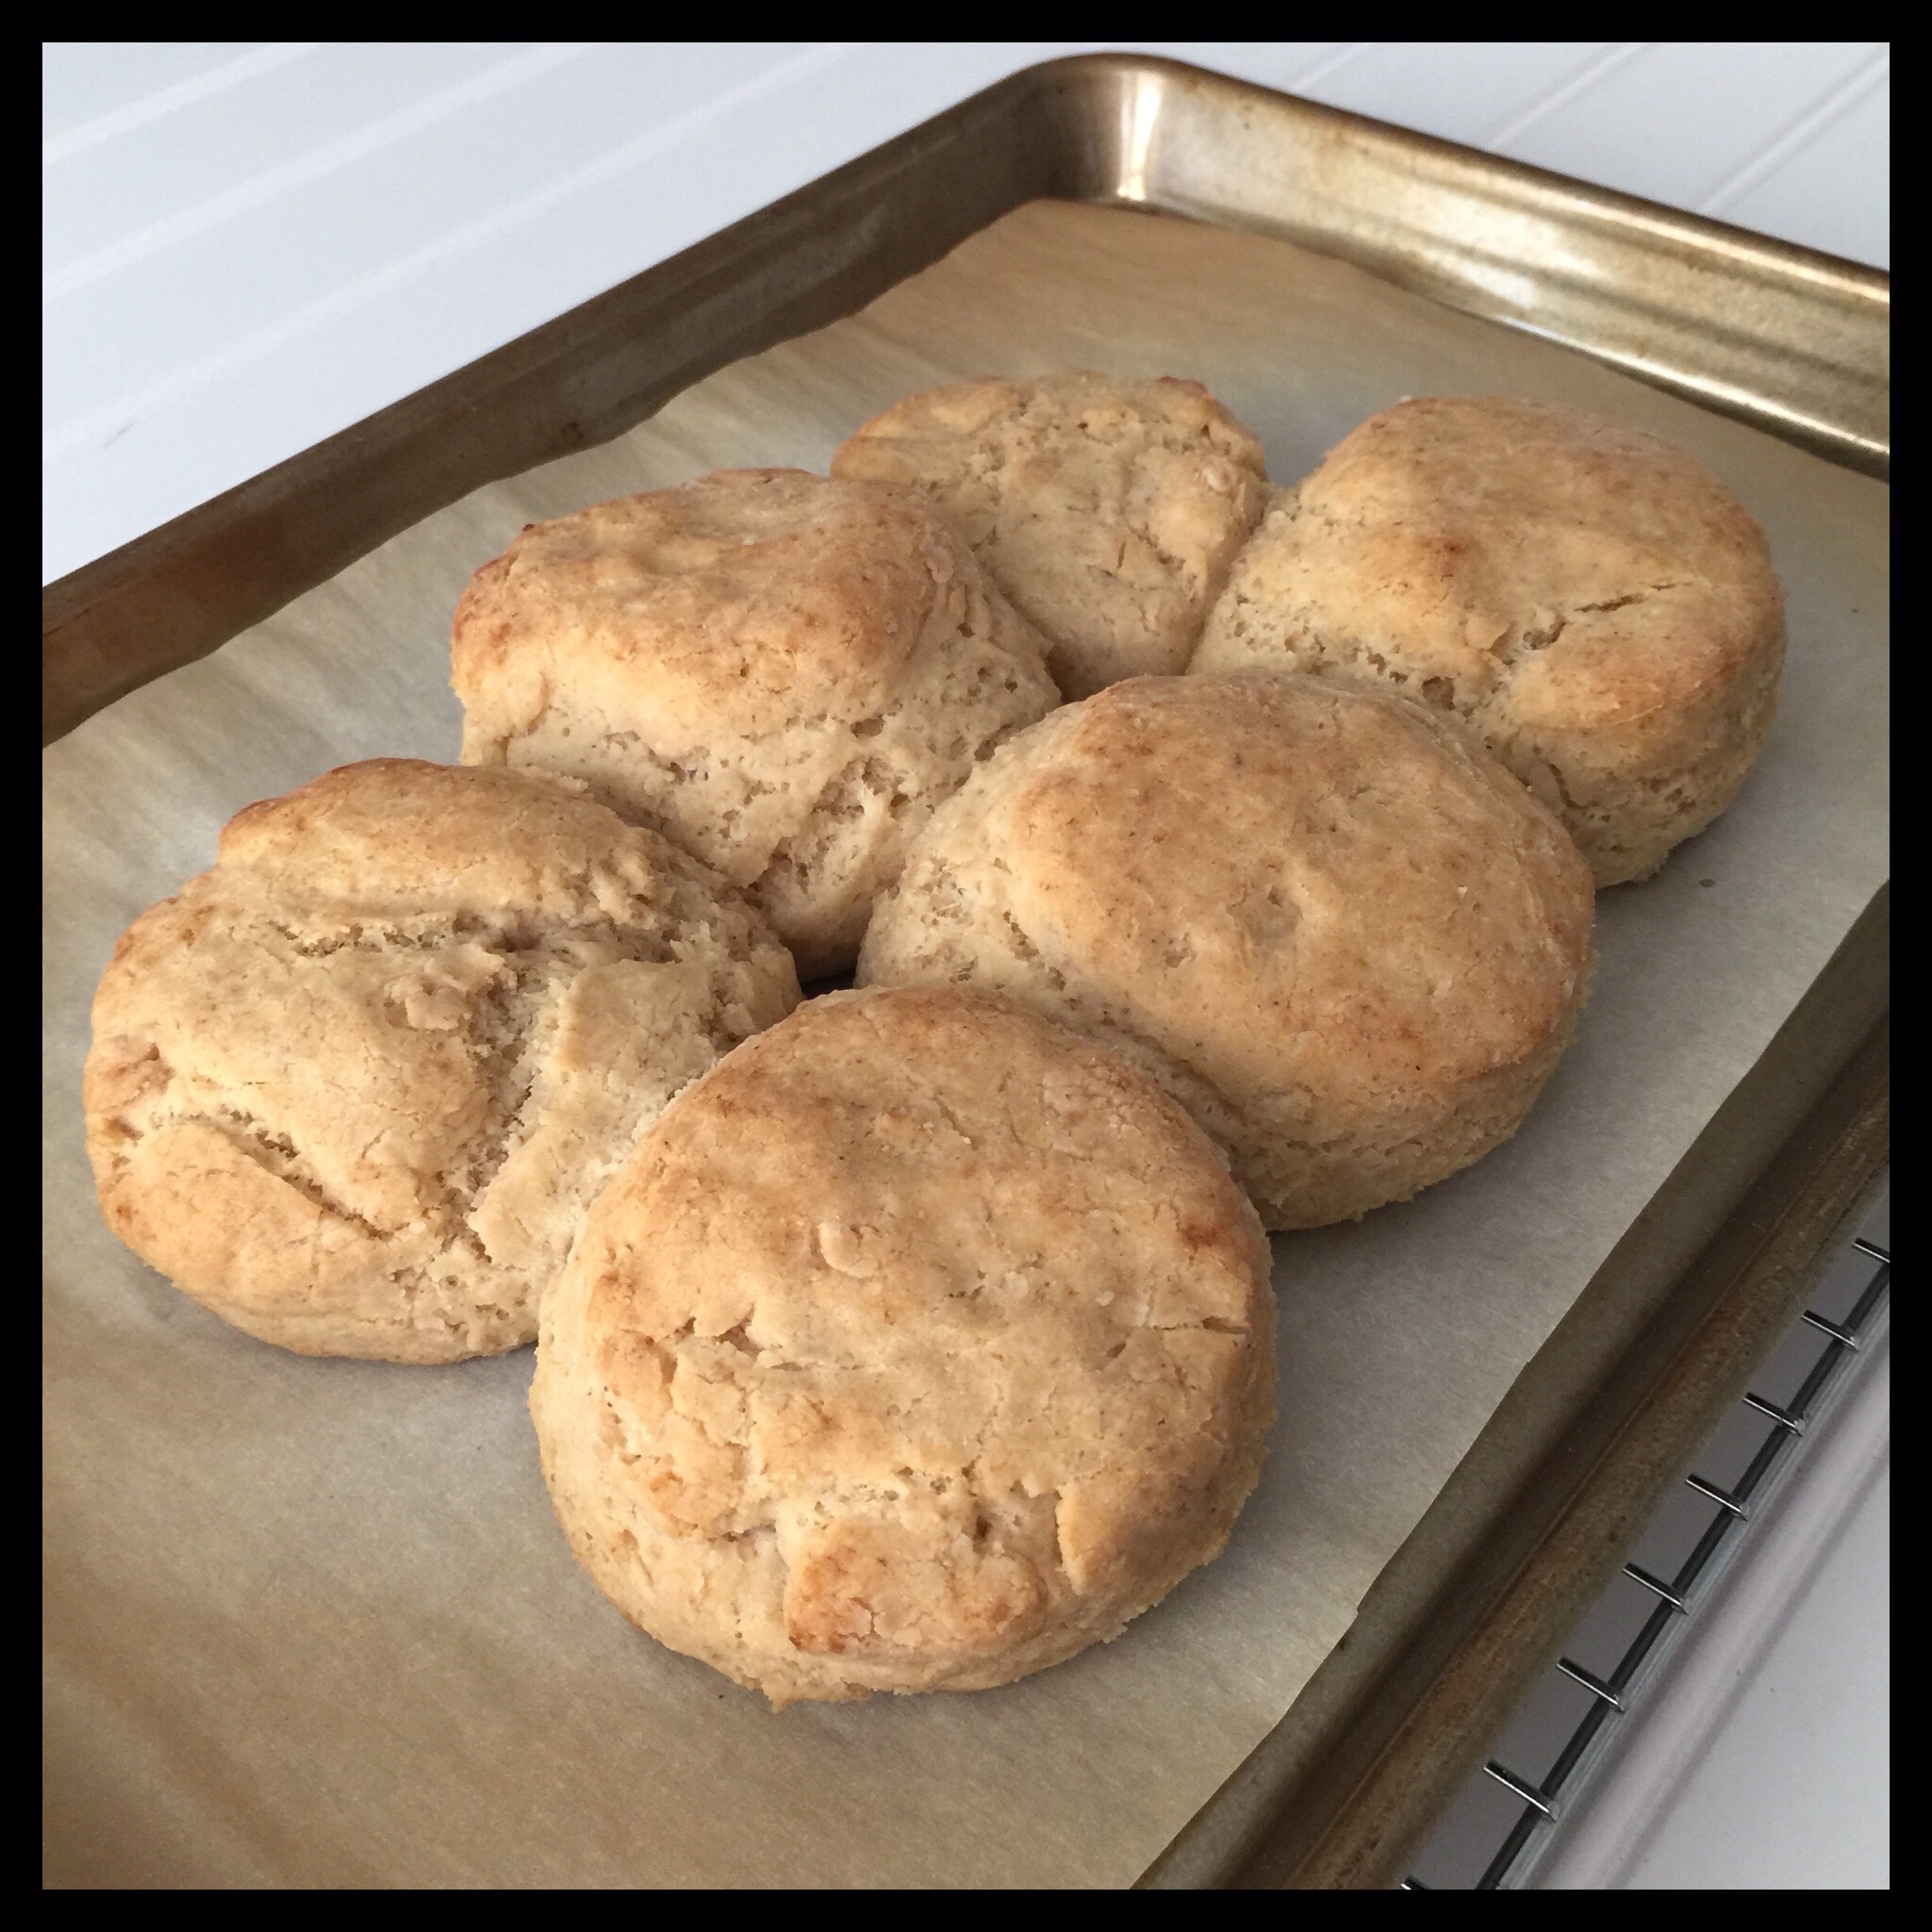
For eight biscuits with a 2 3/8″ cutter, shape the dough into a rectangle 7.0 by 4.5 inches:
Cut six biscuits, pushing straight down and lifting straight up with no twisting at all. Twisting will seal the cut edge of the biscuit and keep it from rising properly. Shake the cutter a bit to release each biscuit, then dip the cutter in flour again before cutting the next biscuit.
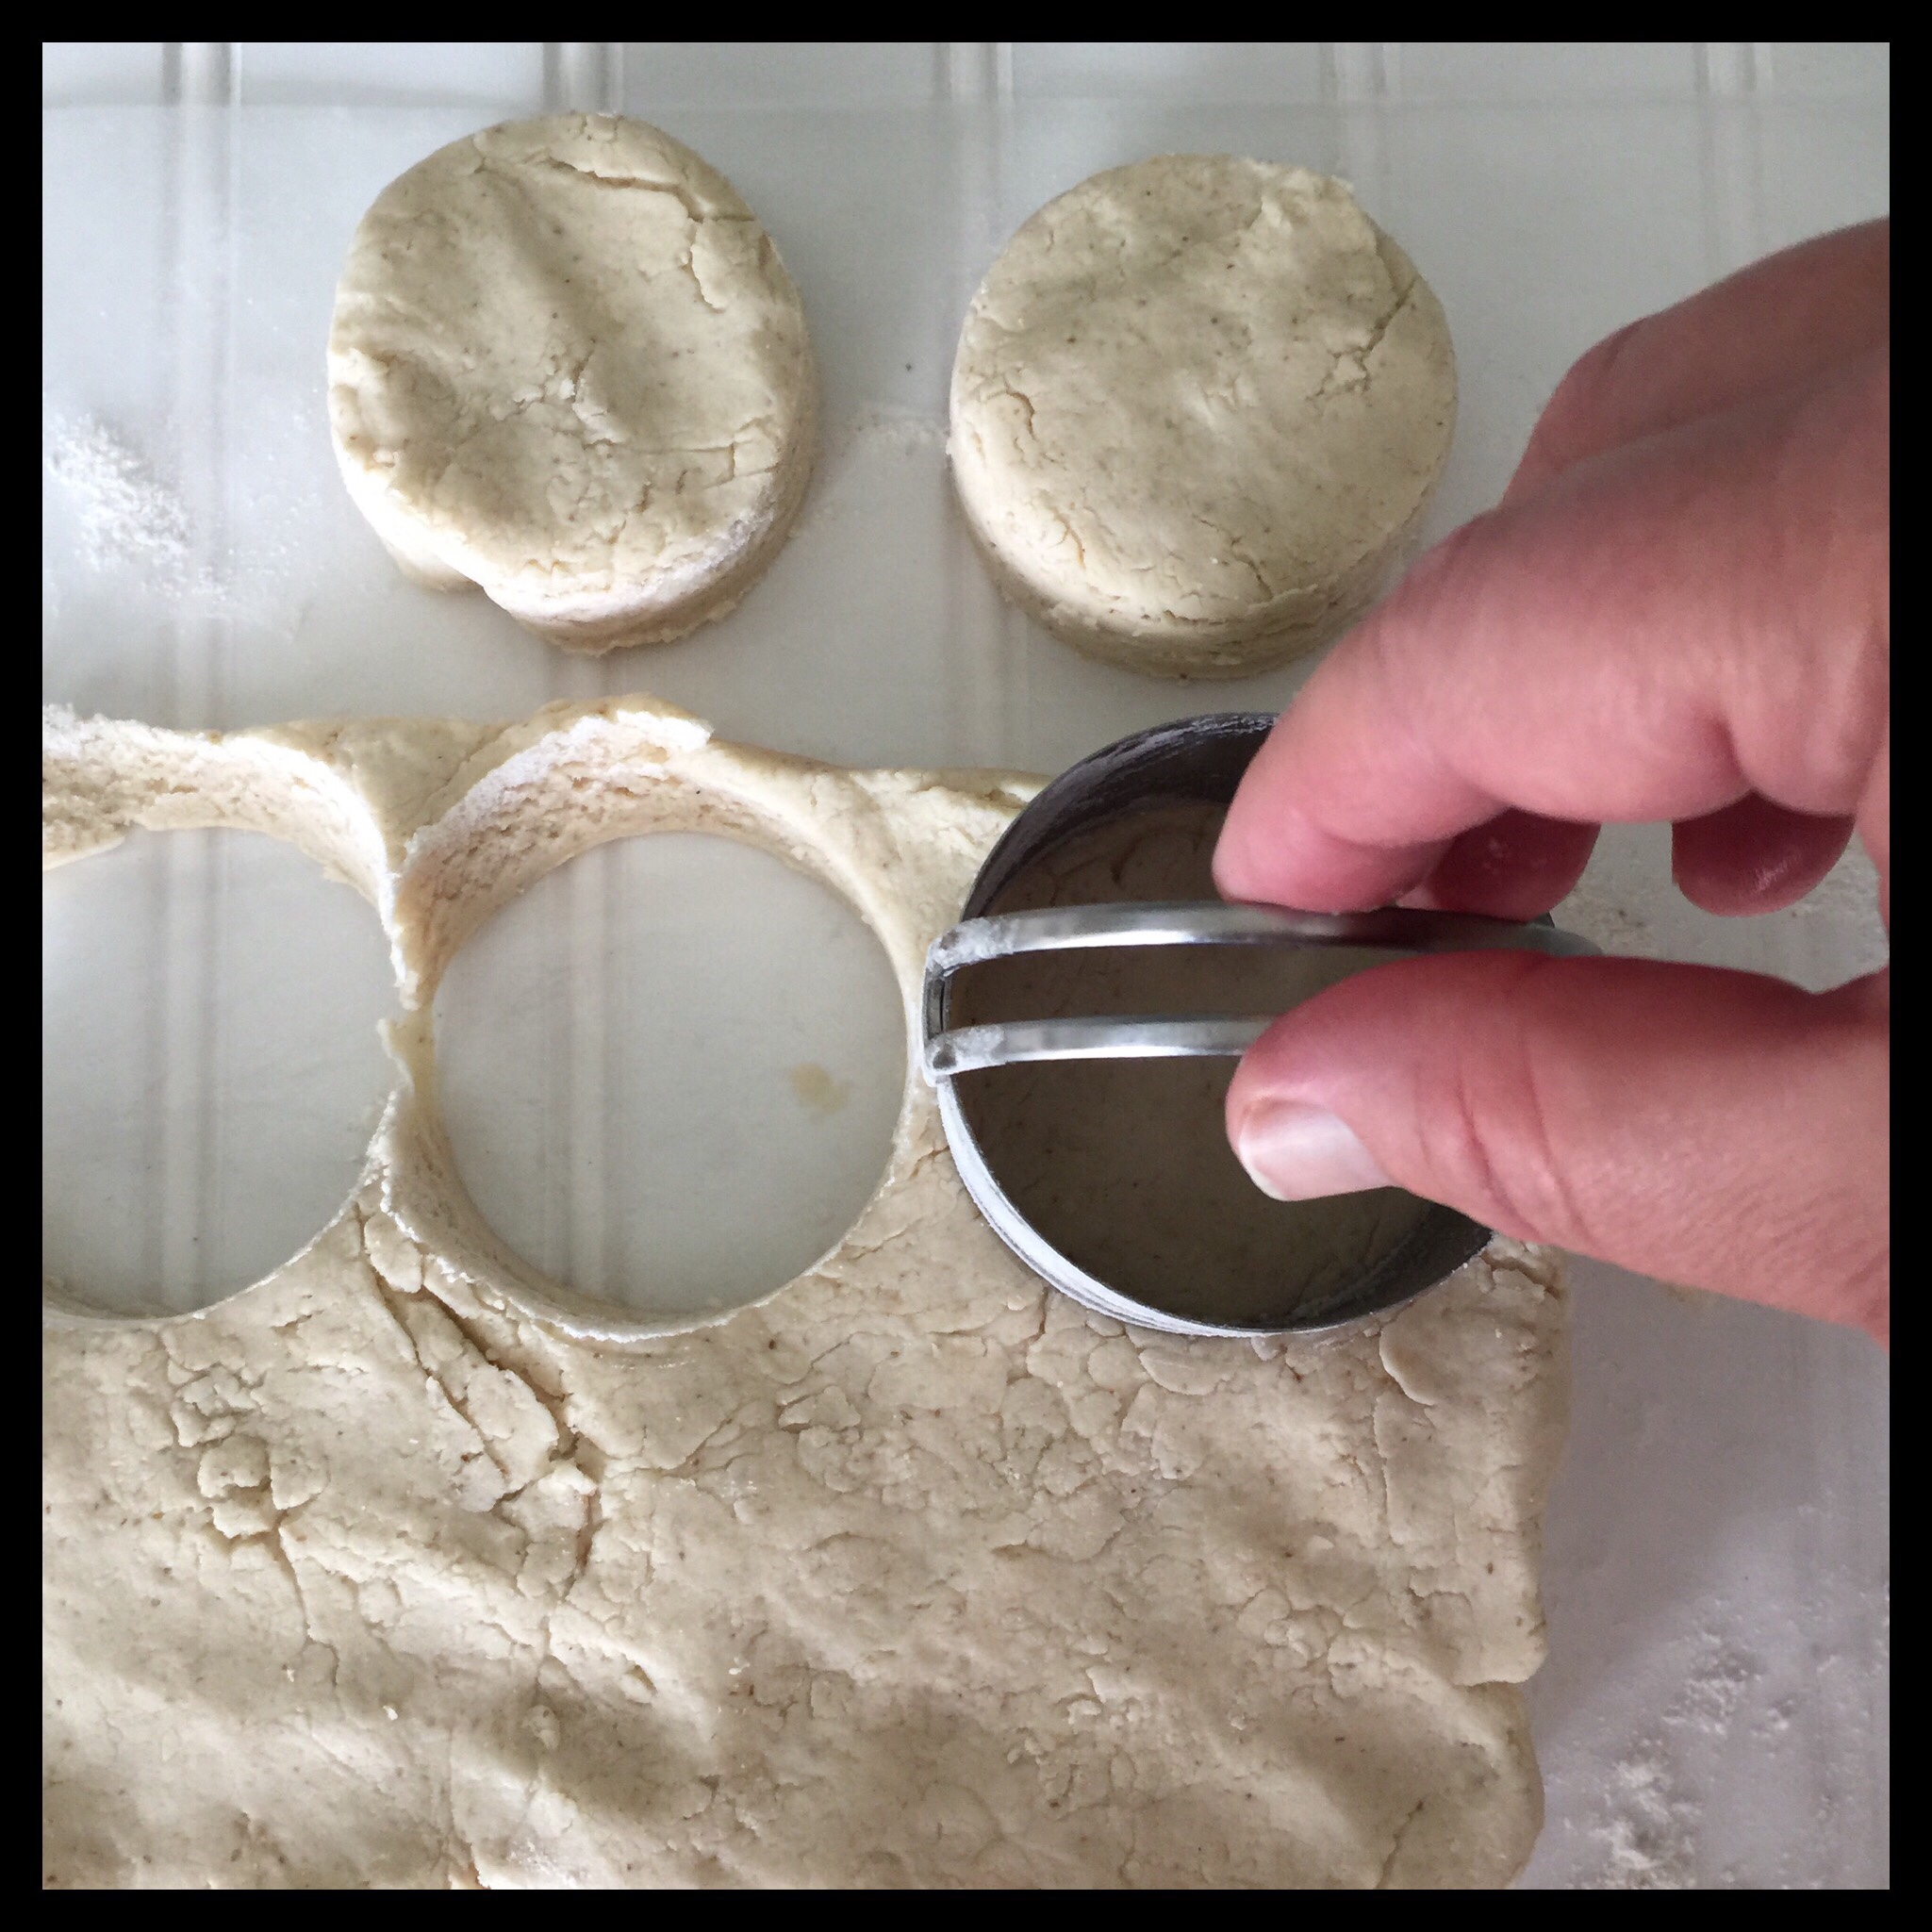
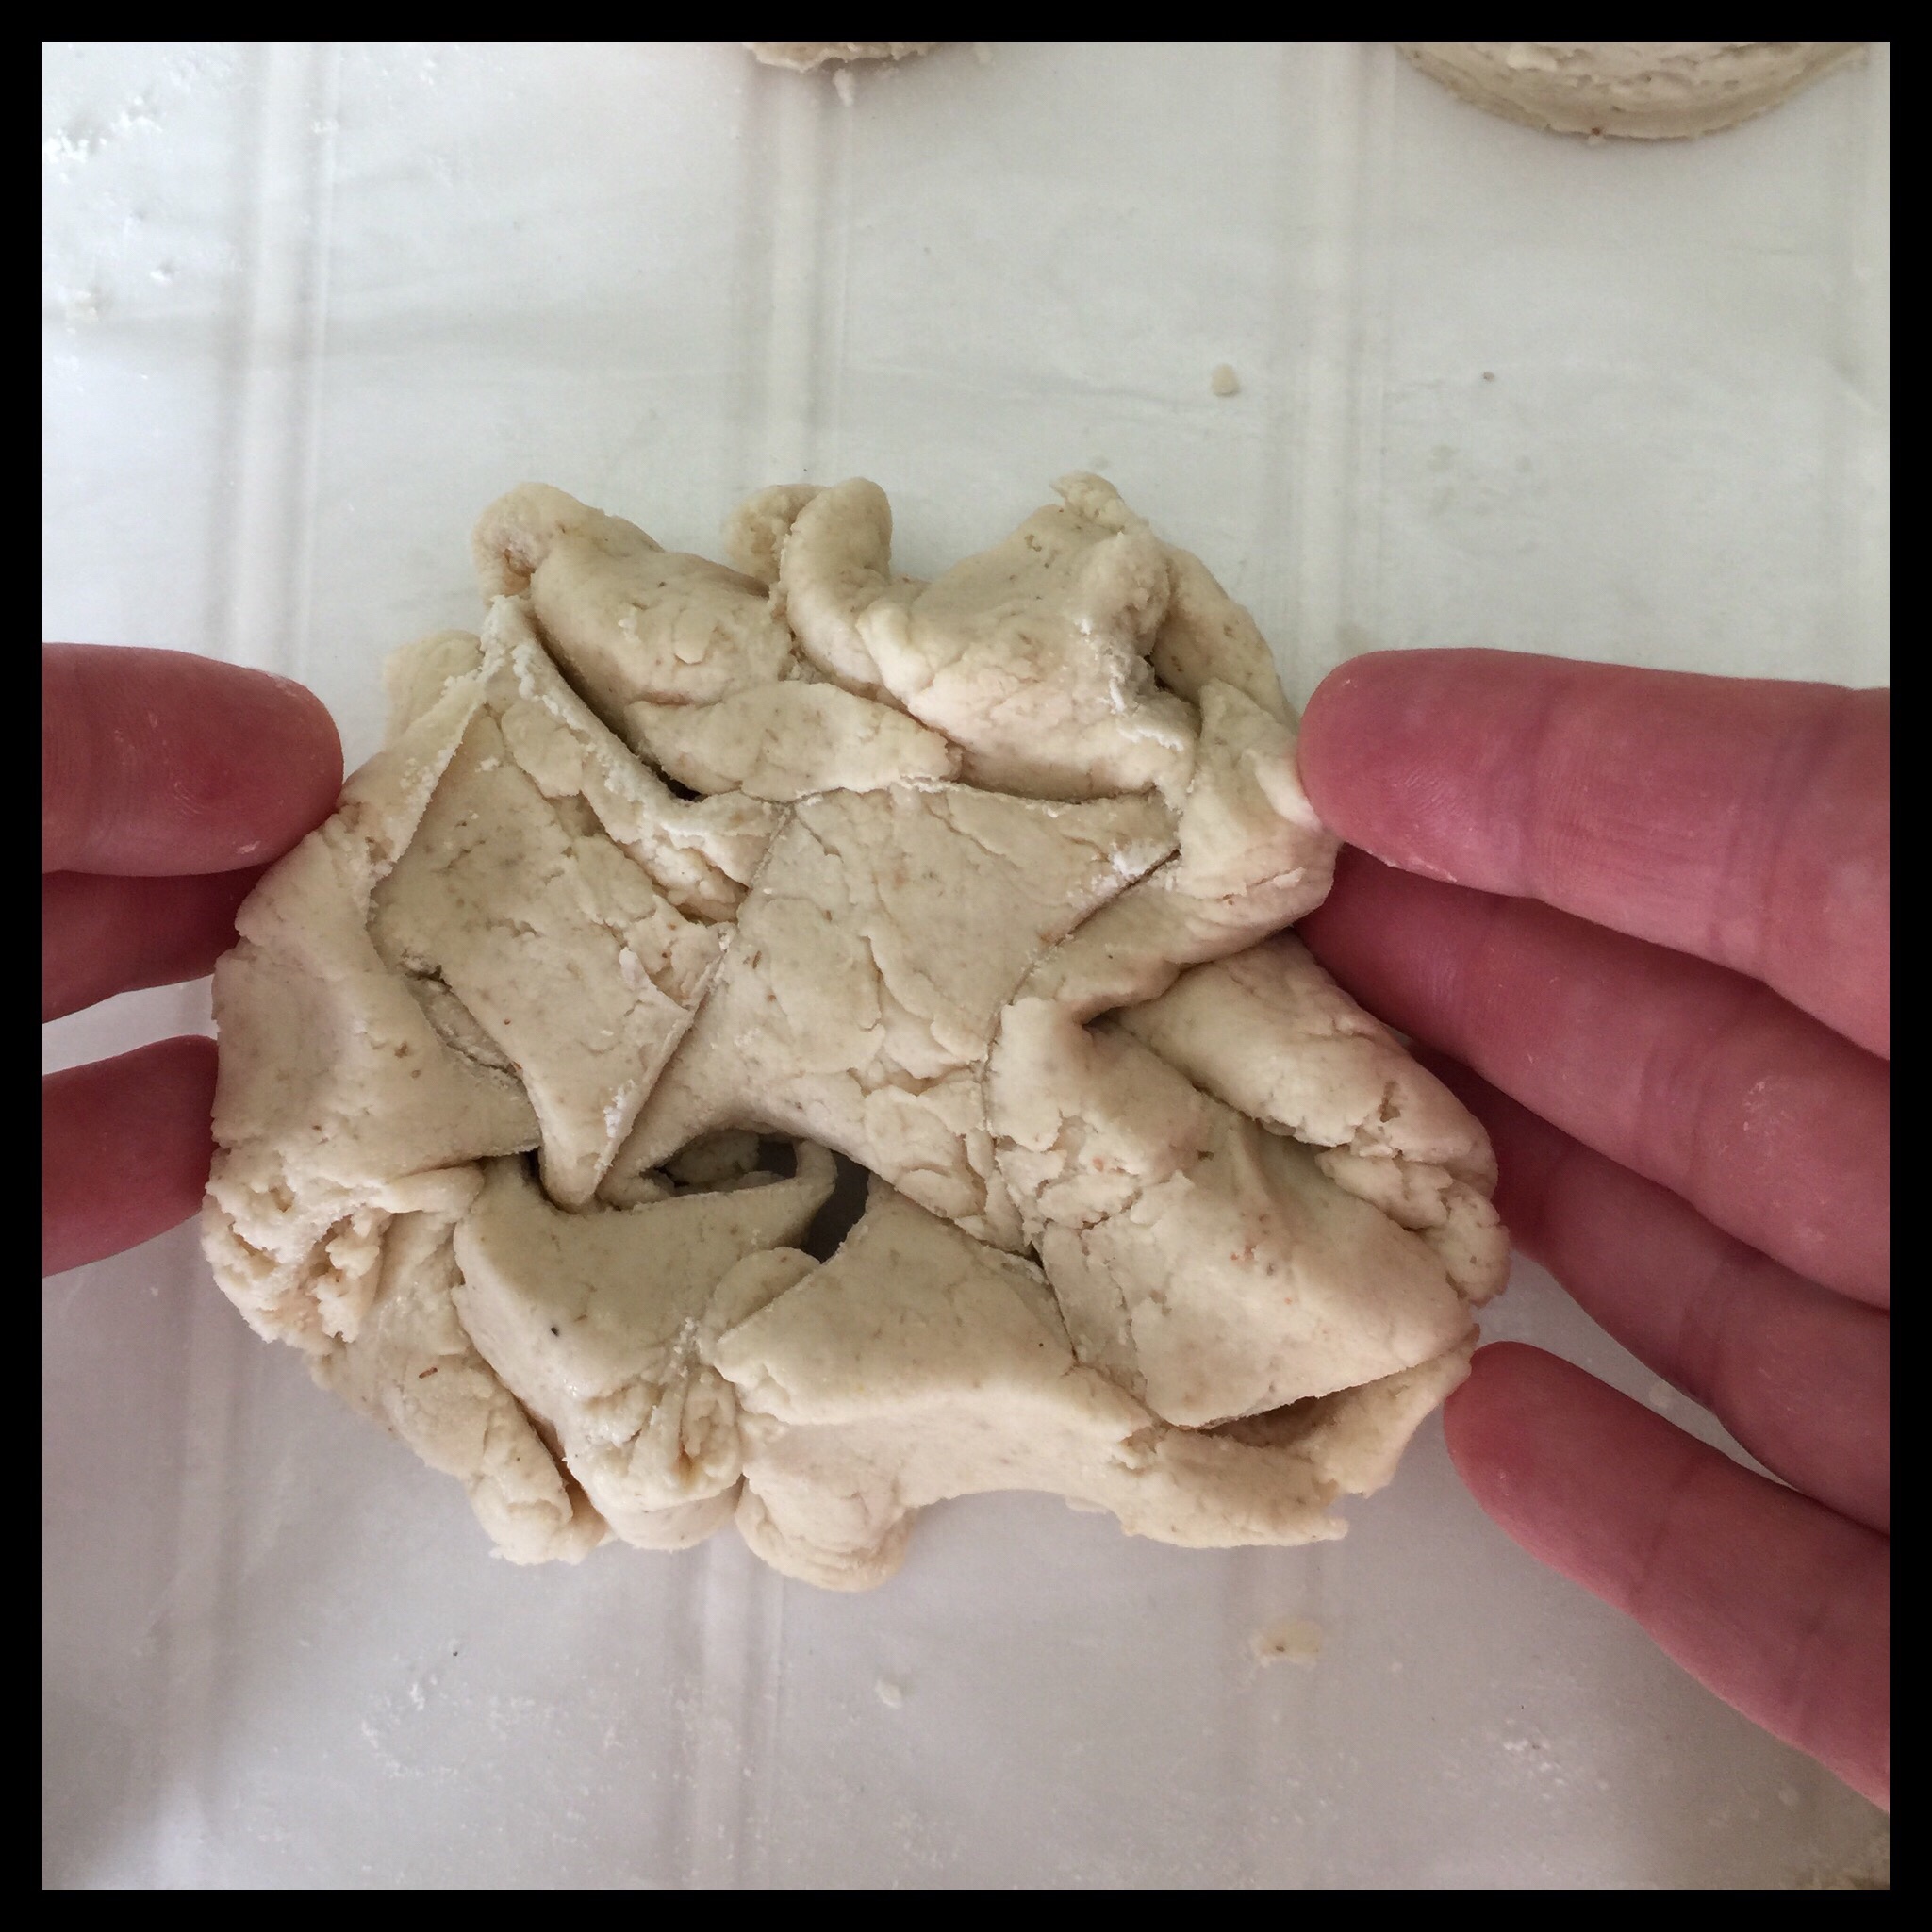
Gather the scraps into a rectangle just big enough for two more biscuits and cut as before:

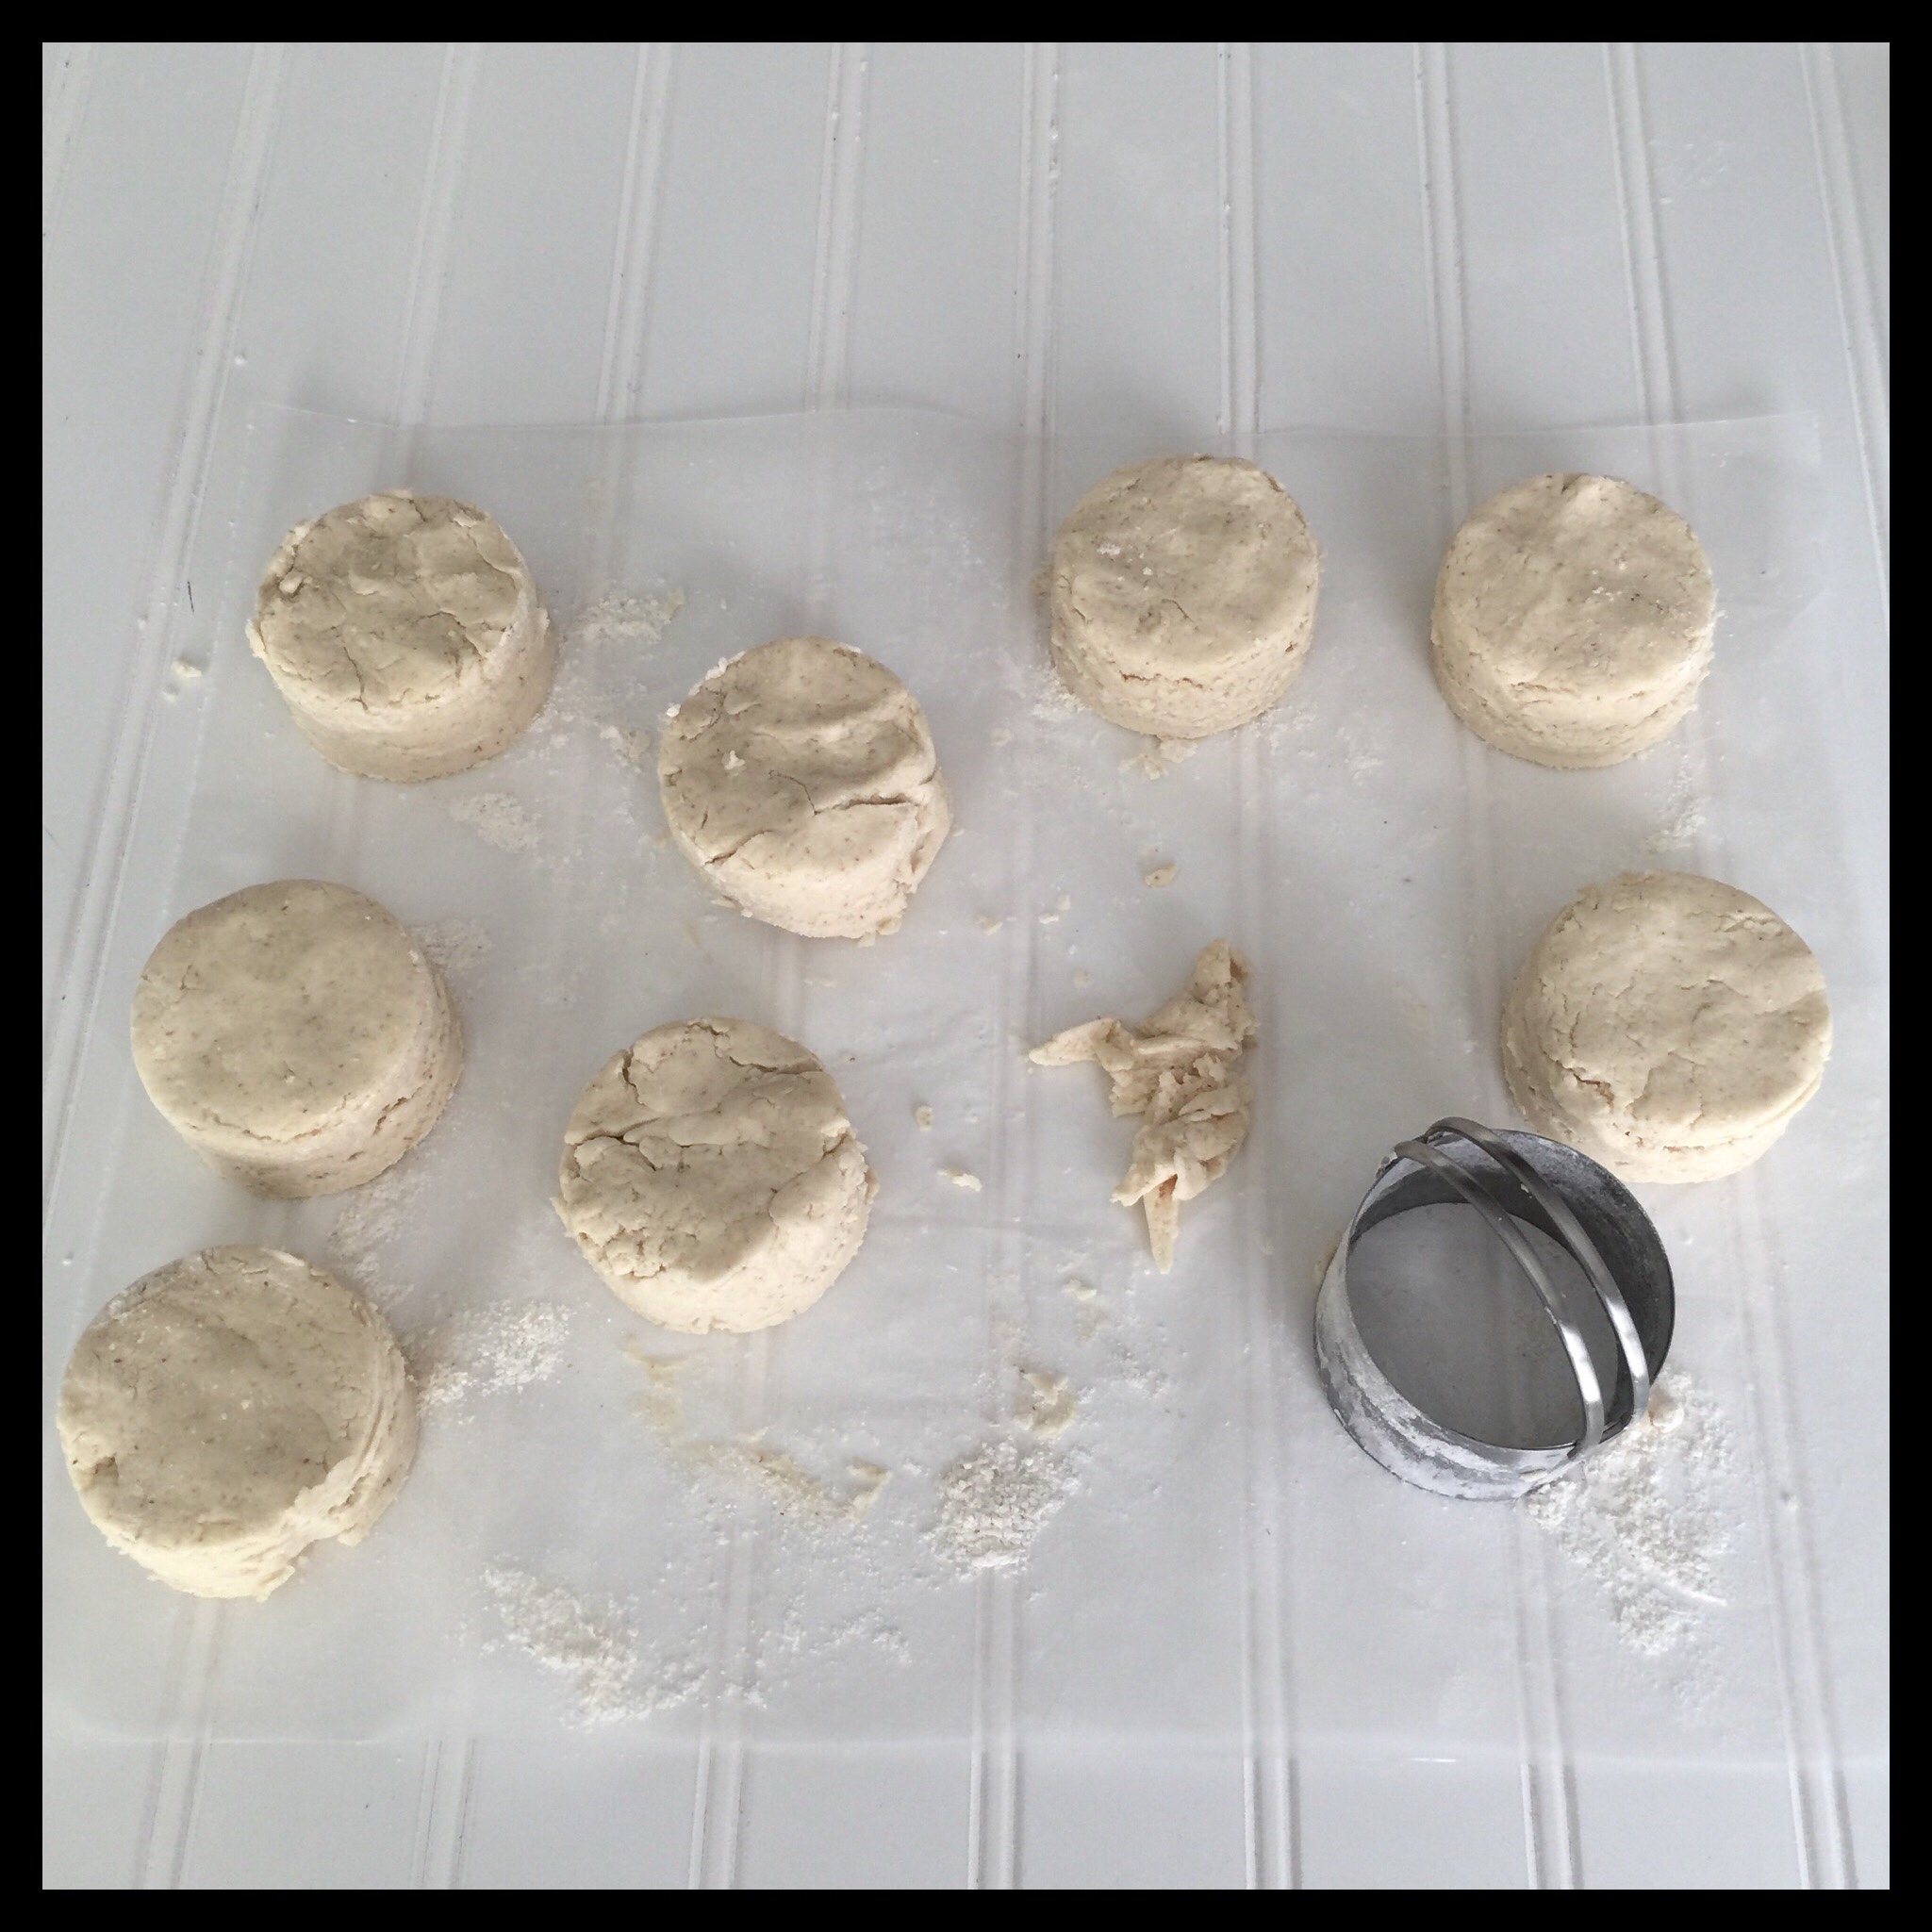
Transfer your biscuits to a parchment or silpat-lined baking sheet. Hold them from the top and bottom or use a spatula when you move them. You want those edges to stay rough and not get sealed or squished together. Place the biscuits on the pan so they are touching if you like softer sides, and up to 1/4″ apart if you like crunchier sides. (I personally like to place the biscuits almost touching but not even 1/8″ apart to get the best rise without them tipping to the side too much as they bake.)
Place the pan in the freezer and set a timer for 30 minutes. This will rechill the fat and help your biscuits to bake up light and fluffy.
Preheat your oven to 450 degrees Fahrenheit while the biscuits are chilling. (I turn my oven on as soon as I put the biscuits in the freezer, because my oven takes 20 minutes to get up to temperature and I forget to come back to turn it on if I wait!)
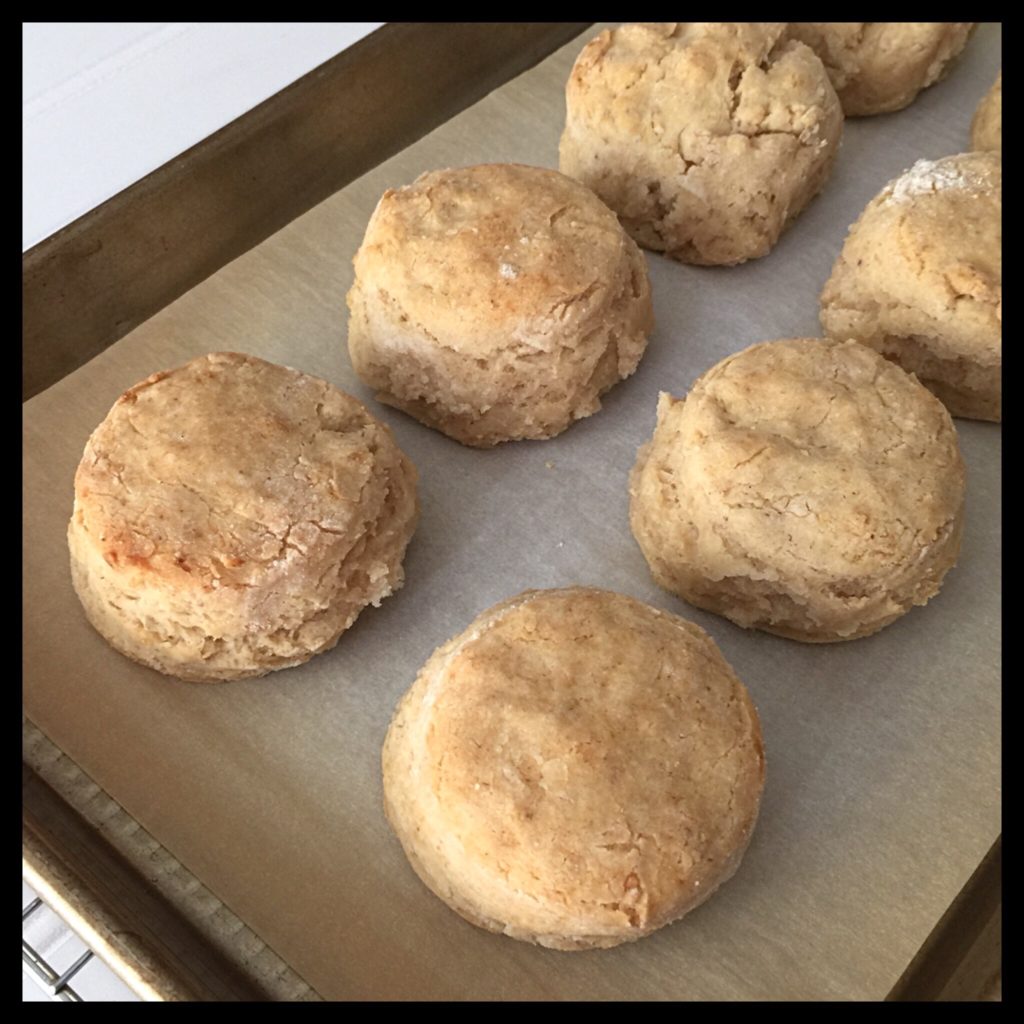
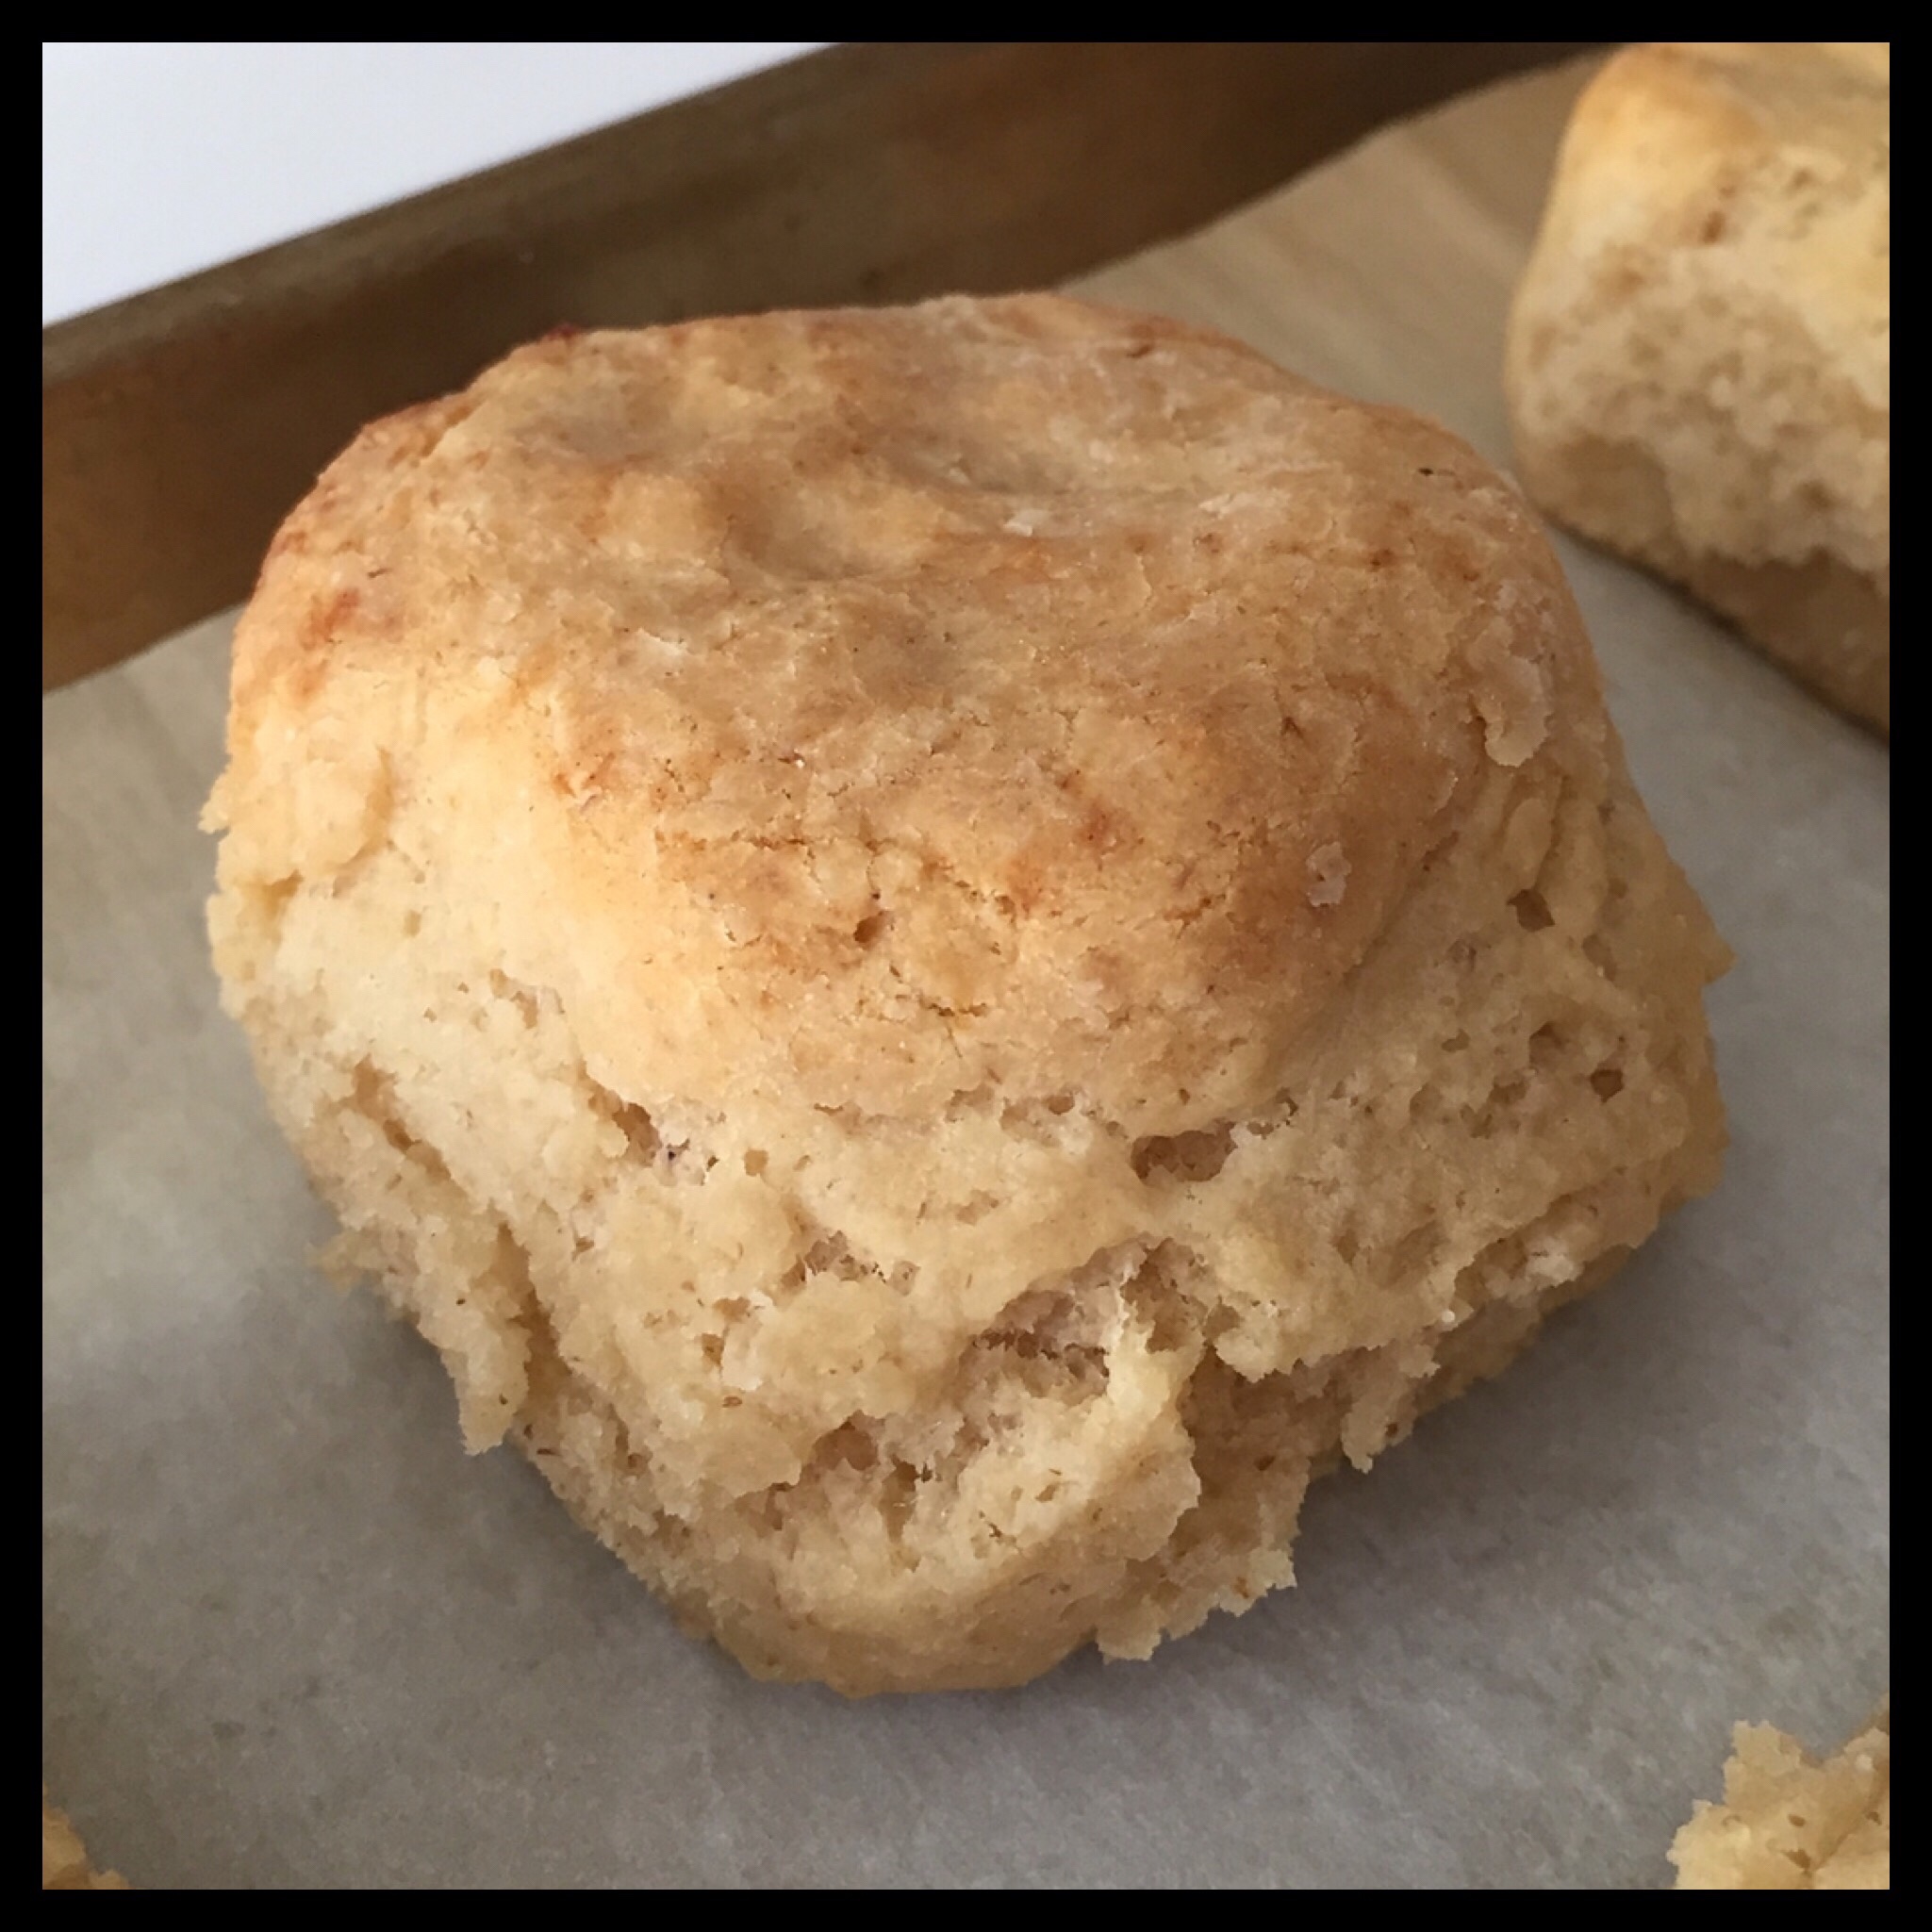
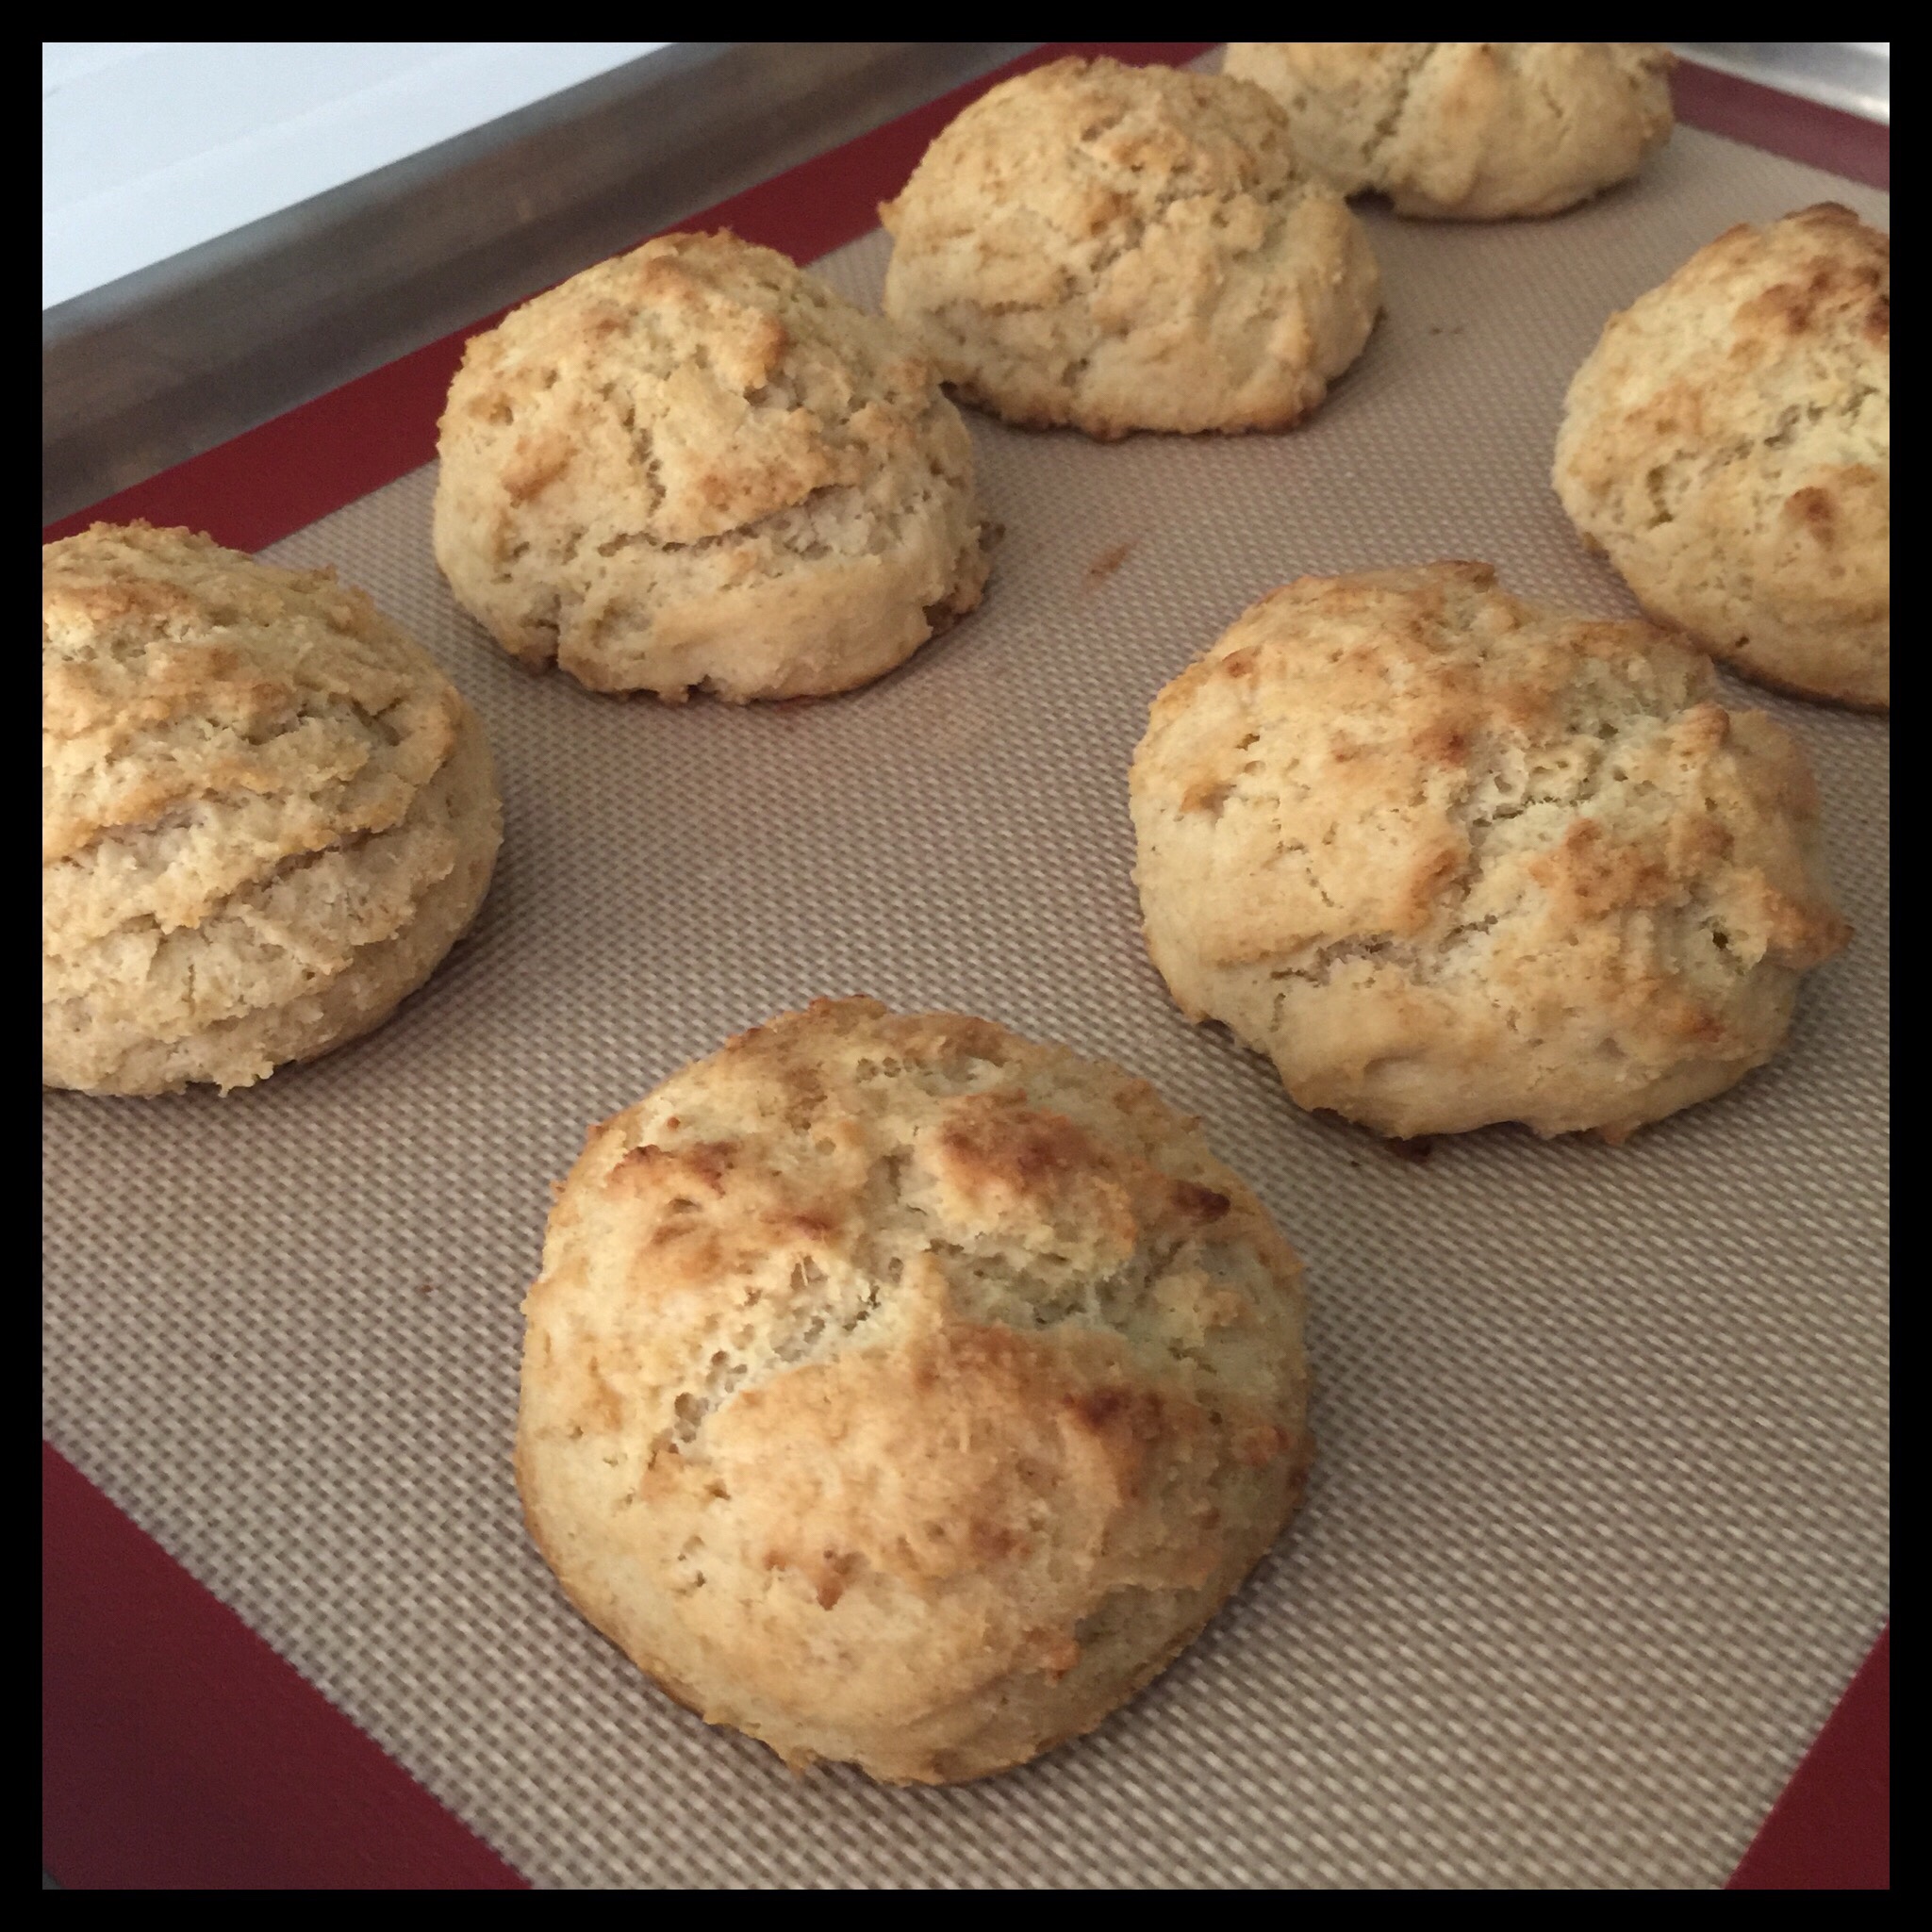
Bake the chilled biscuits for about 22 minutes at 450 degrees Fahrenheit until the tops are golden brown:
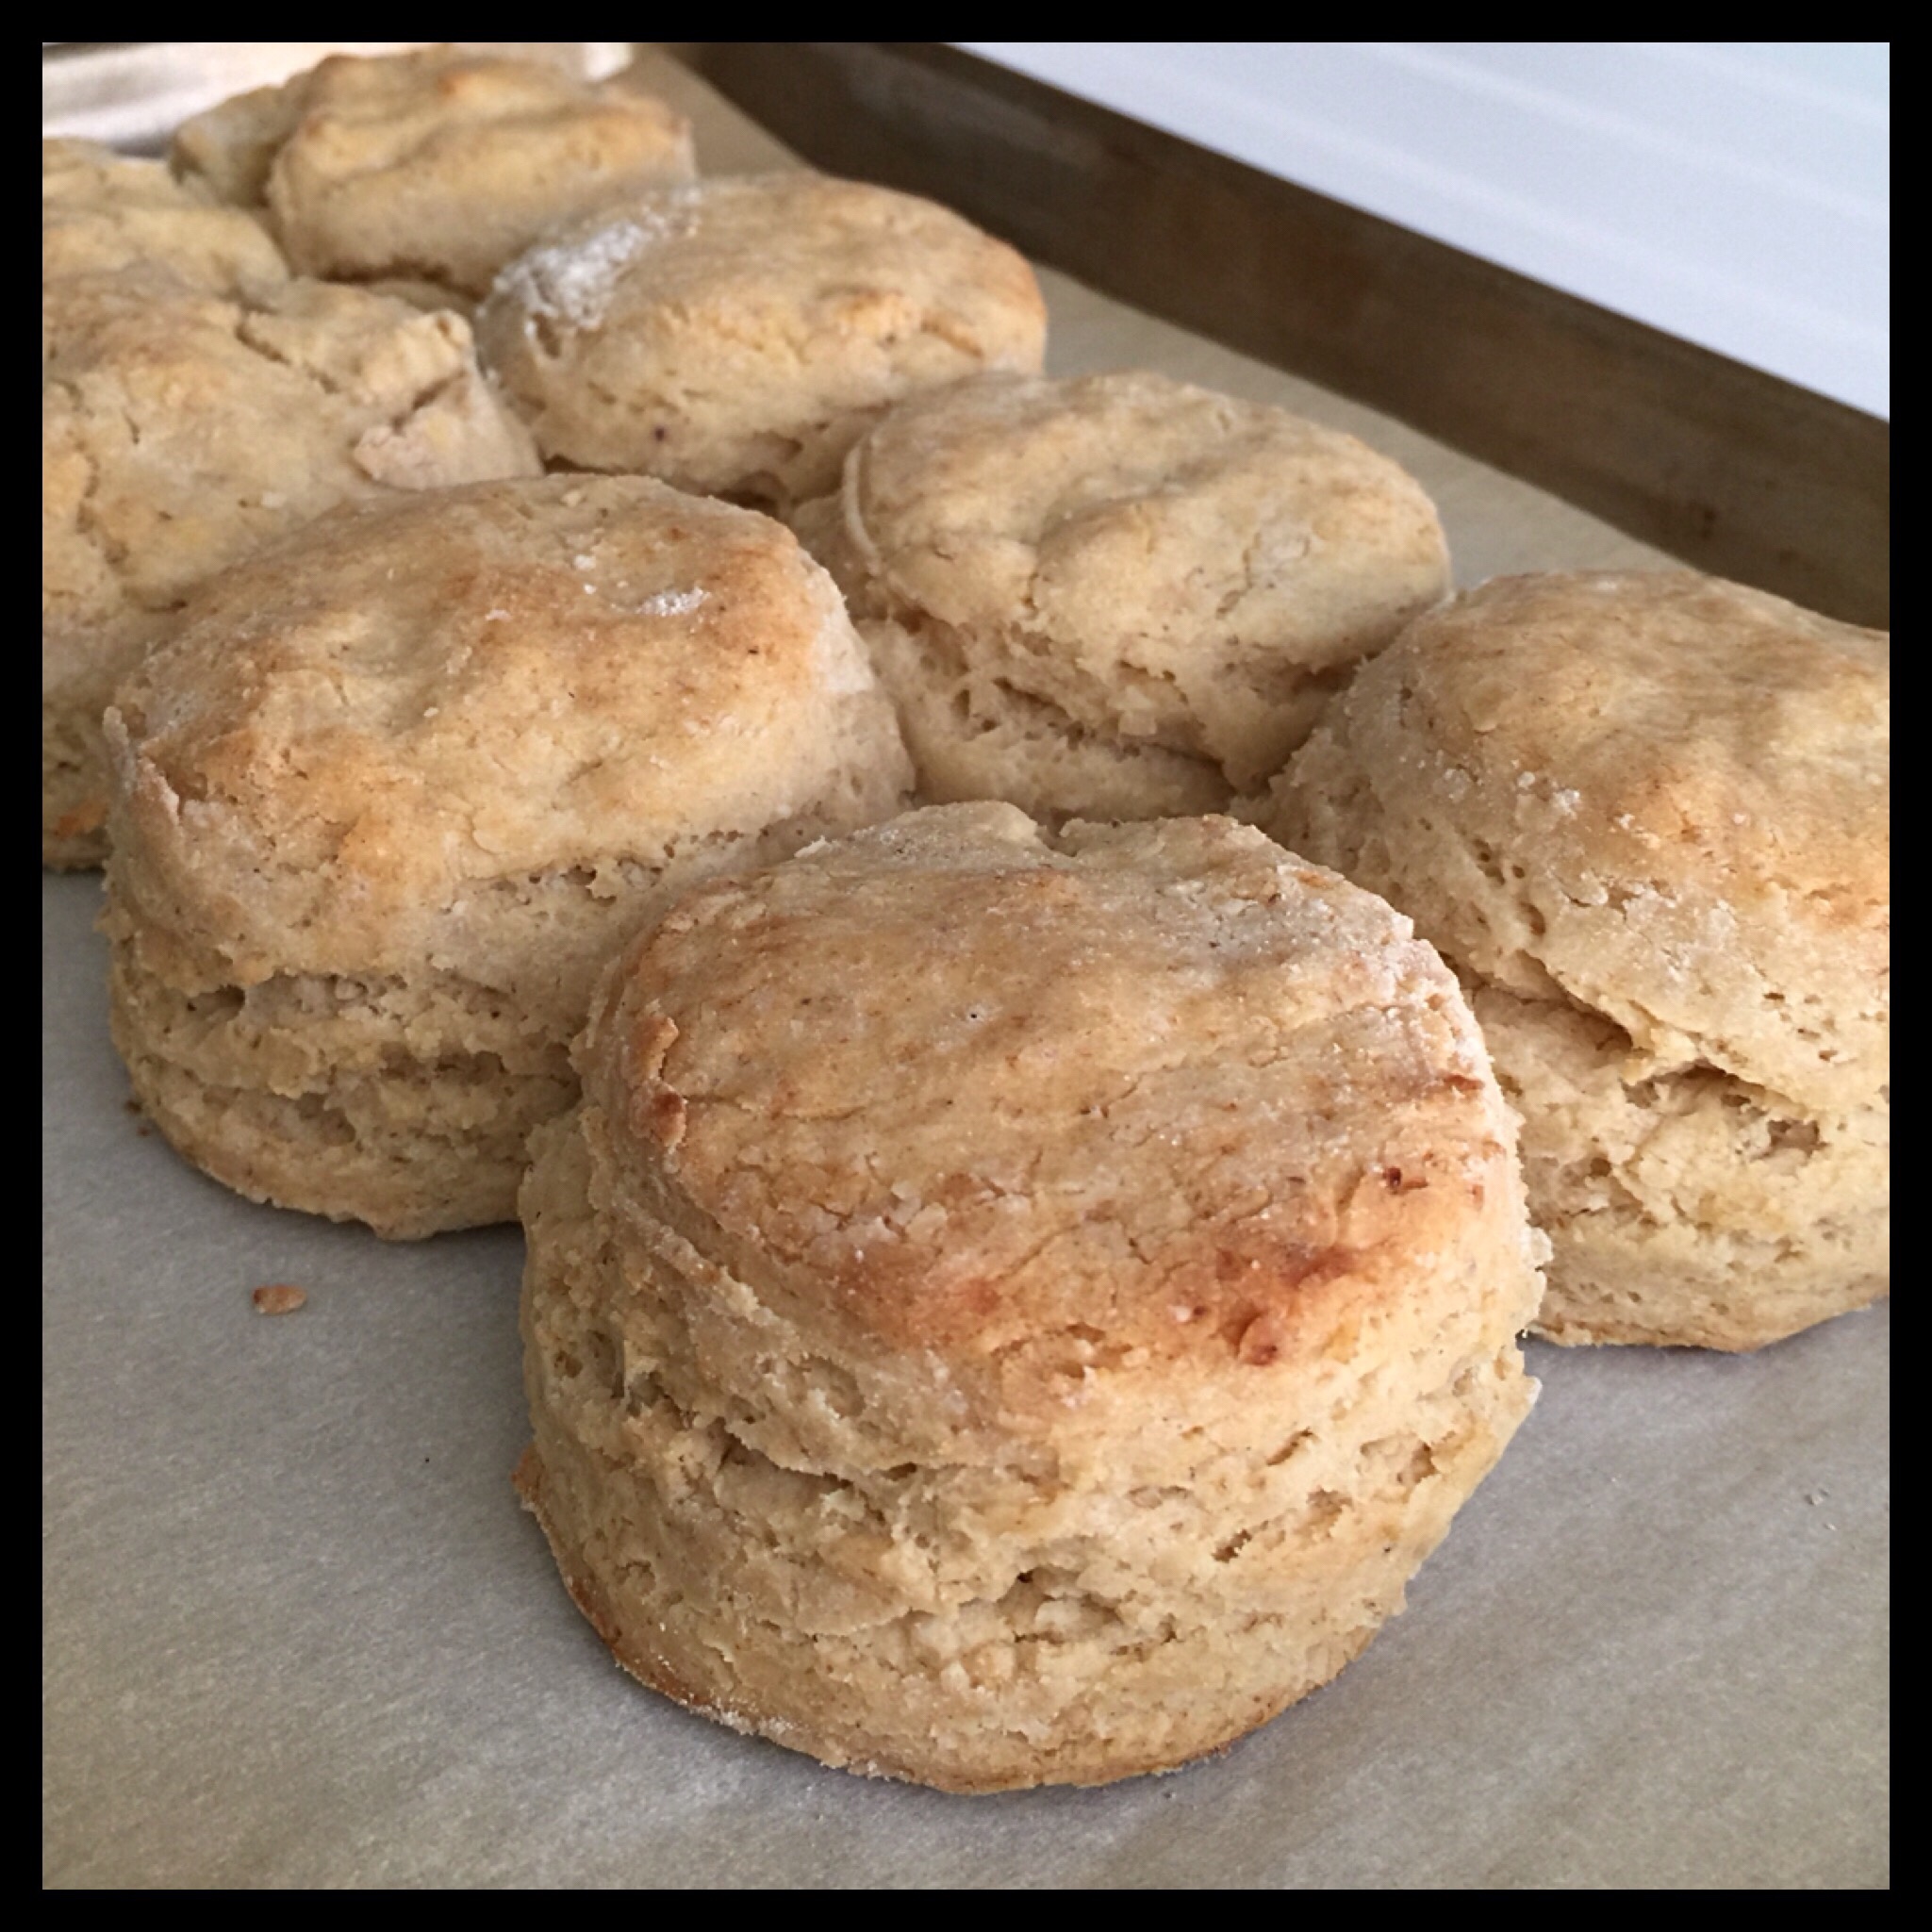
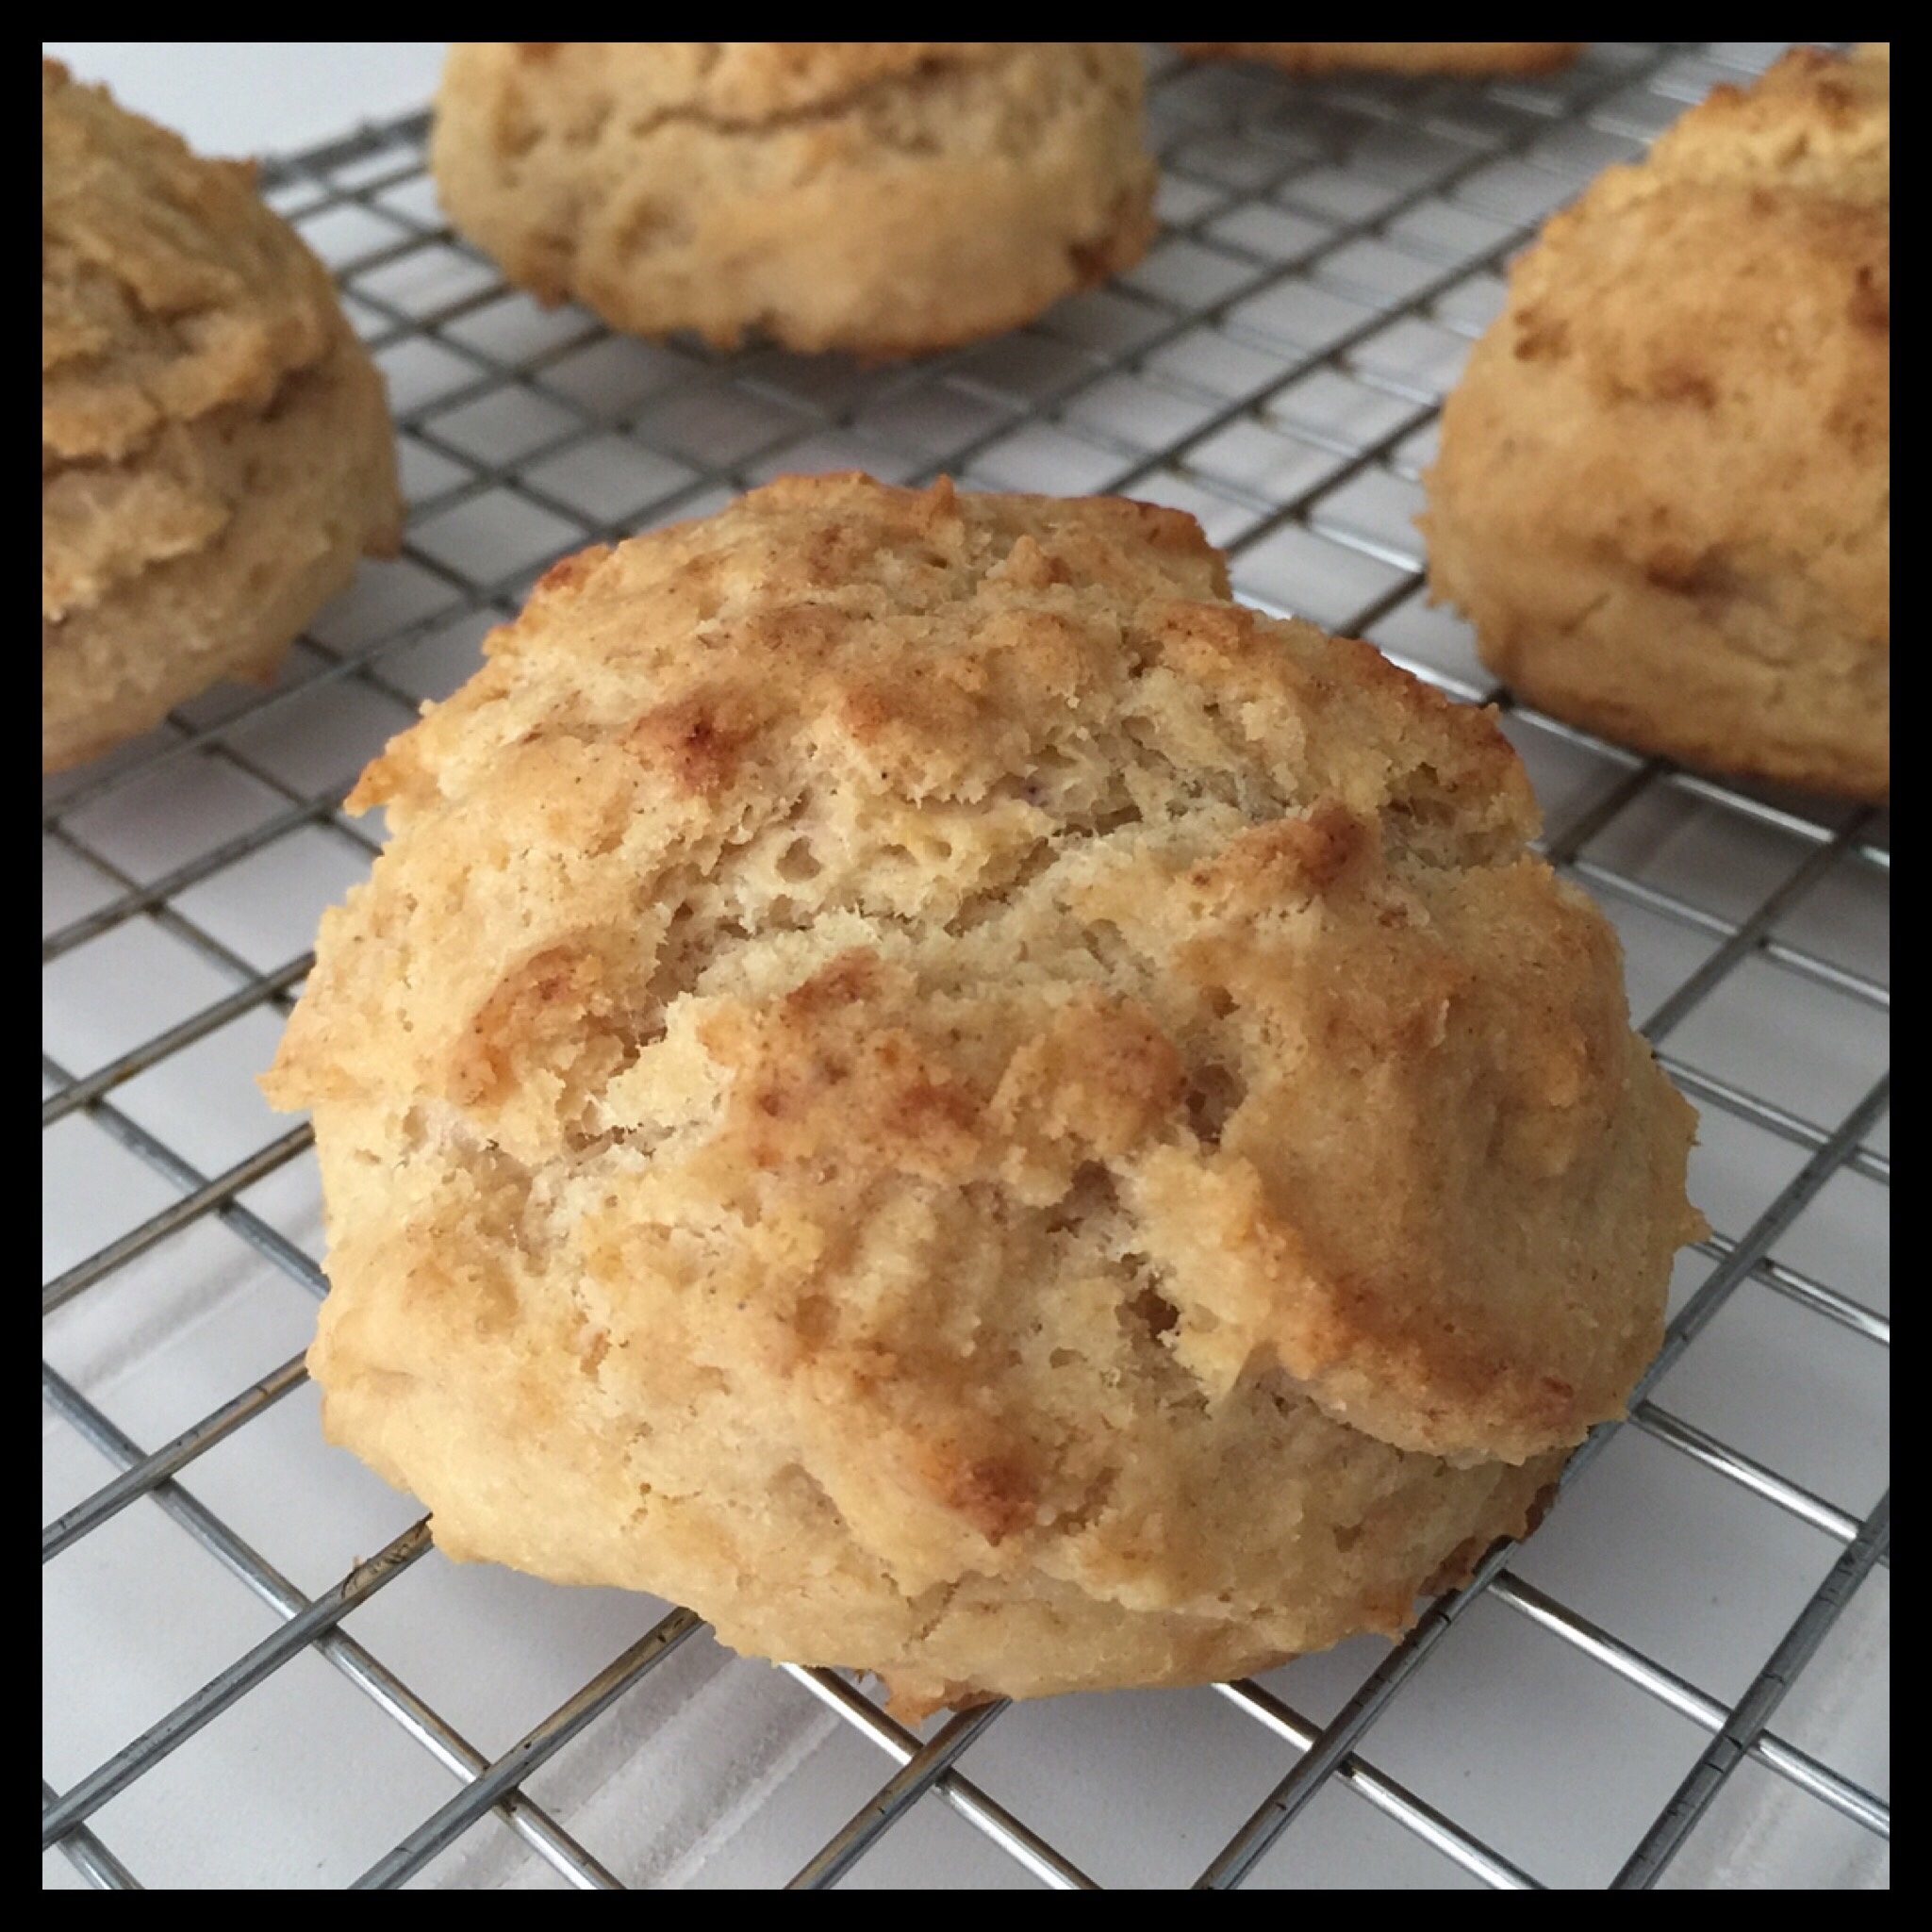
Separate the biscuits and let them cool to just warm before serving:

Look at that lovely texture!
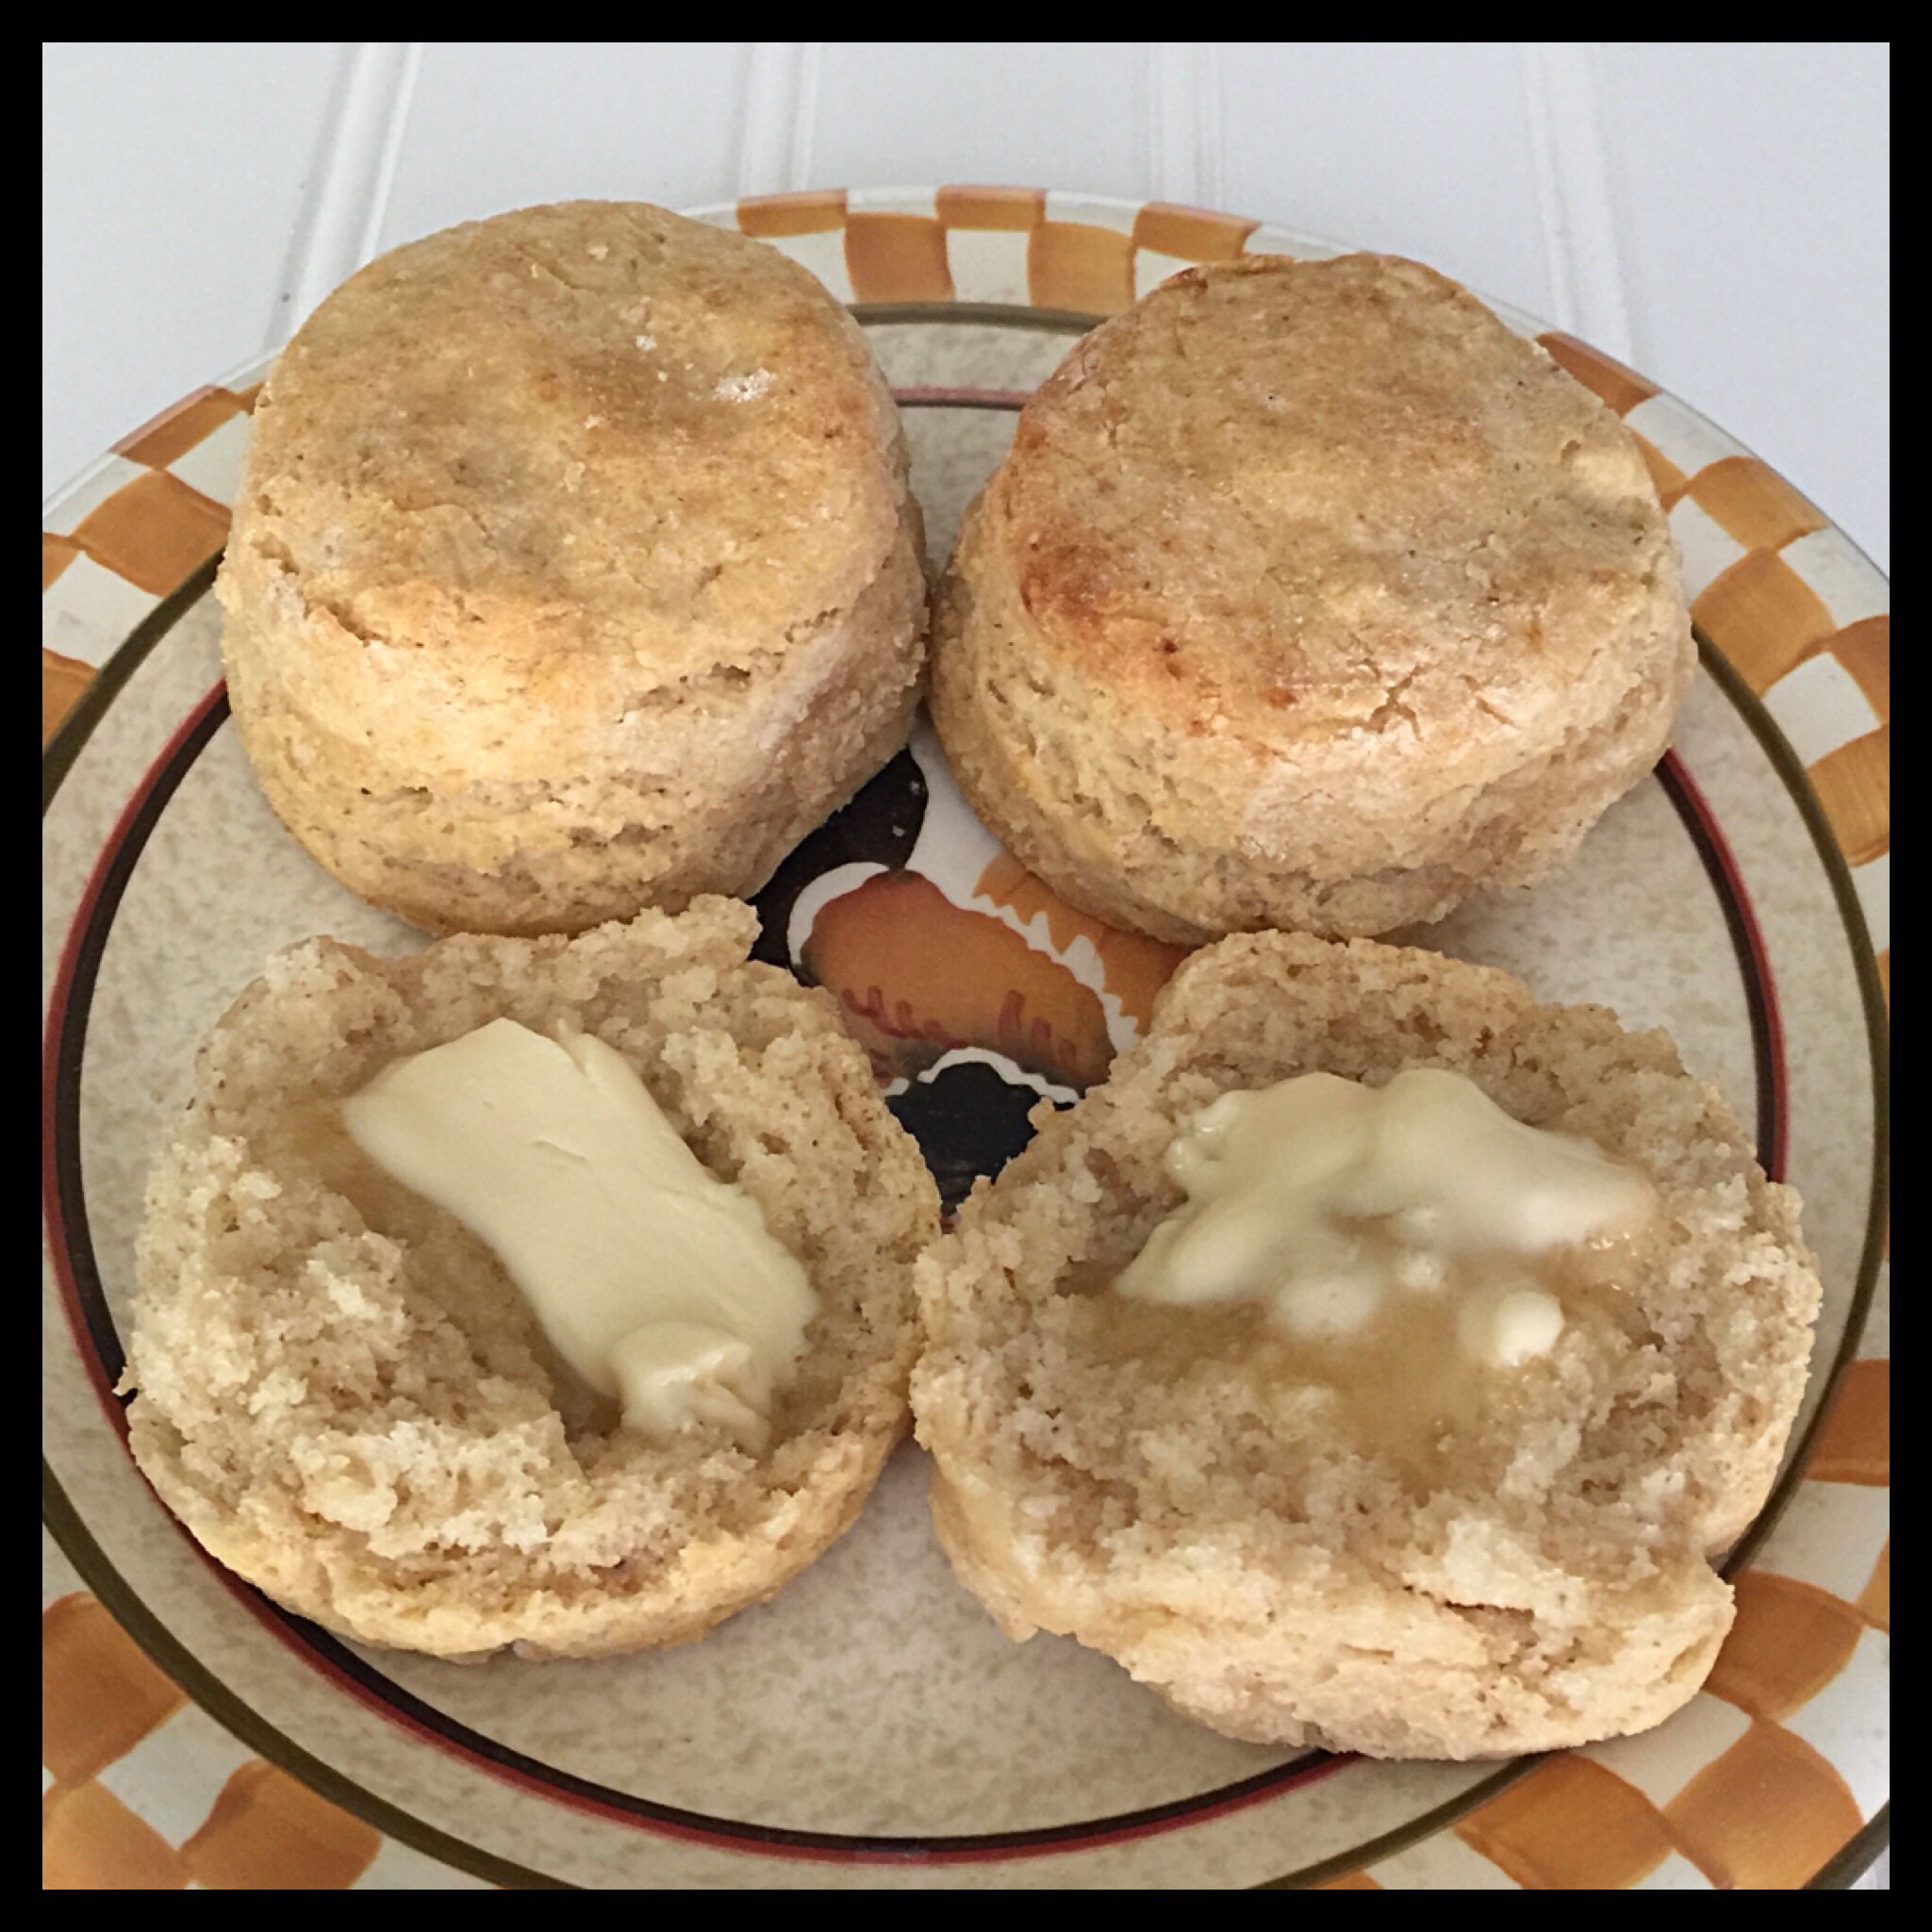
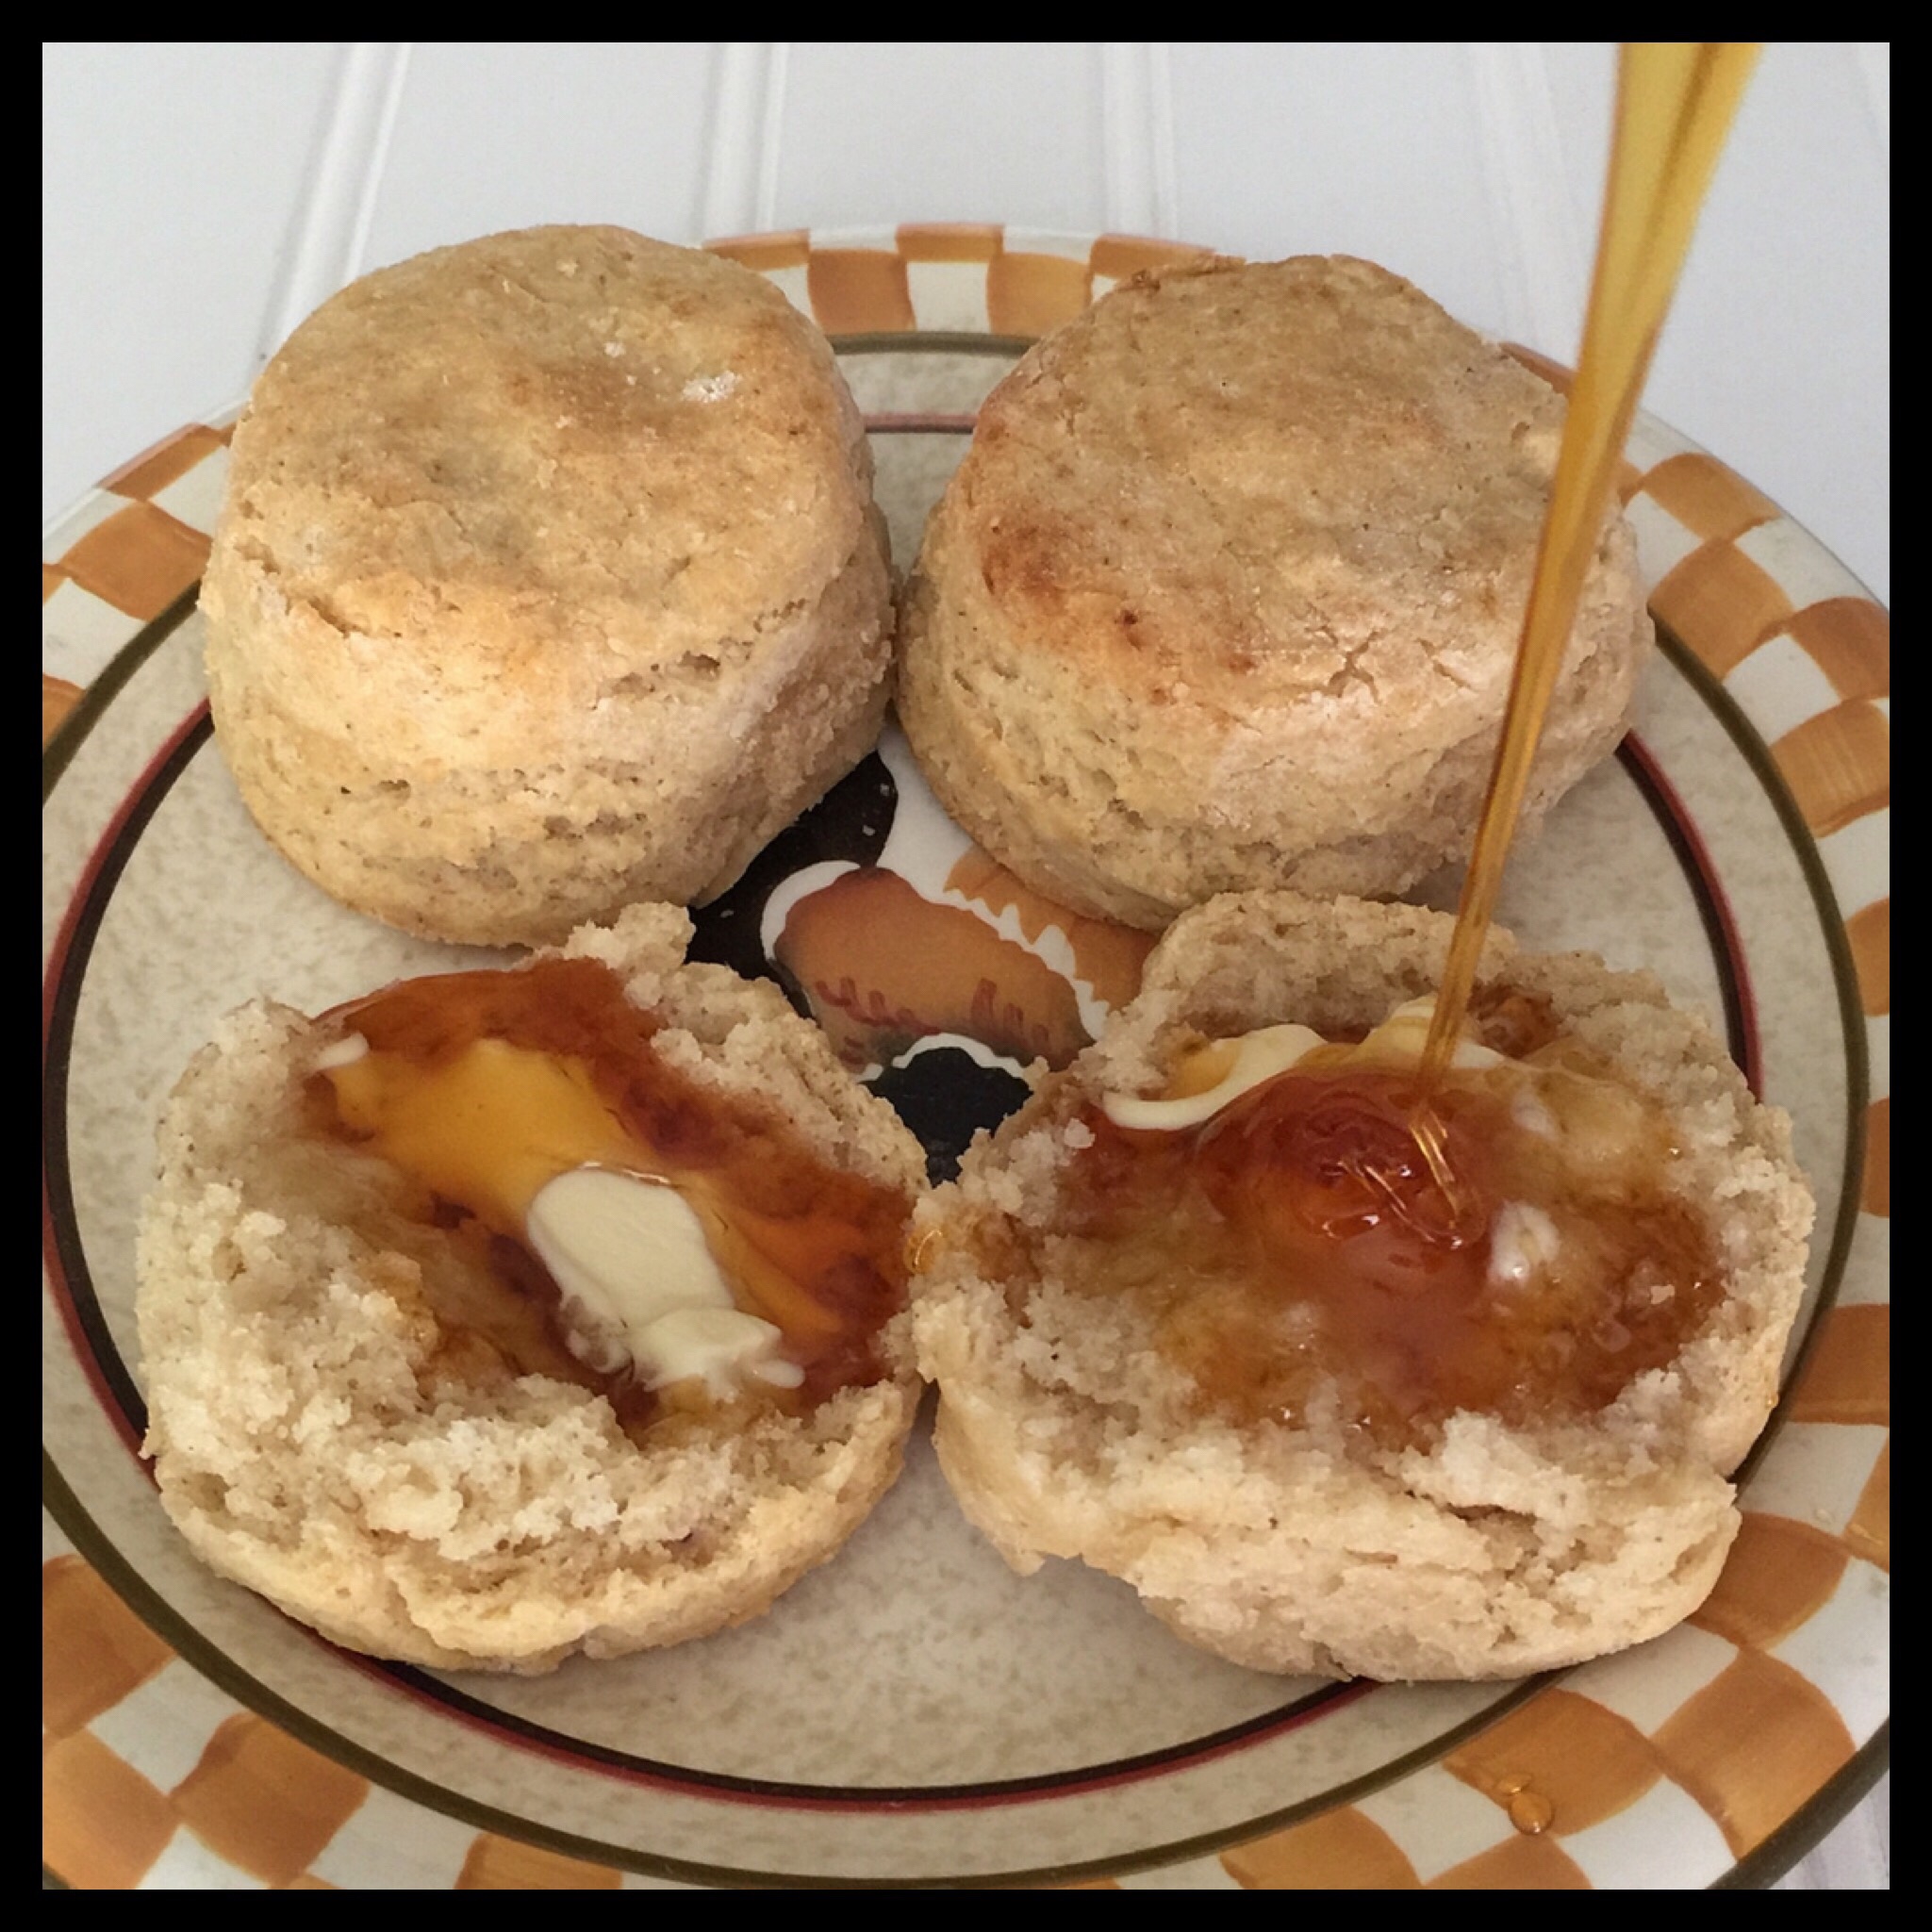
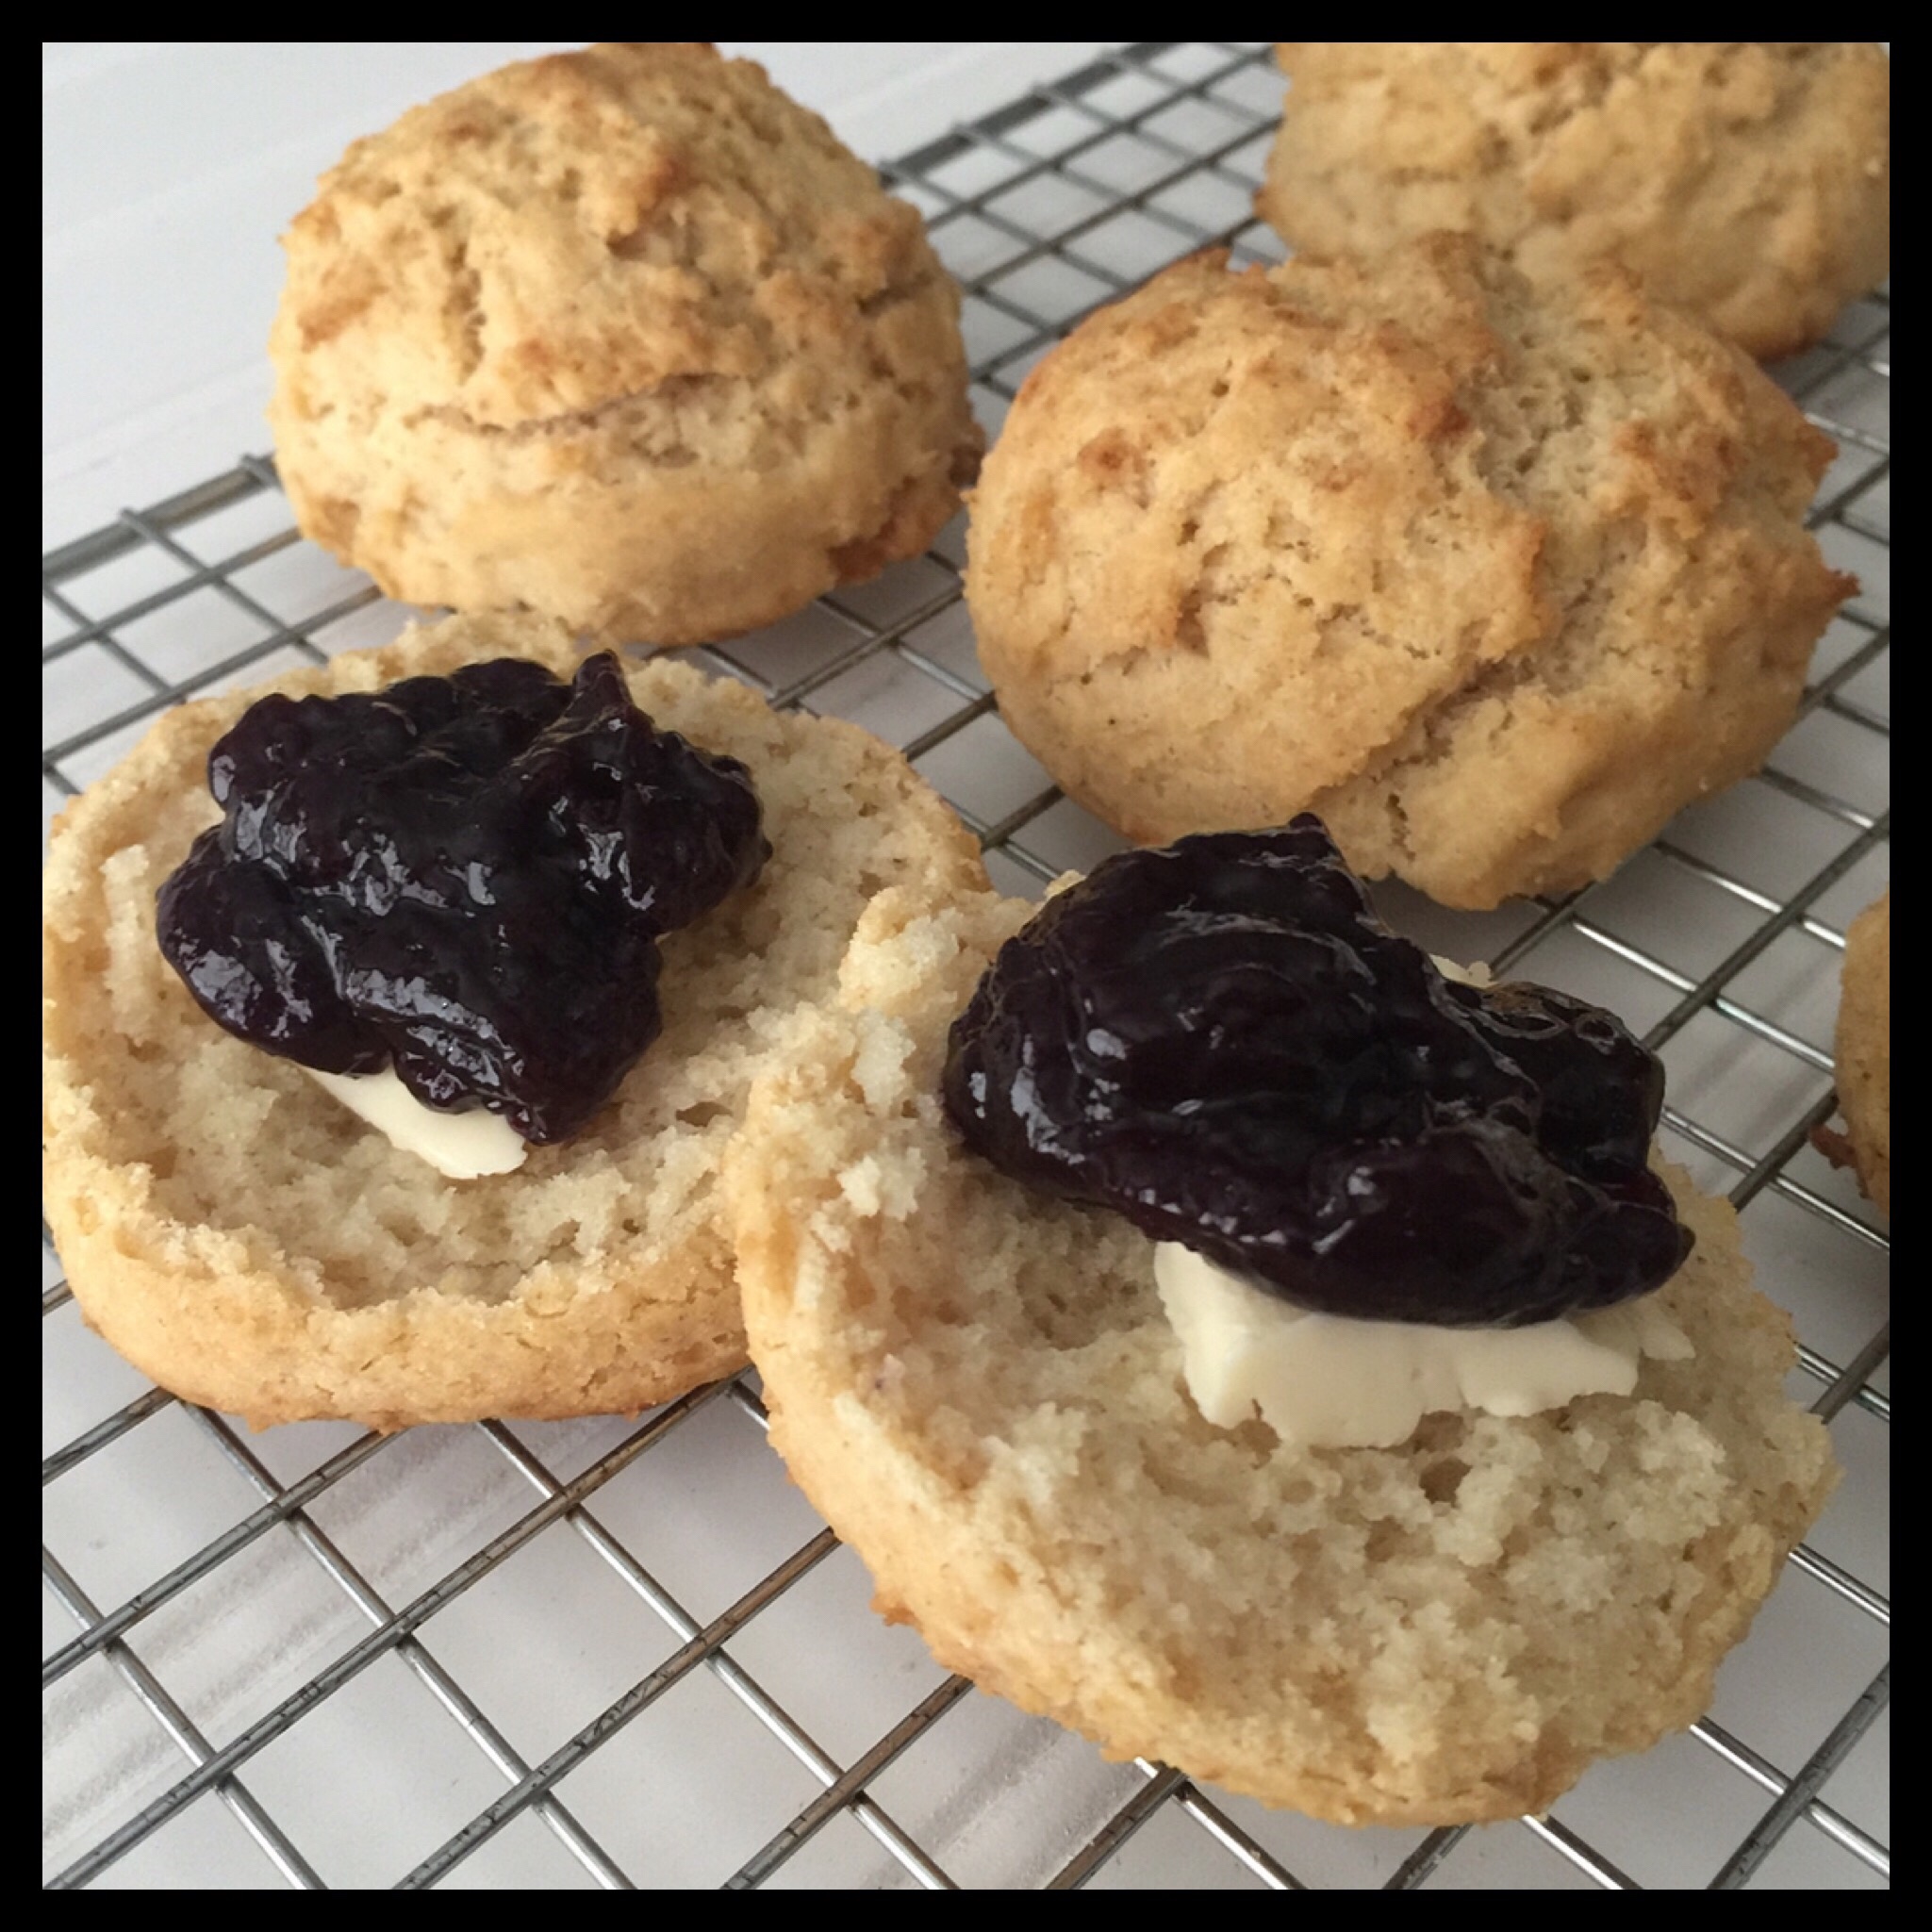
I love biscuits with vegan butter and my homemade vegan honee!
Here I made 5 bigger biscuits and you can see how they tipped out because of being placed on the pan touching each other. Please note that bigger biscuits will need two to four minutes longer to cook.

That is a gorgeous biscuit if I do say so myself!
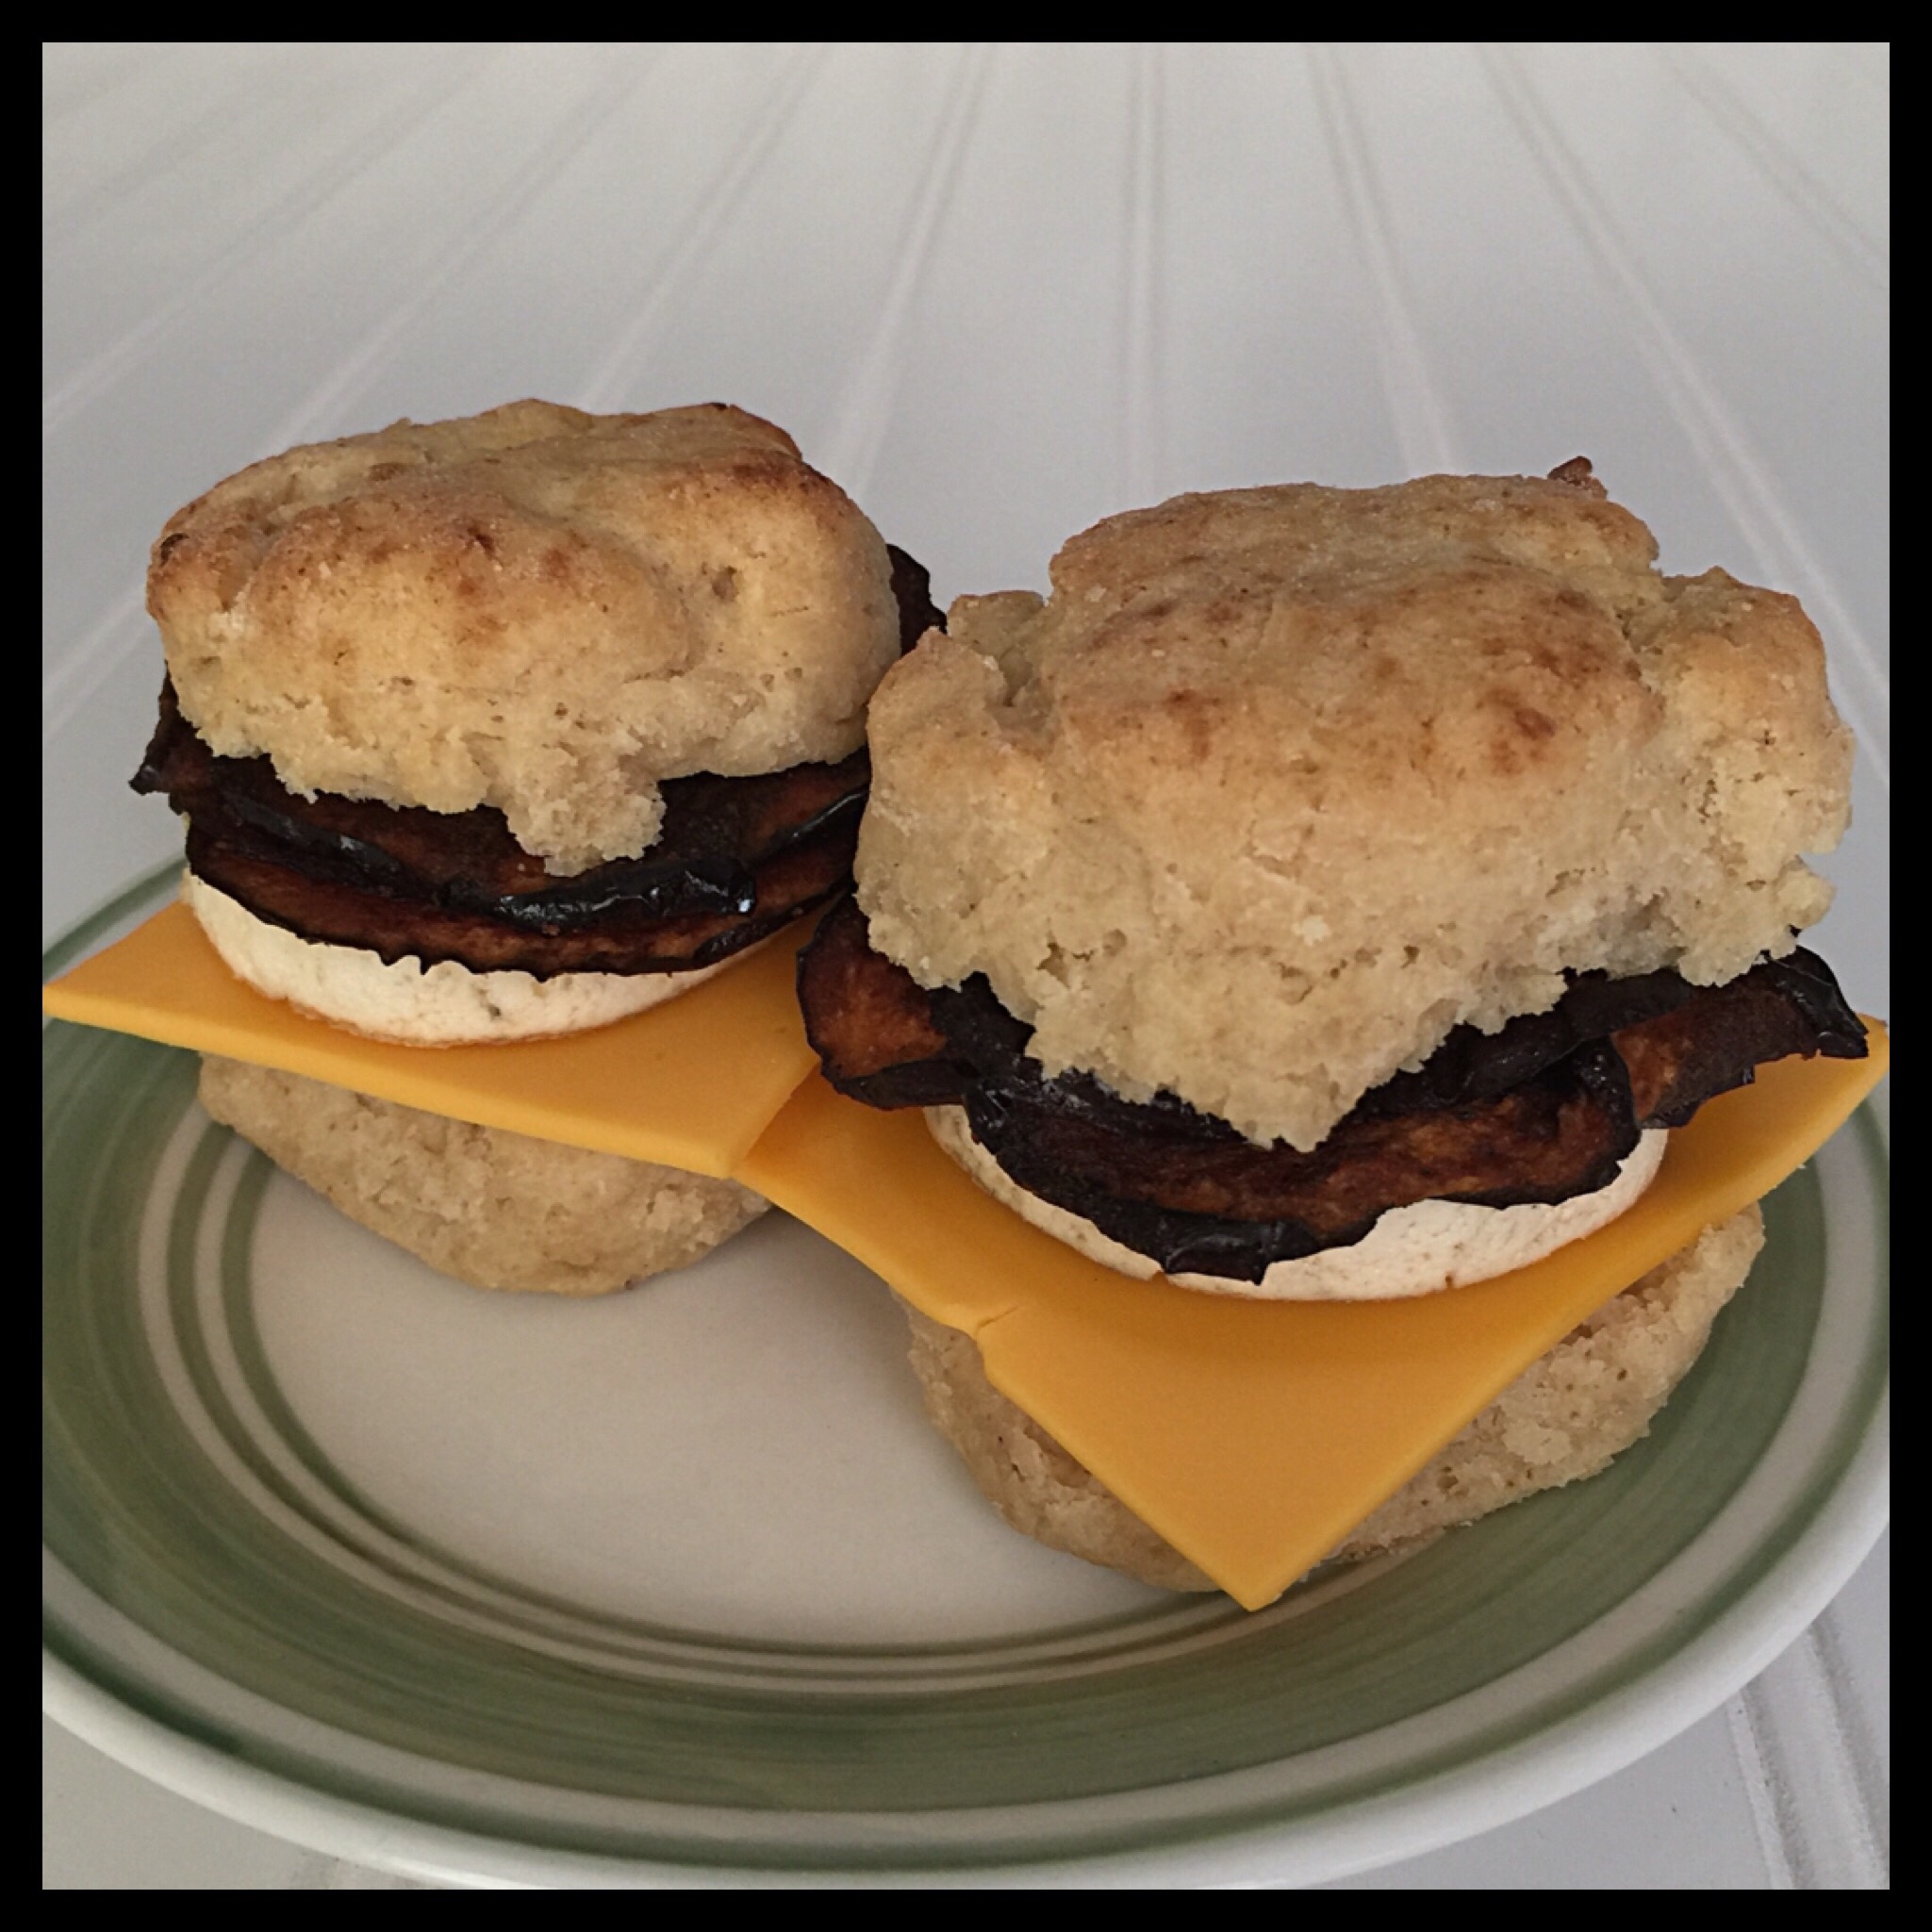
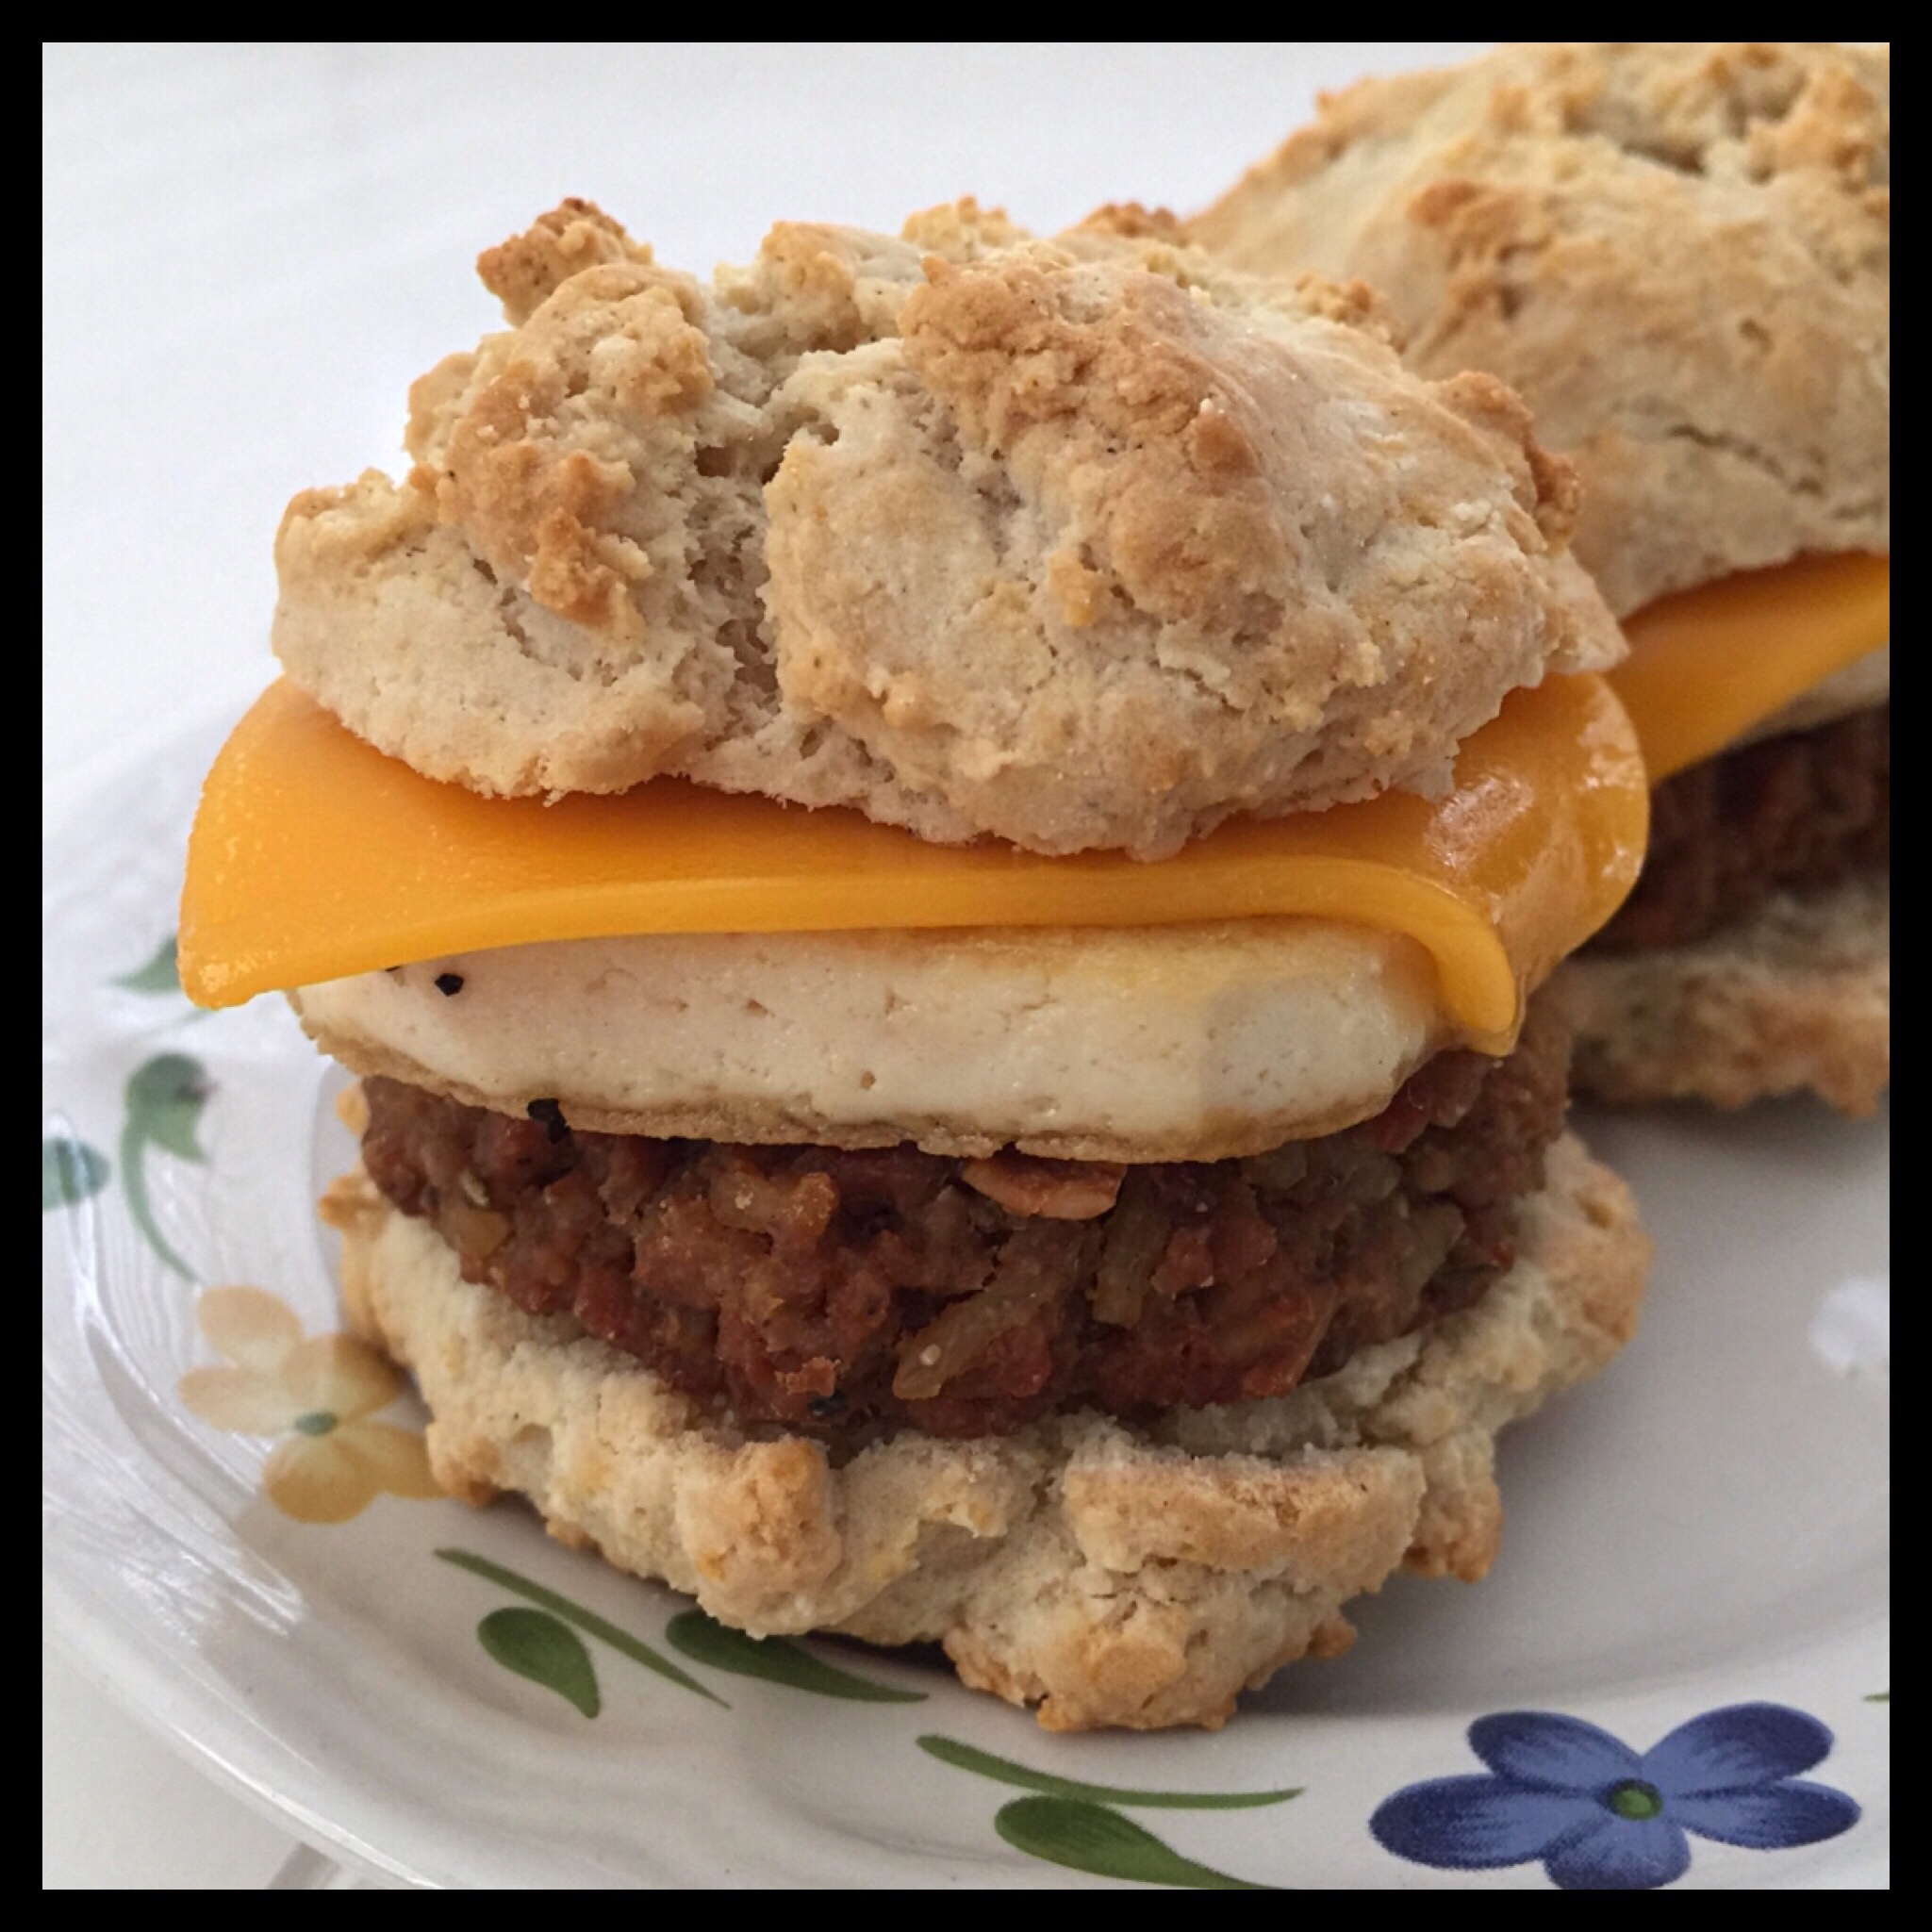
My mom and I turned two of those bigger biscuits into sandwiches with eggplant “ham”, tofu fried “eggs”, and Follow Your Heart American slices!
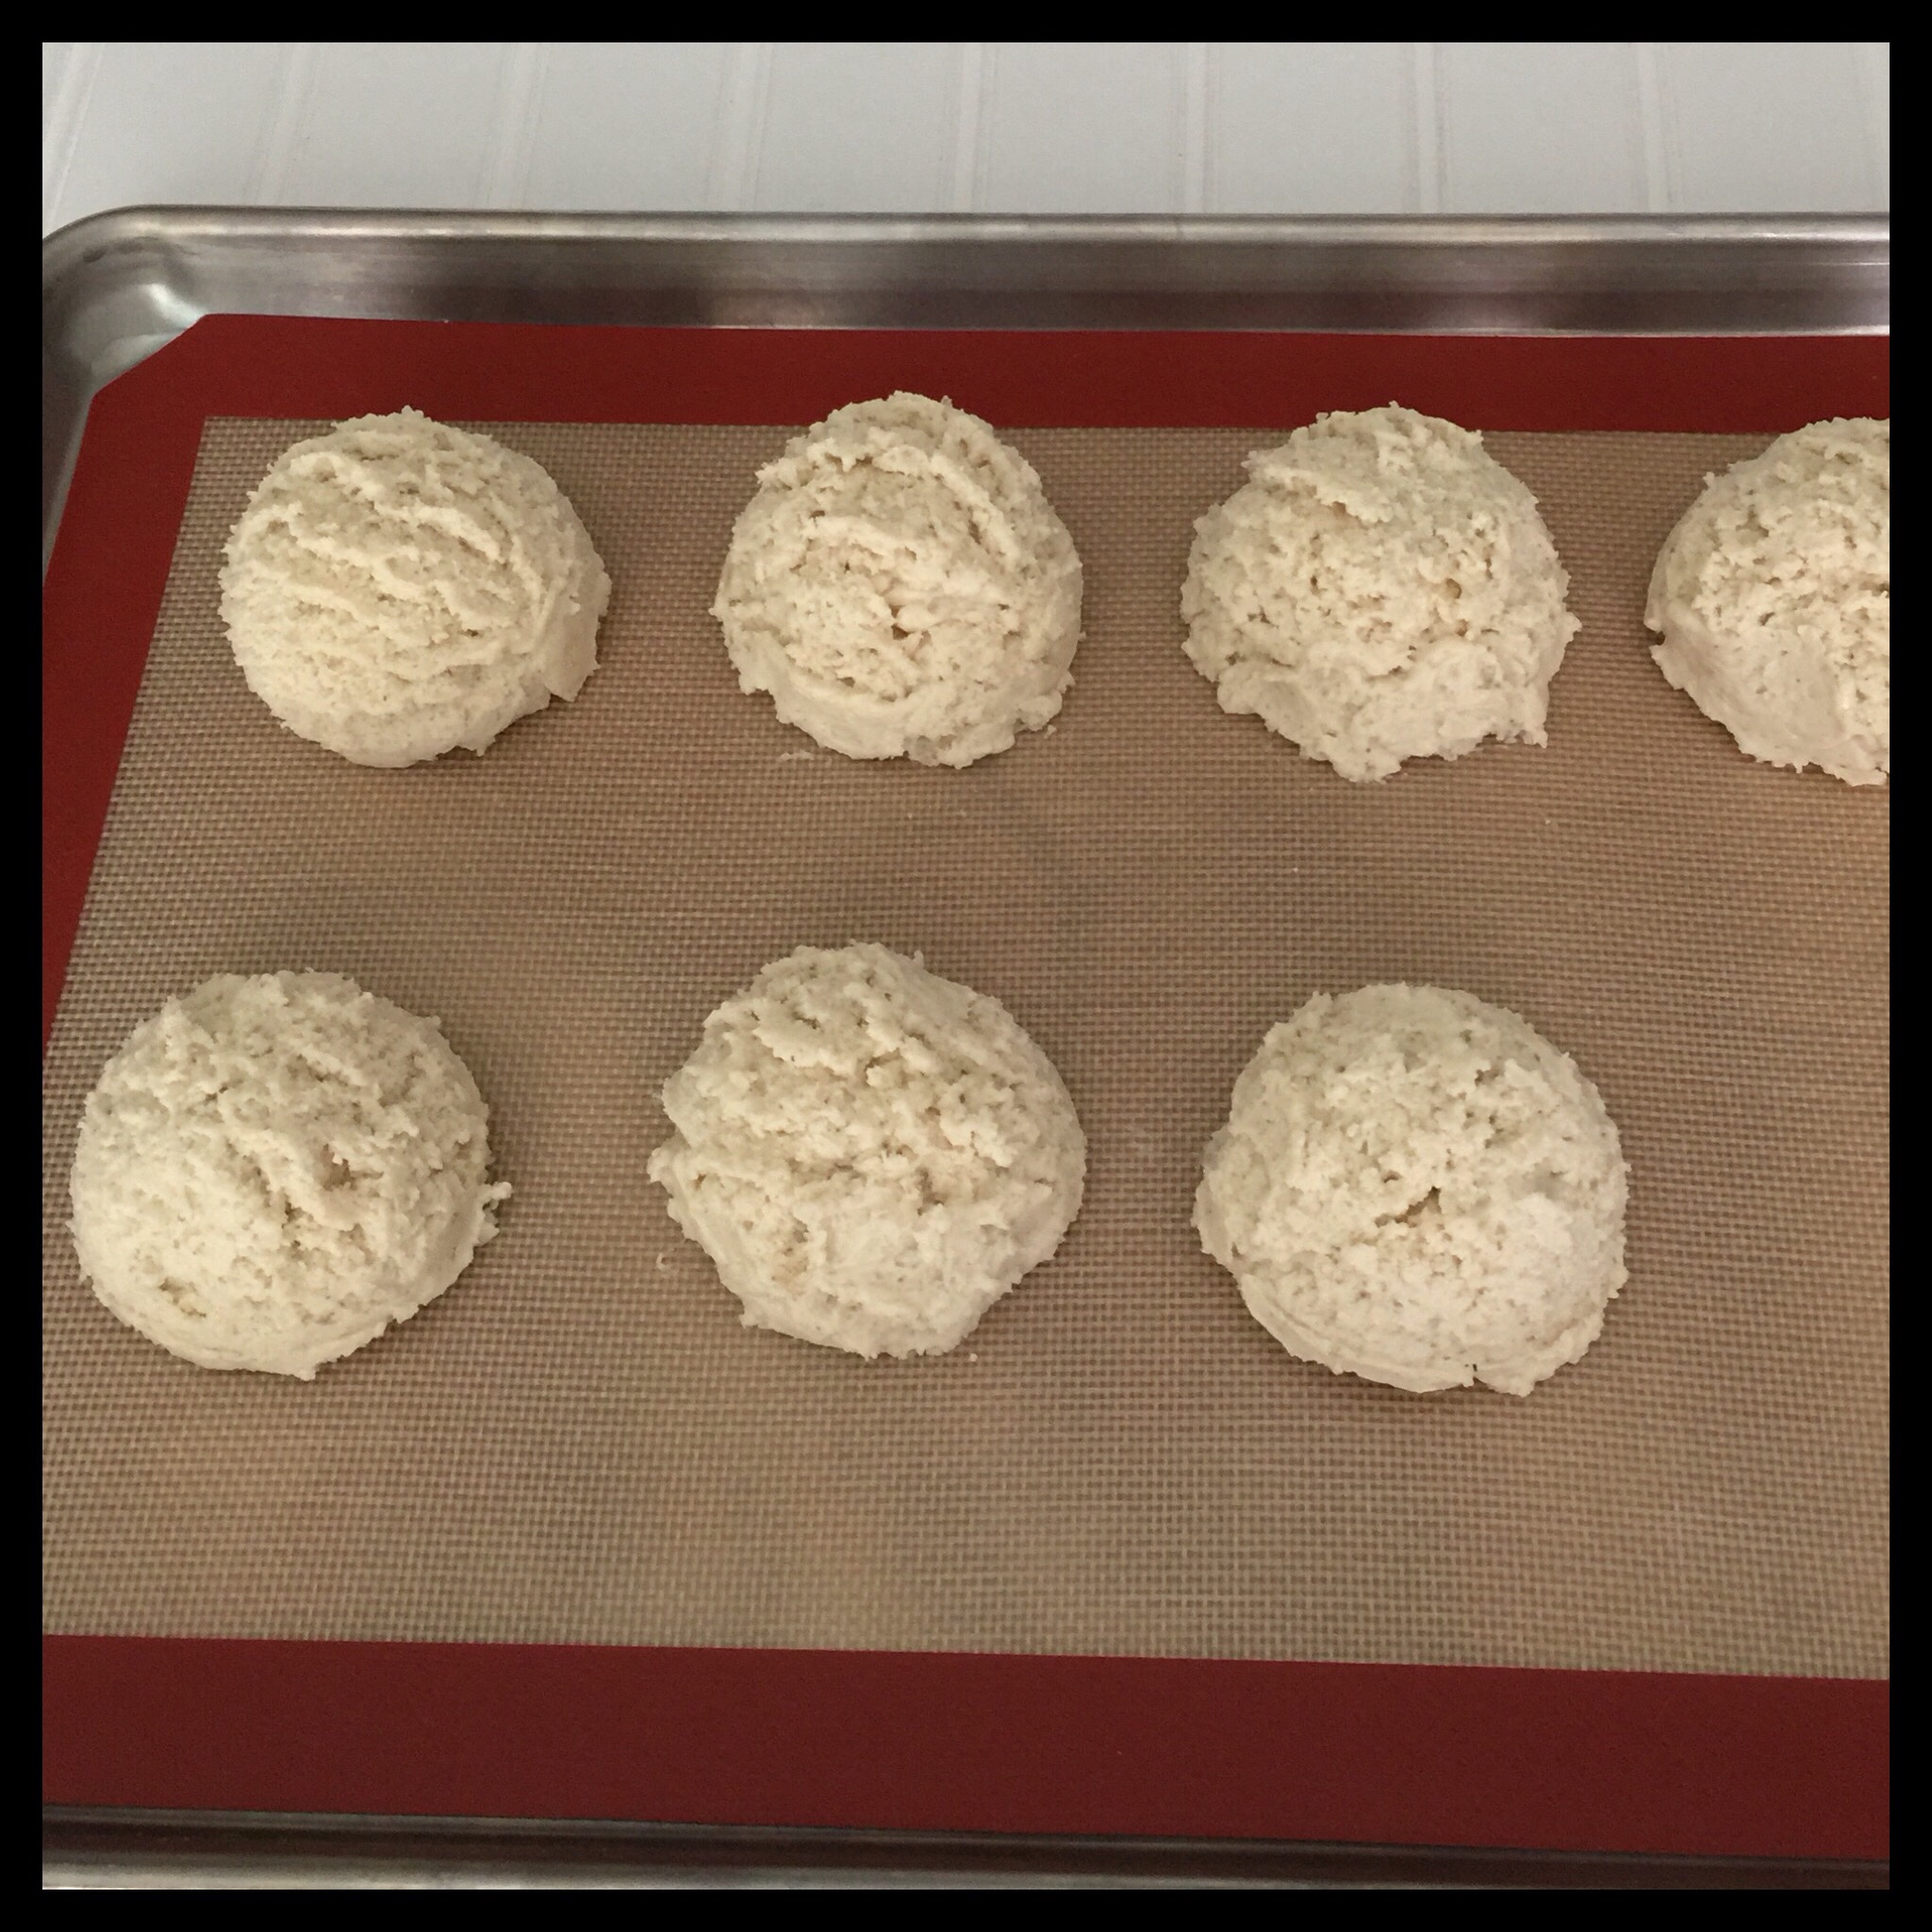
If you want to save some time, you can skip the folding and cutting out steps and just scoop the chilled biscuit dough onto a lined pan. I use a number 12 scoop and that makes seven good-sized biscuits. Do not pack the dough into the scoop, but do scrape any excess dough off the edges of the scoop before releasing the biscuit onto the baking sheet.
Chill in the freezer for 30 minutes, then bake as with the cut-out biscuits above. Seven scooped biscuits take about 24 minutes at 450 degrees Fahrenheit.
This is biscuit perfection right here!
We made sandwiches with these too! I used the same vegan cheese and tofu as before, but used my homemade vegan breakfast sausage instead of the eggplant “ham”. I’m not sure which is my favorite because they are both so good!
Enjoy!
Perfect Vegan (& Gluten Free) Biscuits!
These delicious vegan biscuits are perfectly buttery, a bit crunchy on the outside, and wonderfully light and fluffy on the inside! You can use either gluten free or regular all-purpose flour, depending on your dietary needs.
Ingredients
- 15 g (1 TBS) Distilled Vinegar
- 225 g (1c - 1 TBS) Original Soy or other Plant Milk
- 112 g (1/2 c) Vegan Butter (I use Earth Balance Buttery Spread)
- 255 g (2 c) Gluten Free Flour Blend or All-Purpose Flour (See recipe notes below!)
- 20 g (4 tsp) Baking Powder (I use Rumford)
- 12 g (1 TBS) Vegan Sugar
- 6.4 g (1 tsp) Salt
Instructions
-
Every step in this recipe is important, so please read through all of them before beginning. Keeping your ingredients really cold is critical to getting beautiful biscuits so don’t skip the chilling times!
-
Add the vinegar to the soy milk. You will have 240 g (1 c) of vegan buttermilk. (If you are measuring your ingredients, add the TBS of vinegar to your measuring cup and then add milk until you have one cup.) Place the “buttermilk” in the freezer and set a timer for 30 minutes.
-
As soon as the “buttermilk” is in the freezer, melt the vegan butter (I use Earth Balance Buttery Spread) in the microwave. This only takes about 30 seconds in my microwave. Let it cool at room temperature.
-
As soon as the vegan butter is melted, whisk the flour, baking powder, sugar, and salt together in a medium-sized mixing bowl. Place the bowl in the freezer.
-
When your timer goes off, remove the “buttermilk” from the freezer. It should be starting to freeze around the edges. Stir the icy bits into the “buttermilk”, then drizzle the melted and cooled vegan butter into the very cold milk one large spoonful at a time. Spoon milk over the drizzled butter but do not stir in the butter, because you want clumps of butter to form in the cold milk.
-
Get your bowl of dry ingredients out of the freezer, make a well in the center, then pour the liquid mixture into the well. Stir just to combine, then place the bowl back in the freezer and set a timer for 10 minutes.
-
For scooped biscuits:
Line a baking sheet with parchment paper or a silpat. Scoop the chilled biscuit dough with a number 12 scoop, scraping off any excess dough off the scoop before releasing the dough onto the baking sheet. You should have seven good-sized biscuits. Look at the blog post photos to see what they should look like.
-
For cut-out biscuits:
Spray a 2 3/8" biscuit cutter with a squirt of non-stick spray, then wipe it all over the cutter (not the handle). Dip the greased cutter in some flour in a small bowl to coat it. This will keep the first biscuit from sticking to the cutter. You will not need to spray the cutter again, but you will need to dip it in flour in between cutting each biscuit.
Place a piece of waxed paper down on your work surface and sprinkle it with flour. Have your greased and floured biscuit cutter ready too.
Get your biscuit dough out of the freezer, scrape it out onto the floured waxed paper, and sprinkle it with more flour. Gently pat the floured dough out to about 1/2″ thick. Please look at the blog post for step-by-step photos.
Use the waxed paper to fold the dough in half. Fold the waxed paper back down, and add more flour if needed. Turn the dough sideways, and gently pat it out again. Repeat the folding and patting out a total of five times, shaping the dough for cutting after the last fold.
For eight biscuits with a 2 3/8″ cutter, shape the dough into a rectangle 7.0 by 4.5 inches. Cut six biscuits, pushing straight down and lifting straight up with no twisting at all. Twisting will seal the cut edge of the biscuit and keep it from rising properly. Shake the cutter a bit to release each biscuit, then dip the cutter in flour again before cutting the next biscuit. Gather the scraps into a rectangle just big enough for two more biscuits and cut as before.
Transfer your biscuits to a parchment or silpat-lined baking sheet. Hold them from the top and bottom or use a spatula when you move them. You want those edges to stay rough and not get sealed or squished together. Place the biscuits on the pan so they are touching if you like softer sides, and up to 1/4″ apart if you like crunchier sides. (I personally like to place the biscuits almost touching but not even 1/8″ apart to get the best rise without them tipping to the side too much as they bake.)
-
For either scooped or cut-out biscuits, place the pan in the freezer and set a timer for 30 minutes. This will rechill the fat and help your biscuits to bake up light and fluffy.
-
Preheat your oven to 450 degrees Fahrenheit while the biscuits are chilling.
-
Bake the chilled biscuits for 21 to 26 minutes at 450 degrees Fahrenheit until the tops are golden brown. Eight cut-out biscuits take 22 minutes and seven scooped biscuits take 24 minutes in my oven. All ovens are different, however, so watch your biscuits closely after 20 minutes.
-
Separate cut-out biscuits as soon as you remove them from the oven. Allow both scooped and cut-out biscuits to cool down a bit before serving. Enjoy!
Recipe Notes
- I highly recommend using a scale to weigh your ingredients, especially the liquids and the flour. Too much or too little of either can easily ruin your biscuits, and measuring errors are extremely common.
- I always use Freely Vegan flour or my two-ingredient gluten free flour blend and I have not tested this recipe with any of my other GF flour blends. They should all work, but you may not get biscuits as light and fluffy as these if you use one of my other blends. (Update: several of my readers tried making the biscuits with Bob's Red Mill 1:1 gluten free flour blend and got good results. So, I tested the Bob's side by side with my two-ingredient flour. The texture of the Bob's was not as fabulous as mine, but was still very good.) Use regular all-purpose flour if you are not gluten free.
What do these taste like, other than ‘buttery’? Could I serve these to non-gf, non-vegan guests?
They taste like perfect buttermilk biscuits and you can definitely serve then to non-GF, non-vegan guests! Just be sure to read through the entire recipe carefully before you start because the mixing and shaping directions, and the chilling times are absolutely necessary to get perfect biscuits!
If someone were to switch out the soymilk for another kind, would that have a negative effect on the recipe? I once read that soymilk curdles like no other vegan milk, because of its protein content. If someone were to experiment by using oatmilk instead, should they leave out the spoon of sugar the recipe calls for?
Any plant milk should be fine, other than canned coconut milk which is much higher in fat. (The amount of curdling isn’t really important. You’ll still have the right amount of acidity from the vinegar.) You don’t need to change the sugar as Oatly oatmilk is actually a little less sweet than the original flavor soy milk that I use. Please let me know how your biscuits turn out!
Absolutely delicious biscuits. I followed the recipe exactly, and the whole family devoured them. Thank you!
Thank you! I’m so glad you all enjoyed the biscuits!