
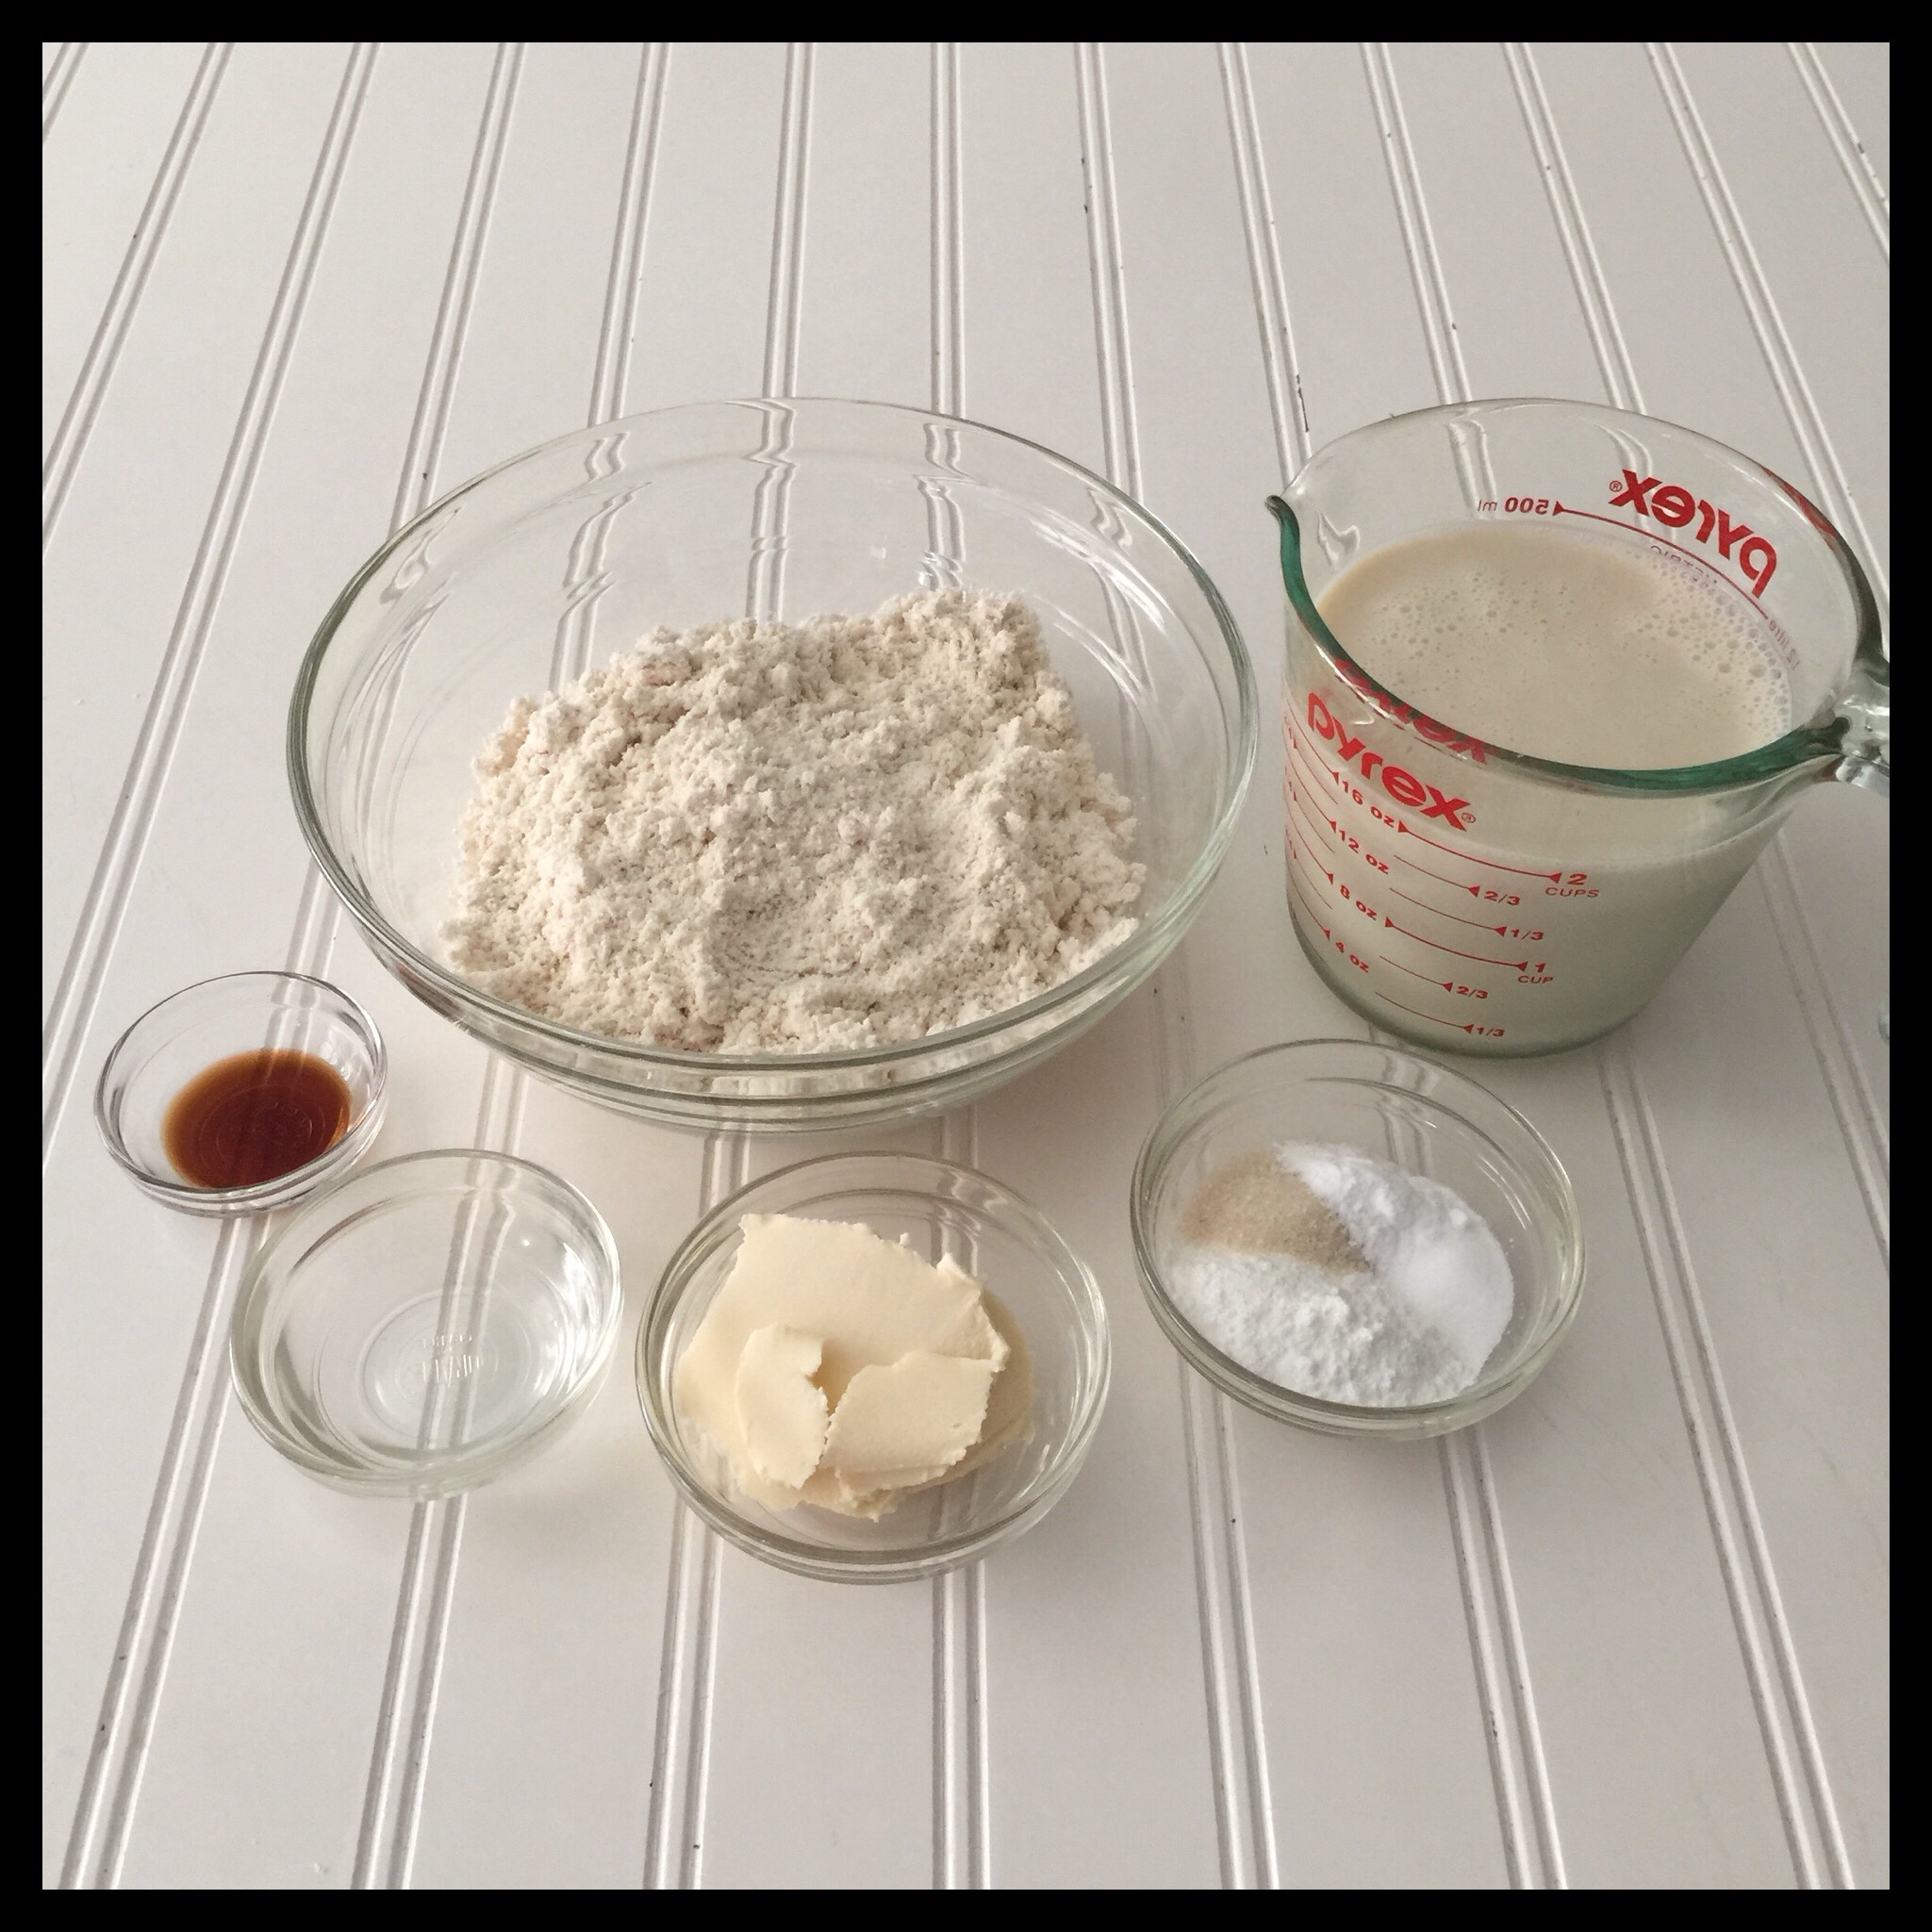
I love waffles, and they are my favorite thing to have for breakfast on a weekend morning! They are easy to make and so much fun to dress up with a variety of toppings. This recipe makes waffles that are buttery, golden brown, perfectly crisp on the outside and tender in the middle! Here are the ingredients you will need to make them:
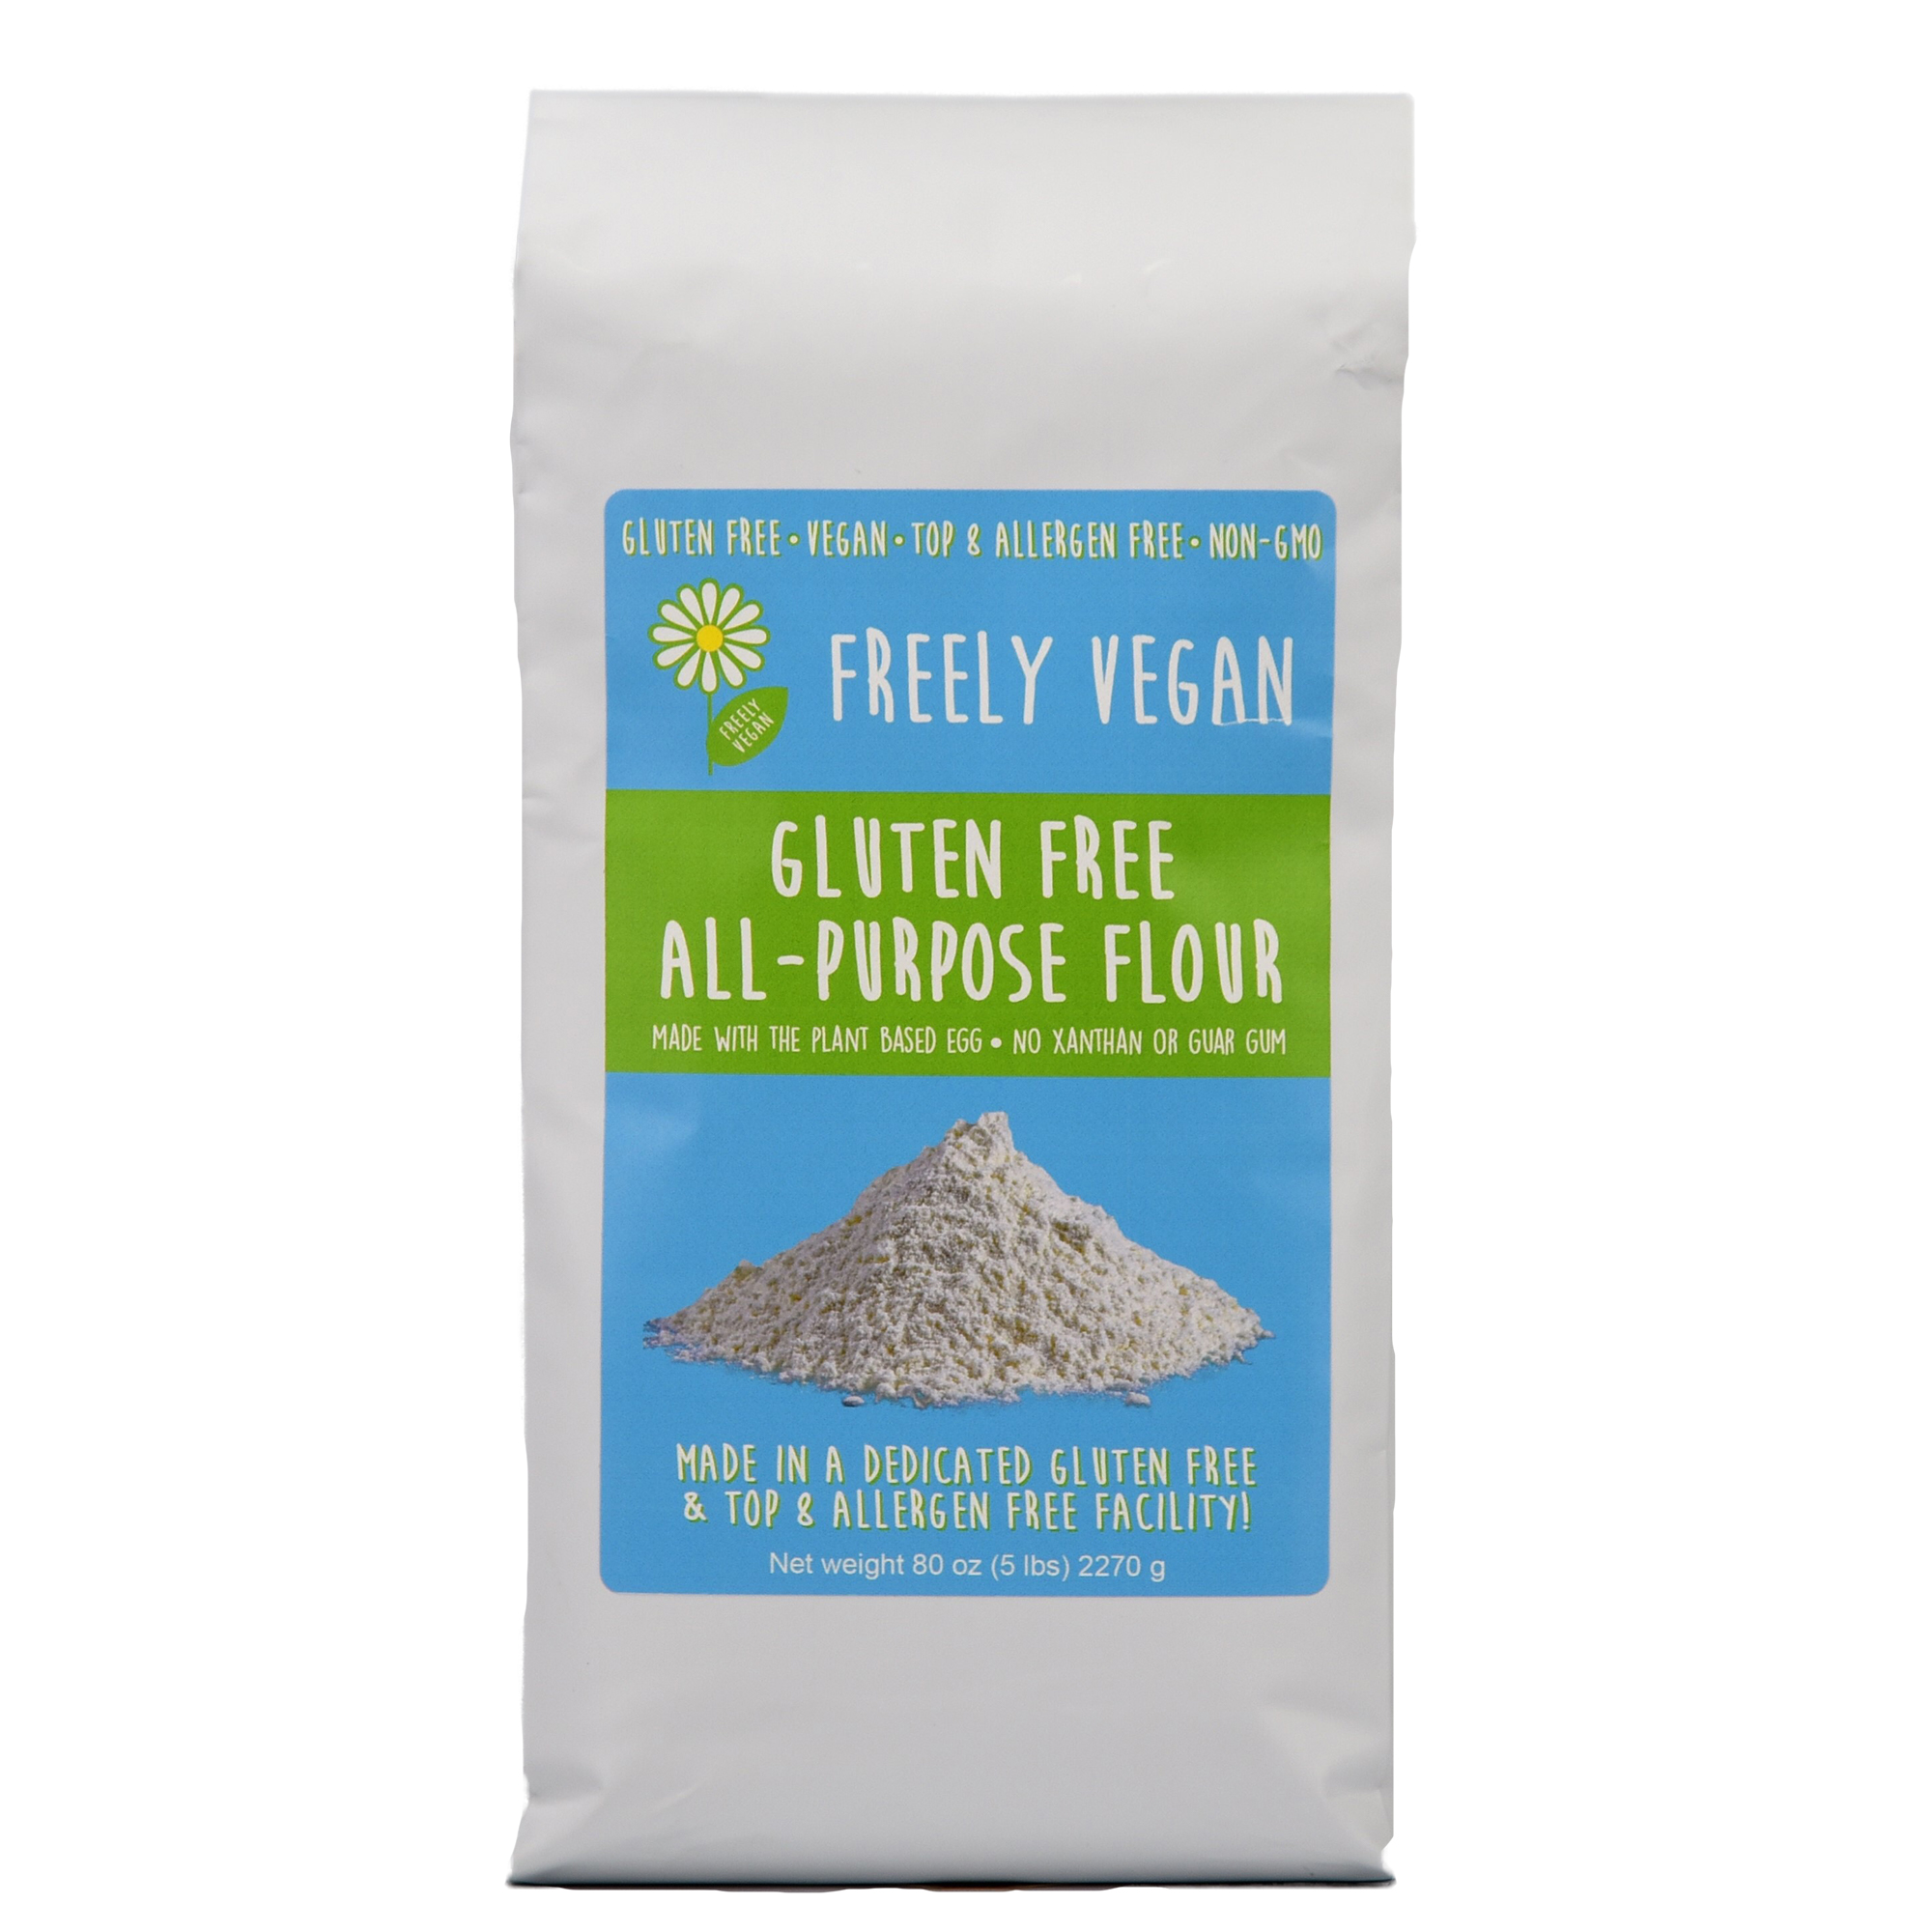
If you are gluten free, you will need to either use Freely Vegan GF Flour or make your own DIY gluten free flour with The Plant Based Egg. Using the right egg replacement (and not using flour that contains xanthan or guar gum) is essential if you want muffins with the perfect texture! The Plant Based Egg replaces both gums and eggs in gluten free baking. Please note that The Plant Based Egg is already built into Freely Vegan GF Flour, so you do not need to add any!
If you are not gluten free, you can use regular all-purpose wheat flour and add The Plant Based Egg as directed in the recipe. I do not recommend using any other egg replacer as you will not get the same perfect results! (Other egg replacers bind, but they do not also leaven, provide structure, and emulsify like real eggs as this one does.)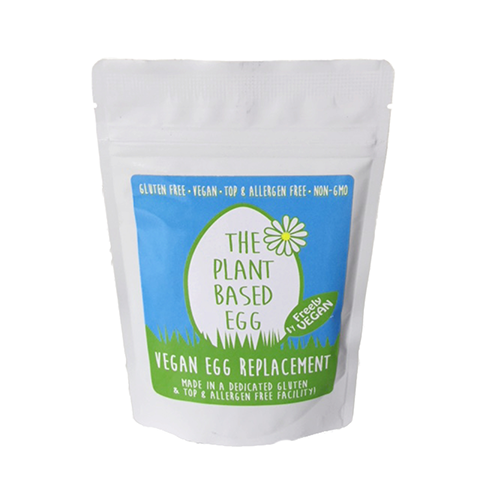 Combine the flour, baking powder, baking soda, sugar, and salt in a medium-sized mixing bowl. (If you are using all-purpose wheat flour, you will also add The Plant Based Egg now as well.)
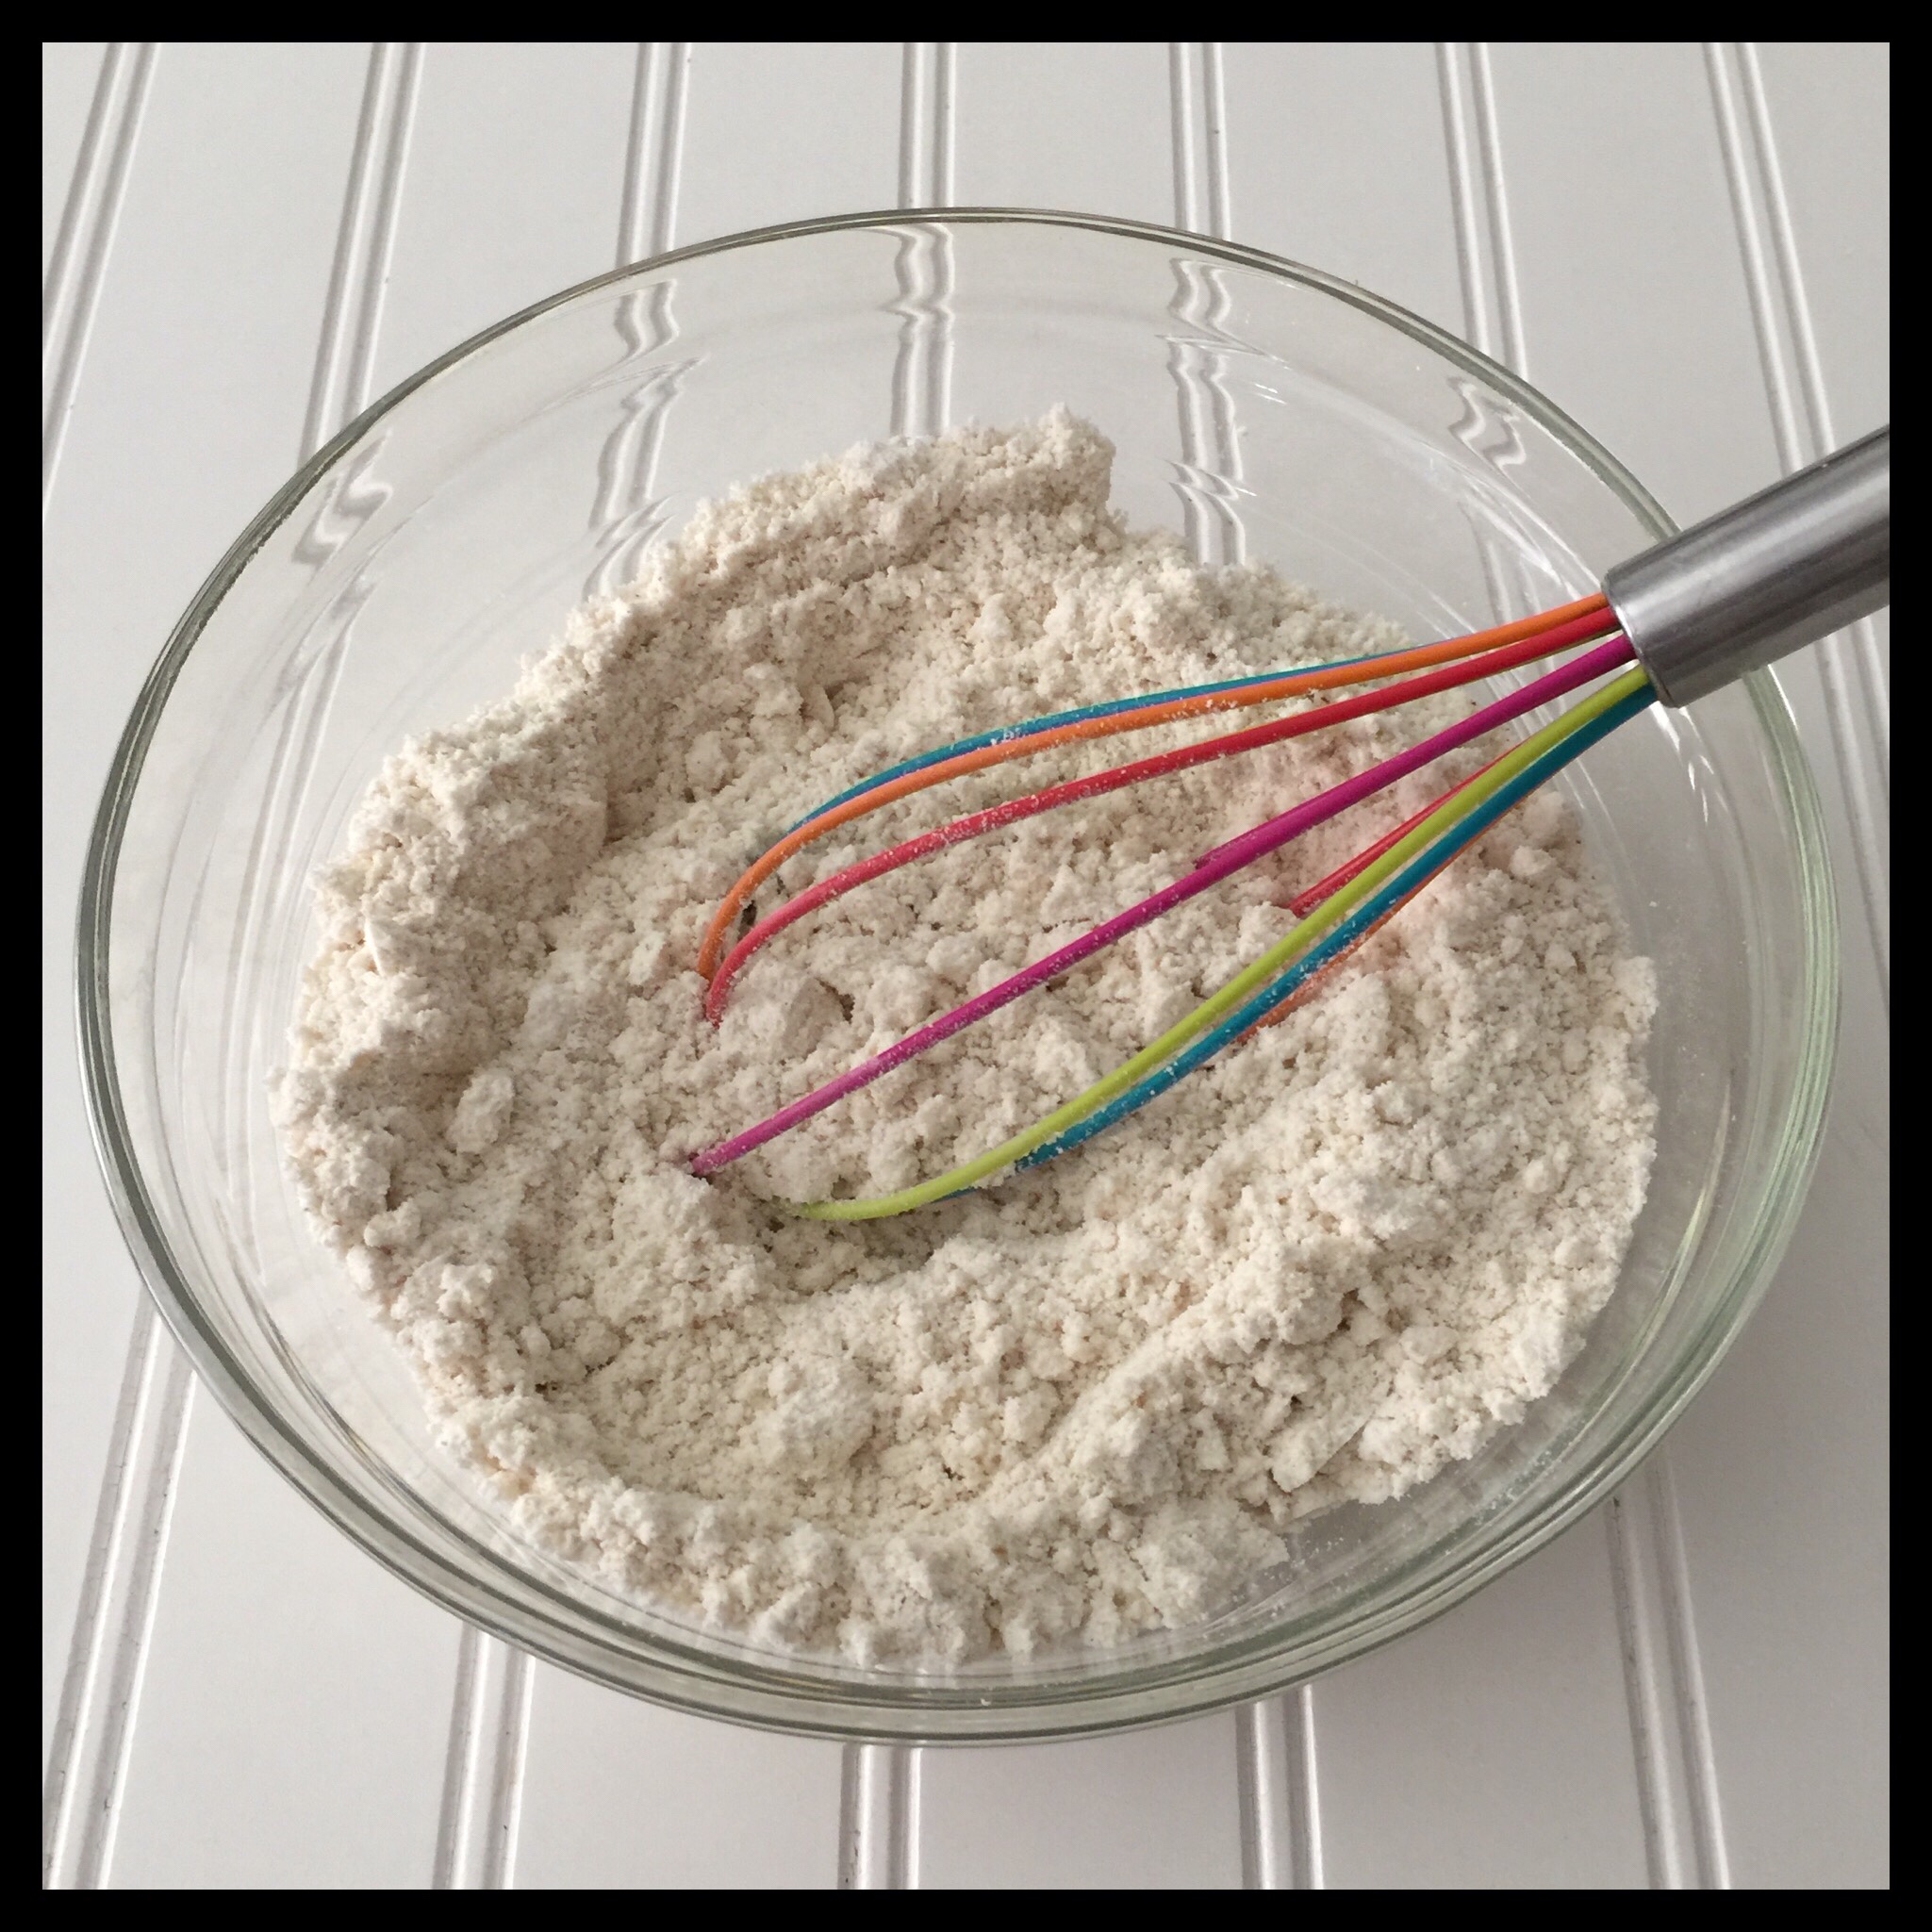
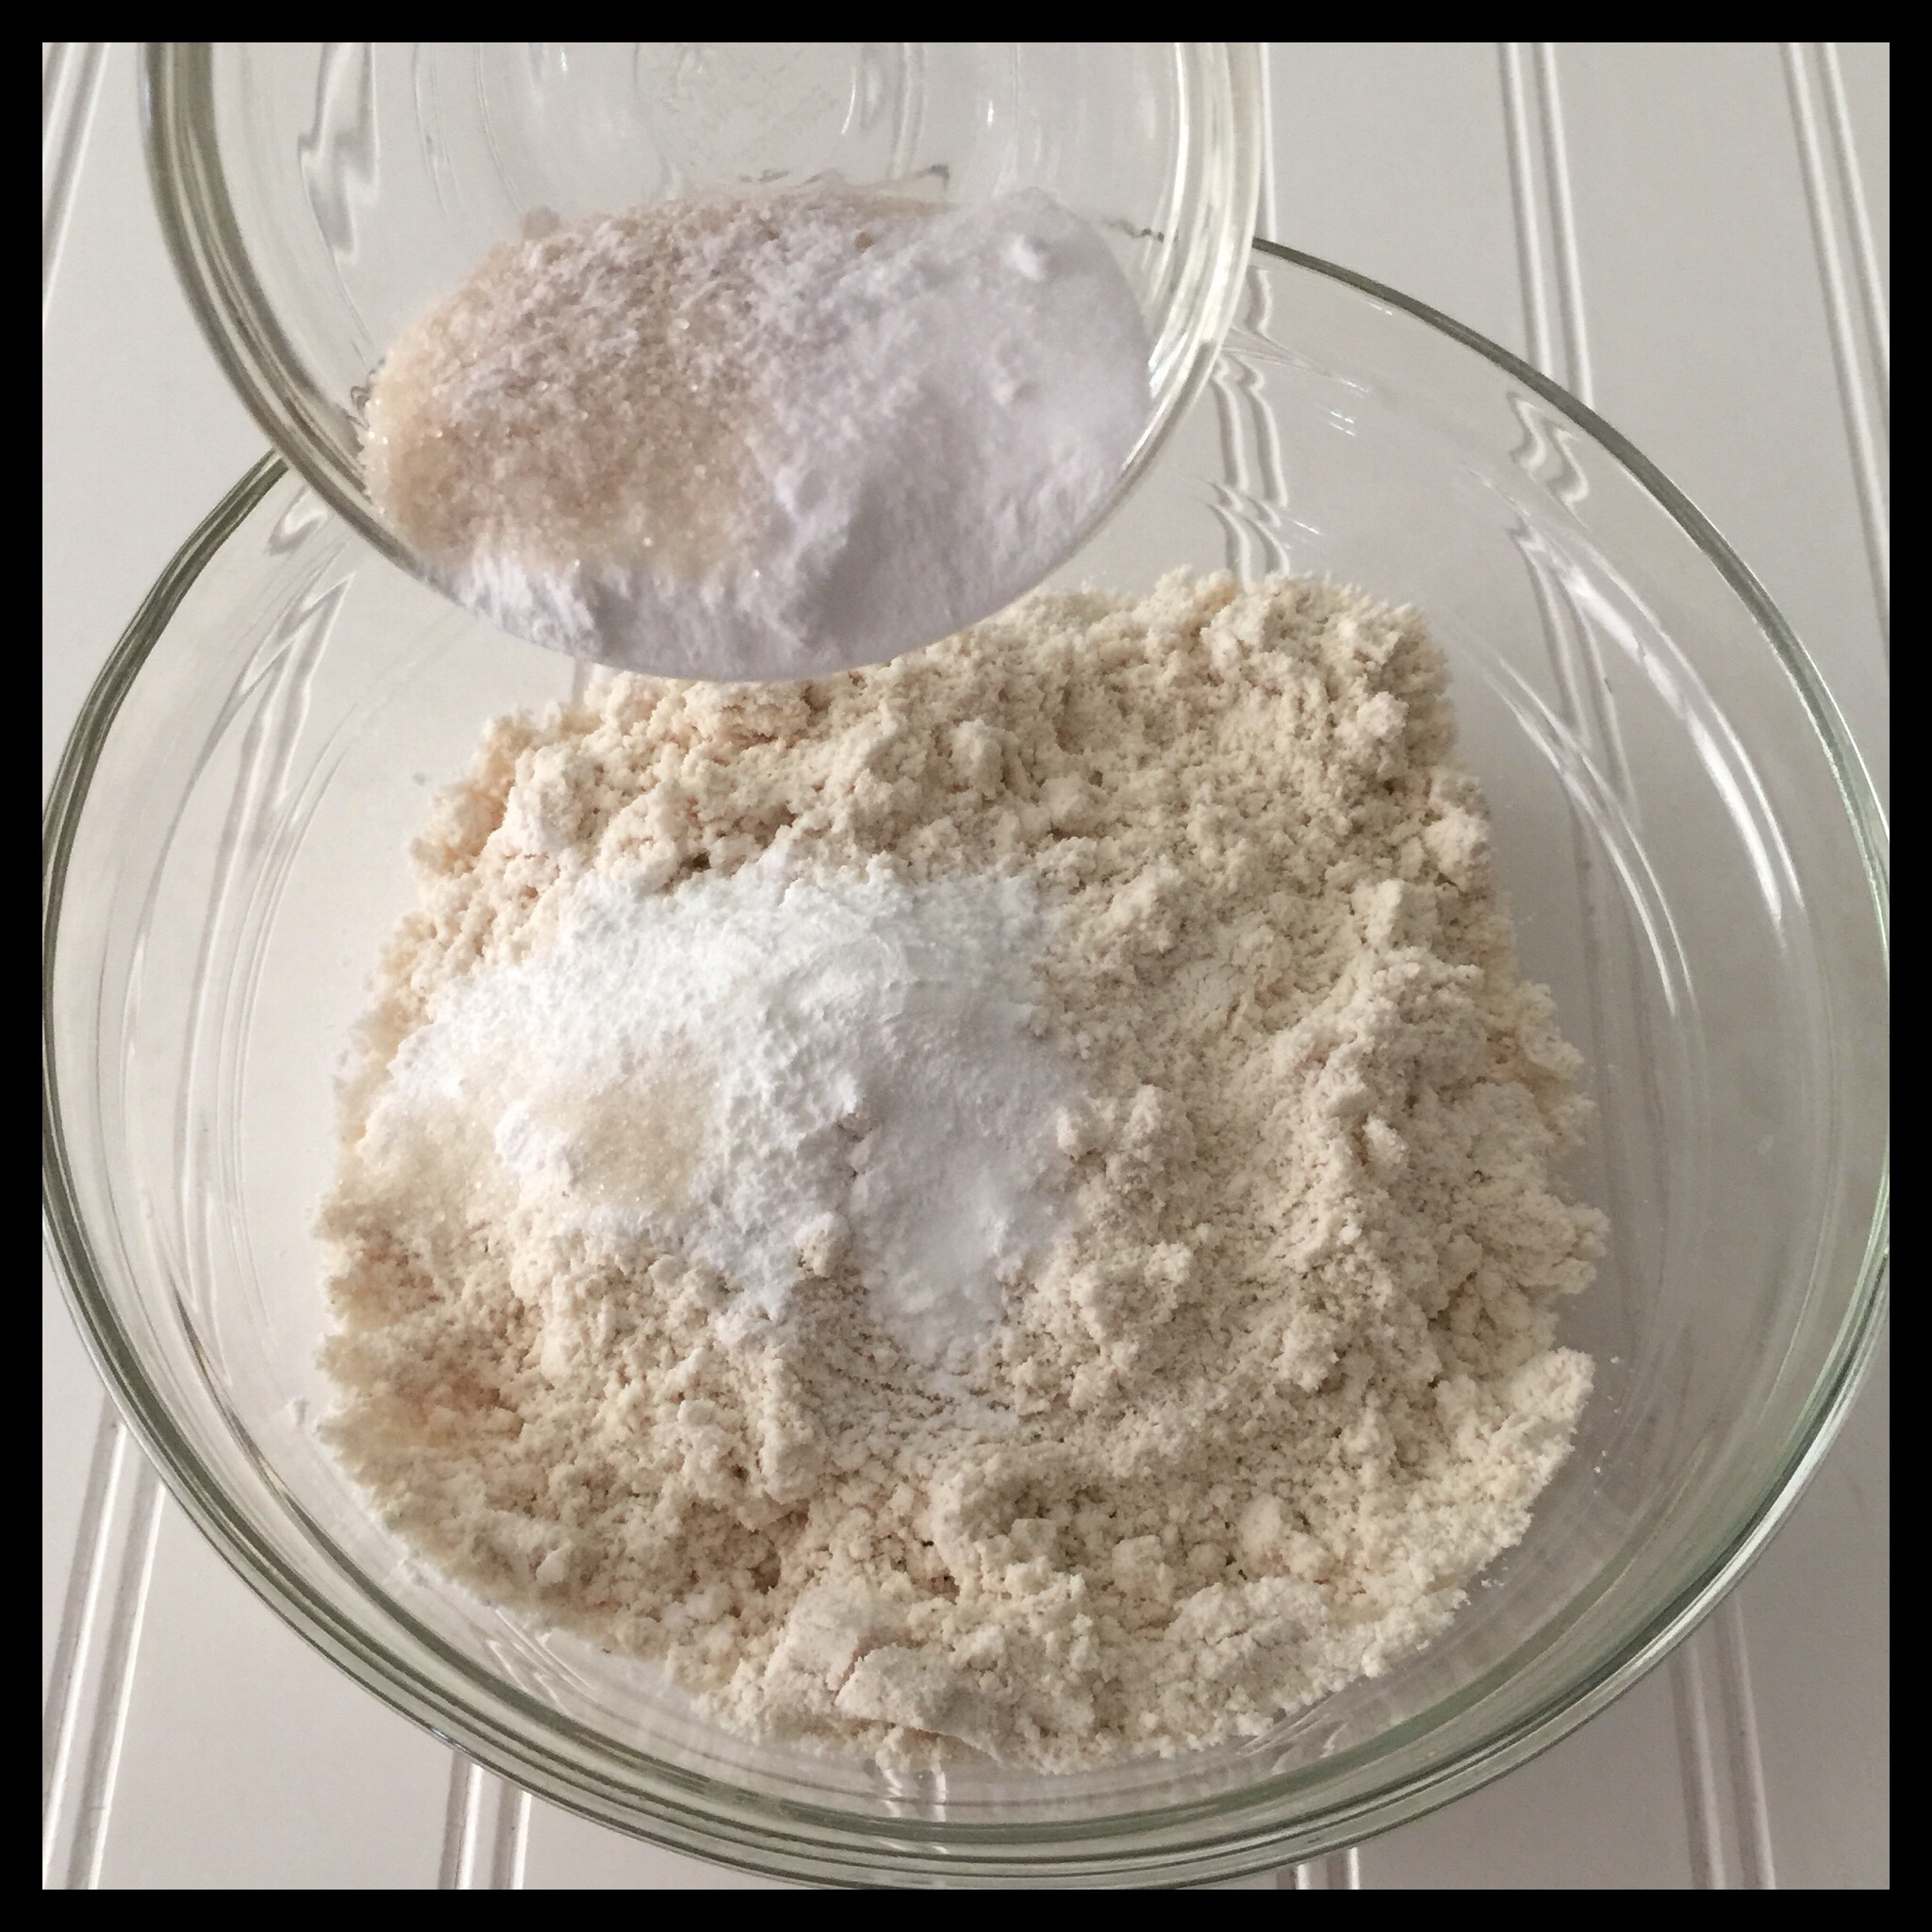
Whisk all of the dry ingredients together:
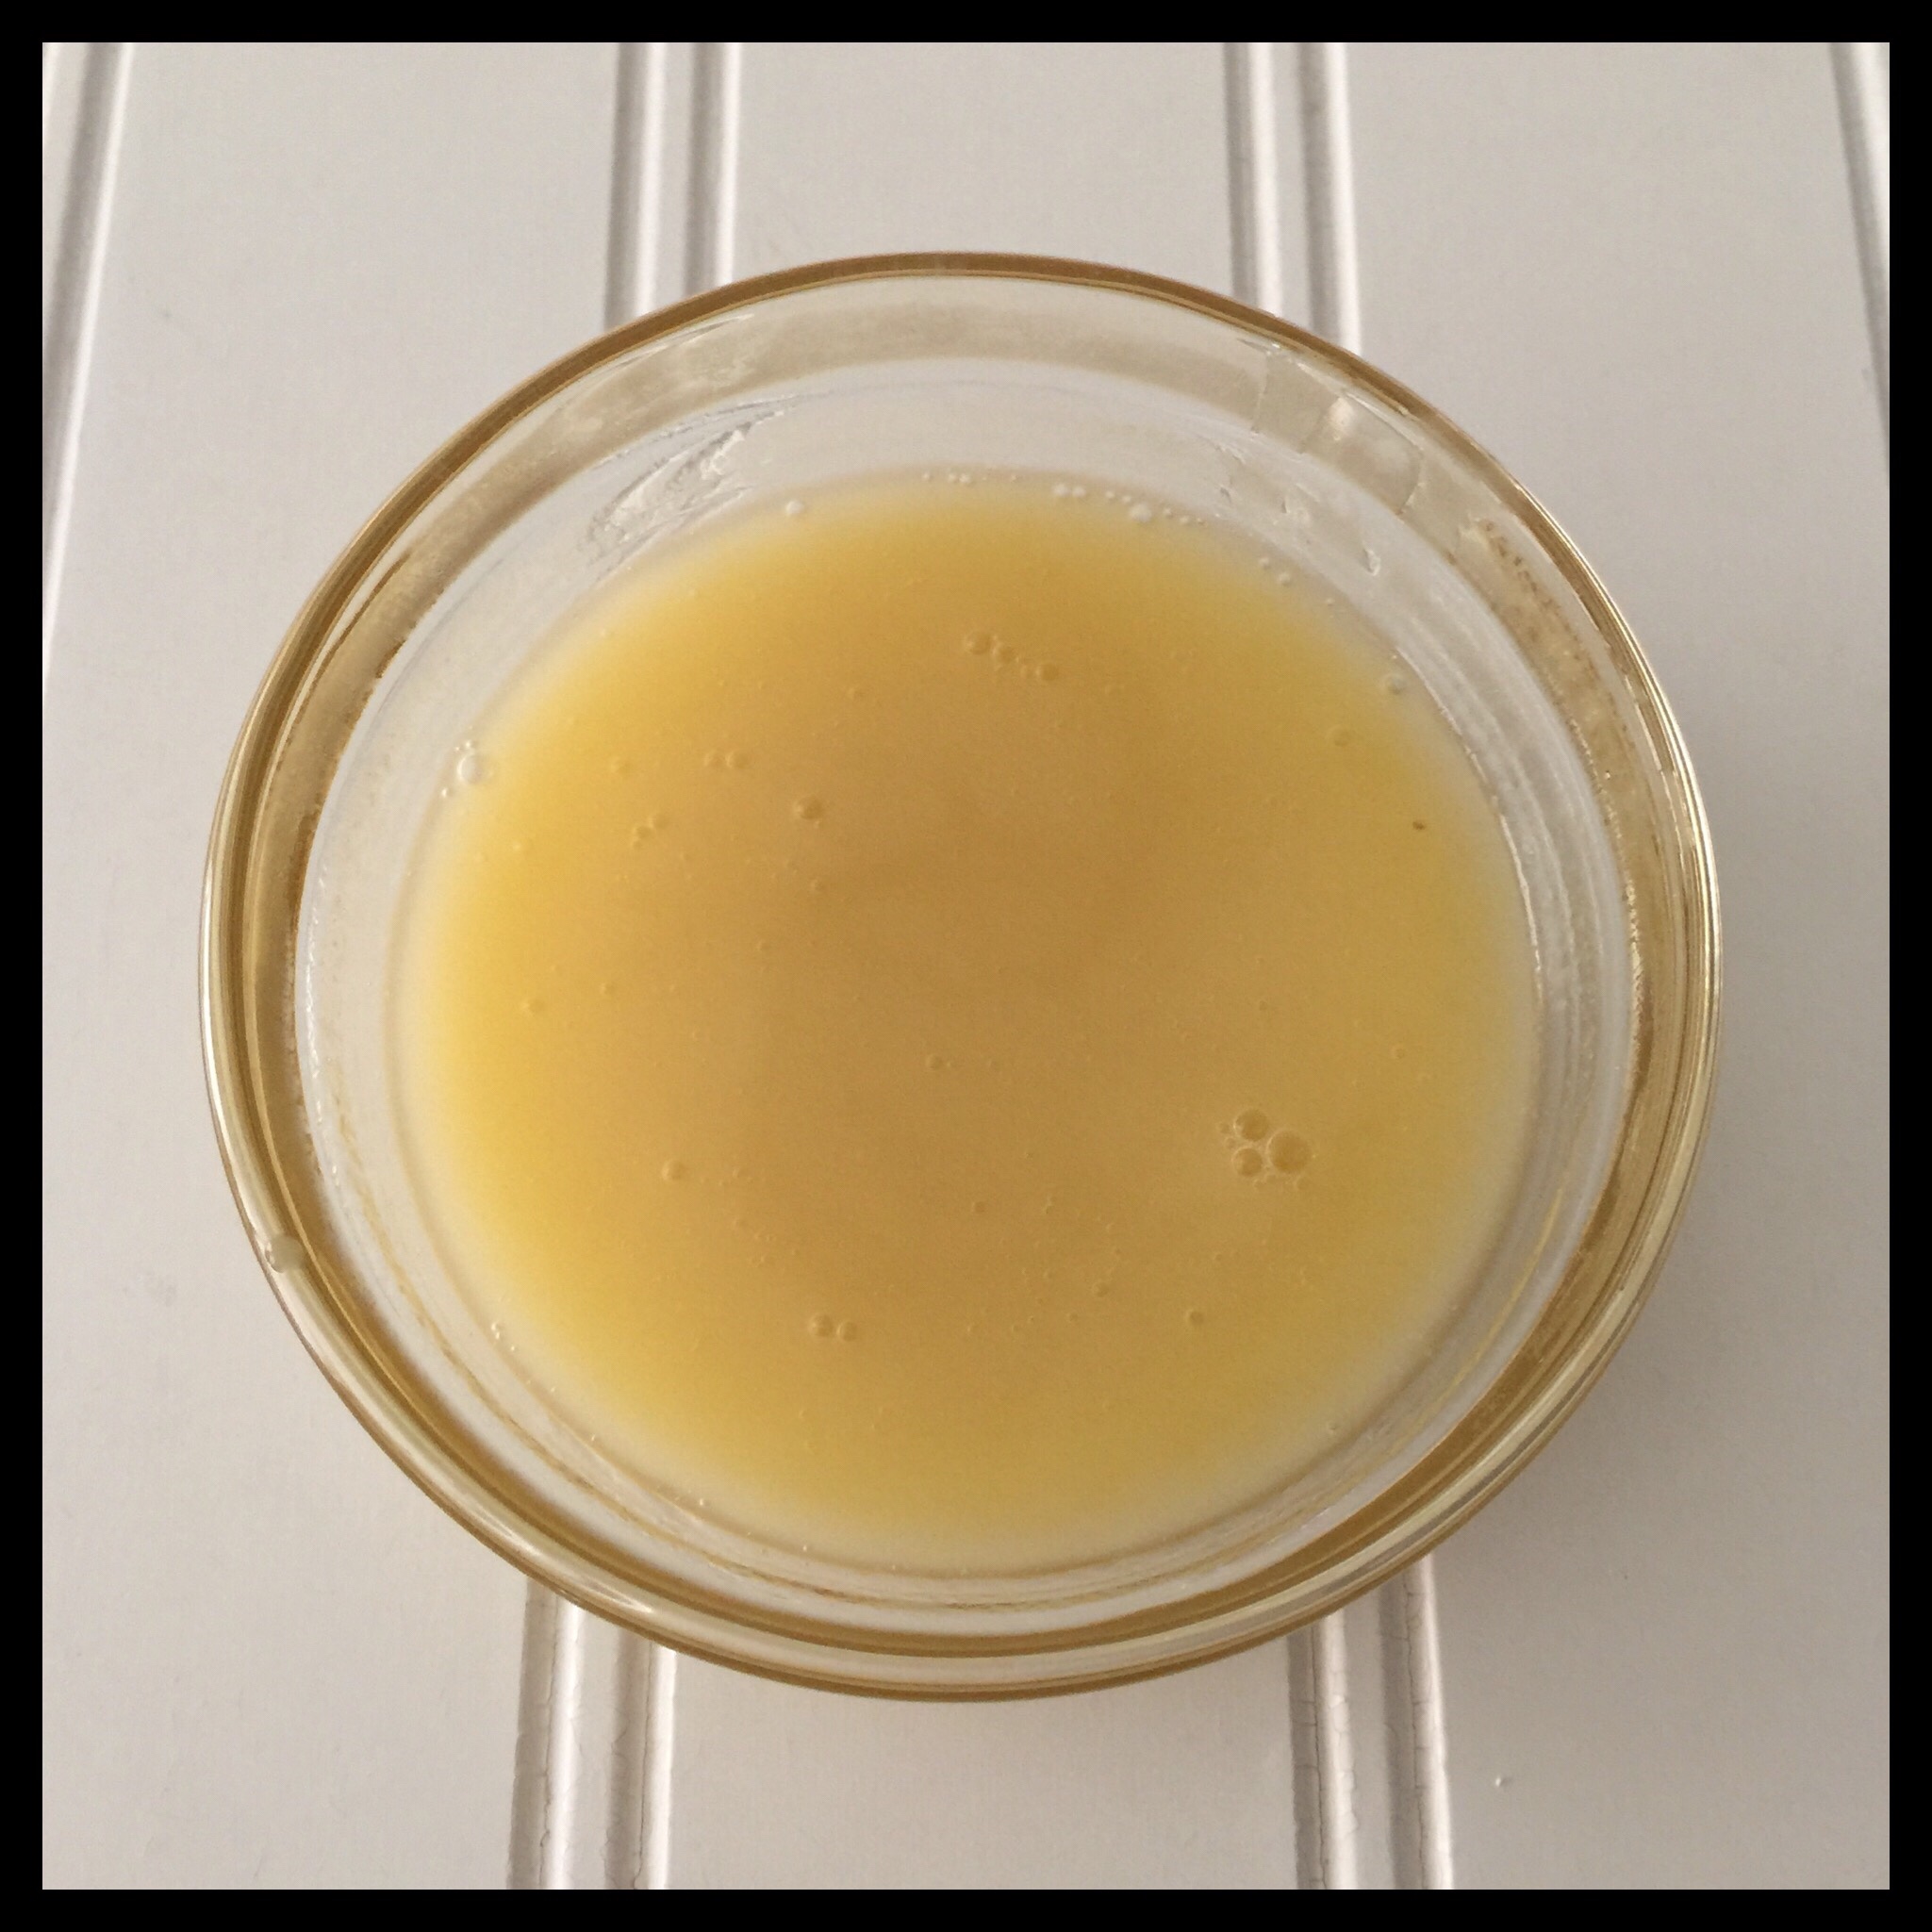
Whisk the vinegar and plant milk together (I use Silk Original Soymilk). Now you have vegan “buttermilk.” Please note that a high protein plant milk like soy, Ripple, or Bolthouse will give you the best results. If you cannot use one of these, then flax milk is the next best choice.
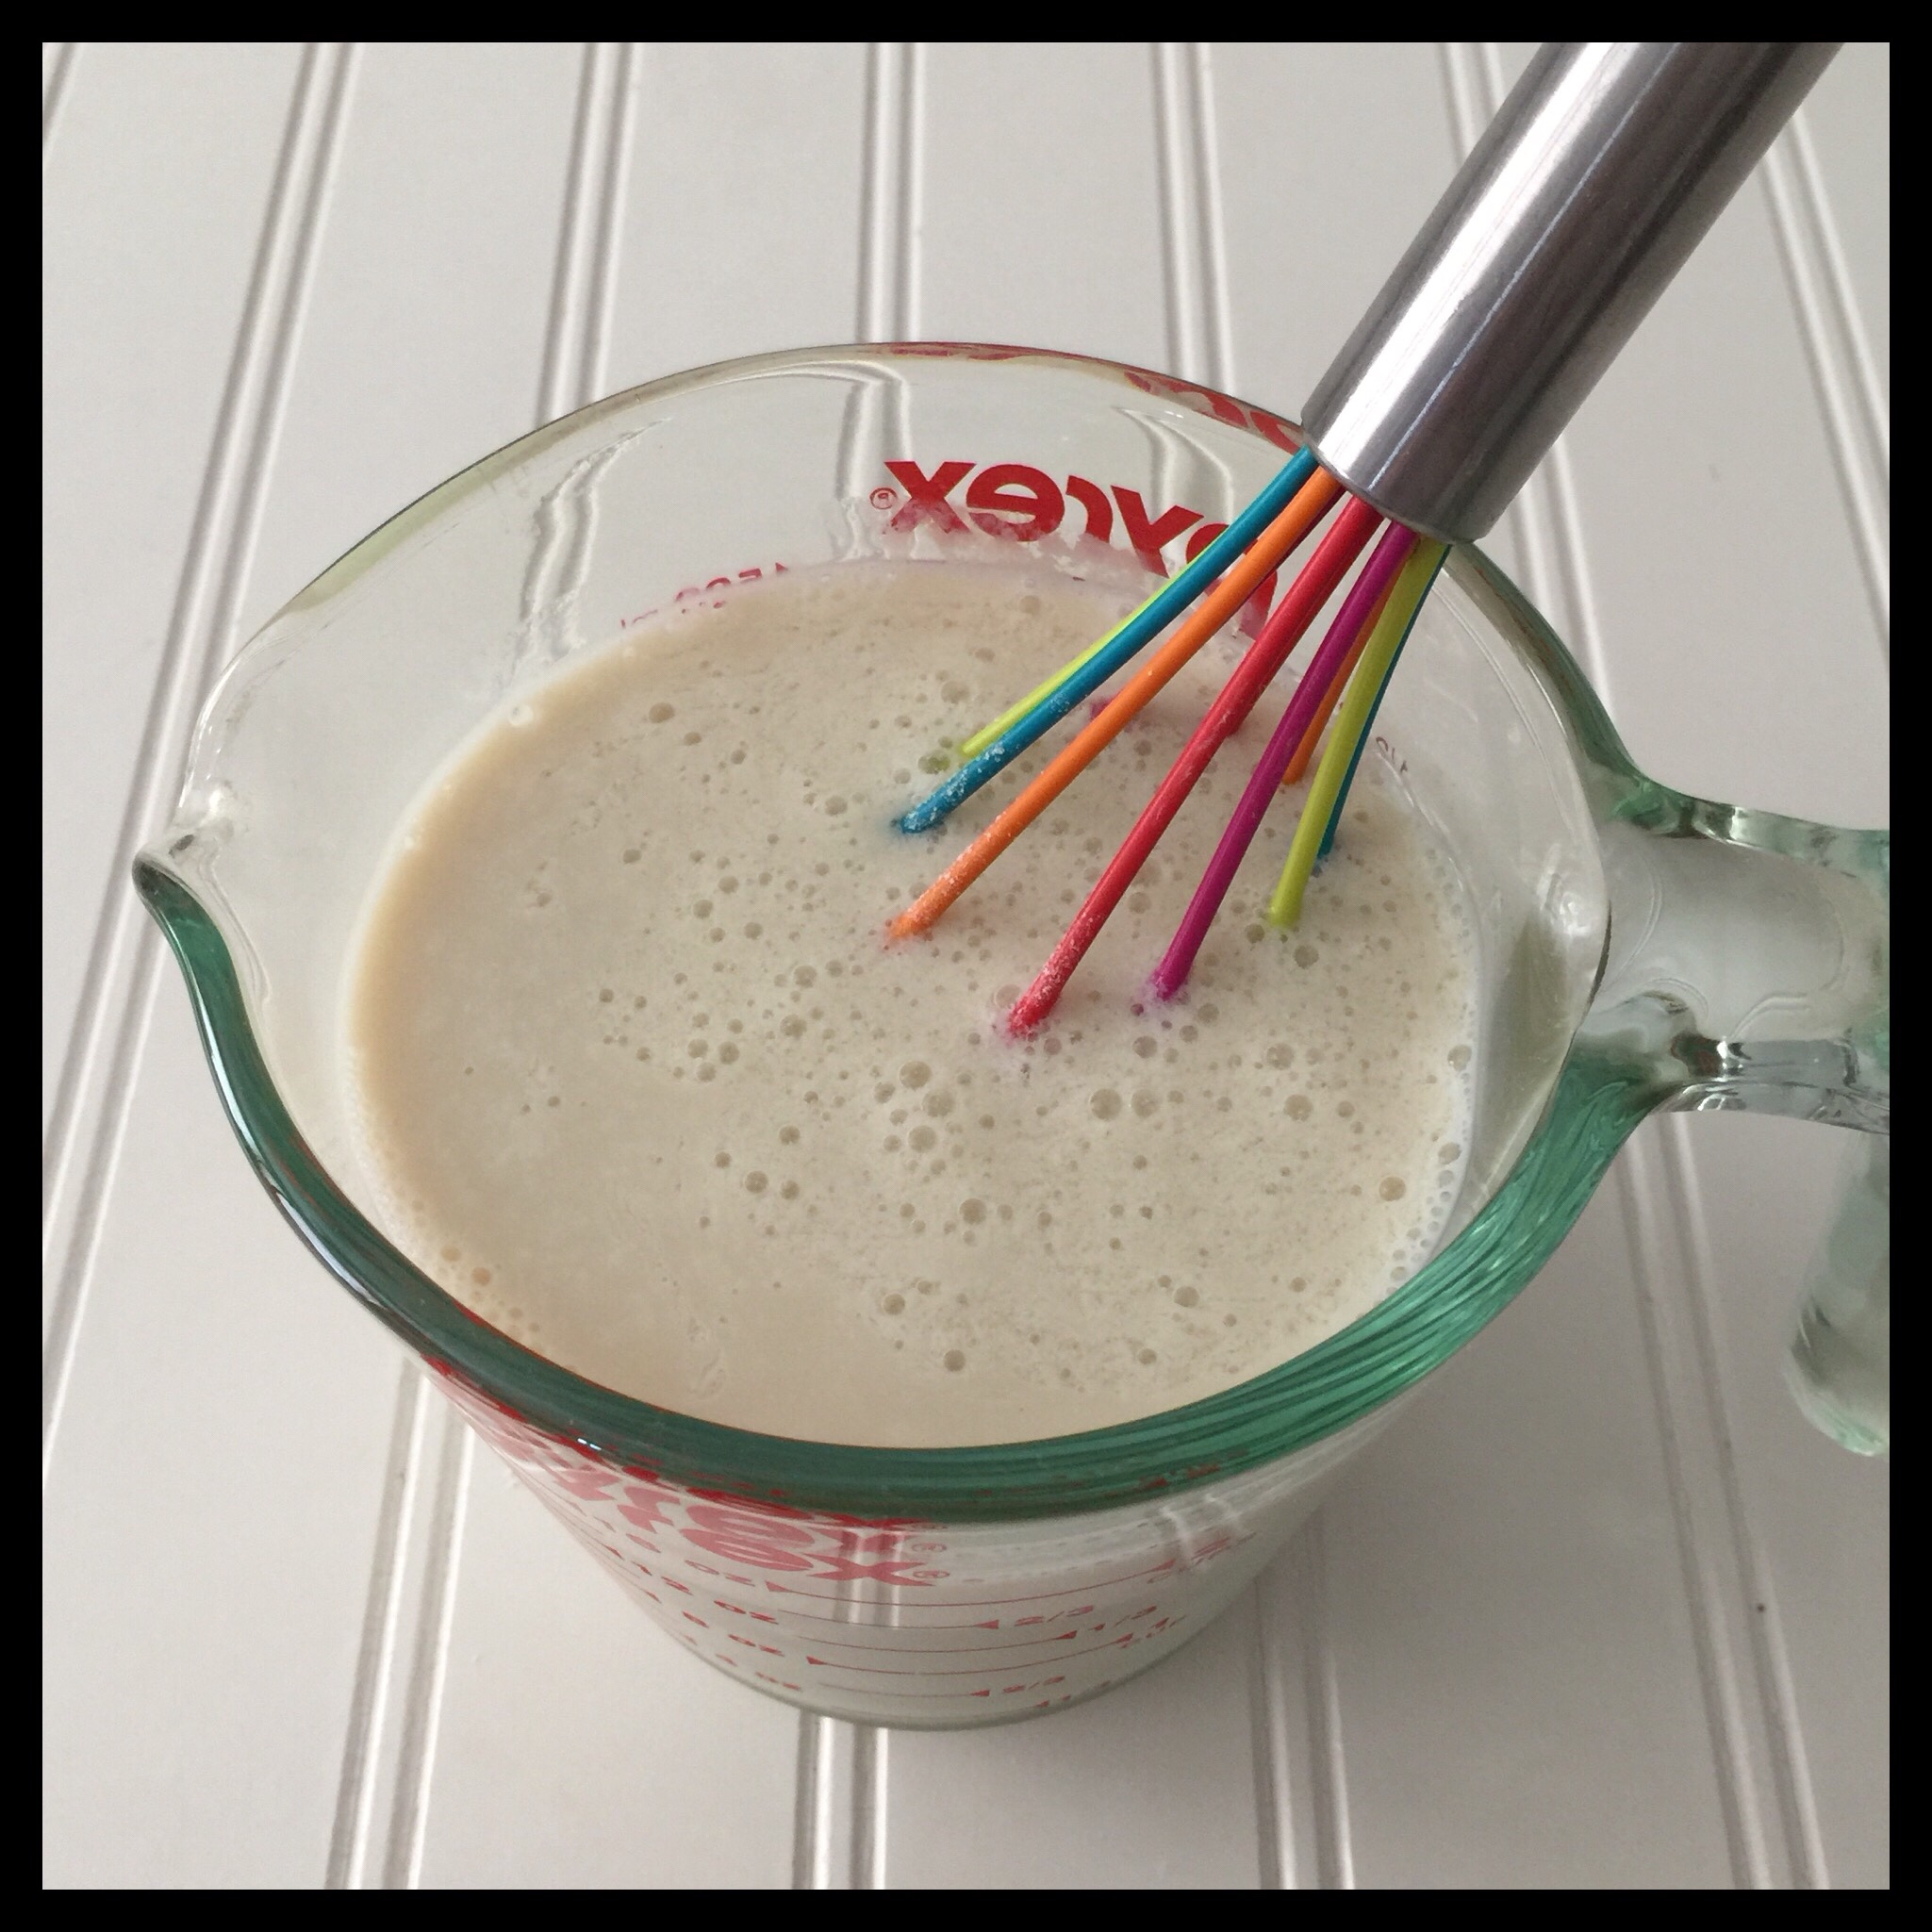
Melt the vegan butter, then add it and the vanilla to the “buttermilk”:
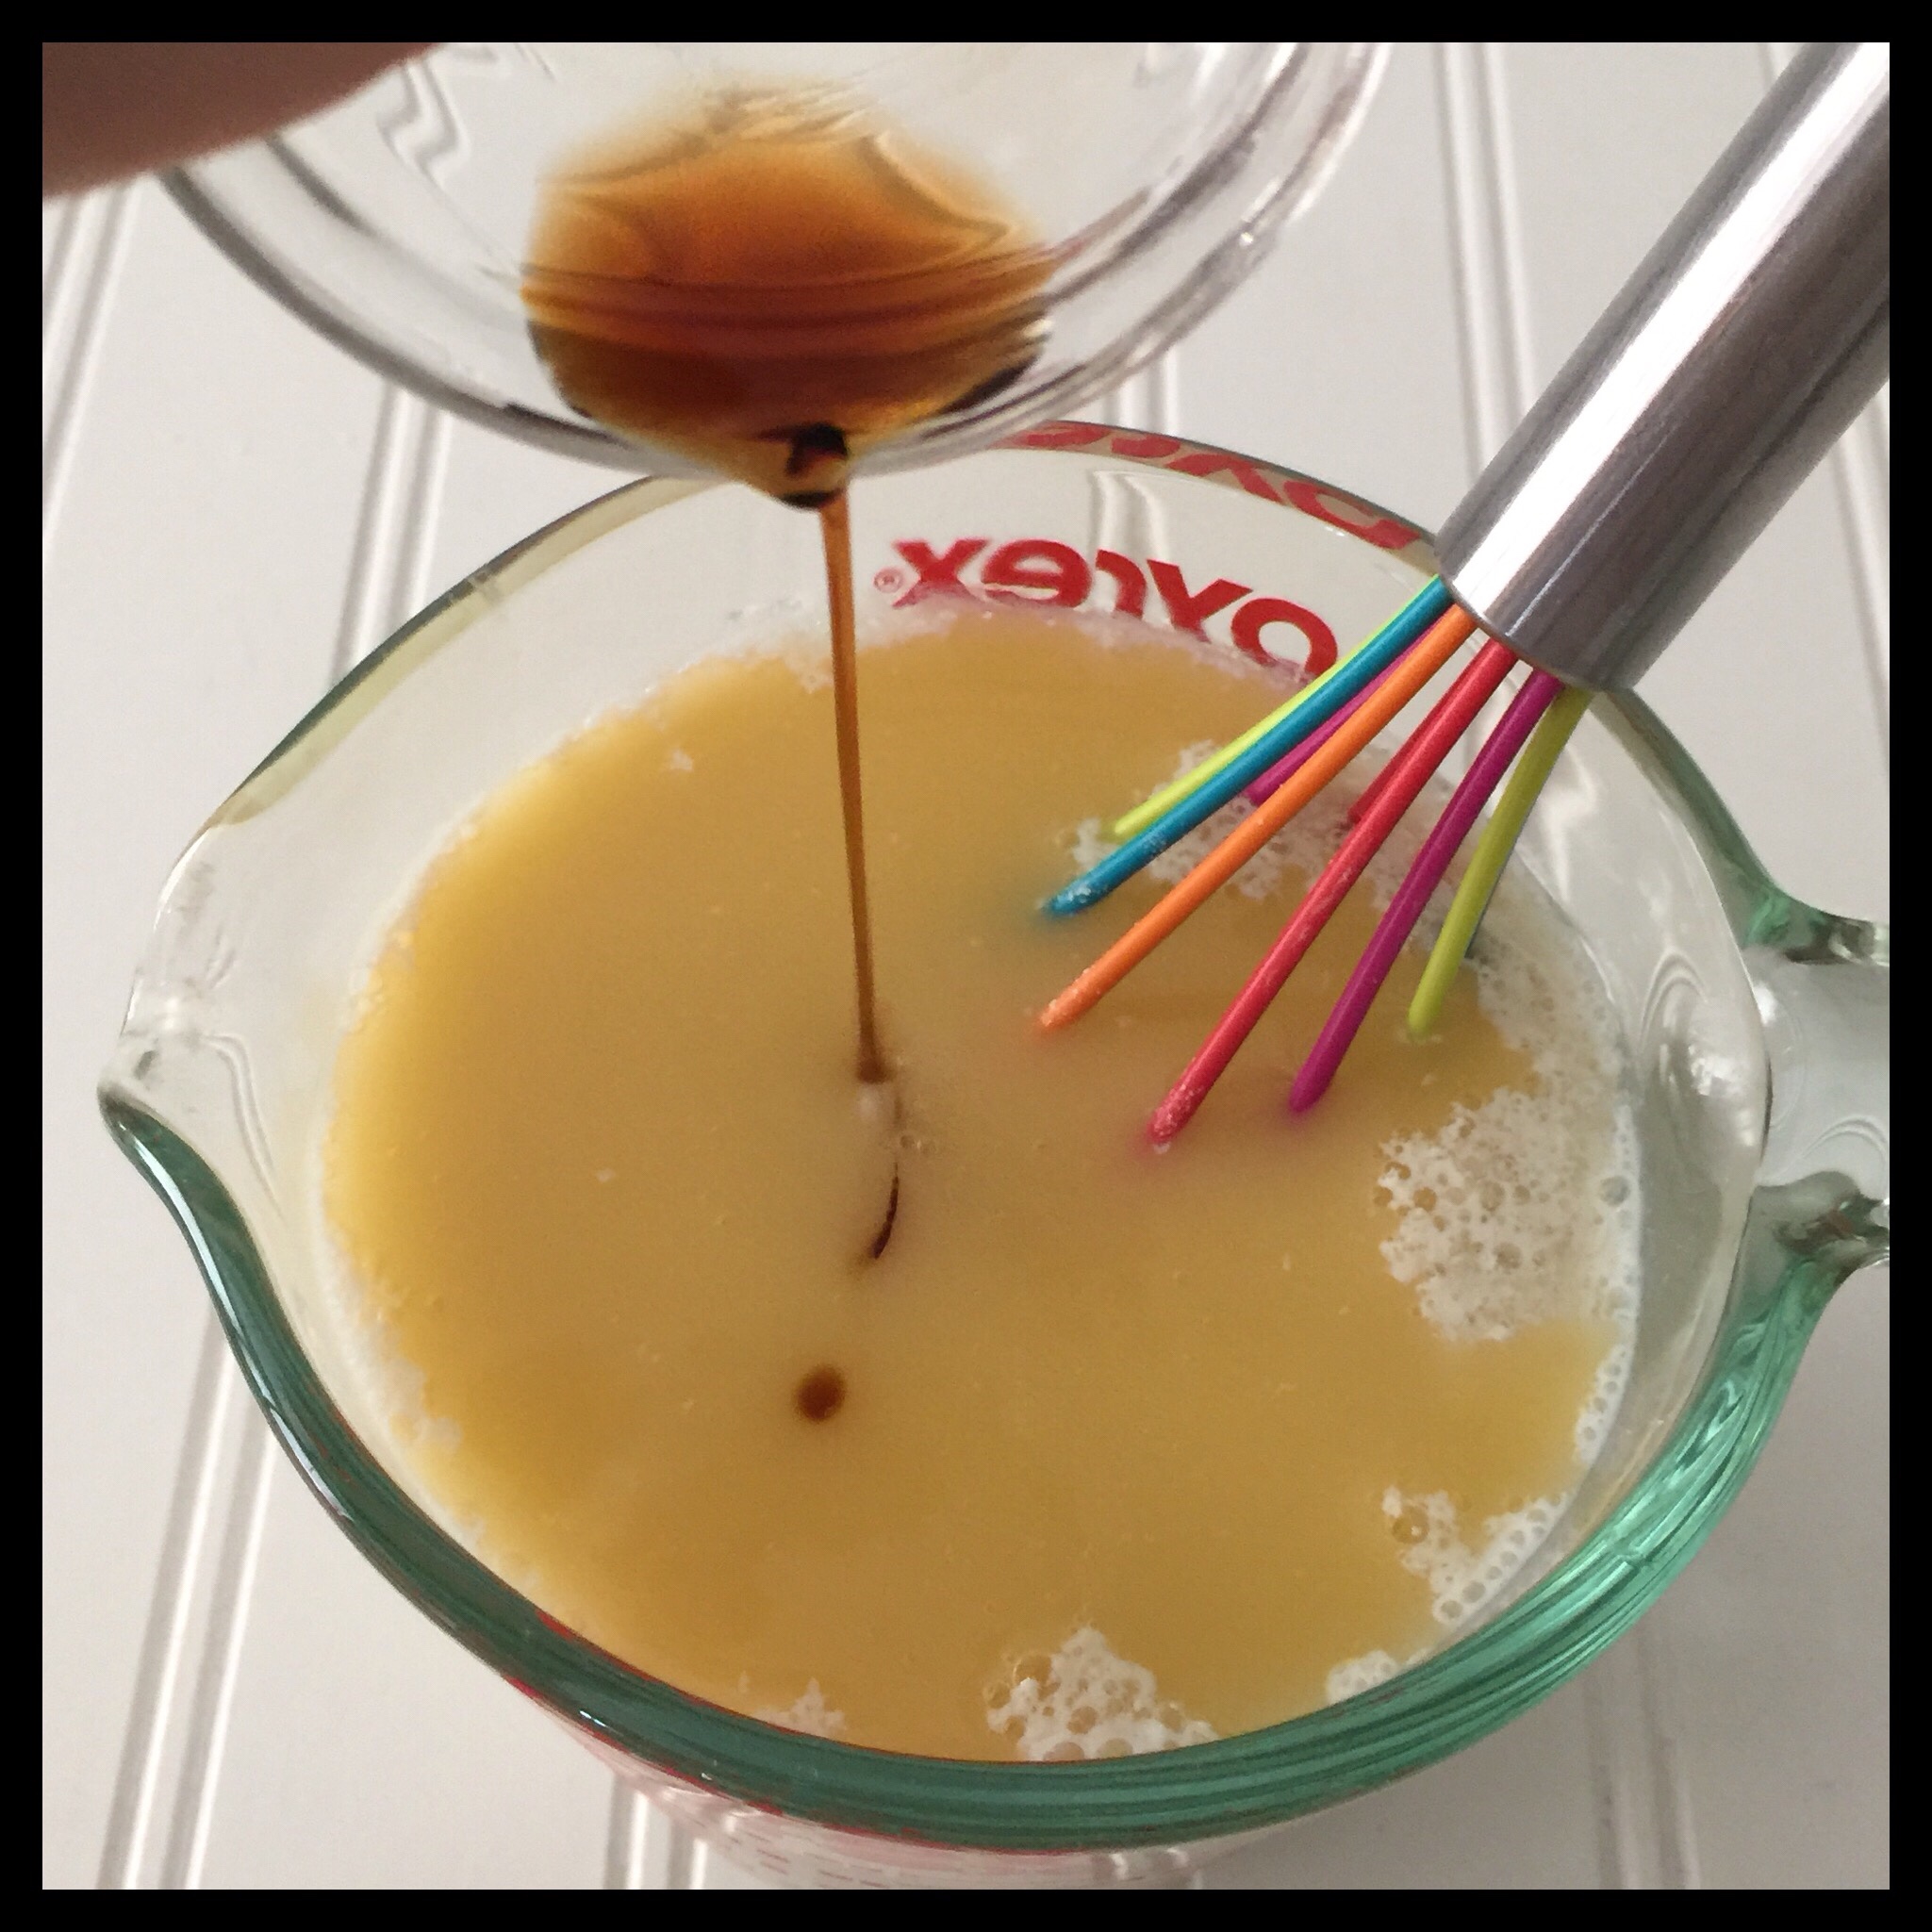
Whisk all of the wet ingredients together:
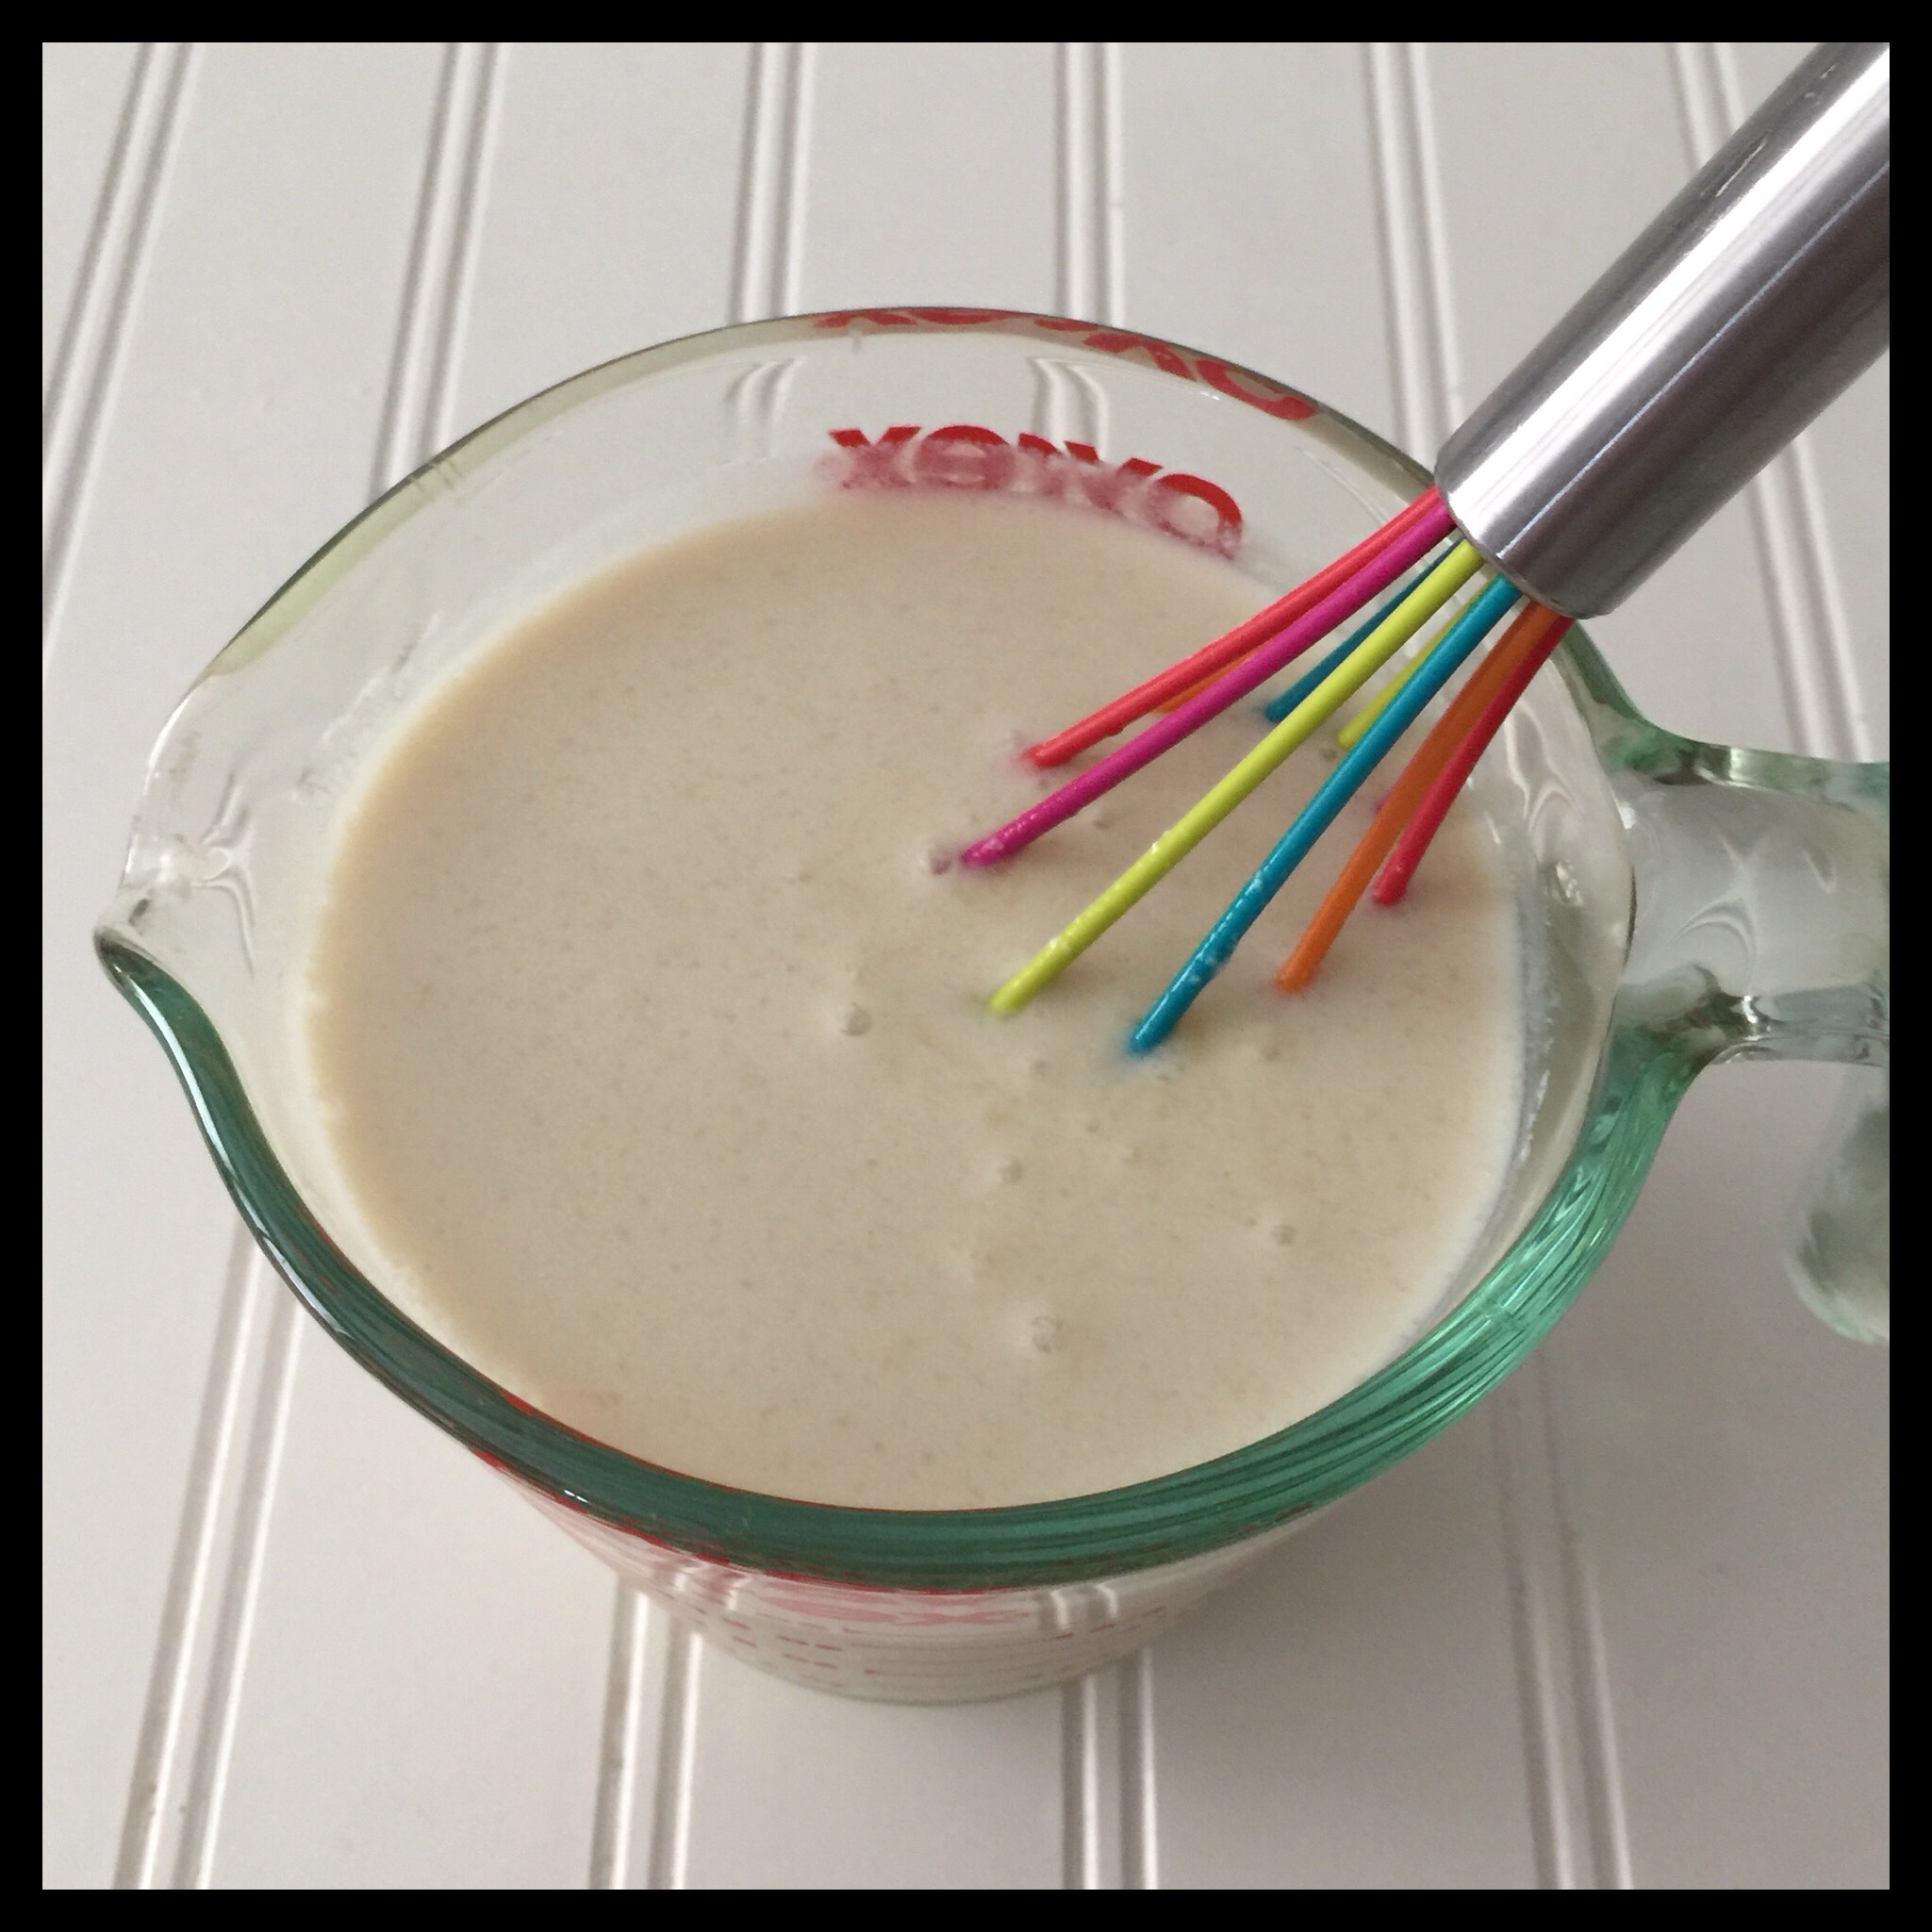
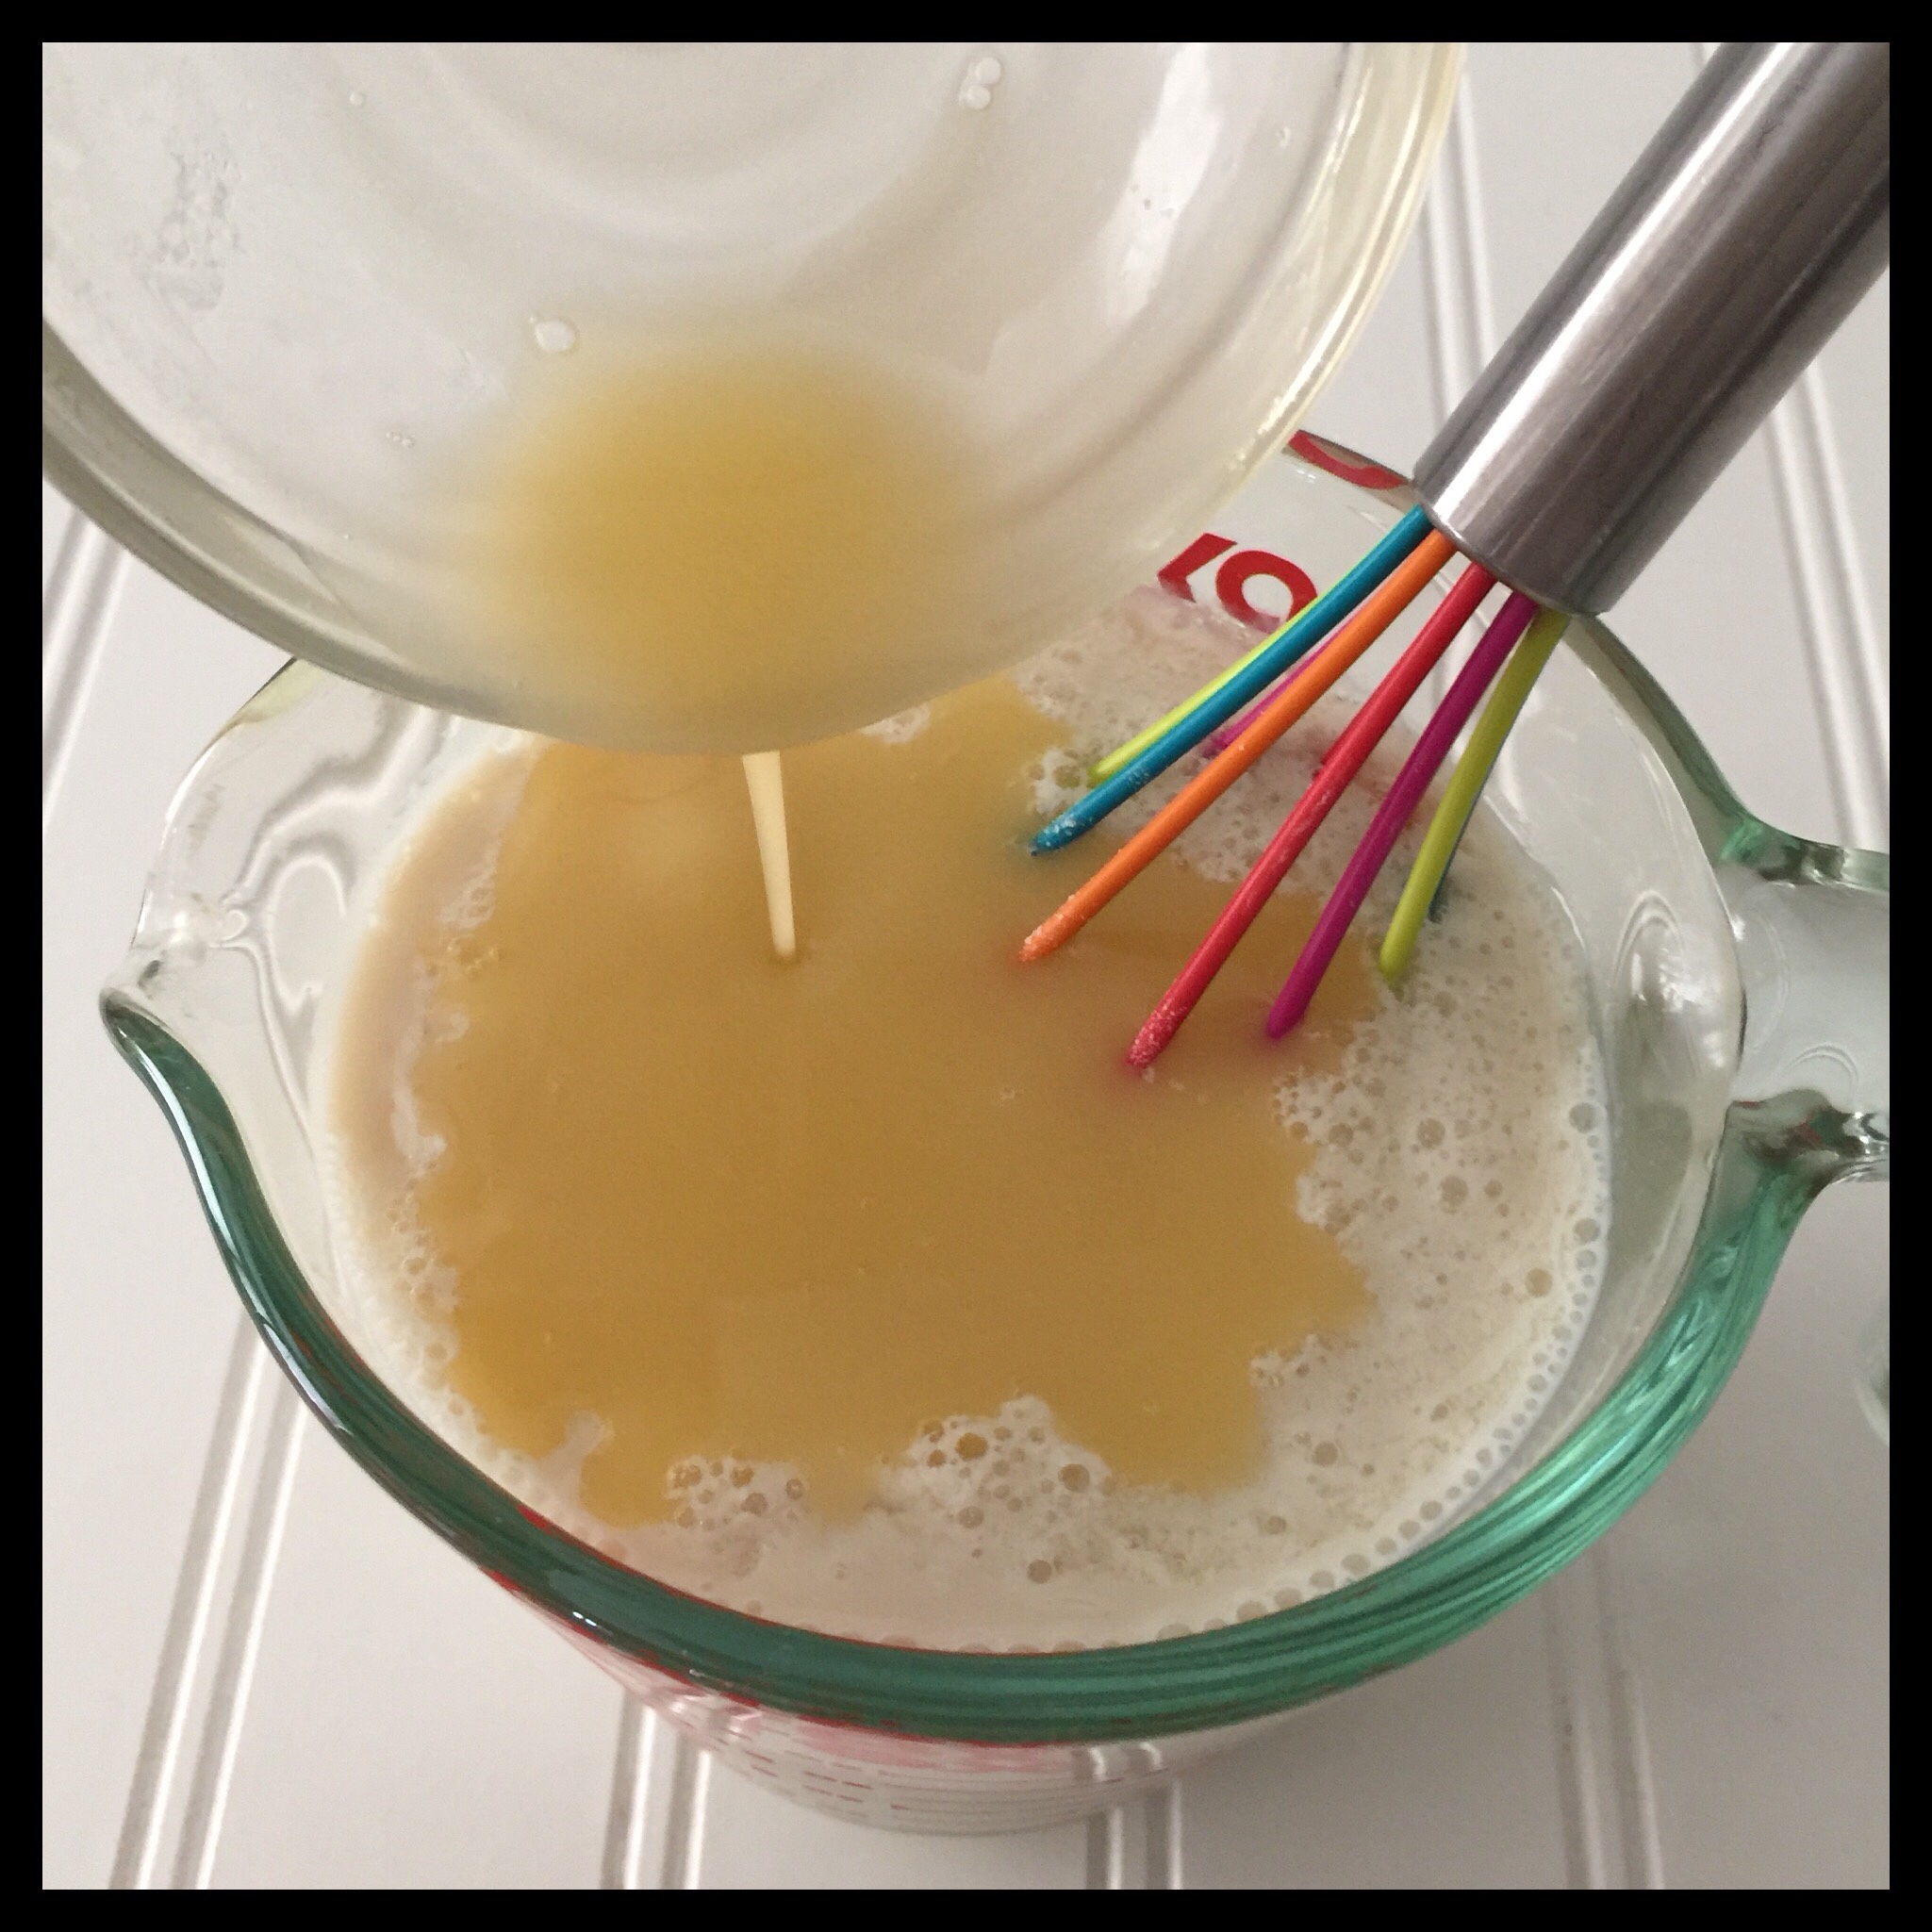
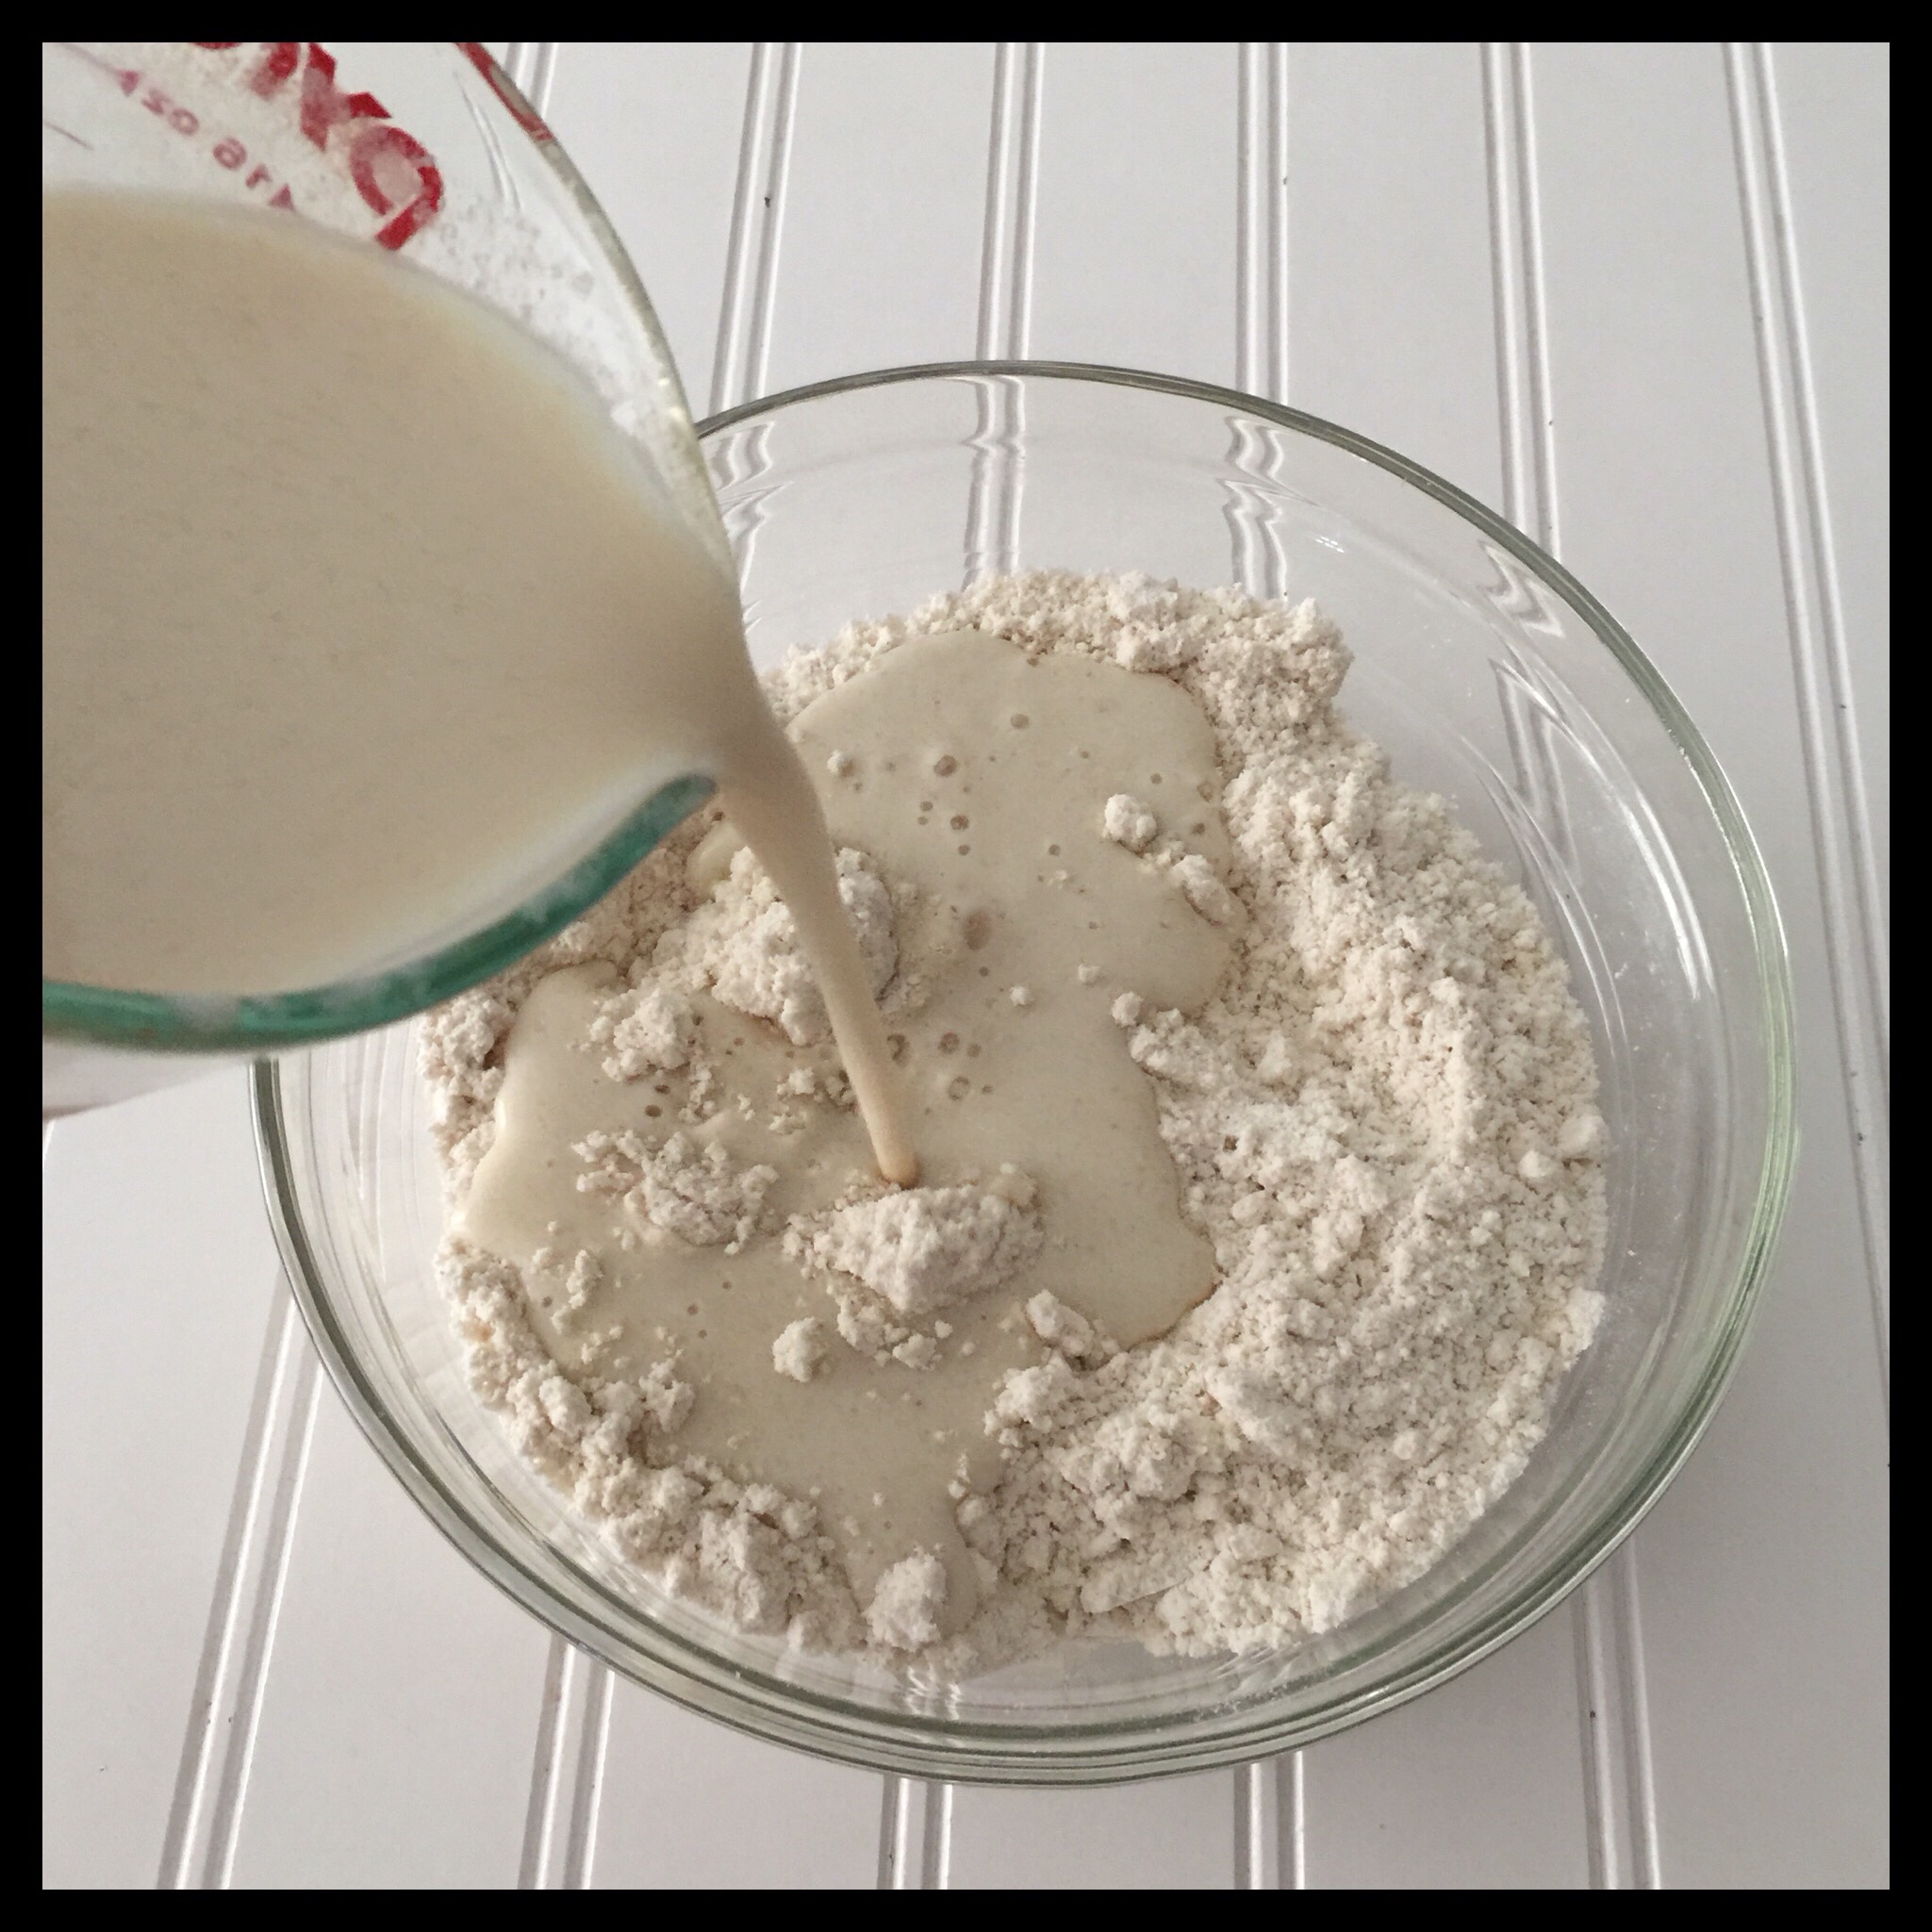
Make a well in the flour mixture, then pour the liquid ingredients into the well and whisk to combine. You don’t have to worry about over mixing if you are using gluten free flour, but only mix just enough to get the lumps out if you are using wheat flour.

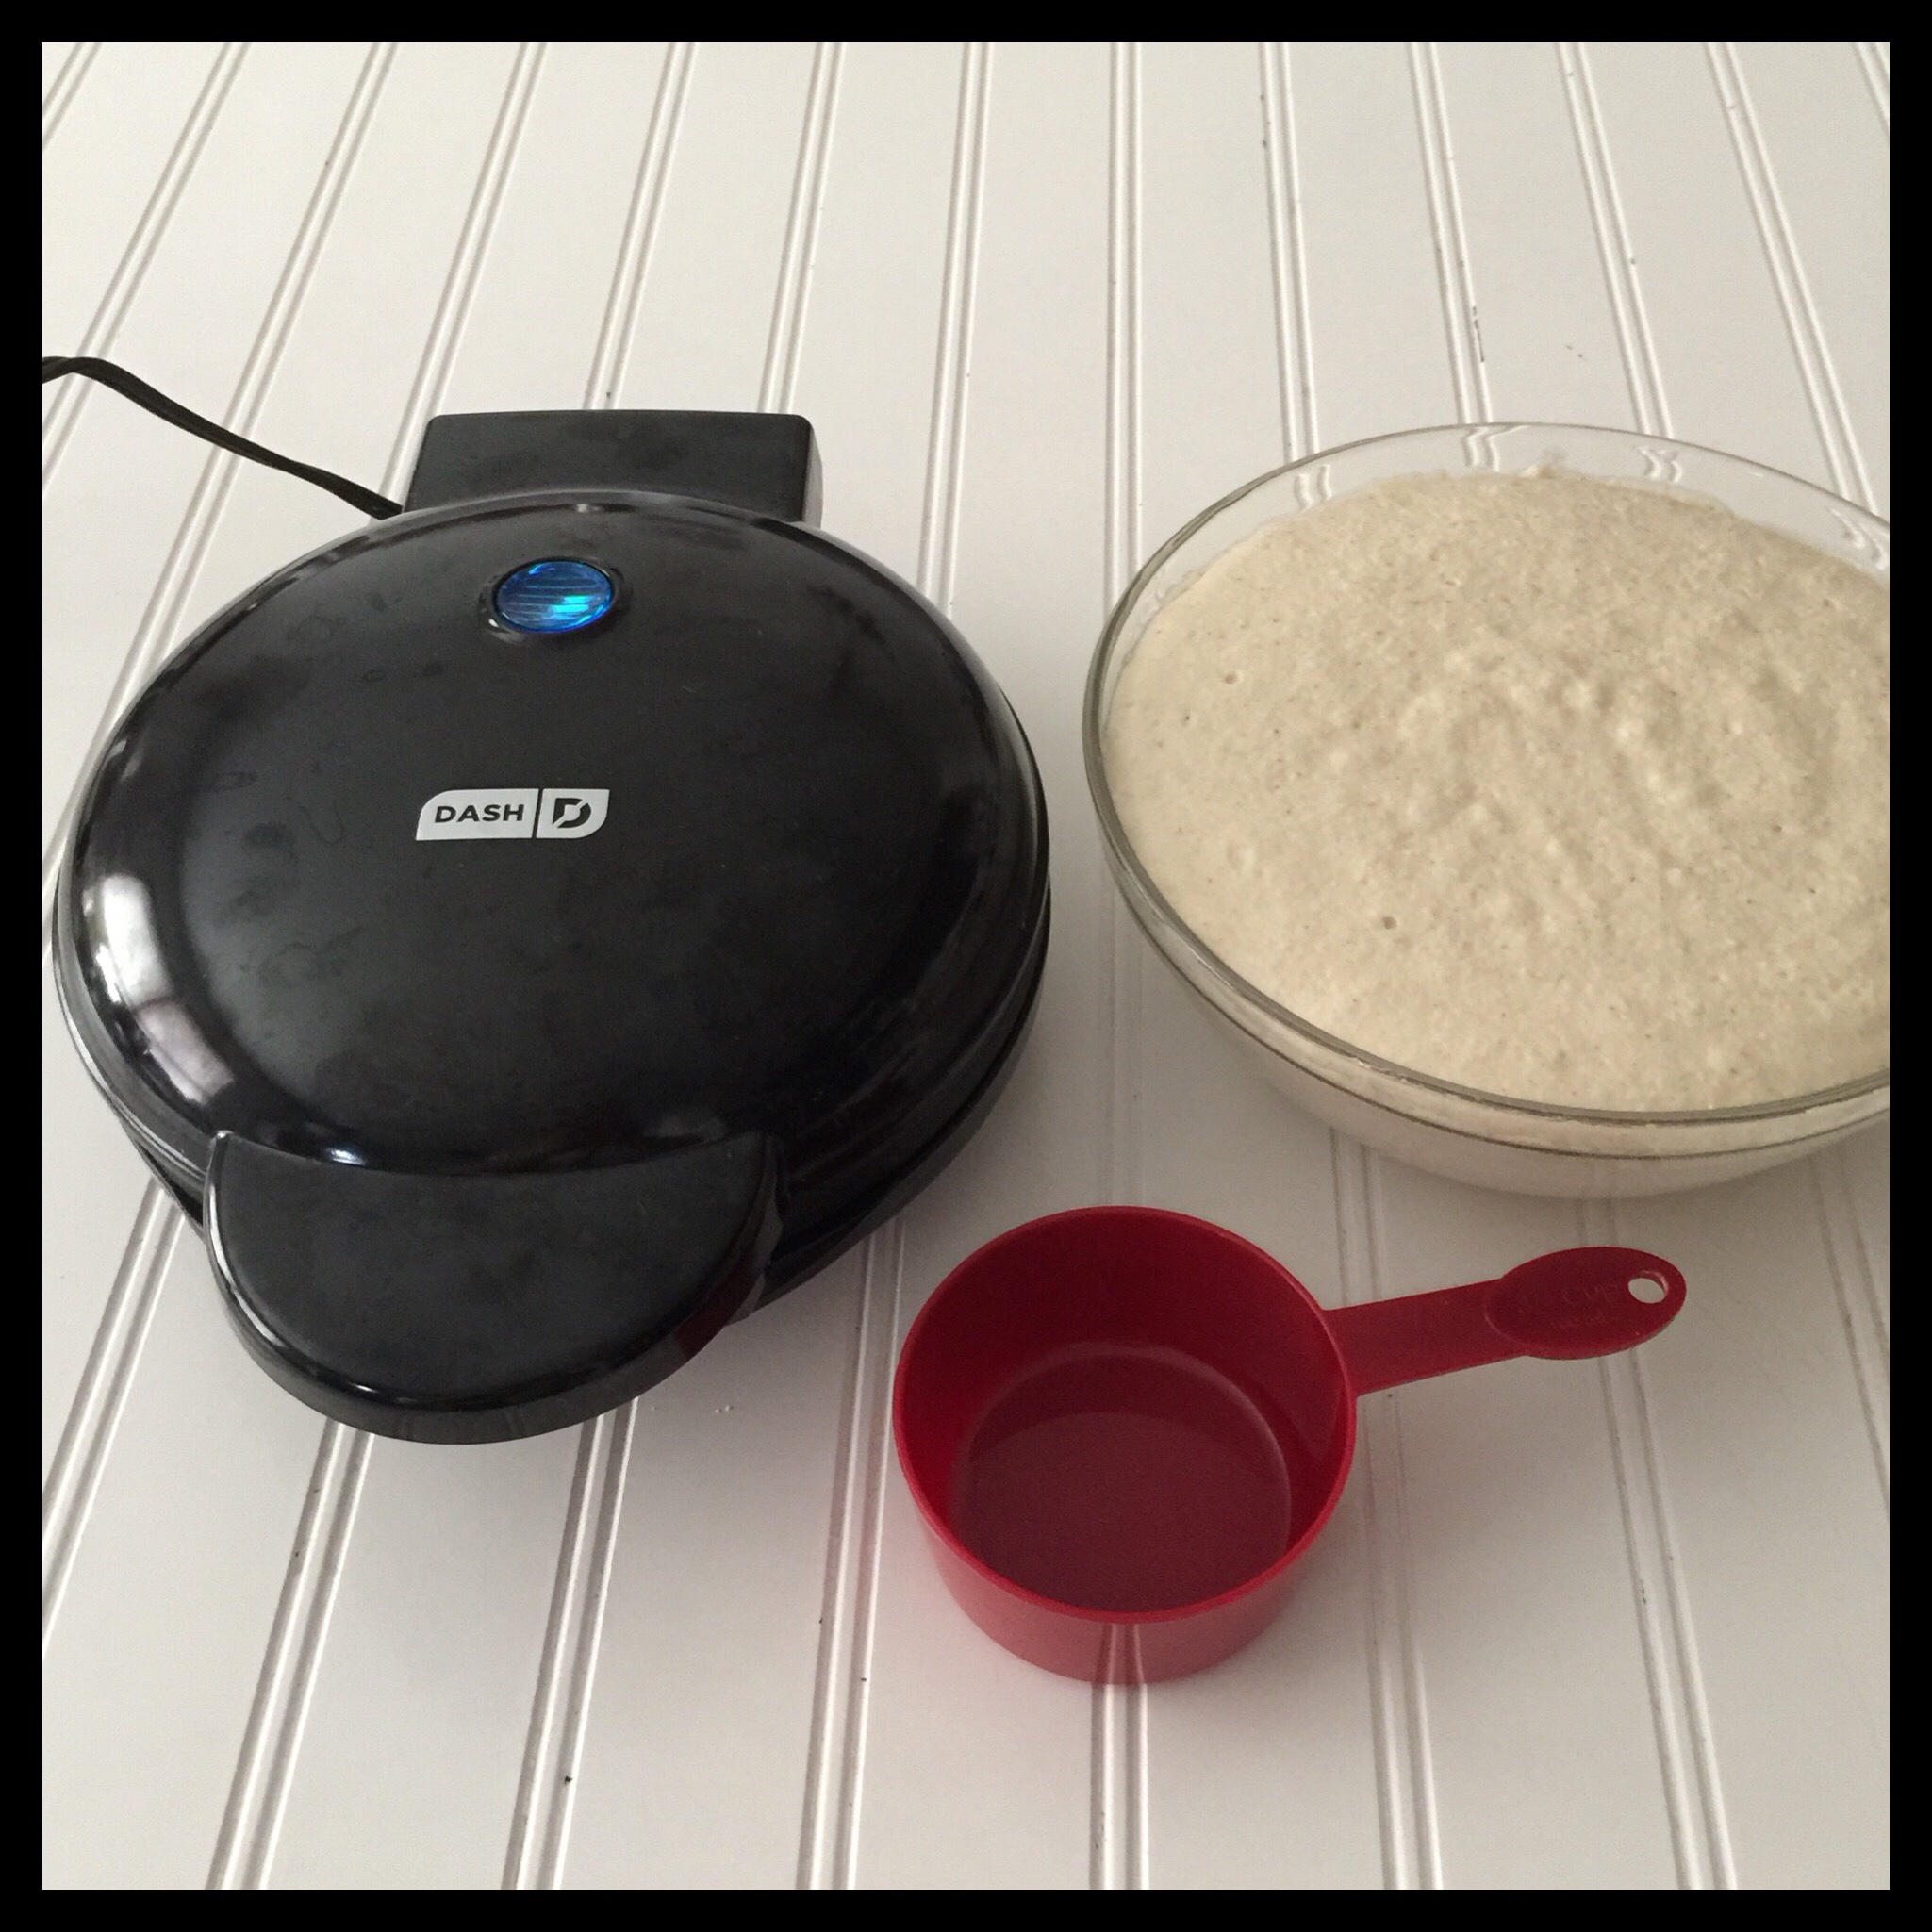
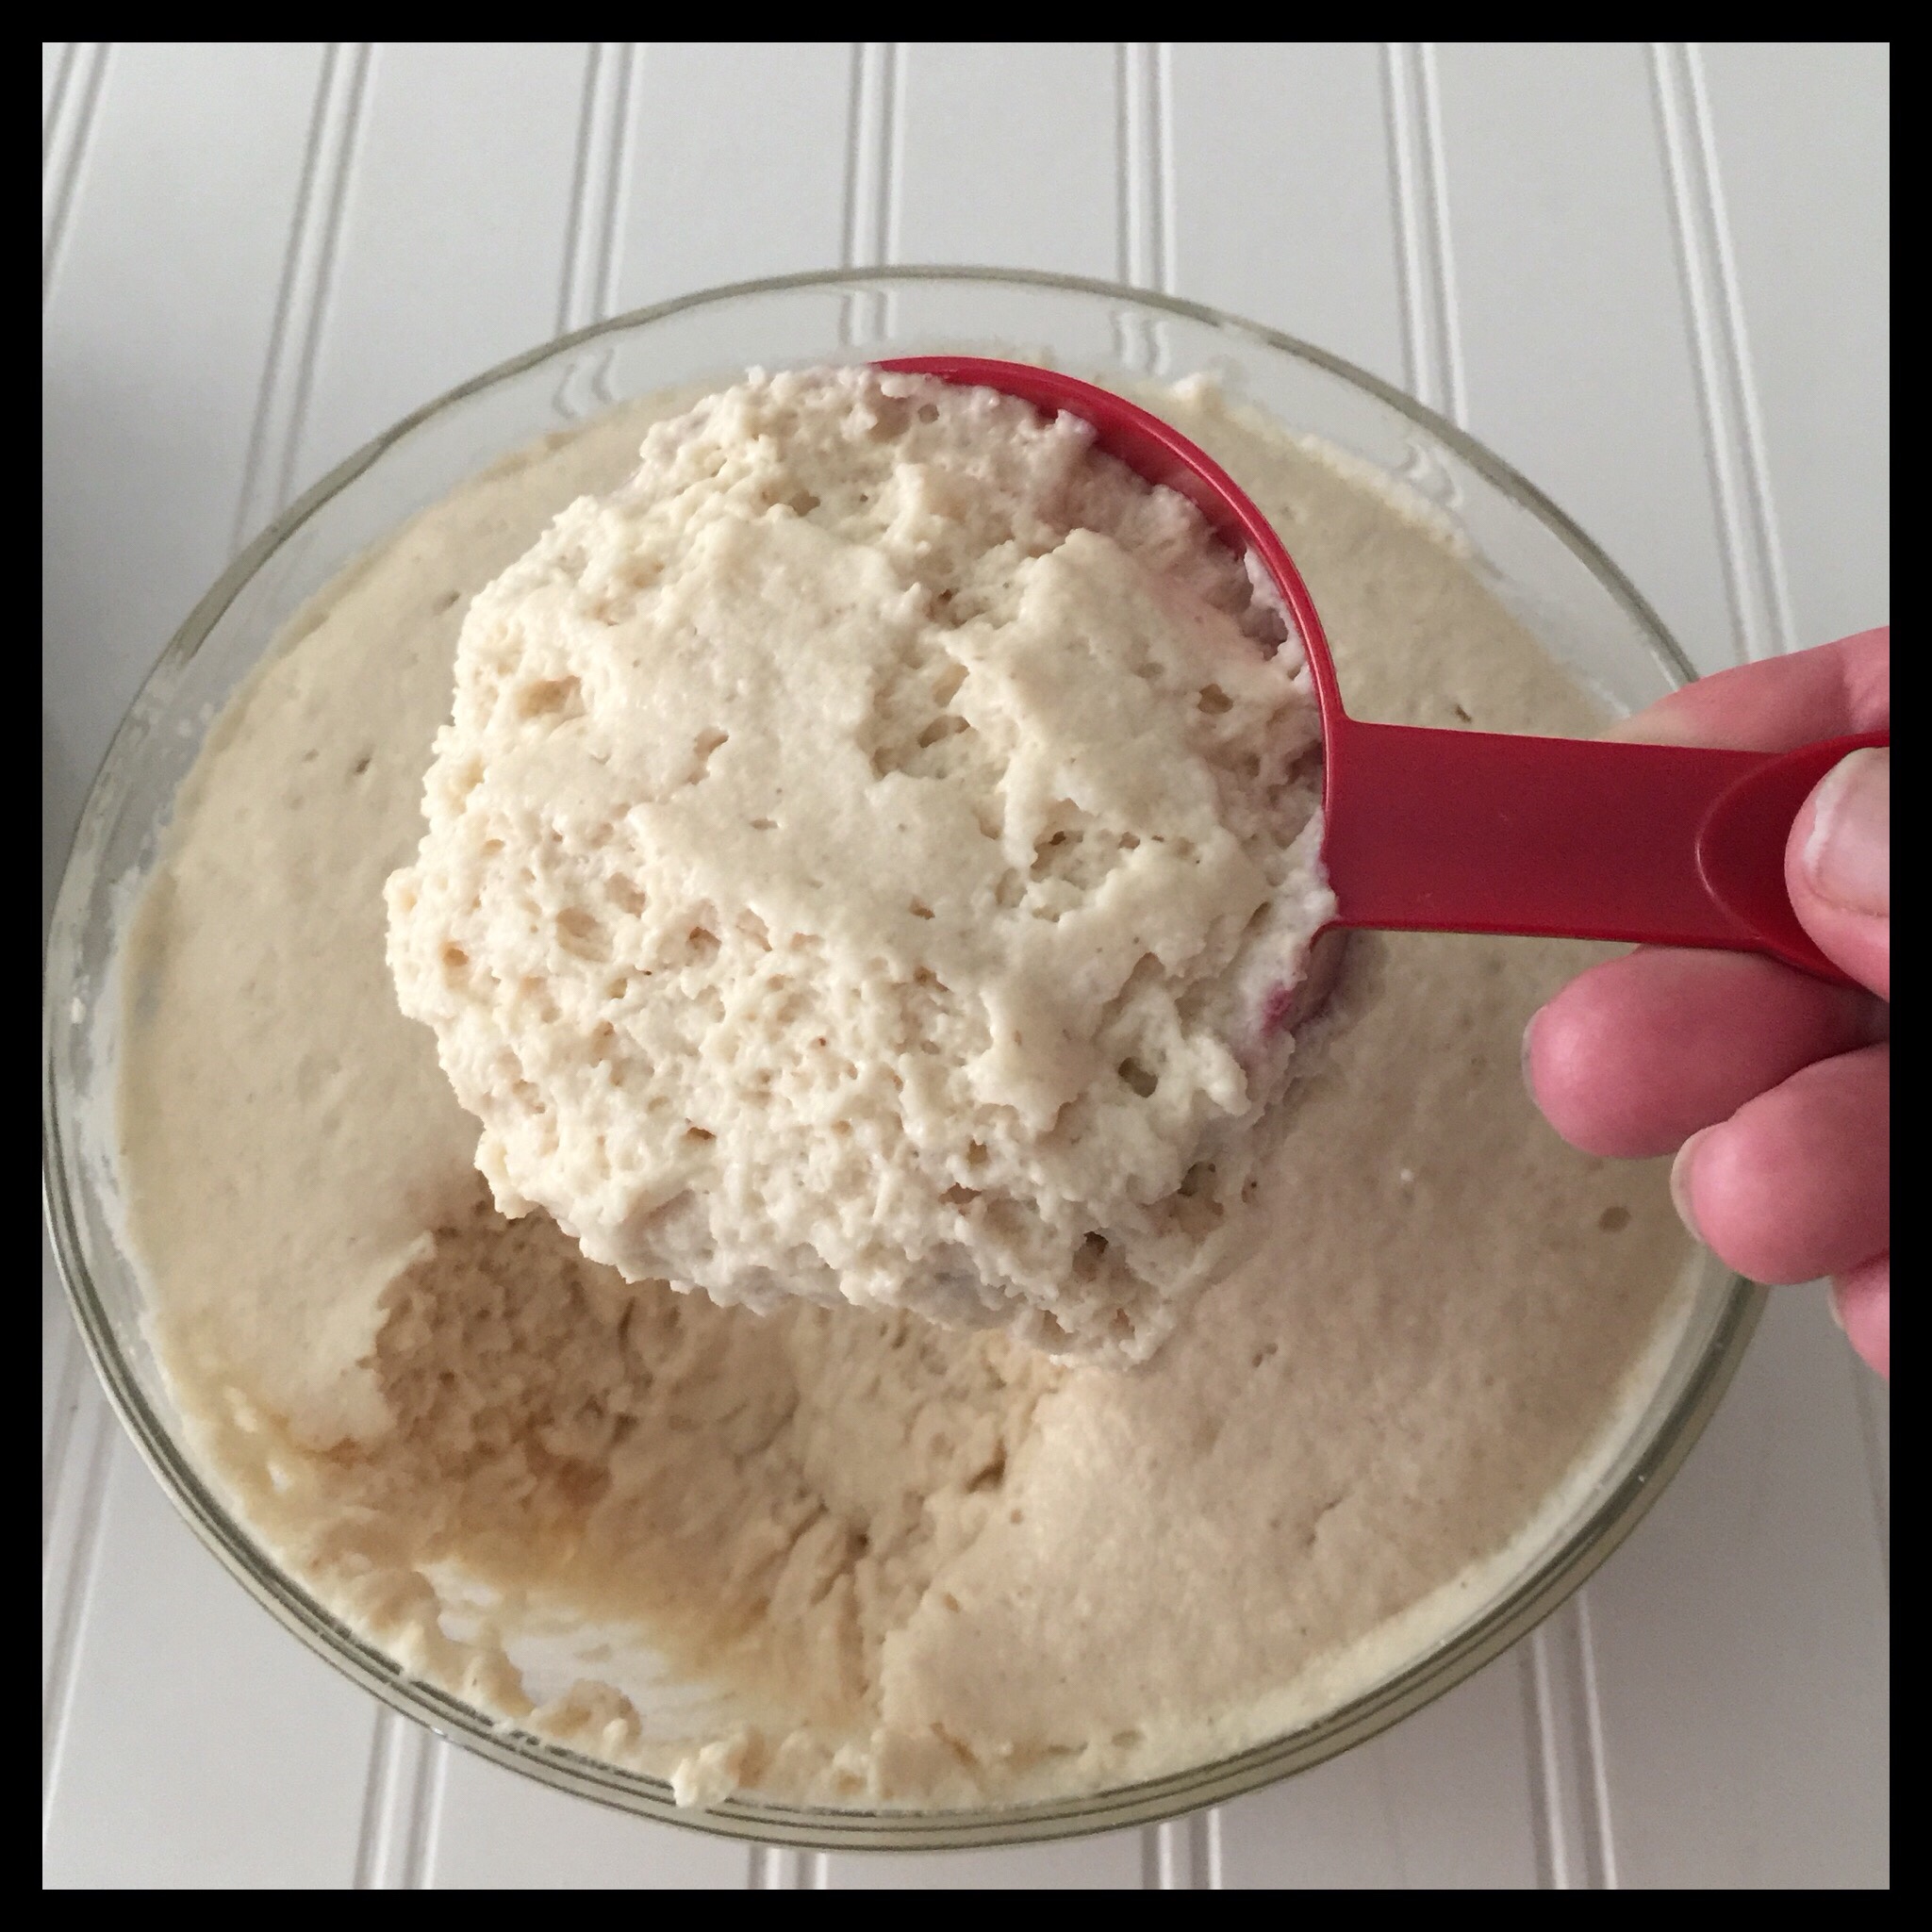
Wait 20 minutes before cooking your waffles because the batter needs to rest first. Preheat your waffle iron while you wait.
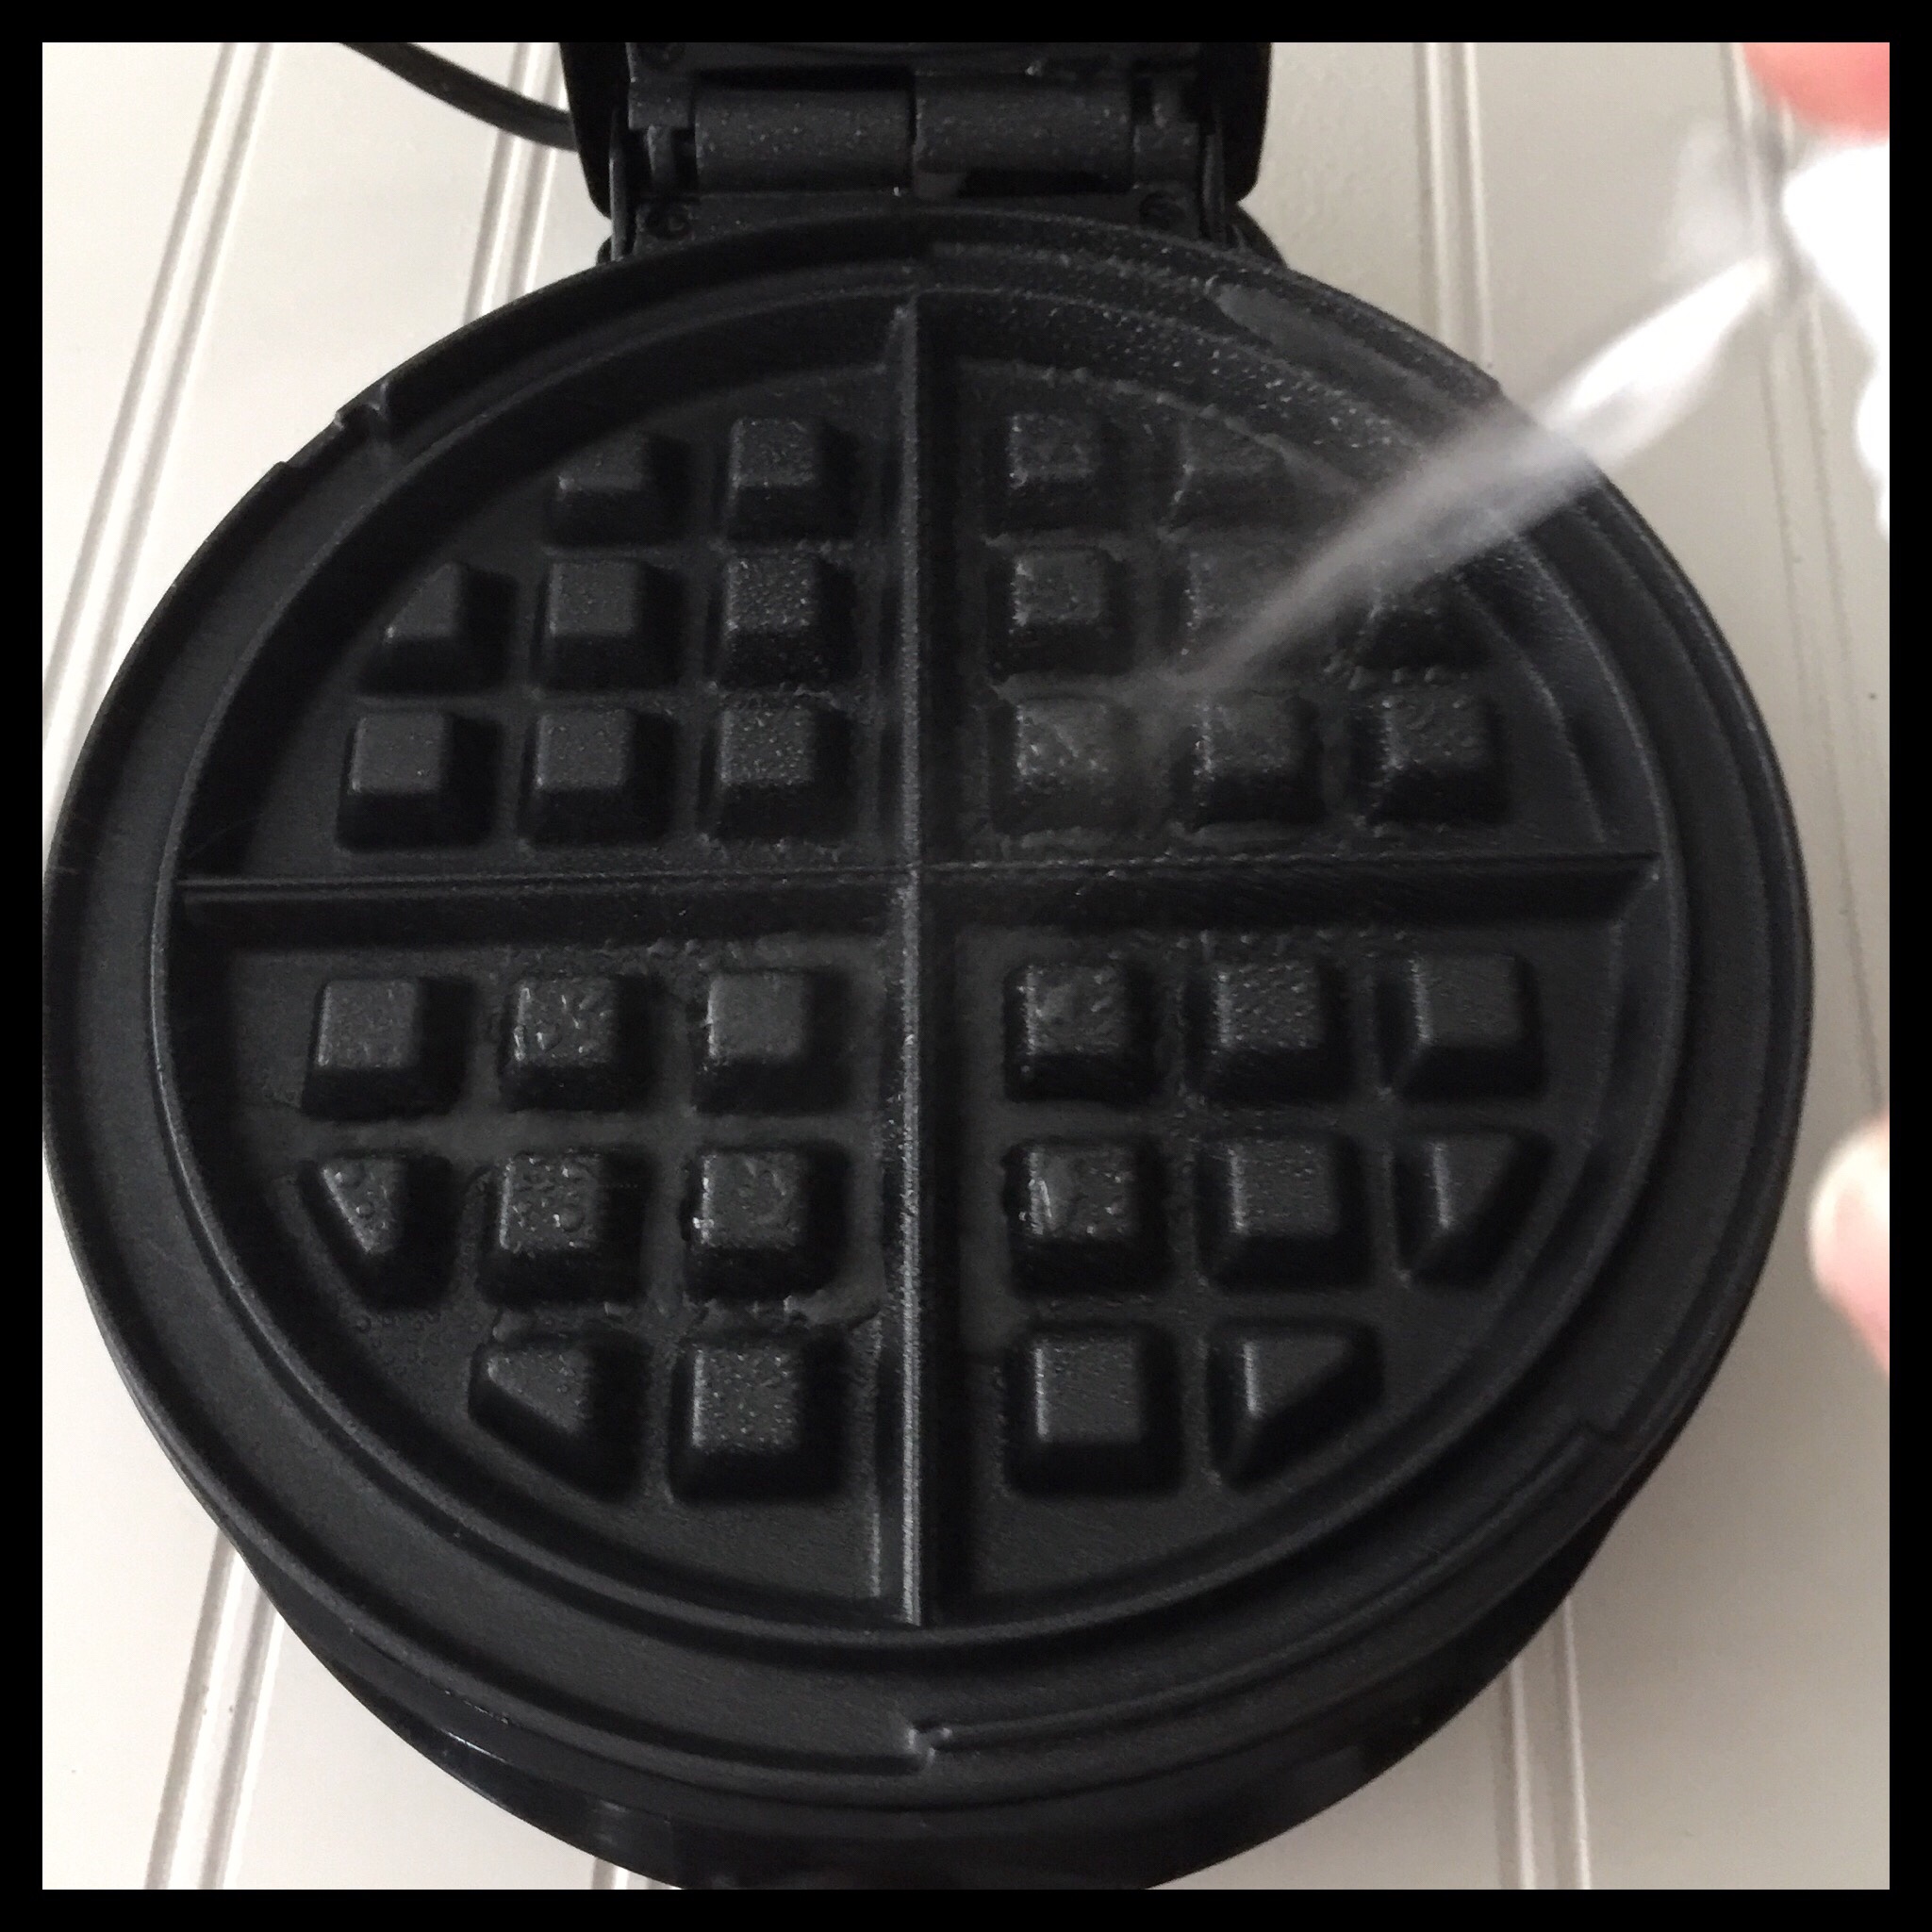
Lightly spray your hot waffle iron with non-stick spray. (I prefer a spray that includes lecithin as this really helps to prevent sticking.) With my waffle iron, I only need to spray it once before I begin cooking the waffles, but you may need to spray yours between each waffle.
Do NOT stir your batter again! Just scoop it with a measuring cup onto your hot waffle iron. How much batter you need depends on the size of your iron, so you may need to try different amounts until you find what works best. (I use a 3/4 cup measure for mine.)
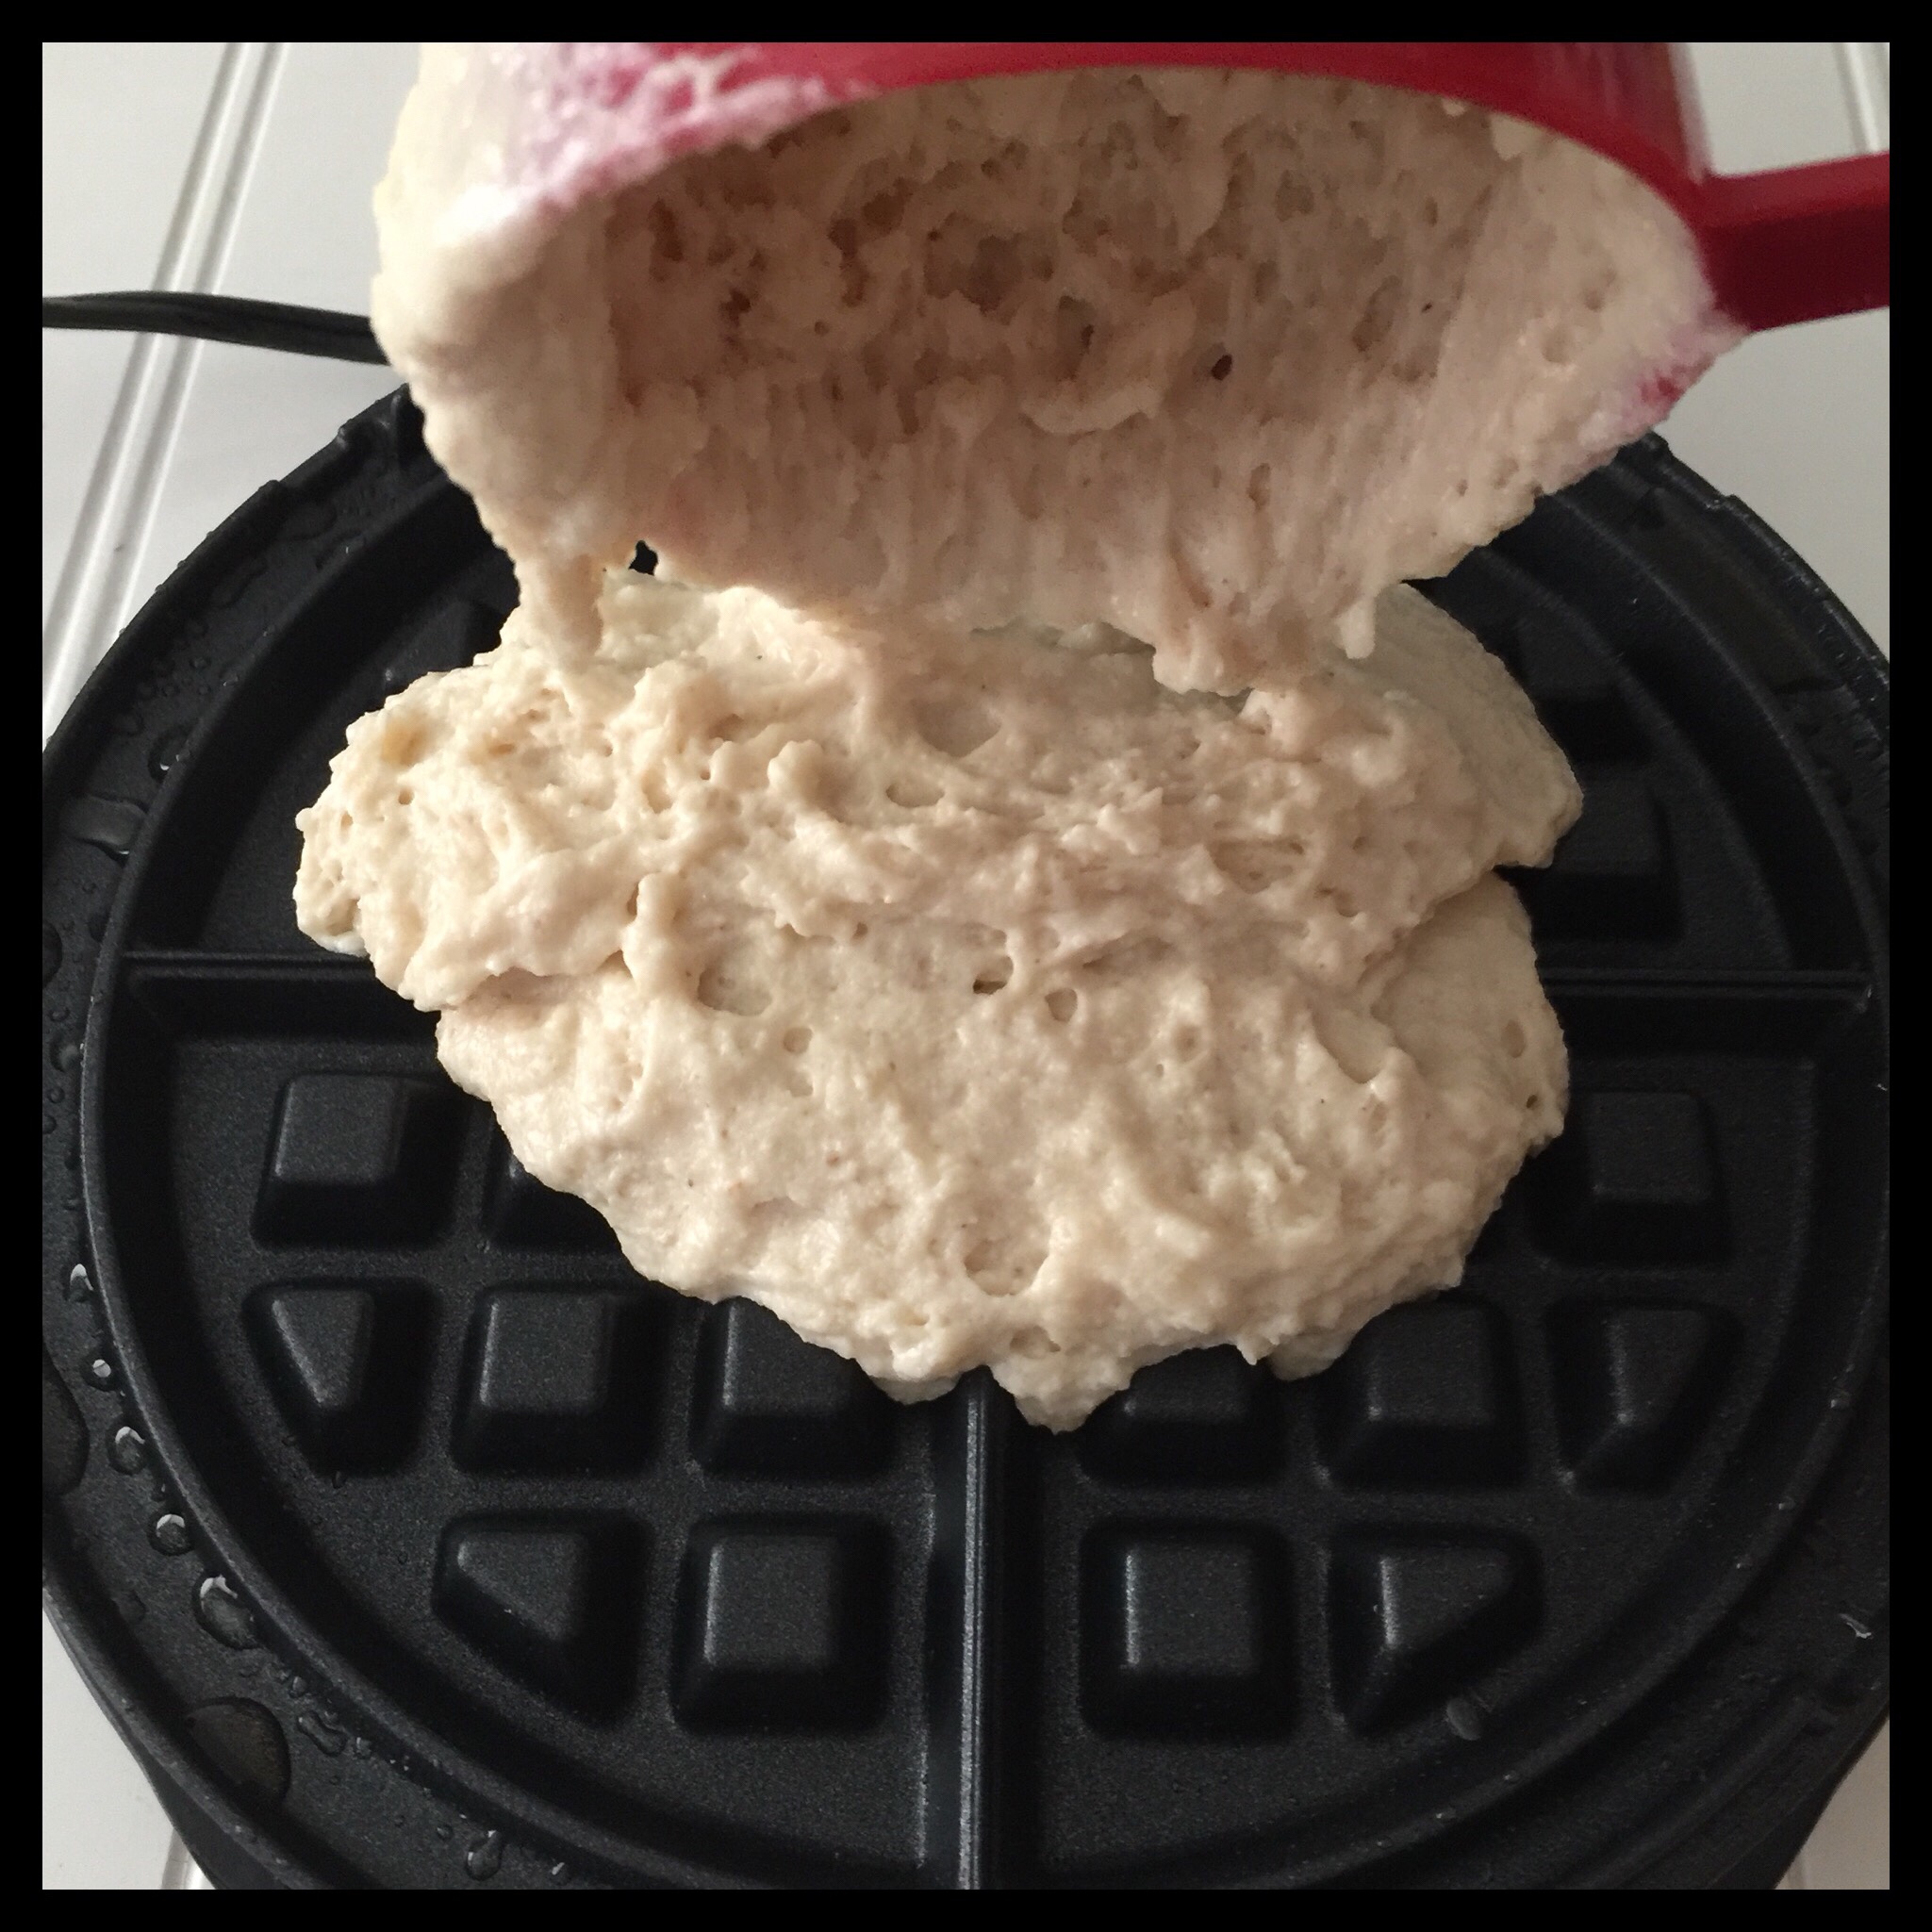
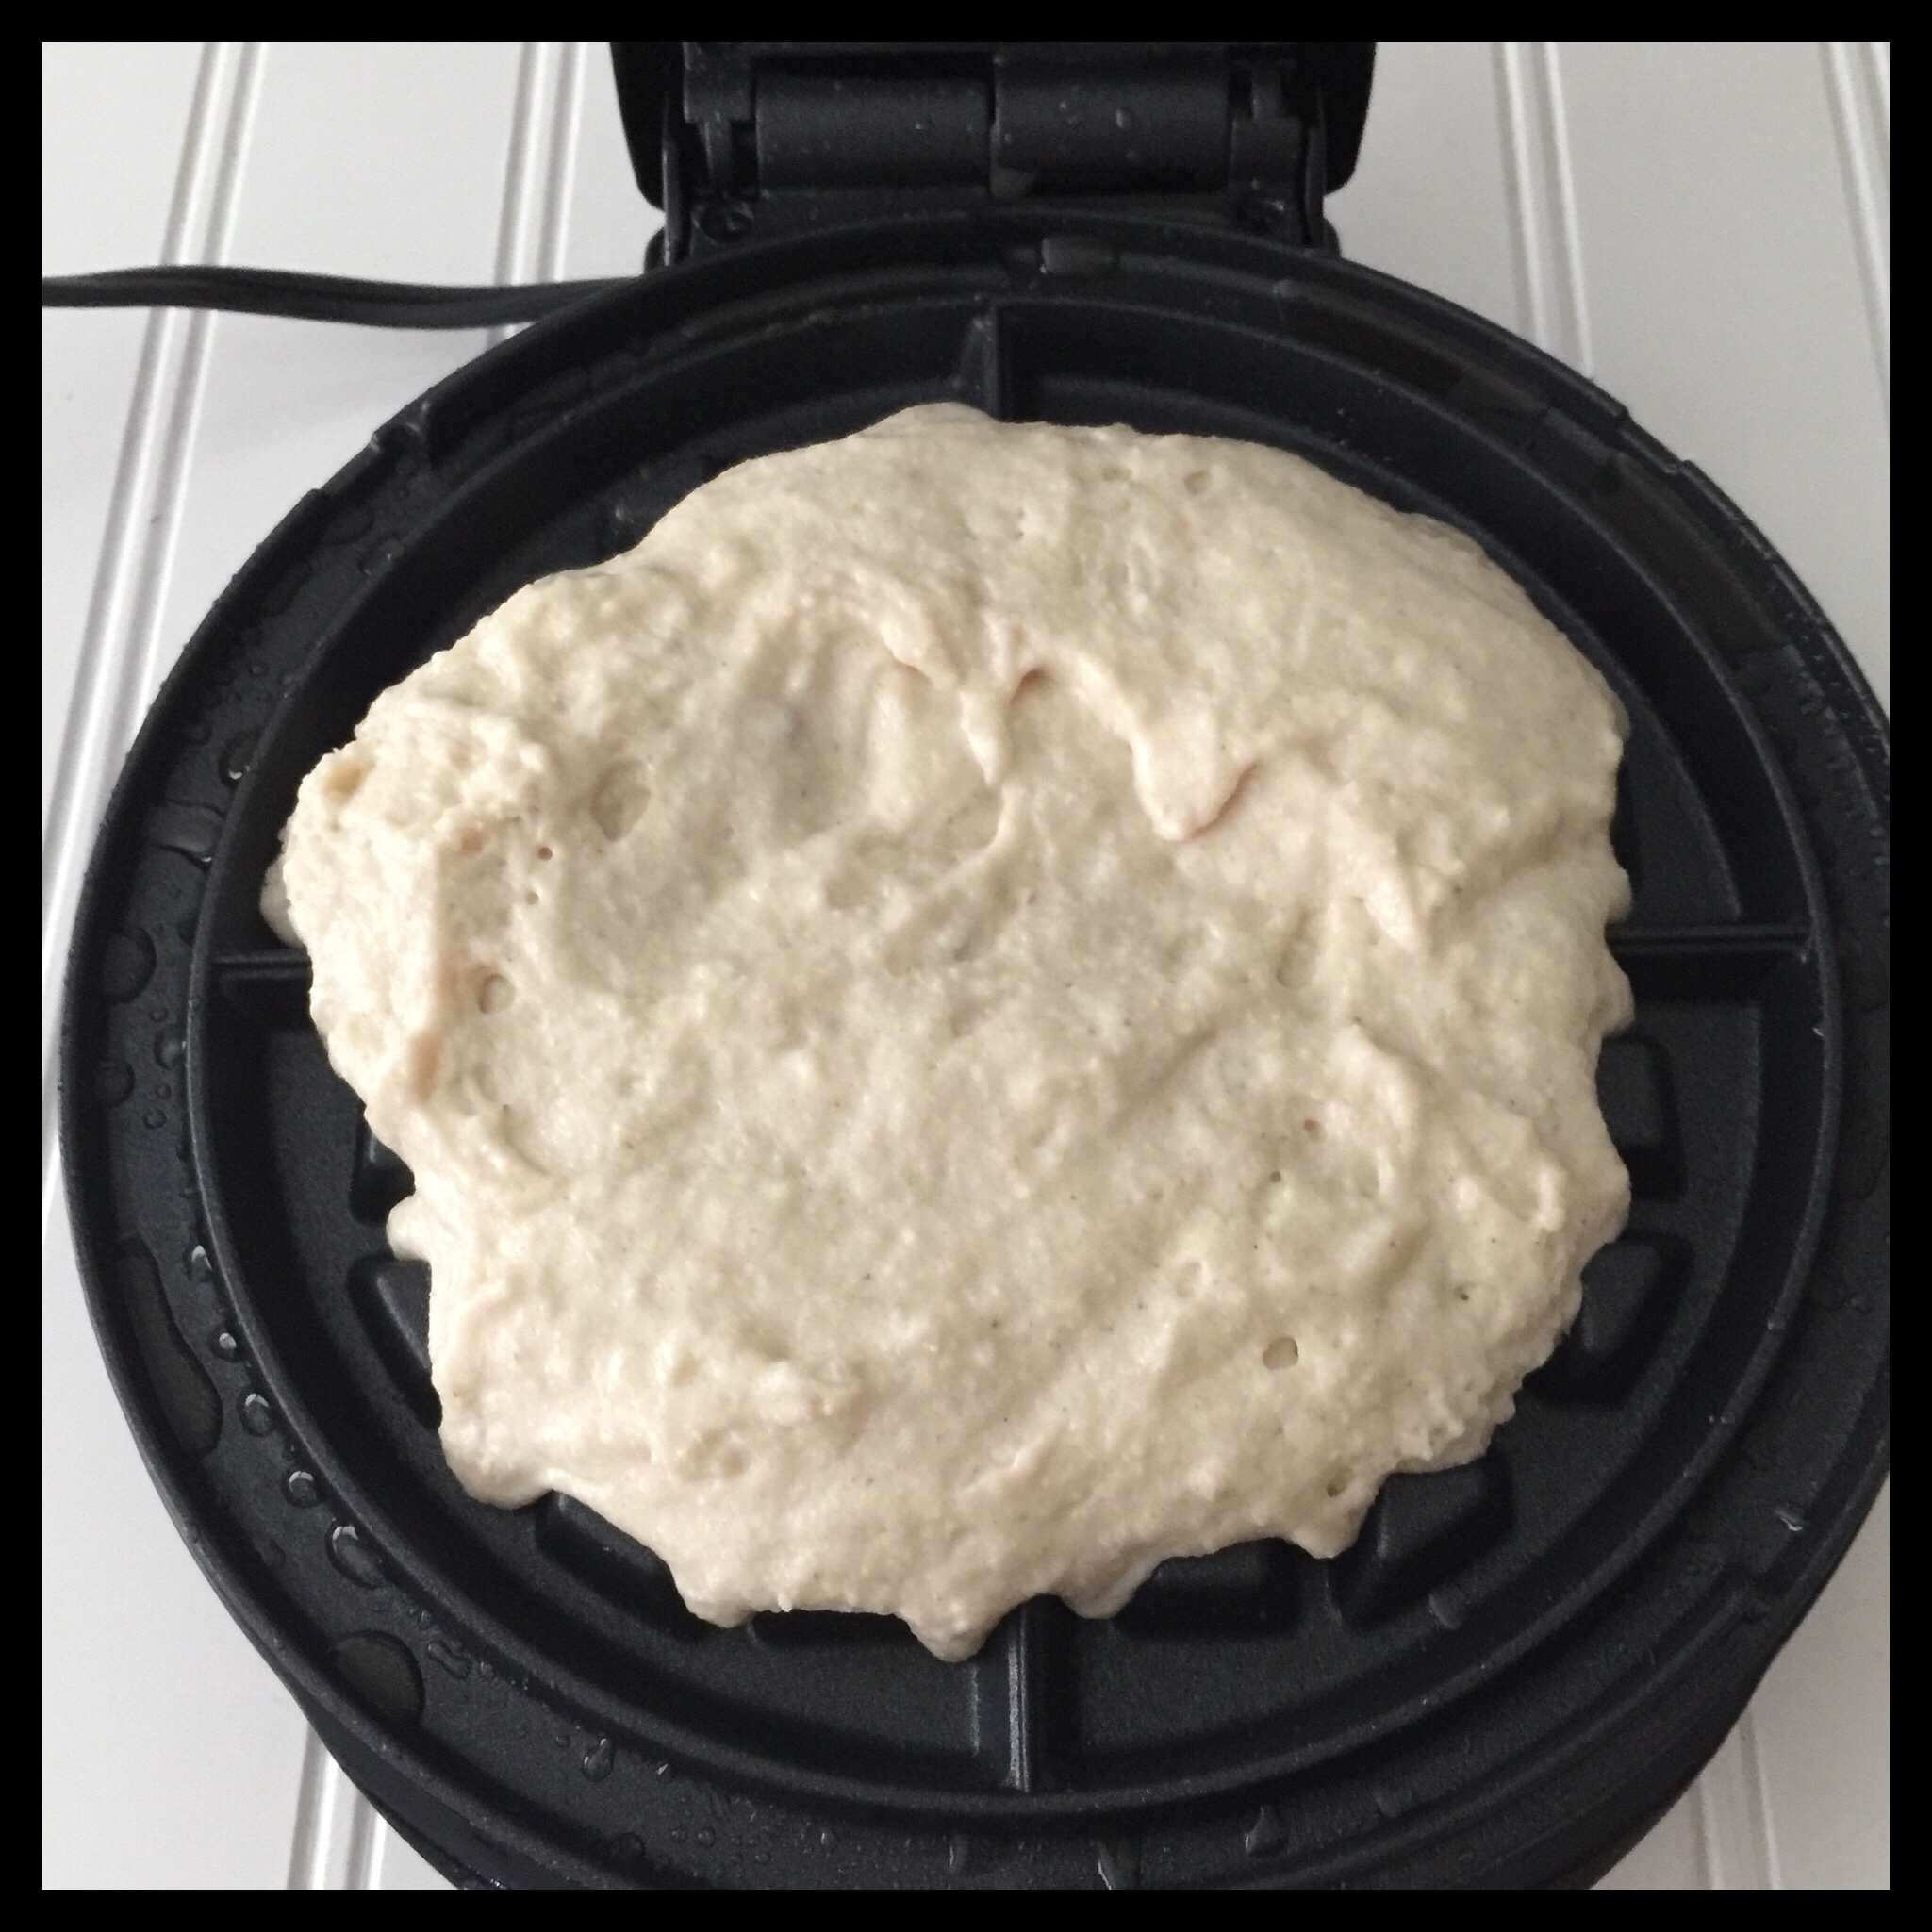
Use the edge of the measuring cup to spread the batter out a bit, then close the lid of your waffle iron. How long you need to cook each waffle depends on your iron, and you usually cannot depend on the light to tell you when the waffle is done. My waffle iron doesn’t have a temperature setting, but if yours does, try setting it to medium or medium-high heat to start. Experiment with temperature and time until you find the perfect ones for your waffle iron. Four minutes is perfect for mine. Once you figure this out, always use the same temperature and time and your waffles will always be perfect. Tip: set a timer when you close the lid as it’s easy to get distracted and forget your waffle otherwise!
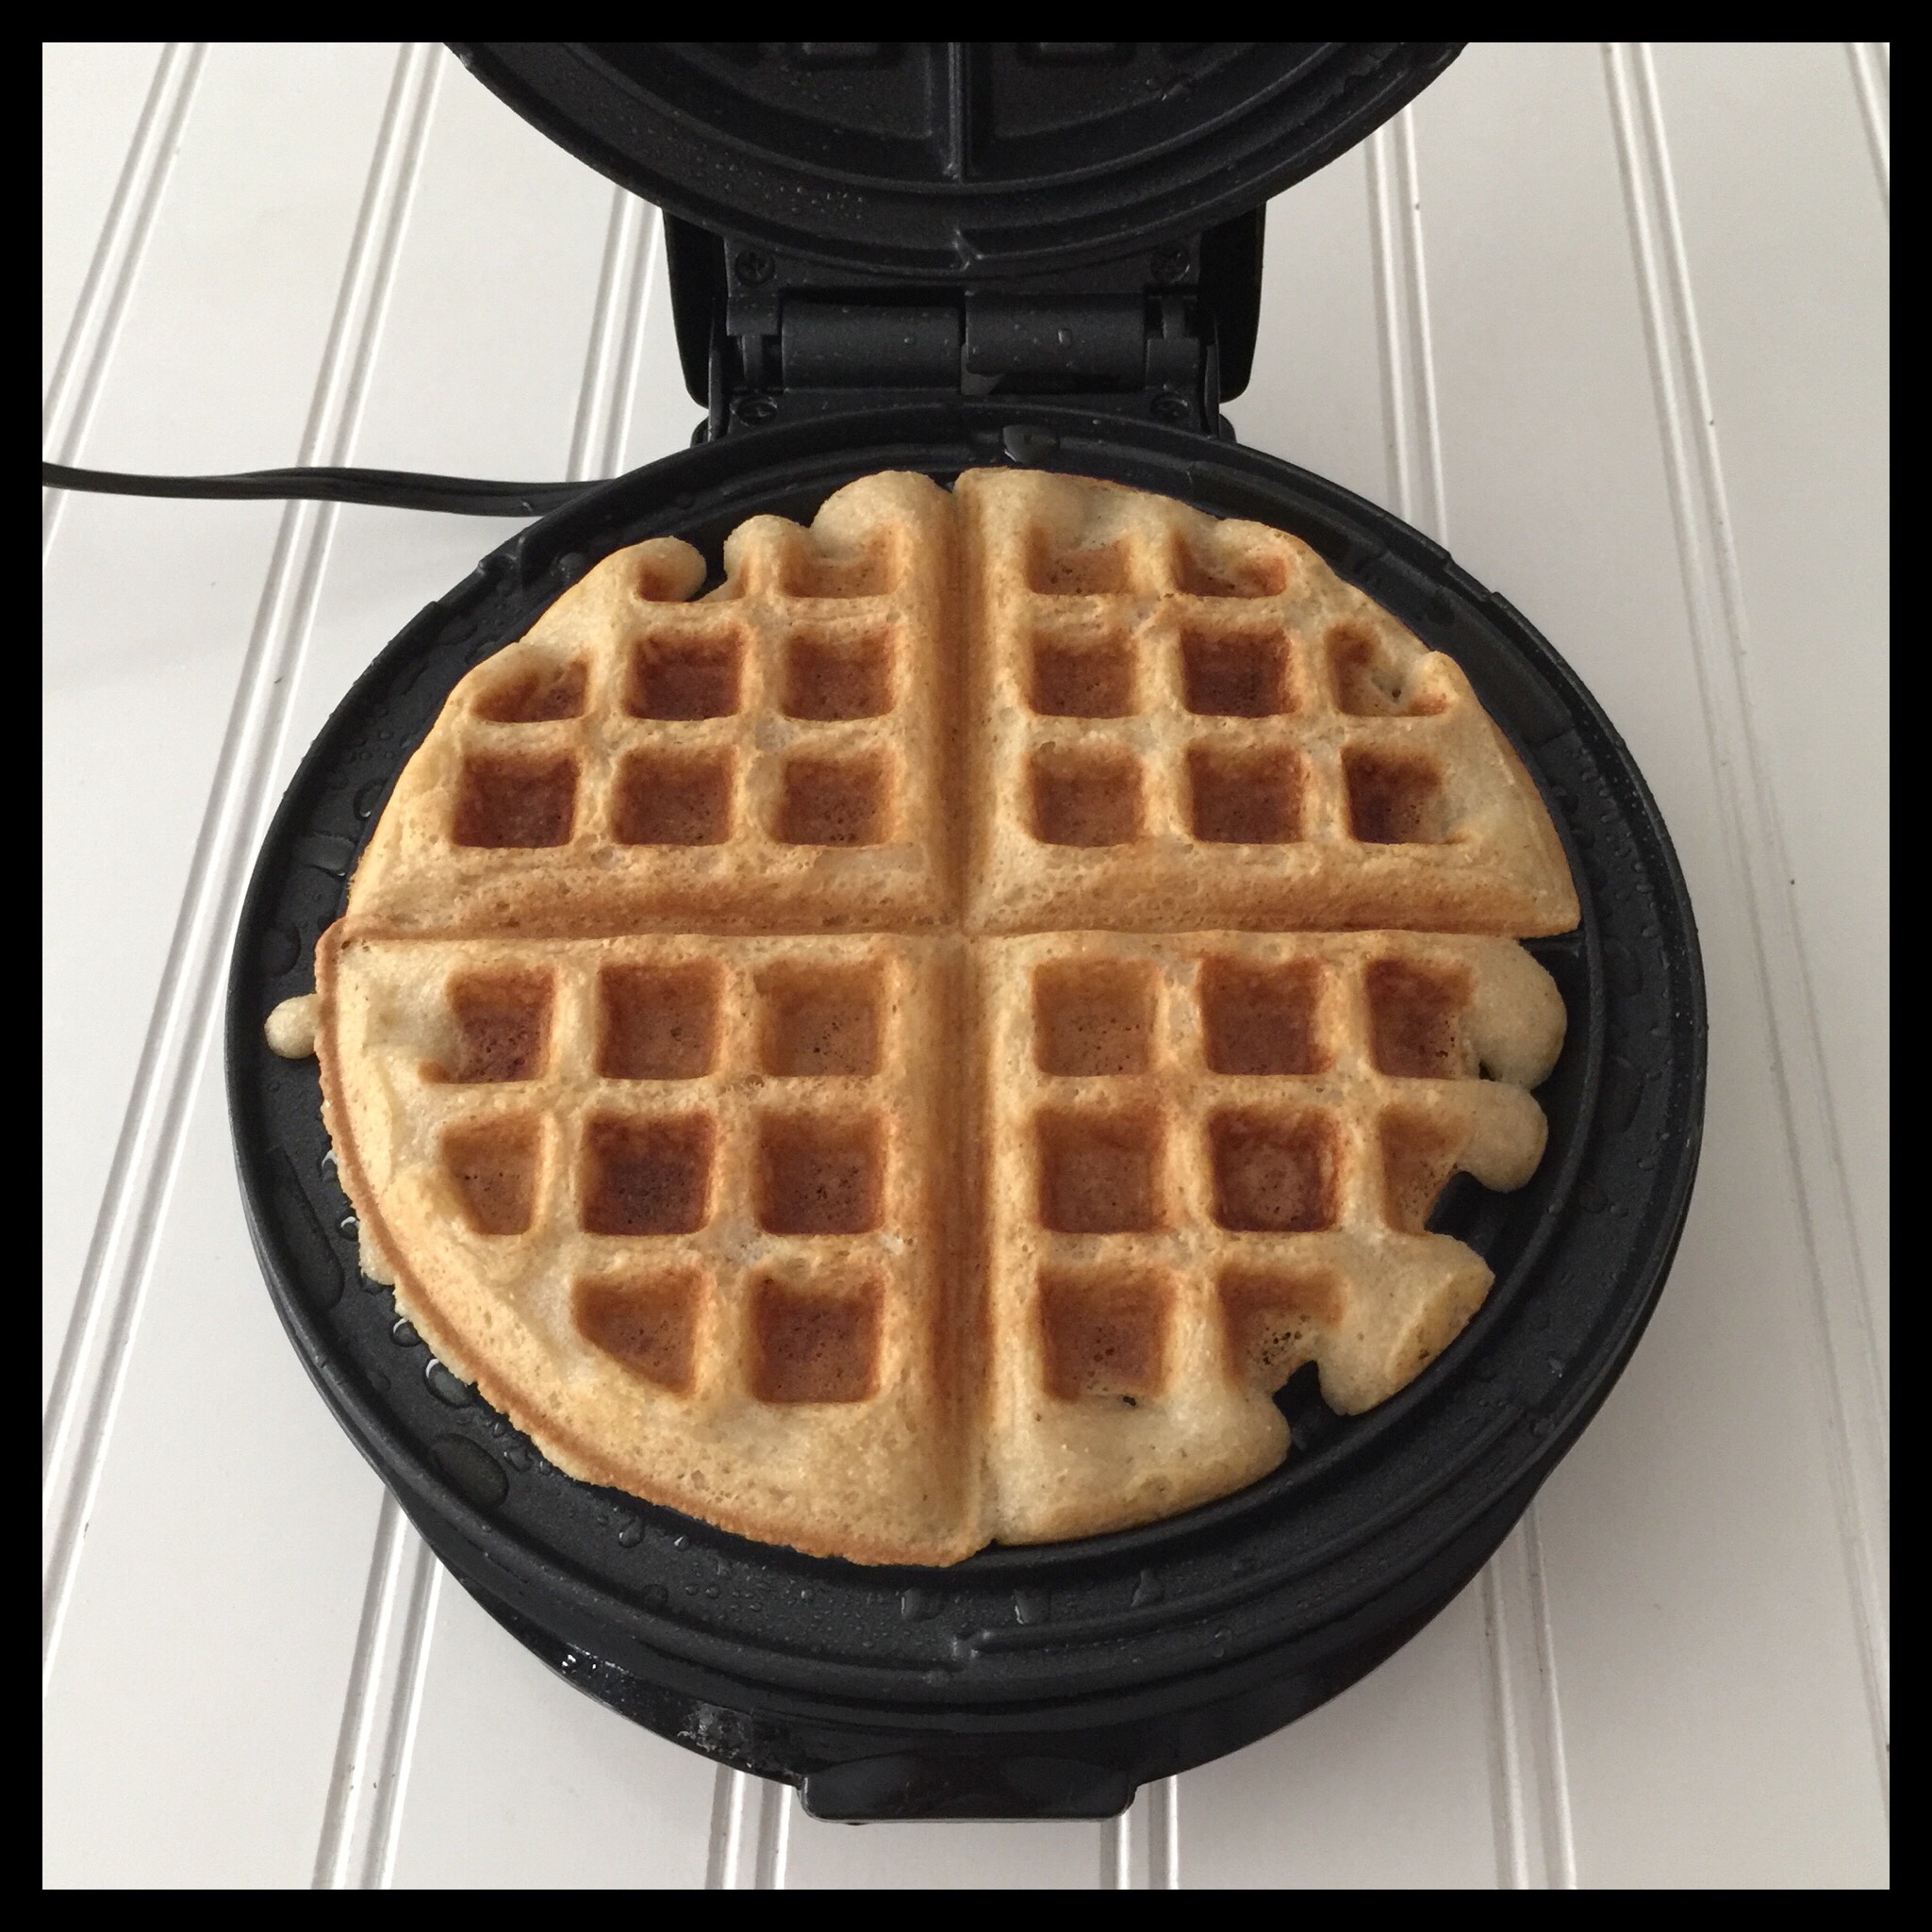
Your waffle is done when it is crispy and golden brown all over:
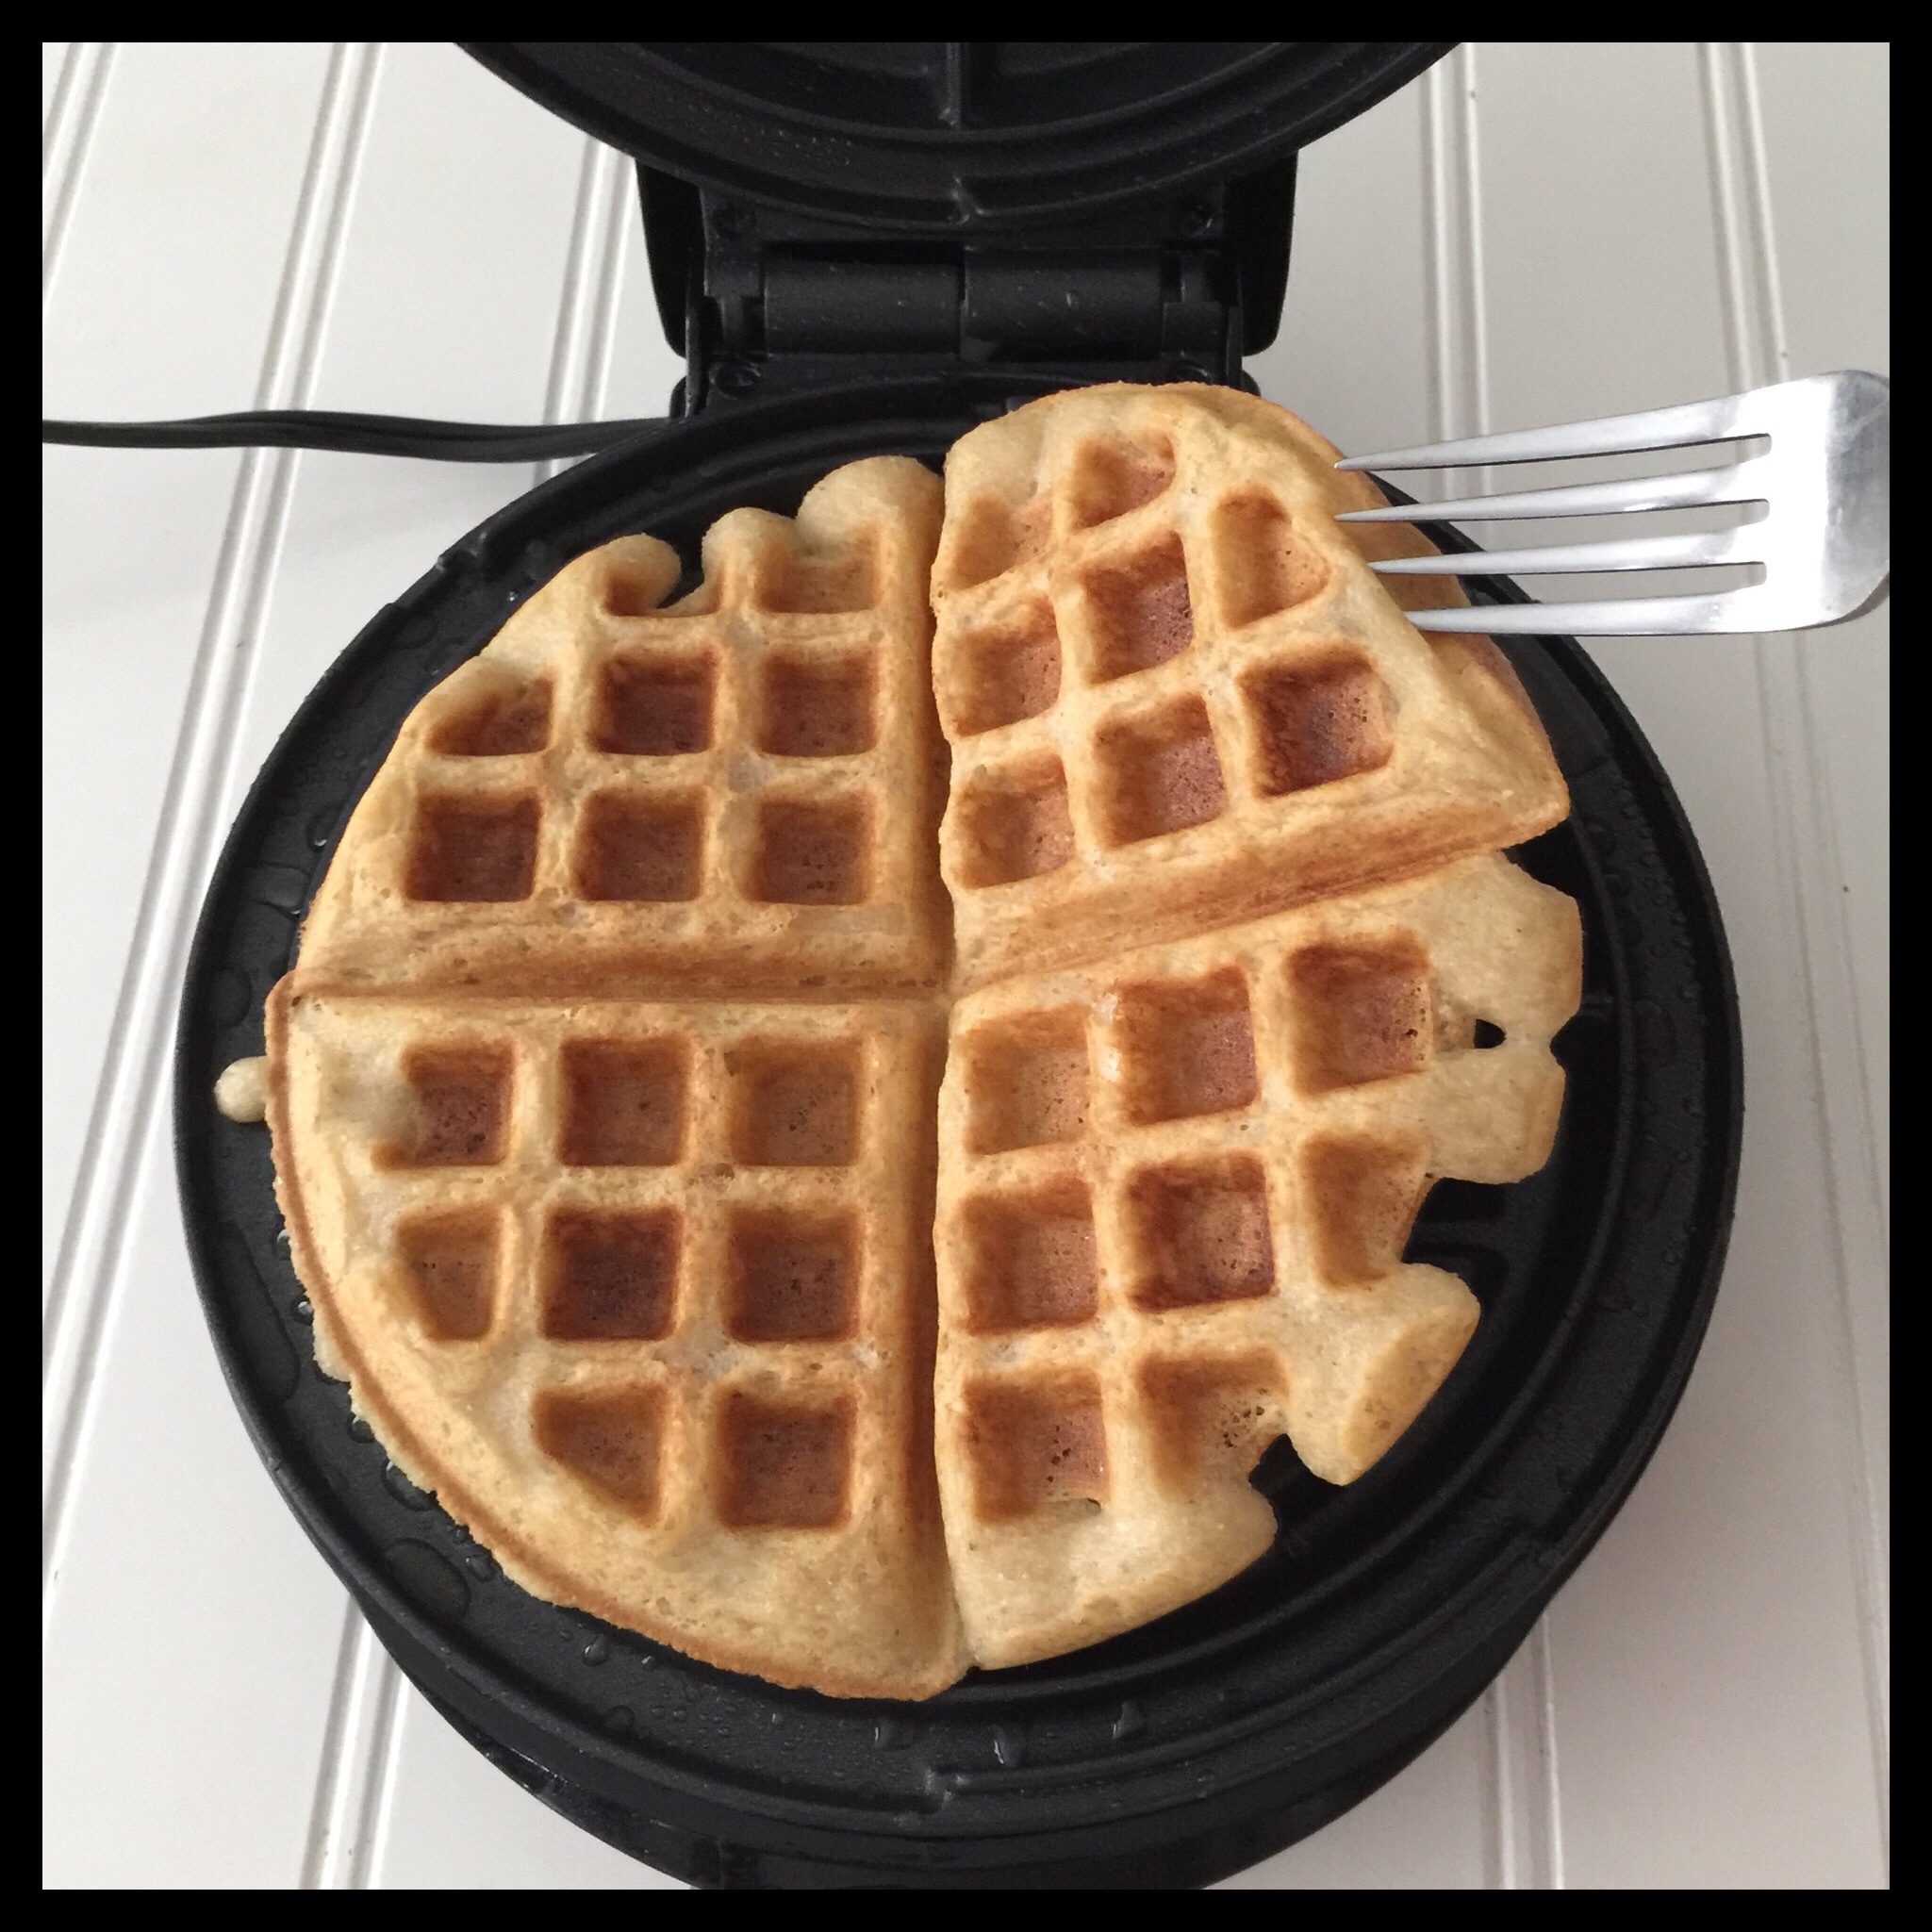
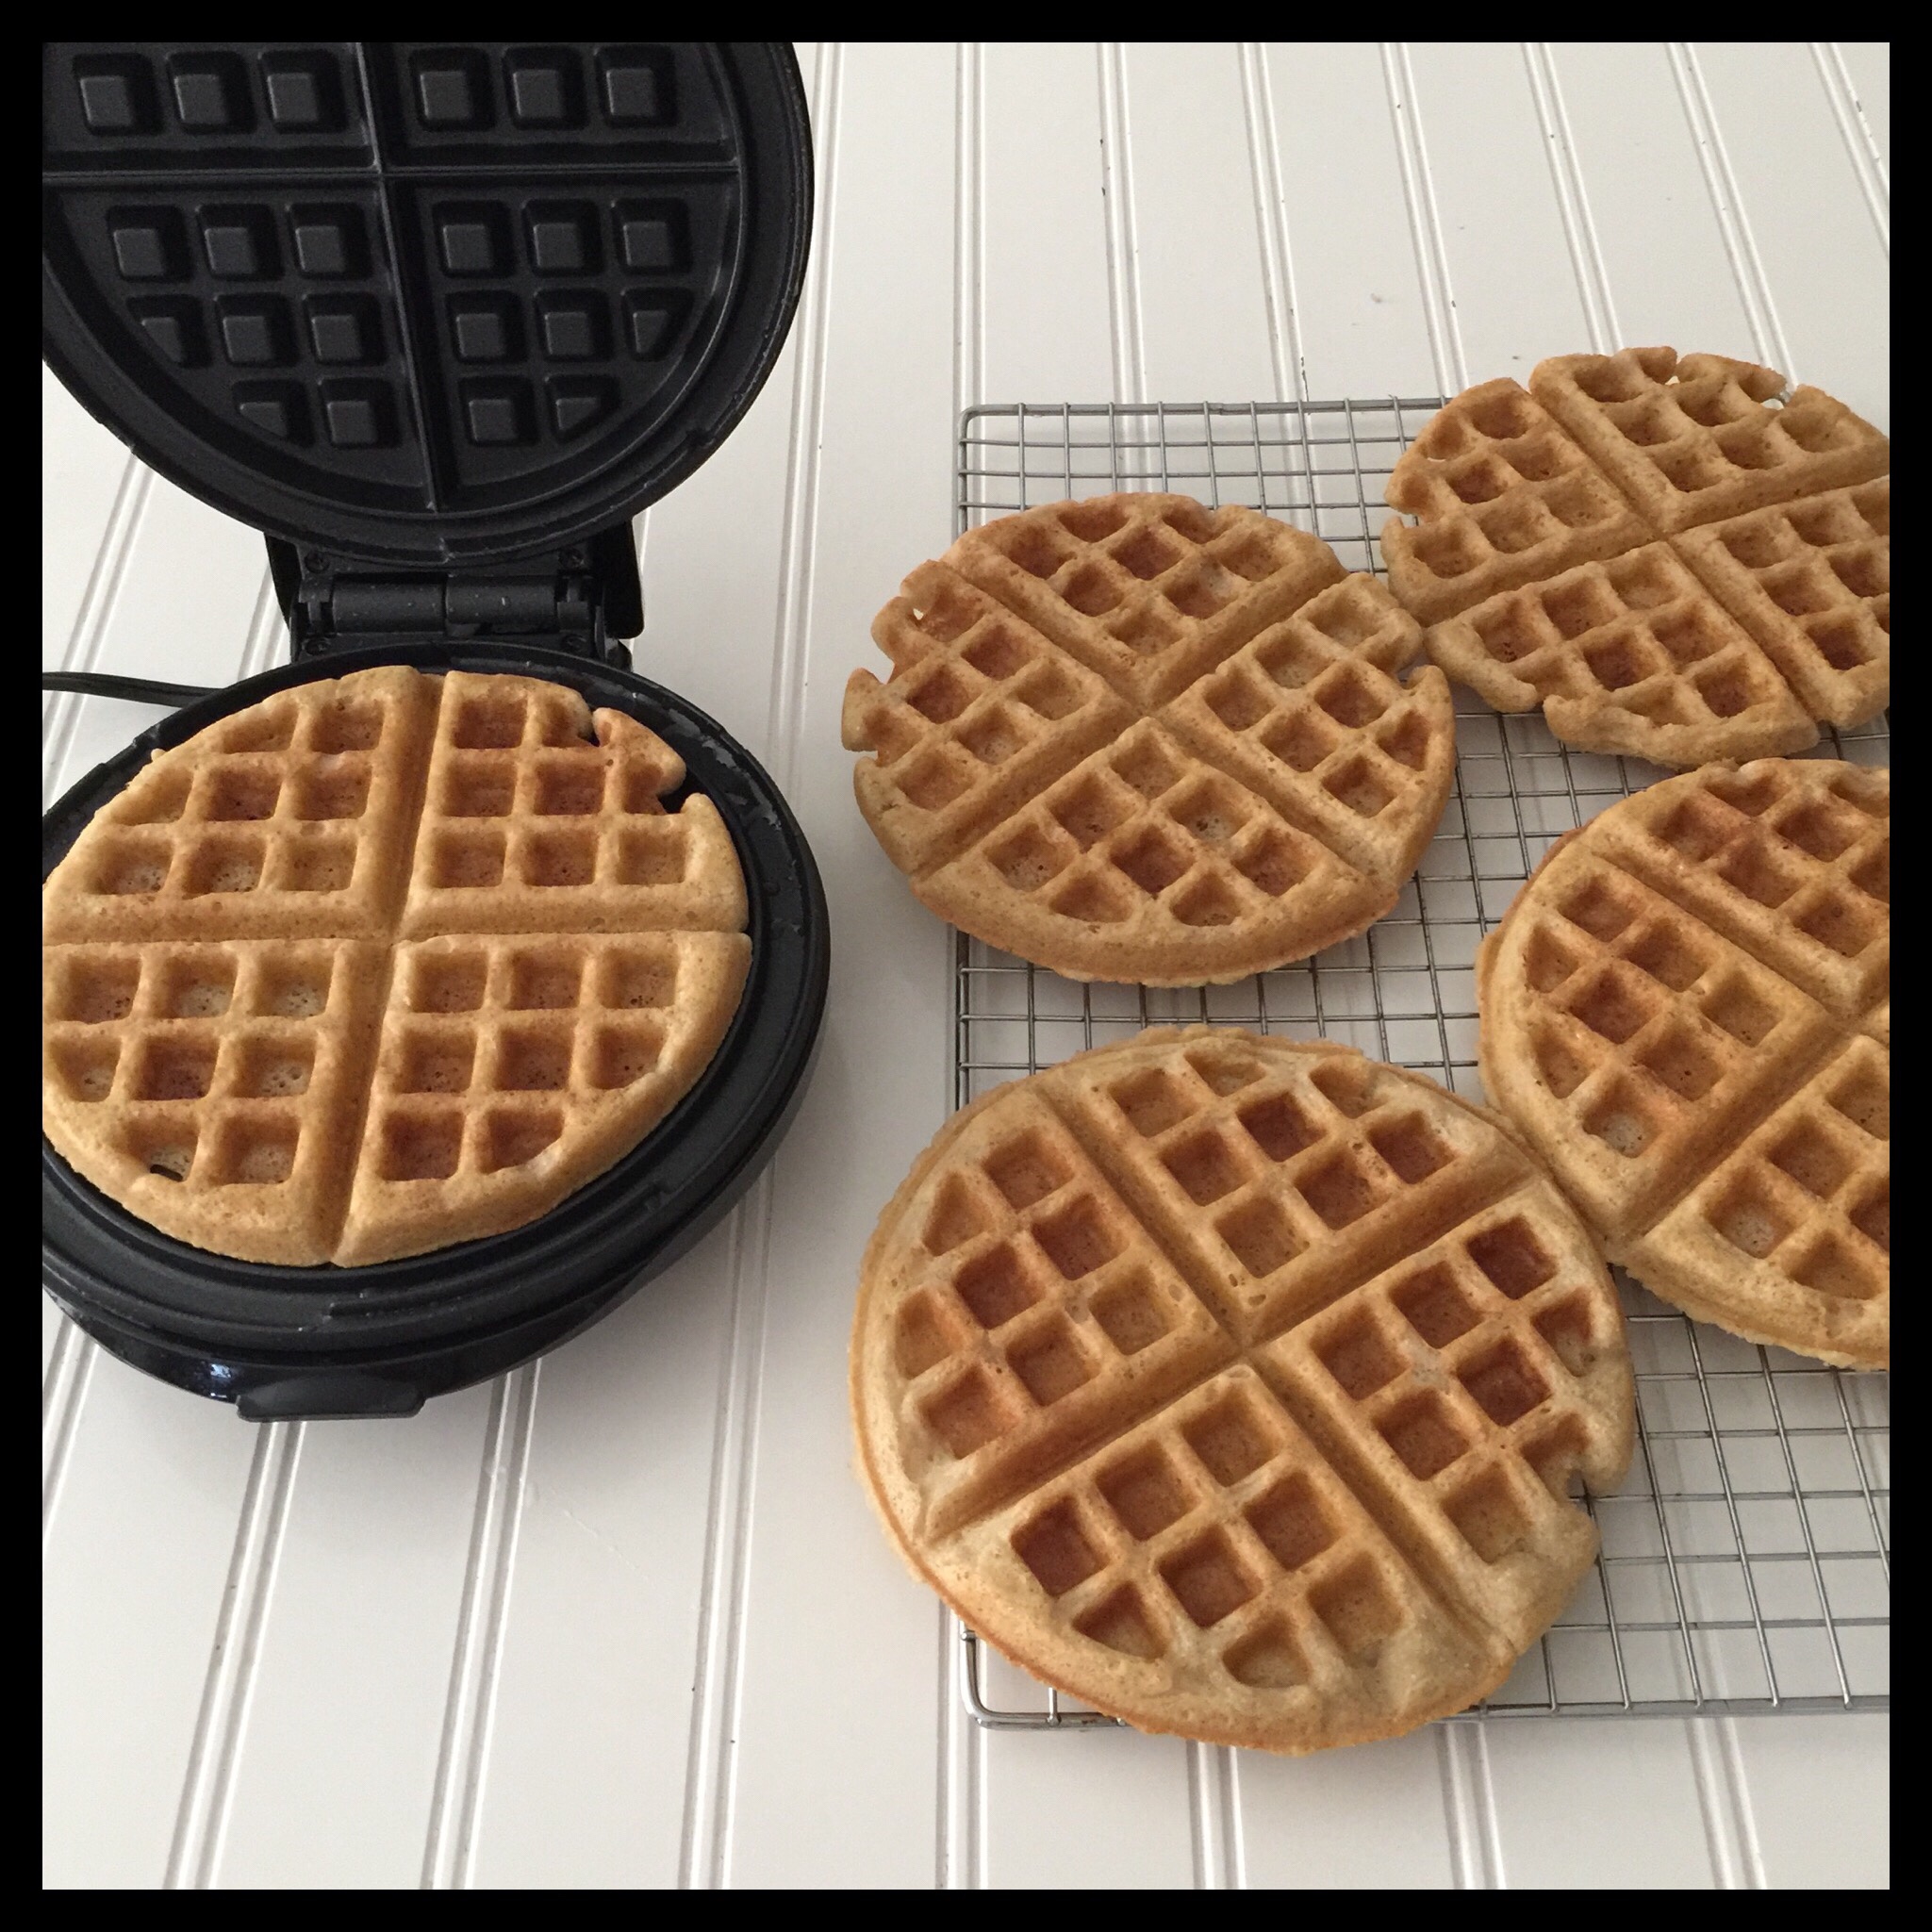
Gently lift the waffle out of the iron and serve it immediately or place it on a cooling rack. I like to cook all of the waffles and then reheat them for a minute or two in my toaster oven so everyone can be served at the same time.
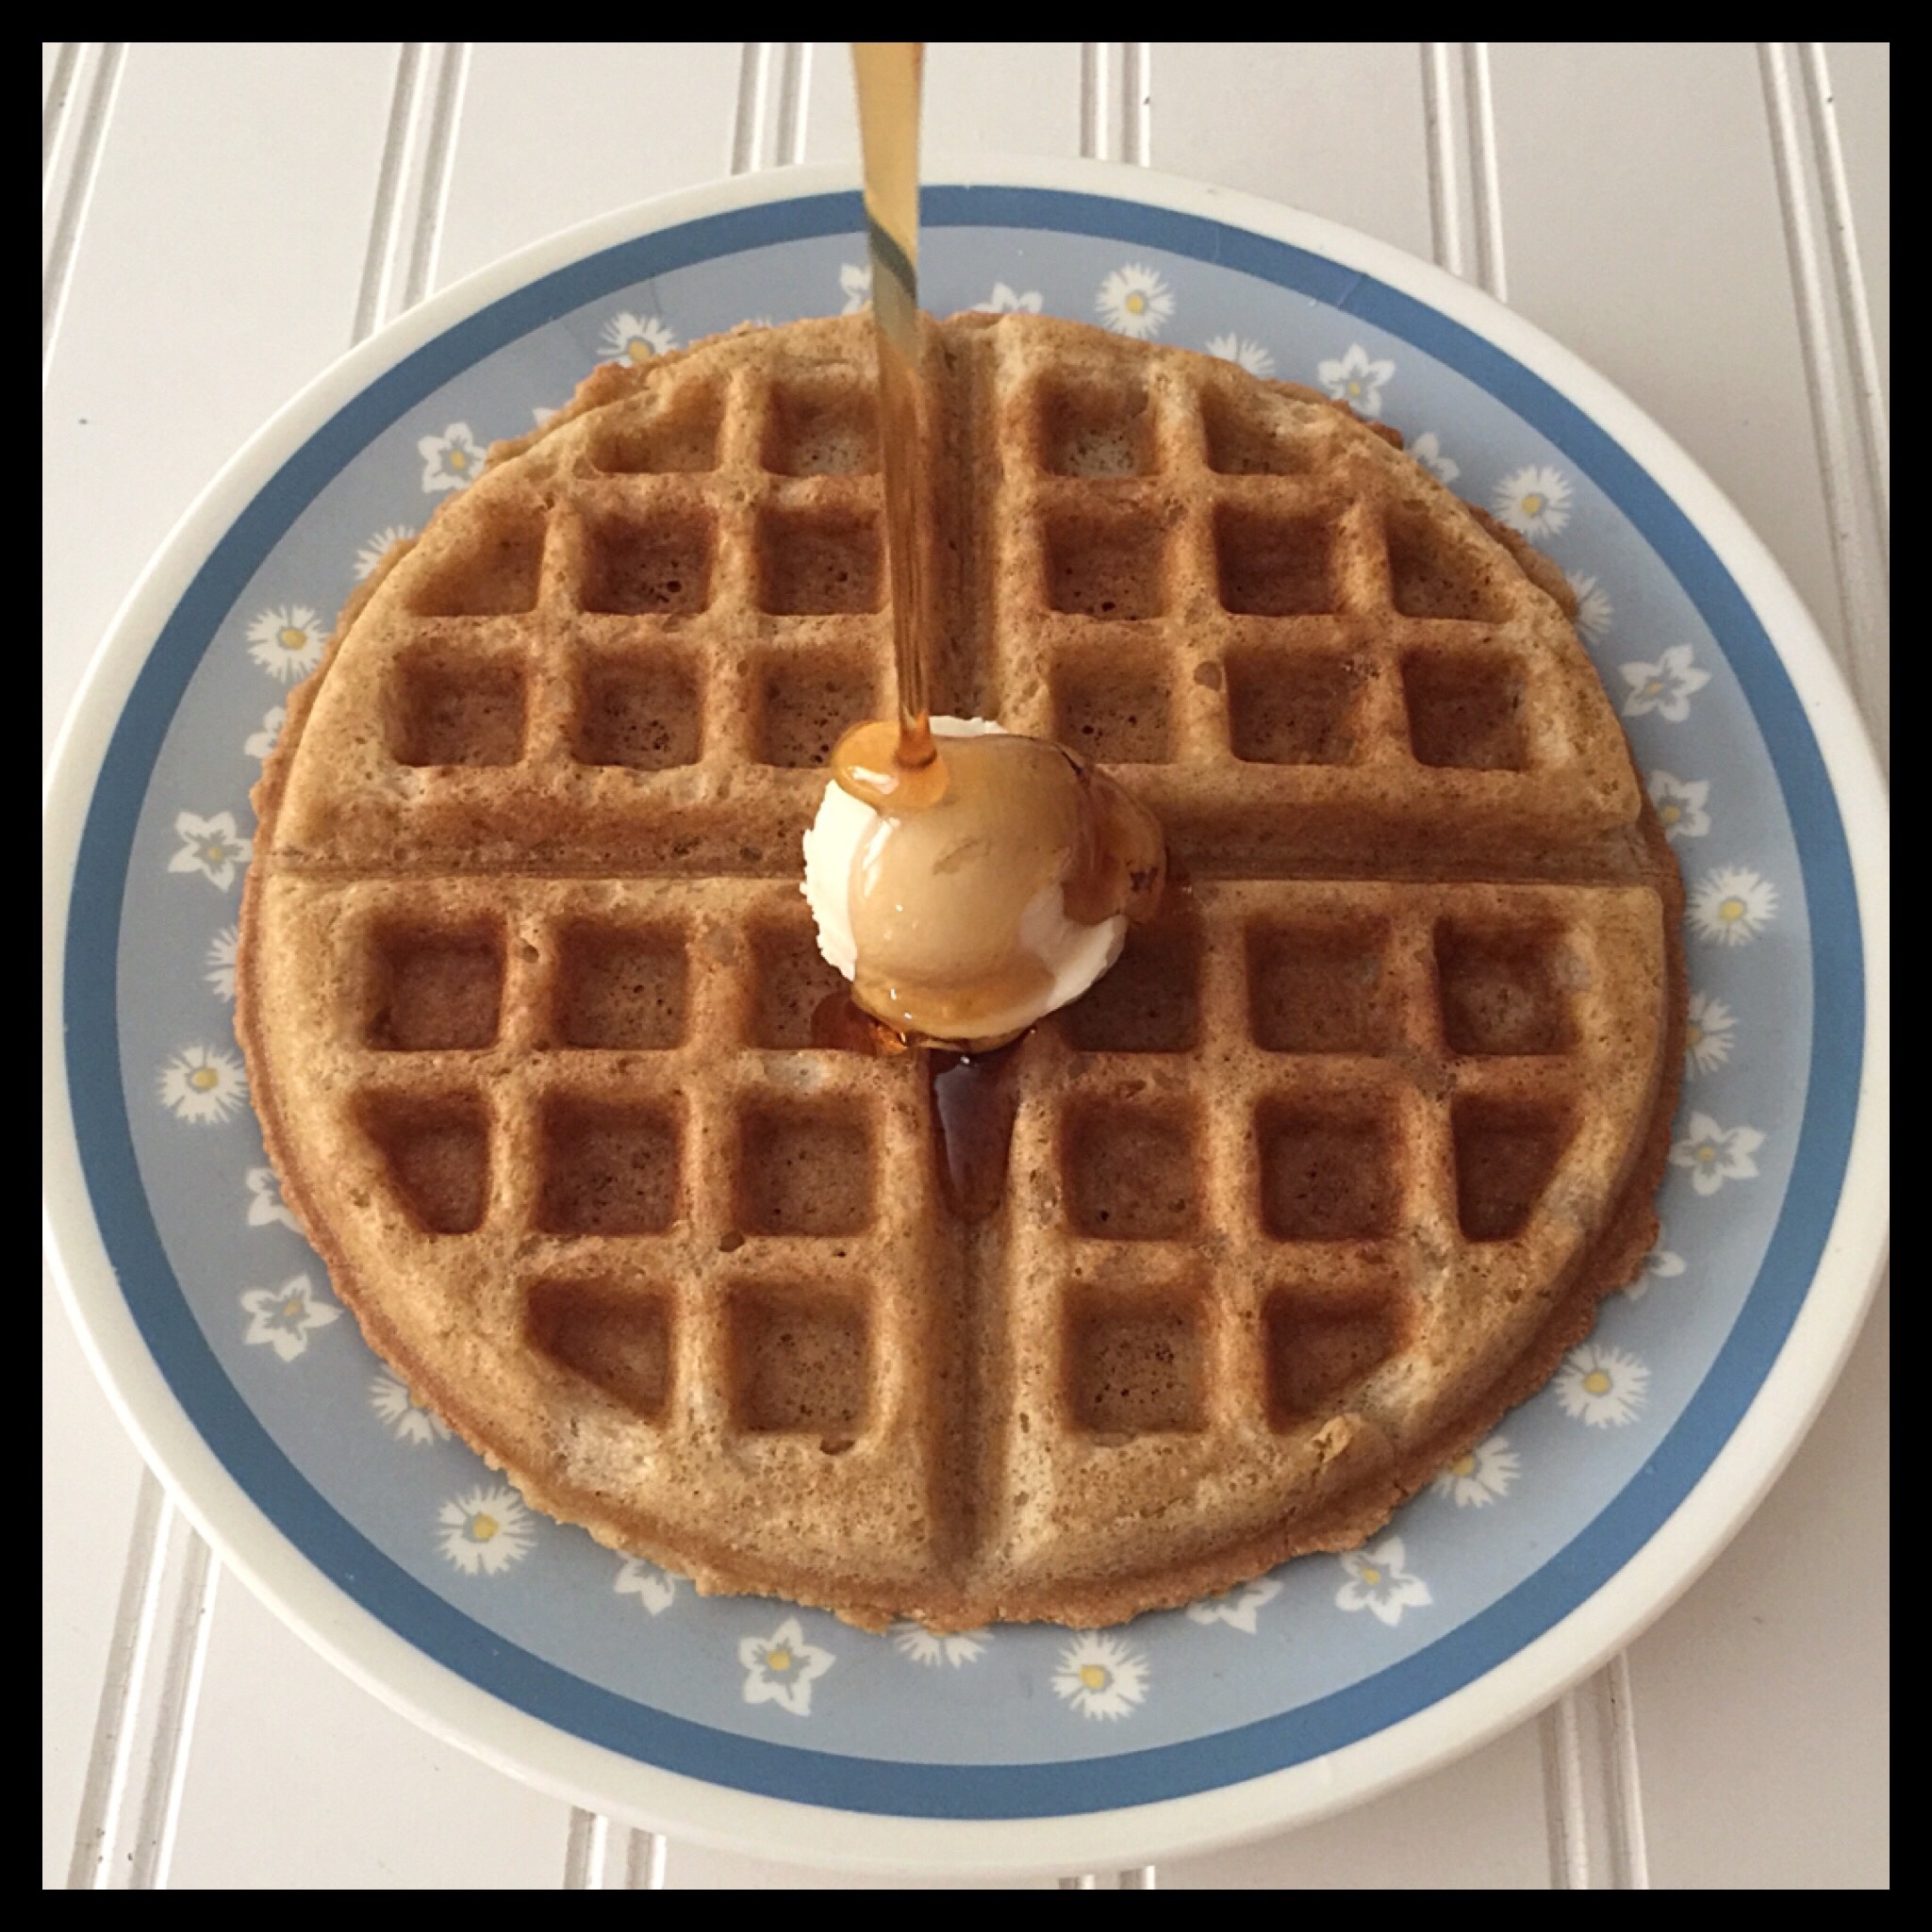
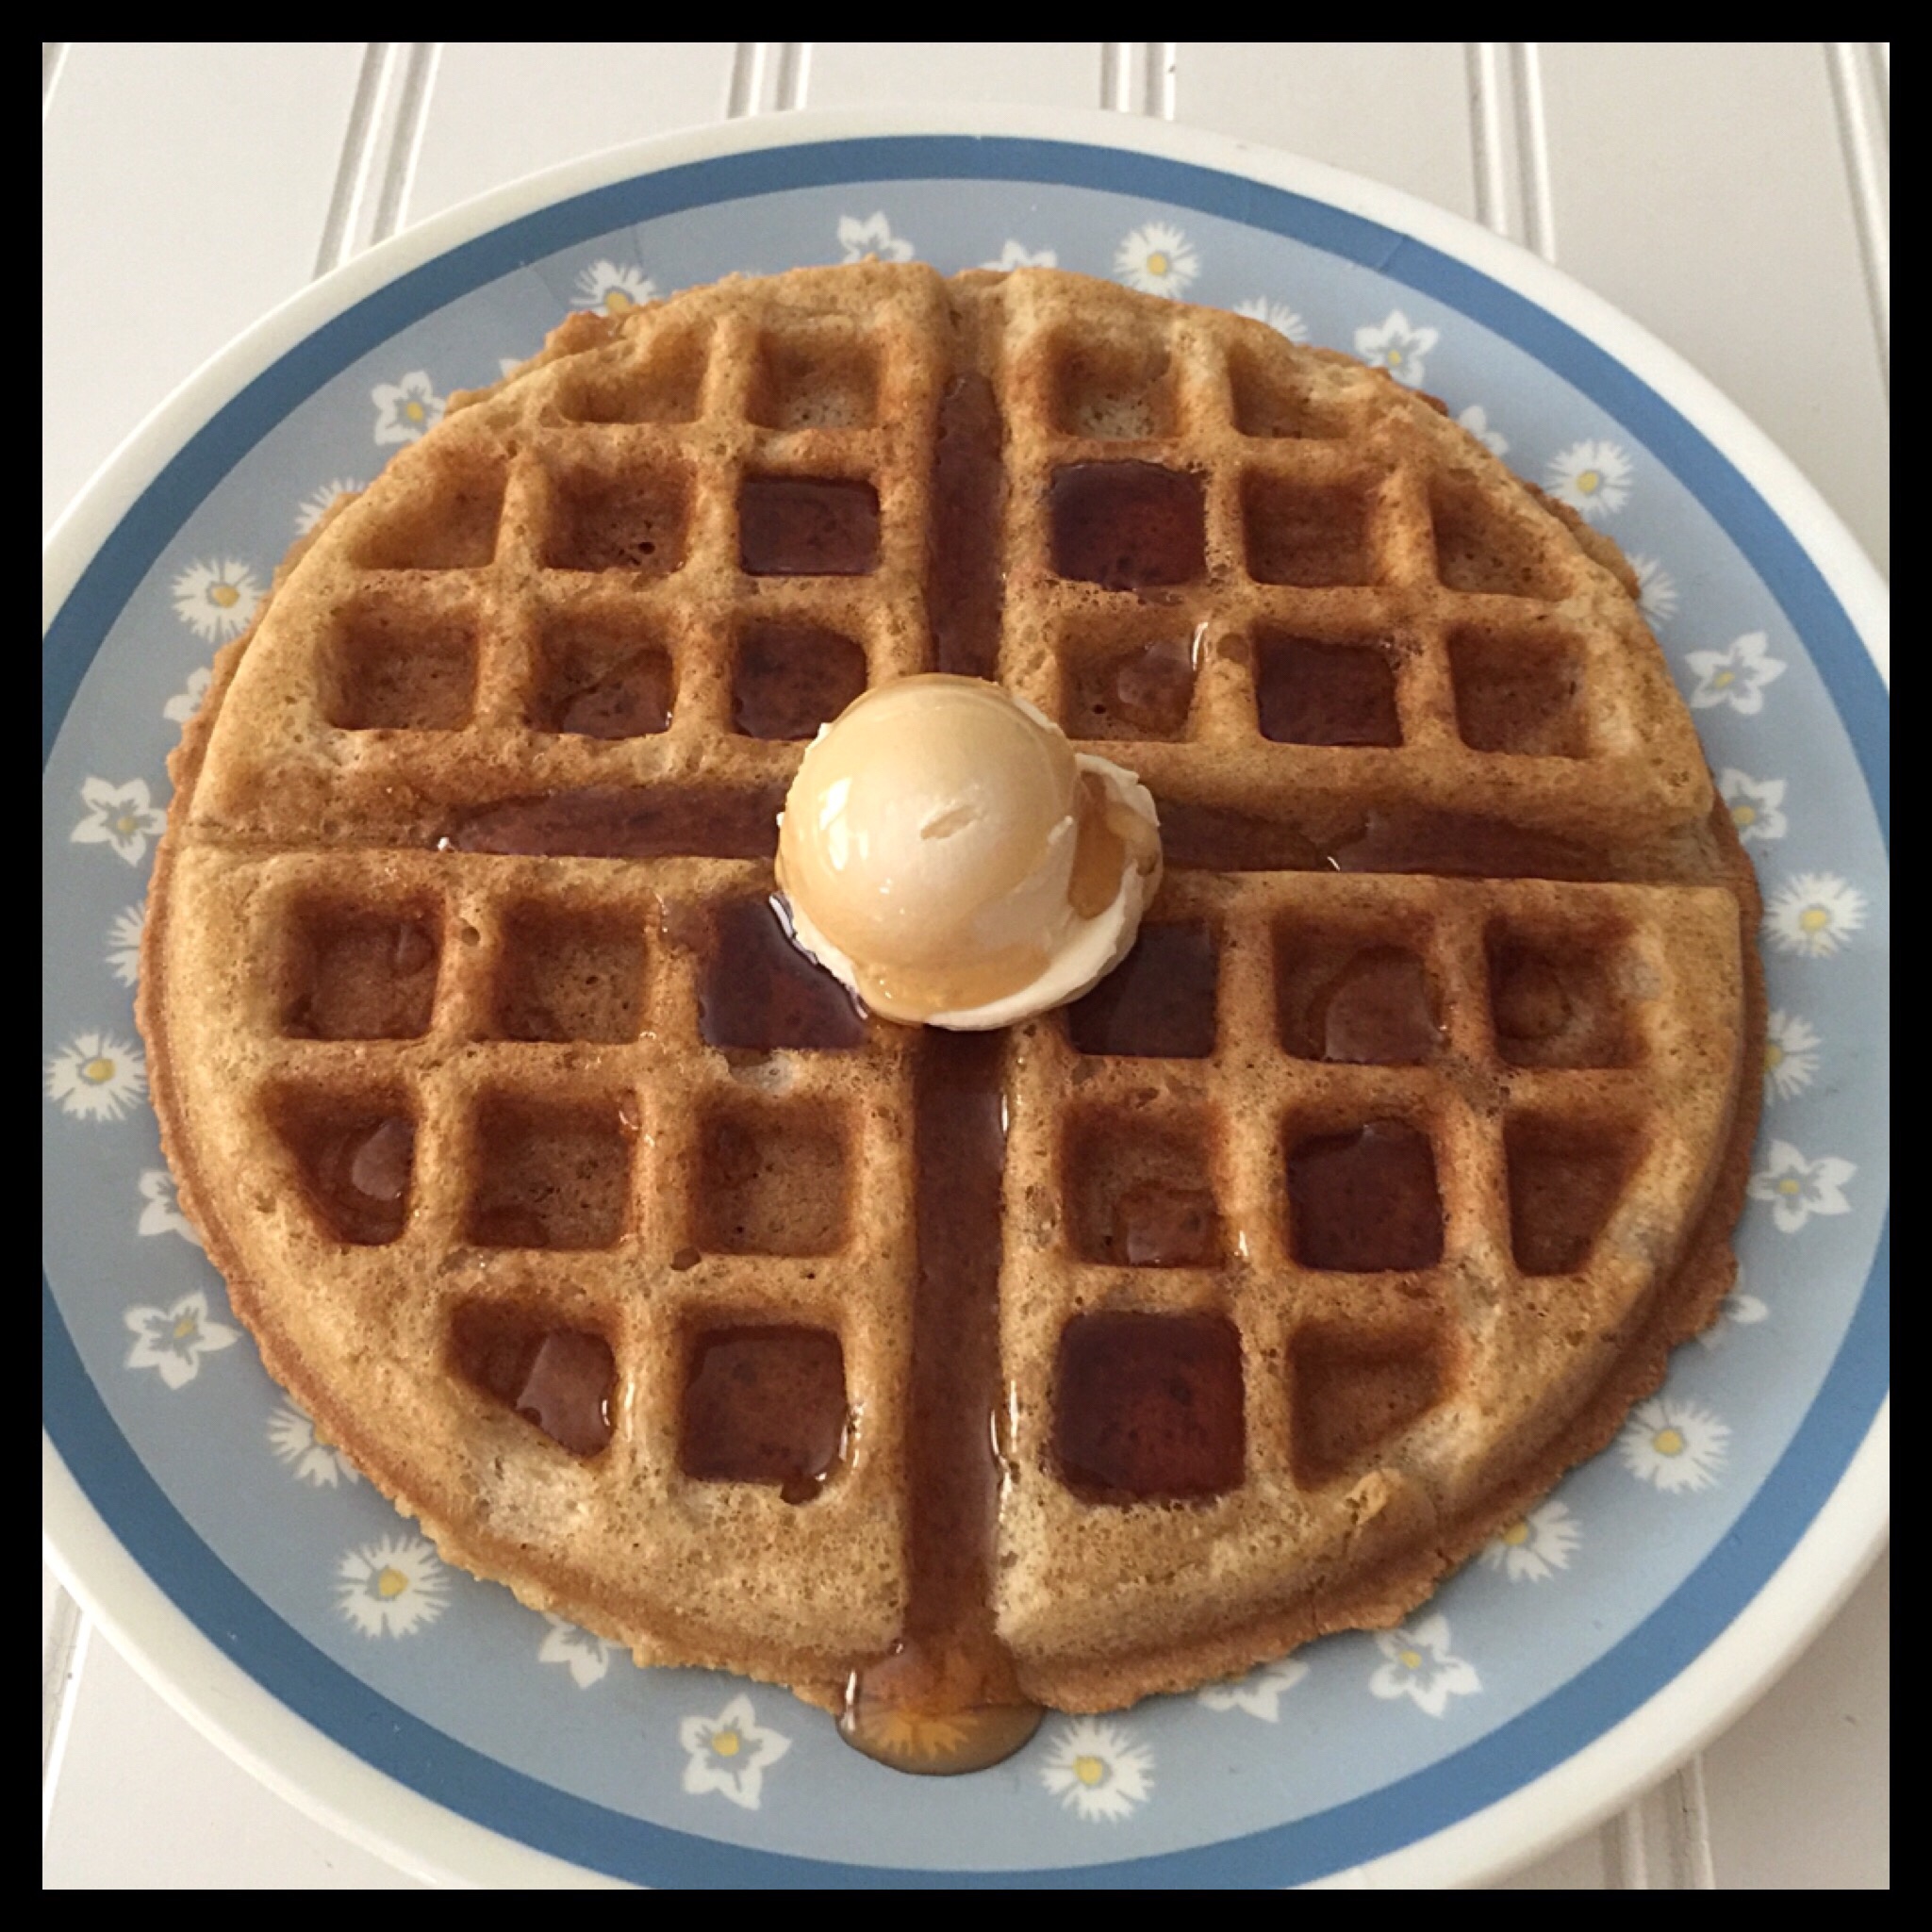
Serve as desired and enjoy! I love trying a variety of toppings, but a simple waffle with just vegan butter and maple syrup is always good:
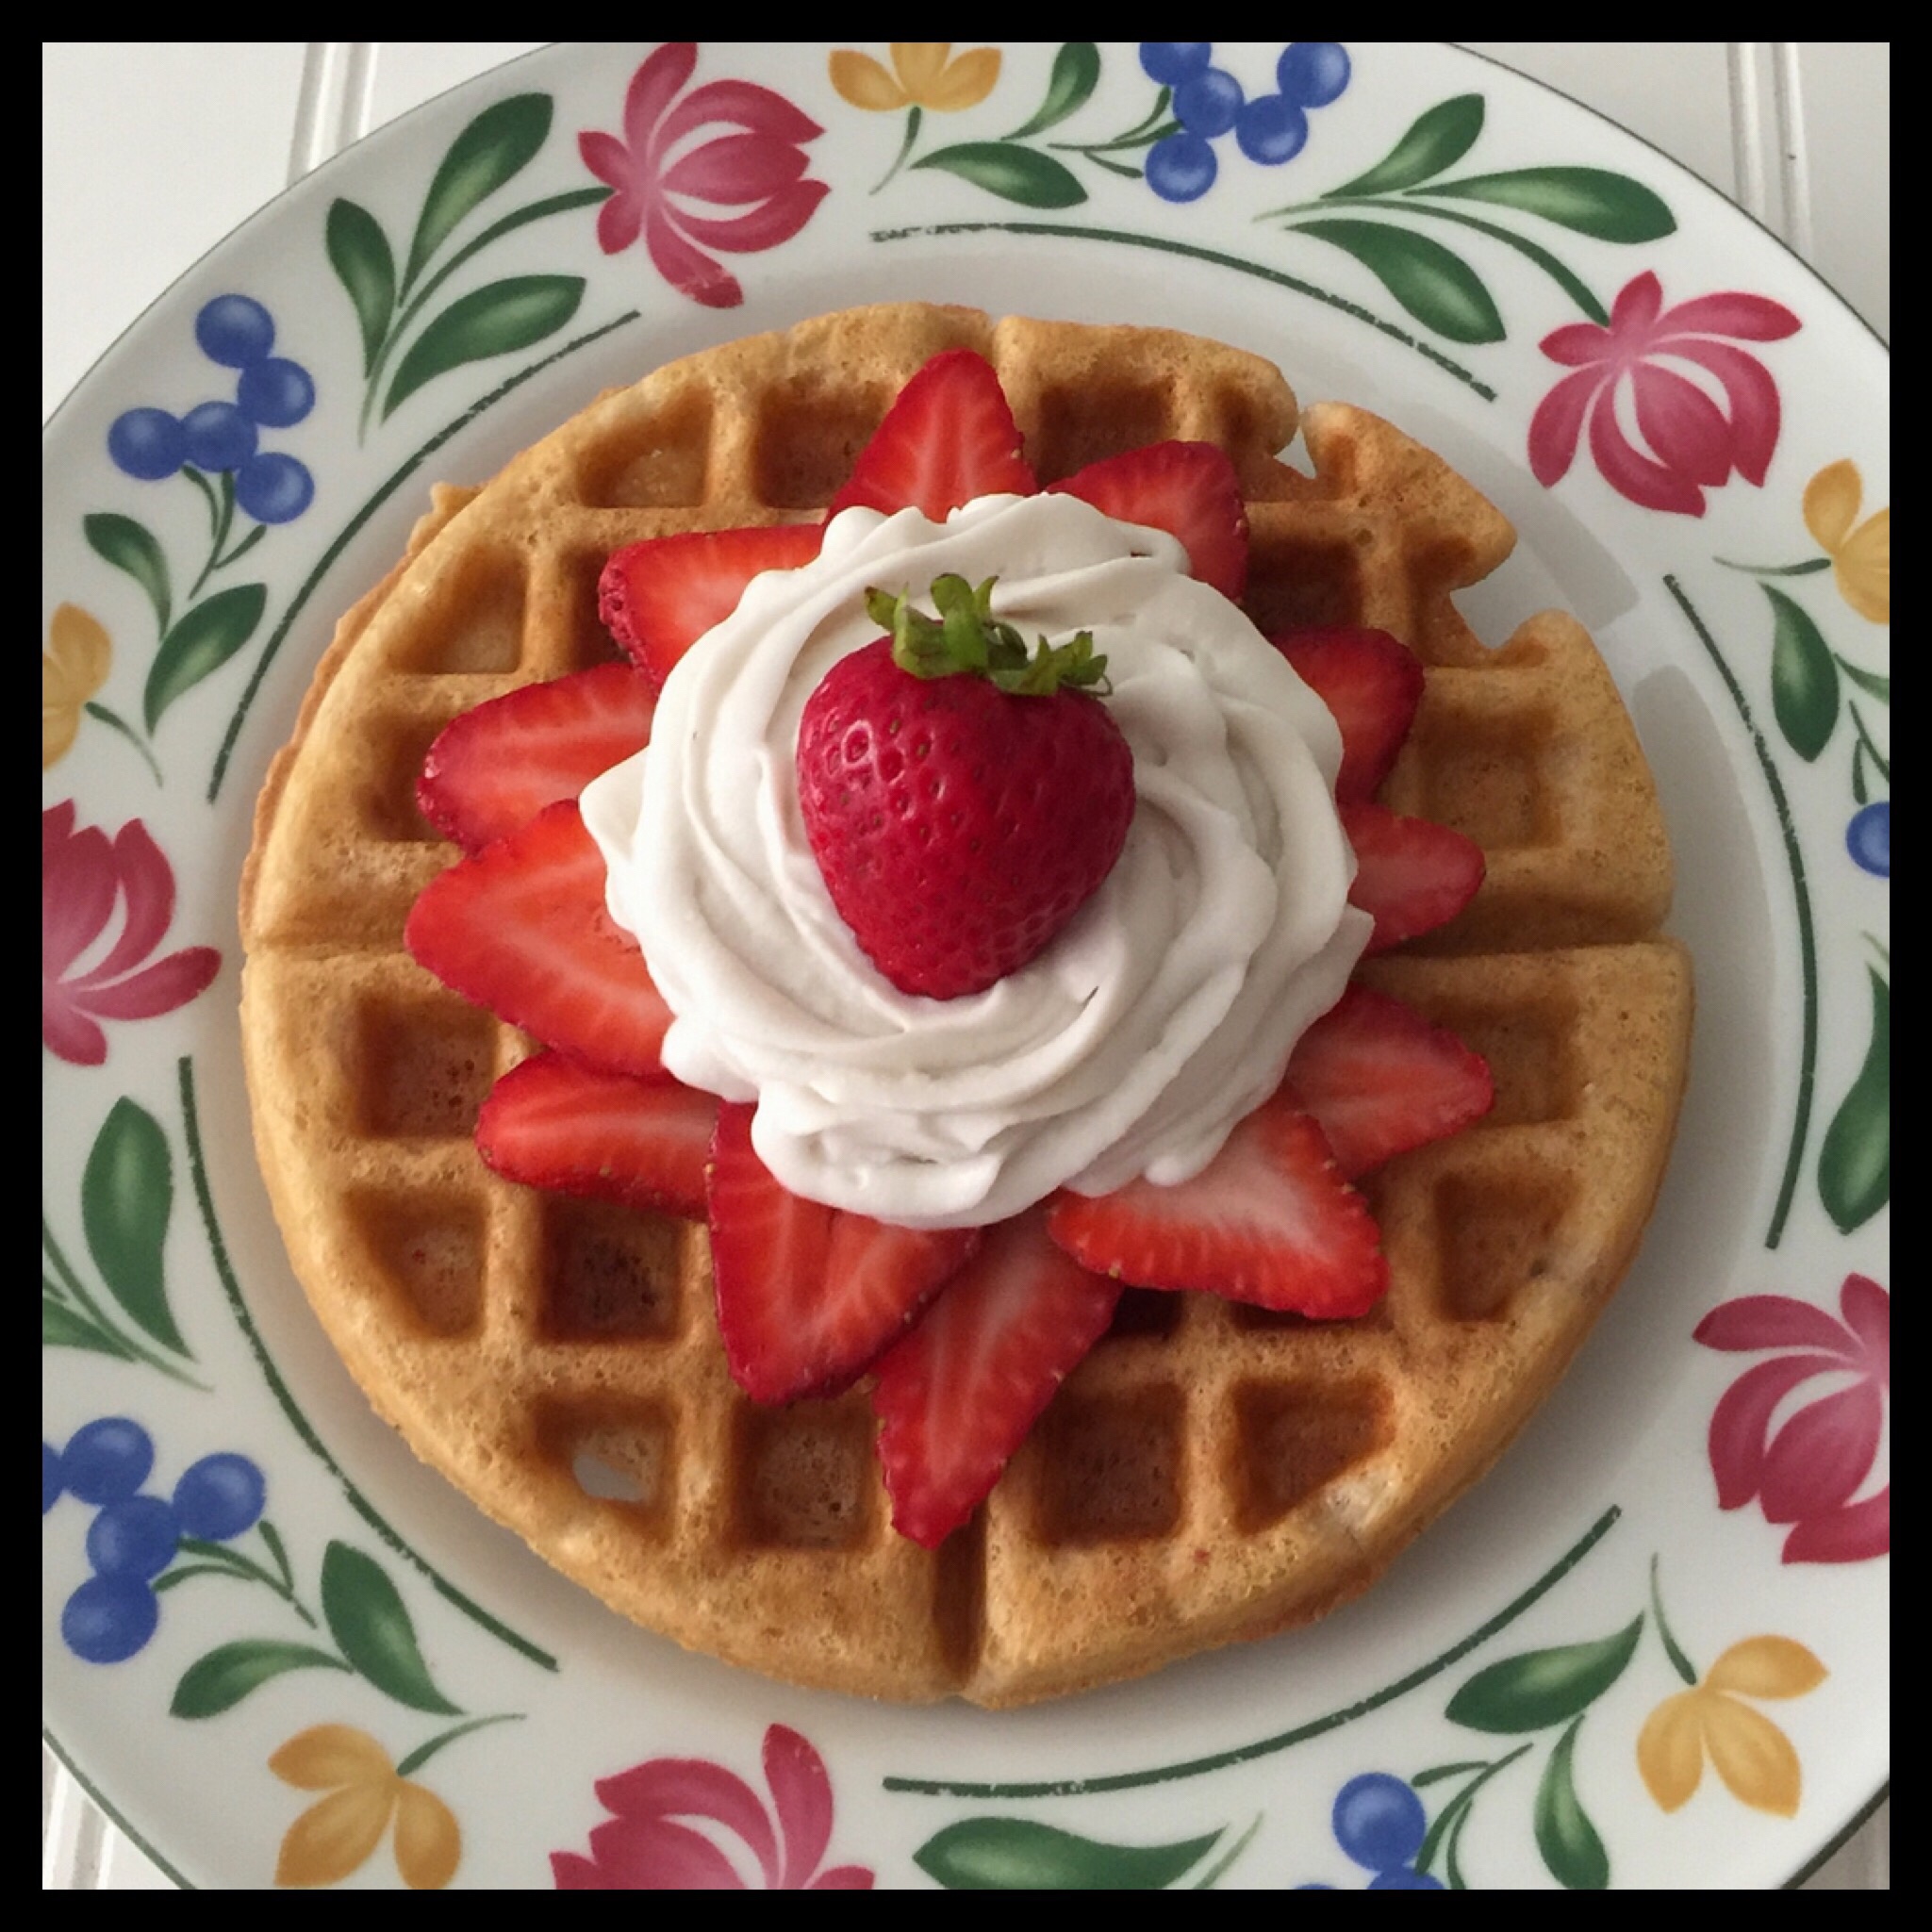
Sliced strawberries and vegan whipped topping make any morning special:
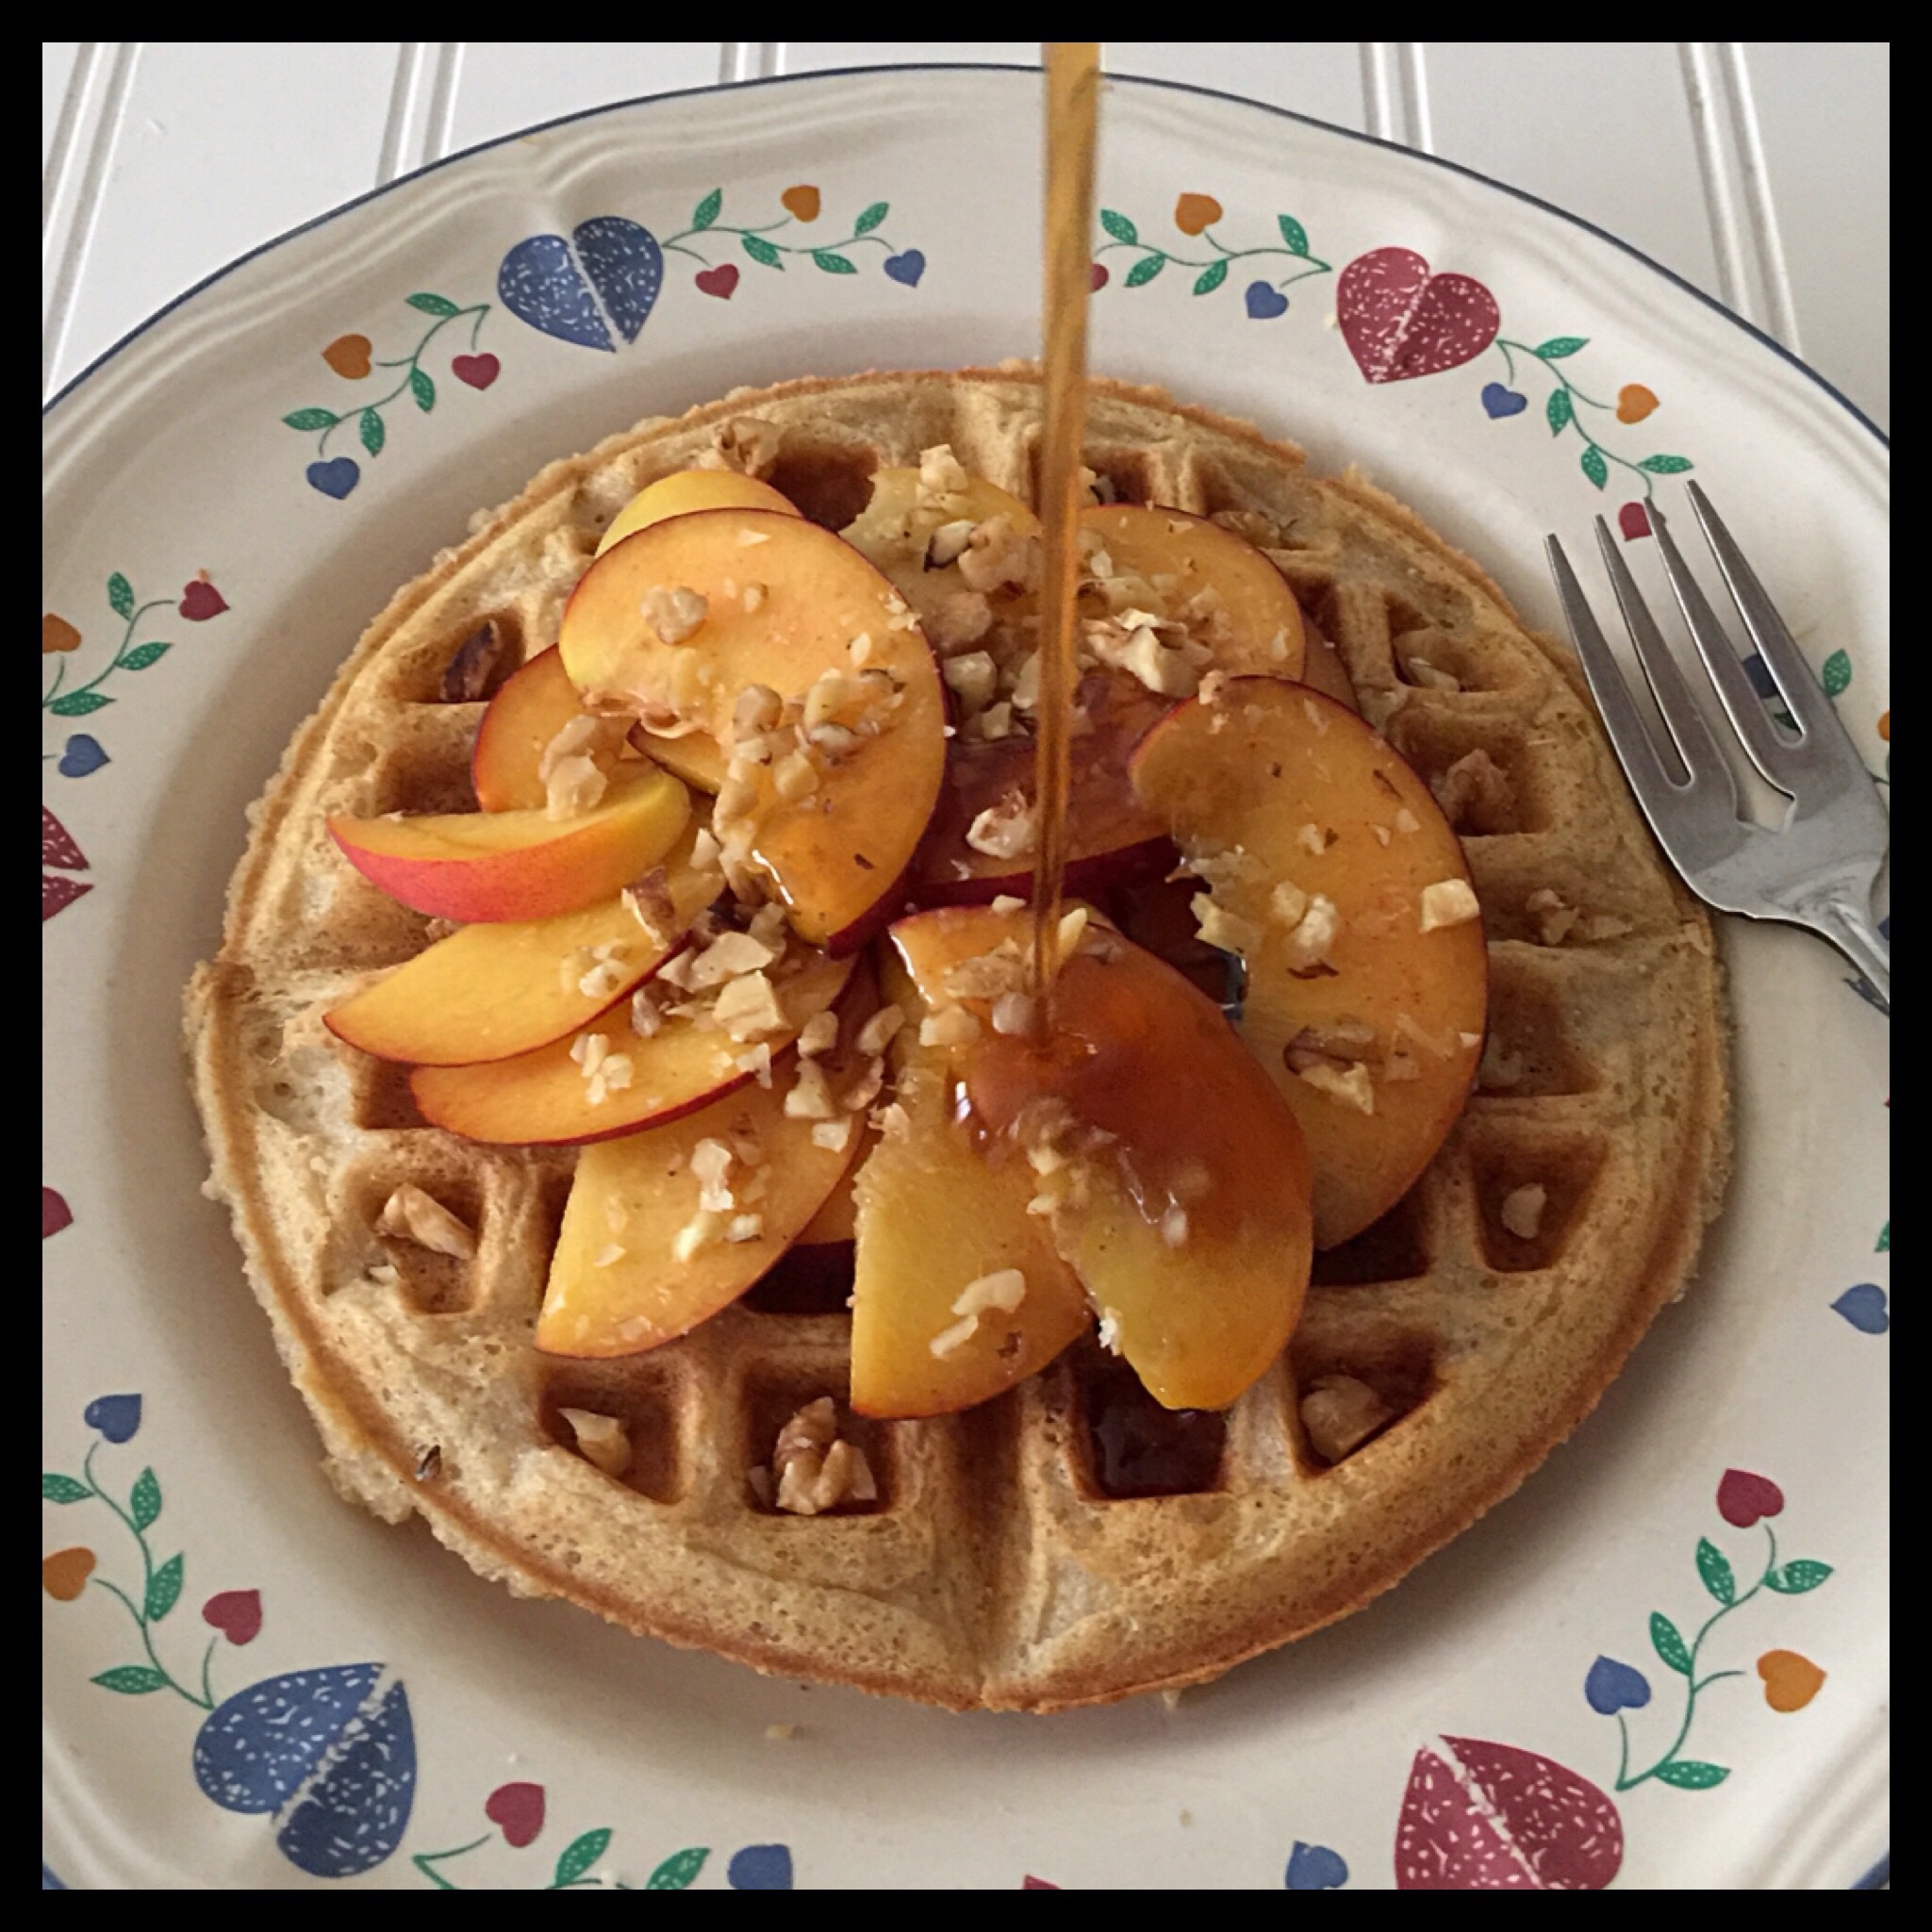
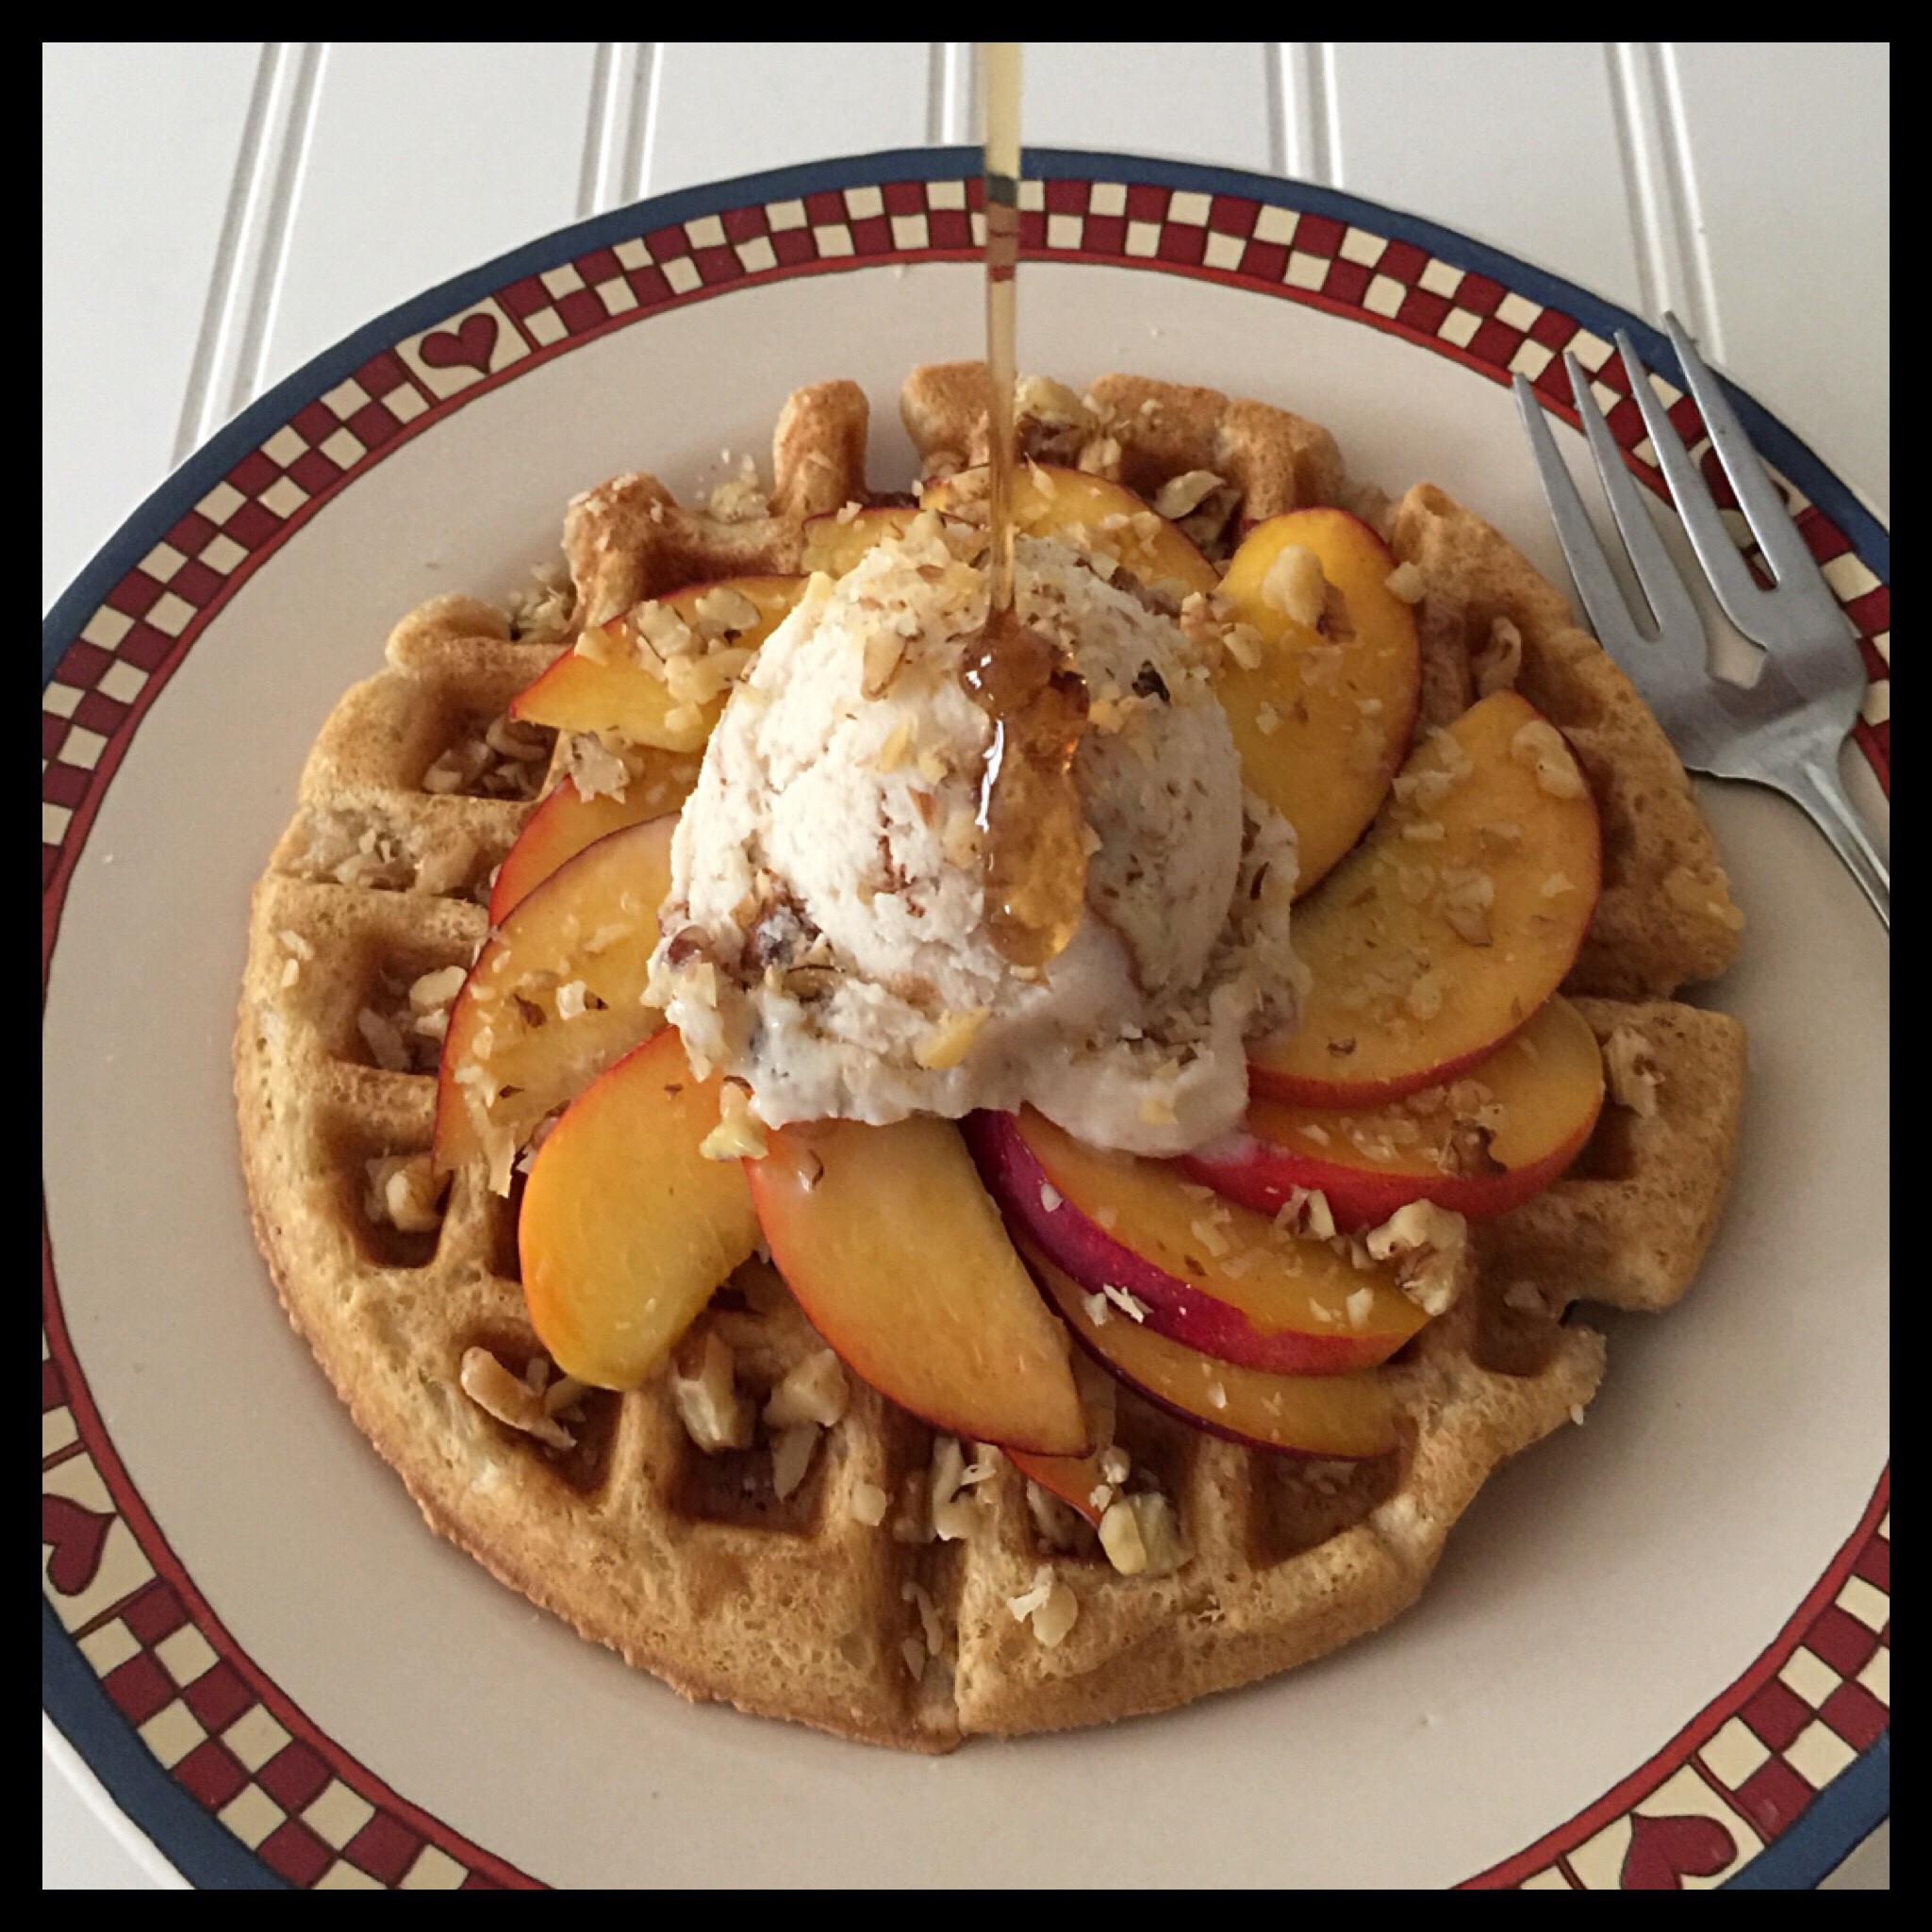
Sliced peaches, chopped walnuts, and maple syrup is one of my favorite combinations:
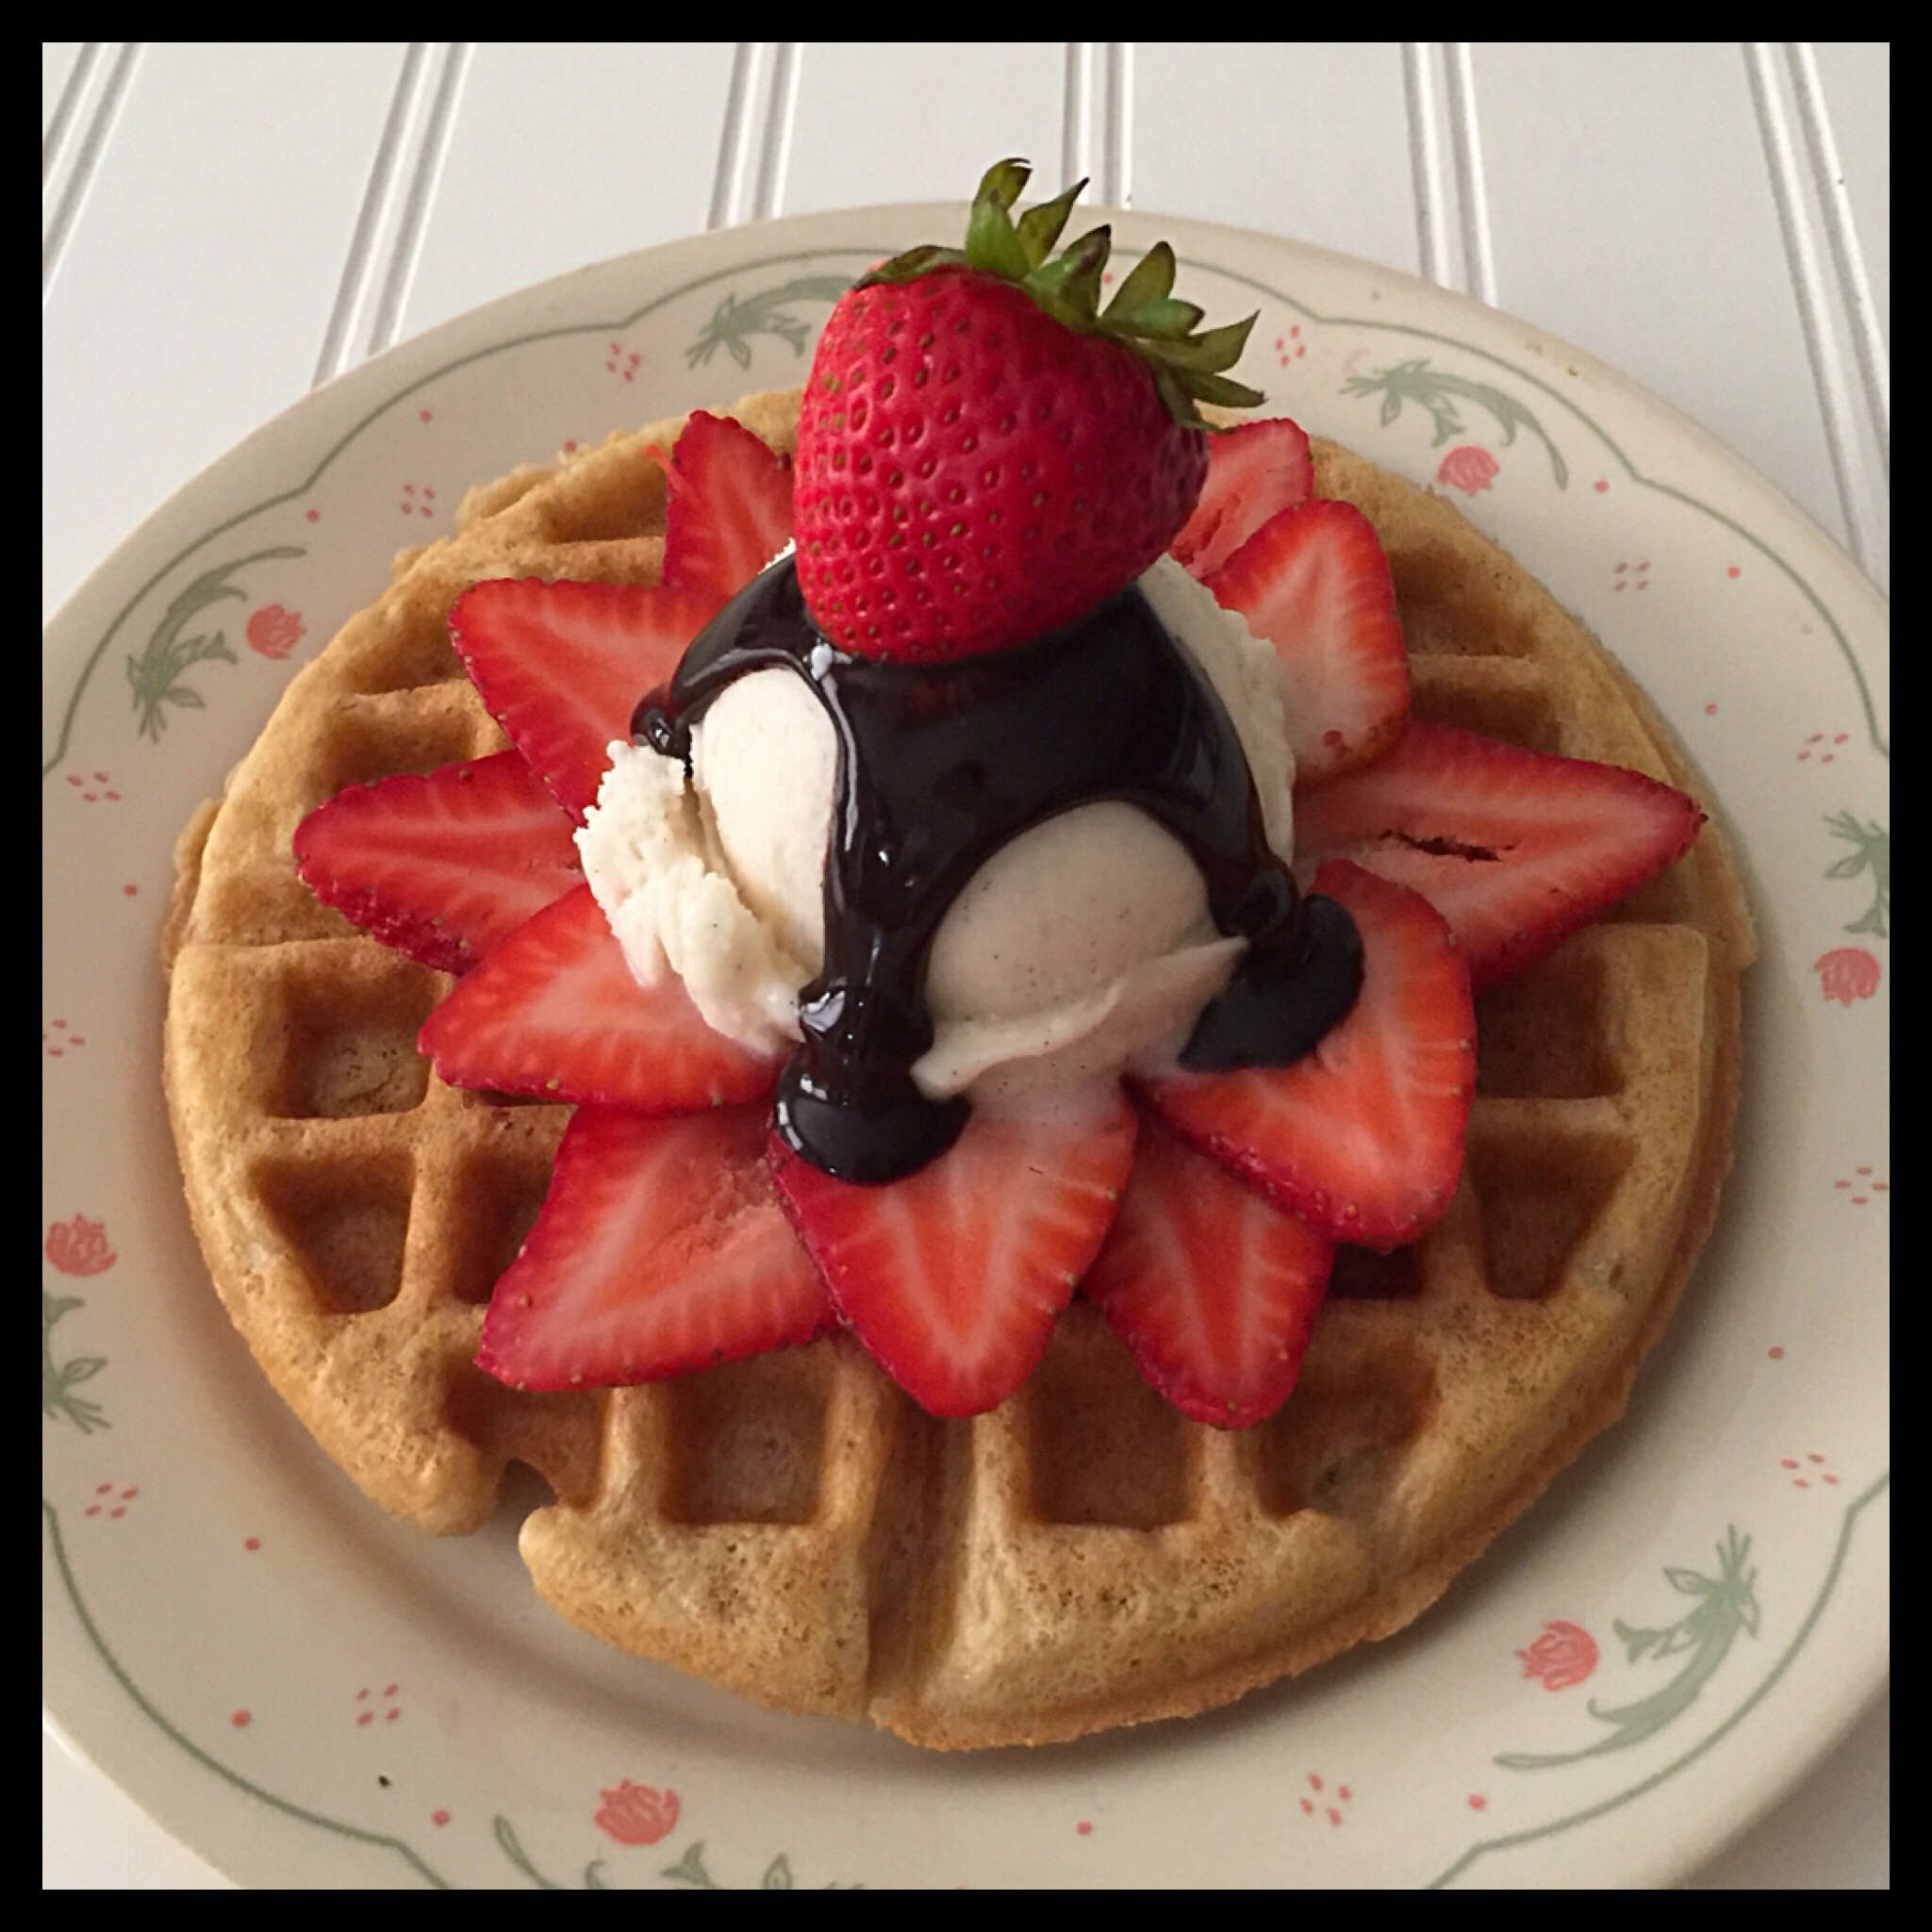
You can make it even more special by adding a scoop of vegan ice cream!
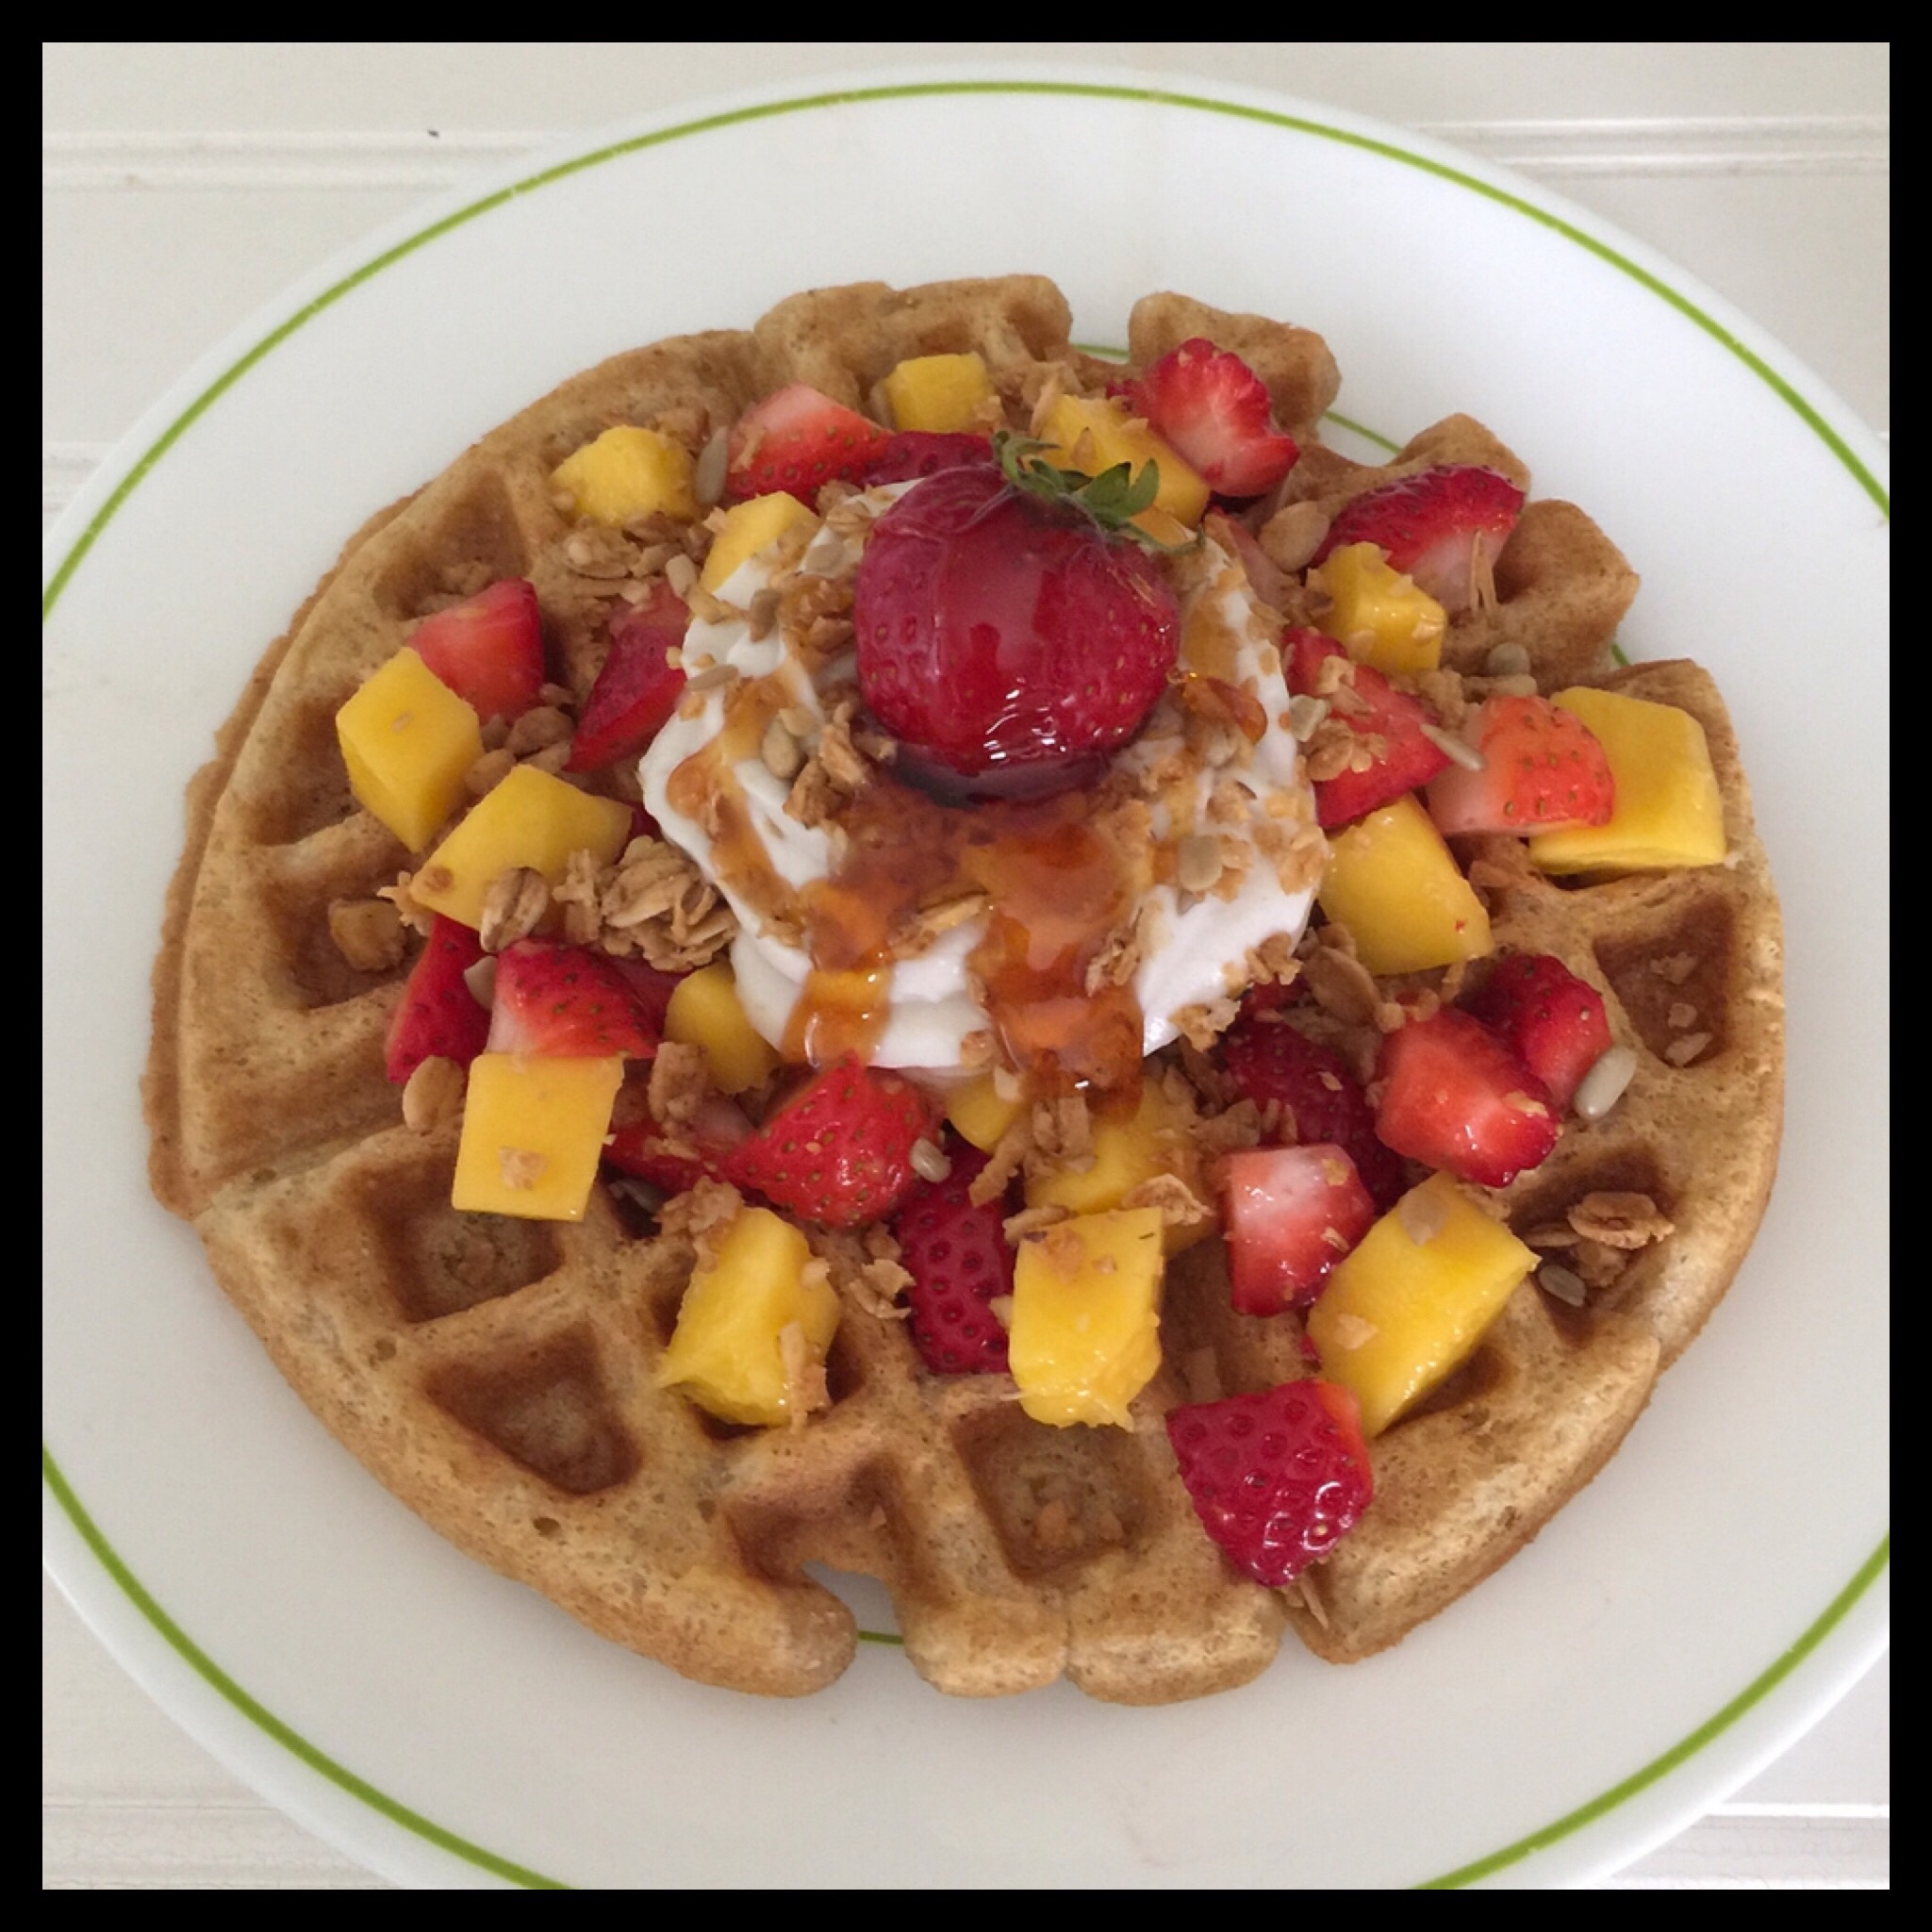
Here I added chopped mango and strawberries, vegan whipped topping, and granola:
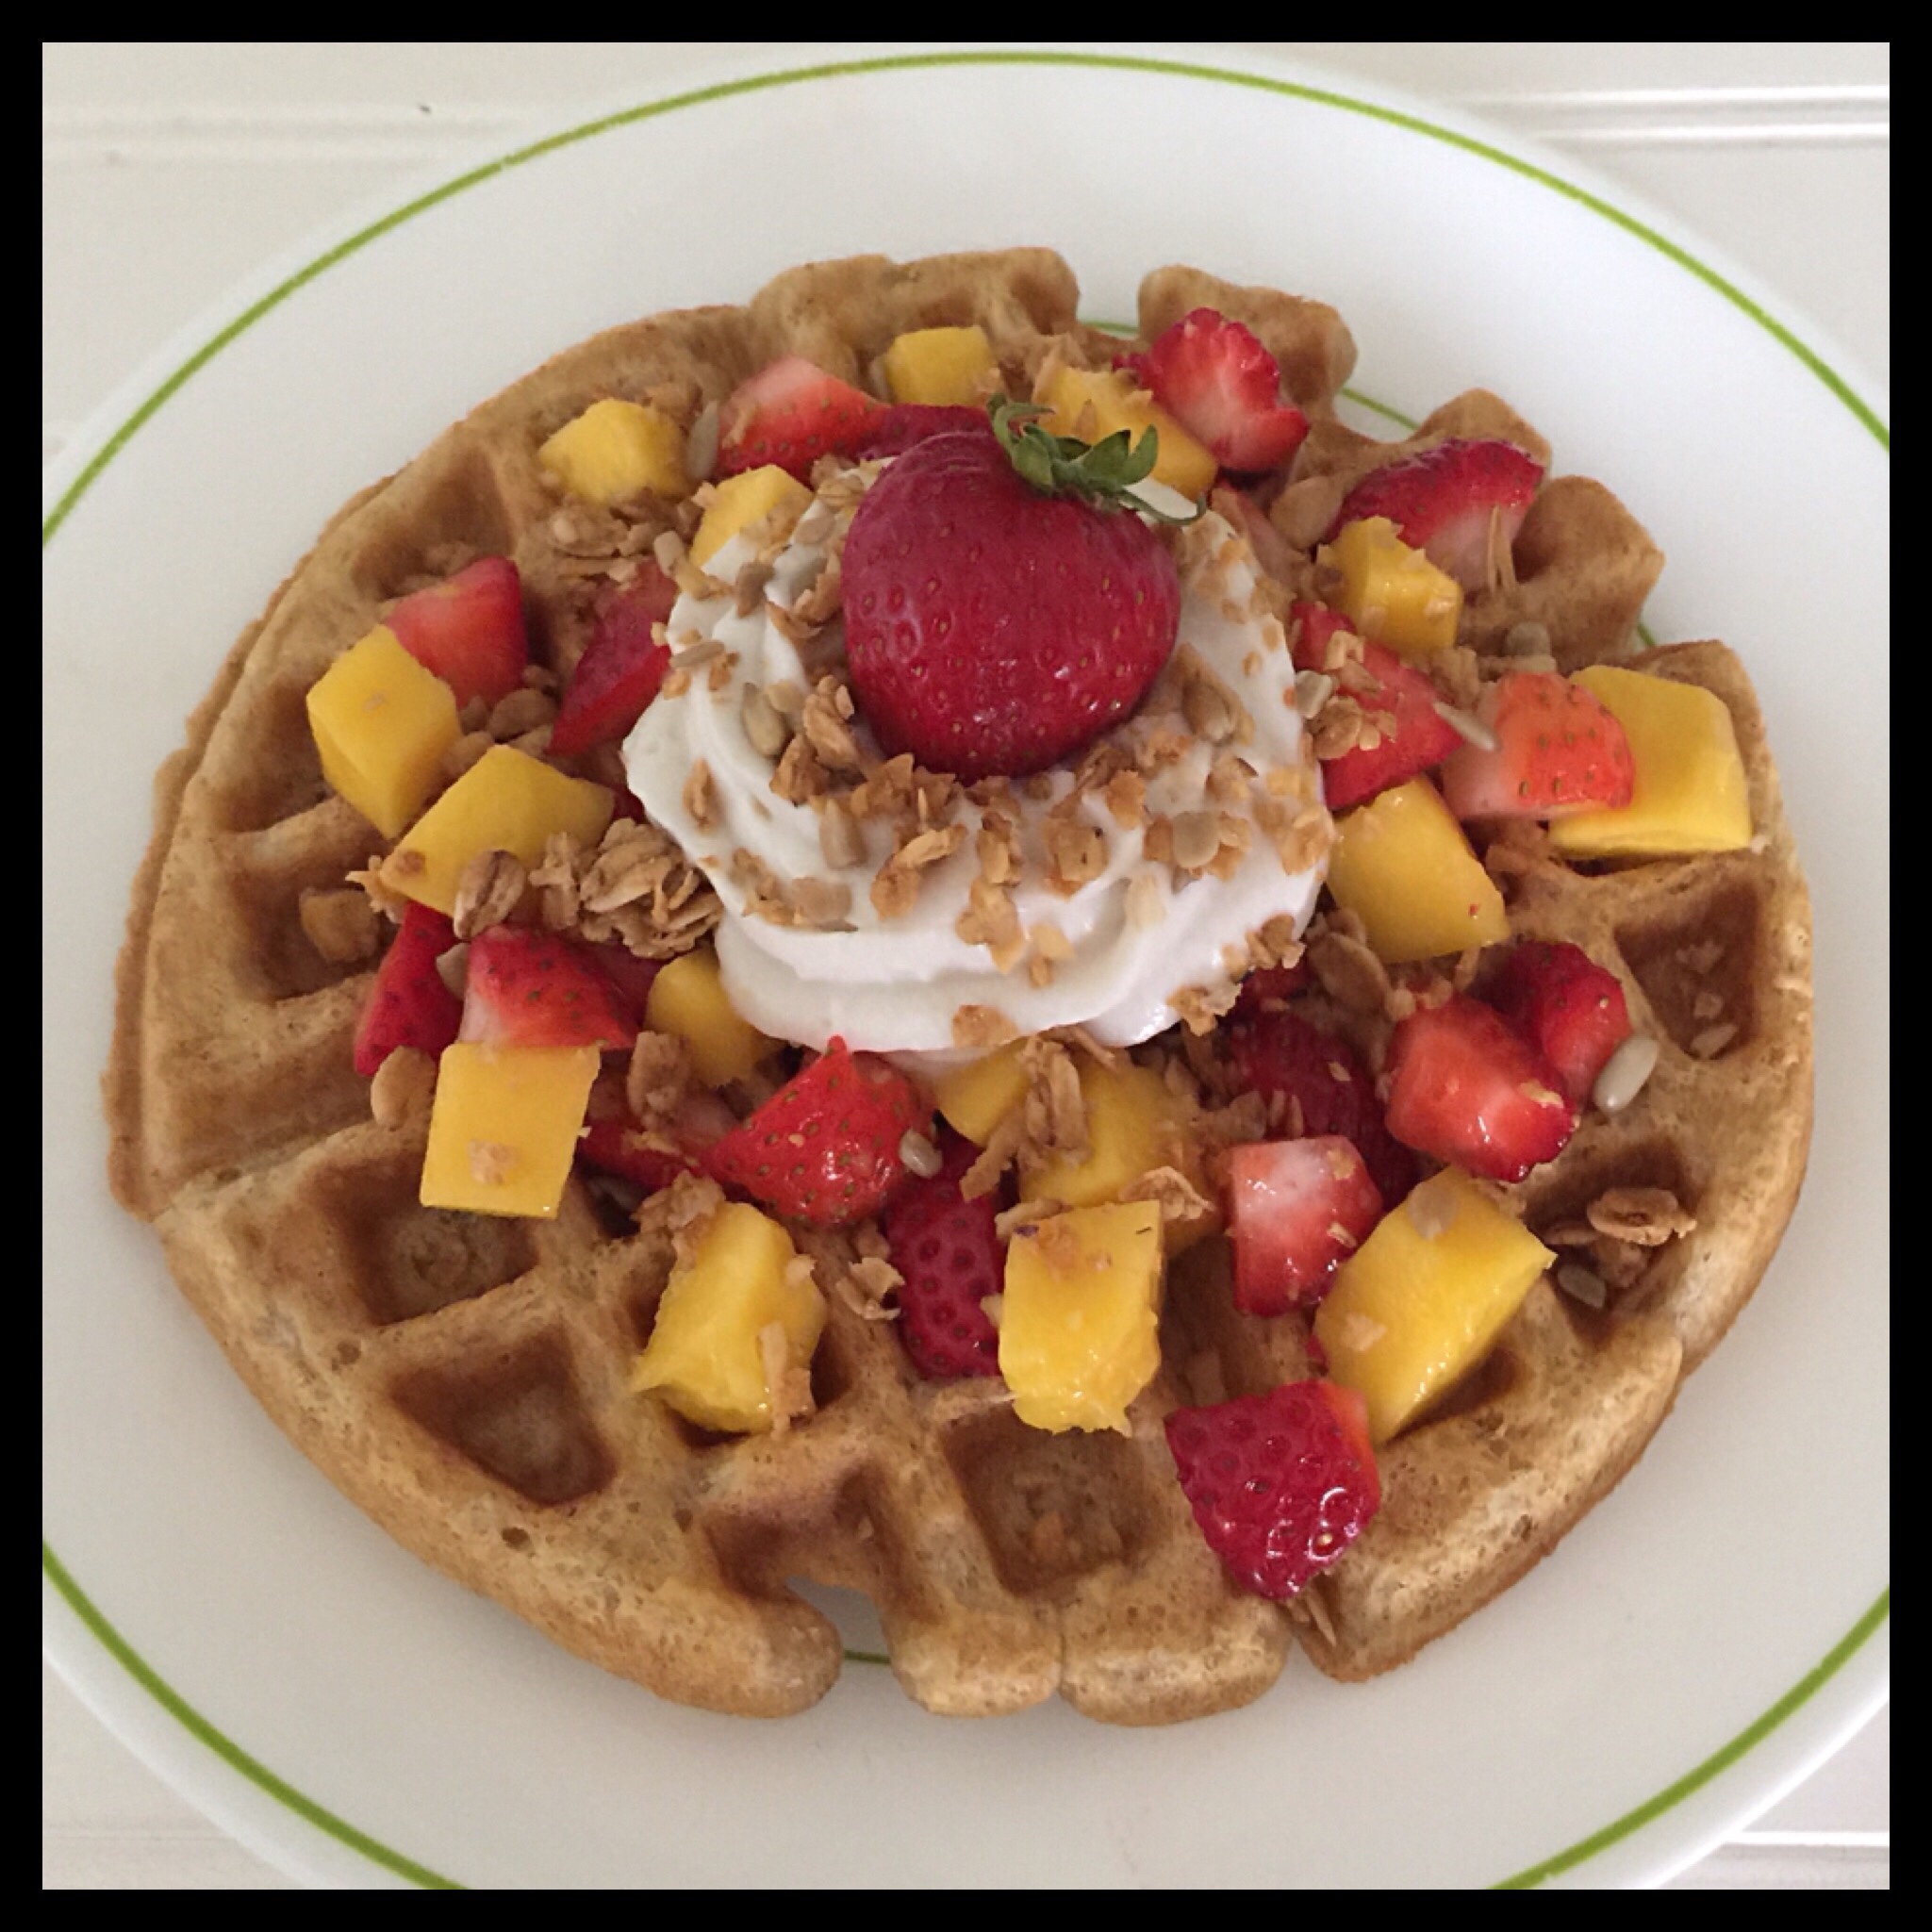
Then, I added a drizzle of my homemade vegan honee for some additional sweetness!
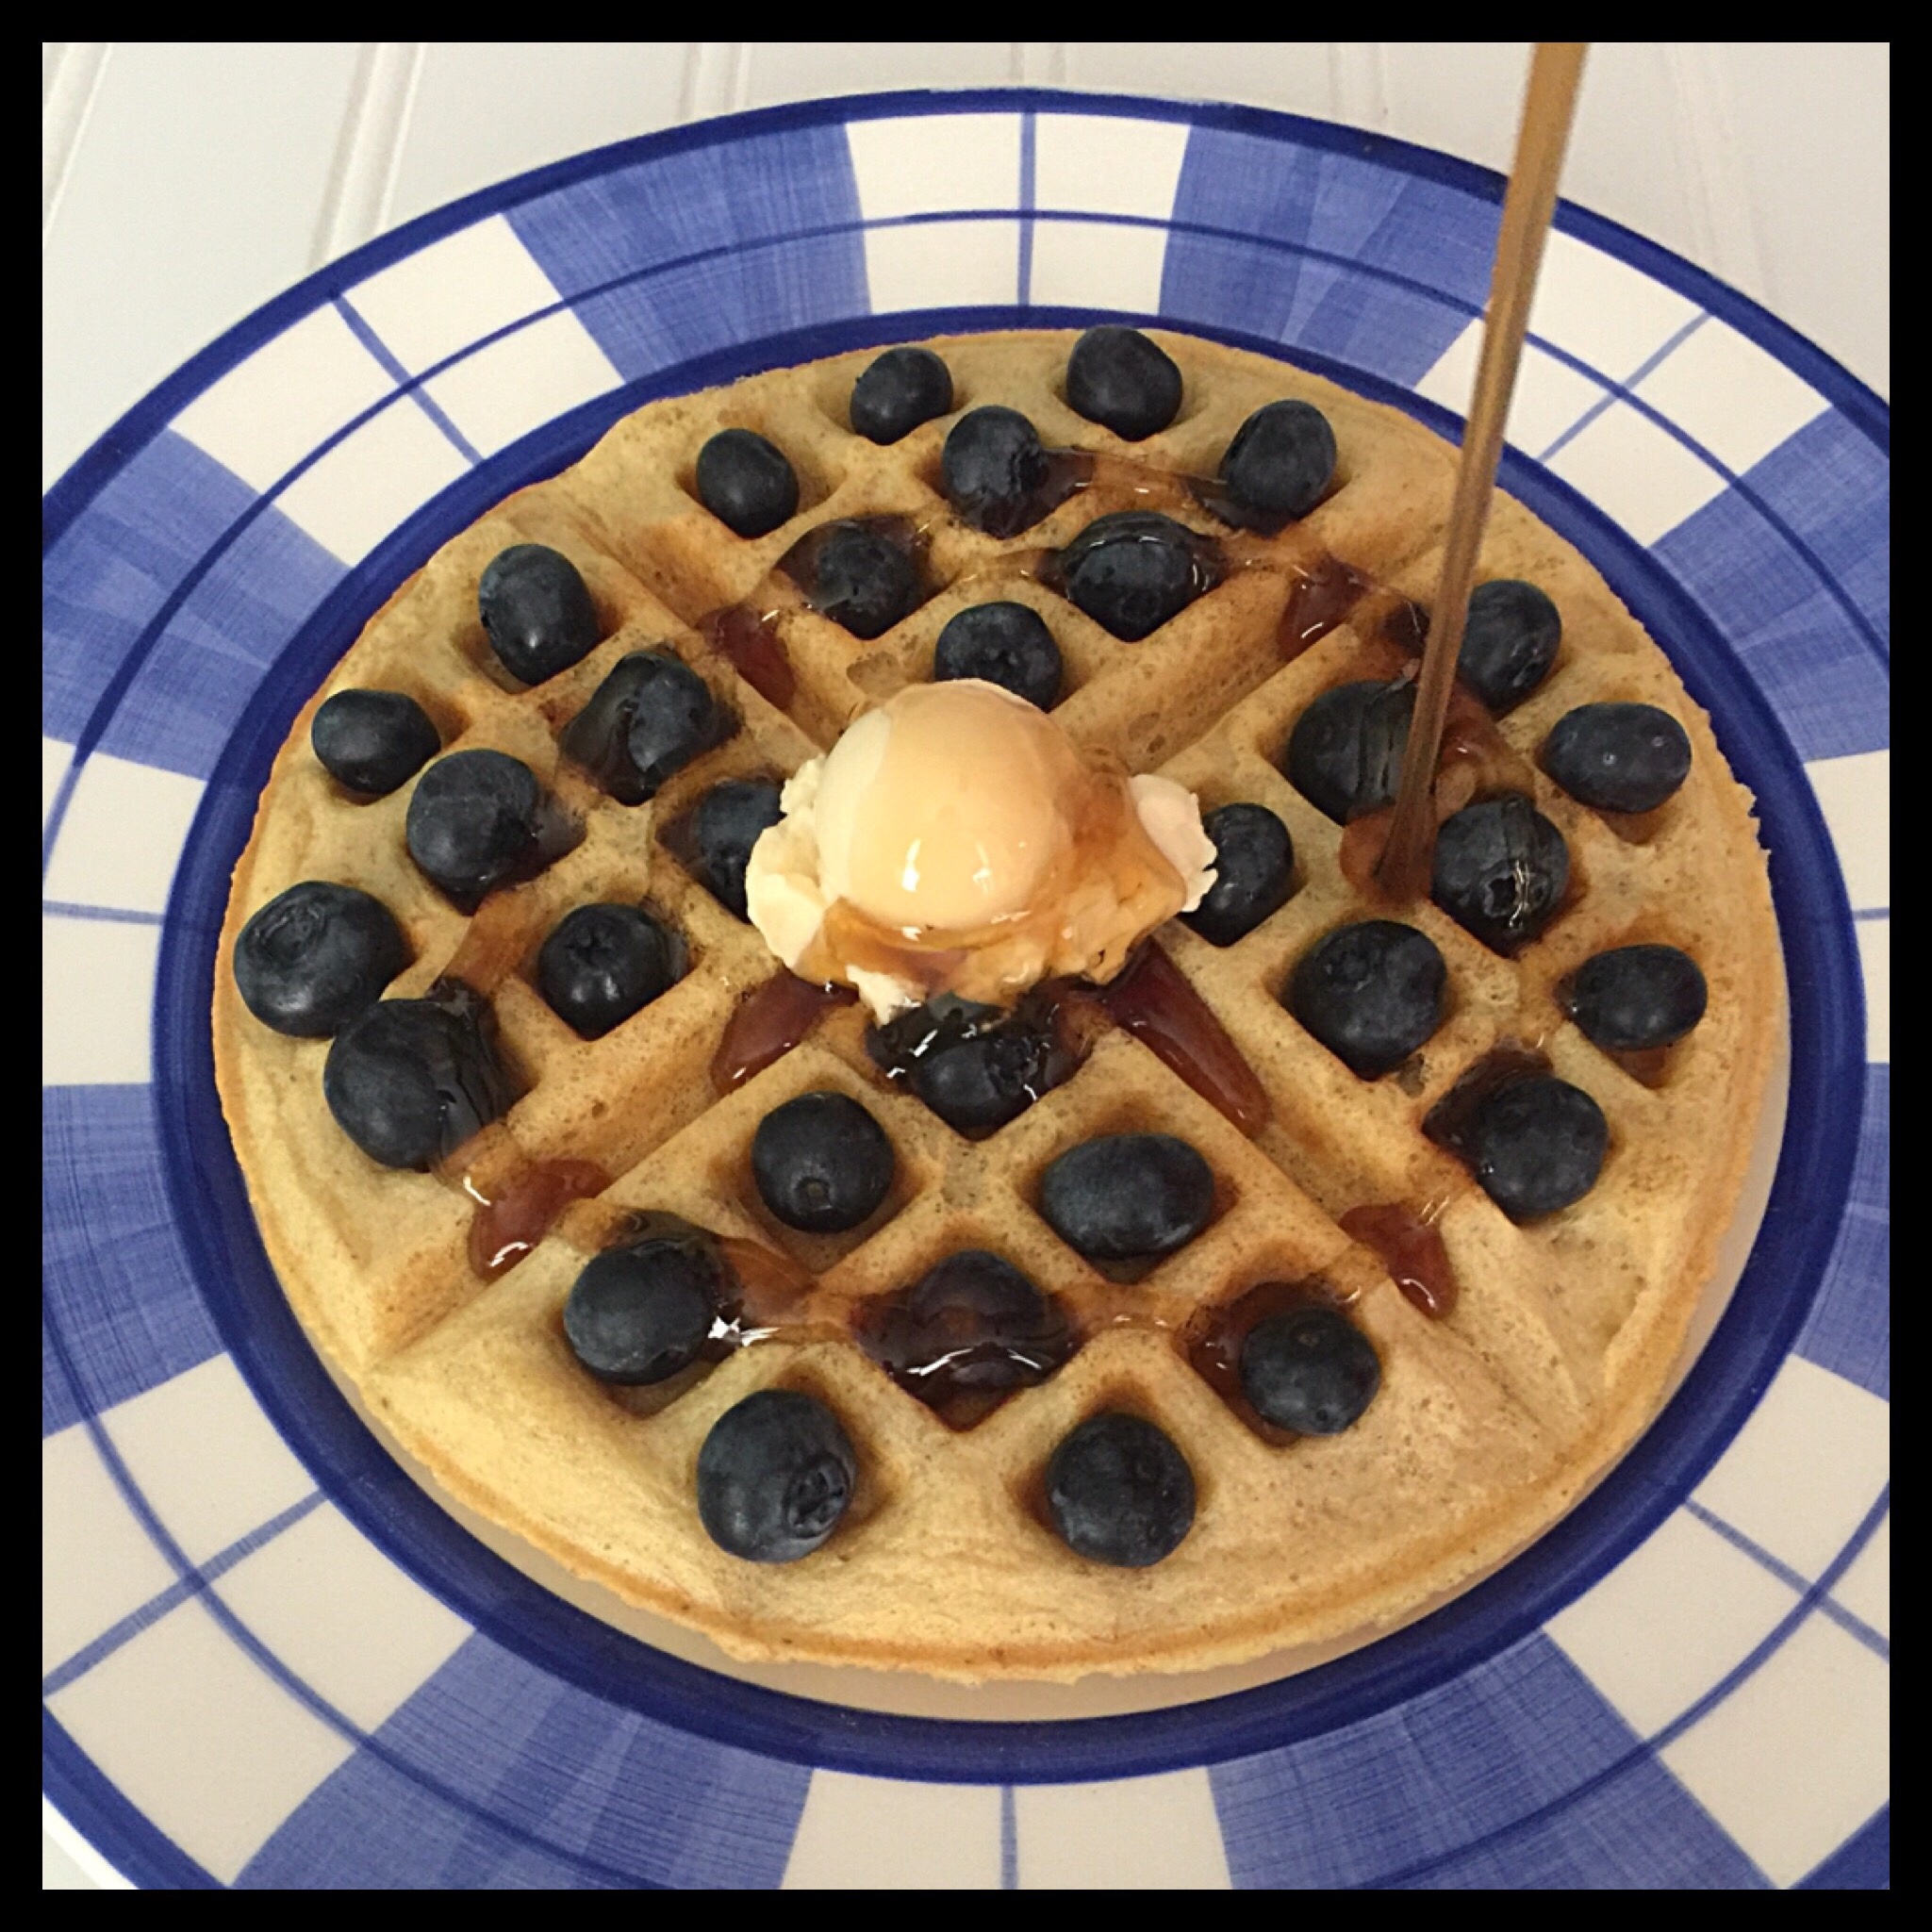
Blueberries are always great with waffles:
Waffles can also be made into a lovely dessert when you add vegan ice cream and chocolate sauce!
My mom and I really enjoyed making (and eating) all of the waffles for this post! I hope you will give the recipe a try and let us know what your favorite toppings are!

The Best Vegan (& Gluten Free) Waffles!
This easy recipe makes waffles that are buttery, golden brown, perfectly crisp on the outside and tender in the middle!
Ingredients
- 255 g (2 c) Gluten Free Flour Blend or All-Purpose Flour (See recipe notes below!)
- 9.6 g (4 tsp) The Plant Based Egg (ONLY add if using wheat flour!)
- 20 g (4 tsp) Baking Powder
- 2.5 g (1/2 tsp) Baking Soda
- 11 g (2 3/4 tsp) Vegan Sugar
- 4.8 g (3/4 tsp) Salt
- 480 g (2 c) Original Soy Milk (or other plant milk)
- 30 g (2 TBS) Distilled Vinegar
- 42 g (3 TBS) Vegan Butter (I use Earth Balance Buttery Spread)
- 2.5 g (1/2 tsp) Vanilla Extract
Instructions
-
Combine the flour, baking powder, baking soda, sugar, and salt in a medium-sized mixing bowl. If you are using wheat flour, you will also add The Plant Based Egg now as well.
-
Whisk all of the dry ingredients together.
-
Whisk the vinegar and plant milk together. Now you have vegan “buttermilk.” (Please note that a high protein plant milk like soy, Ripple, or Bolthouse will give you the best results. If you cannot use one of these, then flax milk is the next best choice.)
-
Melt the vegan butter, then add it and the vanilla to the “buttermilk”, then whisk all of the wet ingredients together.
-
Make a well in the flour mixture, then pour the liquid ingredients into the well and whisk to combine. You don’t have to worry about over mixing if you are using gluten free flour, but only mix just enough to get the lumps out if you are using wheat flour.
-
Wait 20 minutes before cooking your waffles because the batter needs to rest first. Preheat your waffle iron while you wait.
-
Lightly spray your hot waffle iron with non-stick spray. (I prefer a spray that includes lecithin as this really helps to prevent sticking.) With my waffle iron, I only need to spray it once before I begin cooking the waffles, but you may need to spray yours between each waffle.
-
Do NOT stir your batter again! Just scoop it with a measuring cup onto your hot waffle iron. How much batter you need depends on the size of your iron, so you may need to try different amounts until you find what works best. (I use a 3/4 cup measure for mine.) Use the edge of the measuring cup to spread the batter out a bit, then close the lid of your waffle iron. How long you need to cook each waffle depends on your iron, and you usually cannot depend on the light to tell you when the waffle is done. My waffle iron doesn’t have a temperature setting, but if yours does, try setting it to medium or medium-high heat to start. Experiment with temperature and time until you find the perfect ones for your waffle iron. Four minutes is perfect for mine. Once you figure this out, always use the same temperature and time and your waffles will always be perfect. Tip: set a timer when you close the lid as it’s easy to get distracted and forget your waffle otherwise!
-
Your waffle is done when it is crispy and golden brown all over. Gently lift the waffle out of the iron and serve it immediately or place it on a cooling rack. I like to cook all of the waffles and then reheat them for a minute or two in my toaster oven so everyone can be served at the same time. Serve as desired and enjoy!
Recipe Notes
- To make this recipe with wheat flour, use the same amount of flour and add the equivalent of two eggs (9.6 g or 4 tsp) of The Plant Based Egg to the flour. Whisk together with the other dry ingredients. That is the only adjustment you need to make. (The liquid amount in this recipe has already been increased, so do not add extra as The Plant Based Egg package directions say to do. Those directions are only for recipes that include eggs and you are replacing them and veganizing the recipe with The Plant Based Egg.)
- If you are gluten free, you will need to either use Freely Vegan GF Flour or make your own DIY gluten free flour with The Plant Based Egg. Using the right egg replacement (and not using flour that contains xanthan or guar gum) is essential if you want waffles with the perfect texture! The Plant Based Egg replaces both gums and eggs in gluten free baking. Please note that The Plant Based Egg is already built into Freely Vegan GF Flour, so you do not need to add any.