I have been waiting for a long time to share my bread and other baked goods recipes with you! You need flour that is made with my egg replacement to make them, and it wasn’t ready yet. The Plant Based Egg by Freely Vegan will be available online very soon at www.freelyvegan.com, so I can finally start posting all my favorite gluten free recipes! (You can order now by emailing theplantbasedegg@gmail.com).
If you are not gluten free, my good friend and business partner, Gretchen Price (from Gretchen’s Vegan Bakery), will have lots of recipes coming up that use The Plant Based Egg with wheat flour! Gretchen joined the Freely Vegan team a little over a year ago, and we are thrilled to have her on board! She has a fabulous vegan blog and YouTube channel that you will definitely want to check out. You can find her on Facebook, Instagram, and Pinterest. Gretchen also just published a superb vegan cookbook called Modern Vegan Baking: The Ultimate Resource for Sweet and Savory Baked Goods!
I will be bringing out a premade gluten free flour in a few months that will already have The Plant Based Egg added to it! Until then, you can make your own gluten free flour by using one of these recipes. (I have lots of variations so everyone should be able to find one that works for their dietary needs.) The Plant Based Egg replaces both eggs and the xanthan and/or guar gums that you find in most gluten free flours. This allows you to achieve light and fluffy results without any gumminess!
So, you will need to make your own gluten free flour with The Plant Based Egg using one of these recipes (or you can wait for my premade flour to be available). Here are all of the ingredients you need to make these delicious vegan and gluten free sandwich rolls:
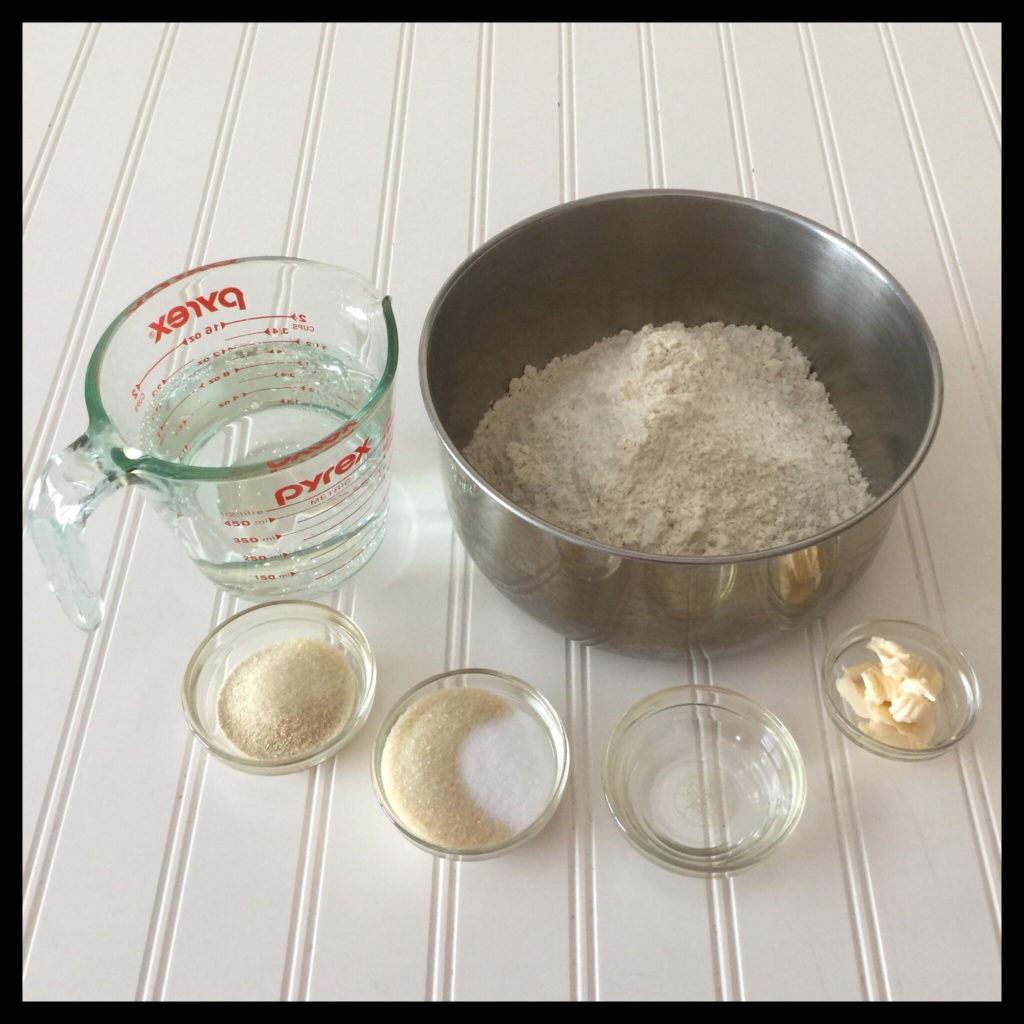
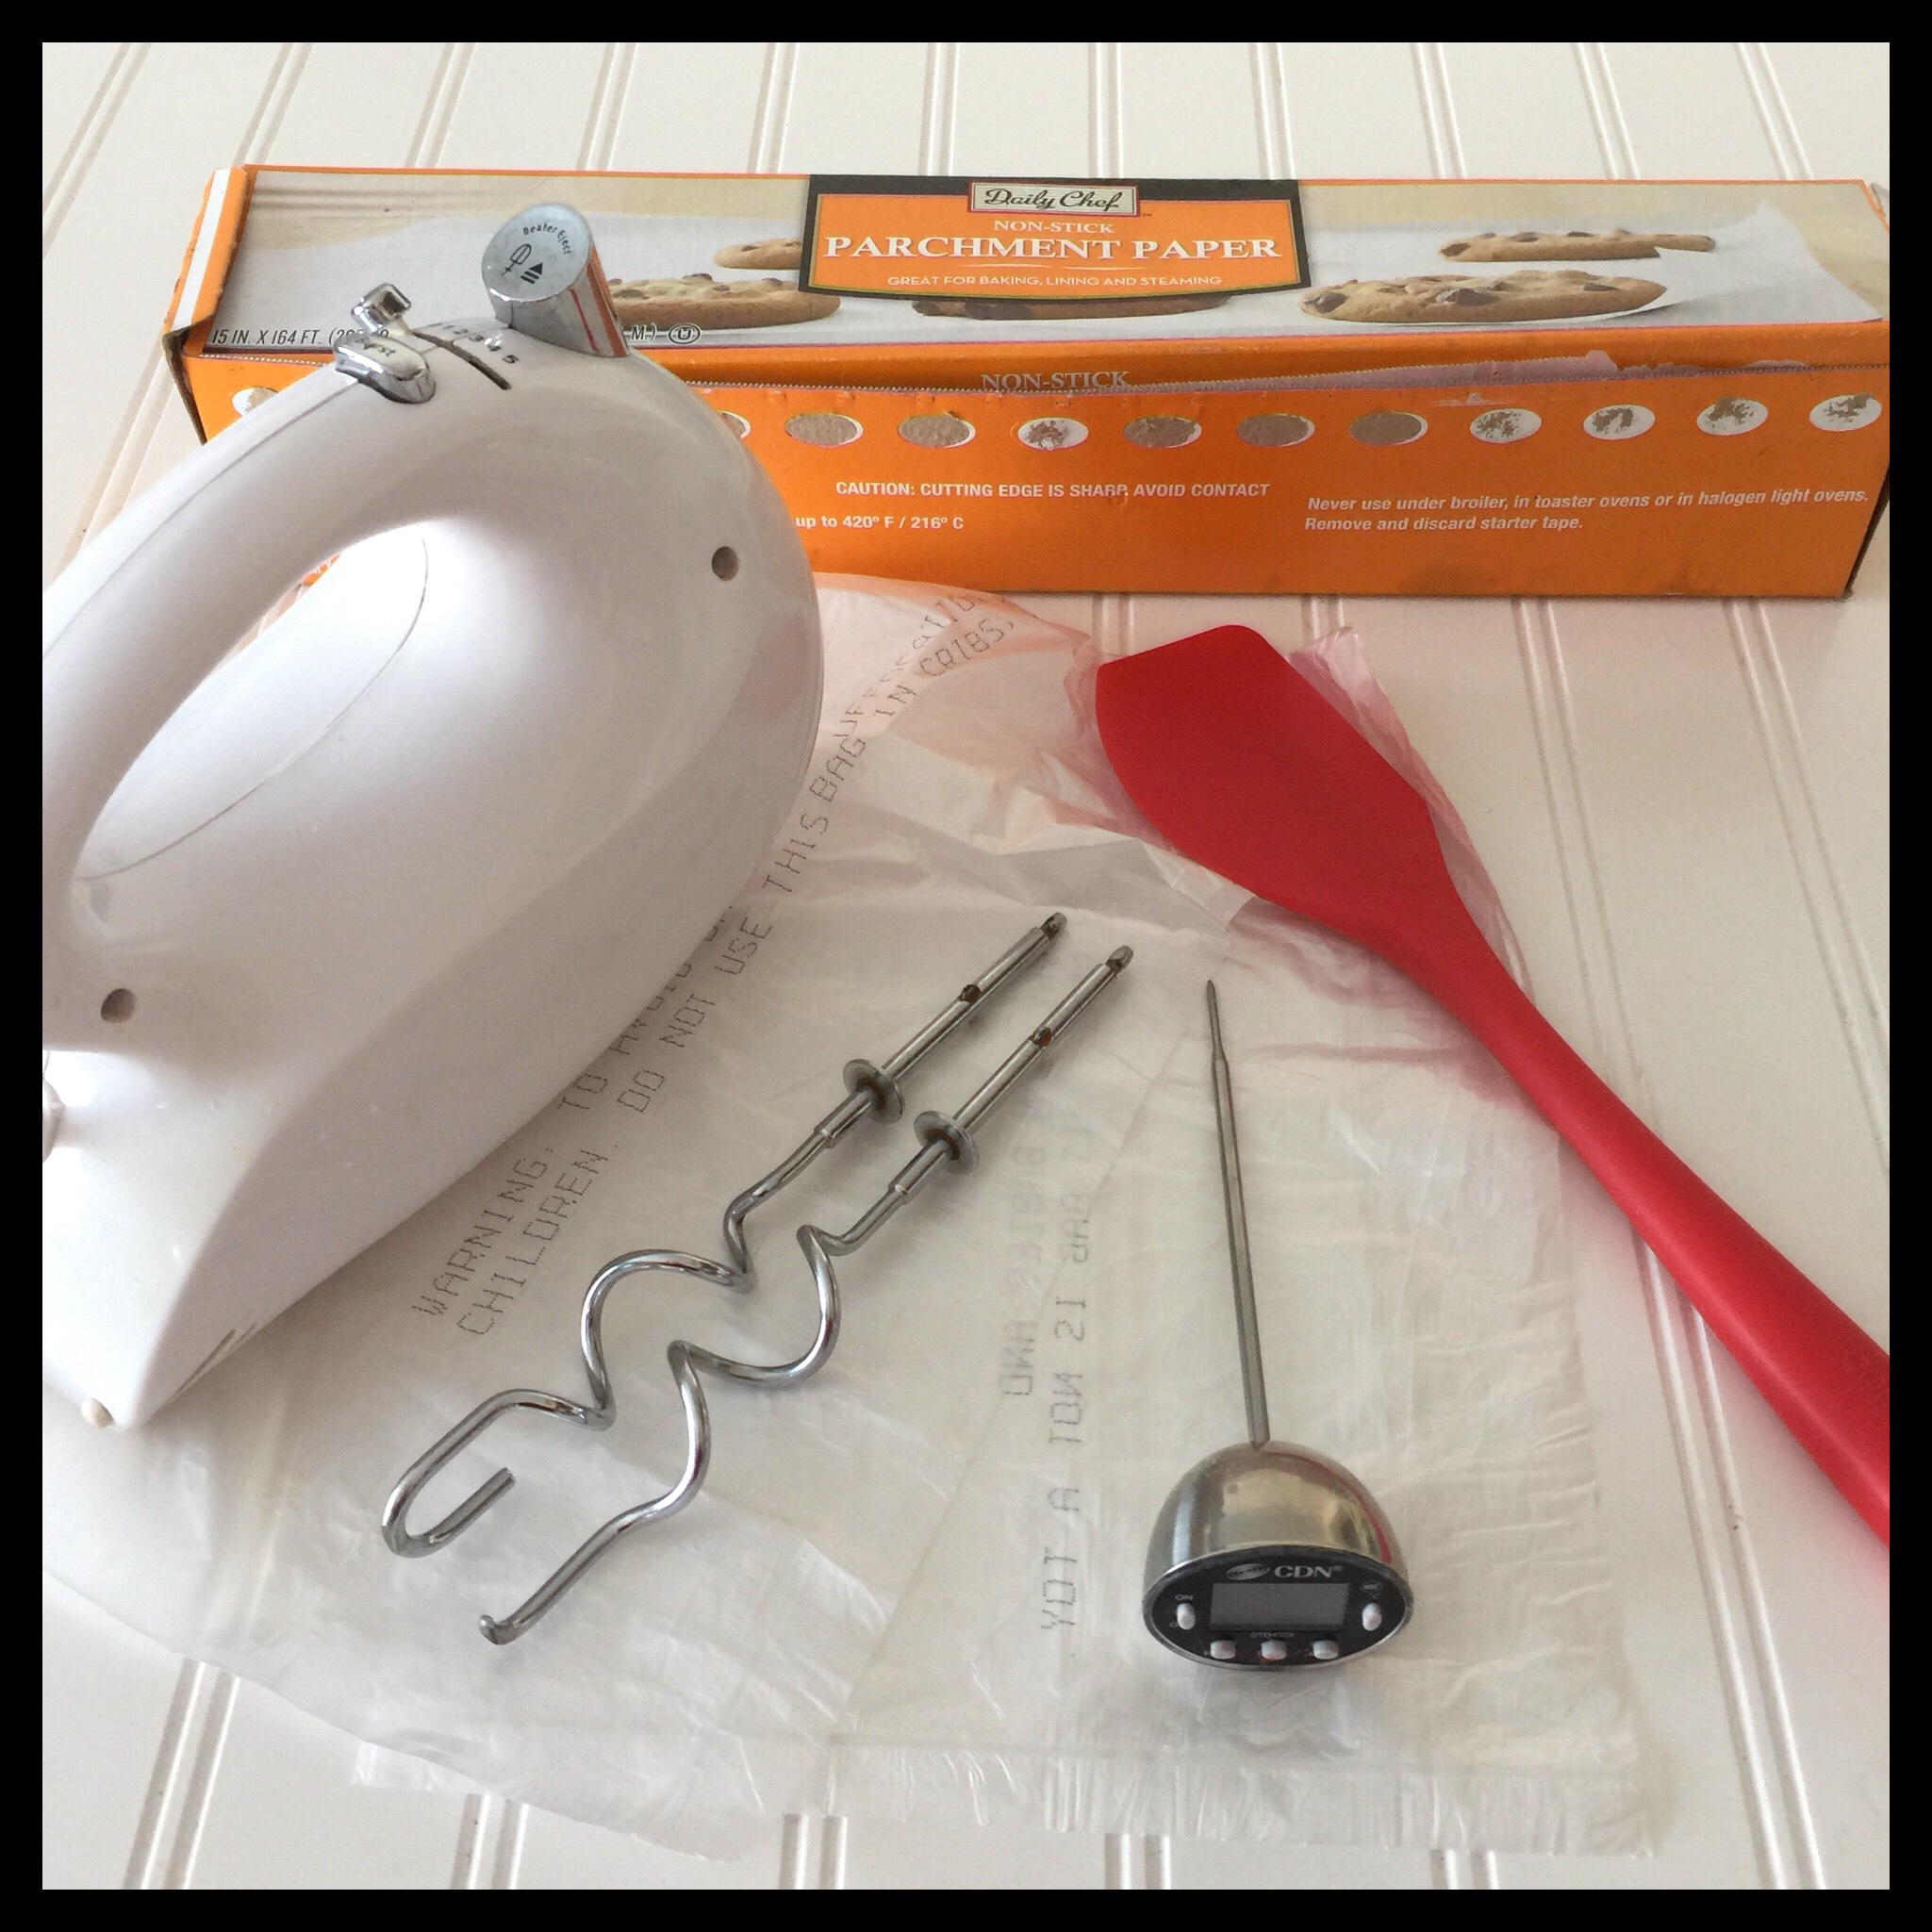
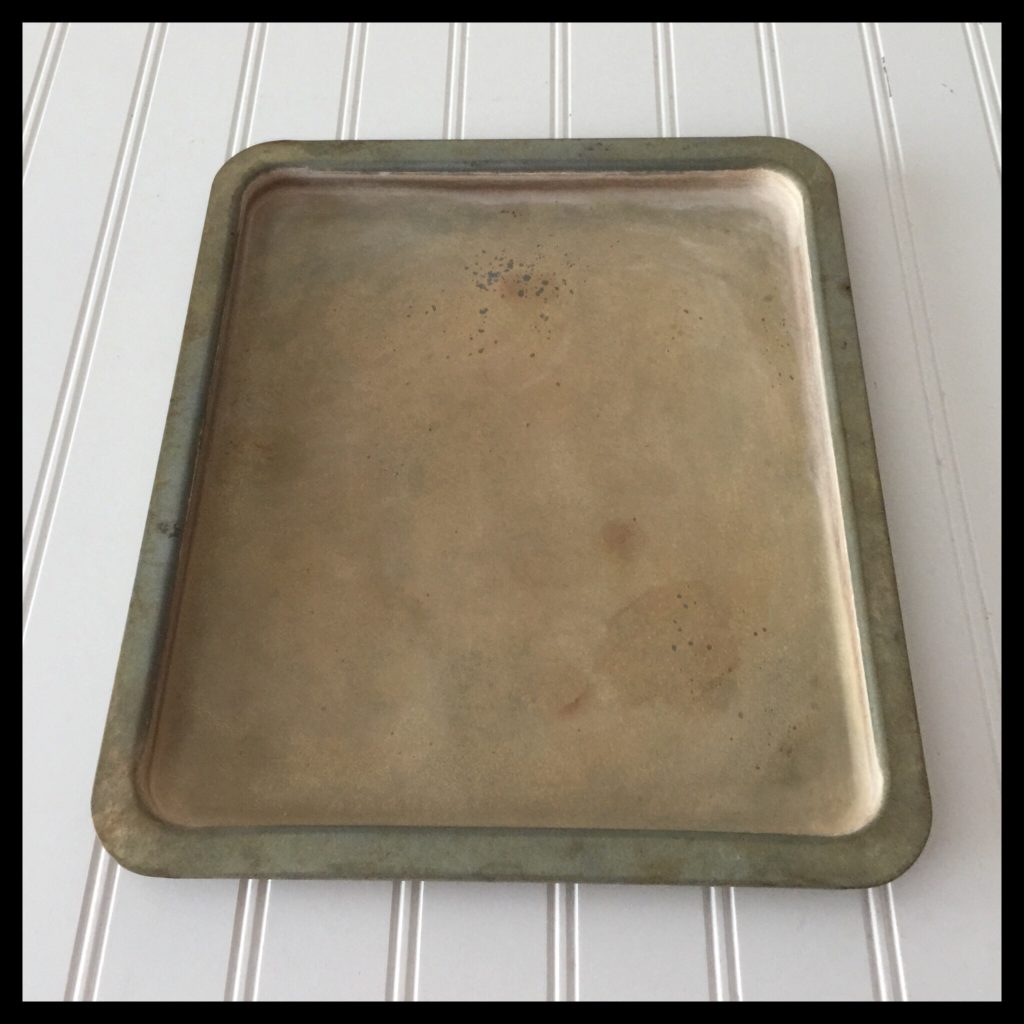
You will also need parchment paper, a half-sheet sized baking pan, a sturdy spatula, a large (and clean) plastic bag, a thermometer, a shallow pan that you don’t care about, and either a stand mixer with a paddle attachment or a hand mixer with dough hooks:
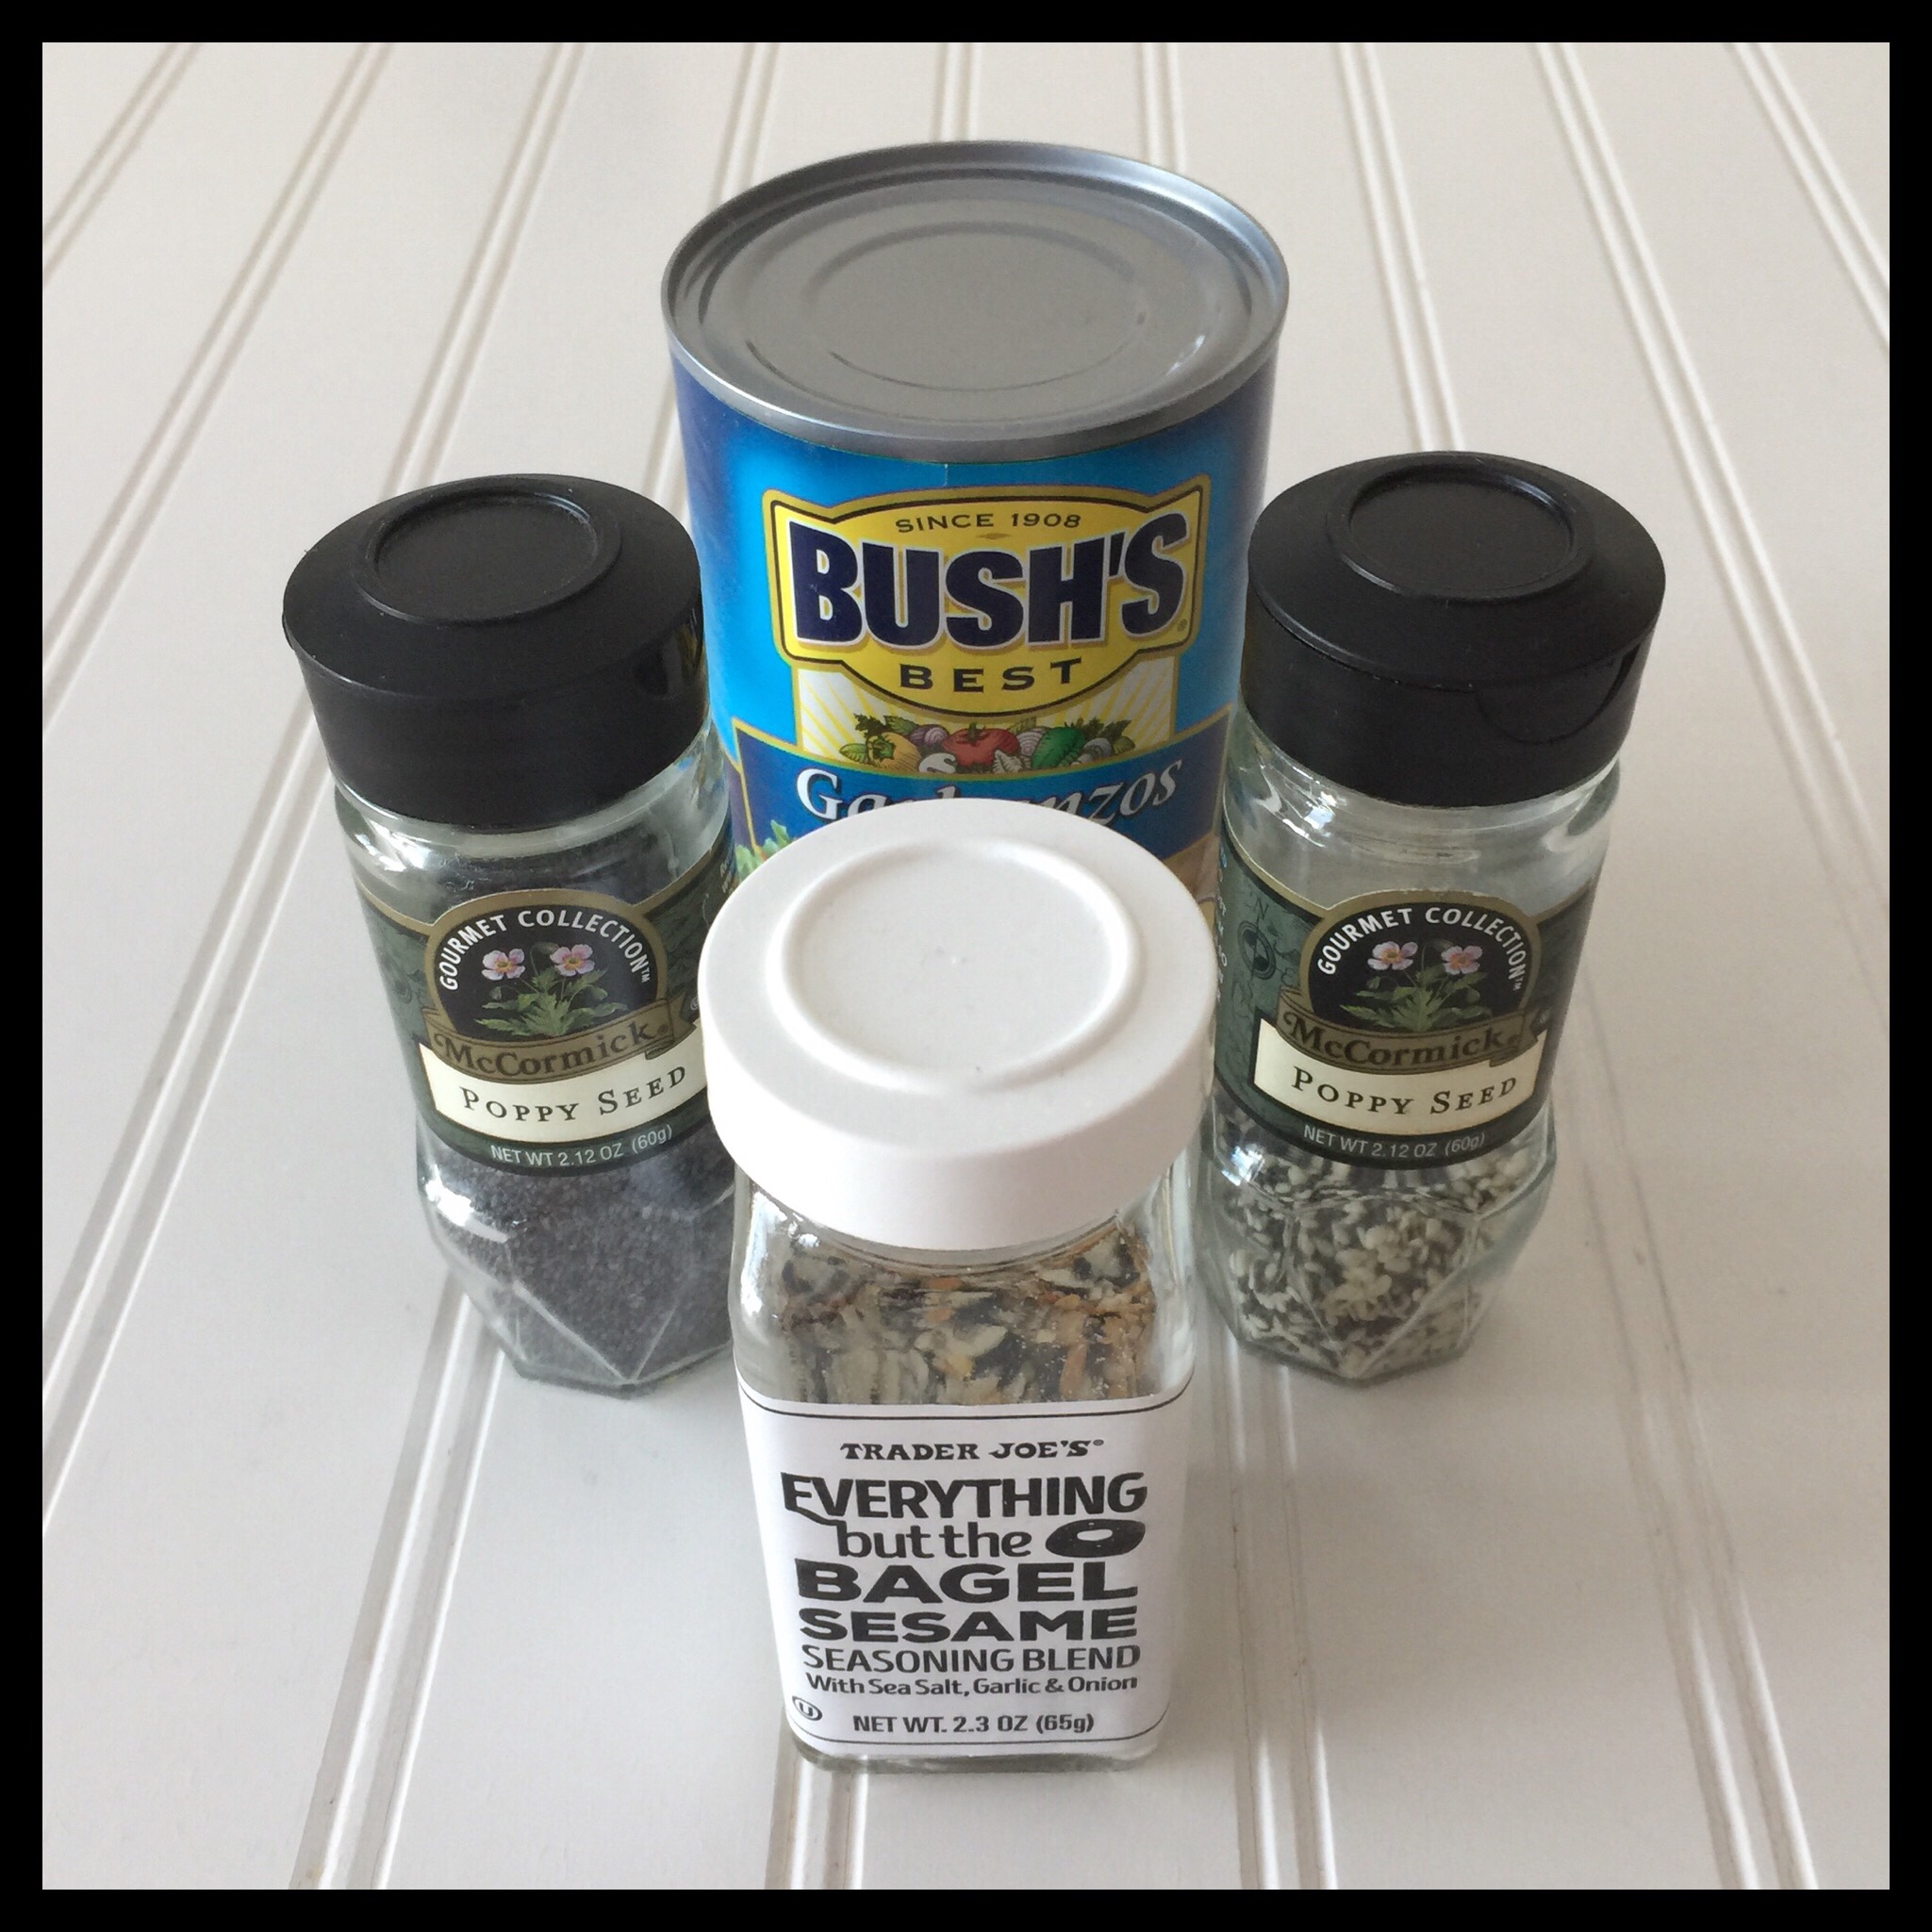
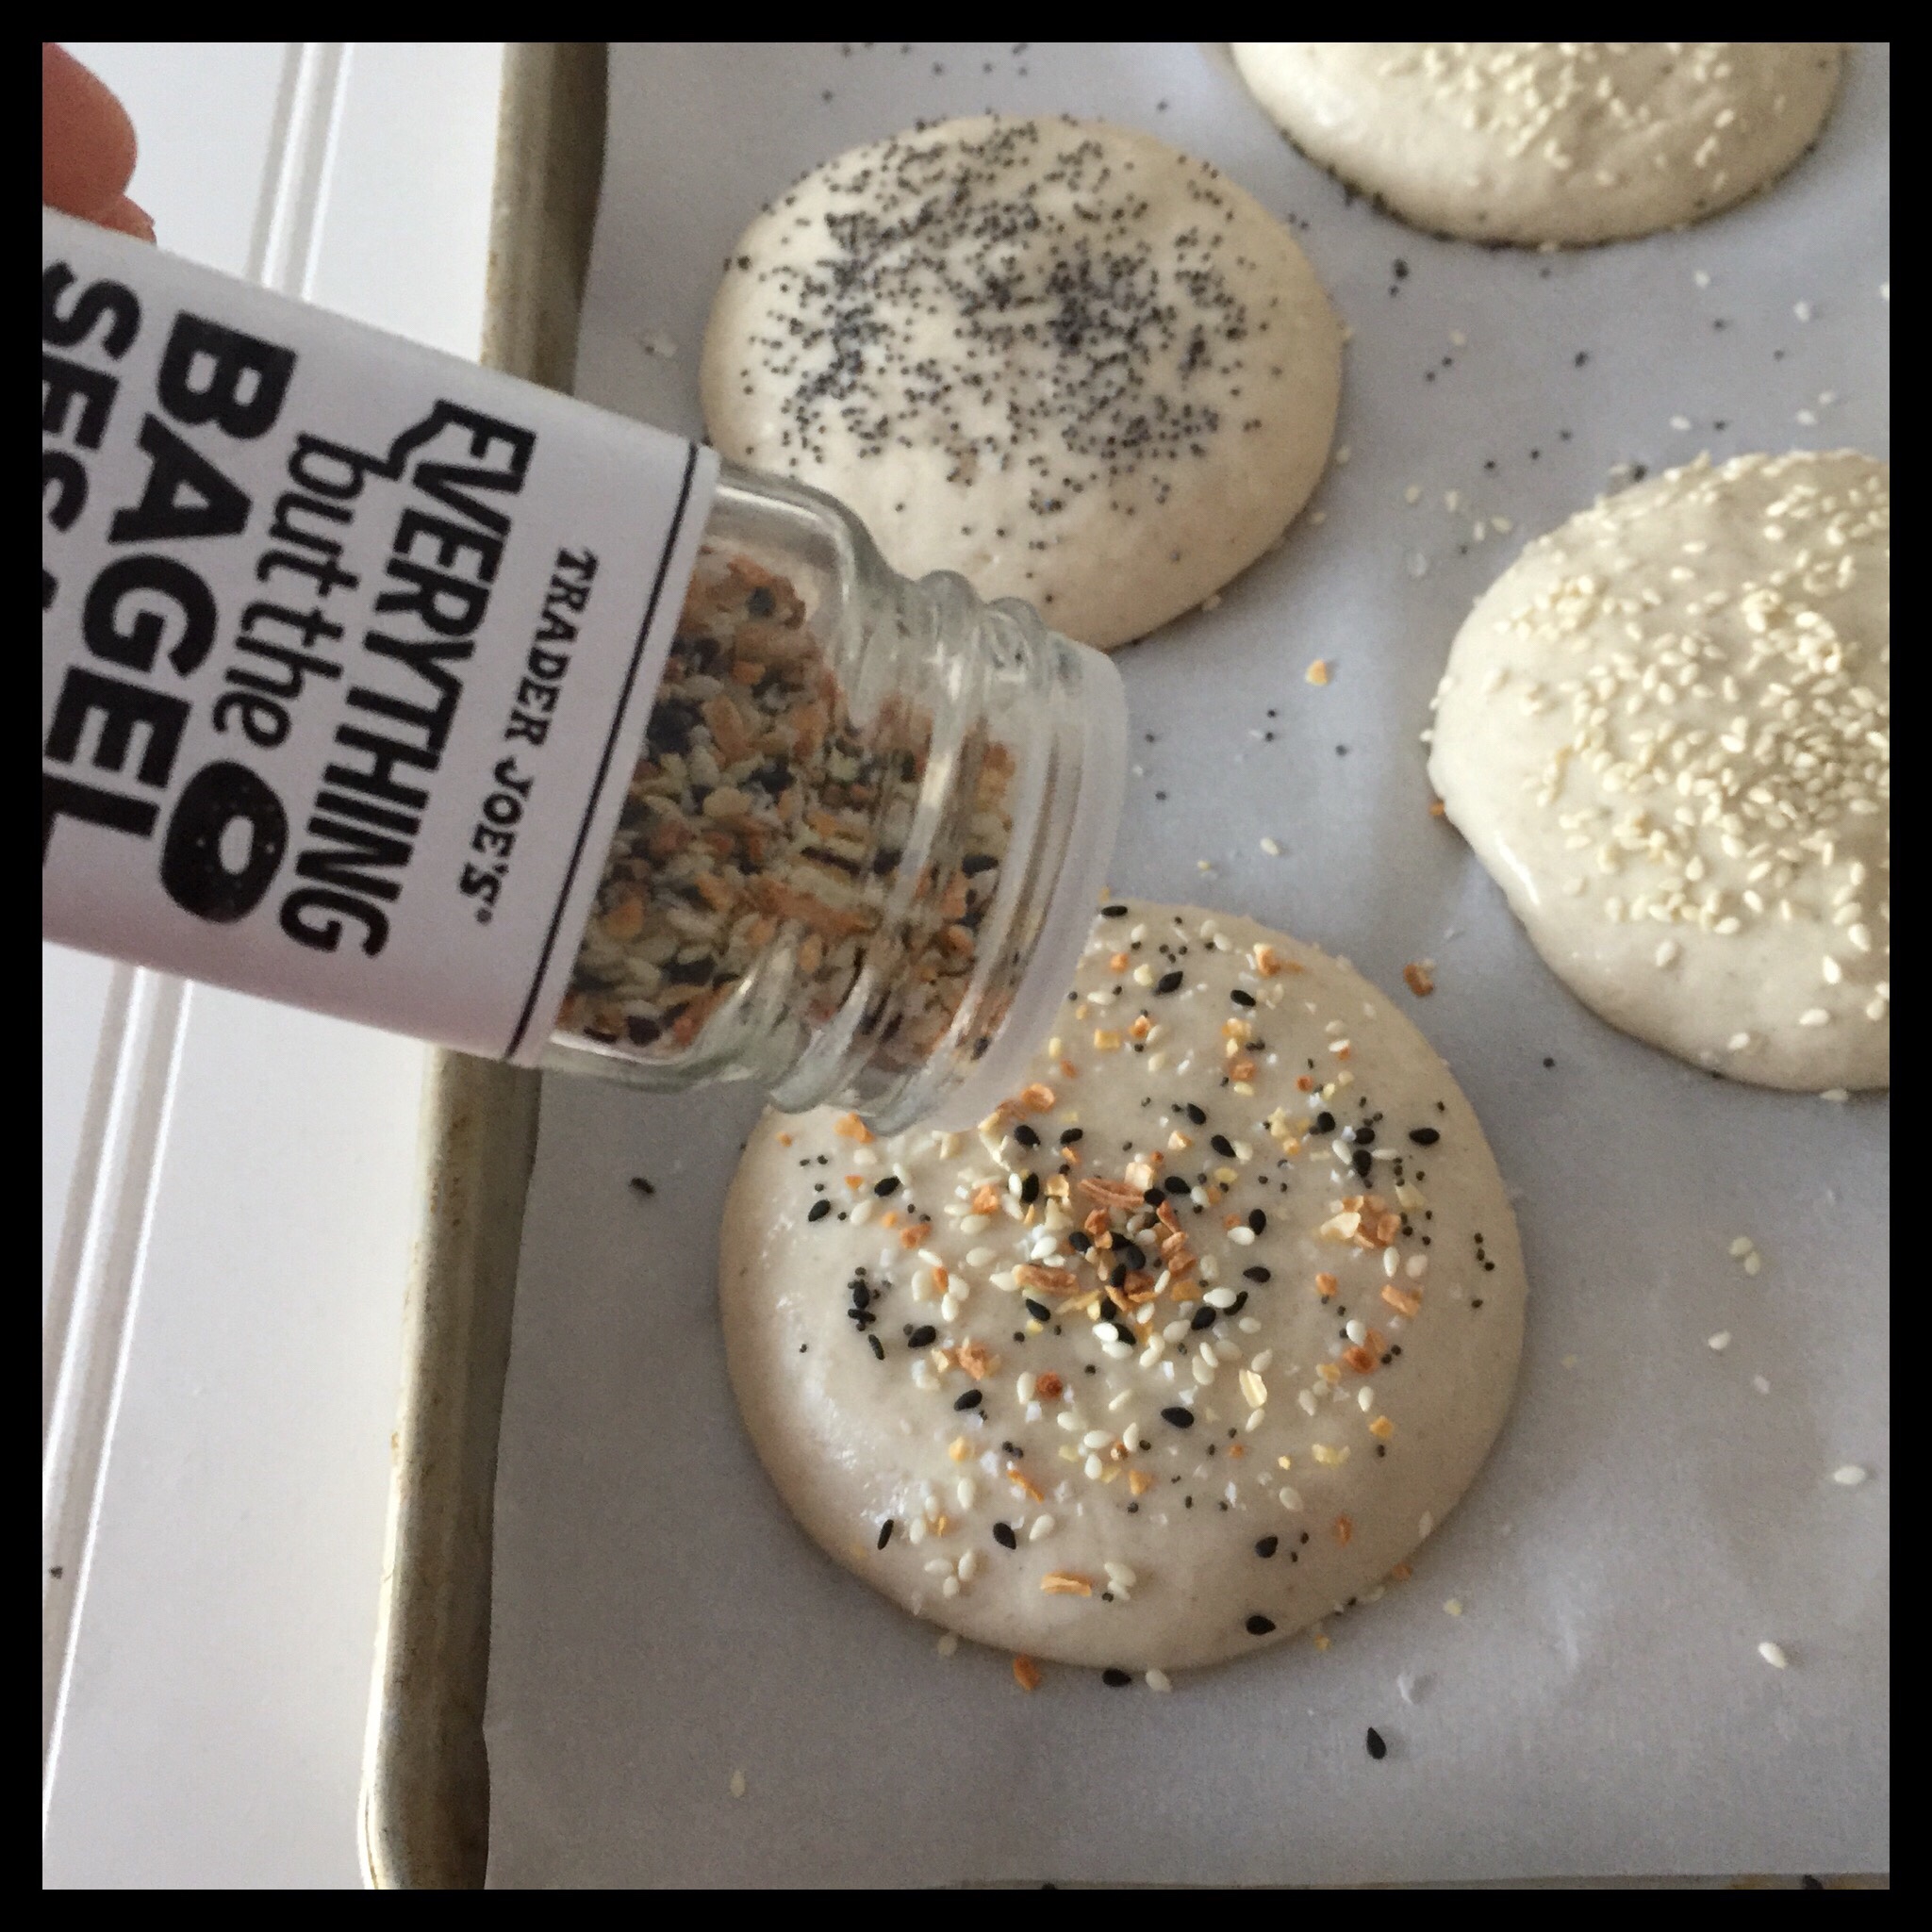
If you want to make seeded rolls, you will also need seeds and some aquafaba (the liquid from a can of chickpeas). I like to use poppy seeds, sesame seeds, a mixture of the two, or Trader Joe’s “Everything but the Bagel” seasoning blend:
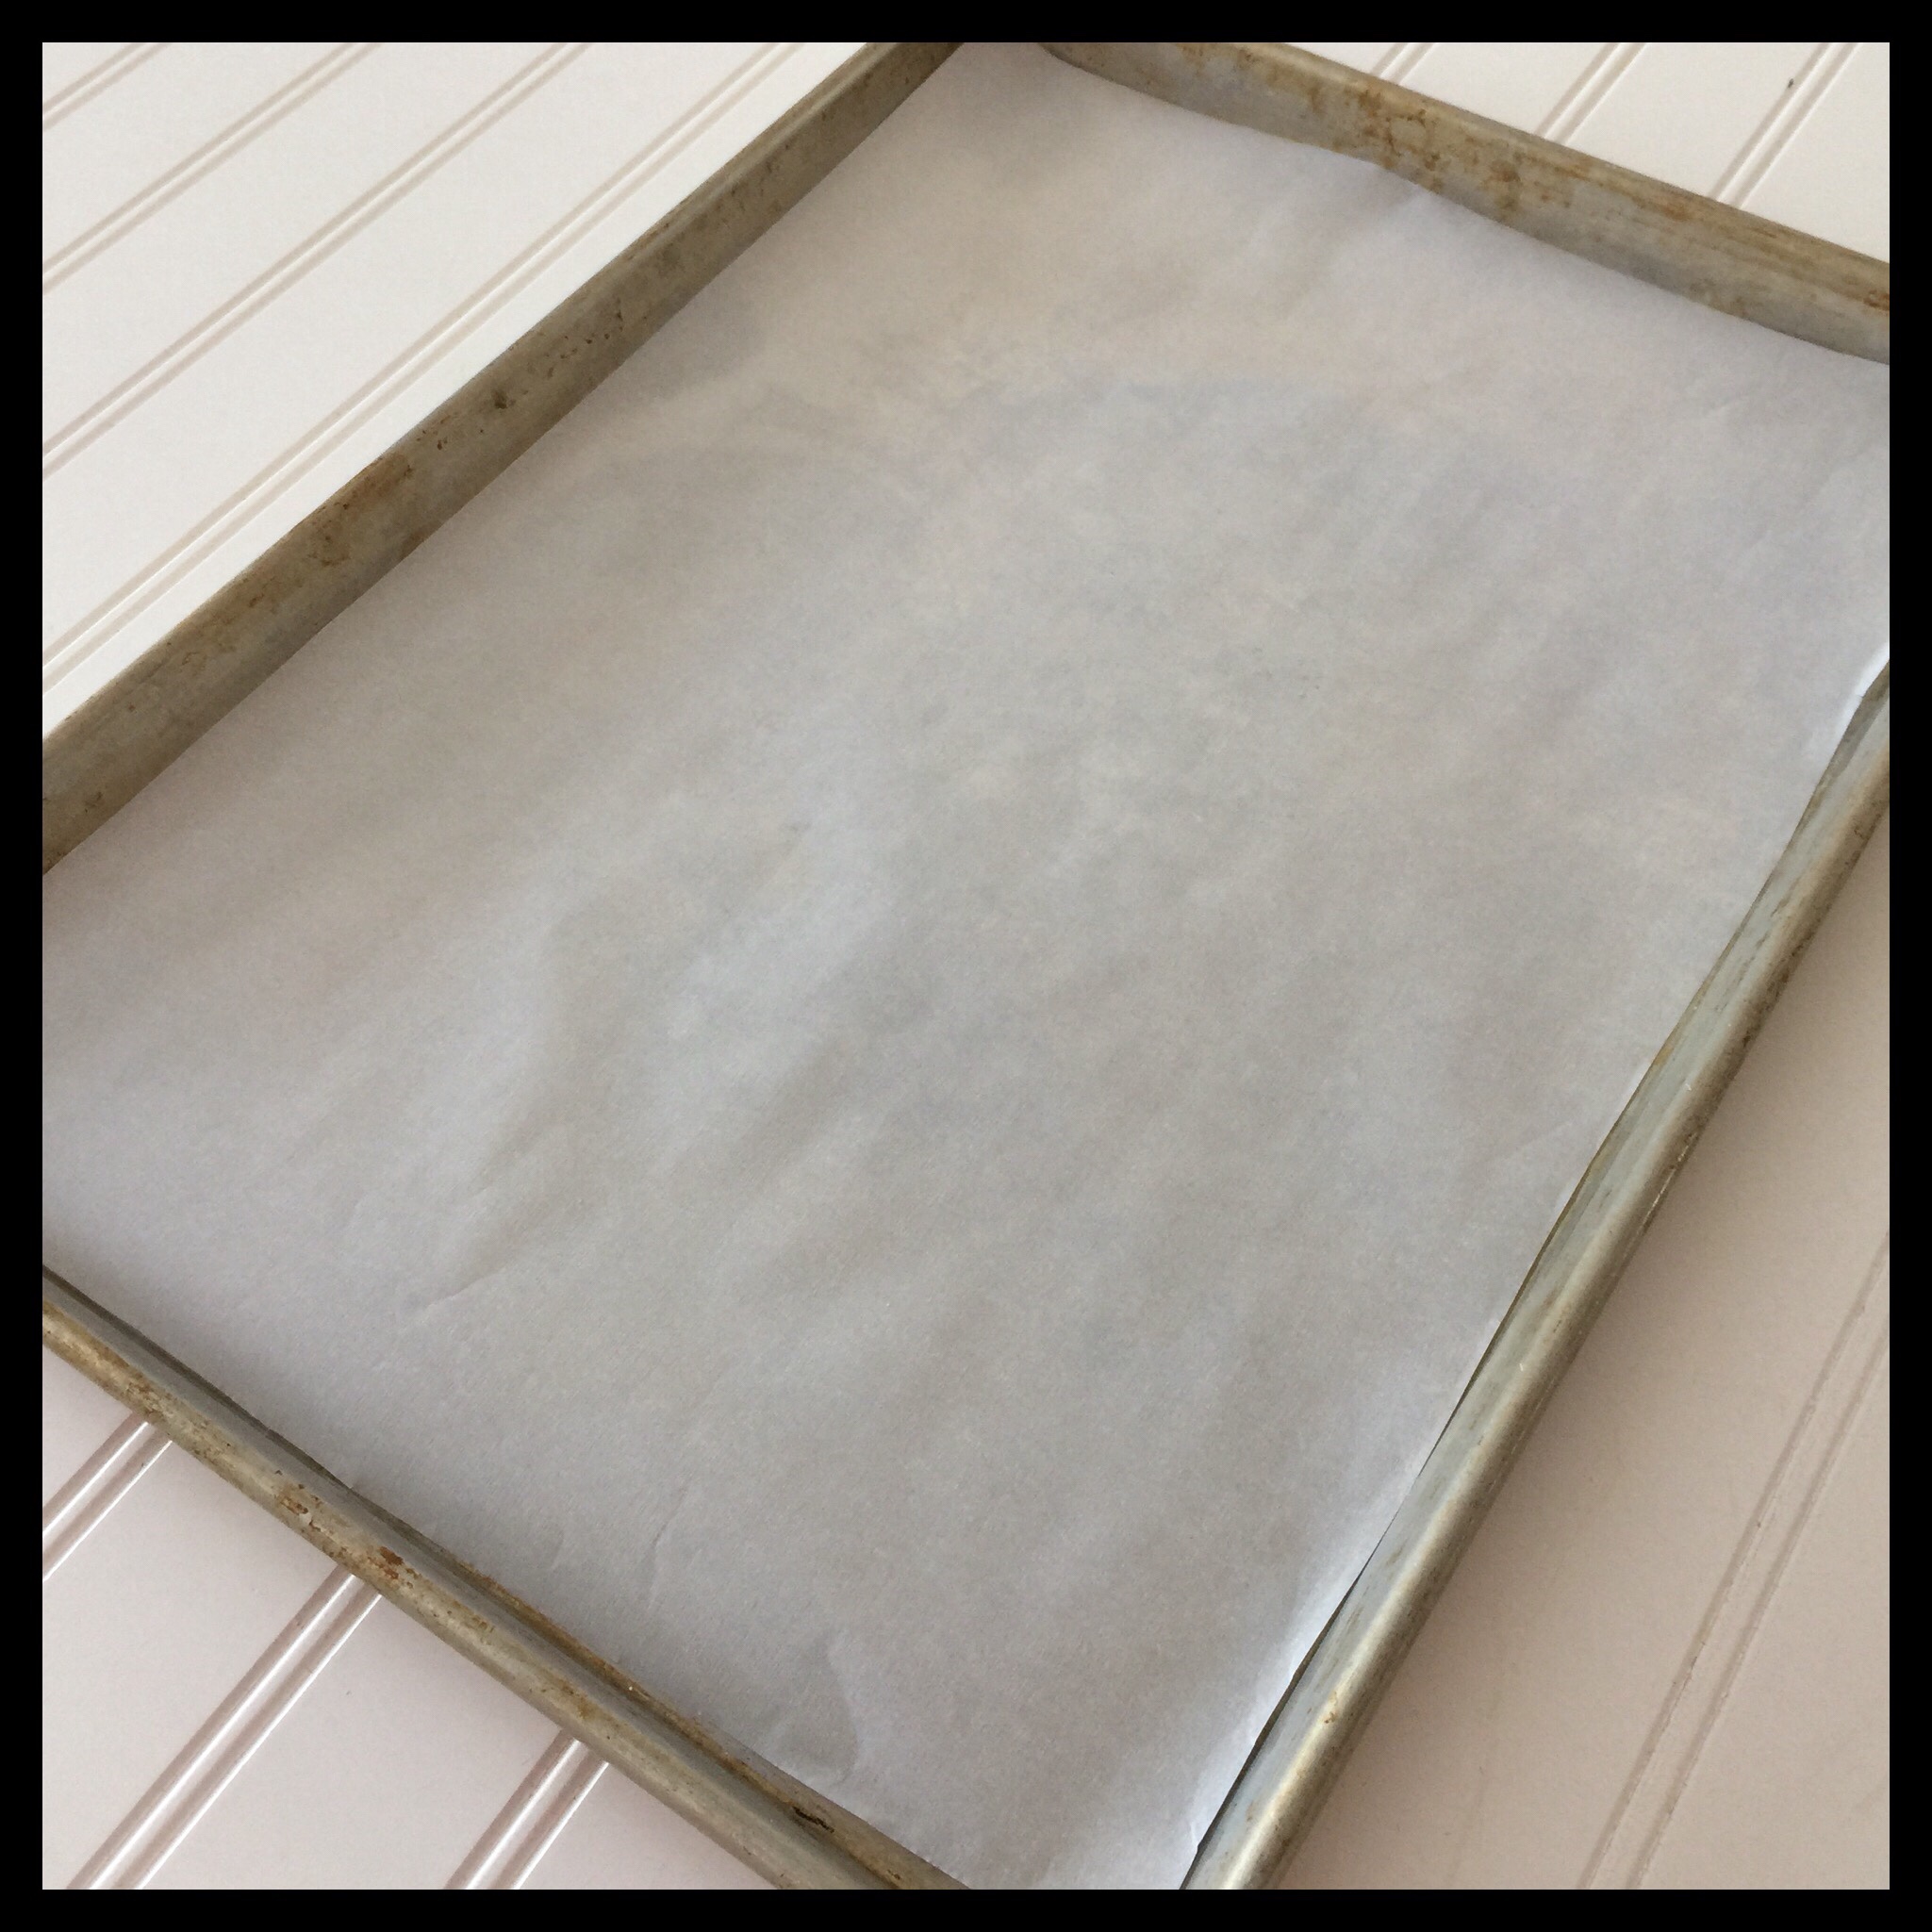
Line the baking sheet with parchment paper, then set it aside:
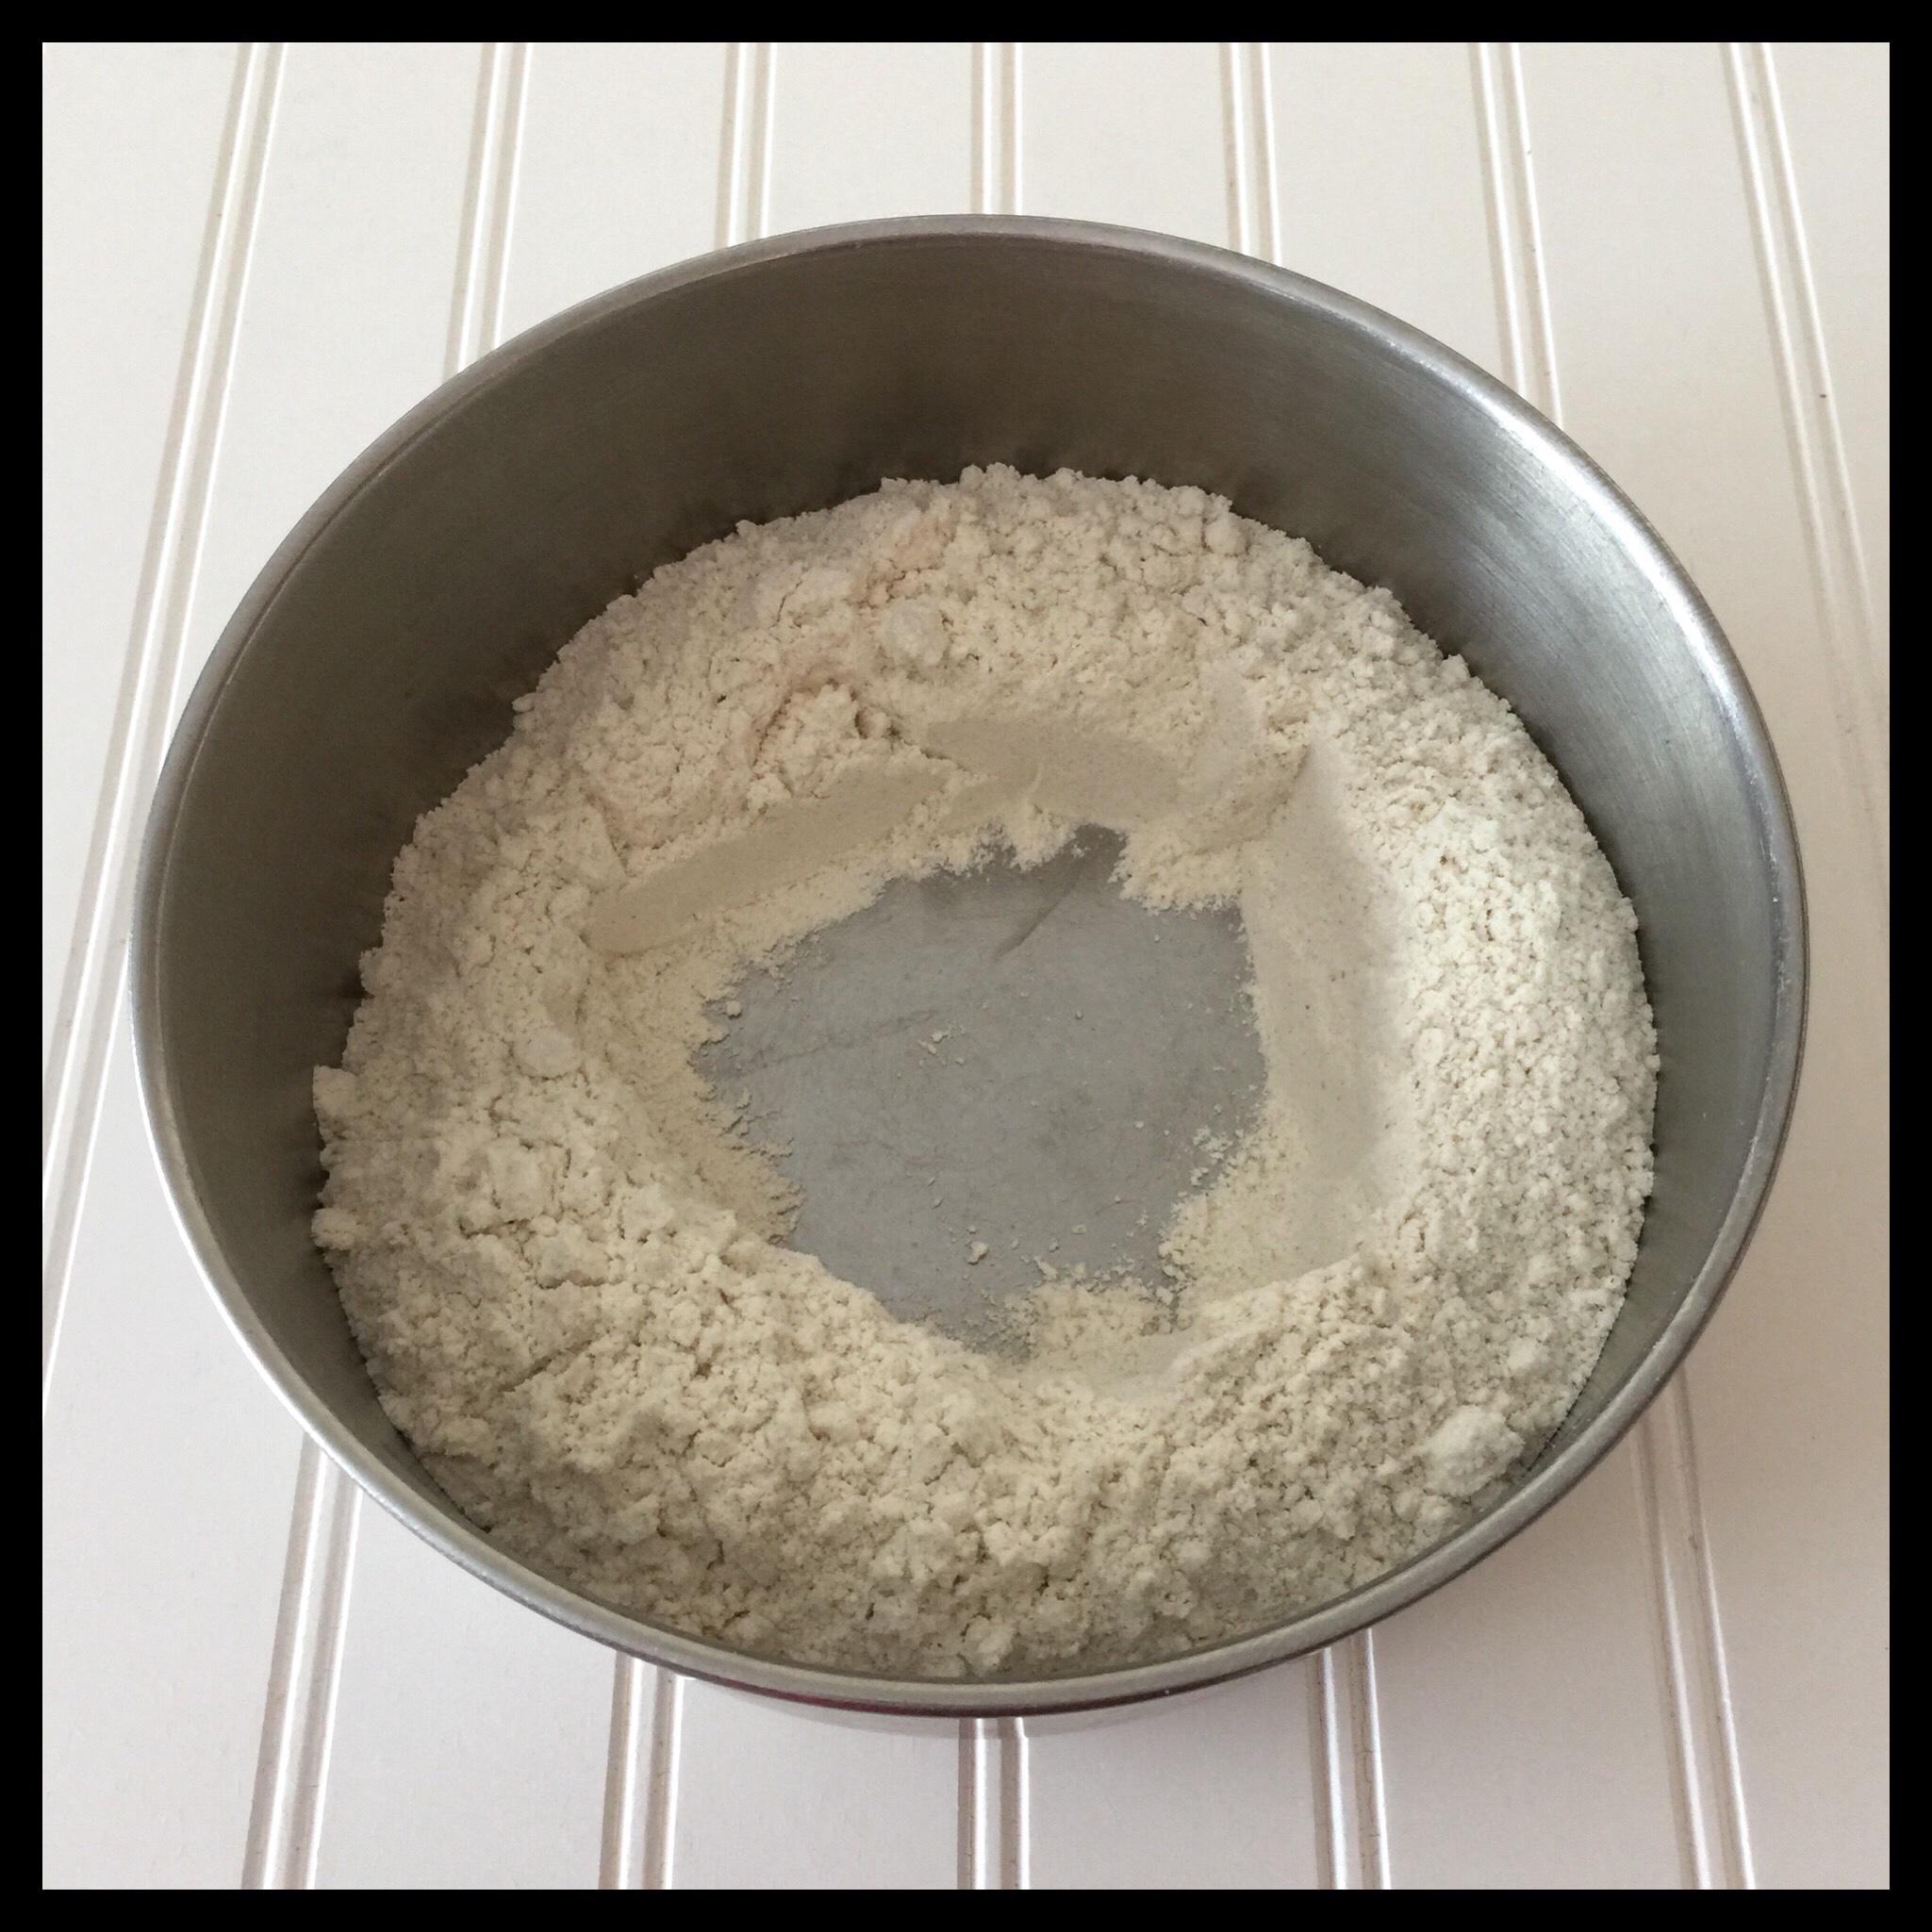
Add your flour to a large mixing bowl and make a well in the center:
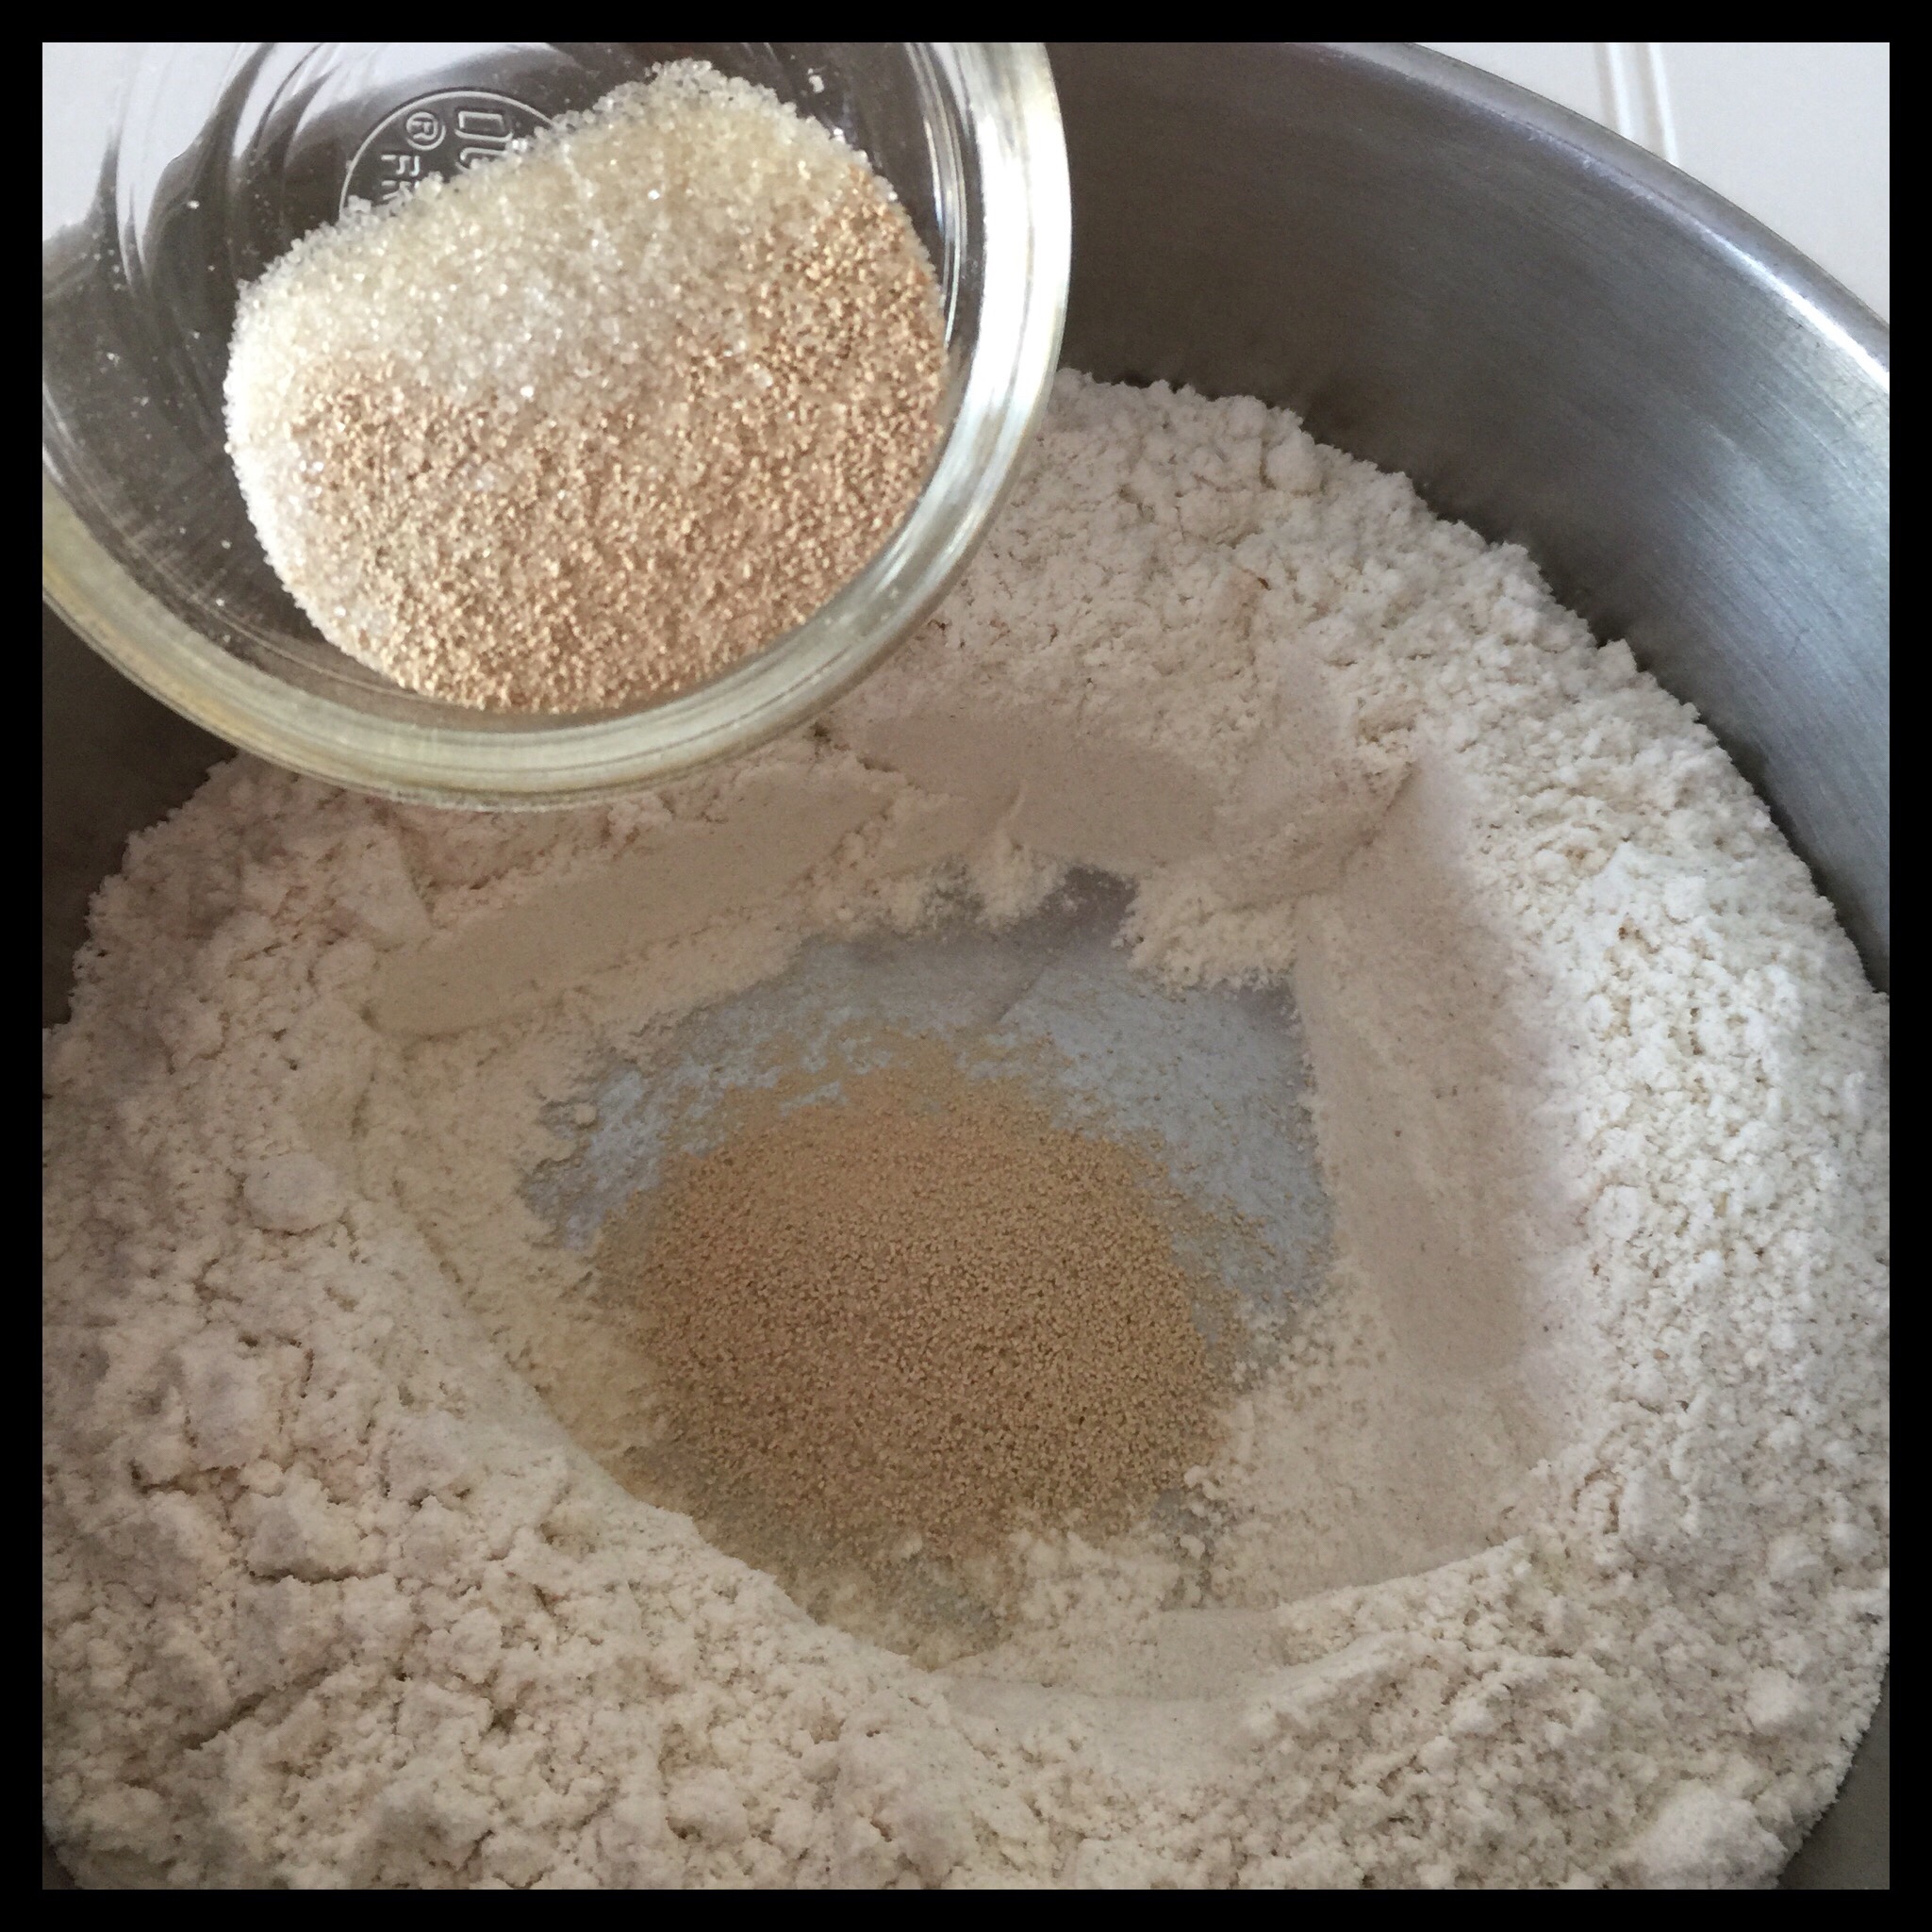
Add the yeast and the 4 g (1 tsp) of vegan sugar to the well:
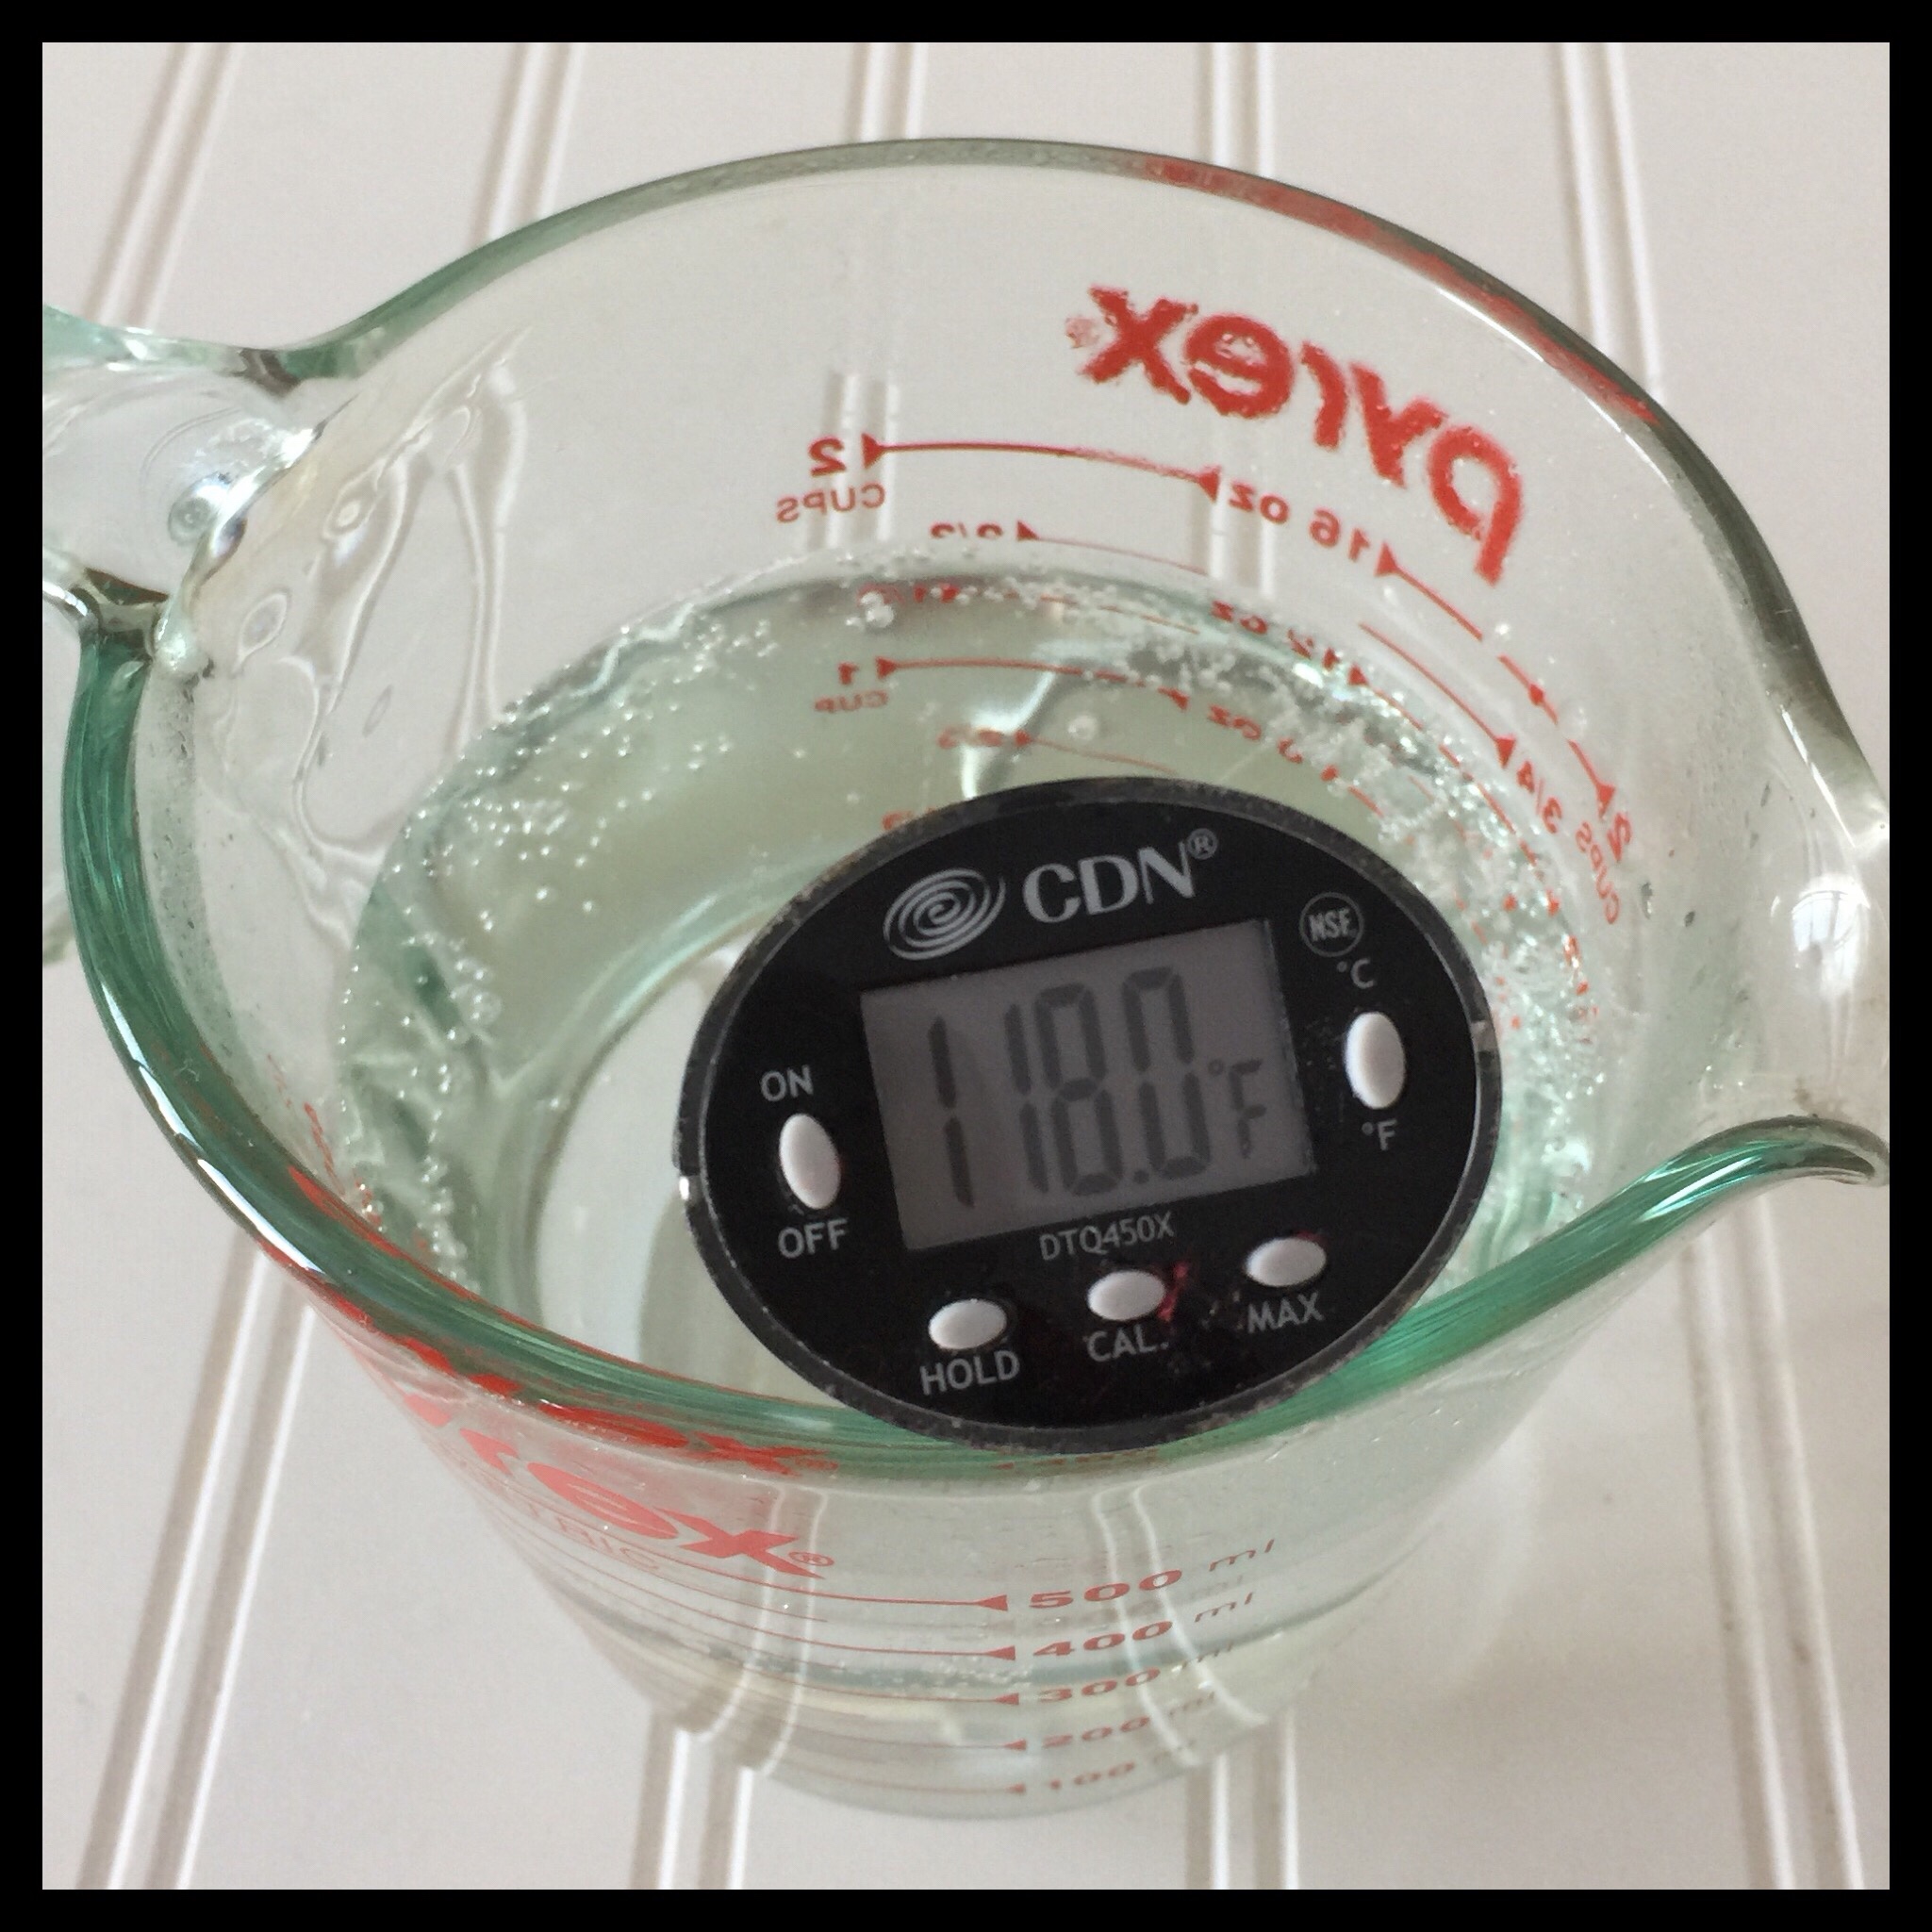
Warm the seltzer water to 118 degrees Fahrenheit. (Be sure to stir the water before checking the temperature as hot spots can occur.)
Pour the warm seltzer water into the well:
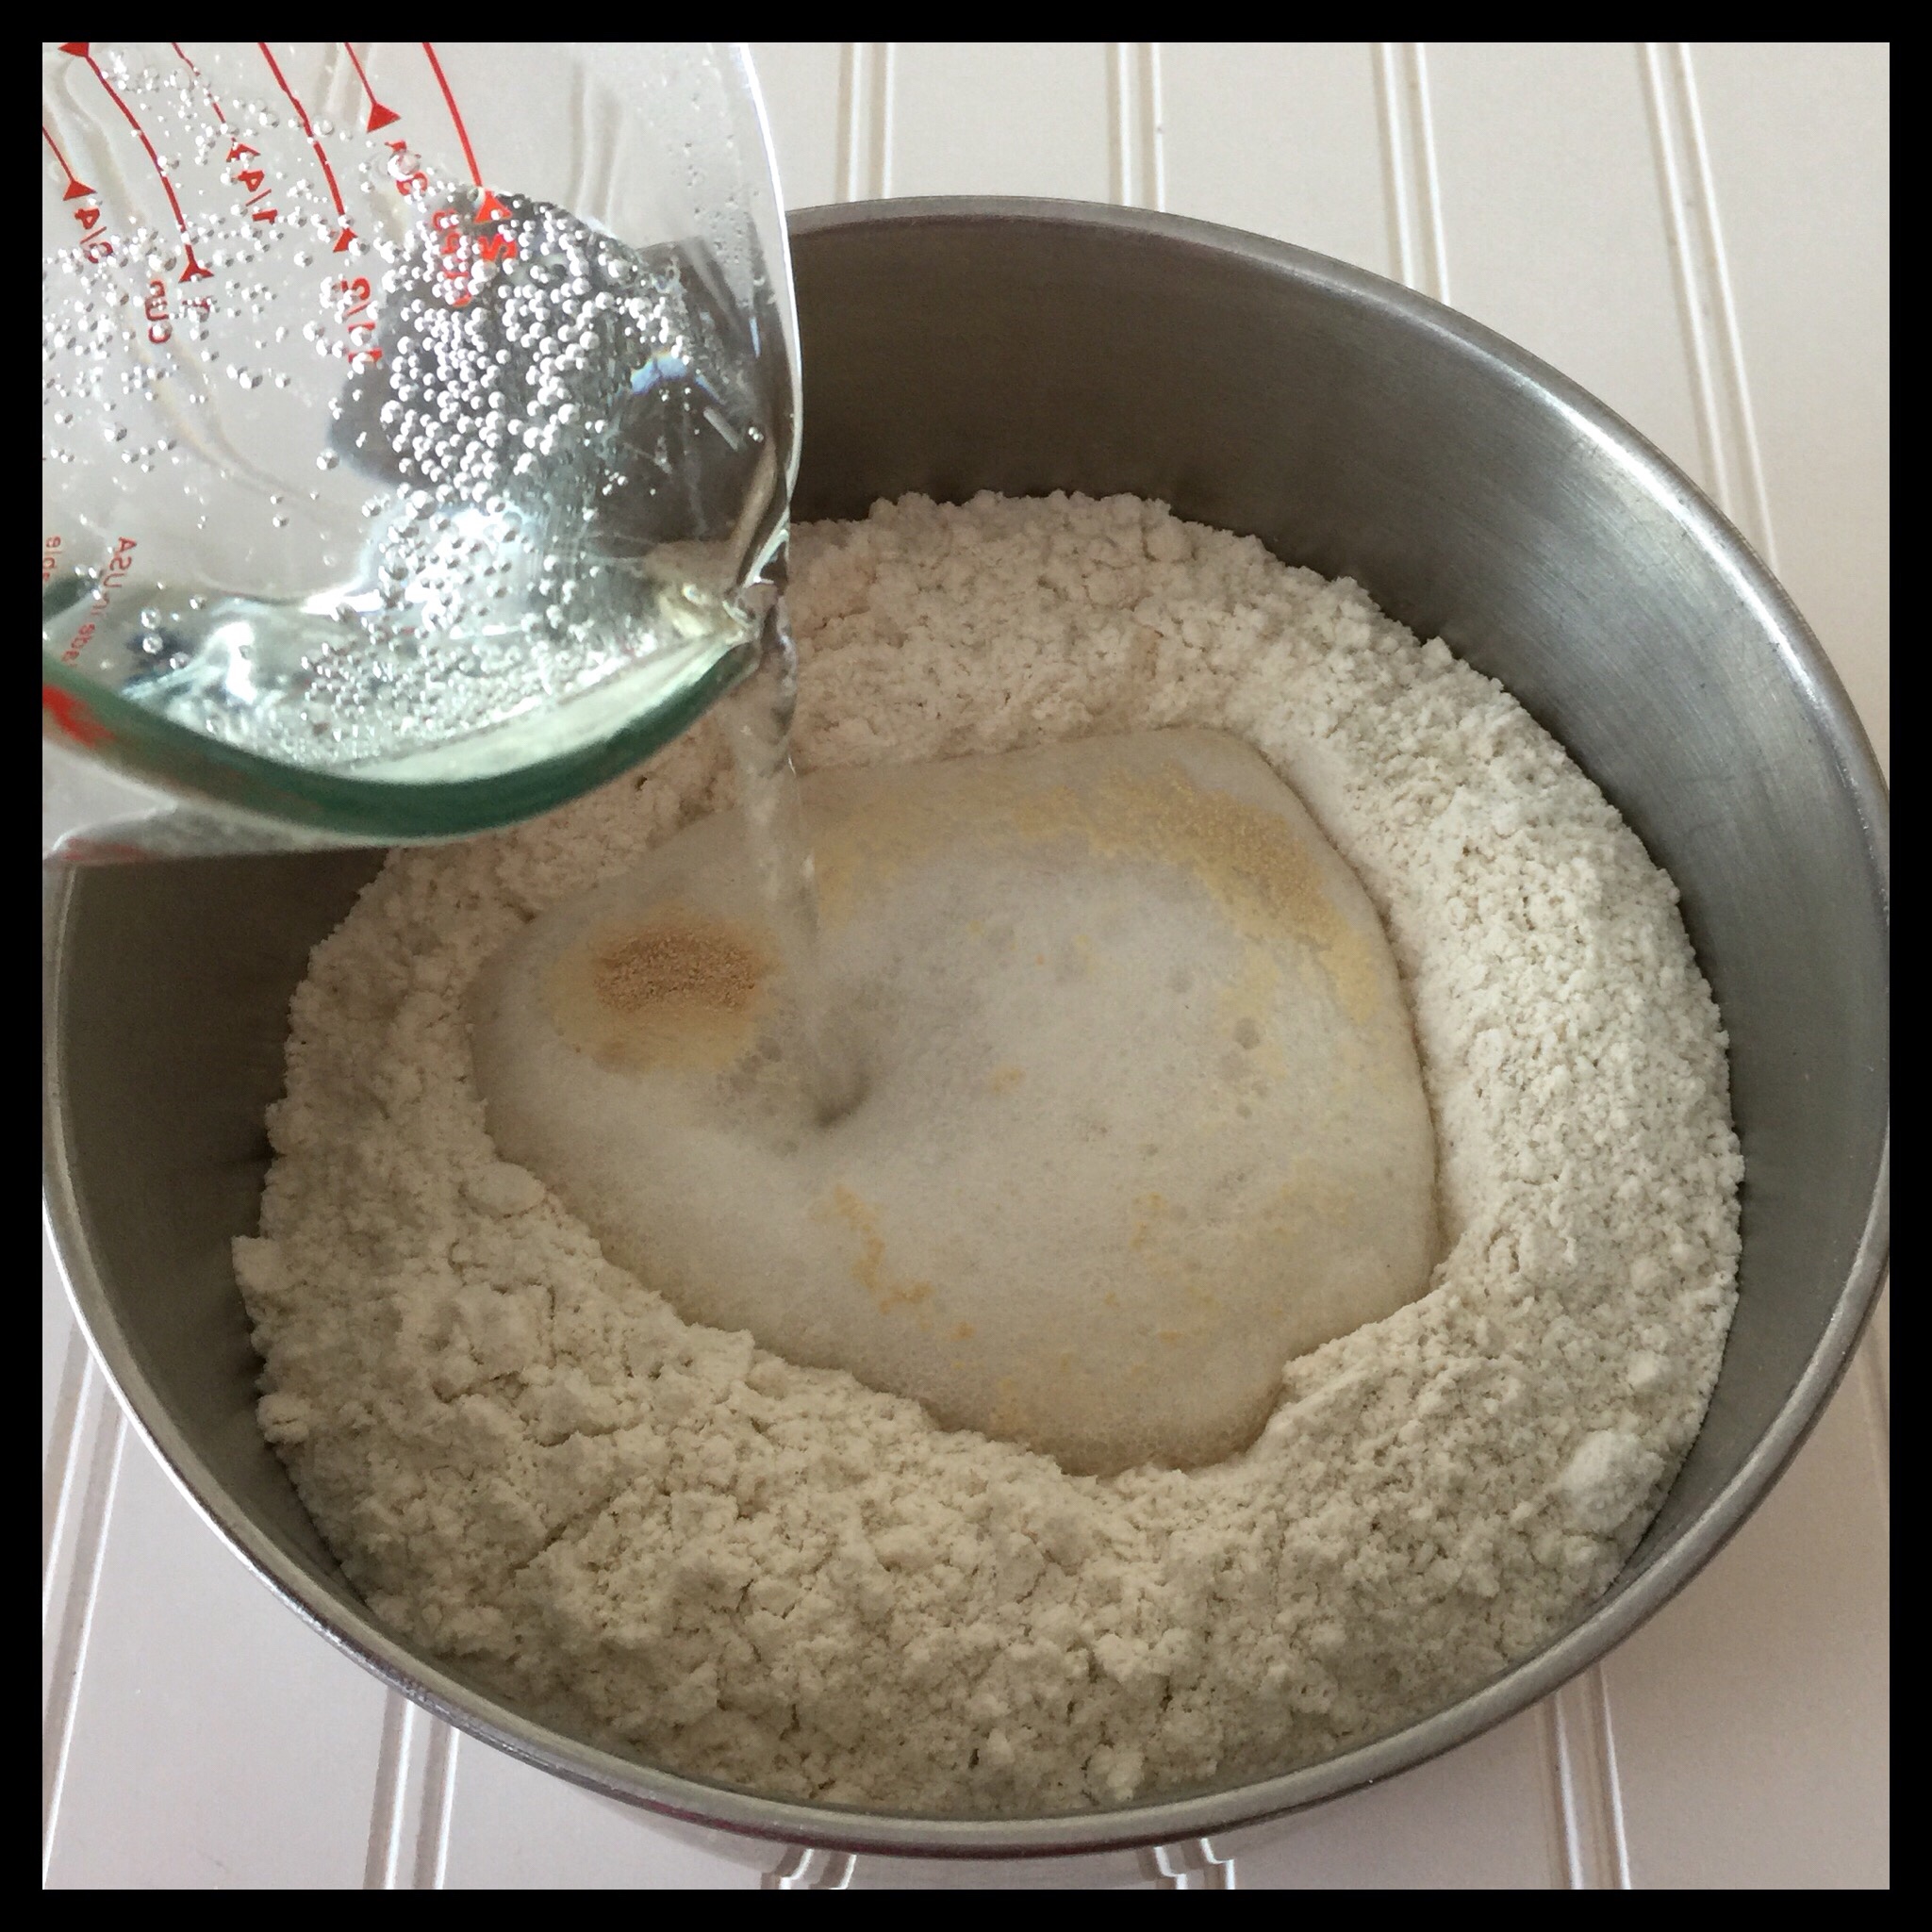
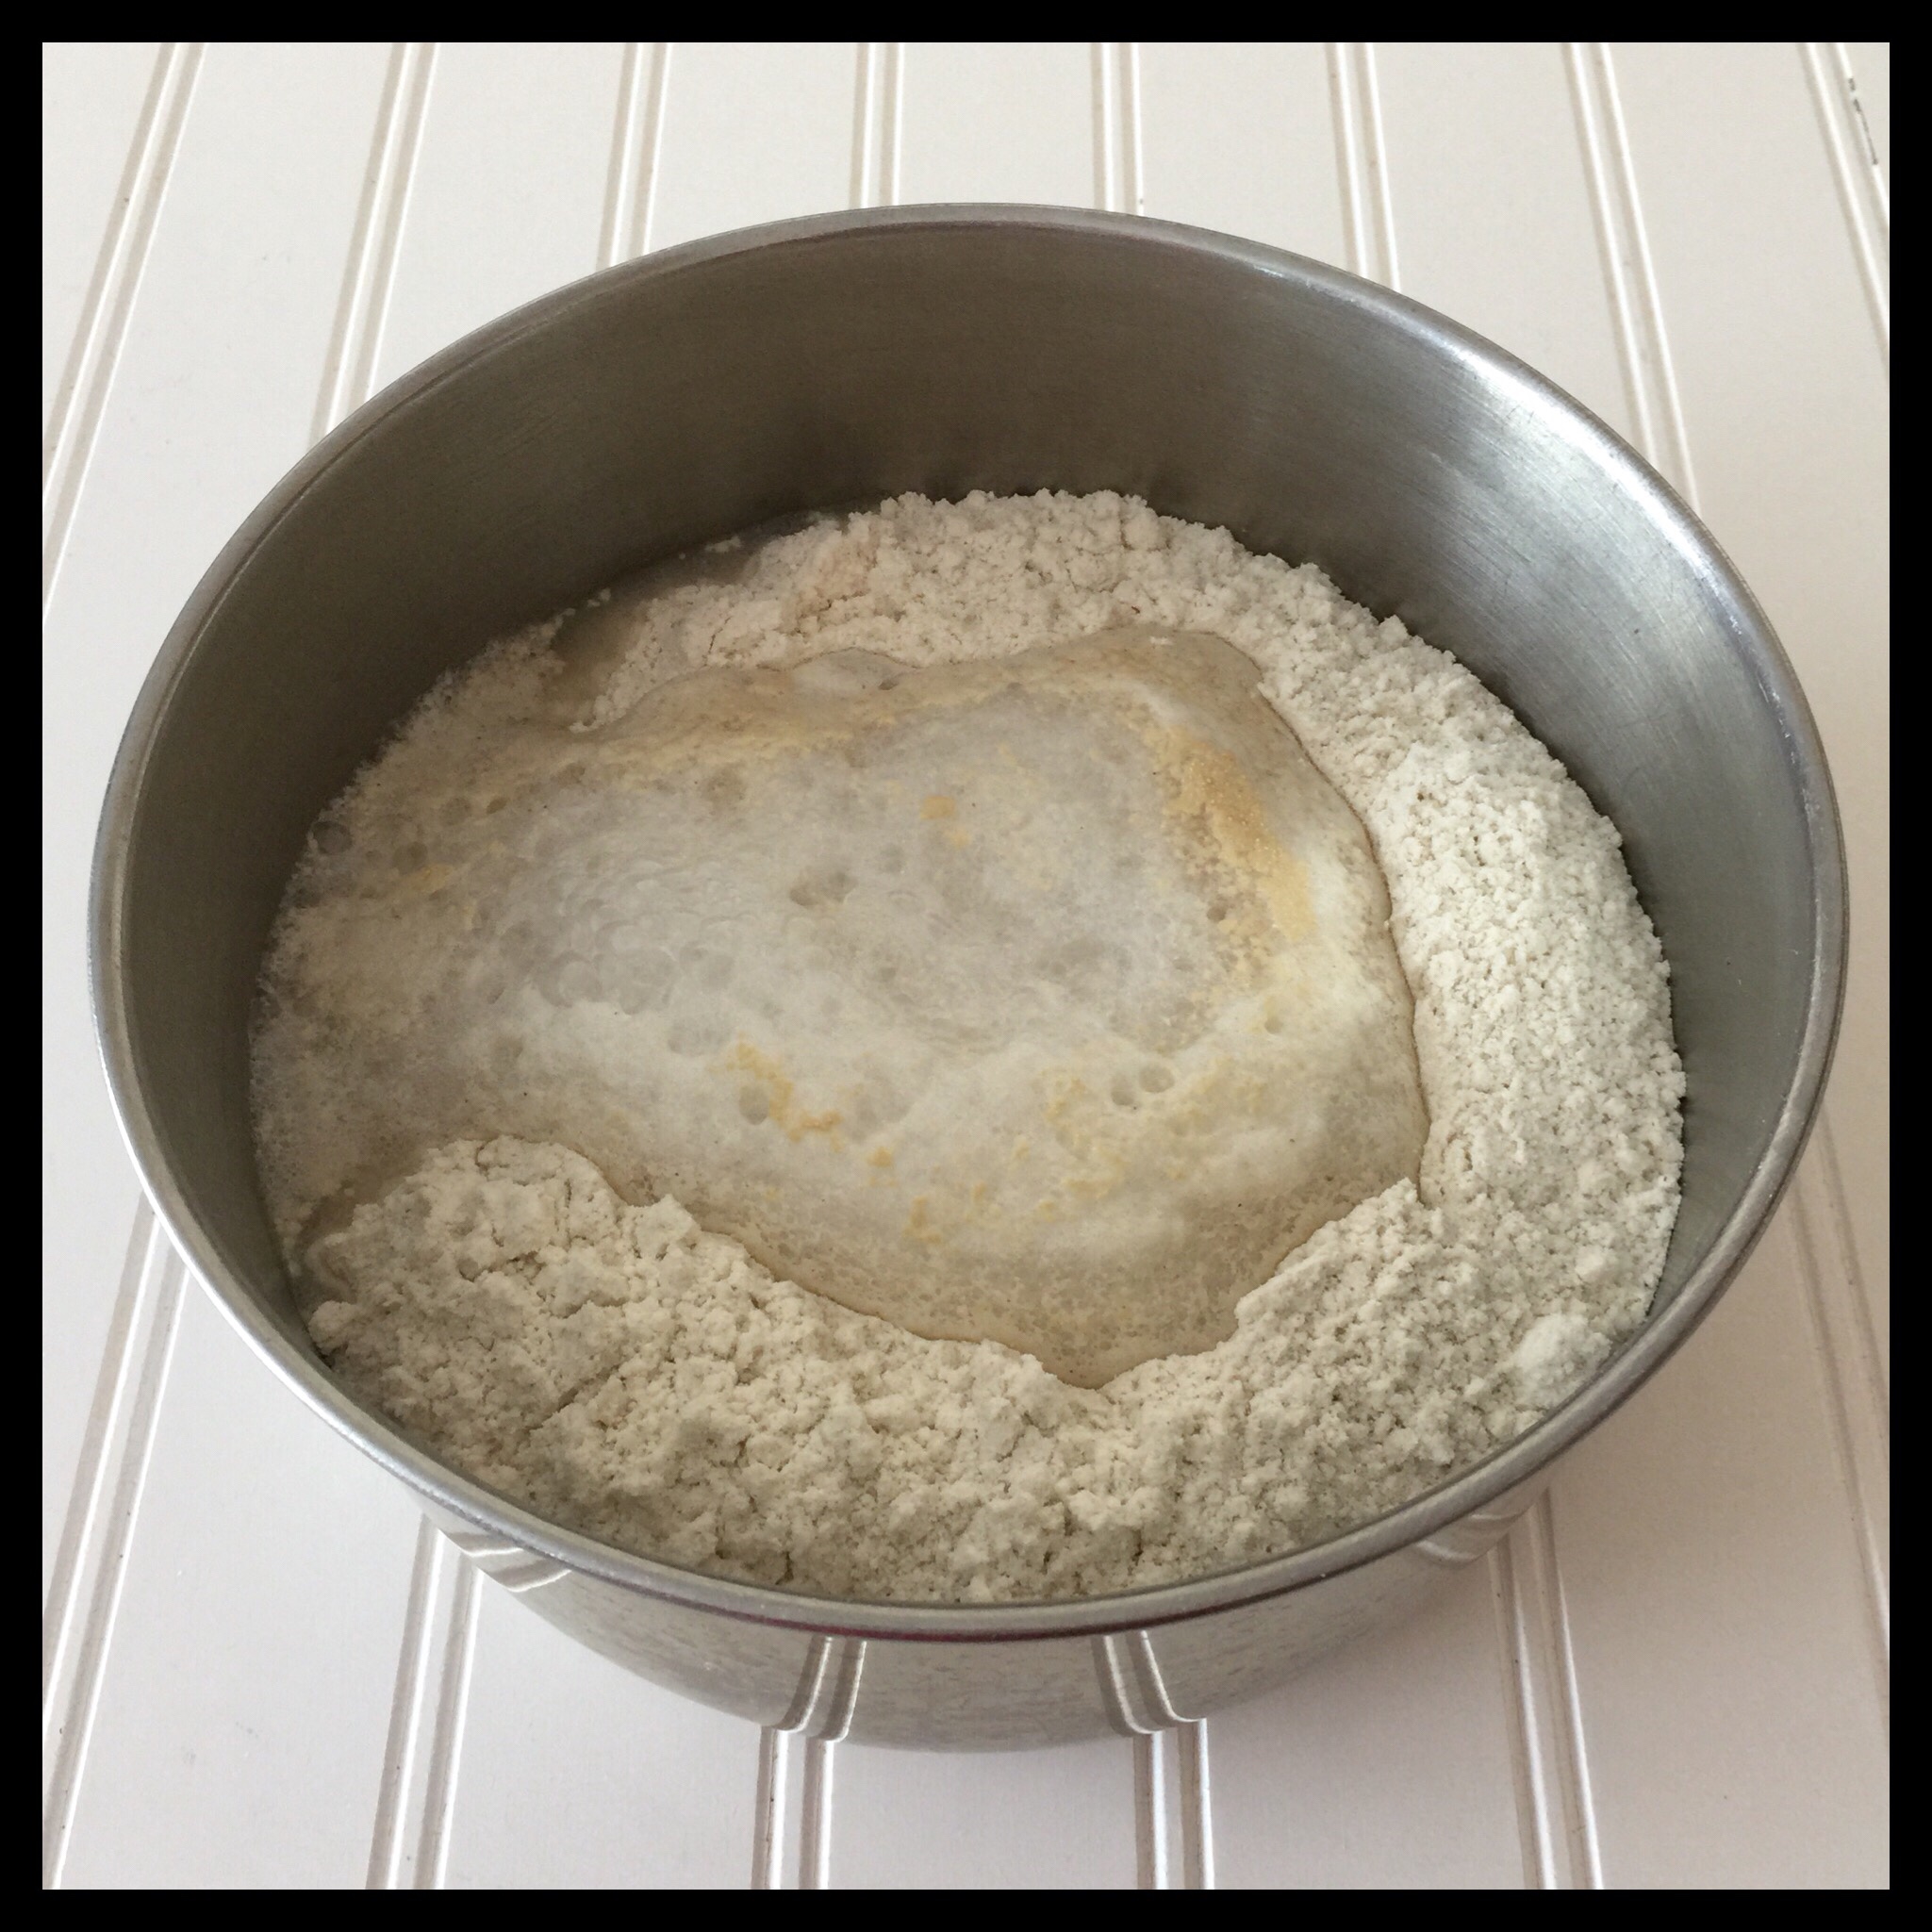
Gently stir any yeast floating on top into the warm water, then let the mixture stand for five minutes:
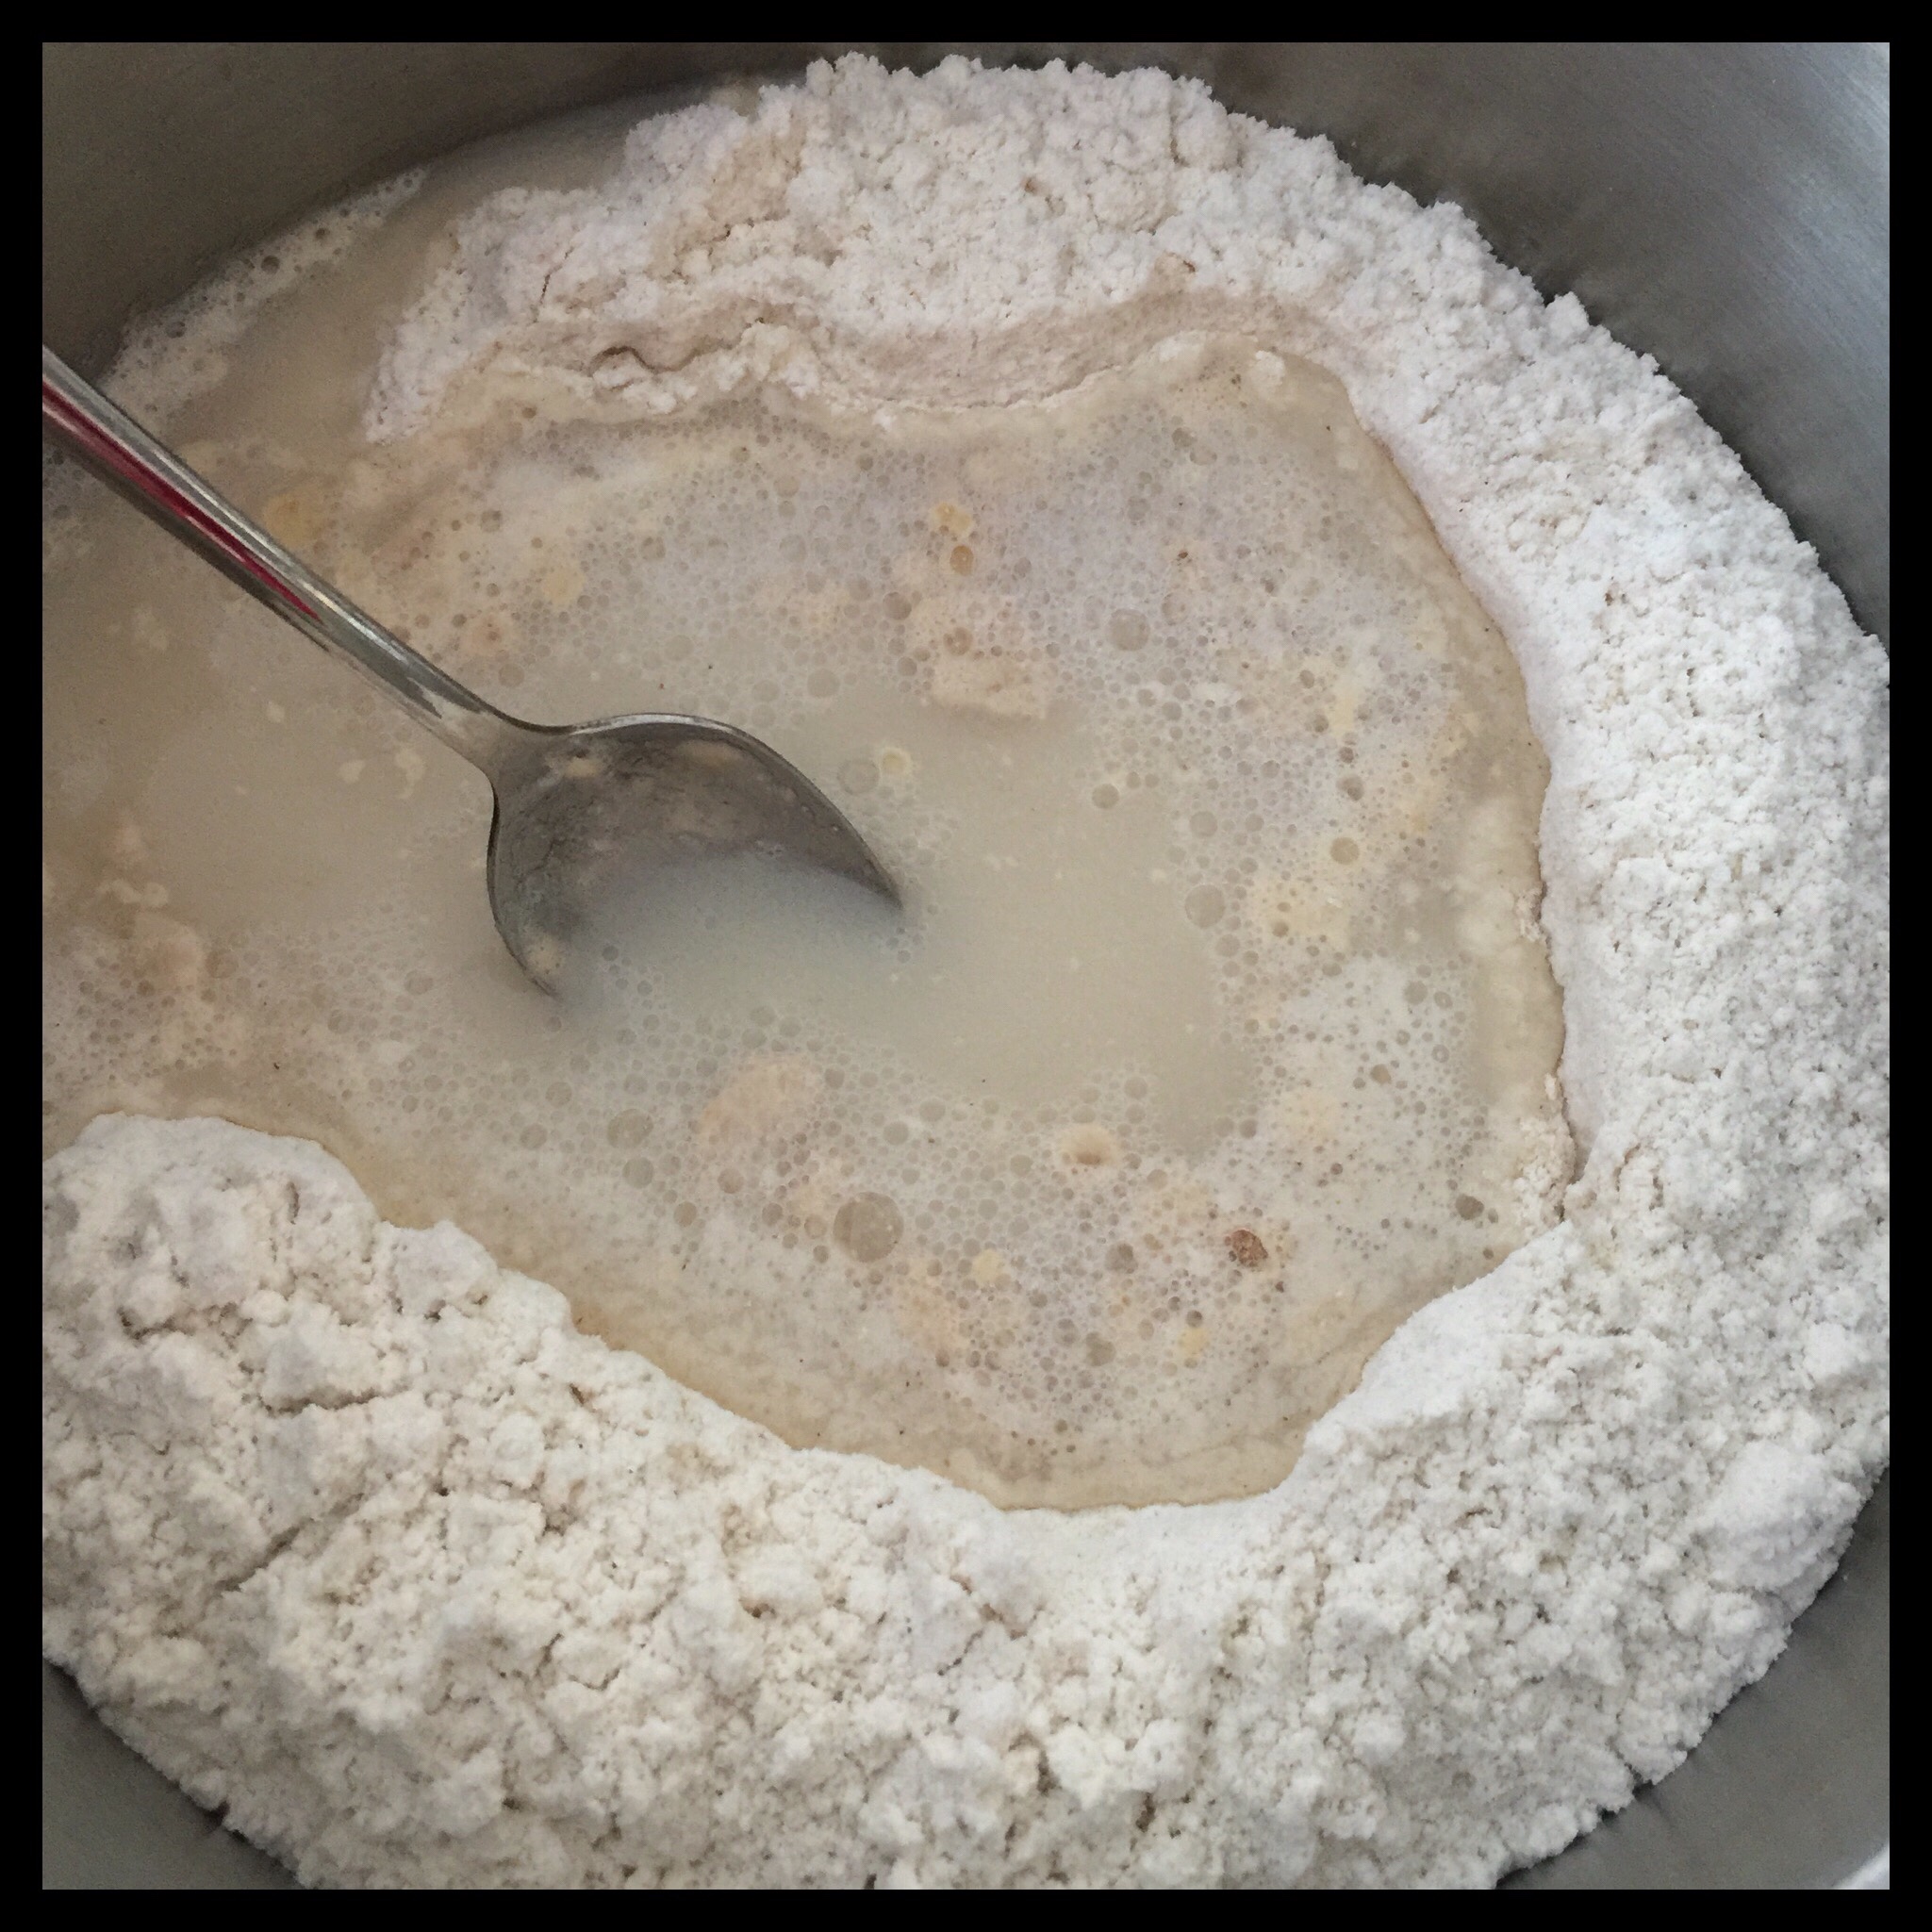
It should be nice and bubbly like this:
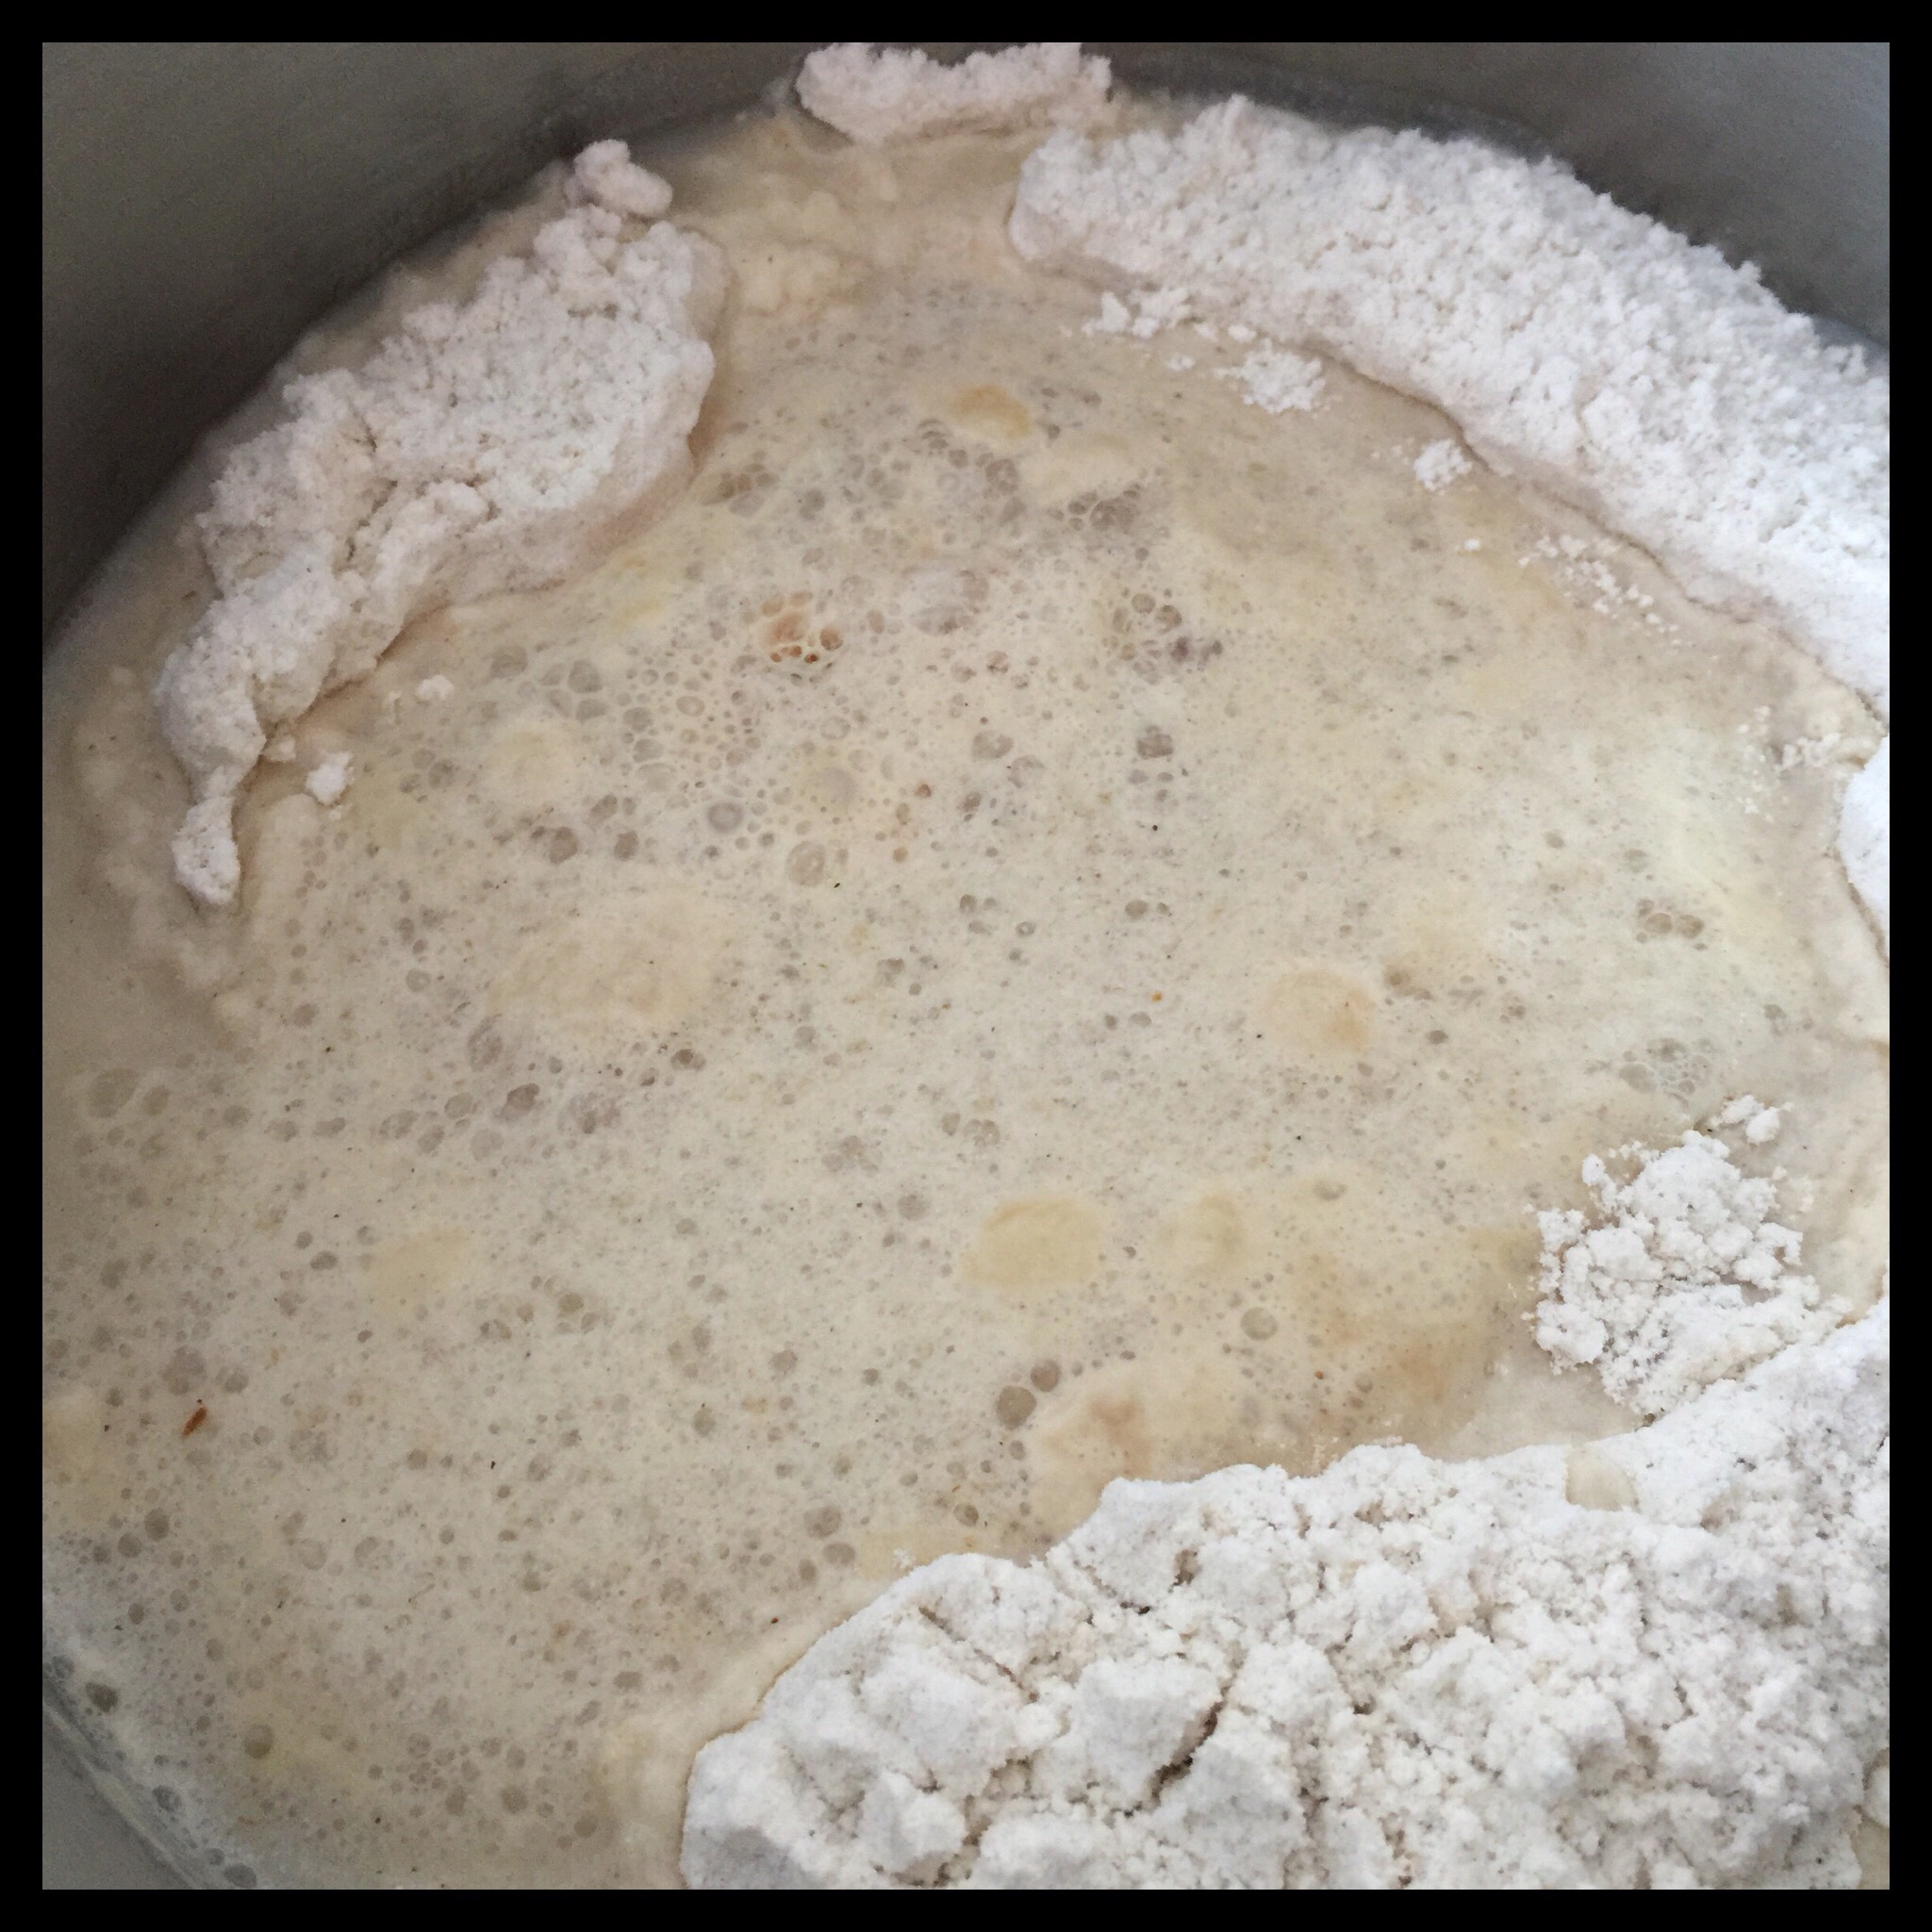
Stir together with a sturdy spatula or a large spoon:
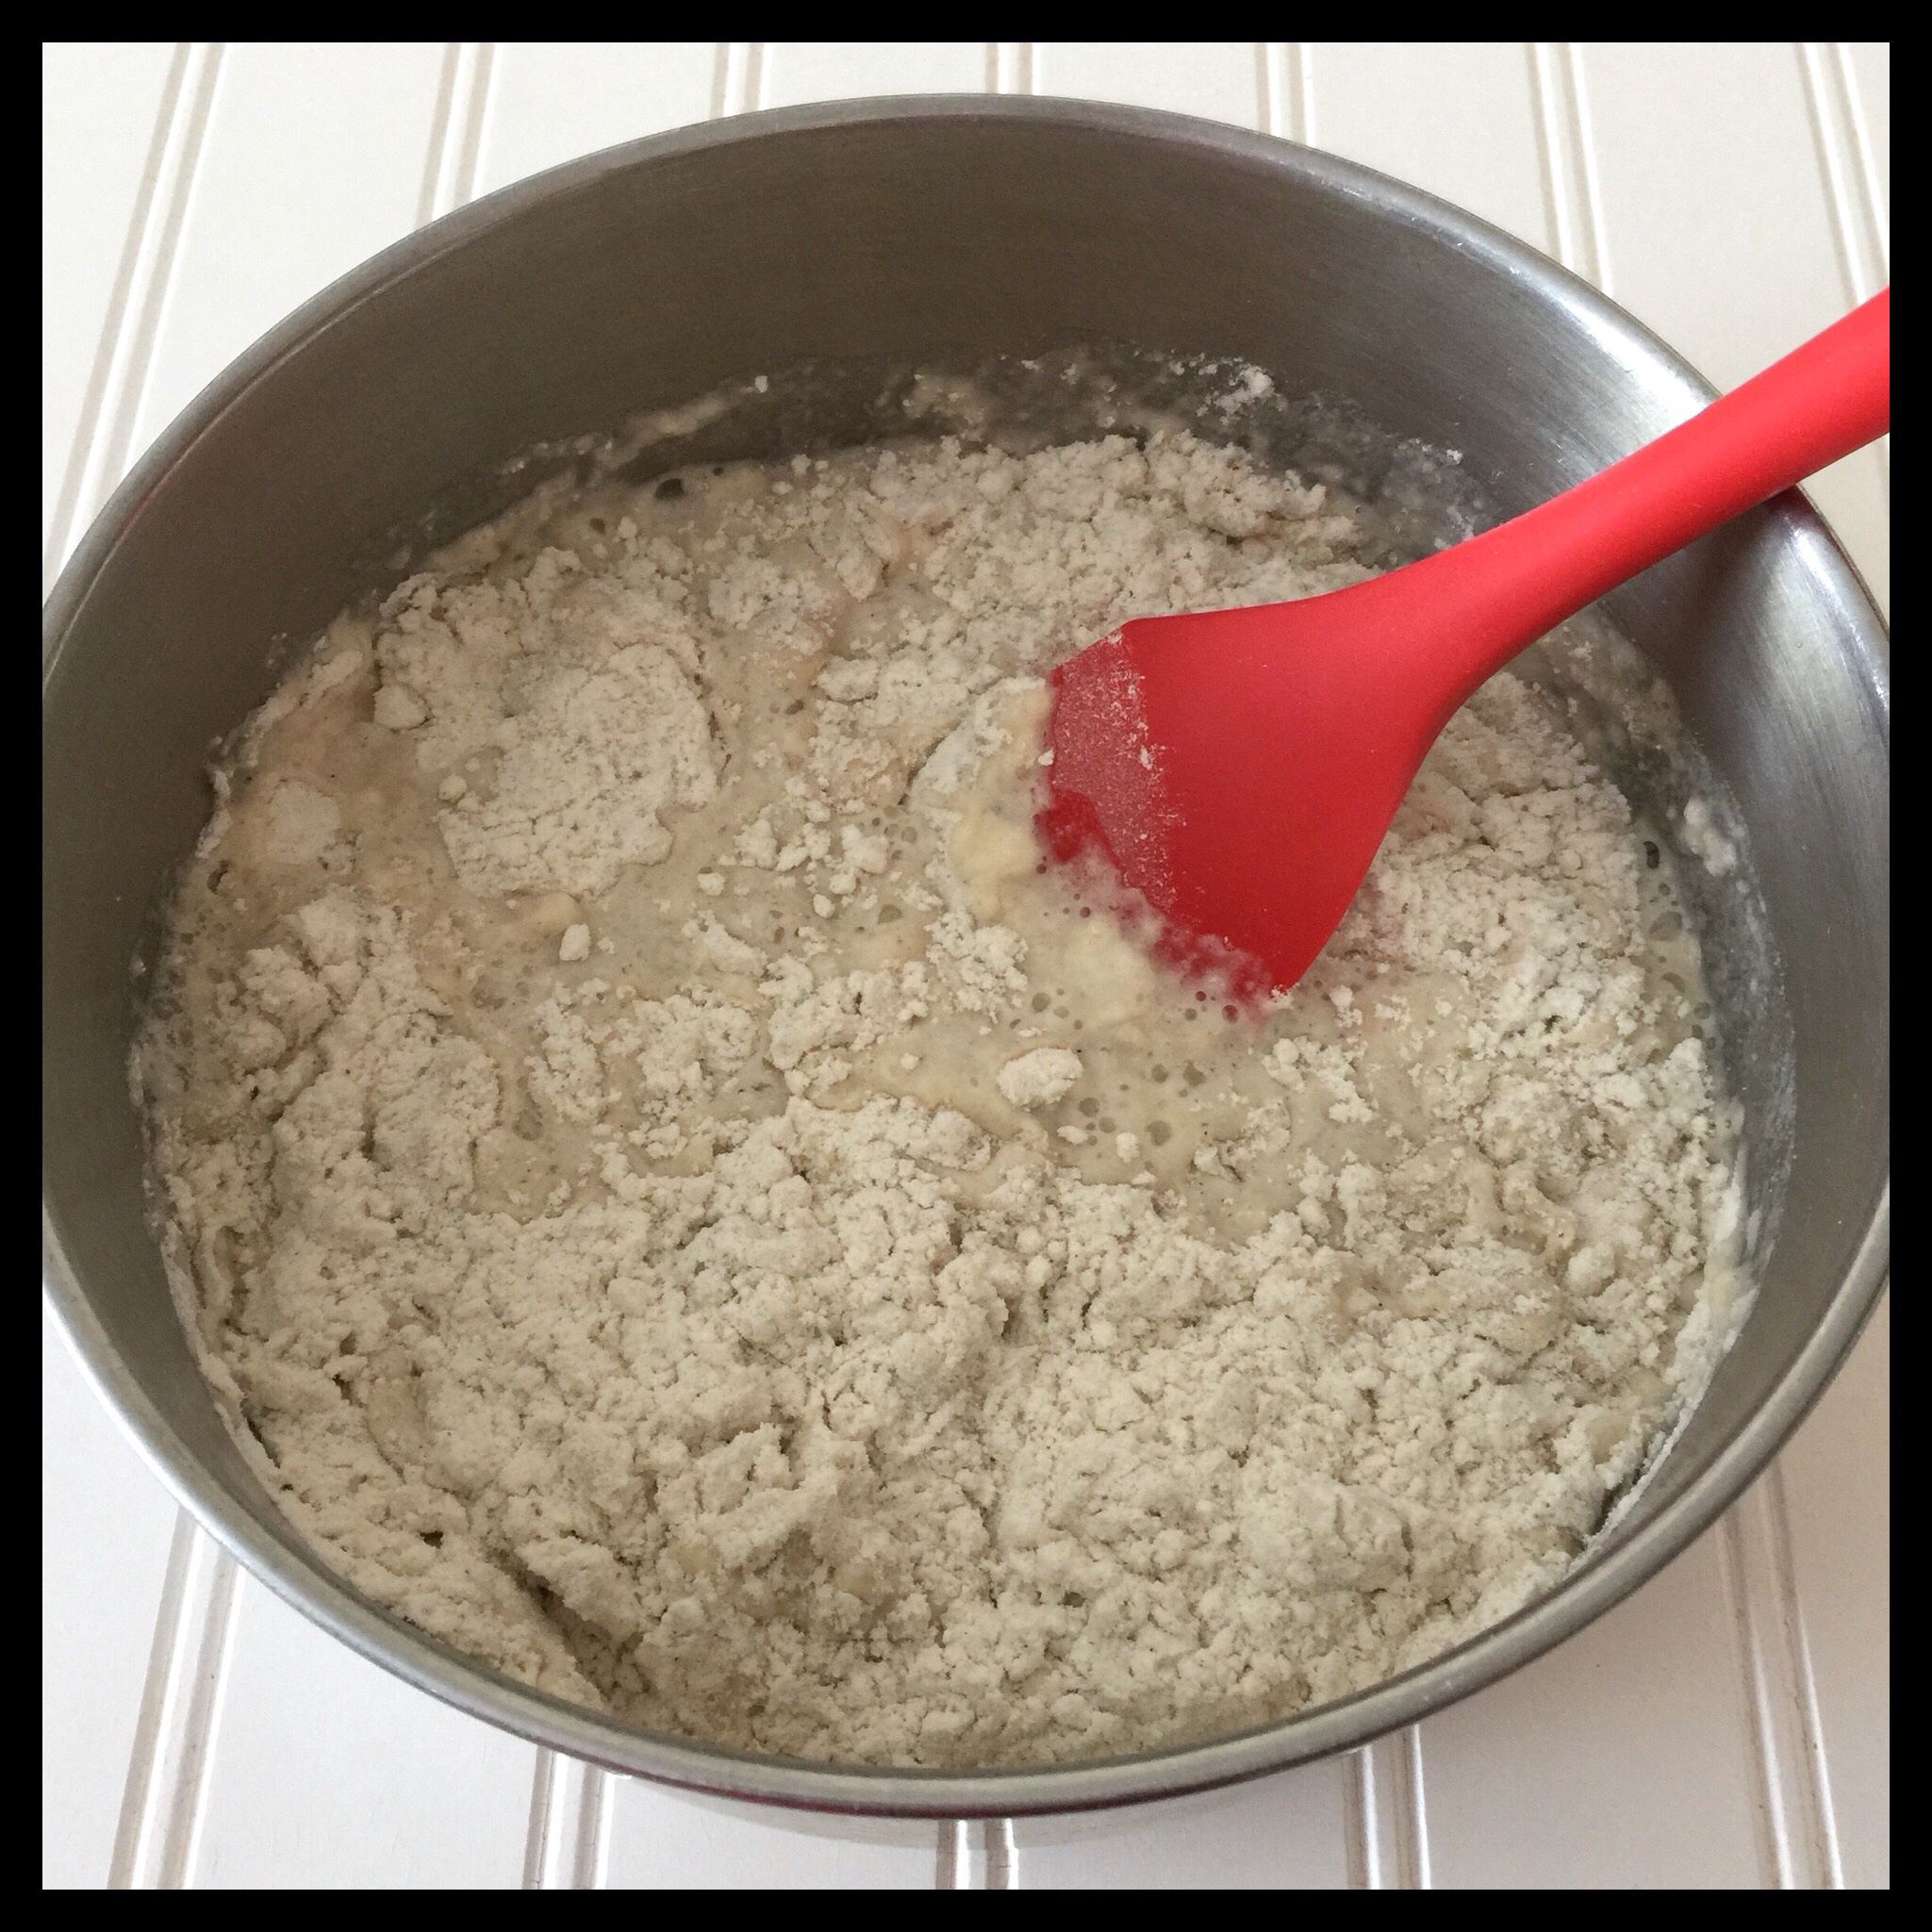
The dough will be quite firm:
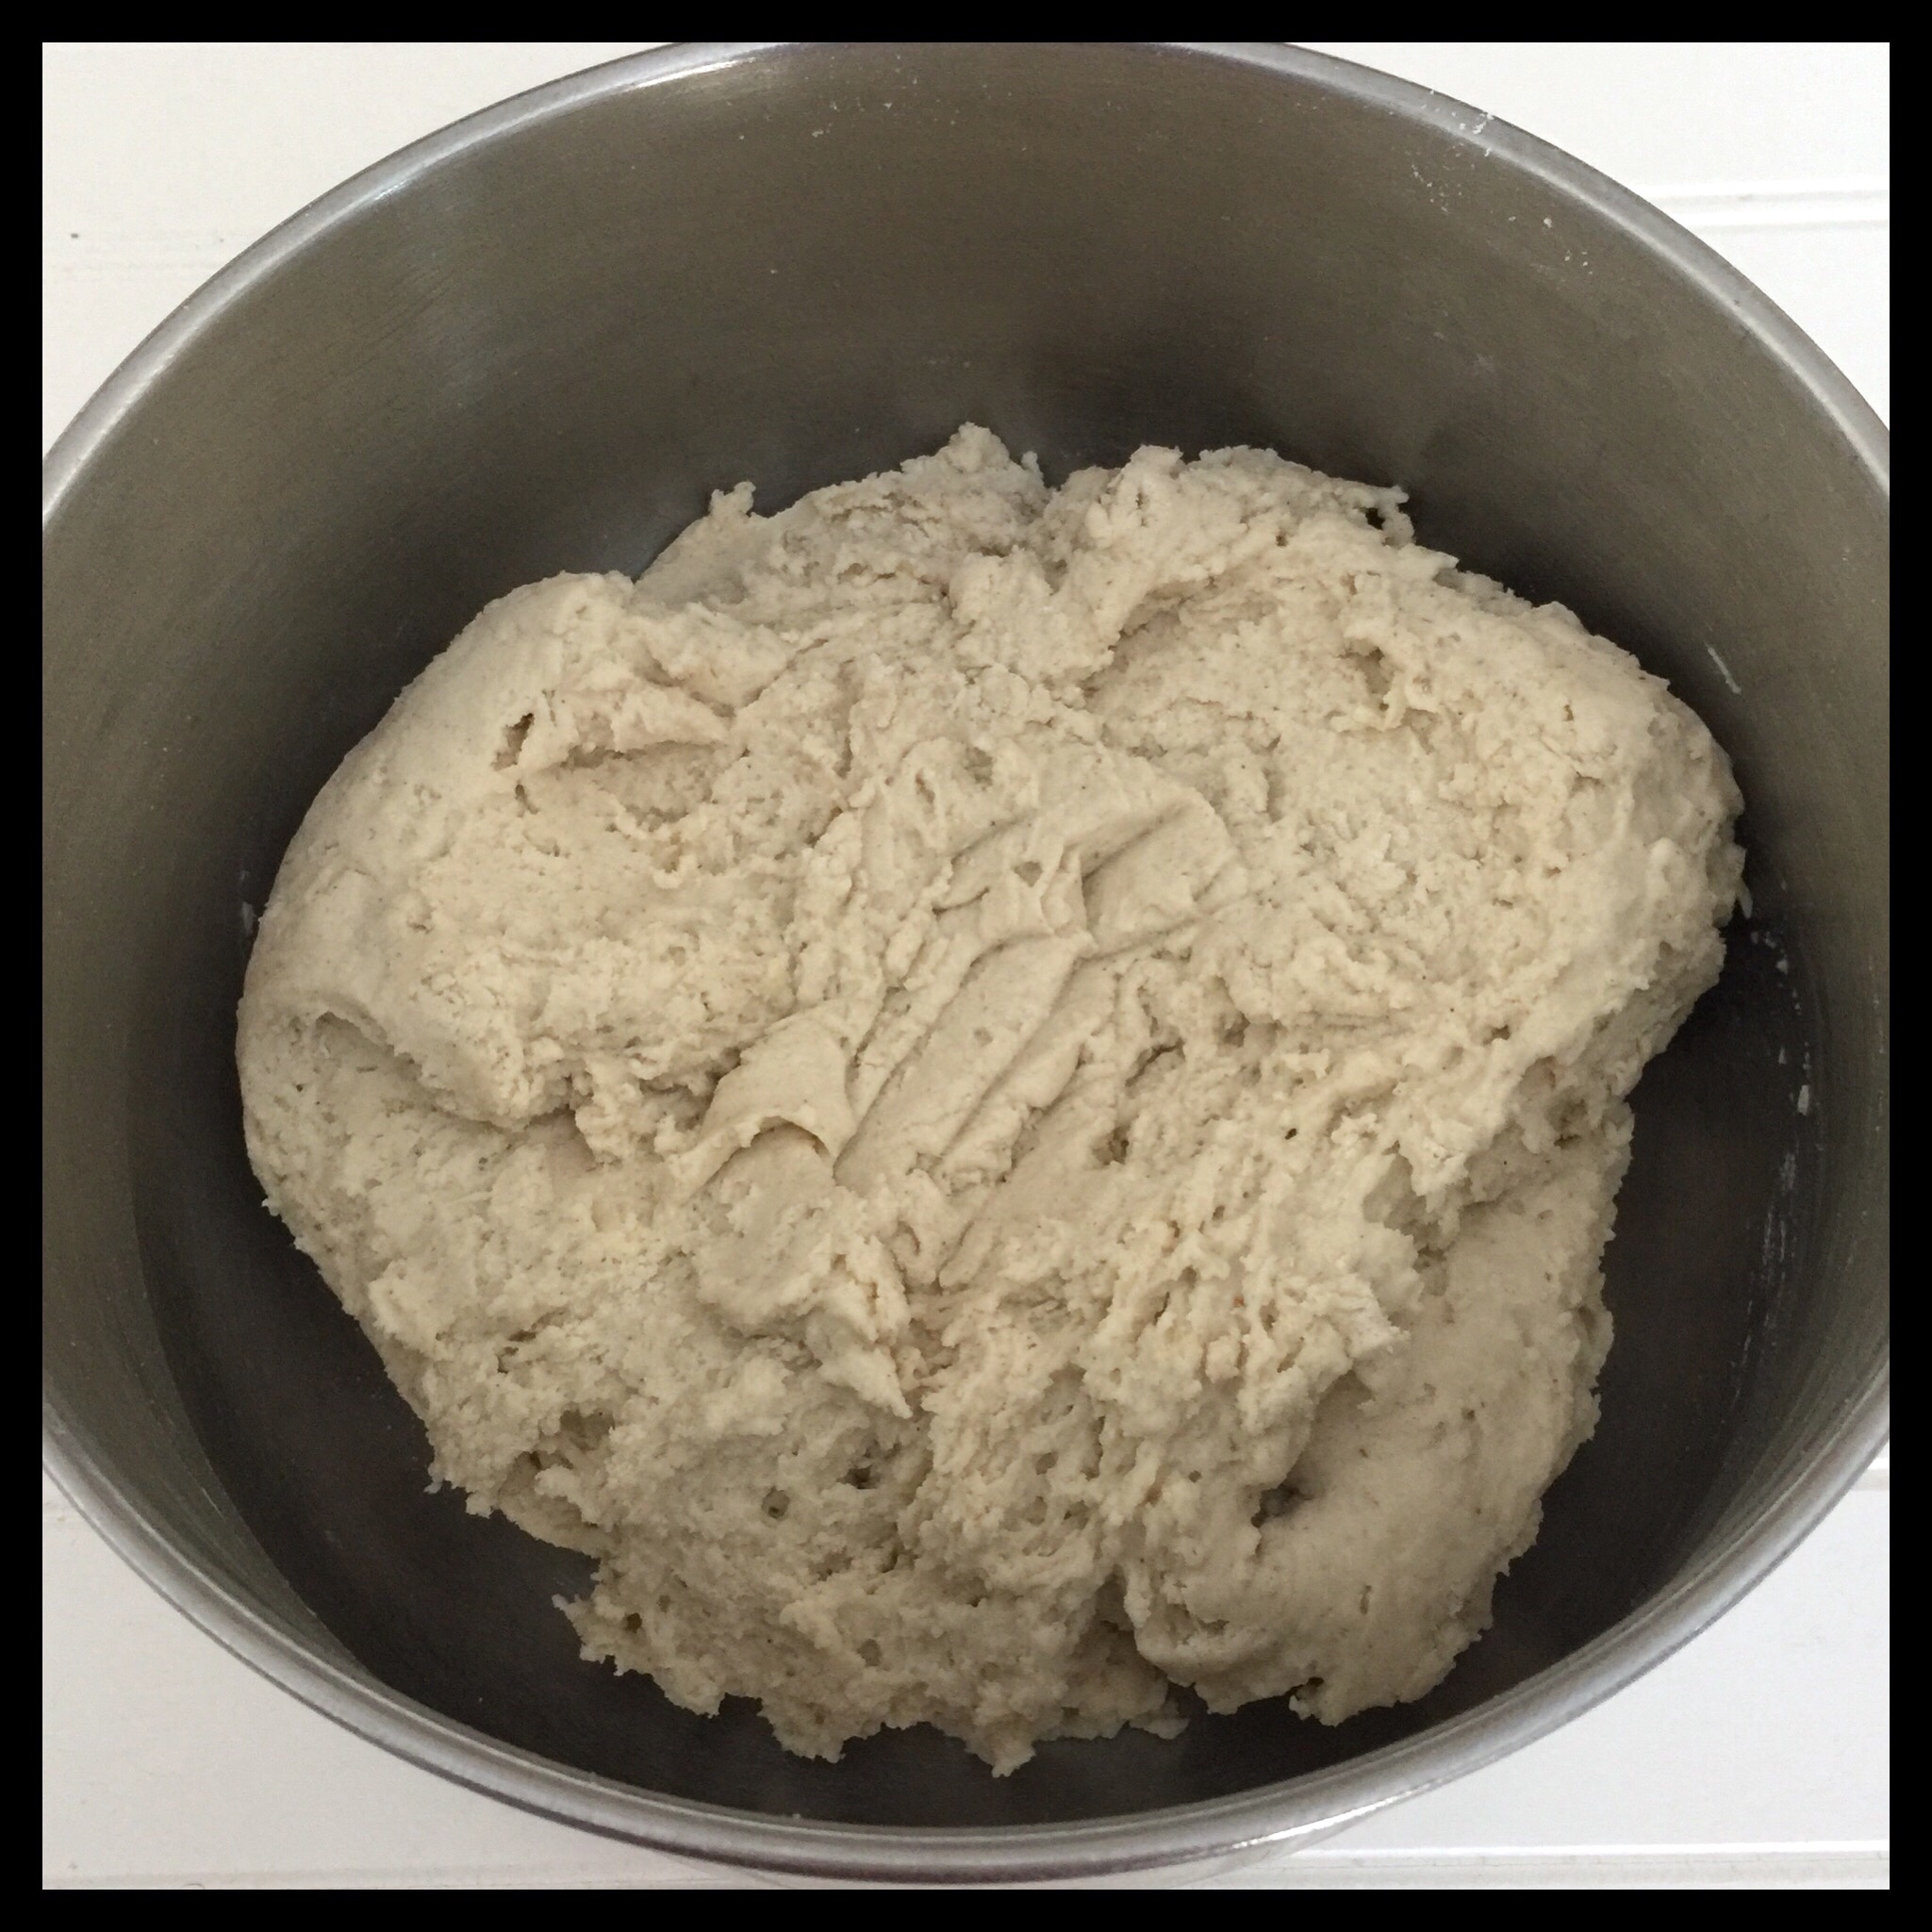
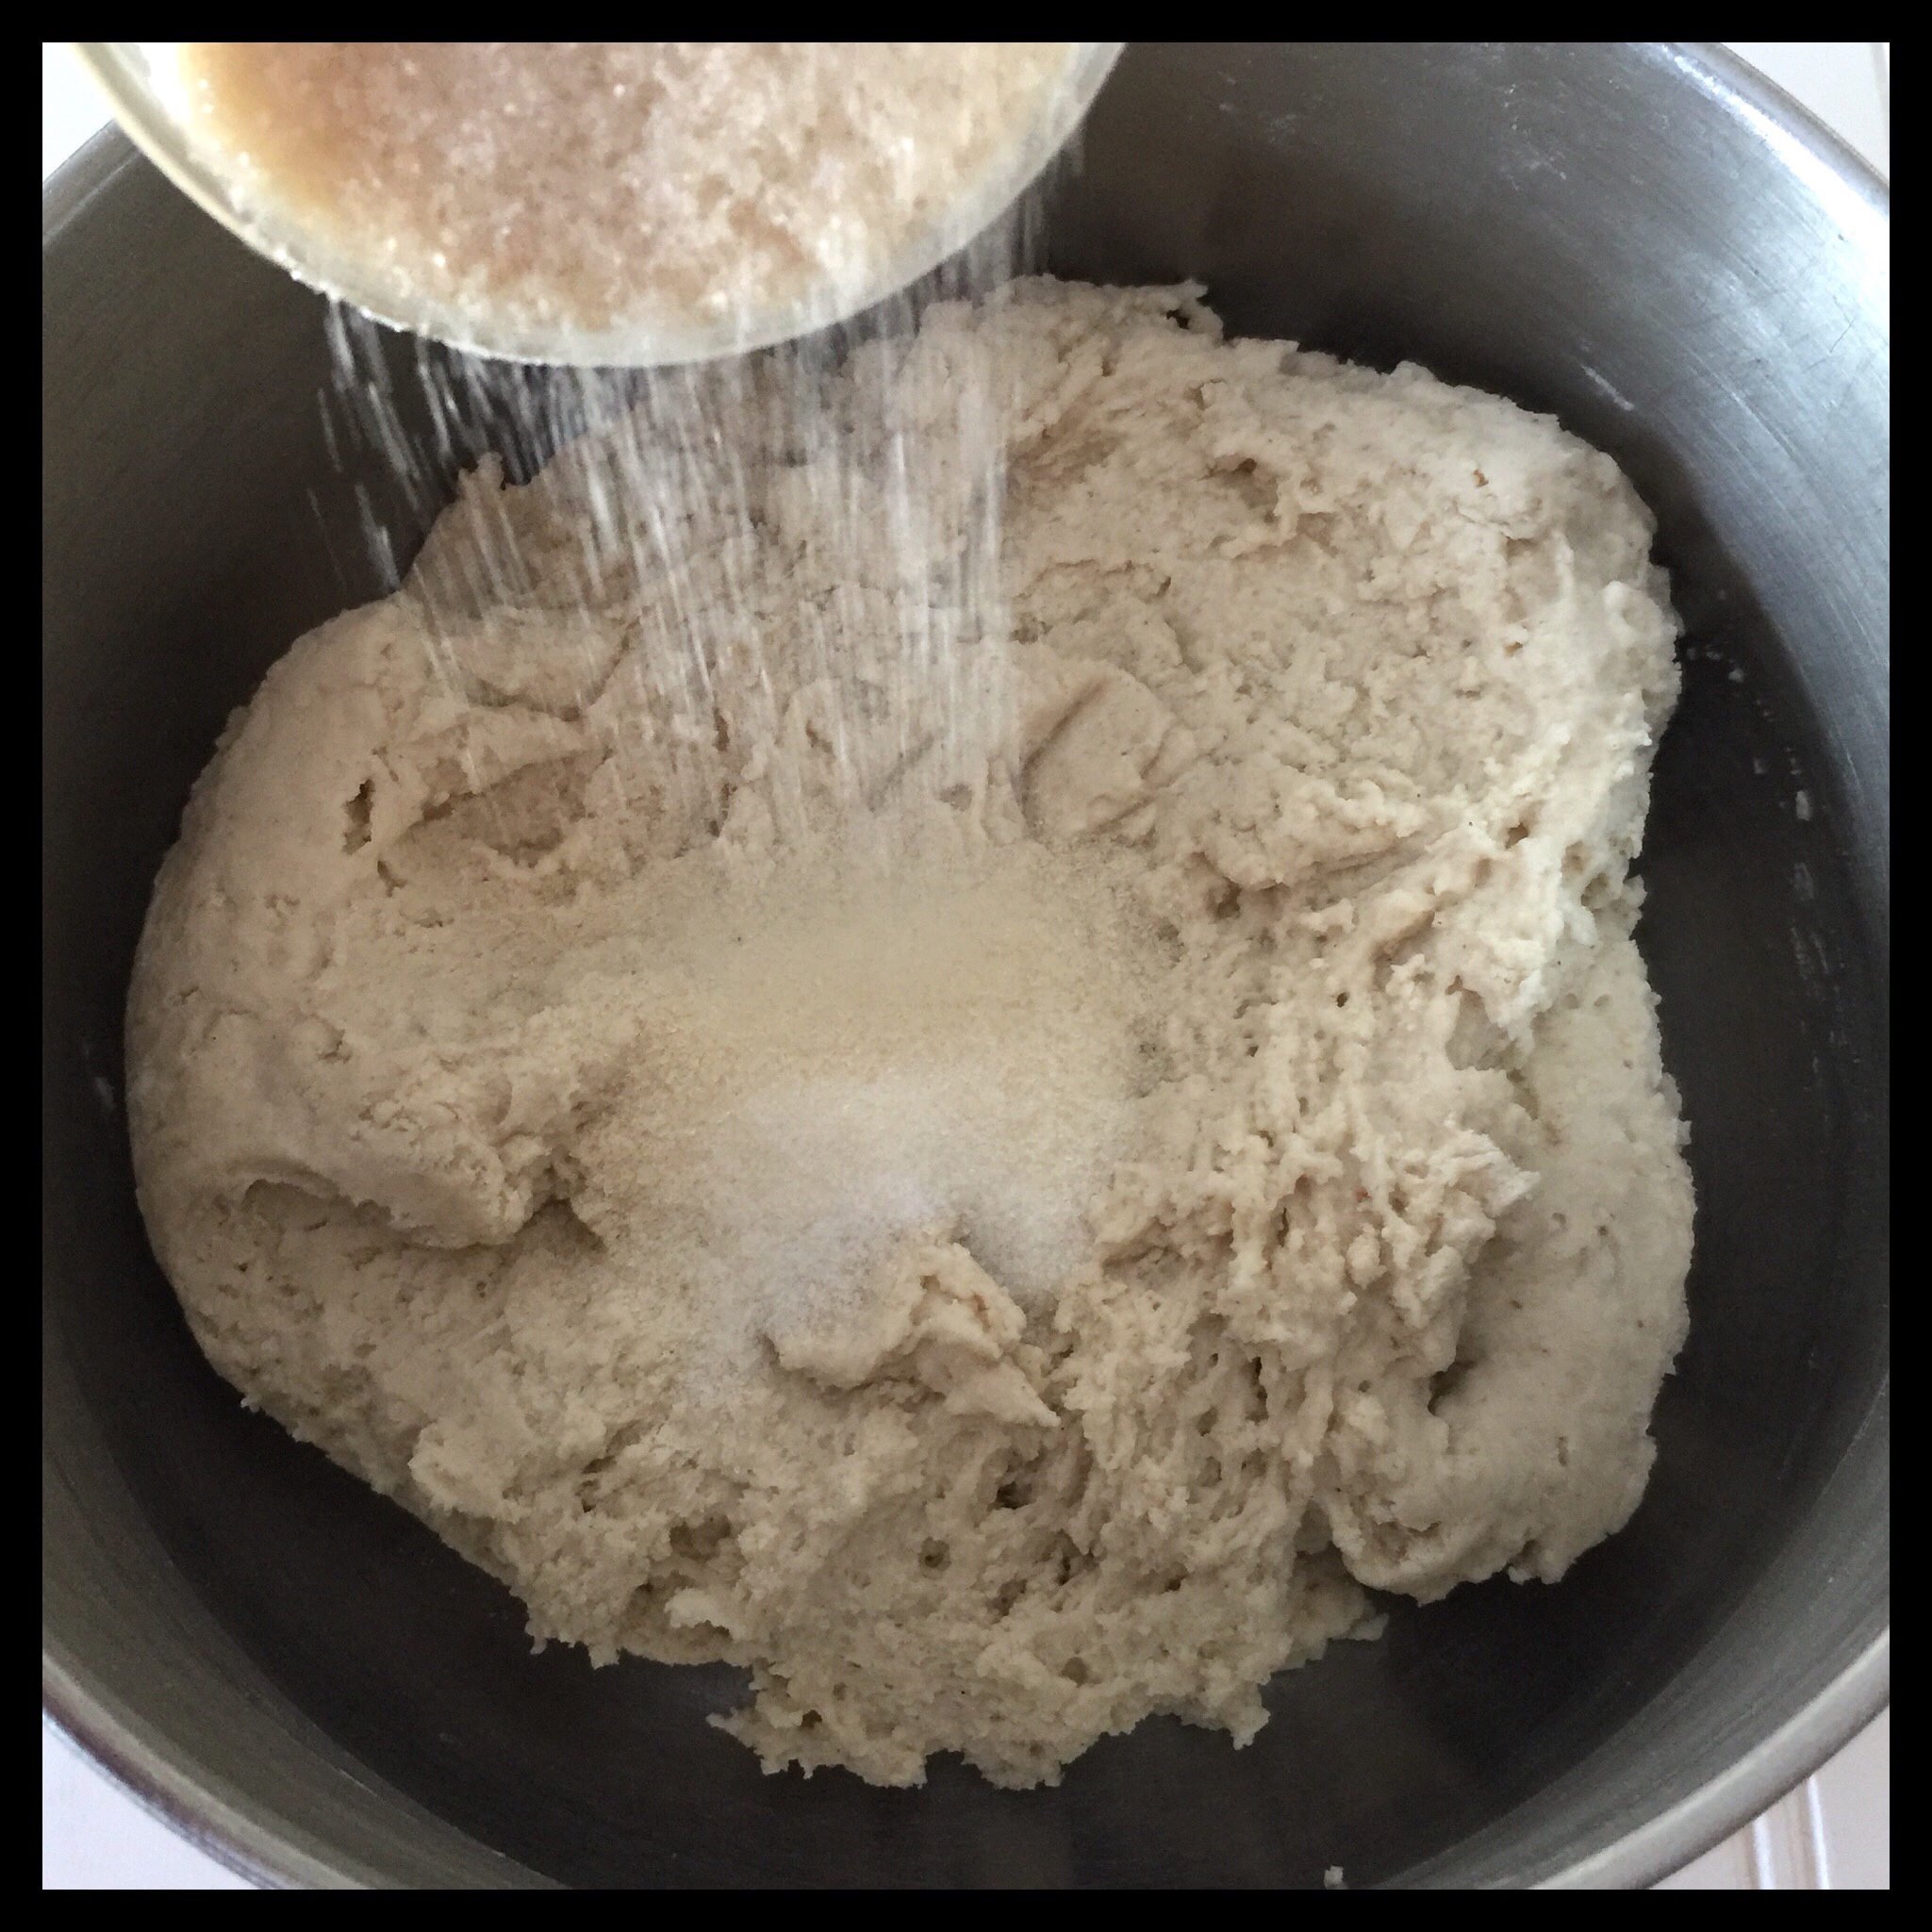
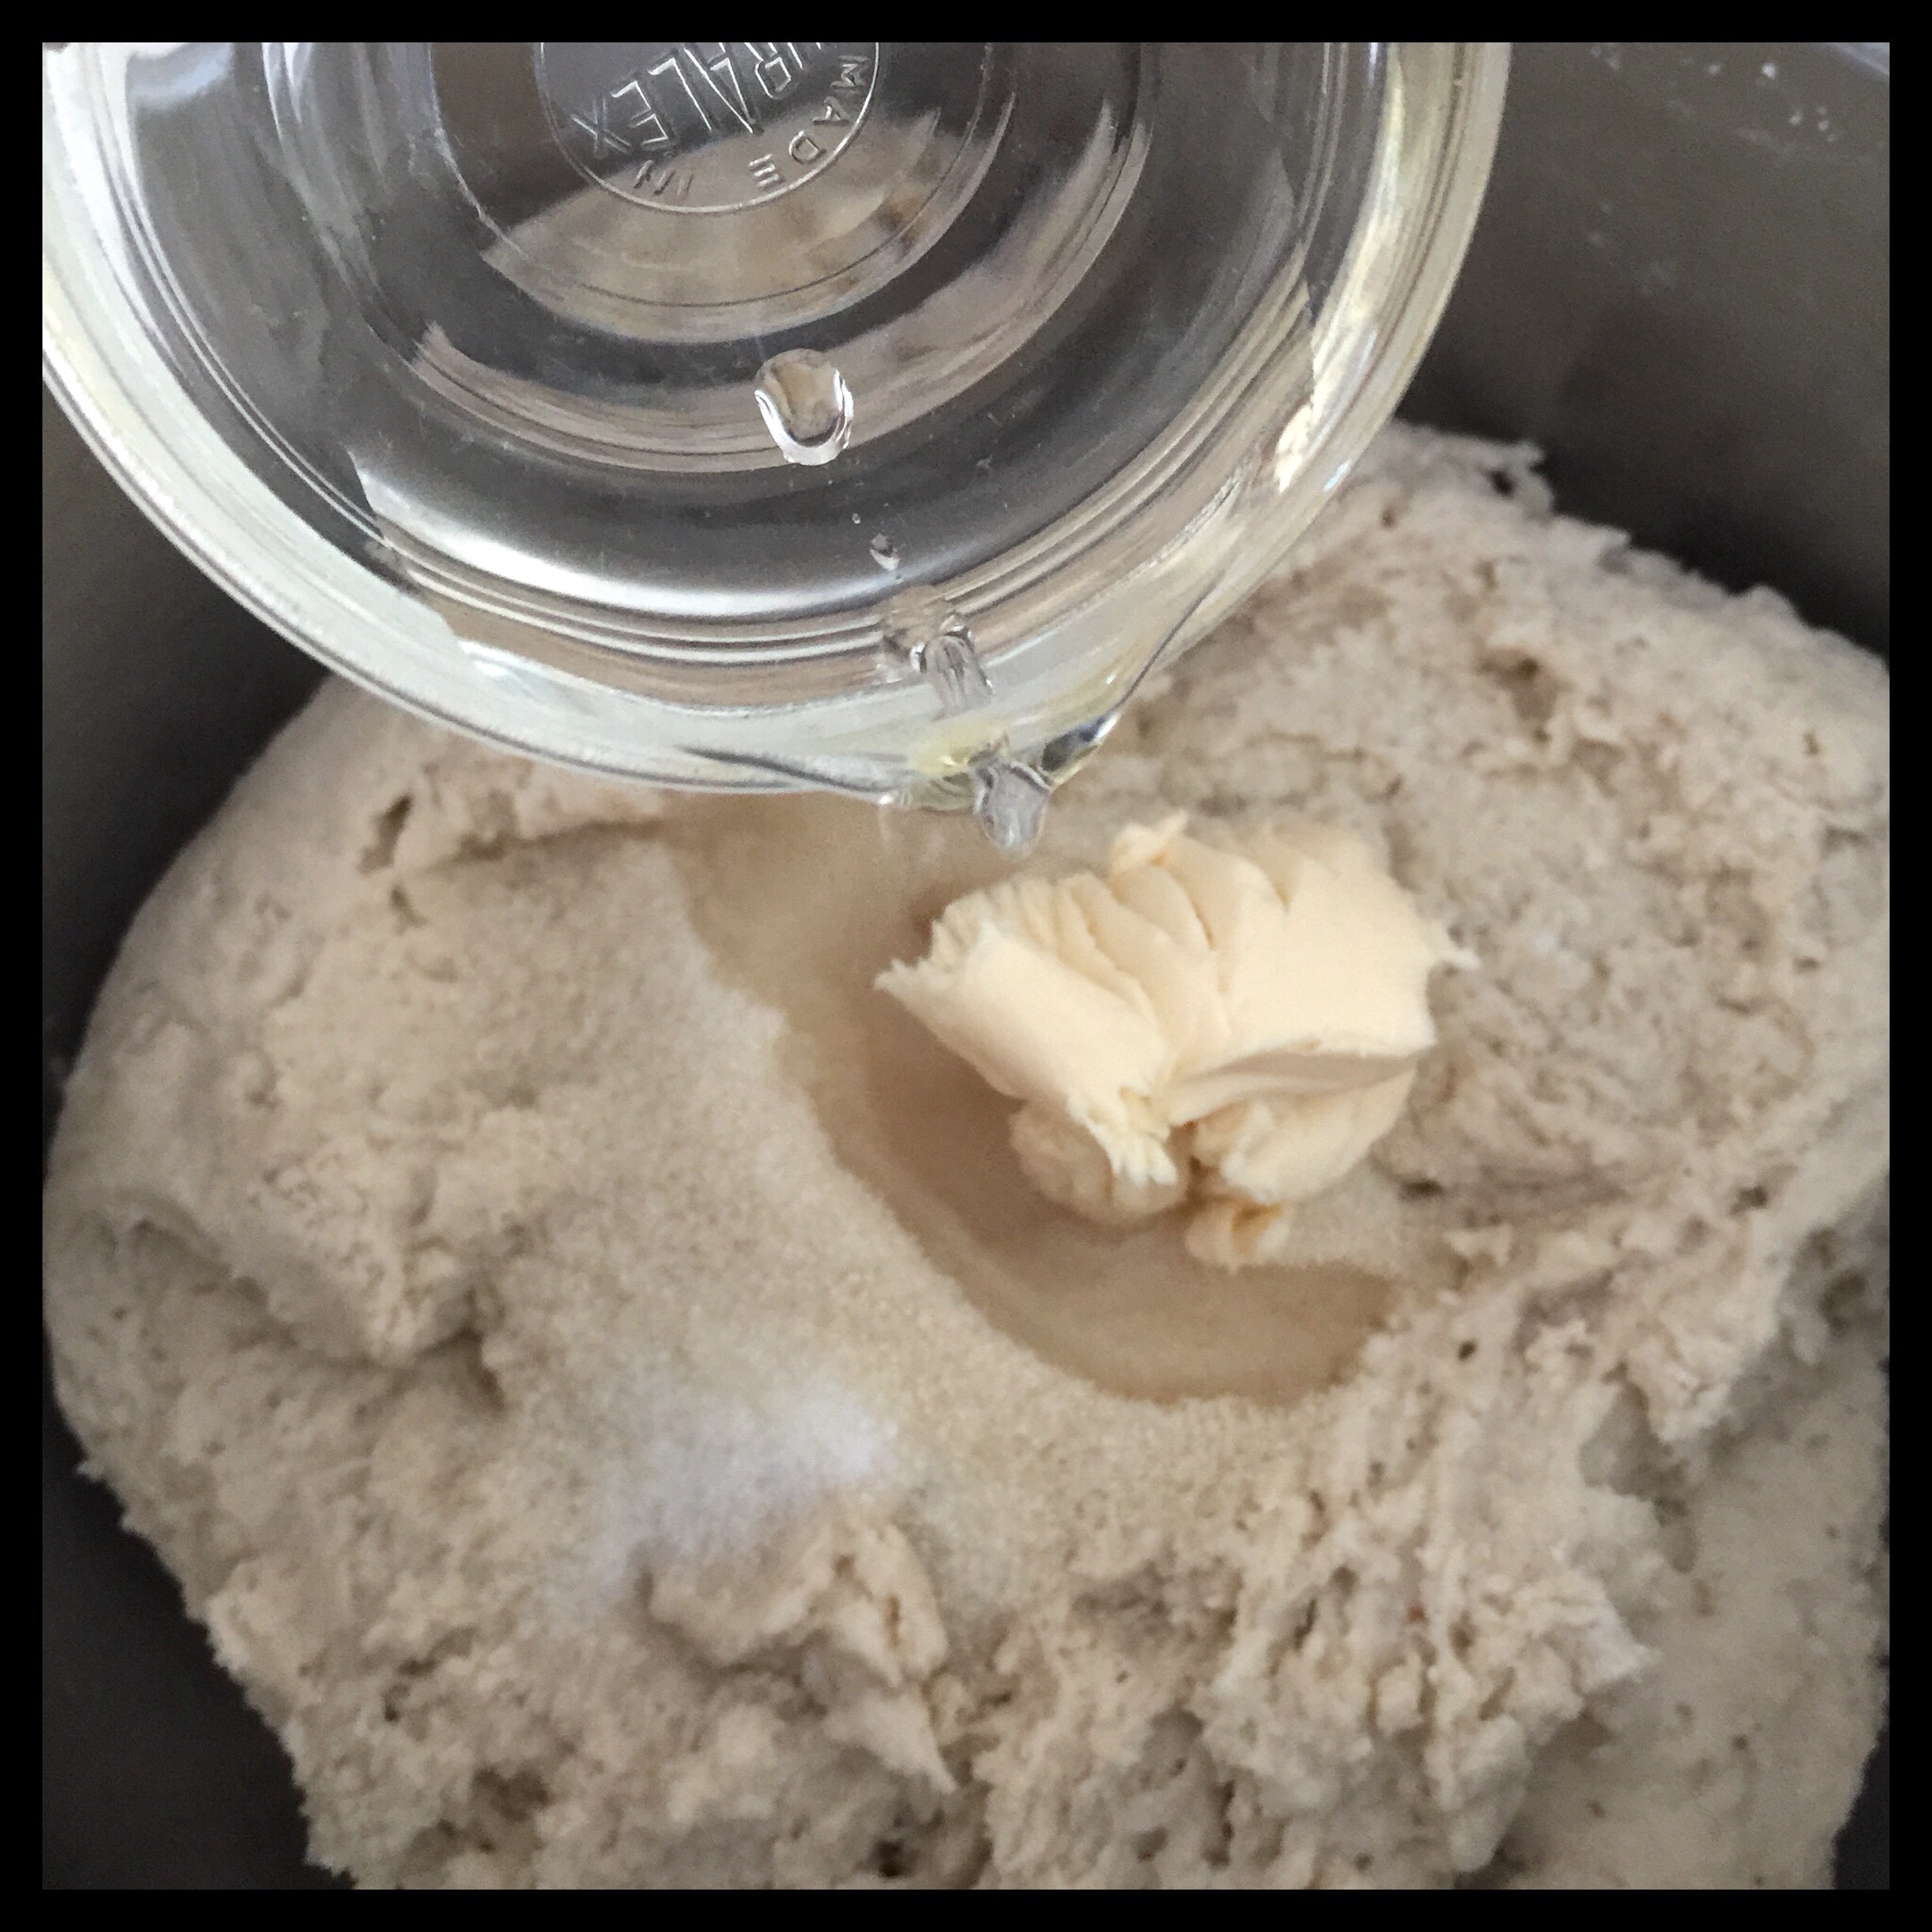
Add the salt, 25 g of sugar, vegan butter, and vinegar. Do NOT stir them in:
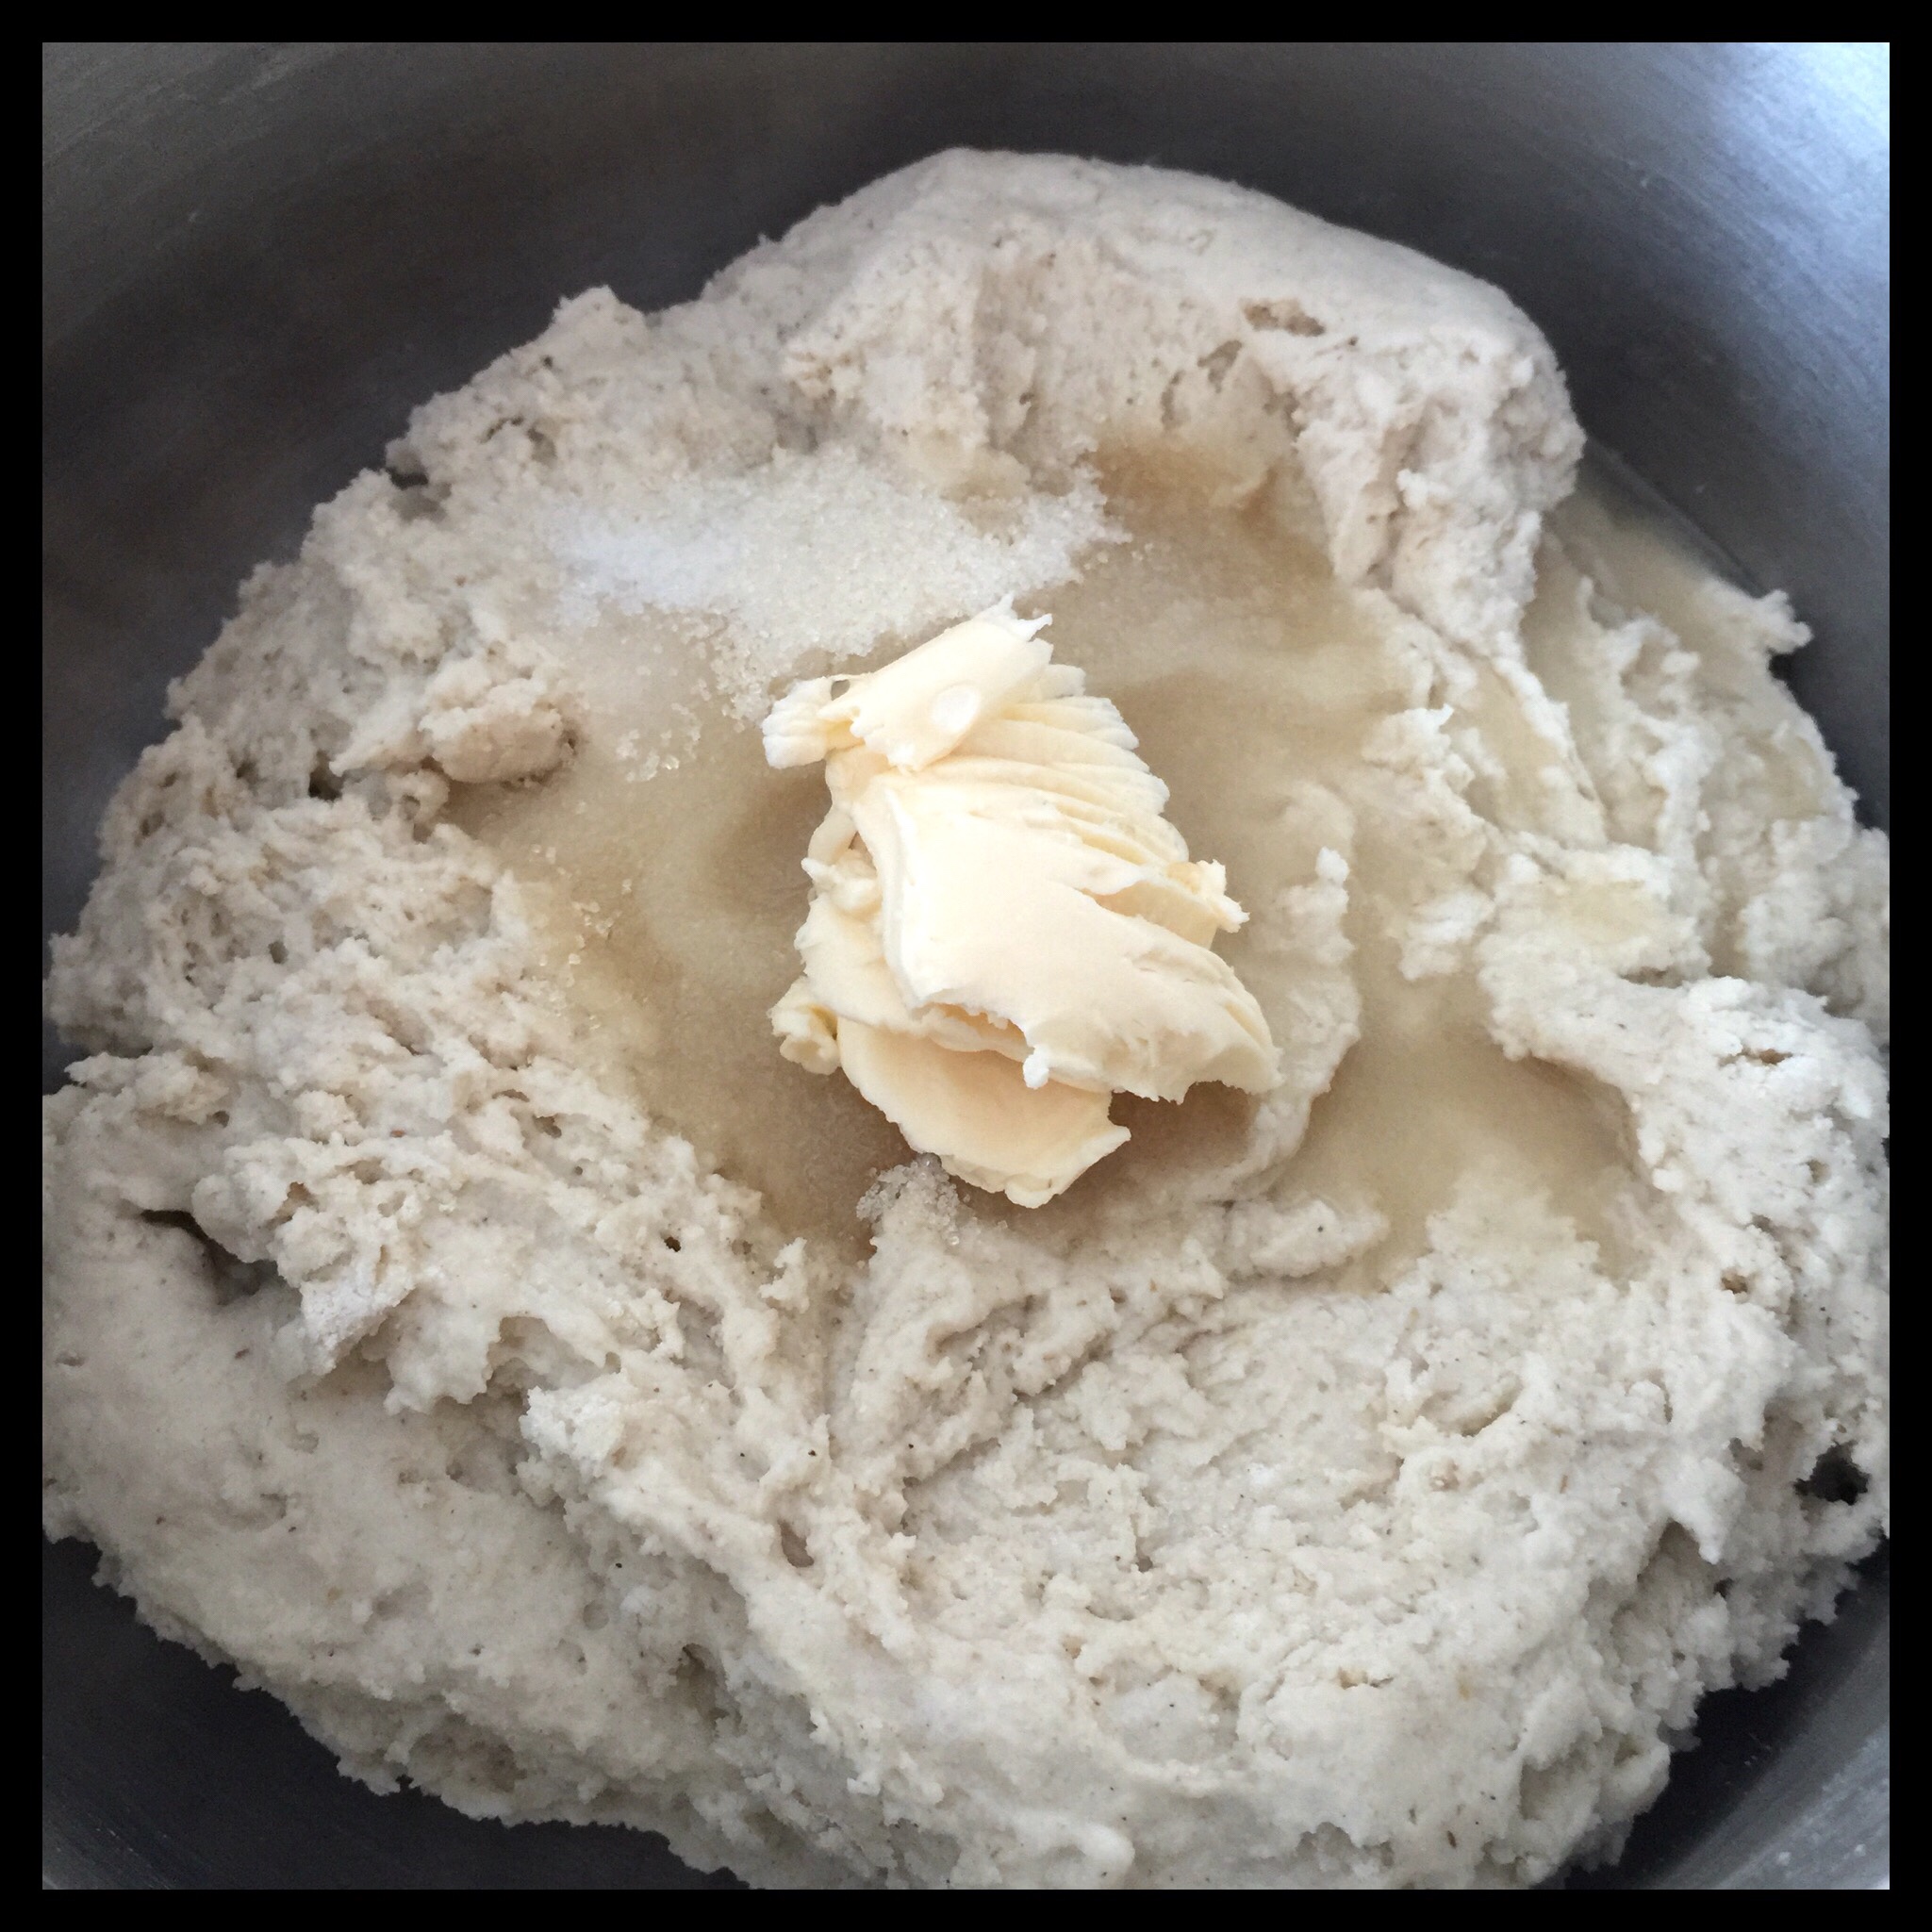
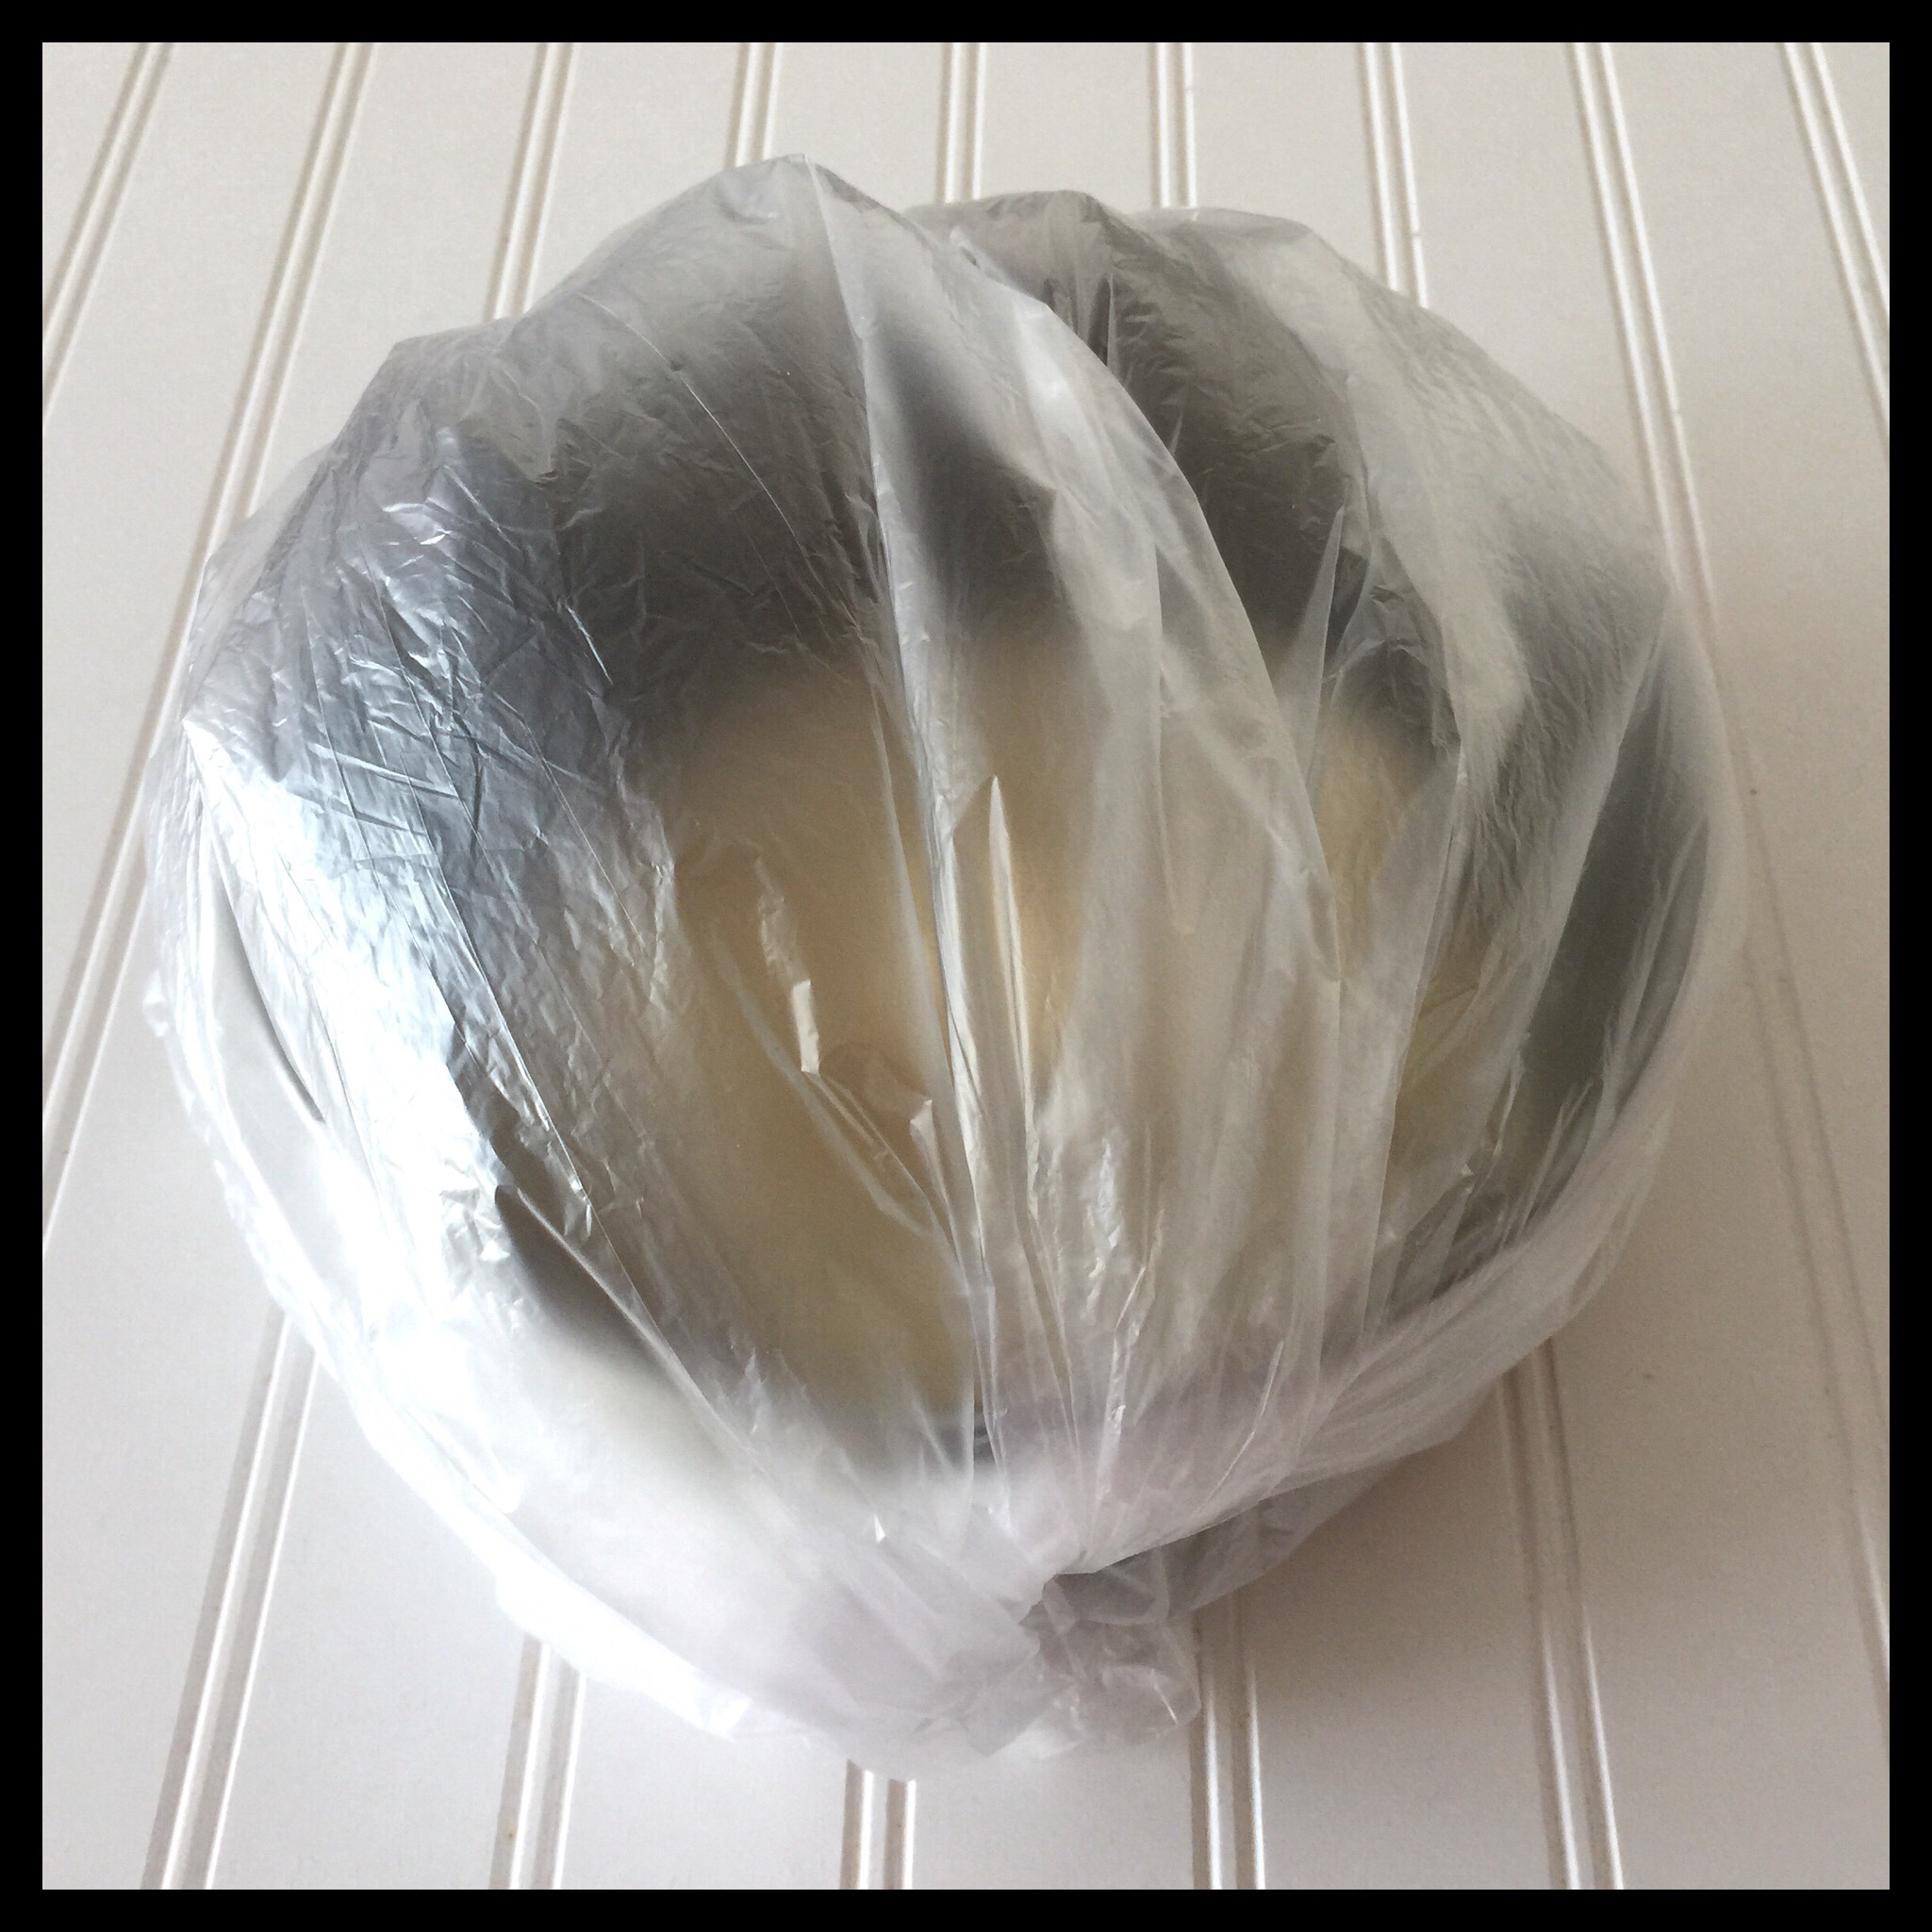
Place the bowl into the clean plastic bag, twist the bag to close it, and tuck the end under the bowl. Place the bowl (inside the bag) in a warm place to rise. (You want the room temperature to be at least 70 degrees Fahrenheit, and no warmer than 85 degrees Fahrenheit.) If your house is cooler than 70 degrees, you can use your oven with the light turned on, but check the temperature inside to be sure it isn’t above 85 degrees. Set a timer for 30 minutes.
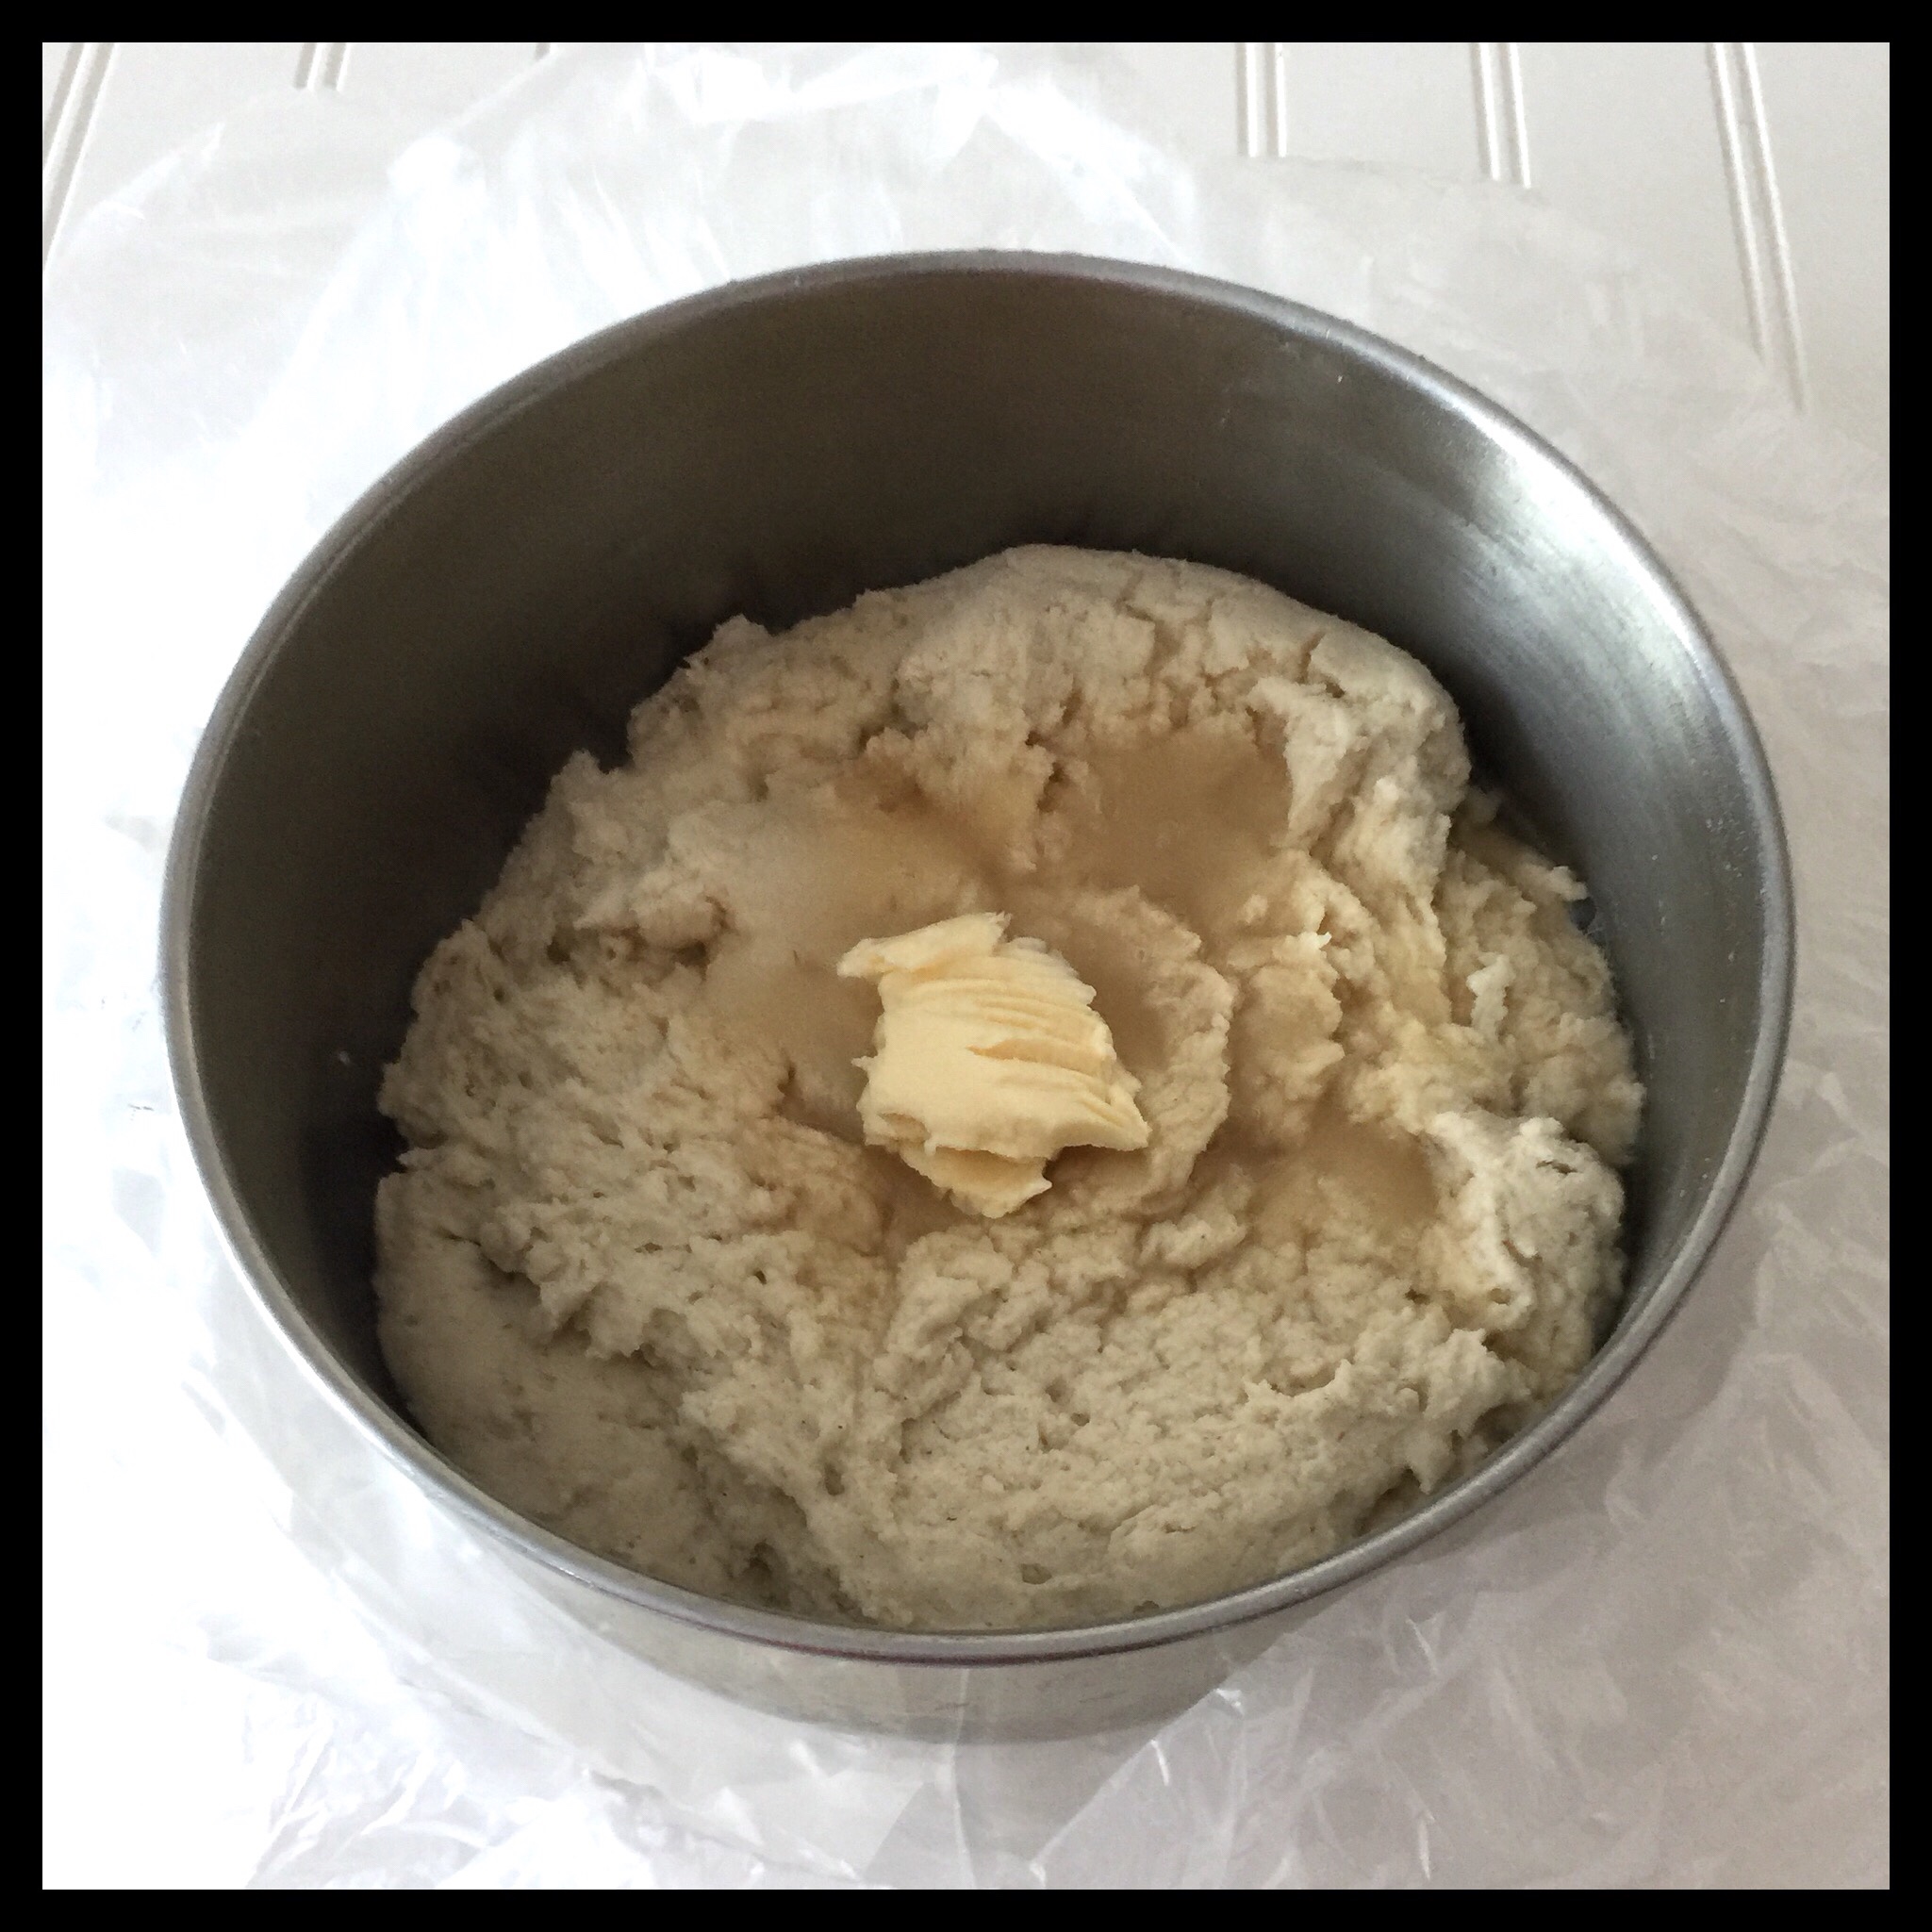
After 30 minutes, undo the bag and fold it back. The dough will be puffy like this:
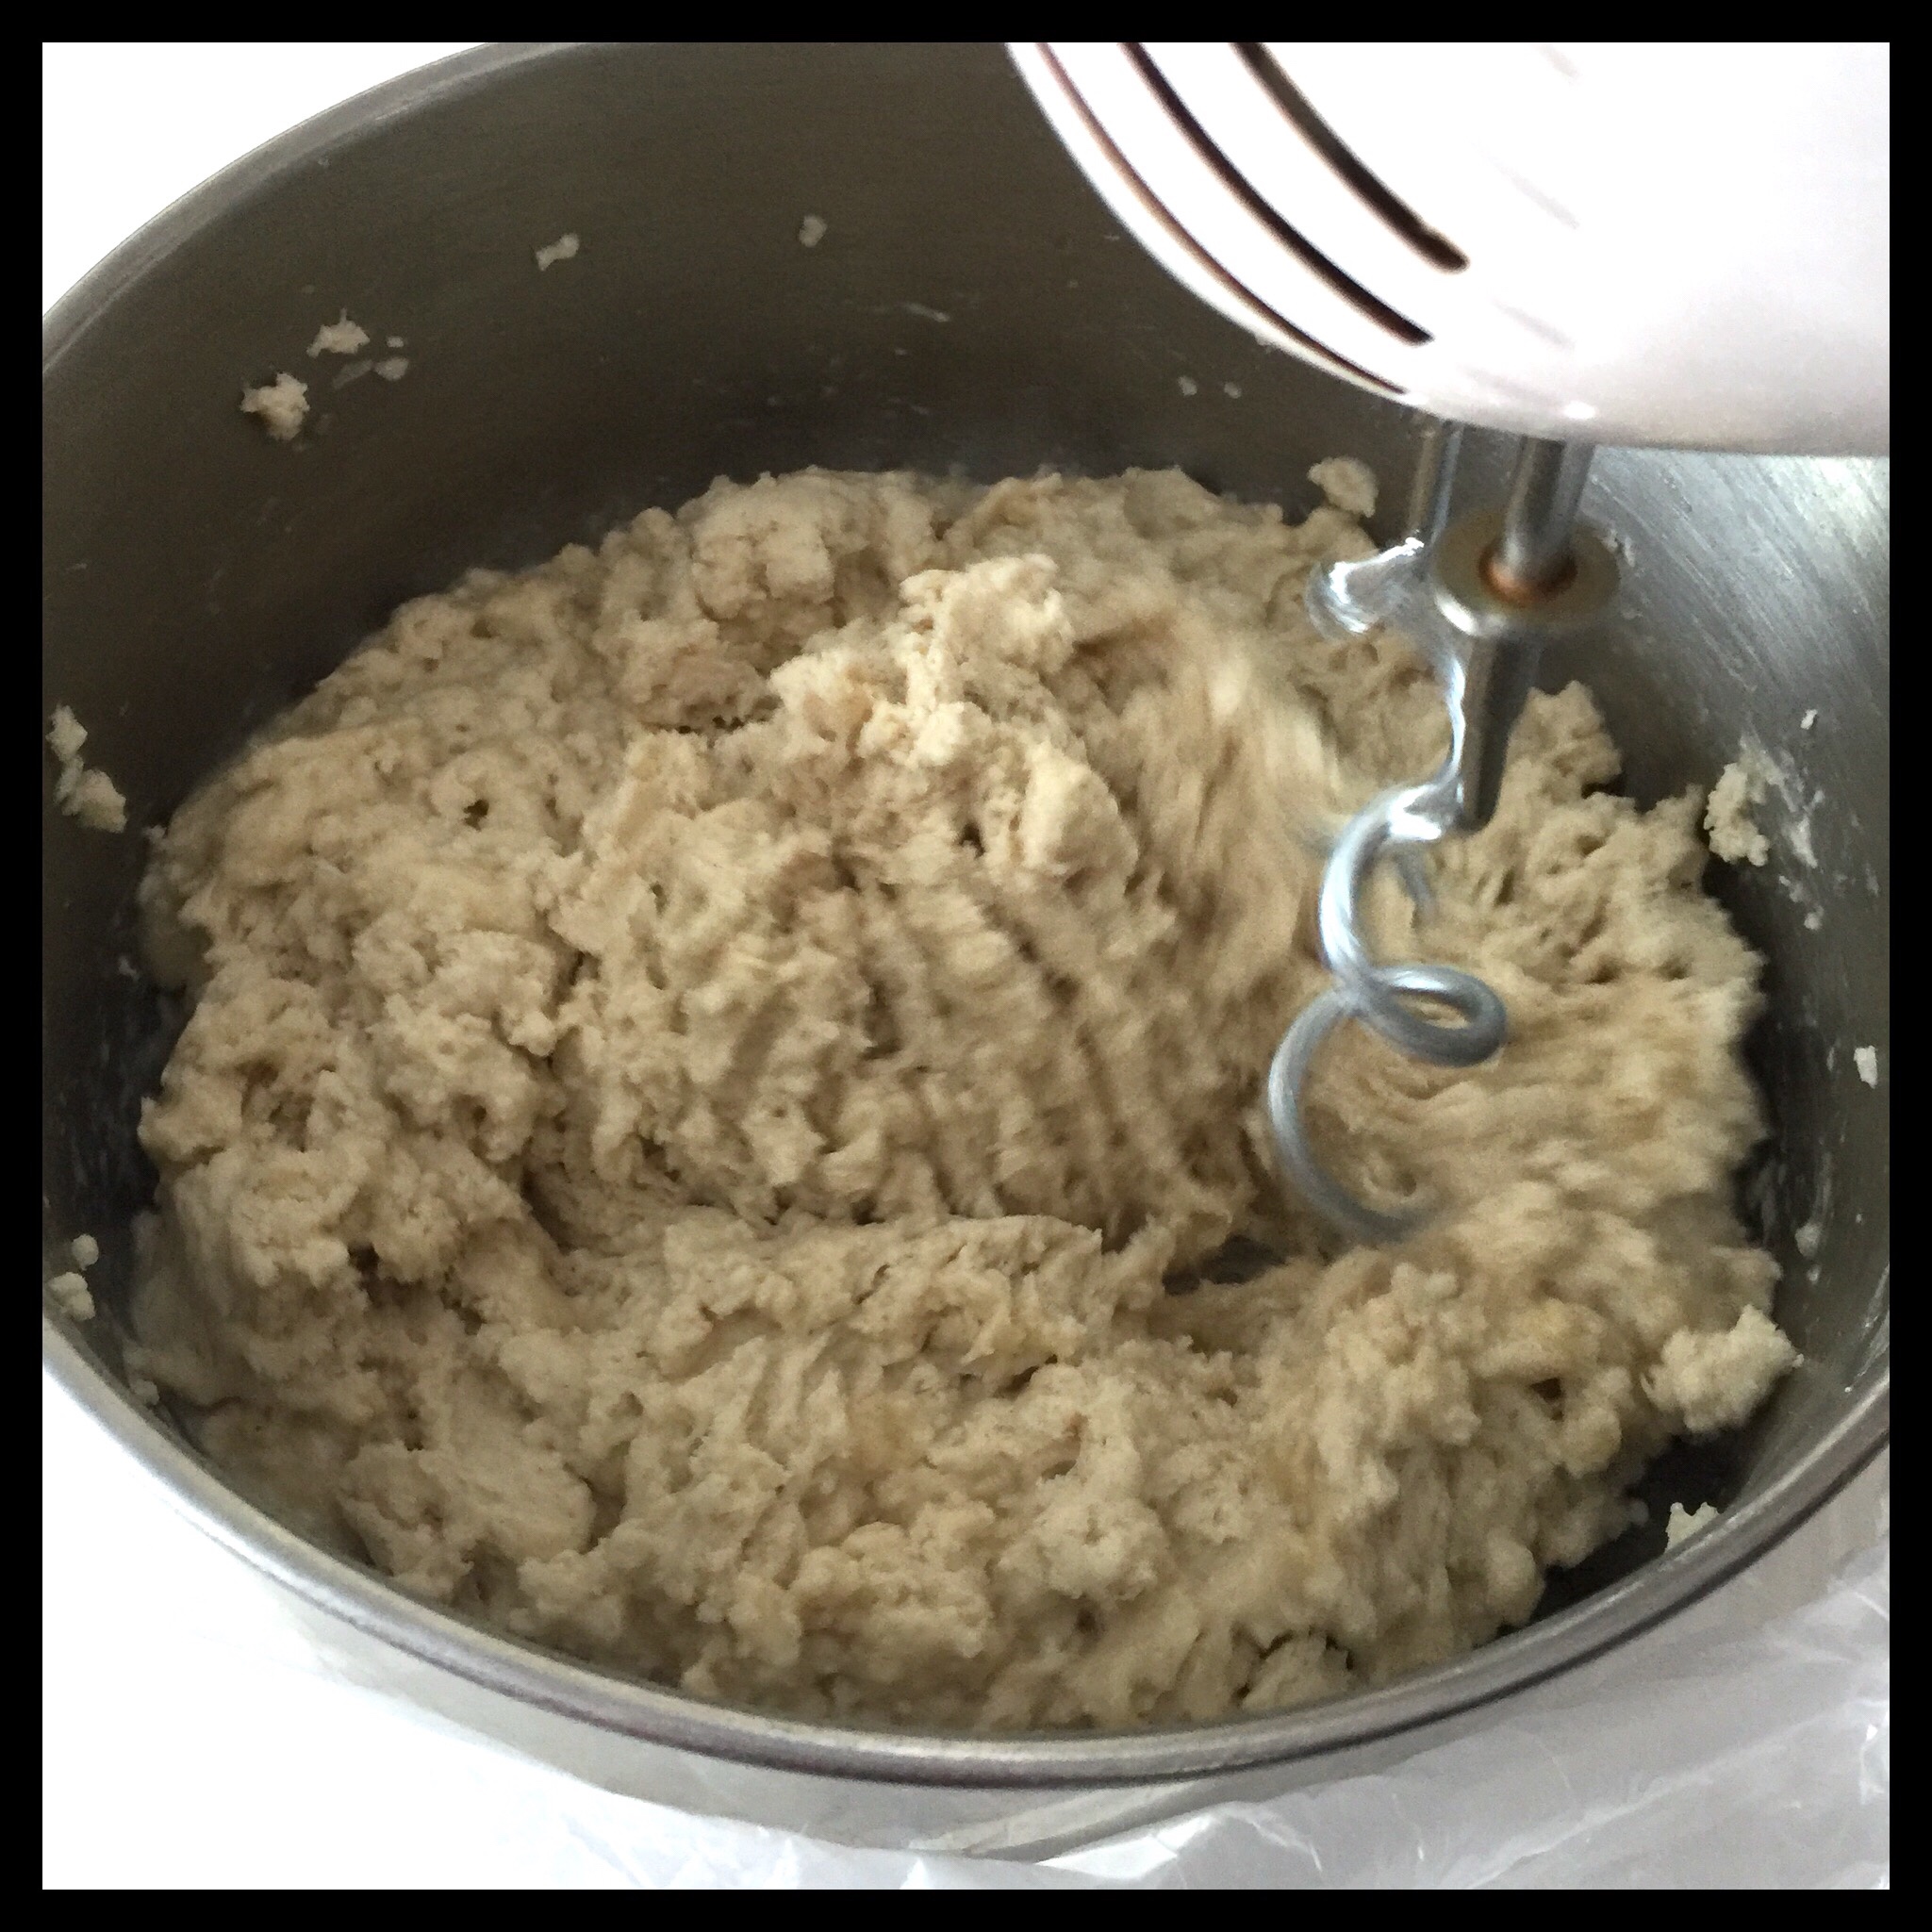
If you are using a hand mixer with dough hooks, beat on high speed for three minutes. If you are using a stand mixer with a paddle attachment, beat on medium-high speed for two minutes:
Scrape down the bowl. The dough should be firm and hold together well. Depending on which of my flour blends you are using, and on the humidity and temperature in the room, you may need to add a bit more flour or water. Knowing if you do, and exactly what the texture should feel like, really just comes with experience. You will still get good rolls, even if you are off a little bit, but the very best quality will come with practice as you learn the feel of the dough. I felt that this dough needed a bit more flour, but was testing a new flour blend and wanted to see what it would do. (You will see below that I was right and should have added another tablespoon or two of flour.)
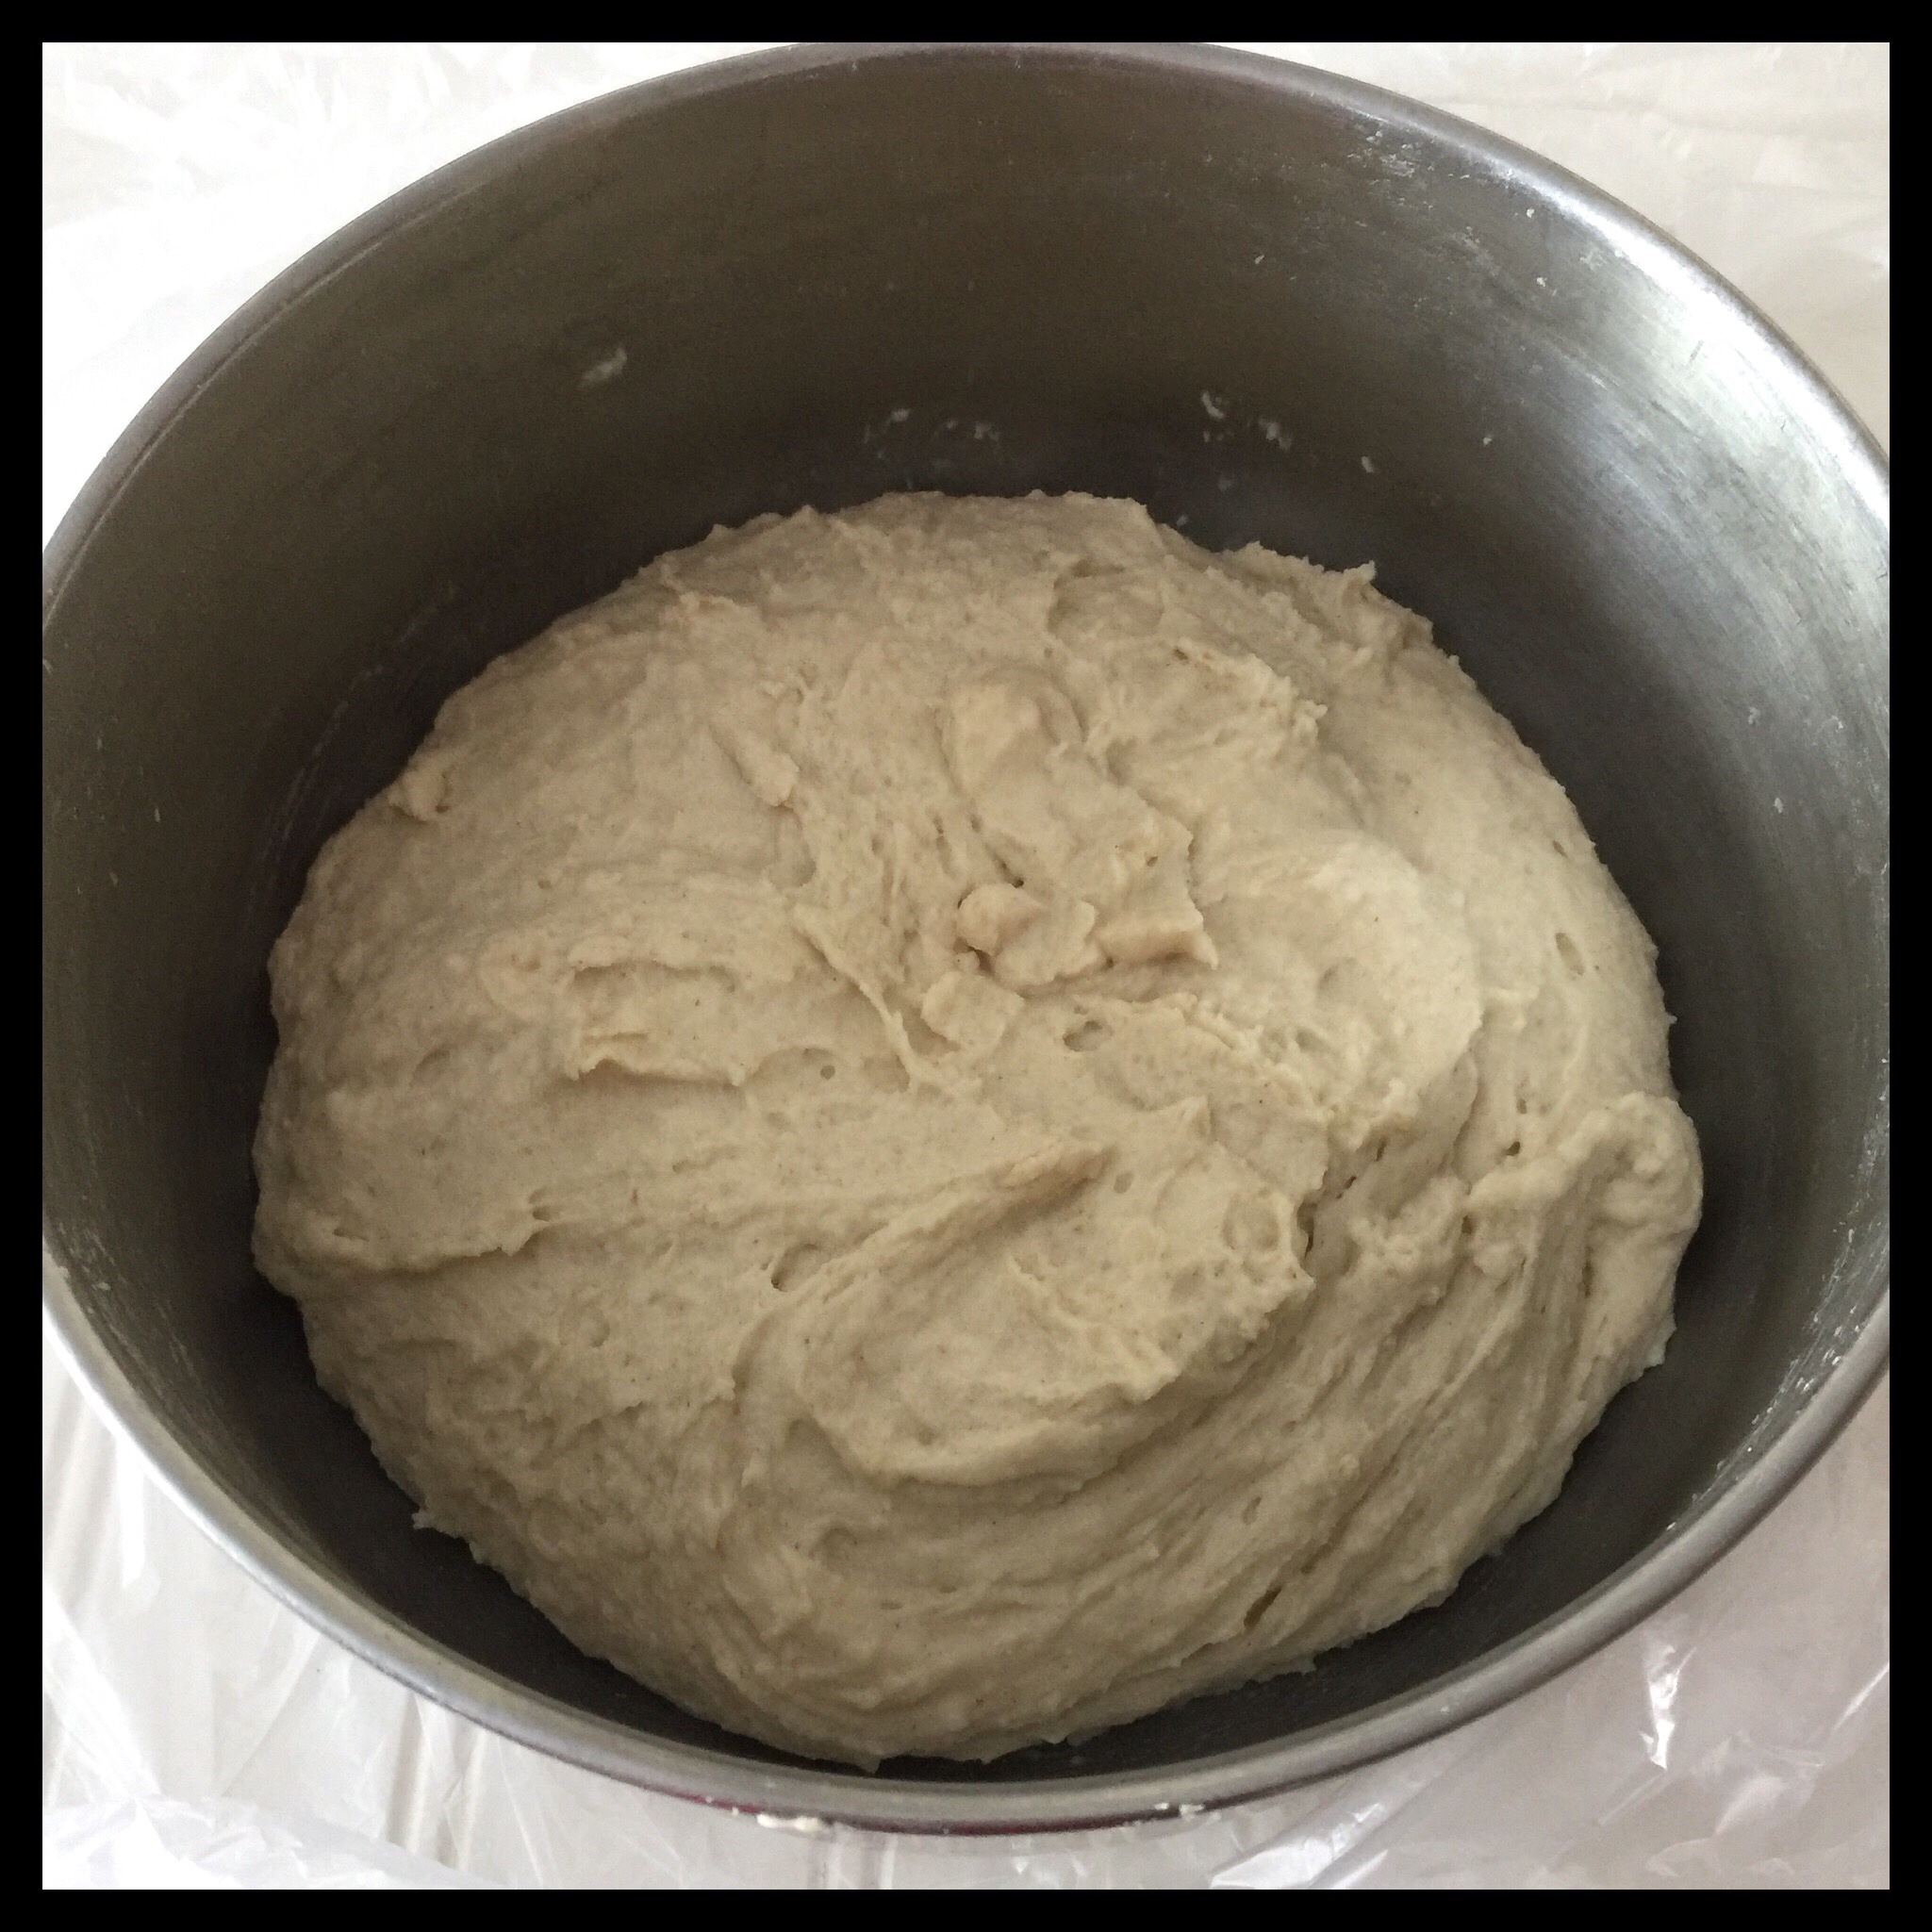
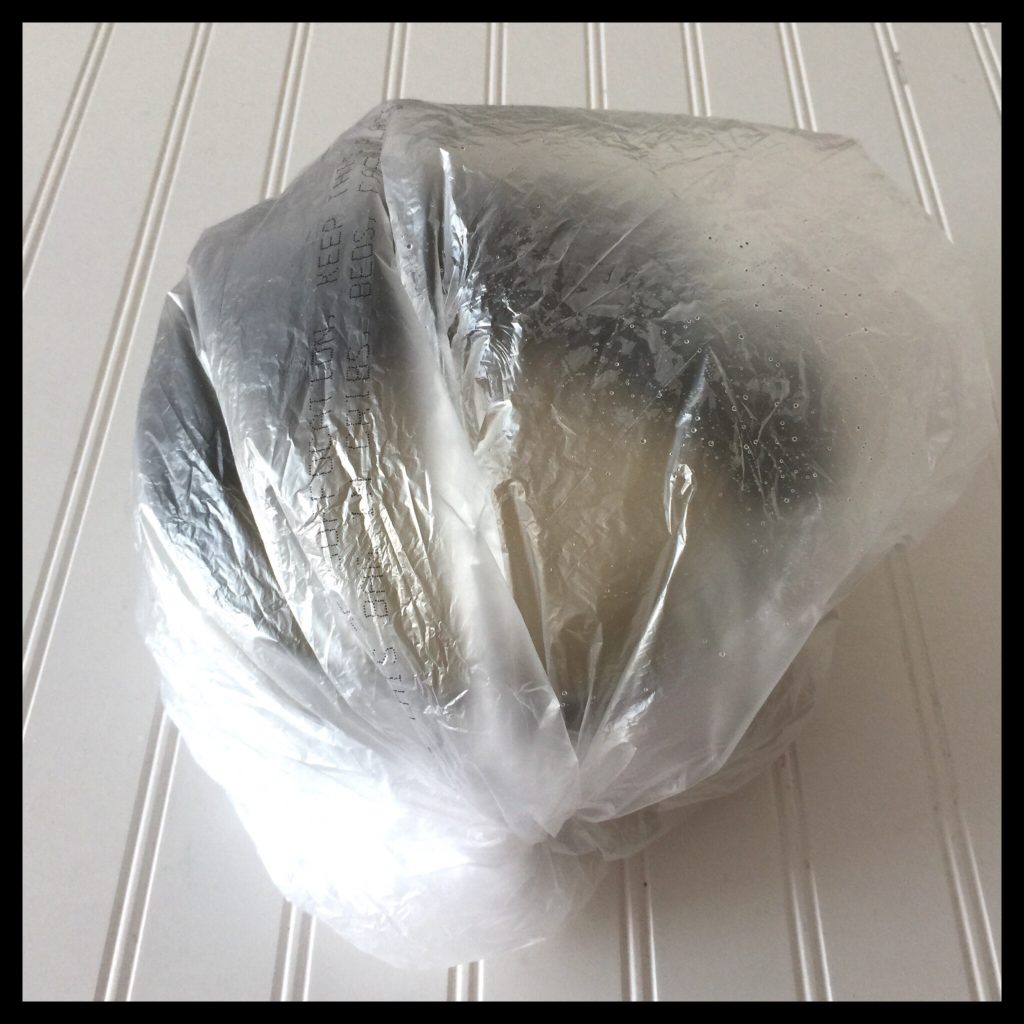
Place the bowl back in the bag as before. Let the dough rise for an hour if the room is around 70 degrees Fahrenheit, and for 40 minutes if it is close to 85 degrees. (Use a time in between for a temperature in the middle.) Set a timer so you remember!
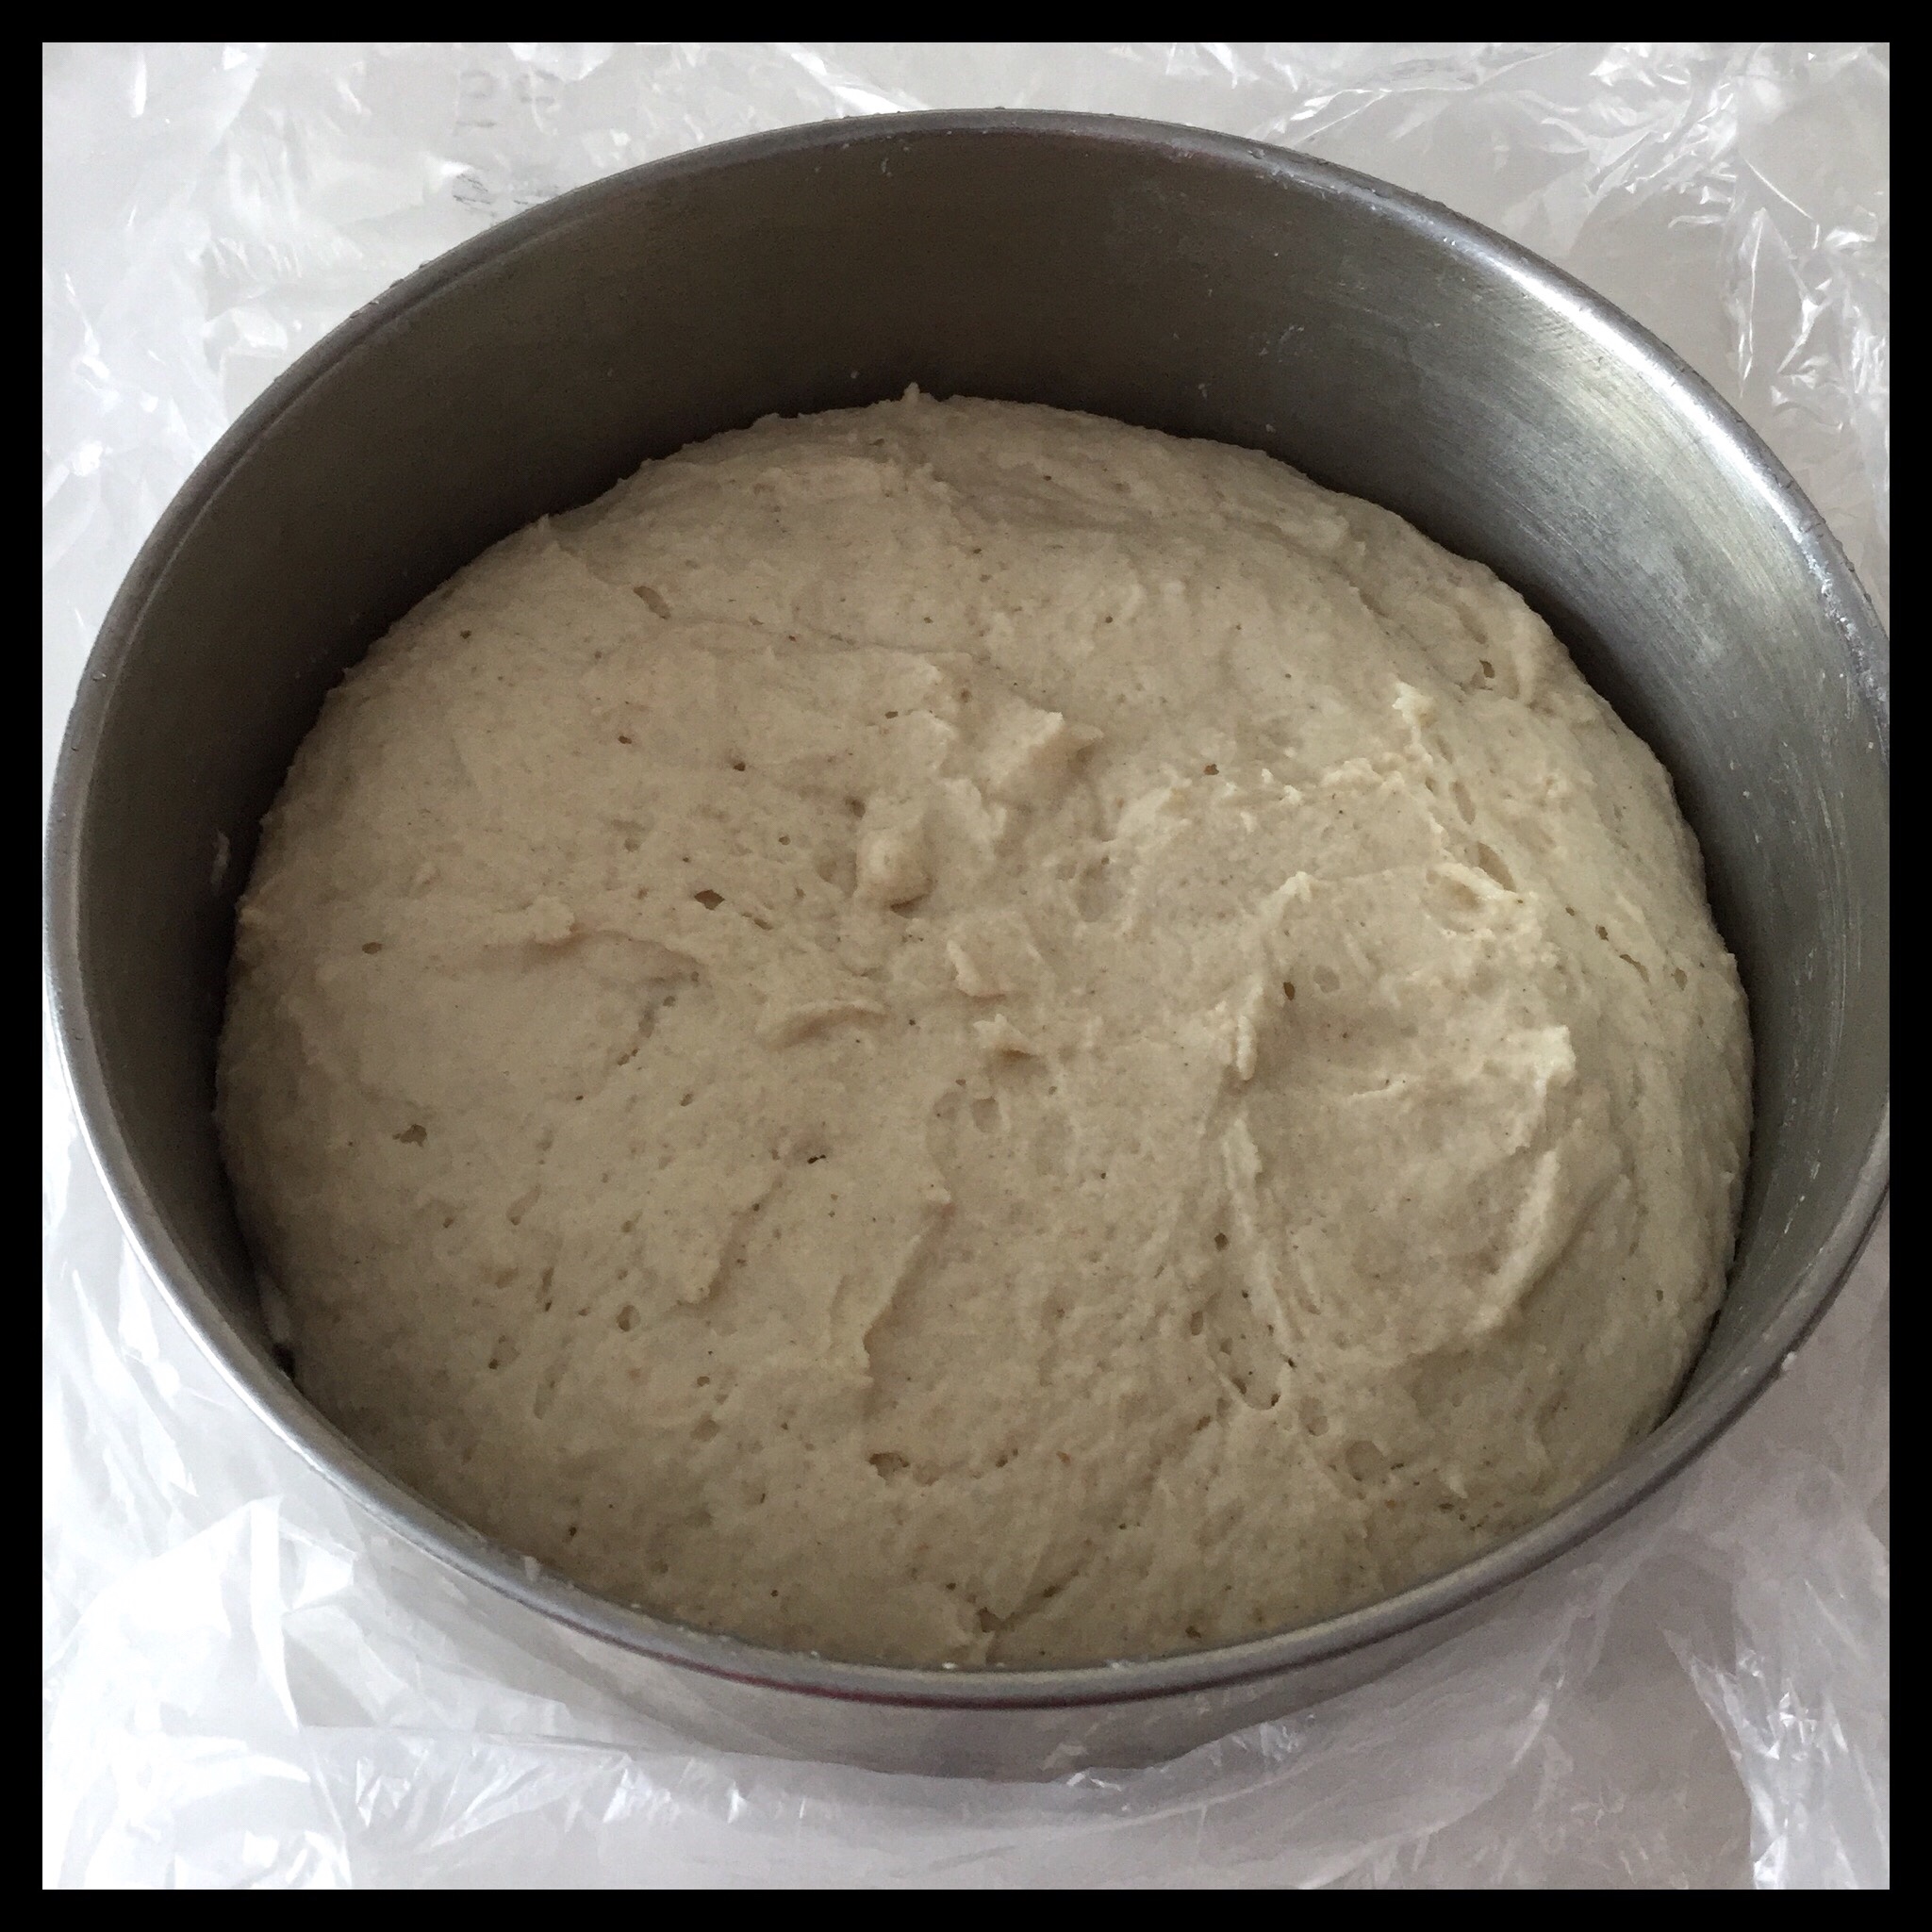
The dough will be quite puffy now:
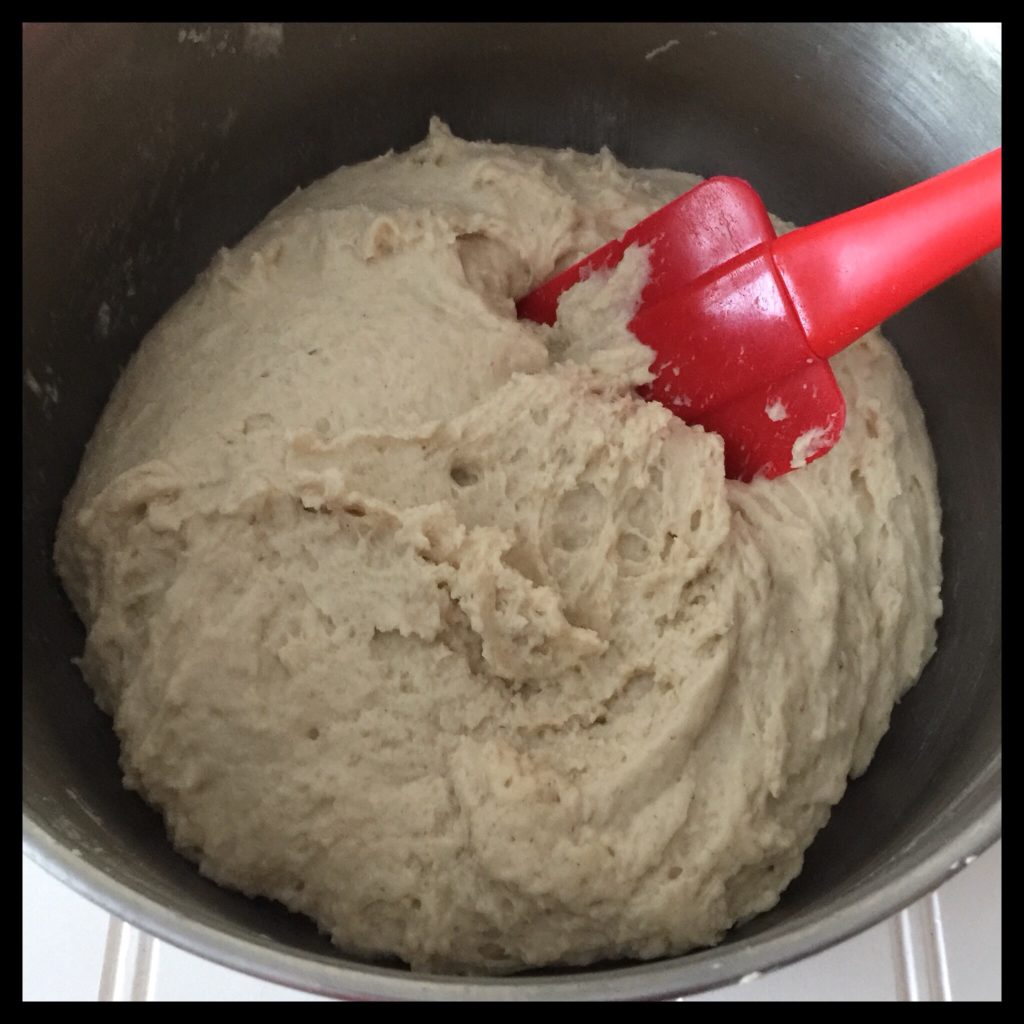
Stir the dough down with your spatula or spoon.
Divide the dough into eight equal pieces. I use a scale to be sure they are equal as this ensures even baking later.
Tip: weigh your bowl before you add the flour at the start of the recipe and write down the weight. Then, when you are ready to divide the dough, weigh the bowl with the dough, subtract the weight of the bowl, and divide by eight. That is how much the dough for each roll should weigh. Zero the scale, and remove the right amount of dough for one roll. Shape it and place it on the parchment lined pan. Repeat until all eight rolls are shaped.
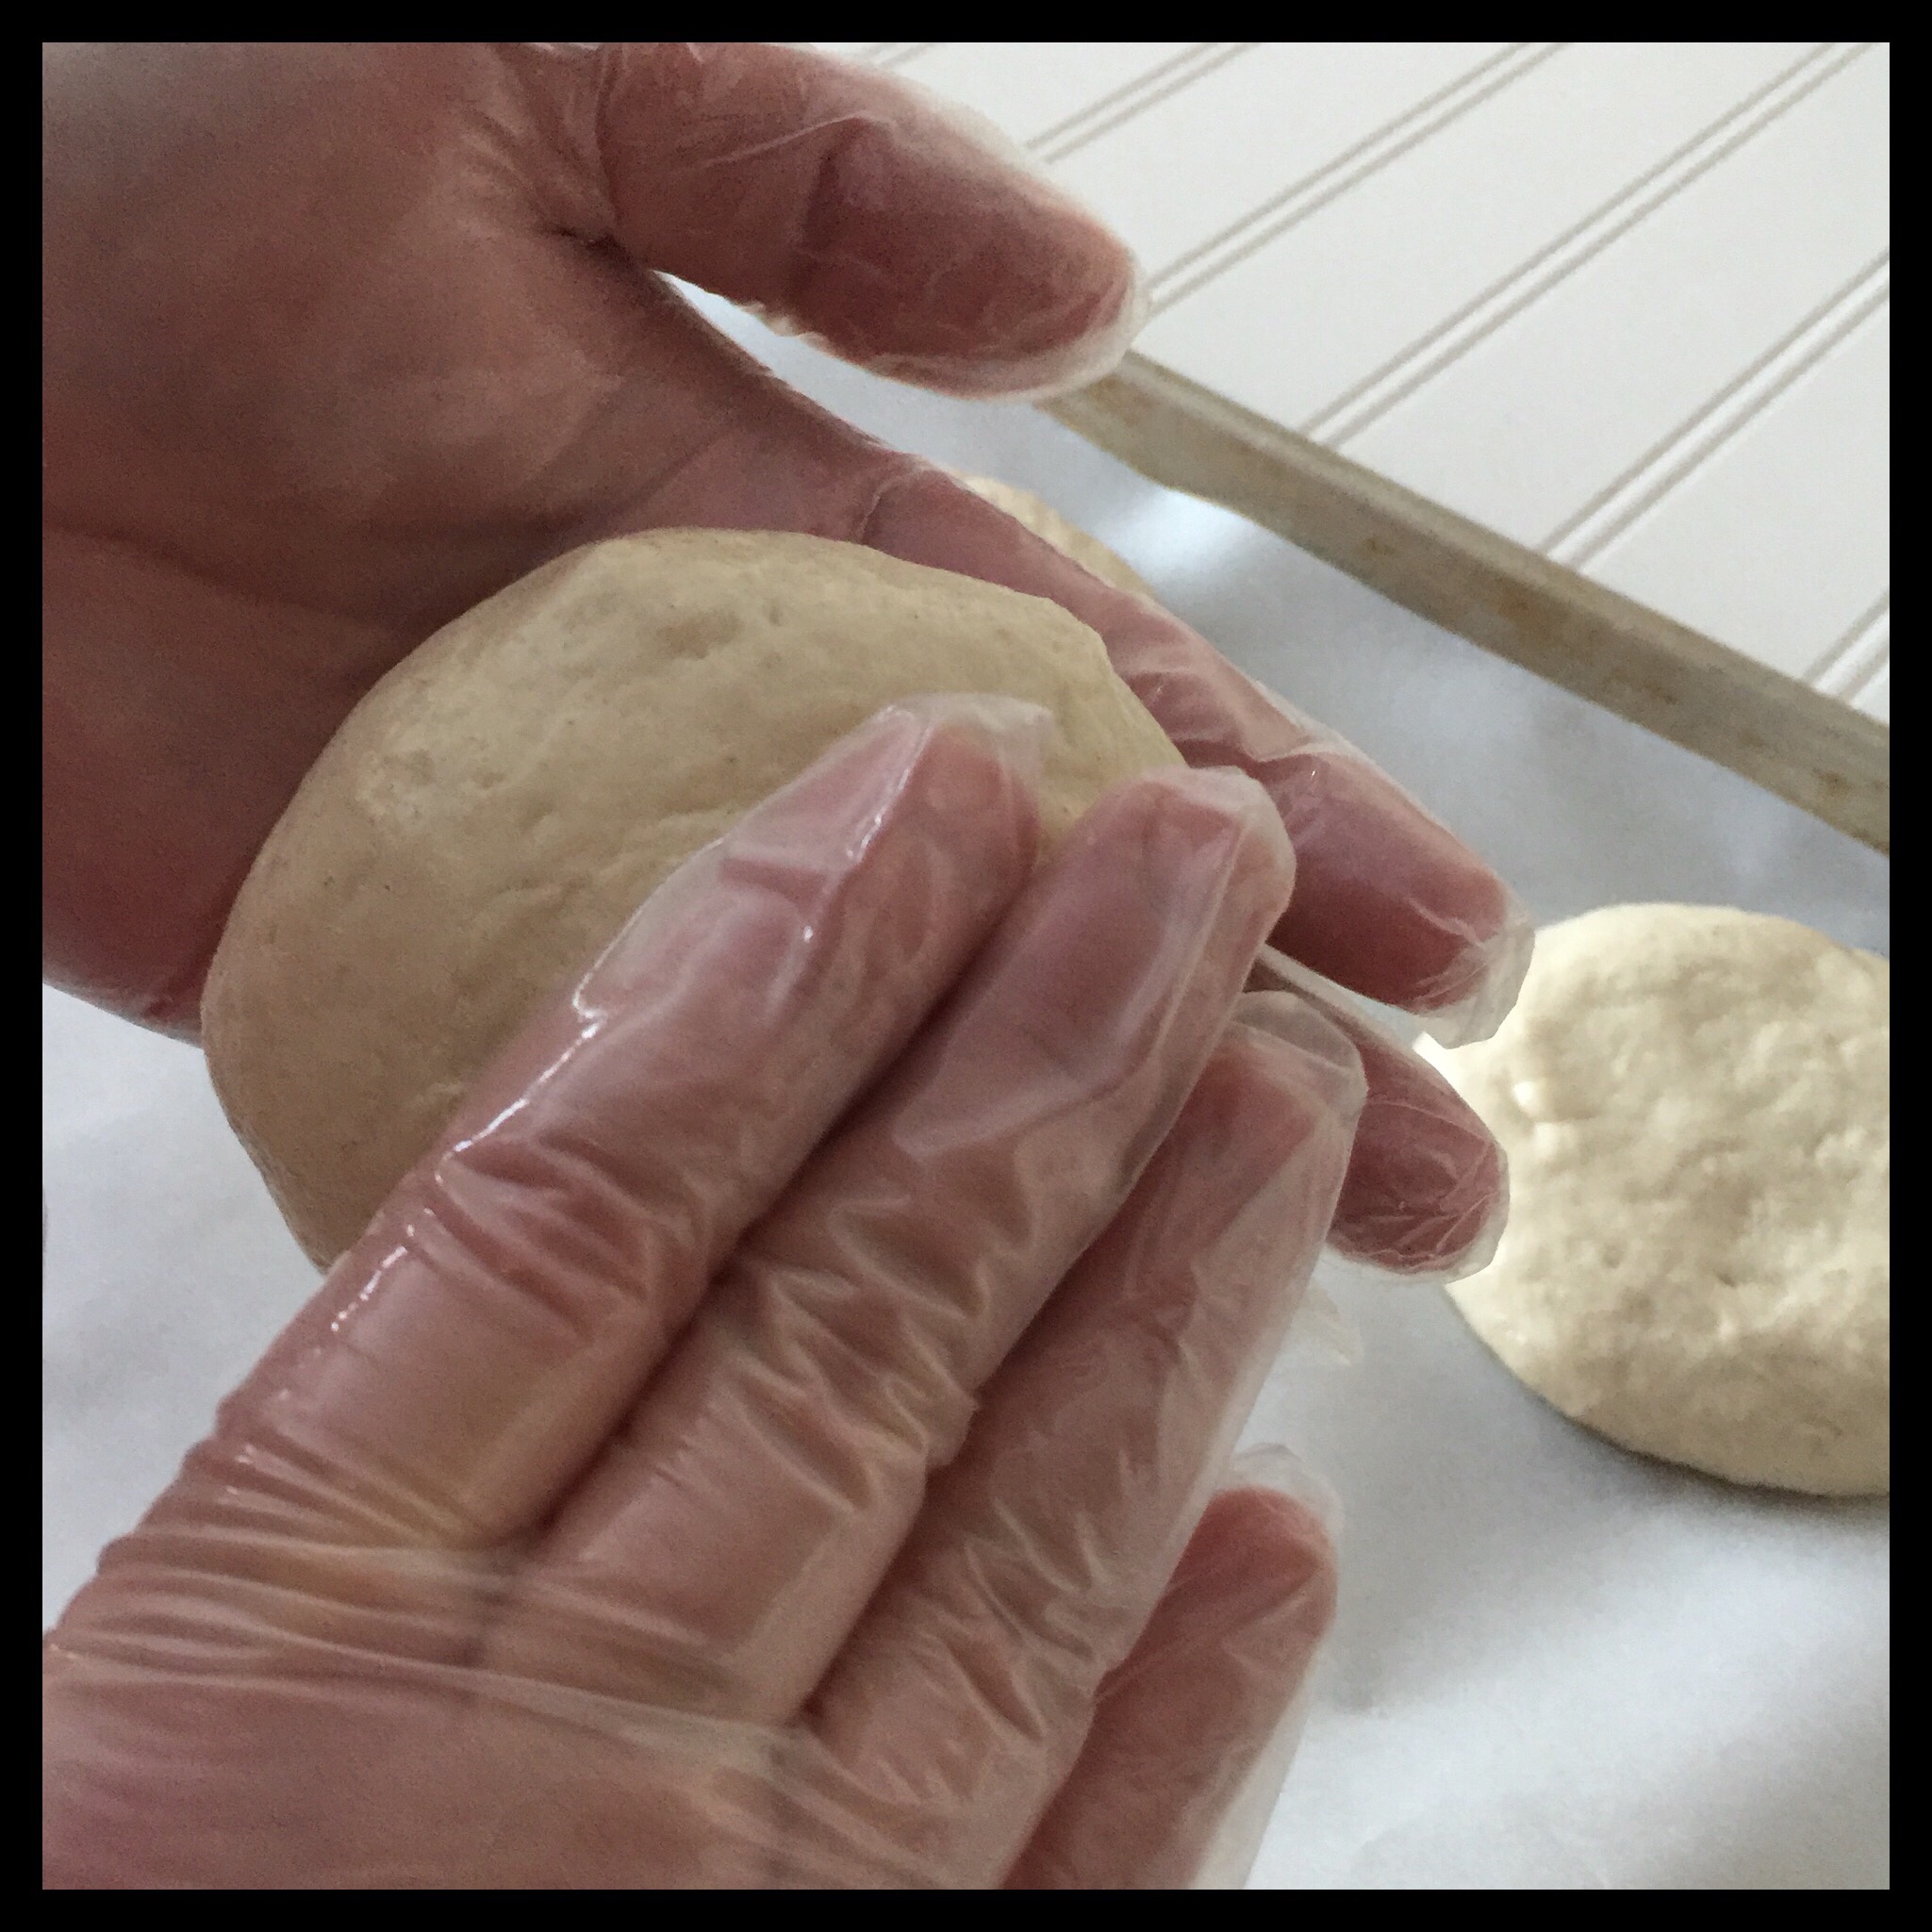
To shape each piece of dough, roll it into a ball in your greased hands (gloves make this step even easier). Hold the ball in one hand and flatten it into a 3″ to 3 1/2″ circle with the other. Place on the lined pan as shown:
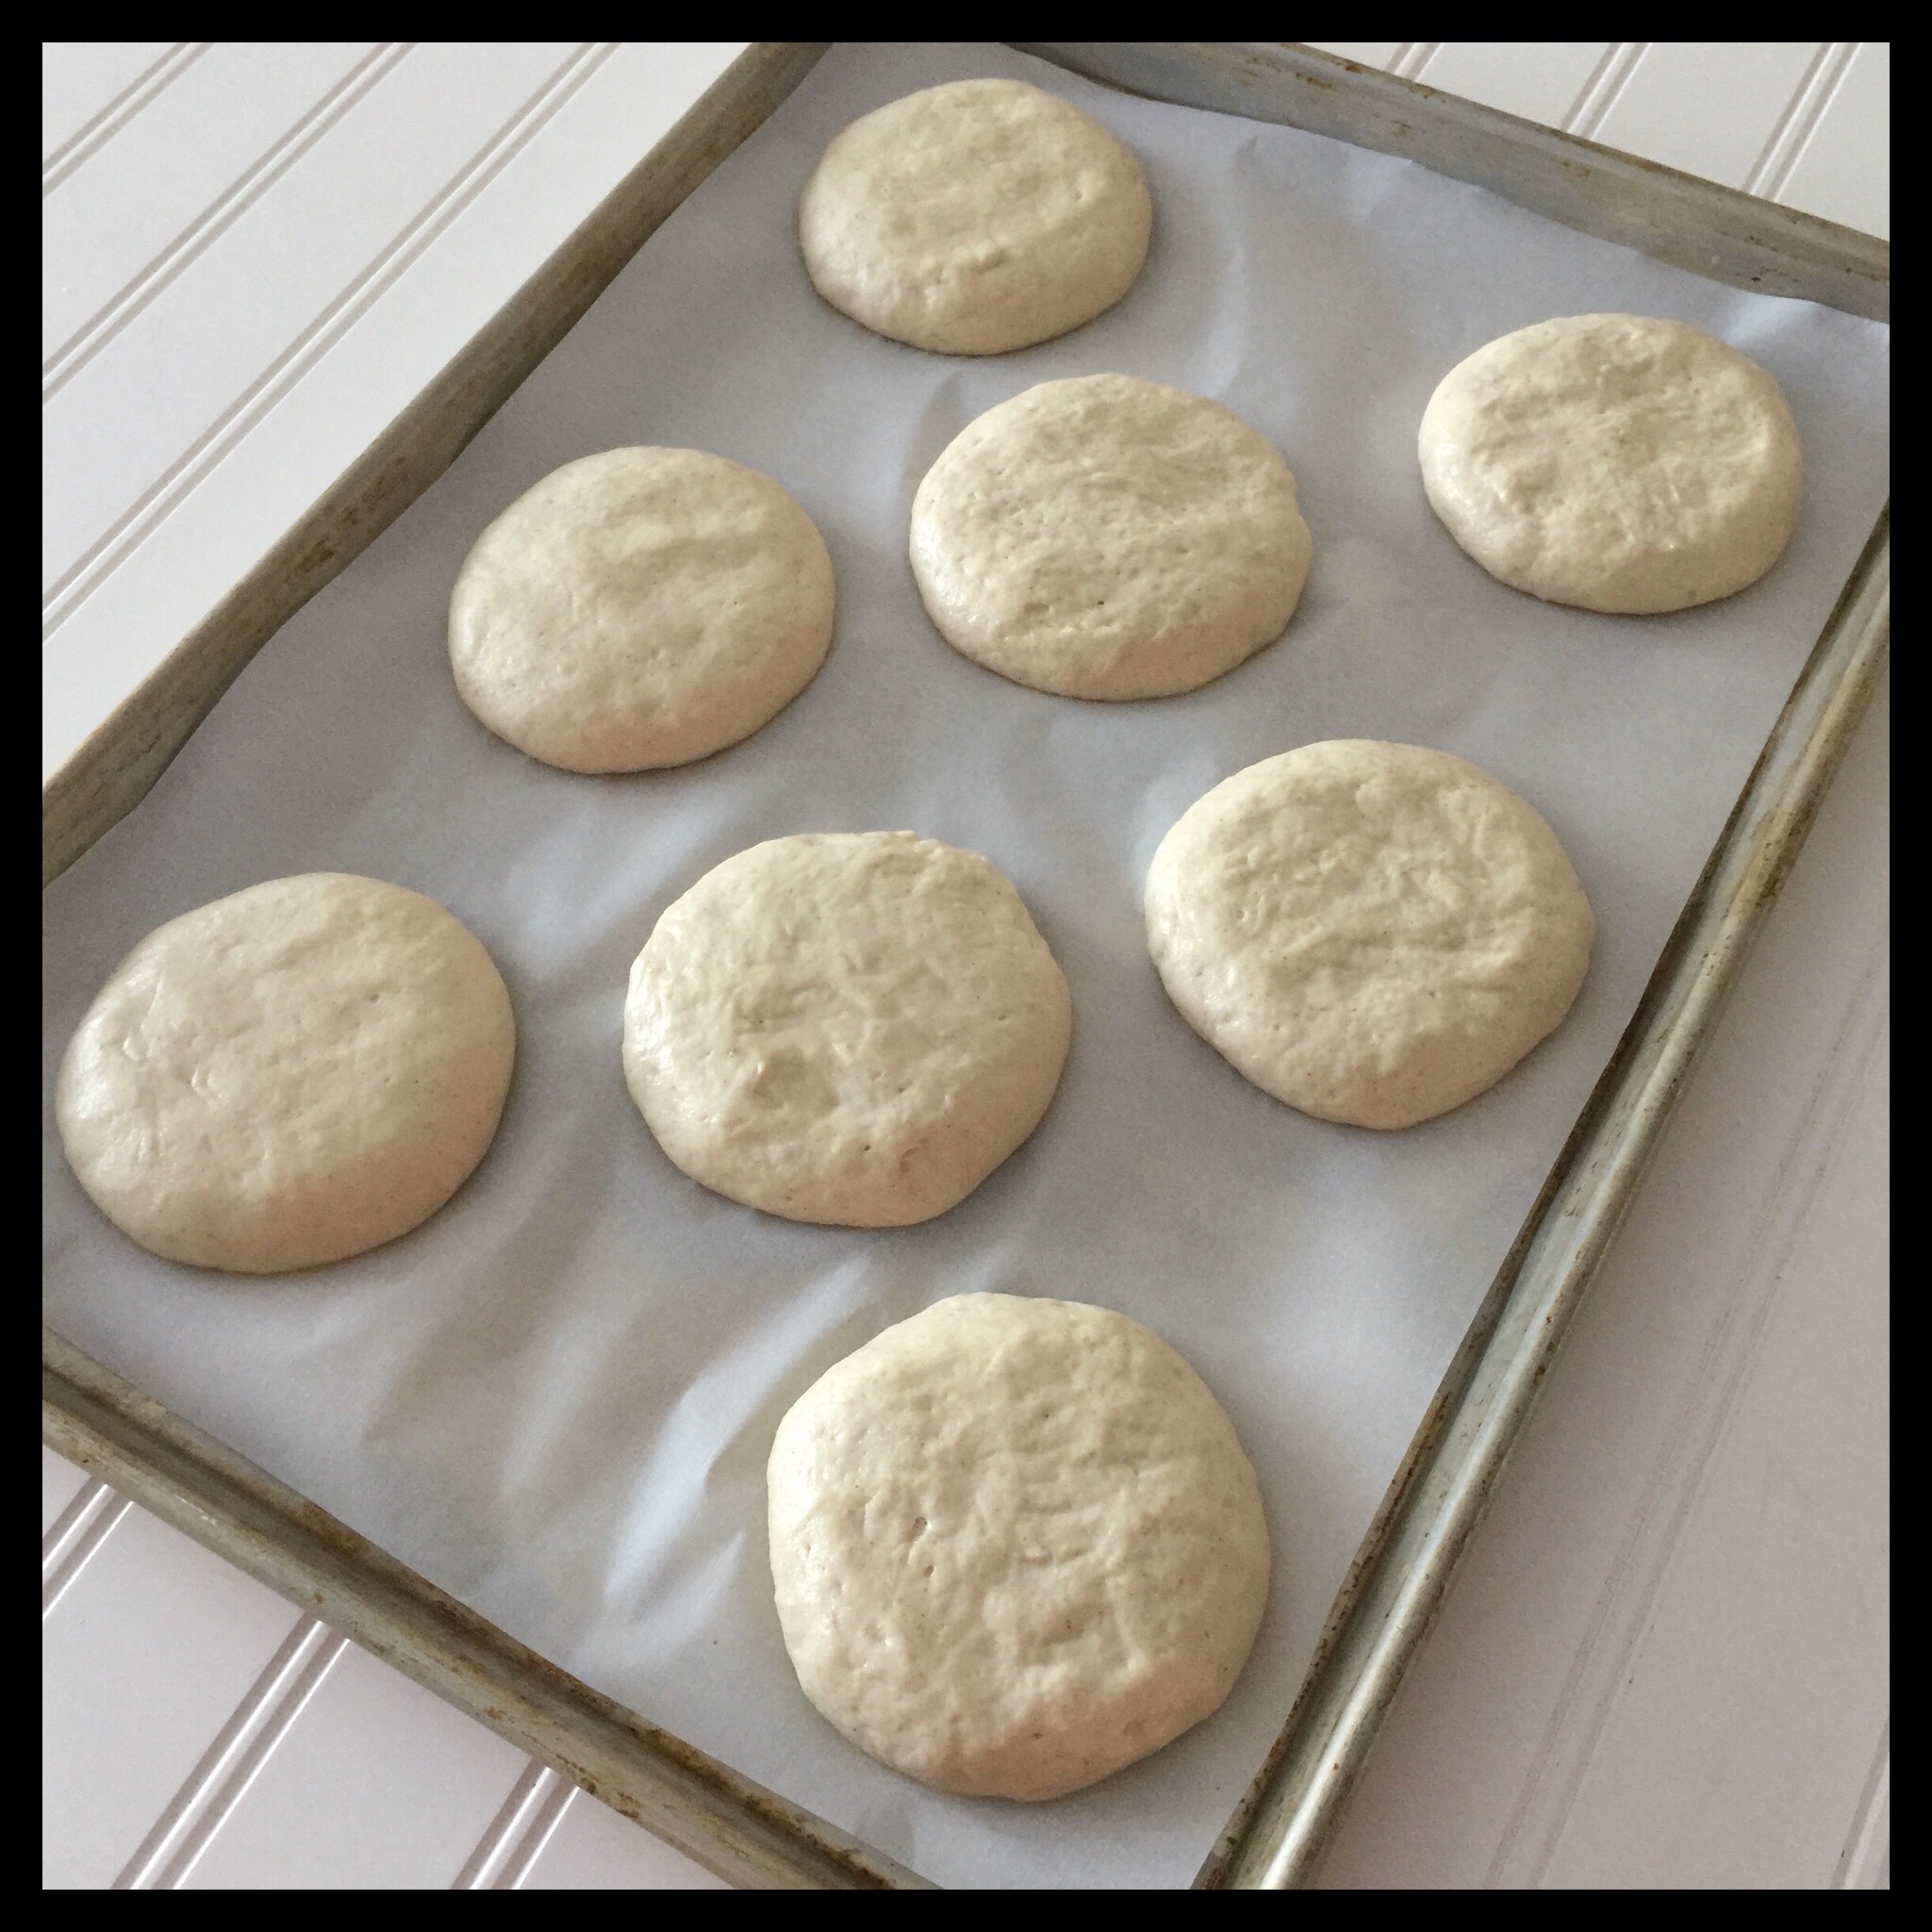
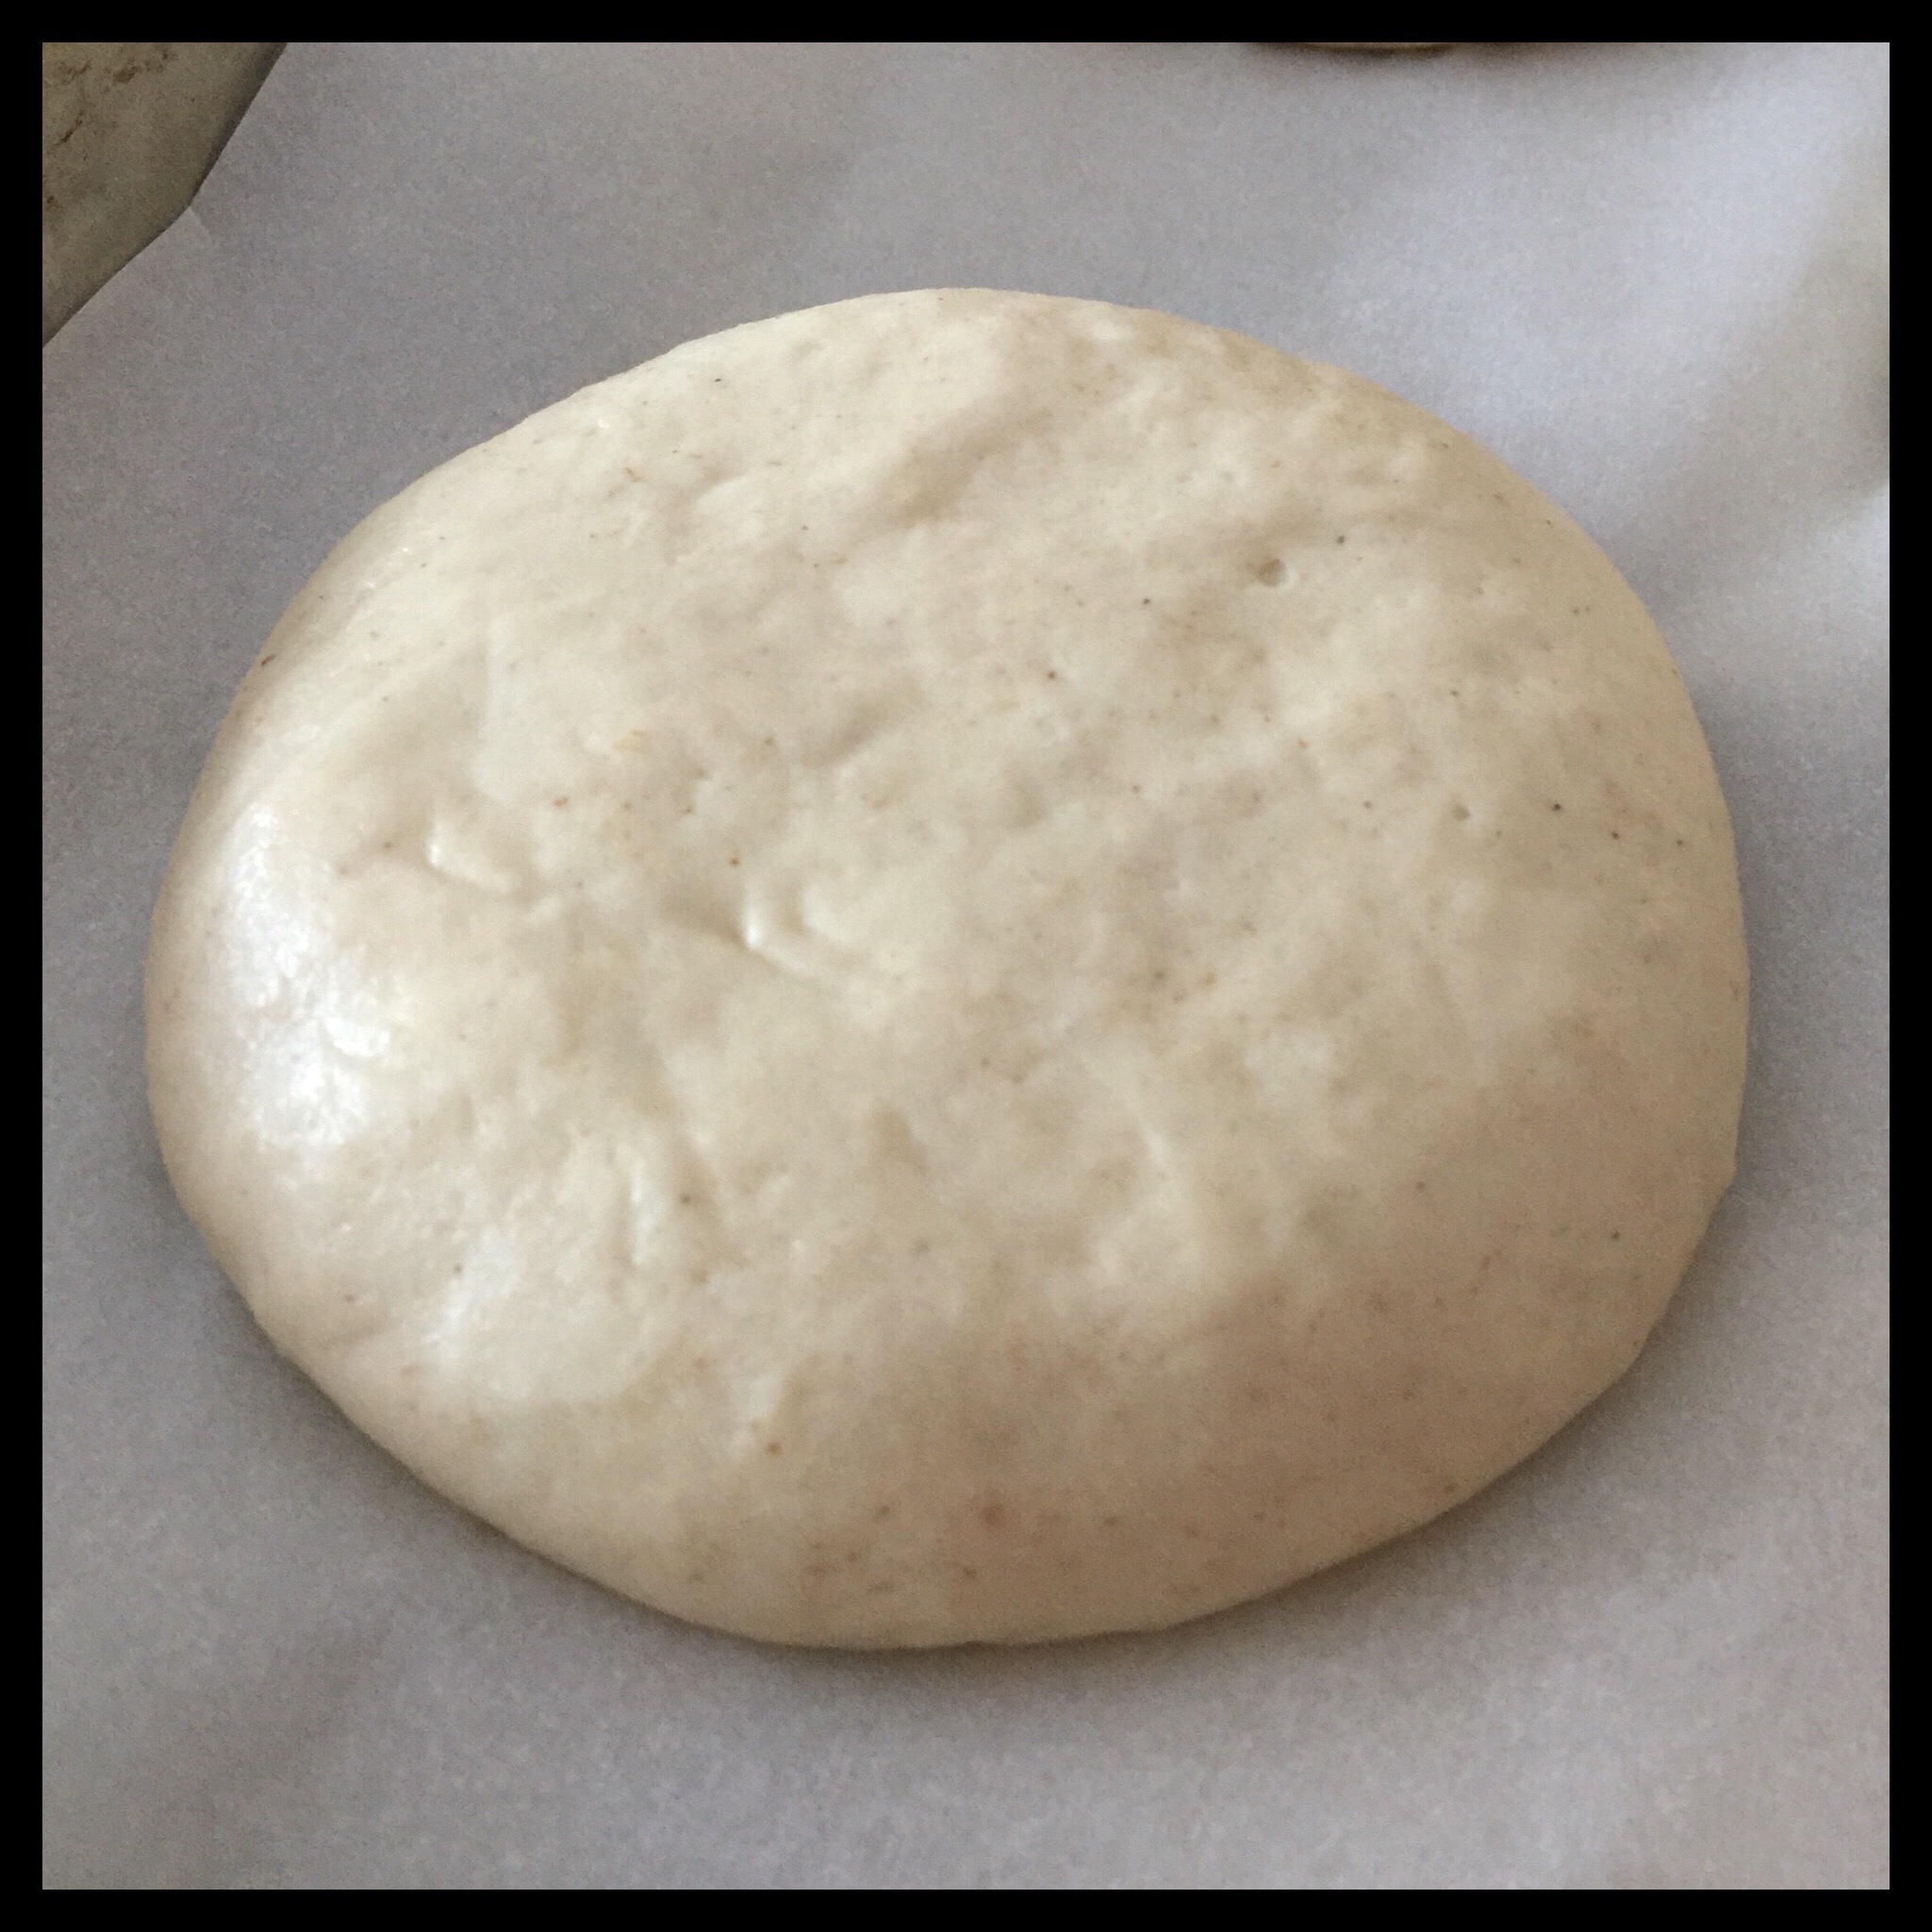
This is what each shaped piece of dough should look like:
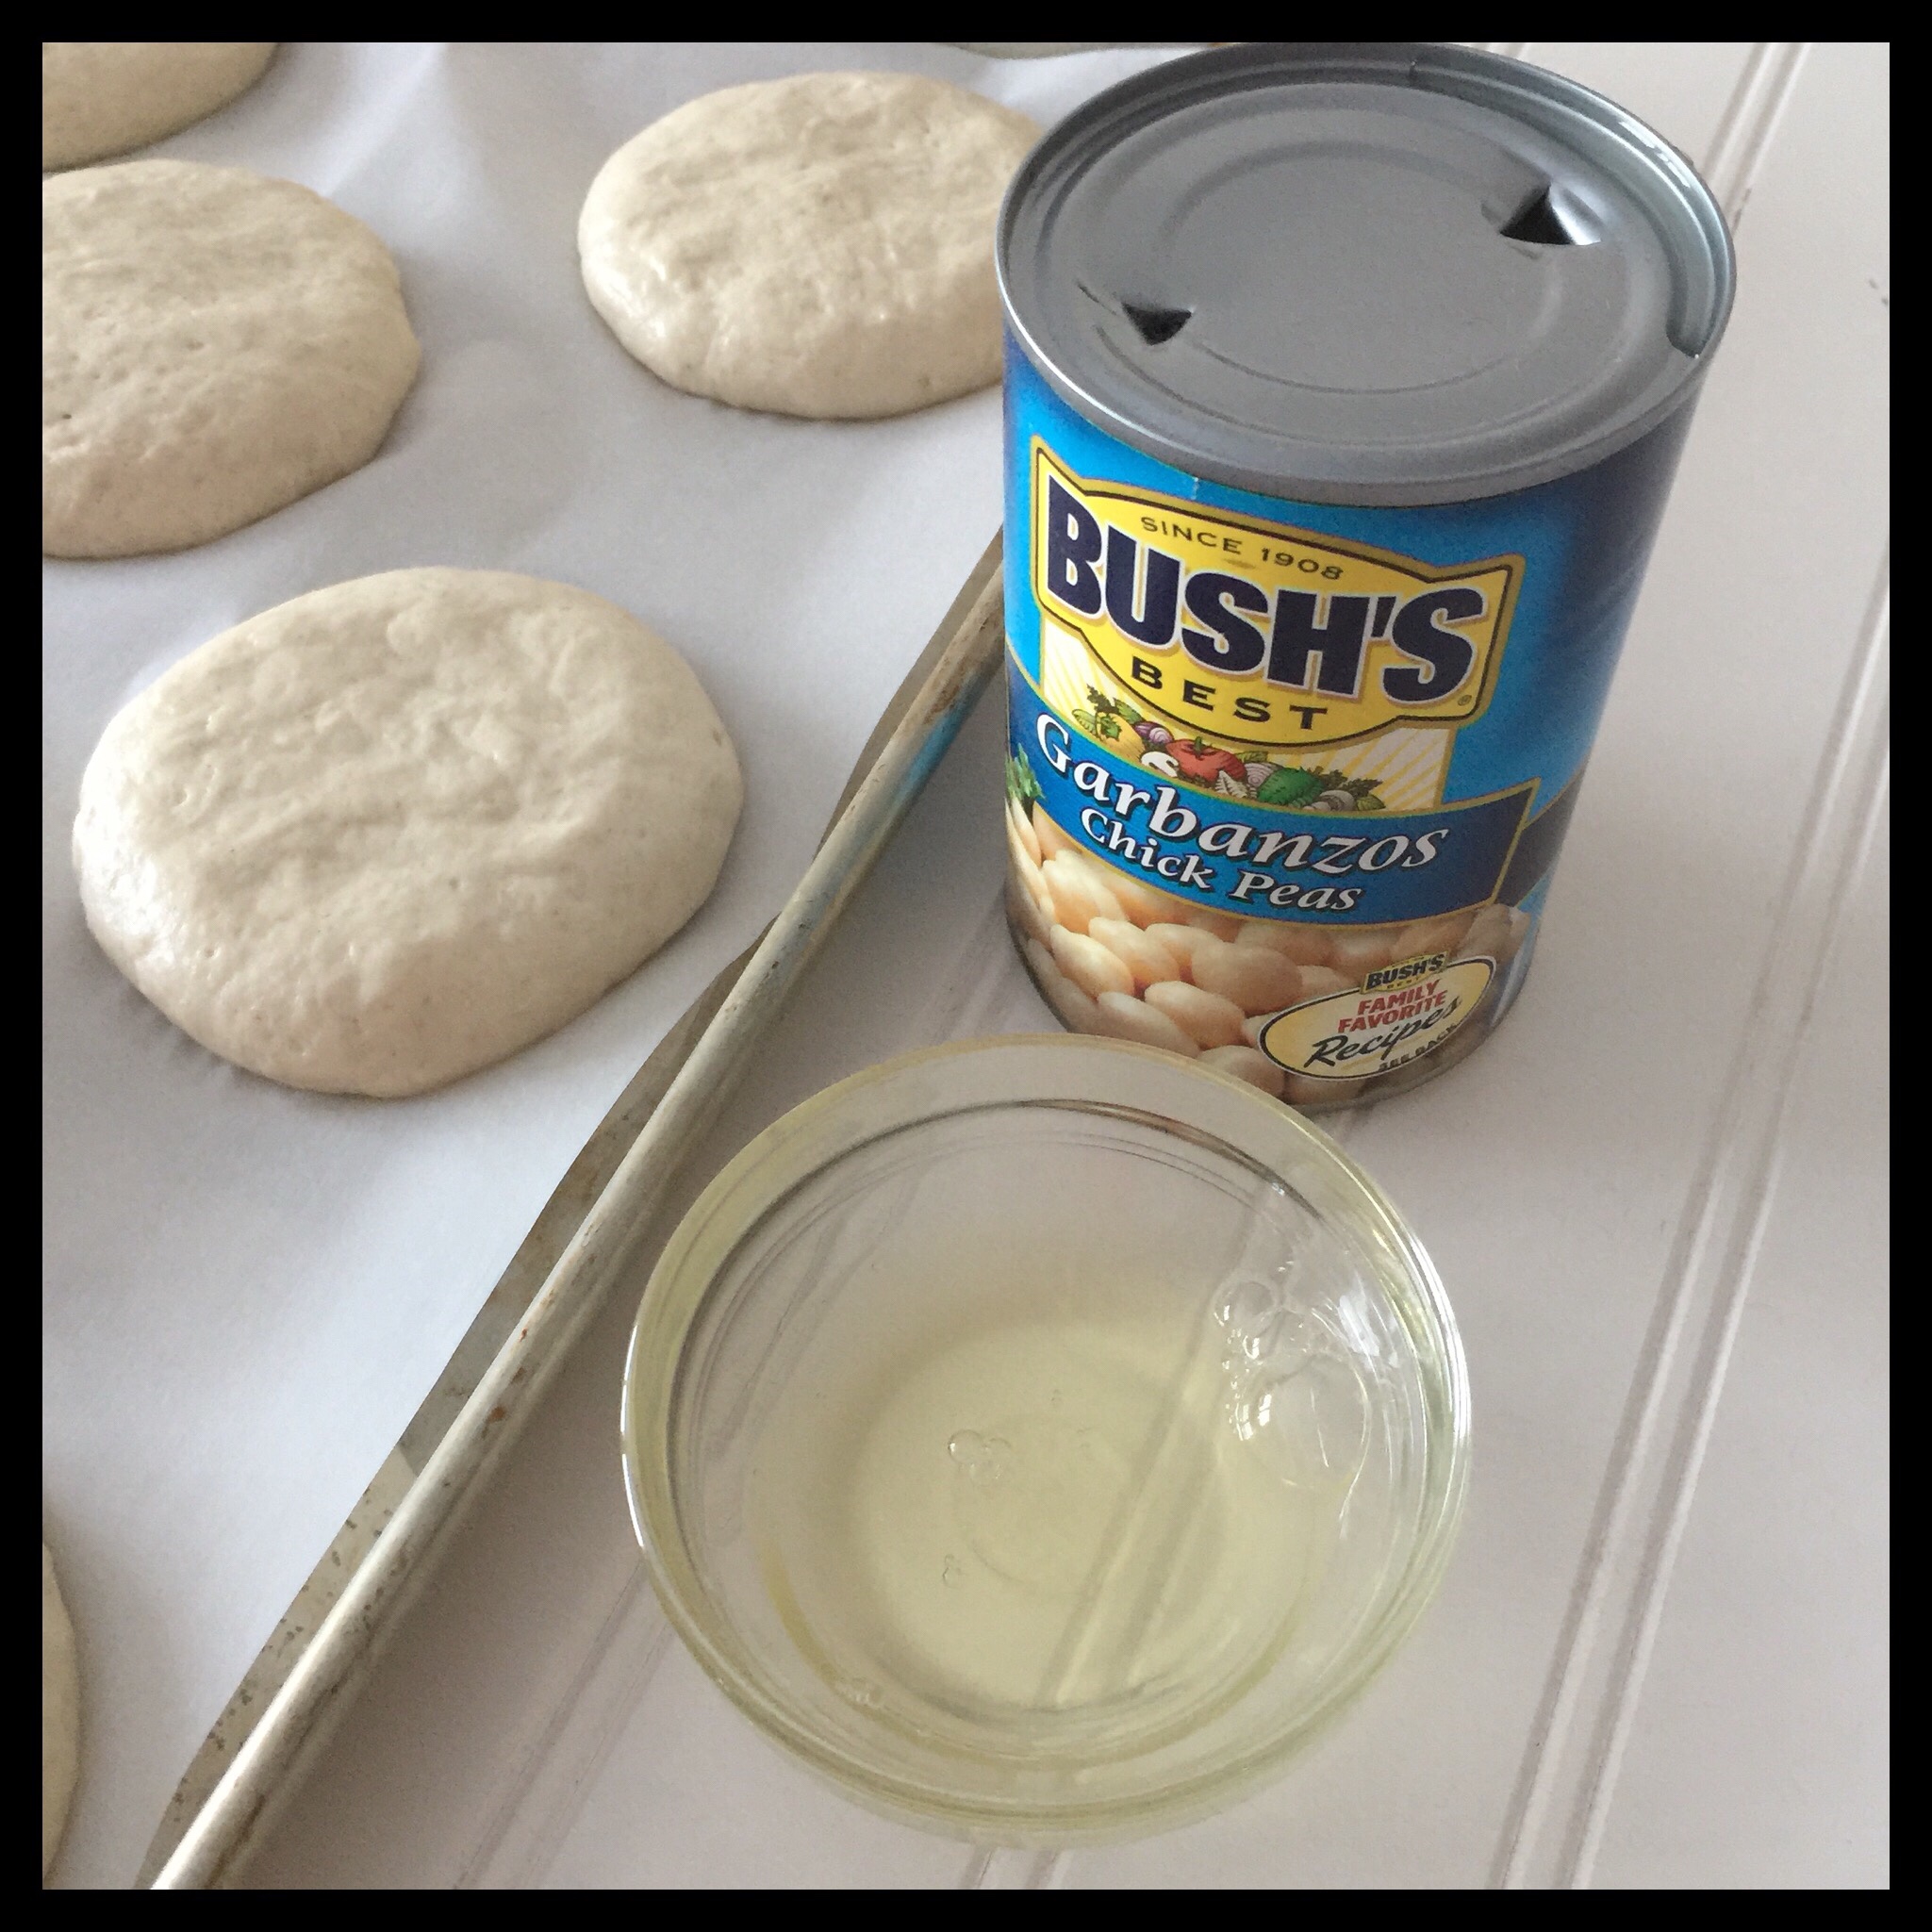
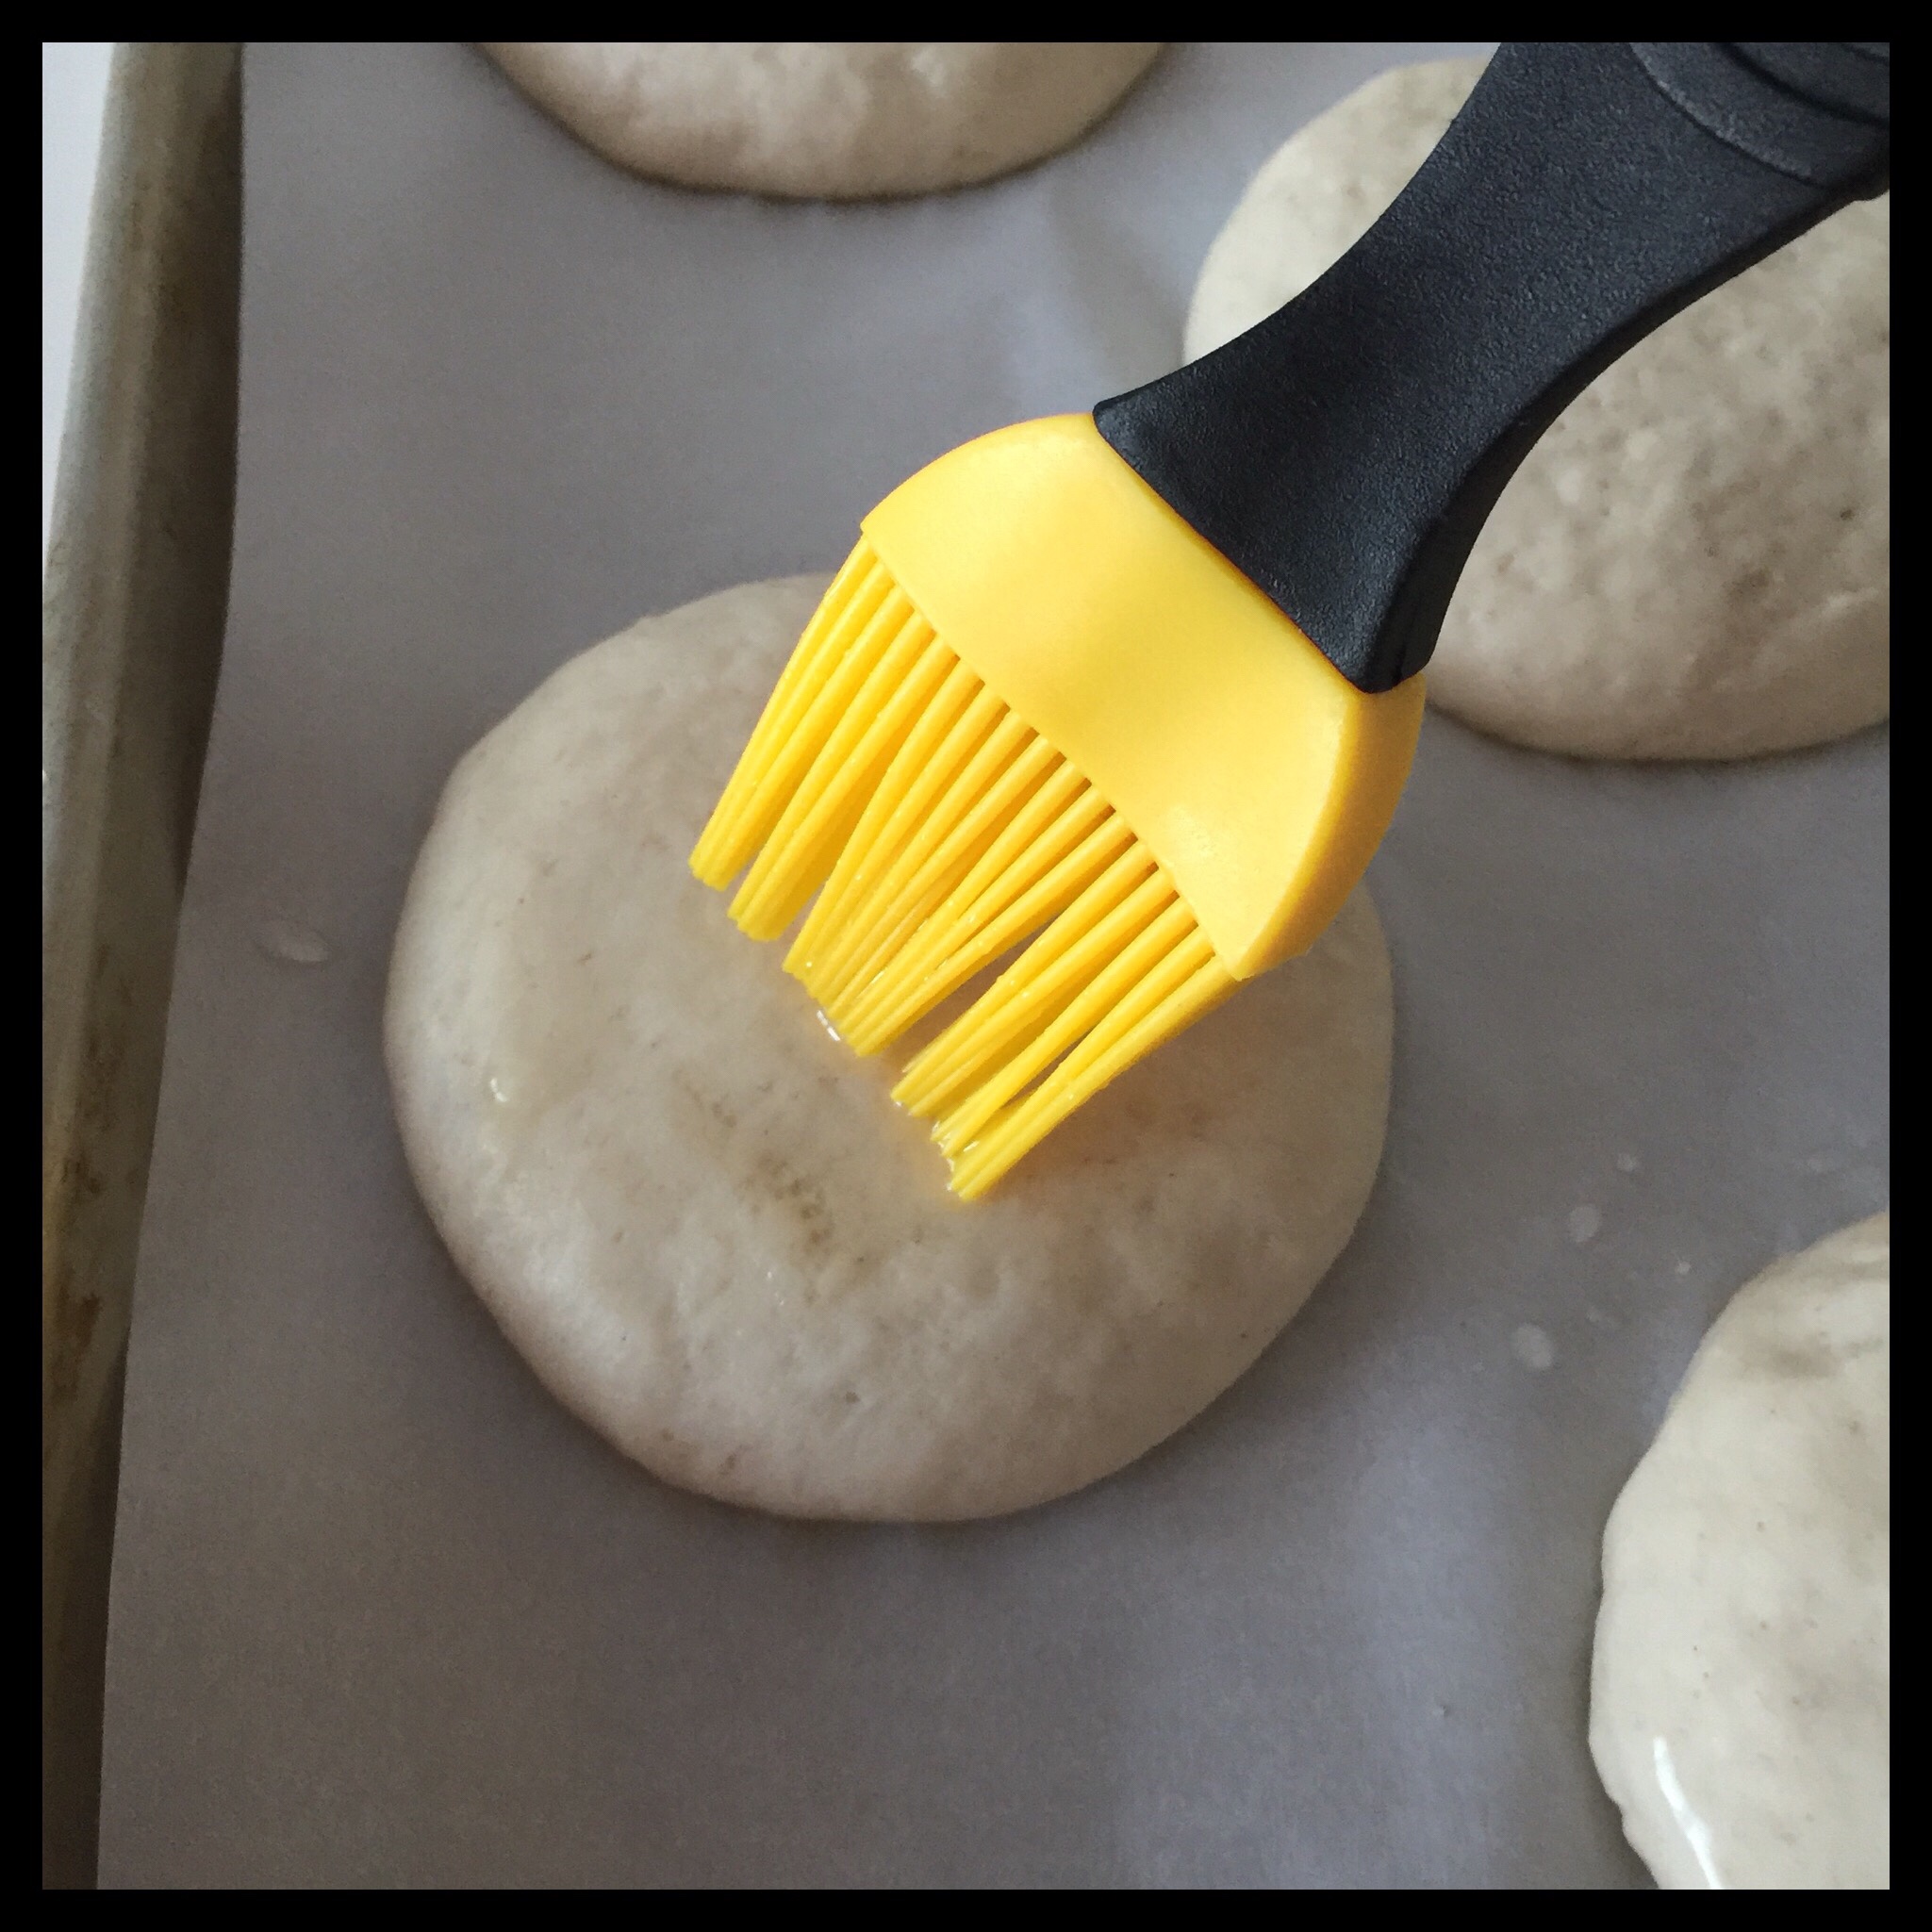
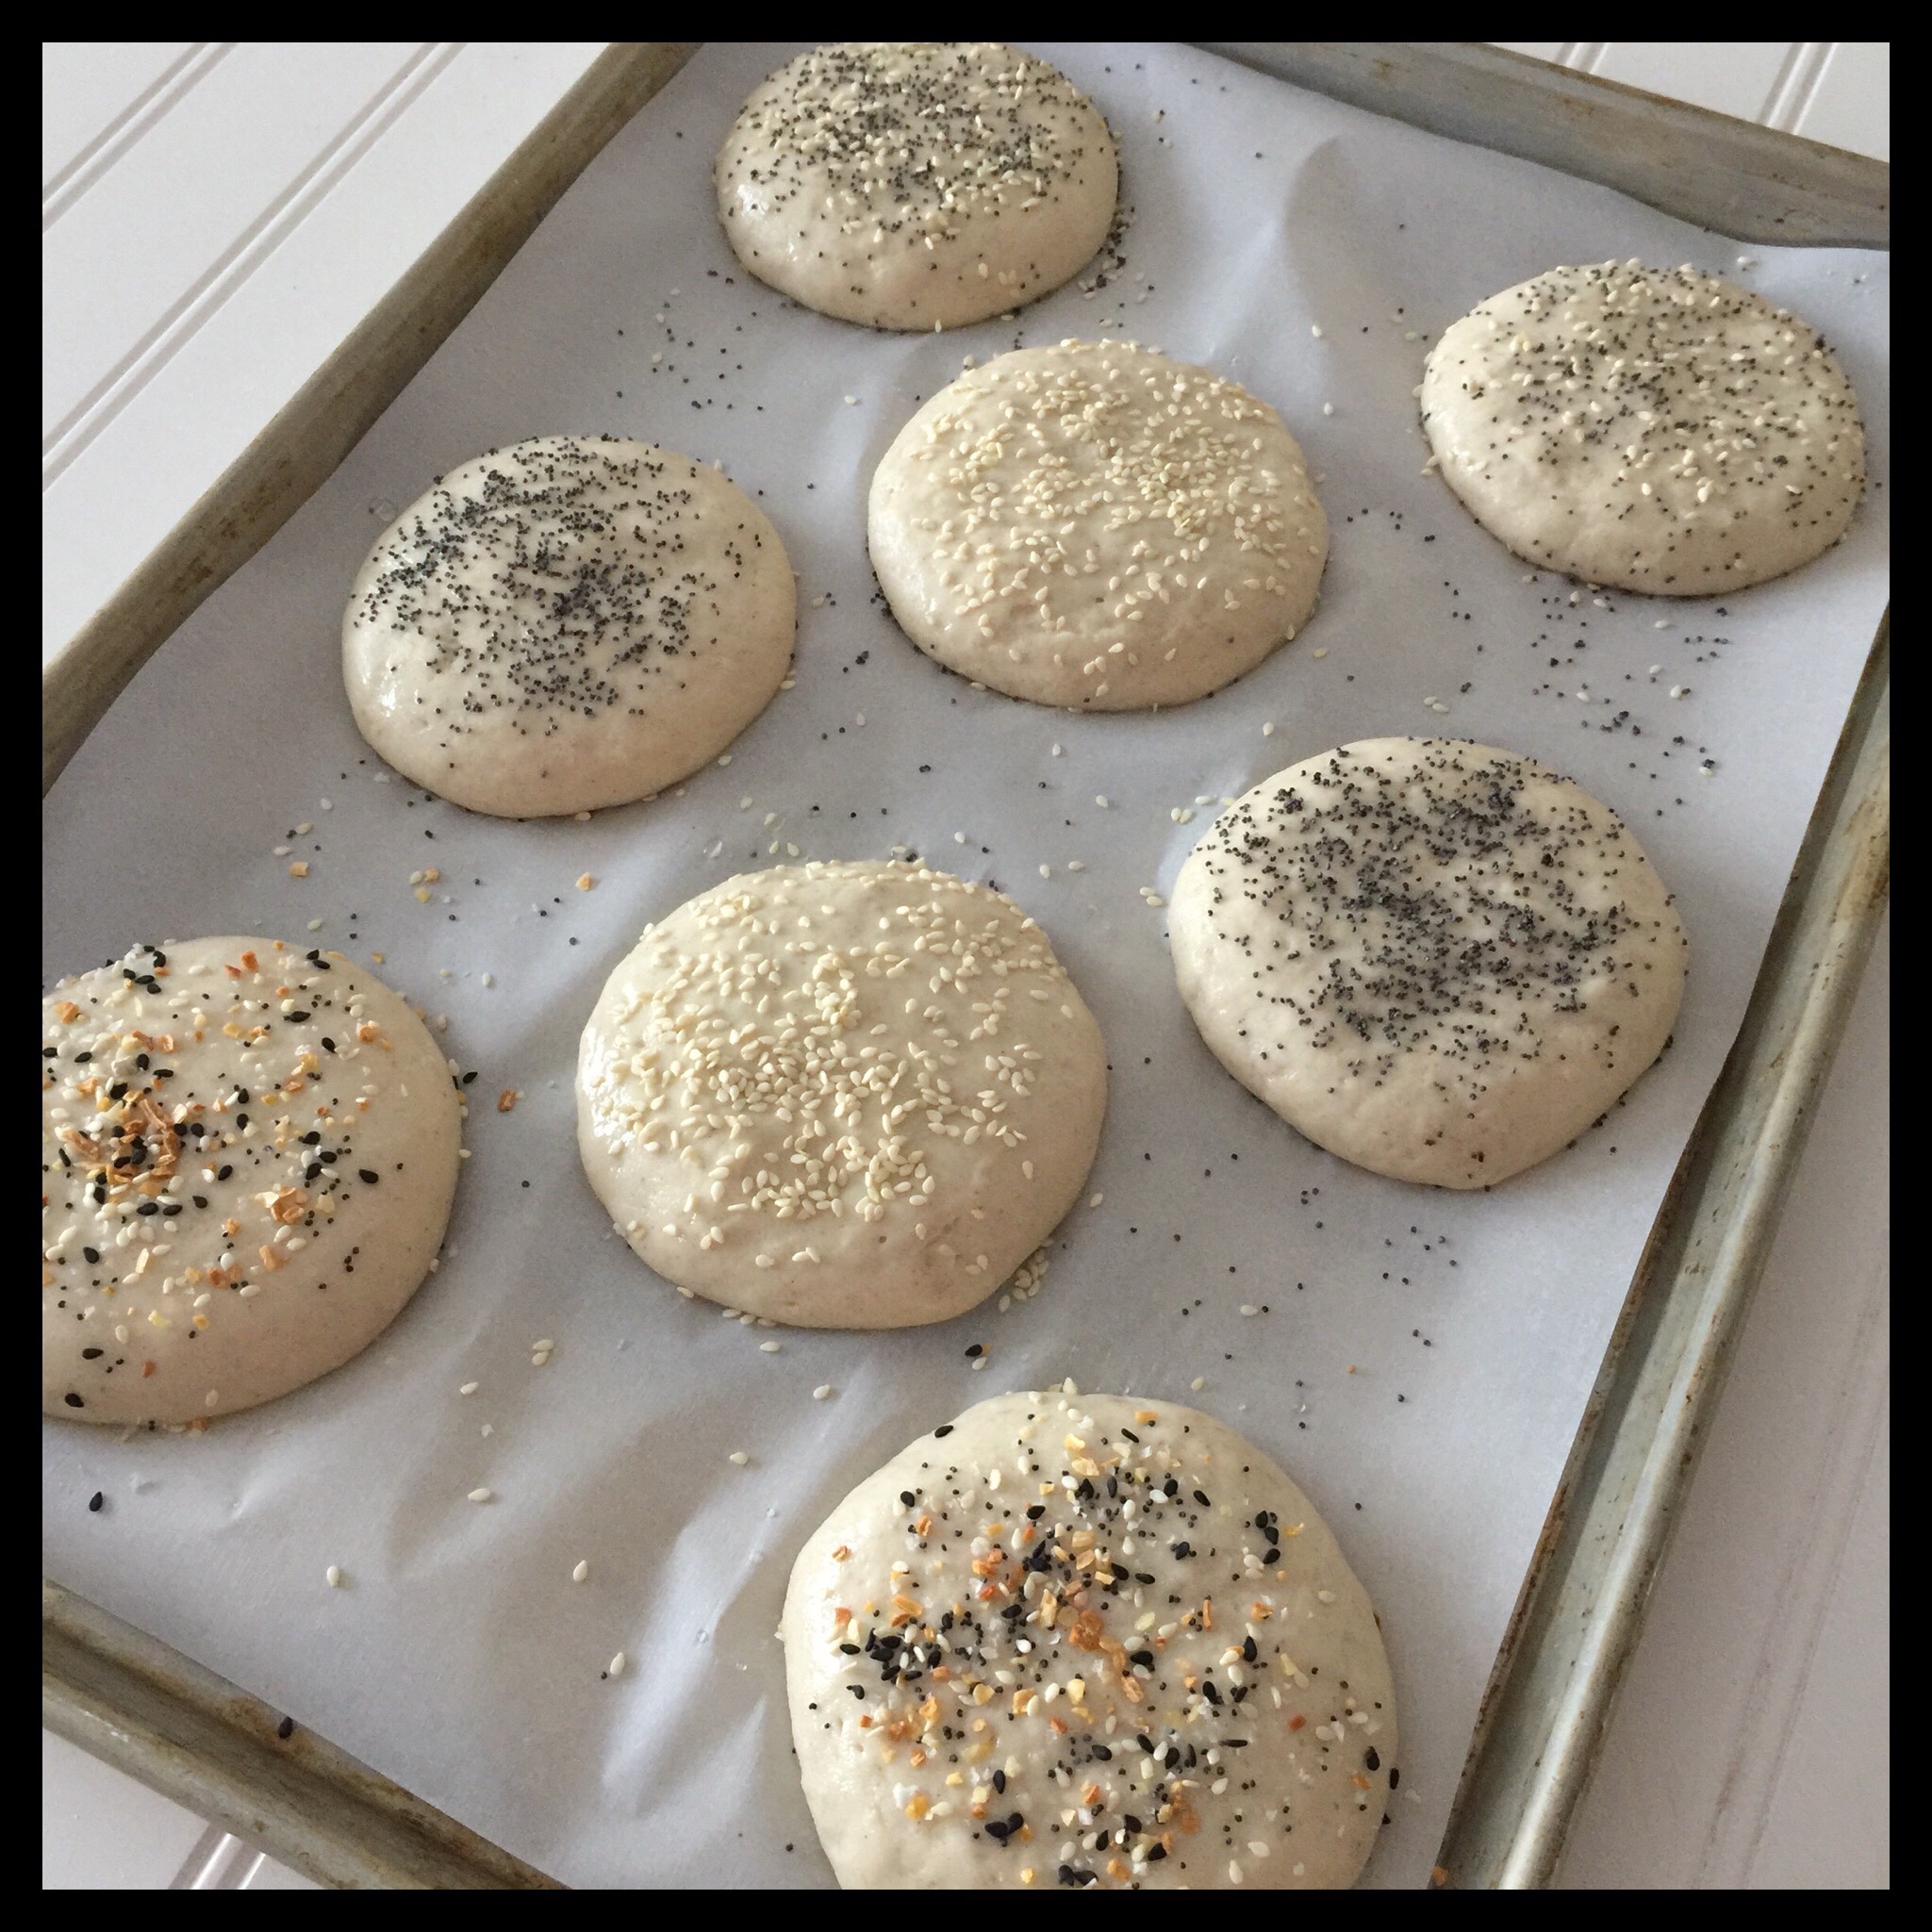
If you want to make seeded rolls, brush each shaped piece of dough with some aquafaba before sprinkling it with seeds:
Carefully place the pan with the shaped pieces of dough into the plastic bag. Puff it up and then tuck the edge under the pan. The plastic should form a dome over the rolls as shown:
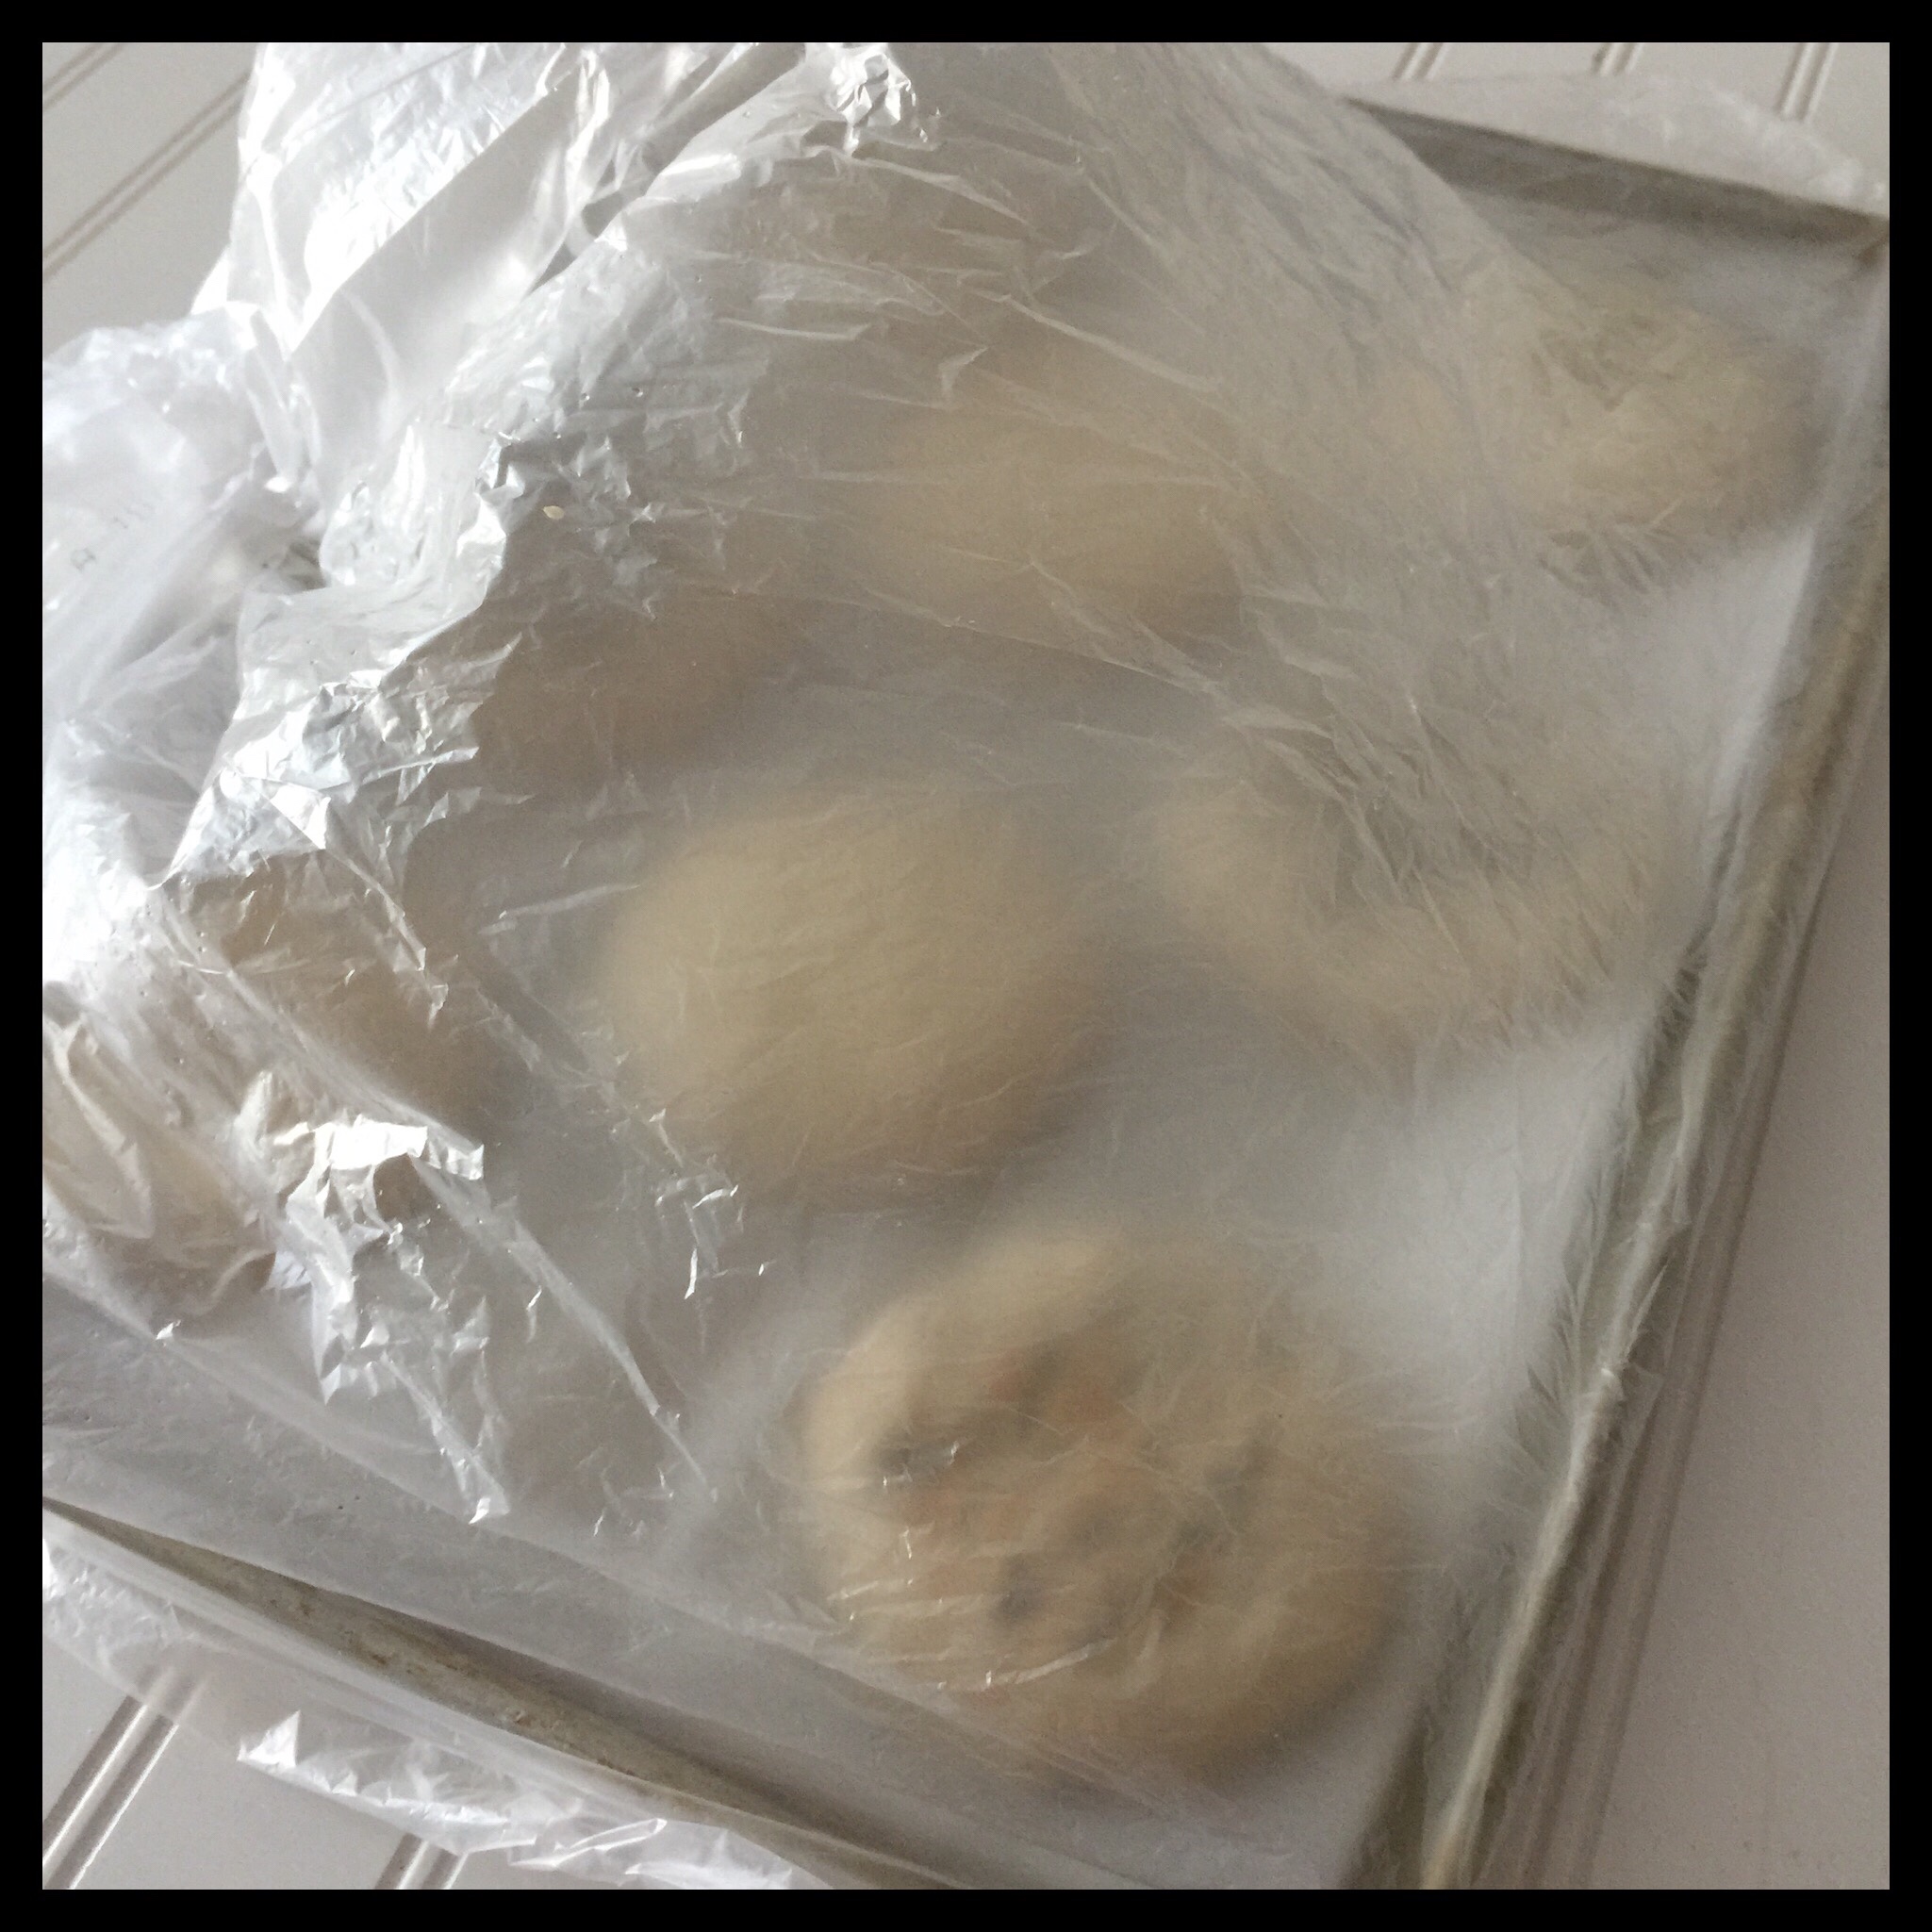
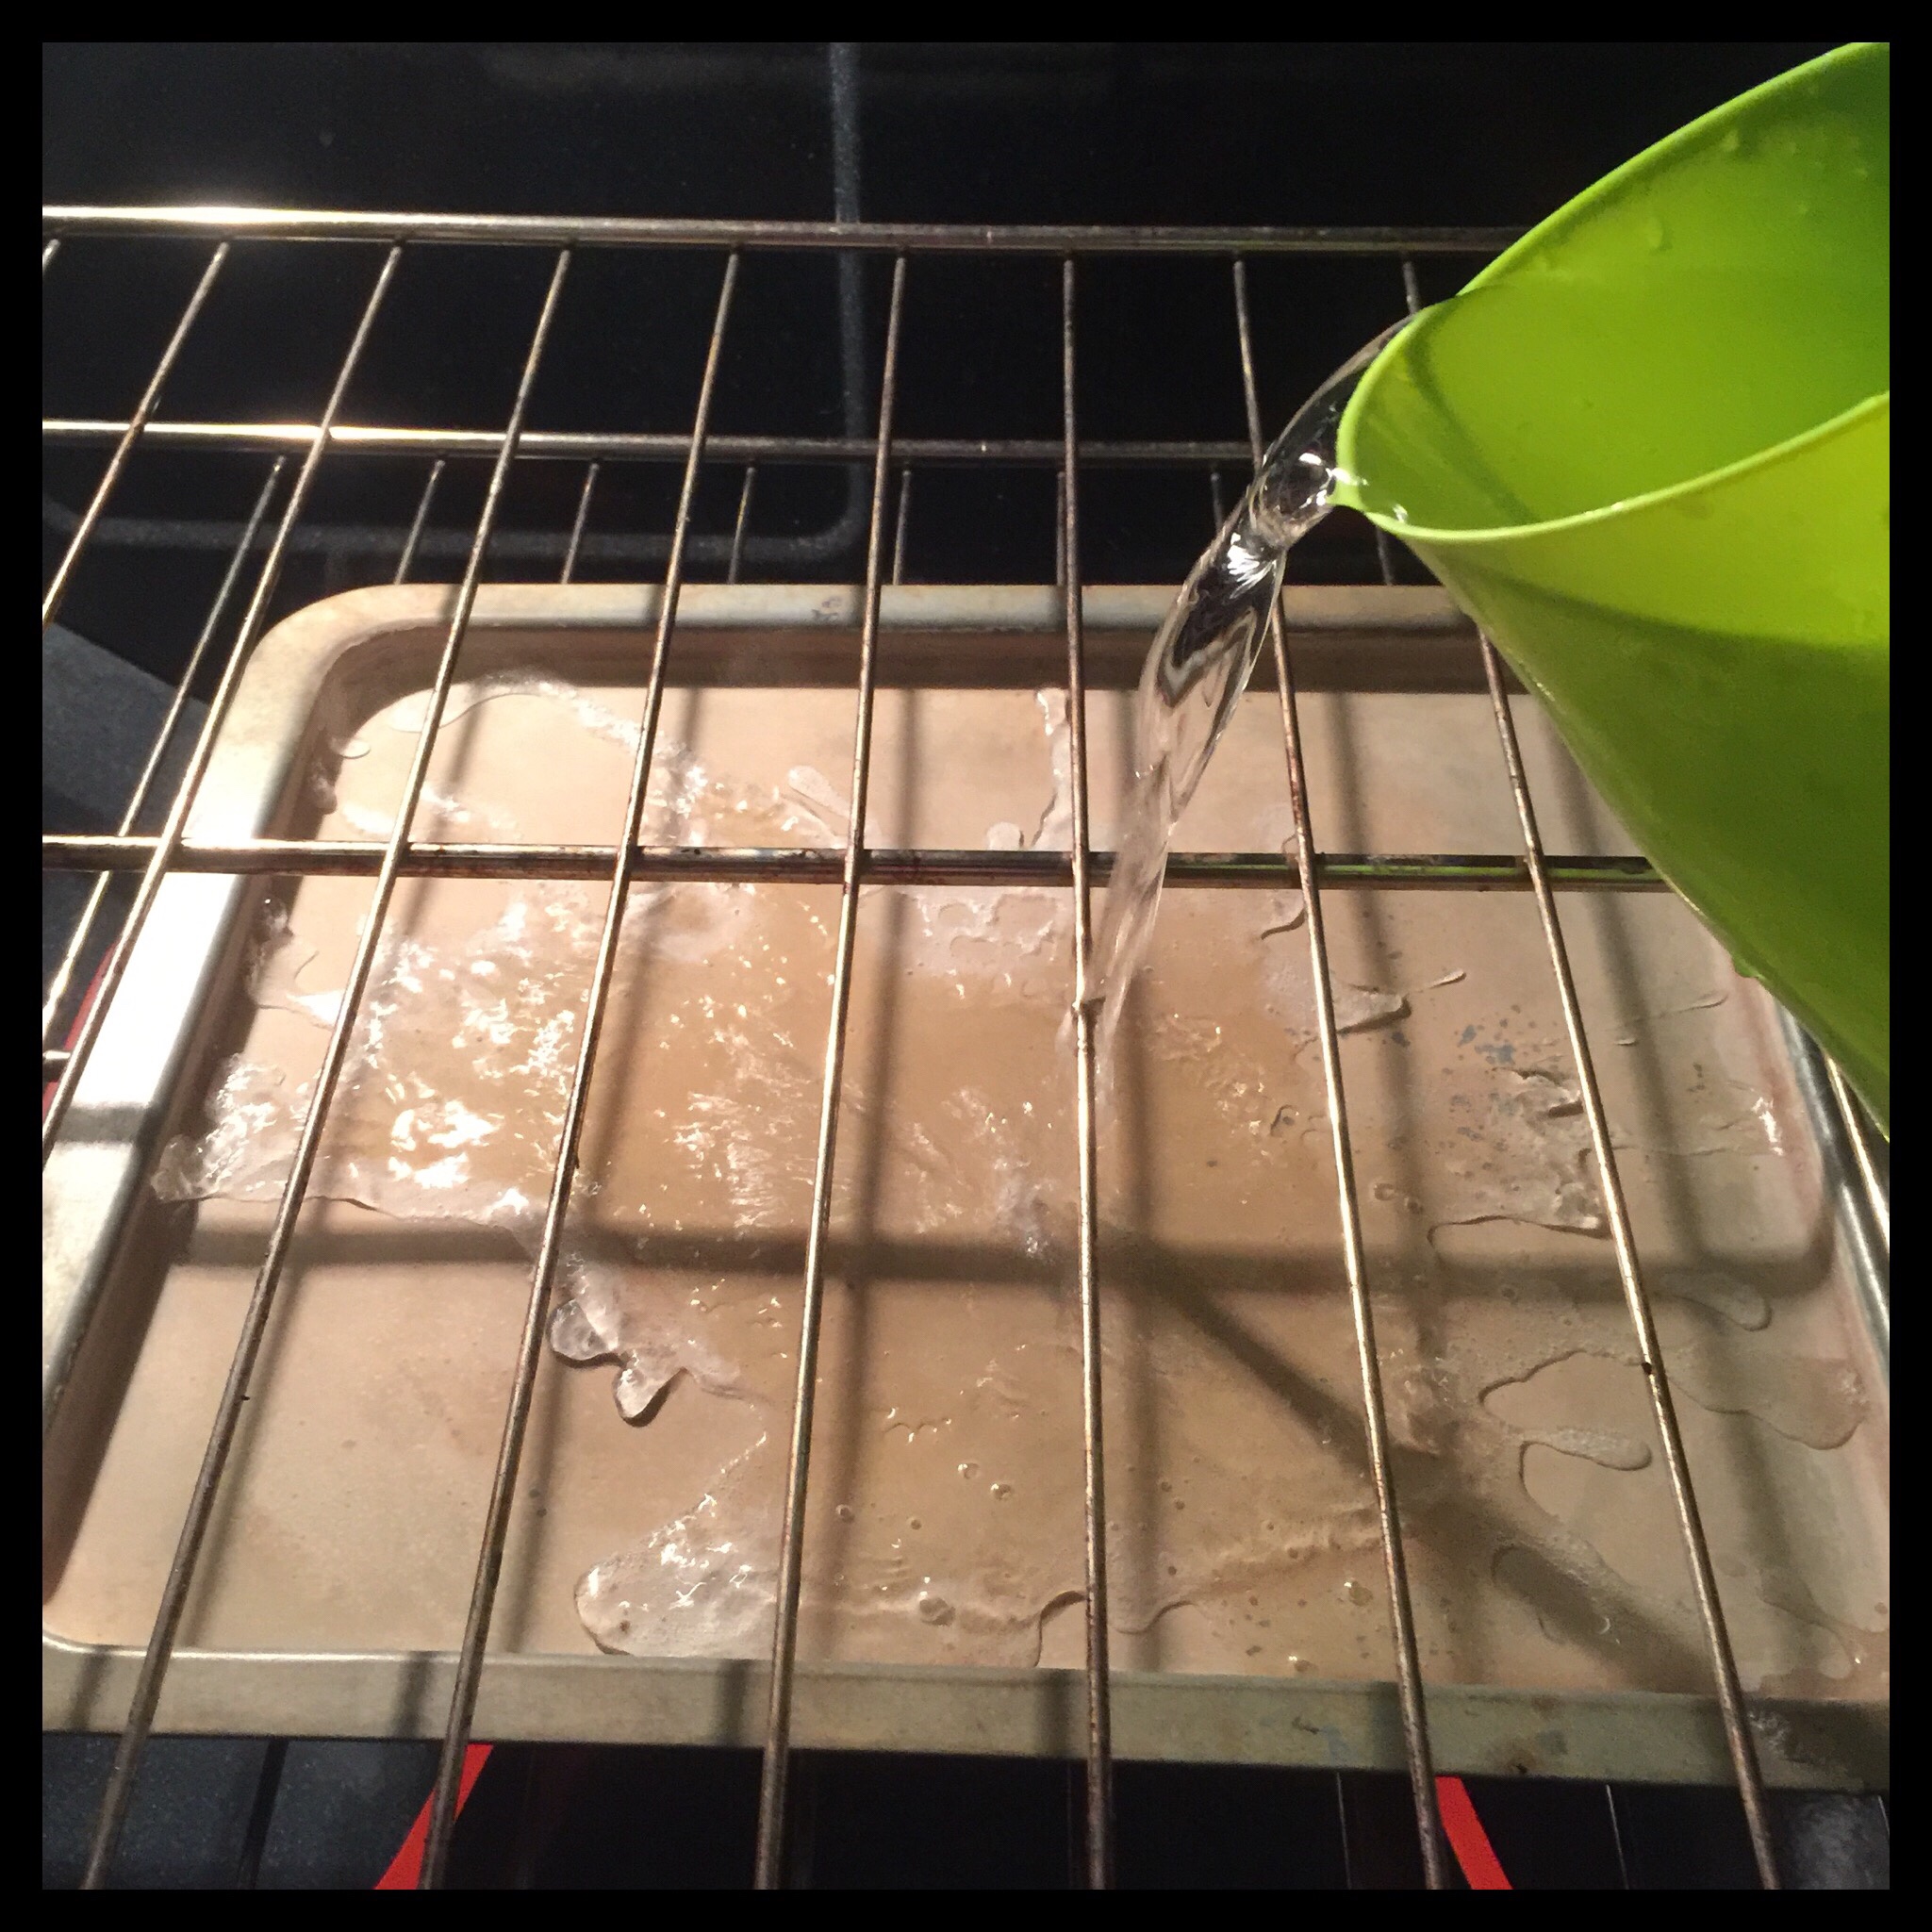
Your rolls will only need to rise for 15 to 20 minutes if your room is 85 degrees Fahrenheit, but will need 30 to 45 minutes if your room is 70 degrees Fahrenheit, and somewhere in between if your room temperature is in the middle. Preheat your oven to 400 degrees Fahrenheit while they are rising. (You will not be able to use it as a place for rising your dough this time.) Place the shallow pan on a lower rack and add about a 1/4″ layer of water. Keep an eye on the water level if your rising time is over 30 minutes as you may need to add more.
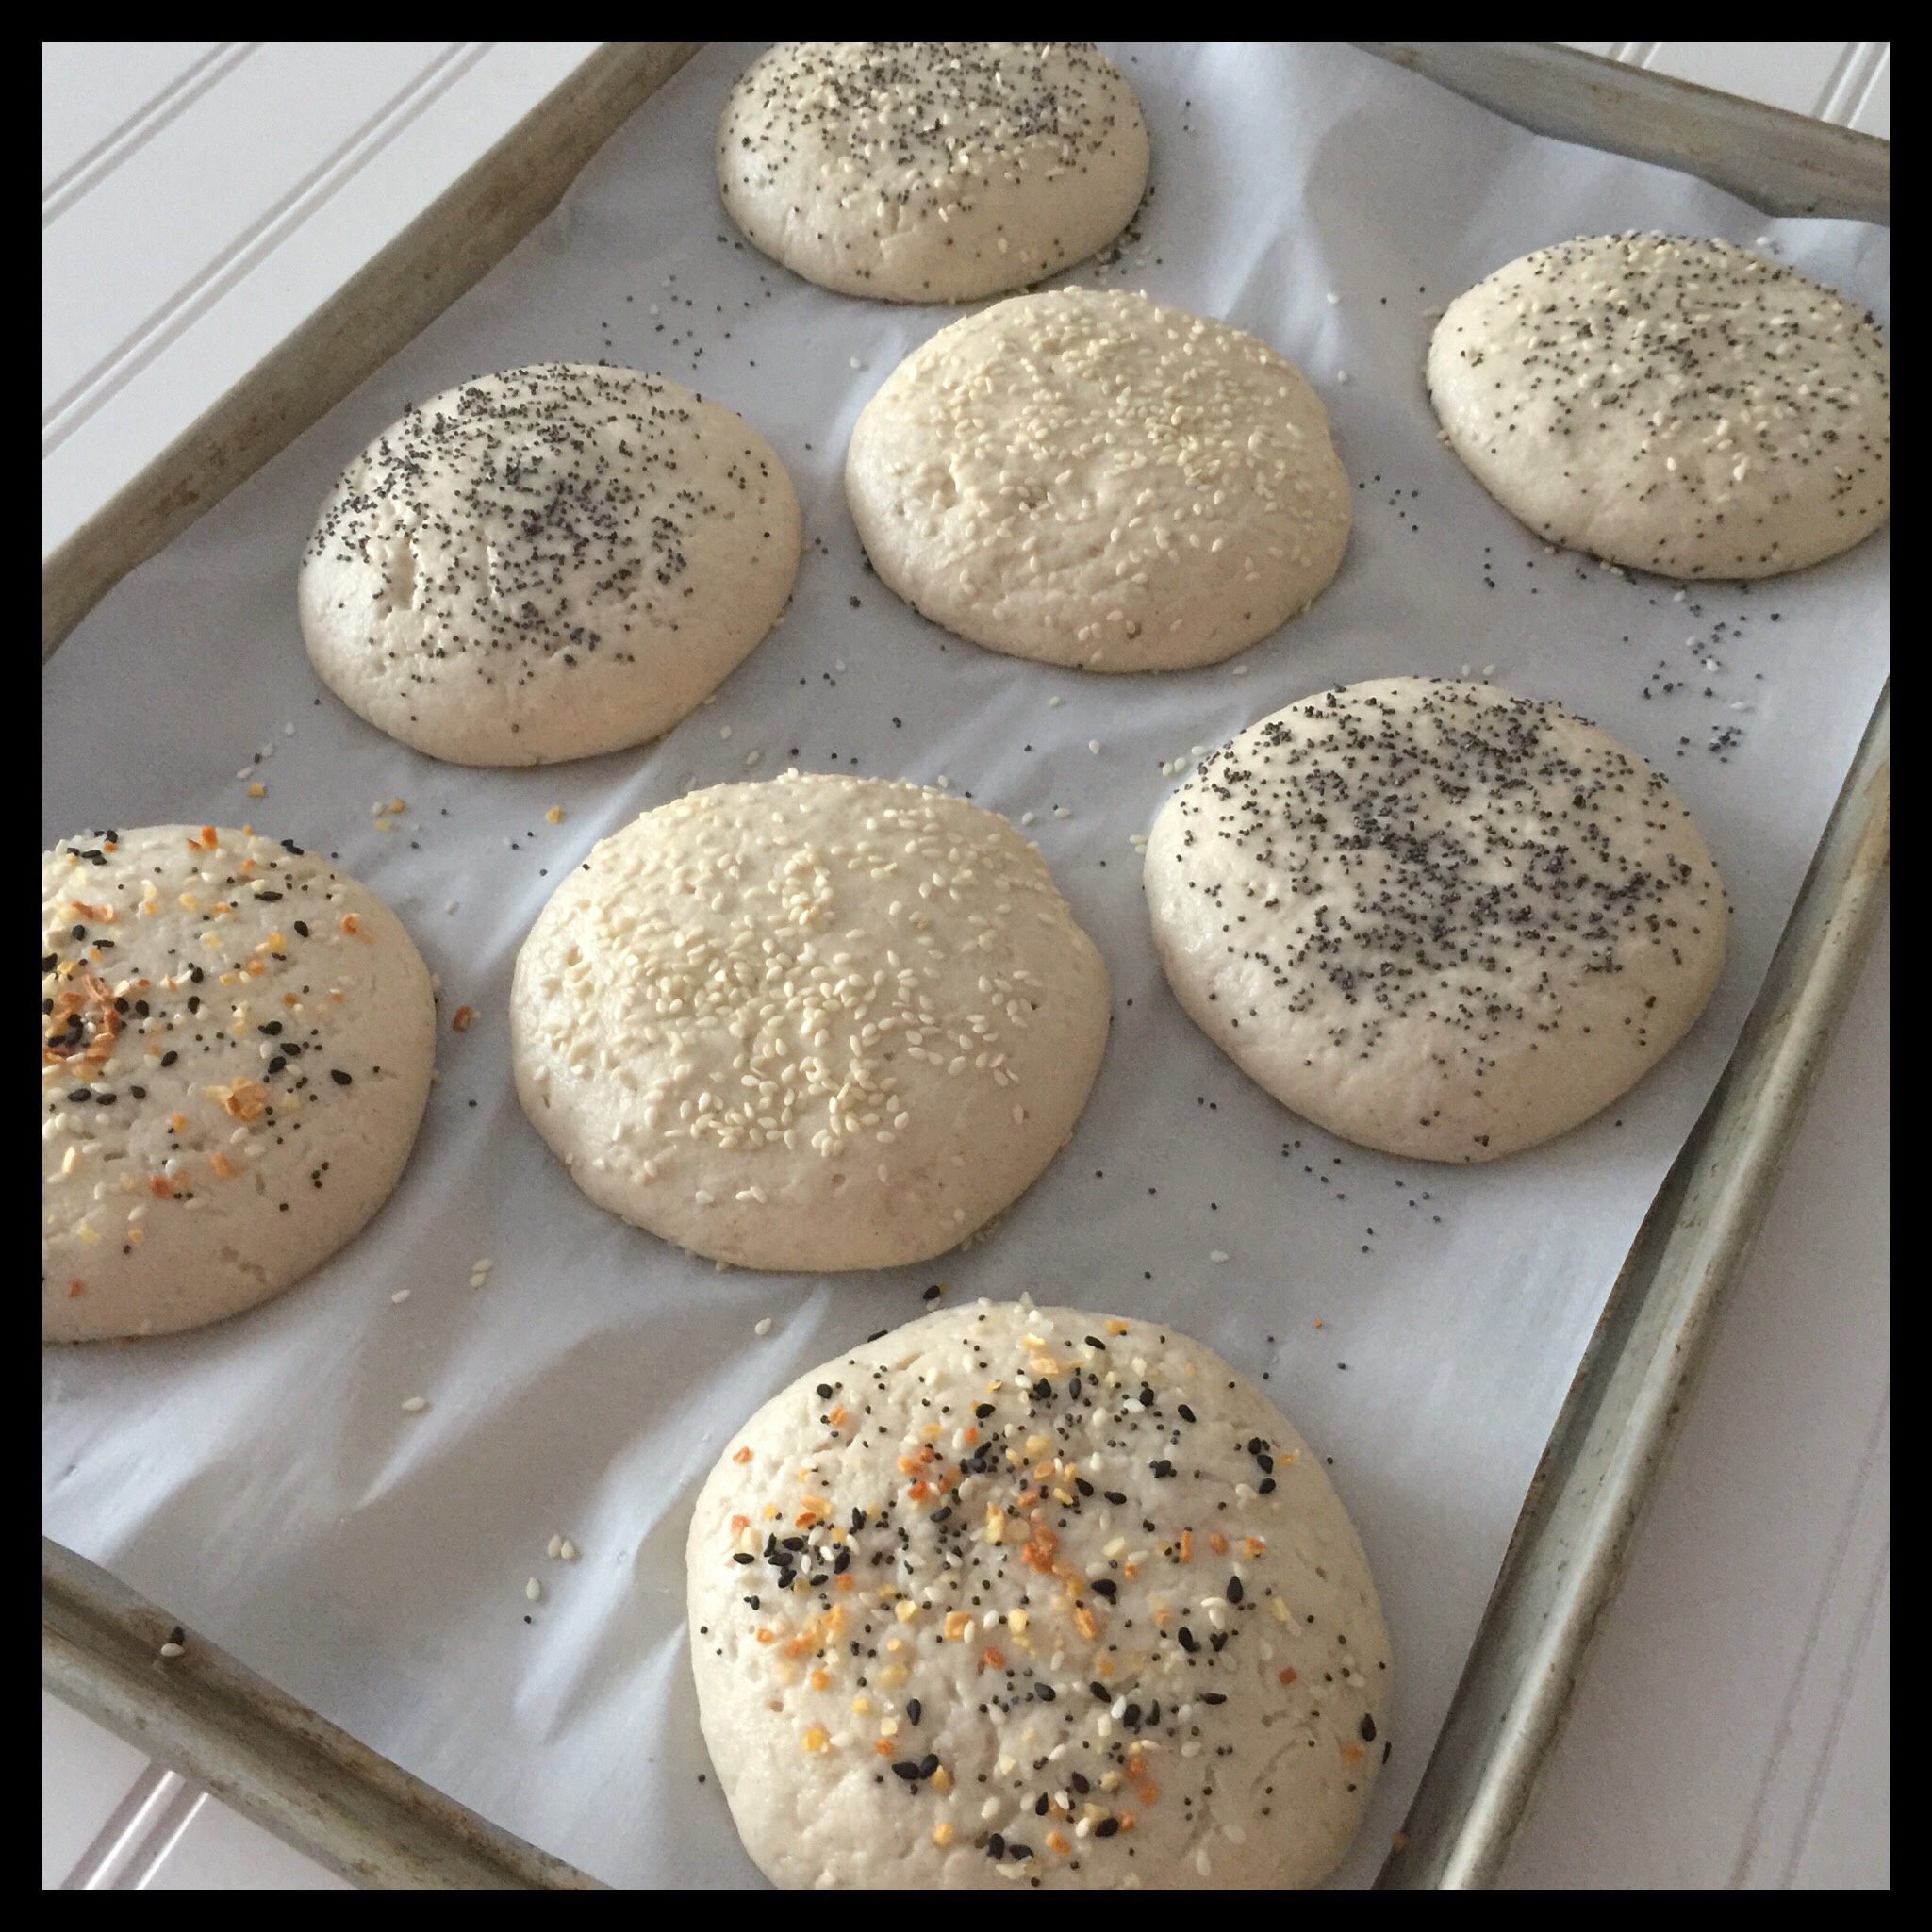
Your risen rolls should be light and puffy, but not cracked. I got a phone call and these got slightly over proved:
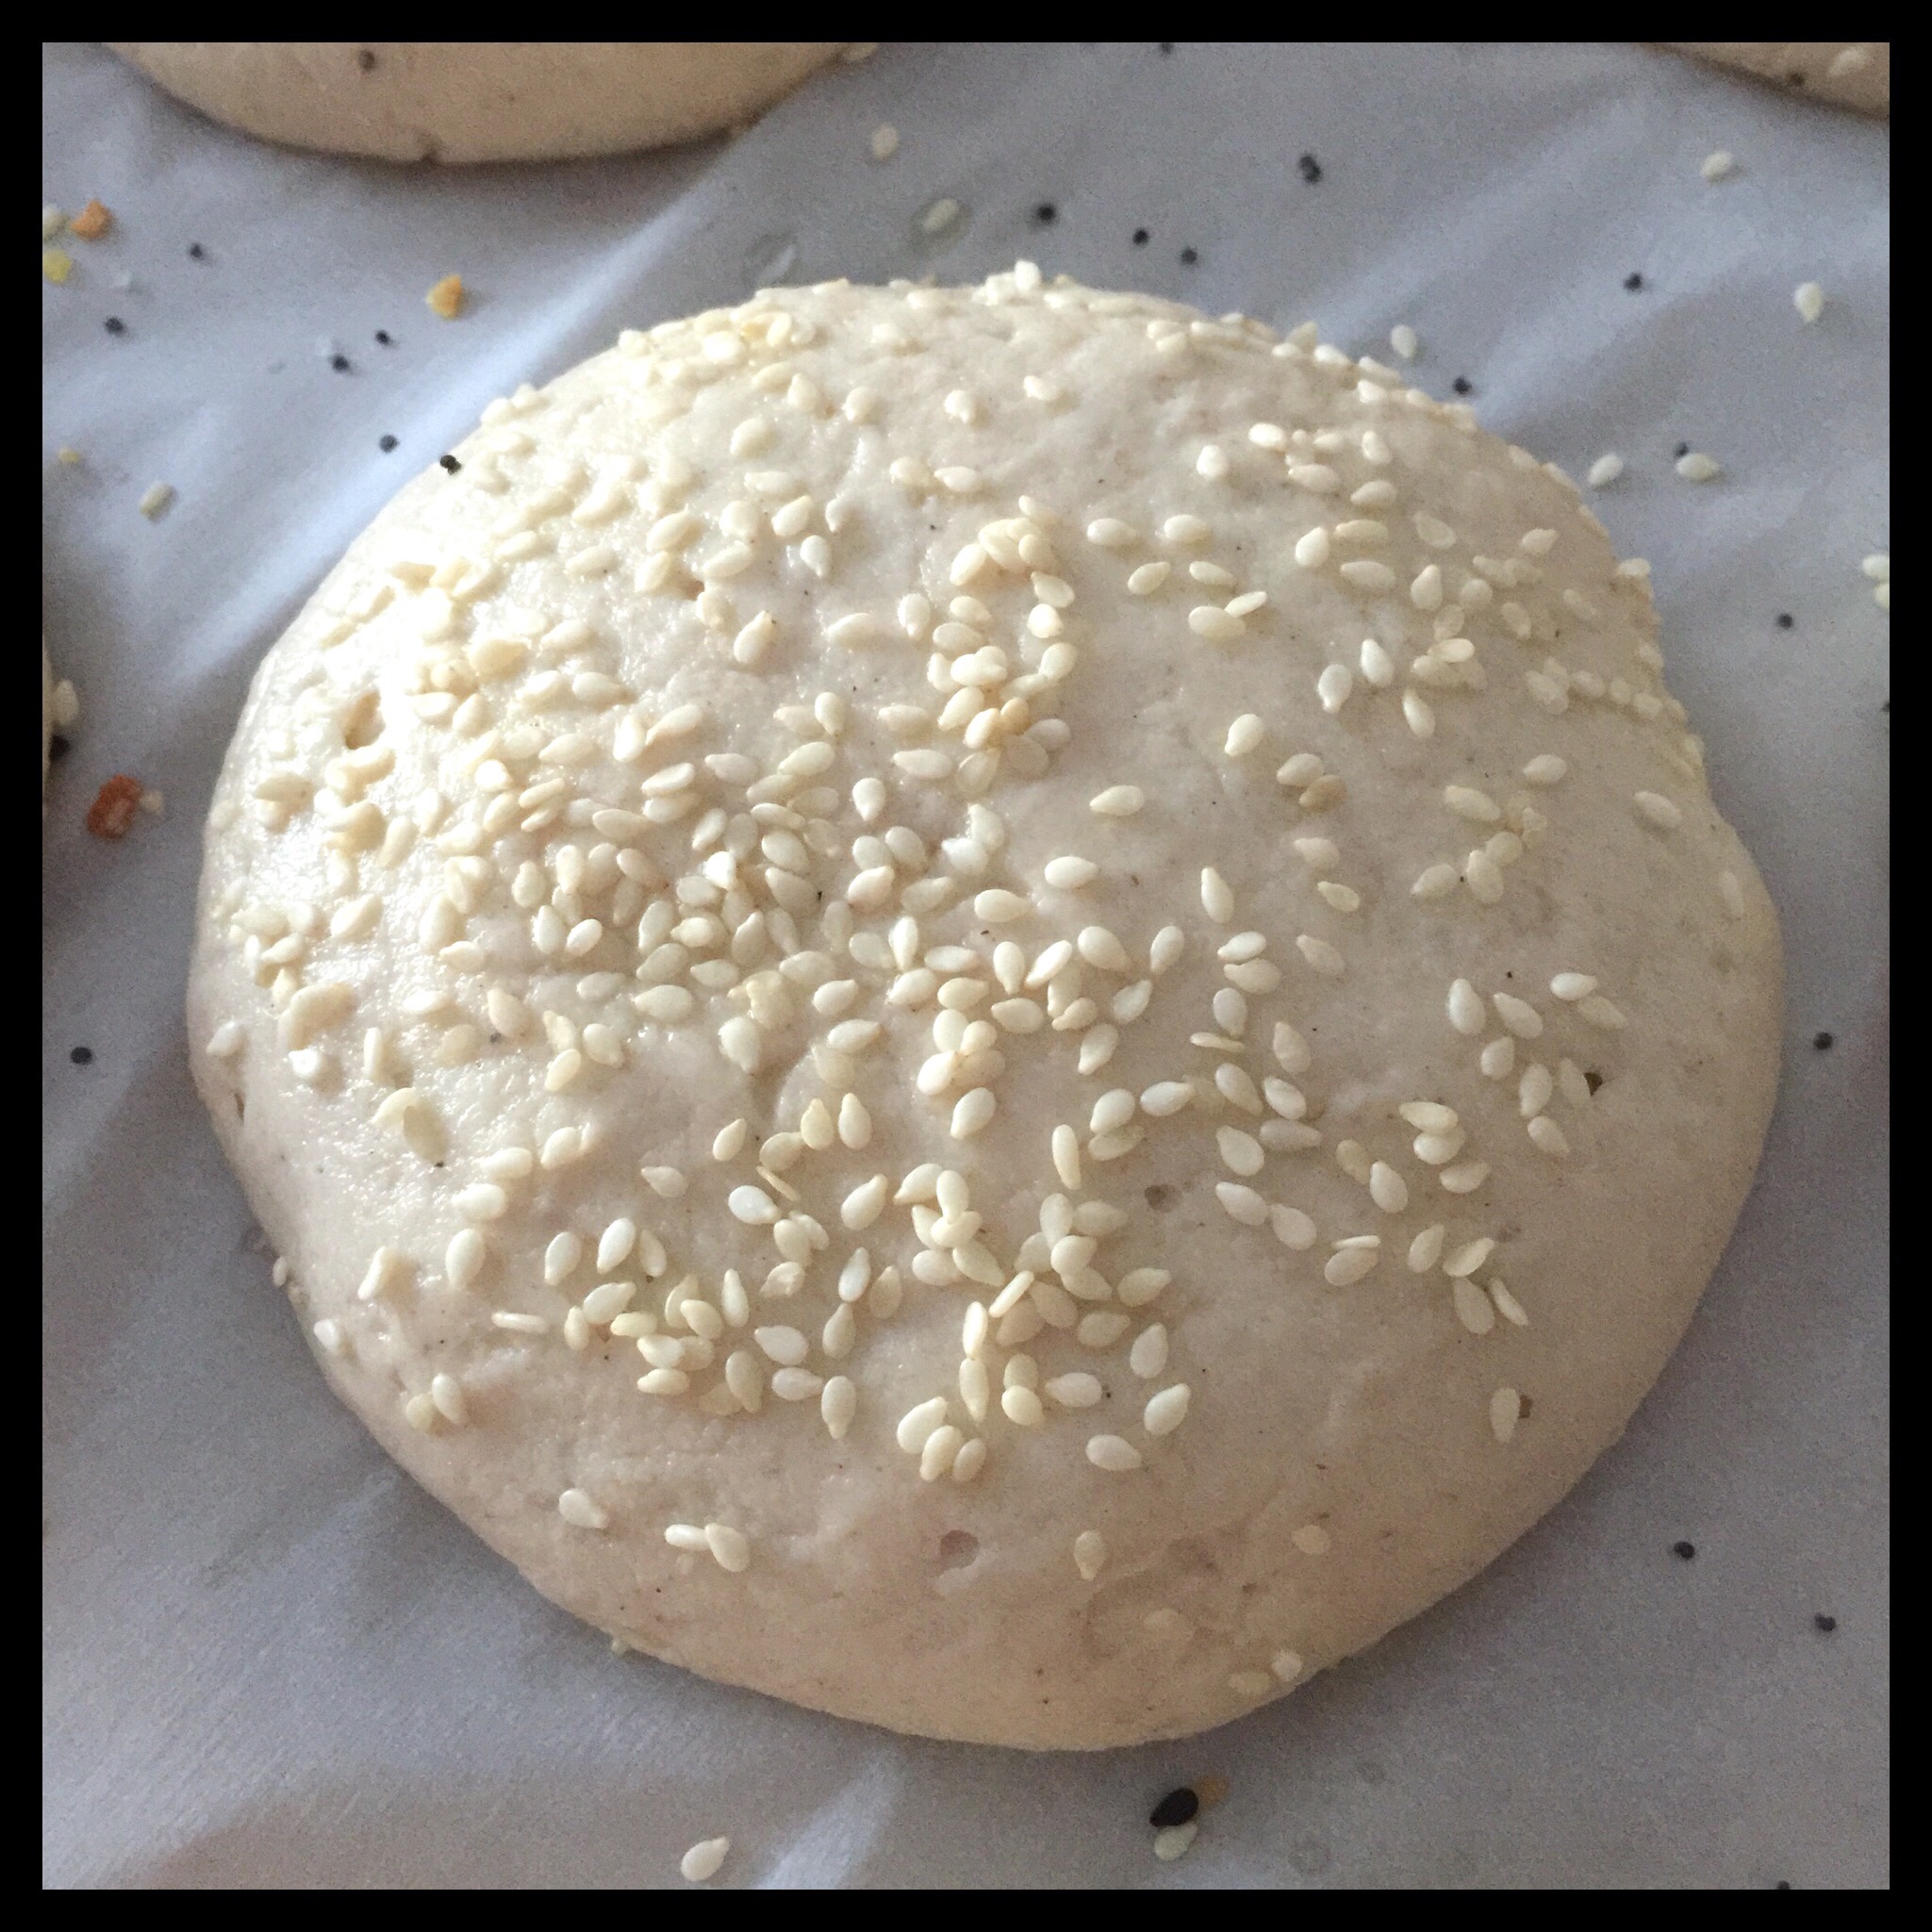
This one is not too bad,
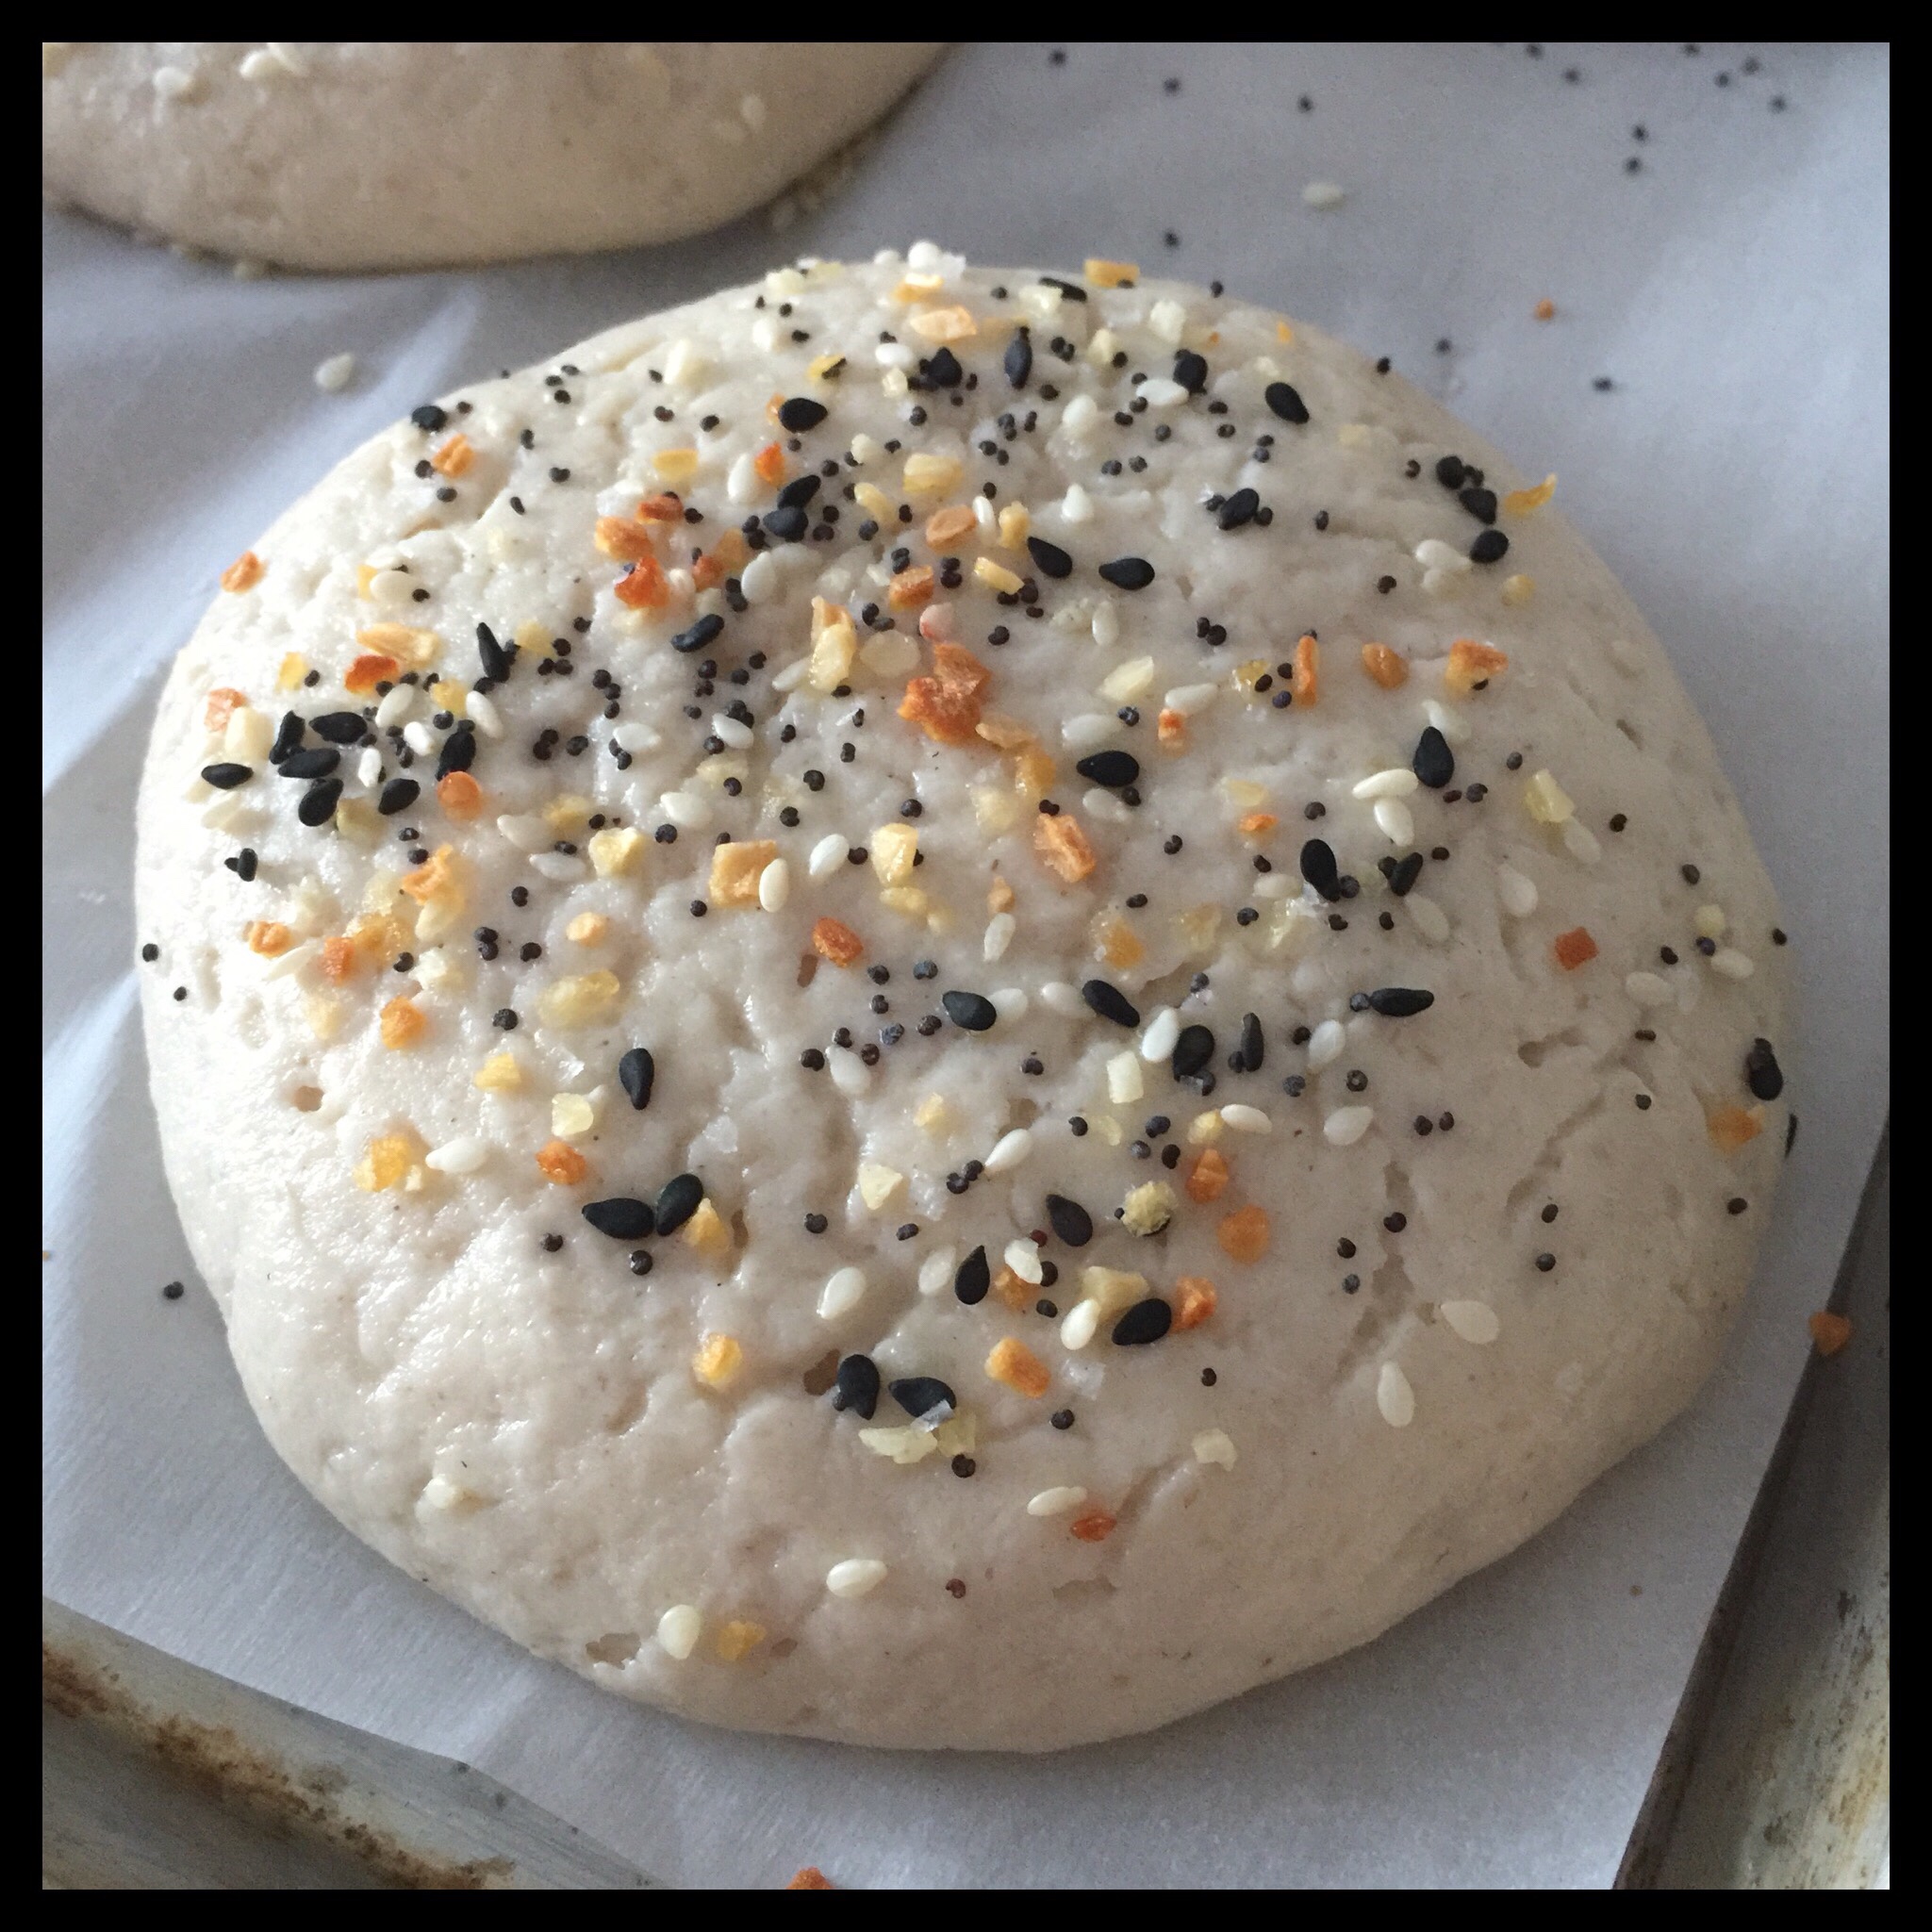
but this one is over proofed as you can see by the cracks:
Before the dough is fully risen, be sure there is still at least a 1/8″ layer of water in the shallow pan. If you have to add more, you will need to allow it to get hot and produce steam before baking the rolls. You only need steam for the first 10 to 15 minutes, so don’t add more water while the rolls are in the oven even if the pan runs dry while they are baking. It also doesn’t matter if there is still water left in the pan the entire baking time. Don’t open the oven door once the rolls are in until they are done!
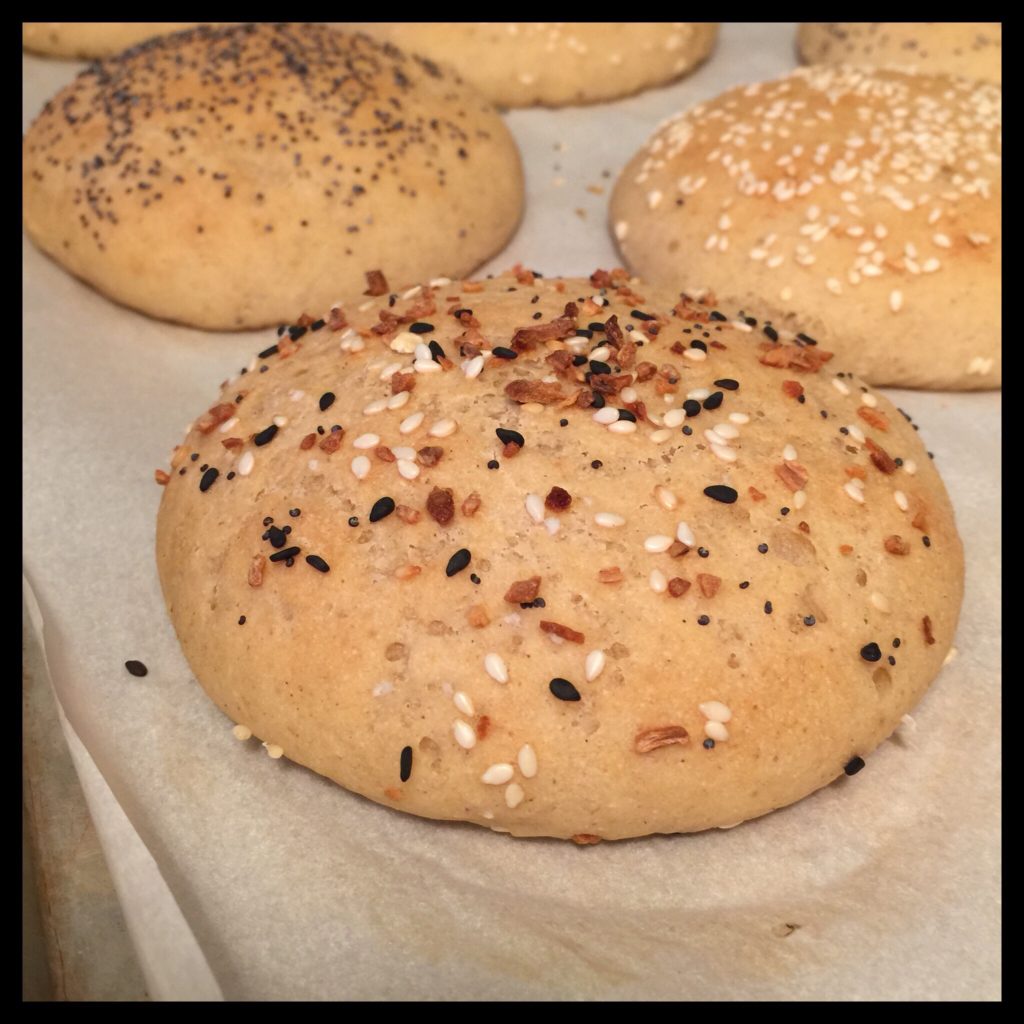
Bake the rolls for 22 to 25 minutes at 400 degrees Fahrenheit, until they are golden brown like this:
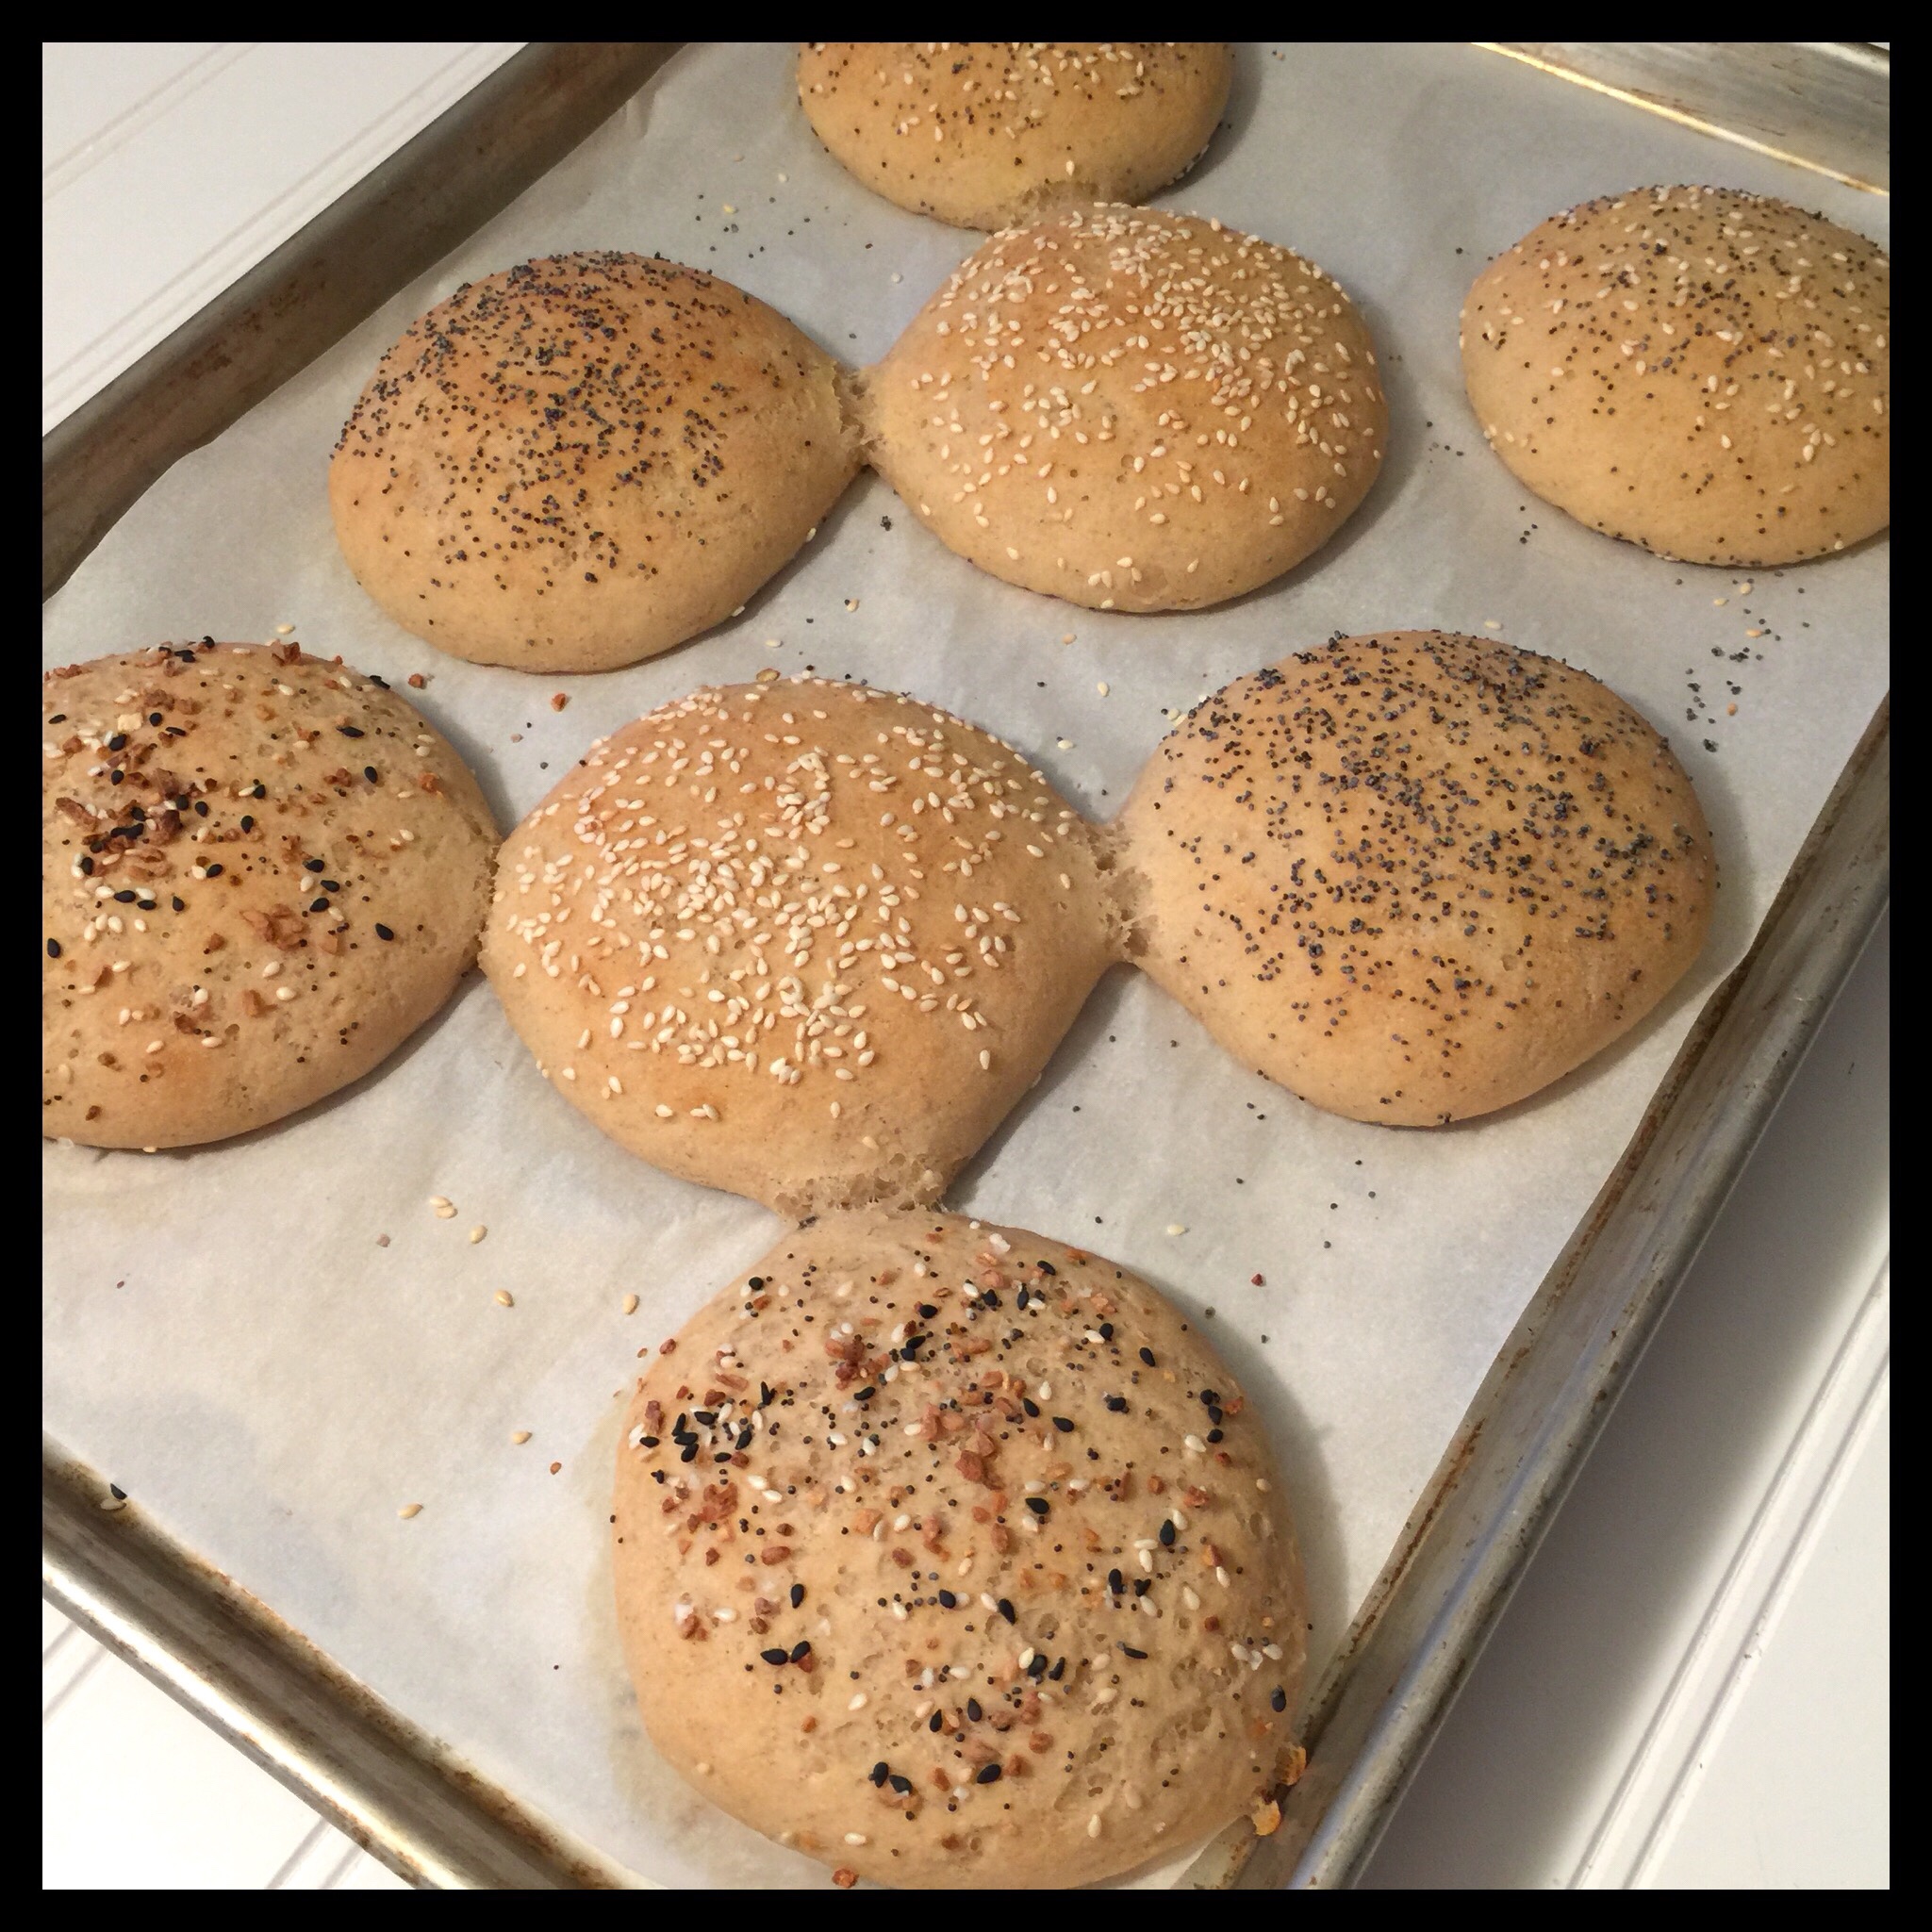
Place the pan on a rack to cool. It is ok if the rolls are touching. This is a sign that the dough needed a bit more flour, but the rolls will still be very good! Do not pull them apart until they are cool, however, as this will damage the texture.
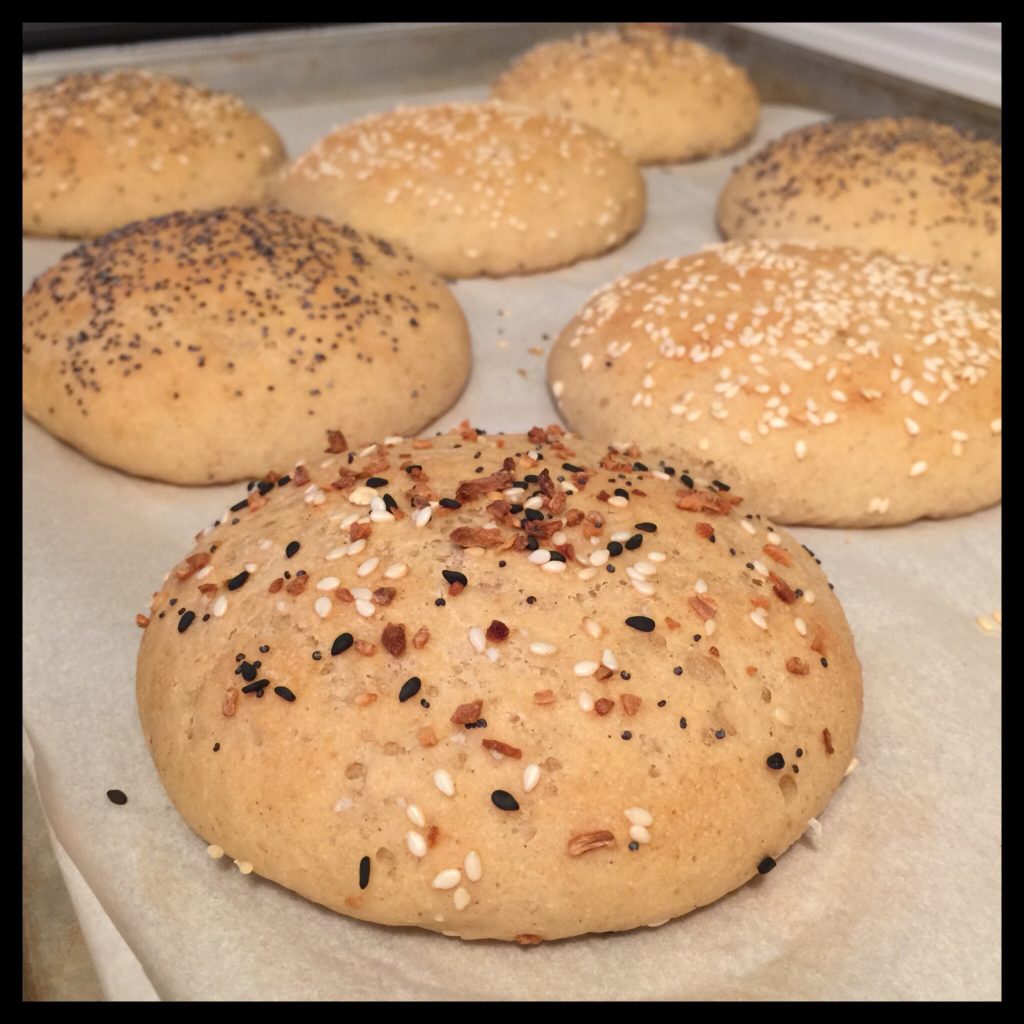
If your rolls are not touching, you can transfer them to a rack right away. If they are, it is best to let them cool on the pan before moving them. The only difference is that the rolls will have a crunchier exterior if you cool the rolls directly on the rack.
Wait until the rolls are completely cool before slicing them. Just look at that texture!
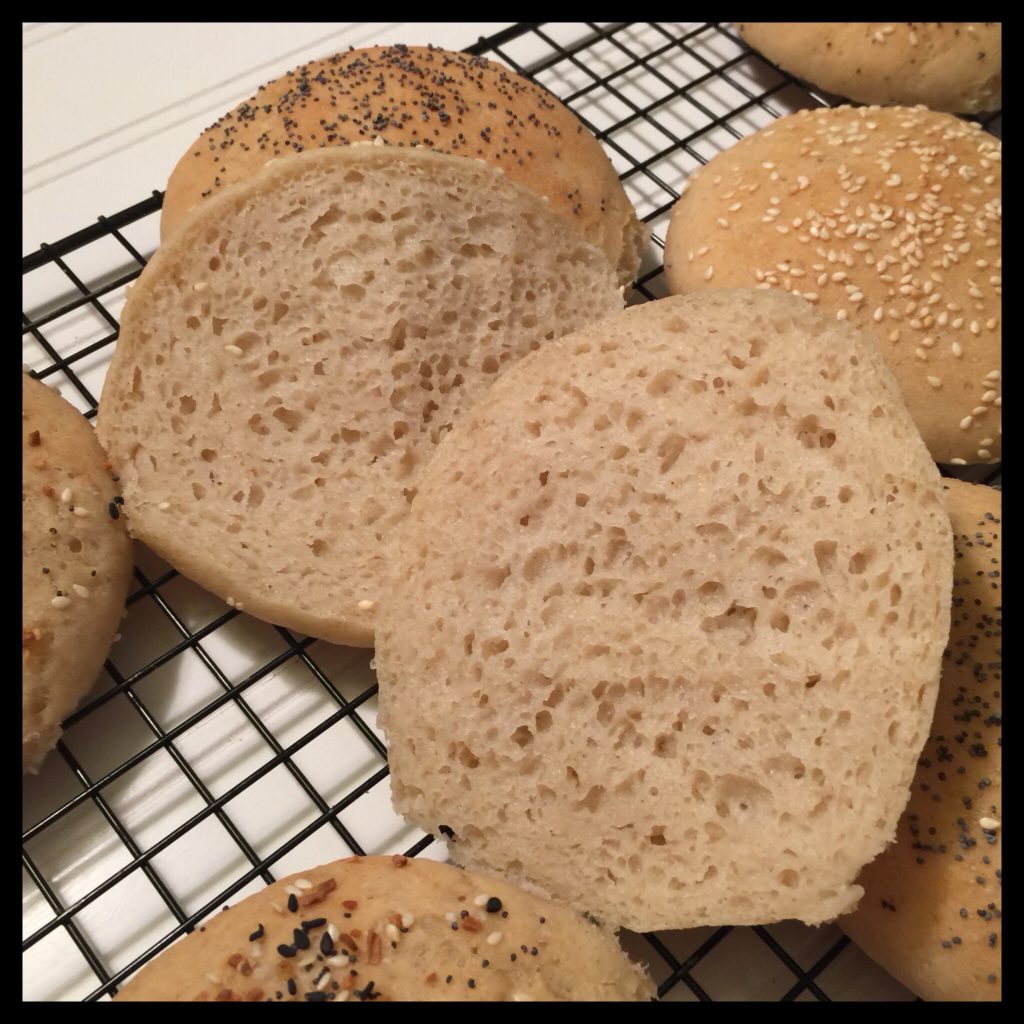
Do not slice the rolls until you are ready to use them, and freeze any you won’t eat the same day. To defrost a roll, place it in the microwave (out of the bag) and heat for 1 1/2 minutes at 50% power. Turn the roll over, then heat for another 1 to 1 1/2 minutes at 50% power. The rolls freeze and reheat beautifully!
They are soft, fluffy, and delicious just as they are, but you can toast them if you like your sandwich rolls toasted. Slice a roll in half, then toast as desired. Allow to cool to just warm before making your sandwich.
Enjoy!
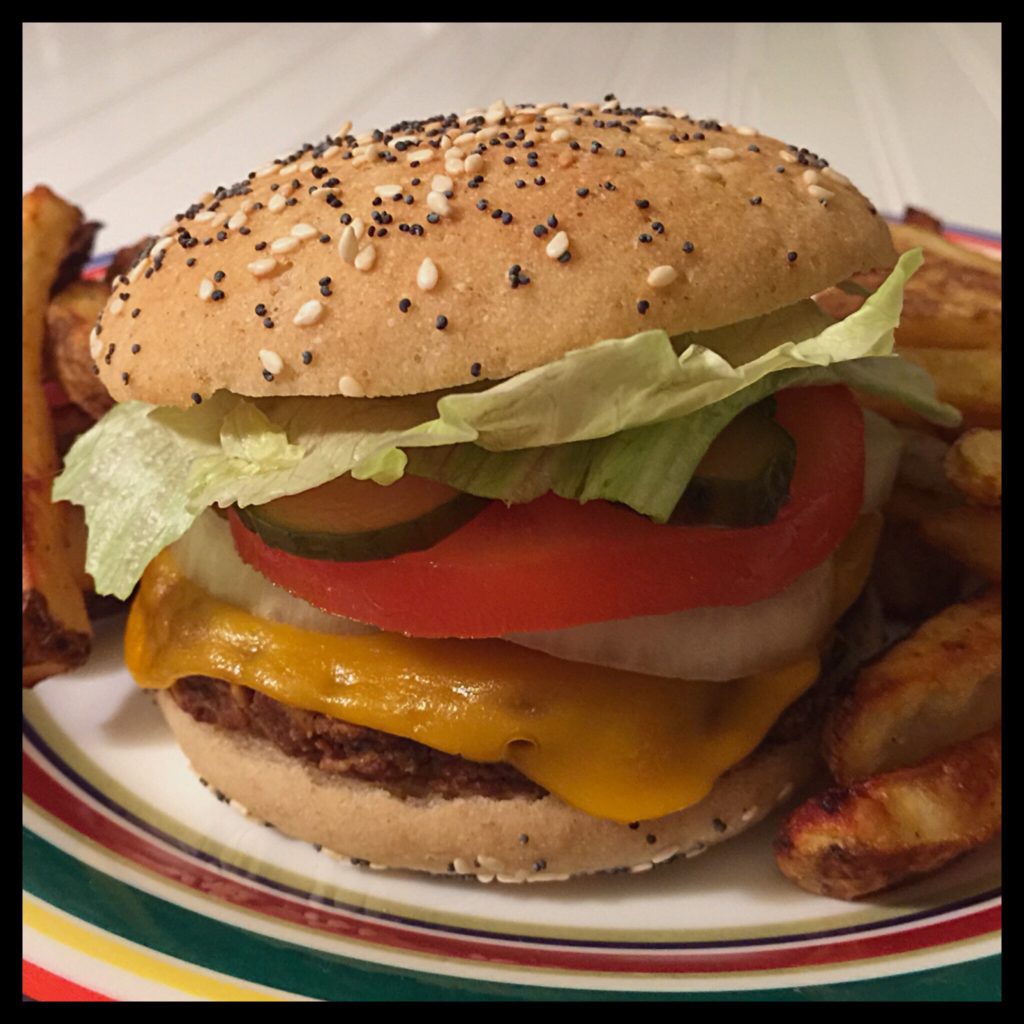
Gluten Free Sandwich Rolls
These wonderful gluten free and vegan sandwich rolls are perfectly light and fluffy!
Ingredients
- 450 g (3 1/2 c) Gluten Free Flour (with The Plant Based Egg)
- 4.0 g (1 tsp) Vegan Sugar
- 11.4 g (1 TBS + 3/4 tsp) Quick Rise Yeast (I use Red Star)
- 360 g (1 1/2 c) Seltzer Water (carbonated water)
- 25 g (2 TBS) Vegan Sugar
- 22.5 g (1 1/2 TBS) Distilled Vinegar
- 14 g (1 TBS) Vegan Butter (I use Earth Balance)
- 9.6 g (1 1/2 tsp) Salt
Instructions
-
Line a half-sheet baking pan with parchment paper, then set it aside.
-
Add your flour to a large mixing bowl. (This recipe was developed using flour made with The Plant Based Egg, and I do not know how a flour without it will perform. See the recipe notes for more information.)
-
Make a well in the center of the flour, then add the yeast and the 4 g (1 tsp) of vegan sugar to the well.
-
Warm the seltzer water to 118 degrees Fahrenheit. (Be sure to stir the water before checking the temperature as hot spots can occur.) Pour the warm seltzer water into the well with the yeast. Gently stir any yeast floating on top into the warm water, then let the mixture stand for five minutes. It should be nice and bubbly.
-
Stir the proofed yeast mixture and the flour together with a sturdy spatula or a large spoon. The dough will be quite firm. Add the salt, 25 g of sugar, vegan butter, and vinegar to the bowl, but do NOT stir them in yet.
-
Place the bowl into a clean plastic bag, twist the bag to close it, and tuck the end under the bowl. Place the bowl (inside the bag) in a warm place to rise. (You want the room temperature to be at least 70 degrees Fahrenheit, and no warmer than 85 degrees Fahrenheit.) If your house is cooler than 70 degrees, you can use your oven with the light turned on, but check the temperature inside to be sure it isn’t above 85 degrees. Set a timer for 30 minutes.
-
After 30 minutes, undo the bag and fold it back. The dough will be puffy. If you are using a hand mixer with dough hooks, beat the dough on high speed for three minutes. If you are using a stand mixer with a paddle attachment, beat the dough on medium-high speed for two minutes. The sugar, vegan butter, salt, and vinegar that were sitting on top, will now be fully incorporated into the dough.
-
Scrape down the bowl. The dough should be firm and hold together well. Depending on which of my flour blends you are using, and on the humidity and temperature in the room, you may need to add a bit more flour or water. Knowing if you do, and exactly what the texture should feel like, really just comes with experience. You will still get good rolls, even if you are off a little bit, but the very best quality will come with practice as you learn the feel of the dough.
-
Place the bowl back in the bag as before. Let the dough rise for an hour if the room is around 70 degrees Fahrenheit, and for 40 minutes if it is close to 85 degrees. (Use a time in between for a temperature in the middle.) Set a timer so you remember!
-
The dough will be quite puffy after the second rise. Stir the dough down with your spatula or spoon. Divide the dough into eight equal pieces. I use a scale to be sure they are equal as this ensures even baking later. Tip: weigh your bowl before you add the flour at the start of the recipe and write down the weight. Then, when you are ready to divide the dough, weigh the bowl with the dough, subtract the weight of the bowl, and divide by eight. That is how much the dough for each roll should weigh. Zero the scale, and remove the right amount of dough for one roll.
-
To shape each piece of dough, roll it into a ball in your greased hands (gloves make this step even easier). Hold the ball in one hand and flatten it into a 3″ to 3 1/2″ circle with the other. Place on the lined pan. Repeat until all eight rolls are shaped.
-
If you want to make seeded rolls, brush each shaped piece of dough with some aquafaba before sprinkling it with seeds.
-
Carefully place the pan with the shaped pieces of dough into the plastic bag. Puff the bag up and then tuck the edge under the pan. The plastic should form a dome over the rolls and should not be touching them.
-
Your rolls will only need to rise for 15 to 20 minutes if your room is 85 degrees Fahrenheit, but will need 30 to 45 minutes if your room is 70 degrees Fahrenheit, and somewhere in between if your room temperature is in the middle. Preheat your oven to 400 degrees Fahrenheit while they are rising. (You will not be able to use it as a place for rising your dough this time.) Place a shallow pan on a lower rack and add about a 1/4″ layer of water. Keep an eye on the water level if your rising time is over 30 minutes as you may need to add more.
-
Your risen rolls should be light and puffy, but not cracked. Before they are fully risen, be sure there is still at least a 1/8″ layer of water in the shallow pan. If you have to add more, you will need to allow it to get hot and produce steam before baking the rolls. You only need steam for the first 10 to 15 minutes of baking time, so don’t add more water while the rolls are in the oven even if the pan runs dry while they are baking. It also doesn’t matter if there is still water left in the pan the entire baking time. Don’t open the oven door once the rolls are in until they are done!
-
Bake the rolls for 22 to 25 minutes at 400 degrees Fahrenheit, until they are golden brown.
-
Place the pan on a rack to cool. It is ok if the rolls are touching. This is a sign that the dough needed a bit more flour, but the rolls will still be very good! Do not pull them apart until they are cool, however, as this will damage the texture. If your rolls are not touching, you can transfer them to a rack right away. If they are, it is best to let them cool on the pan before moving them. The only difference is that the rolls will have a crunchier exterior if you cool the rolls directly on the rack.
-
Wait until the rolls are completely cool before slicing them, and do not slice the rolls until you are ready to use them. Freeze any you won’t eat the same day. To defrost a roll, place it in the microwave (out of the bag) and heat for 1 1/2 minutes at 50% power. Turn the roll over, then heat for another 1 to 1 1/2 minutes at 50% power. The rolls freeze and reheat beautifully!
-
The rolls are soft, fluffy, and delicious just as they are, but you can toast them if you like your sandwich rolls toasted. Slice a roll in half, then toast as desired. Allow to cool to just warm before making your sandwich. Enjoy!
Recipe Notes
- See my post on 16 gluten free flour blends and choose the blend you want to use. Blends one and two are great for other baked goods, but should not be used for yeast breads. Any of the blends three through sixteen will work well in this recipe. (You can also use my premade GF flour blend once it is available to purchase.)
NPR has a great article by Jill Neimark, titled “Doctors Once Thought Bananas Cured Celiac Disease. They Saved Kids’ Life – At A Cost.”
I think it explains Celiac disease well, informing it’s readers that it is a very serious disease, not to be taken lightly. Gluten-free diets, on their foundation, are not a trend!
Thanks! I’ll check out the article!
These look fantabulous! Two questions… Is this recipe usable with a bread machine, how can I make this recipe into loaf bread instead of rolls (any special steps or just separate into two pans)?
Thanks!!
Hi Peggie,
I have not used a bread machine because baking in the oven works very well for my recipes. You could try it as an experiment, but each step (like waiting to add the salt) is important as I will explain soon in an upcoming post on making GF breads. I do use my roll recipe to make a loaf too. However, you skip the second rise and put the dough in a greased and floured loaf pan as soon as everything is mixed together after the first rise. If you look at the directions on my honee sunflower loaf, you’ll see exactly how to do it. Just follow the roll recipe through the first rise and then follow the baking directions for a loaf on the sunflower bread recipe. Hope this helps!
I’m unable to try The Plant Based Egg right now. Do you have any other suggestions, or am I best just waiting until I can buy some? Regardless, these rolls look wonderful!
Thank you! There really is no way to substitute for The Plant Based Egg because it is what makes the dough work so well. I would wait to make the rolls until you can get some. (You can order just one or two bags bags by emailing theplantbasedegg@gmail.com)