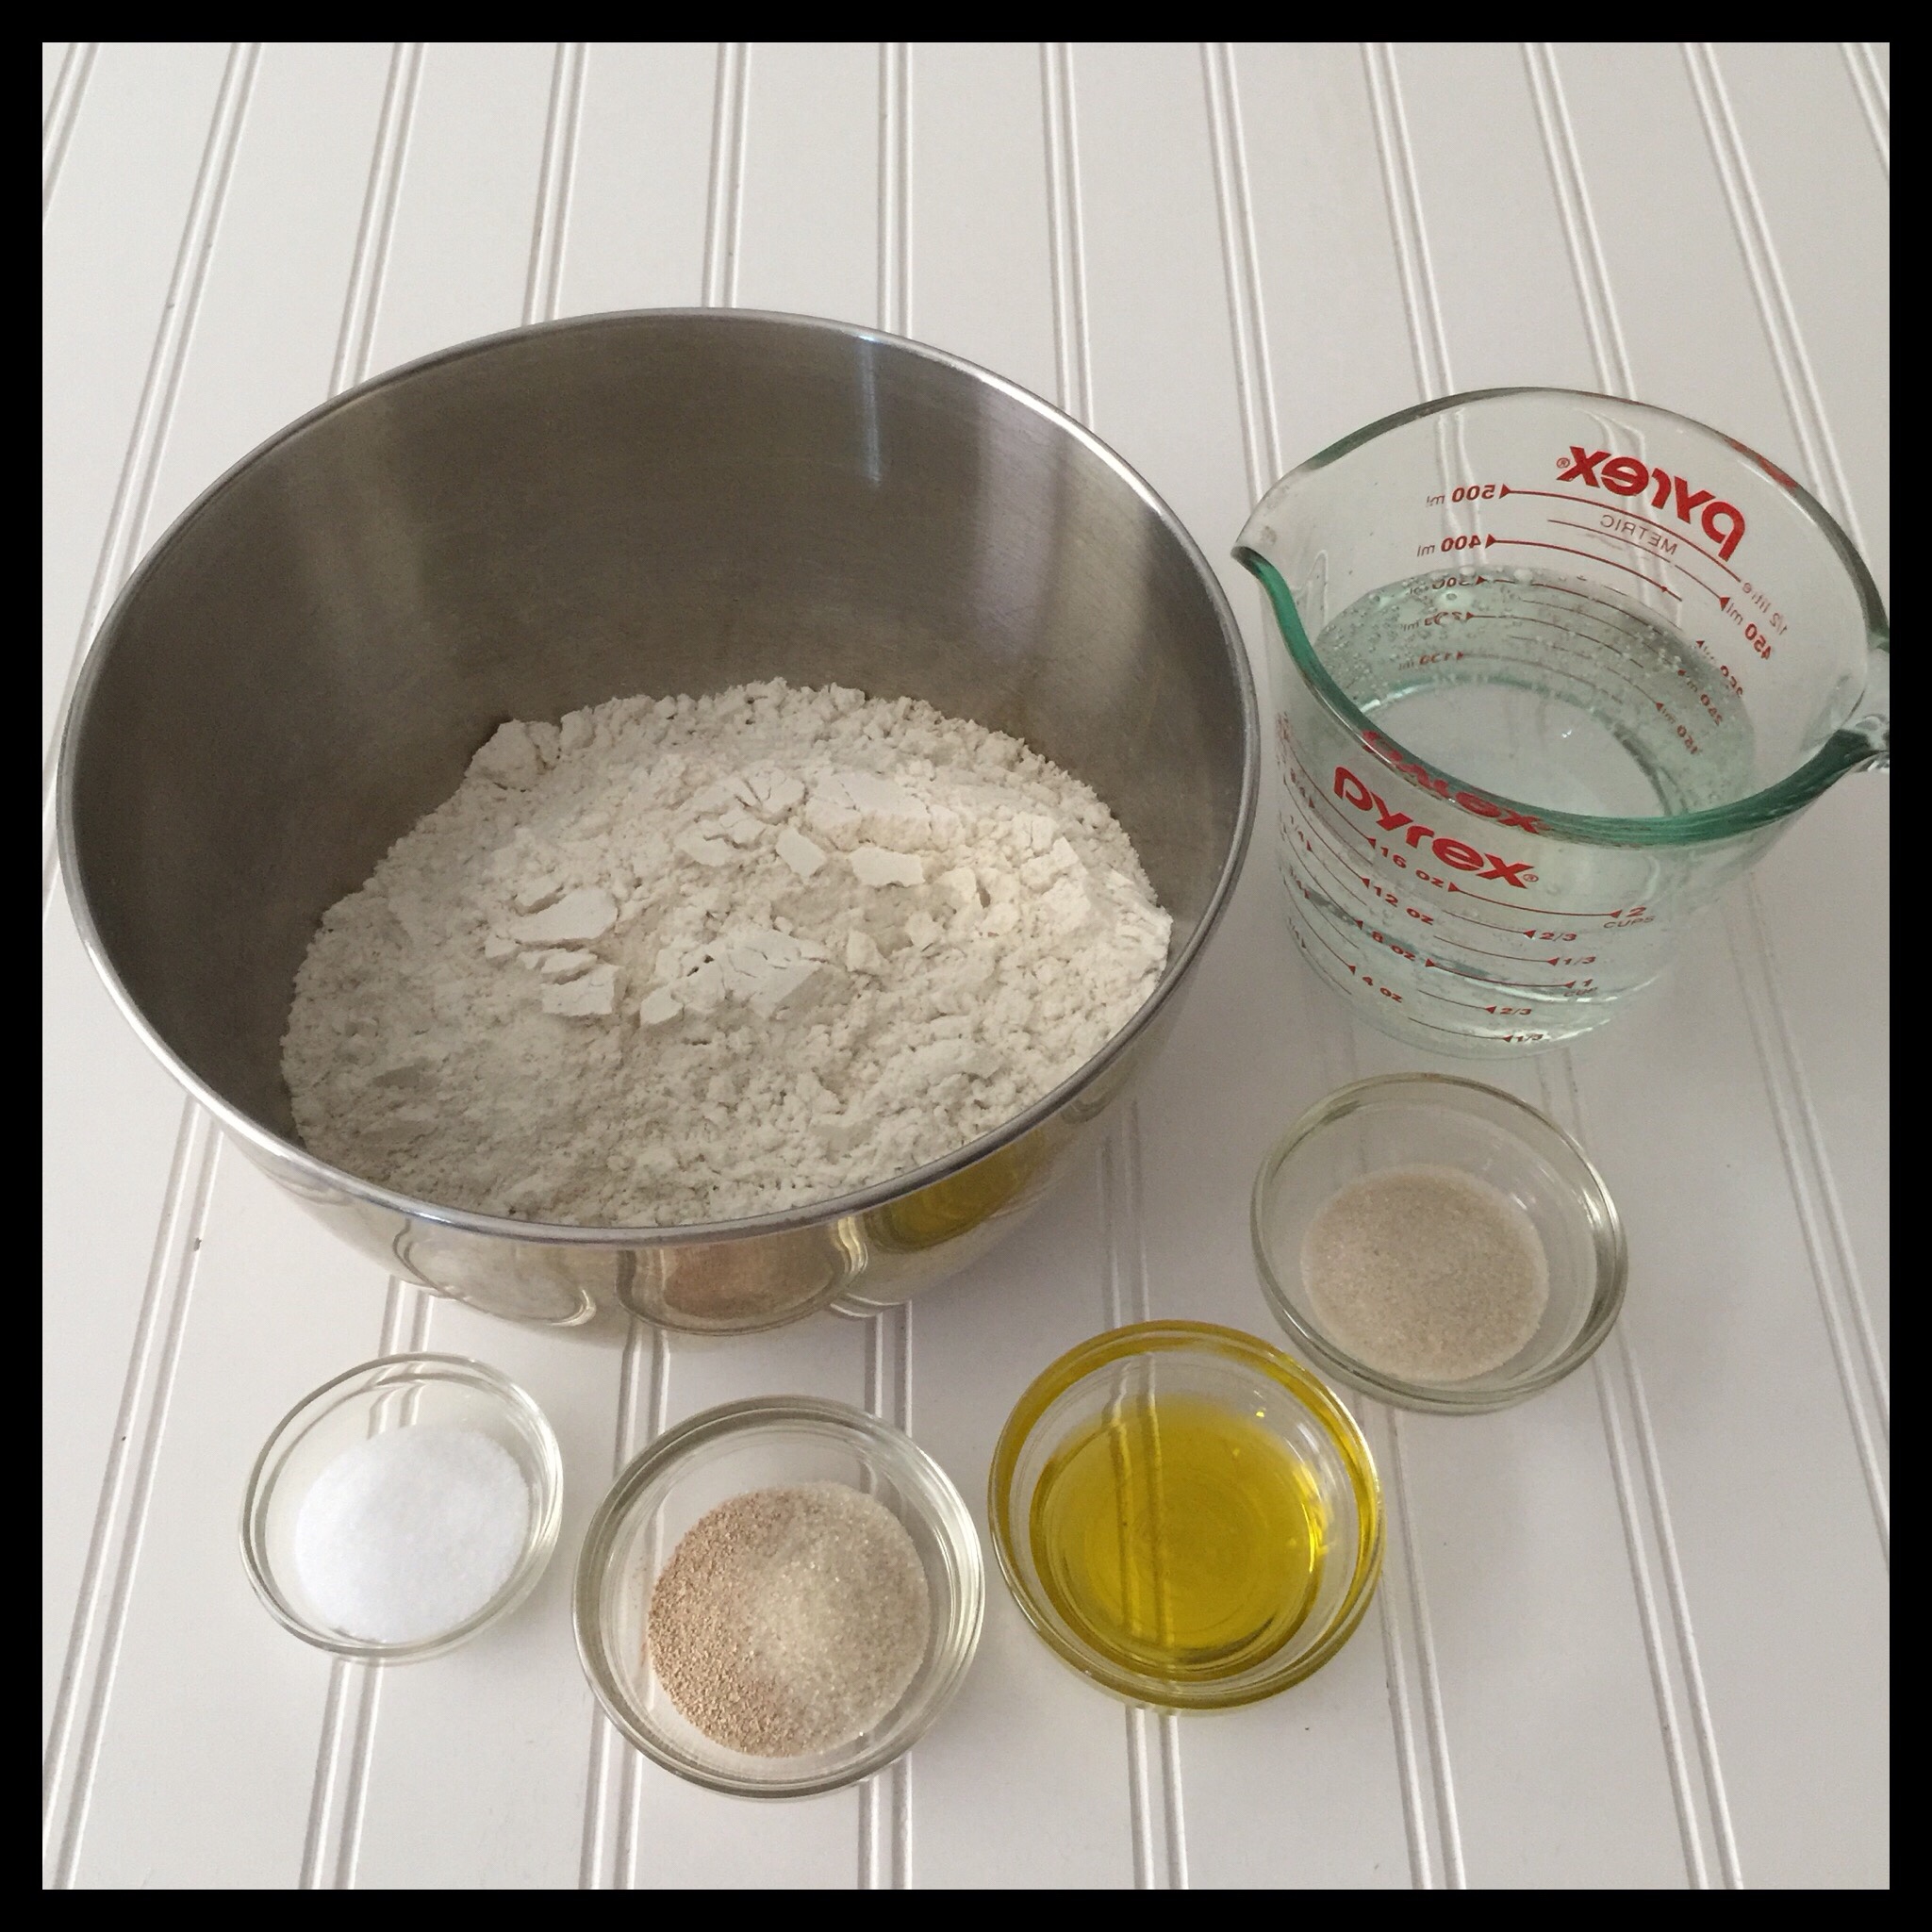
It is really easy and inexpensive to make gluten free and vegan pizza crust! I have been using this recipe for years and it always turns out perfectly, with crispy edges and a fluffy, soft middle. Here are the ingredients you will need to make it:
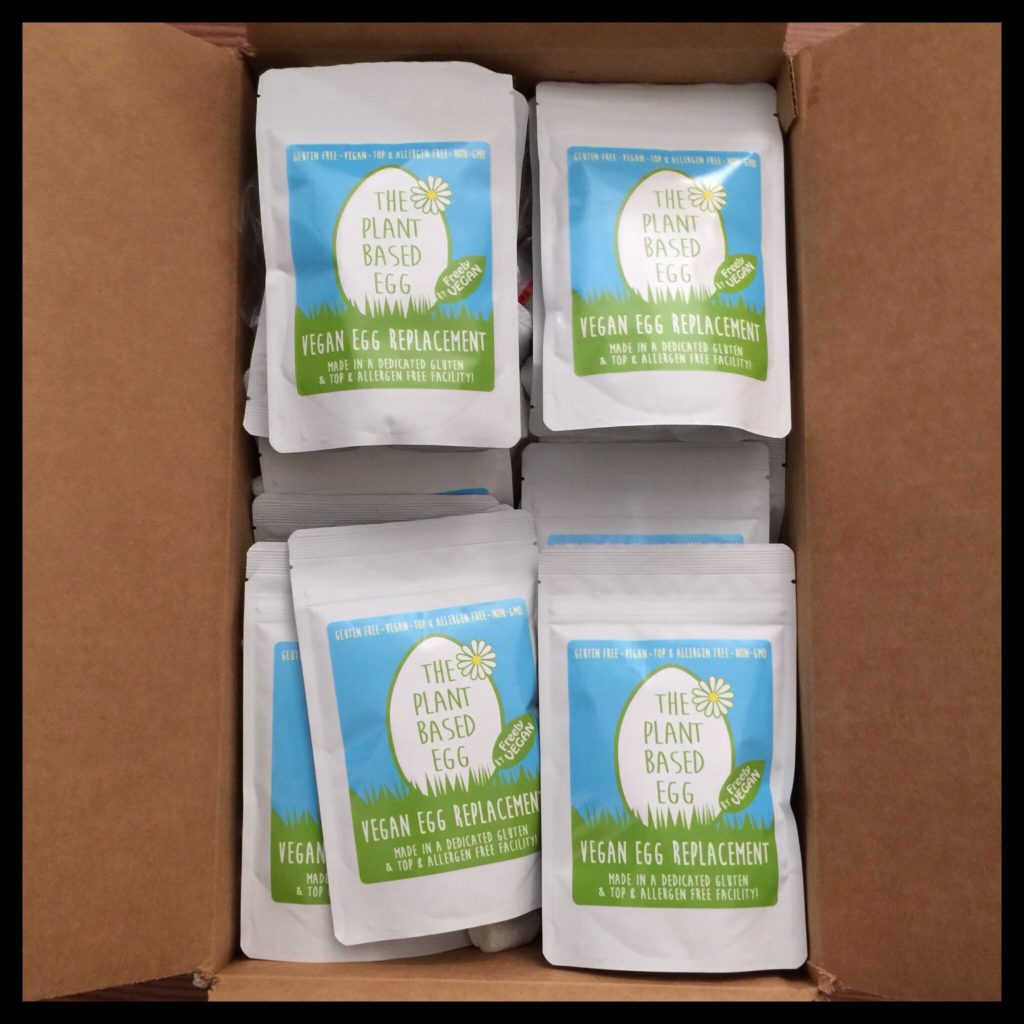
I highly recommend using flour that is made with The Plant Based Egg by Freely Vegan. The Plant Based Egg will be available to purchase online very soon at www.freelyvegan.com! (Until then, you can order it by emailing theplantbasedegg@gmail.com). We will also be bringing out a premade gluten free flour in a few months that will already have The Plant Based Egg added to it! Until then, you can make your own gluten free flour by using one of the recipes on this link. (I have lots of variations so everyone should be able to find one that works for their dietary needs. Please note that blends three through sixteen will all work for this recipe but blends one and two do not work well in yeast breads.) The Plant Based Egg replaces both eggs and the xanthan and/or guar gums that you find in most gluten free flours. This allows you to achieve light and fluffy results without any gumminess! (If you try this recipe without The Plant Based Egg, be sure that your flour contains xanthan or guar gum, and know that the results will not be the same.)
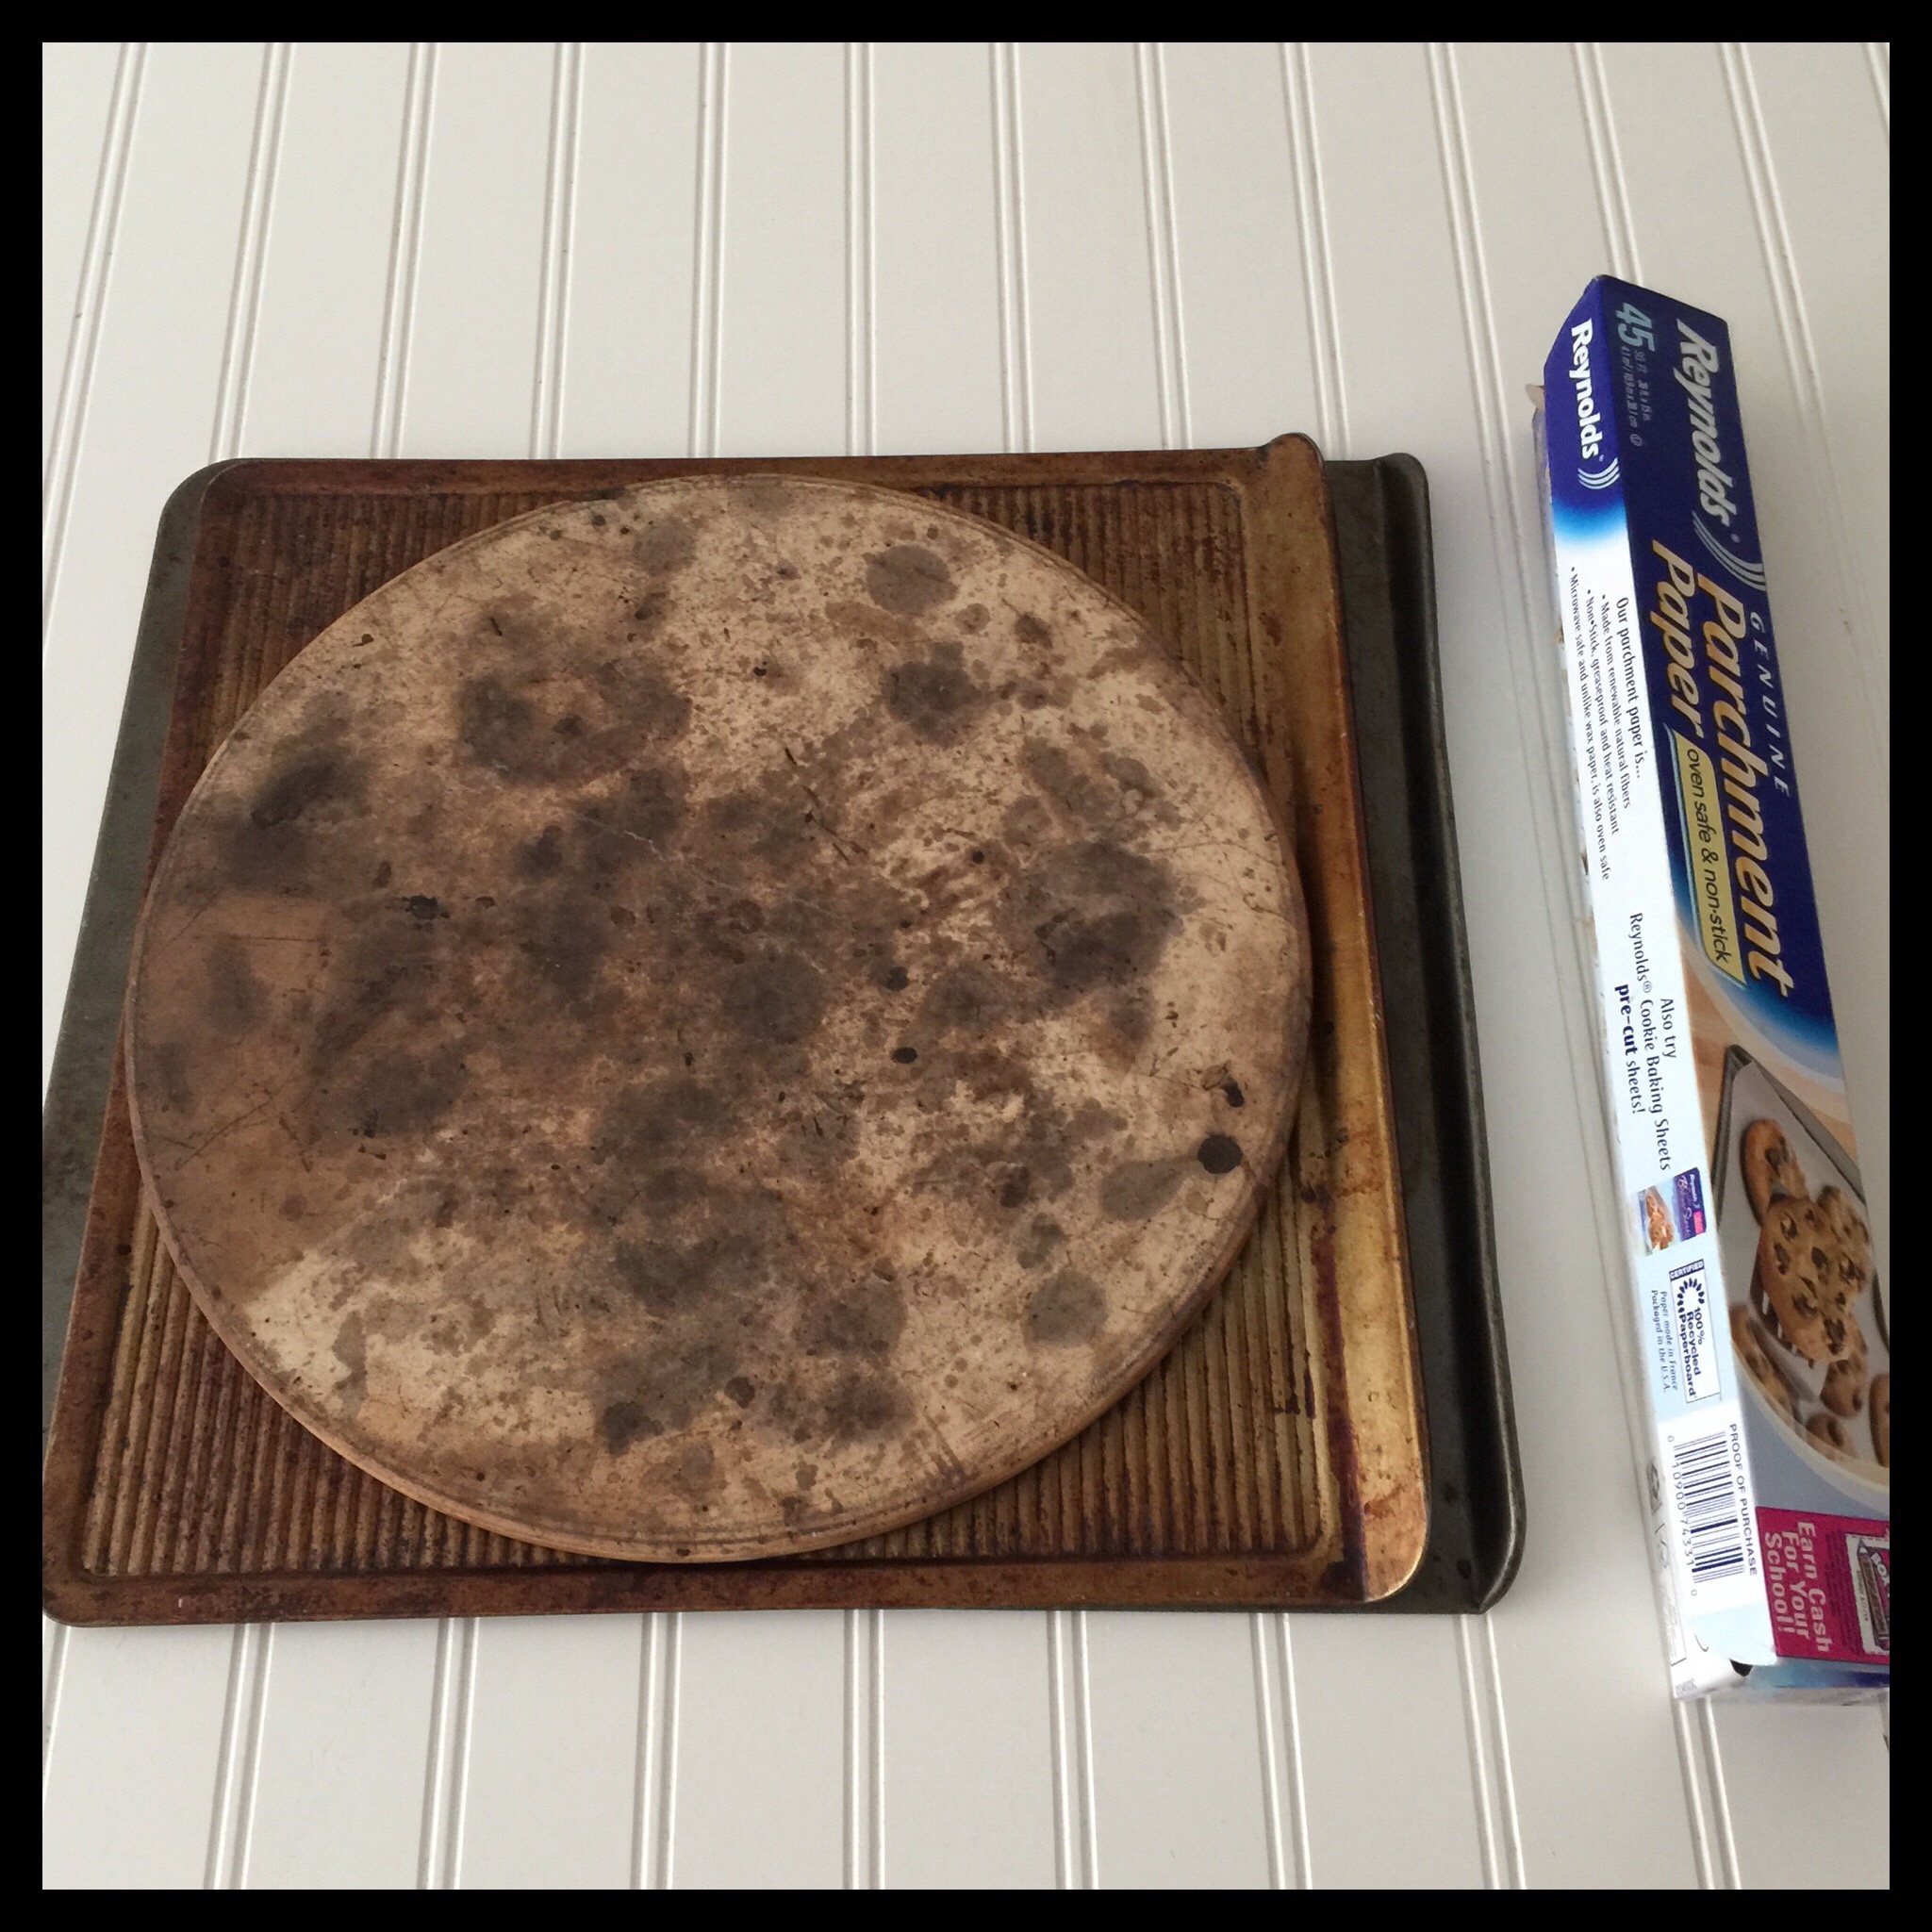
You will need a pizza stone, parchment paper, and some flat baking sheets. You may be able to use an upside-down baking pan instead of a pizza stone, but I haven’t tried it. I really recommend buying a pizza stone, though, if you don’t have one. I have gotten two of my pizza stones at my local thrift shop for under $5, and they range from about $15 to $40 new.
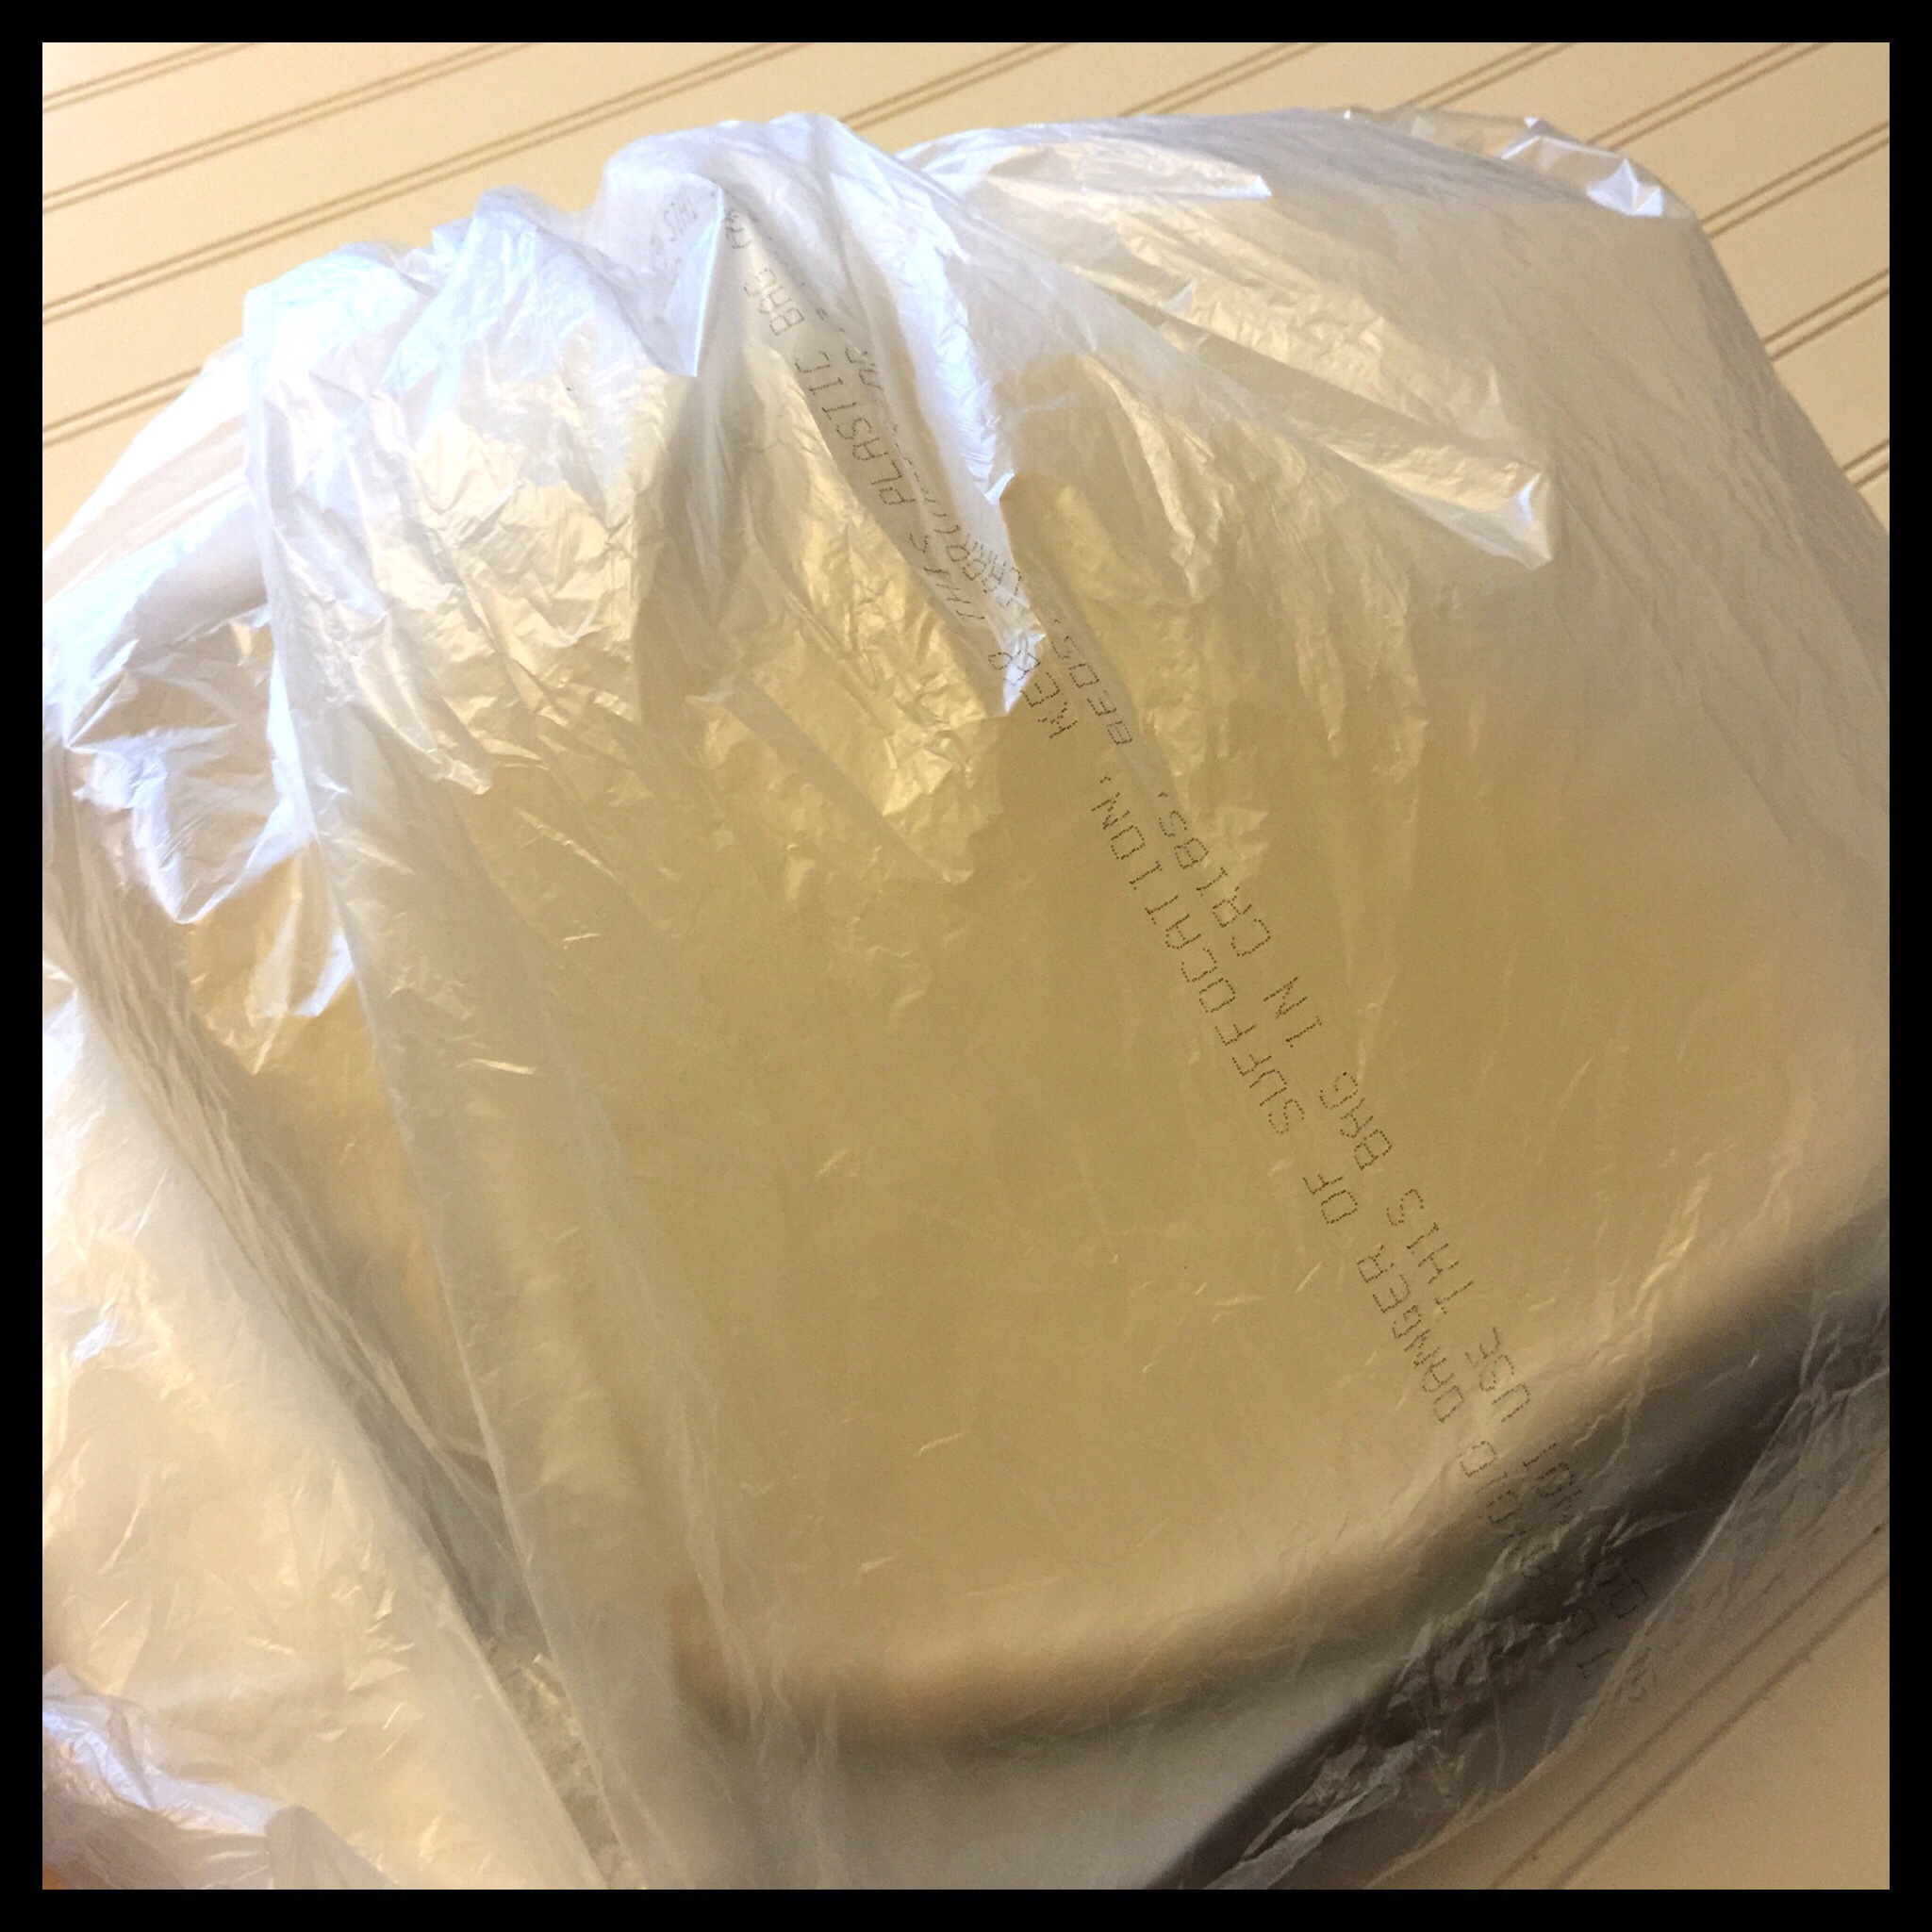
Not shown, but also needed, are a sturdy spatula, a thermometer, clean plastic bags, and either a hand mixer with dough hooks or a stand mixer with the paddle attachment. A hand mixer with dough hooks works fine for a single batch, but you will need a stand mixer if you are making a double batch (or you can make two single batches in separate bowls if you don’t have a stand mixer.)
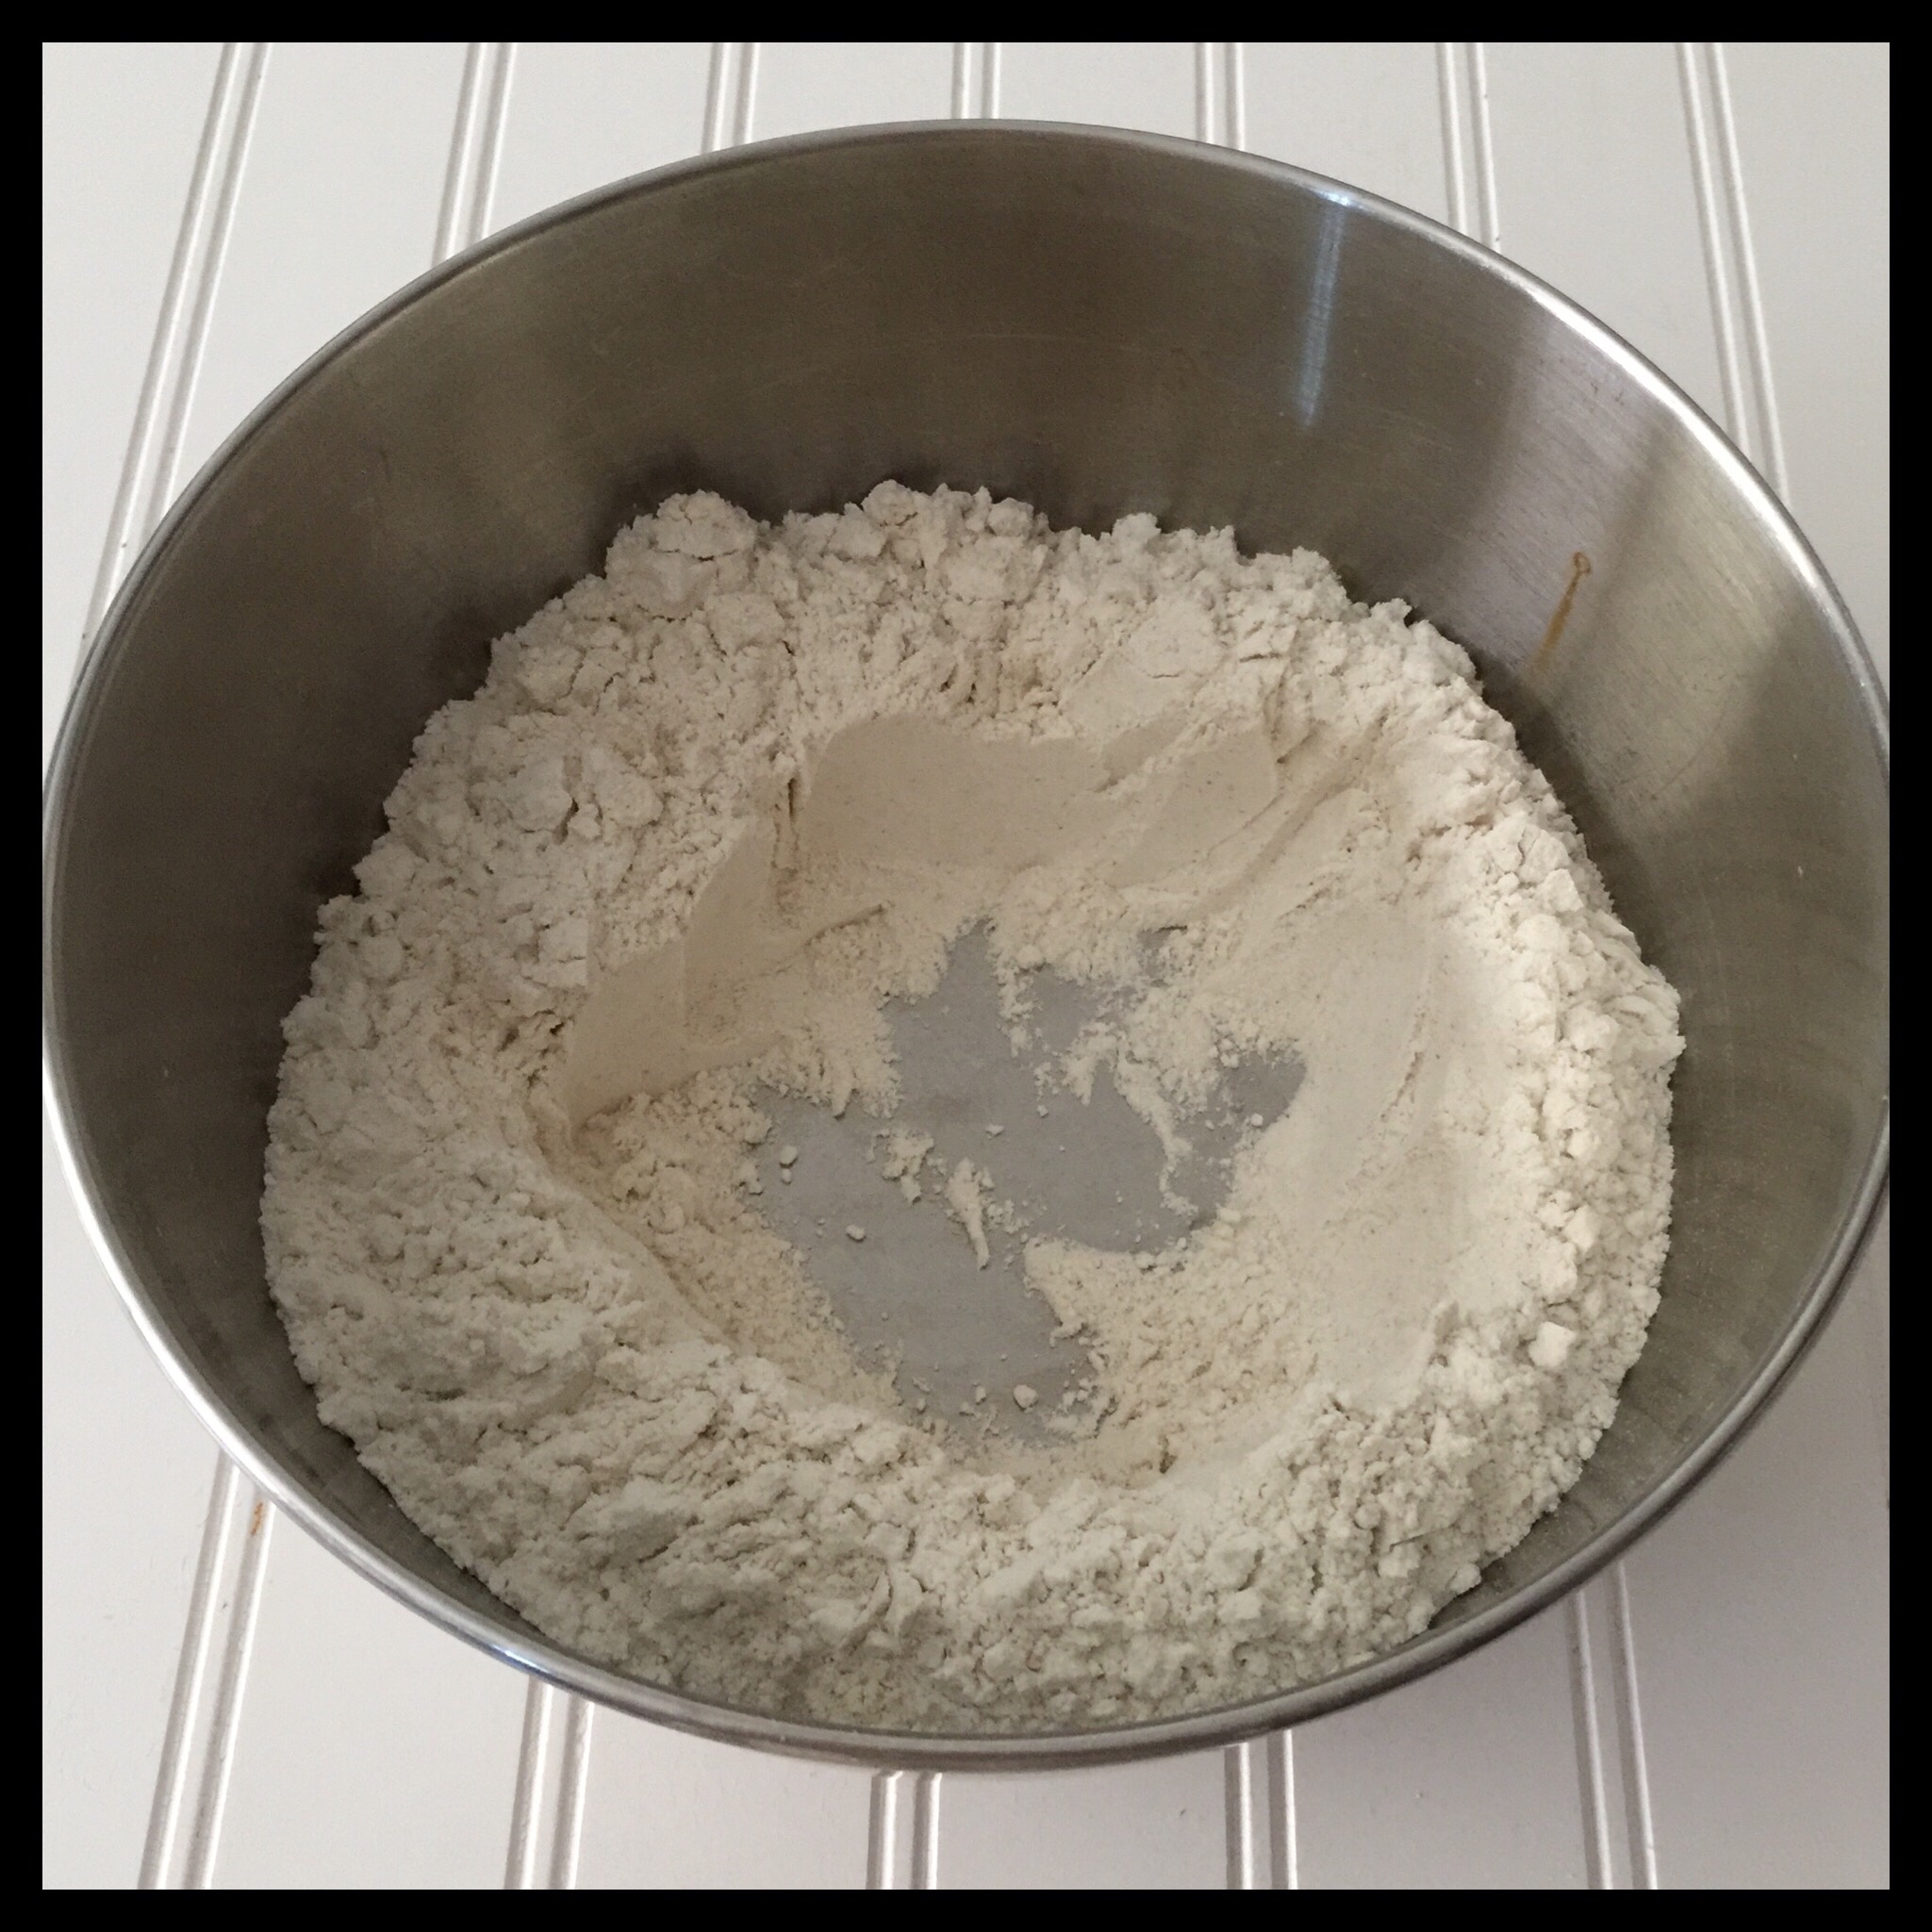
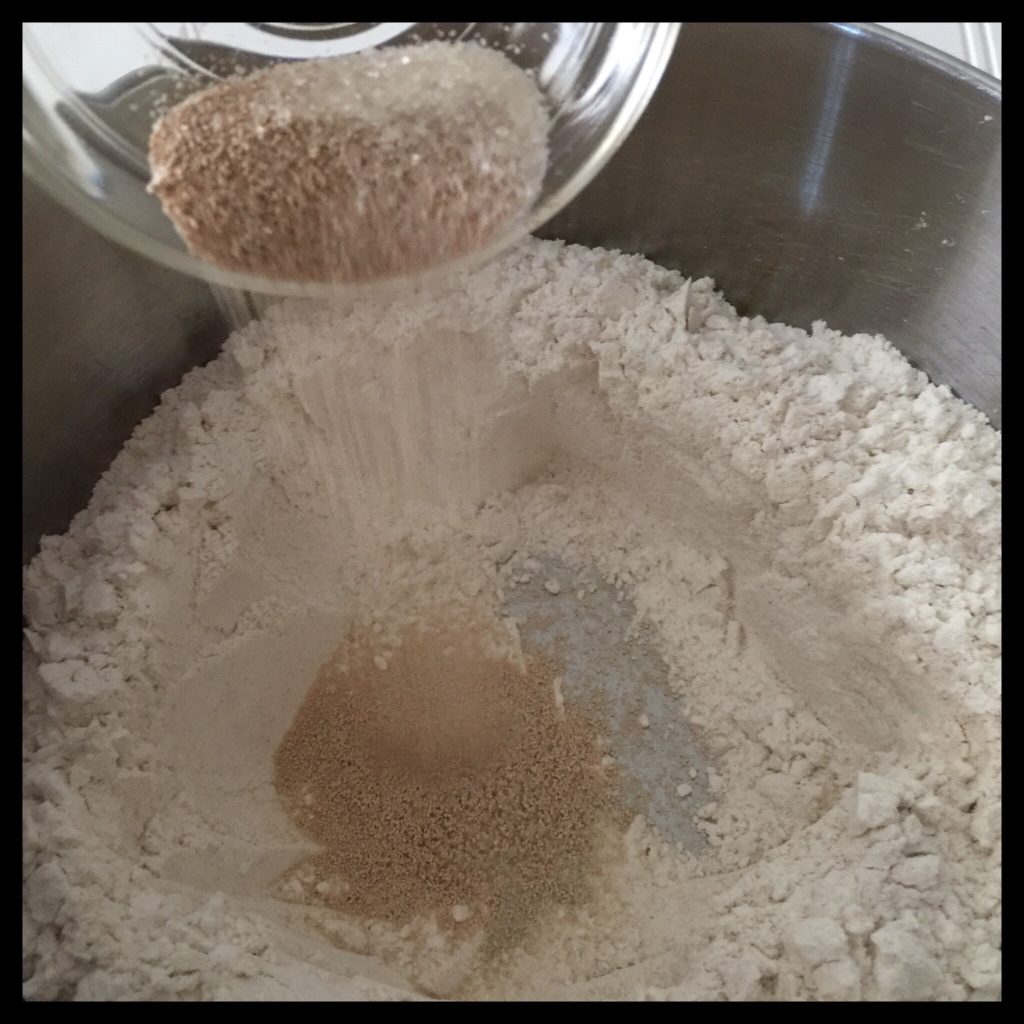
Add your flour to a large mixing bowl. Make a well in the flour mixture, then add the one teaspoon of sugar and the yeast to the well:
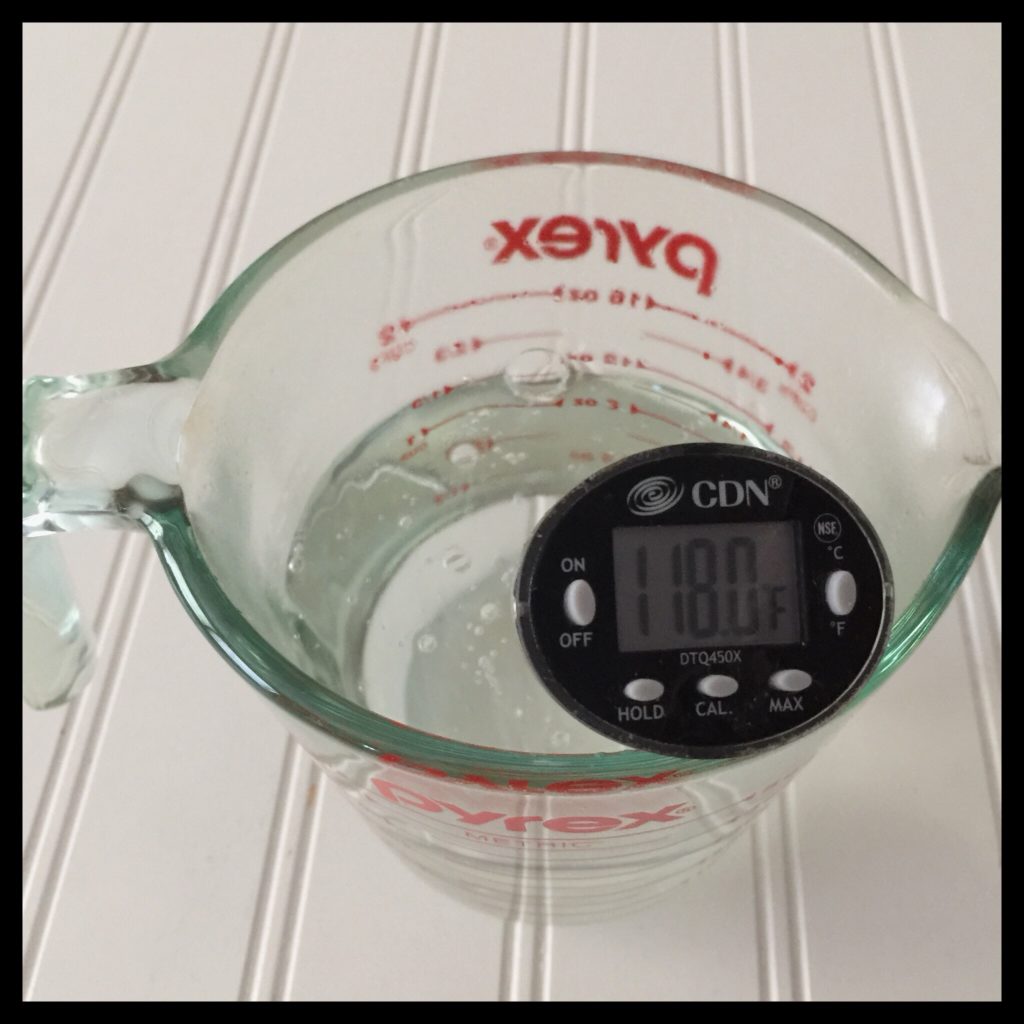
Warm the seltzer water in the microwave until it is 118 degrees Fahrenheit. (Be sure to stir before checking the temperature as hot spots can occur.)
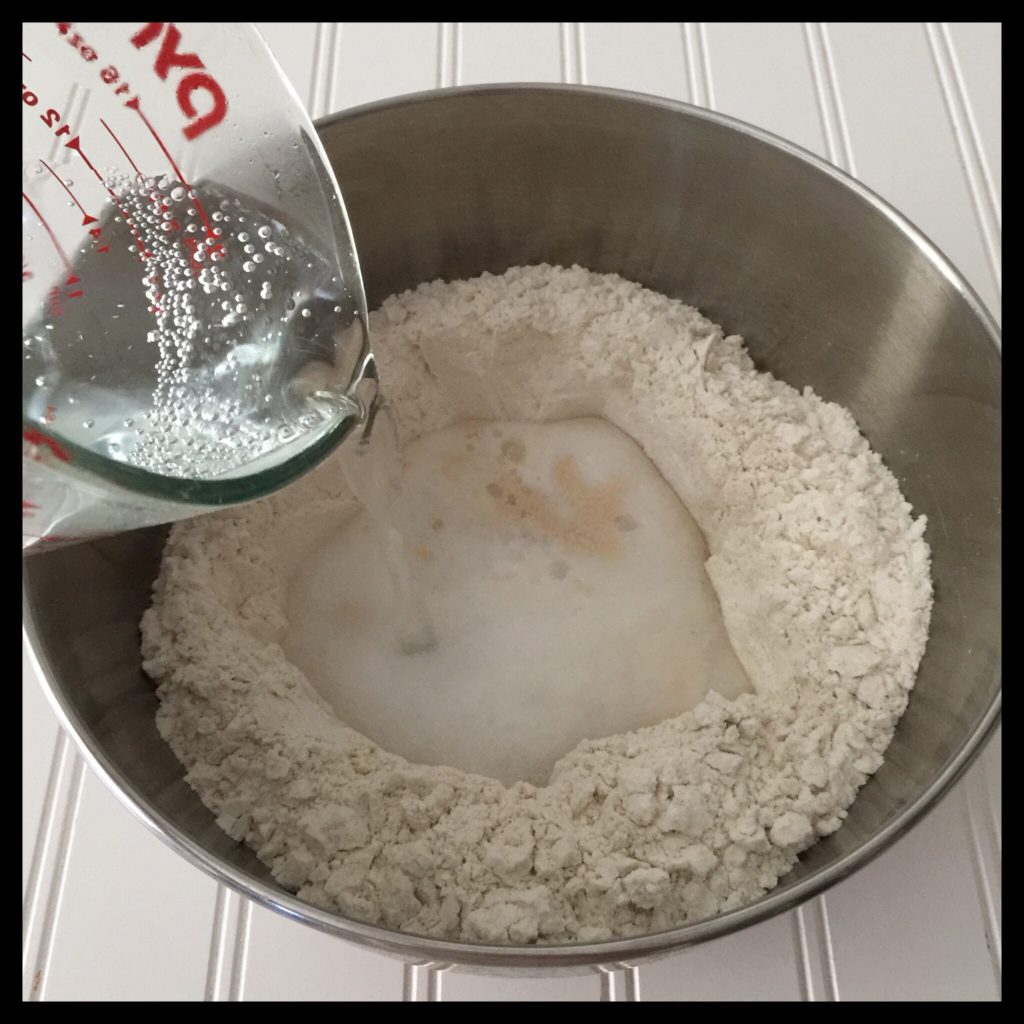
Pour the warm seltzer water into the well:
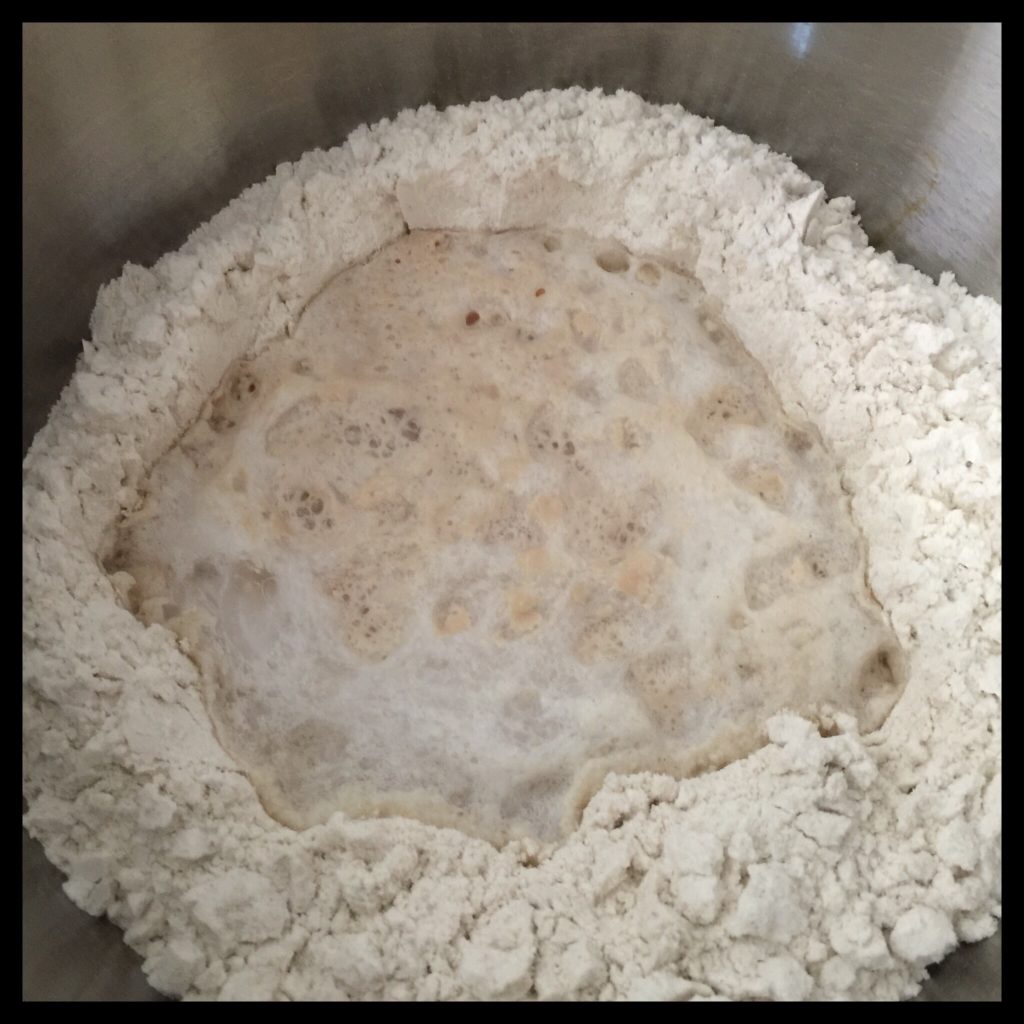
Let stand for about five minutes, until nice and bubbly:
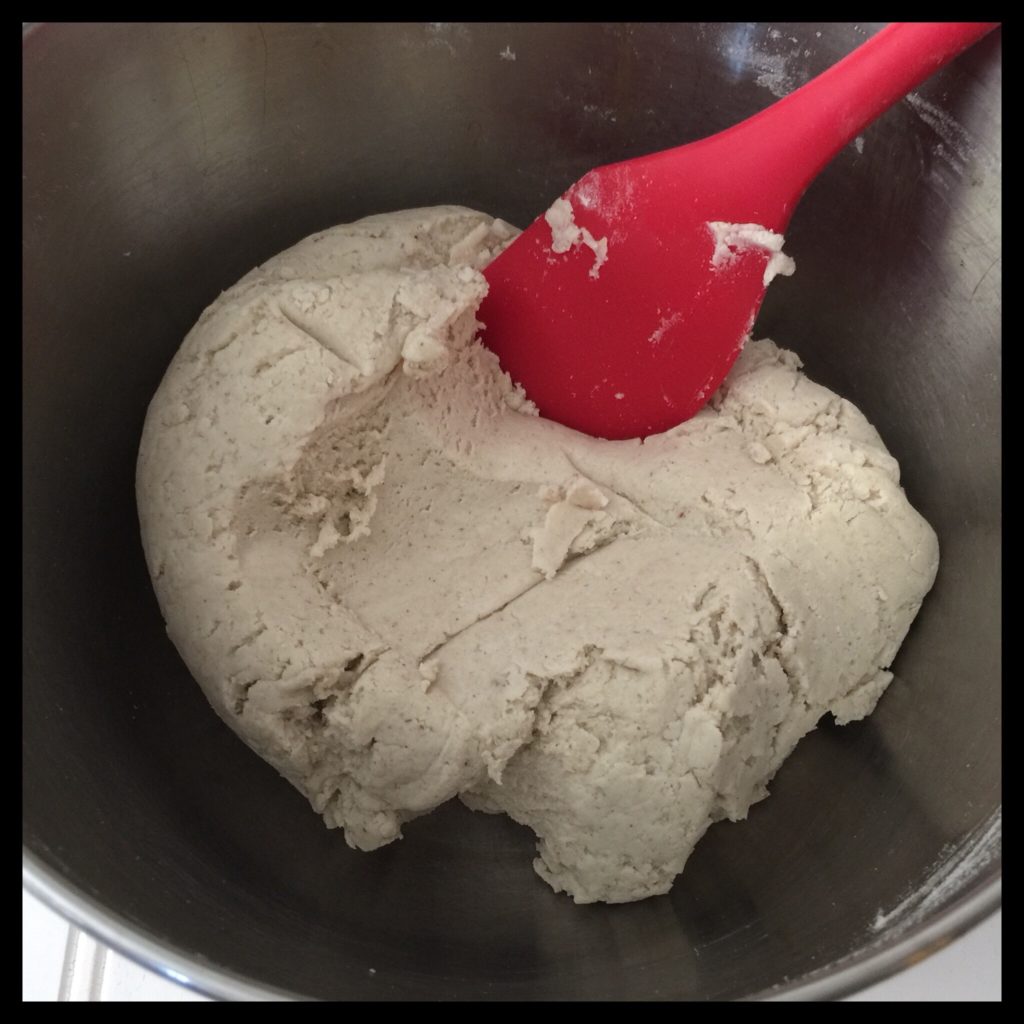
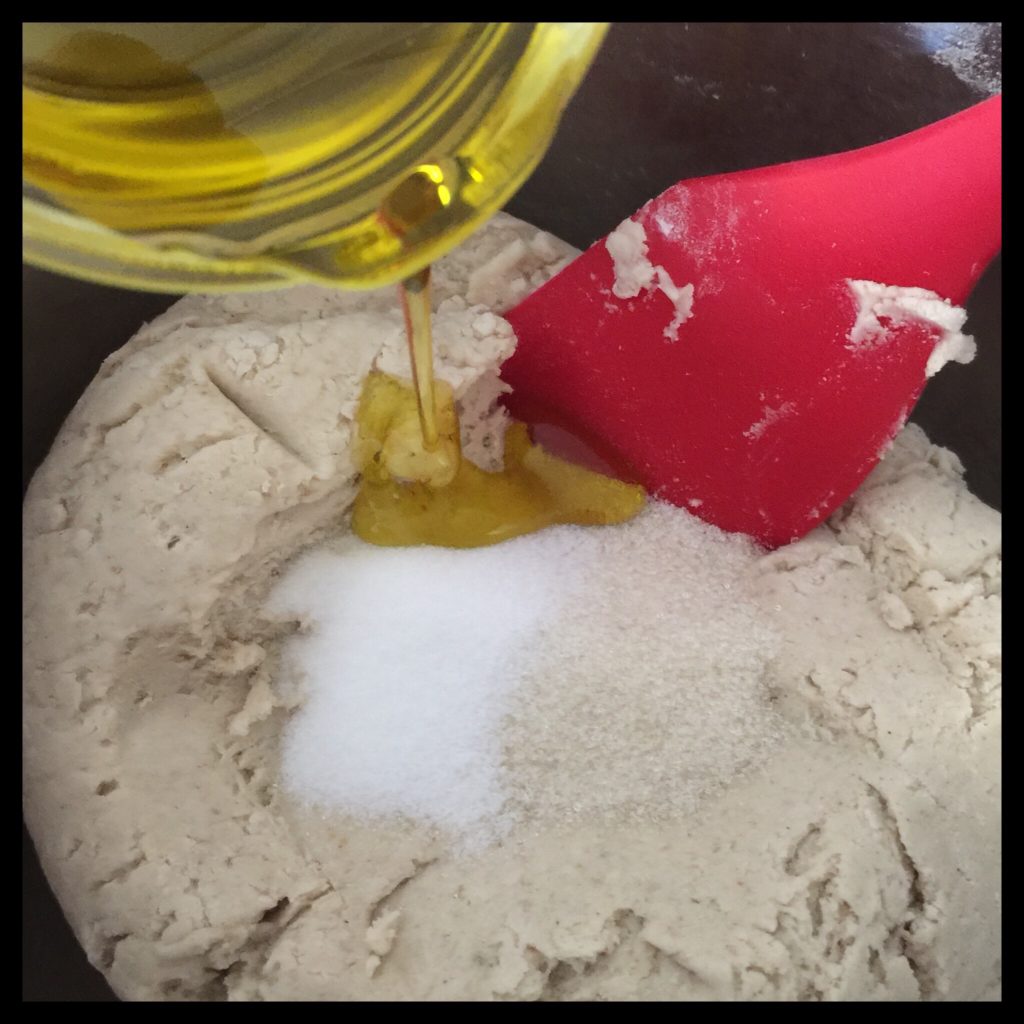
Stir together with a sturdy spatula or a large spoon. (The dough will be quite firm.) Add the sugar, salt, and olive oil, but do NOT stir them in yet:
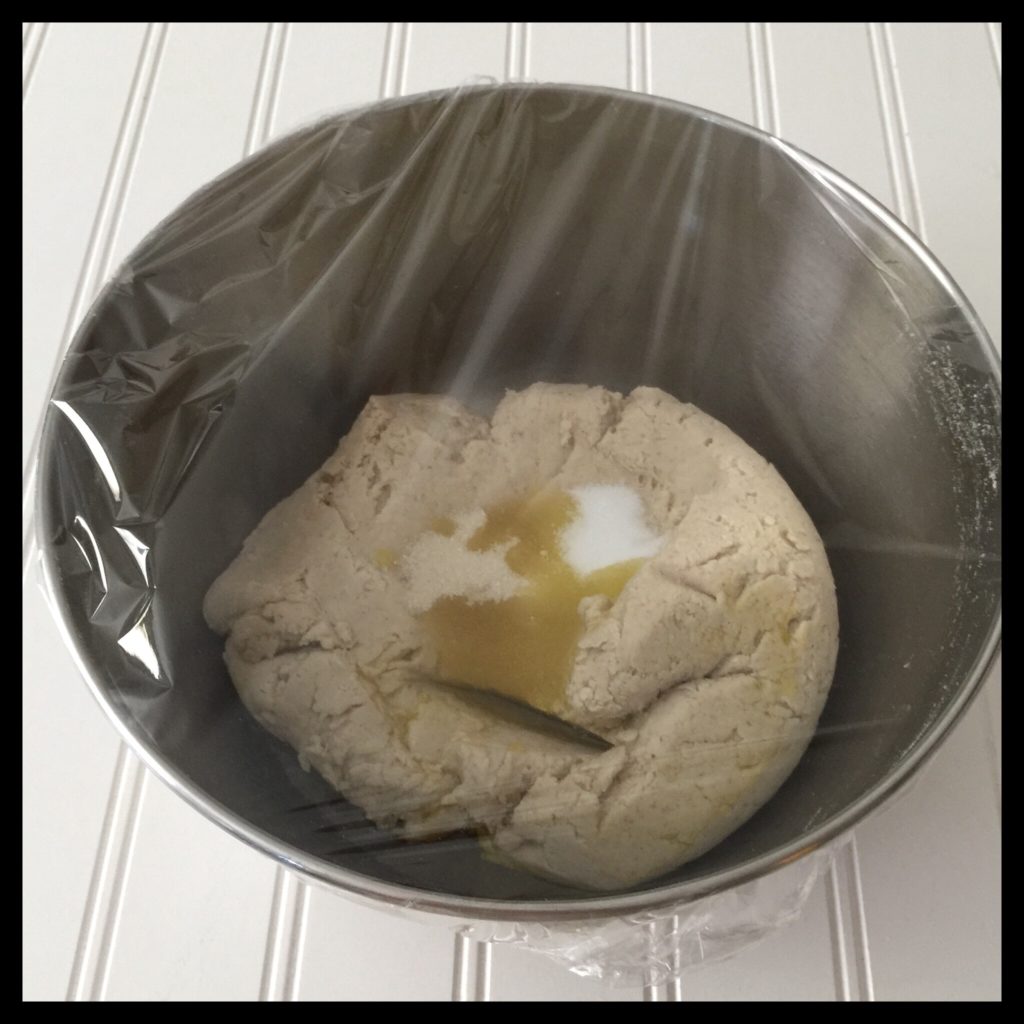
Cover the bowl with plastic wrap, then place the bowl in a warm place to rise. (You want the room temperature to be at least 70 degrees Fahrenheit, and no warmer than 85 degrees Fahrenheit.) If your house is cooler than 70 degrees, you can use your oven with the light turned on, but check the temperature inside to be sure it isn’t above 85 degrees. Set a timer for 30 minutes.
After 30 minutes, you will beat the sugar, oil, and salt into the dough. If you are using a hand mixer with dough hooks, beat on high speed for three minutes. If you are using a stand mixer with a paddle attachment, beat on medium-high speed for two minutes:
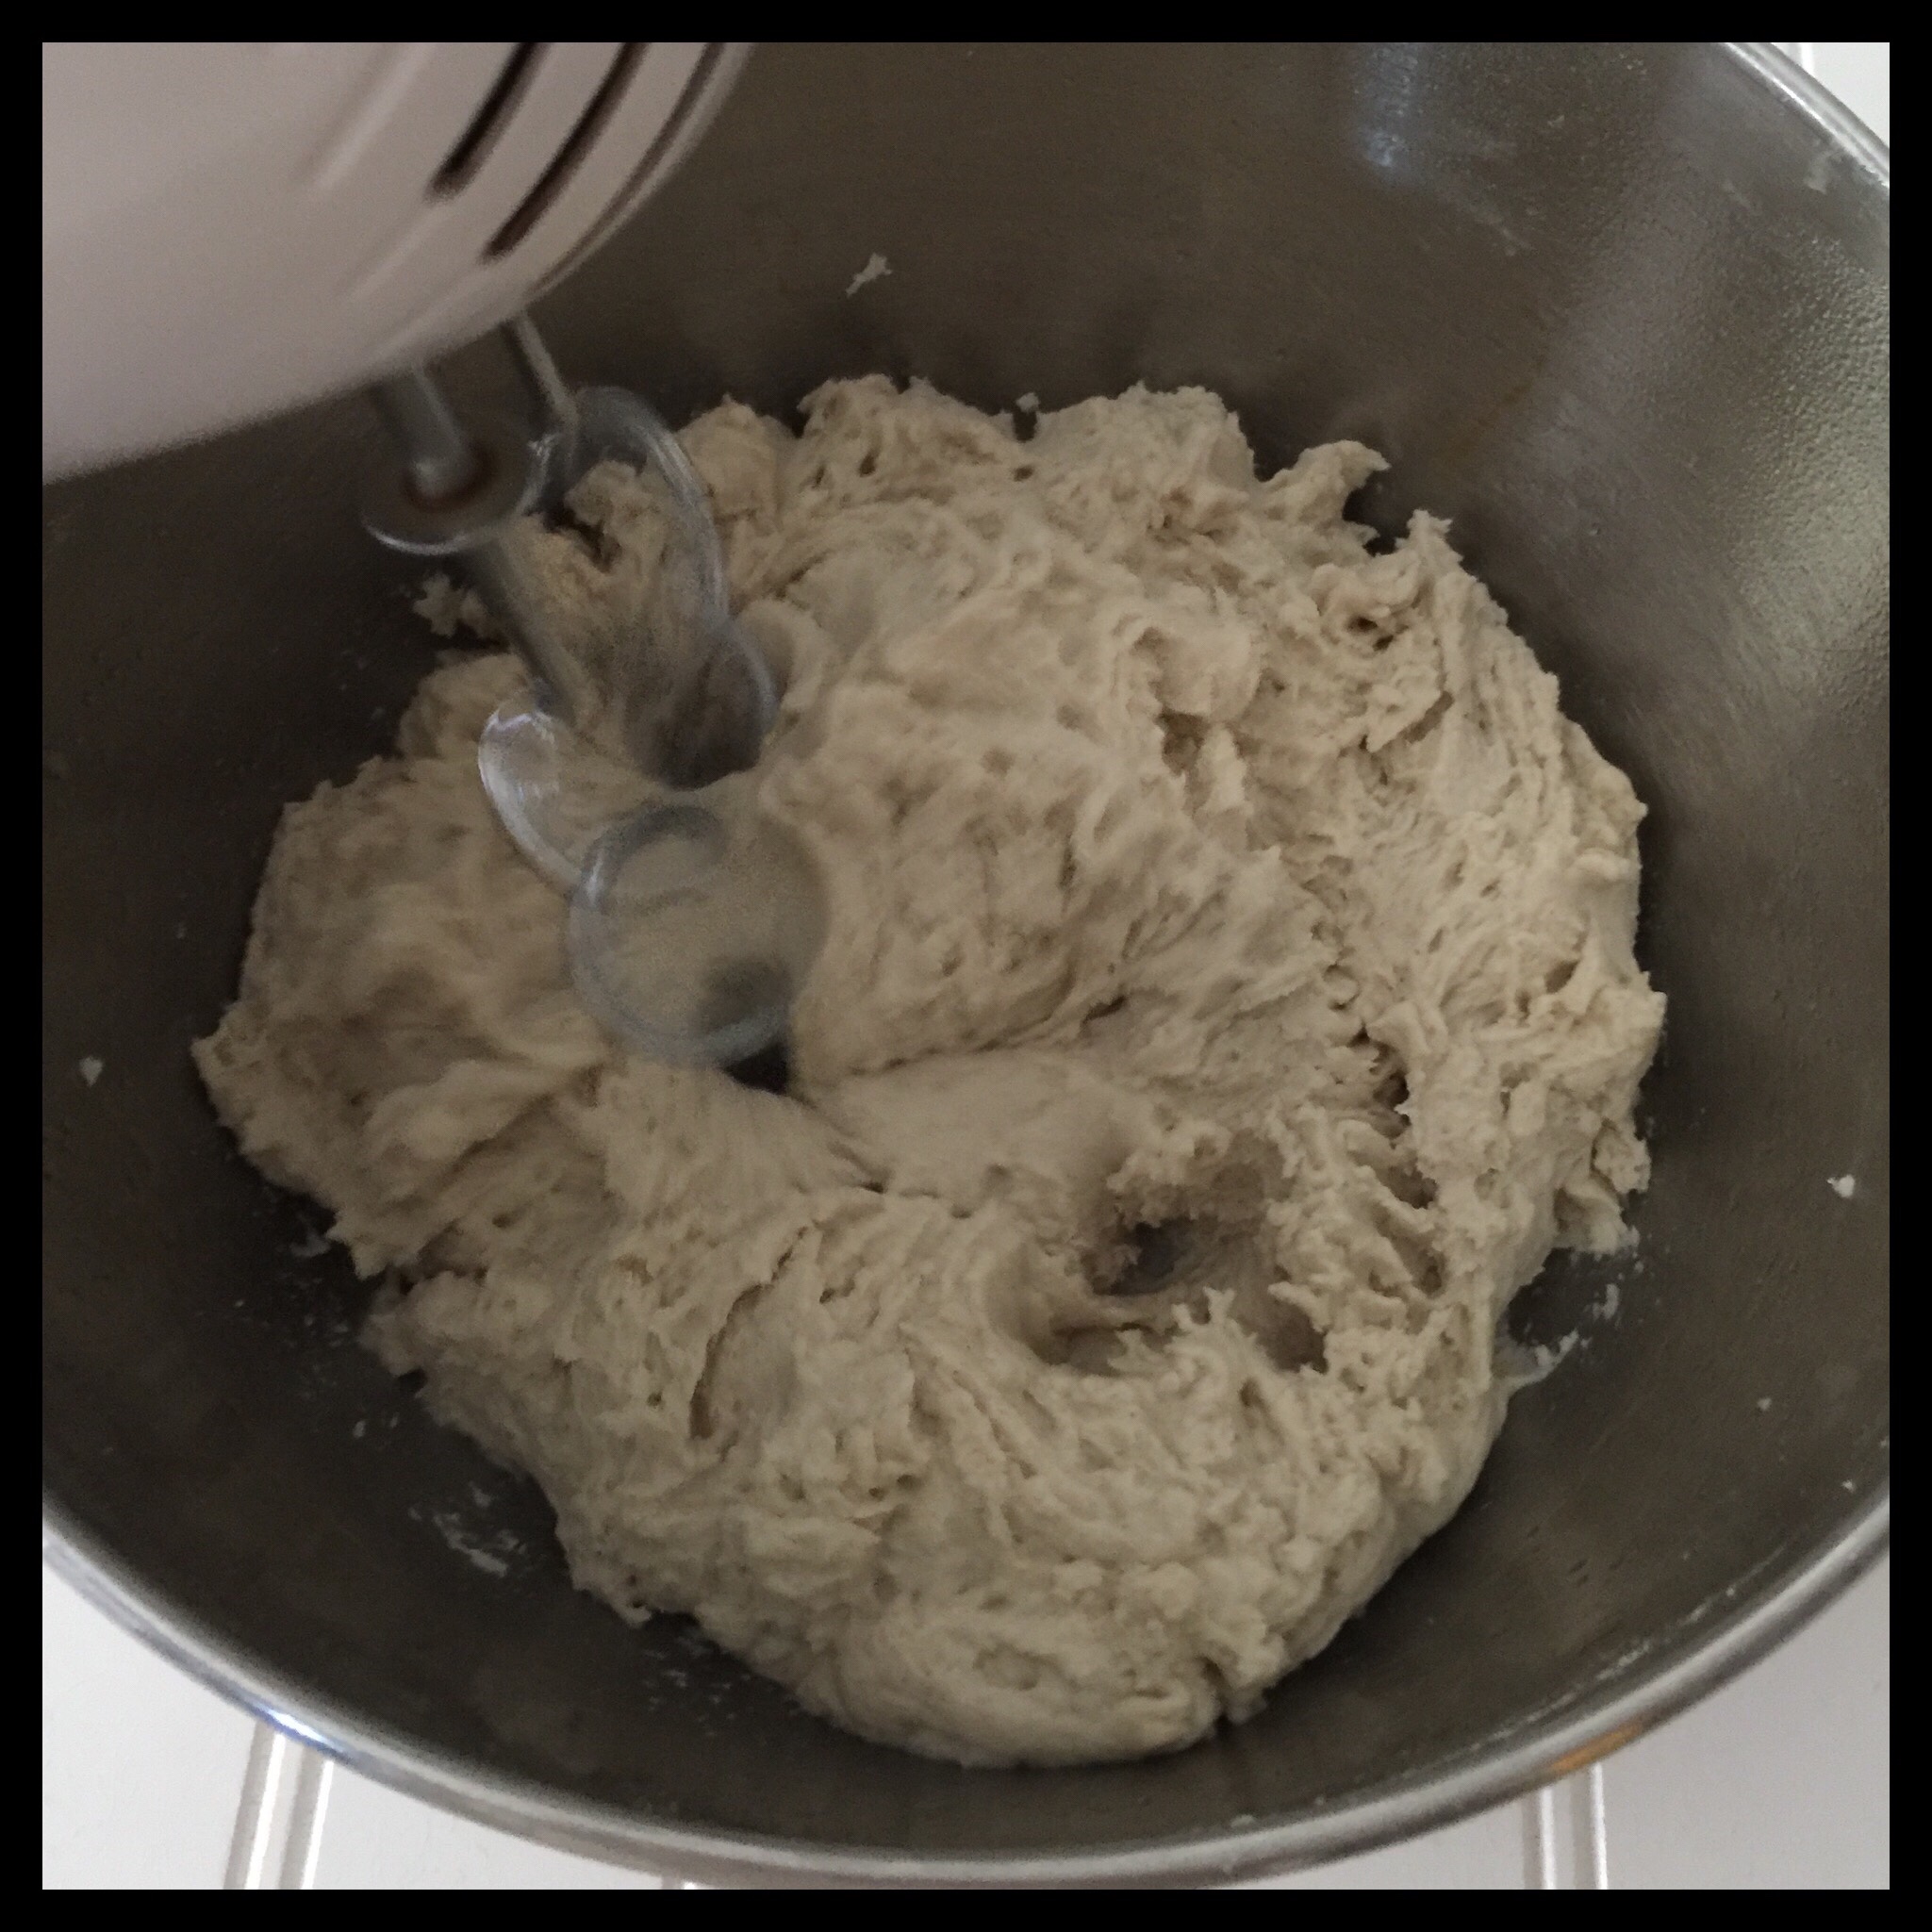
Cover the bowl again, and this time let the dough rise for an hour:

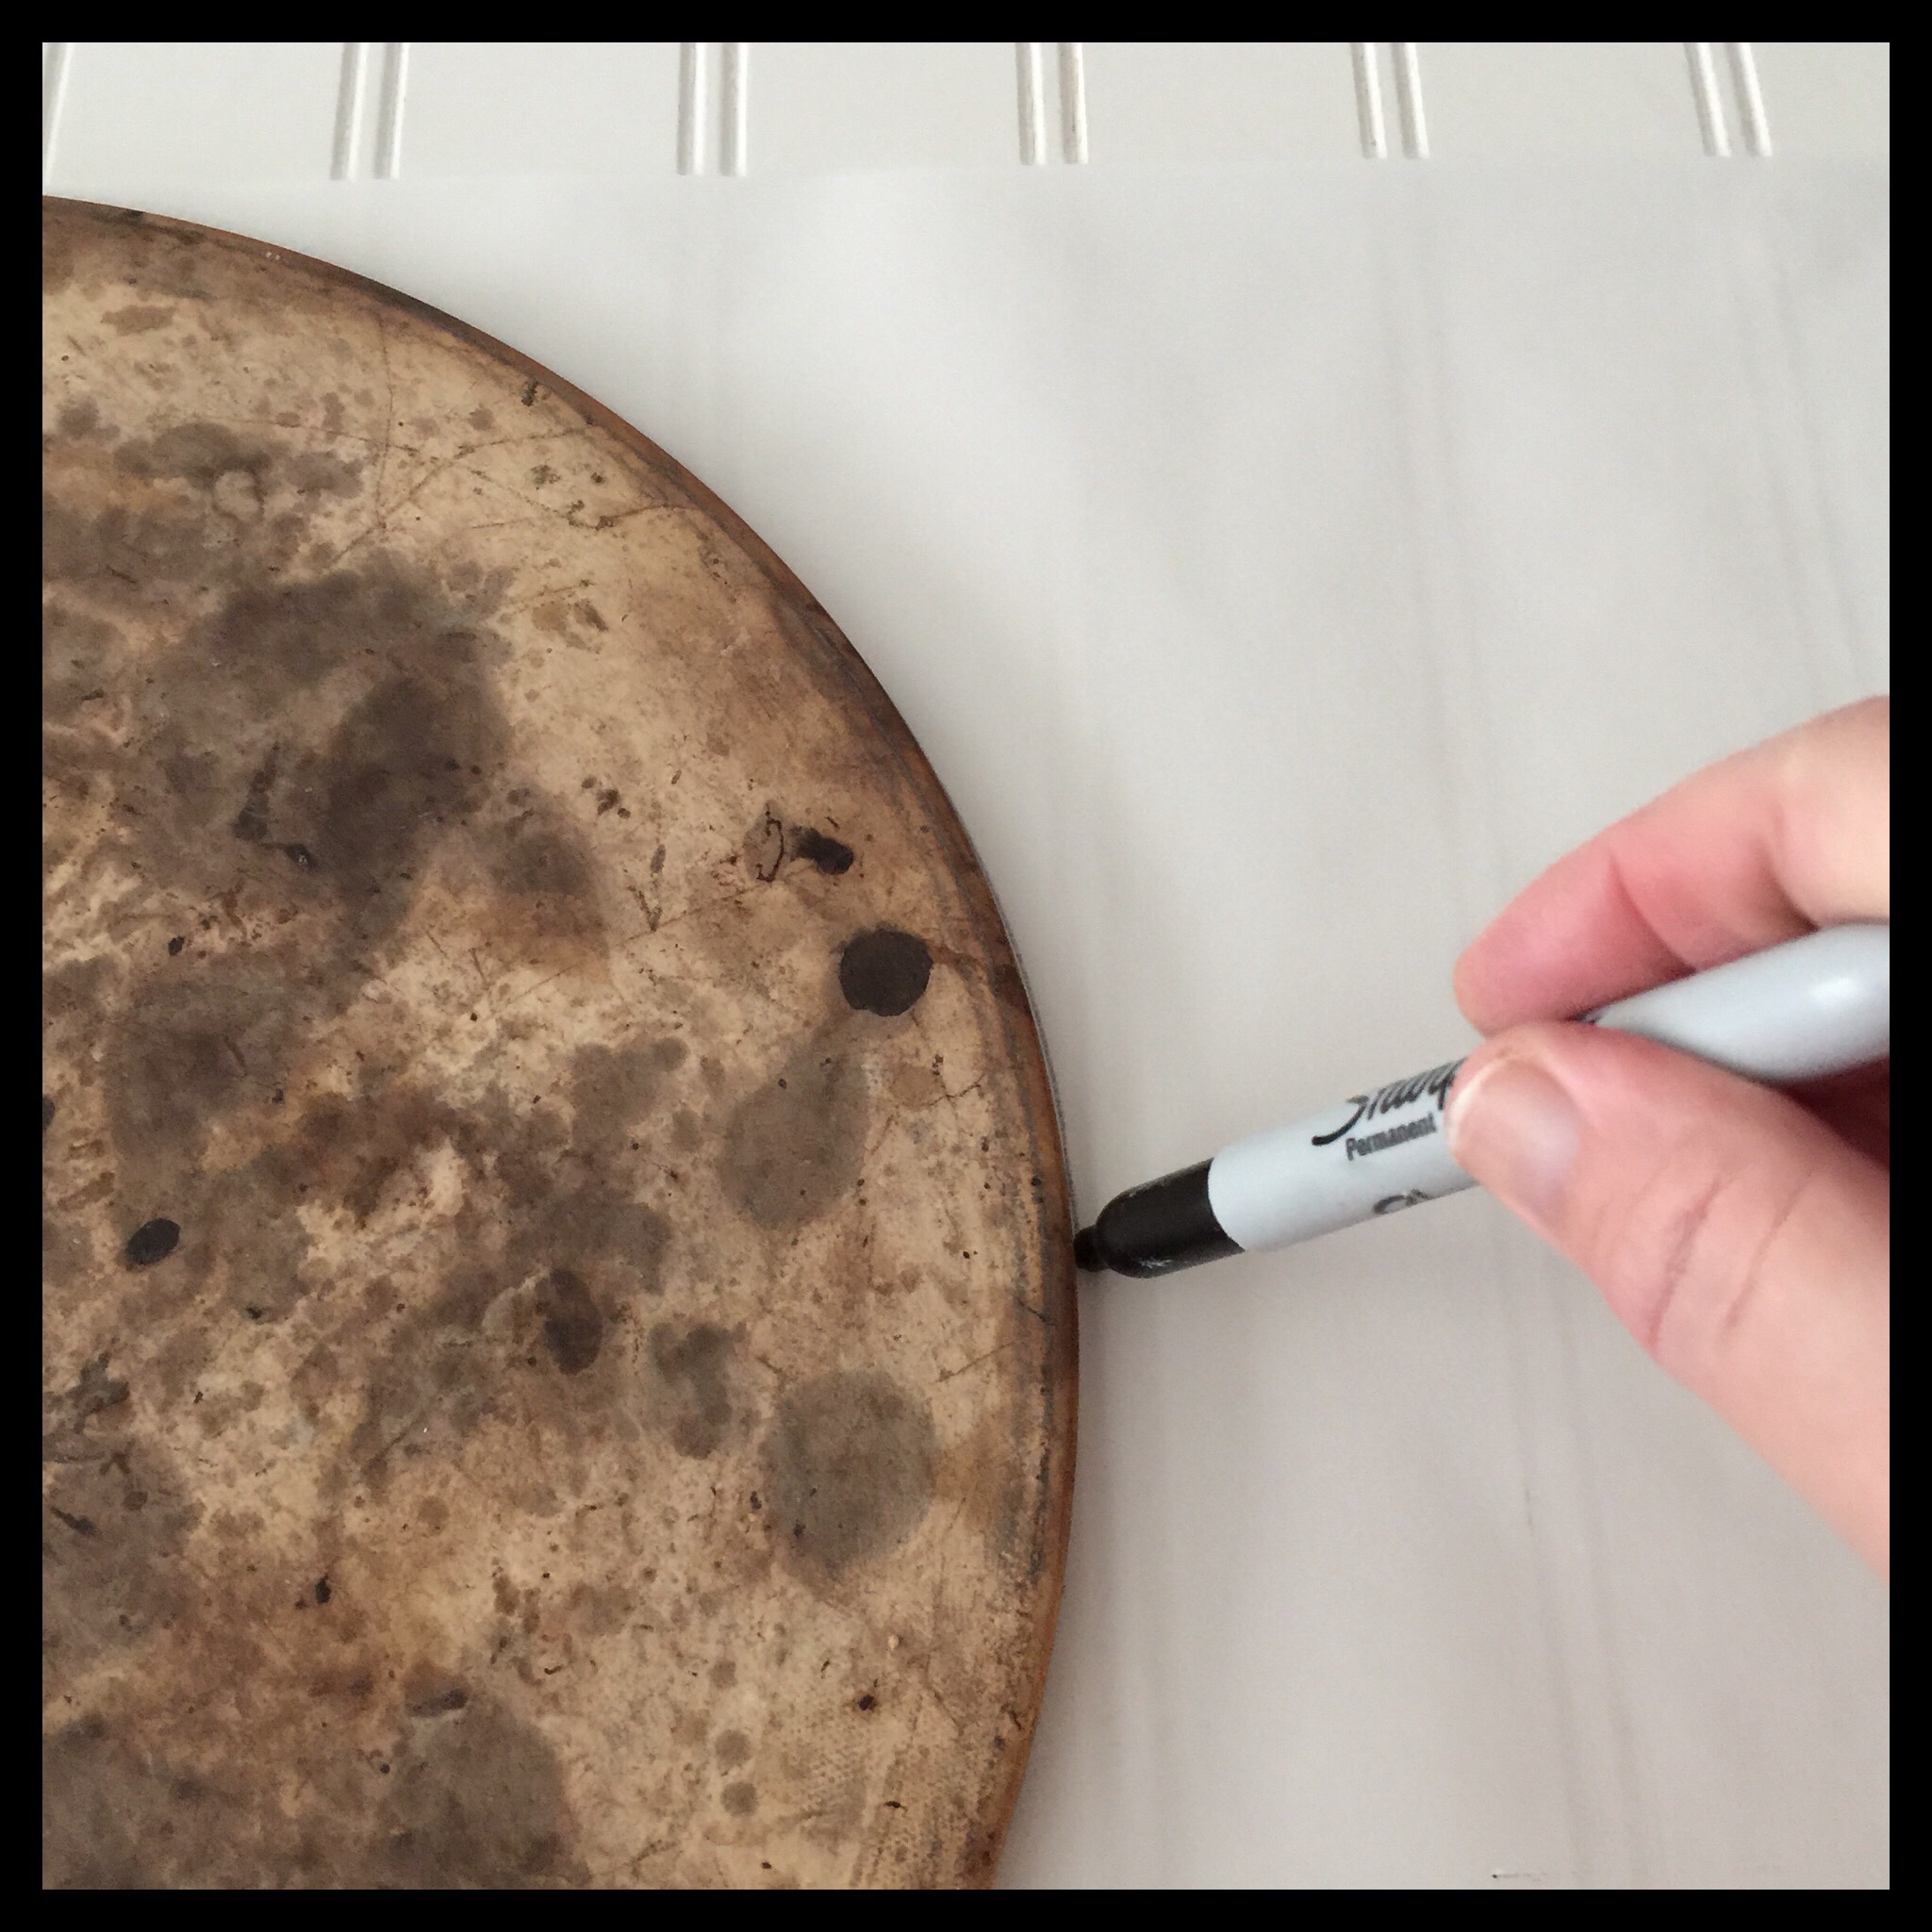
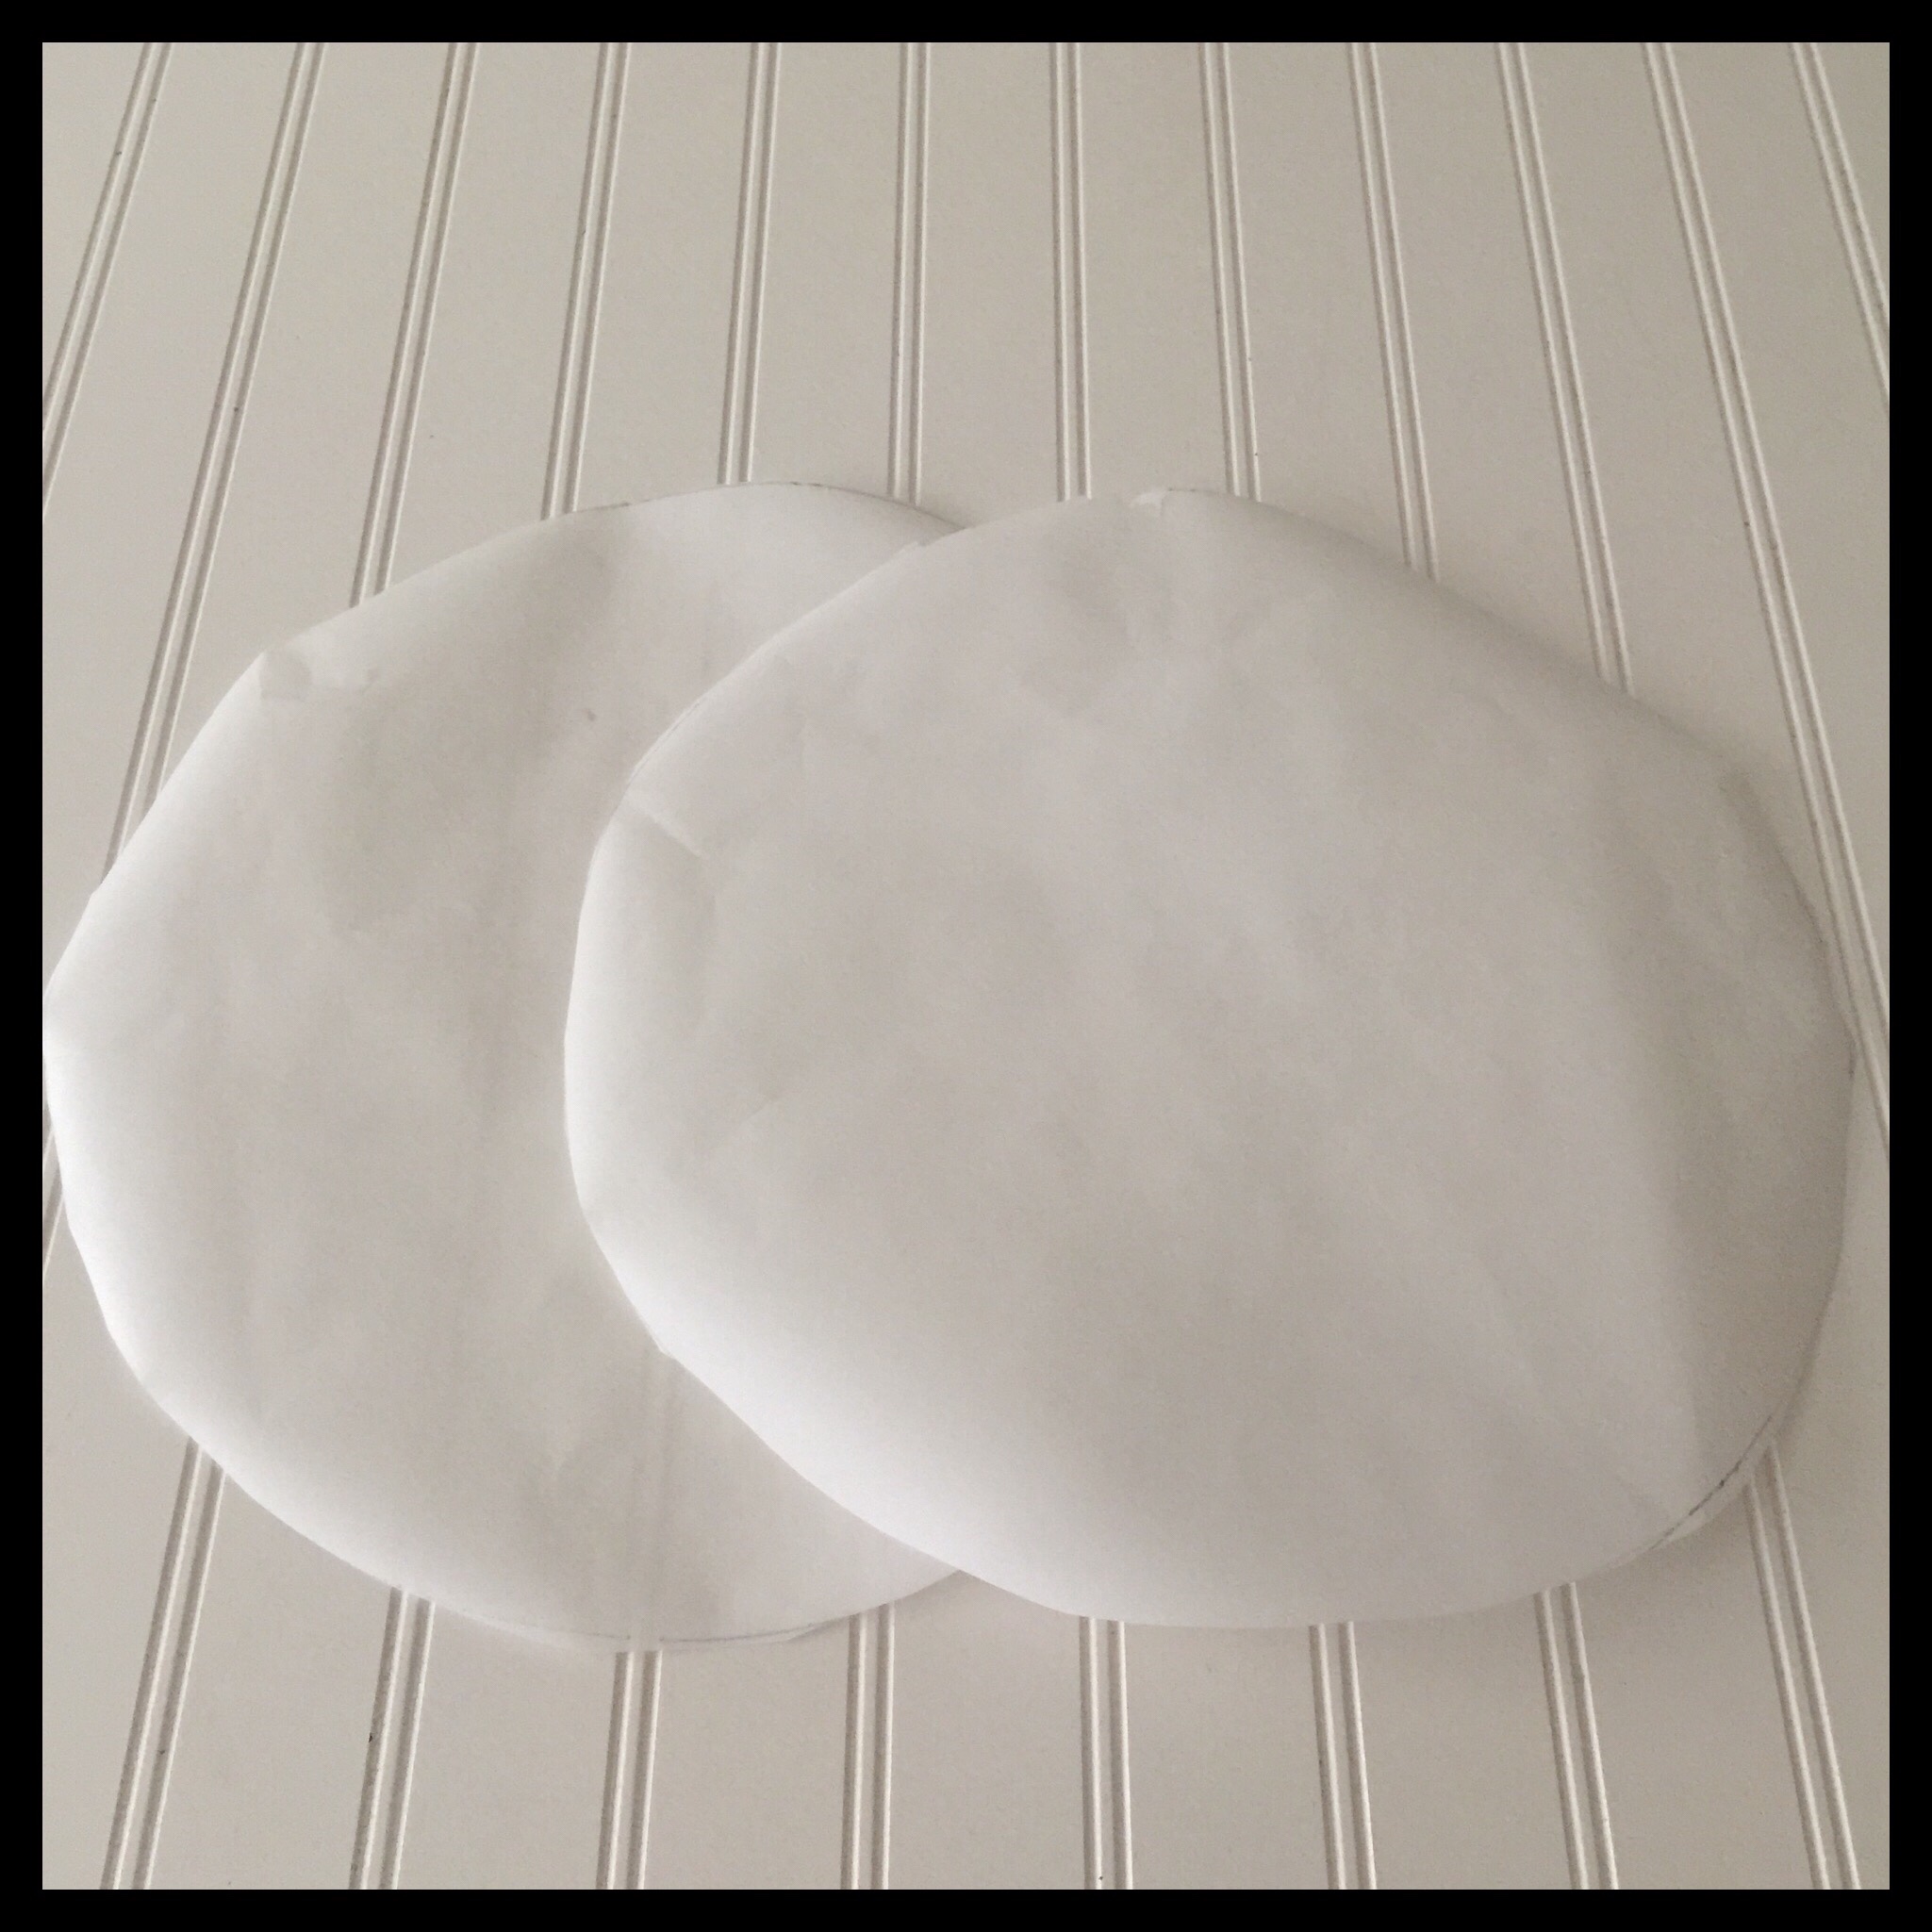
While the dough is on its second rise, trace the shape of your pizza stone onto parchment paper. (One batch of dough will make two rounds or one large rectangle.)
After the second rise, it is time to shape your pizza crust(s).
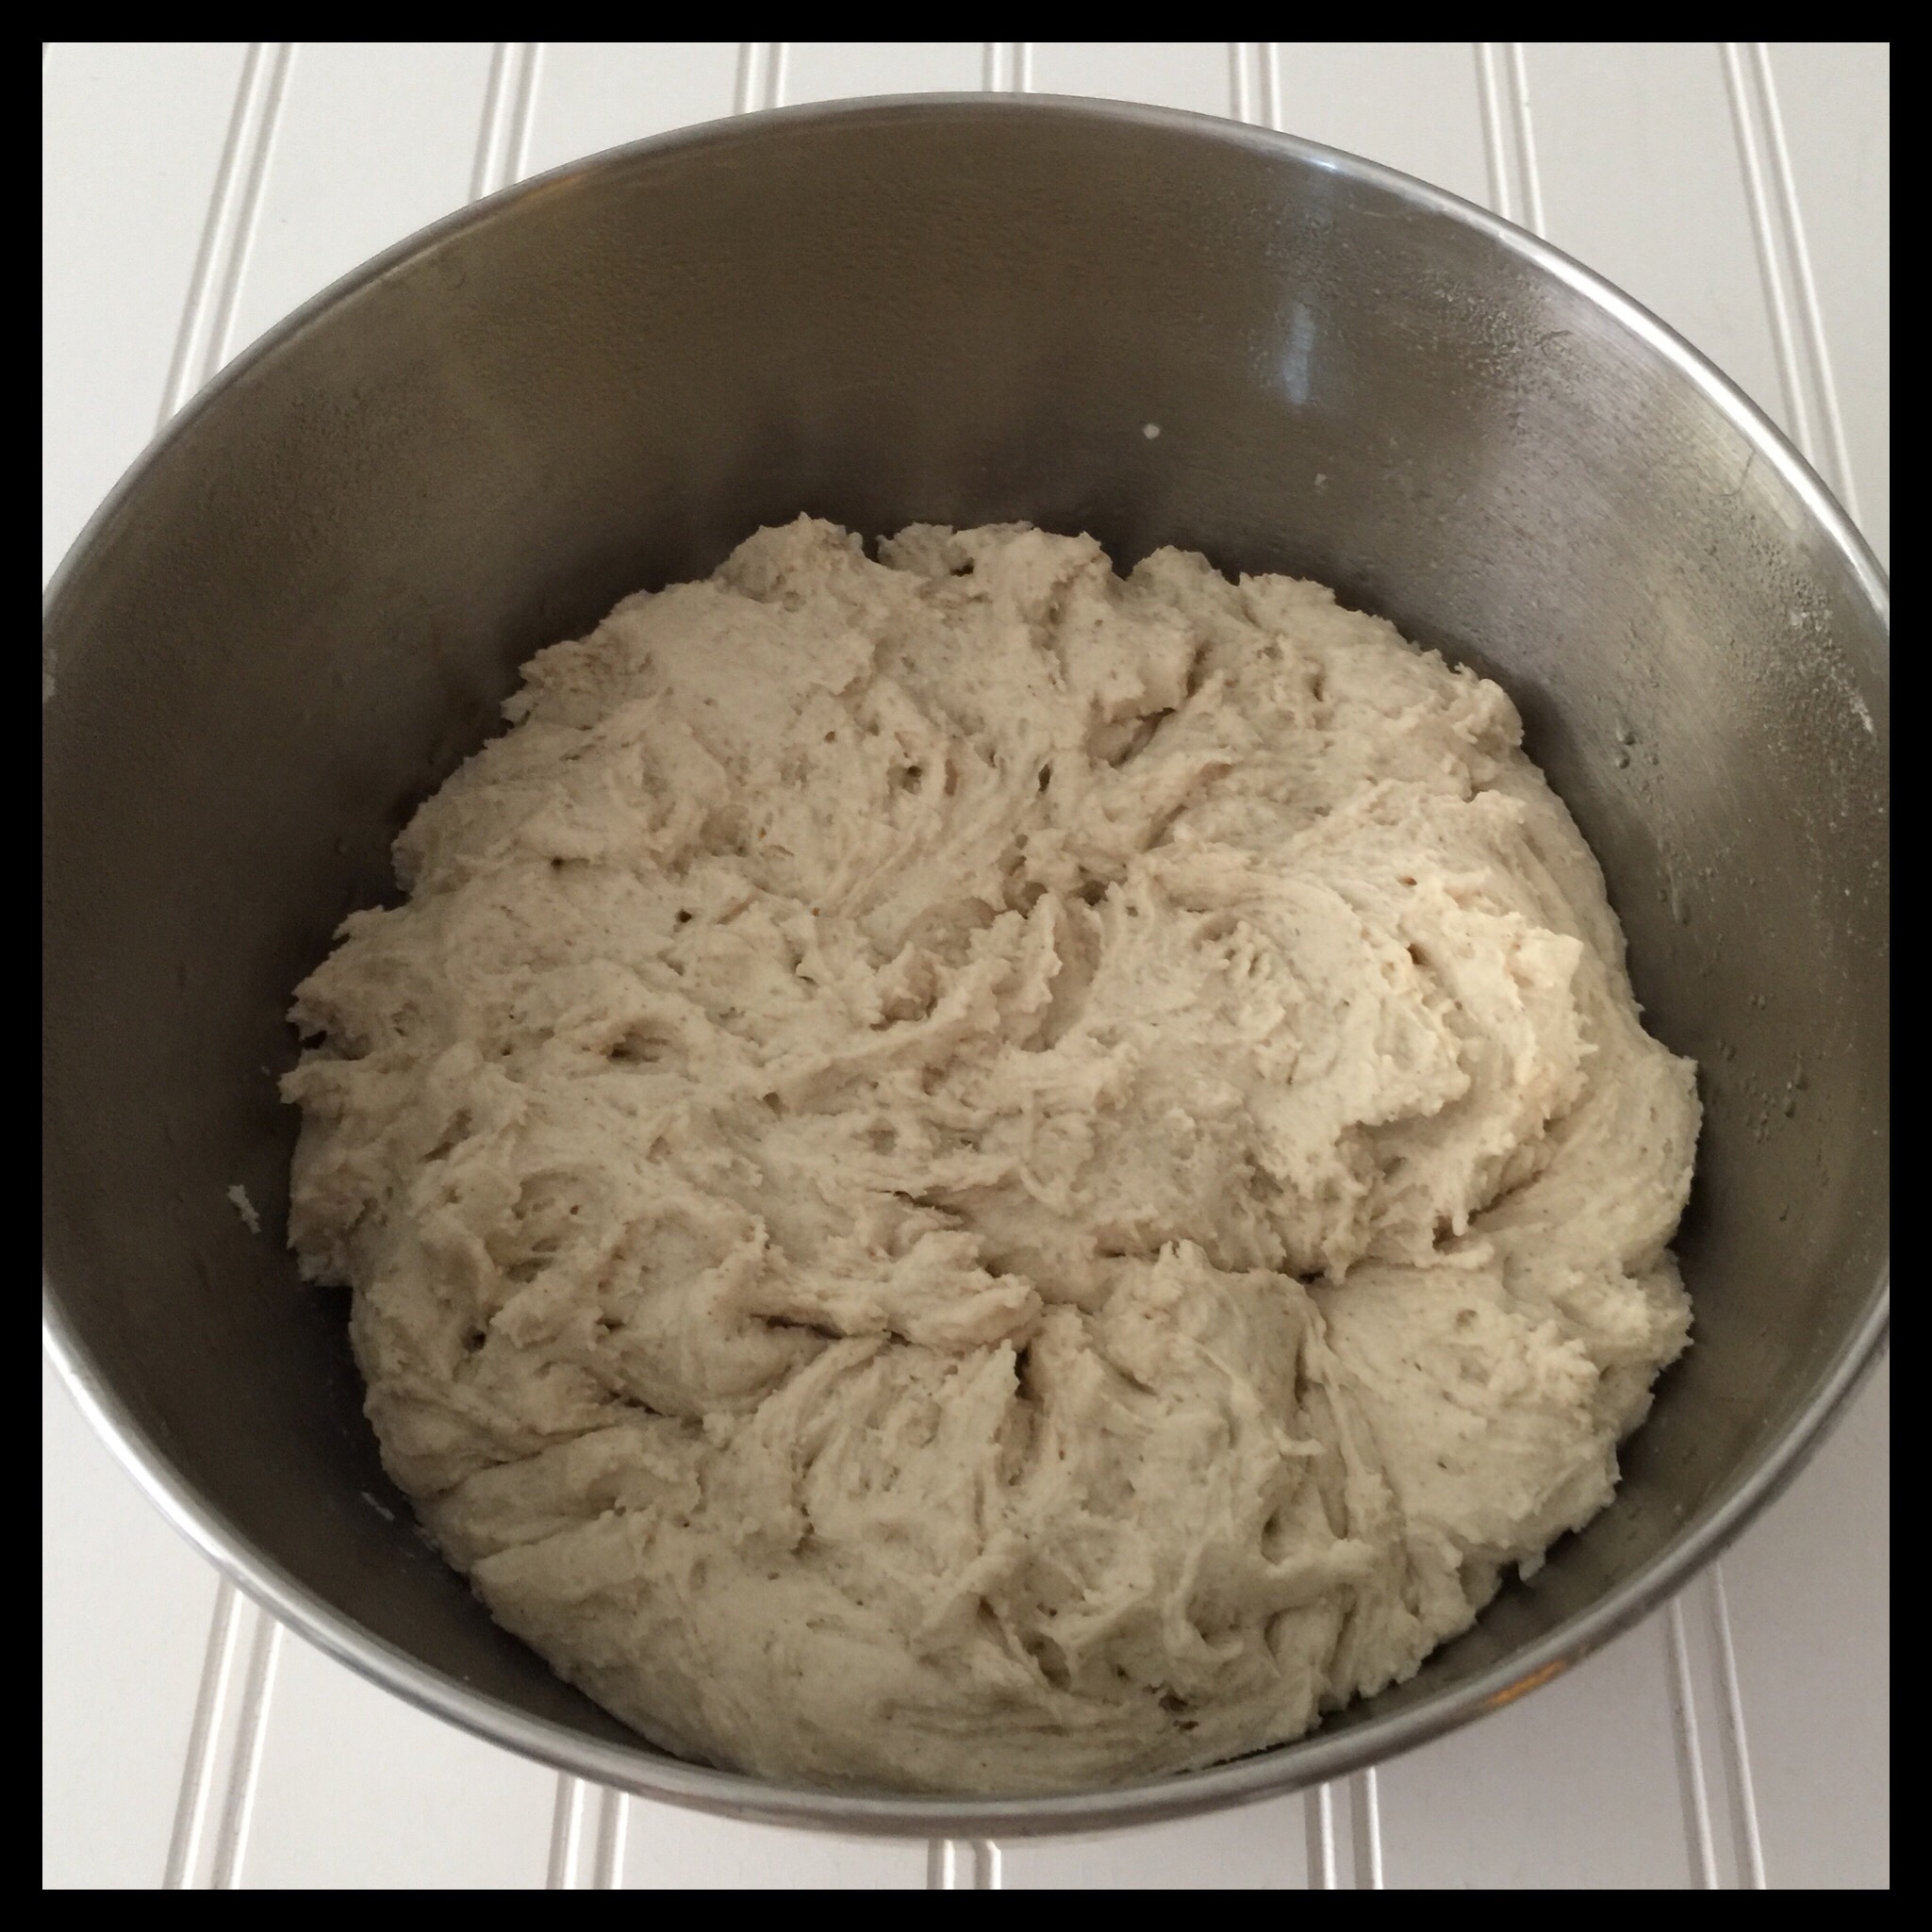
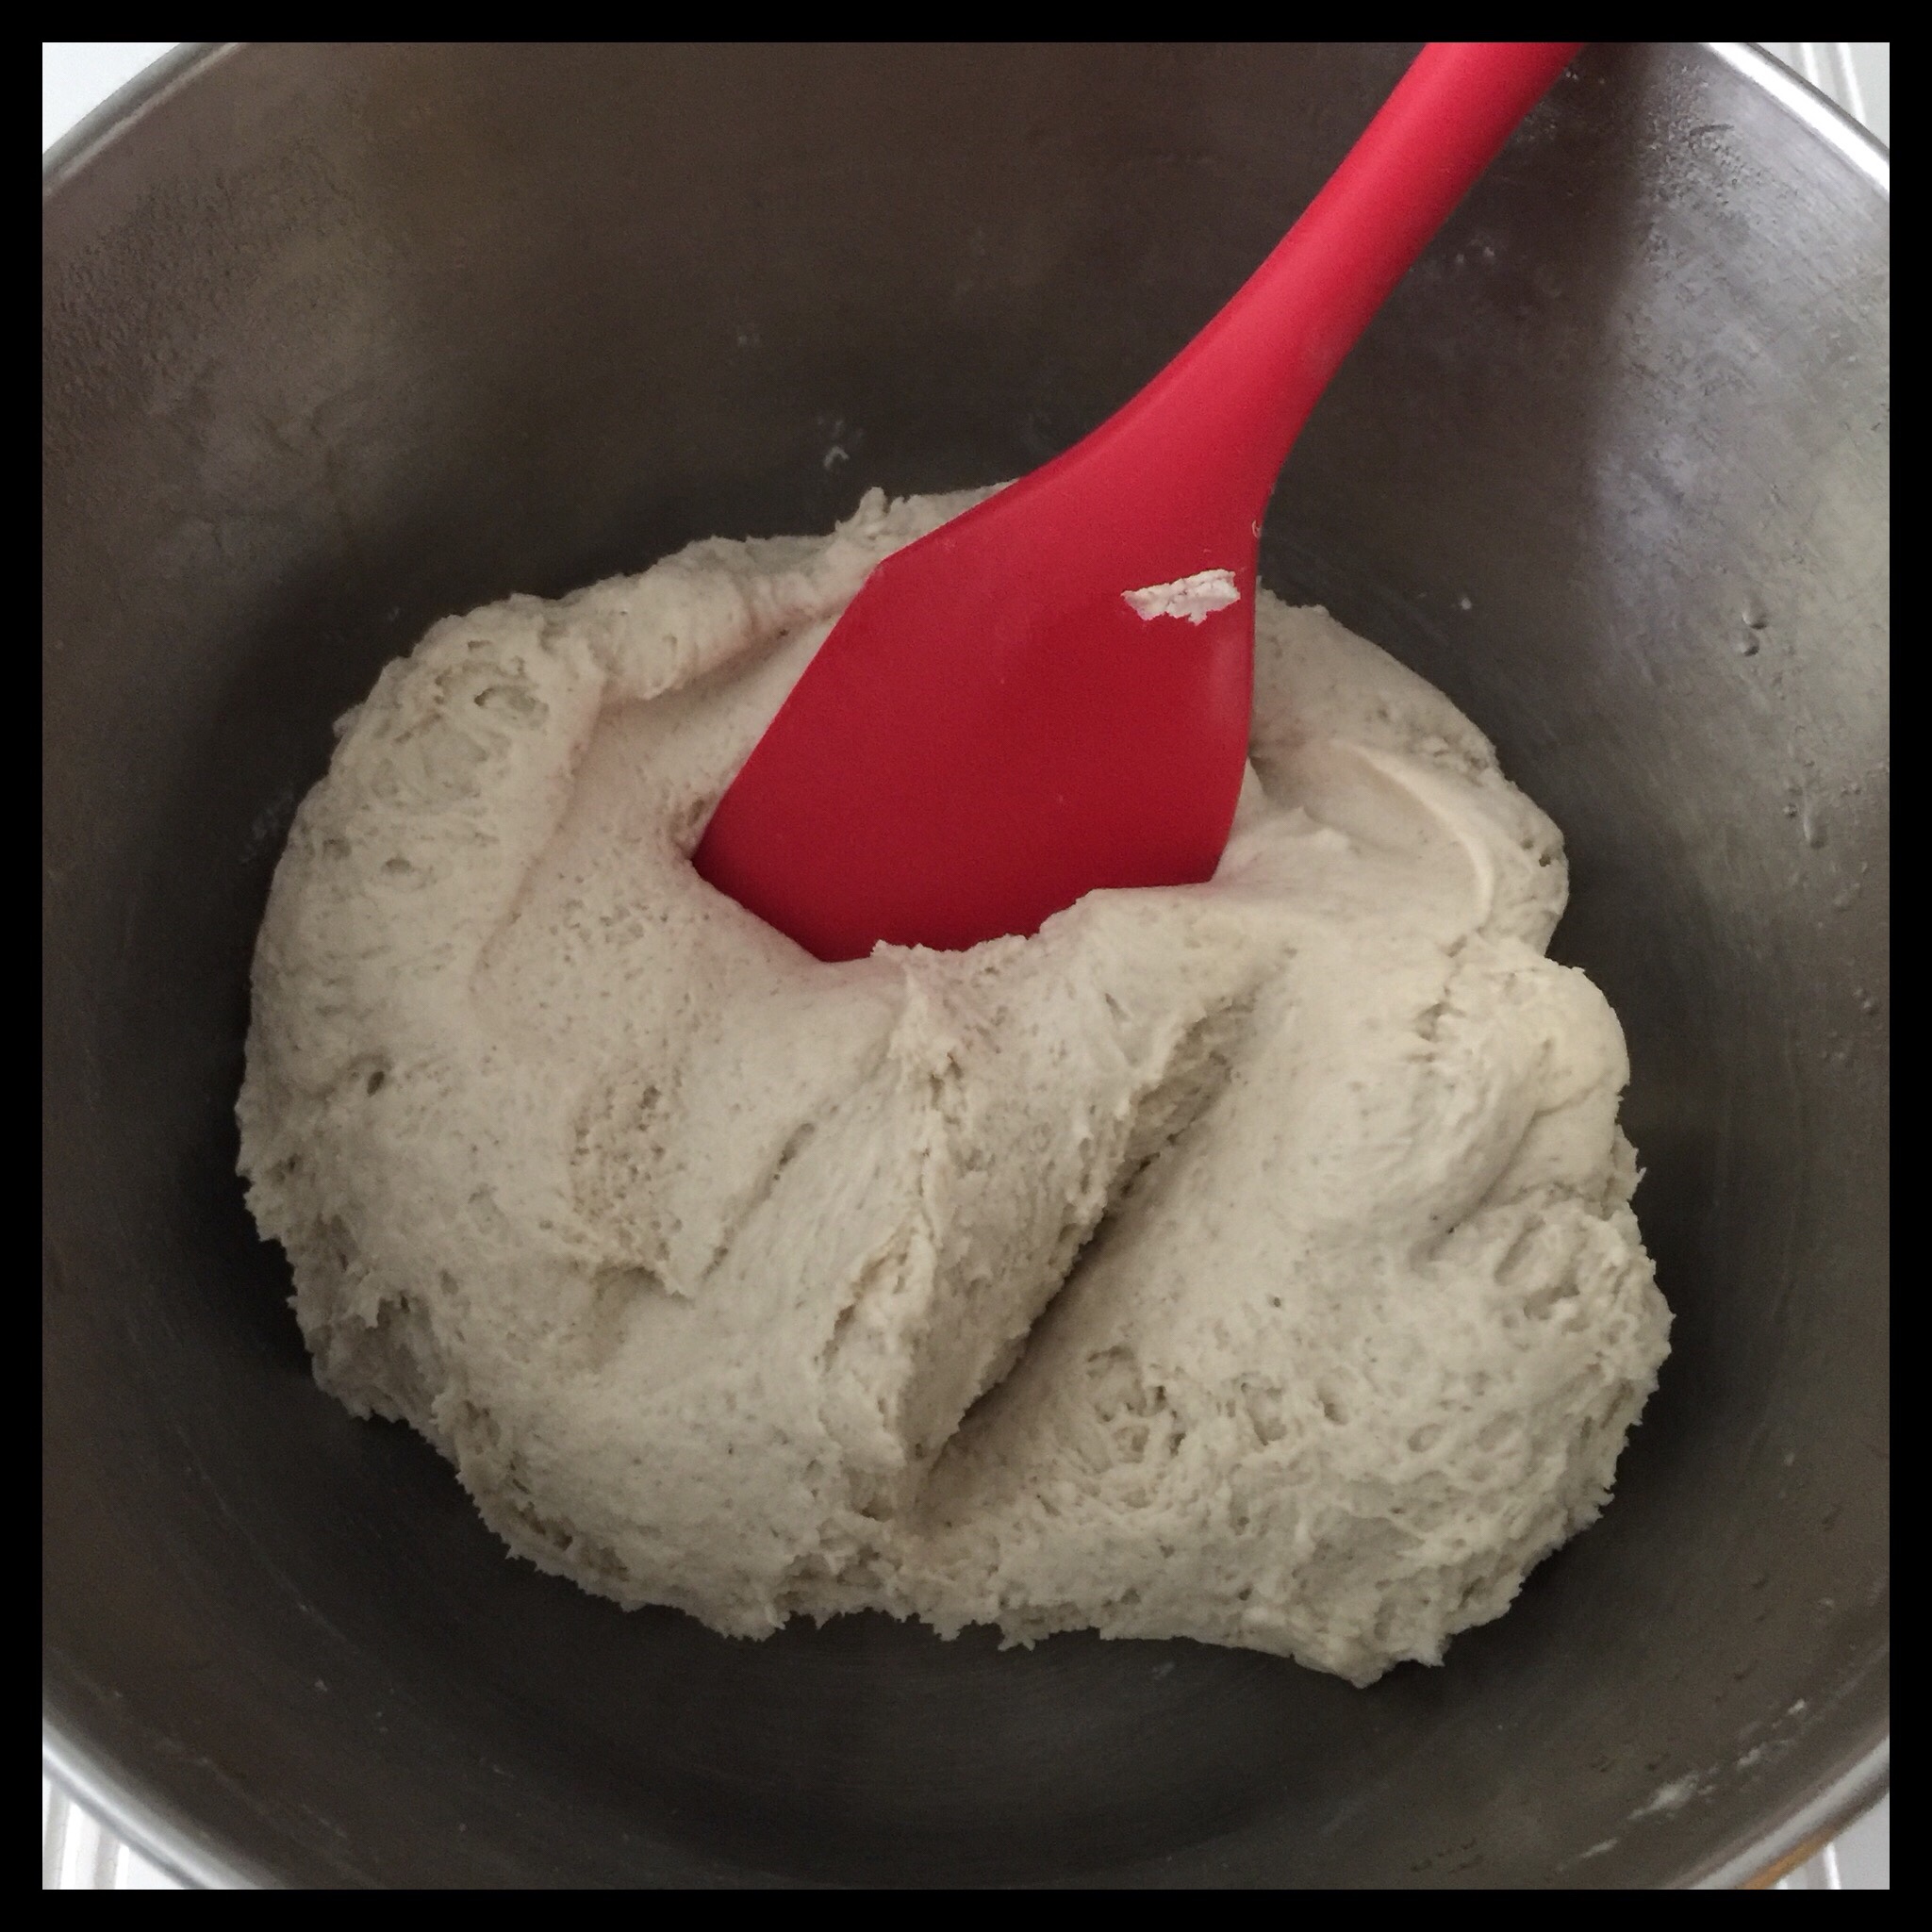
Stir the dough down with a sturdy spatula:
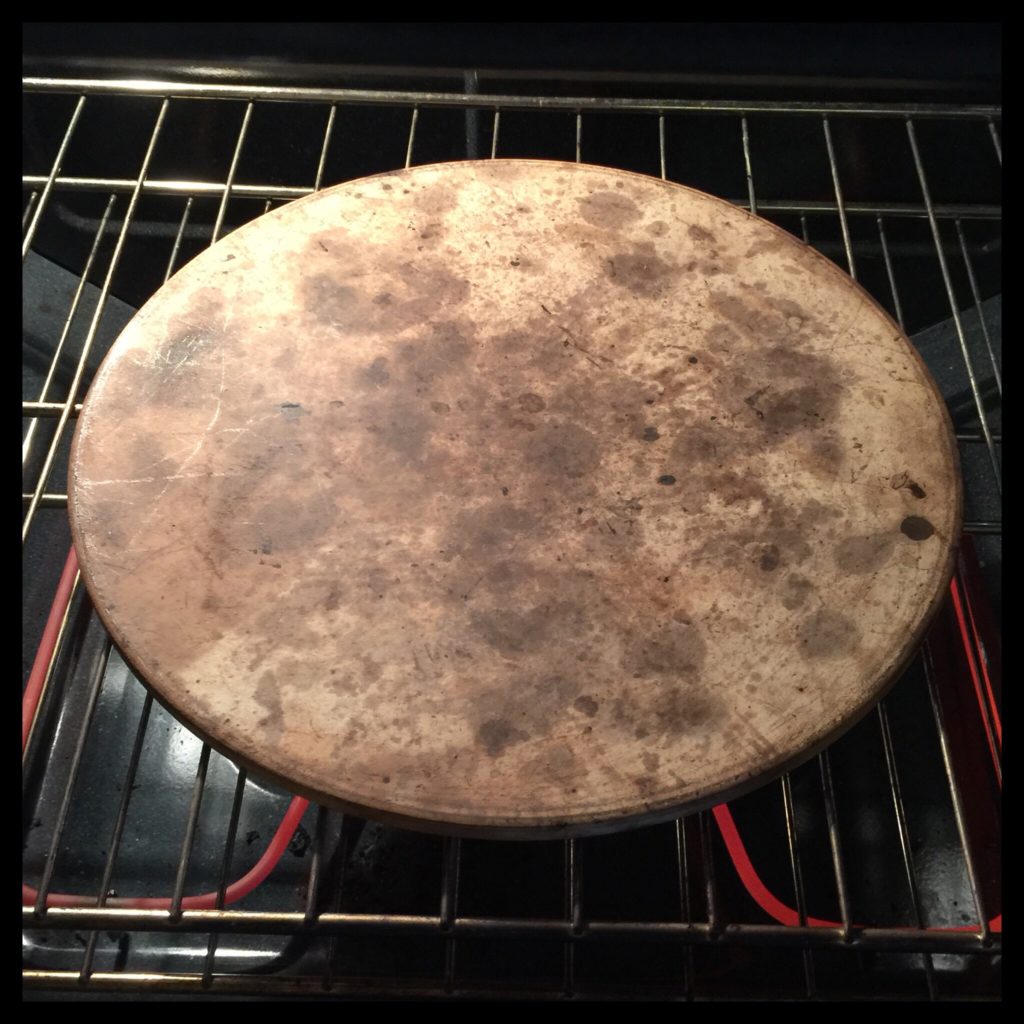
(Note: These directions assume you have five slots for the racks in your oven like mine does. Adjust accordingly if your oven is different.) Remove the upper rack in your oven, and place the lower rack in the second lowest position. (I had my oven racks in the lowest two positions in this photo, but then had to move a very hot rack later. It is safer to remove one rack completely now.) Place your pizza stone (or upside down baking sheet) on the rack, and preheat your oven to 425 degrees Fahrenheit.
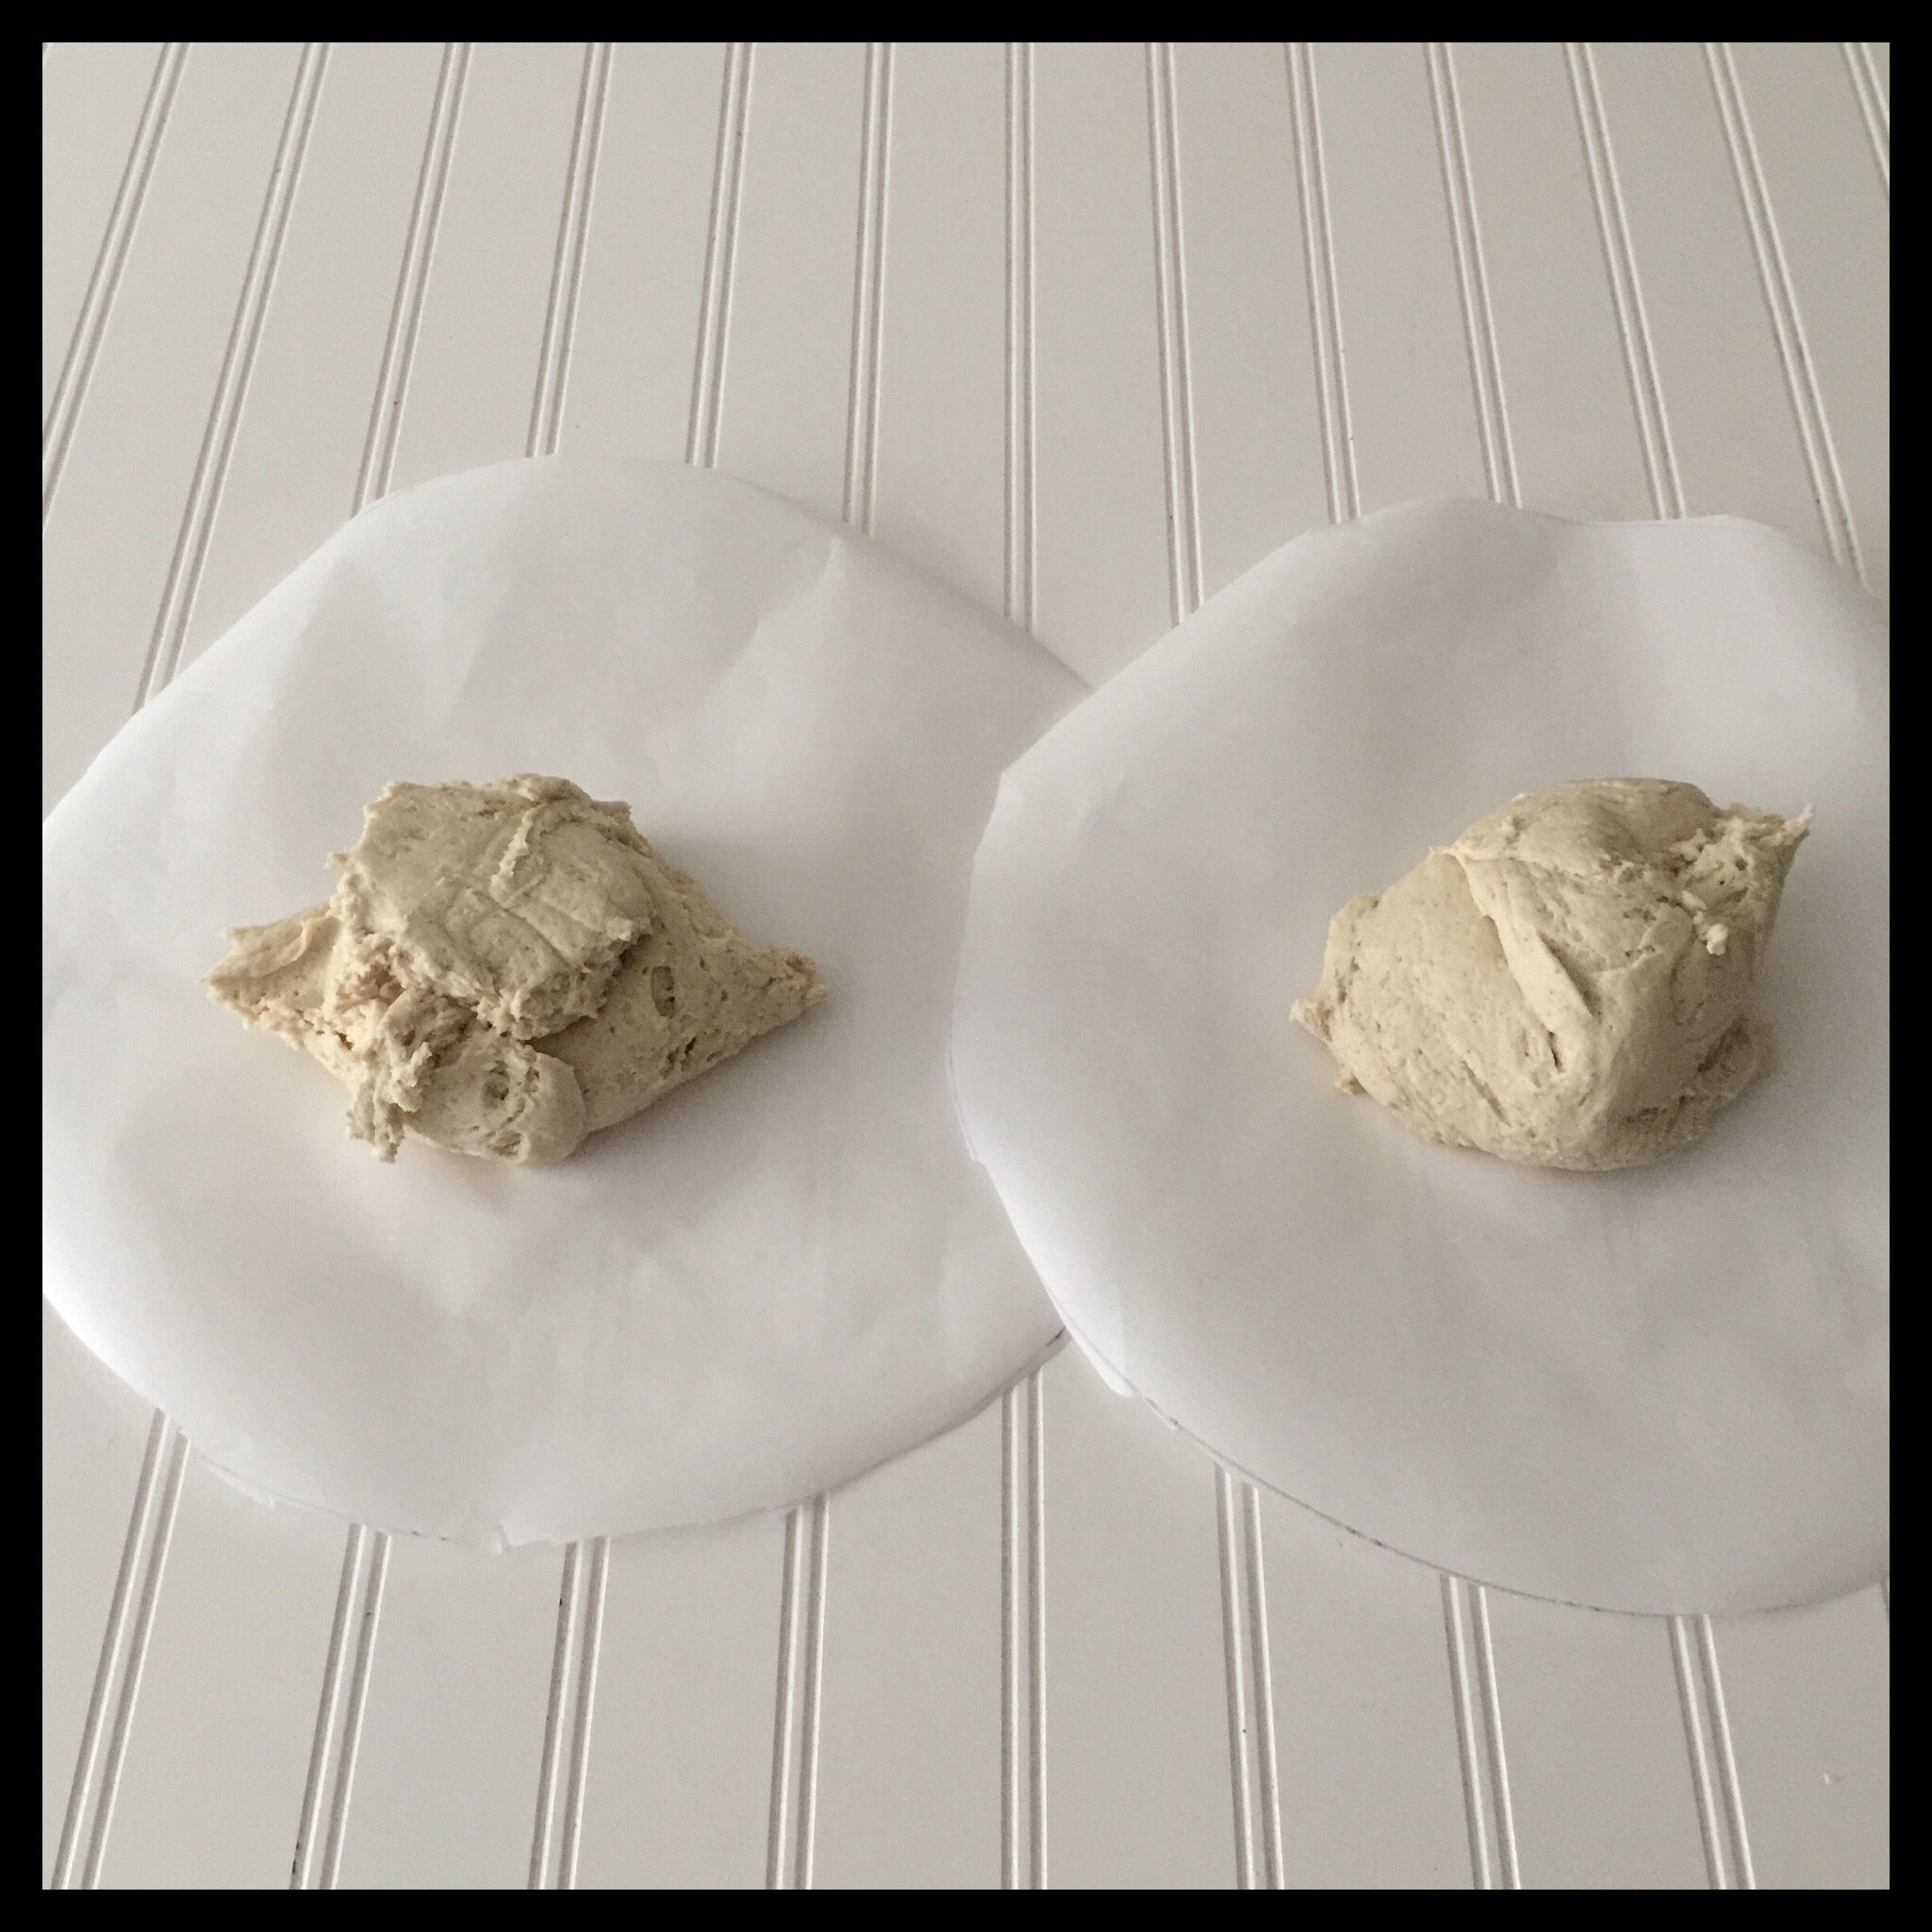
If you are making two rounds, divide the dough evenly between the two parchment circles. (For a large rectangle, use all of the dough for one pizza.)
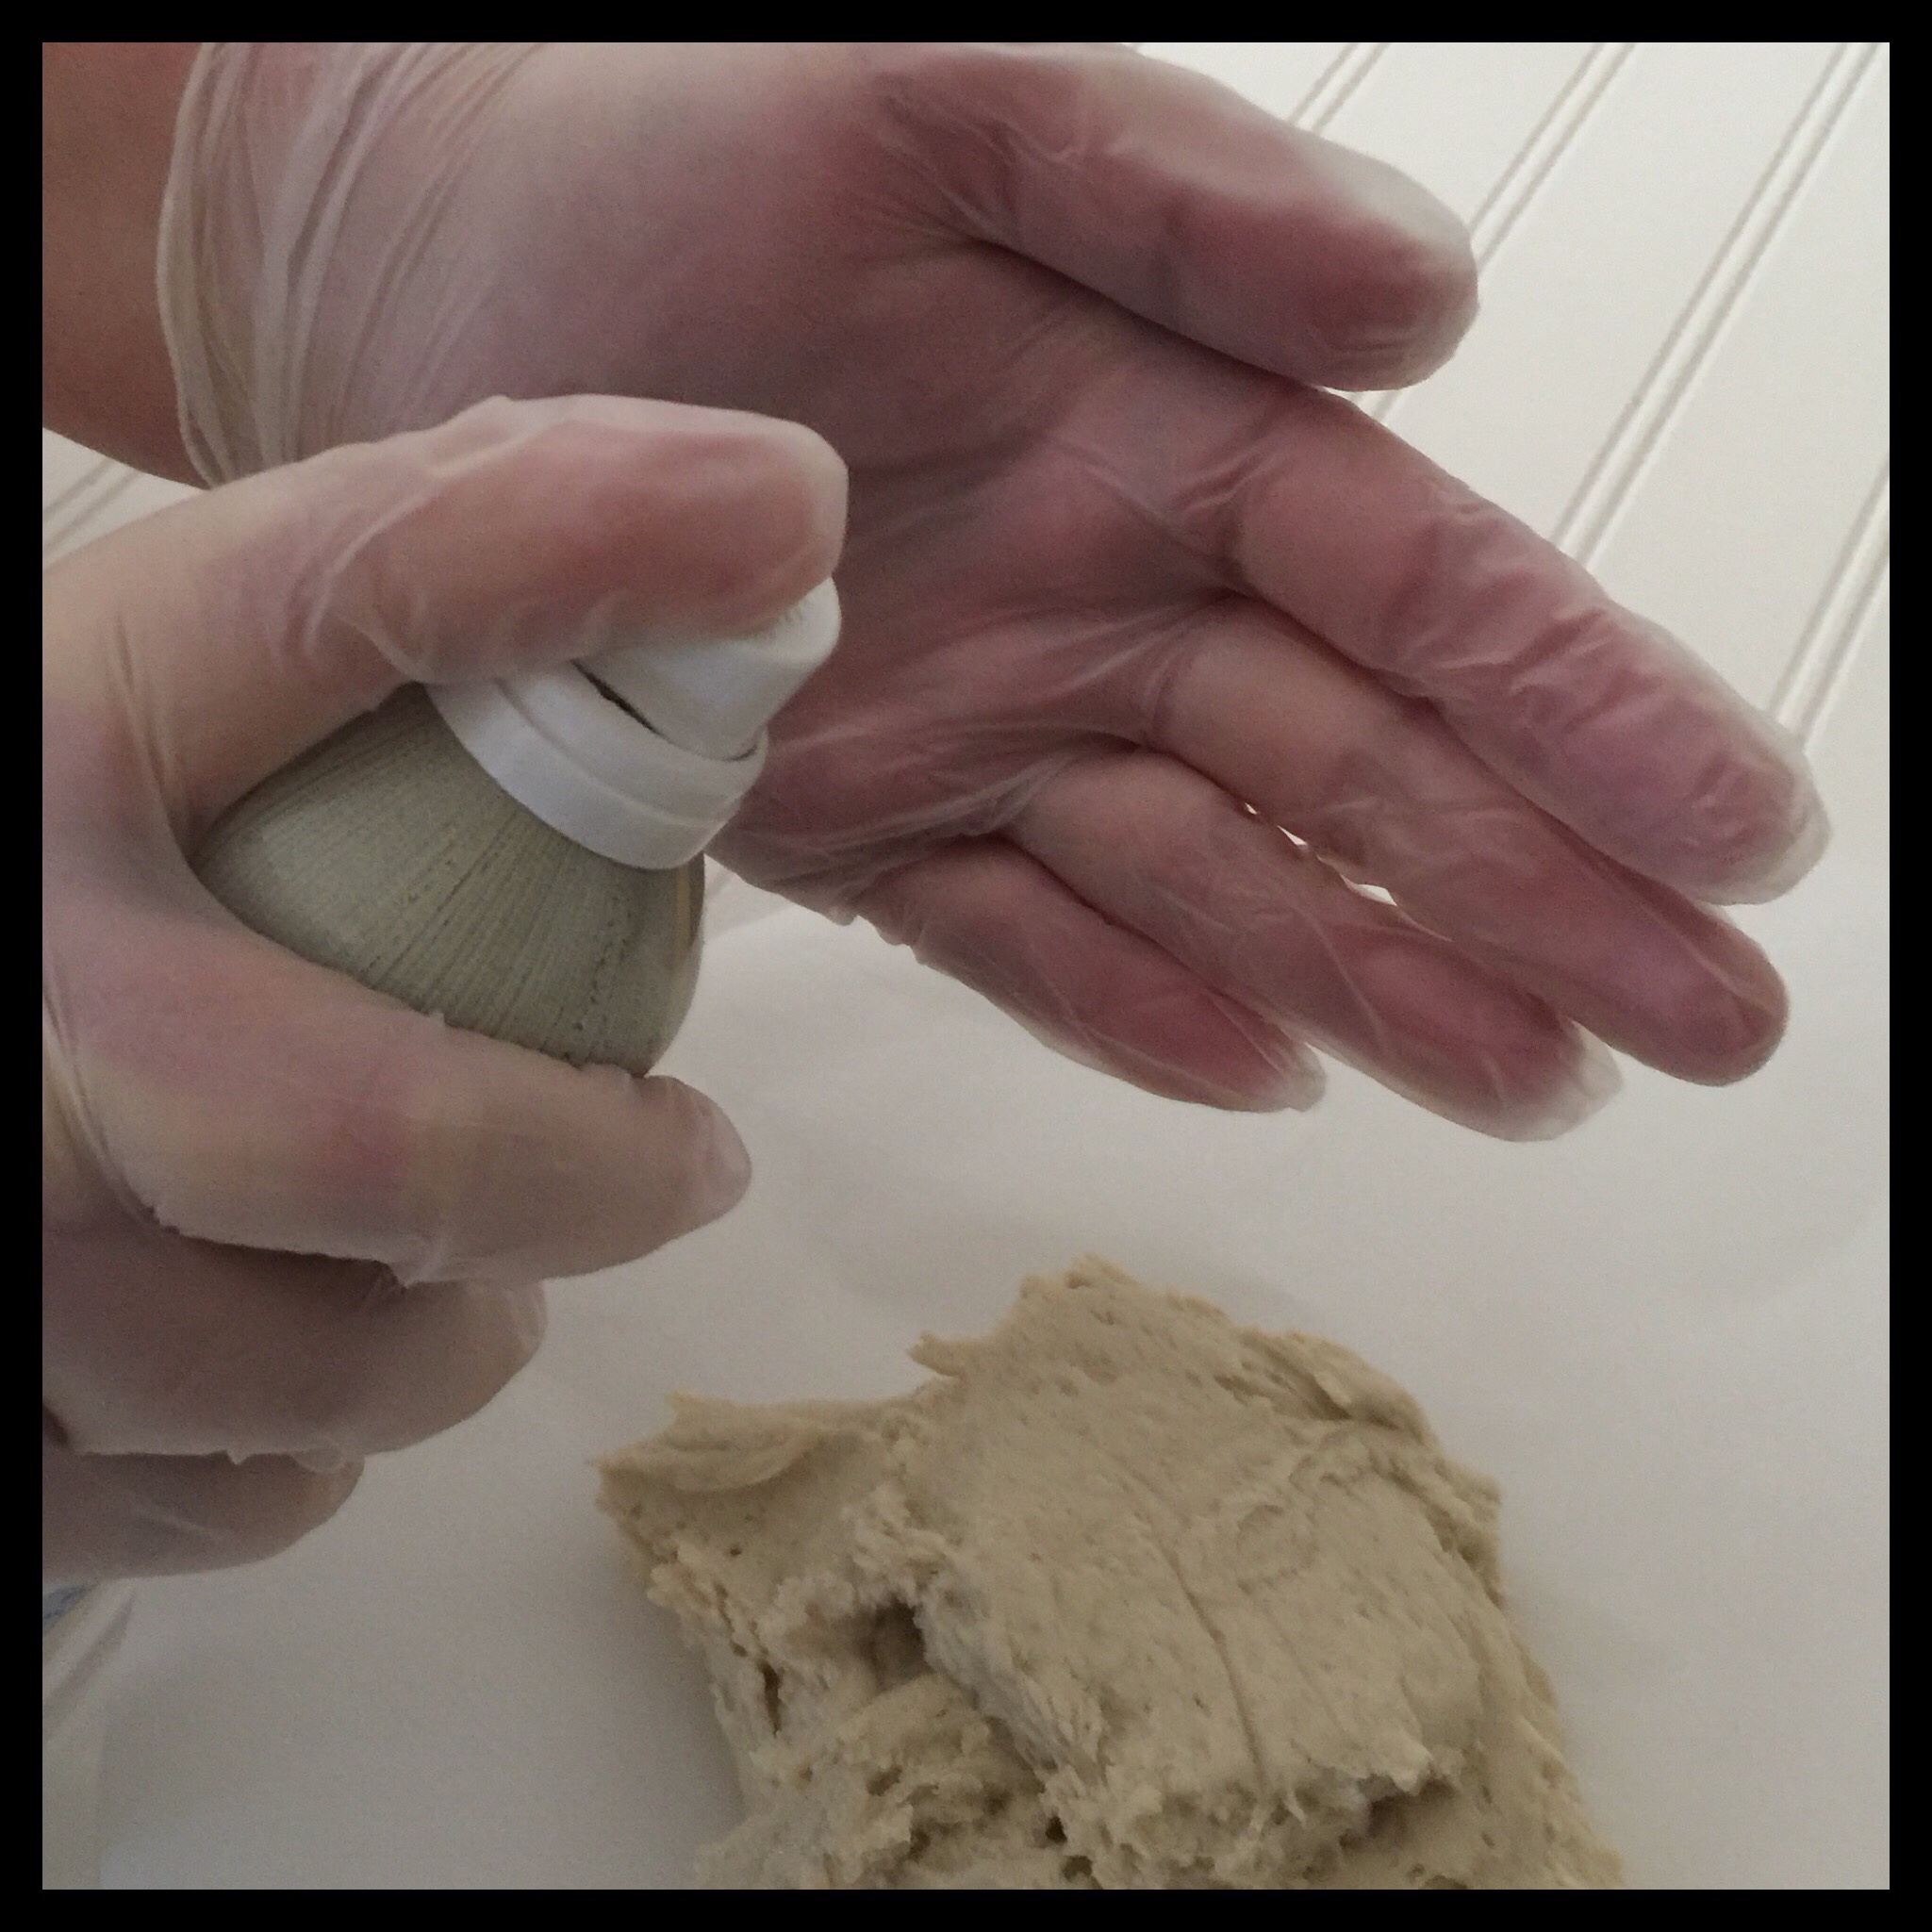
There are two methods I use for shaping the dough. The first is shaping by hand and the other is rolling the dough with a rolling pin. For both, you will want to spray your hands with non-stick spray or oil. (Tip: gloves make shaping by hand much easier.)
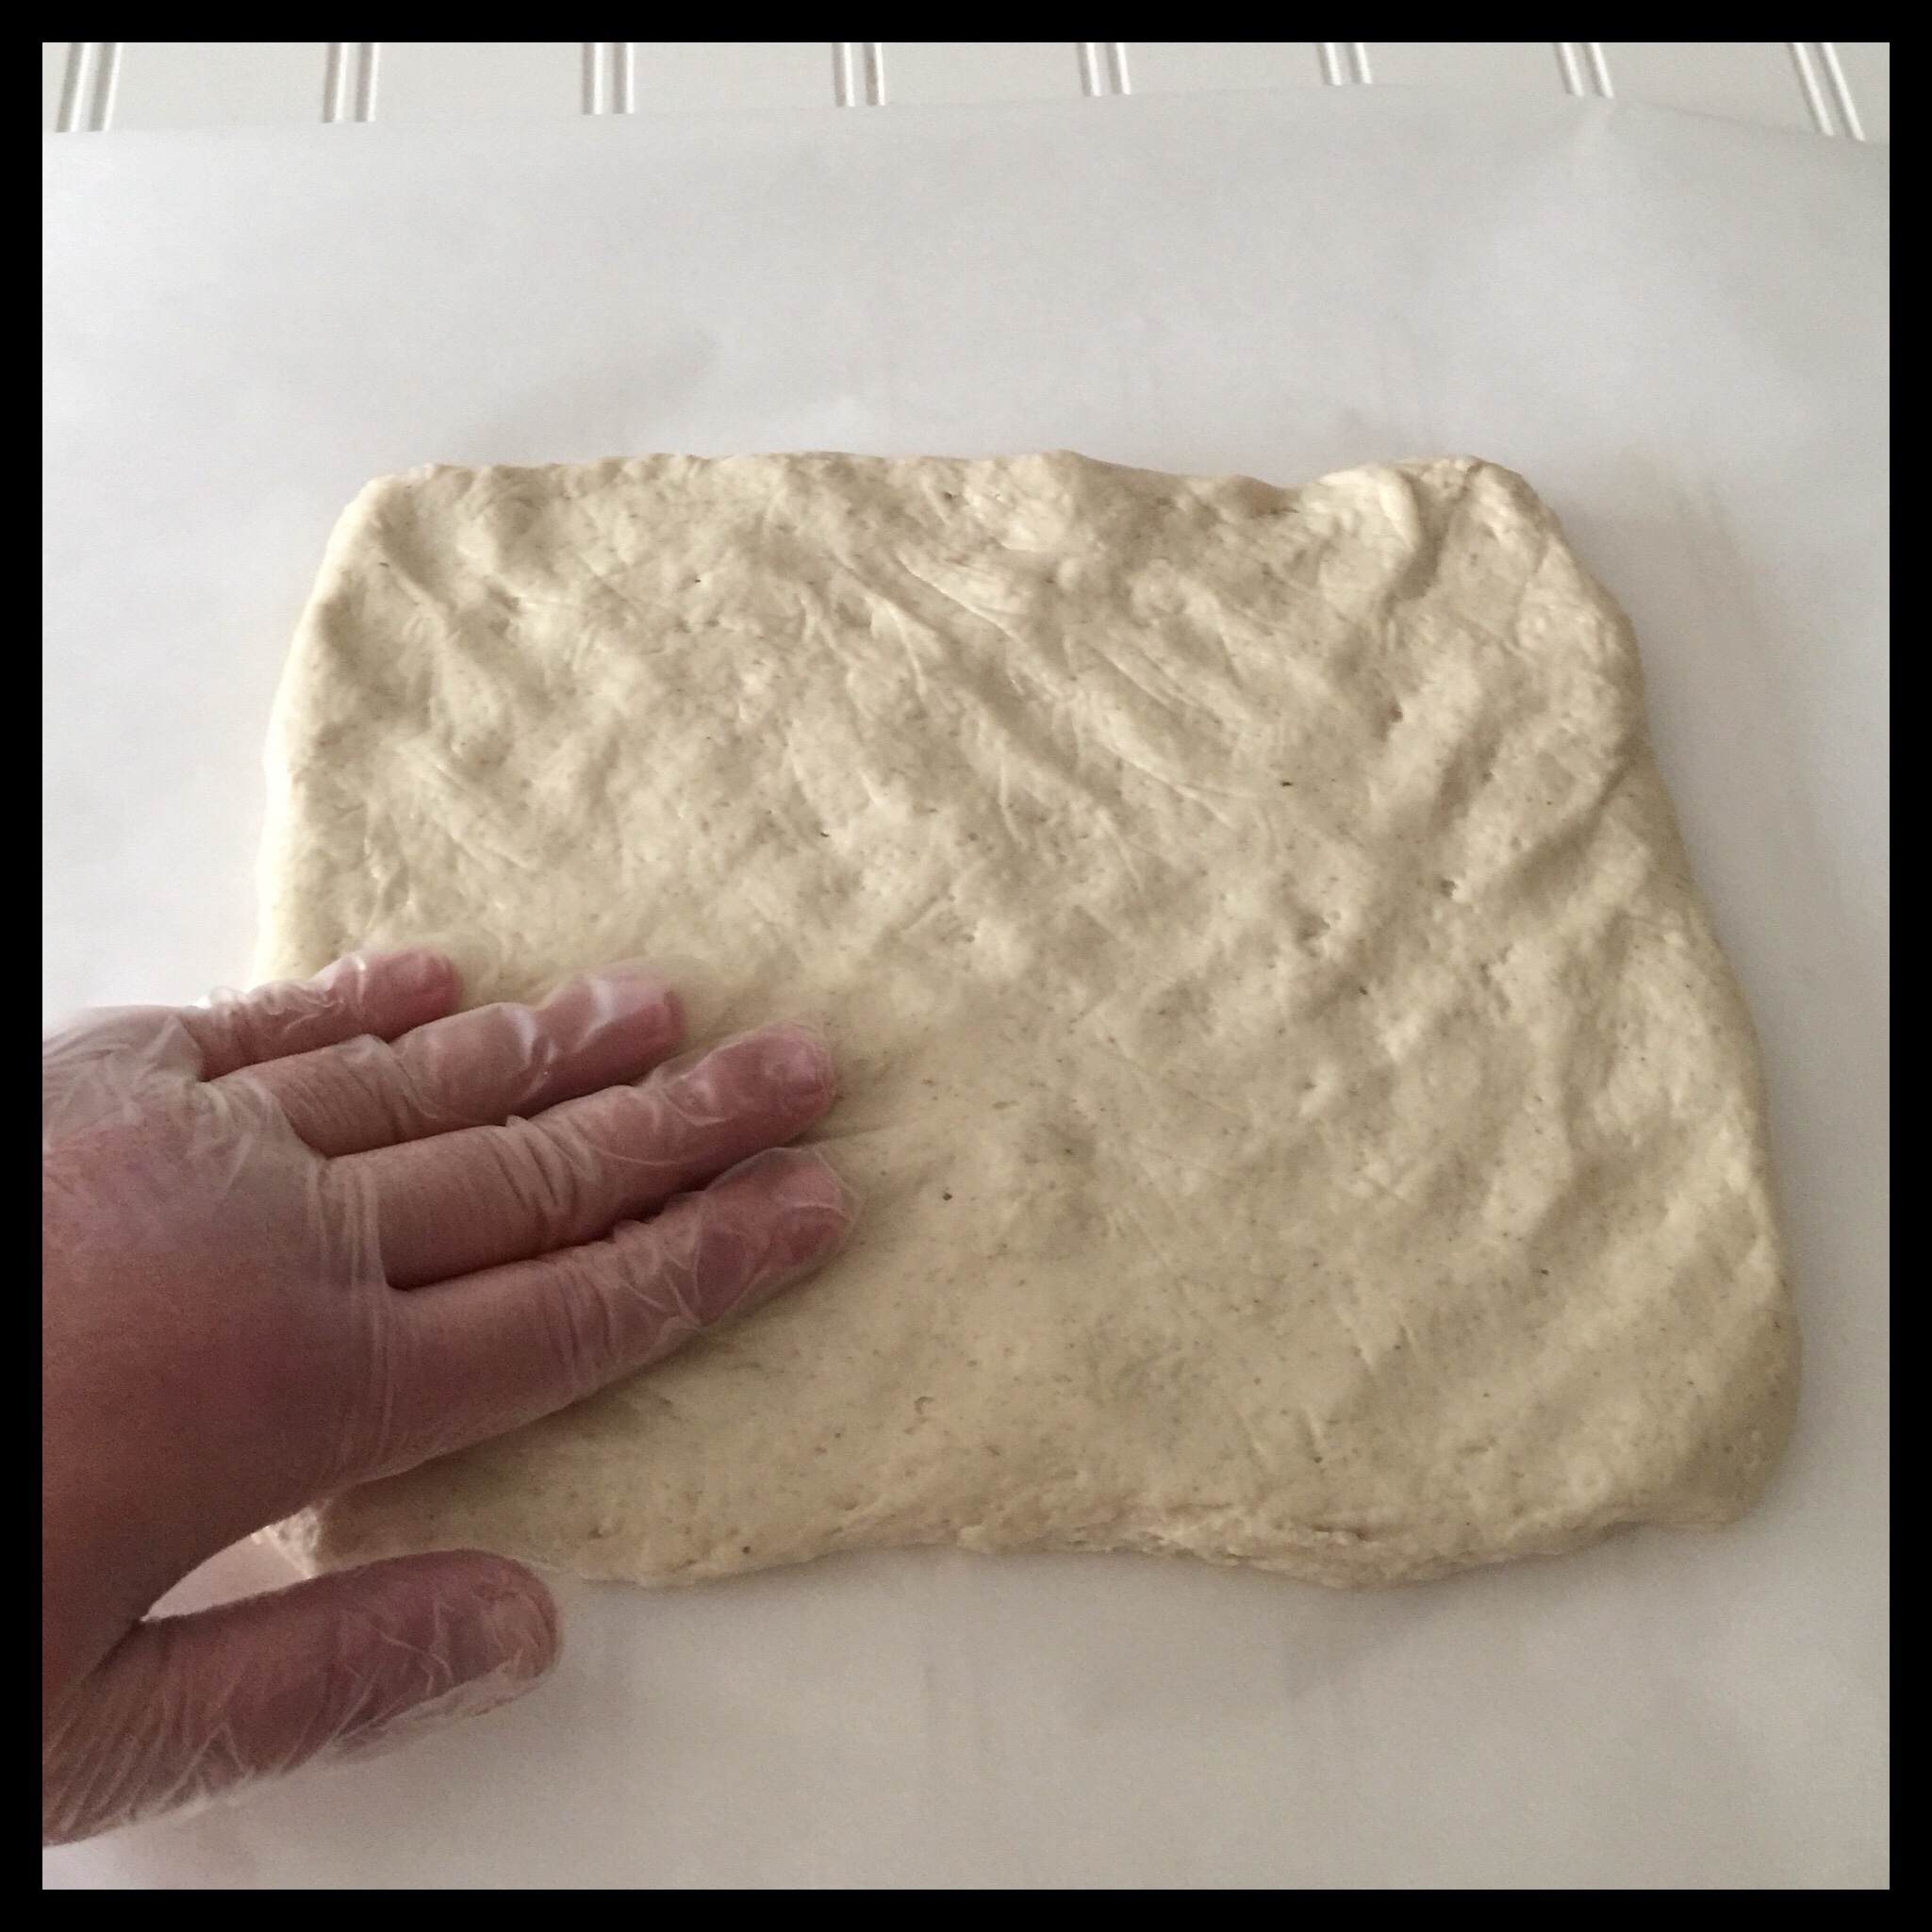
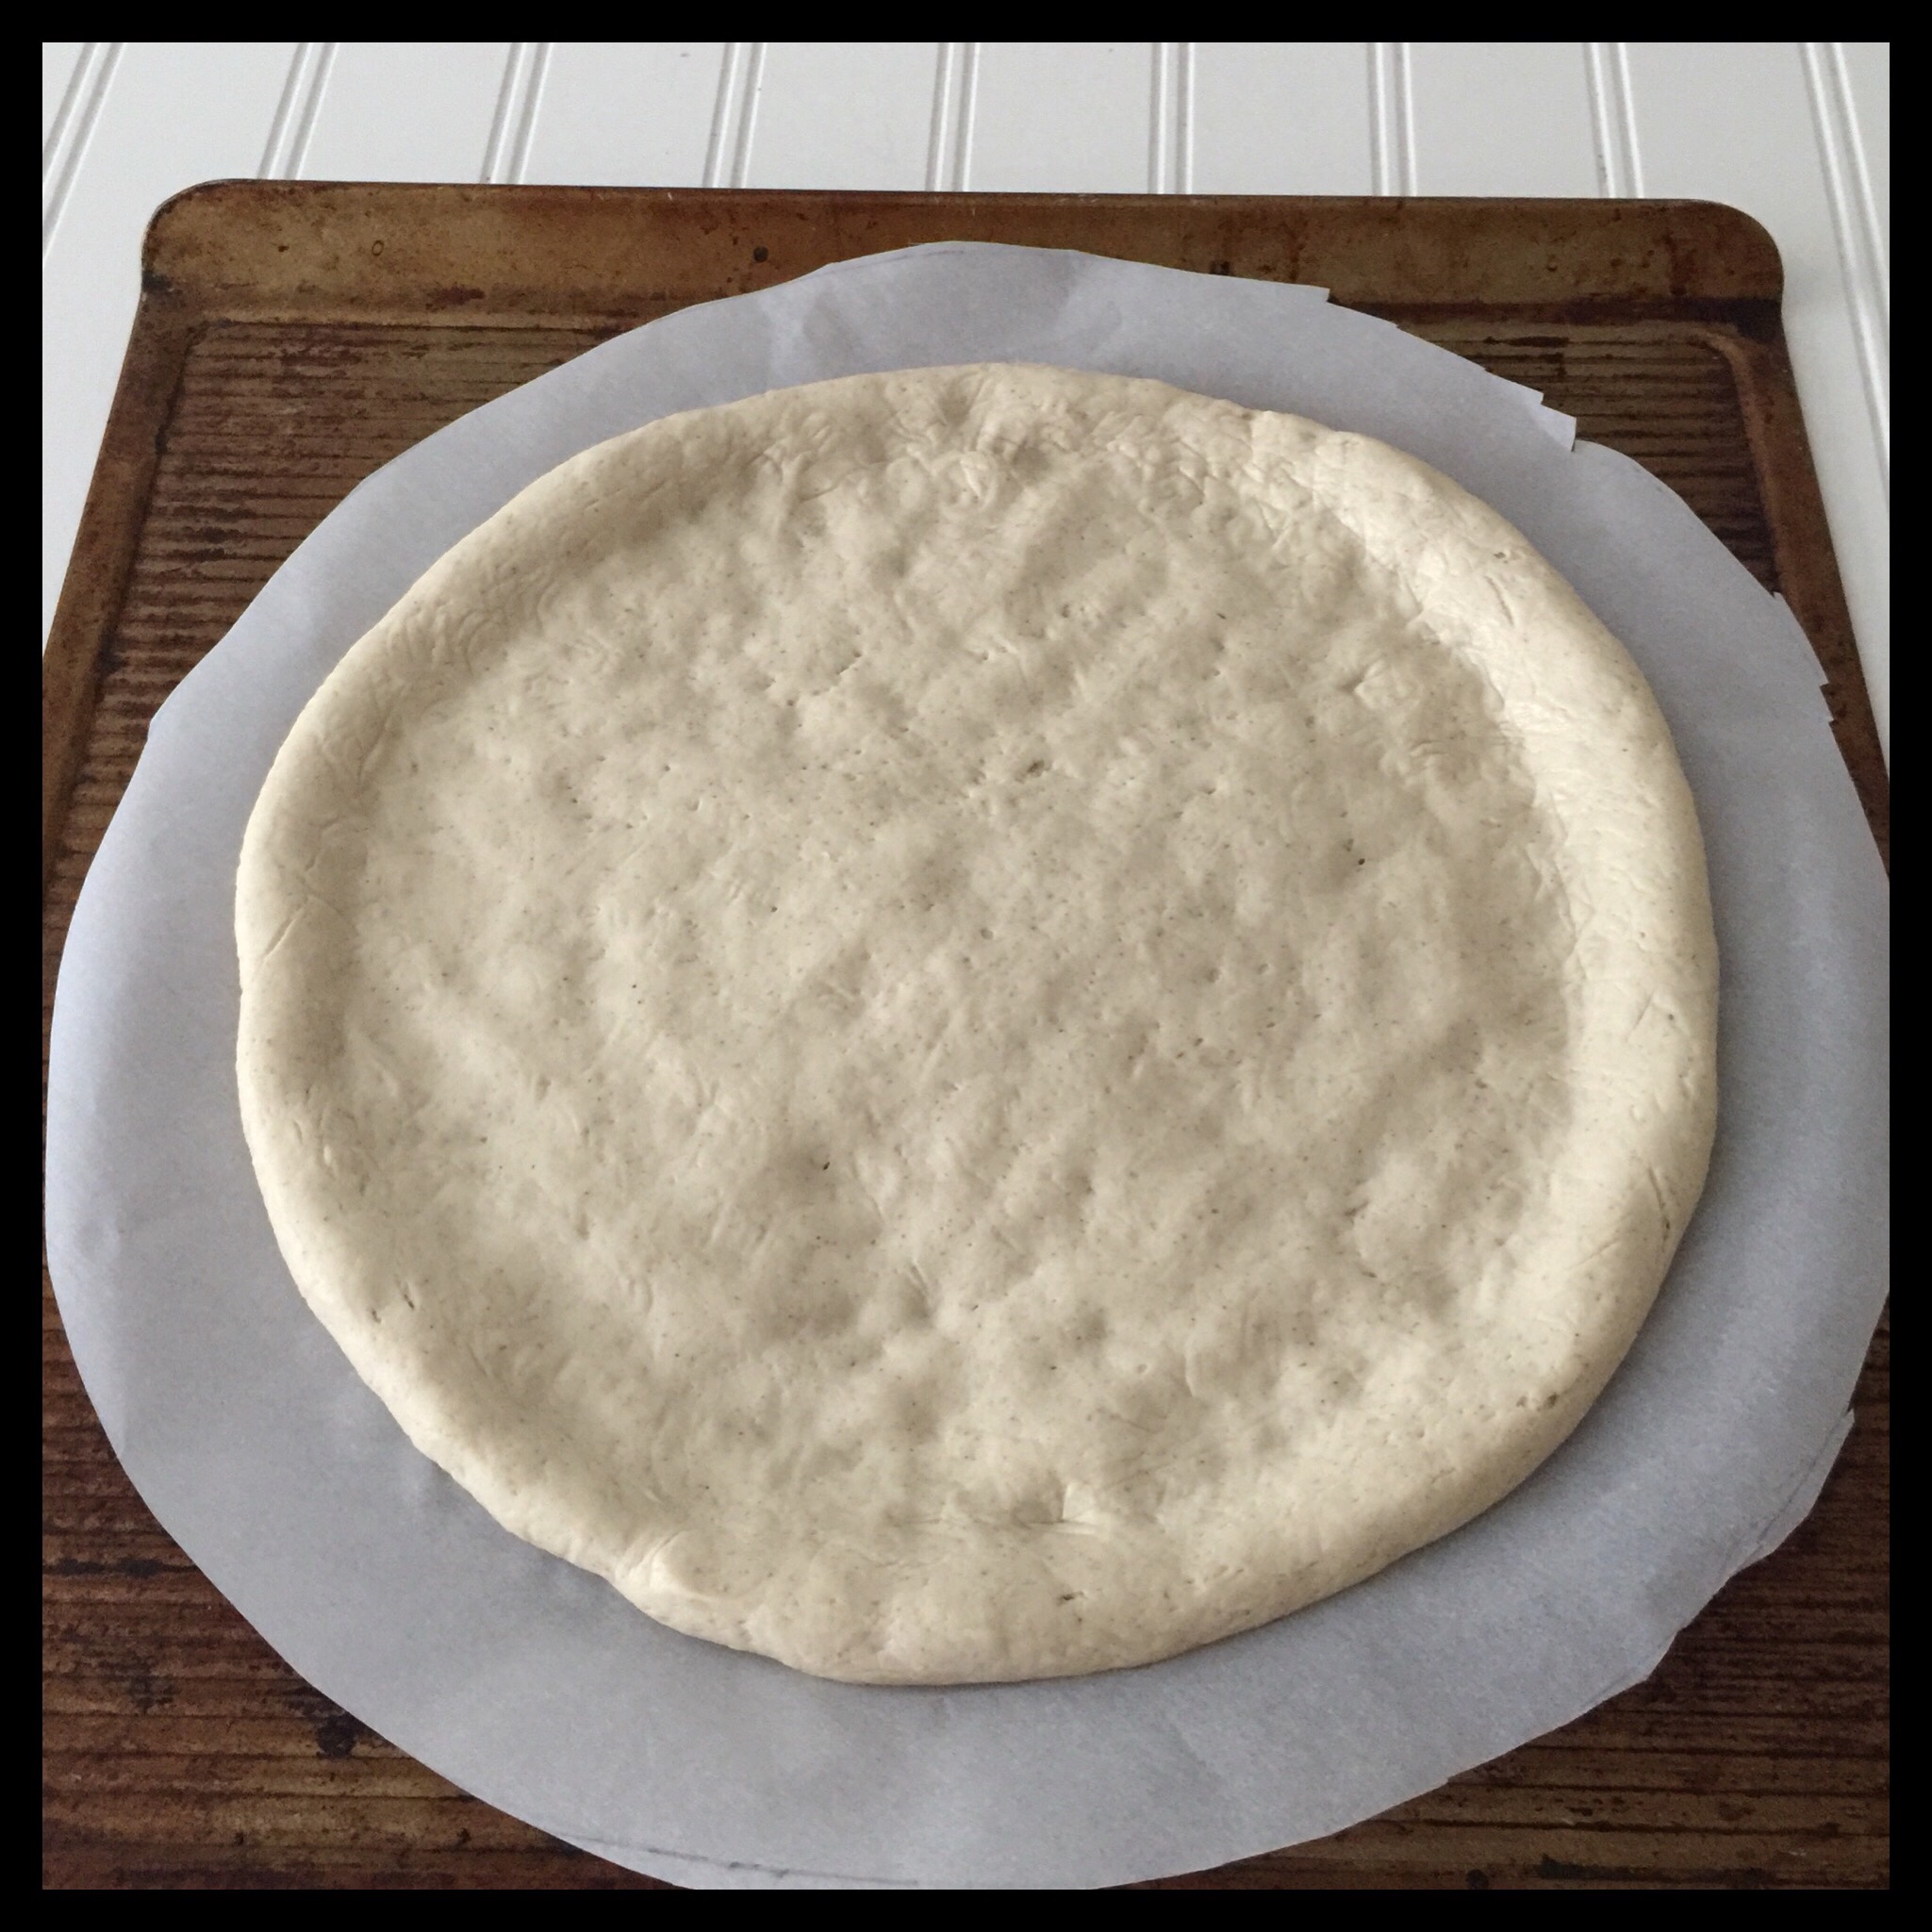
If you are shaping dough circles by hand, start by gathering the dough into a round and then pat it out into an even circle about one inch thick on the parchment:

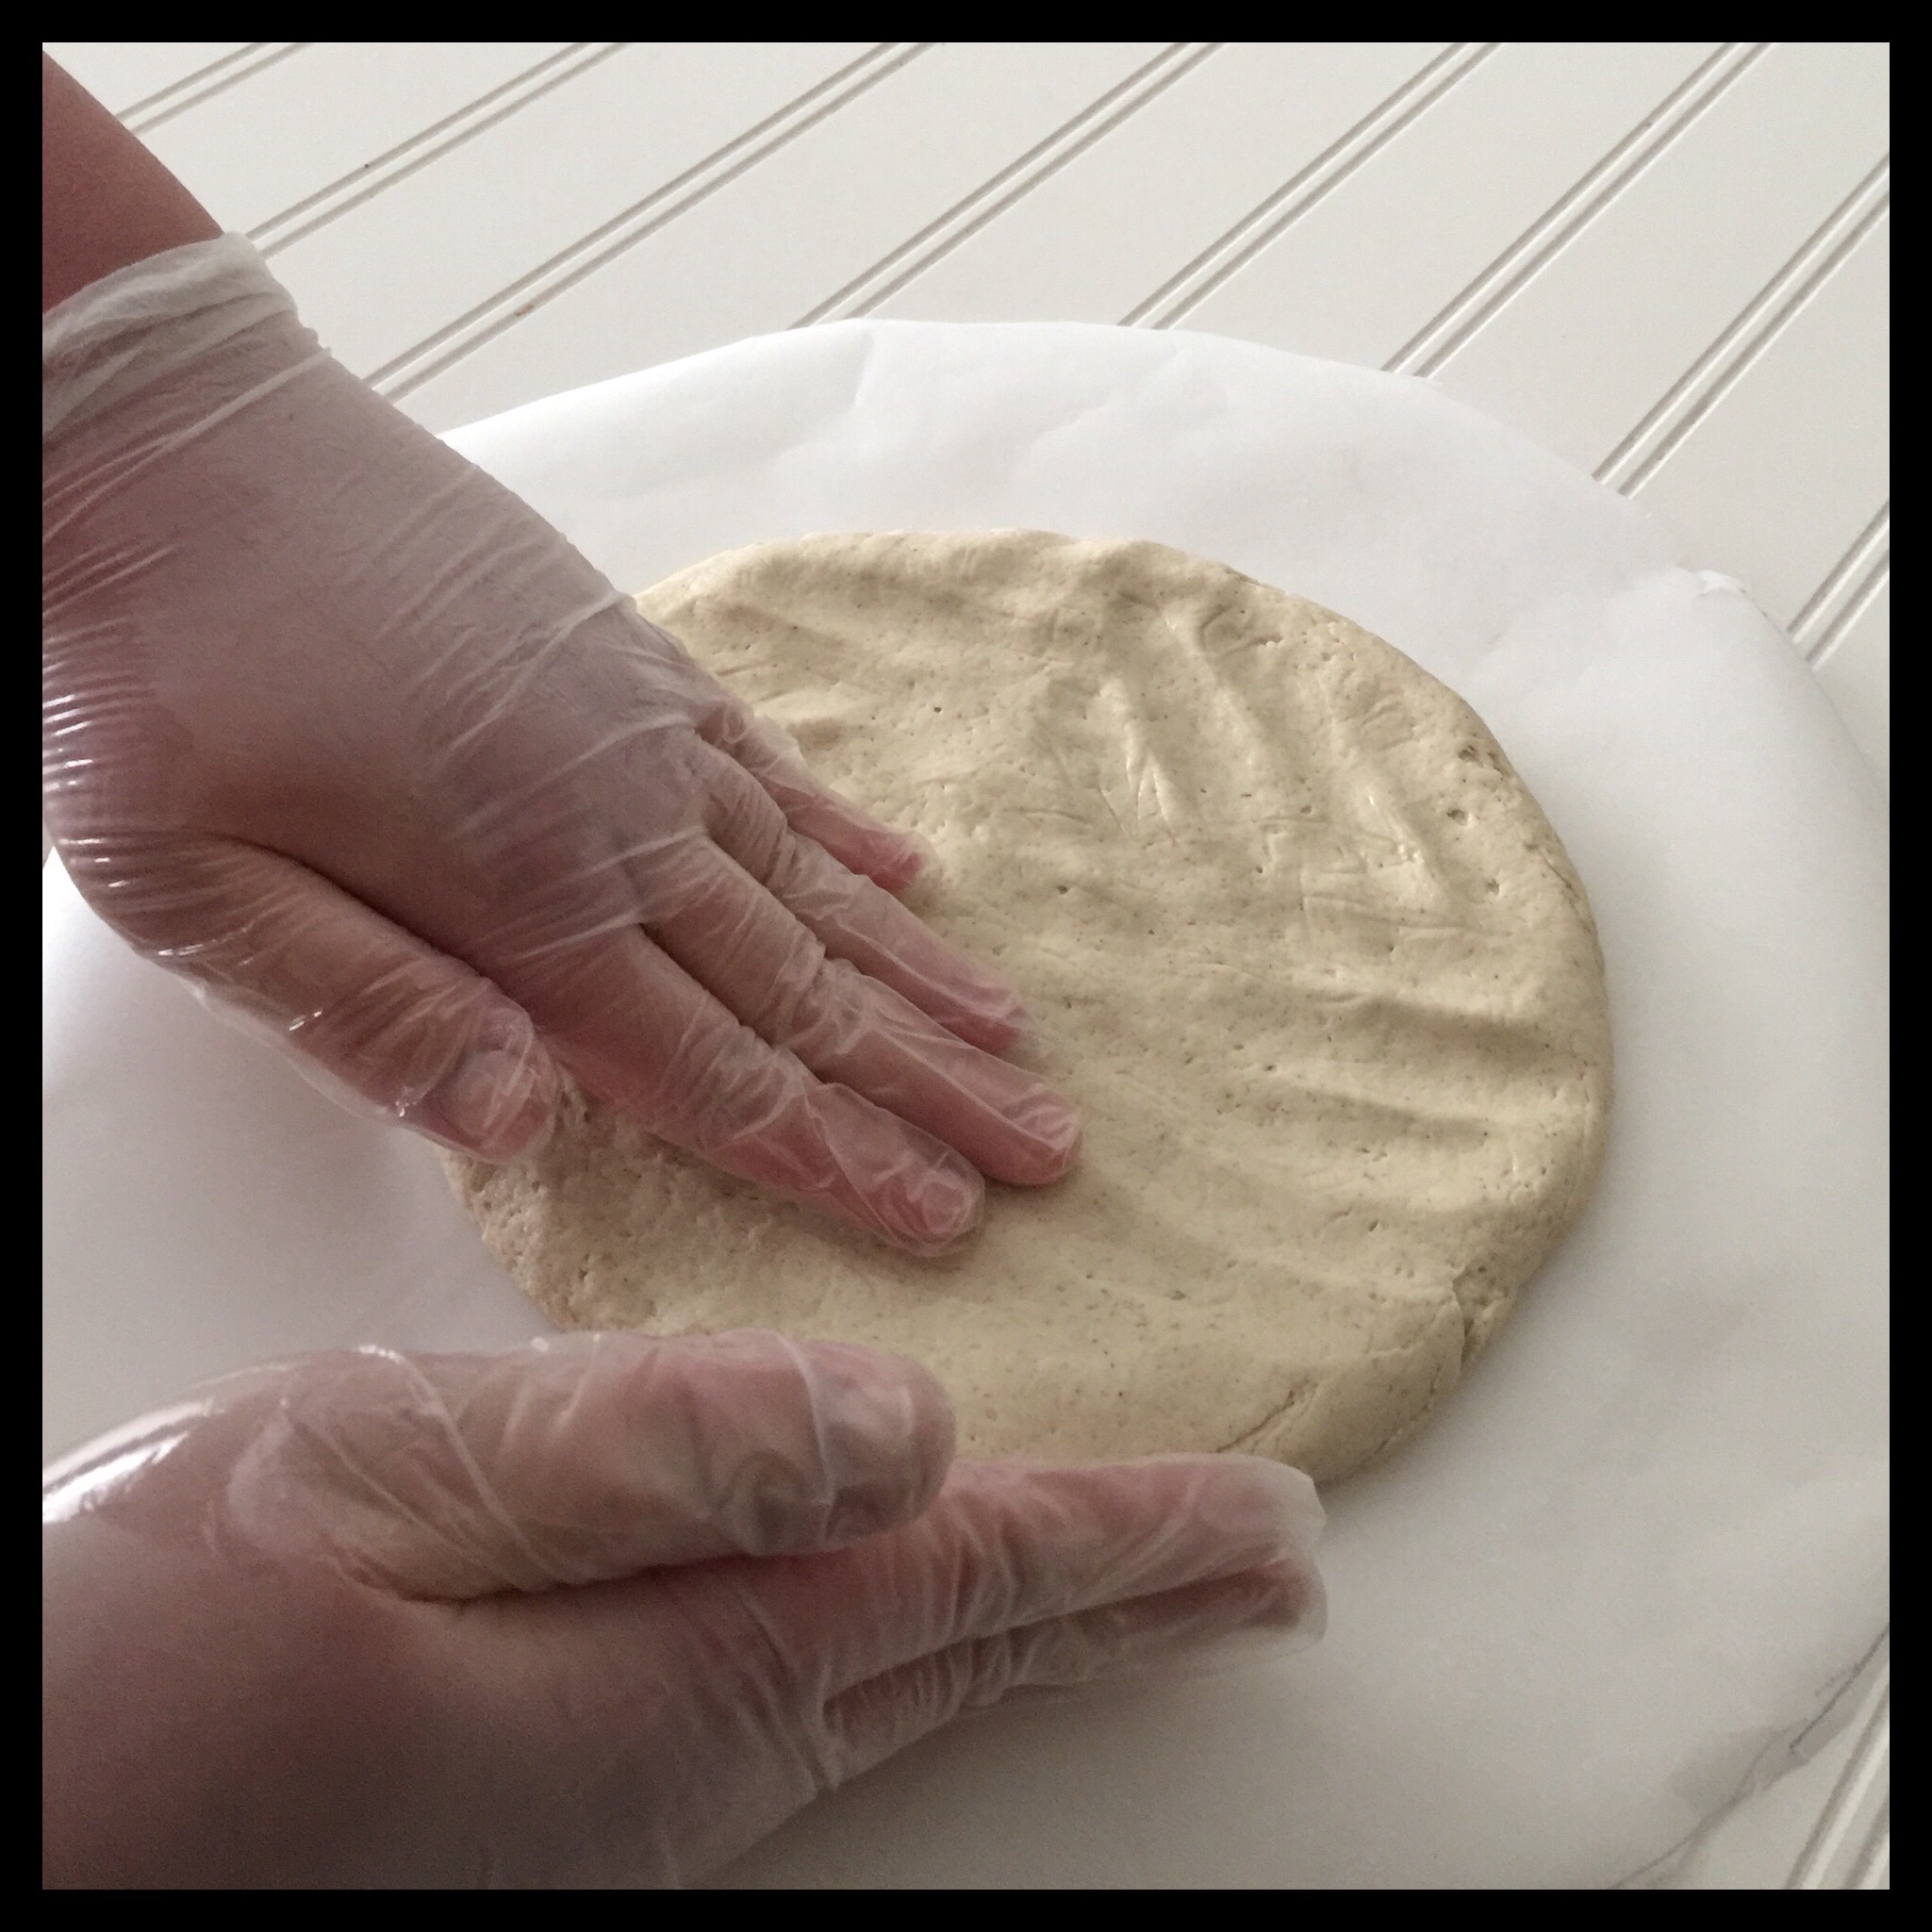
This next step is harder to explain. You want to rotate the paper with one hand while gently pulling the dough outward with your other hand. Keep the hand you are shaping the dough with pretty flat:
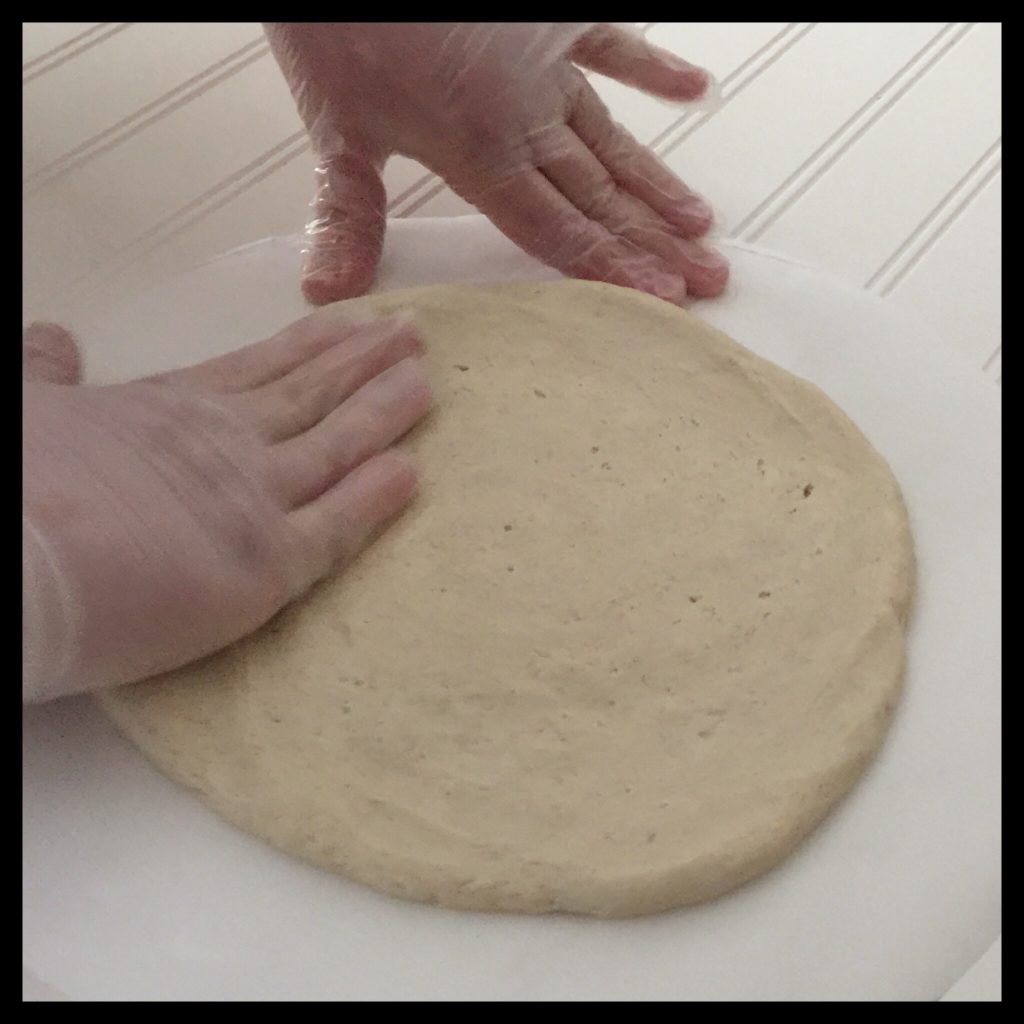
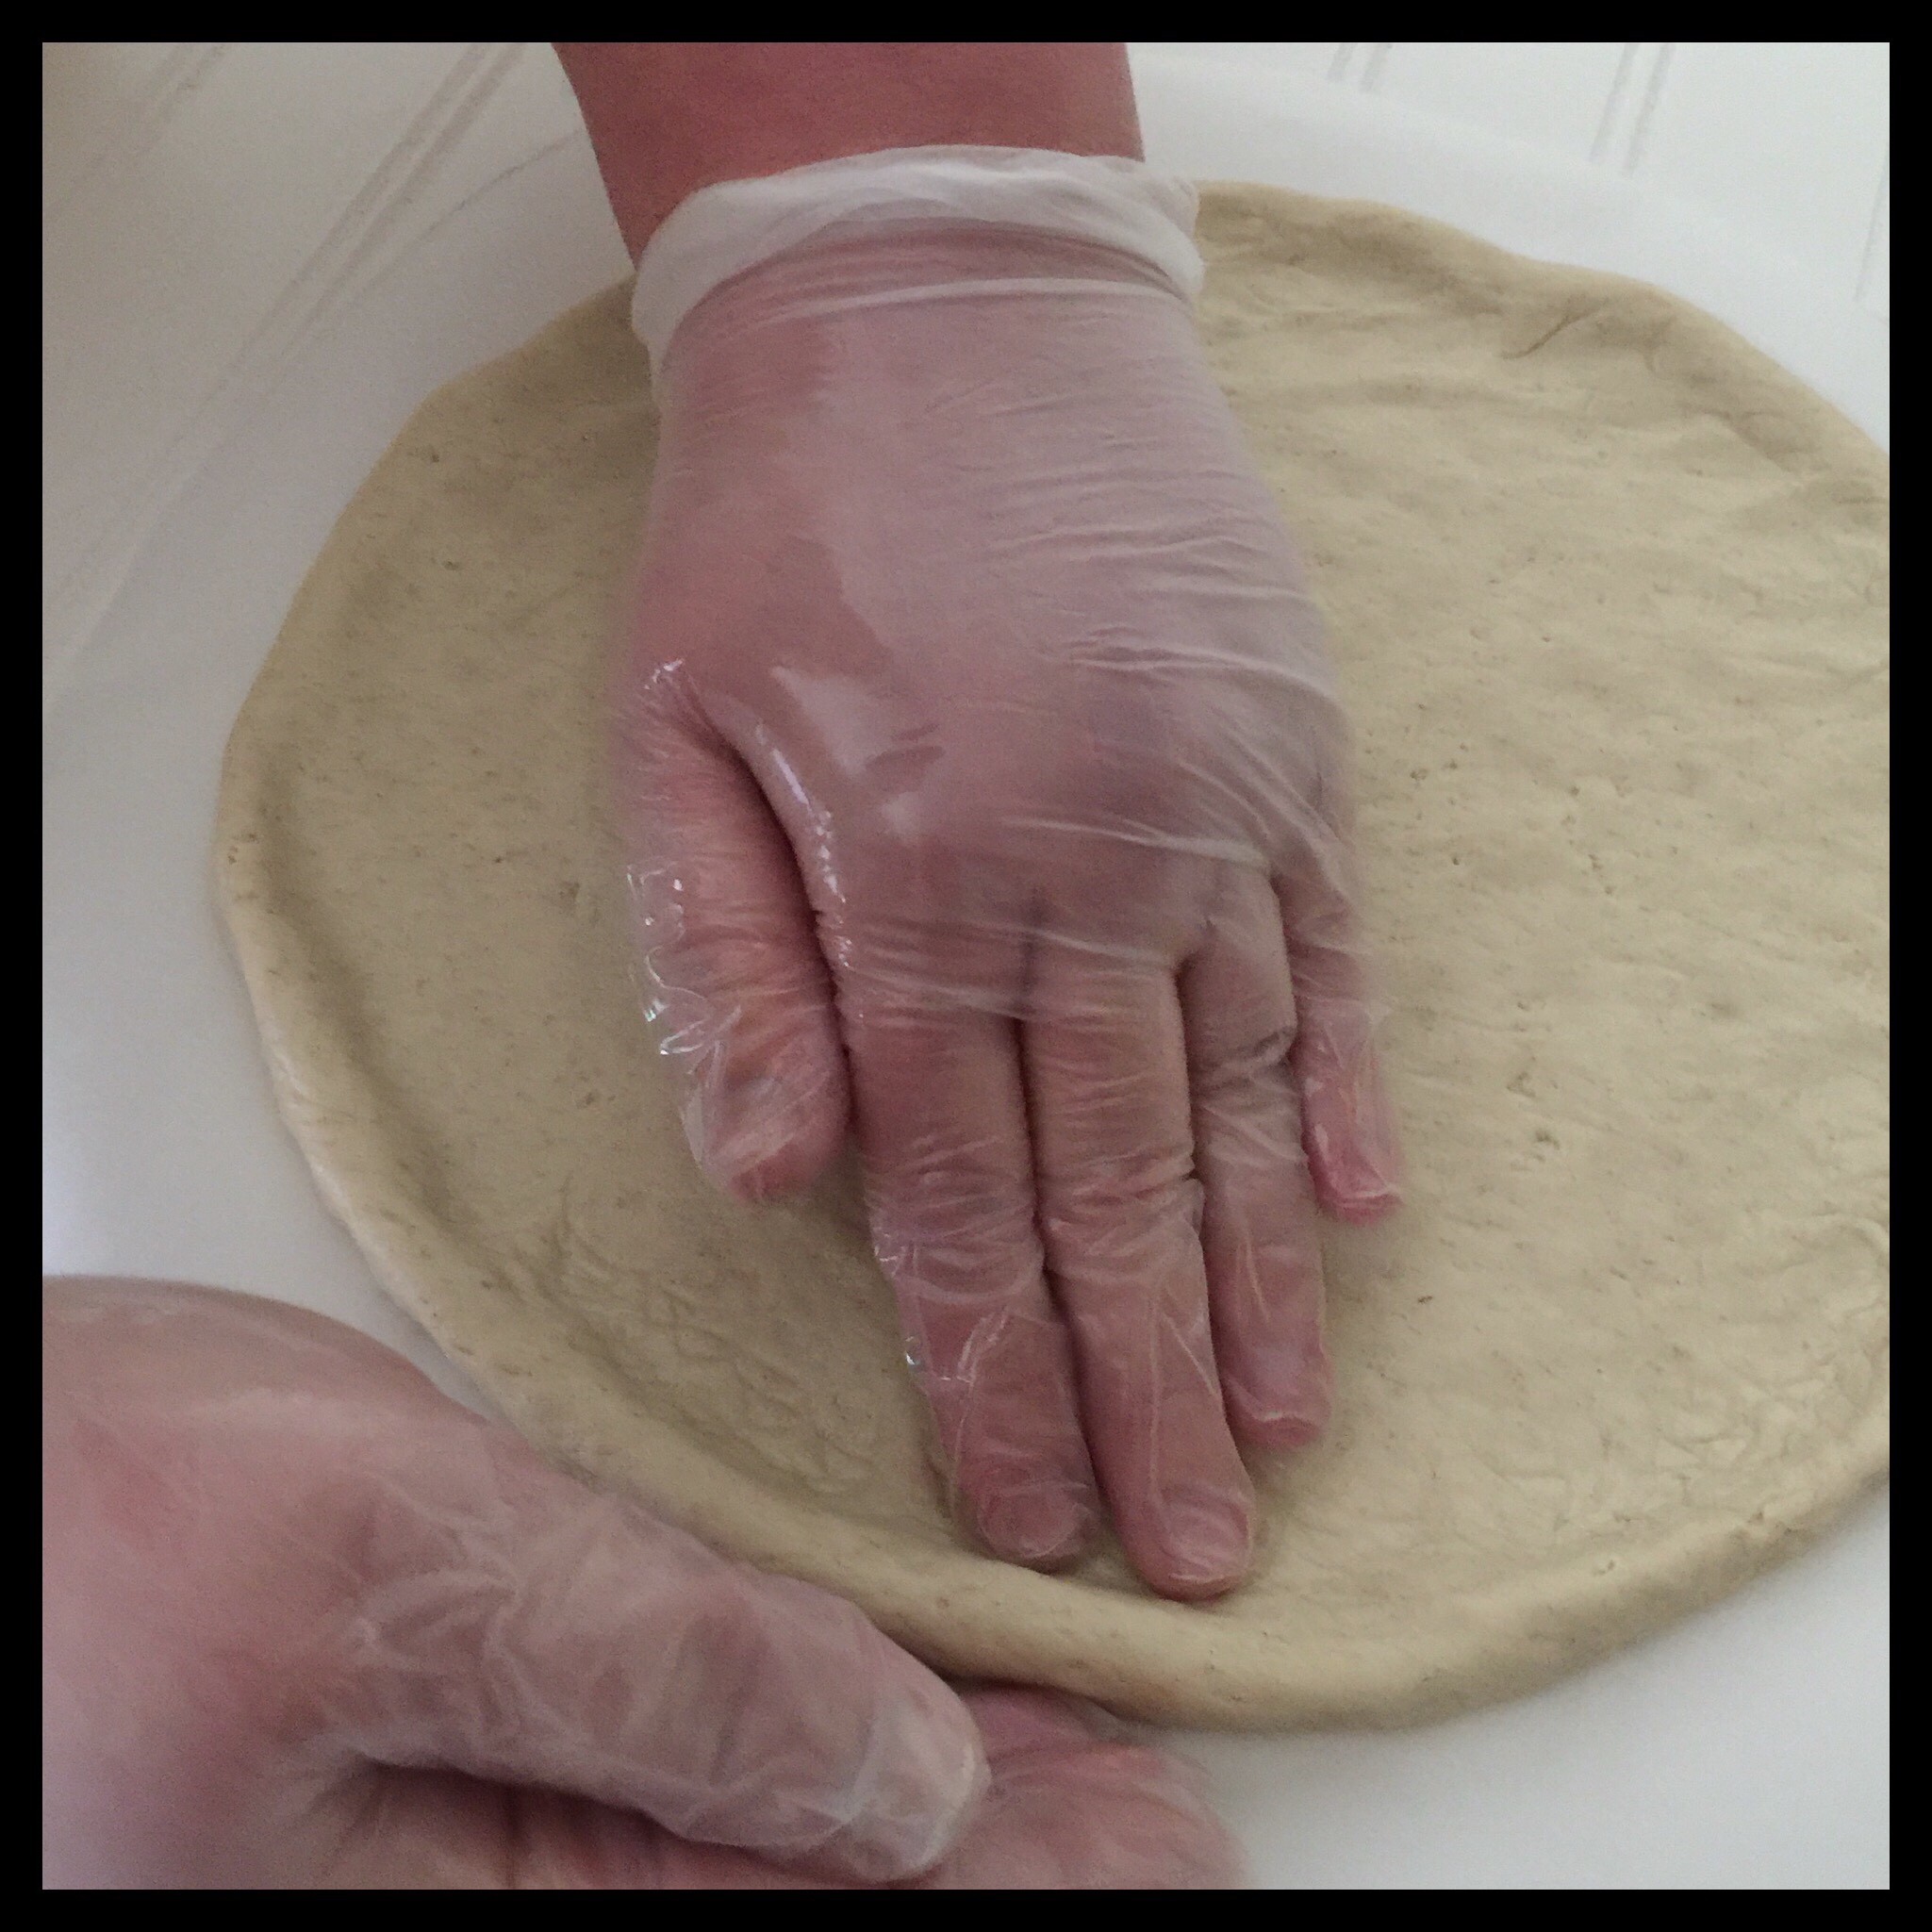
Once the dough is stretched out to a 12″ circle, roll the edges up to form a rounded edge all around the dough:
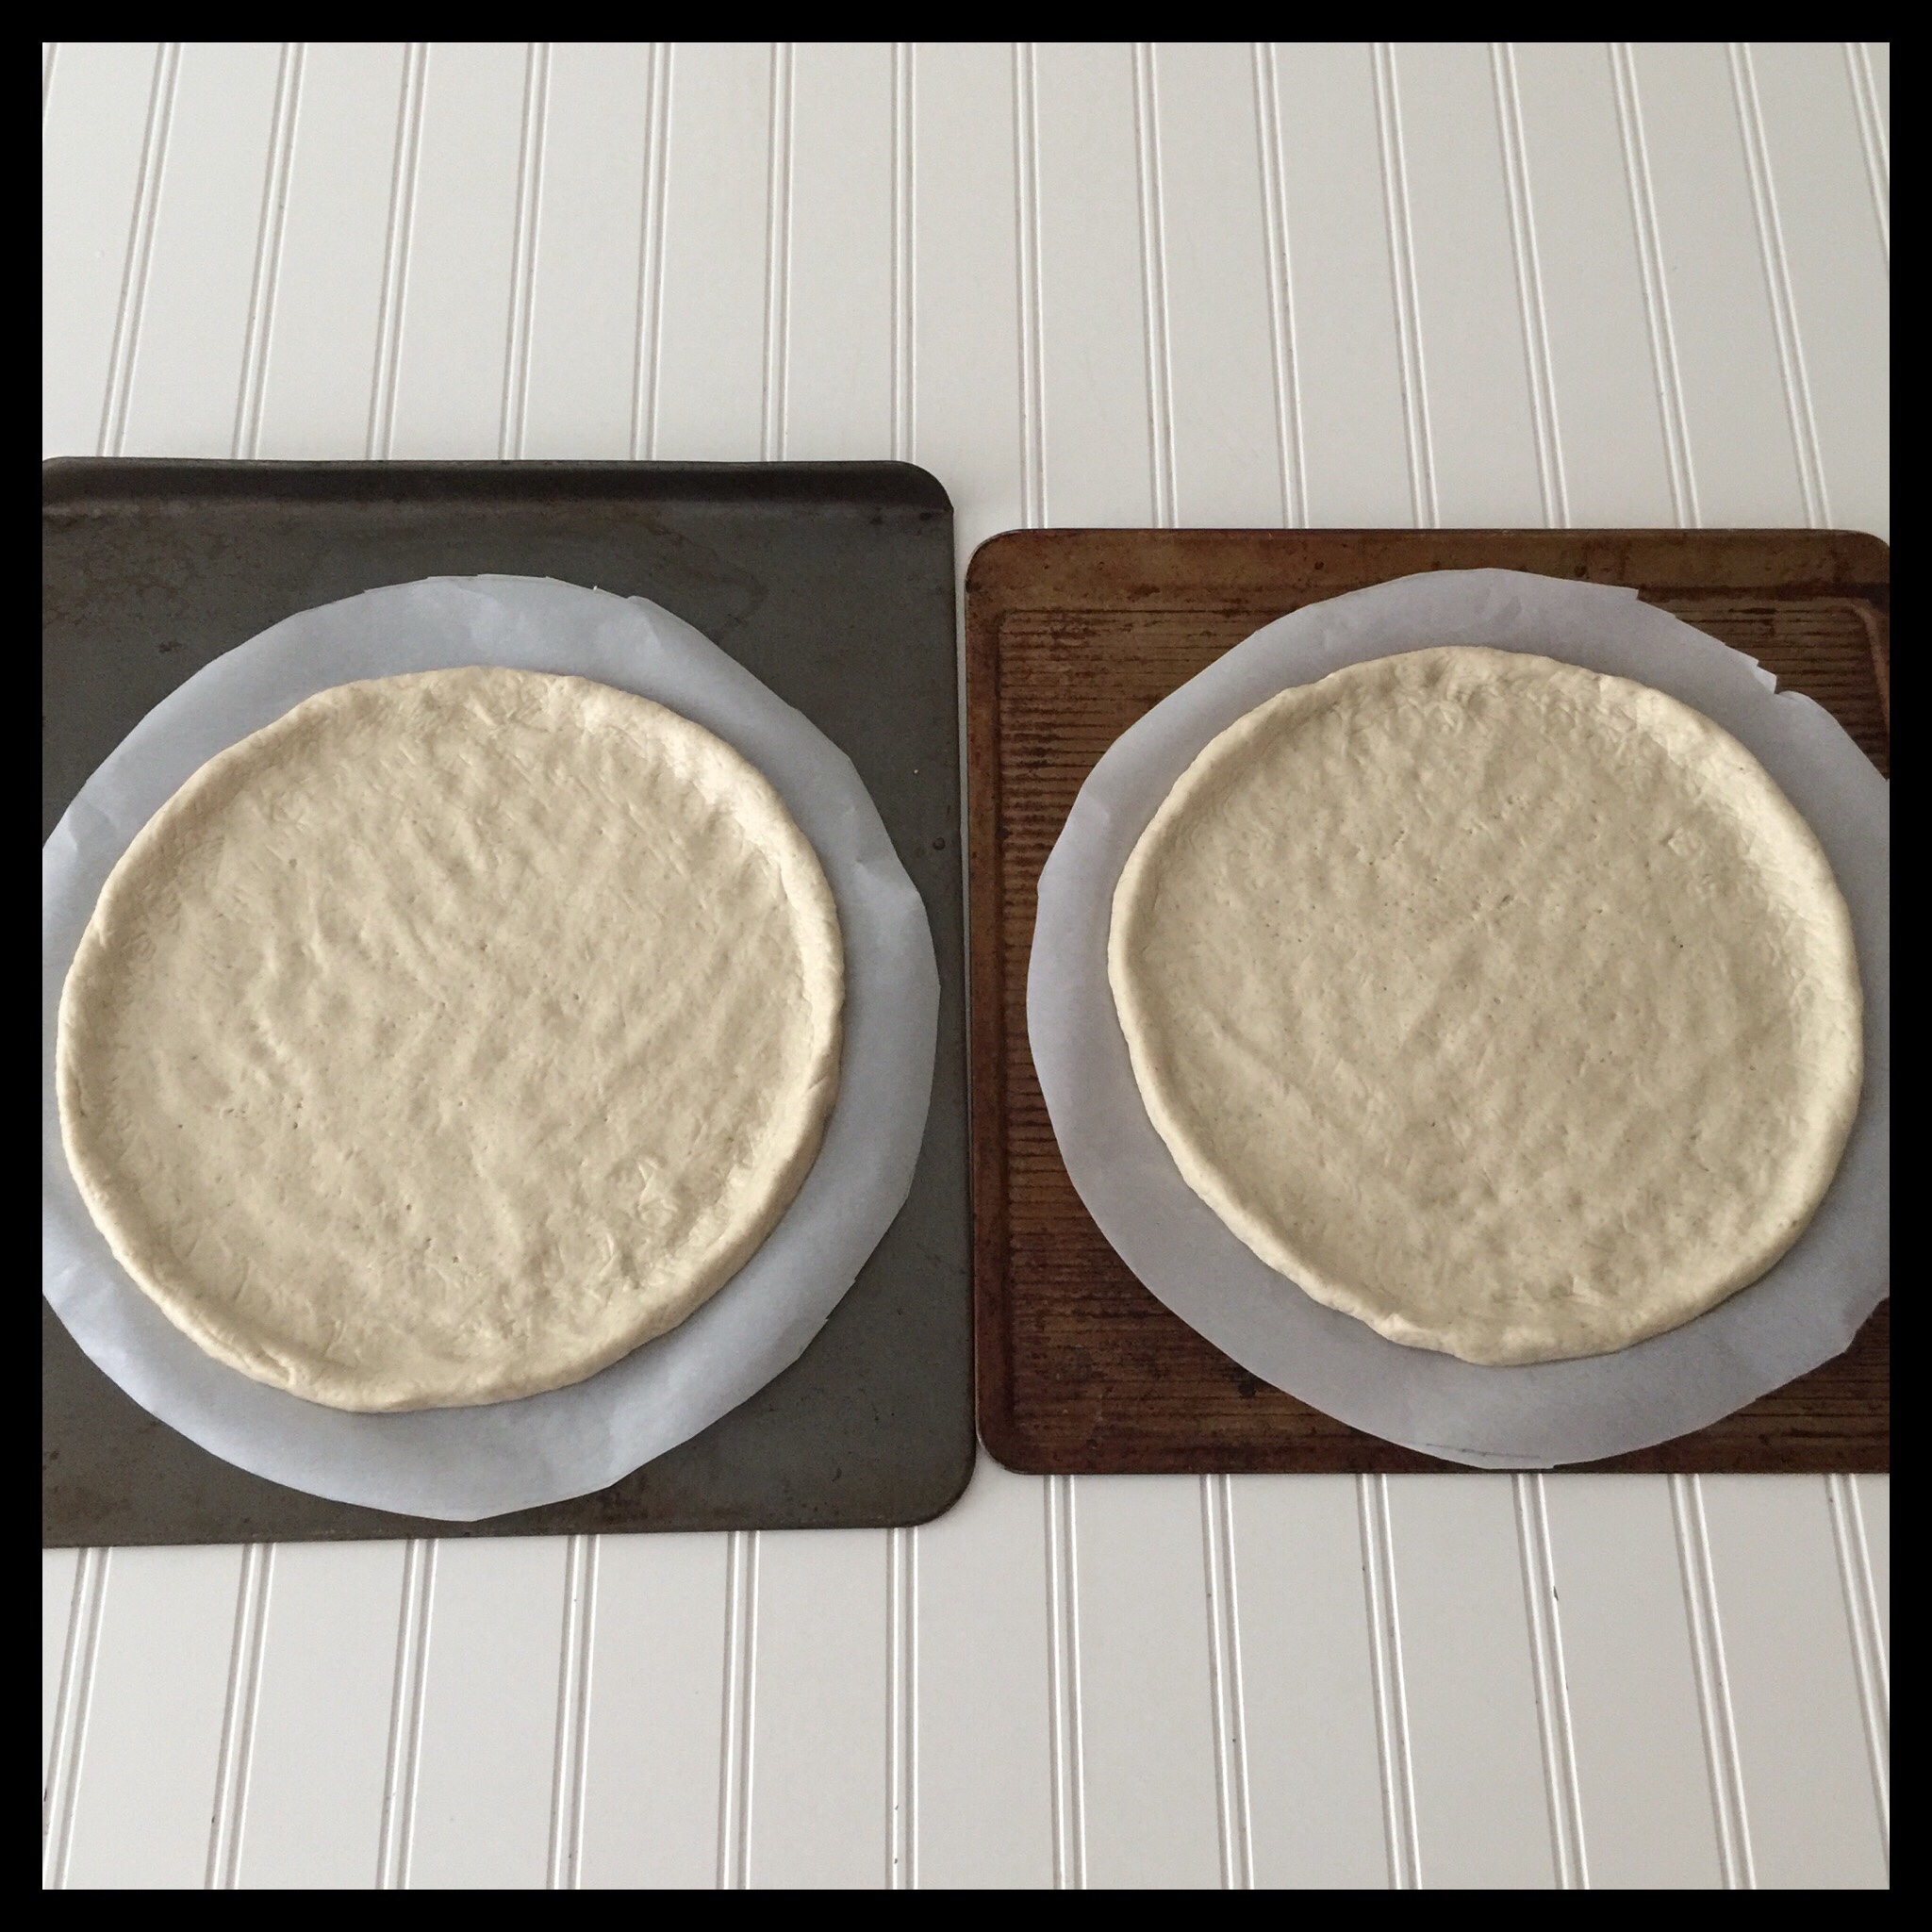
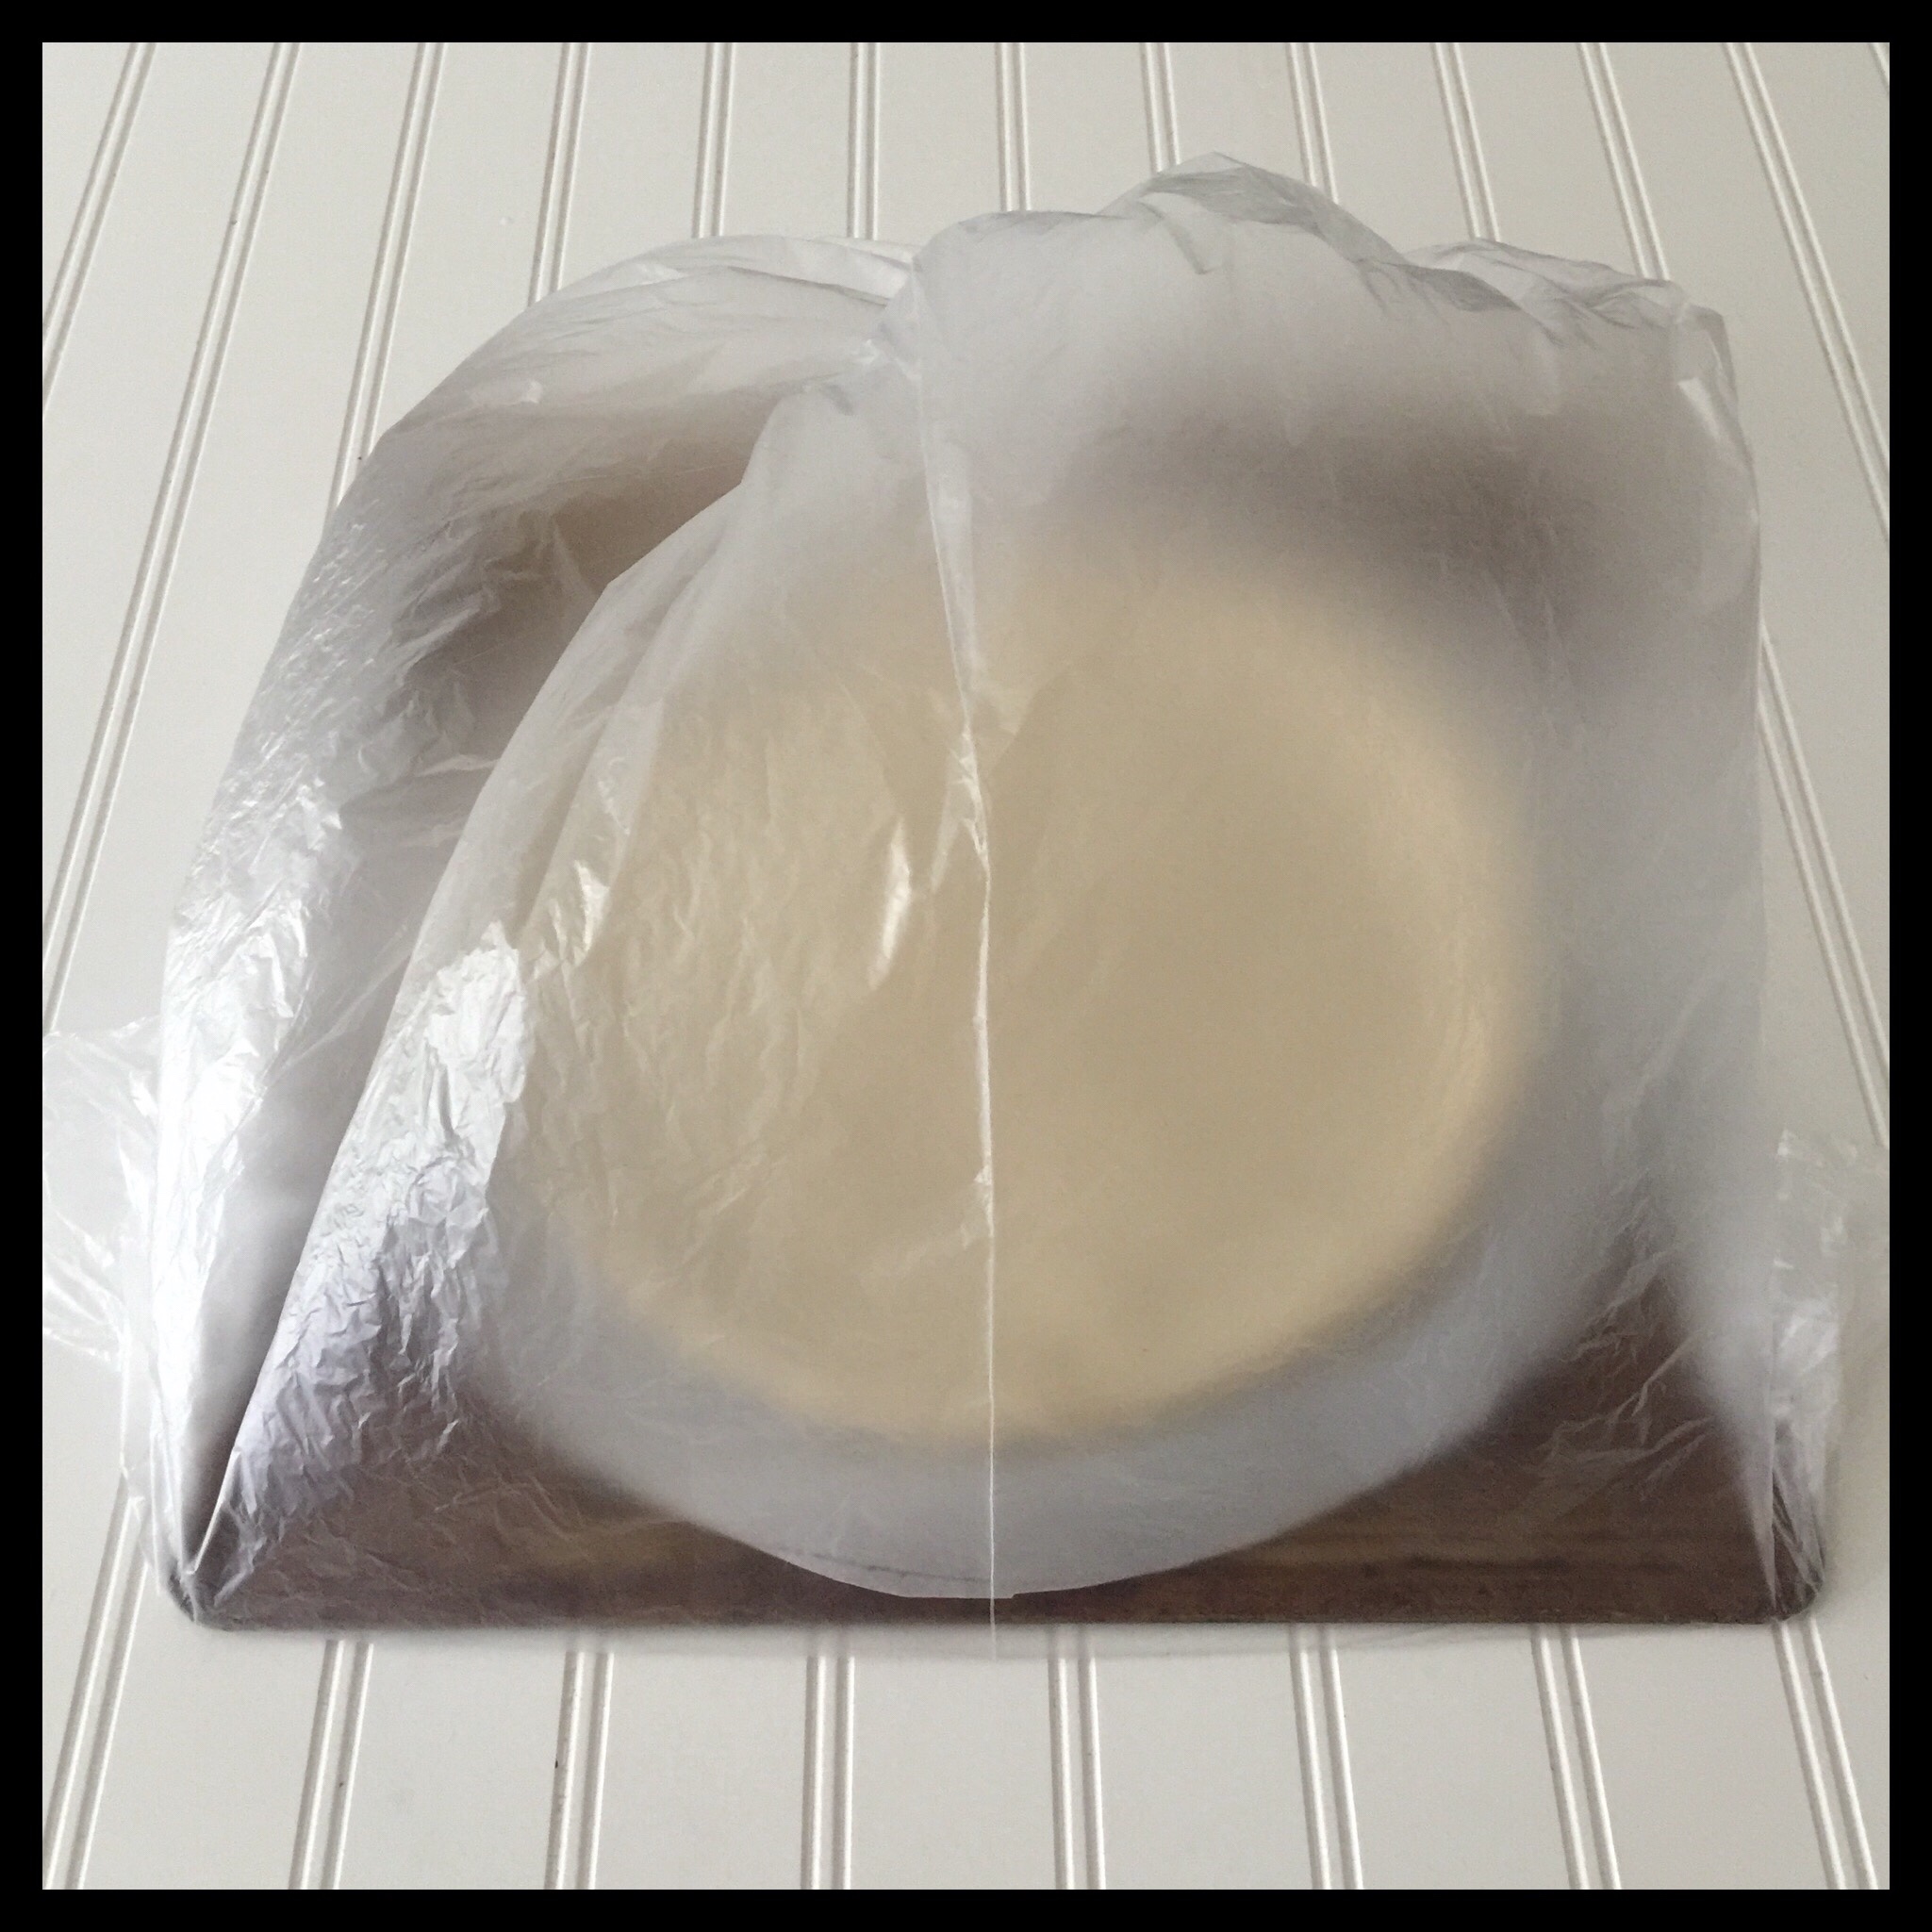
Slide both parchment circles onto cookie sheets and put them into clean plastic bags to rise:
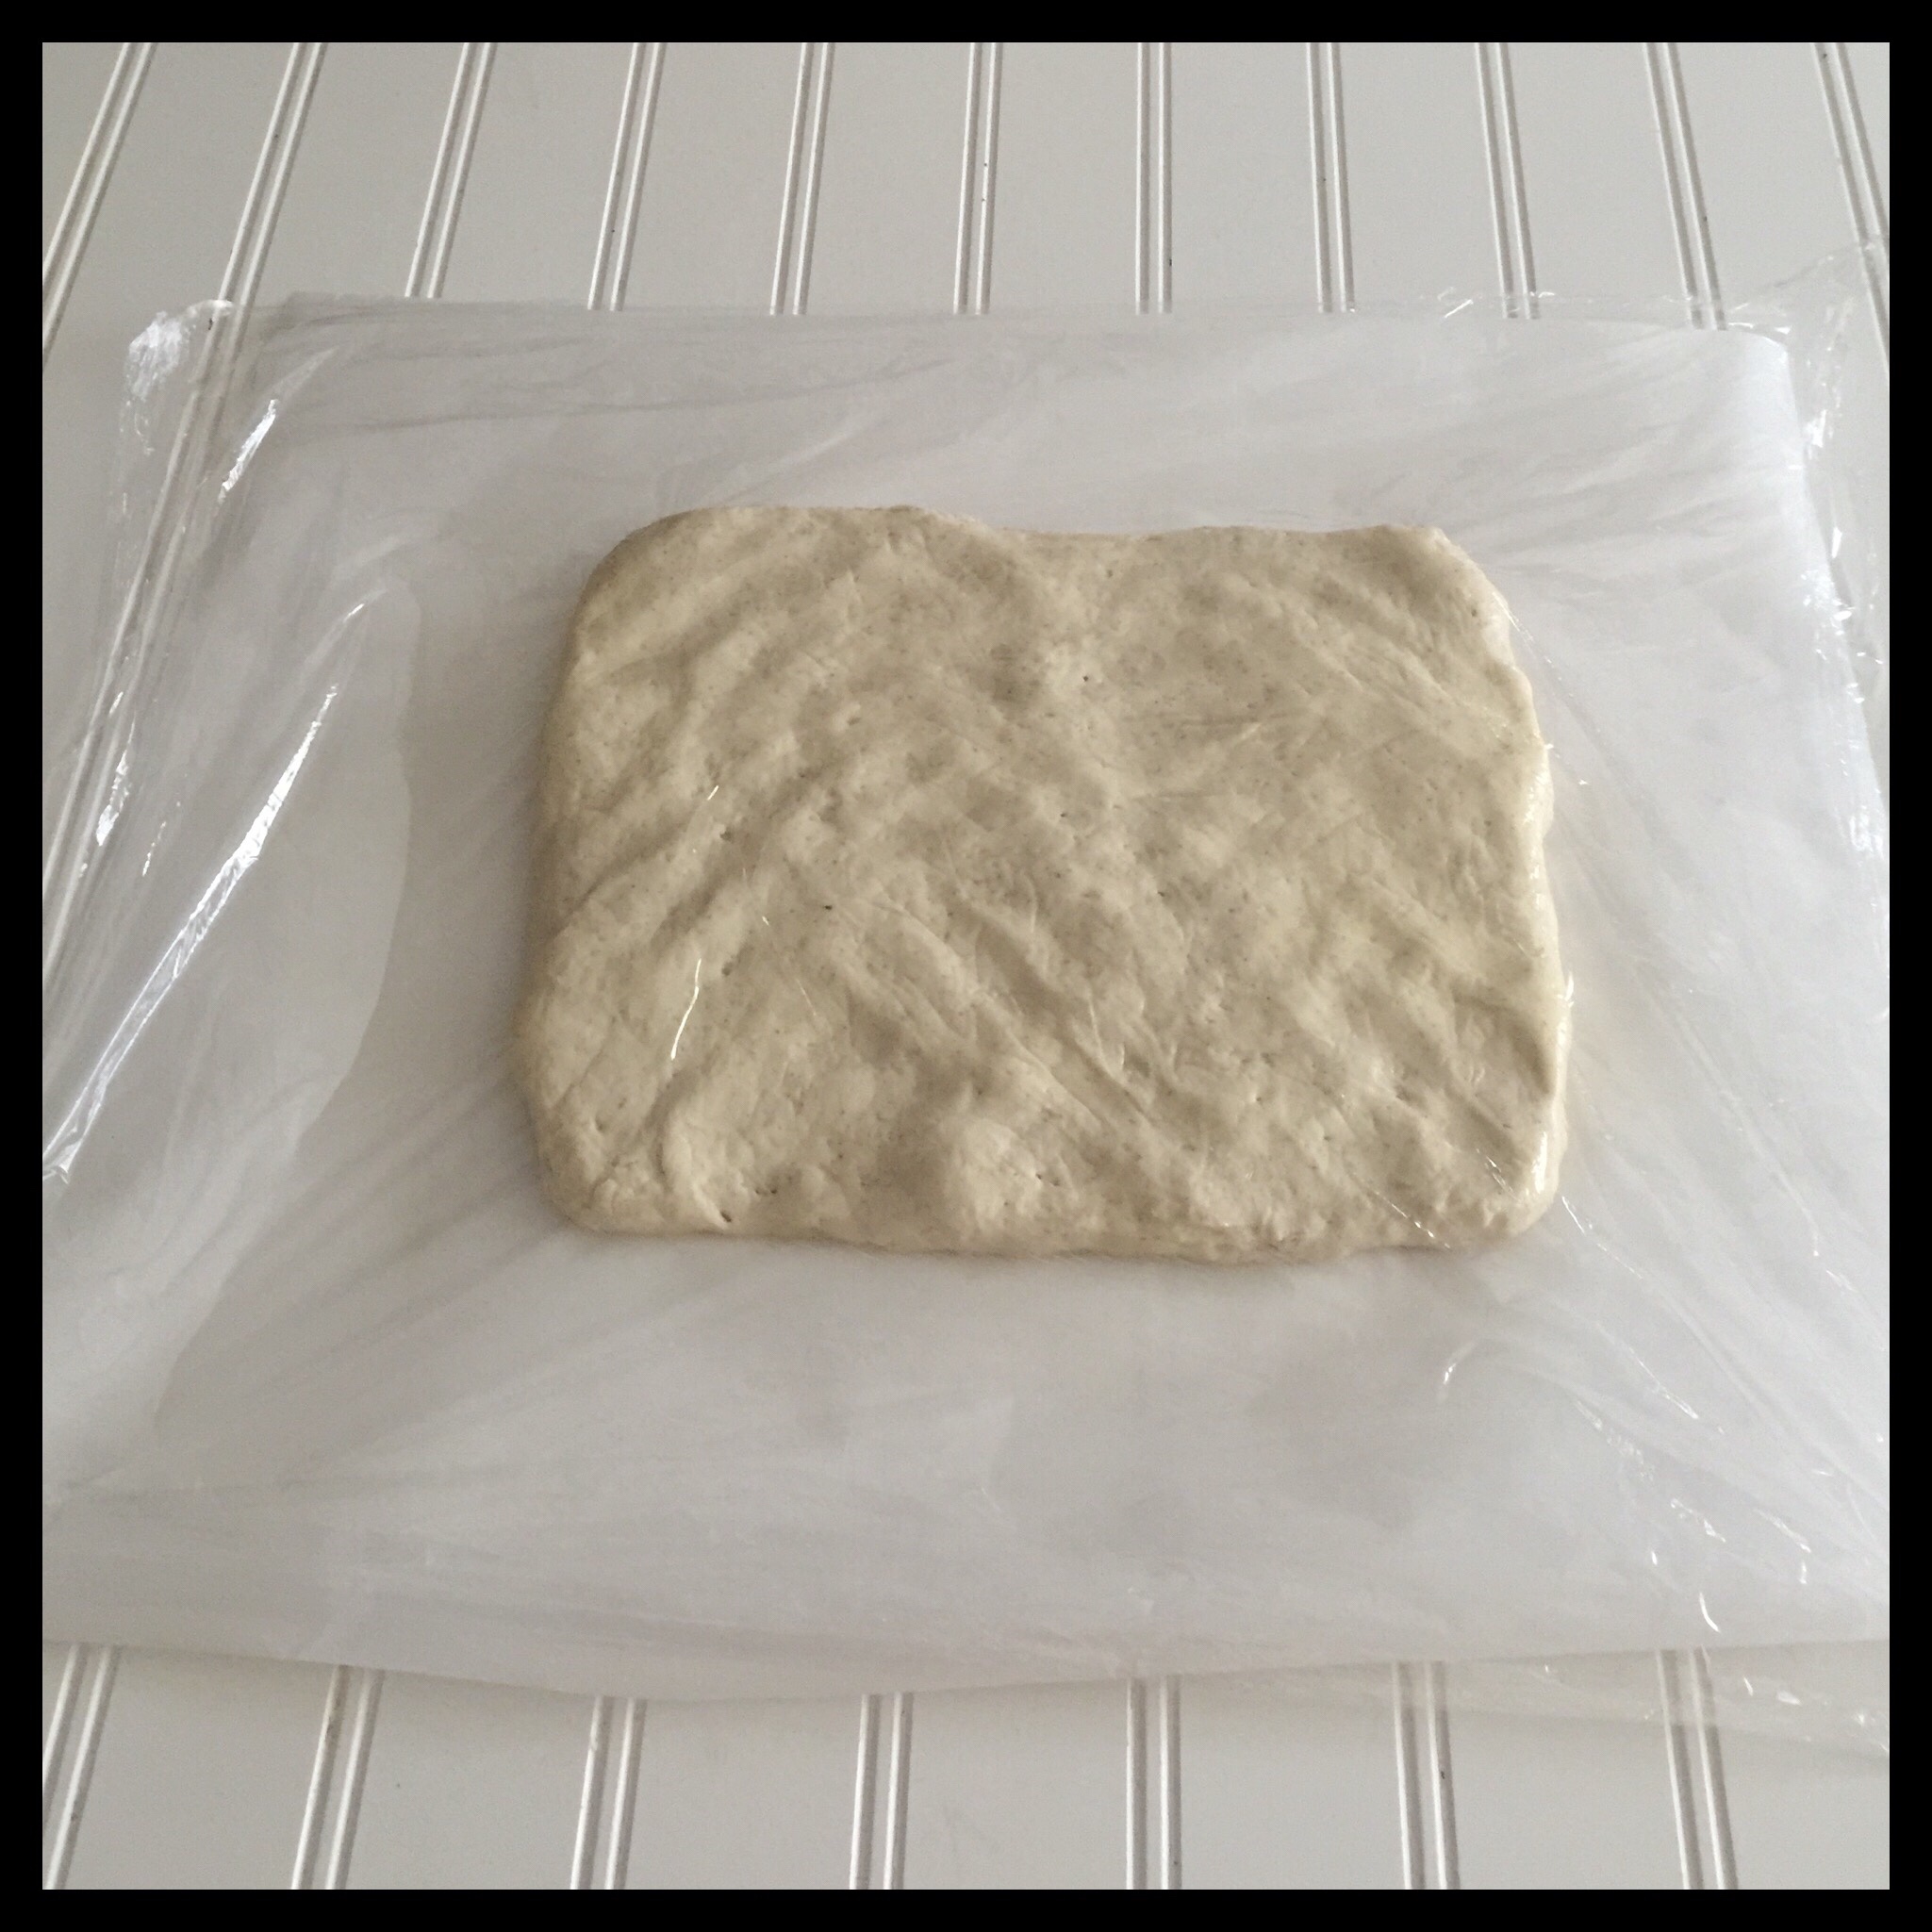
To roll out a rectangular shape, start by patting the dough into a rectangle about one inch thick on the parchment:
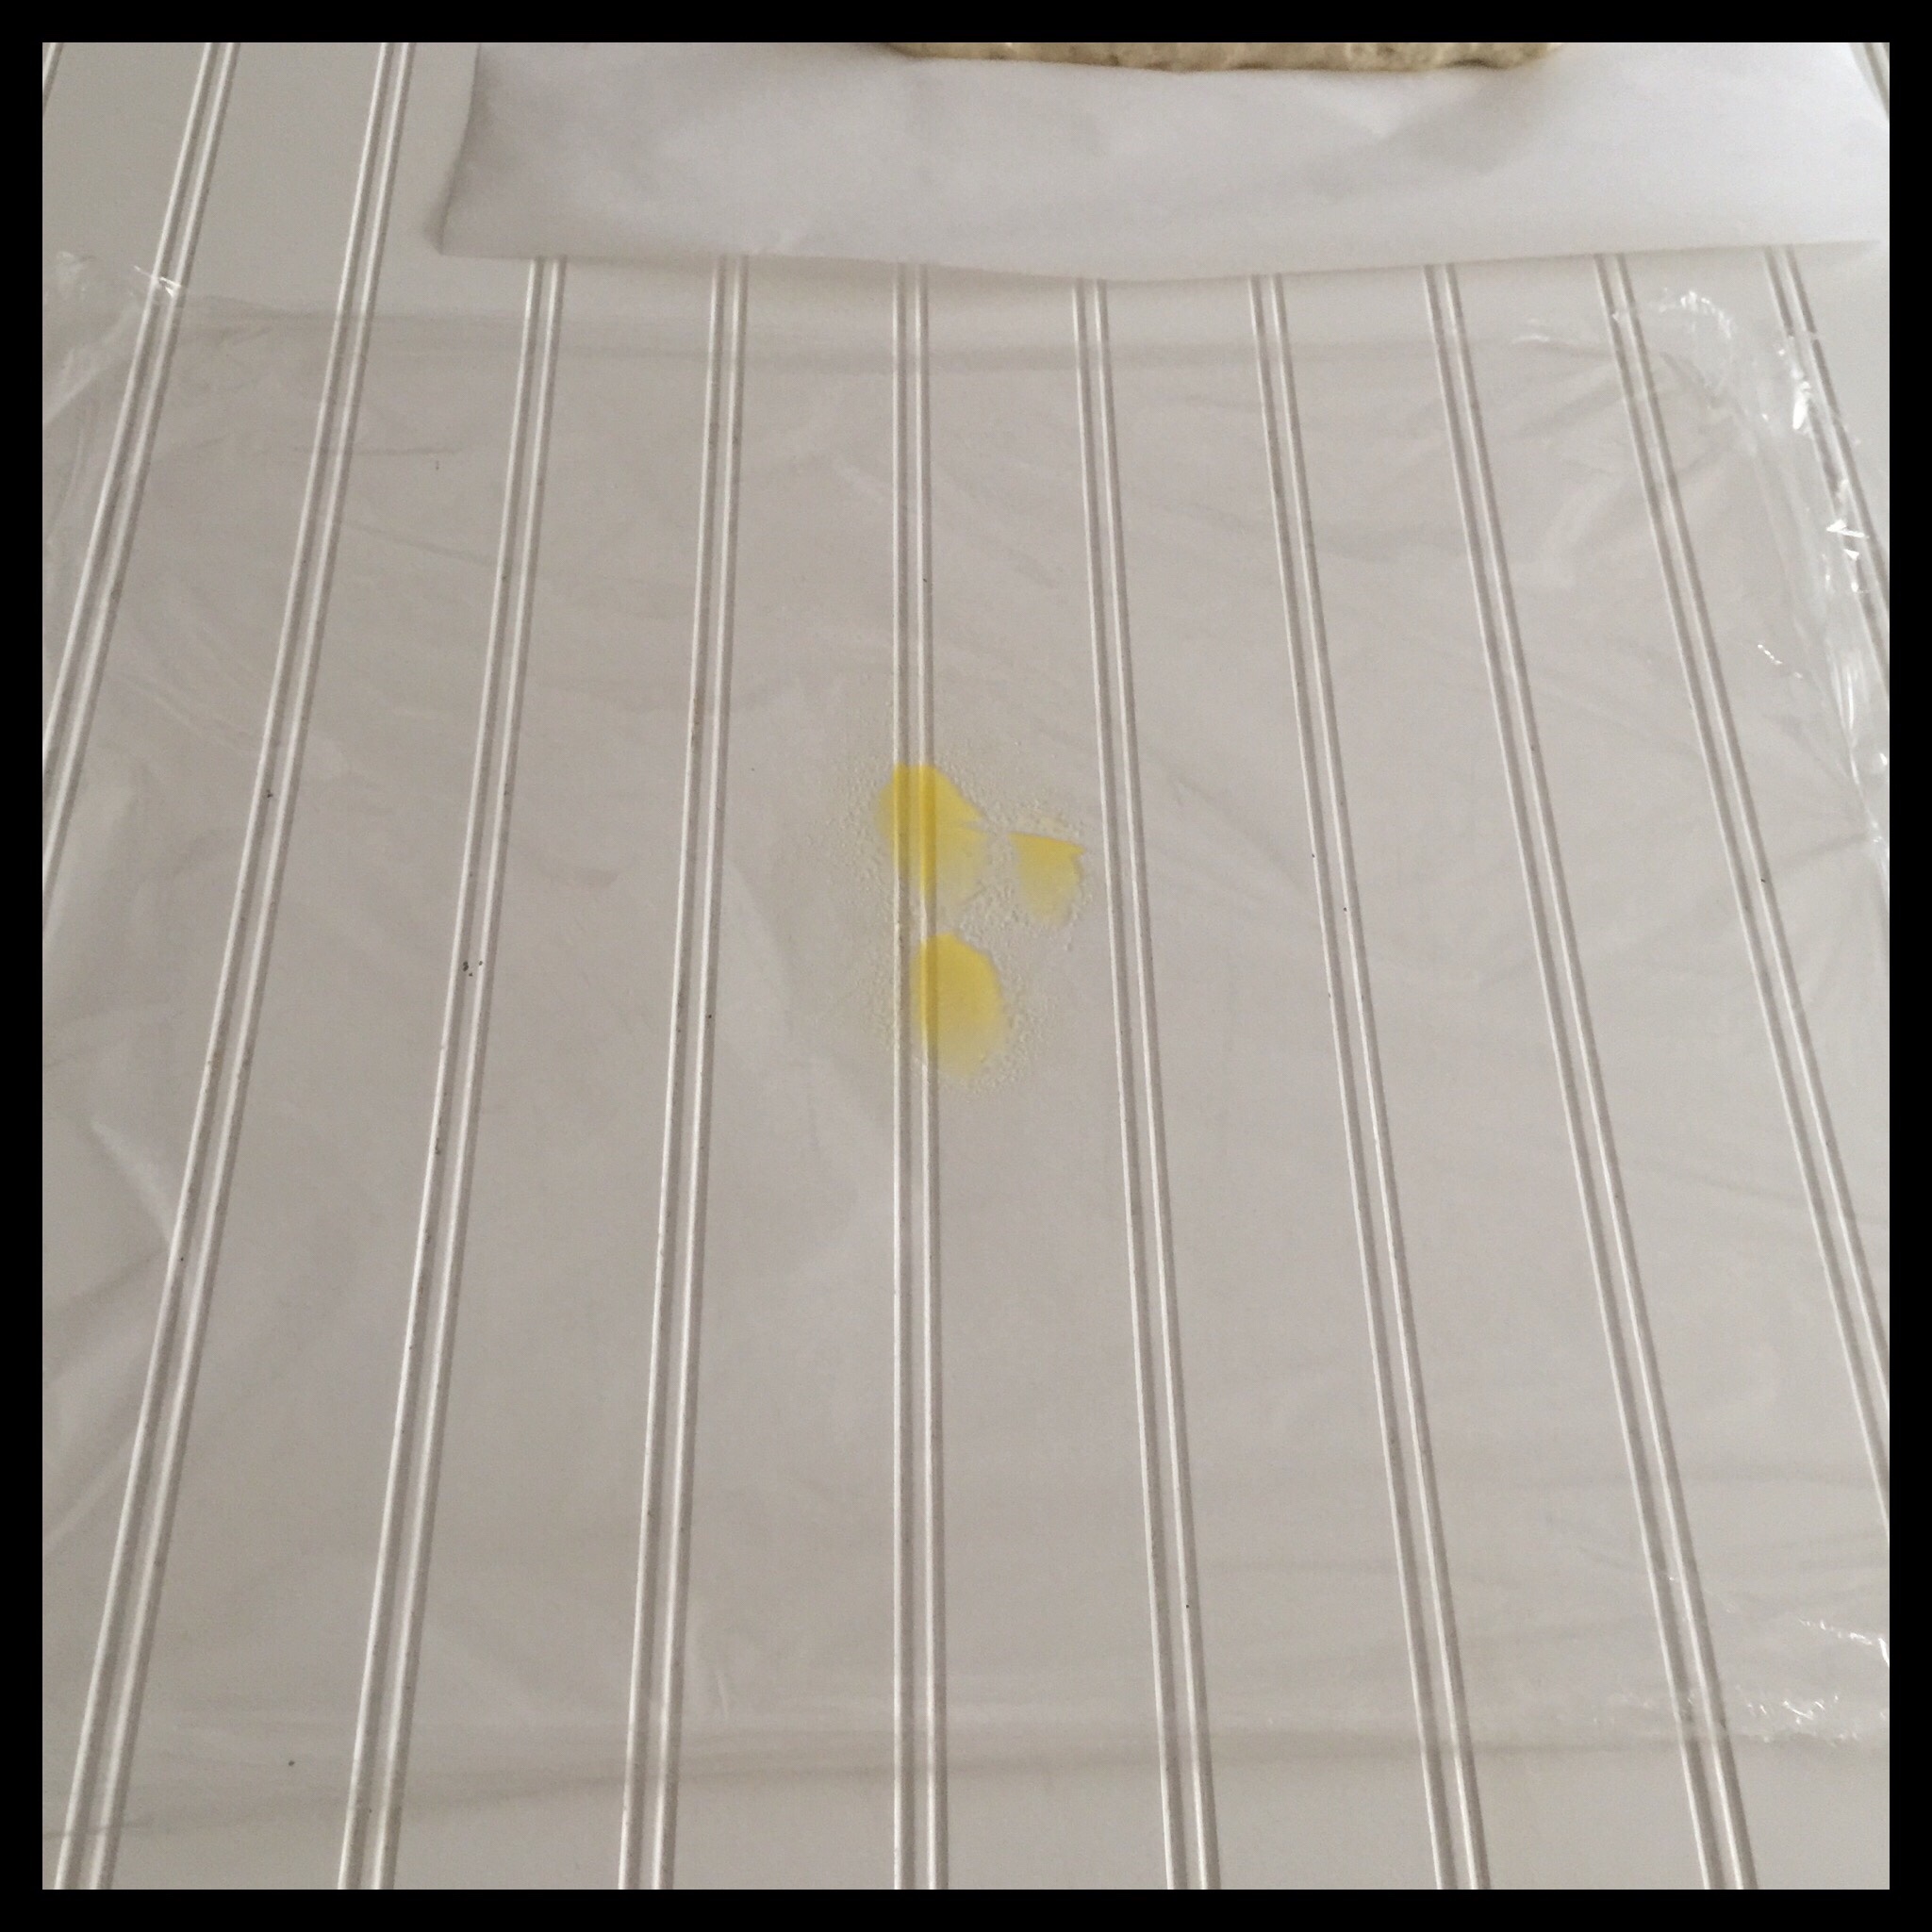
Cut a large piece of plastic wrap that is several inches longer than your parchment, then spray it with non-stick spray and spread the spray all over the plastic wrap. (If you have standard-sized plastic wrap, use several overlapping pieces to create one large rectangle.)
Invert the greased plastic wrap over the dough so the oiled side is against the dough:
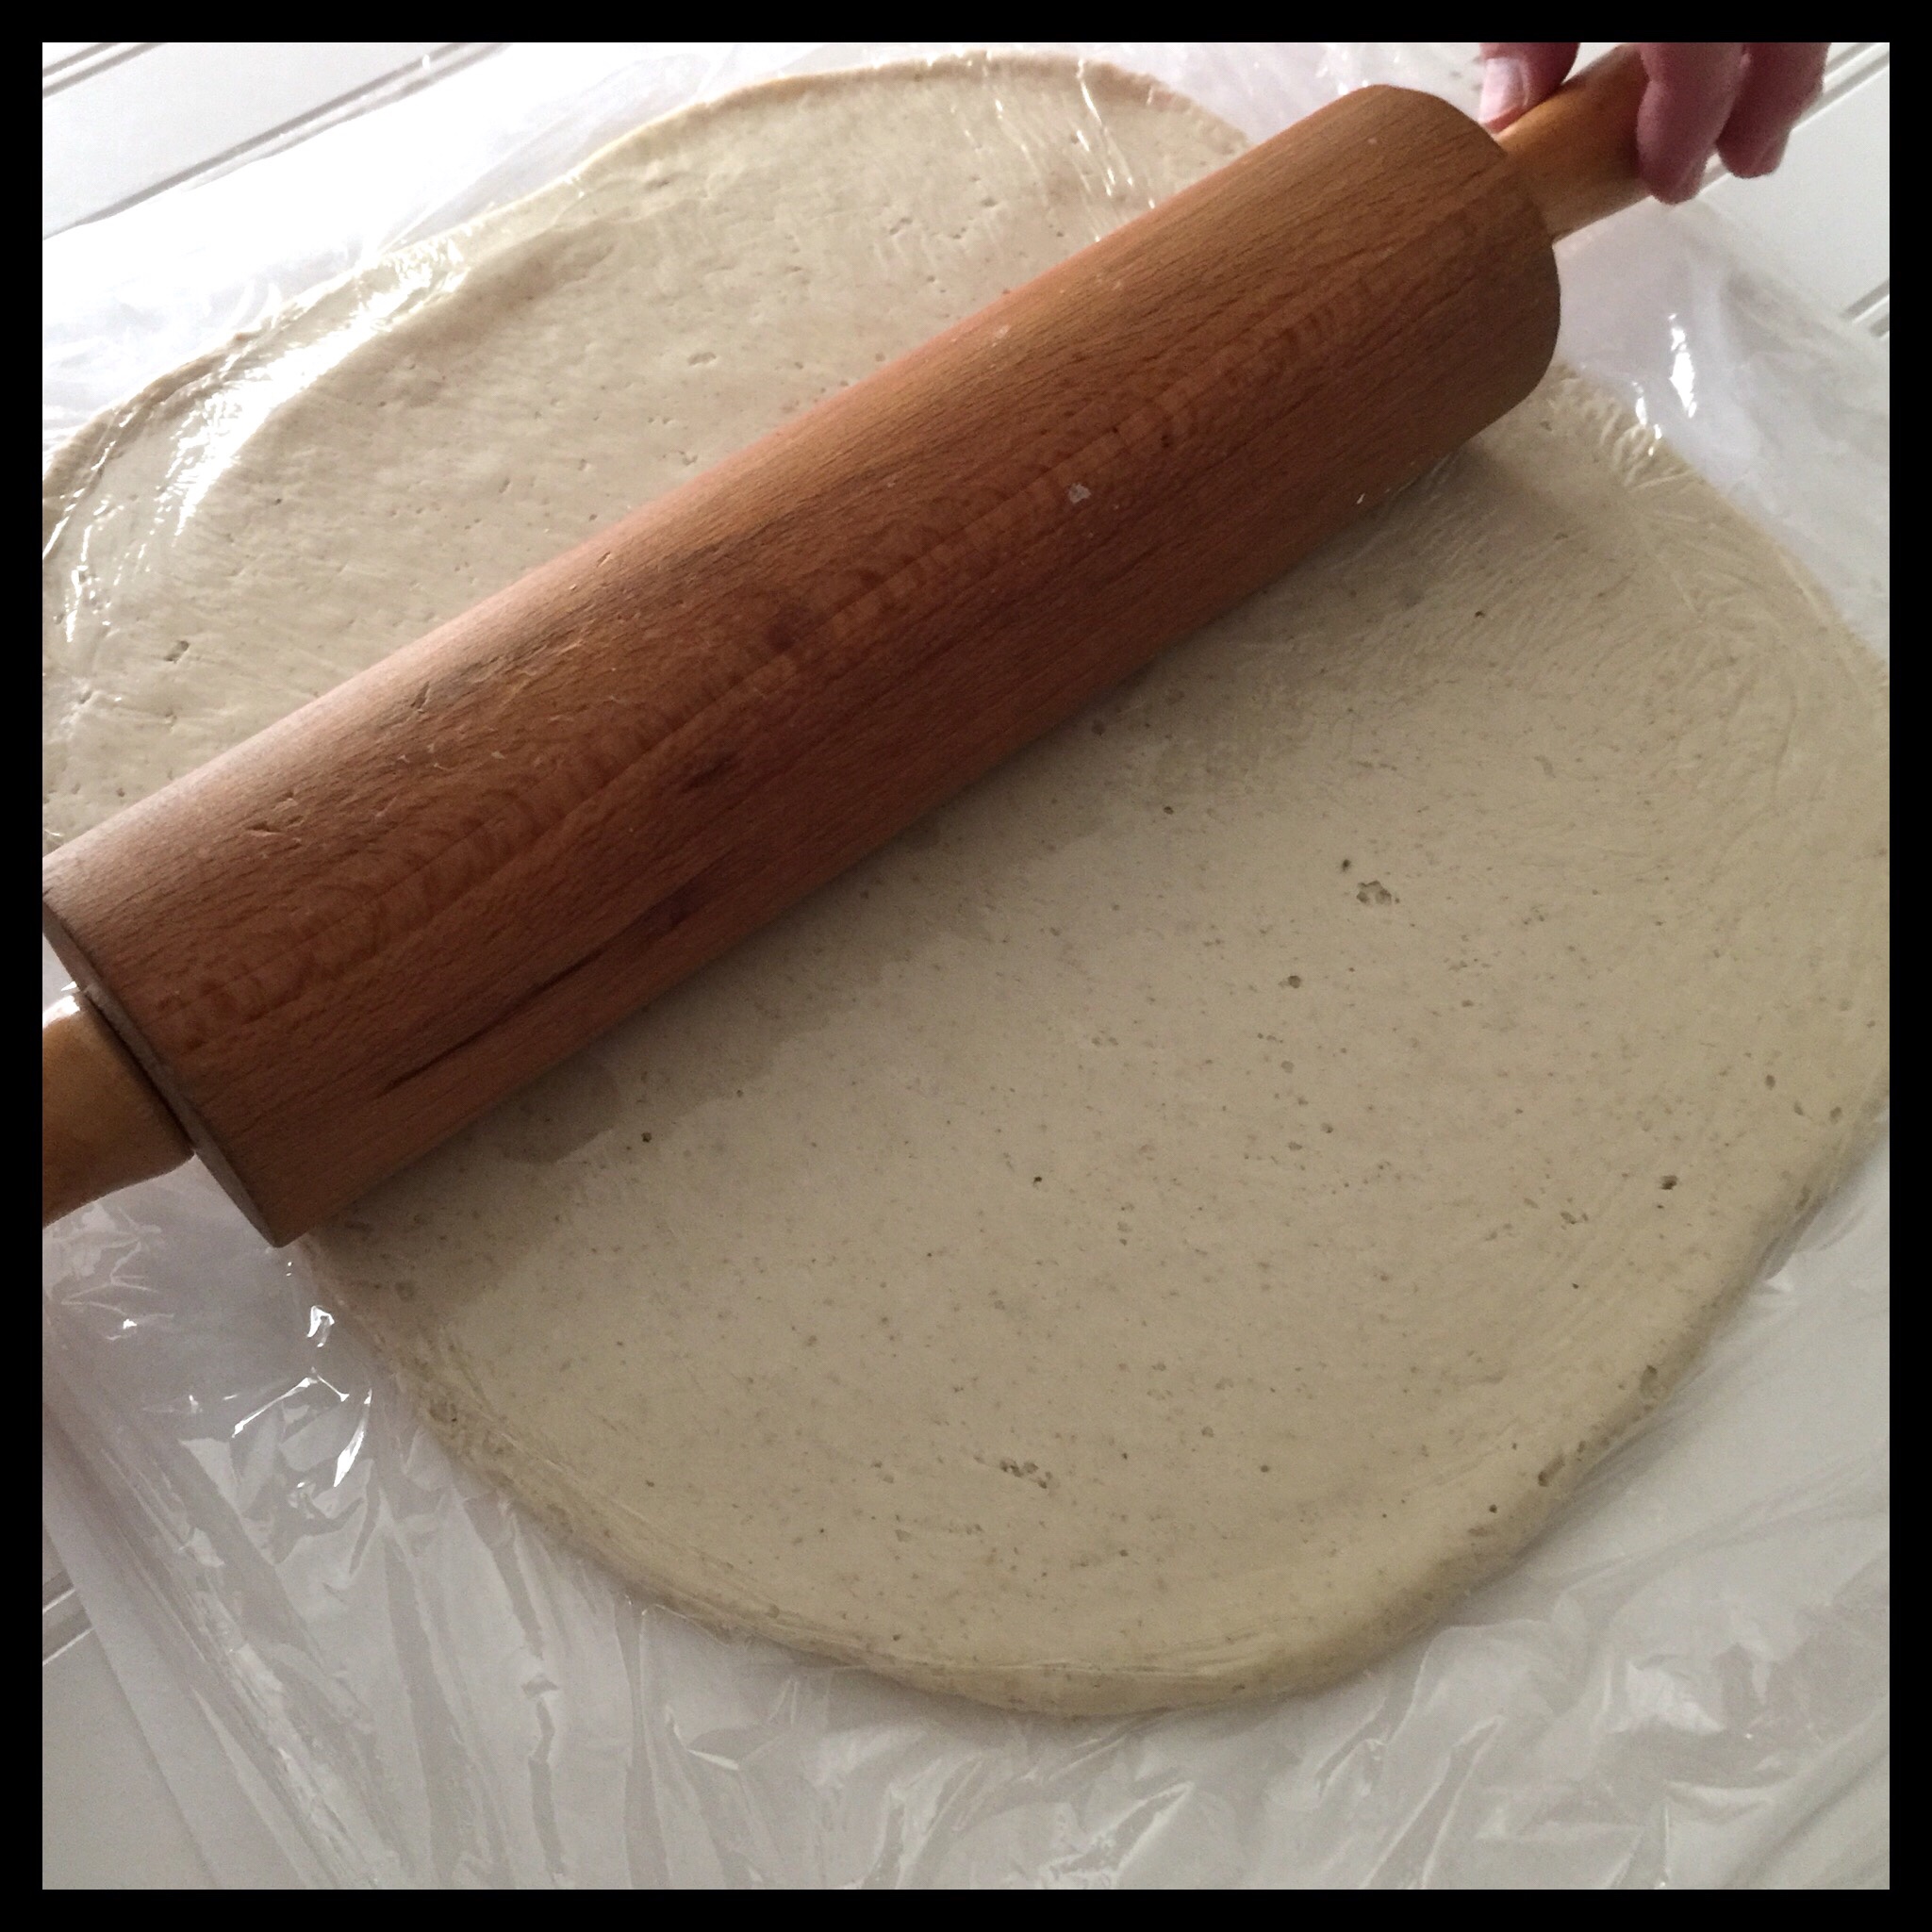
Roll the dough out until it is about 14 by 16 inches:
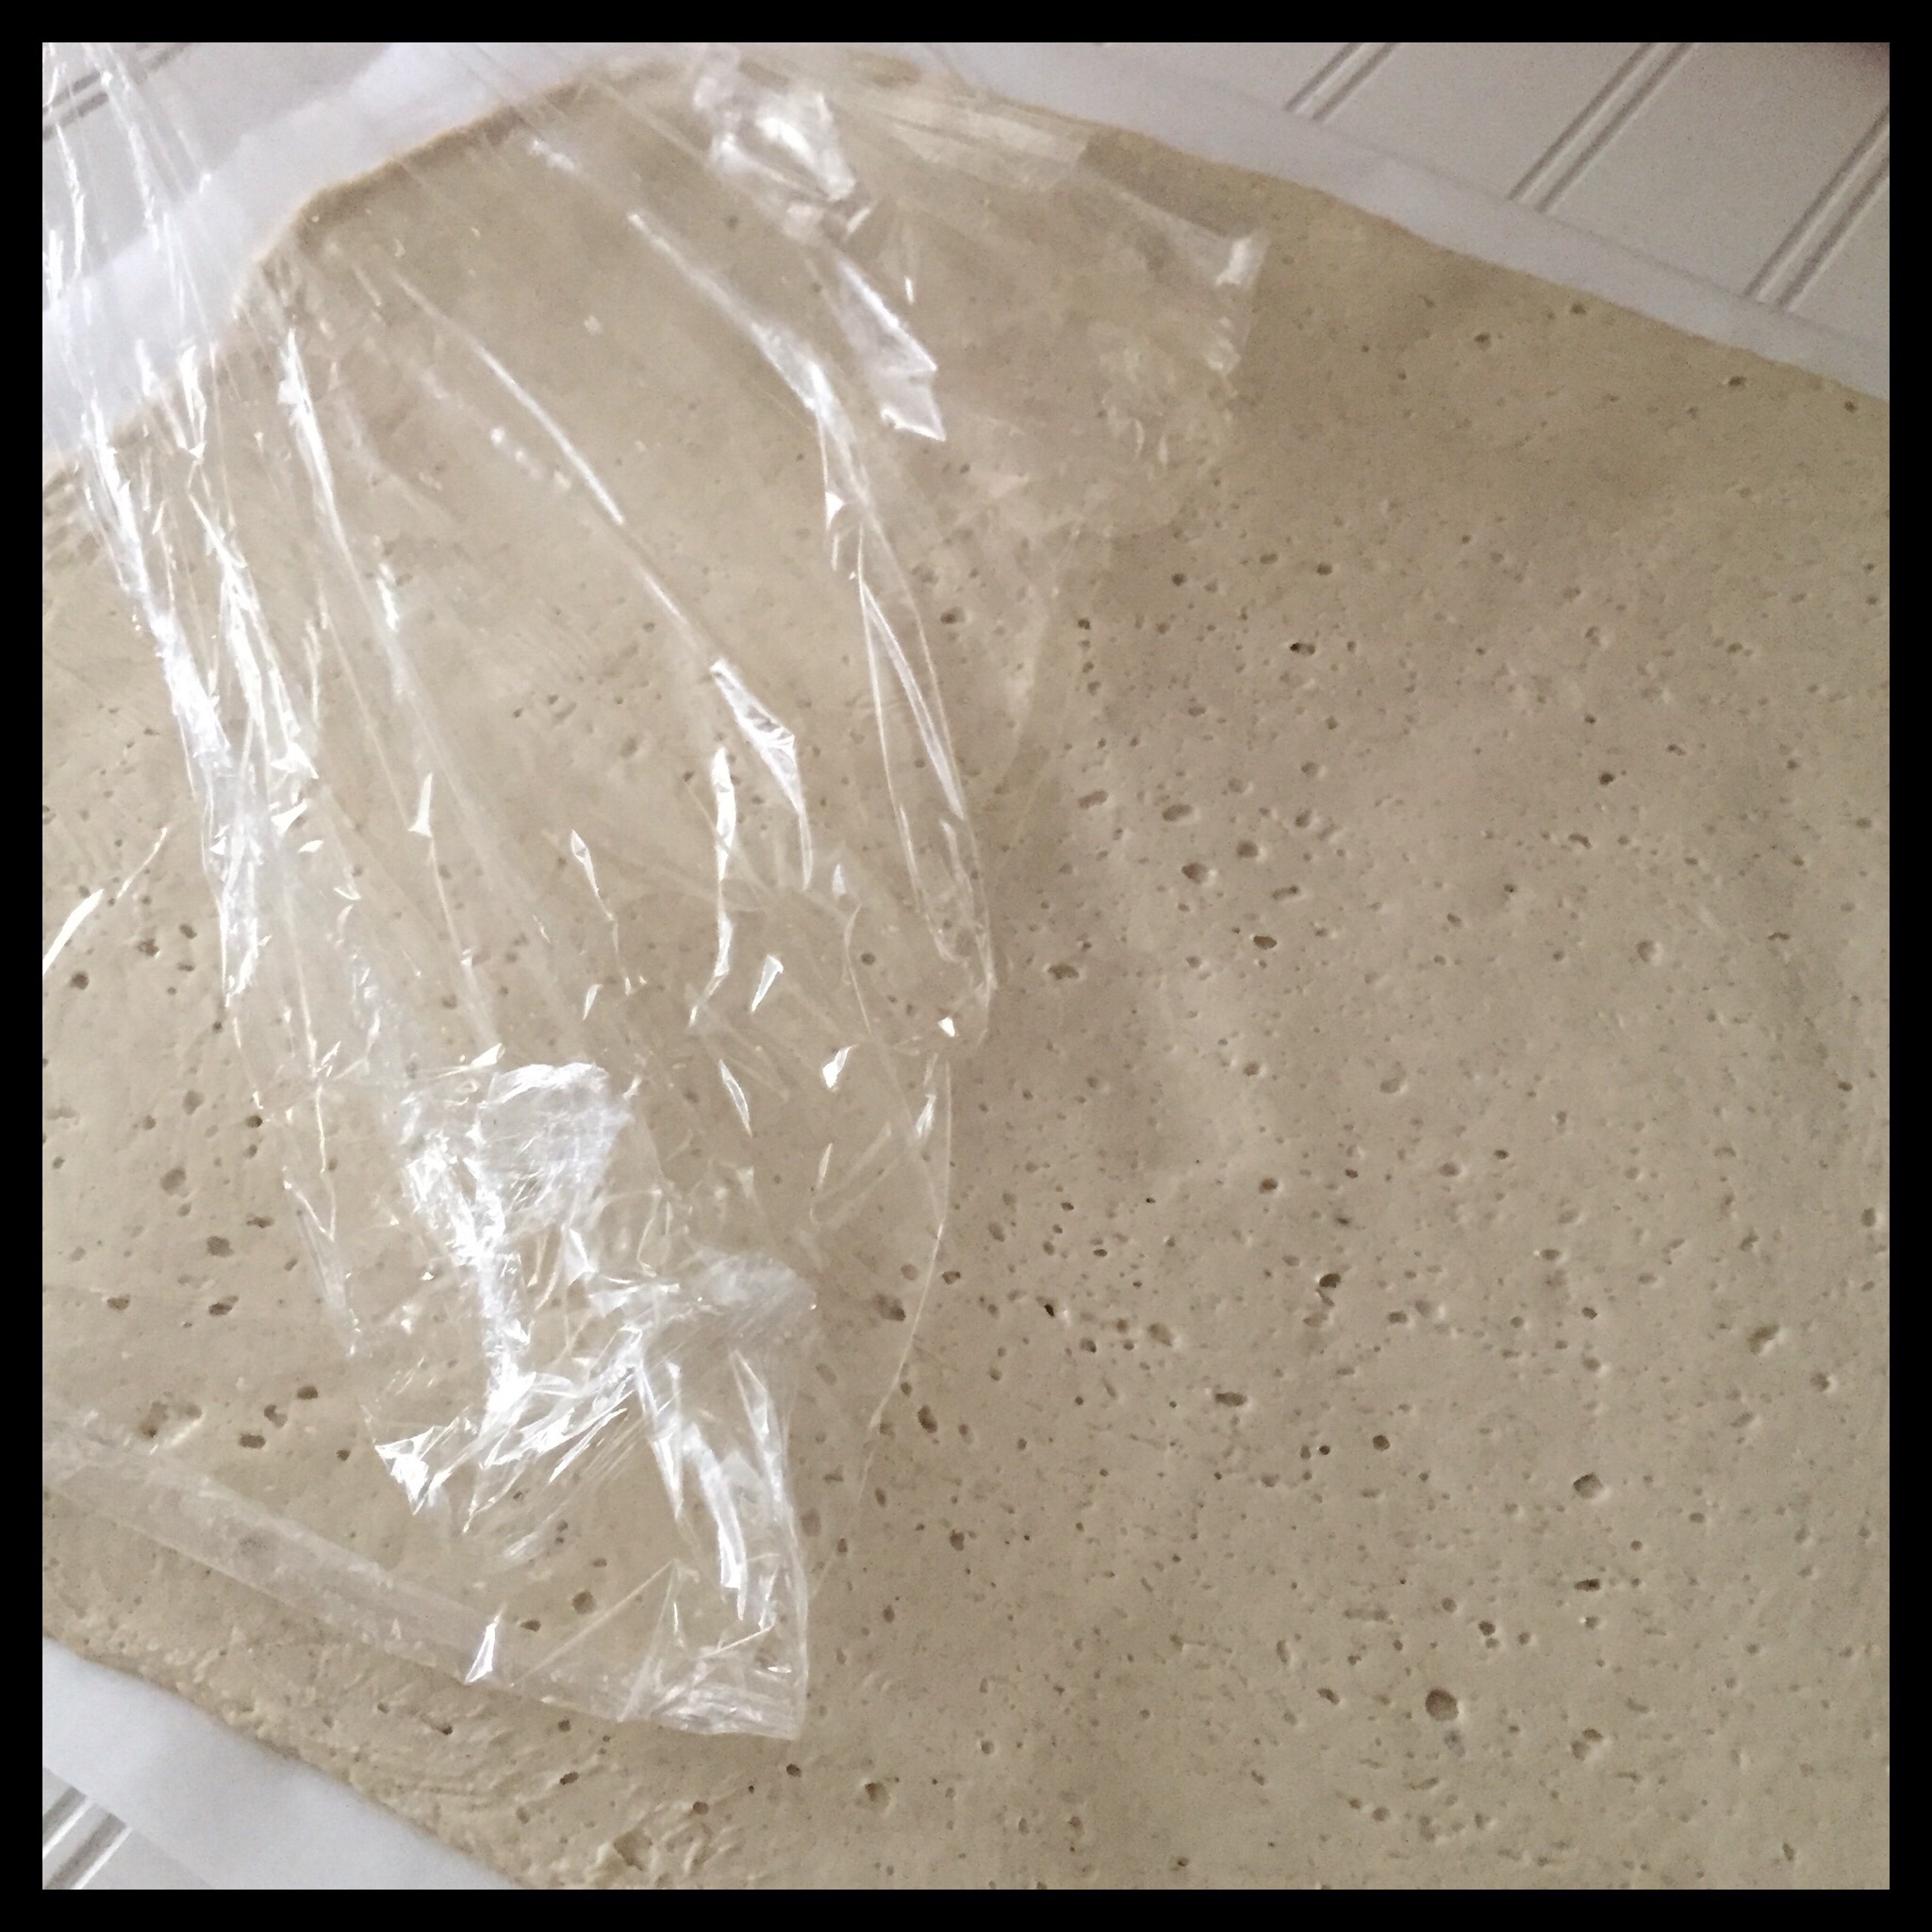
Carefully peel off the plastic wrap:
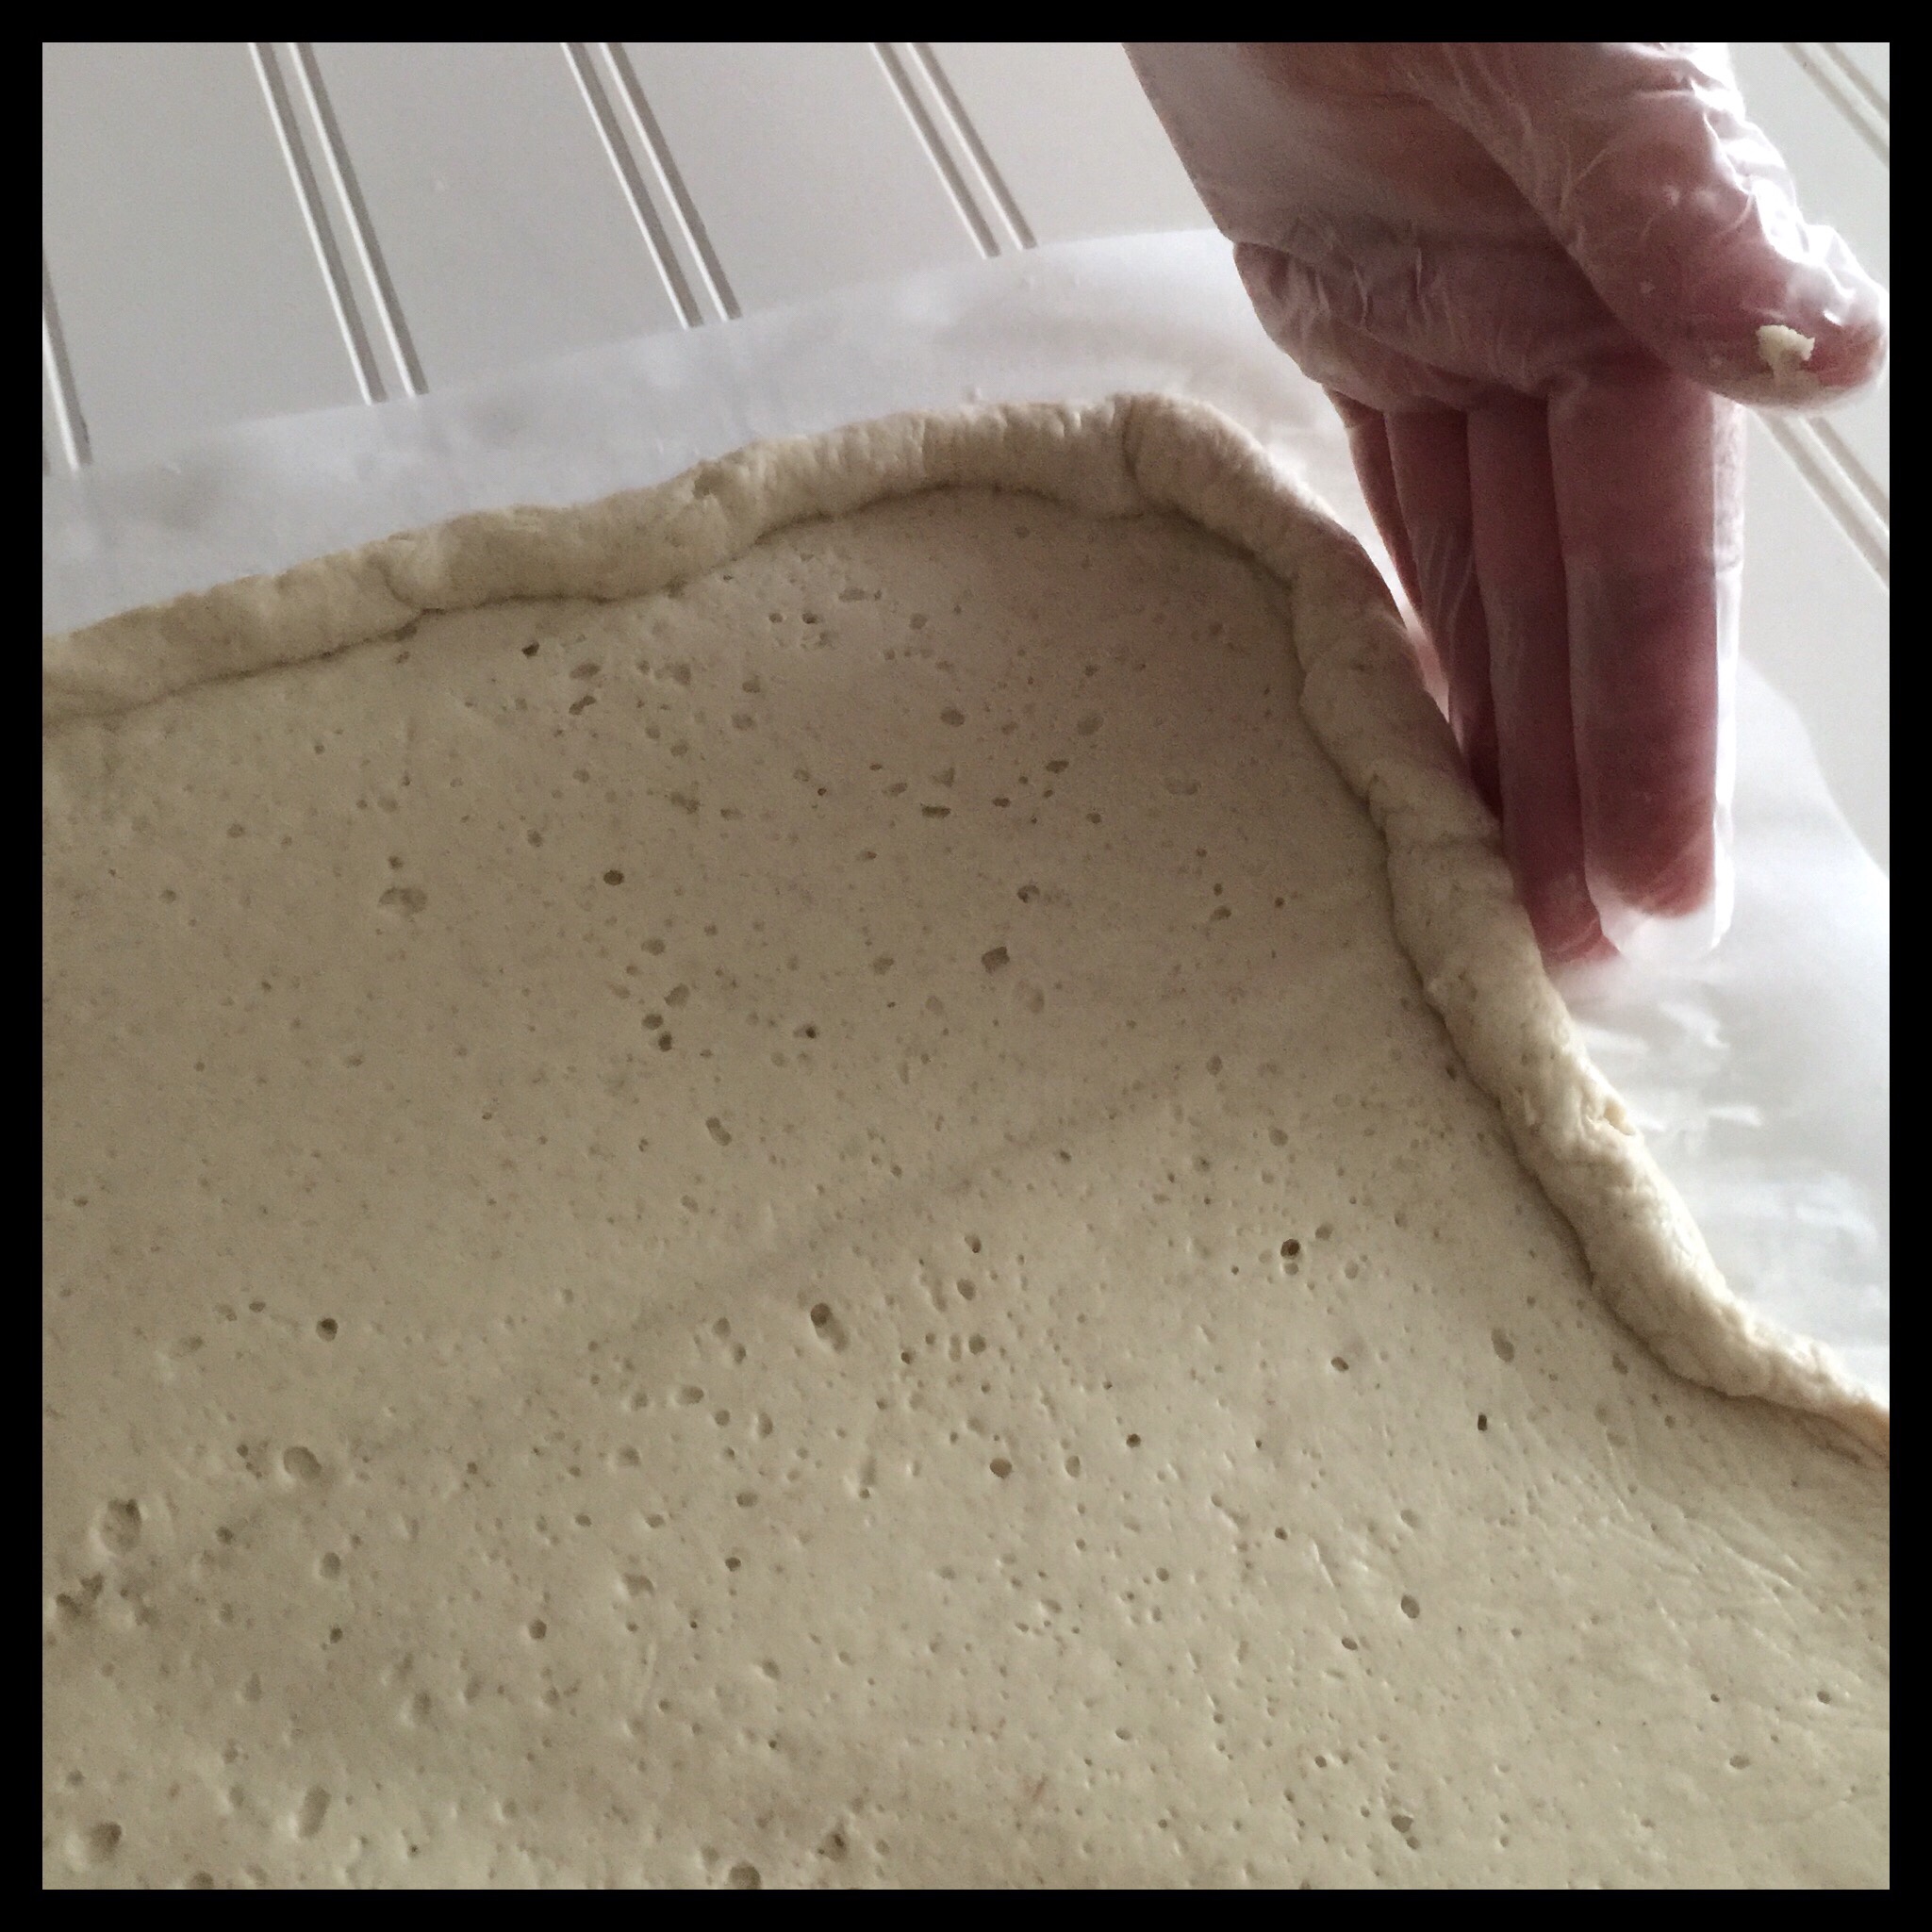
Roll the edges up to form a rounded edge all around the dough:
Slide the parchment onto a cookie sheet, then place into a clean plastic bag to rise:
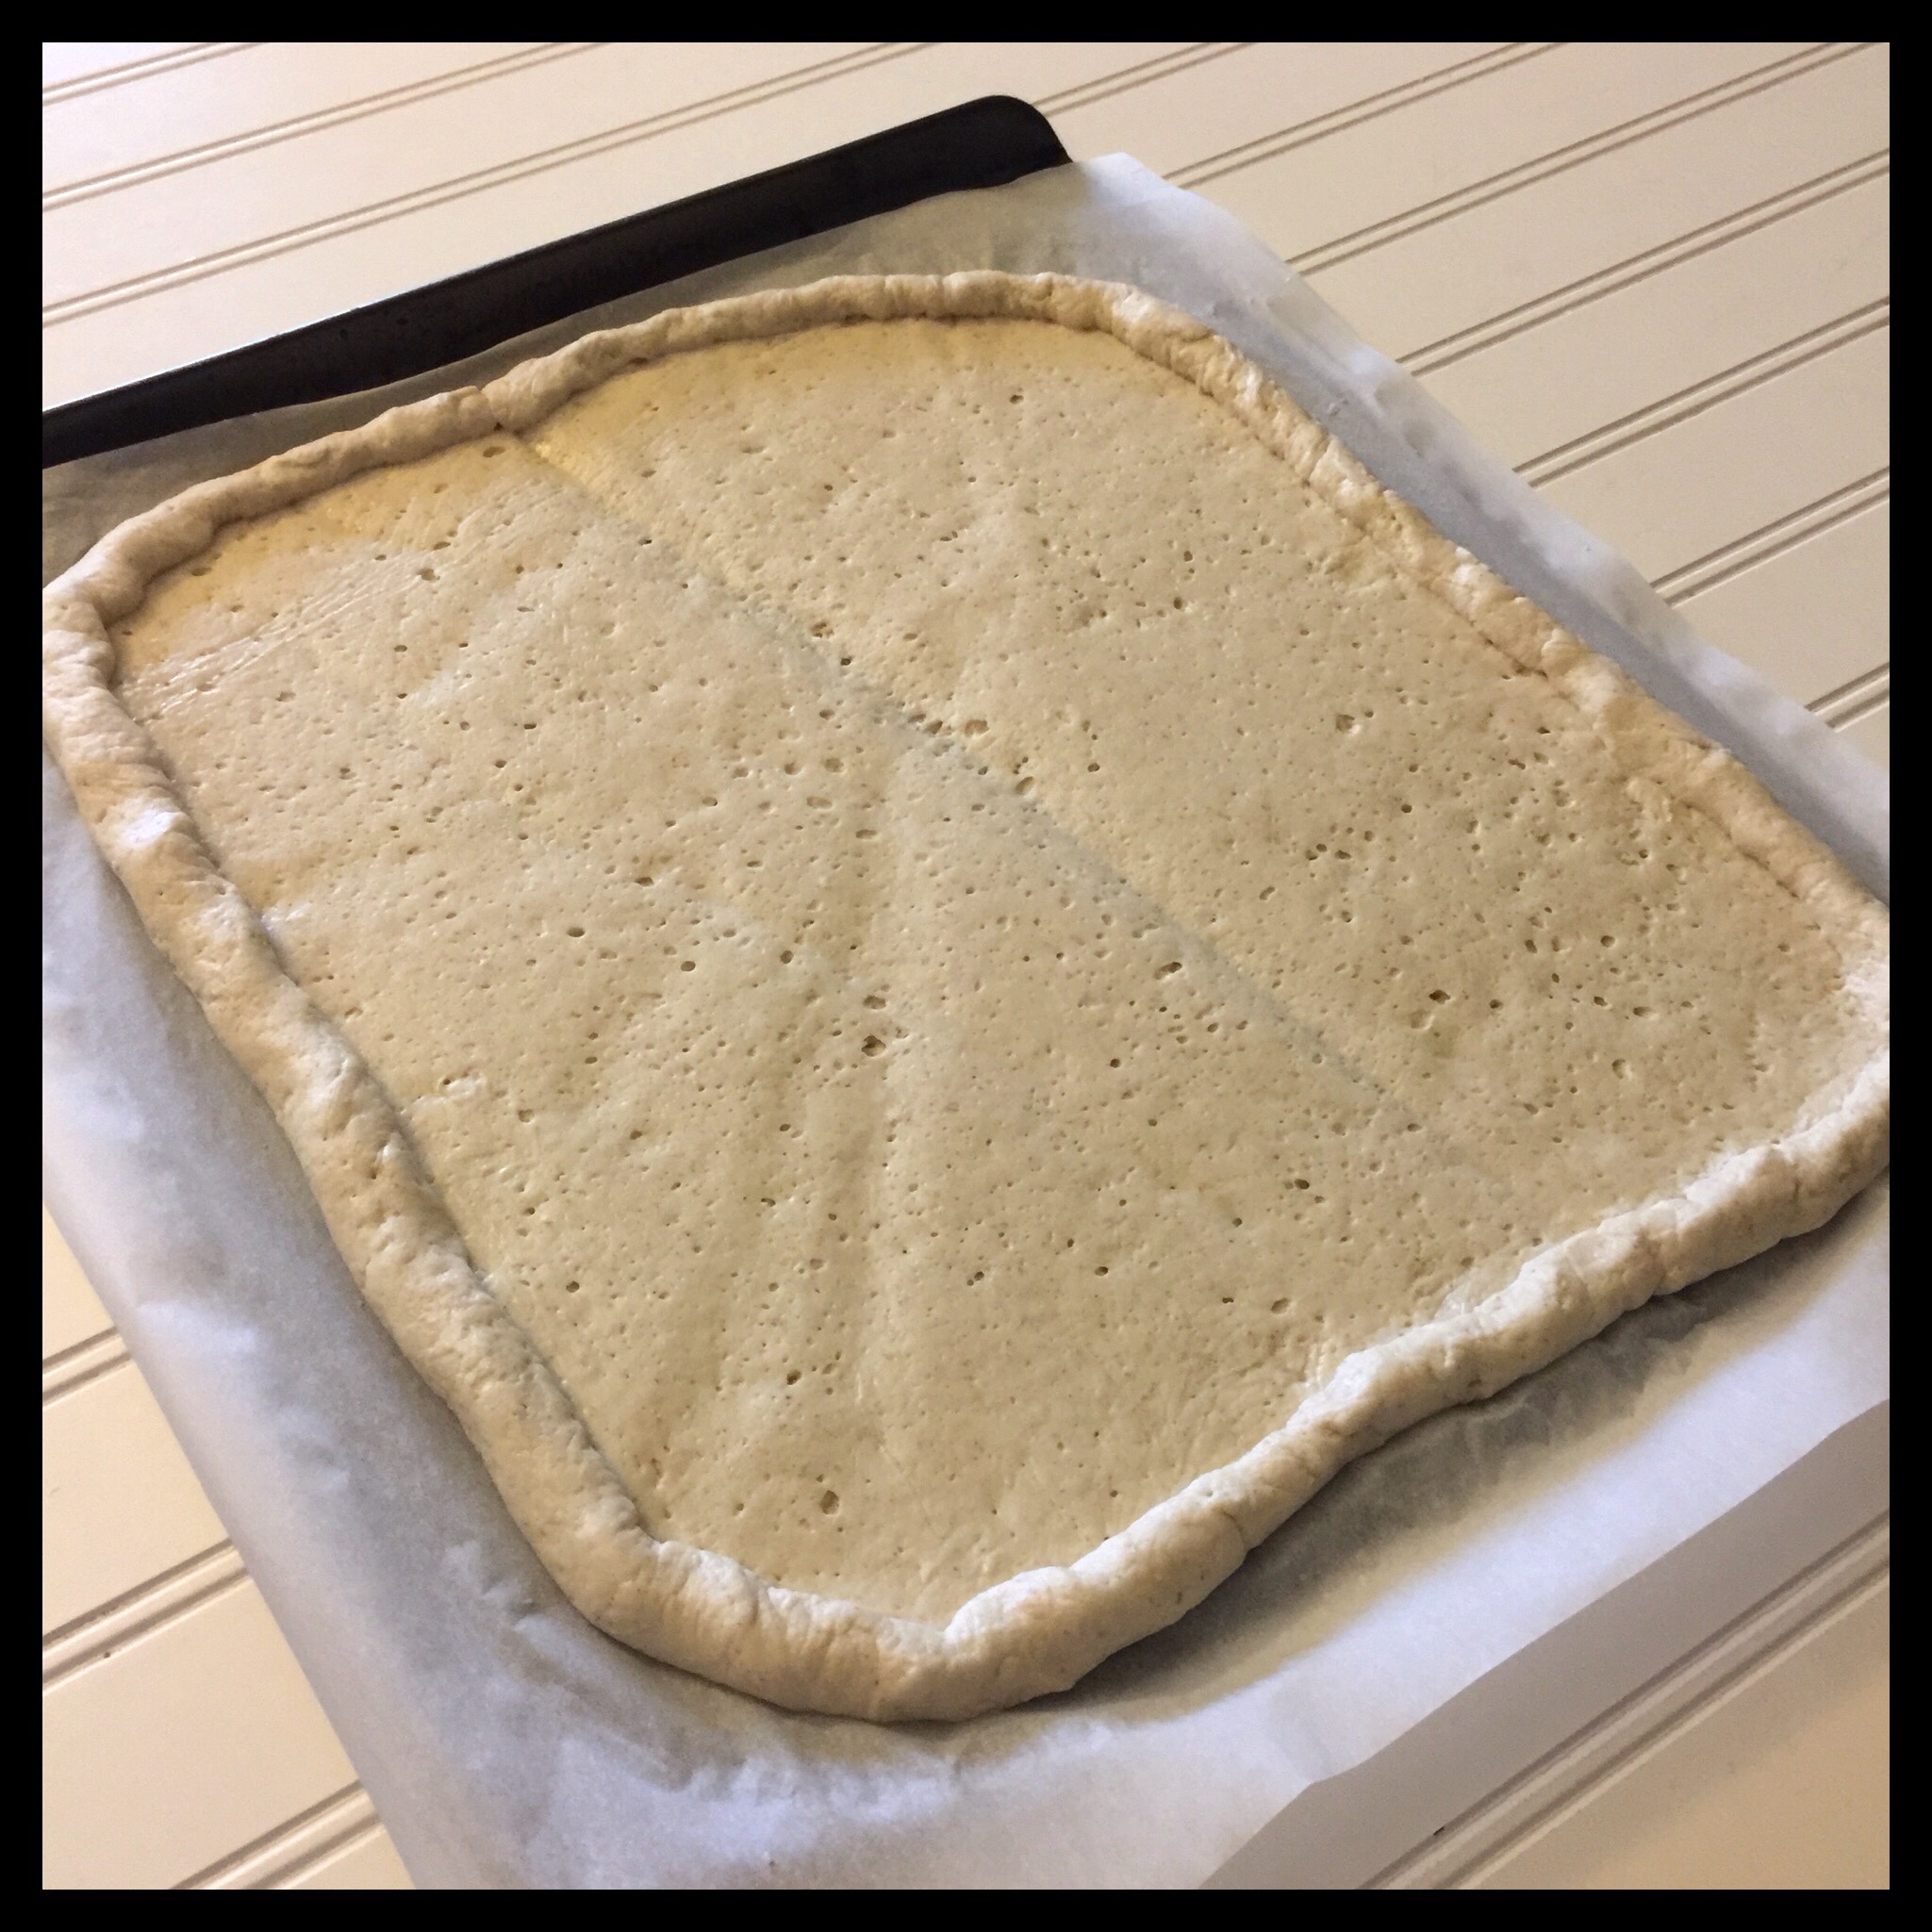
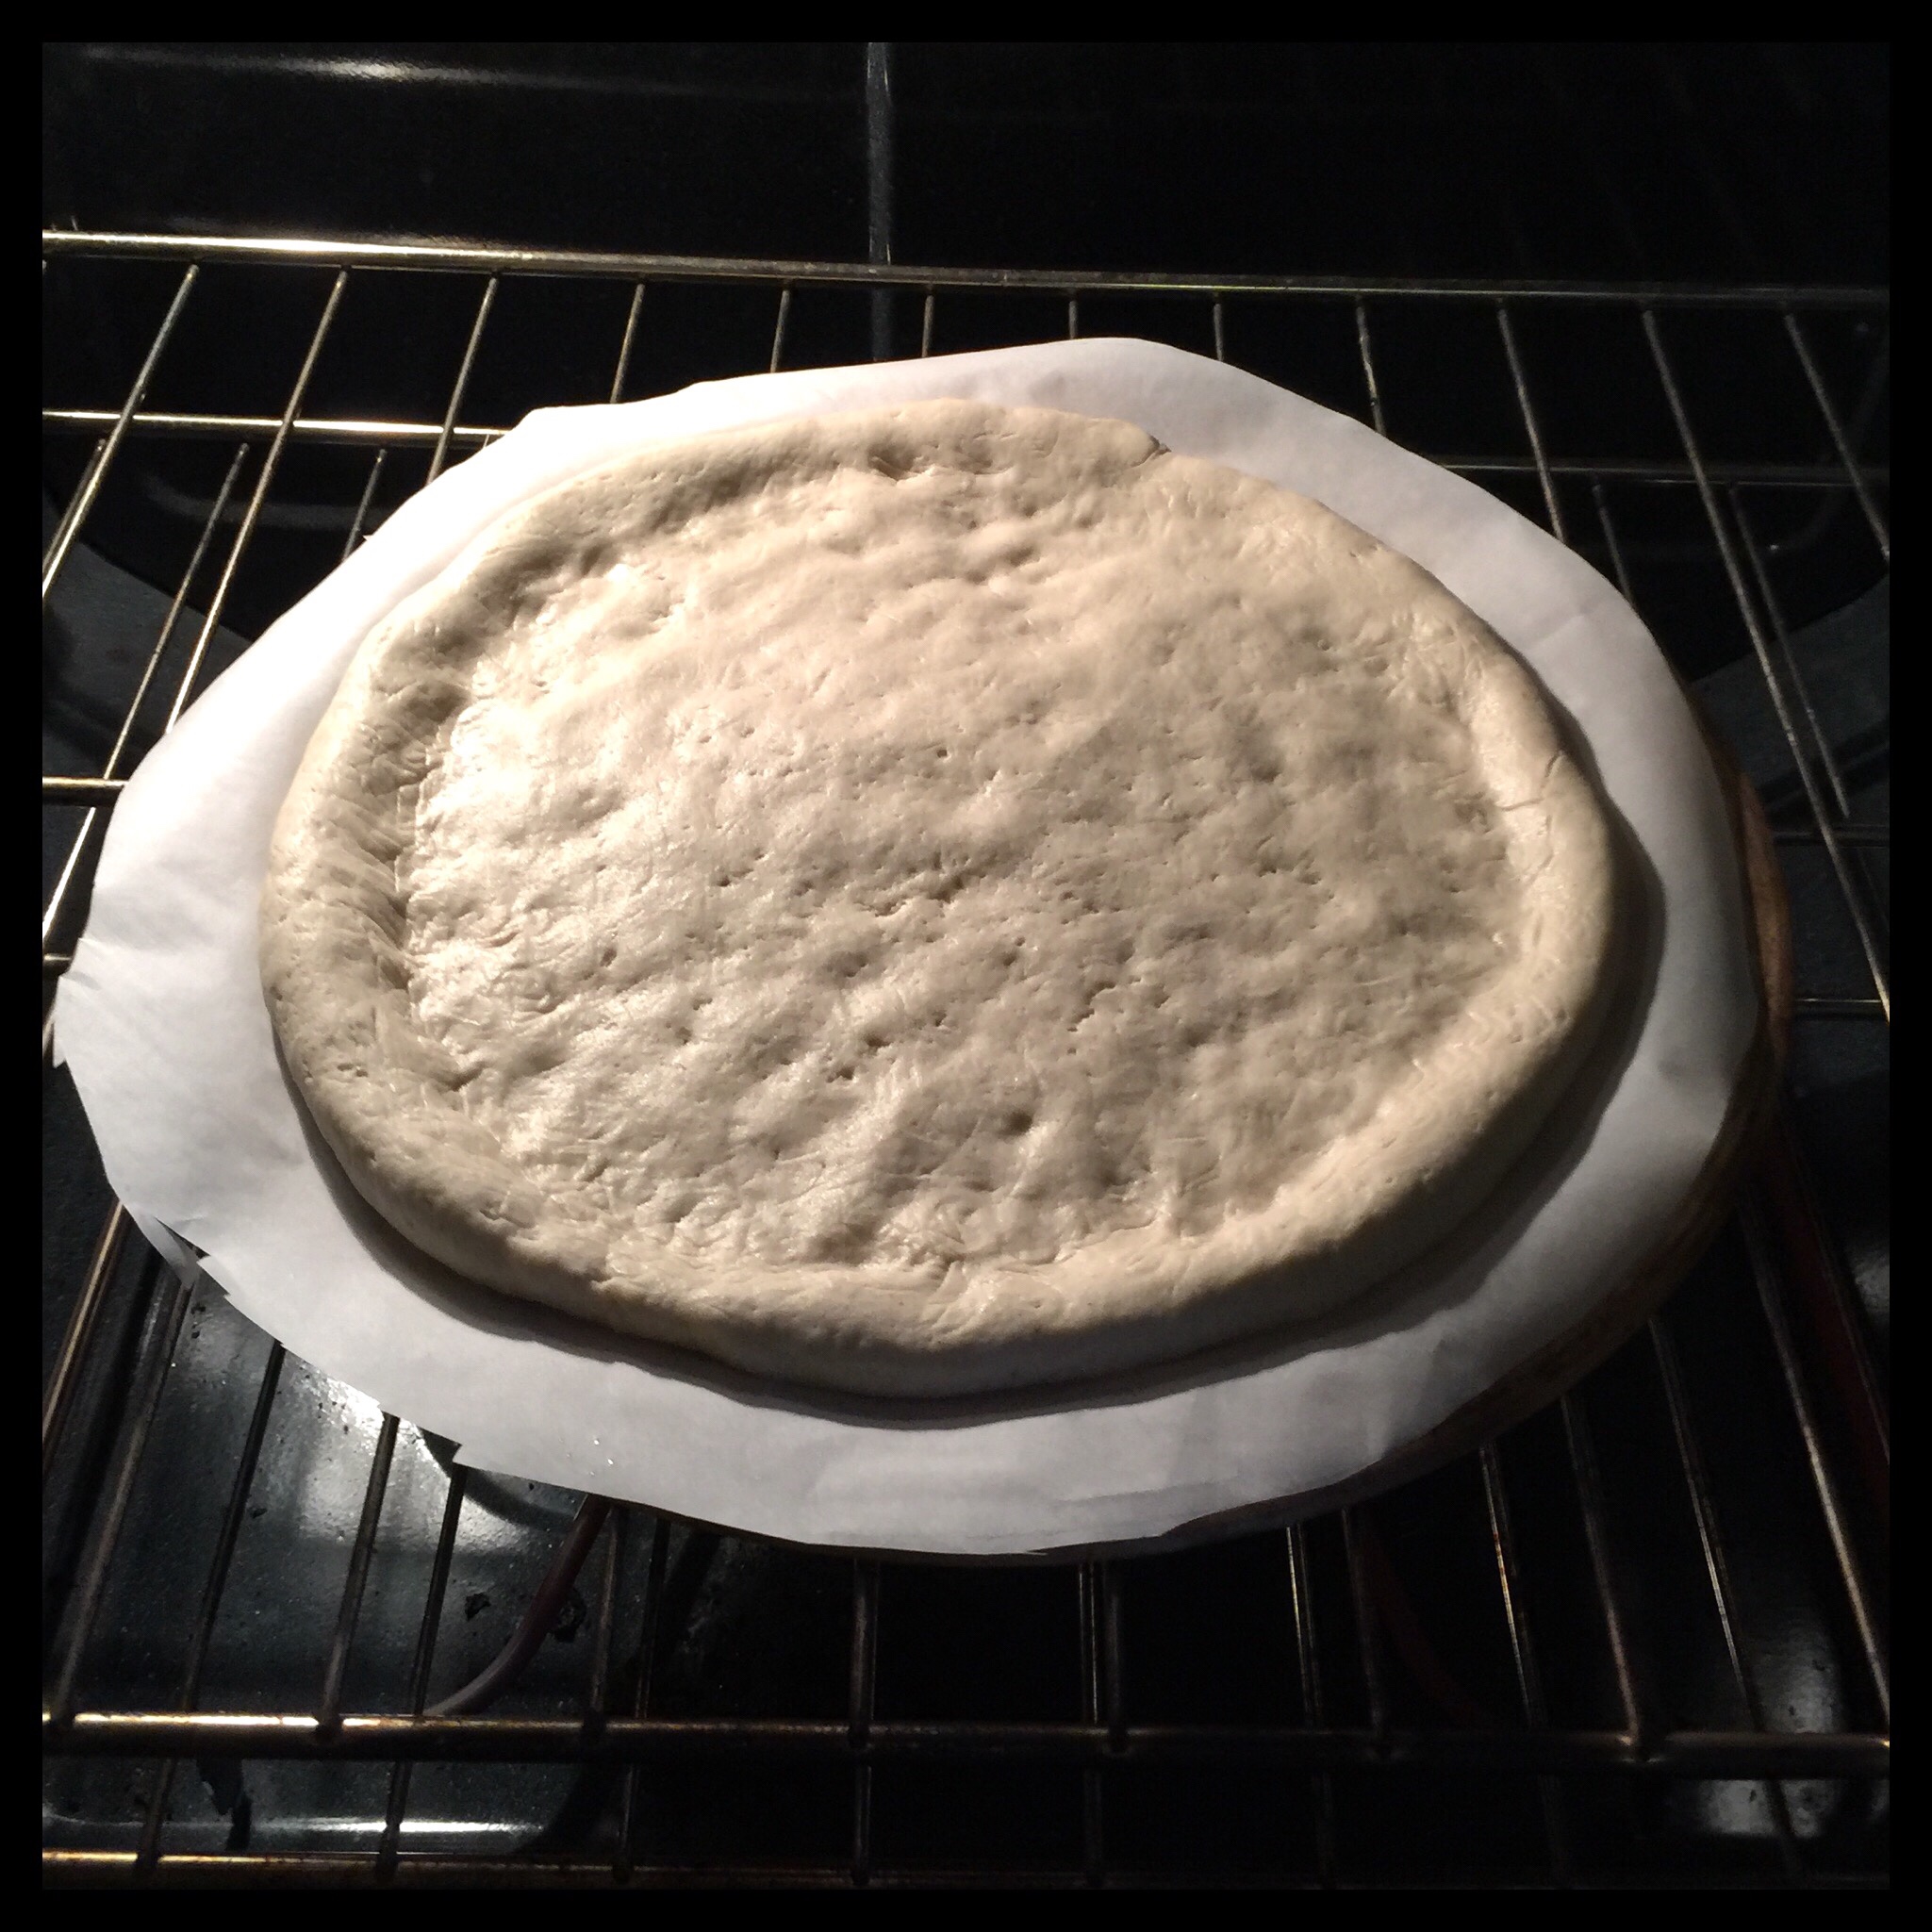
Let your dough rise until puffy, but not cracked. This will take about 15 to 30 minutes, depending on the temperature and humidity in your house.
Use the cookie sheet to slide the risen dough (still on the parchment paper) onto the hot pizza stone:
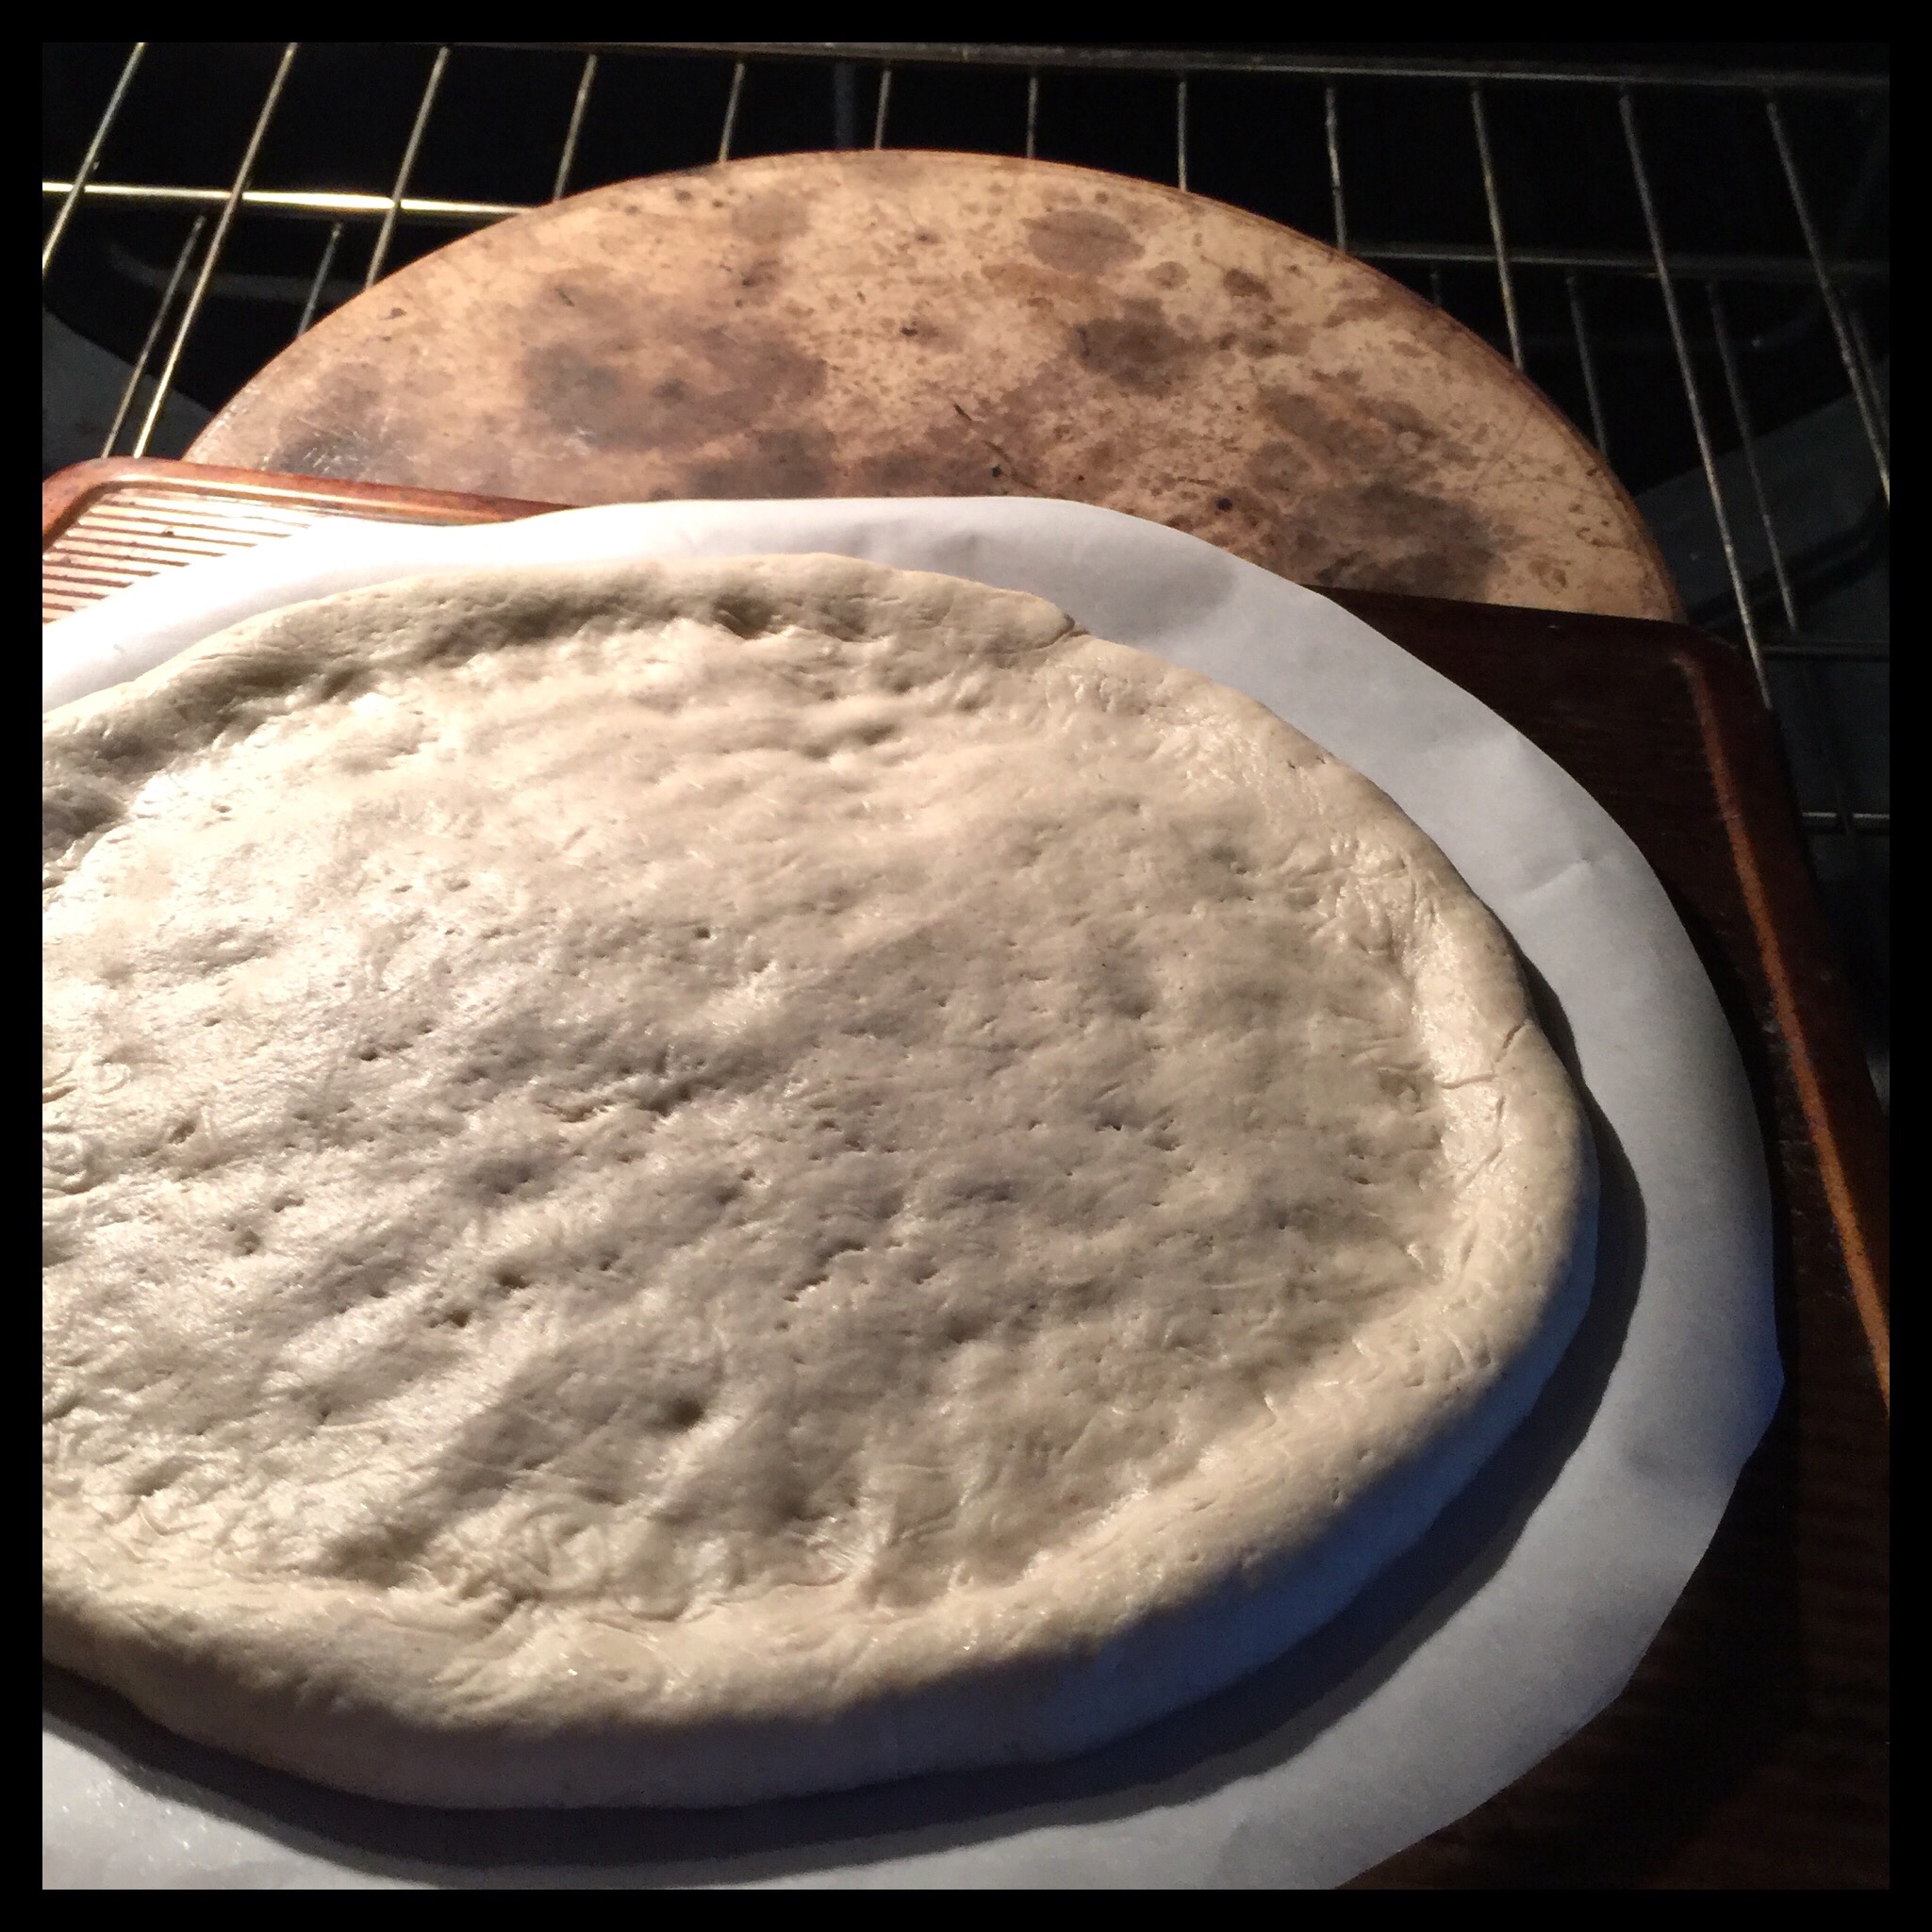
Parbake one crust at a time if you have more than one. Bake for 10 minutes (round) to 12 minutes (rectangle), then use the cookie sheet to remove the crust from the oven:
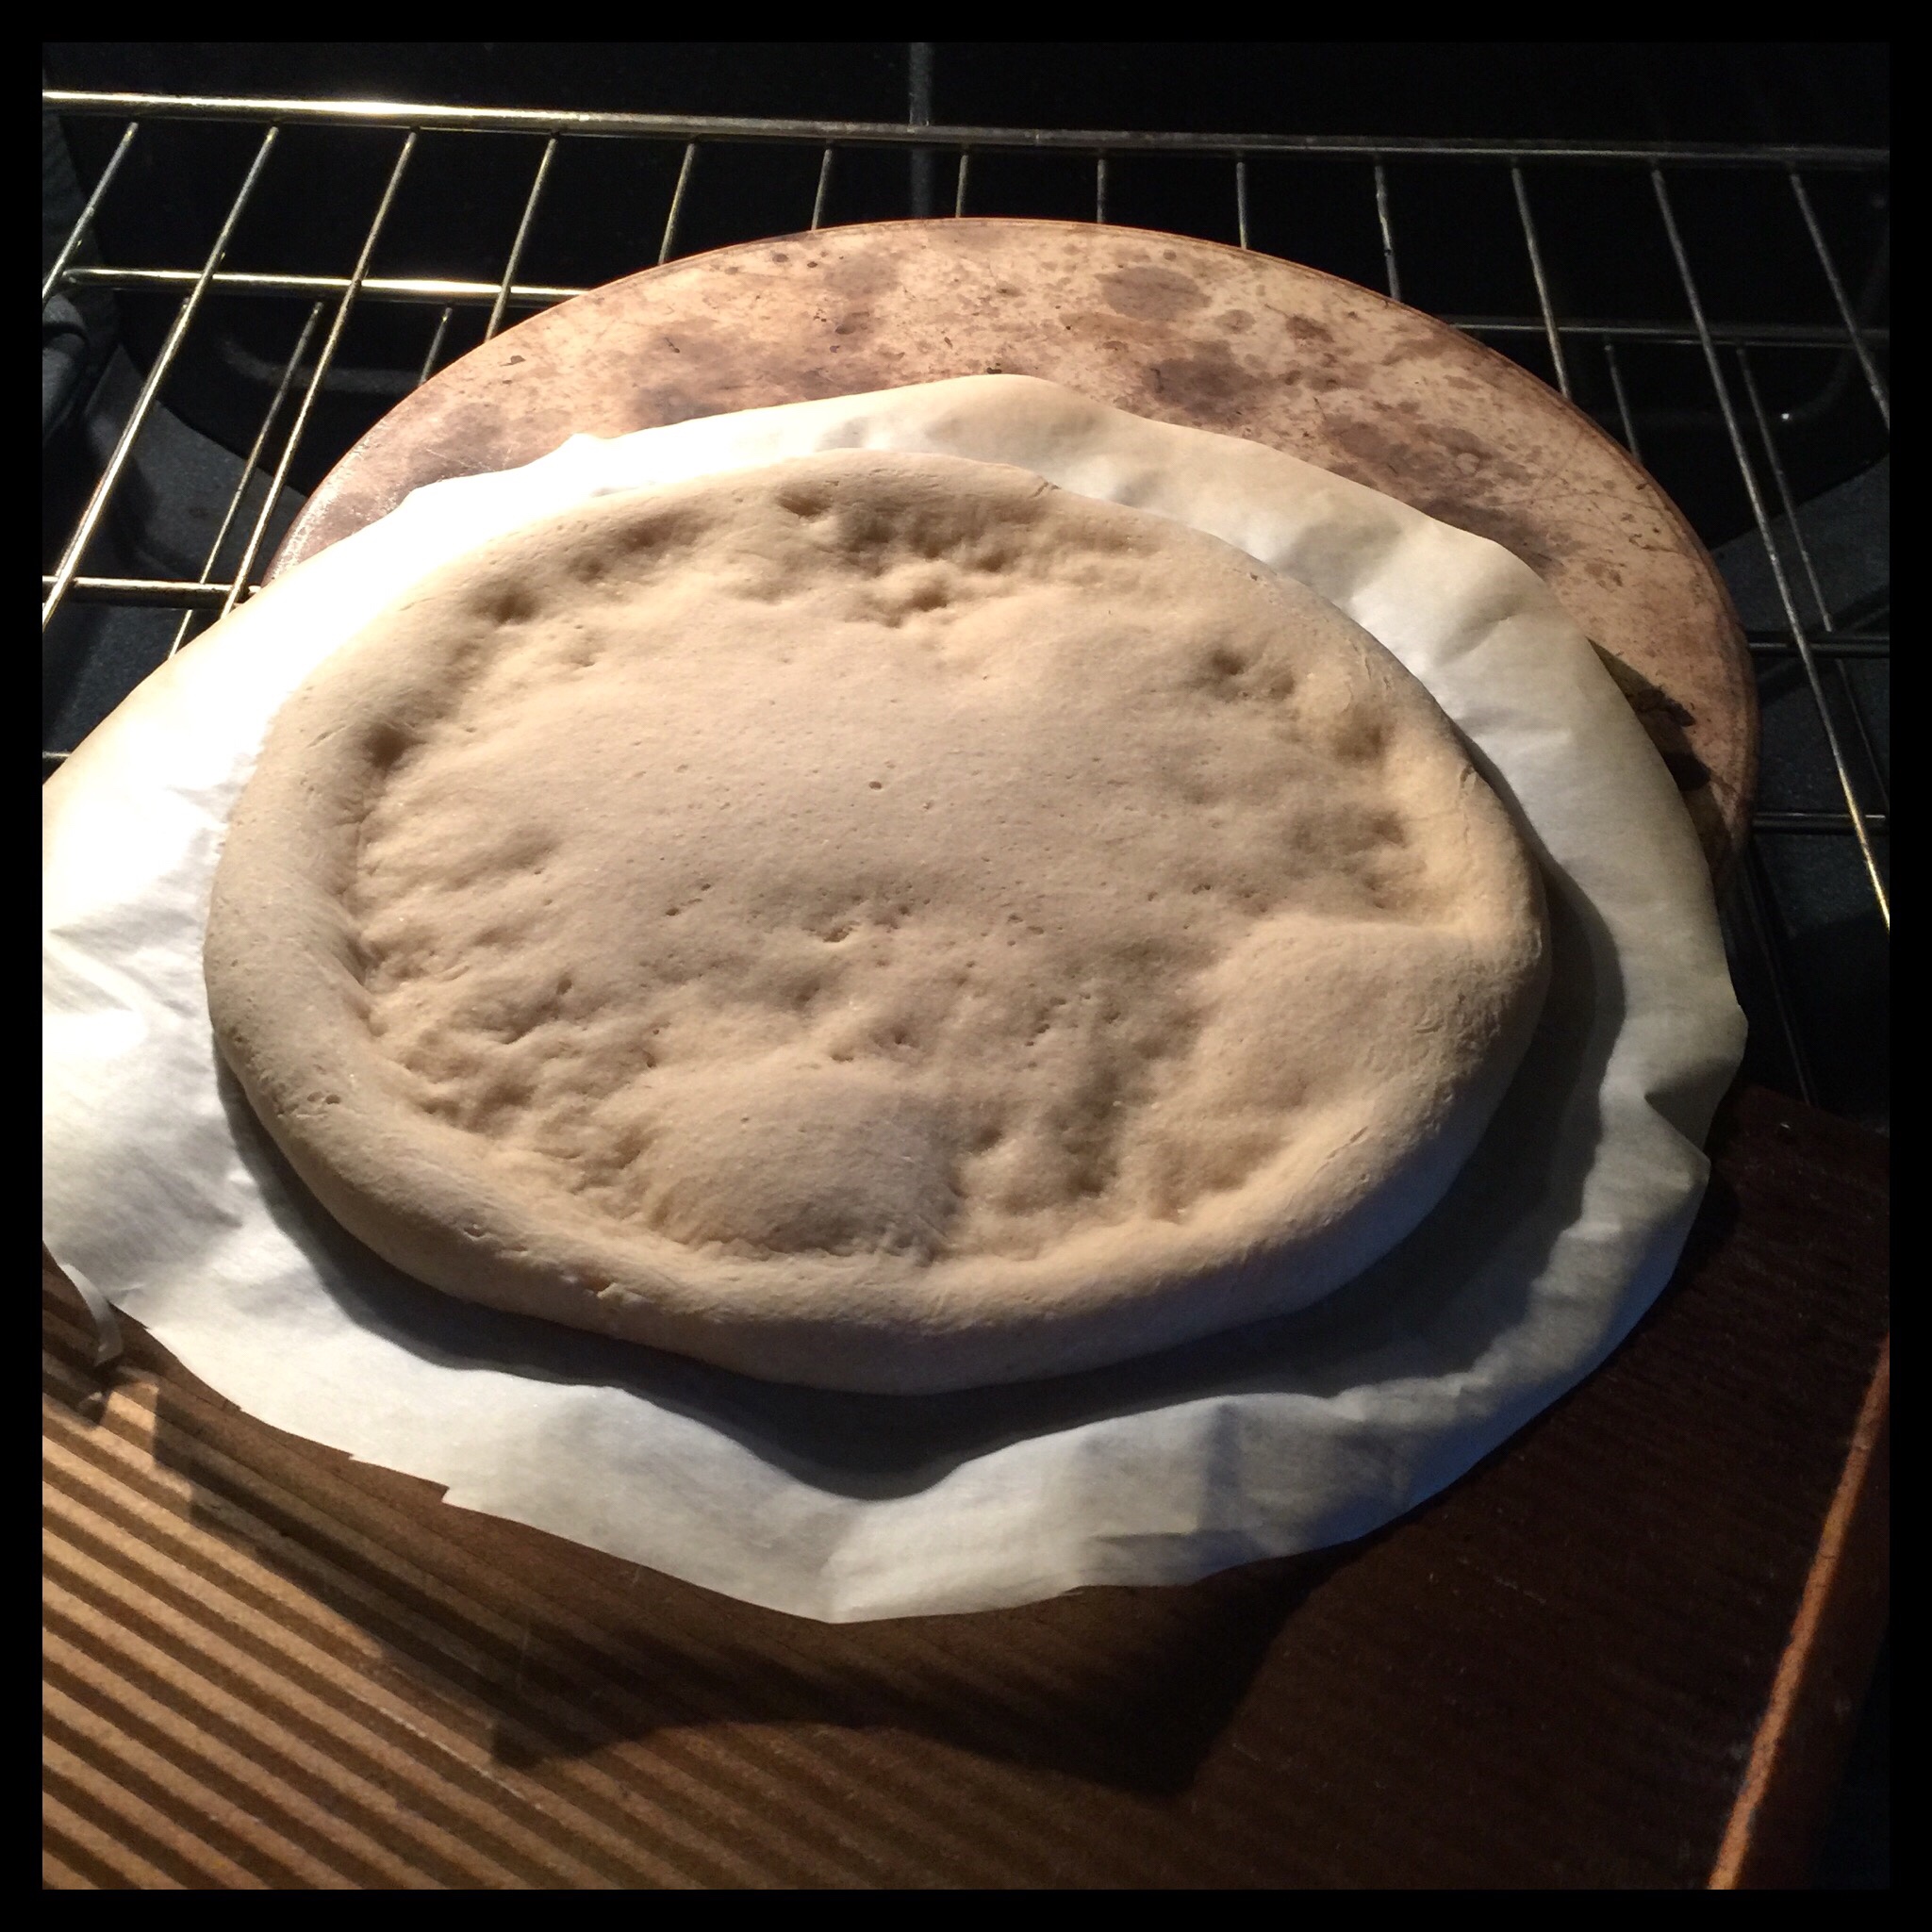
Slide the crust onto a cooling rack, and immediately remove the parchment paper. Leave your oven on if you will be baking your pizza now.
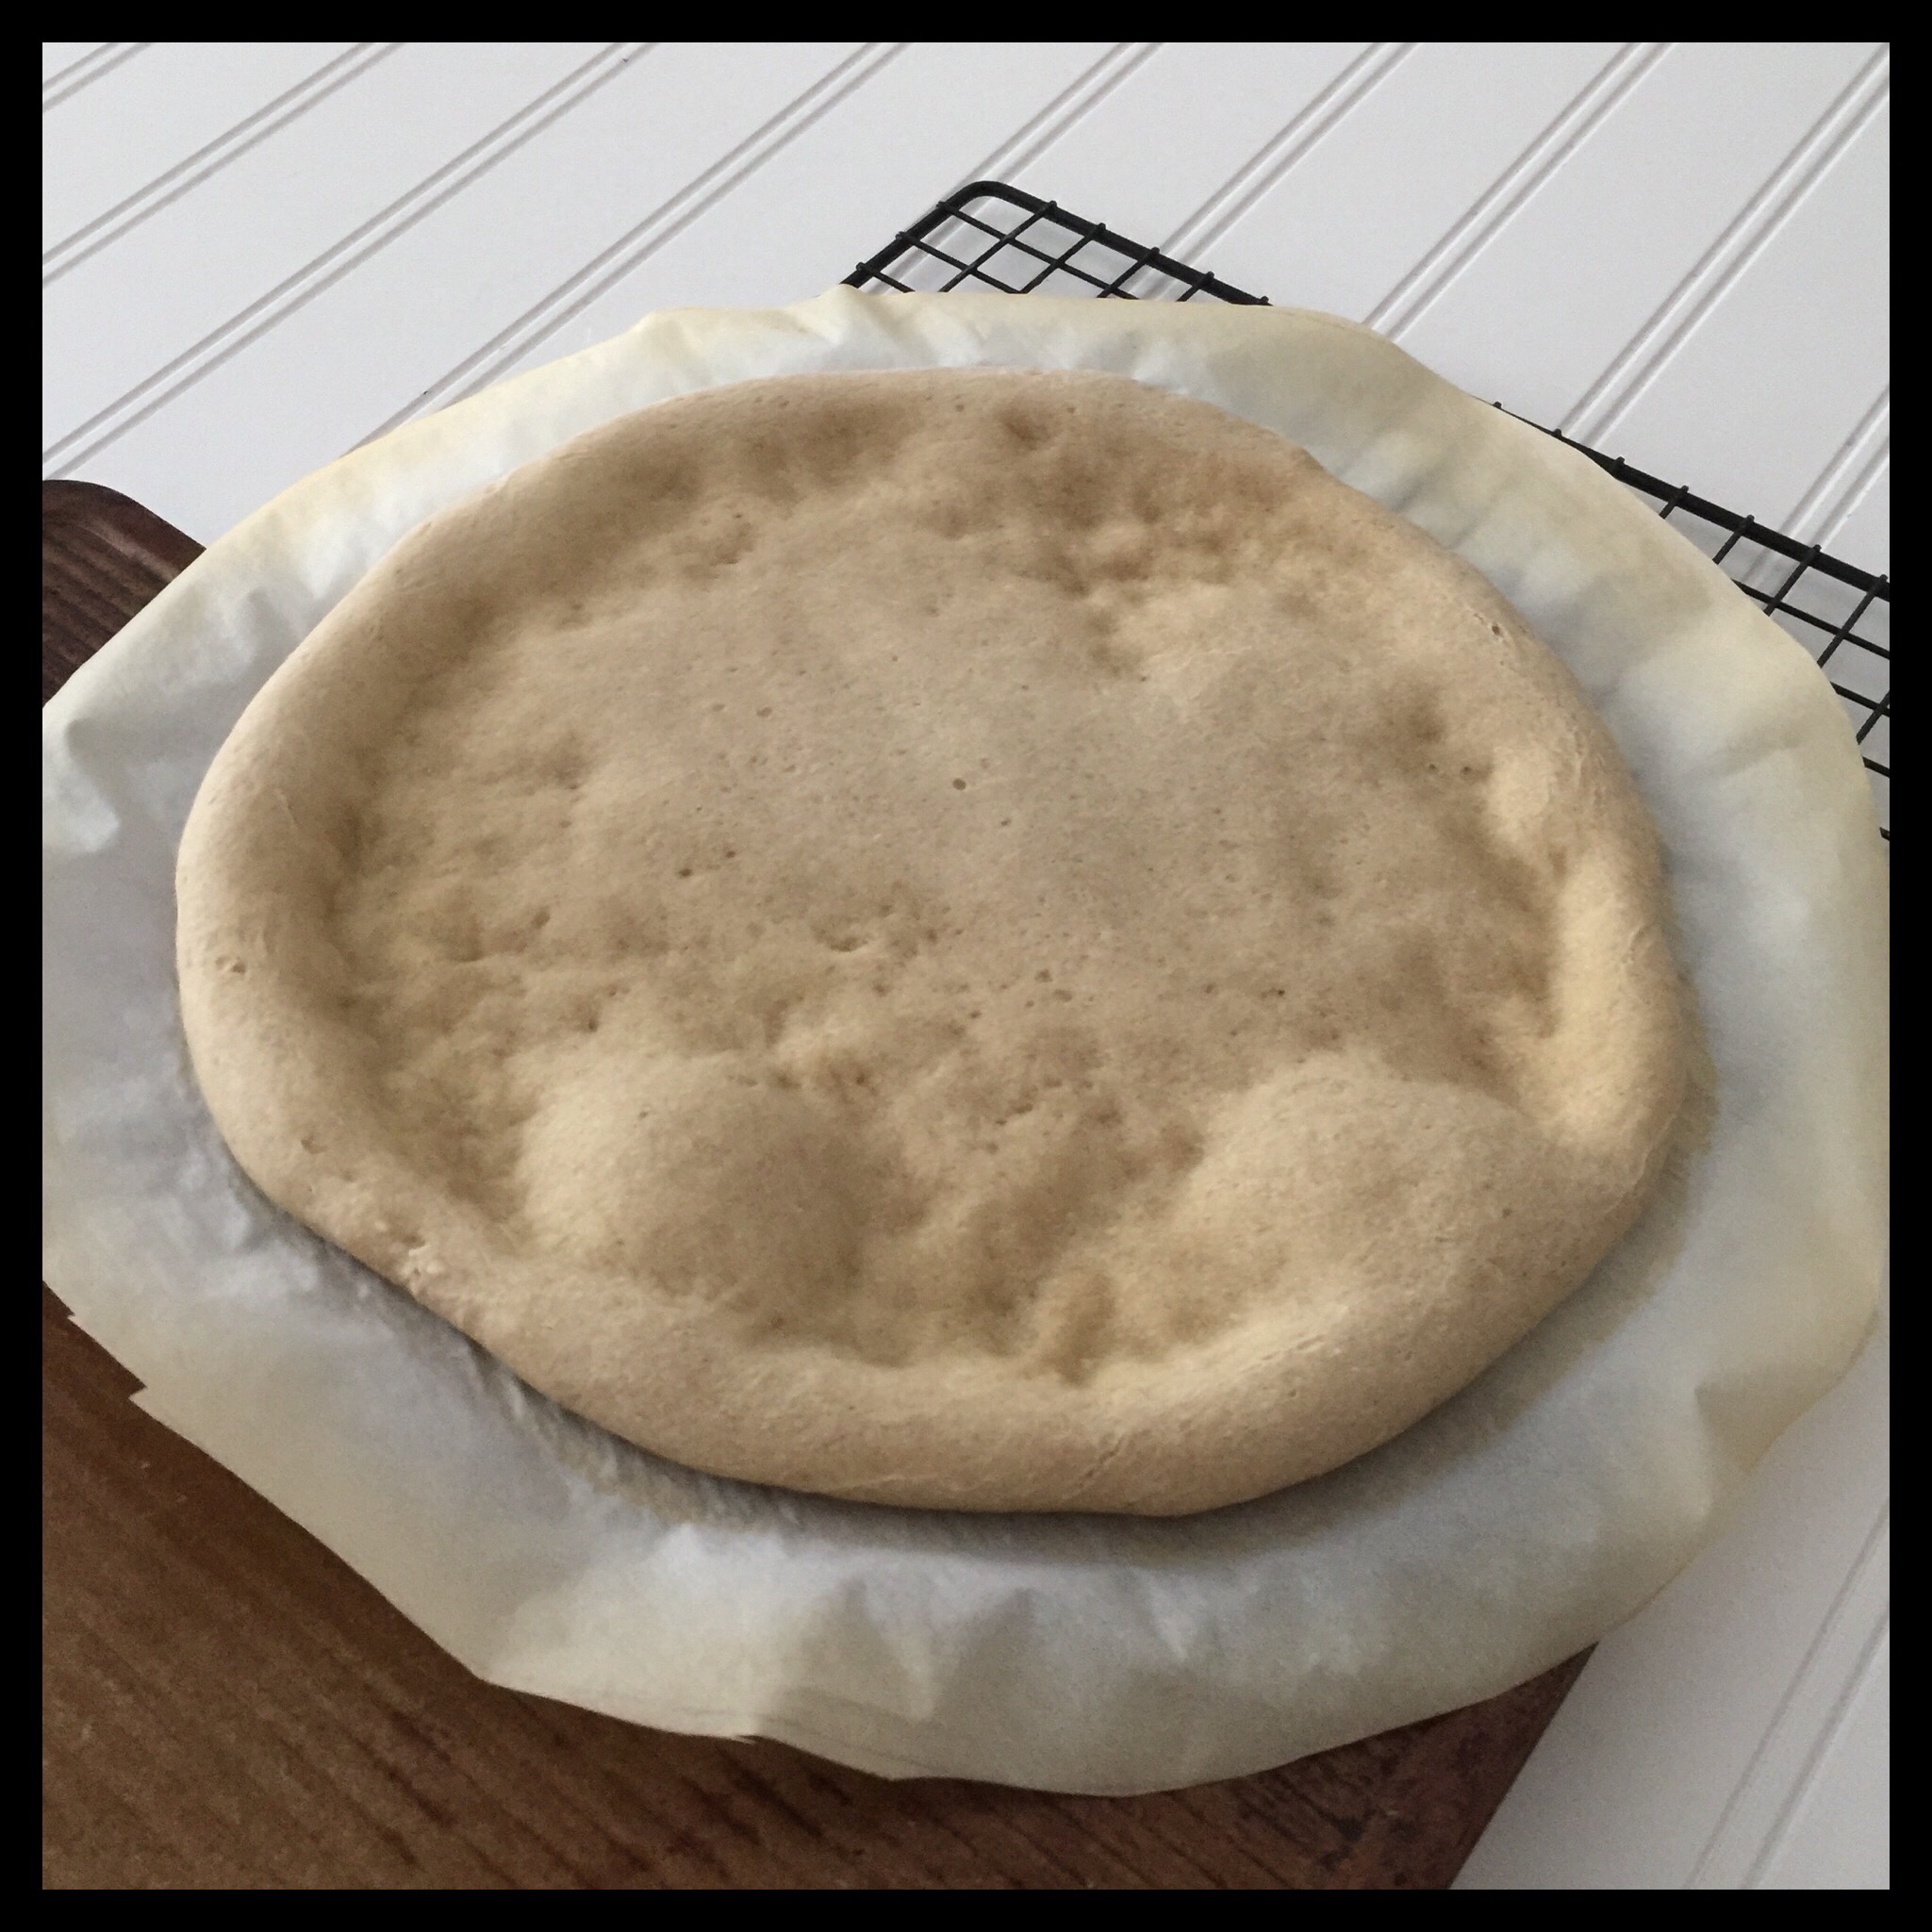
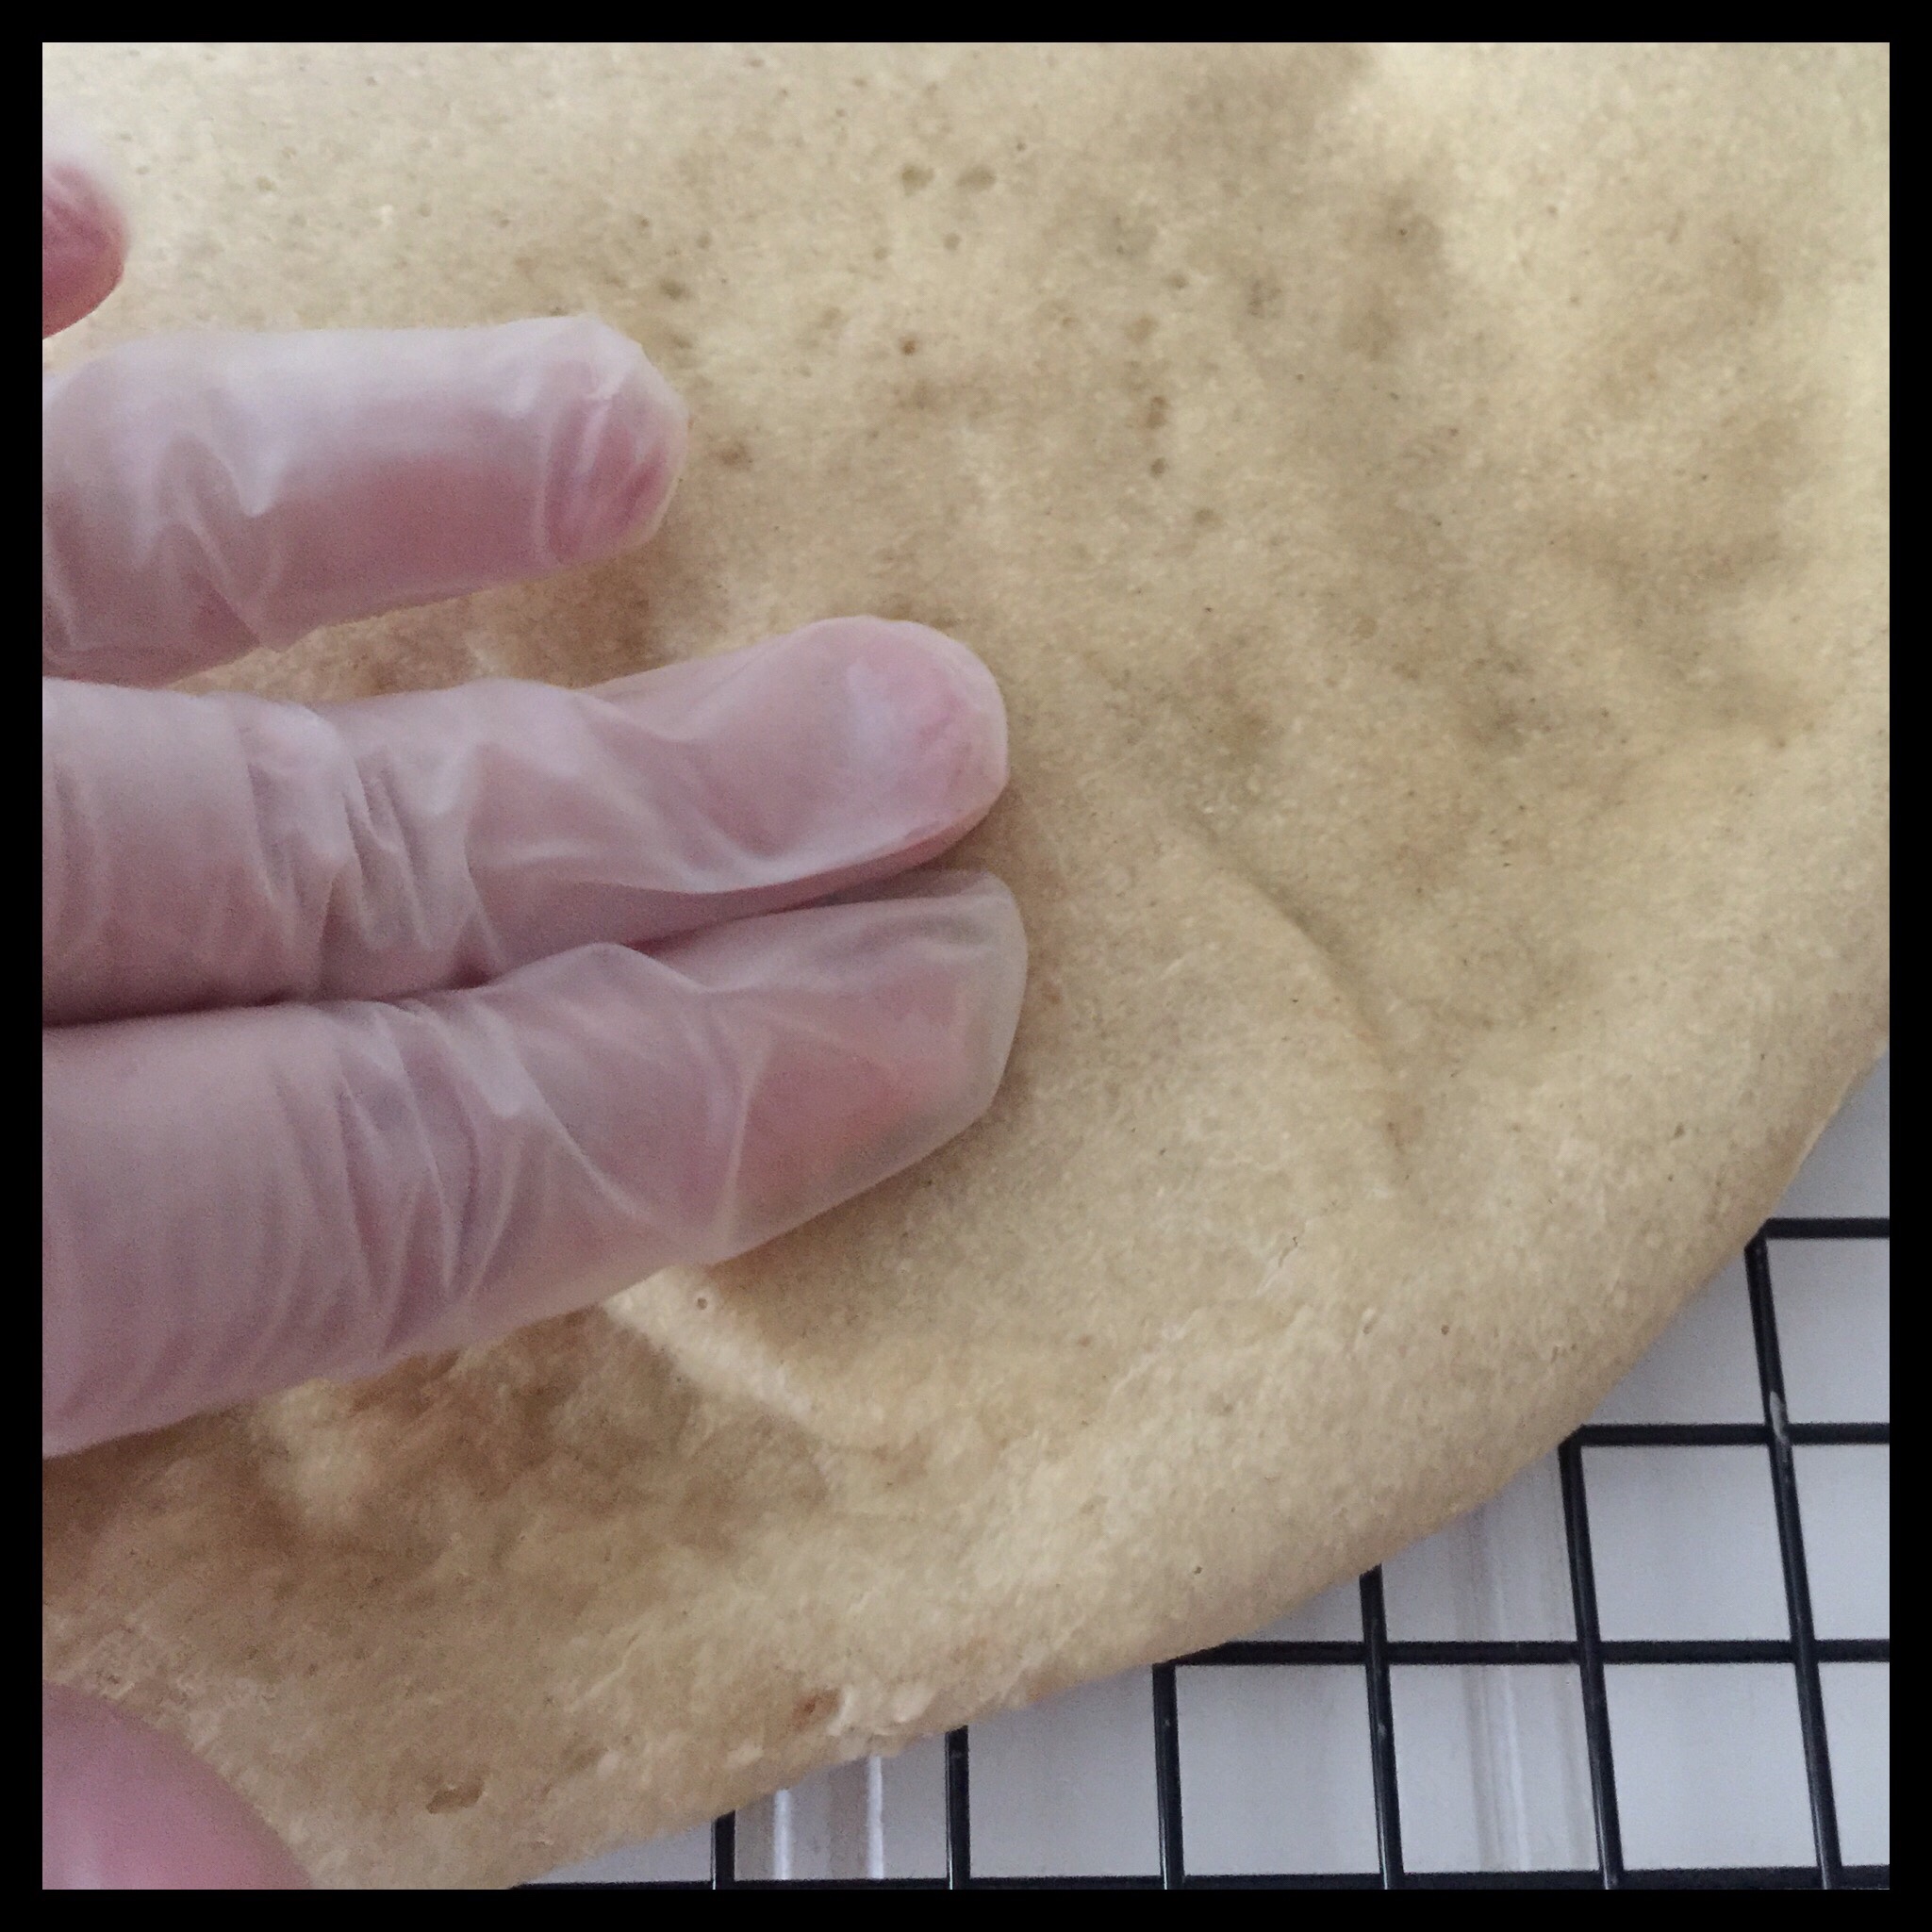
Press any large bubbles to flatten them:
You can top the crust immediately, or let it cool first. (You can also wrap a cooled crust in plastic wrap and freeze it to use later.)
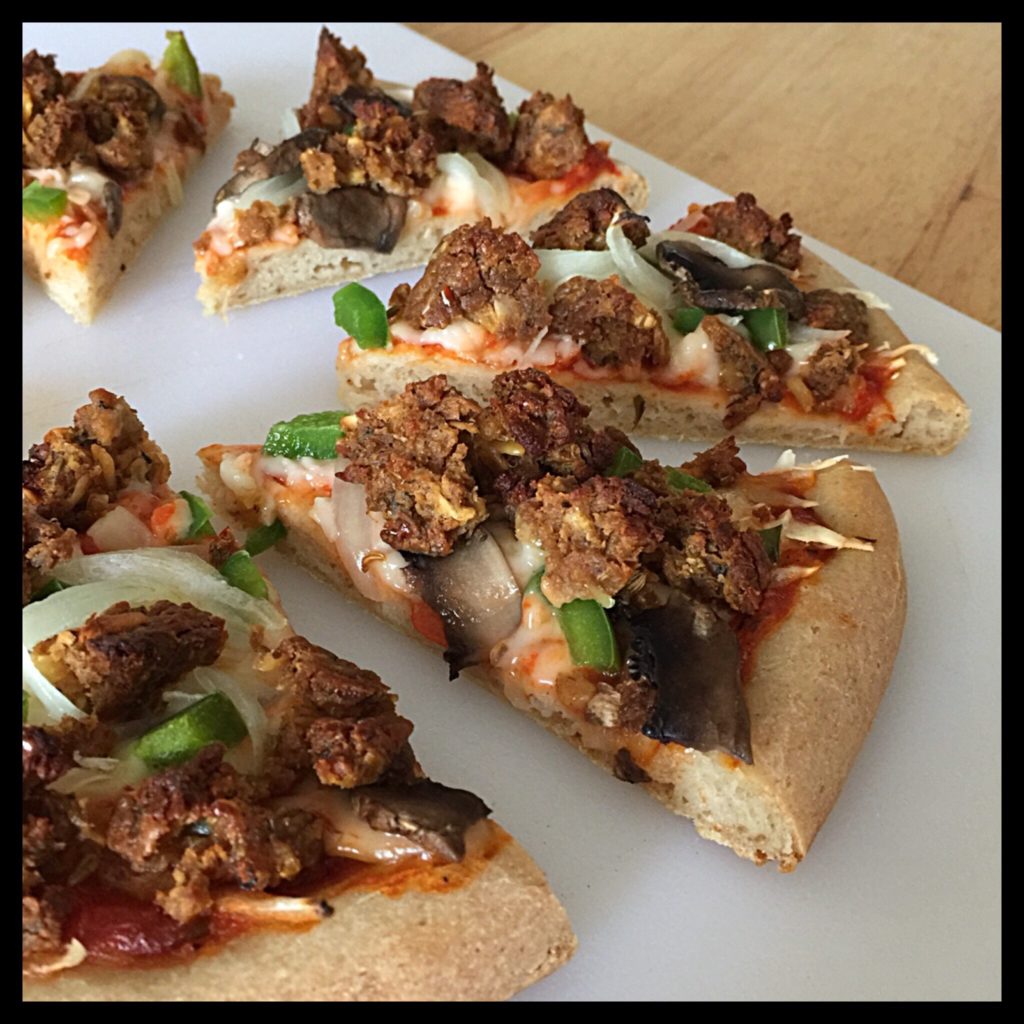
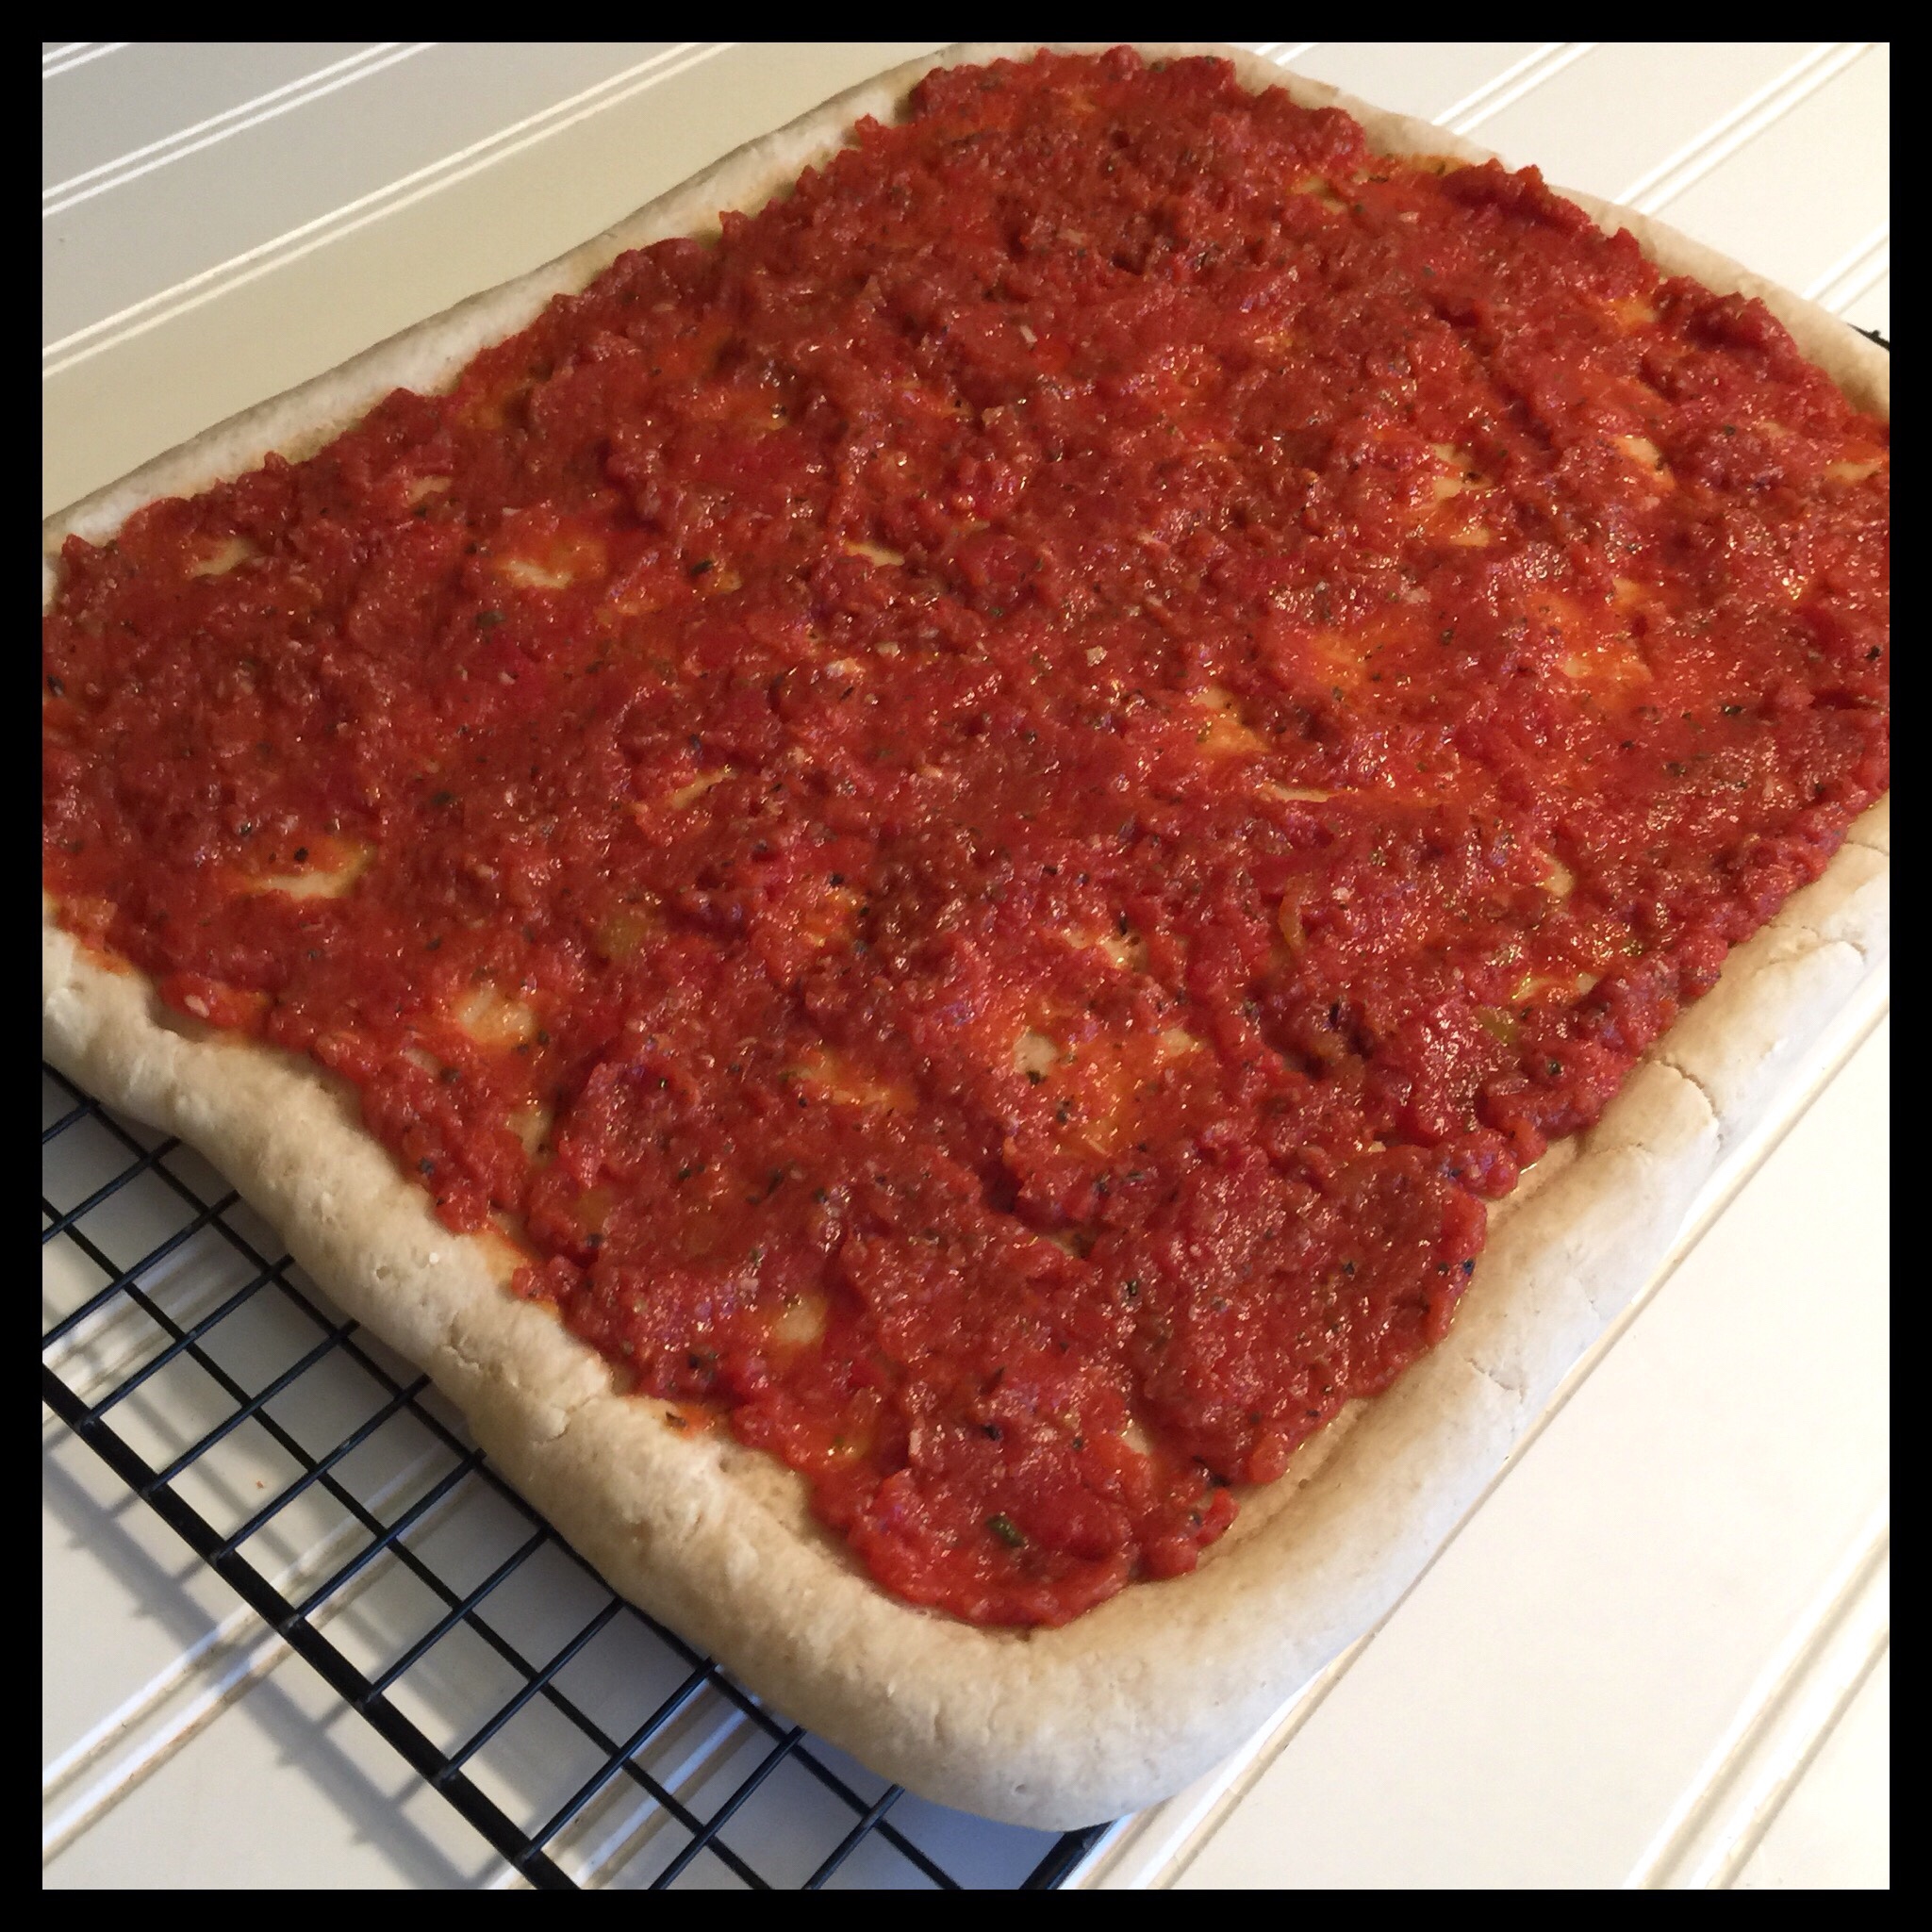
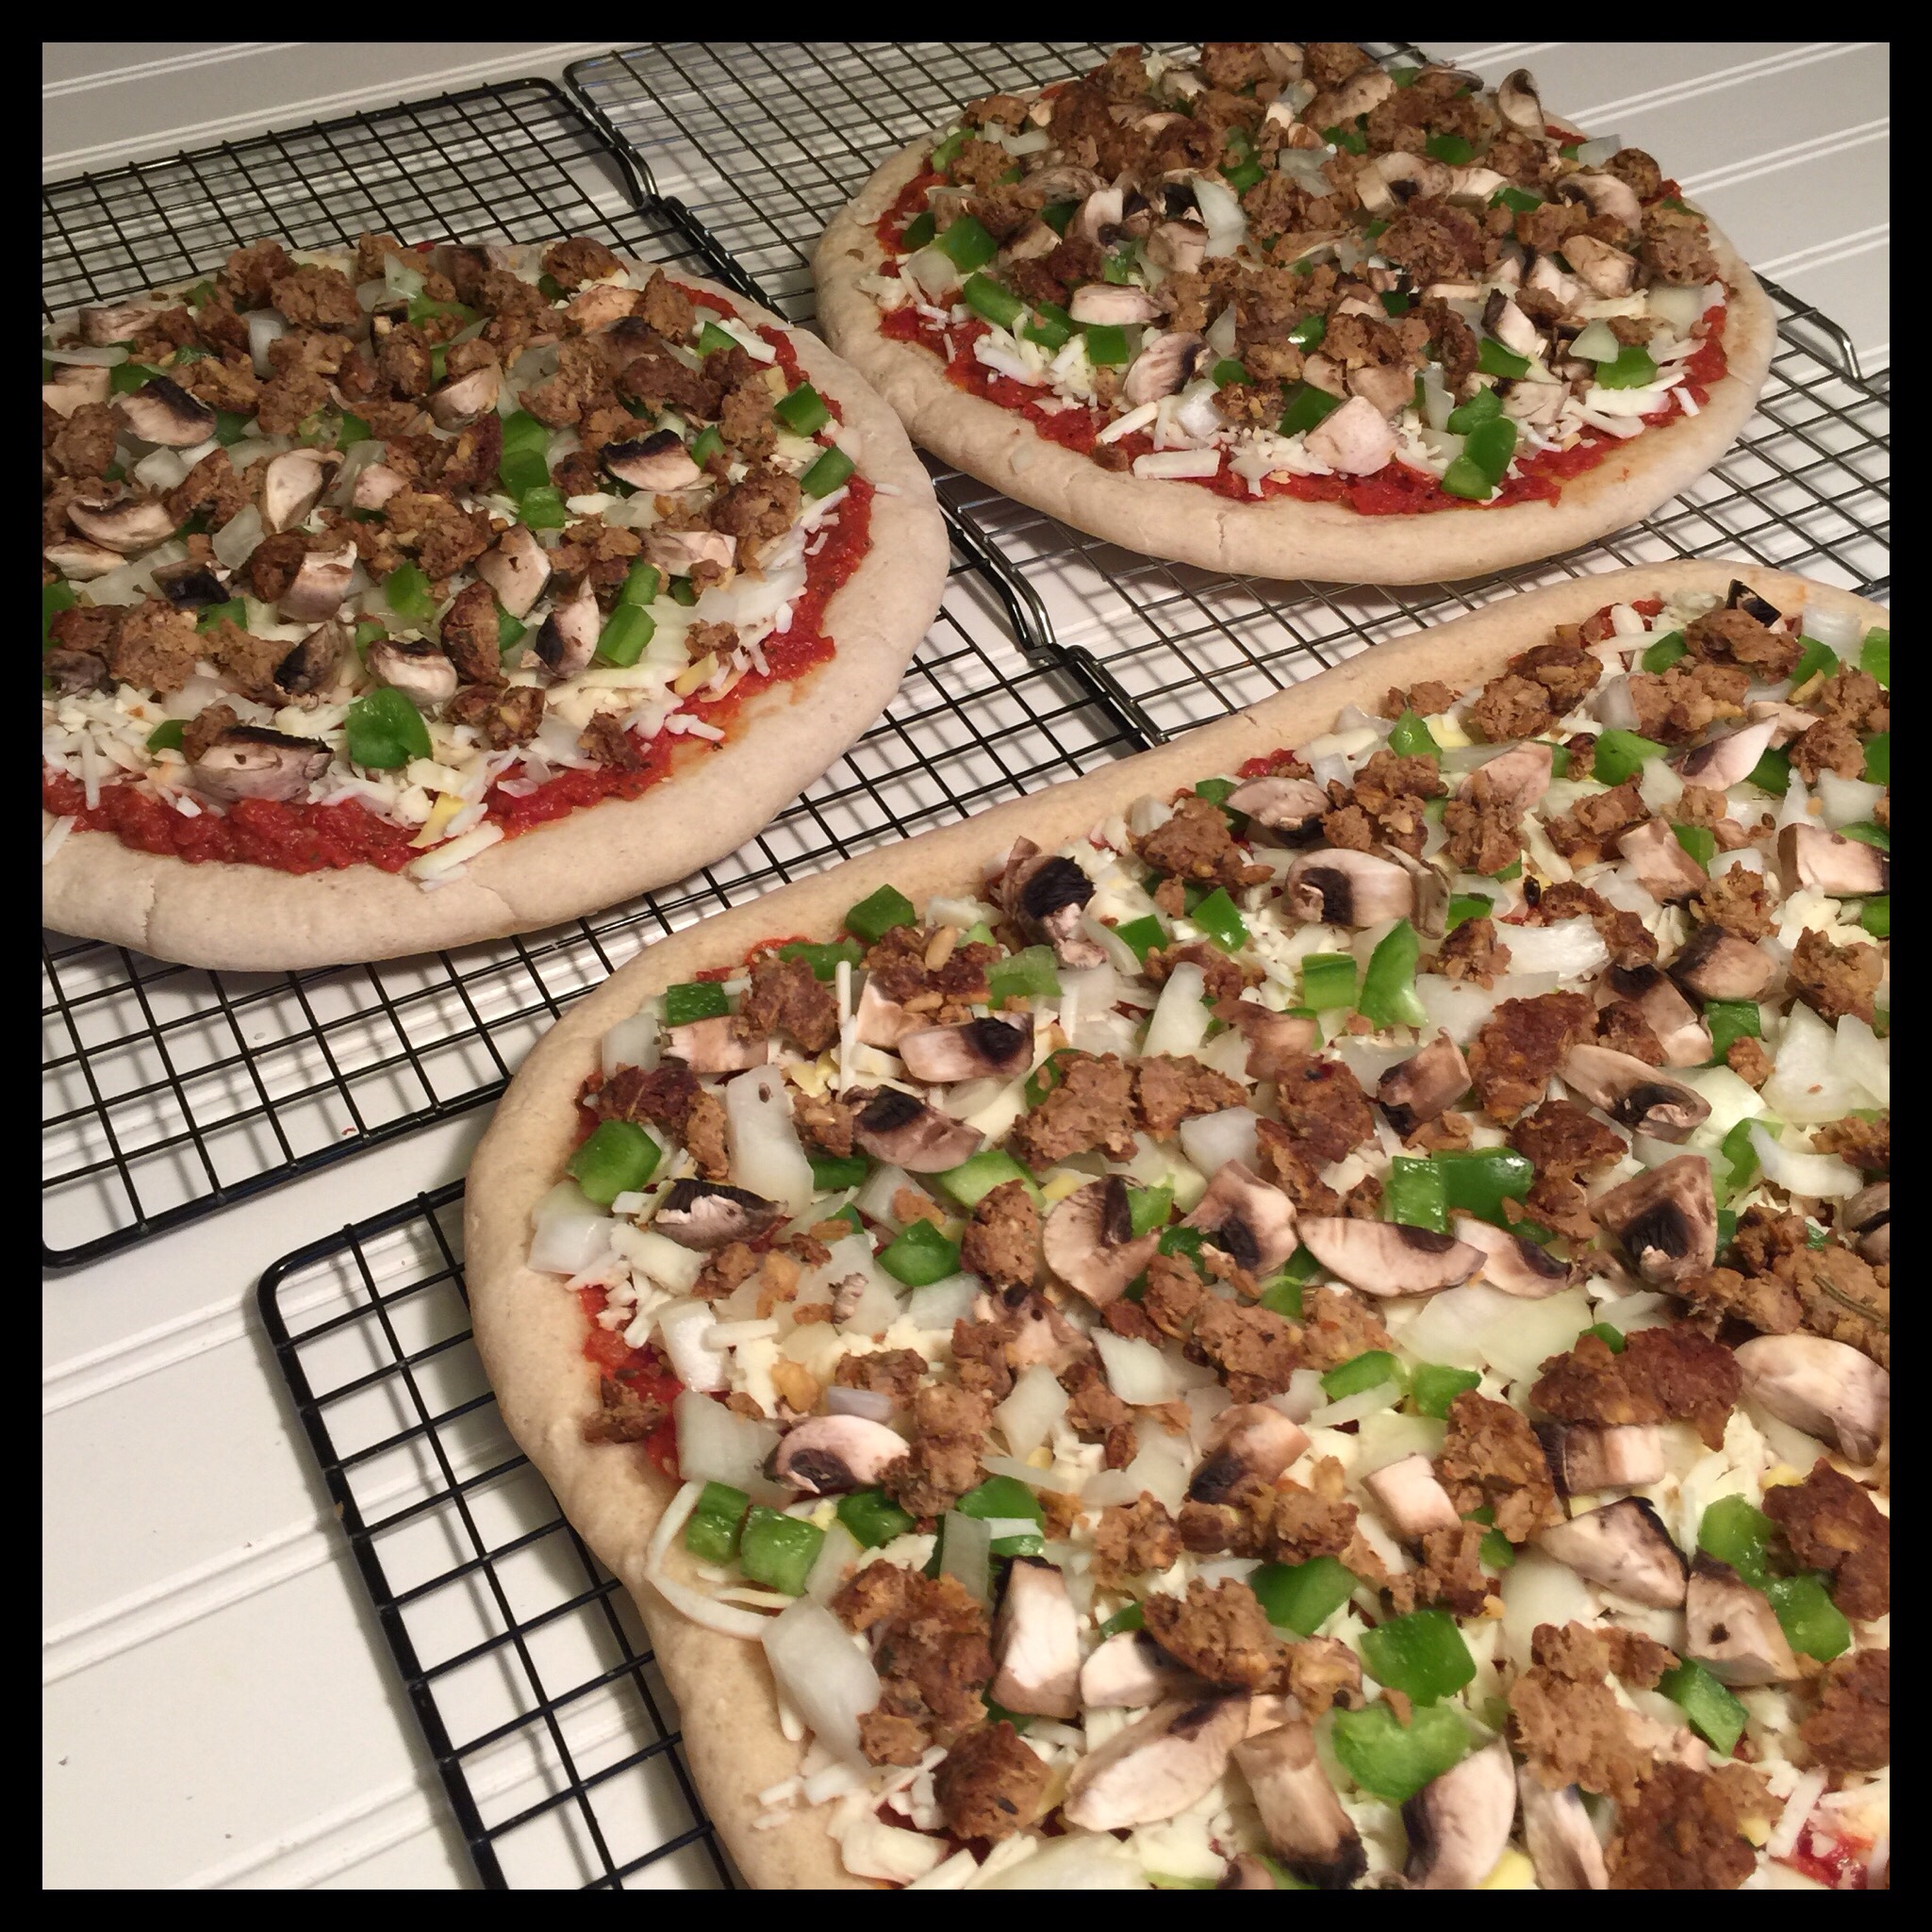
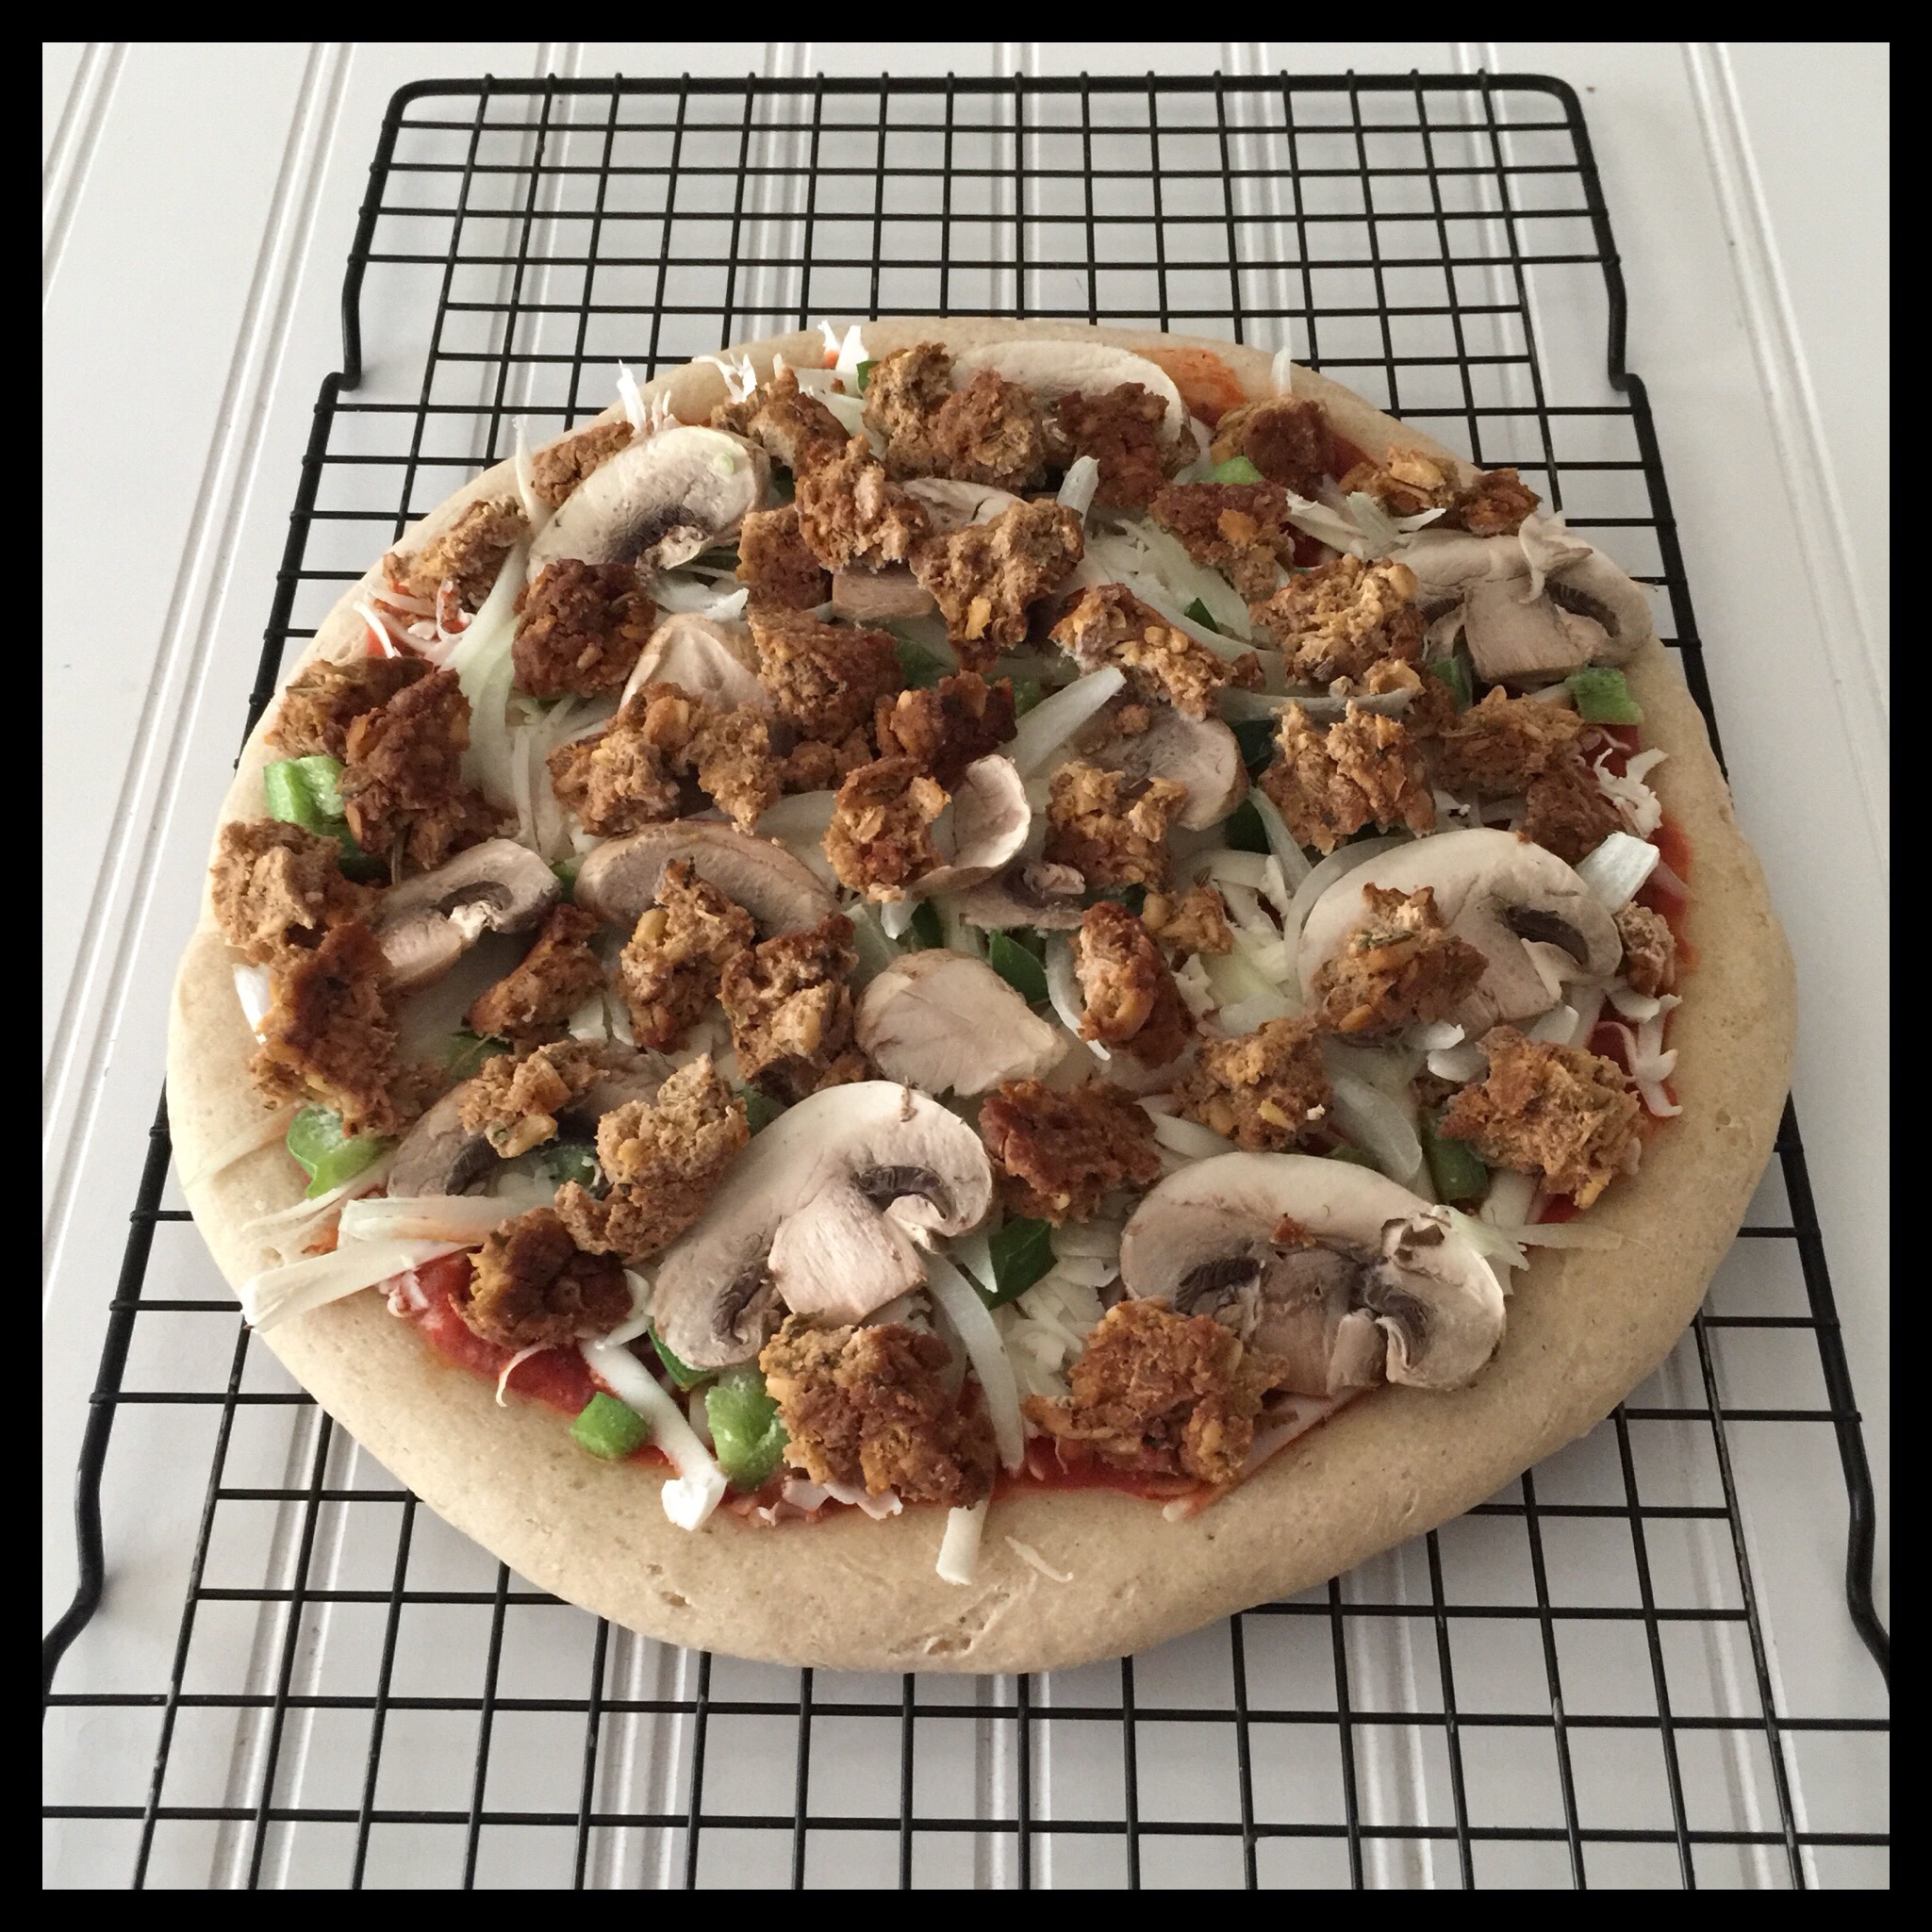
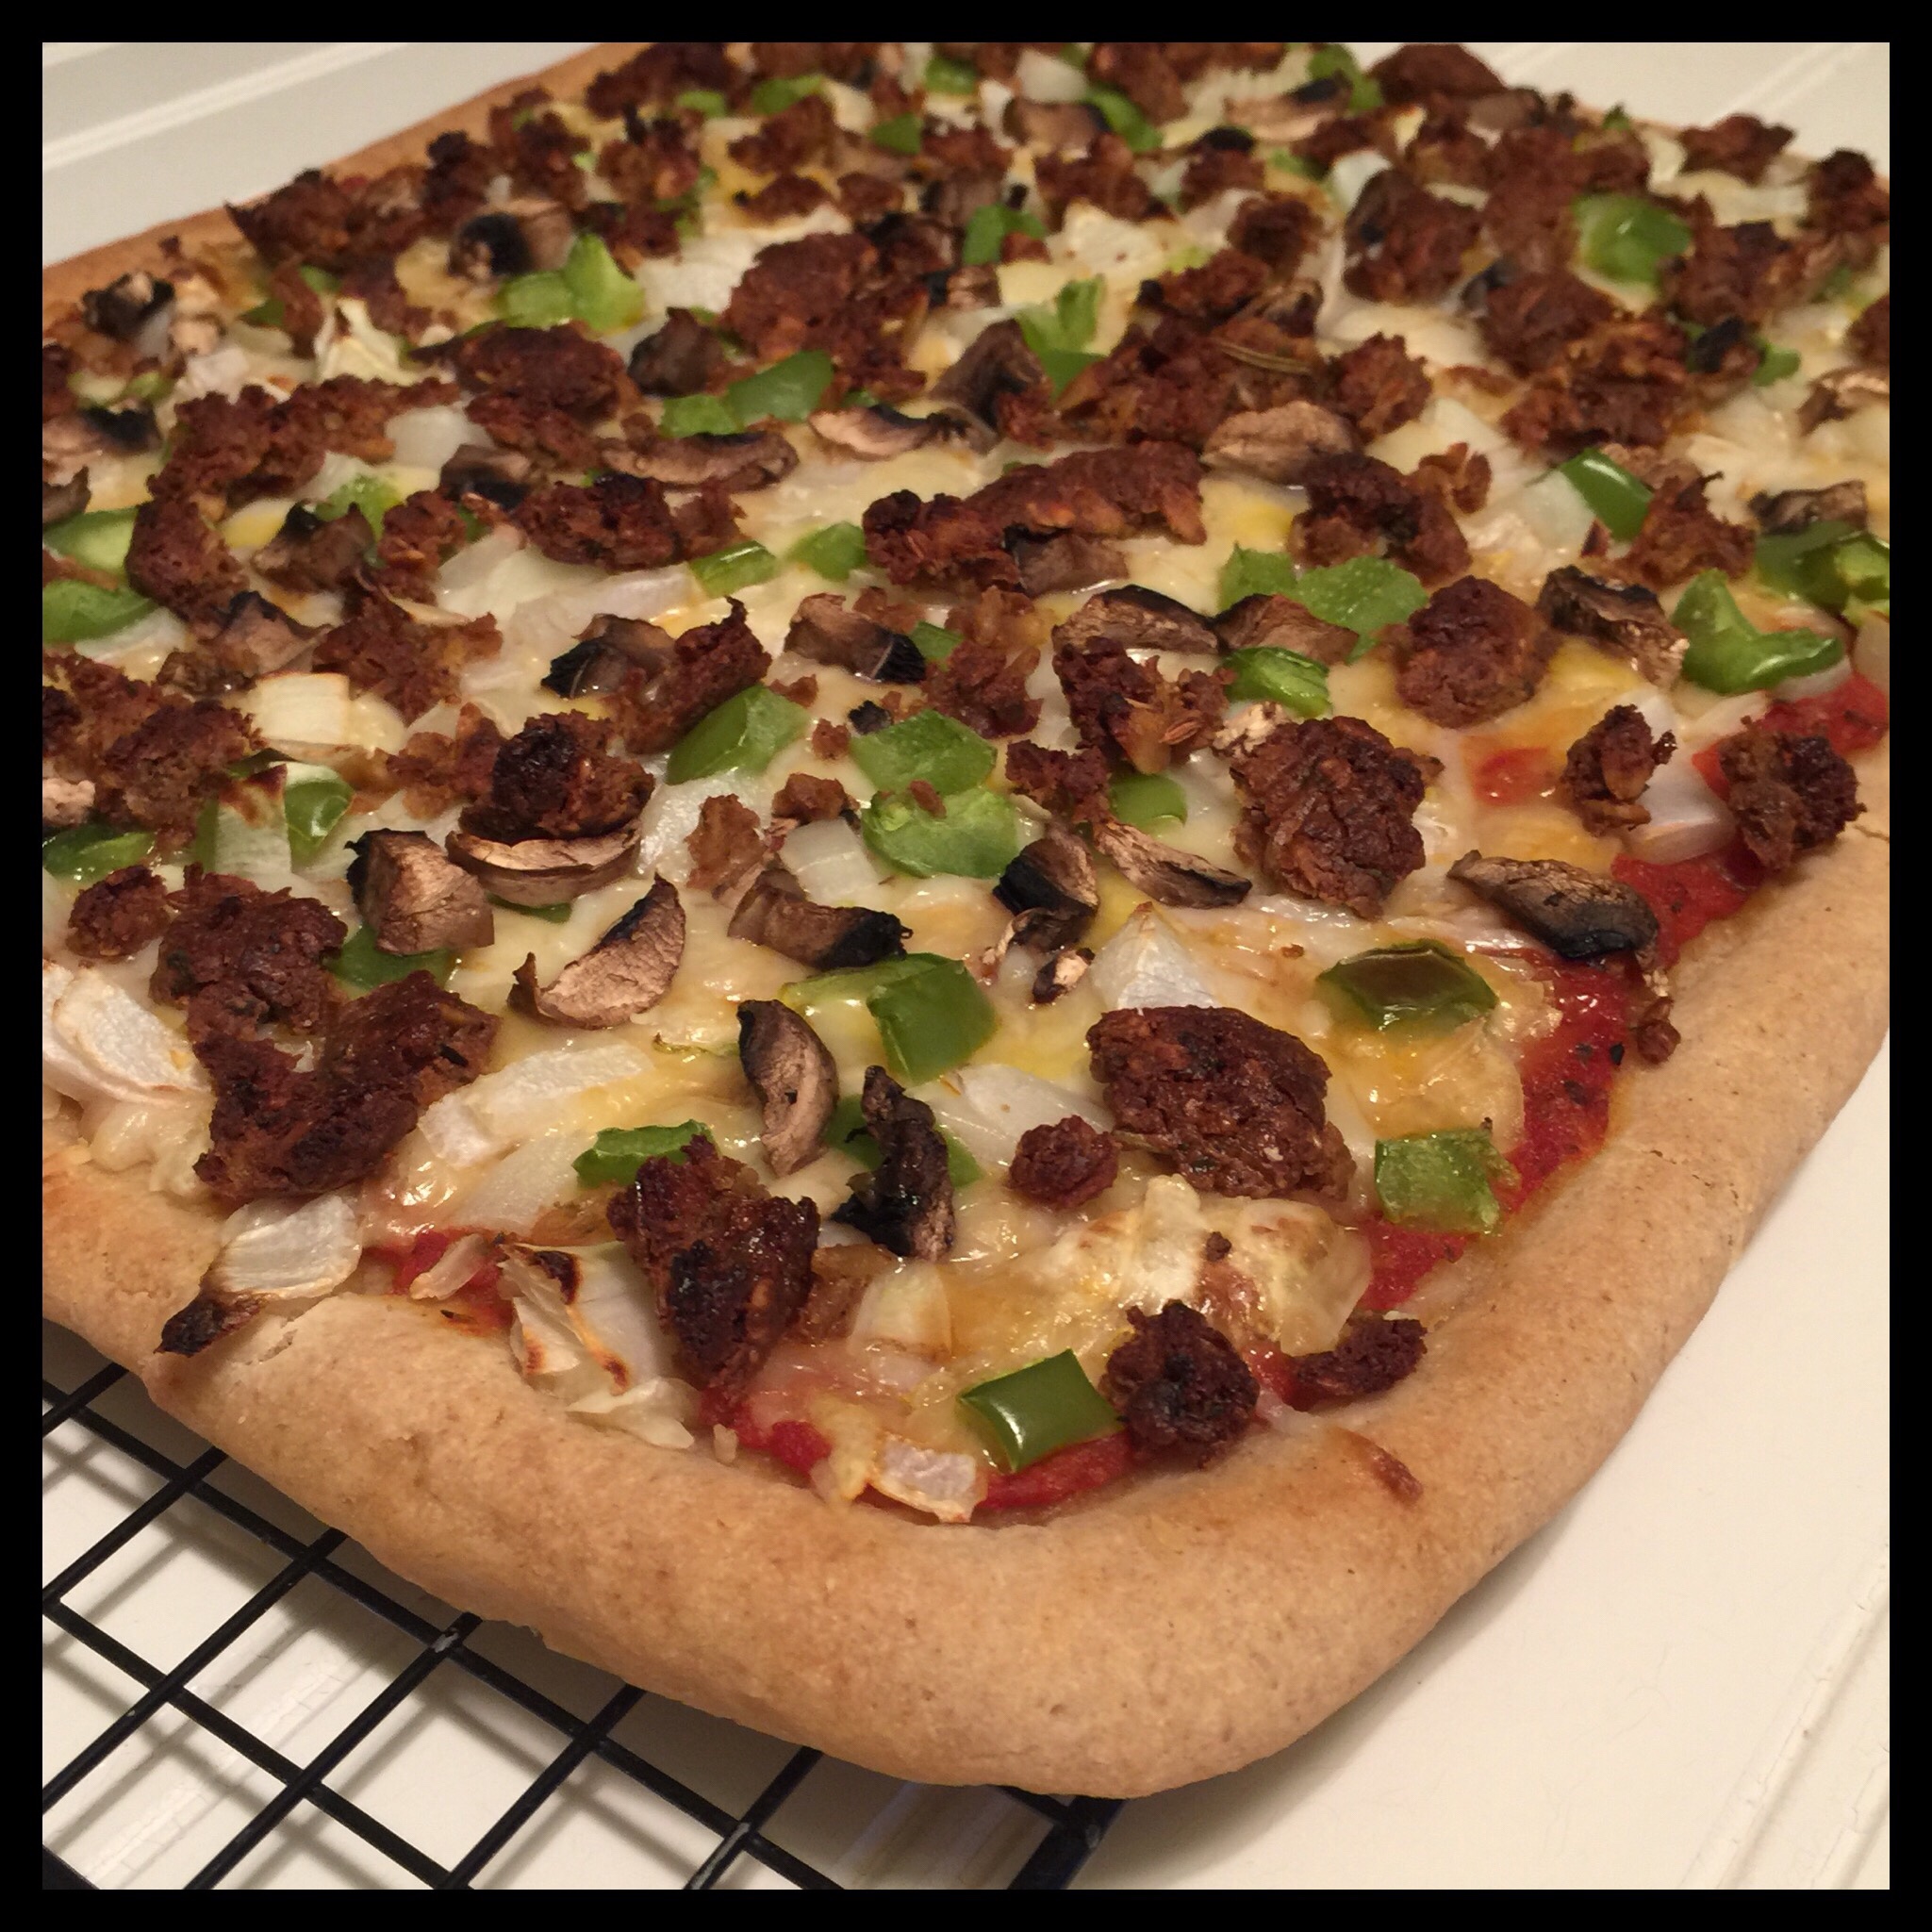
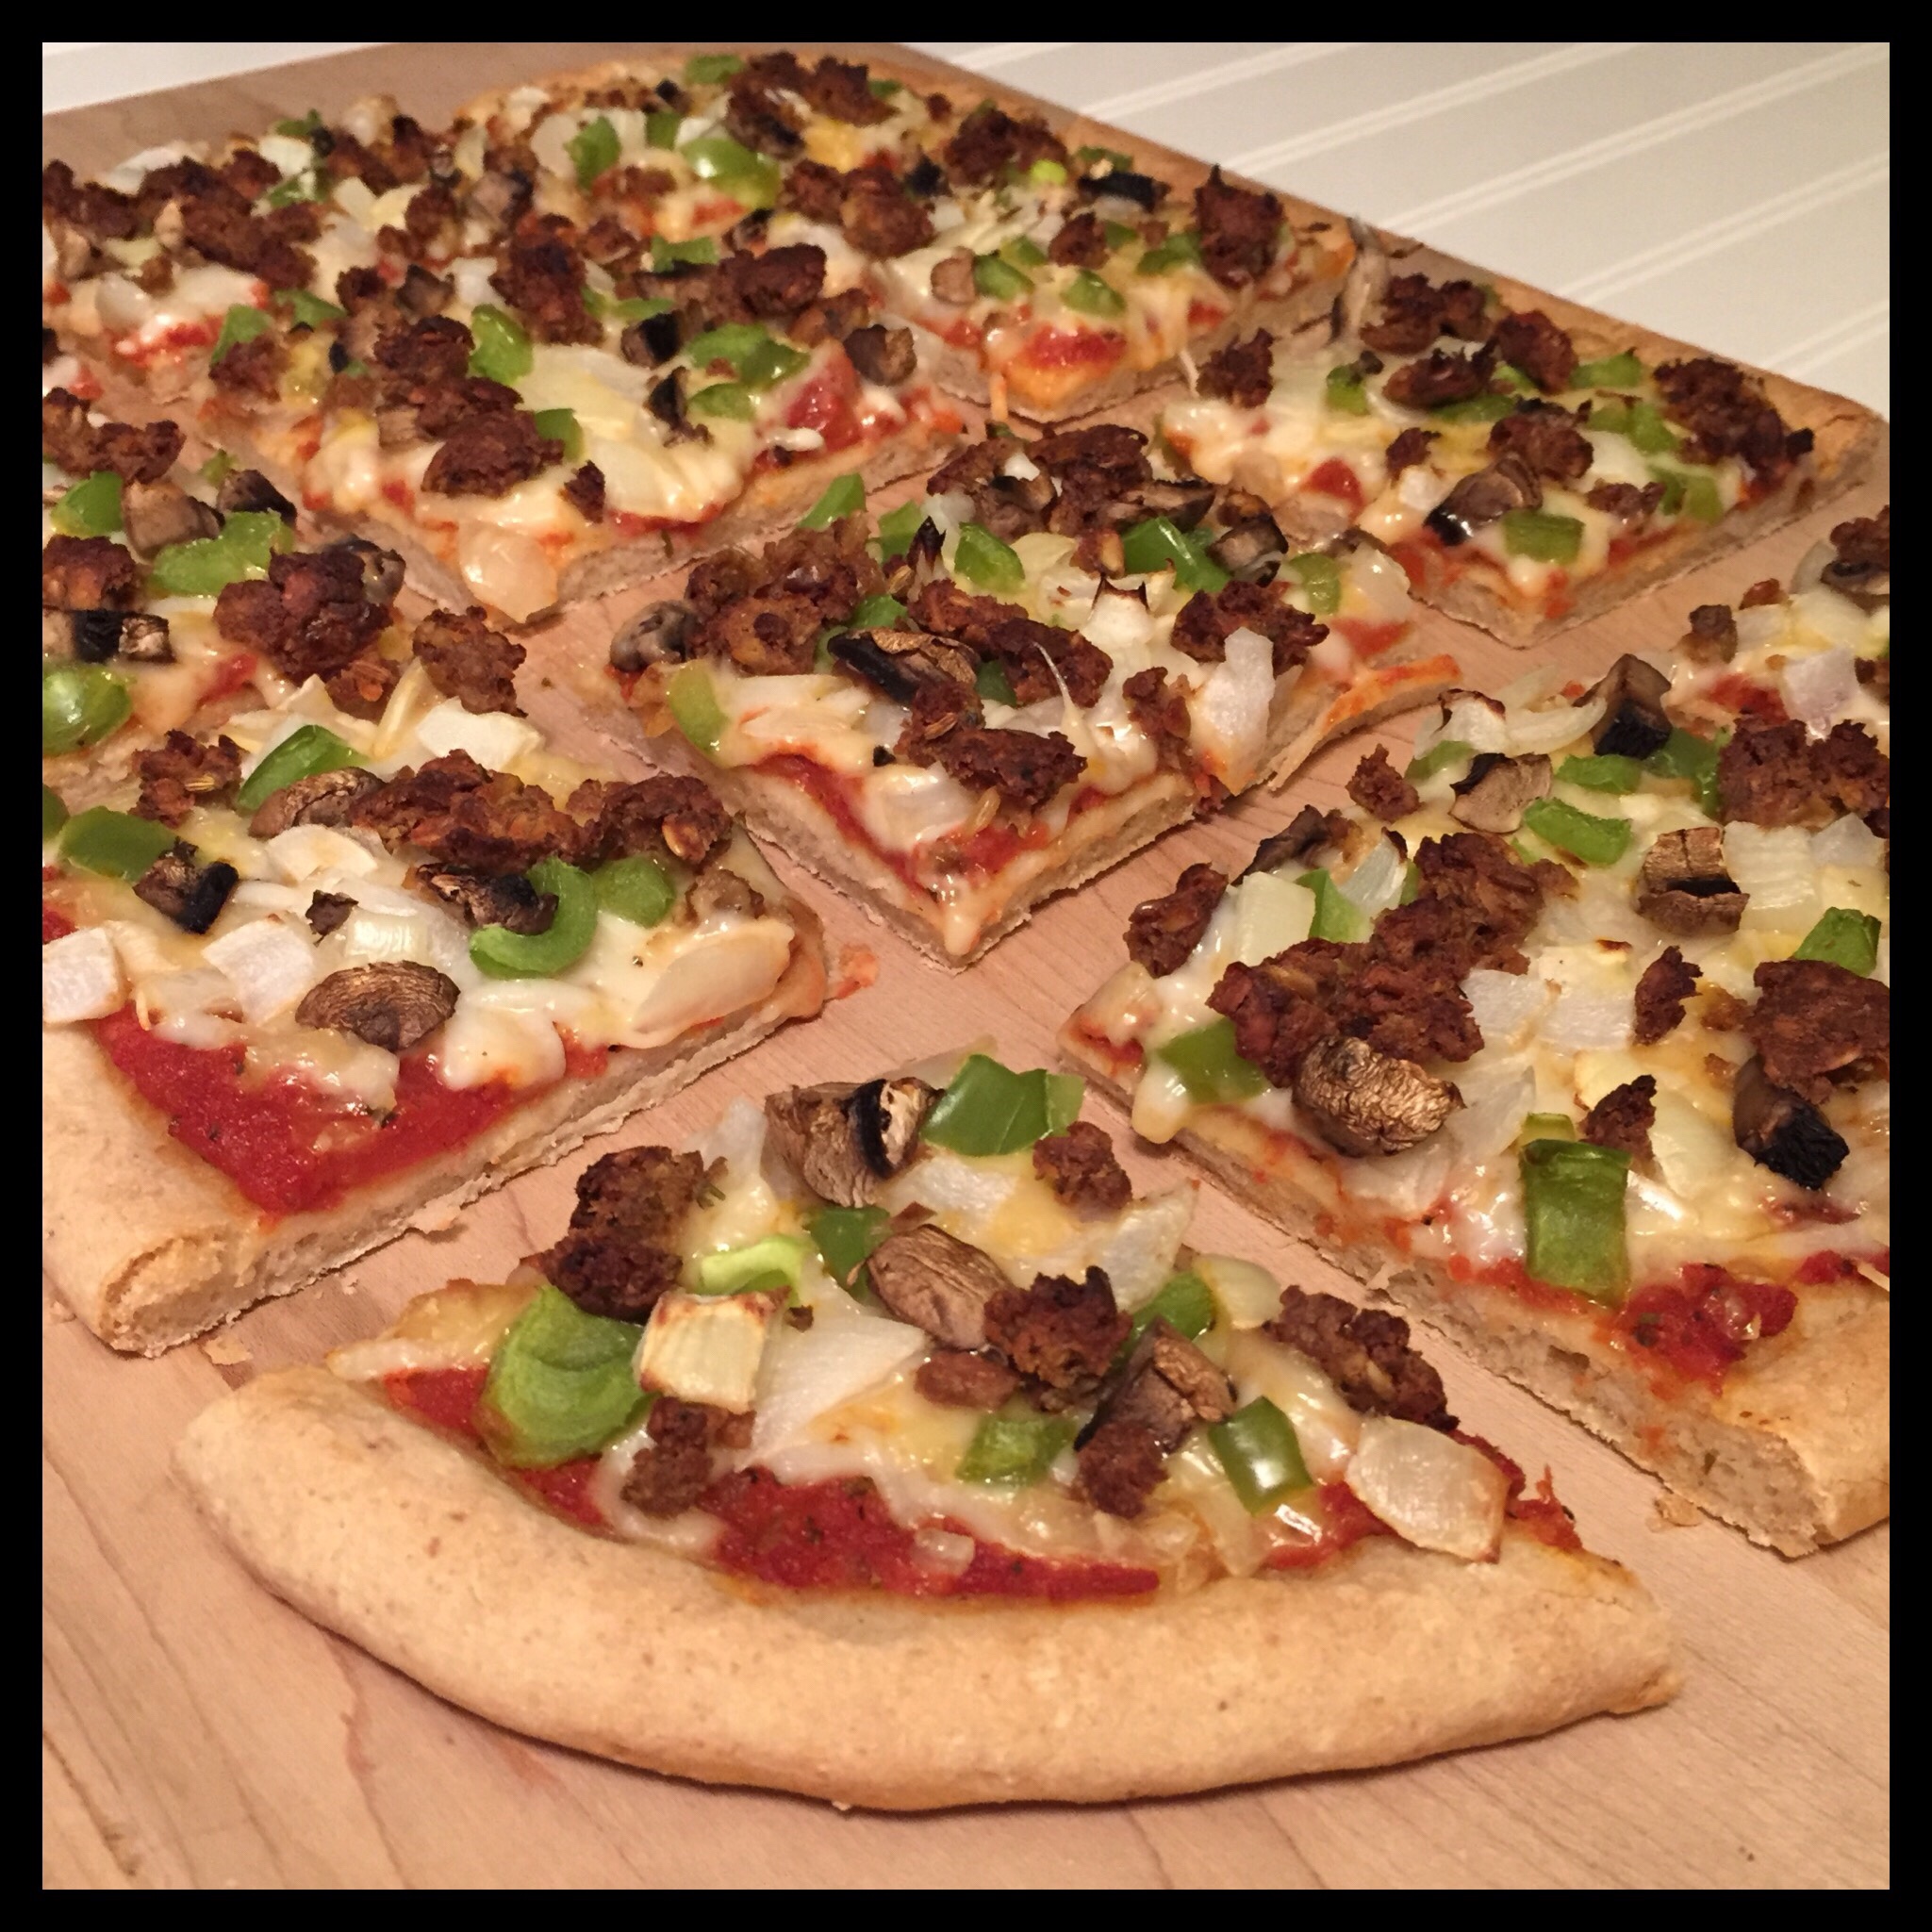
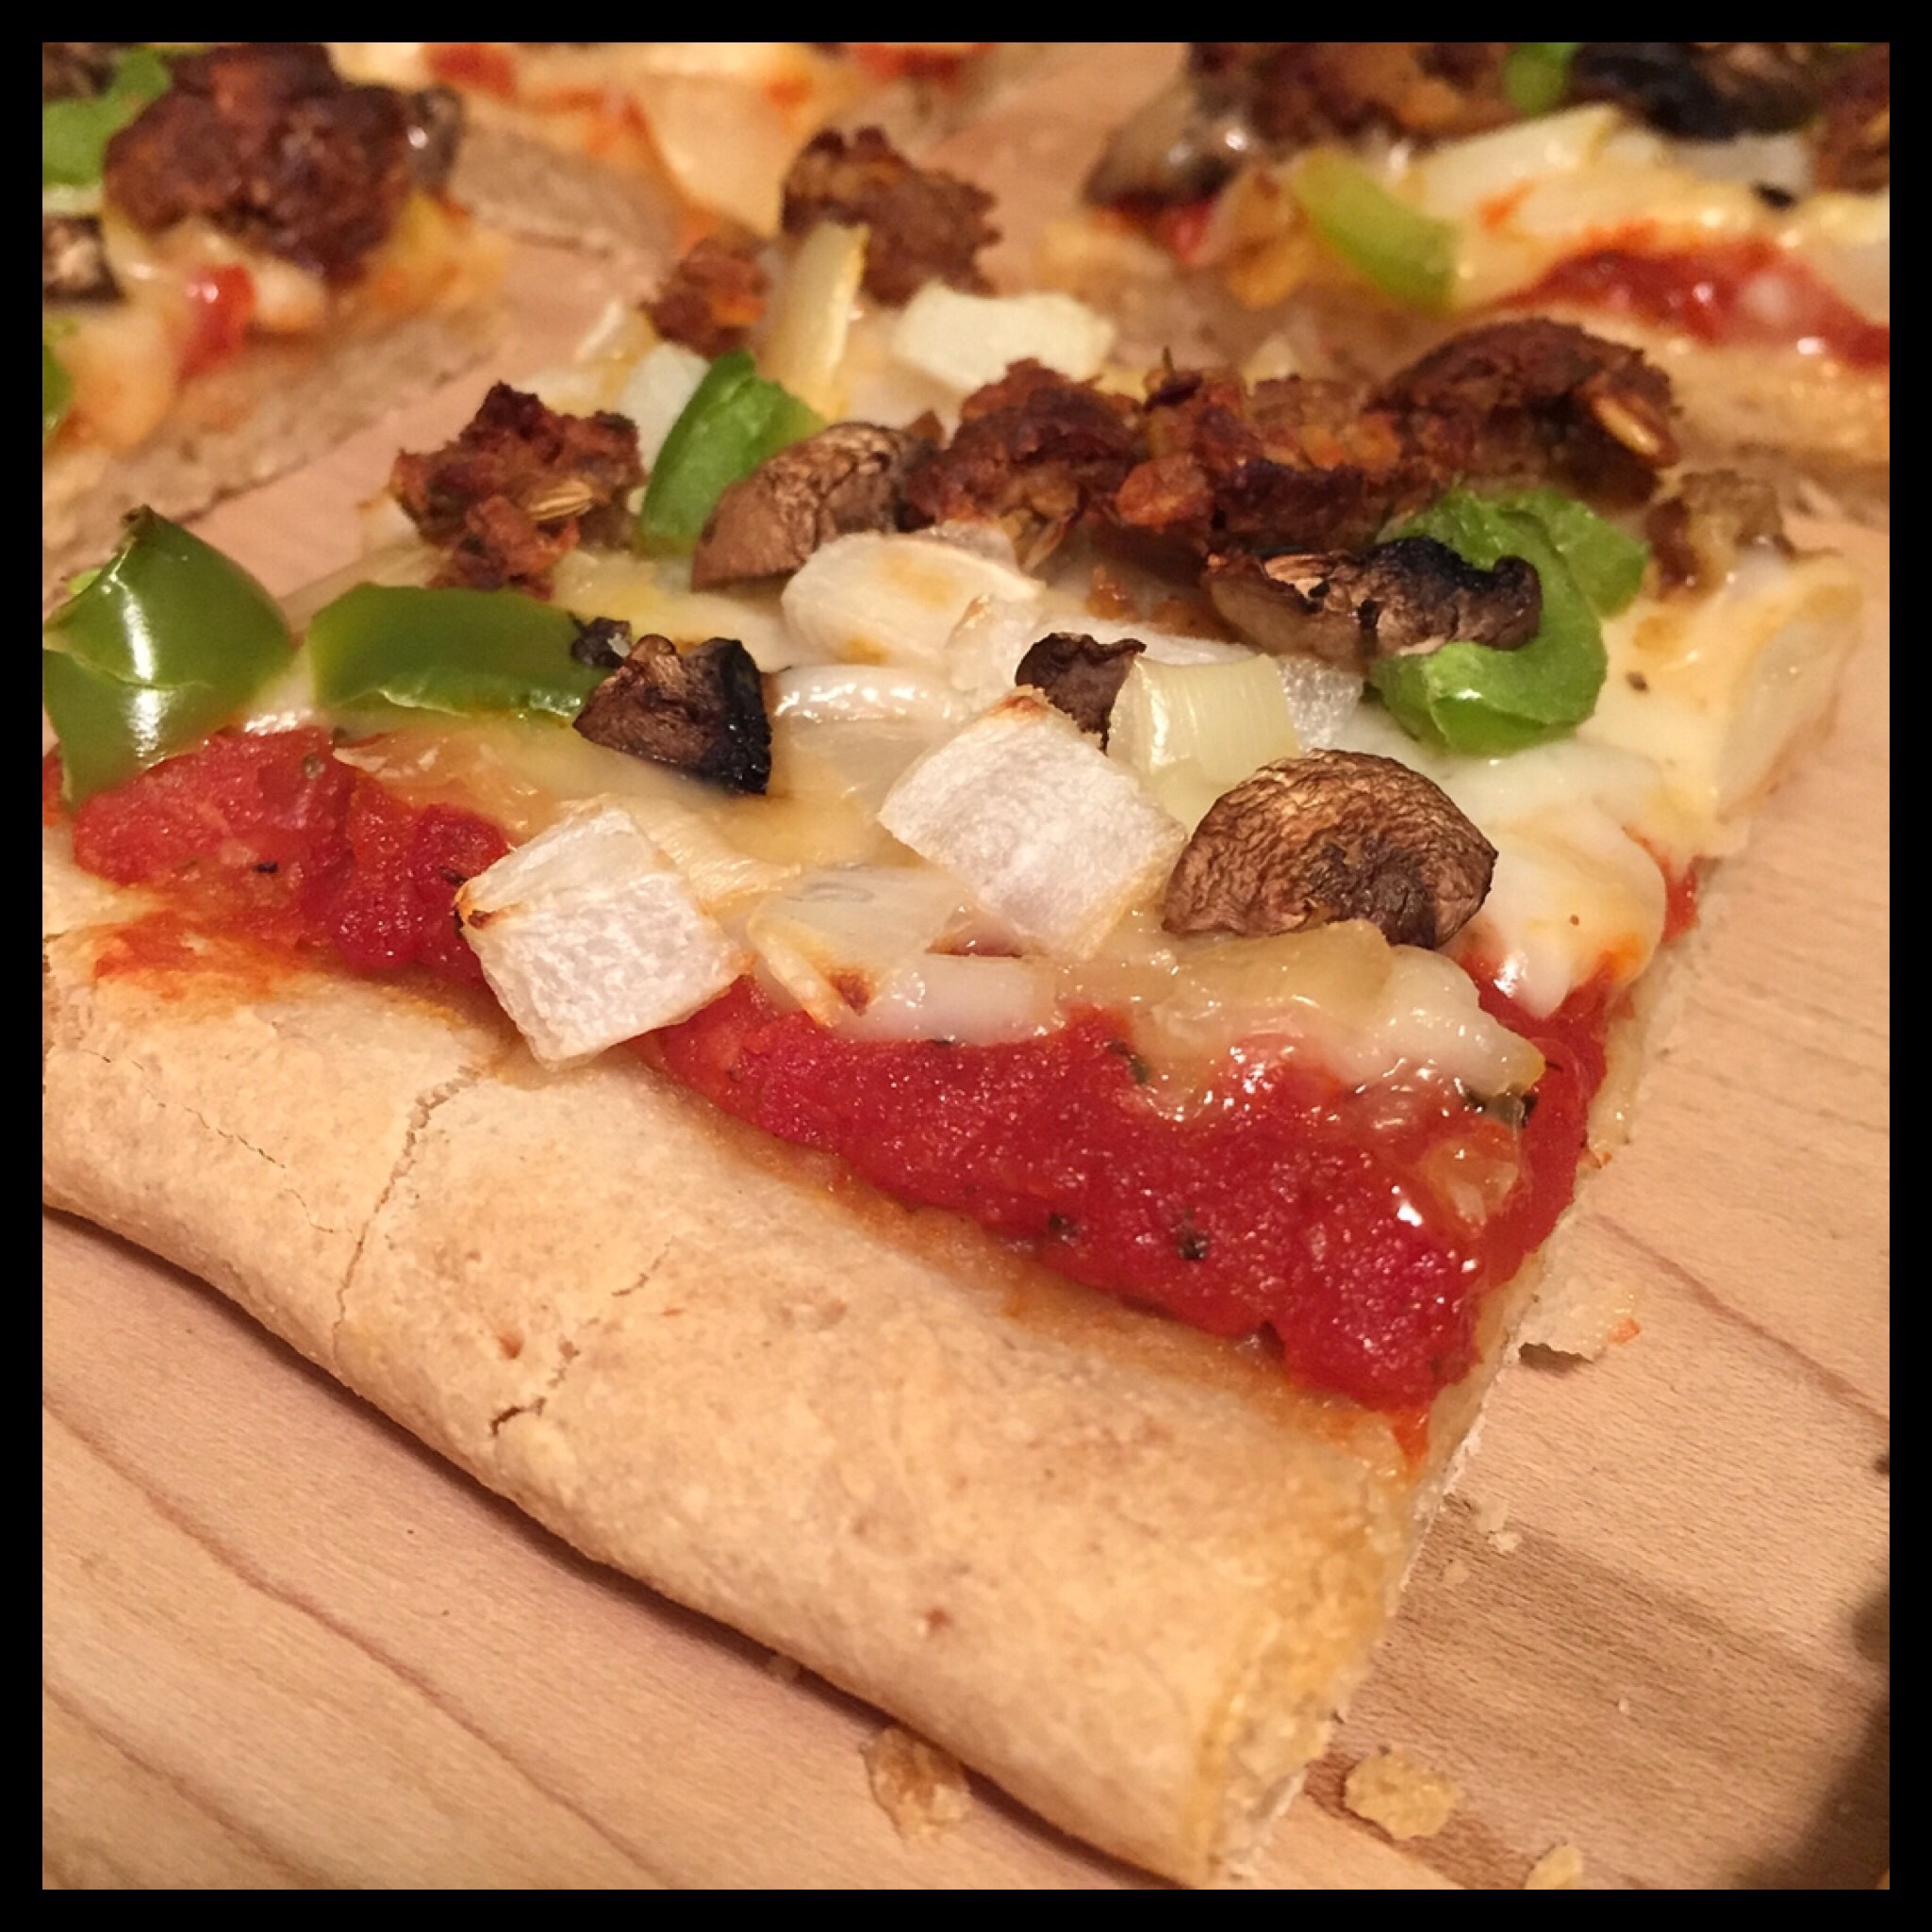
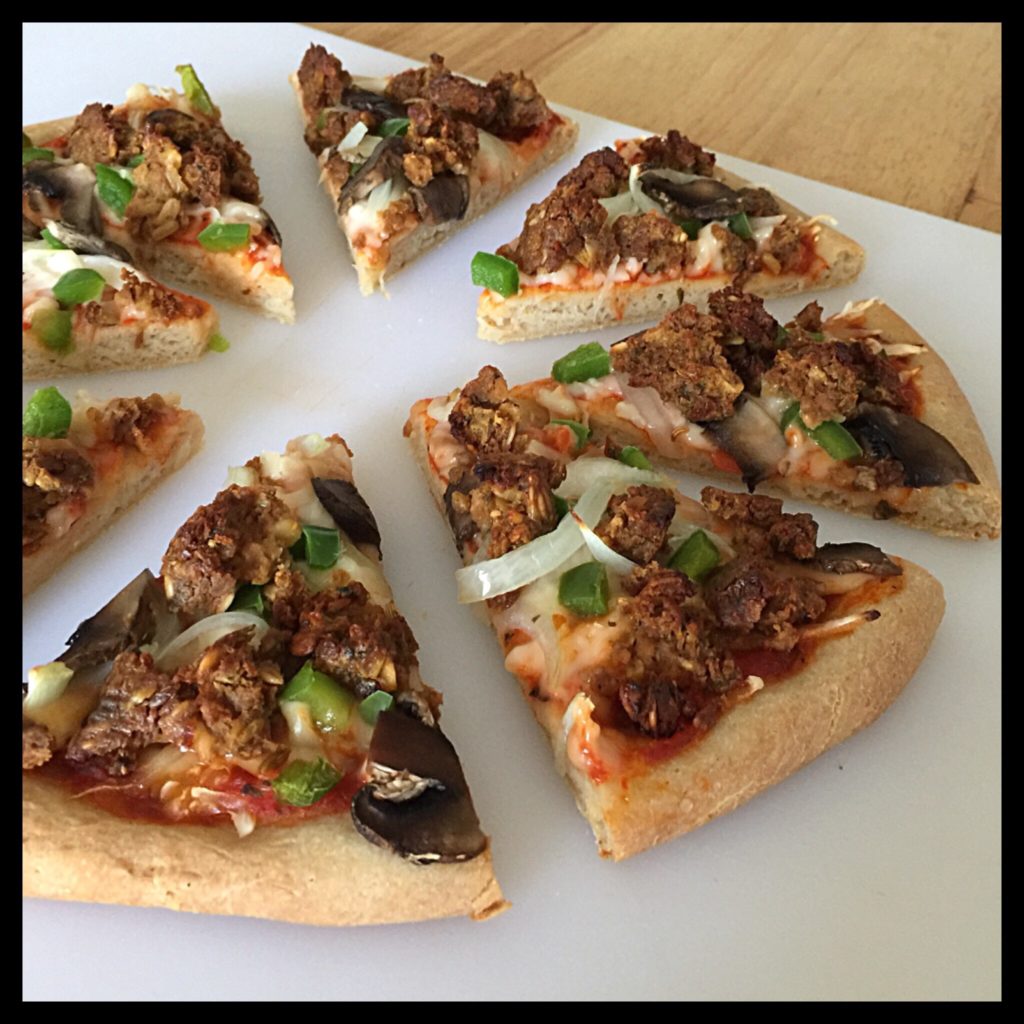
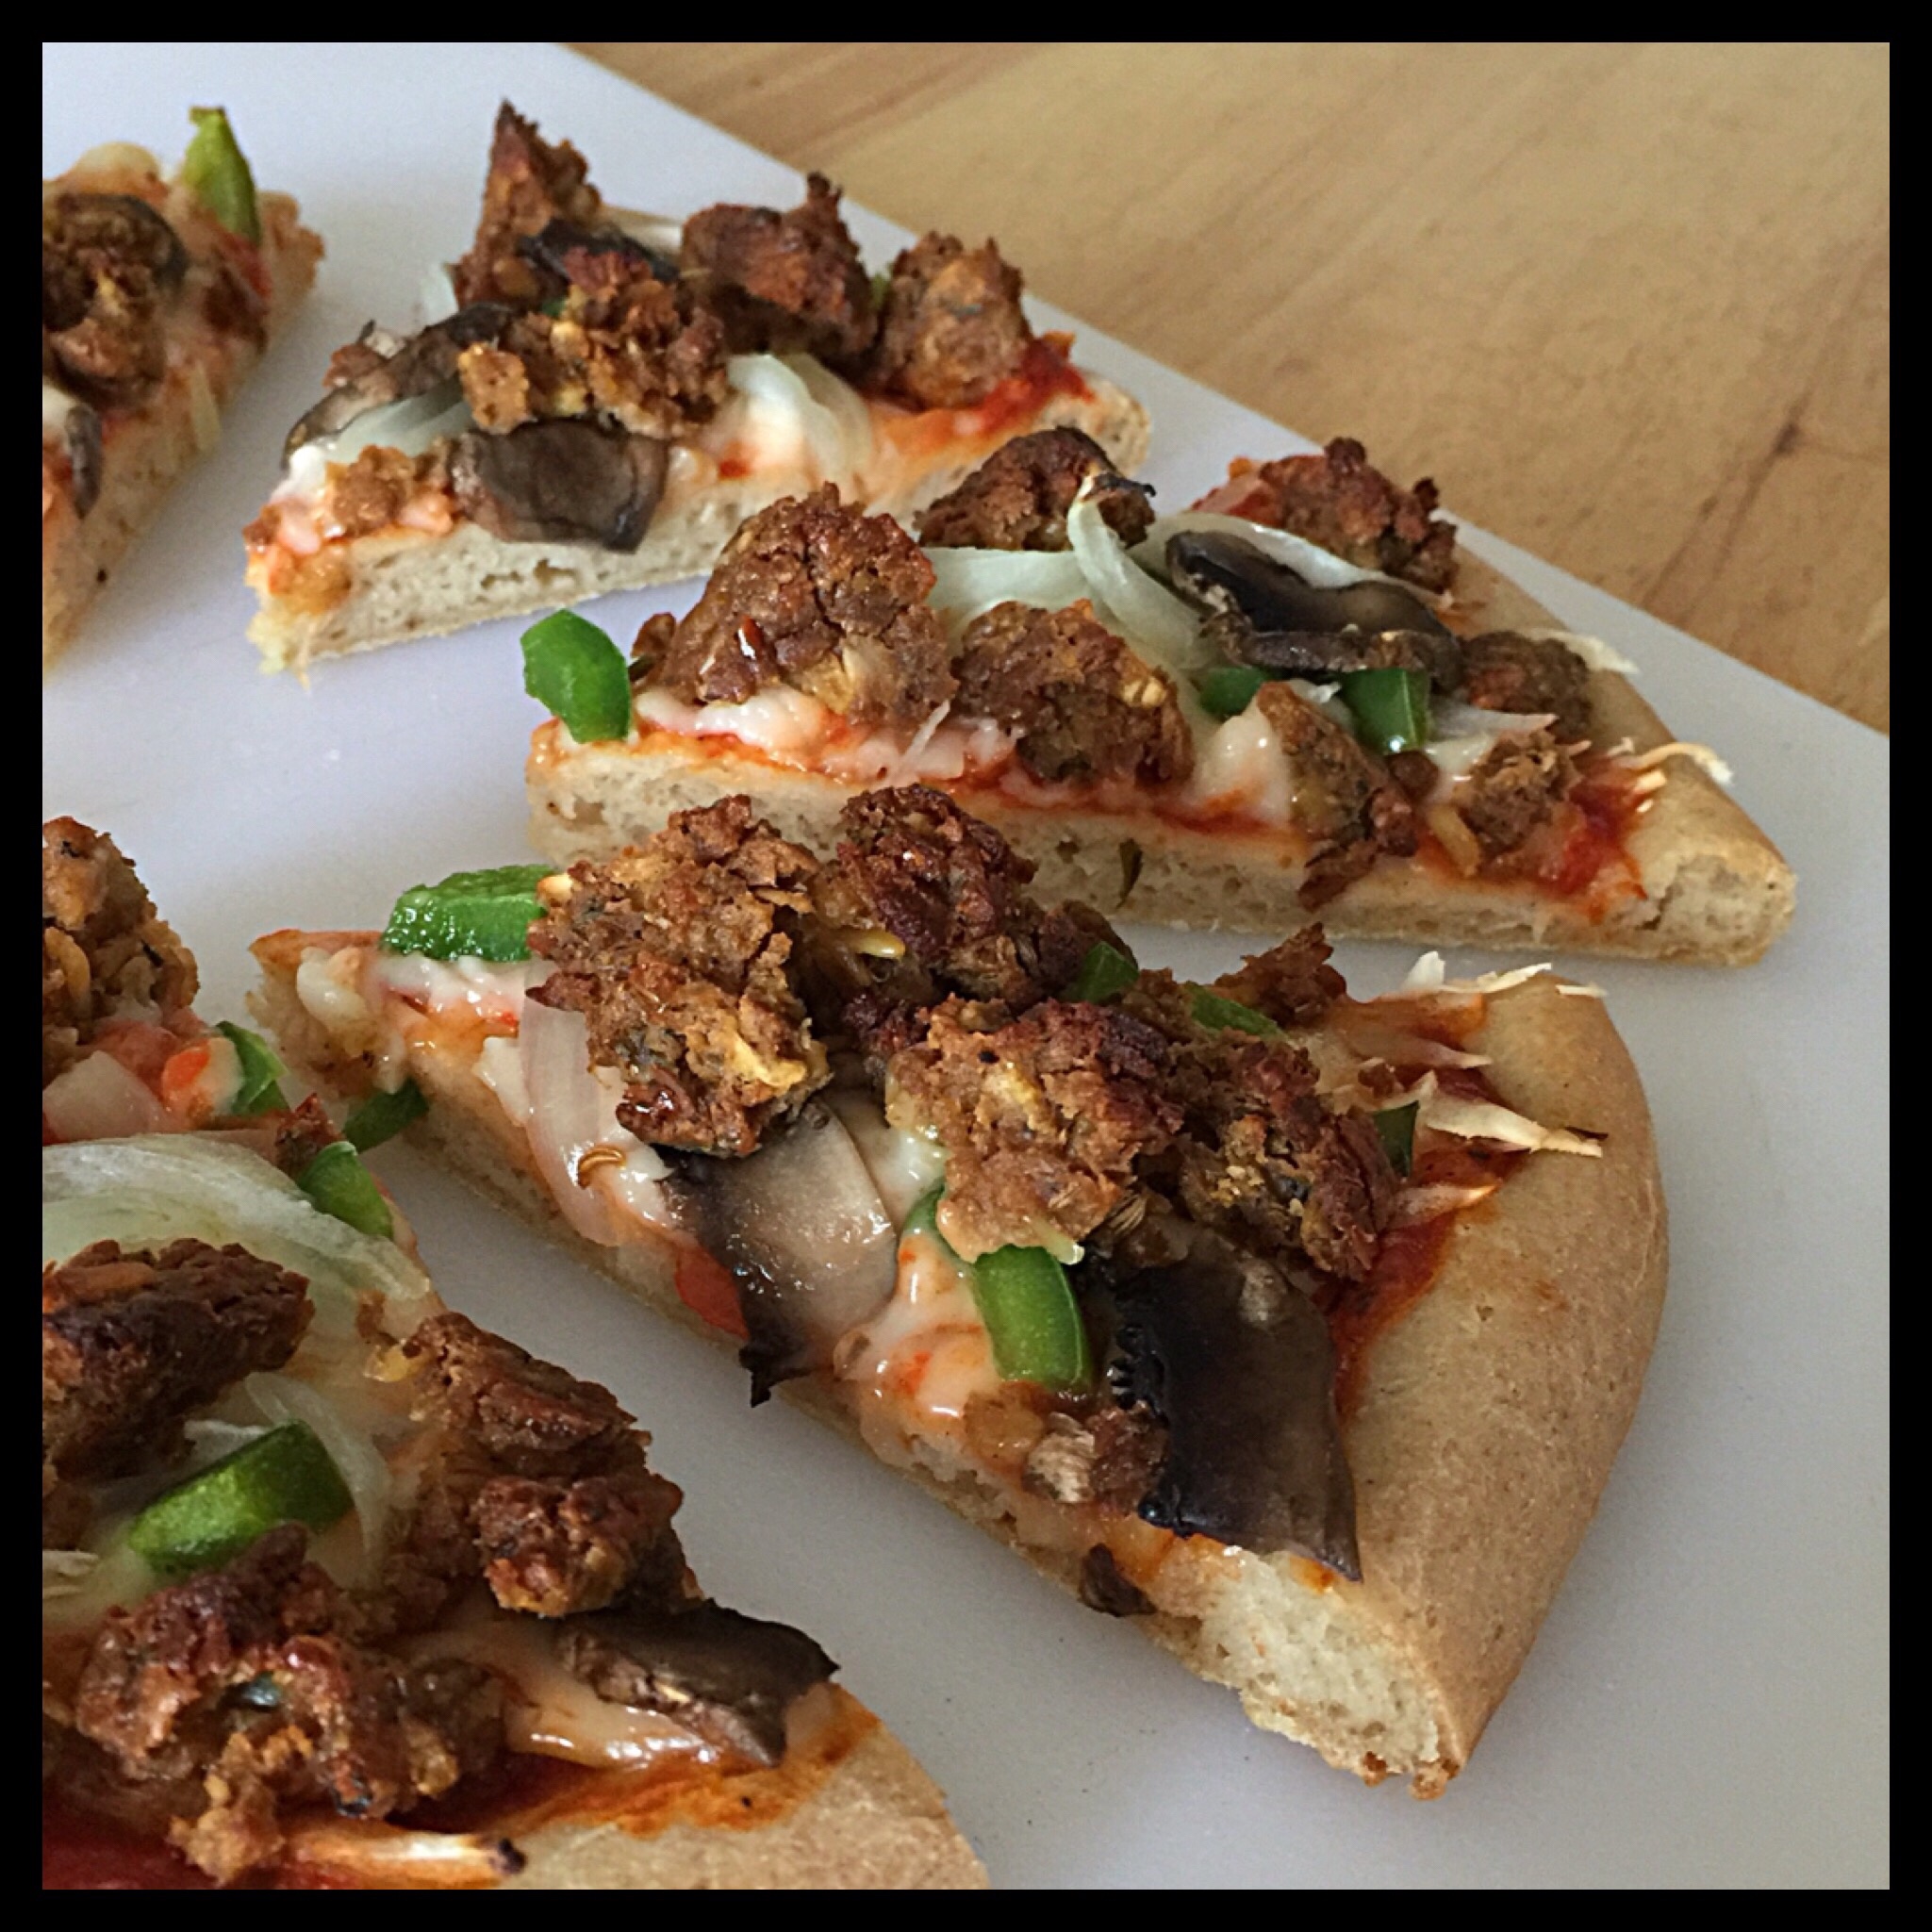
Add sauce and the toppings of your choice. (I made a double batch of dough so I had two round and one large rectangle crusts. I baked the rectangle and froze the two rounds.) For toppings, I used my roasted garlic and tomato pizza sauce, onions, mushrooms, green pepper, and my vegan Italian sausage!
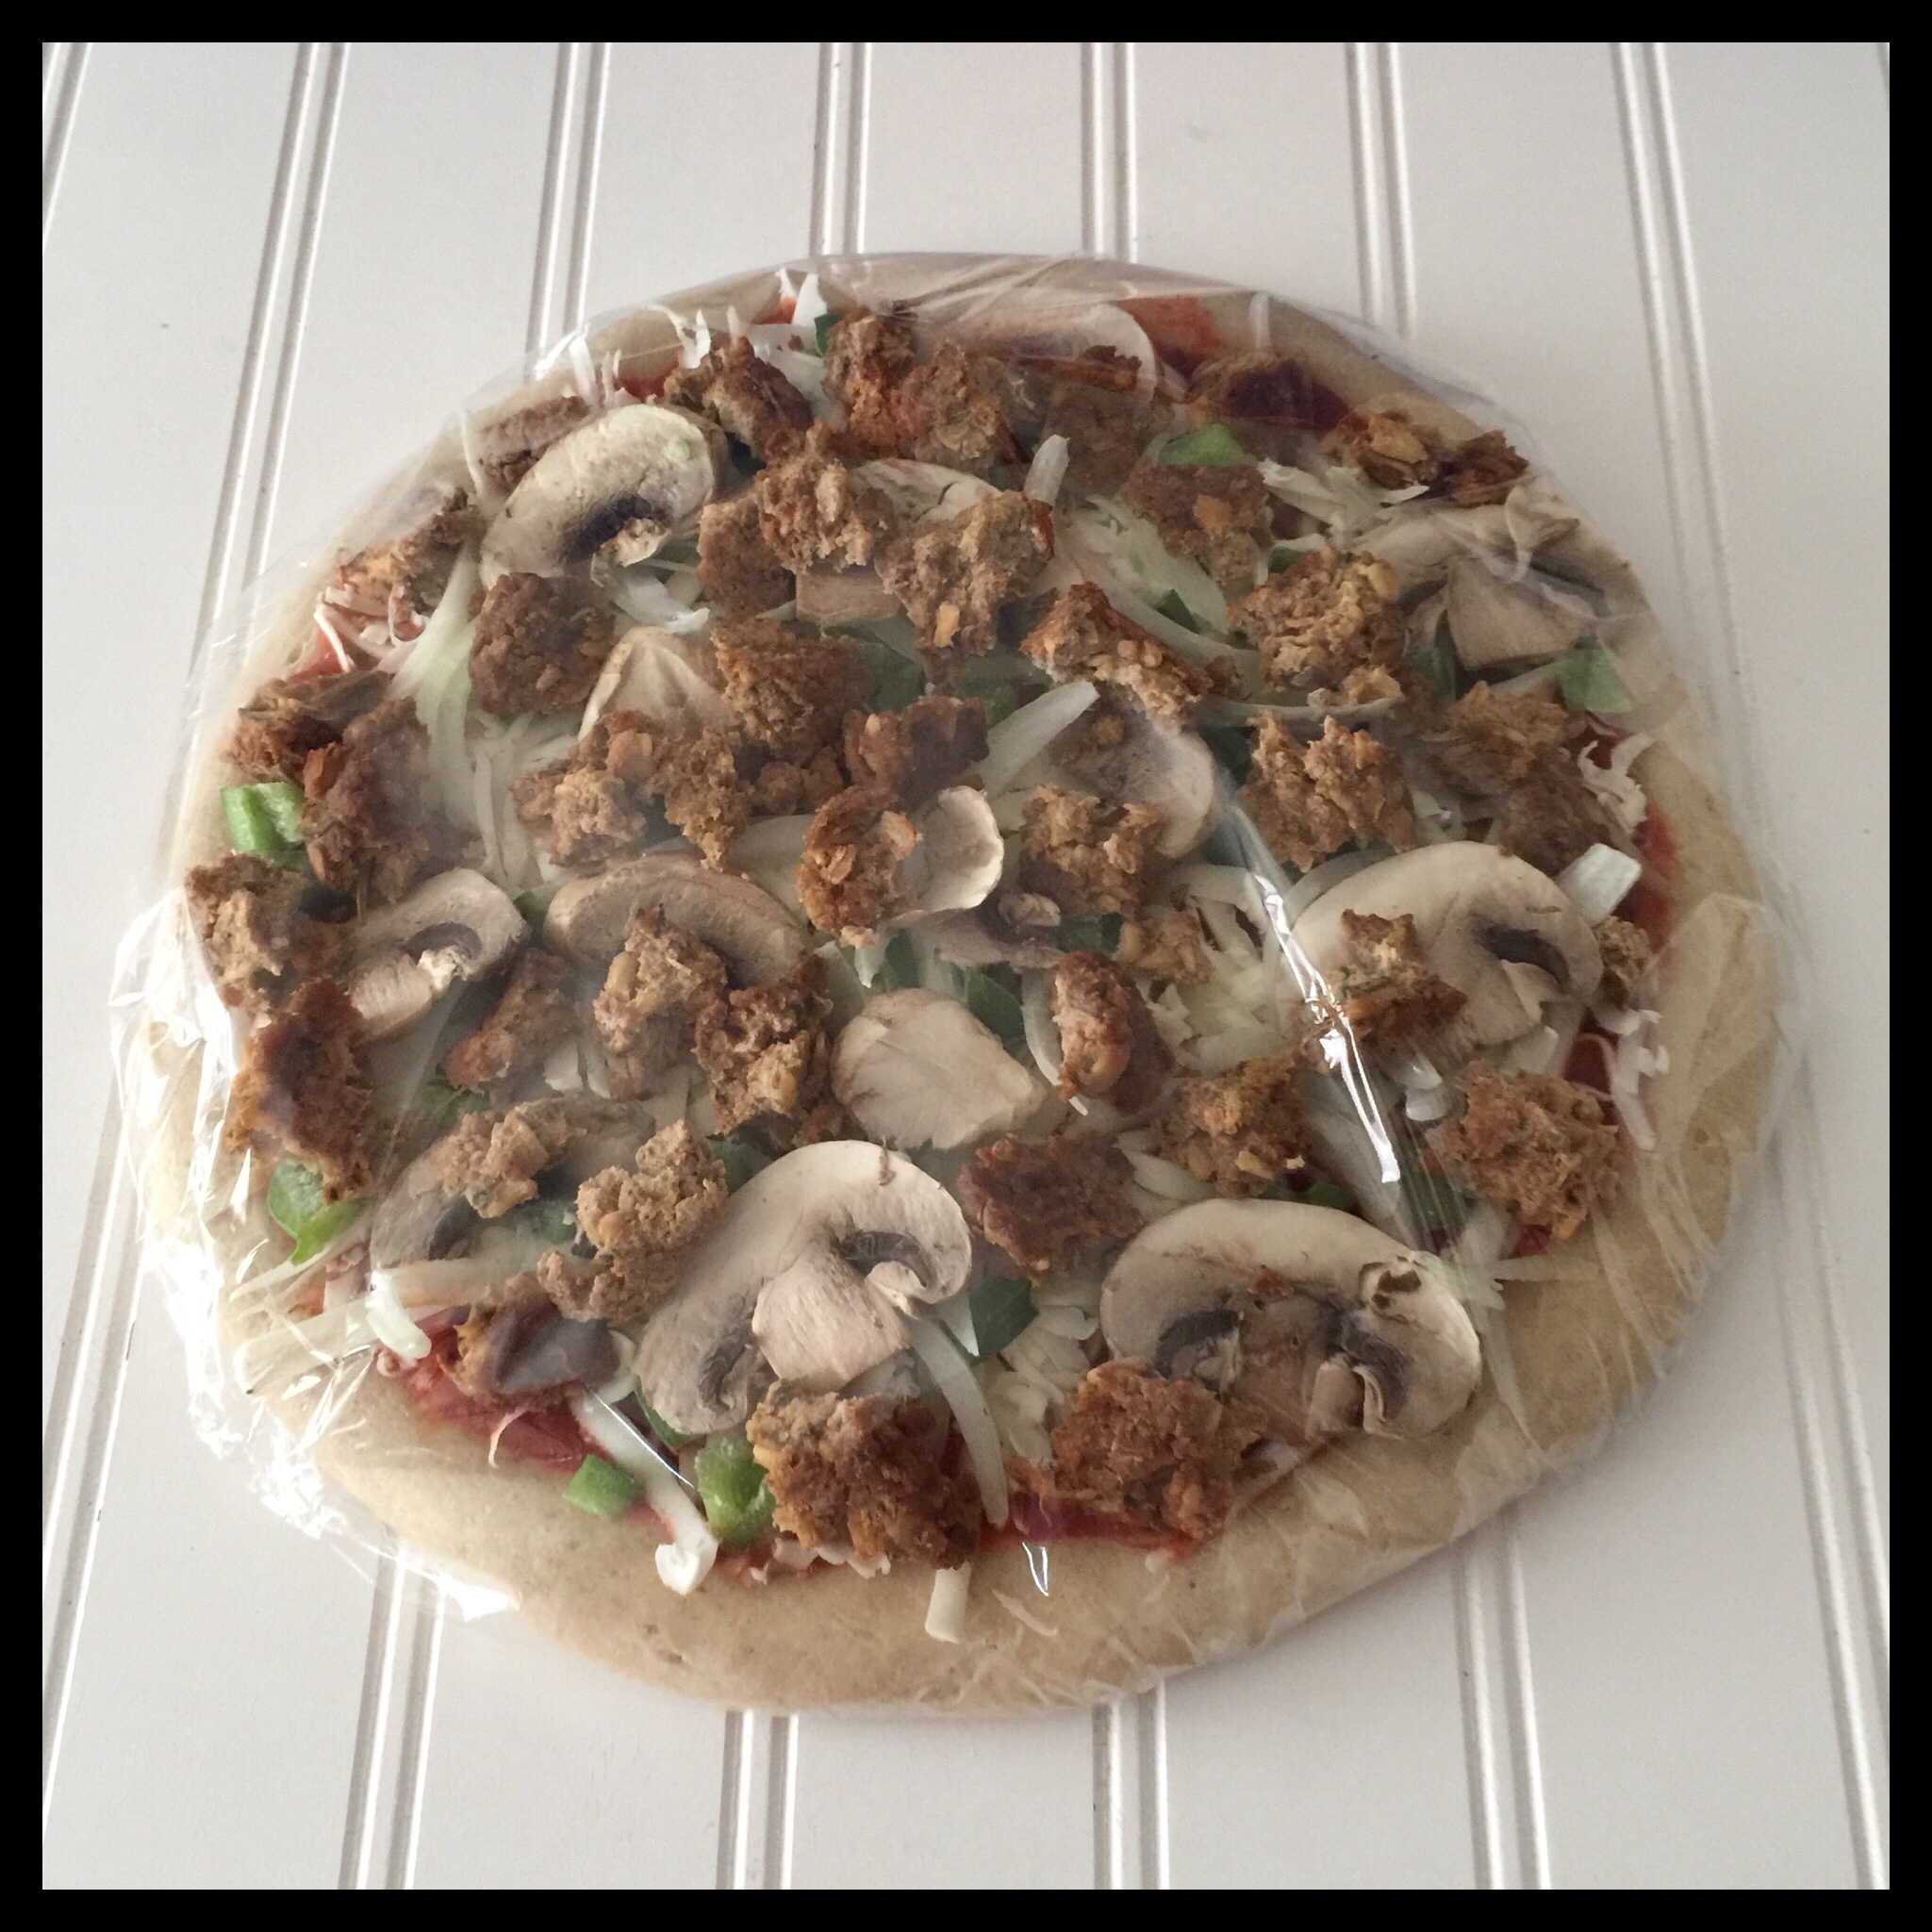
Tip: Freeze an unbaked pizza on a rack and wrap it after it’s frozen. See the recipe notes for directions on how to bake a frozen pizza.
To bake your pizza now, place the oven rack you removed earlier in the middle position above the pizza stone. It is dangerous to remove a hot pizza stone from the oven, and you want to finish baking your pizza directly on the rack so this is the safest method.

Use a cookie sheet to transfer your pizza onto the oven rack. Bake for 16 minutes (round) to 18 minutes (rectangle), then broil if you want more browning on top. Use a cookie sheet to transfer your cooked pizza to a cooling rack.
Let the pizza cool on the rack for a few minutes before sliding it onto a cutting board. Slice and serve immediately:
Here is what a baked round pizza looks like:

Enjoy!

Gluten Free (& Vegan) Pizza Crust!
This delicious gluten free and vegan pizza crust has crispy edges and a fluffy, soft middle!
Ingredients
- 450 g (3 1/2 c) Gluten Free Flour Blend (made with The Plant Based Egg)
- 4.0 g (1 tsp) Vegan Sugar
- 9.0 g (1 TBS) Active Dry Yeast
- 360 g (1 1/2 c) Seltzer Water
- 9.6 g (1 1/2 tsp) Salt
- 12.5 g (1 TBS) Vegan Sugar
- 14 g (1 TBS) Olive Oil
Instructions
-
Add your flour to a large mixing bowl. Make a well in the flour mixture, then add the one teaspoon of sugar and the yeast to the well.
-
Warm the seltzer water in the microwave until it is 118 degrees Fahrenheit. (Be sure to stir before checking the temperature as hot spots can occur.) Pour the warm seltzer water into the well in the flour, then let stand for about five minutes, until nice and bubbly.
-
Stir together with a sturdy spatula or a large spoon. (The dough will be quite firm.) Add the sugar, salt, and olive oil, but do NOT stir them in yet.
-
Cover the bowl with plastic wrap, then place the bowl in a warm place to rise. (You want the room temperature to be at least 70 degrees Fahrenheit, and no warmer than 85 degrees Fahrenheit.) If your house is cooler than 70 degrees, you can use your oven with the light turned on, but check the temperature inside to be sure it isn’t above 85 degrees. Set a timer for 30 minutes.
-
After 30 minutes, you will beat the sugar, oil, and salt into the dough. If you are using a hand mixer with dough hooks, beat on high speed for three minutes. If you are using a stand mixer with a paddle attachment, beat on medium-high speed for two minutes. Cover the bowl again, and this time let the dough rise for an hour.
-
While the dough is on its second rise, trace the shape of your pizza stone onto parchment paper. (One batch of dough will make two rounds or one large rectangle.)
-
Just before you shape the dough, remove the upper rack in your oven, and place the lower rack in the second lowest position. Place your pizza stone (or upside down baking sheet) on the rack, and preheat your oven to 425 degrees Fahrenheit. (Note: These directions assume you have five slots for the racks in your oven like mine does. Adjust accordingly if your oven is different.)
-
After the second rise, stir the dough down with a sturdy spatula. If you are making two rounds, divide the dough evenly between the two parchment circles. (For a large rectangle, use all of the dough for one pizza.)
-
See the photos and directions in the blog post to see how to shape the dough. Let your shaped dough rise until puffy, but not cracked. This will take about 15 to 30 minutes, depending on the temperature and humidity in your house.
-
Parbake one crust at a time if you have more than one. Use the cookie sheet to slide the risen dough (still on the parchment paper) onto the hot pizza stone. Bake for 10 minutes (round) to 12 minutes (rectangle), then use the cookie sheet to remove the crust from the oven.
-
Slide the crust onto a cooling rack, and immediately remove the parchment paper. Leave your oven on if you will be baking your pizza now. Press any large bubbles to flatten them.
-
You can top the crust immediately, or let it cool first. (You can also wrap a cooled parbaked crust in plastic wrap and freeze it to top and use later.)
-
Add sauce and the toppings of your choice. You can bake the pizza(s) now, or freeze and bake later. (Tip: Freeze an unbaked pizza on a rack and wrap it after it’s frozen. See the recipe notes for directions on how to bake a frozen pizza.)
-
To bake your pizza now, place the oven rack you removed earlier in the middle position above the pizza stone. It is dangerous to remove a hot pizza stone from the oven, and you want to finish baking your pizza directly on the rack so this is the safest method.
-
Use a cookie sheet to transfer your pizza onto the oven rack. Bake for 16 minutes (round) to 18 minutes (rectangle), then broil if you want more browning on top. Use a cookie sheet to transfer your cooked pizza to a cooling rack. Let the pizza cool on the rack for a few minutes before sliding it onto a cutting board. Slice and enjoy!
Recipe Notes
- I highly recommend using flour that is made with The Plant Based Egg by Freely Vegan. The Plant Based Egg will be available to purchase online very soon at www.freelyvegan.com! (Until then, you can order it by emailing theplantbasedegg@gmail.com). We will also be bringing out a premade gluten free flour in a few months that will already have The Plant Based Egg added to it! Until then, you can make your own gluten free flour by using one of the recipes on this link. (I have lots of variations so everyone should be able to find one that works for their dietary needs. Please note that blends three through sixteen will all work for this recipe but blends one and two do not work well in yeast breads.) The Plant Based Egg replaces both eggs and the xanthan and/or guar gums that you find in most gluten free flours. This allows you to achieve light and fluffy results without any gumminess! (If you try this recipe without The Plant Based Egg, be sure that your flour contains xanthan or guar gum, and know that the results will not be the same.)
- You will need a pizza stone, parchment paper, and some flat cookie sheets. You may be able to use an upside-down baking pan instead of a pizza stone, but I haven’t tried it. I really recommend buying a pizza stone, though, if you don’t have one. I have gotten two of my pizza stones at my local thrift shop for under $5, and they range from about $15 to $40 new. You will also need a sturdy spatula, a thermometer, clean plastic bags, and either a hand mixer with dough hooks or a stand mixer with the paddle attachment. A hand mixer with dough hooks works fine for a single batch, but you will need a stand mixer if you are making a double batch (or you can make two single batches in separate bowls if you don’t have a stand mixer.)
- To bake a frozen pizza, preheat your oven to 450 degrees Fahrenheit, then unwrap the frozen pizza and place it directly on the middle rack in your hot oven. Bake for 18 minutes (round) to 20 minutes (rectangle), then broil if you want more browning on the top. Note: if your pizza has been defrosted before baking, follow the baking directions in the recipe.