Before I start sharing all of my bread recipes, I want to go over the equipment and ingredients that you will need. My recipe posts have detailed directions and step-by-step photos, so it will be helpful to be able to link to this post and not have to cover so much on each recipe!
As I mentioned in Part One, making wonderful GF bread is actually pretty easy – as long as you have the right equipment, ingredients, and recipe. The two most important things you can do are to use the right flour and the correct amount of each of your ingredients. If you get either of these wrong, not even the best recipe can save your bread at that point! Let’s start with the needed equipment, and I’ll cover the flour when I get to the ingredients.
Measuring is terribly inaccurate and there isn’t even a set standard for measuring cups and spoons. Being off by even ten to twenty grams (2 to 4 teaspoons) of water will change how your dough rises and your bread’s final texture. There is simply no way you can use a measuring cup and not be off by at least that much. Flour is very difficult to measure and you will get a different amount every time, even if you always use the same technique. (If you need more convincing, read my post on “Why Use a Scale.”)
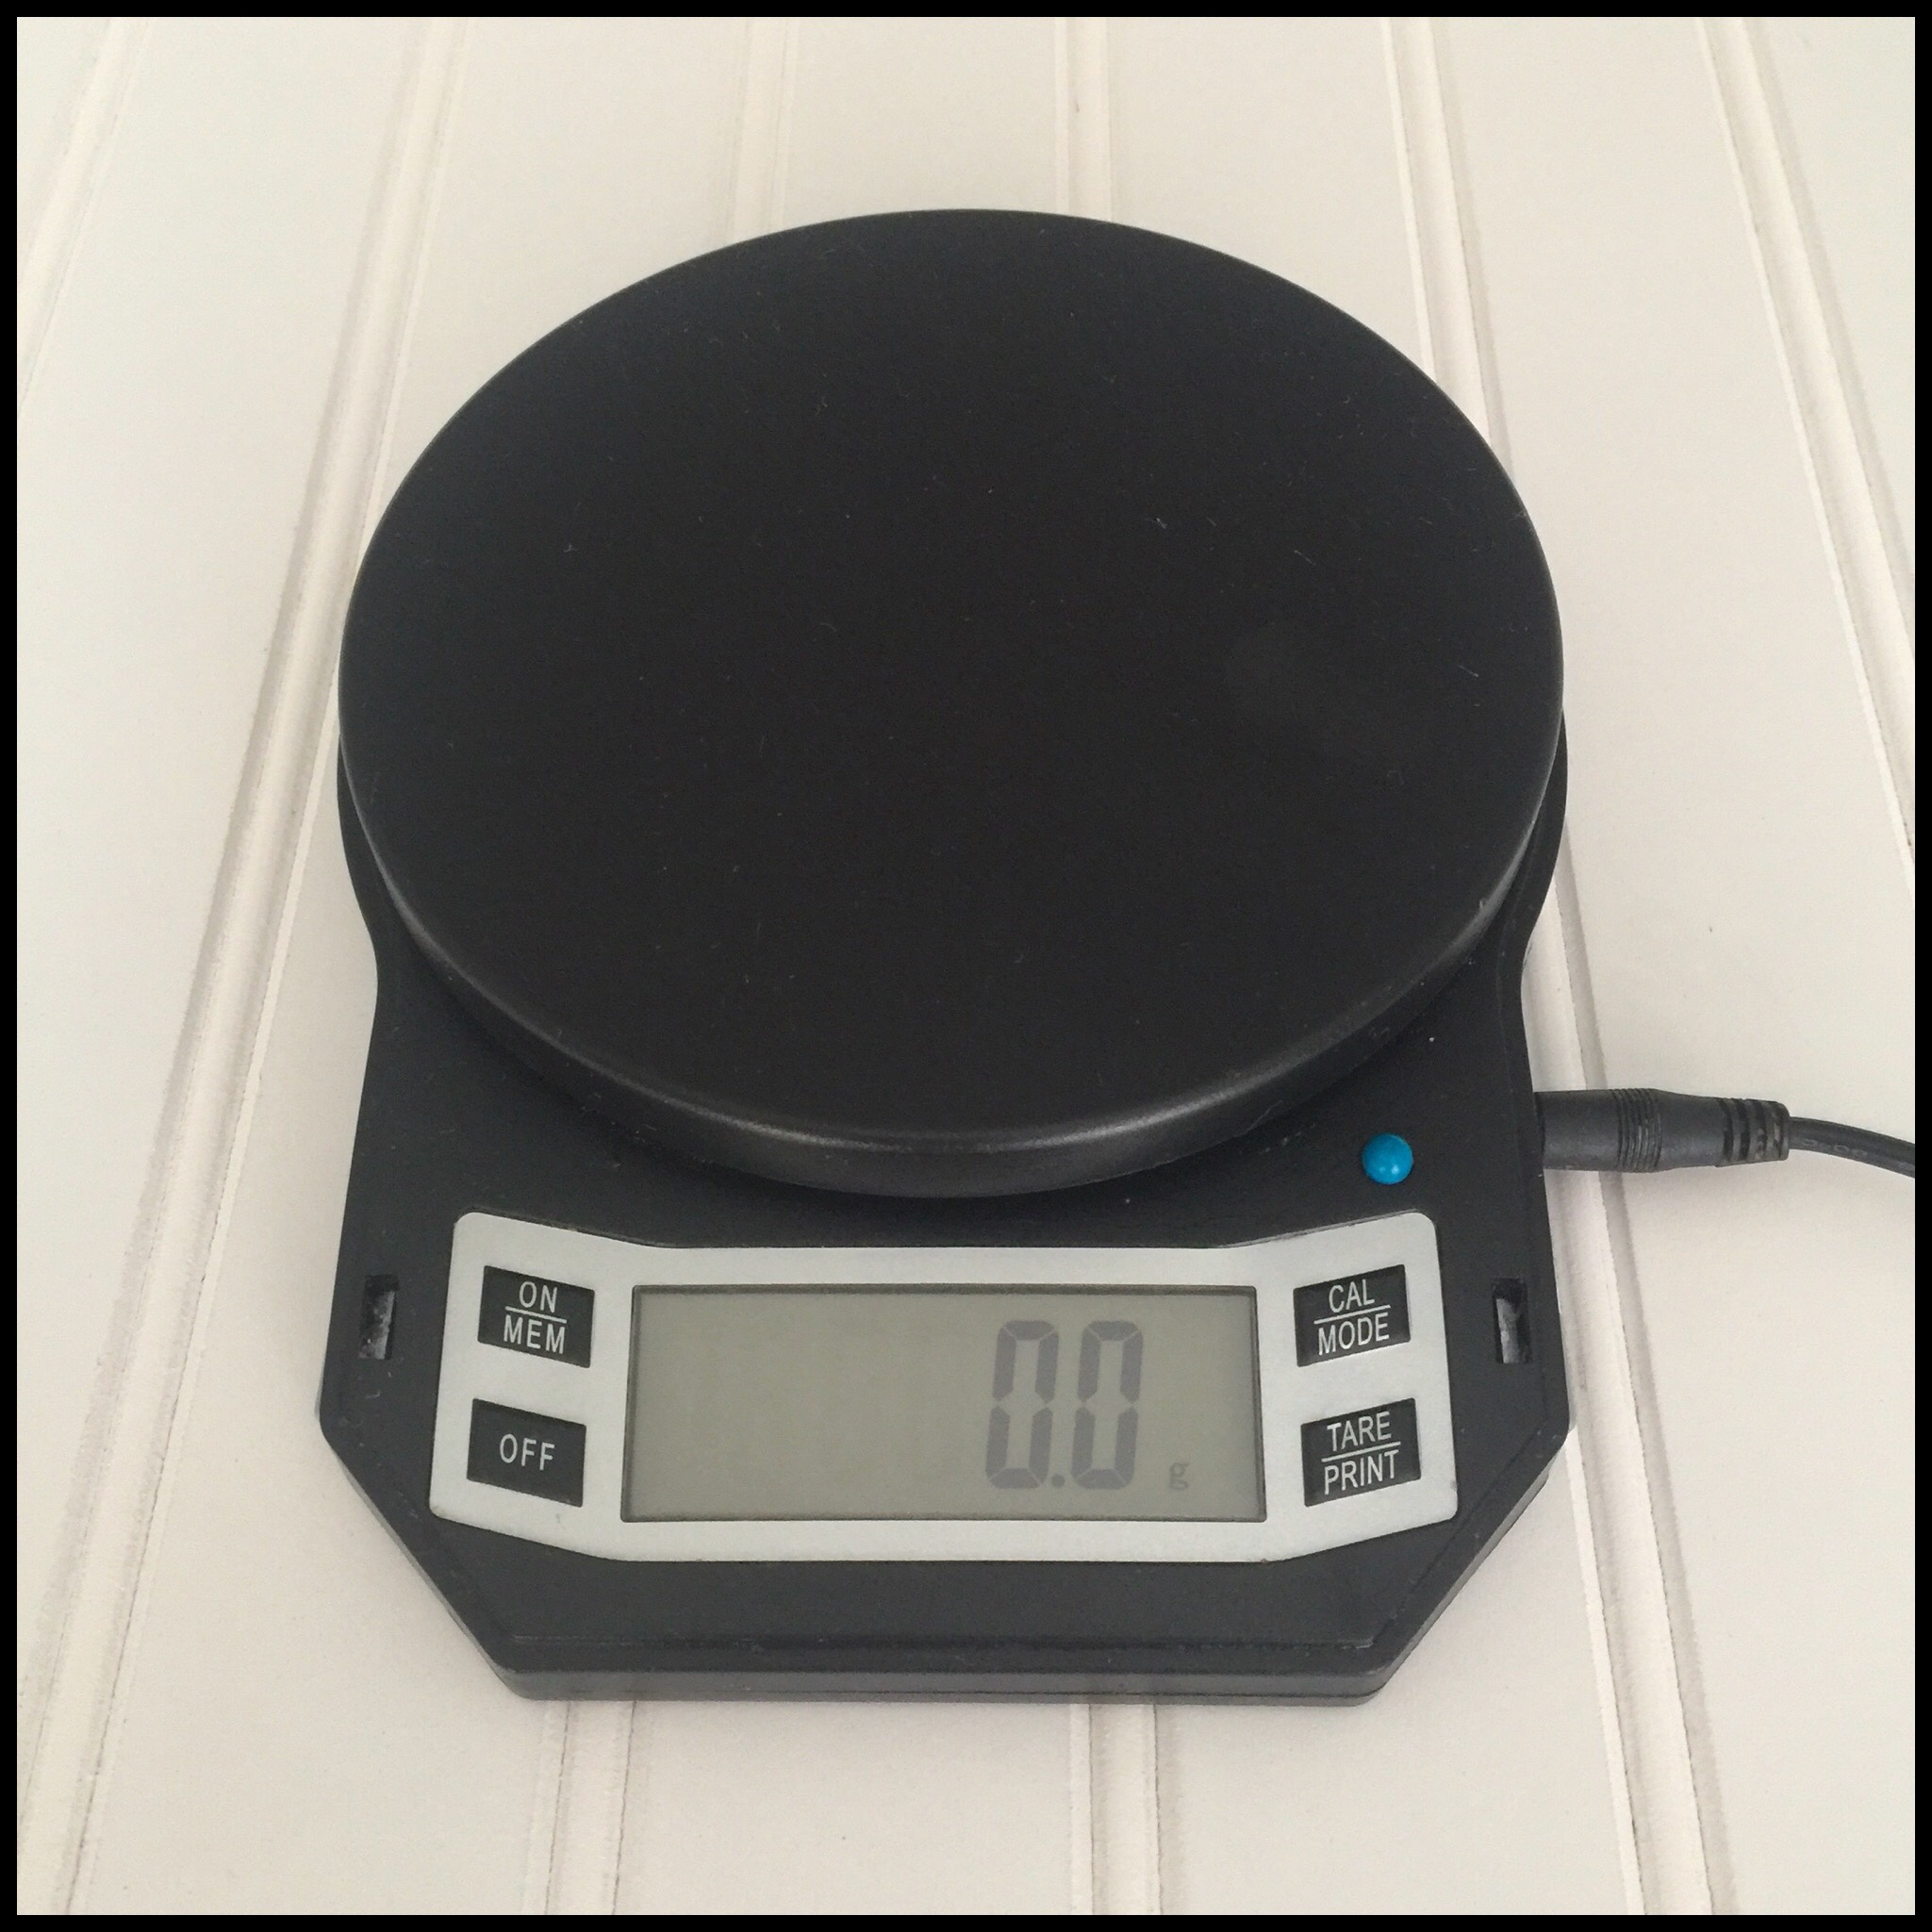
For convenience and accuracy, I recommend using a digital kitchen scale that reads to 0.1 grams and that plugs in. This will allow you to weigh even small quantities of salt and spices accurately, and you will never have to worry about your scale shutting down while you are weighing an ingredient. The American Weigh Scales LB-3000 is my favorite scale and it’s around $25 on Amazon. (Note: I don’t use the bowl that comes with it and I gently remove the lid. You can still cover the scale with the lid when you’re not weighing something, but it’s easier to use the scale without the lid attached.)
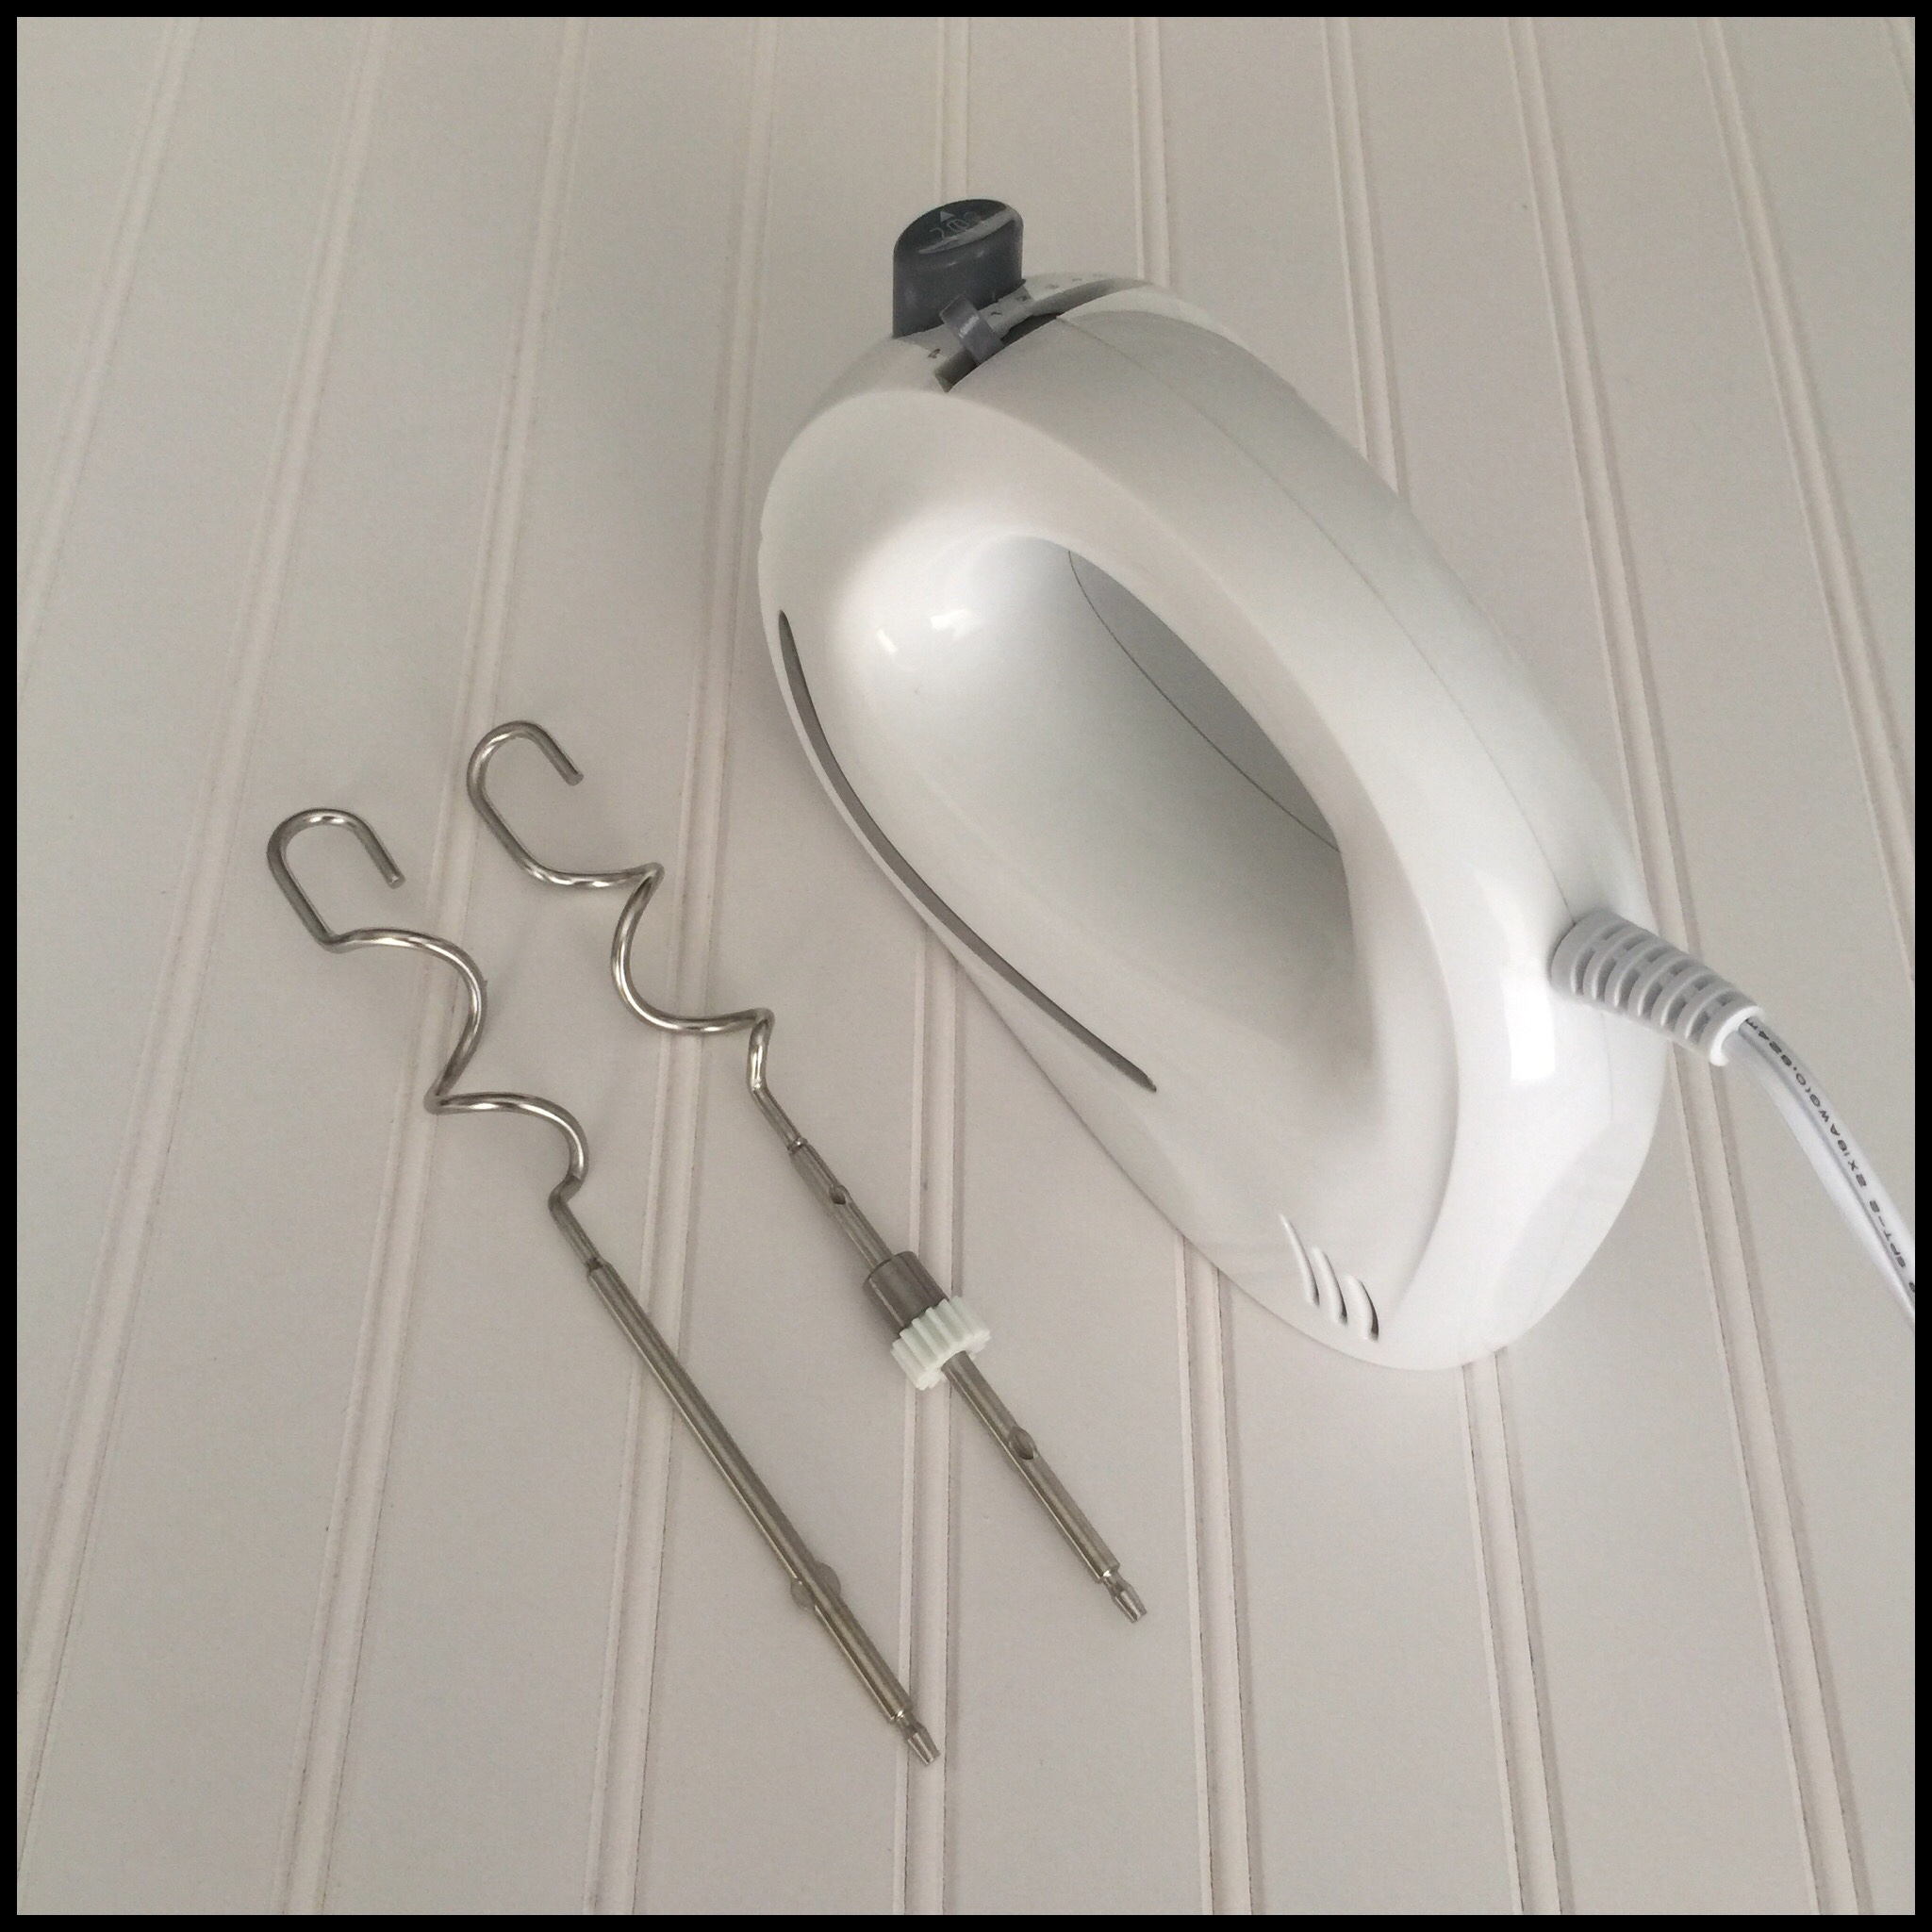
You will also need a mixer to mix and knead your dough. I only use my stand mixer when I am making a large sandwich loaf (13′ x 4′), and really prefer using a hand mixer with dough hooks for small and medium-sized breads. I have several hand mixers and have never paid more than $20 for any of them. I have used a variety of brands and do not have a preference. Just get any hand mixer that comes with dough hooks, and that can stand up on its end. The one below looks like it should stand up, but the position of the cord gets in the way. It’s not necessary to be able to stand your mixer on its end, but mighty inconvenient when it doesn’t!
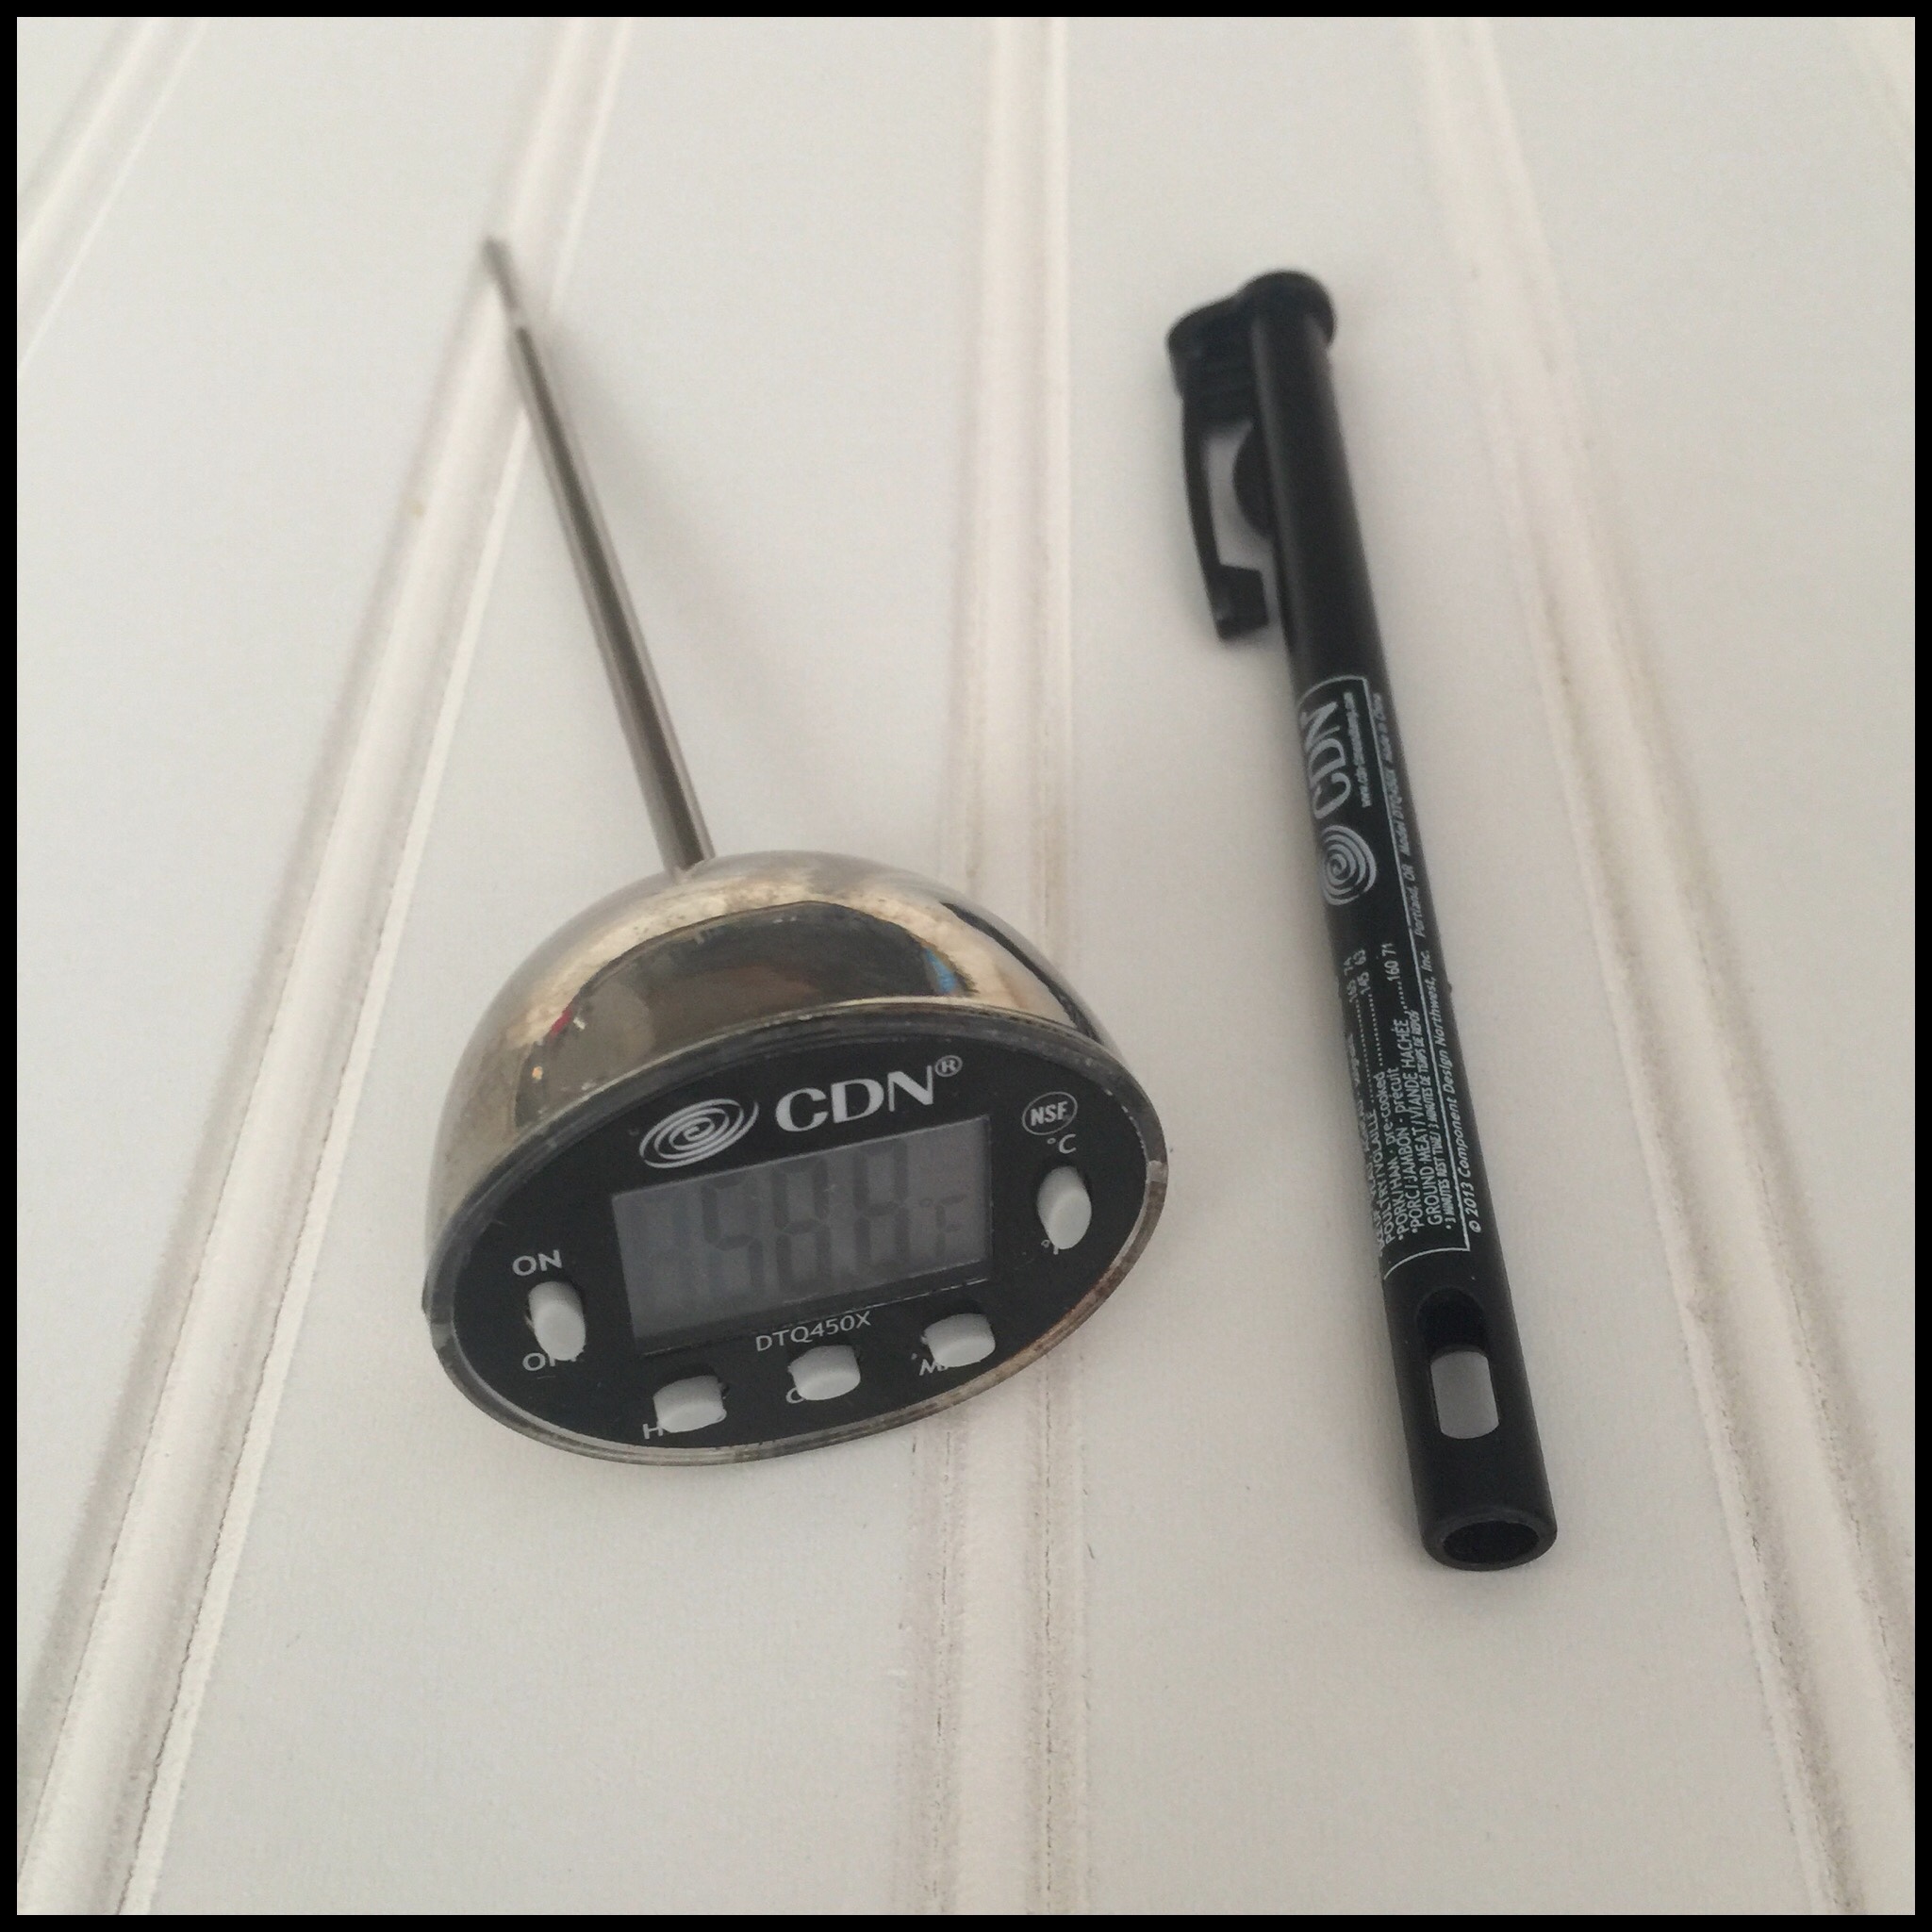
I also recommend using an instant-read thermometer to check the temperature of your water. A lot of recipes will just say to use warm water, but that isn’t very helpful. In my recipes, I like to use water at 80 degrees Fahrenheit. That still feels almost cool to the touch and it’s very hard to judge accurately without a thermometer. This one is under $15 at Amazon. I have been using it for several years with no problems.
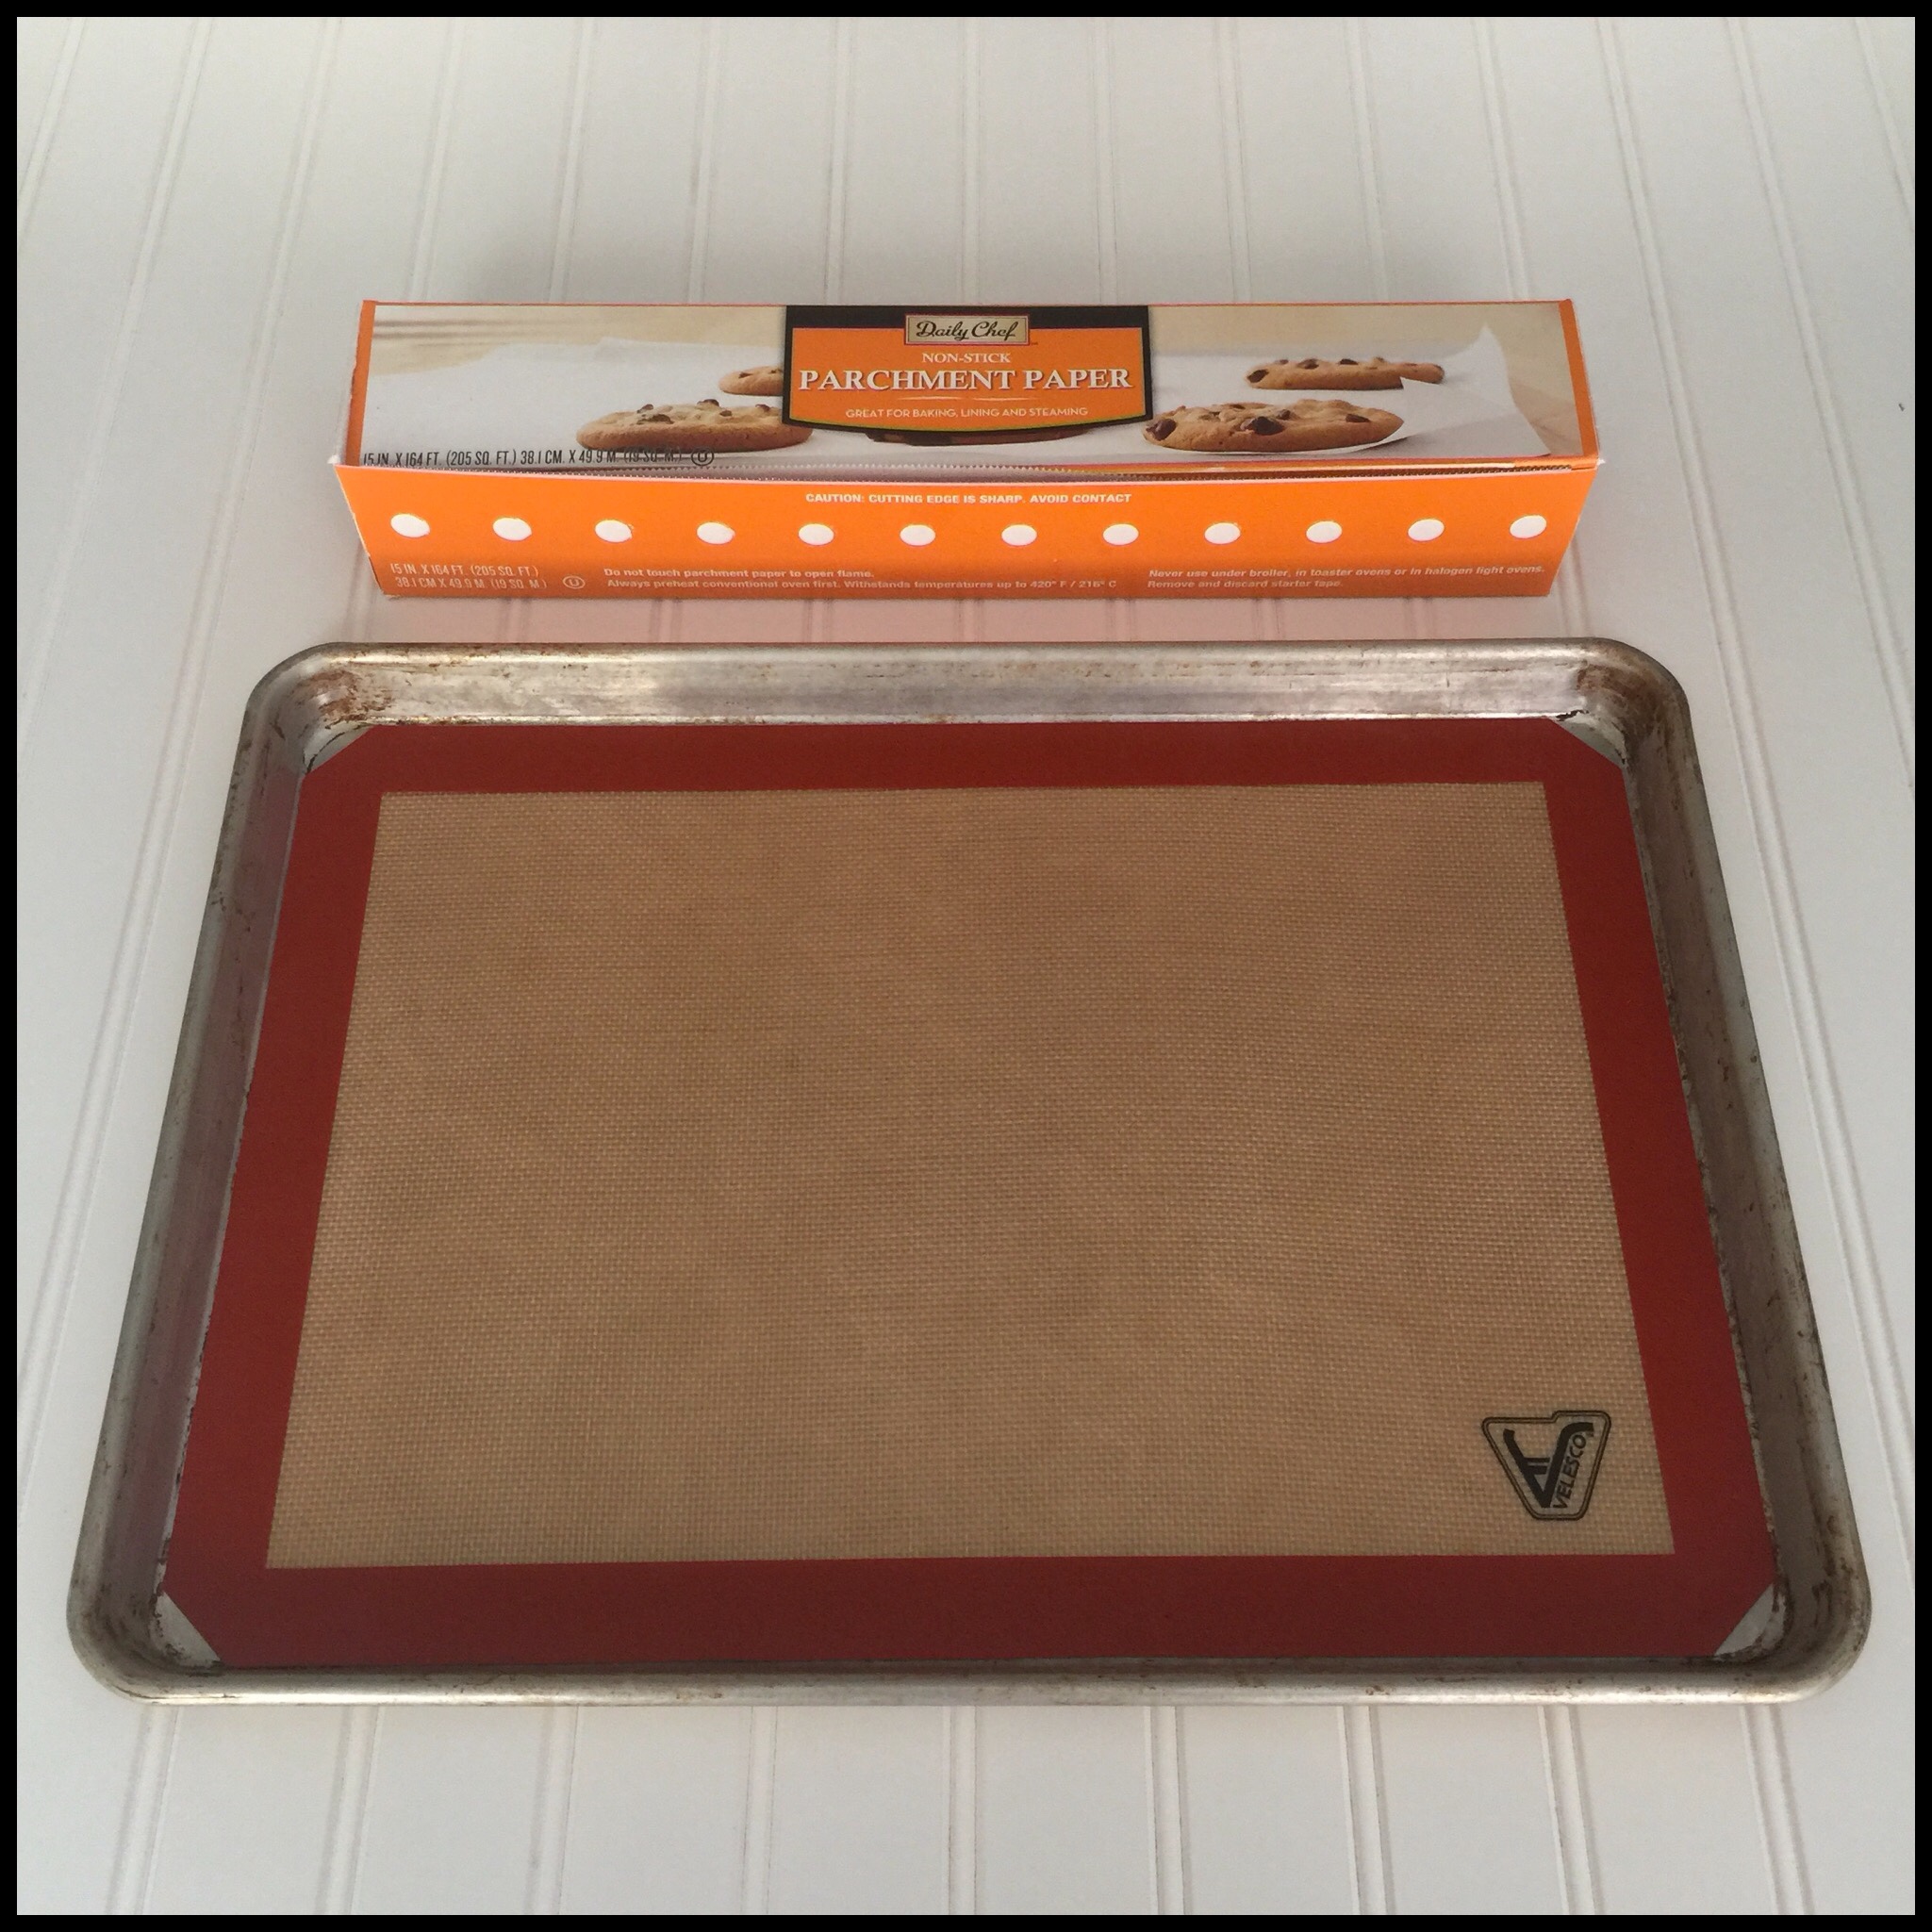
I like to use a half-sheet pan for baking rolls, boules, and braided loaves. (Parchment paper is slippery and using a rimmed pan means less risk of your rolls sliding off the pan!) You can get them pretty inexpensively at many stores. I got mine in a two-pack from Sam’s Club for less than $11.
You can use either parchment paper or a silicone baking mat to line your pan. I get large rolls of parchment at Sam’s Club and also really like the Velesco mat shown below. The mats work very well, clean up easily, and are available as a three pack for $17 on Amazon.
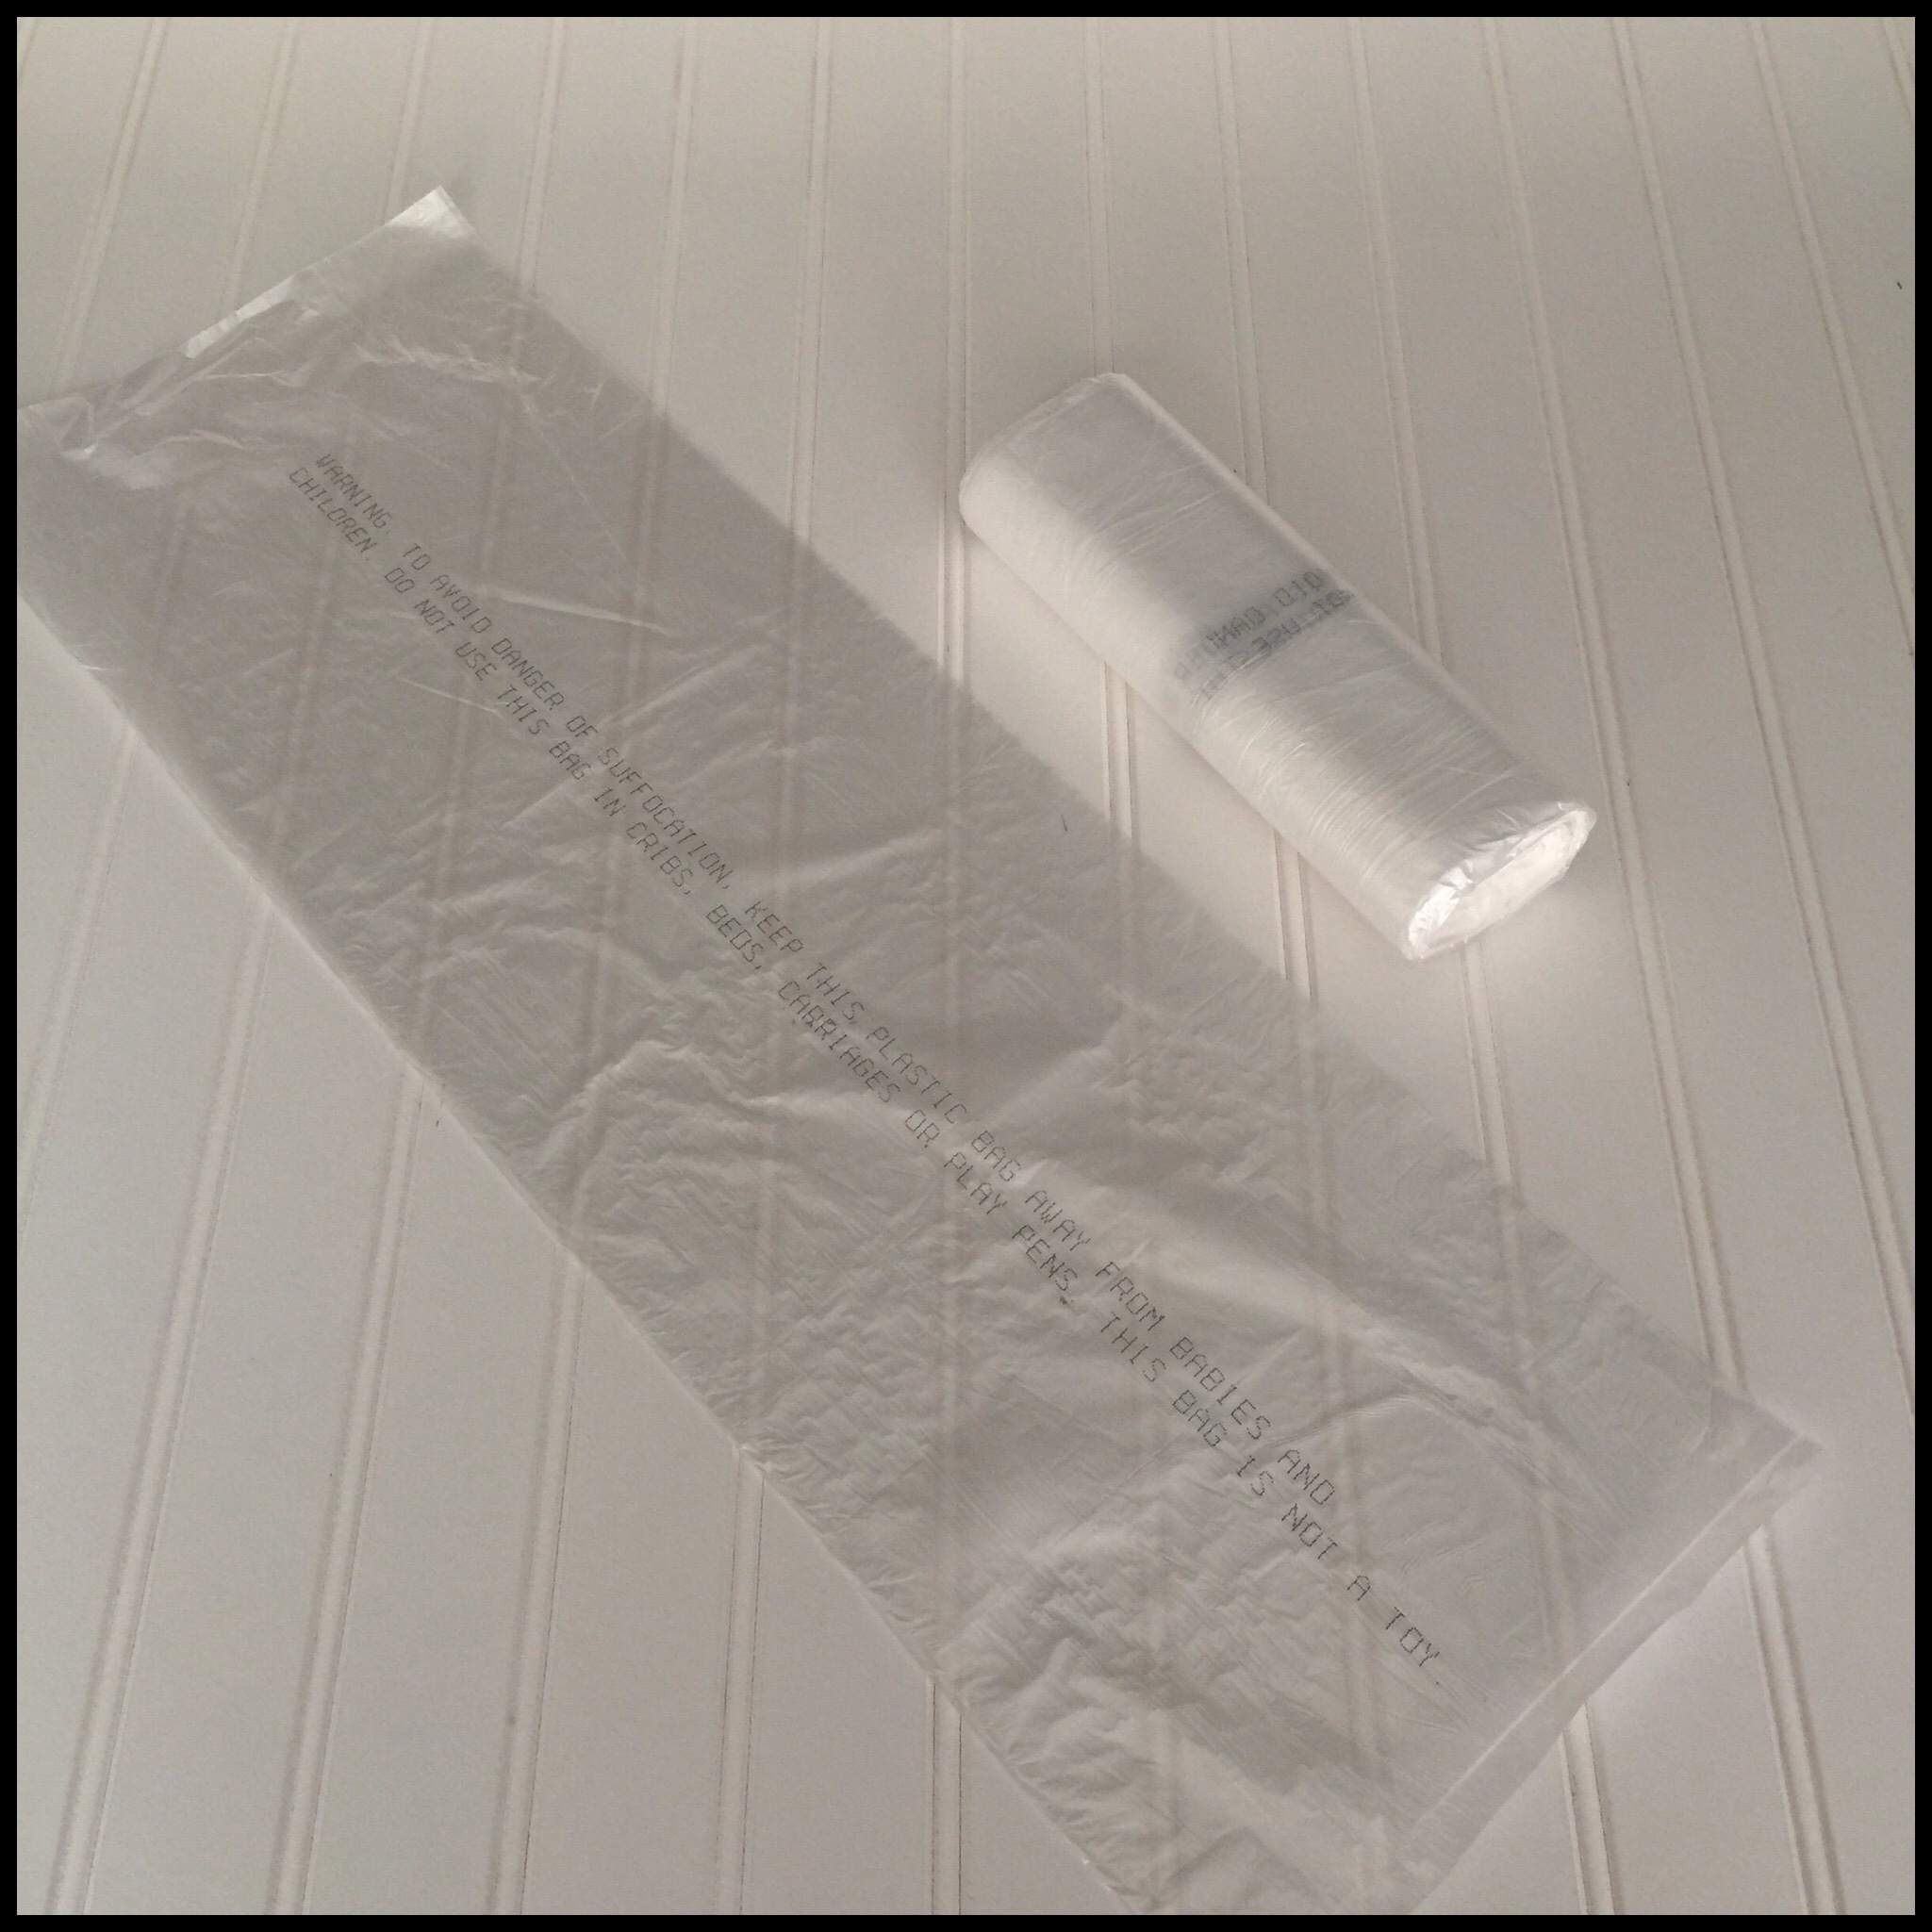
One of my best discoveries was to use a 10-gallon plastic bag as a proofing box. The bag holds moisture around the dough so it rises well and doesn’t dry out. The bags cost about two cents apiece and you can use one bag multiple times if you are careful with it. I got a box of 1,000 from Sam’s Club for $19.
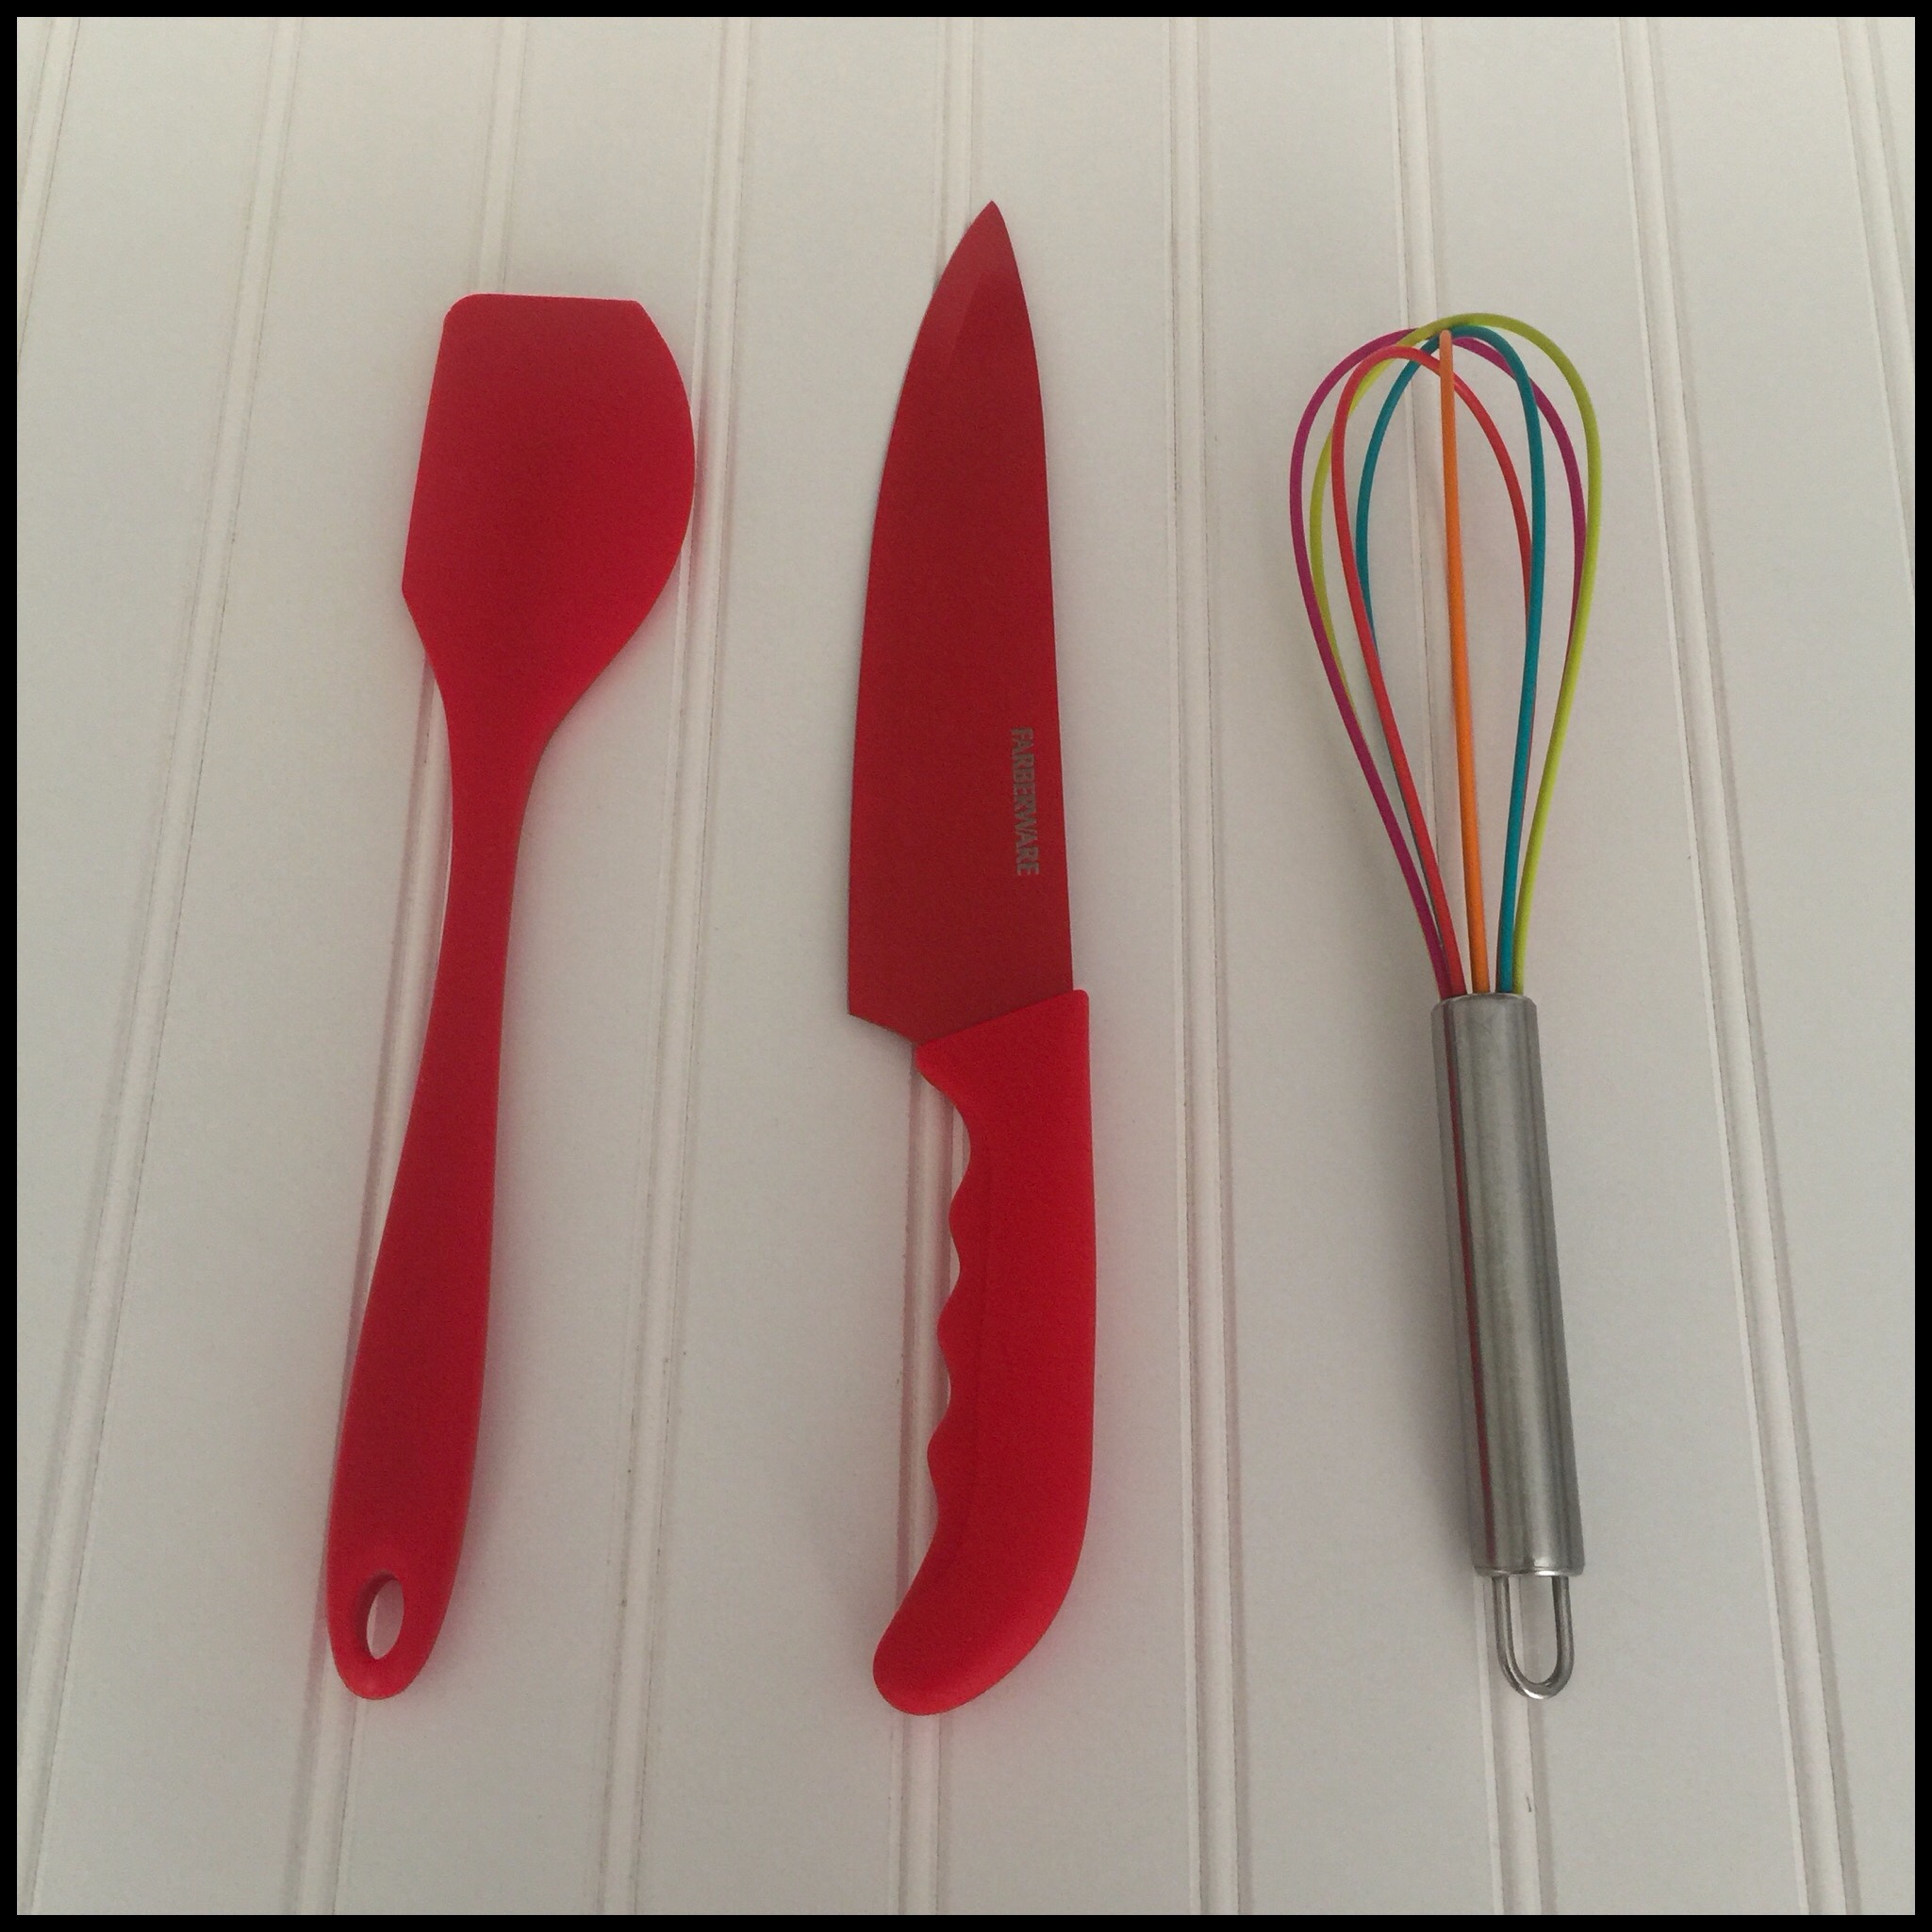
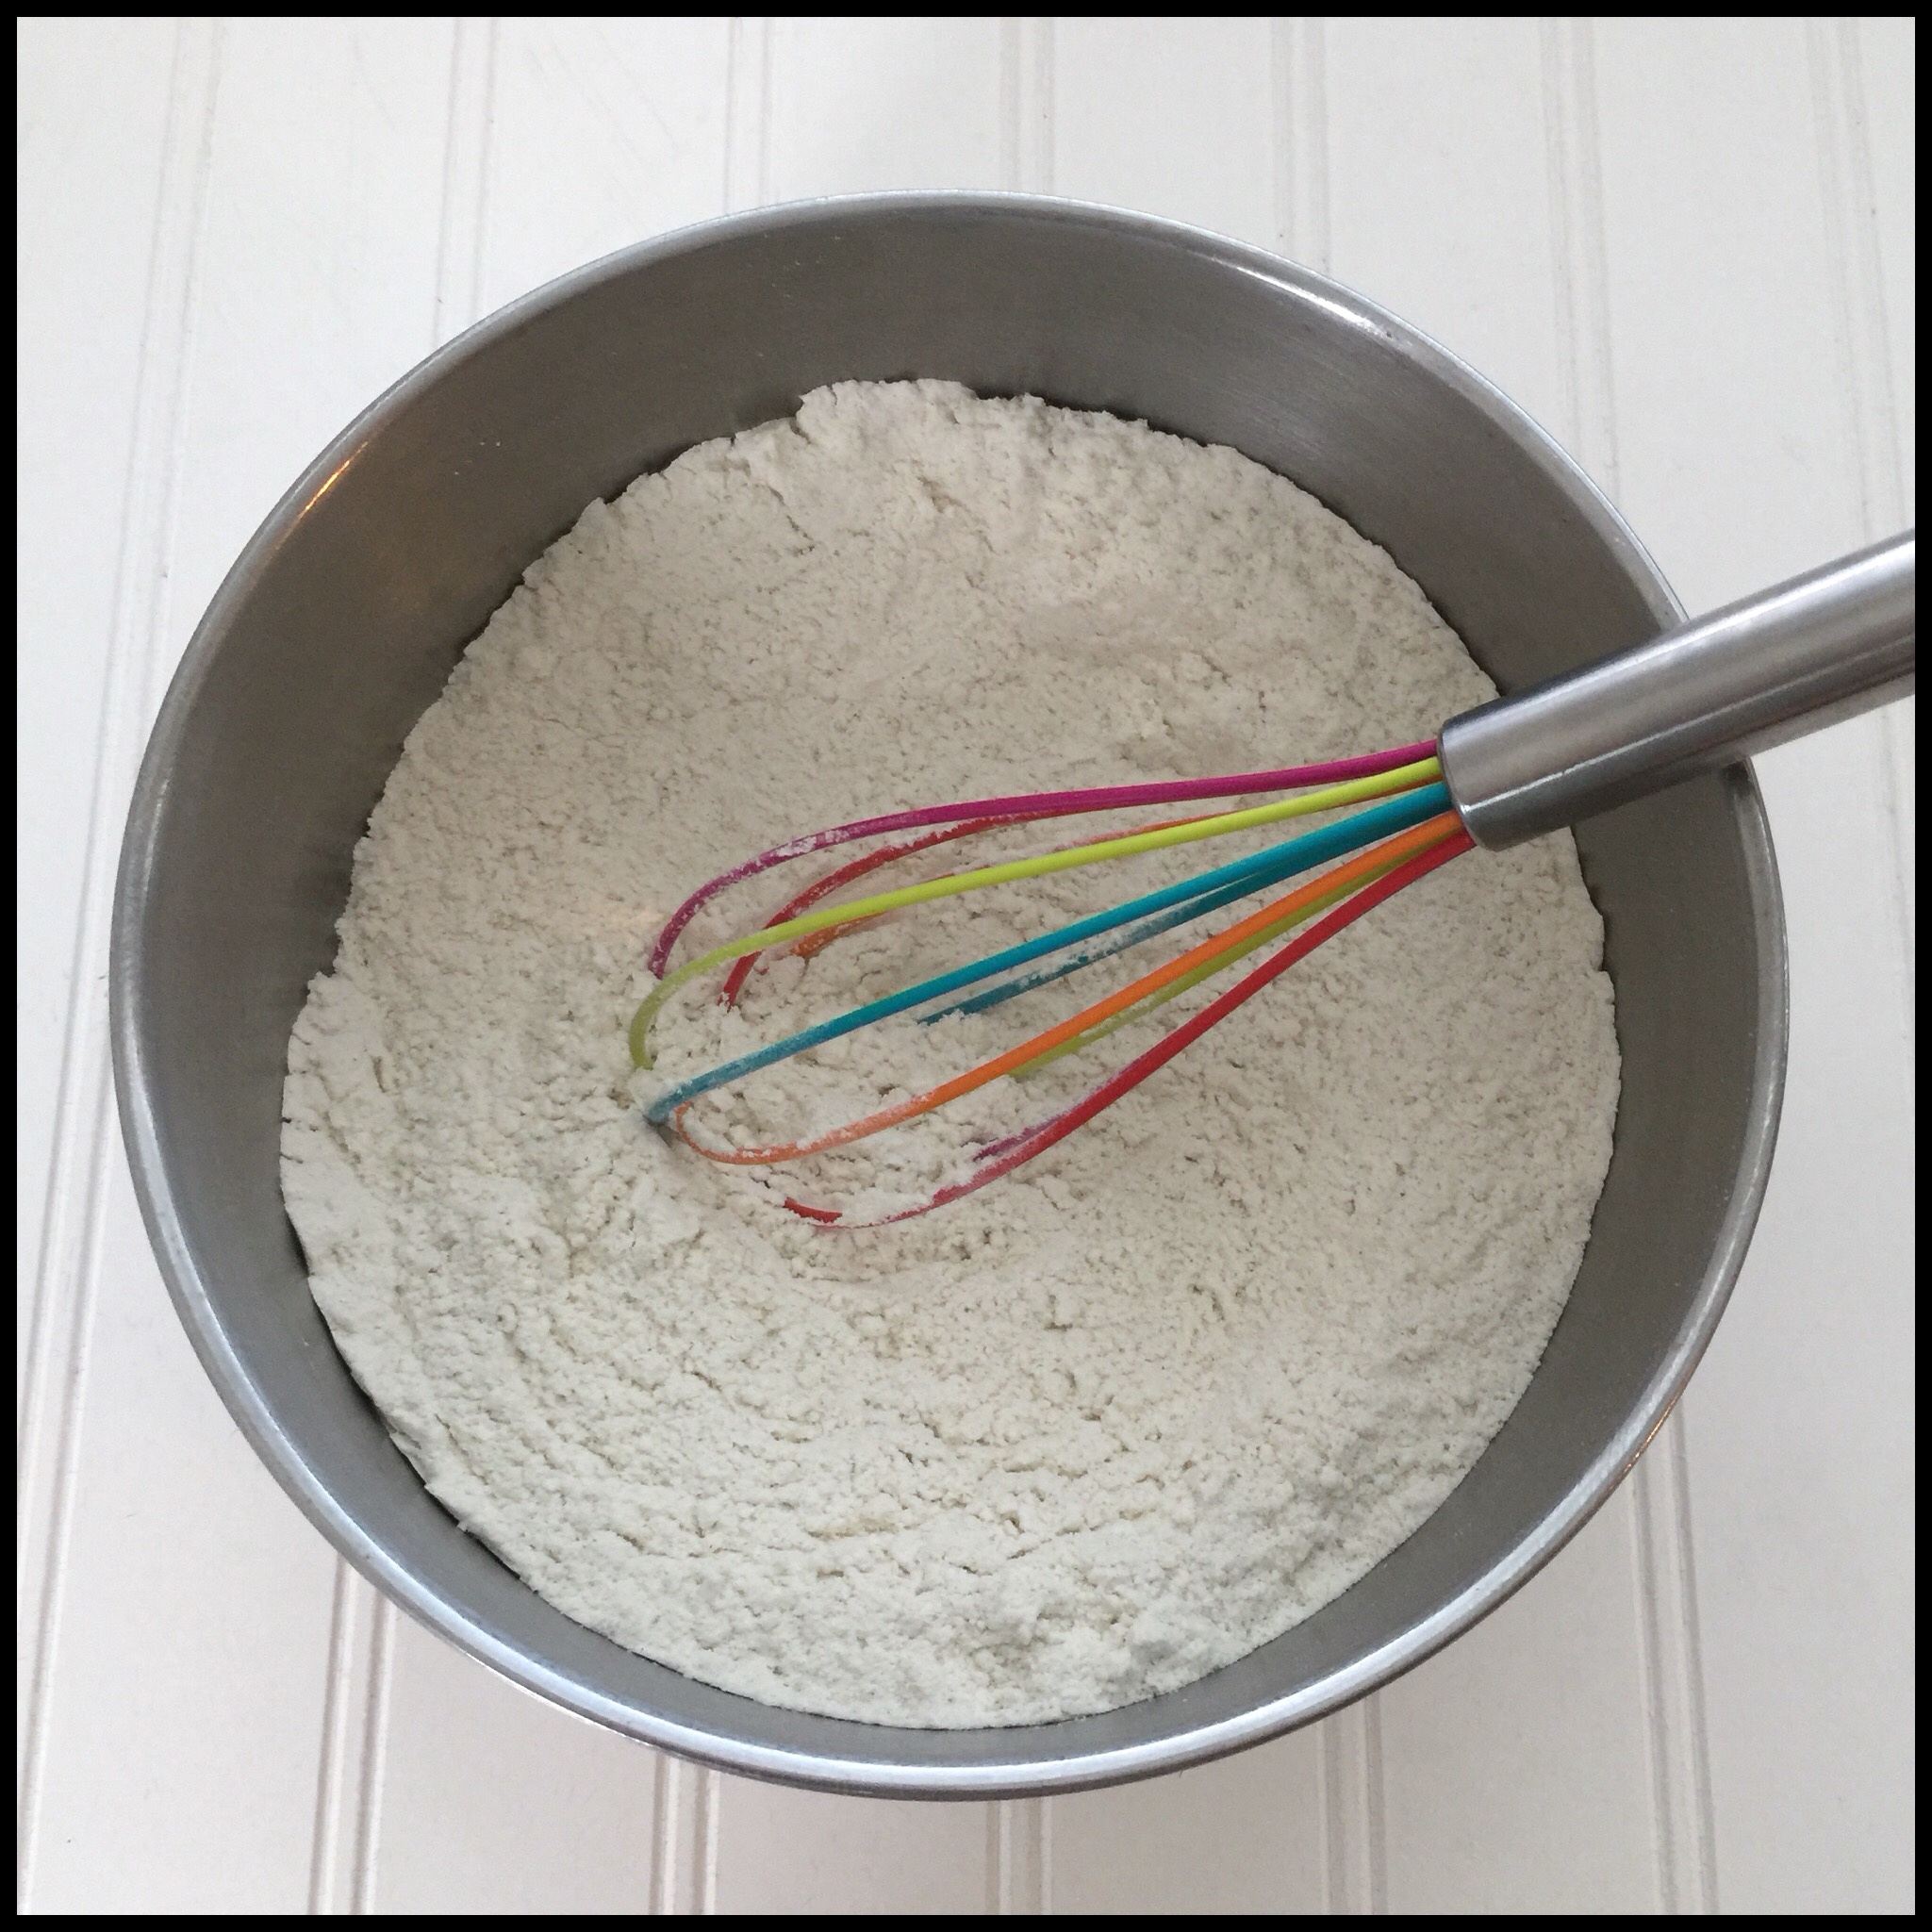
You will also need a sturdy spatula, a very sharp knife or lame, and a whisk. Use any that are comfortable for your hand.
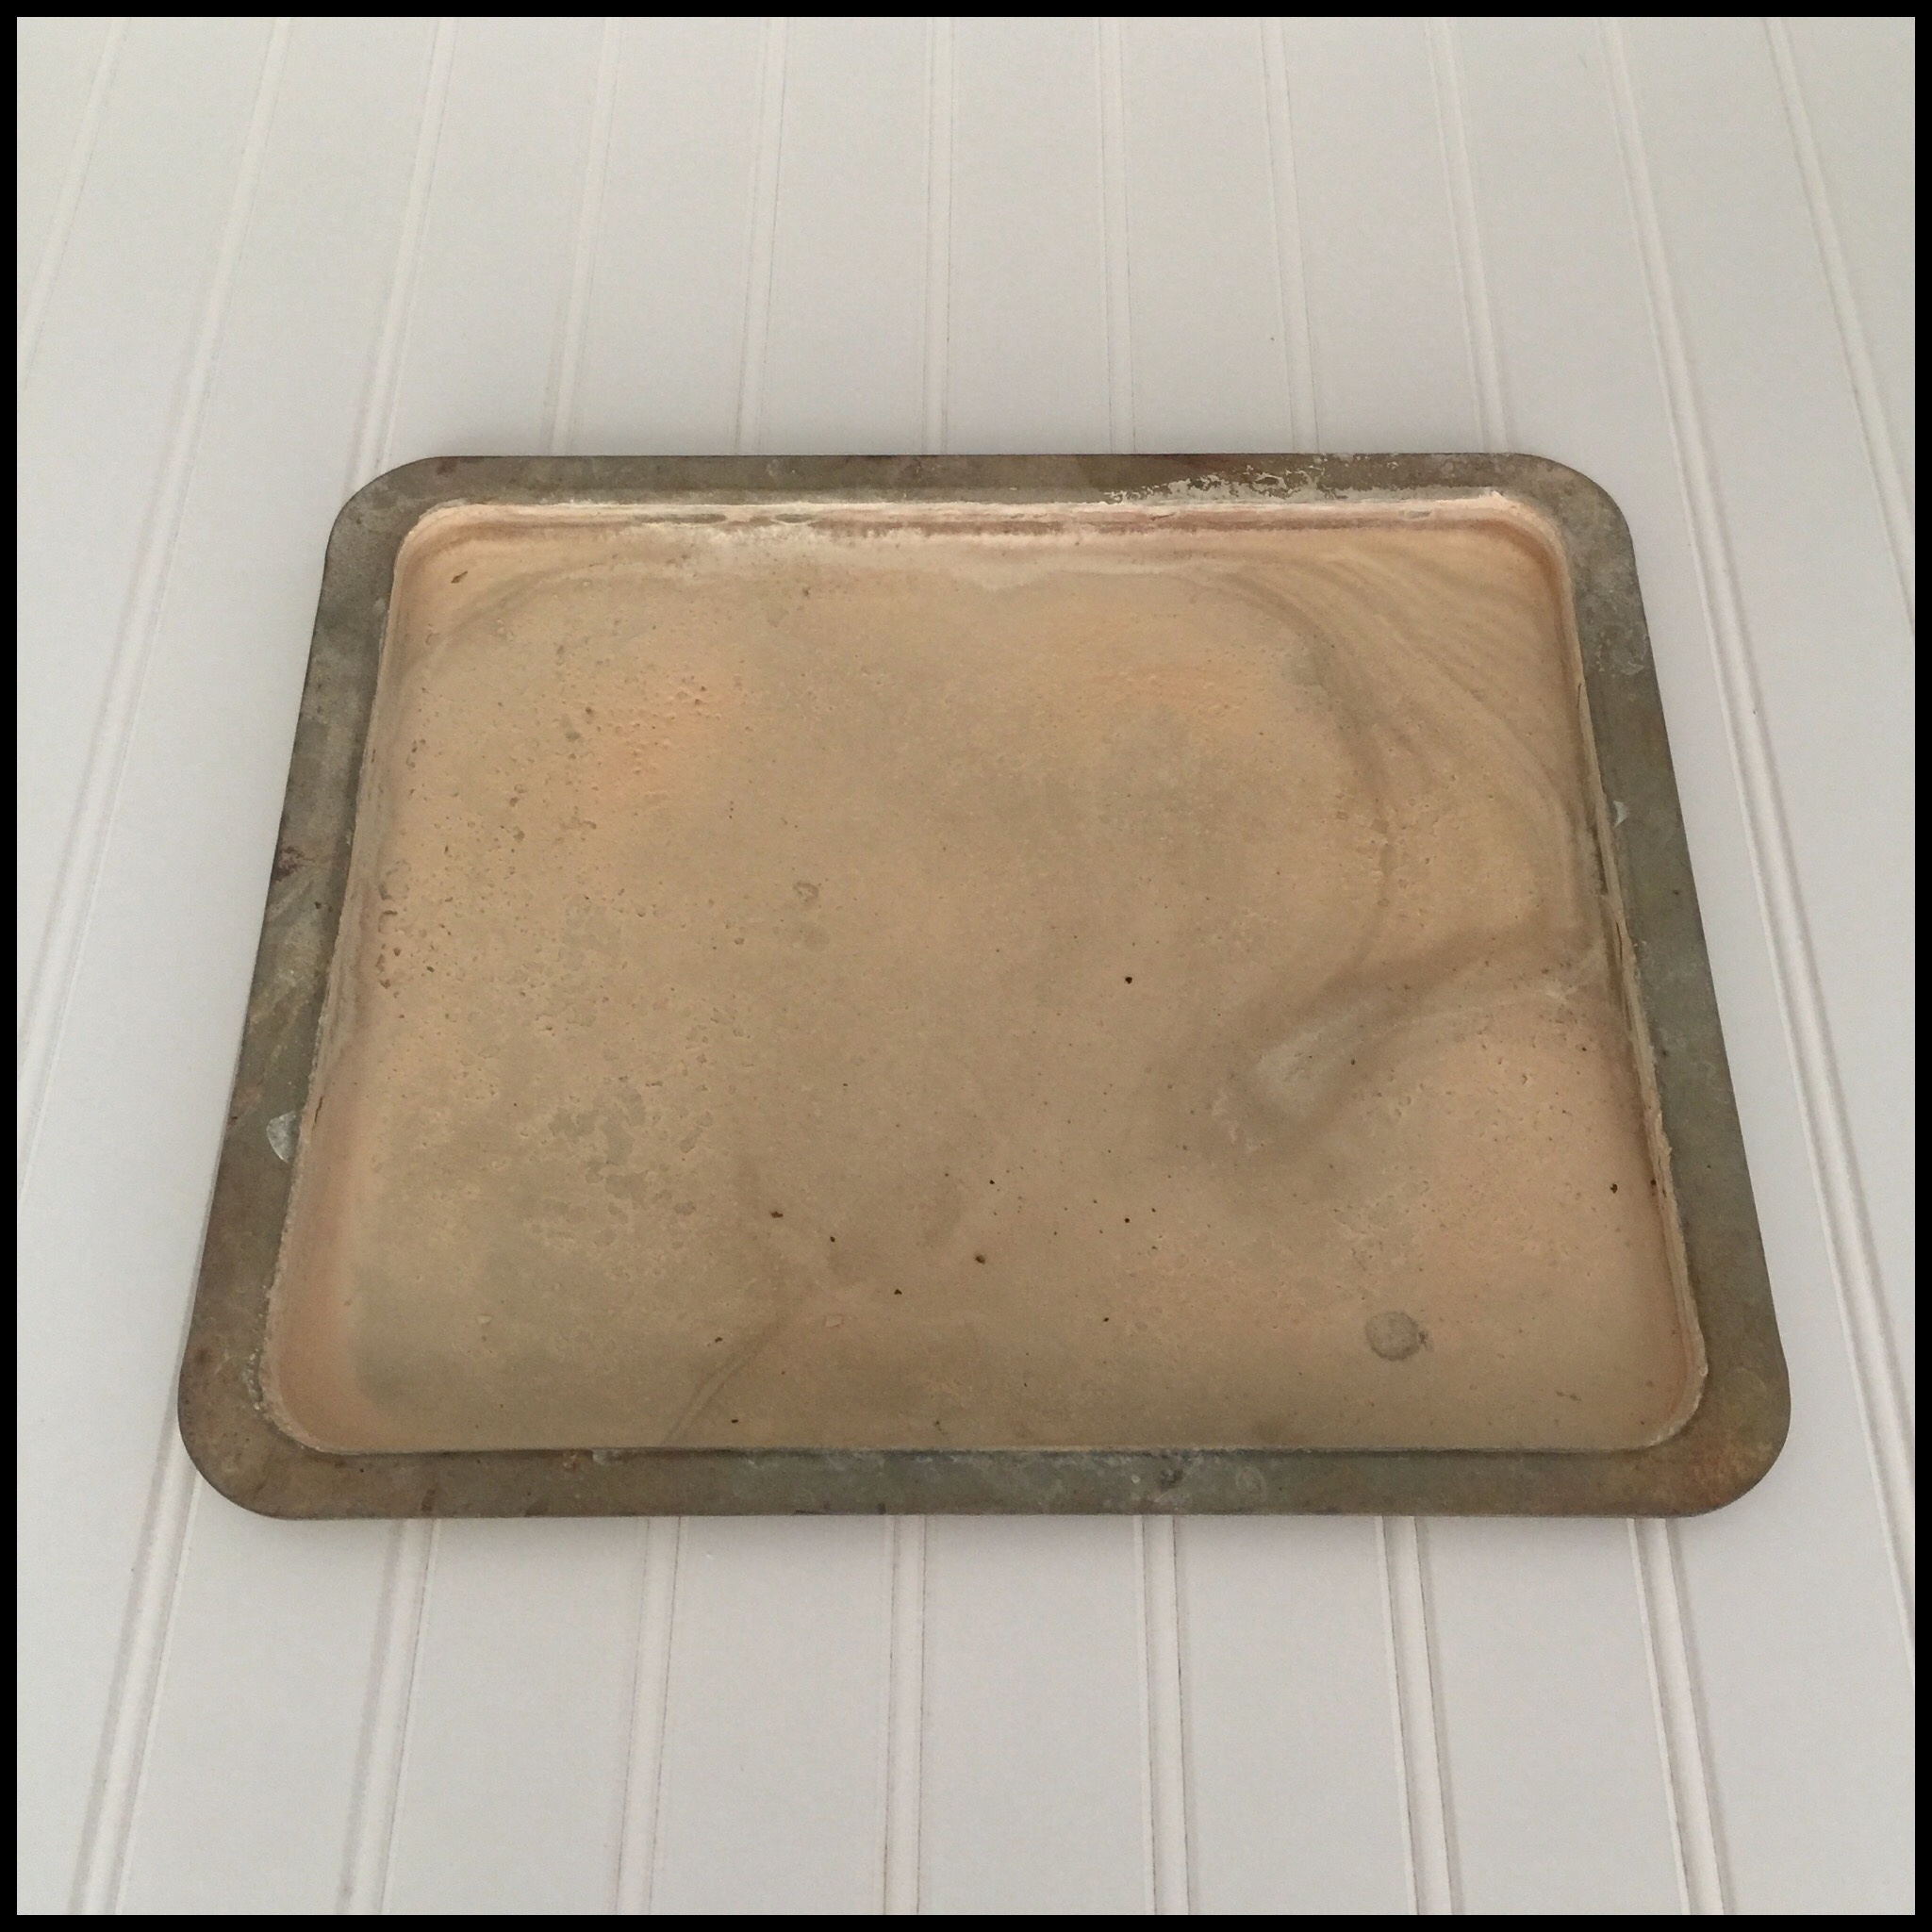
Creating steam in your oven is essential for getting a good bake. You do not need a fancy steam-injected oven, though, as a pan of water on the lowest rack works just fine. I use an old, dingy pan just for this. We have very rusty well water (we don’t drink or cook with it!) so I would never use a good pan for this purpose.
You will need a timer too. I just use the one on my phone.
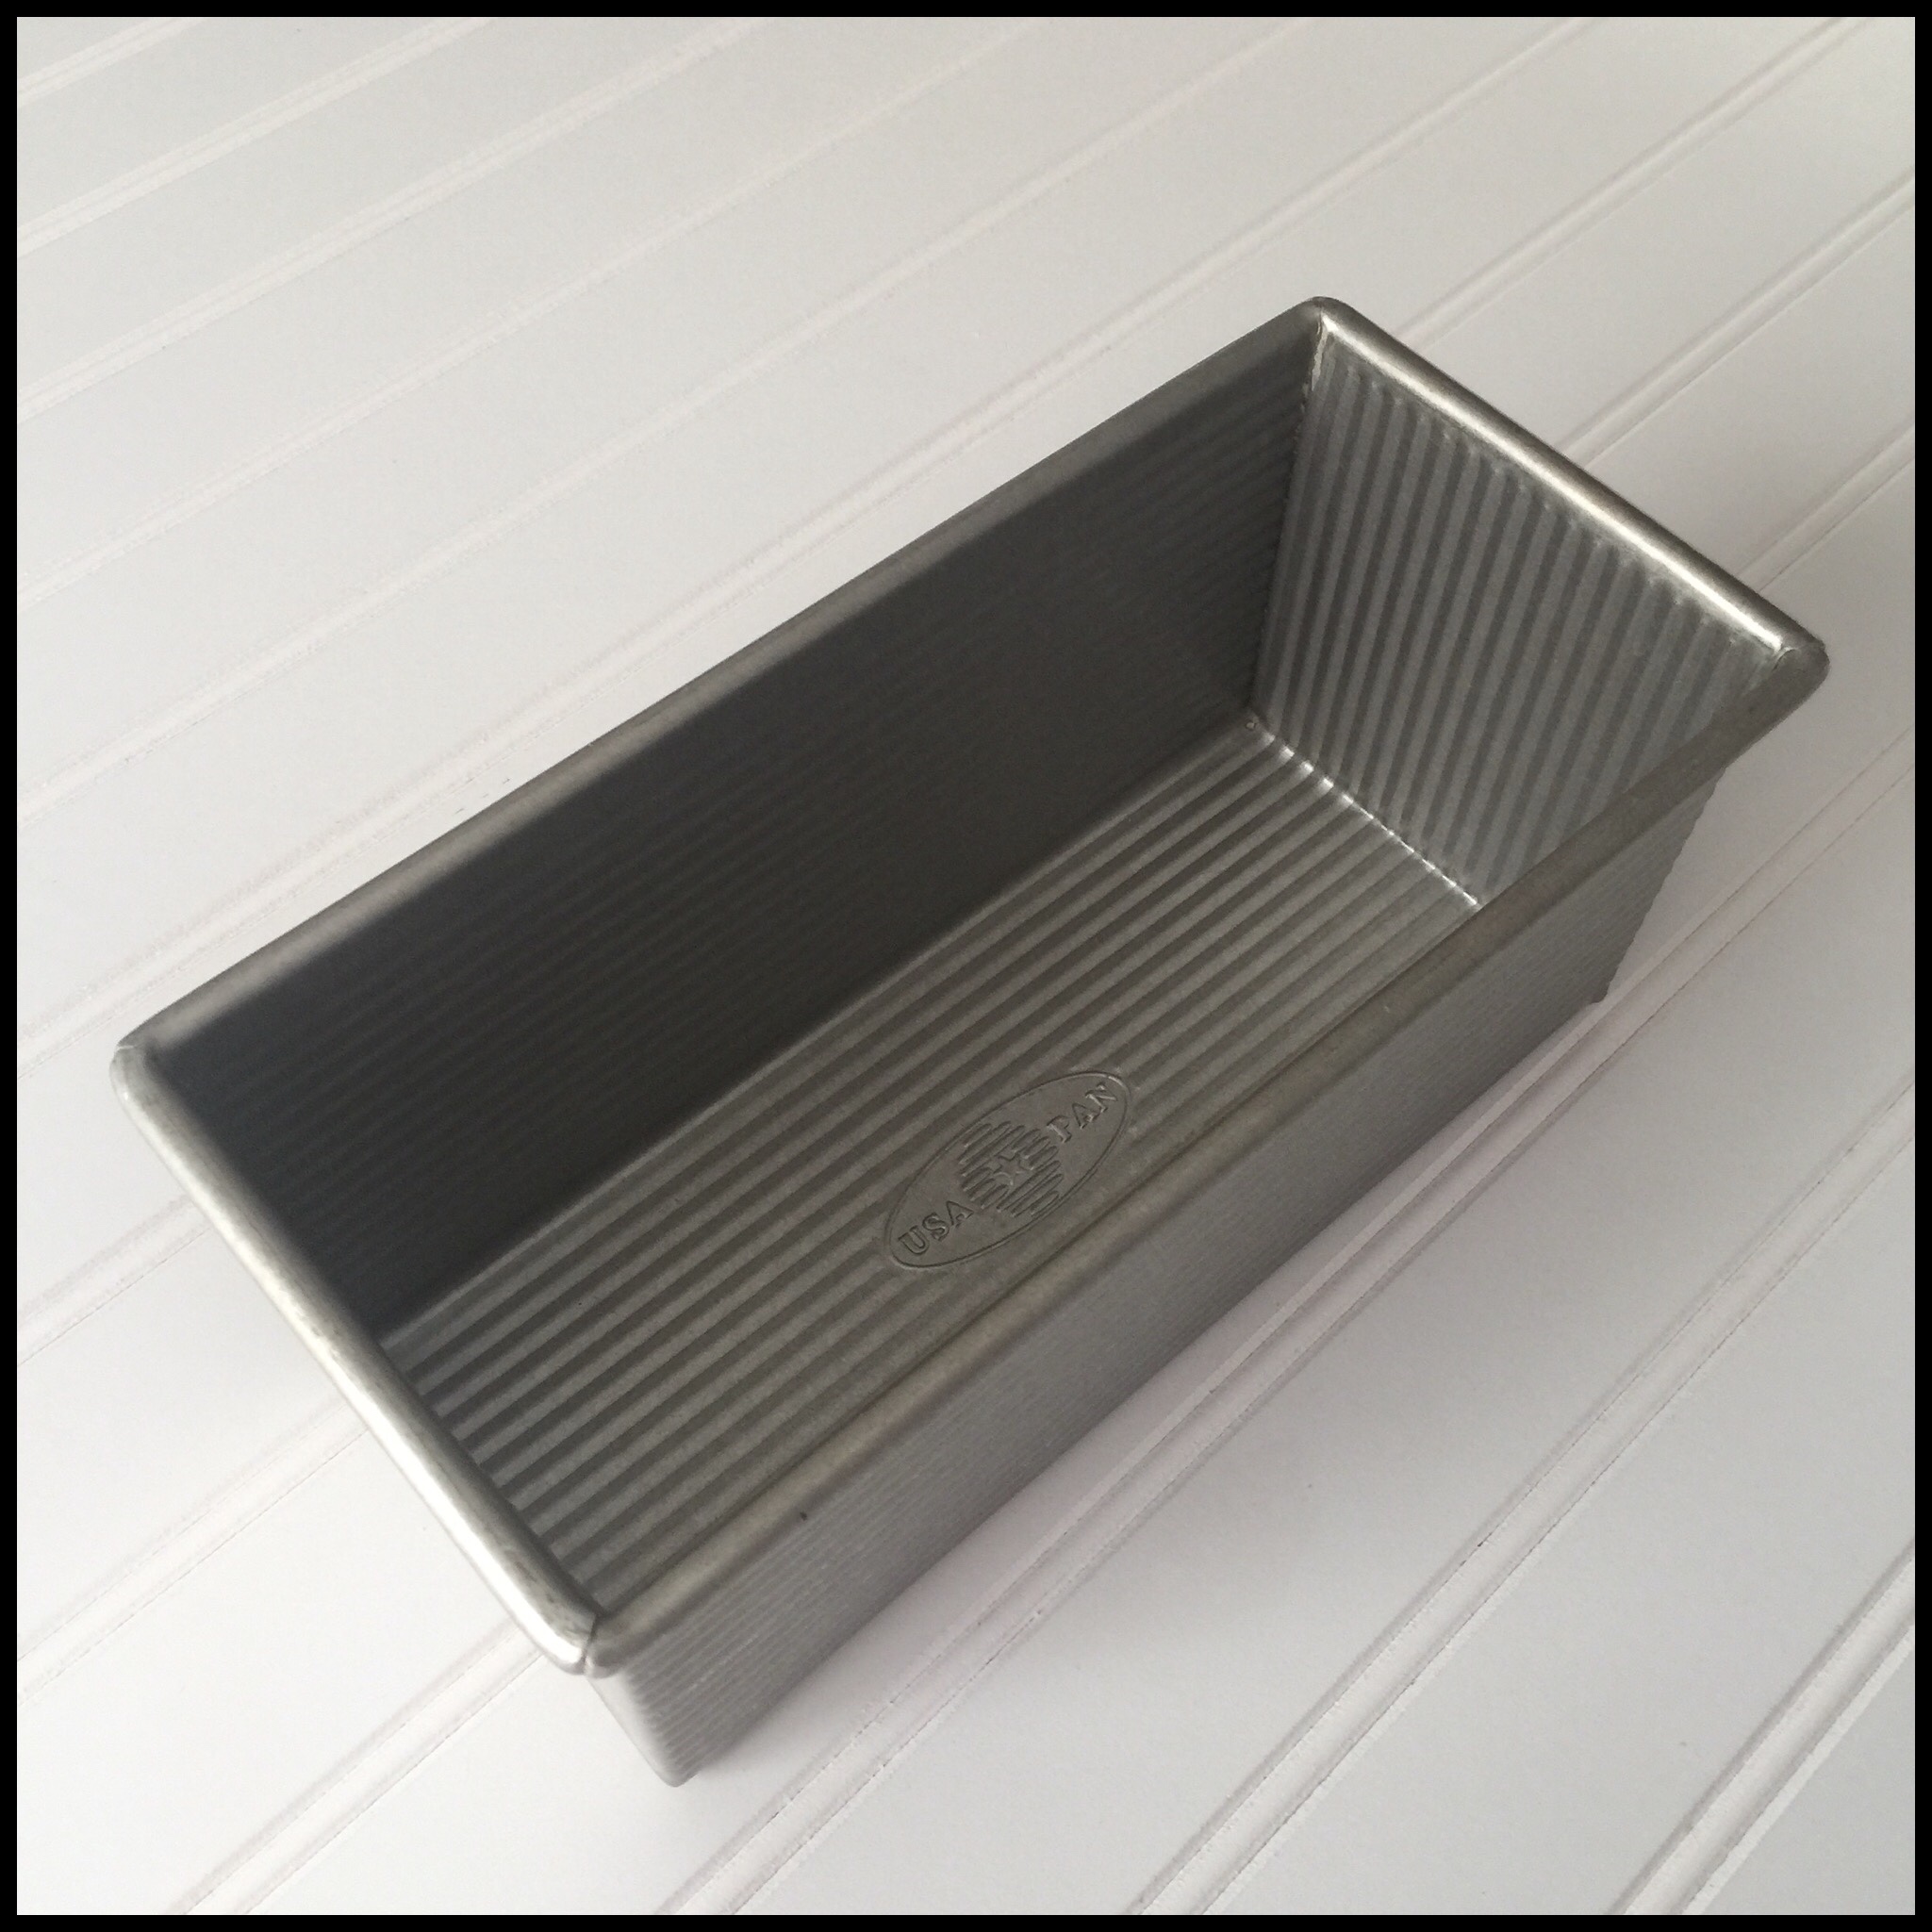
If you plan to make sandwich loaves, I highly recommend getting a 9″ x 4″ Pullman loaf pan. It is around $19 on Amazon and is necessary if you want big, tall loaves of bread. The sides of the Pullman pan are straight up and down instead of angled out, and they are also over an inch taller than a standard pan. (I also have a large 13″ x 4″ Pullman pan that I use for making bakery-sized loaves of sandwich bread.) Your bread will taste just as good if you bake it in a standard 9″ x 5″ pan, but it won’t be quite as light and fluffy in texture and it won’t look as beautiful as when baked in a Pullman pan.
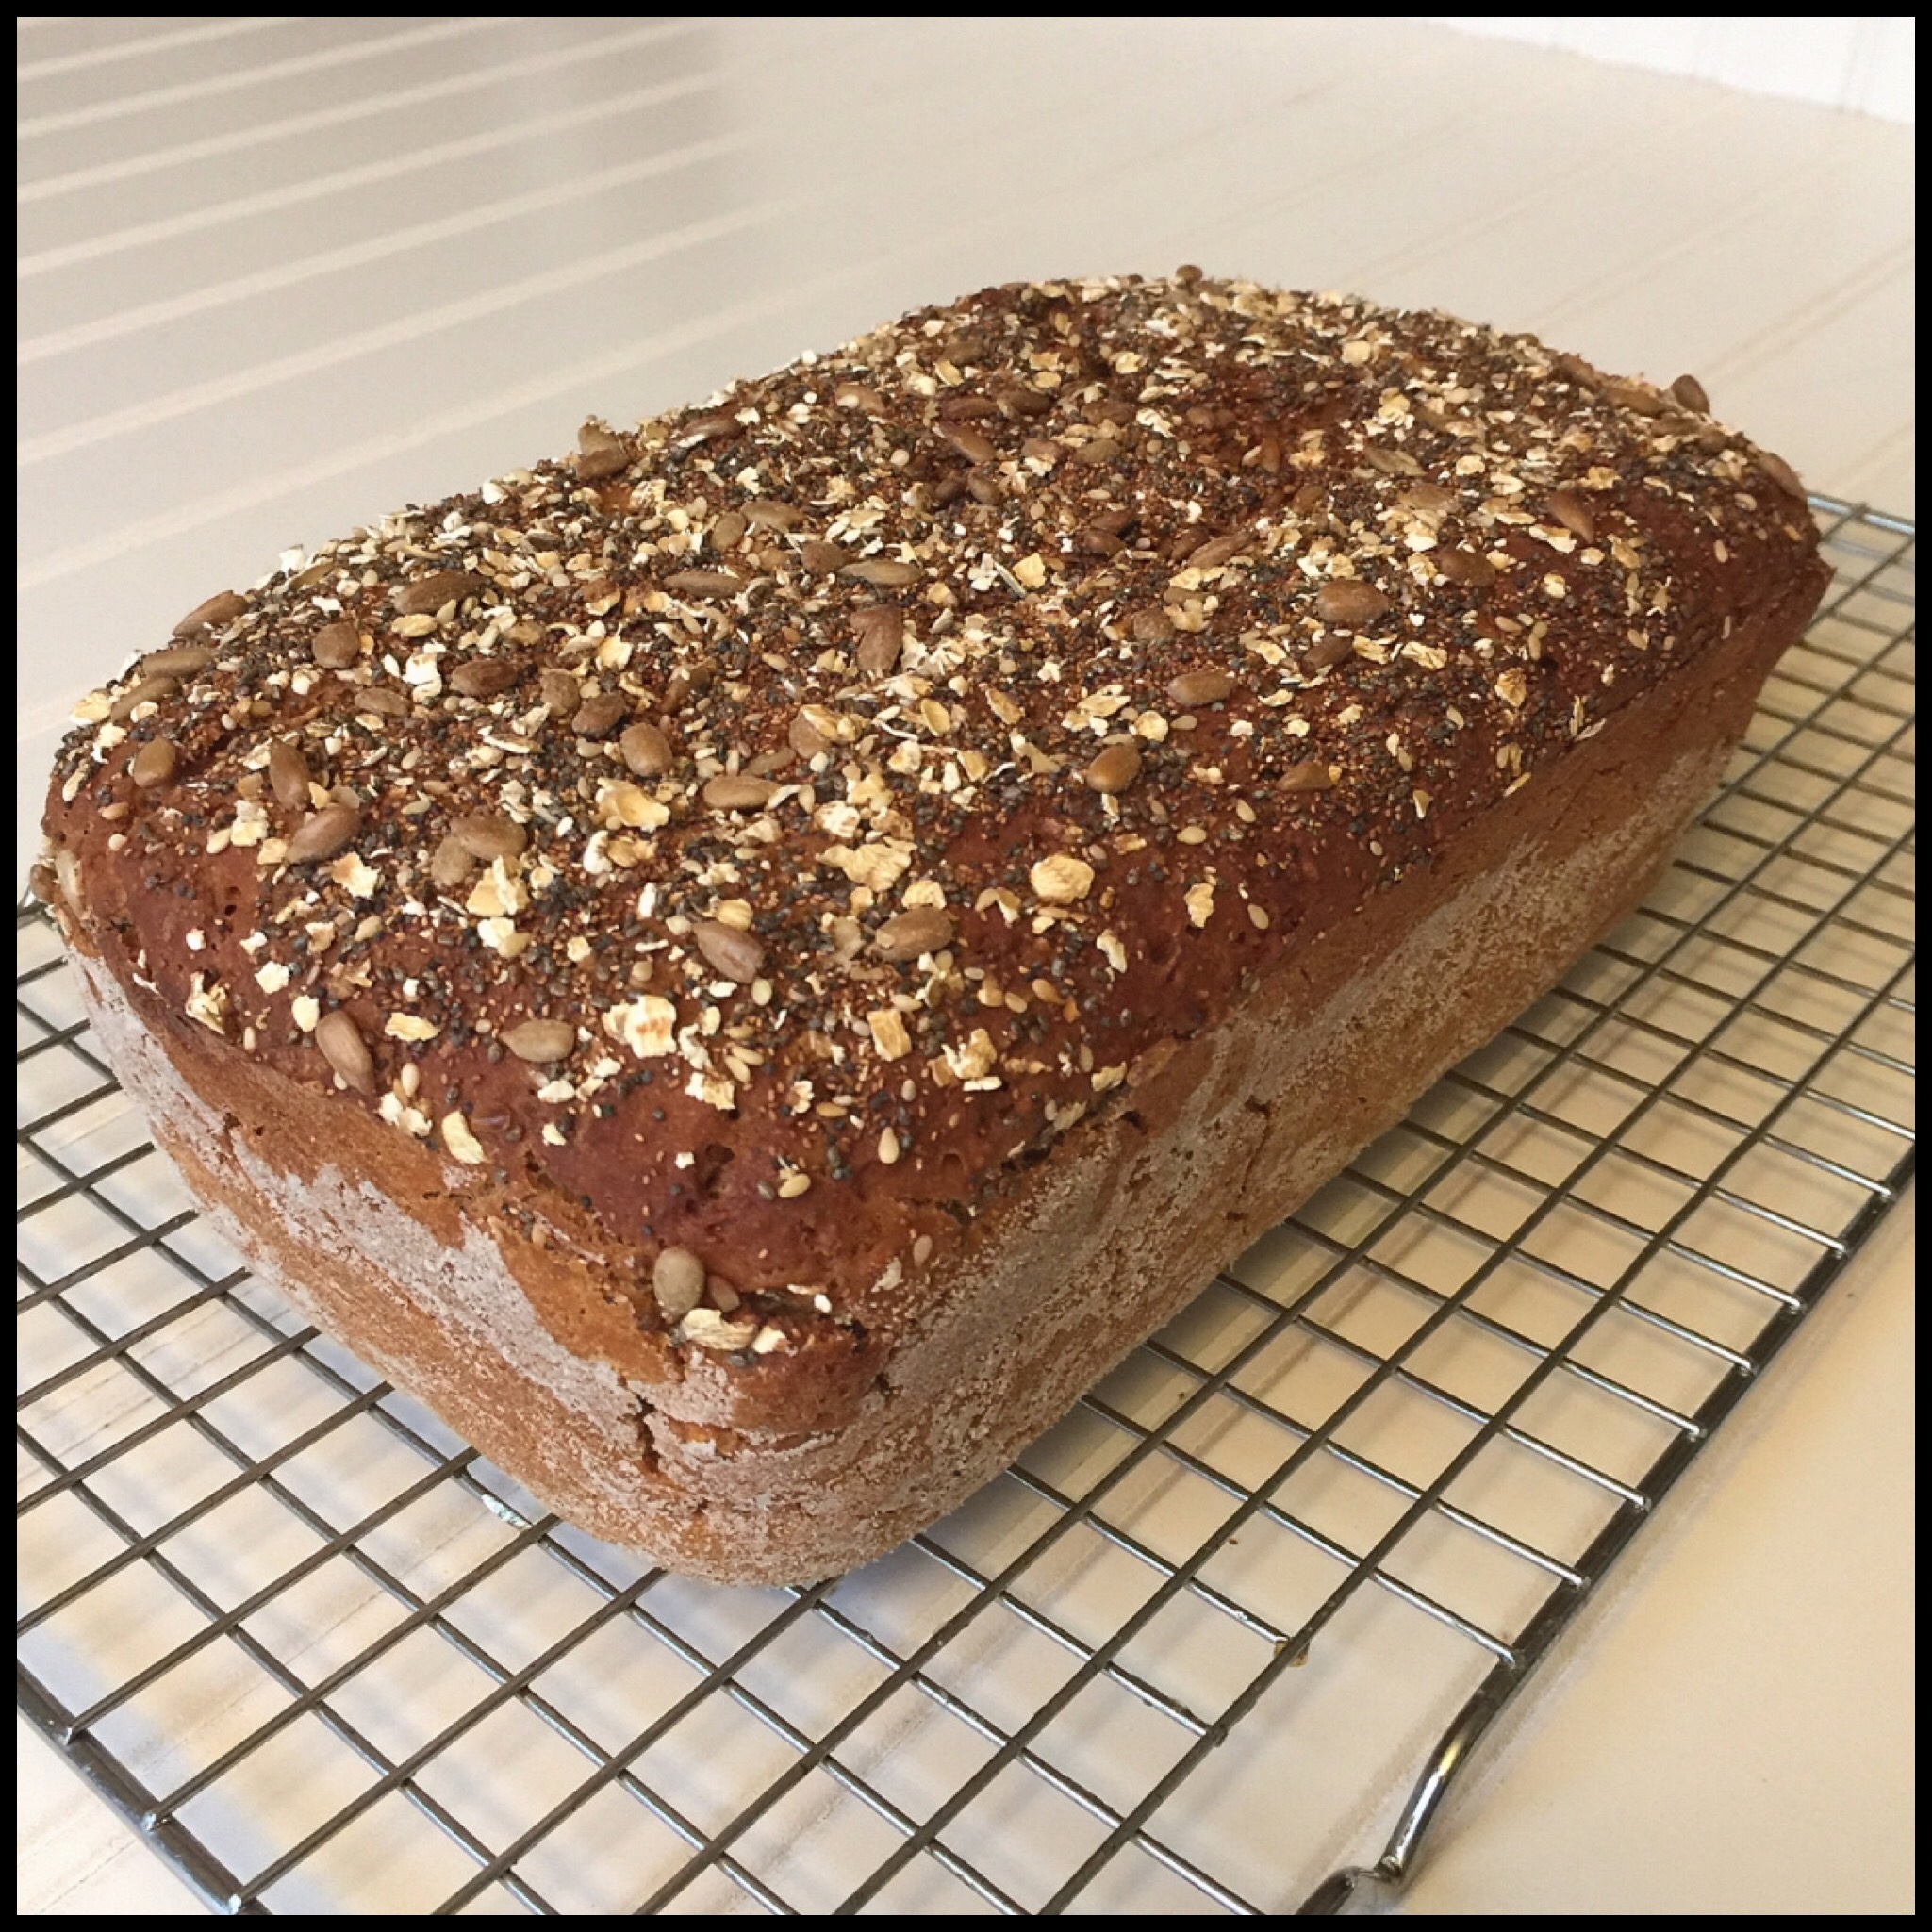
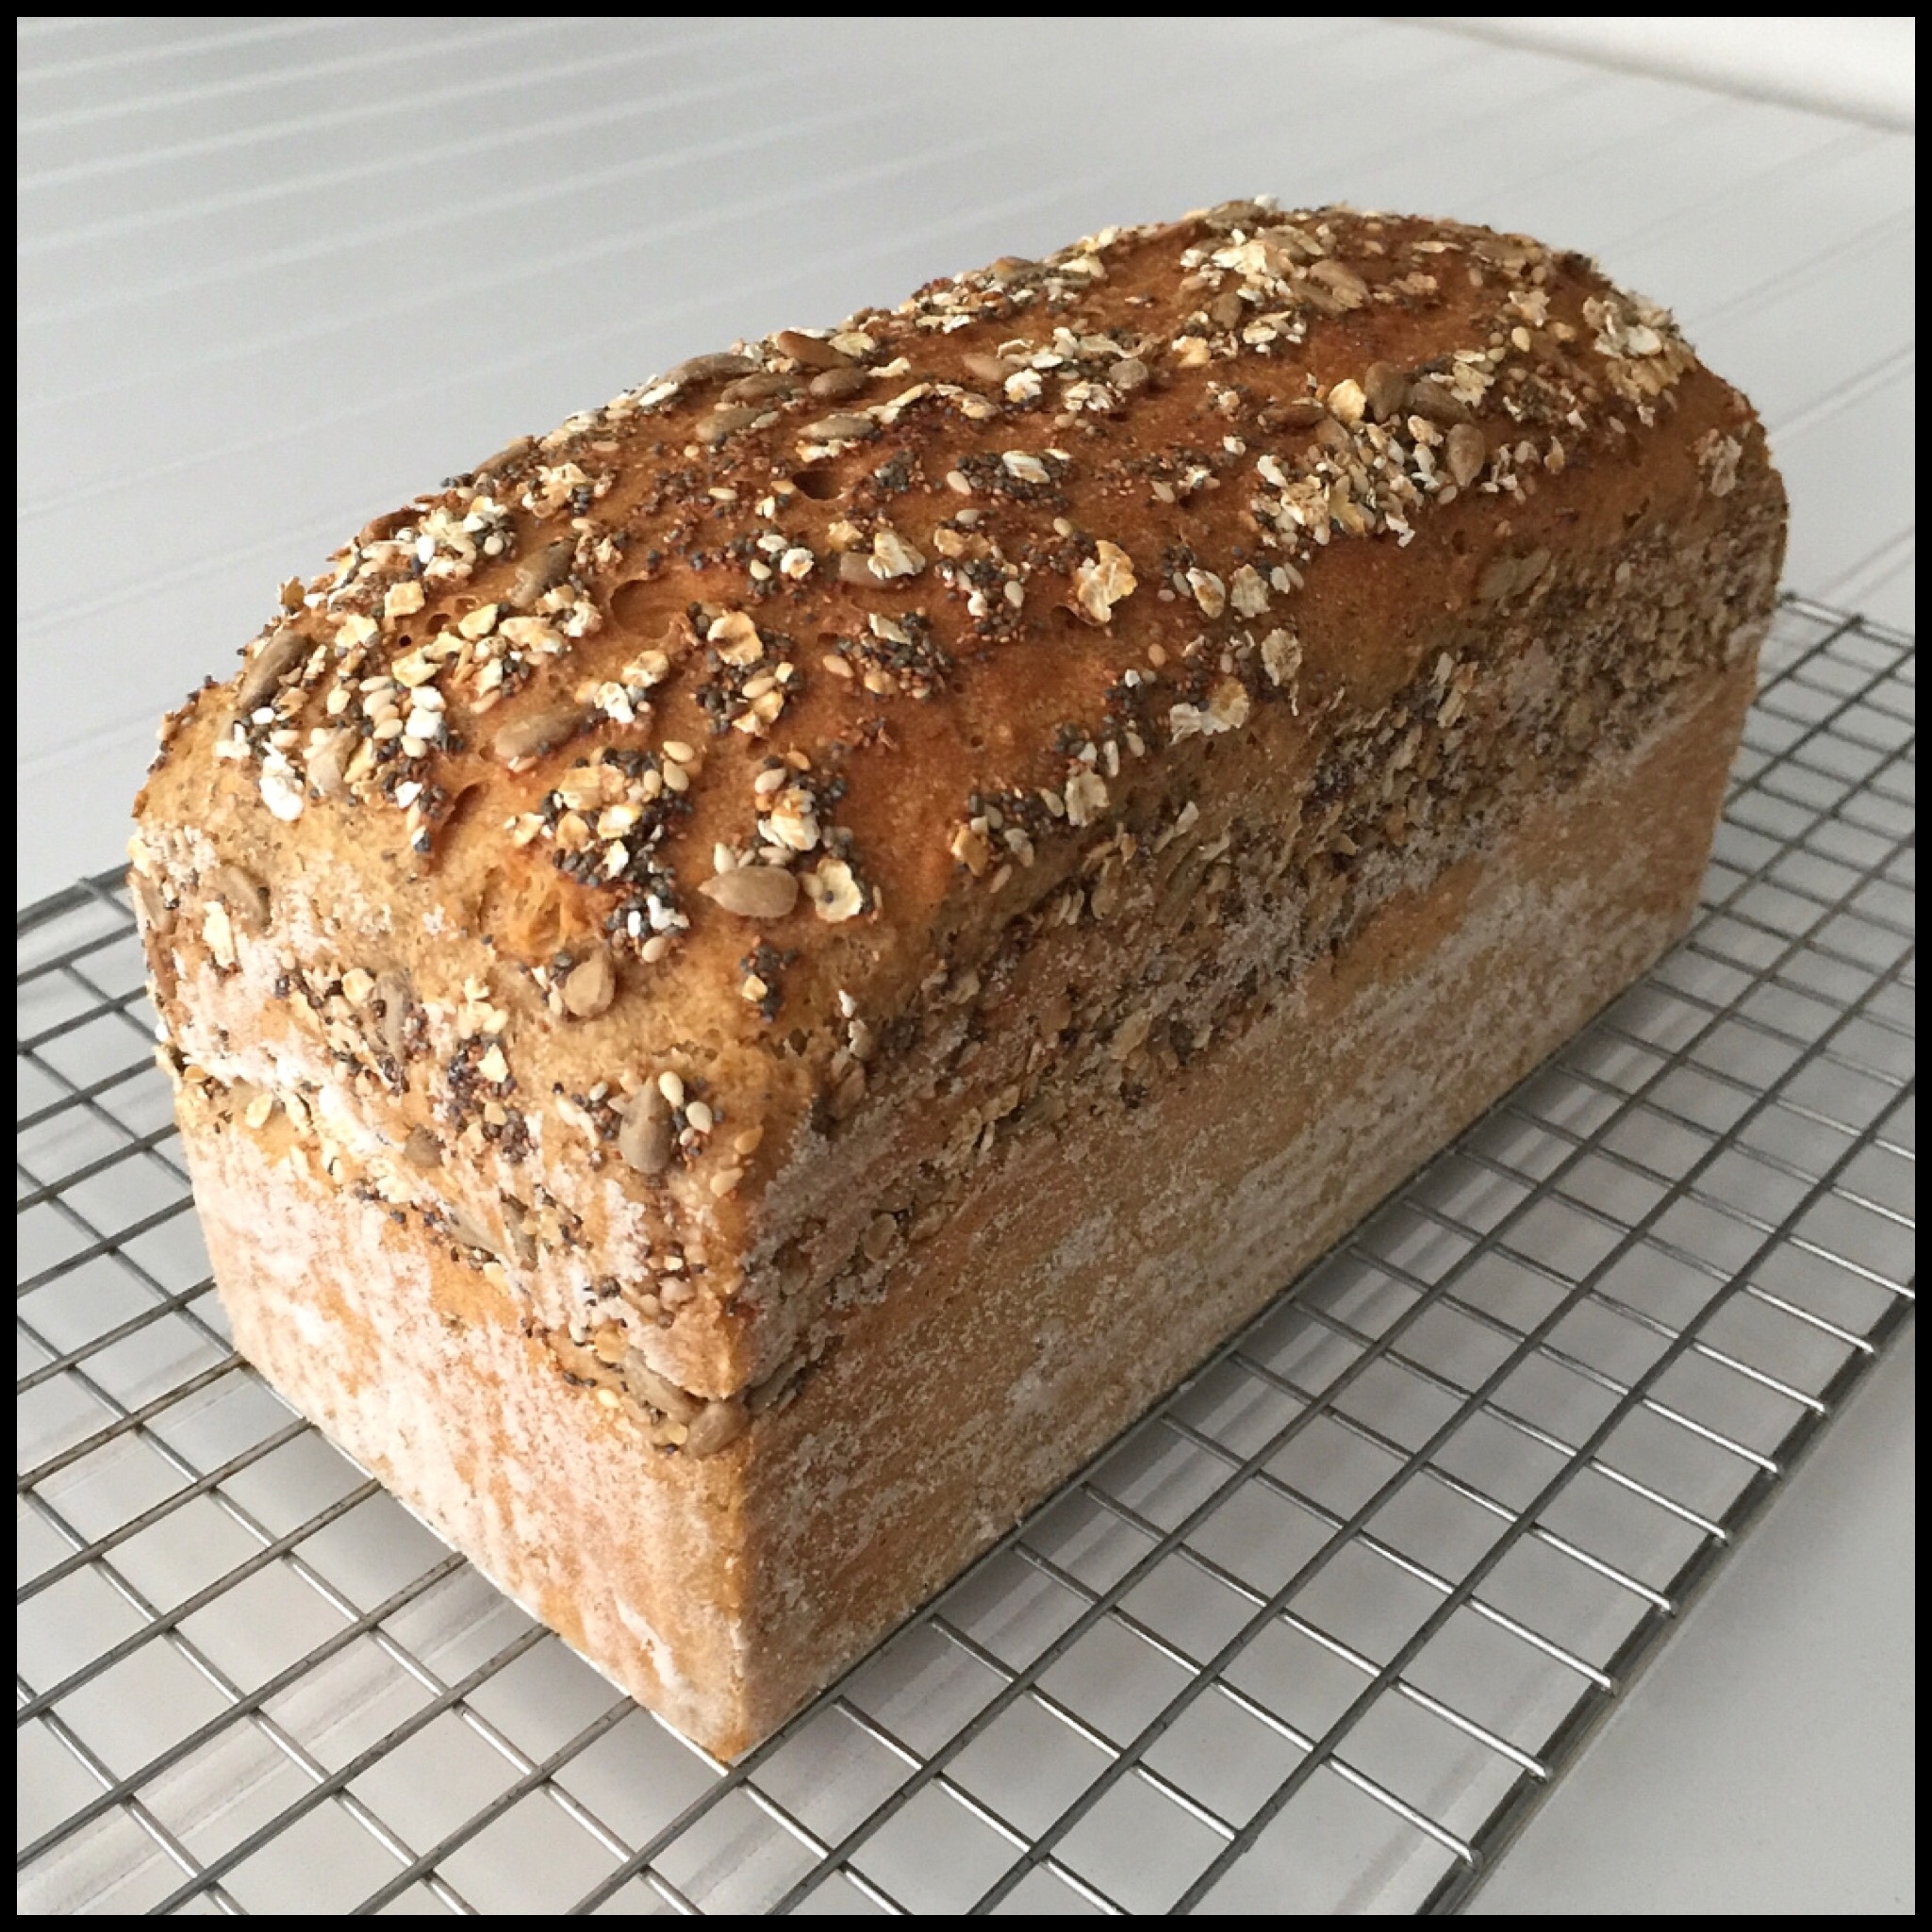
This is what a sandwich loaf made in a standard 9″ x 5″ pan looks like compared to the same recipe in a 9″ x 4″ Pullman pan:
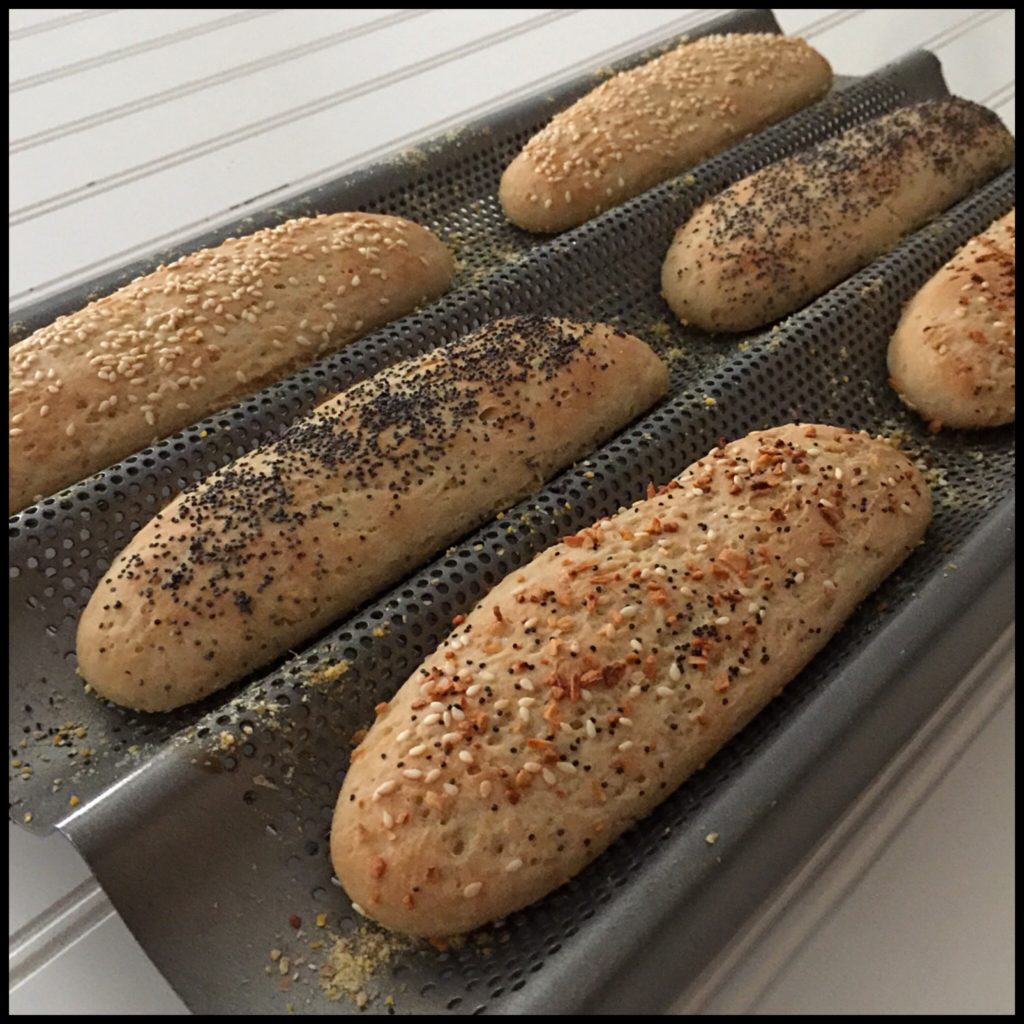
If you want to make French rolls or baguettes, you will want to get a special pan for them. This one is only $9 on Amazon.

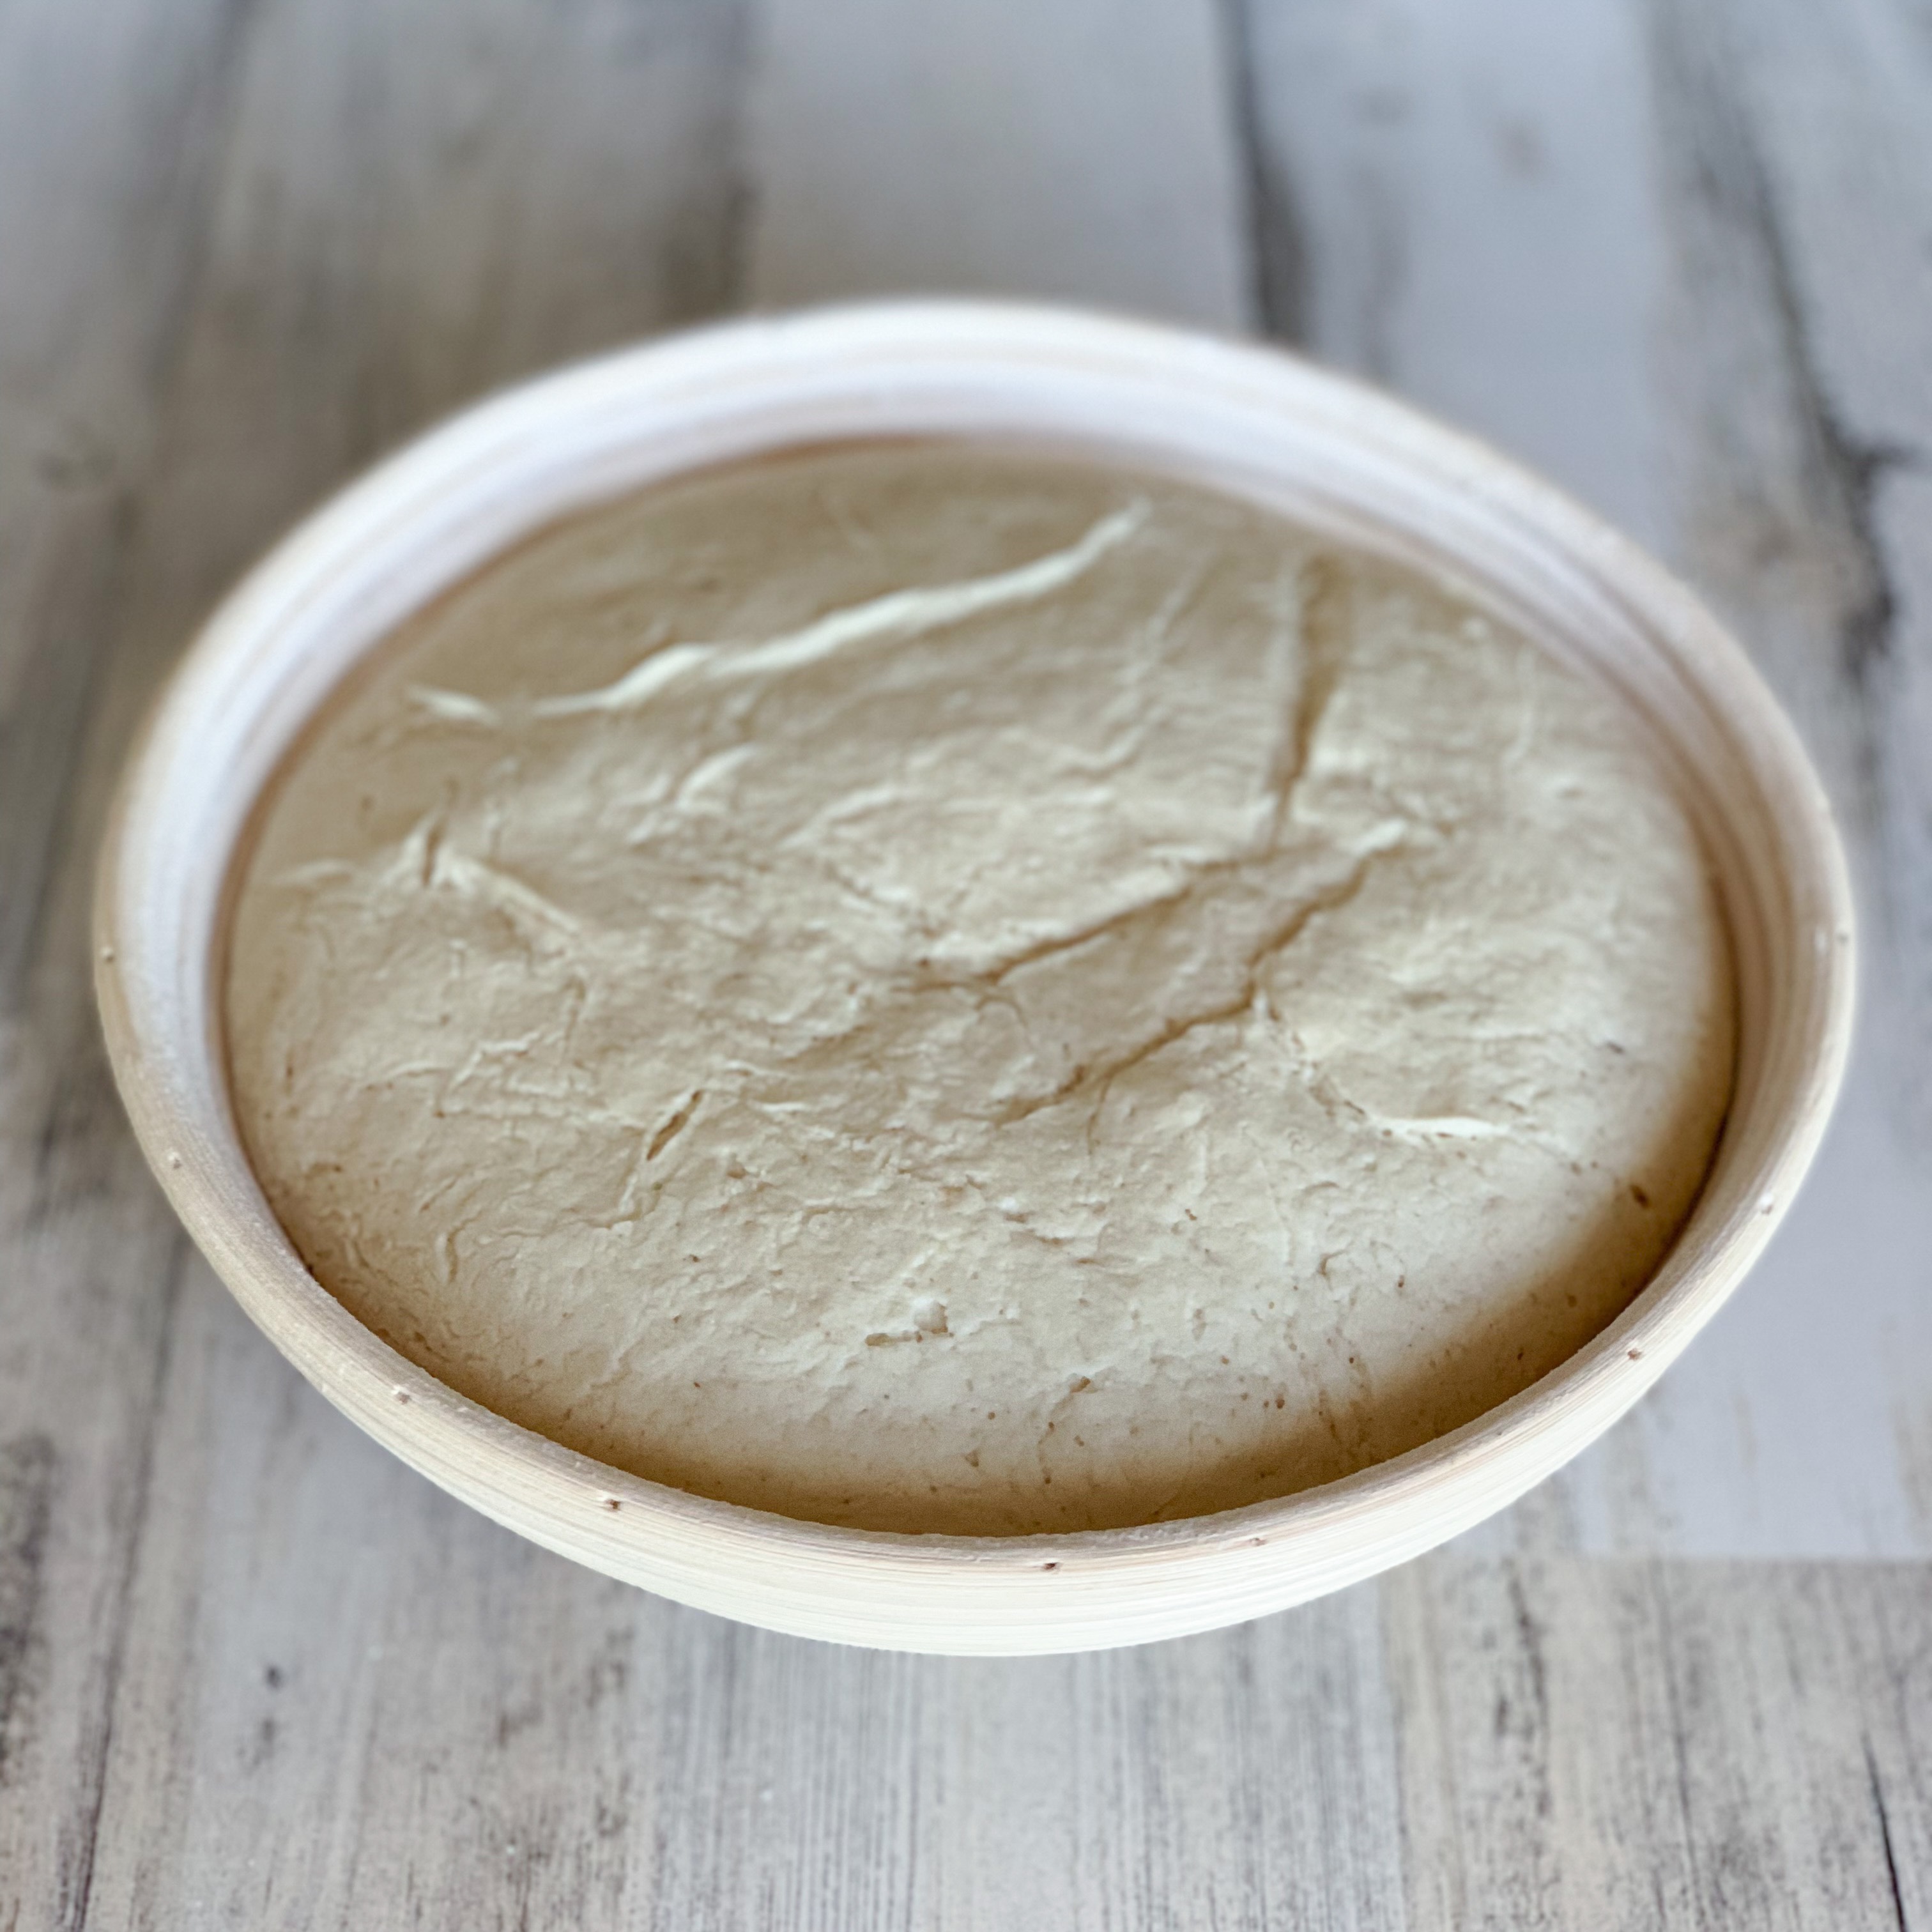
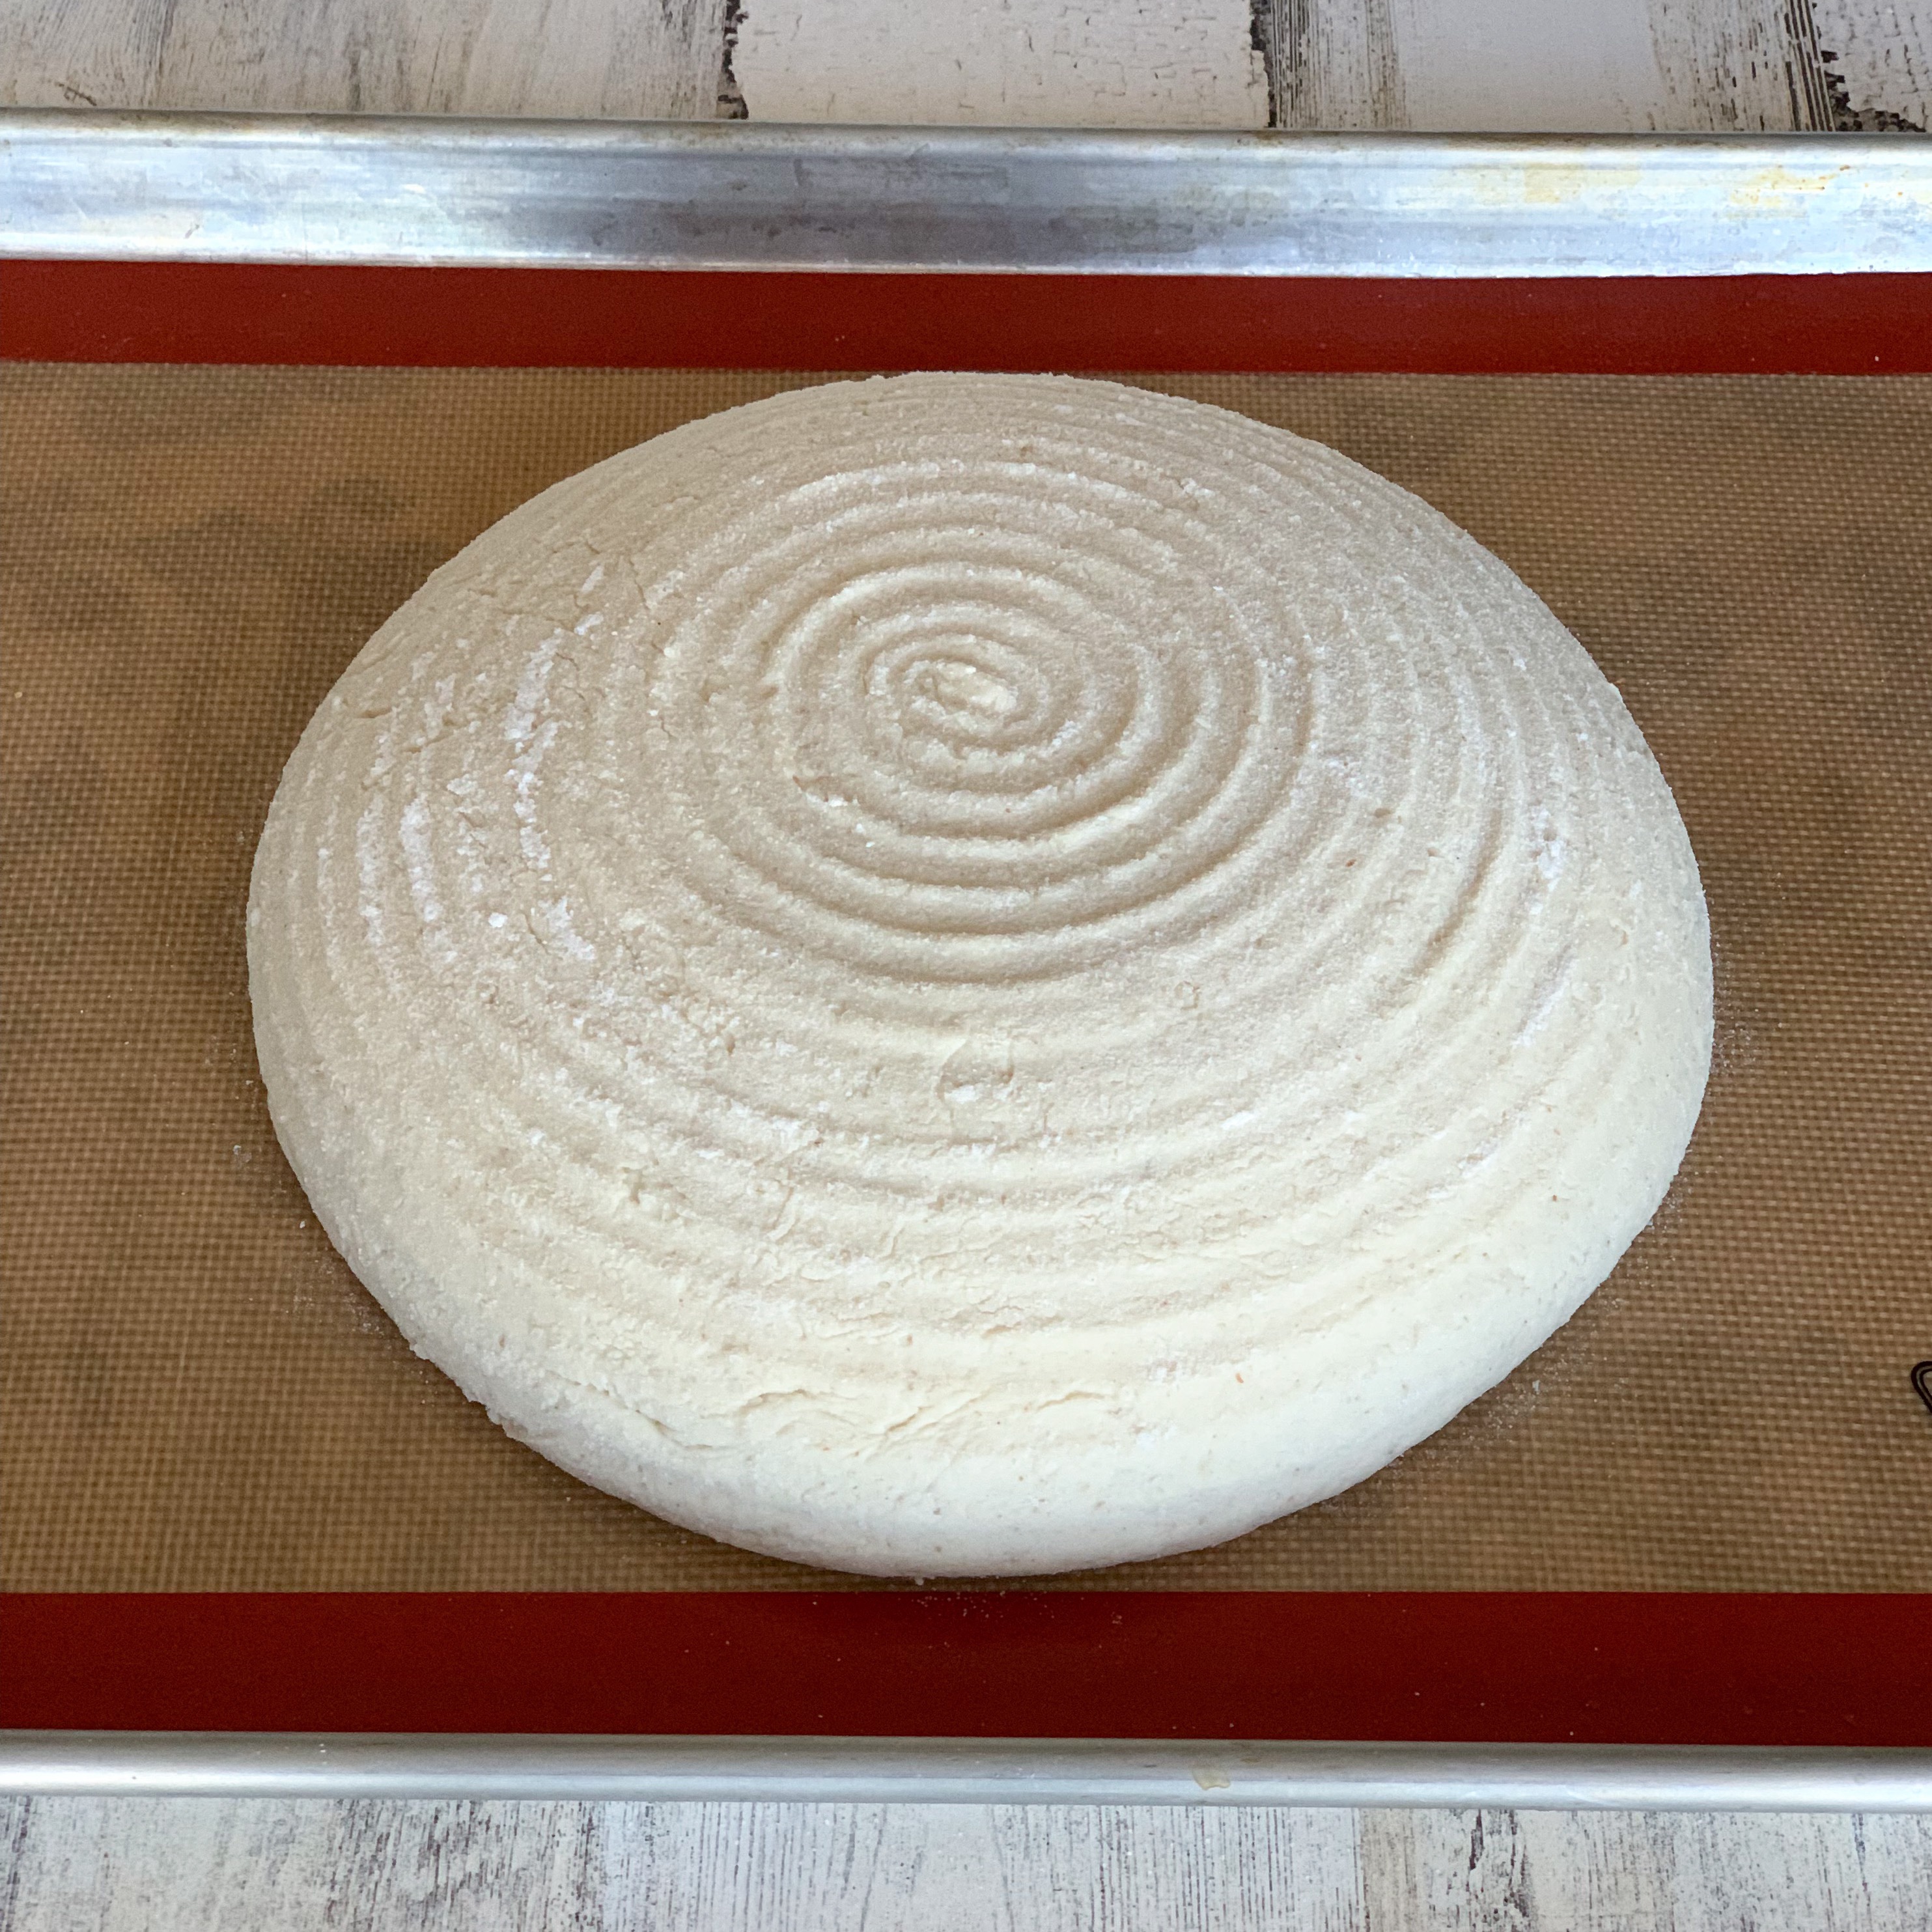
If you plan to make artisan breads, a banneton or proofing basket is really helpful. You use it to shape your dough during the final rise and it makes really lovely loaves. This 9.5″ banneton is the perfect size for my medium-sized doughs.
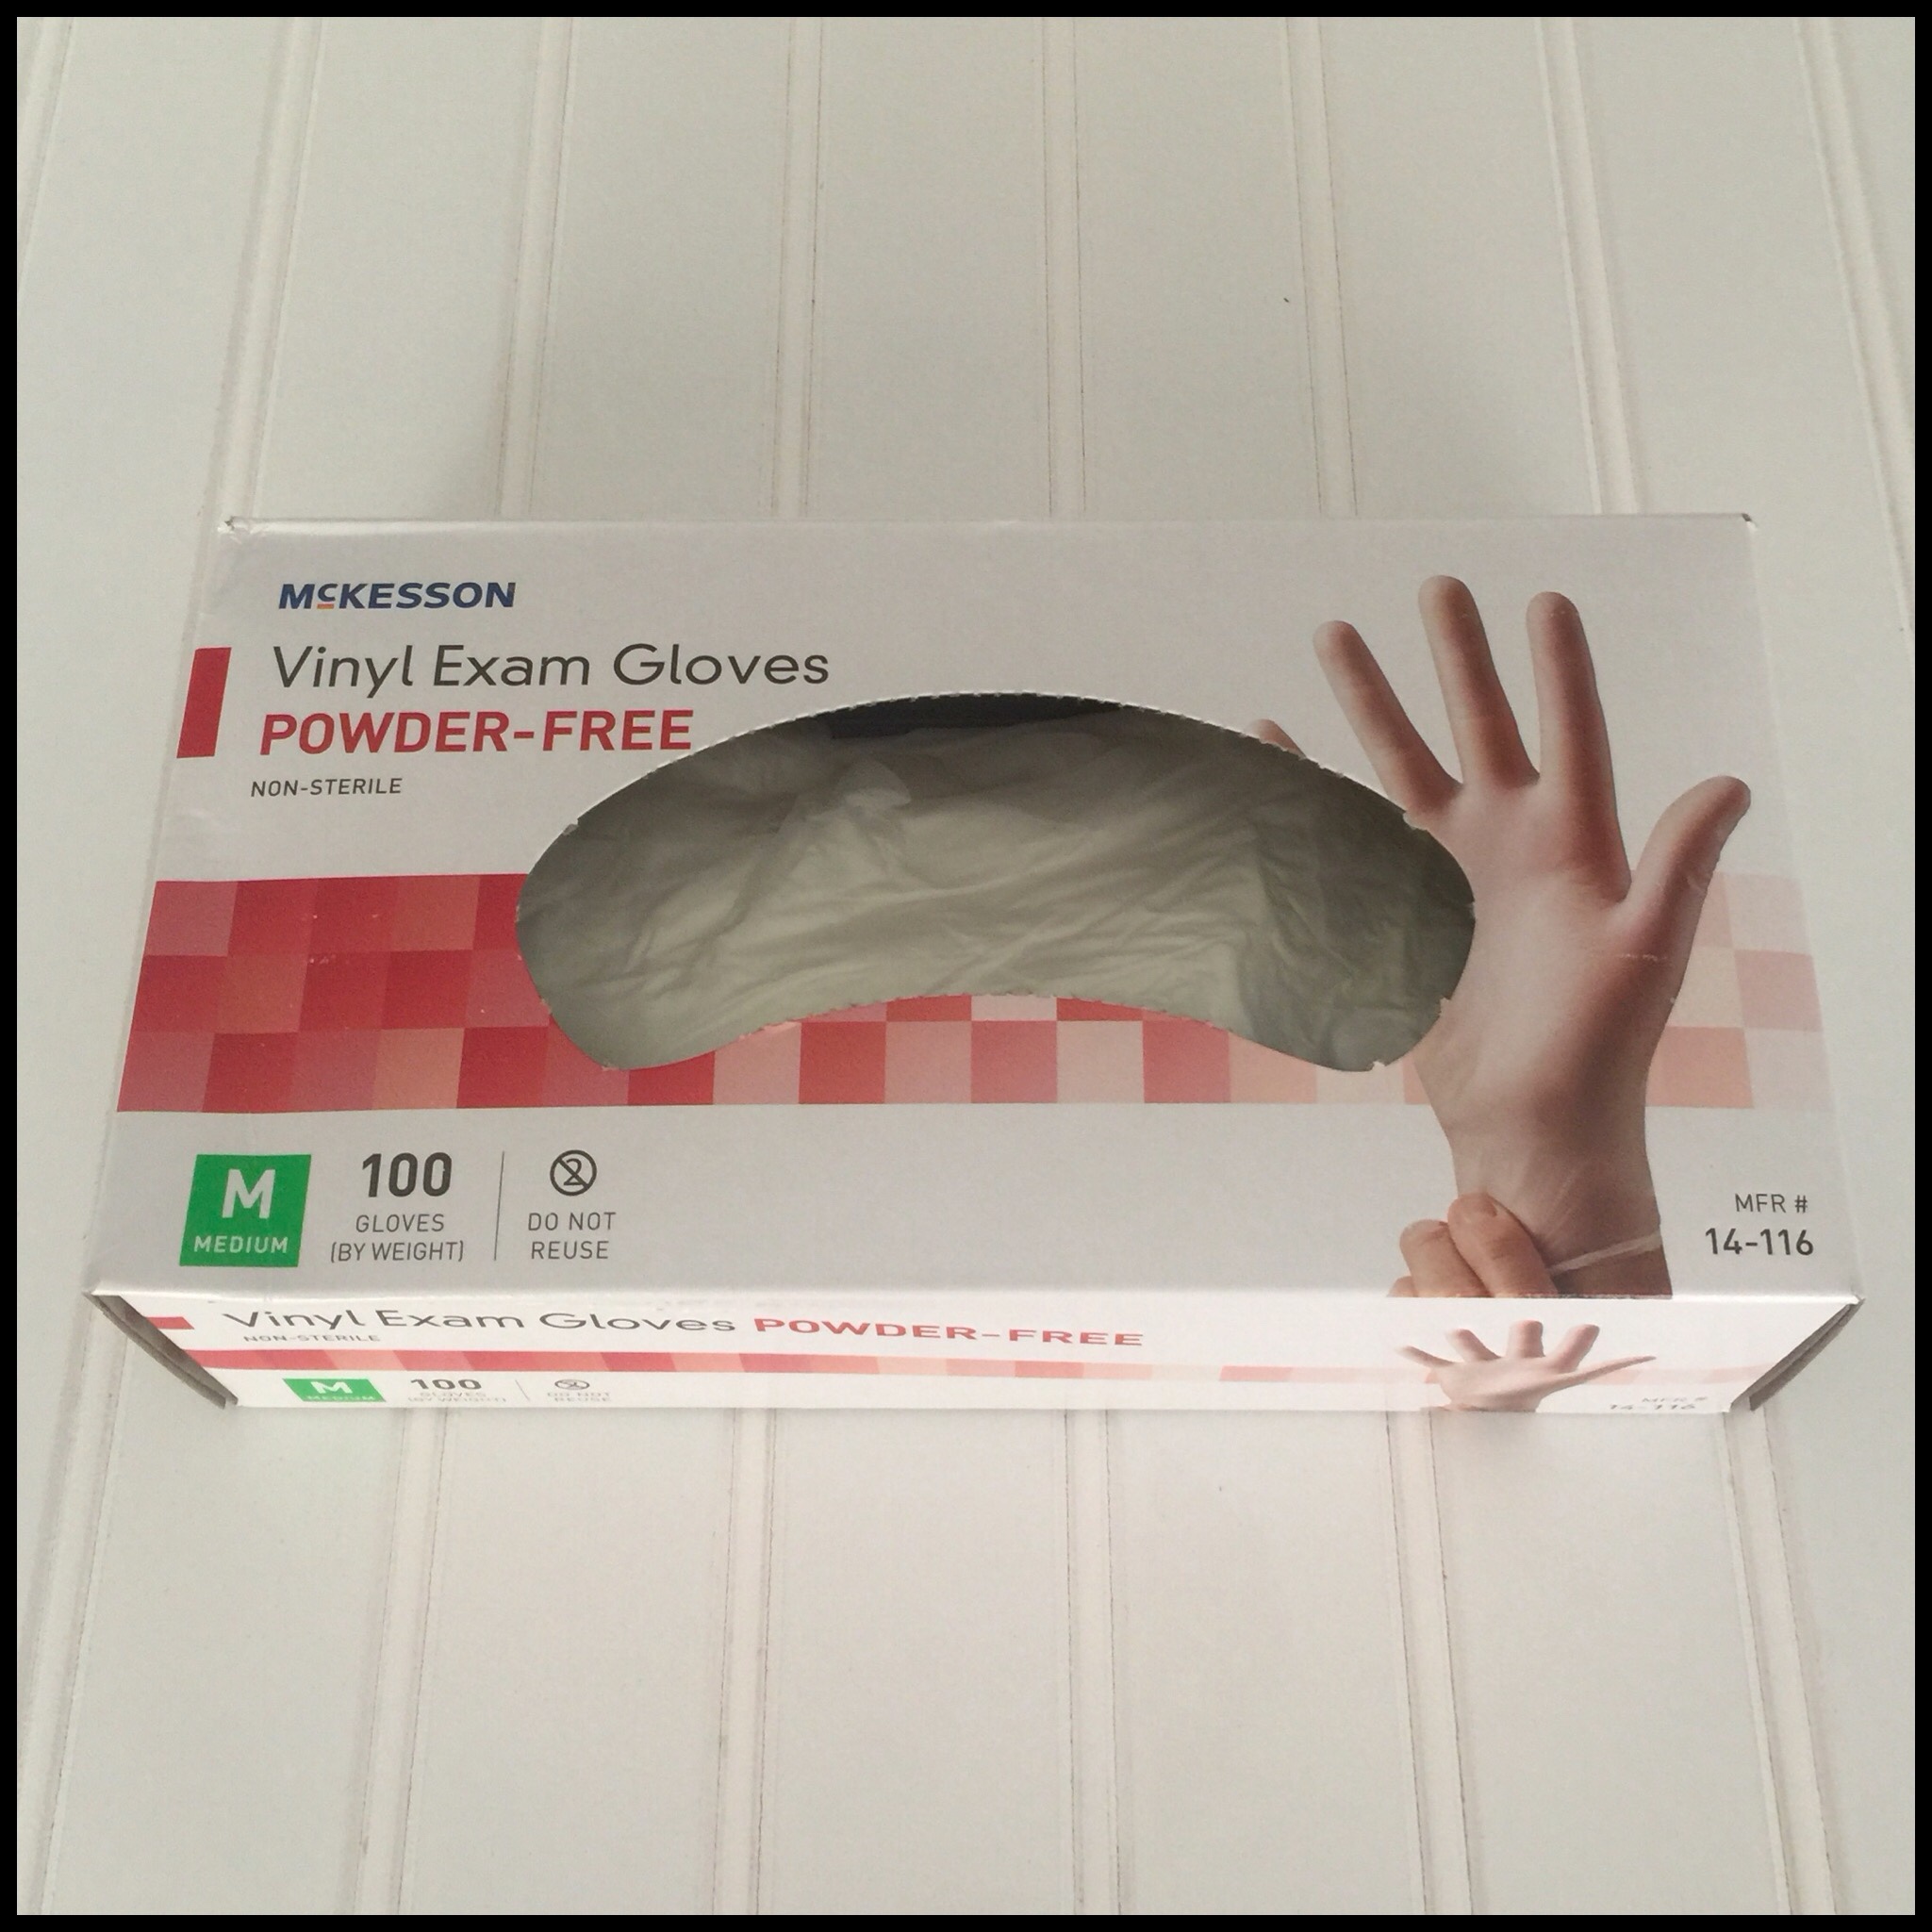
The last thing I recommend for equipment is a box of vinyl gloves. They are not essential, but make it much easier to shape rolls, boules, and braided loaves. You can find them at most grocery stores that have a pharmacy section.
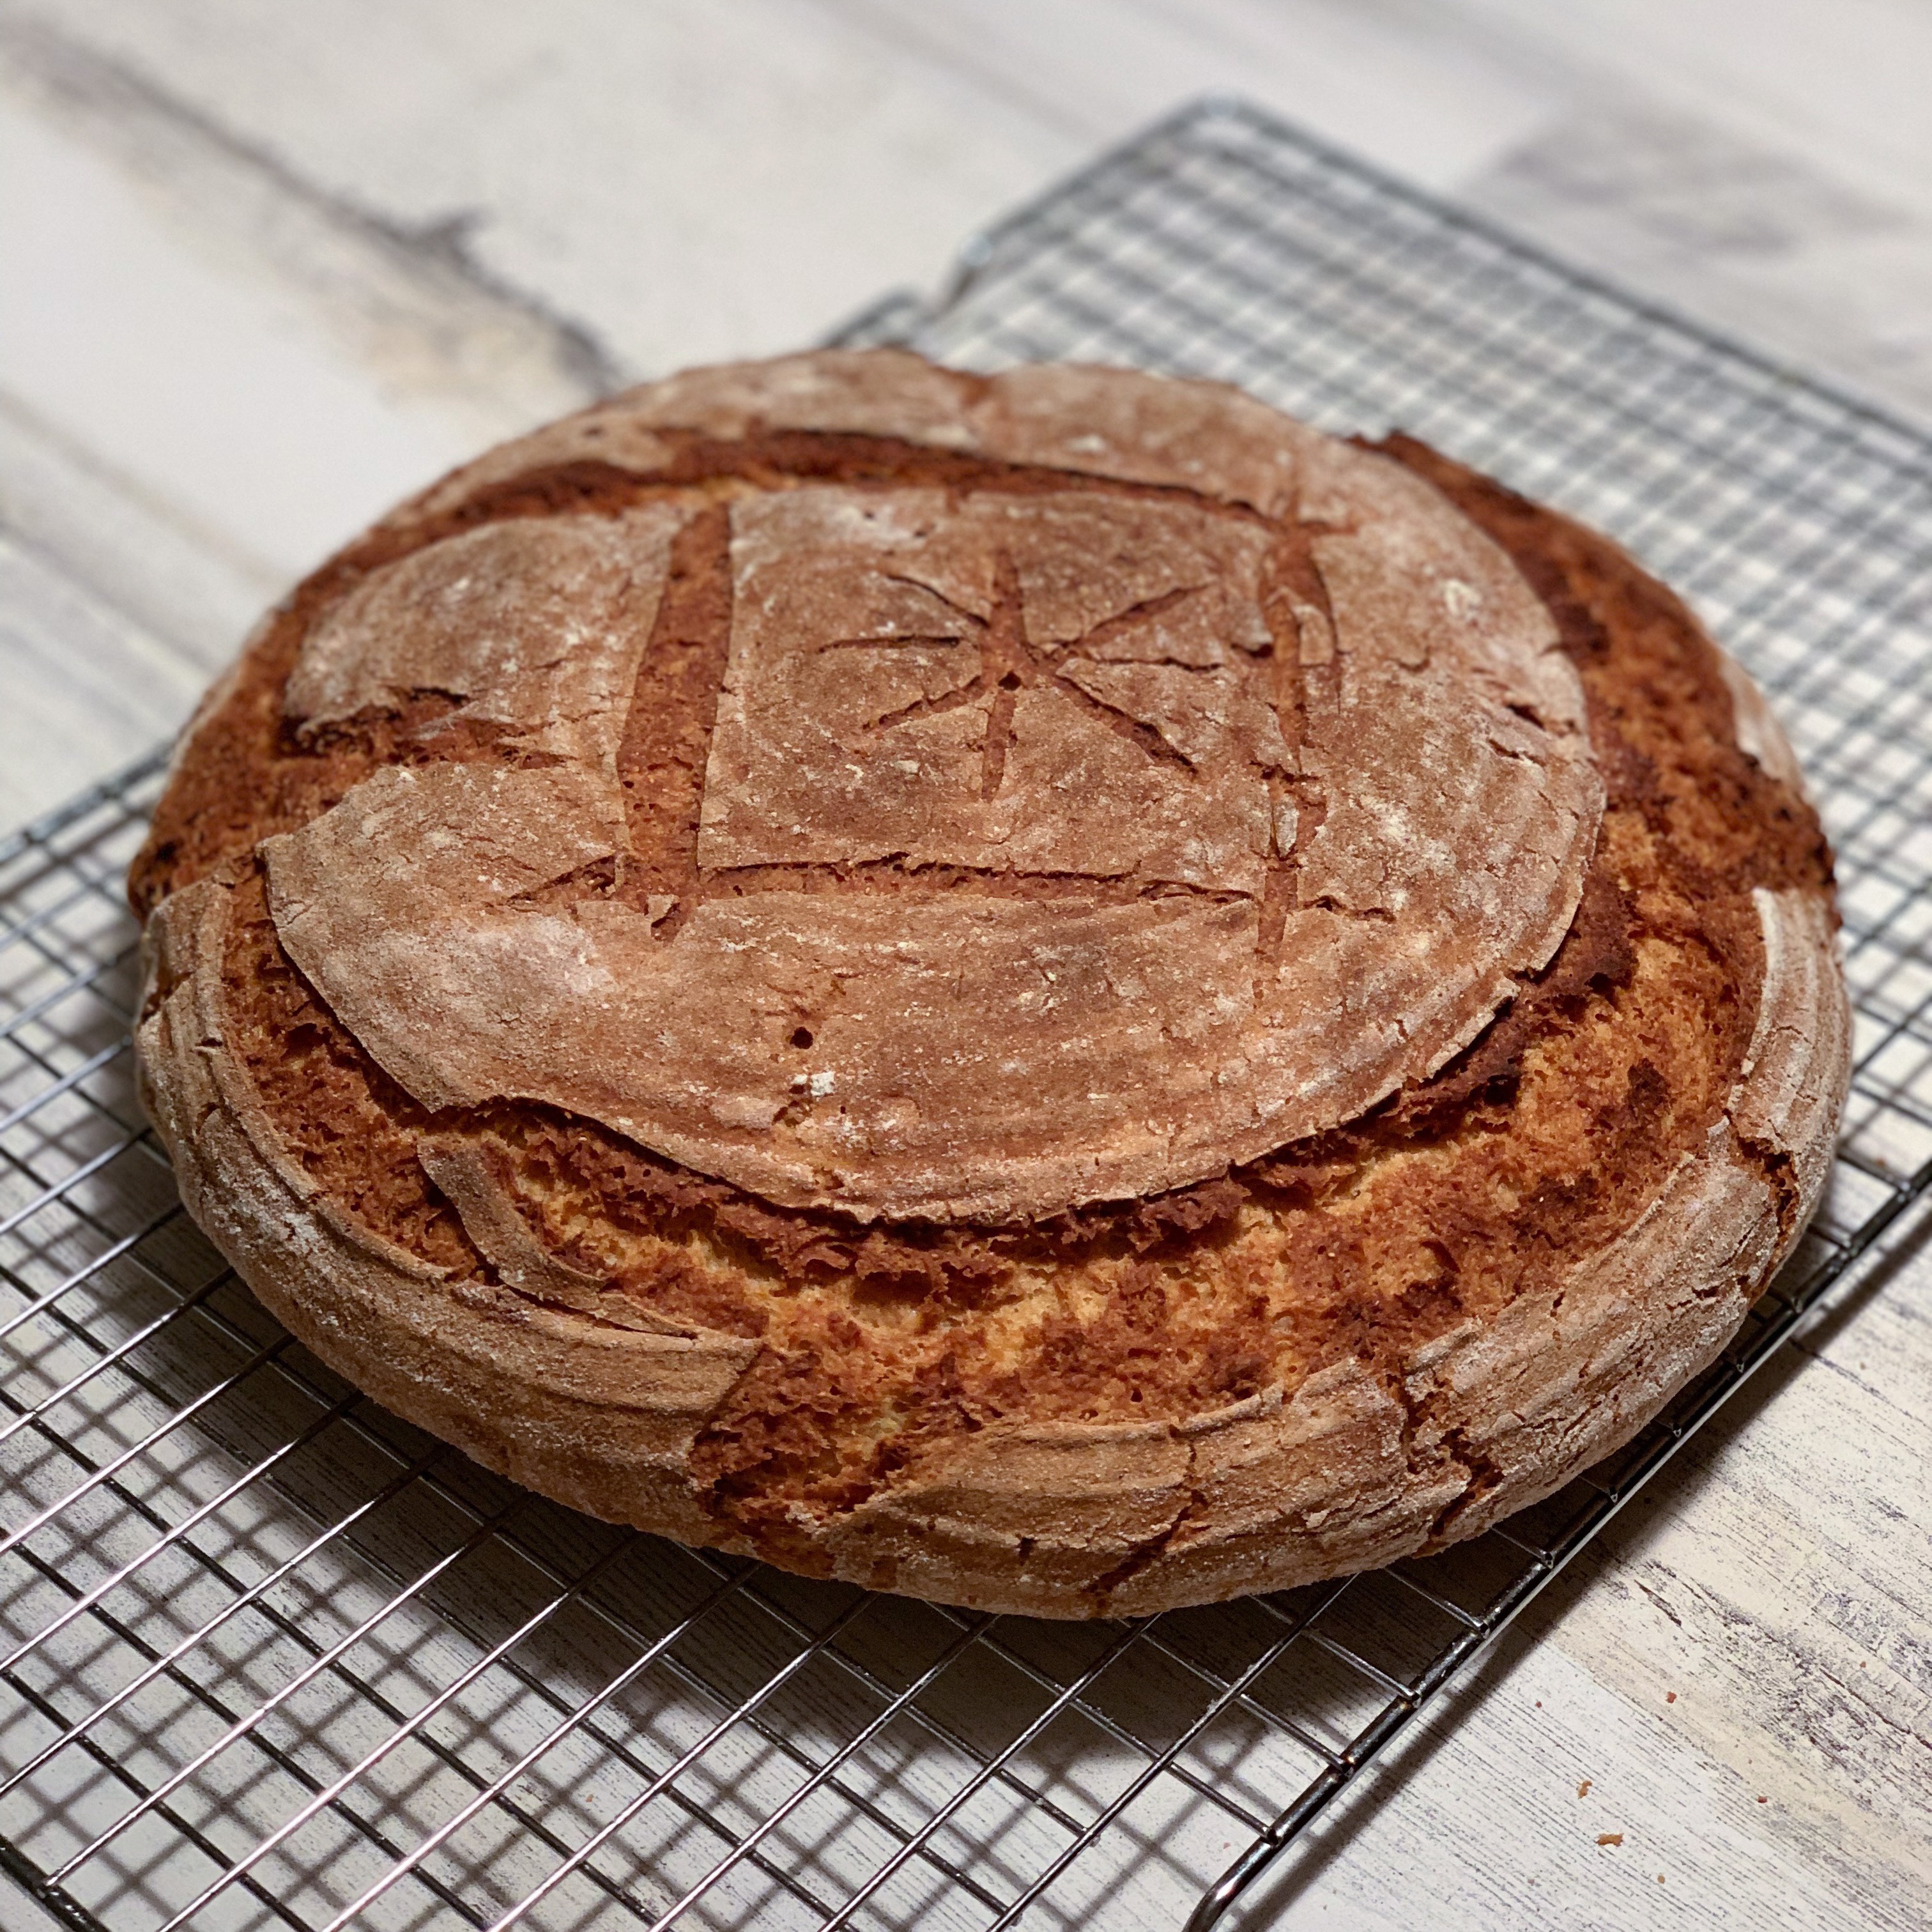
The ingredients for basic sandwich rolls or a loaf of white bread are really very simple, and you probably have most of them in your kitchen already. They are also the foundation for fancier breads like cinnamon rolls, pumpernickel, and the seeded loaf shown above.
The most important ingredient is the flour. If that isn’t right, your bread will not be good. I have baked some kind of gluten free bread three to four times a week for the last six-and-half years. That’s well over 1,000 times! Over the years, I have tried nearly all of the store-bought gluten free flour blends and made hundreds of my own.
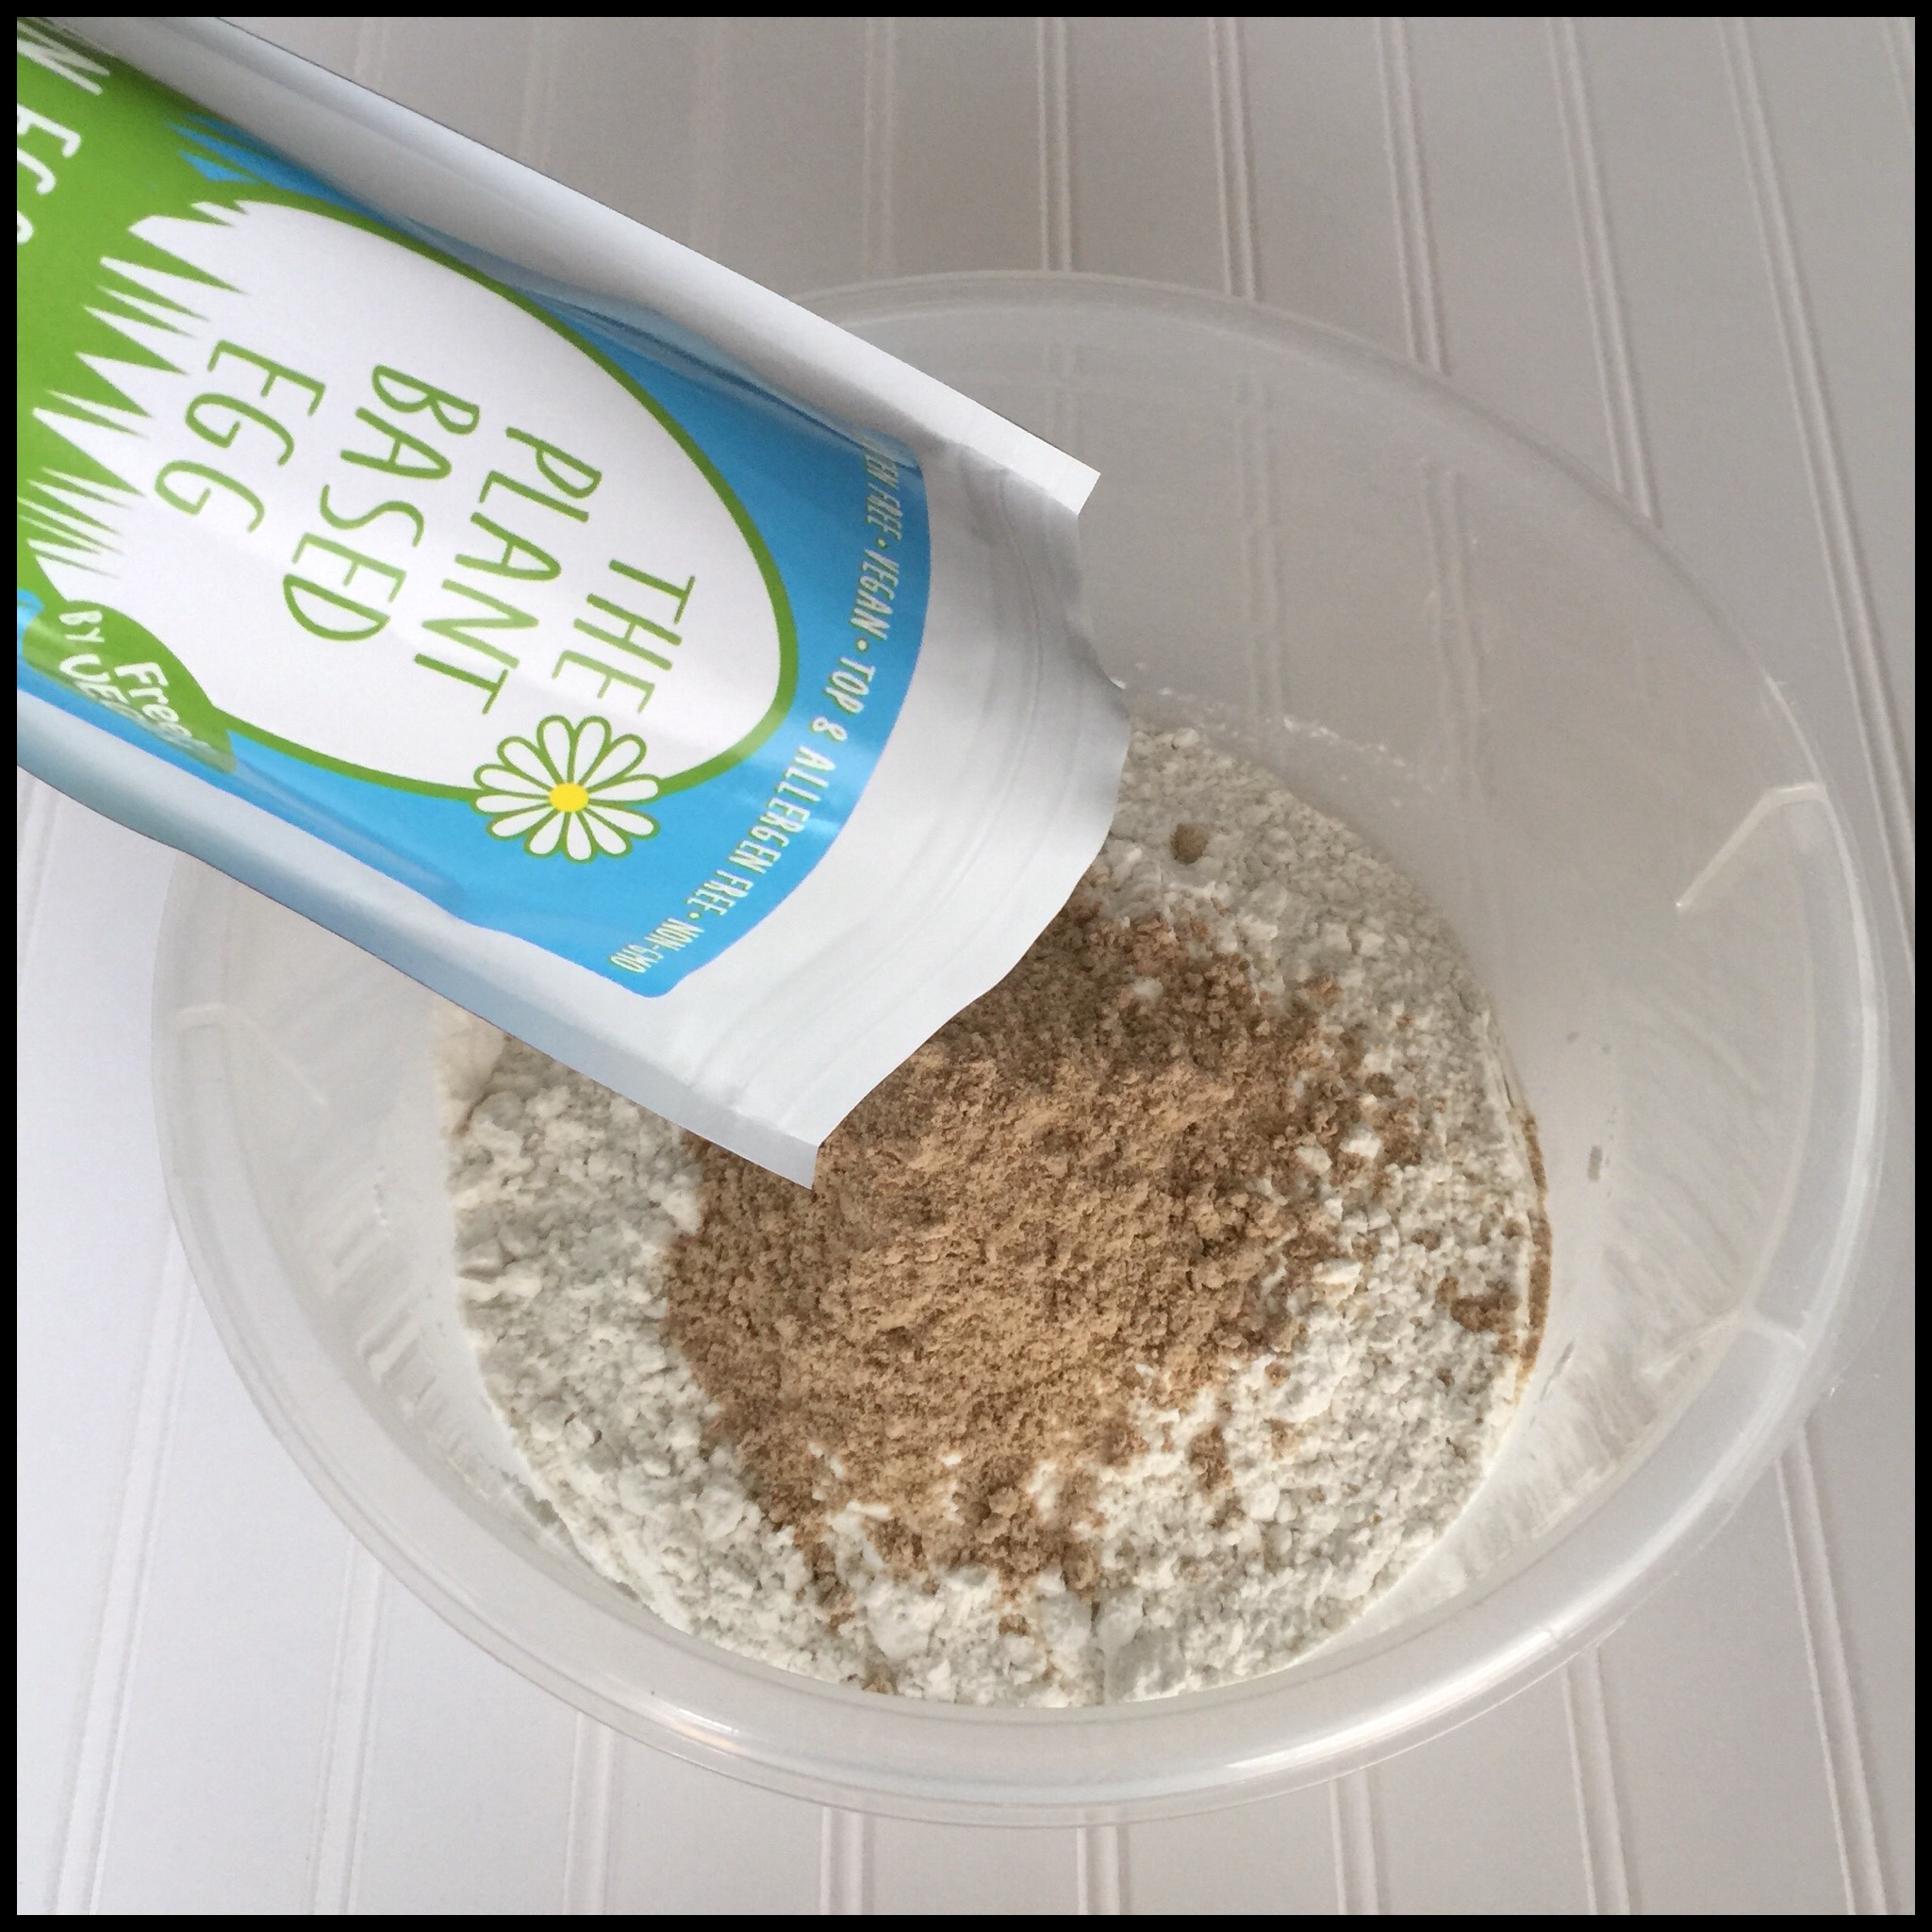
I had quite a few bread failures before I developed The Plant Based Egg and started using it to substitute for both gums and eggs in all of my flour blends. It is what allows me to shape beautiful loaves and get pillowy soft rolls and fluffy, tall sandwich loaves. There is no substitute and you can’t make any of my bread recipes without it.
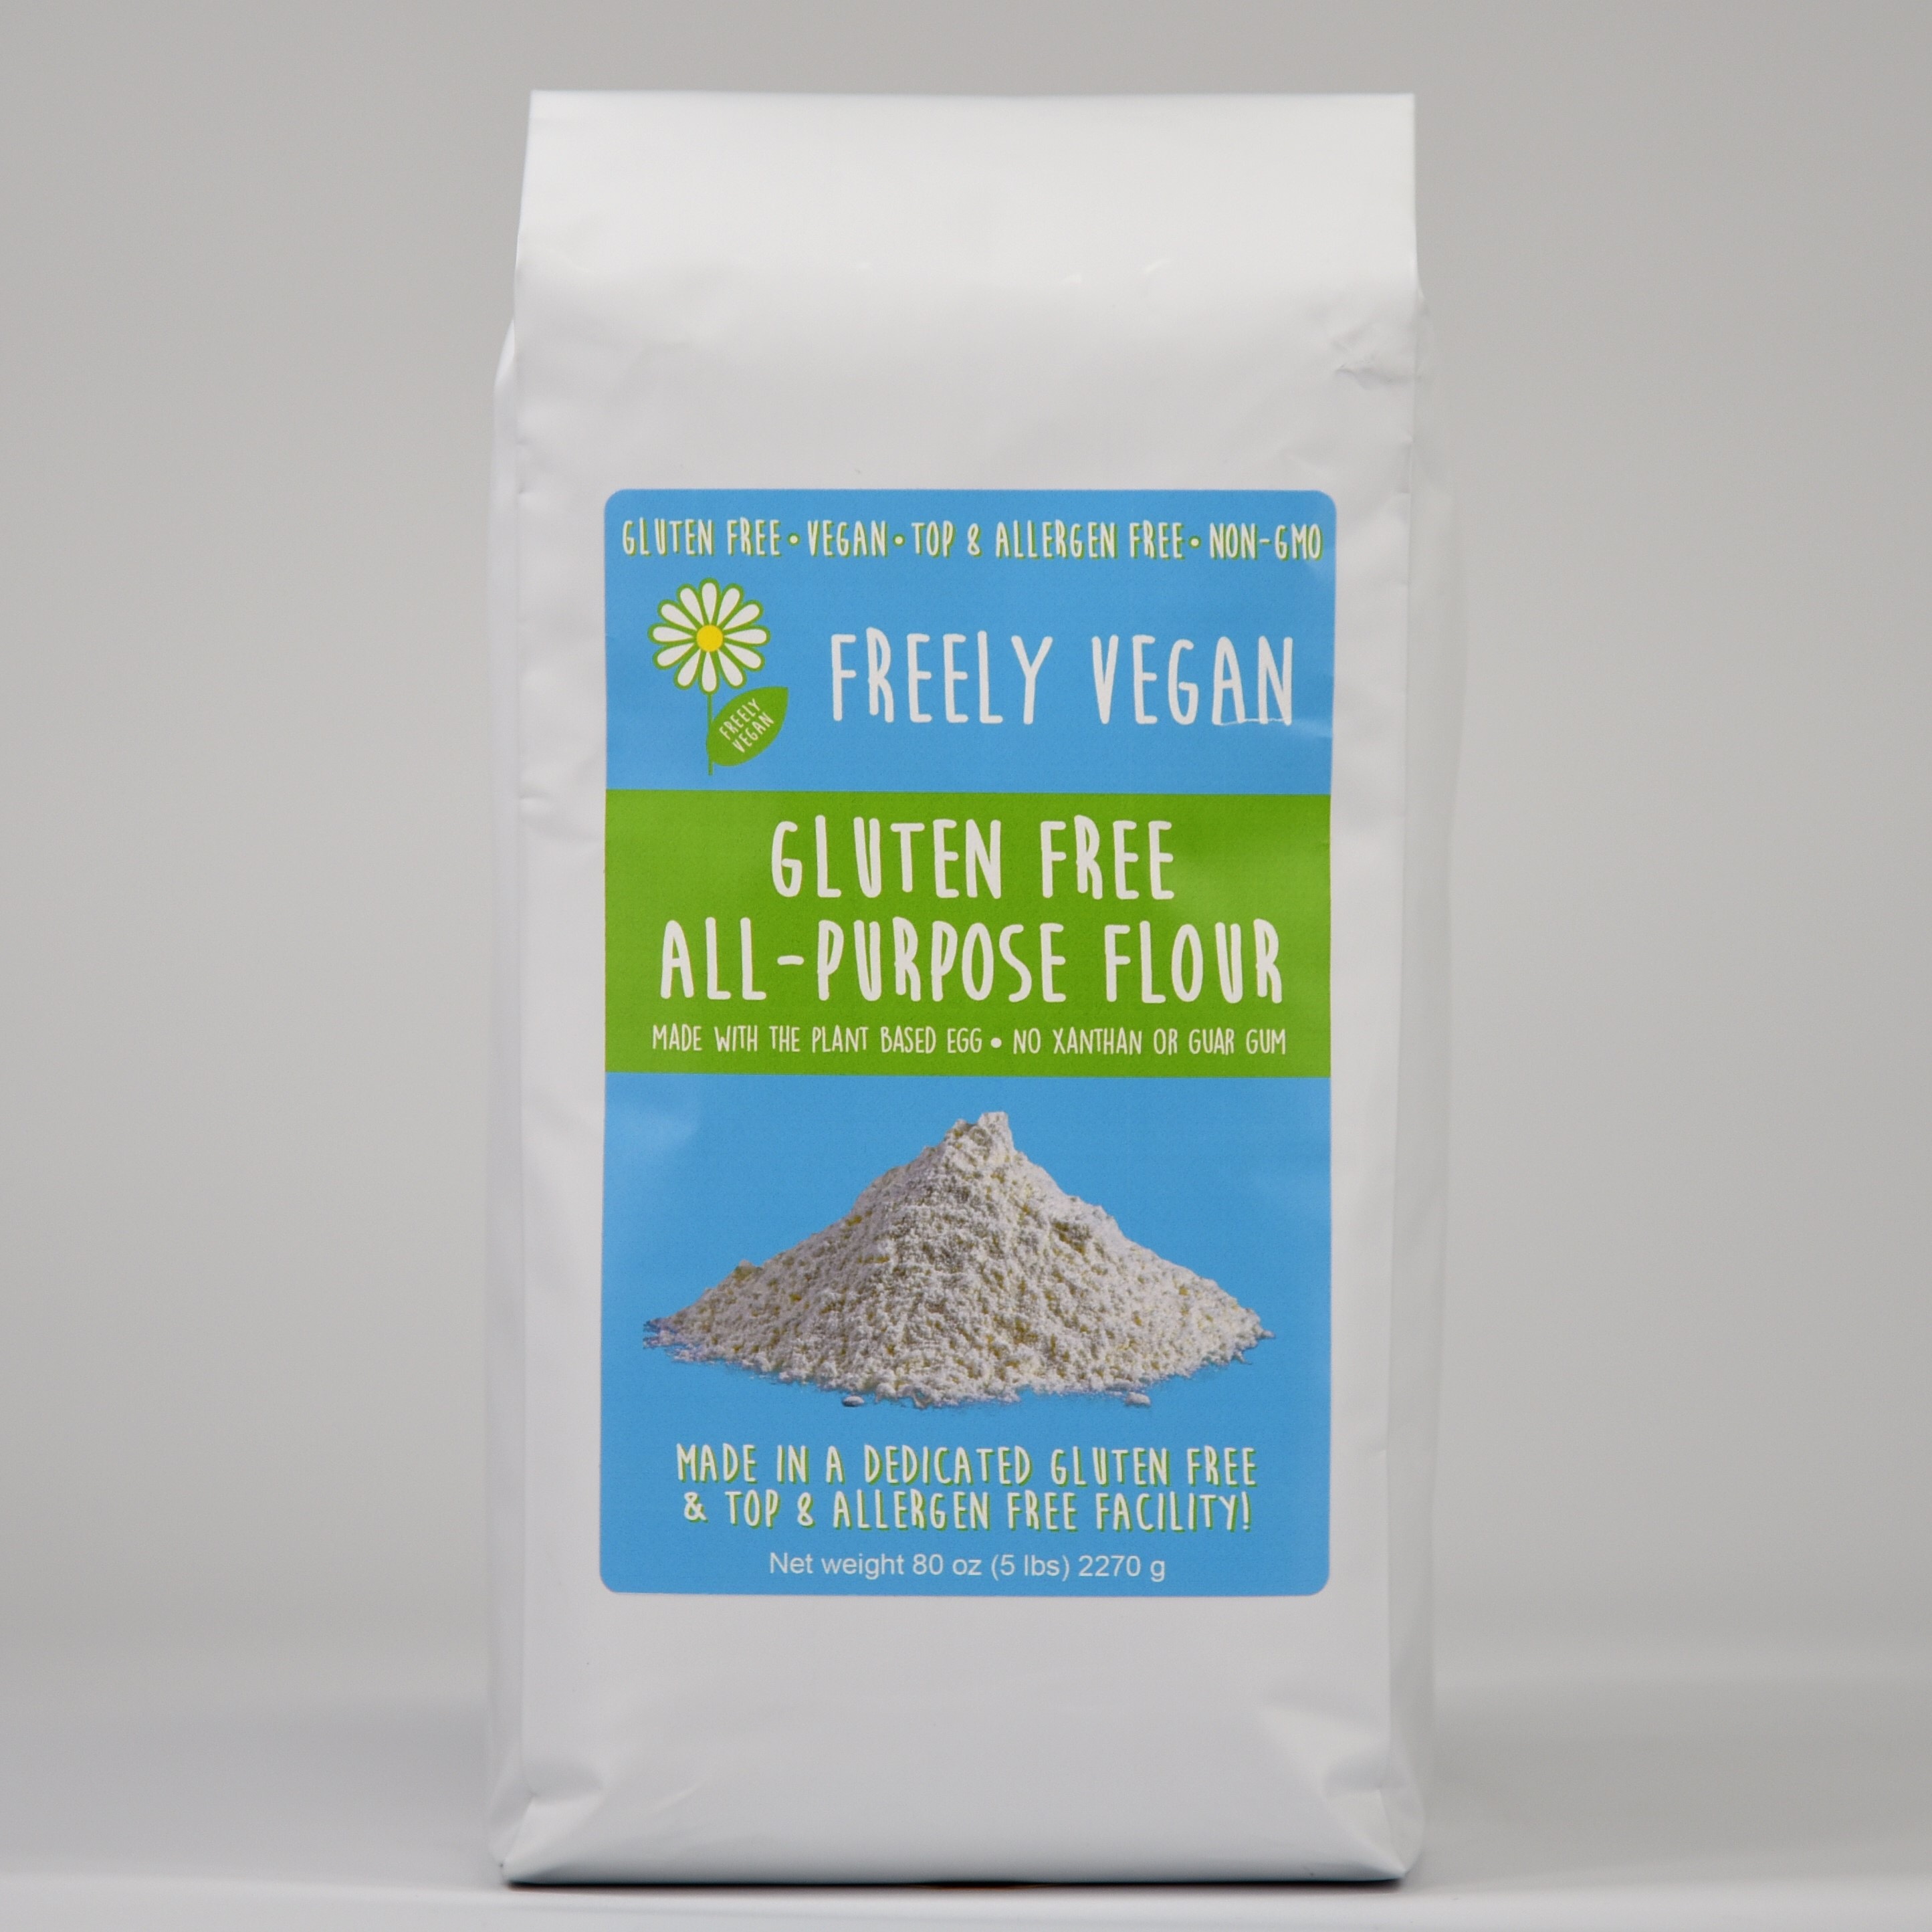
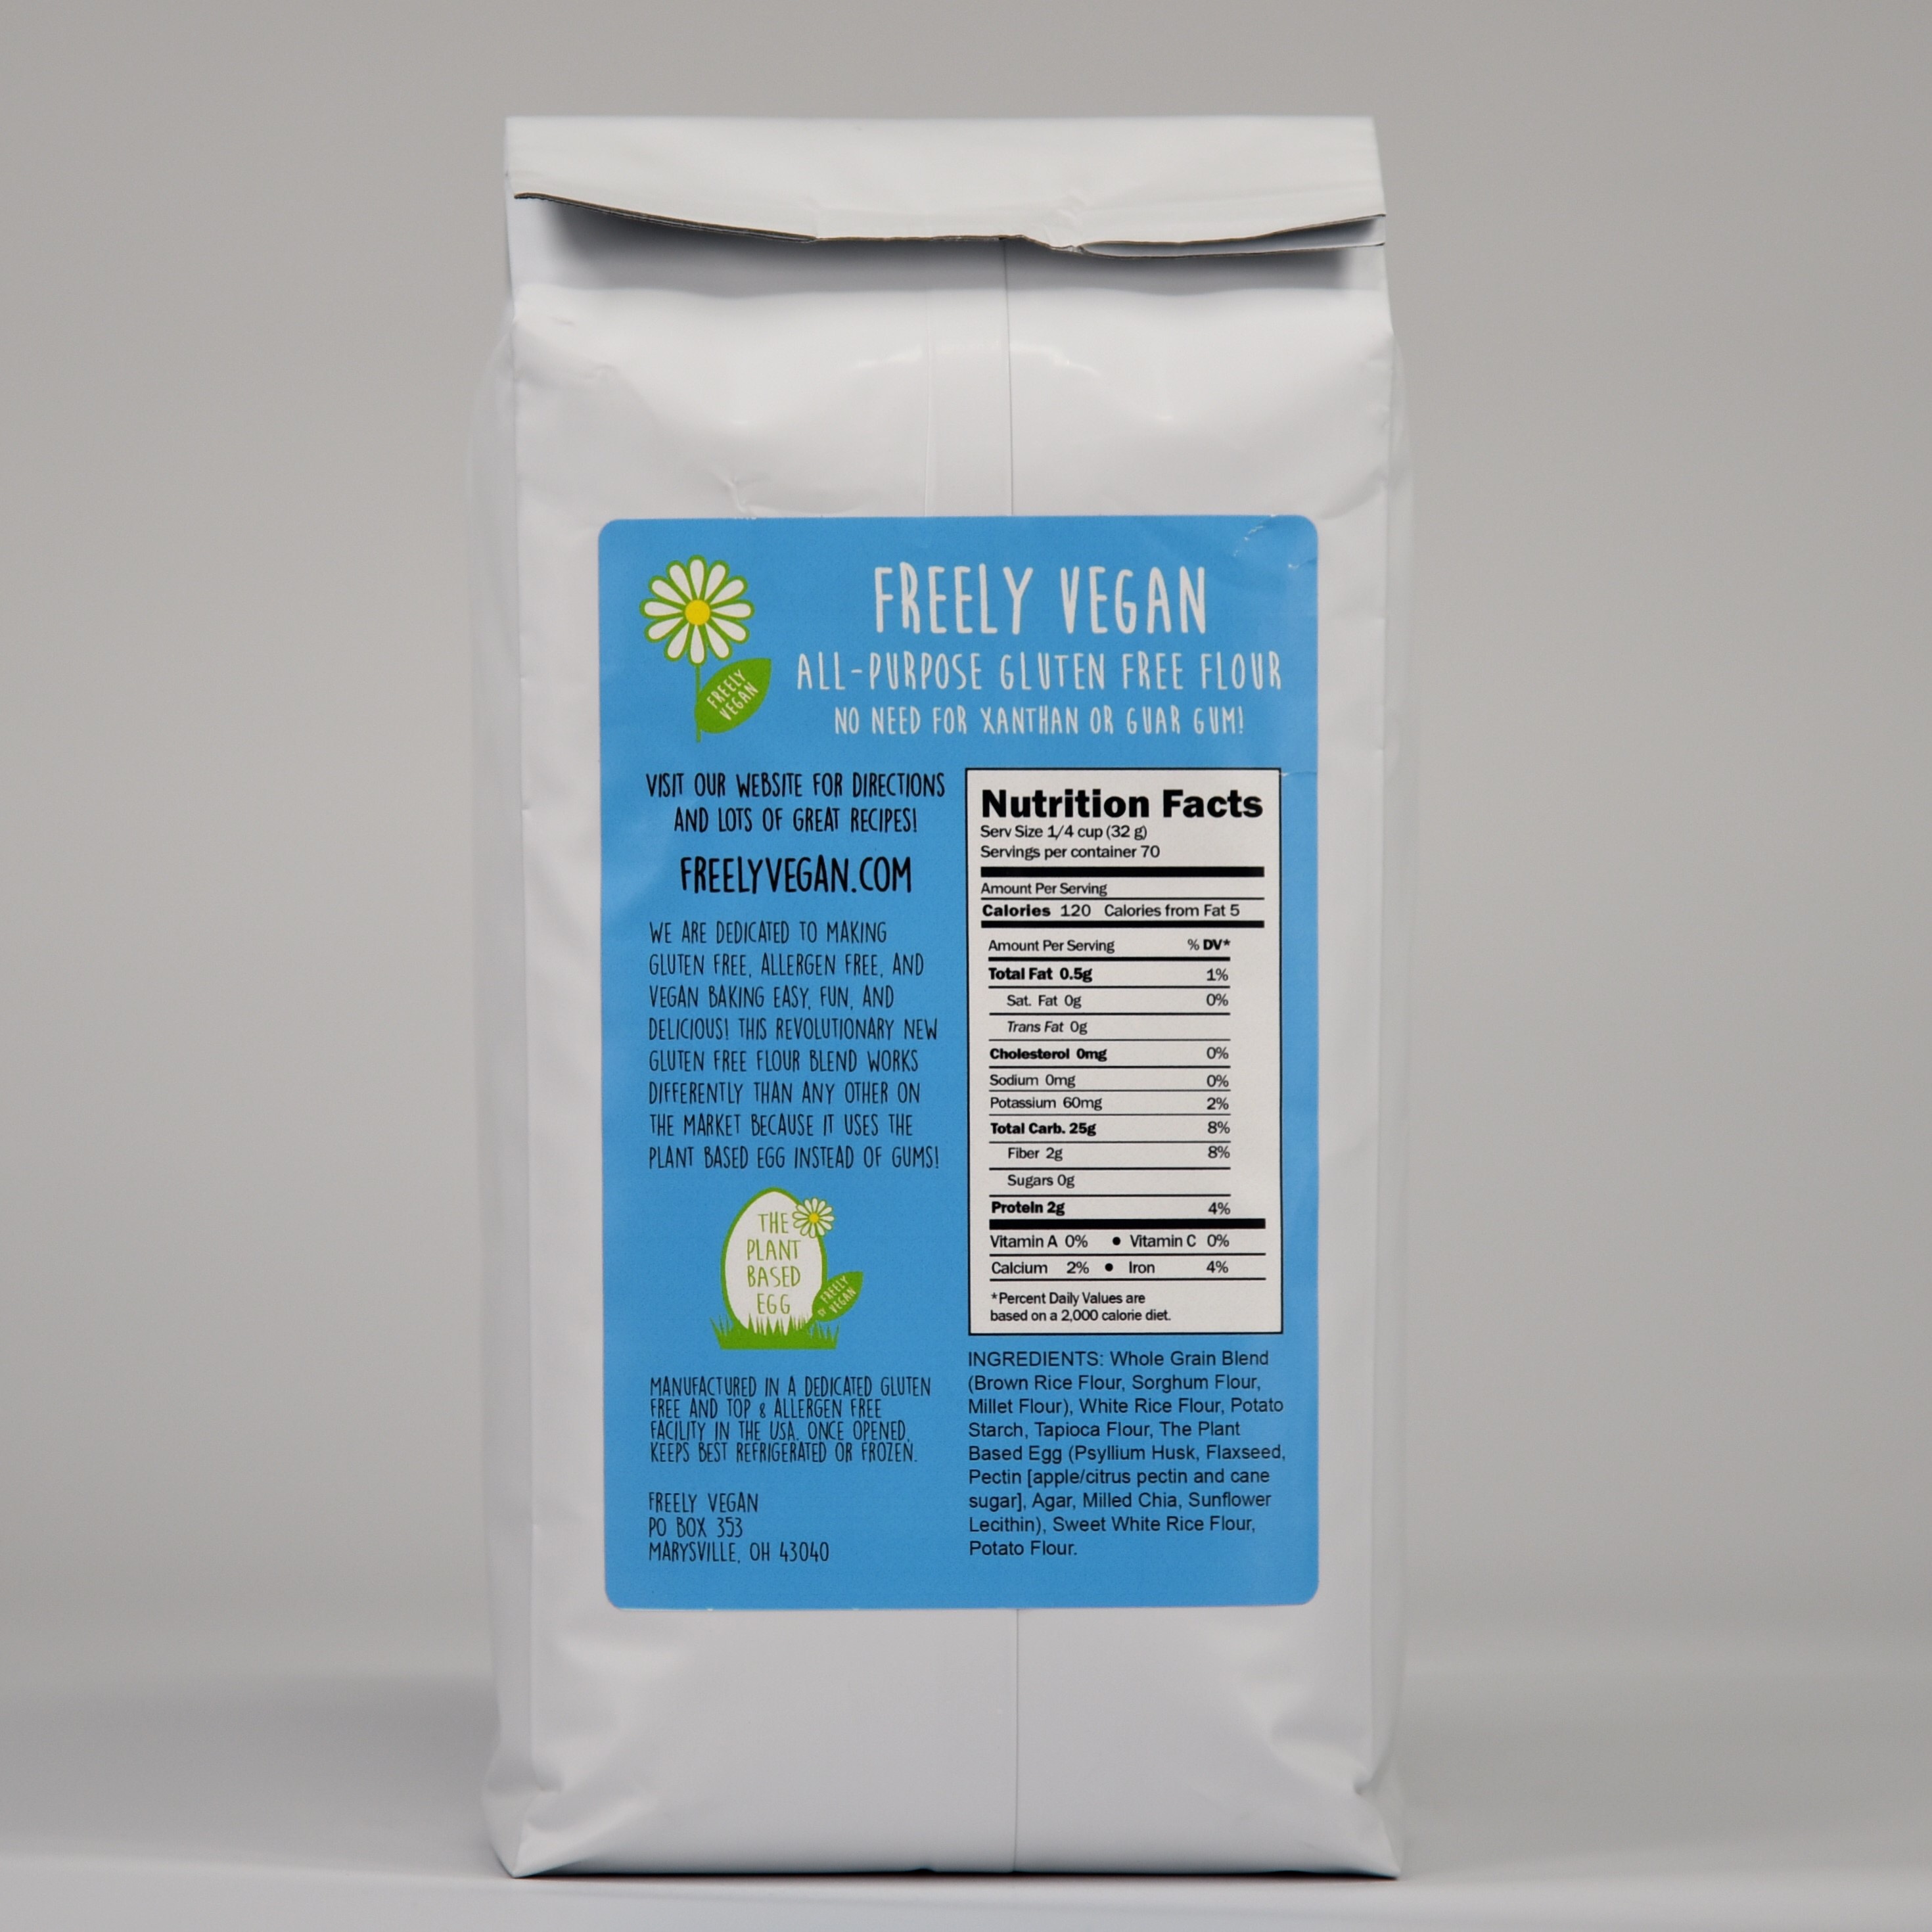
Update on flour: You can now get Freely Vegan All-Purpose Gluten Free Flour that already has The Plant Based Egg built in! I still really like the two-ingredient flour mentioned below, but this works even better and it is so convenient to be able to use it straight out of the bag! You can order the new flour from Amazon or Freely Vegan.
You can also use most of my posted flour blends in my bread recipes, but your results will vary a bit depending on which one you use. Some will absorb water a little differently and you may have to adjust the amount accordingly. The blends with oat flour will make darker bread than those without any oat. The blends without potato starch will be a bit different in texture and a little too chewy in my opinion. Note: blends one and two should never be used for any yeast bread and my grain free flour (blend 10) makes very nice rolls and naan, but not a full-size loaf due to its higher fat content from the almond flour.
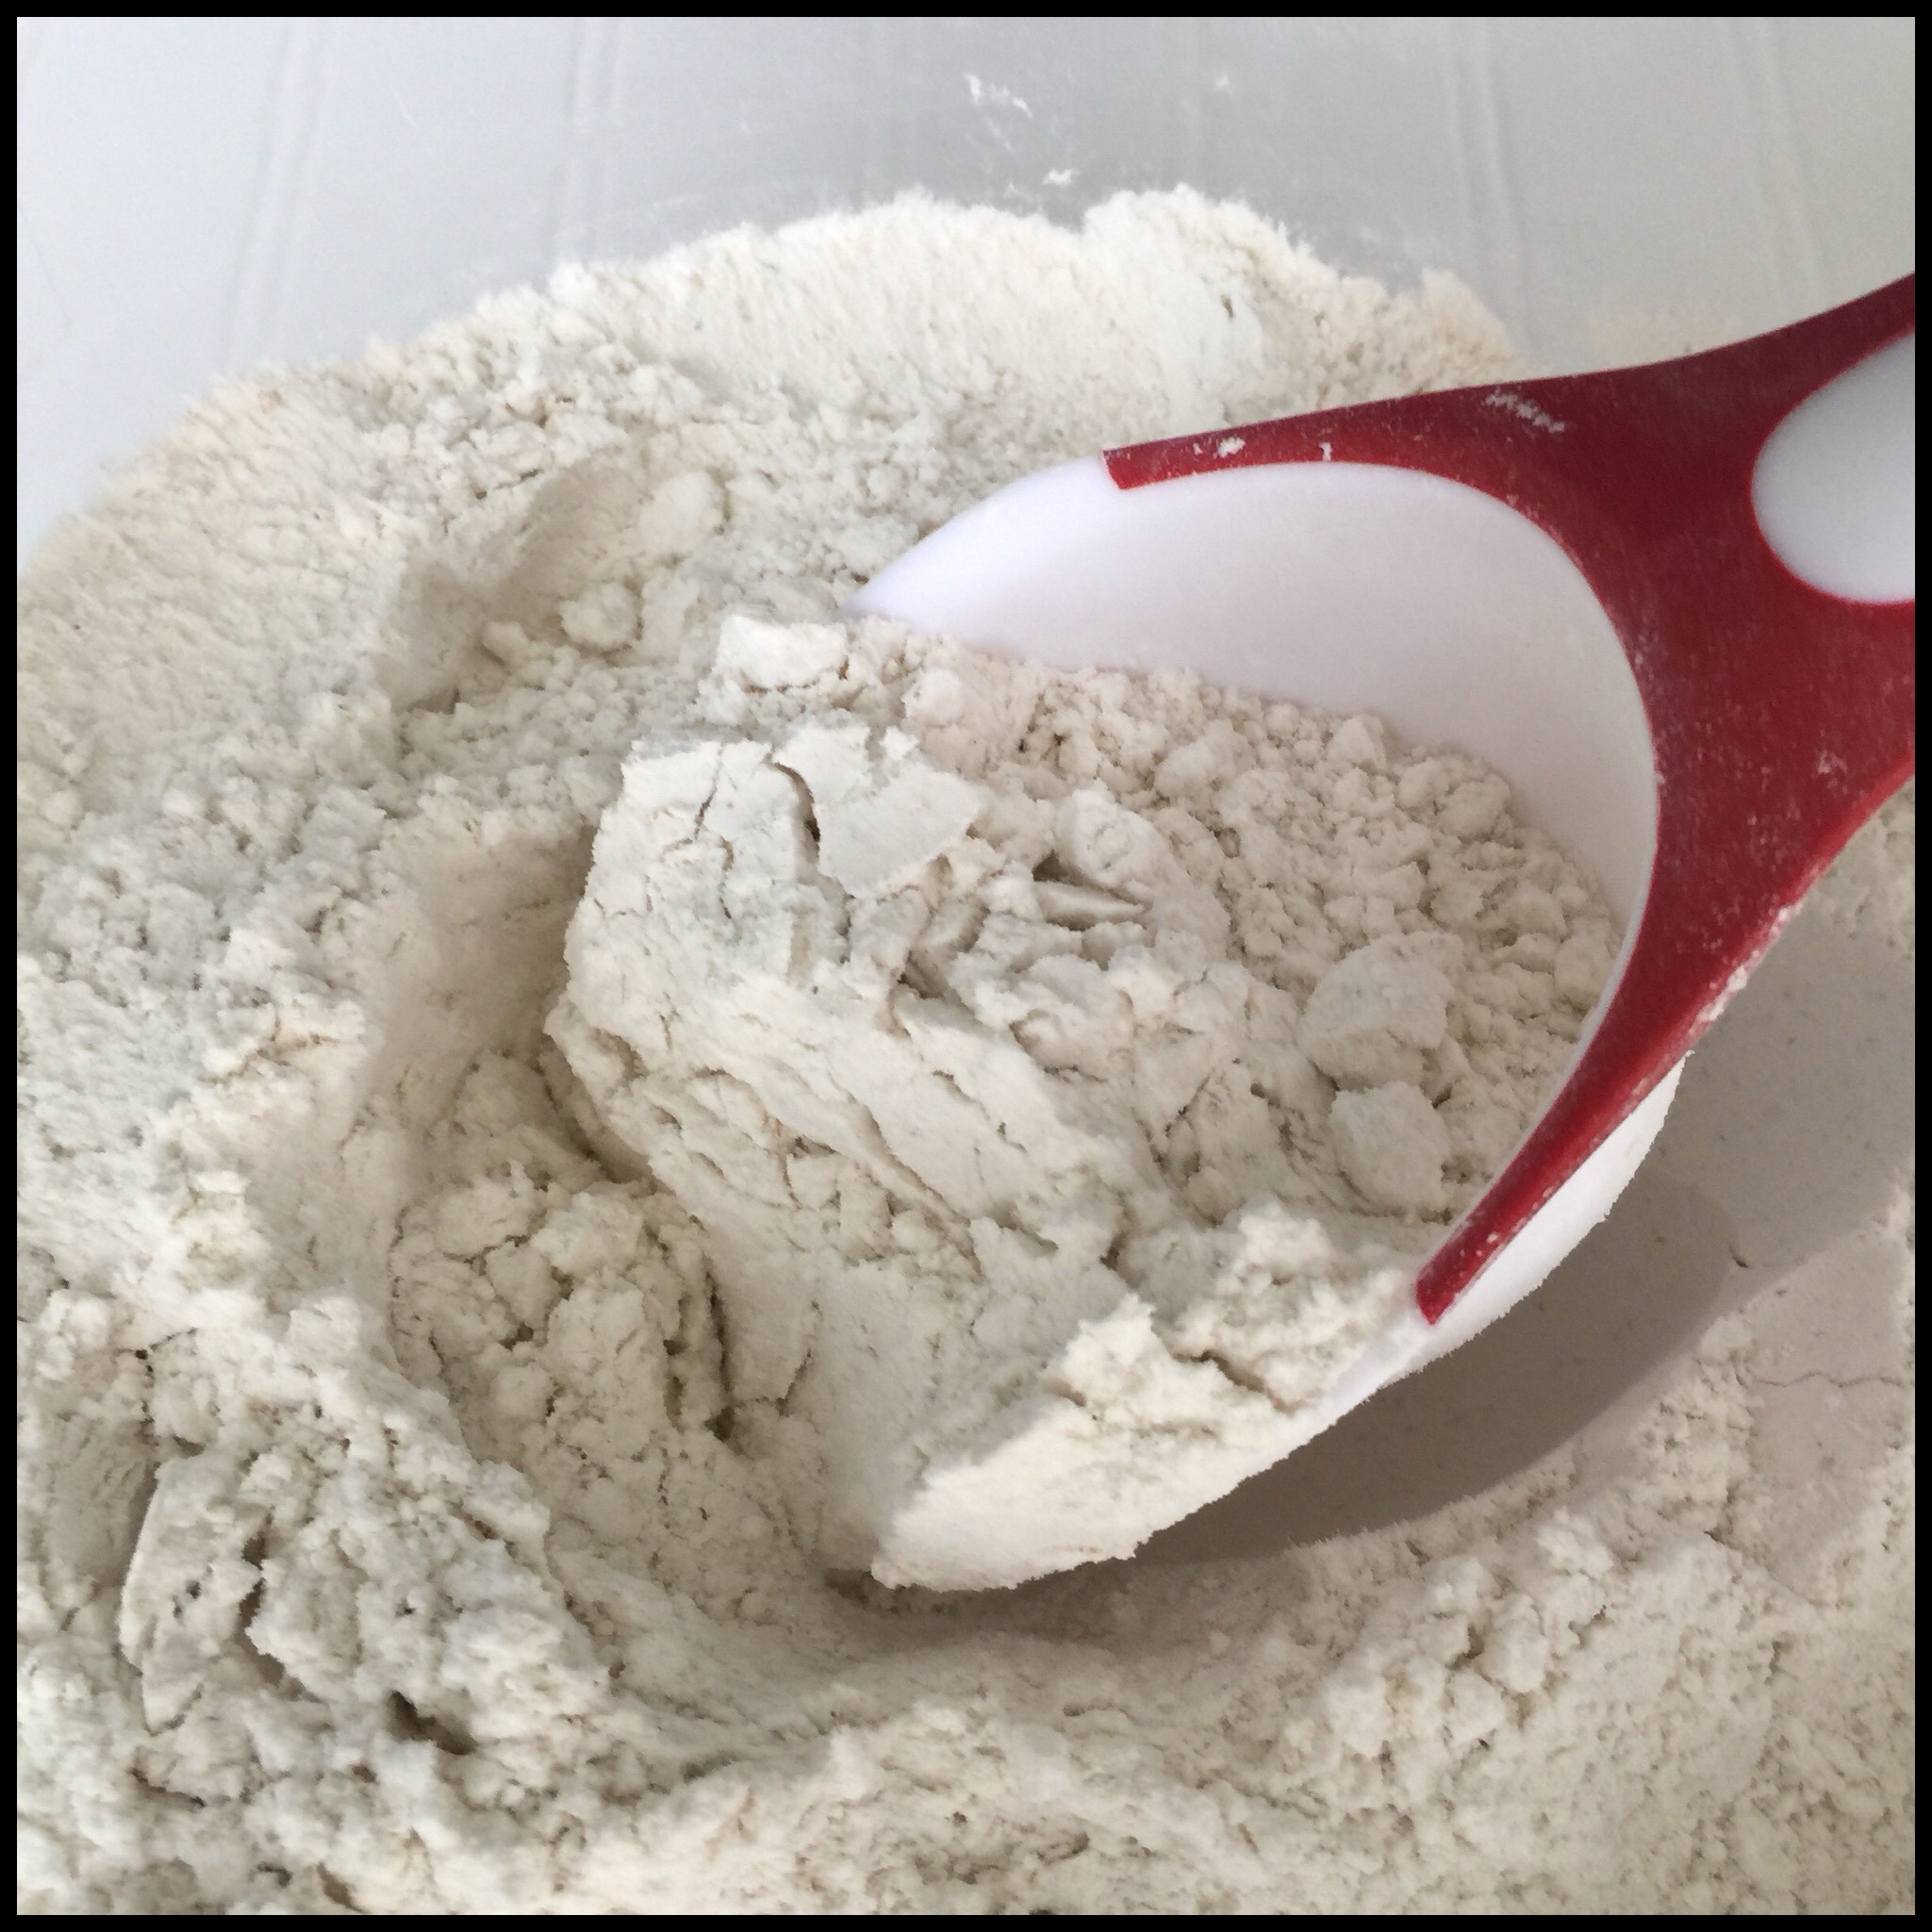
However, if you are not on a potato, rice, or grain free diet, I strongly recommend that you use either the new ready-to-use Freely Vegan flour shown above or my two-ingredient flour blend. It is easy to make and works well in all of my bread recipes. It’s just two boxes of Vitacost Gluten Free Multi-Blend Flour and one bag of The Plant Based Egg.
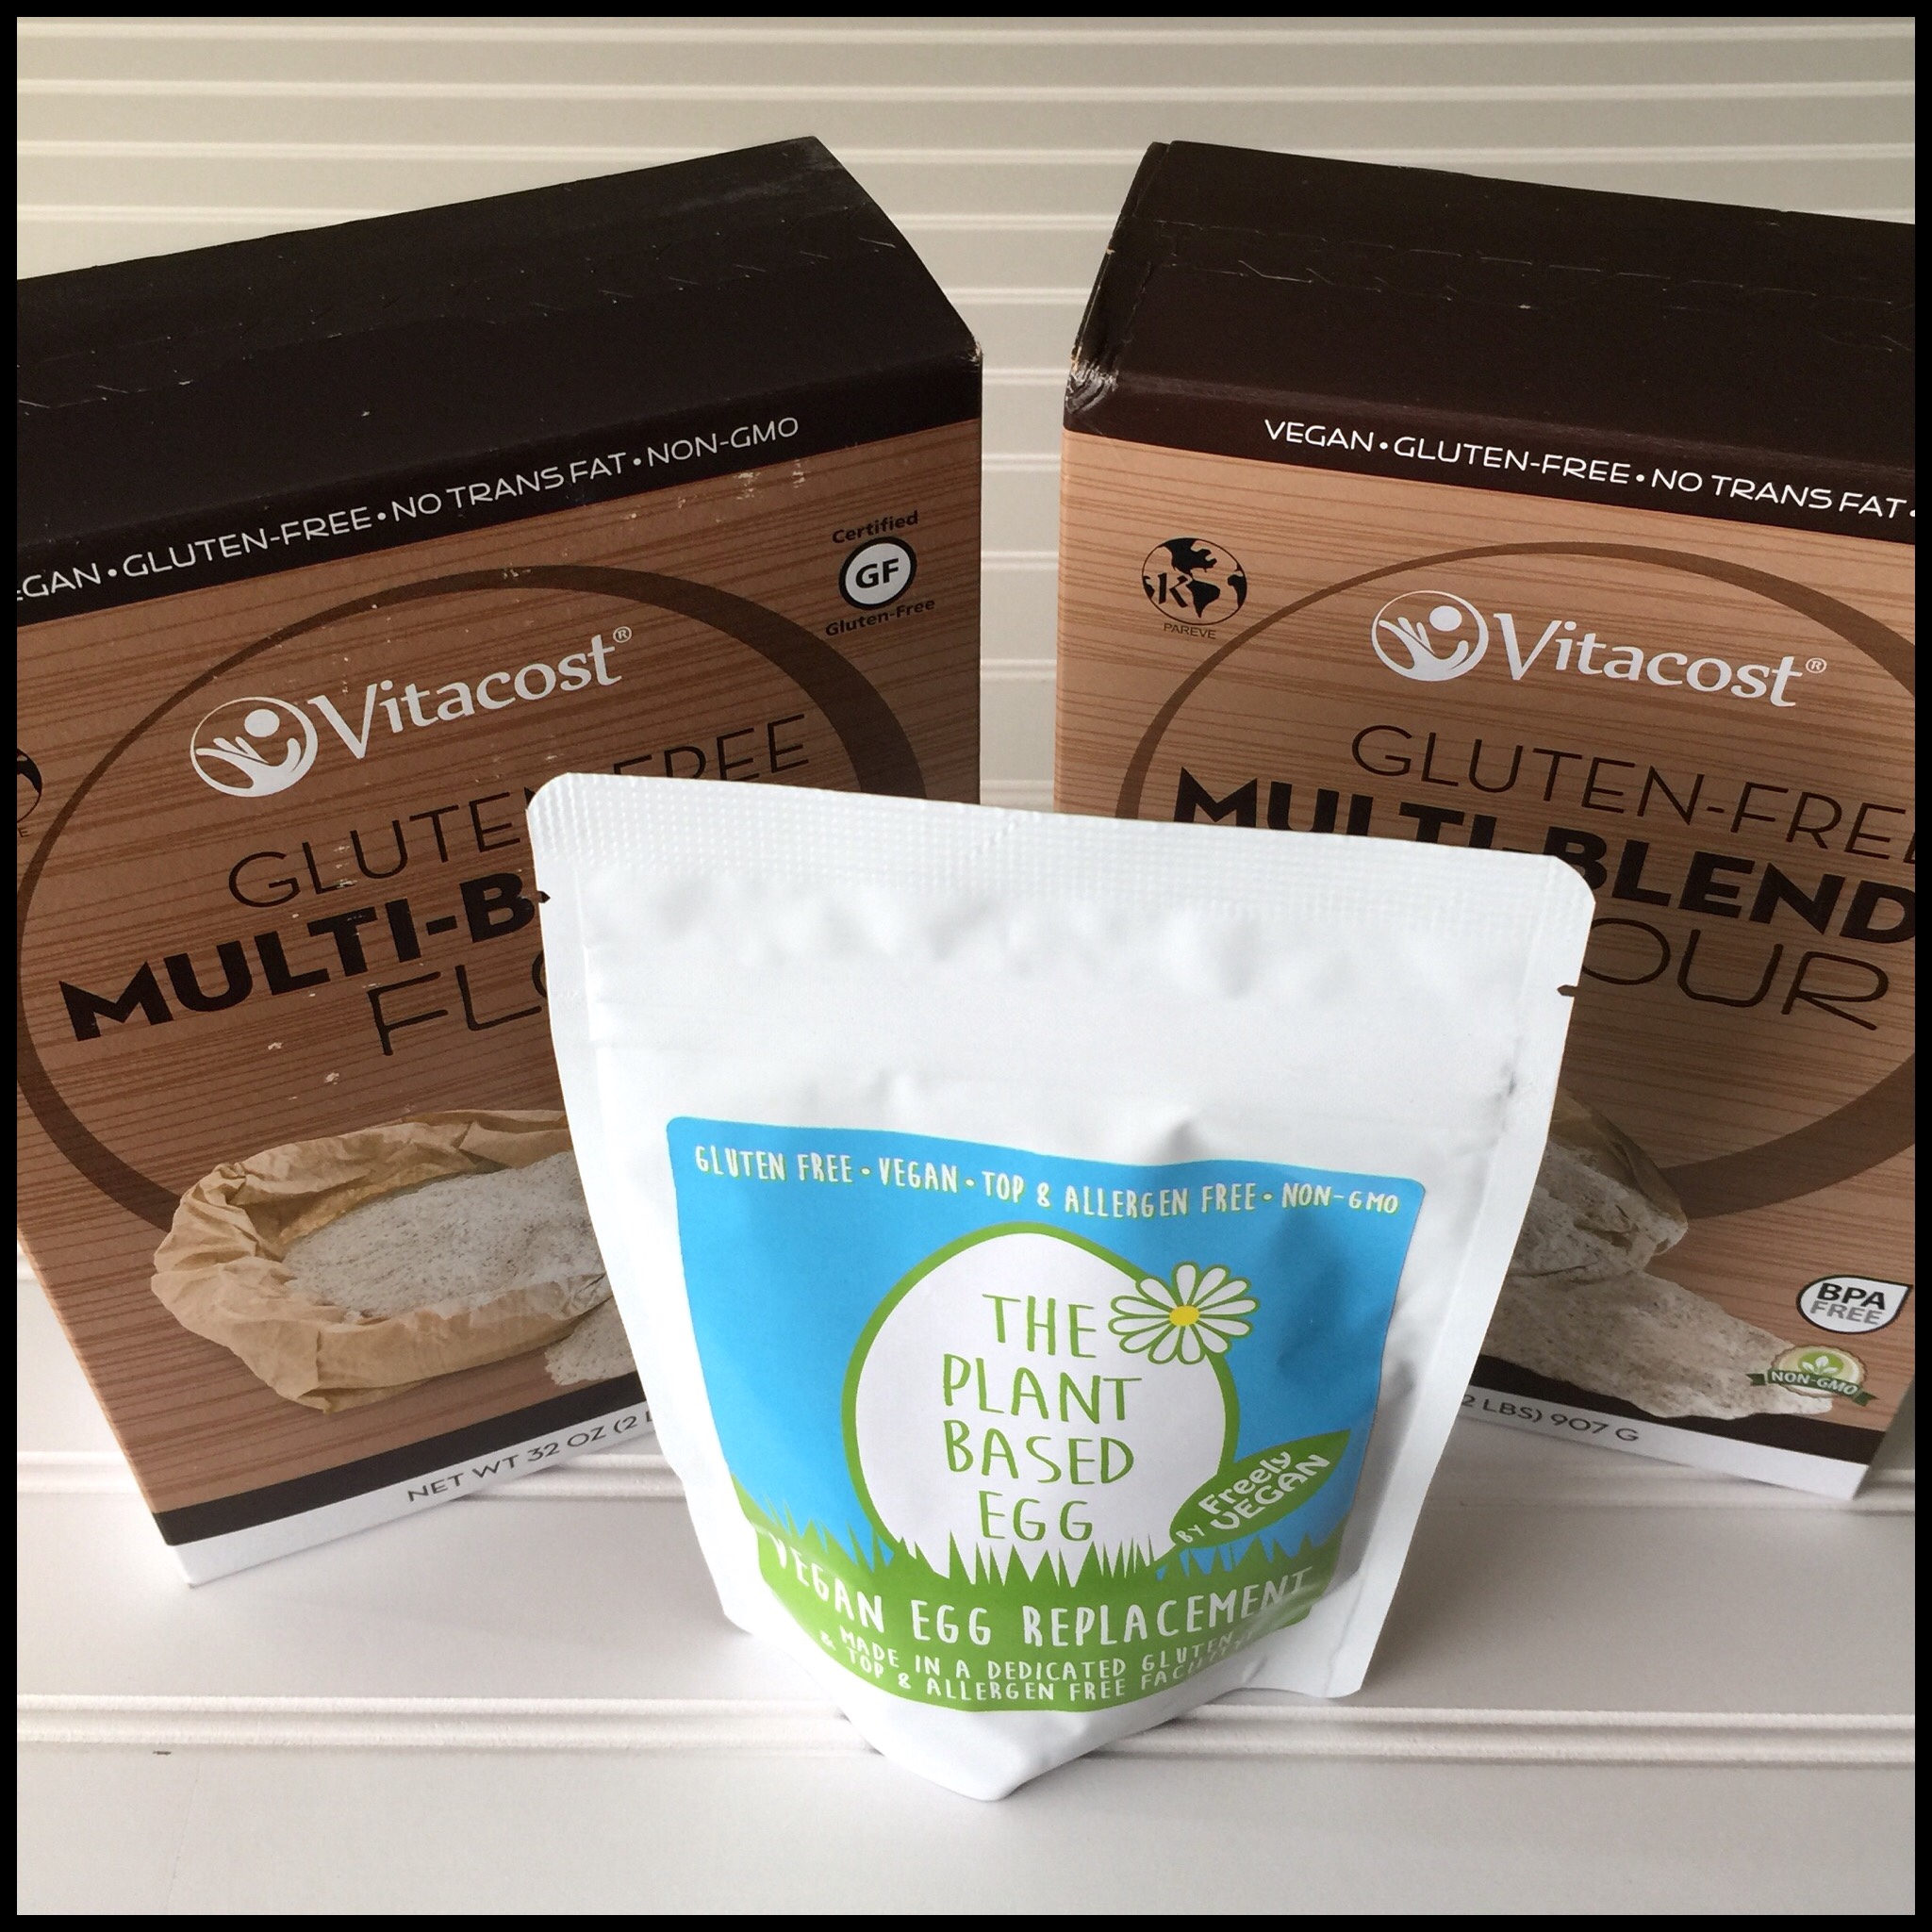
Mix them all together in a bin and you’re ready to bake bread! (One batch makes 4.25 lbs of flour.)
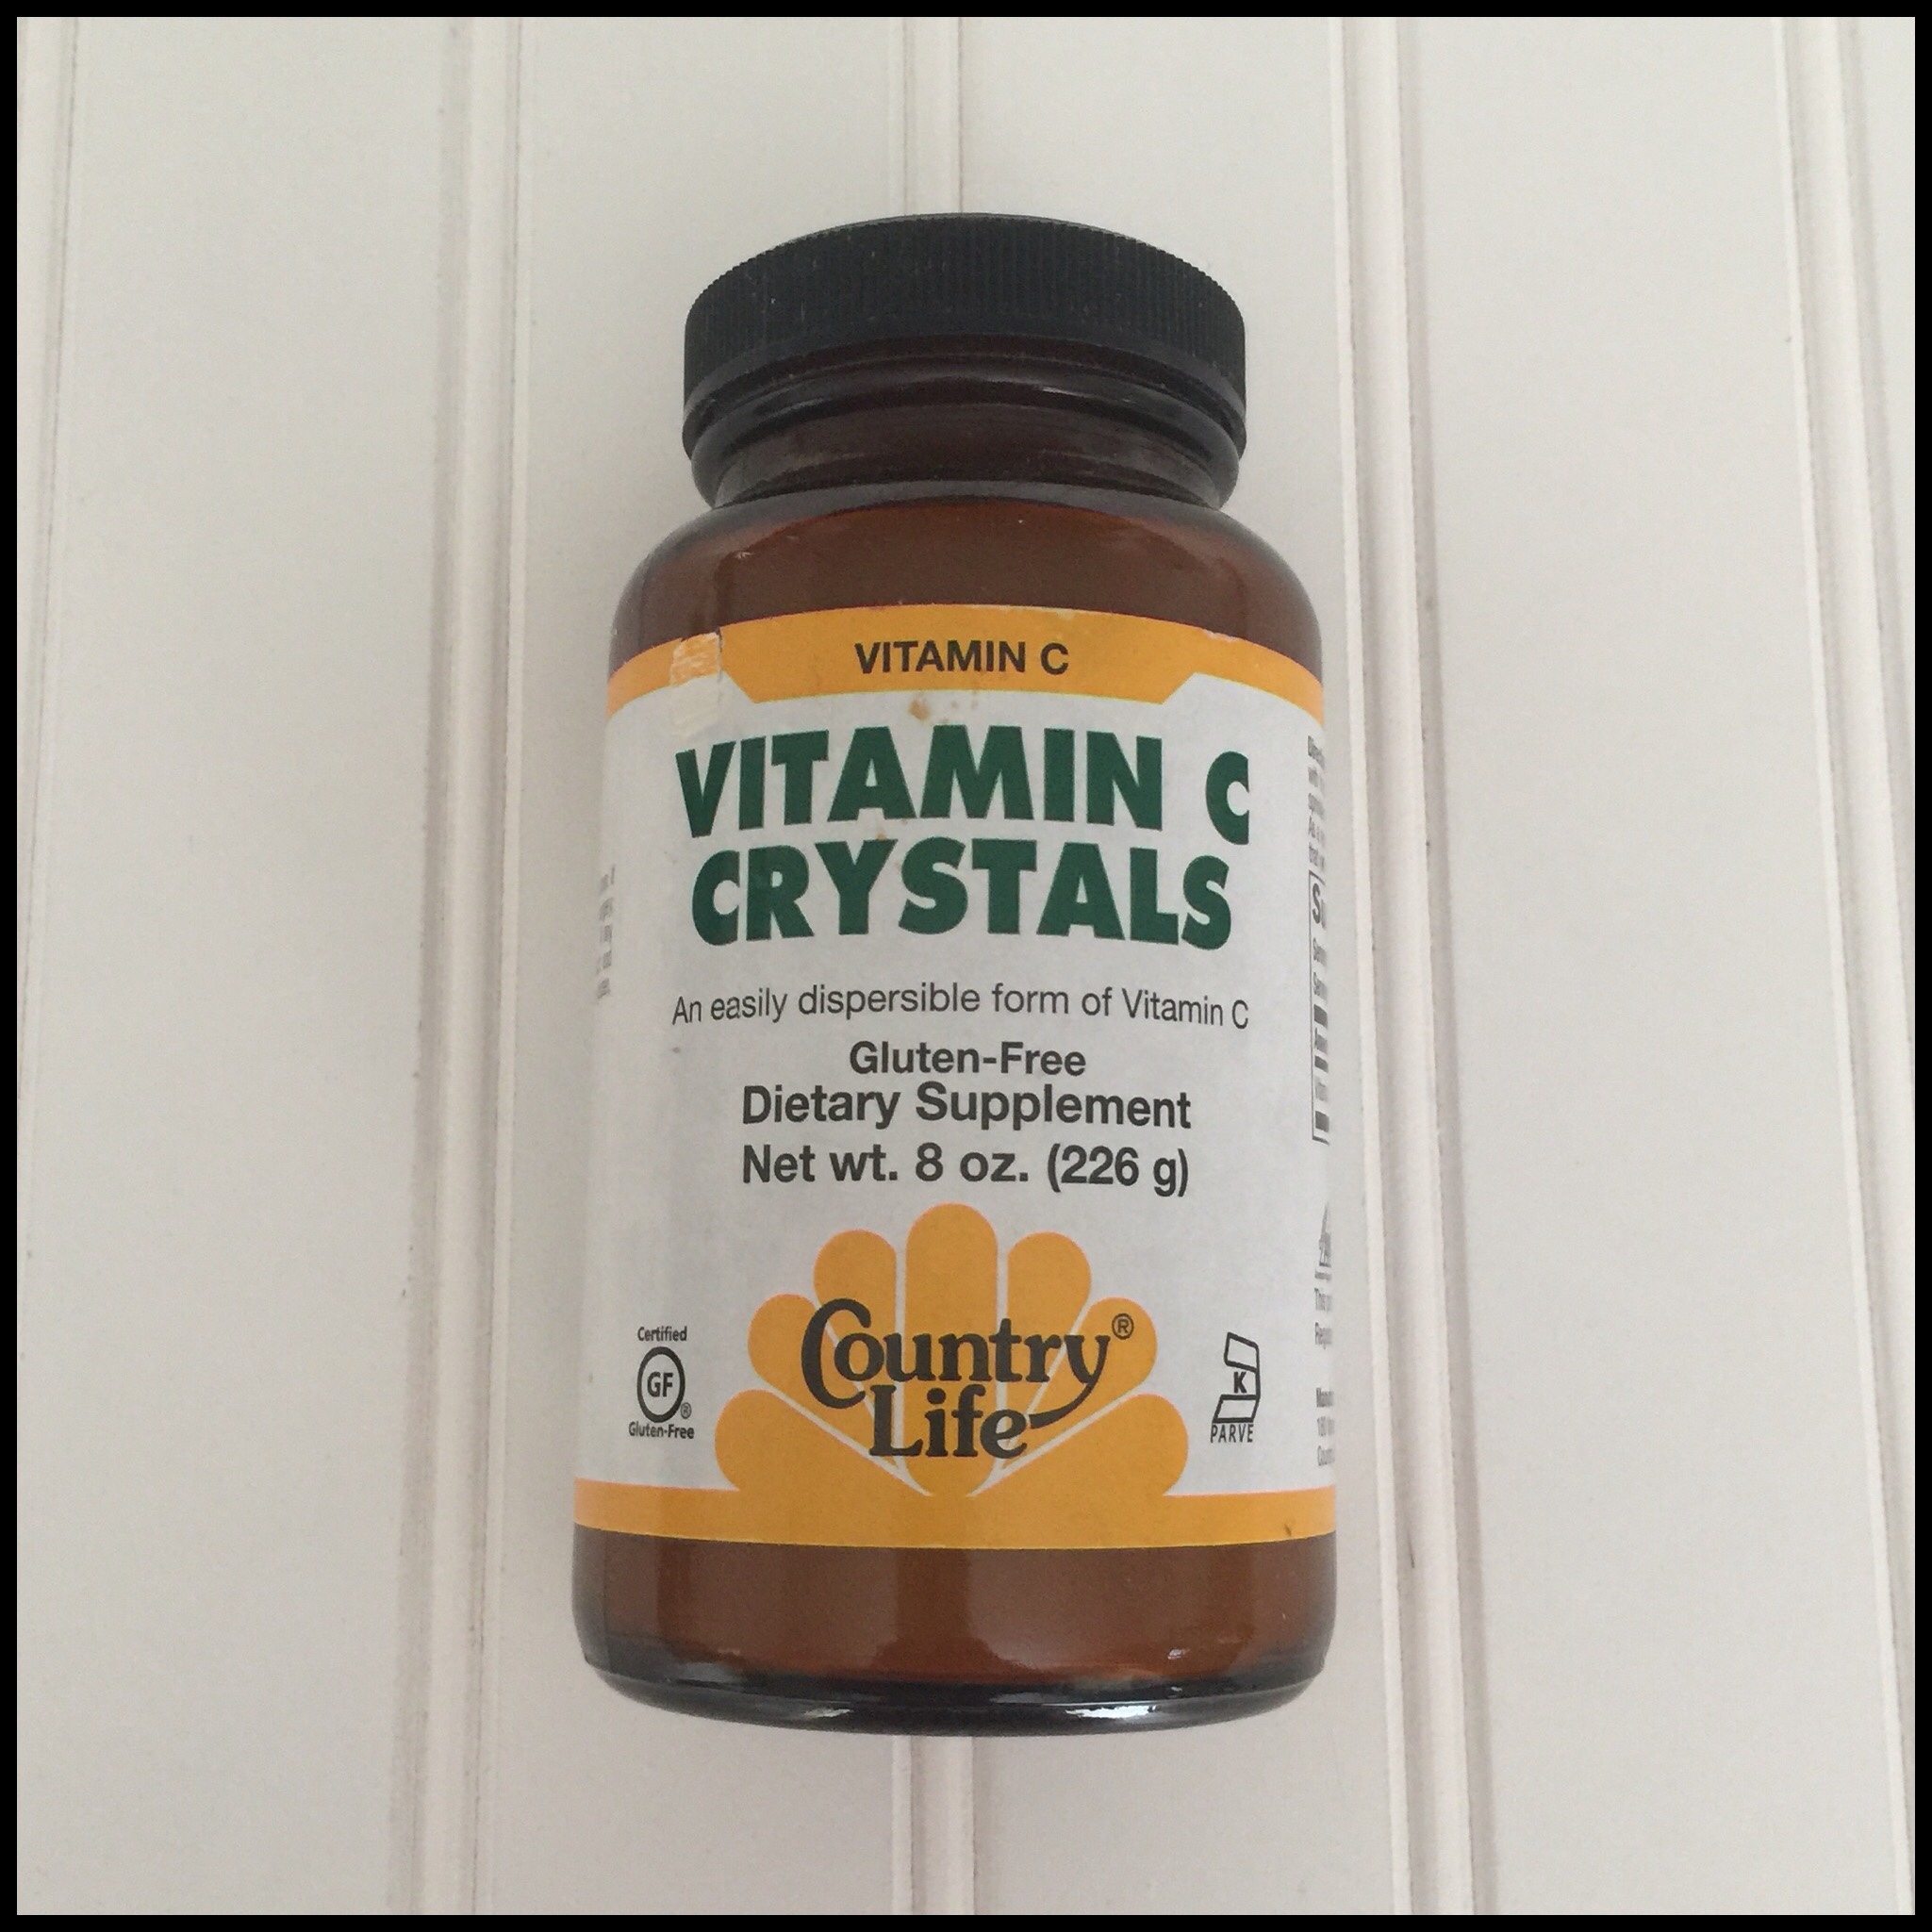
Next, you will need some kind of acid to act as a dough conditioner. This softens the bread and makes it very light. For the best results, use these vitamin C crystals and mix them right into the flour. This 8 oz bottle is under $14 from Vitacost and is enough for 150 pounds of flour. Or, you can use a combination of distilled white vinegar and lemon juice, and decrease the amount of water in the recipe. The texture of your bread will not be quite as good as with the vitamin C crystals, but will still be excellent. Note: if you are planning to make my mock sourdough, you will also need vegan lactic acid and apple cider vinegar with “the mother” (Bragg or similar).

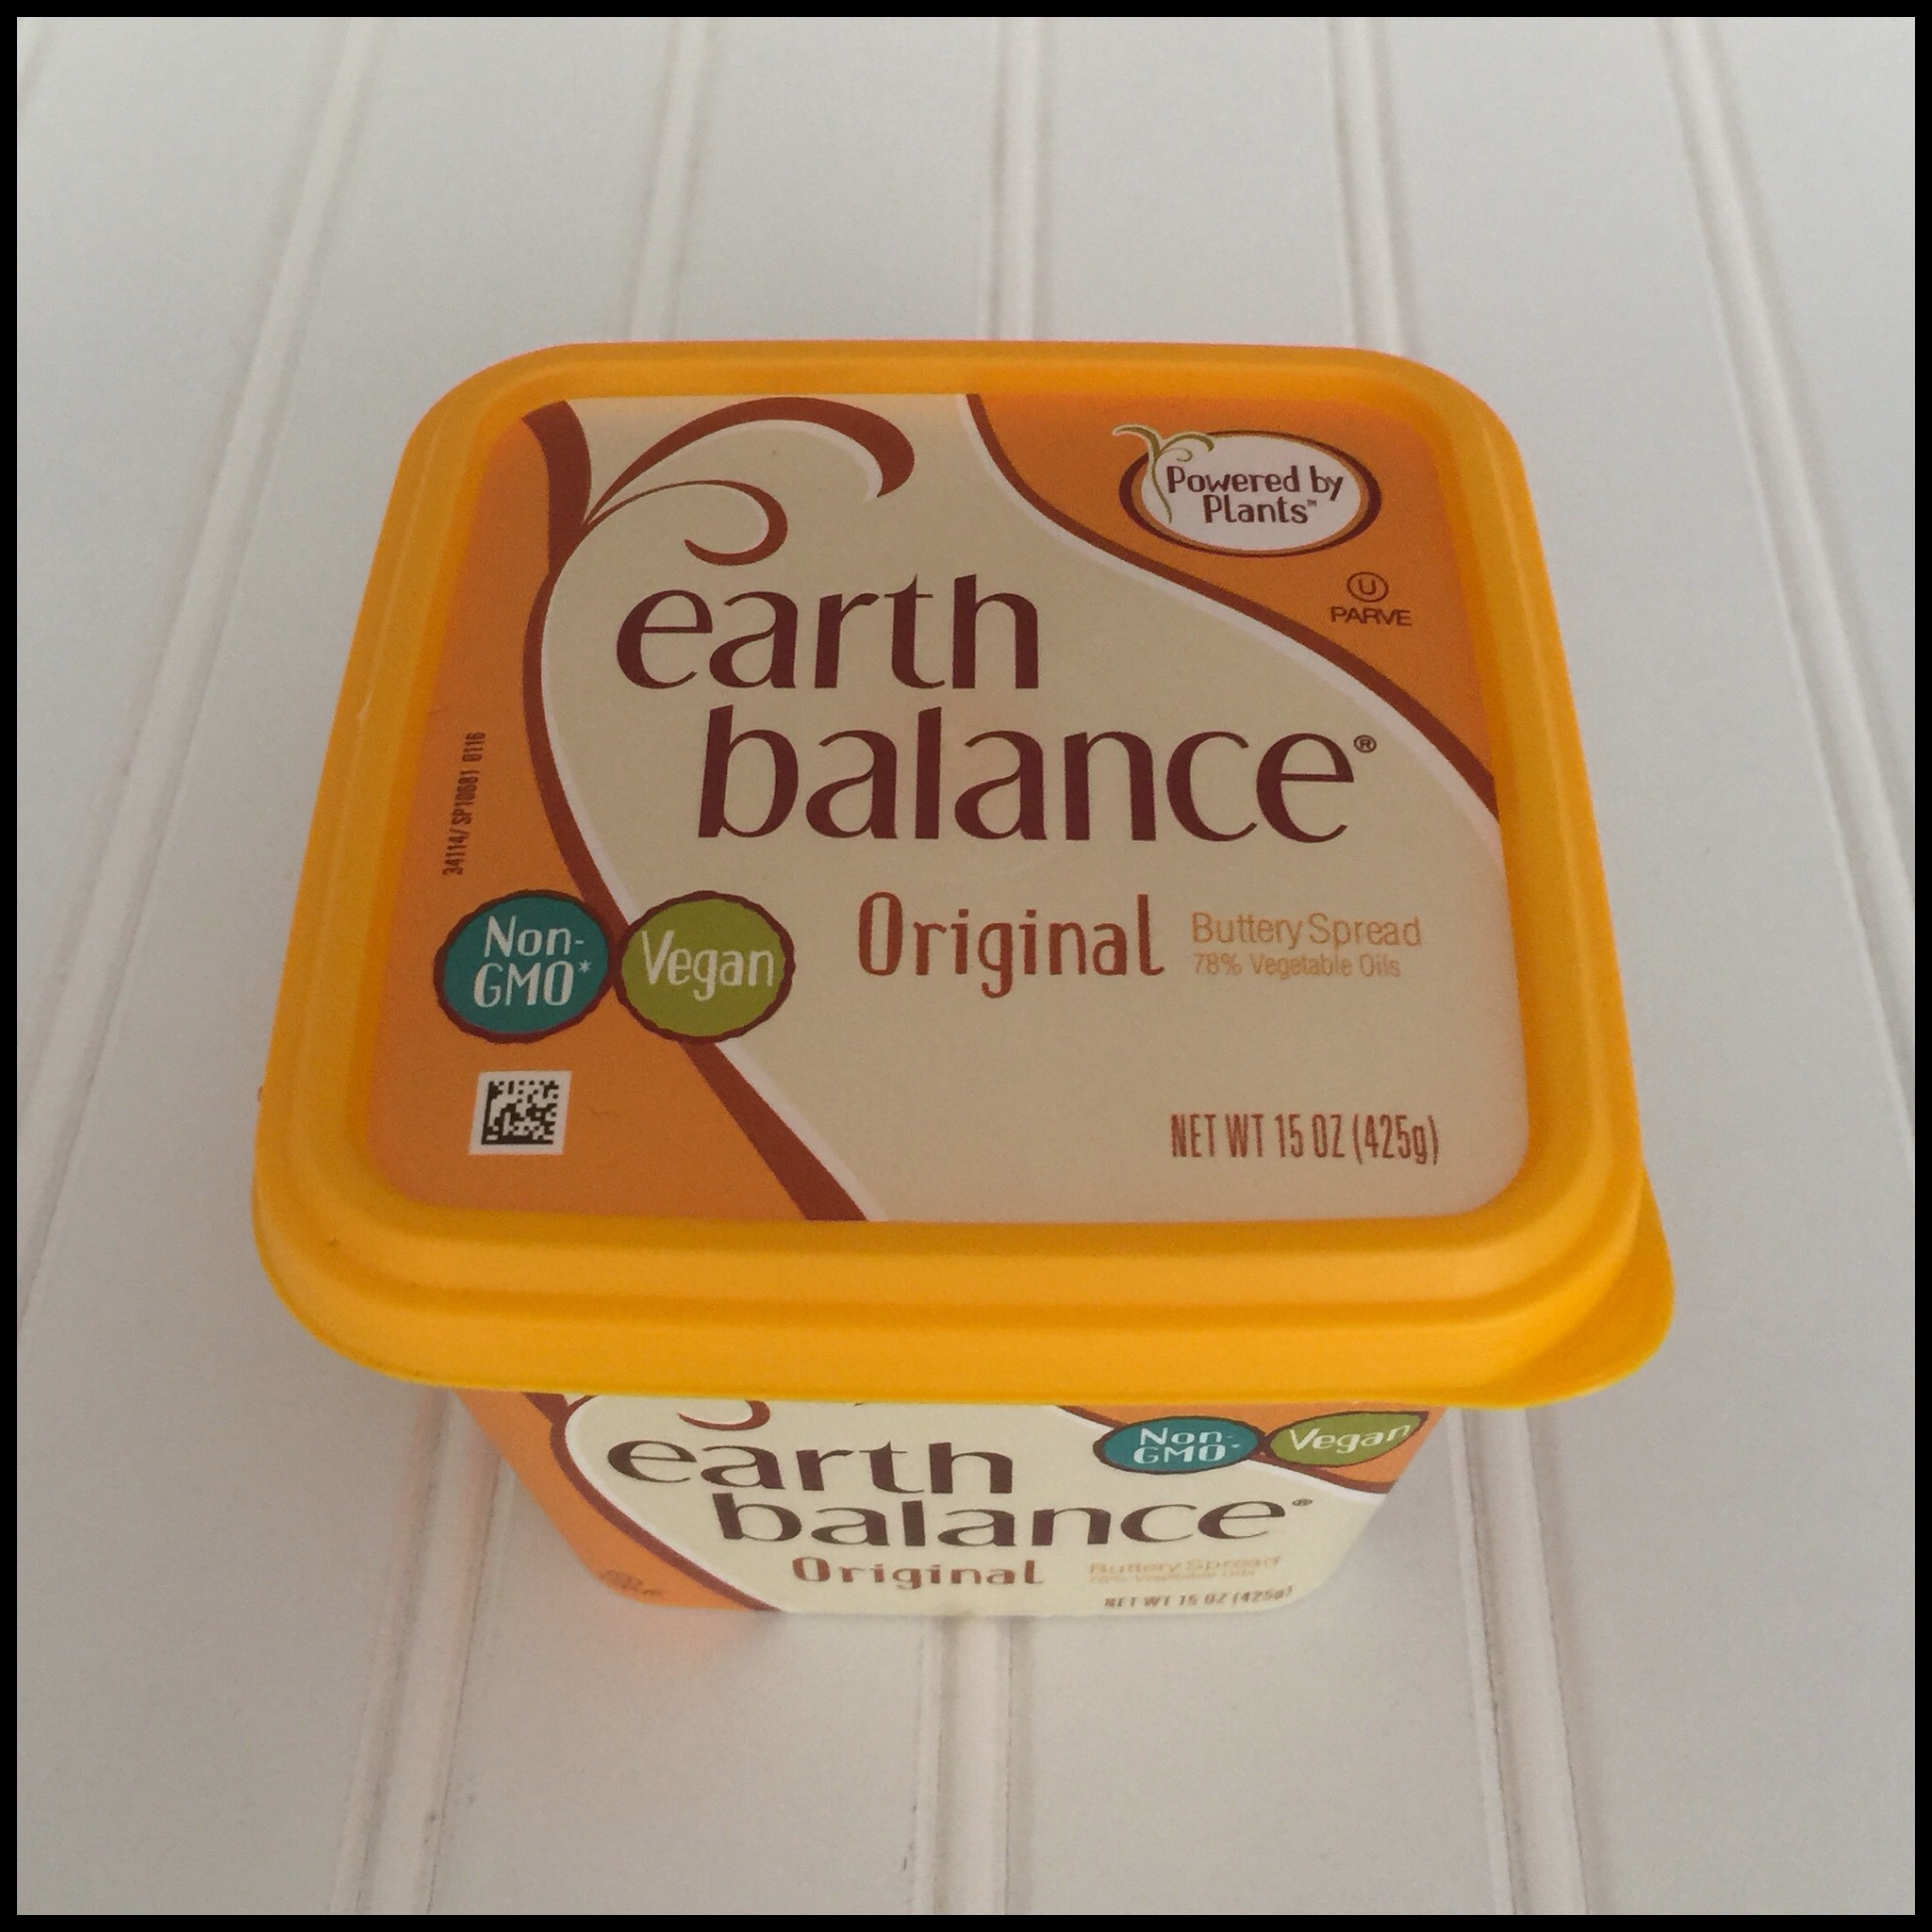
Gluten free bread does not need much fat added to the dough, but a little bit really makes a difference in both texture and flavor. I use Earth Balance spread, but you can use a different brand that has the same fat content. Do not substitute oil or try to leave it out! (I am working on a recipe without any oil or refined sugar for those on a restricted diet. Wait for that one if need be and don’t just leave ingredients out of my well-tested recipes.)
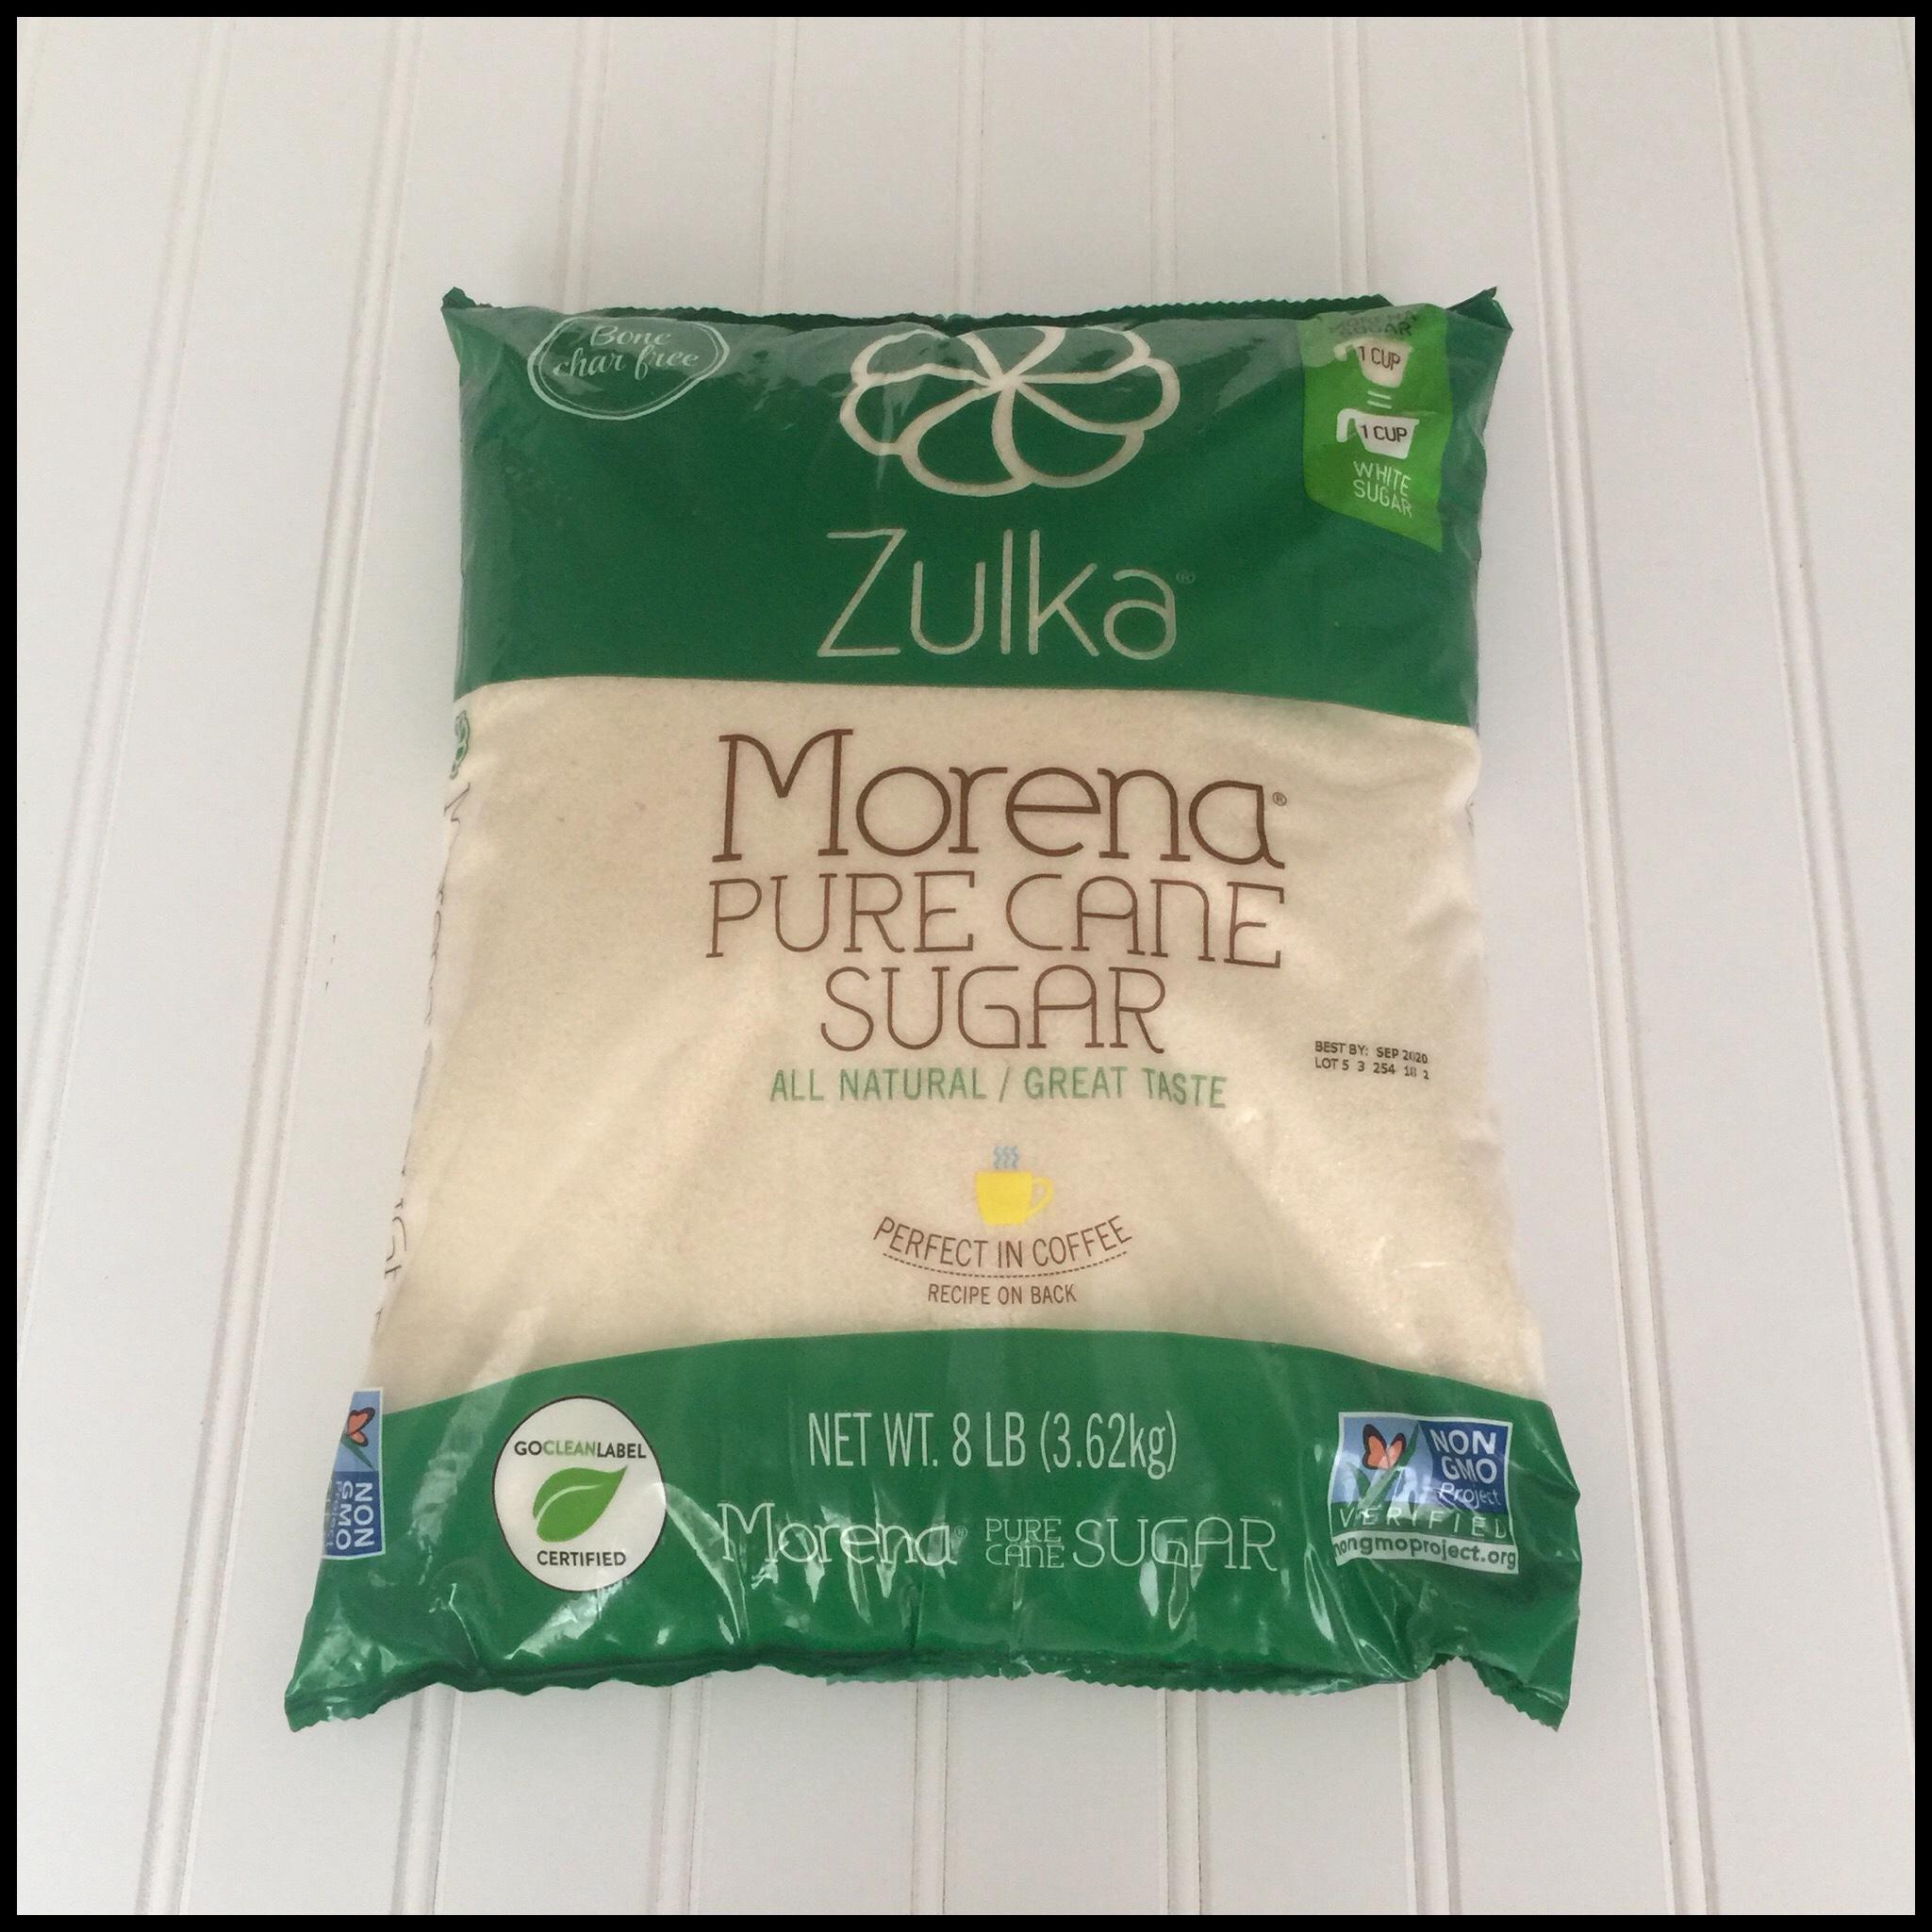
Some kind of sugar is also needed to feed the yeast. Liquid sweeteners like agave, molasses, vegan honee, and maple syrup behave differently than dry sugar, so do not substitute. Some of my bread recipes will call for one or more liquid sweeteners, but the recipes have been designed to do so. If the recipe calls for sugar, use sugar. You can use any brand that you like, but look for one that is organic or that clearly states it is vegan or bone char free. I always use Zulka:
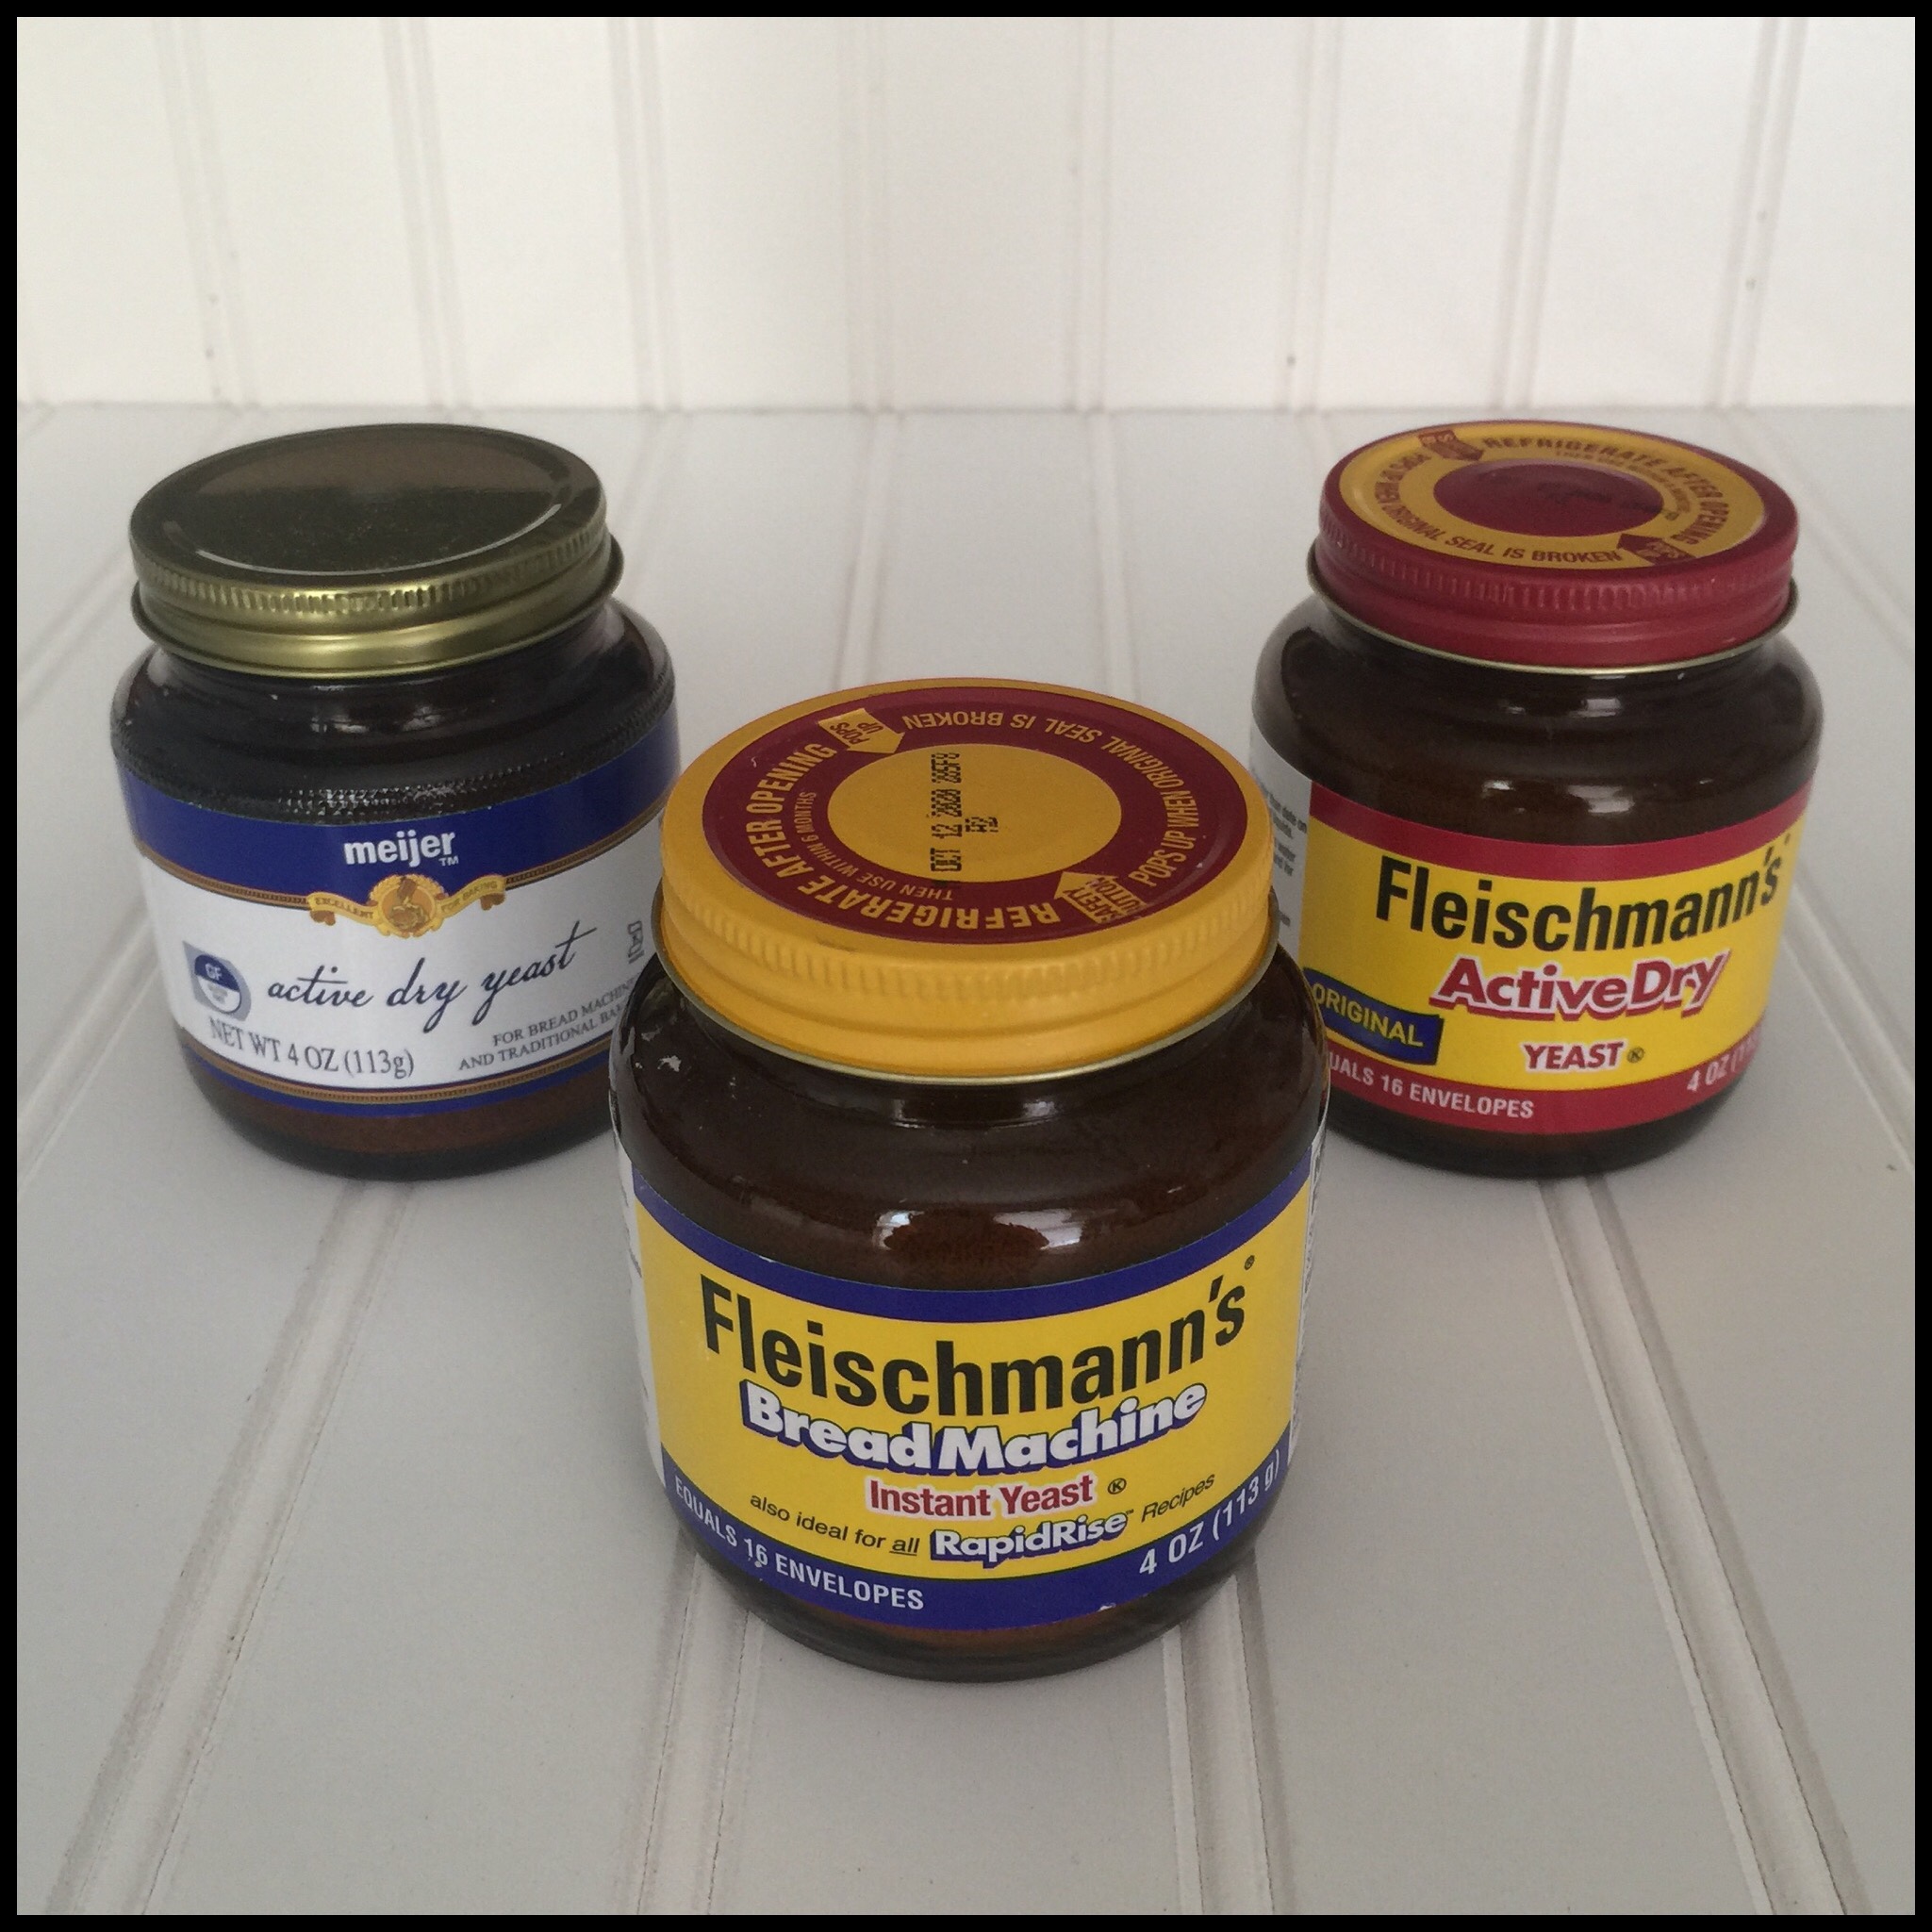
I have tried different brands and types of yeast and they all work in my recipes. I do have a slight preference for Fleischmann’s bread machine instant yeast. I do not have a bread machine, nor do I plan to get one, but I like the way that yeast works in my recipes. Do be sure that you get yeast that is labeled gluten free as not all of them are.
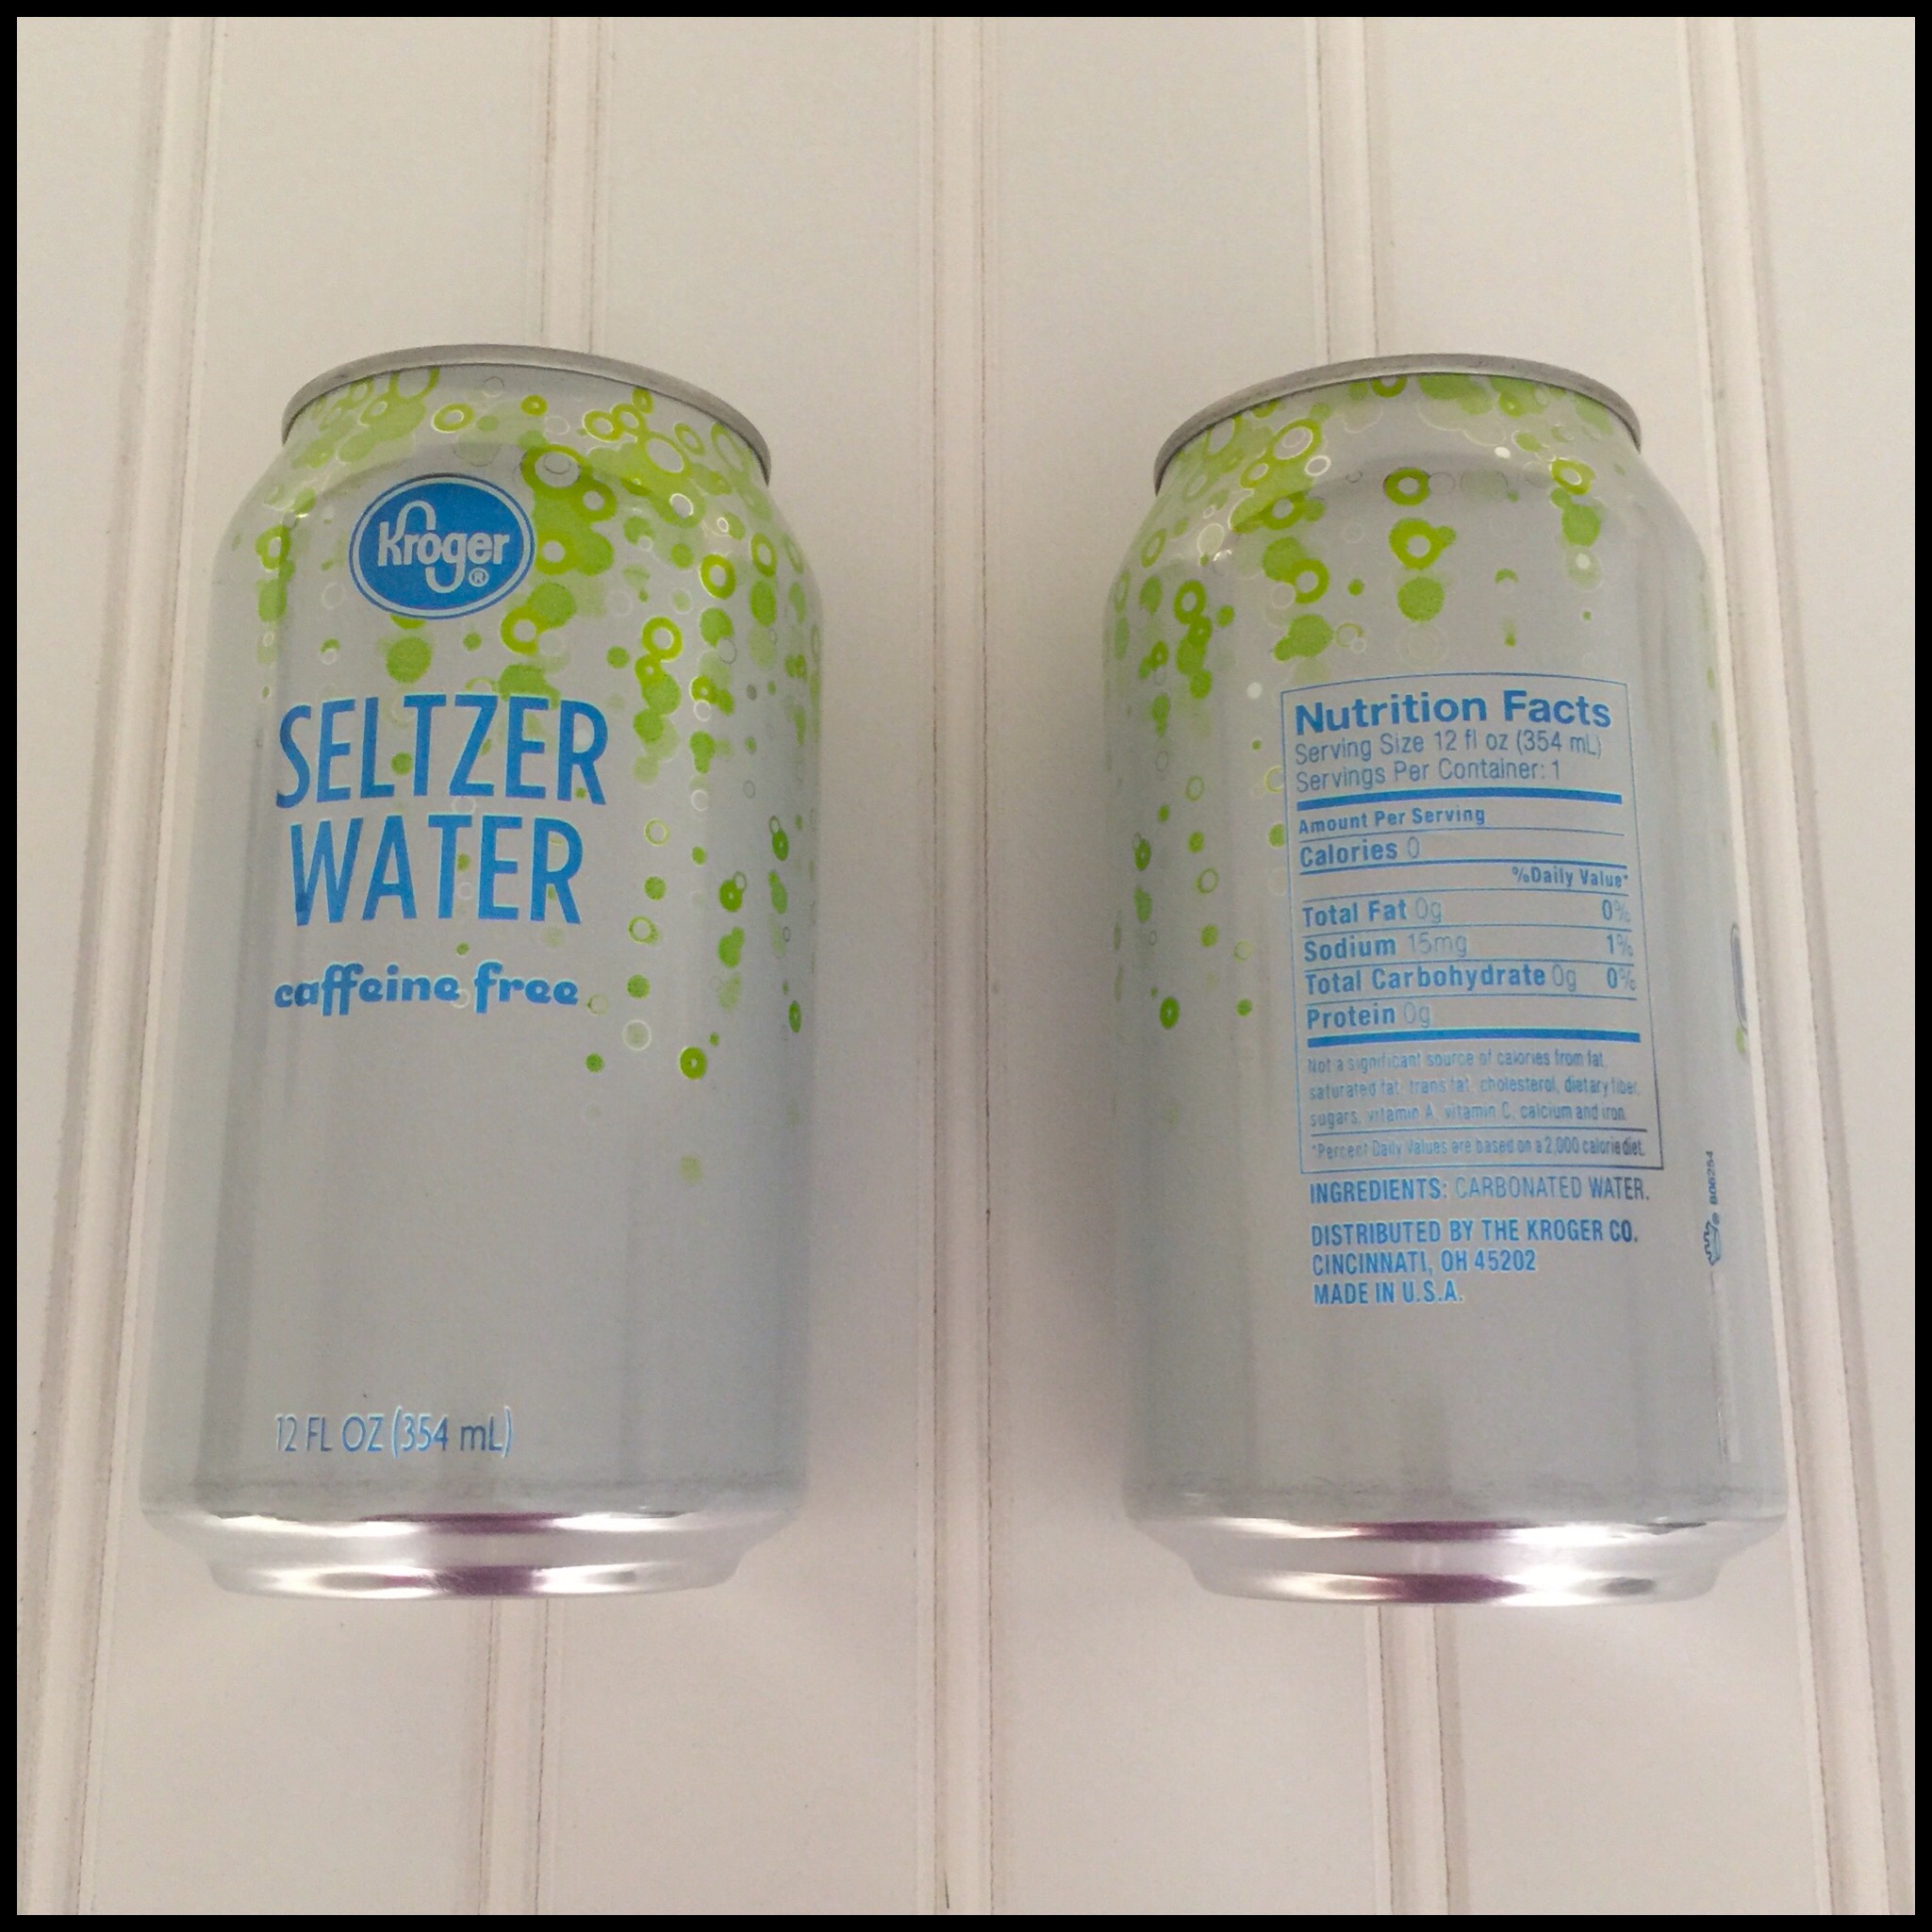
For the lightest bread, you should always use seltzer water in my recipes. There are lots of store brands and any that have carbonated water as the only ingredient are fine. I like to get the cans because the liter bottles have too much for one recipe and they go flat too quickly to use again (unless you are baking several breads in one or two days.)
Salt is necessary to give your bread a balanced flavor. As long as you are weighing your ingredients, you can use any salt that you like. Measuring is more complicated. I always use regular iodized salt and that weighs 6.4 grams per teaspoon. If you use a sea salt that is coarser, it might weigh only 4.8 grams per teaspoon. So, 1 1/2 teaspoons of Morton’s weighs 9.6 grams but 1 1/2 teaspoons of coarser sea salt would only be 7.2 grams. Get a scale and you won’t have to deal with issues like this!

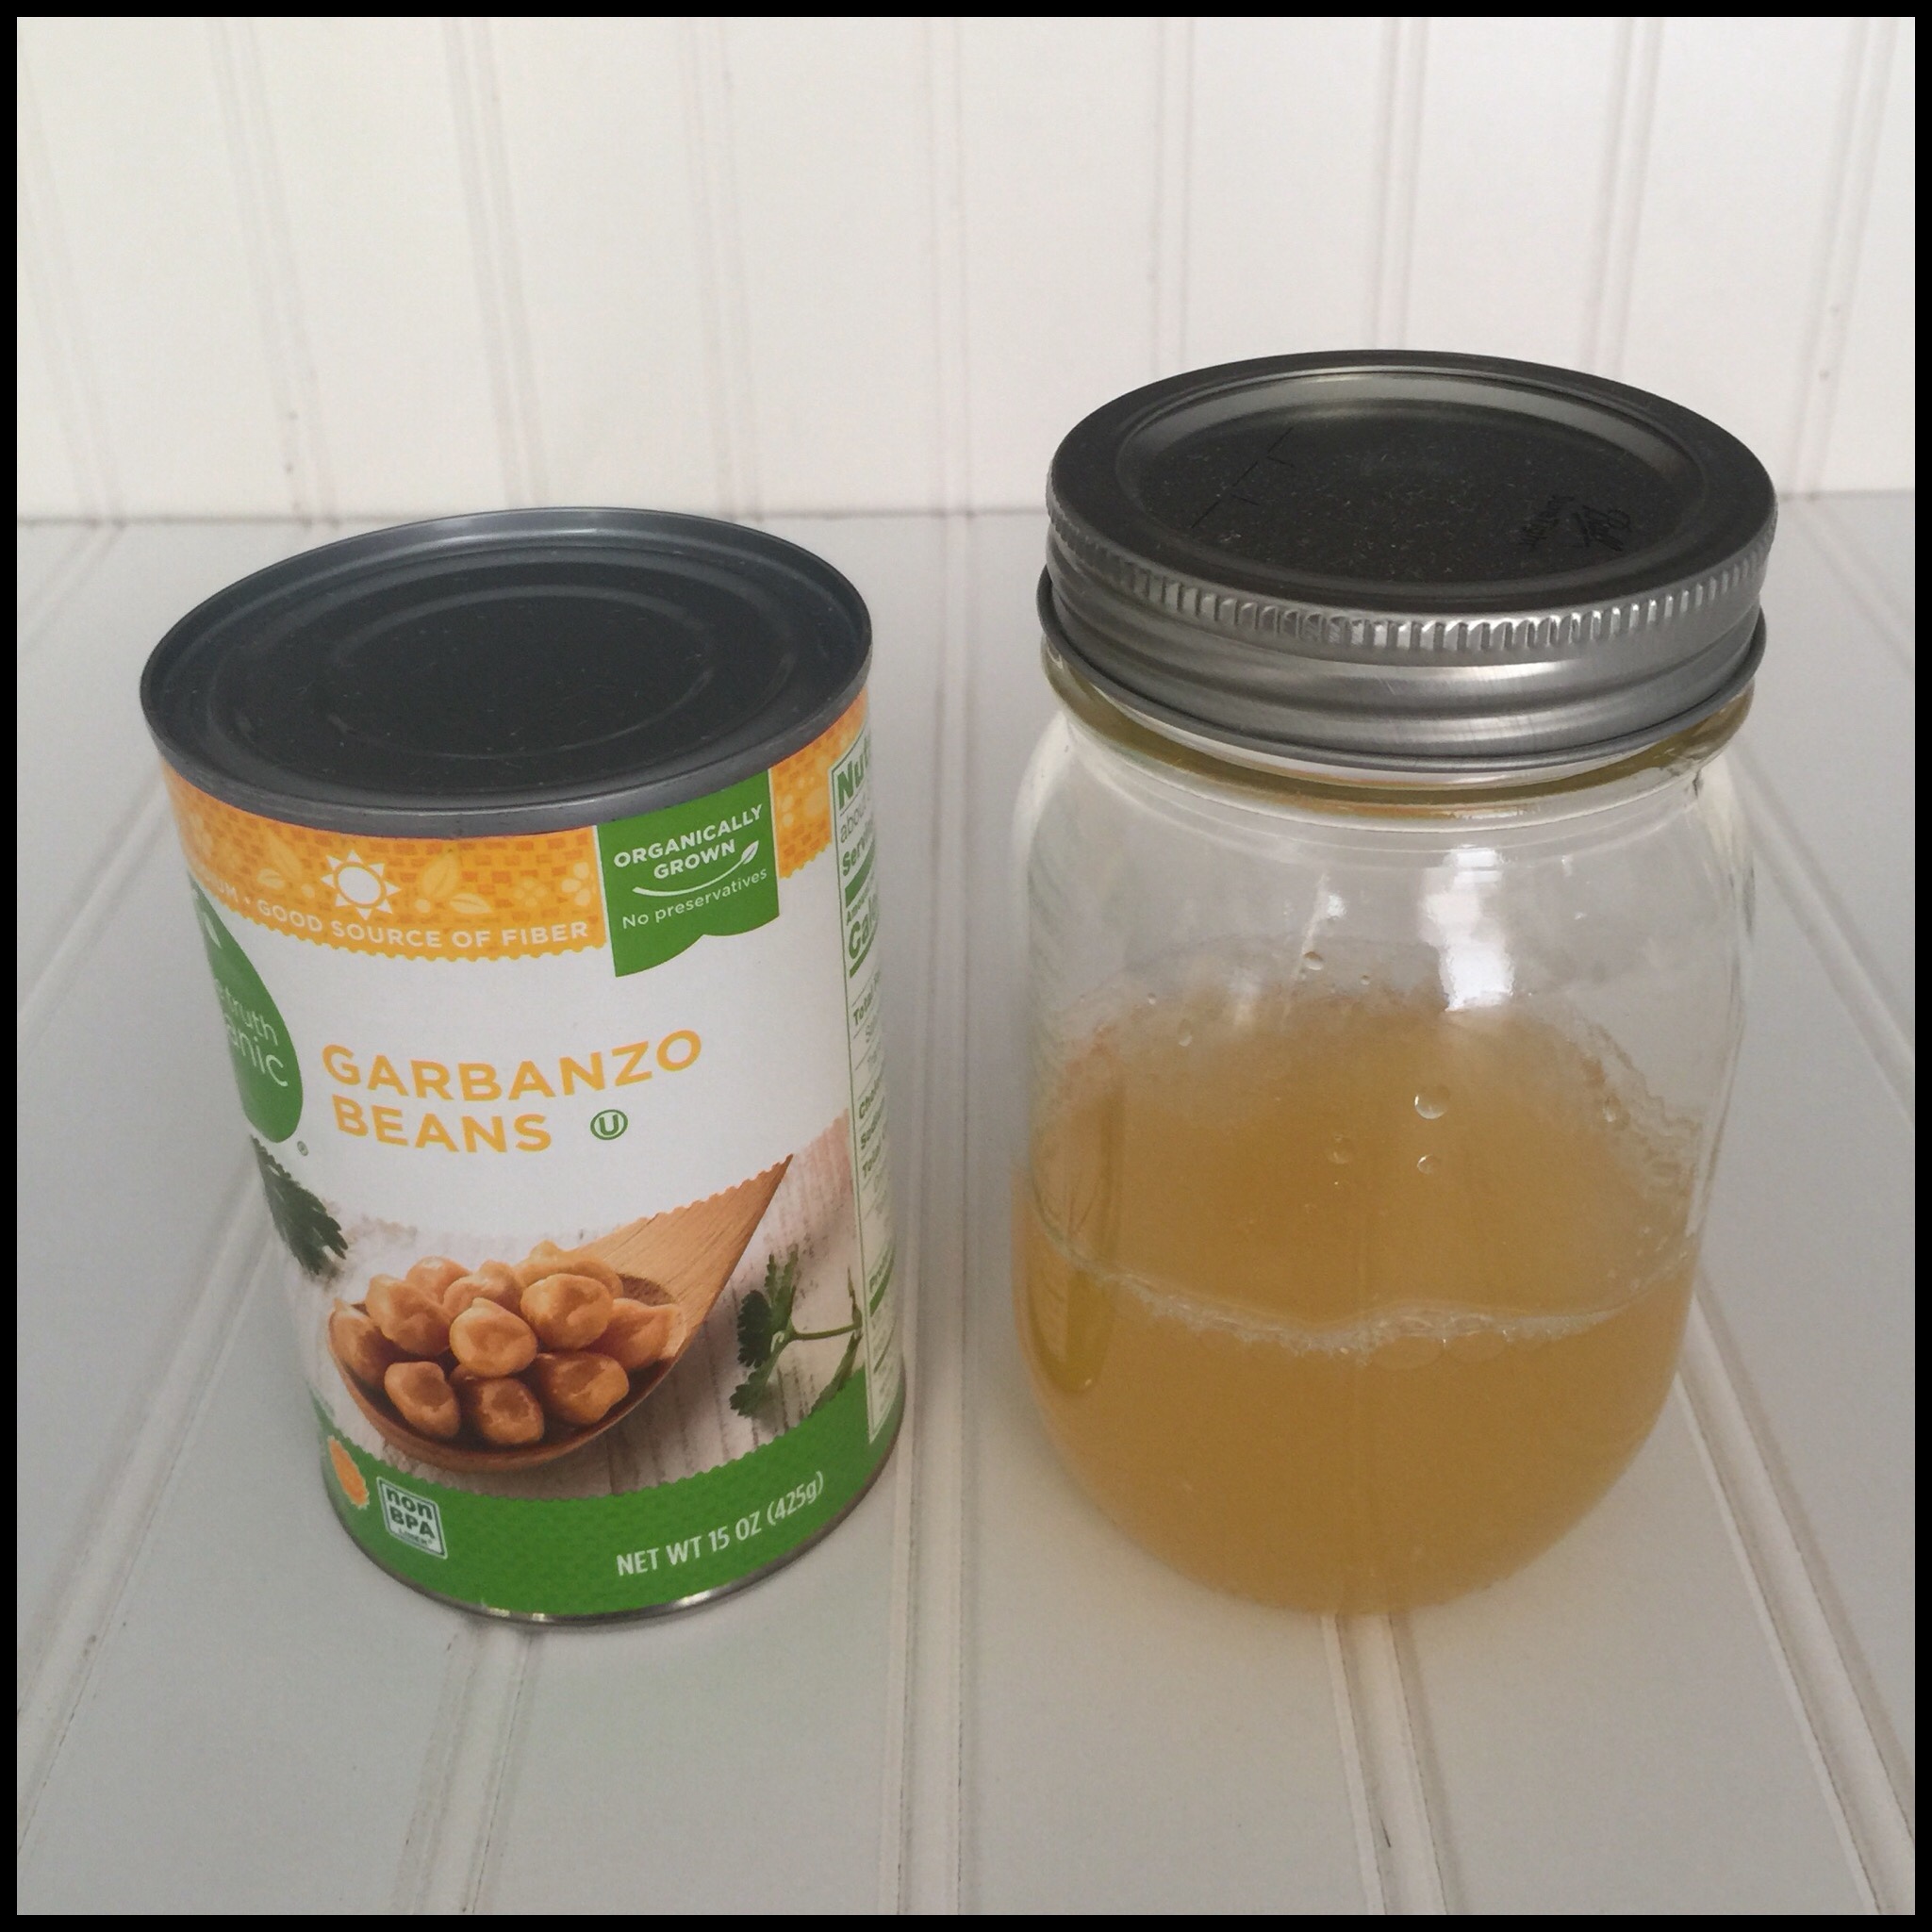
I use aquafaba (the liquid from a can of garbanzo beans) instead of an egg wash. It’s not needed for every recipe, but is very handy when you want to make seeded rolls or loaves.
You will also need a non-stick spray for all of my shaped dough recipes, including rolls, boules, buns, and braids. Greasing your hands, spatula, and knife with this makes shaping dough a breeze. I love this one from Kroger! It works perfectly, and is labeled vegan and gluten free.
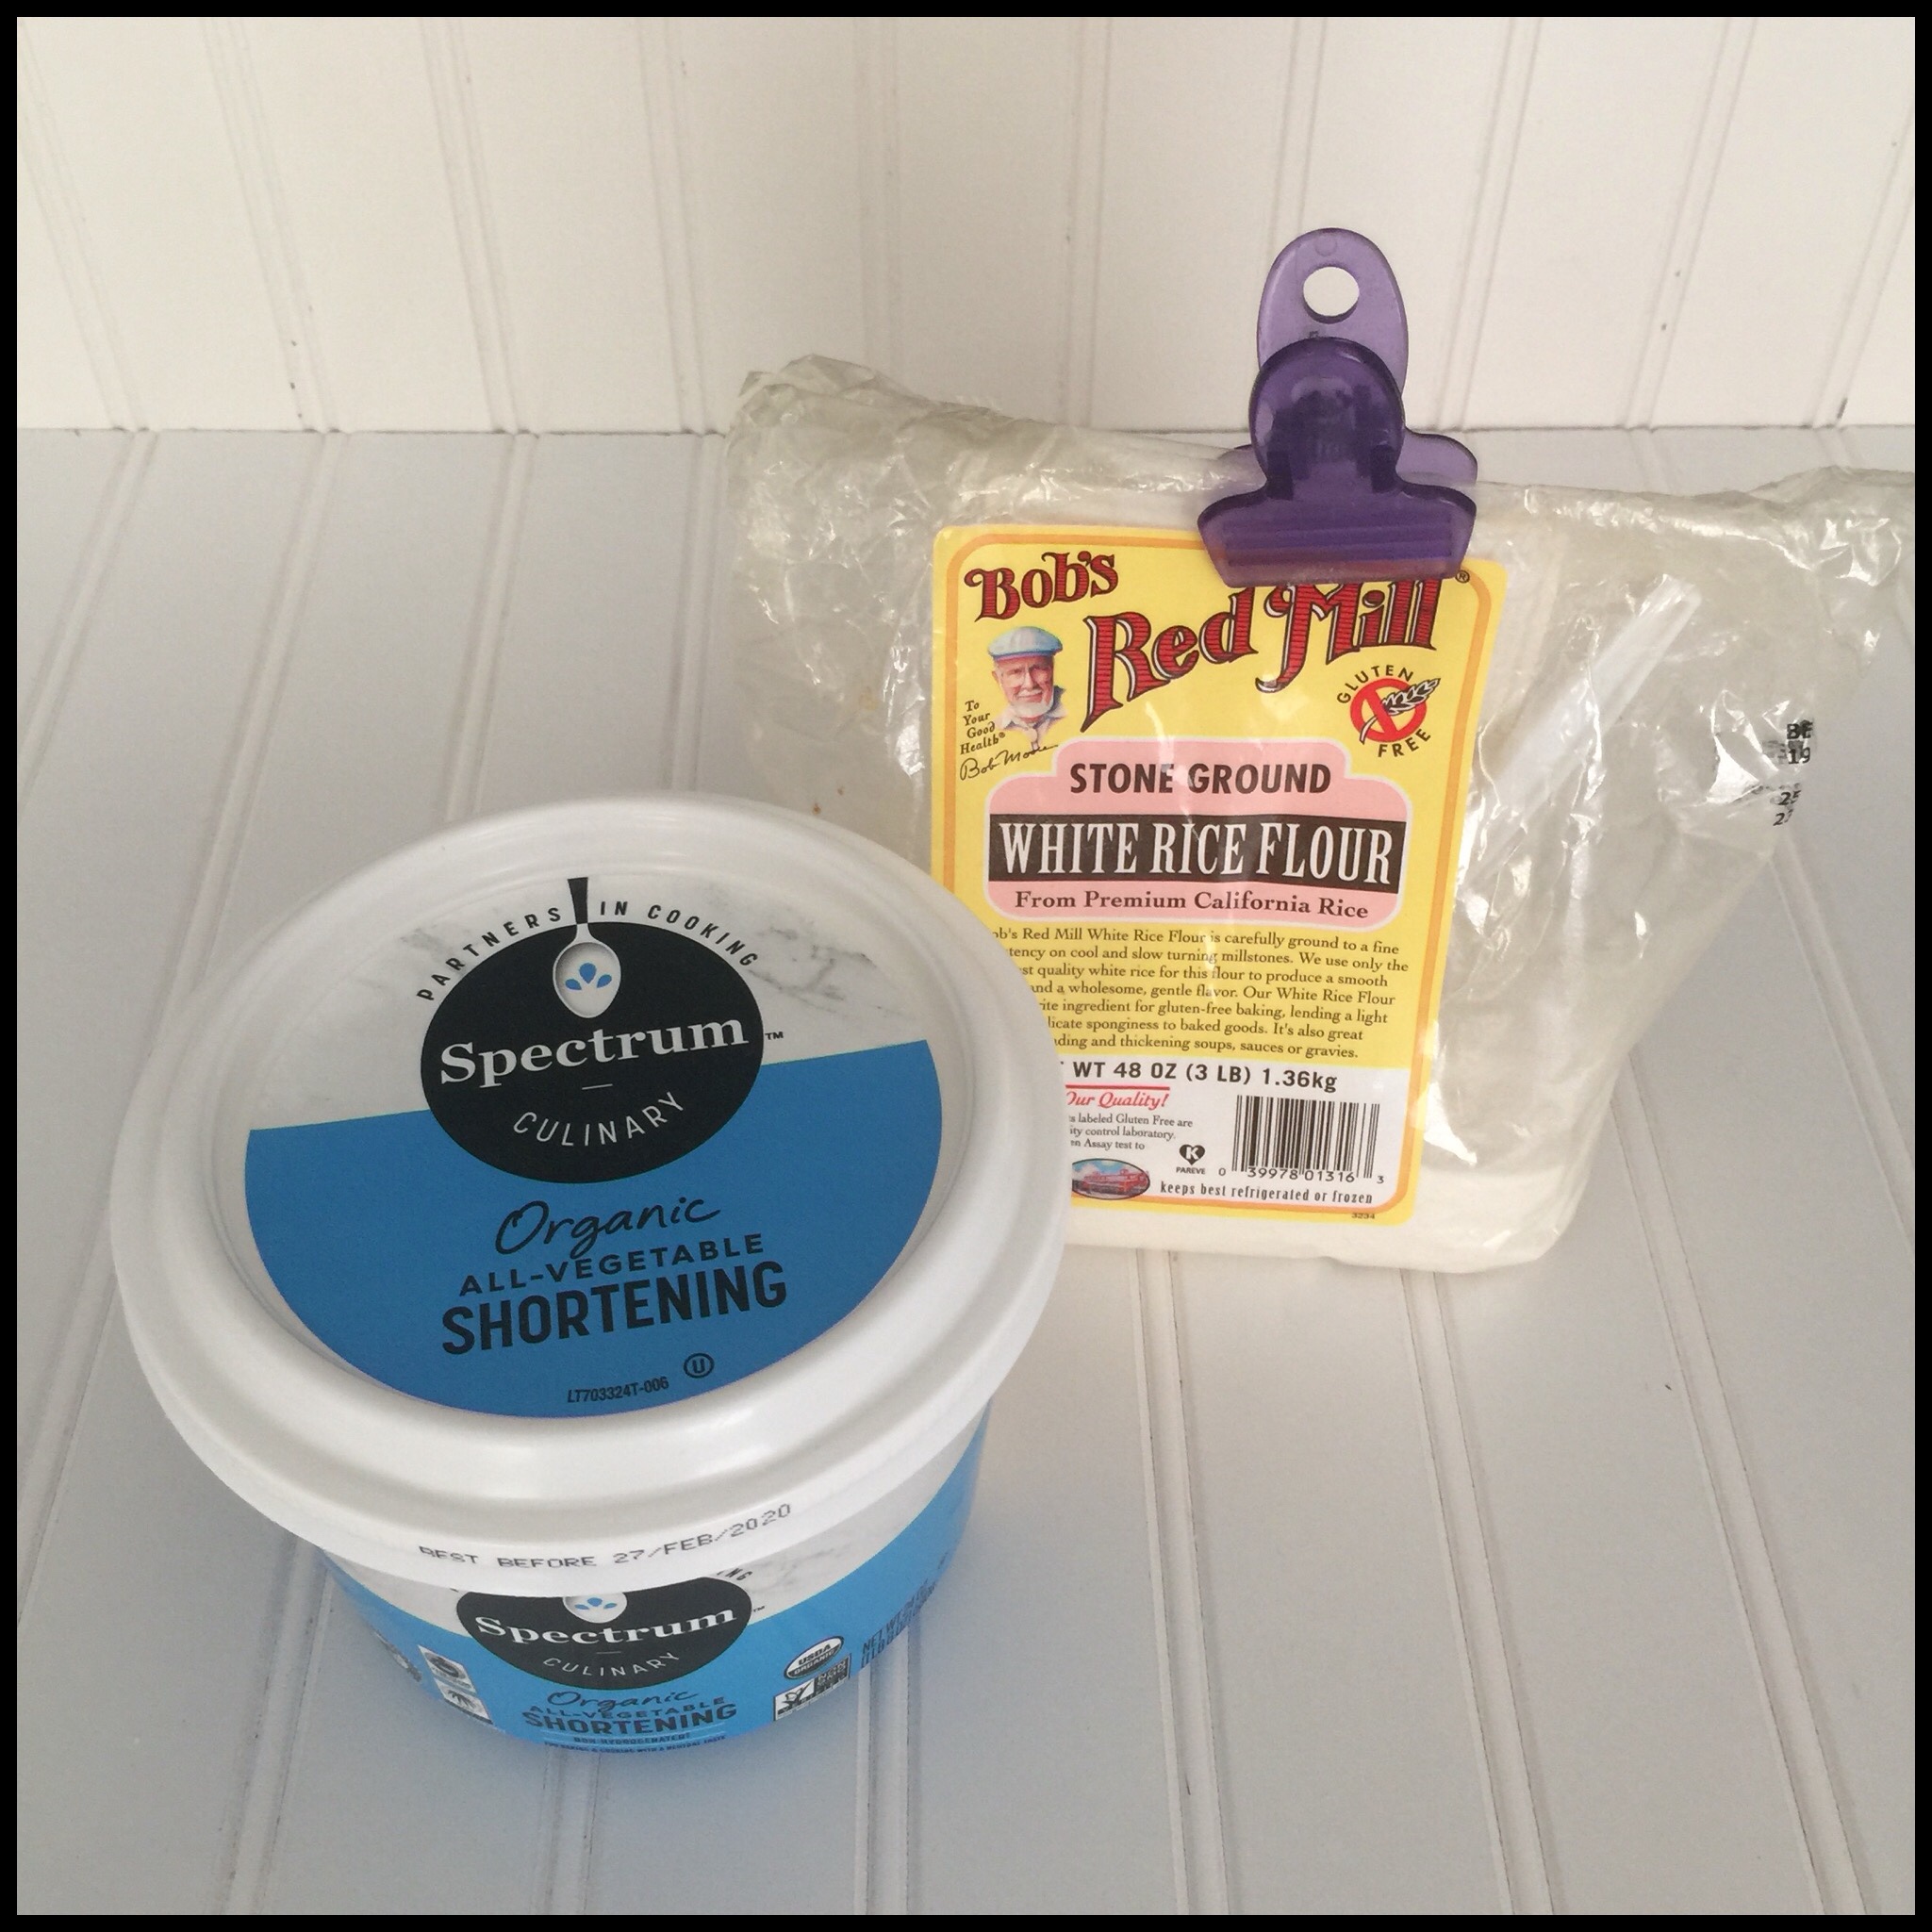
For all bread baked in a pan, you will need shortening and flour to grease and flour the pan. If my recipe says to grease and flour, I really mean it. Spraying or wiping with oil is not the same thing and your bread will not rise as well. You can use plain white rice flour for flouring the pan. It’s cheap and works well for this purpose. Also, you will want some GF cornmeal for dusting your French bread pan if you’re making French rolls or Baguettes.
That’s it for Part Two and the essential equipment and ingredients! In Part One, I shared how I finally figured out how to make superb gluten free breads, and in Part Three, I’ll cover the basic techniques and tips you will need. Then, we will start baking amazing gluten free breads!
Hello. I’m loving these baking science series you’re doing. I’d love to Pin them but for some reason the Pinterest link isn’t working for me. Do you think you might Pin them to your Gluten Free Baking board in future?
Thank you.
Thank you, Laurel! I don’t know why the link isn’t working, but I will definitely be adding a pin to my GF baking board once I get the third post done.
This gluten-free baking series is interesting. I must try the recipes!
By any chance, will you be doing a product review of Hodo Foods soy in the coming weeks or months? I read they are now available nationwide at Whole Foods Market and Target. I would love to know what you think of the taste and how they perform in your recipes that use other brands of soymilk and tofu.
Thank you! Once you make your own gluten free bread, you’ll never buy it pre-packaged again. I’ll definitely look for Hodo Foods products next time I get to Whole Foods and give them a try!
Is part 3 available yet? I want to bake some bread!
I’ll get it posted very soon! I have a bunch of new bread recipes coming up too!
I’m all ready for the bread recipes after buying all that you have suggested. Please bring on the recipes so we can get baking. 😁
I have a bunch of new bread recipes coming very soon, but check these out for now! https://www.vegankitchenmagick.com/category/recipes/gluten-free-breads/
Very interesting post. I am just getting into the GF world of baking. (My daughter may have a gluten sensitivity) how refreshing to find some actuall “science” on baking, rather than other recipies claiming to be “the best”!
Just a little note, maybe you are already aware, but vitamin C powder is citric acid. I buy it by the 5 kg bag at my bulk store for $30. WAY cheaper than that little bottle. I also have outrageously hard rusty well water, I use citric acid to clean the mineral build up. It works like a dream! I haven’t found any cleaning product other than Barkeepers Friend that will touch it.
Thanks for the post!
Vitamin C powder (ascorbic acid) is a little different than citric acid. You might need less of the citric acid but I can’t remember how much I used when I tried it awhile ago. I will definitely give the citric acid a try on my sink!
I need the baguette recipe! It looks gorgeous!
Hi Katrina! I have so many new bread recipes to share! I had to take a long break due to having hand and elbow surgery, but am well now and will get the baguette recipe up soon!
Hello, I am loving your blog!
I am new to bread making and only have some equipment. I have a question, why using the normal pan 9″ x 5″ for baking will not get the light and fluffy texture as with the Pullman pan?
Hi Diana! I’m so glad you are enjoying my blog! A 9″ x 5″ loaf pan will work well, just not quite as well as the Pullman. This is because the Pullman pan’s straight sides help the bread to rise up instead of out. The resulting texture is a little more light and fluffy, but the biggest difference is in the shape of the bread. I recommend starting with the pan you have, and then getting a Pullman later if you bake a lot of bread.