Last year, my mom made this lovely Bridget rag doll for Imbolc, and we will place her in front of our fireplace again this year.

I also wanted a smaller version for my Imbolc altar, though, so we went to the craft store to look for supplies. My mom is really creative and came up with this idea for an adorable tiny Bridget and bed in just a few minutes! Here are the things she used to make them:
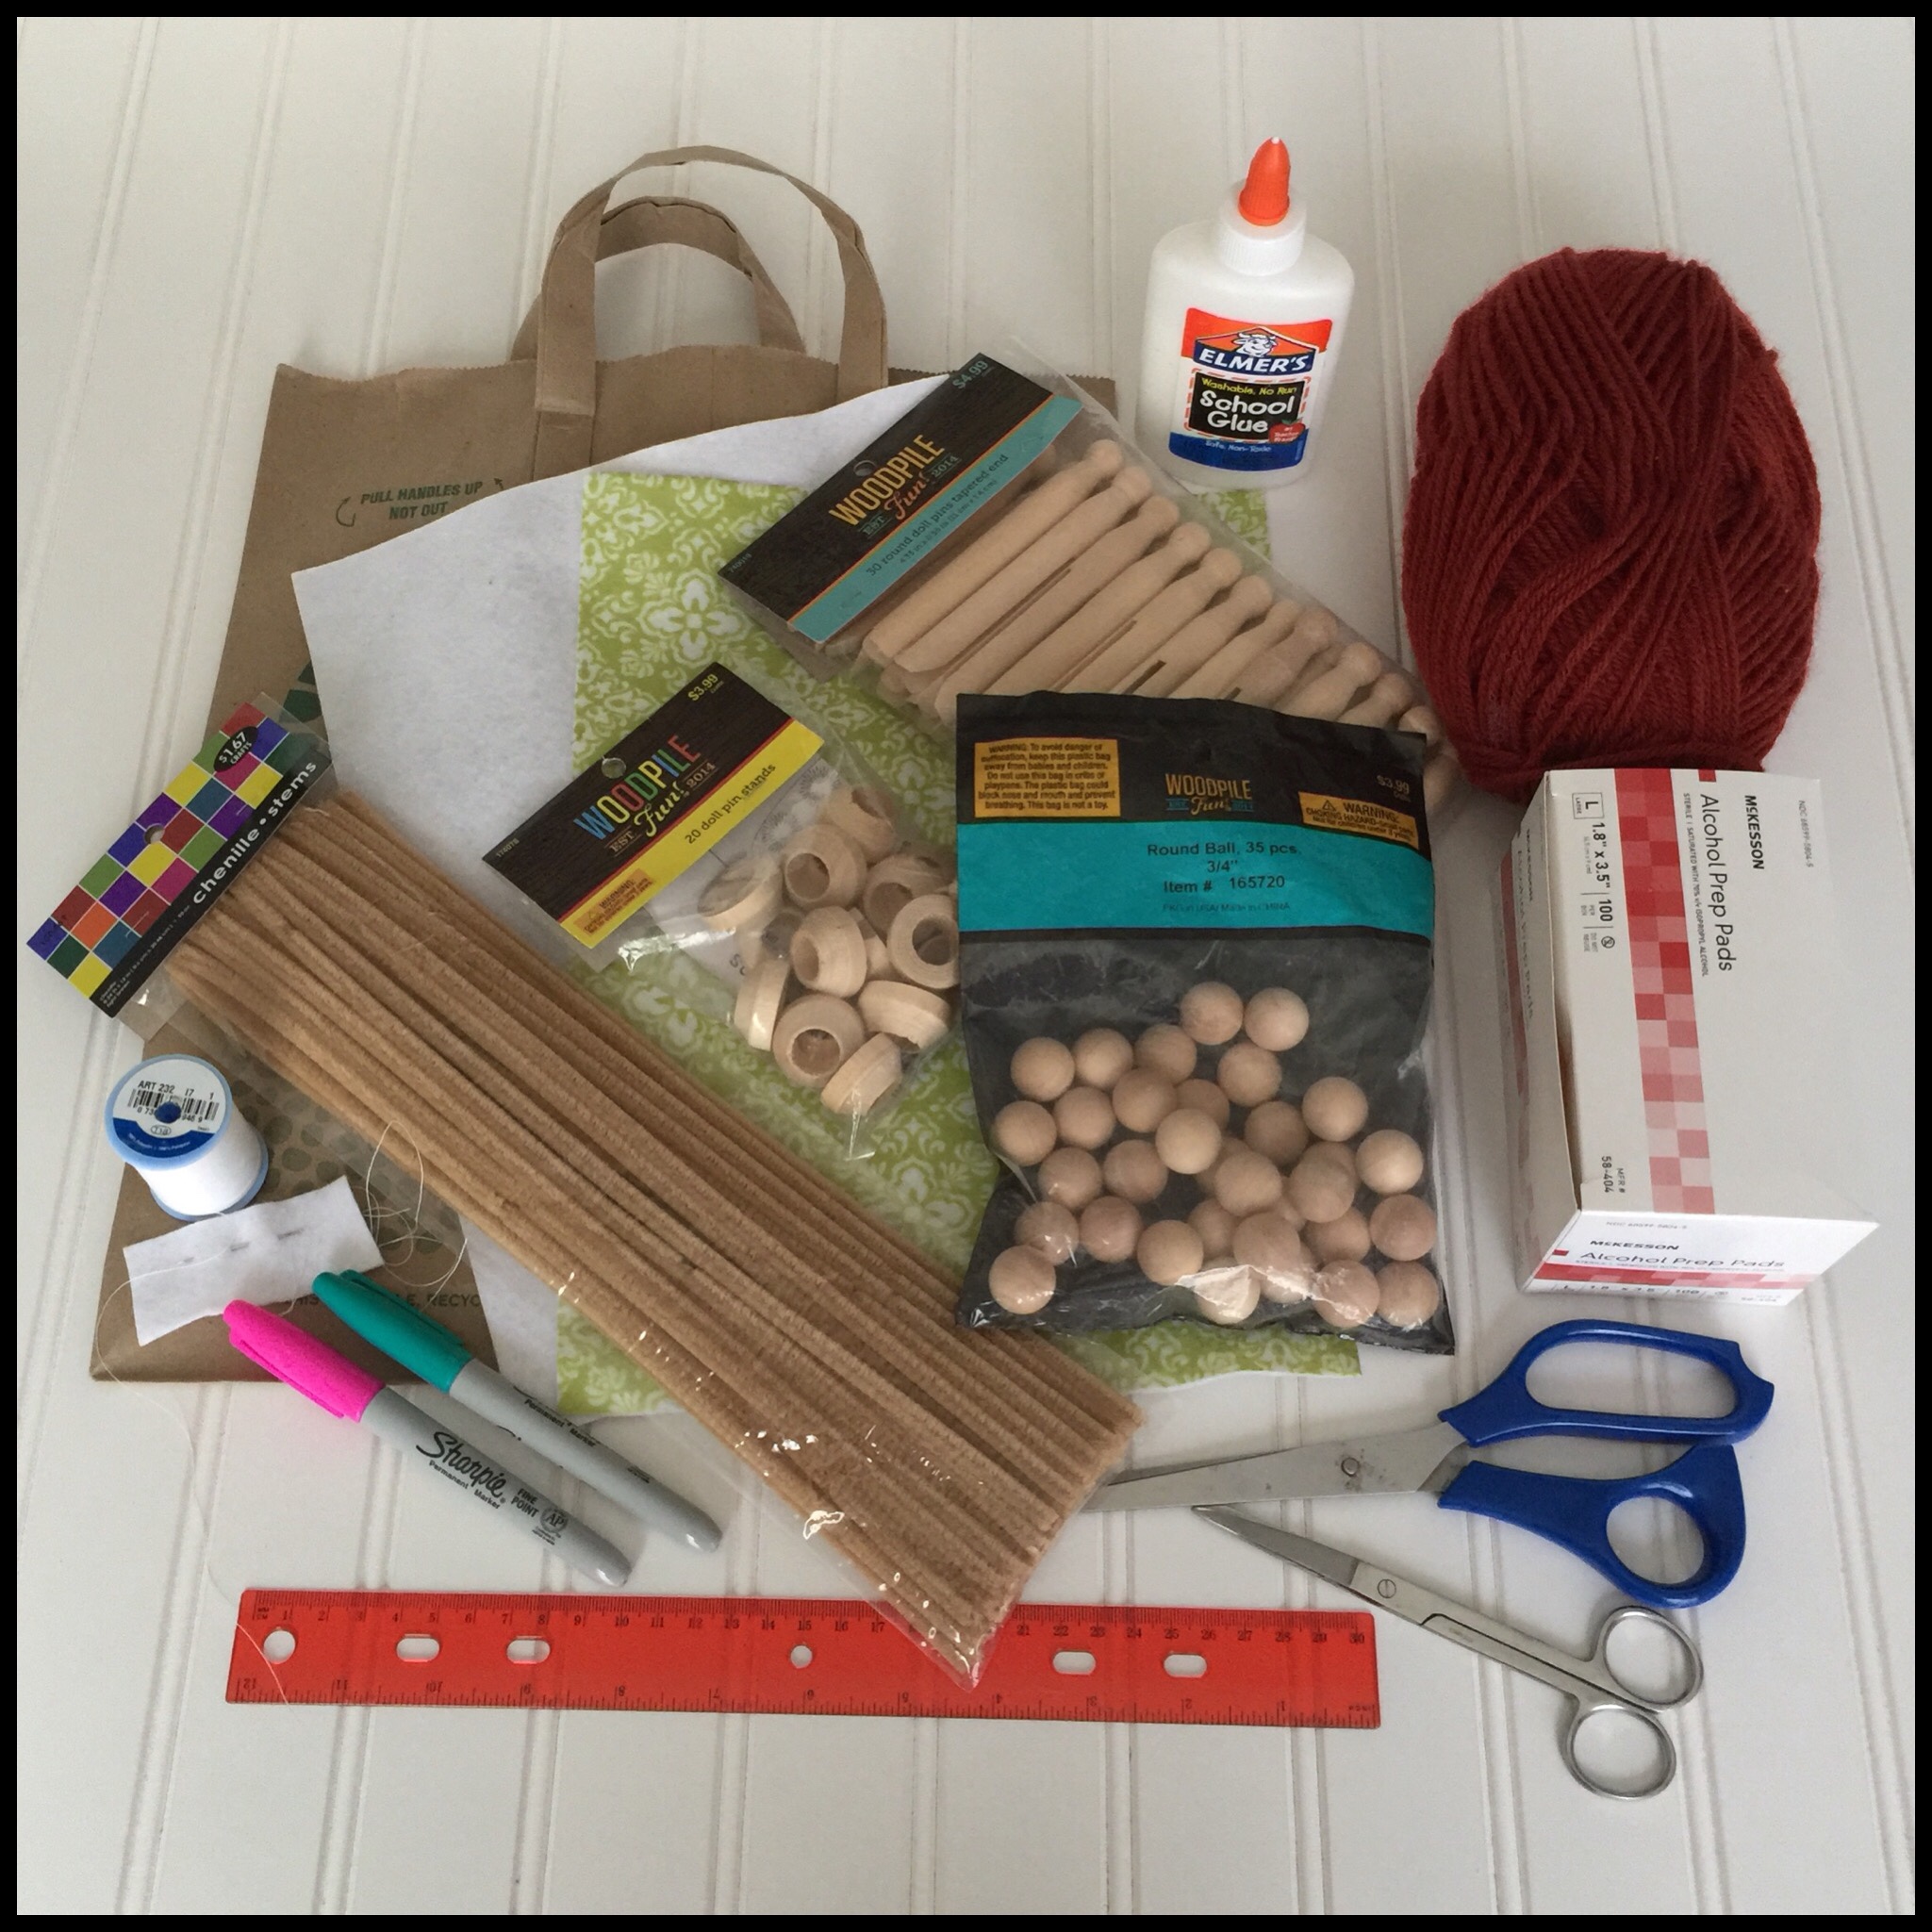
We put on my Imbolc playlist to get some inspiration:
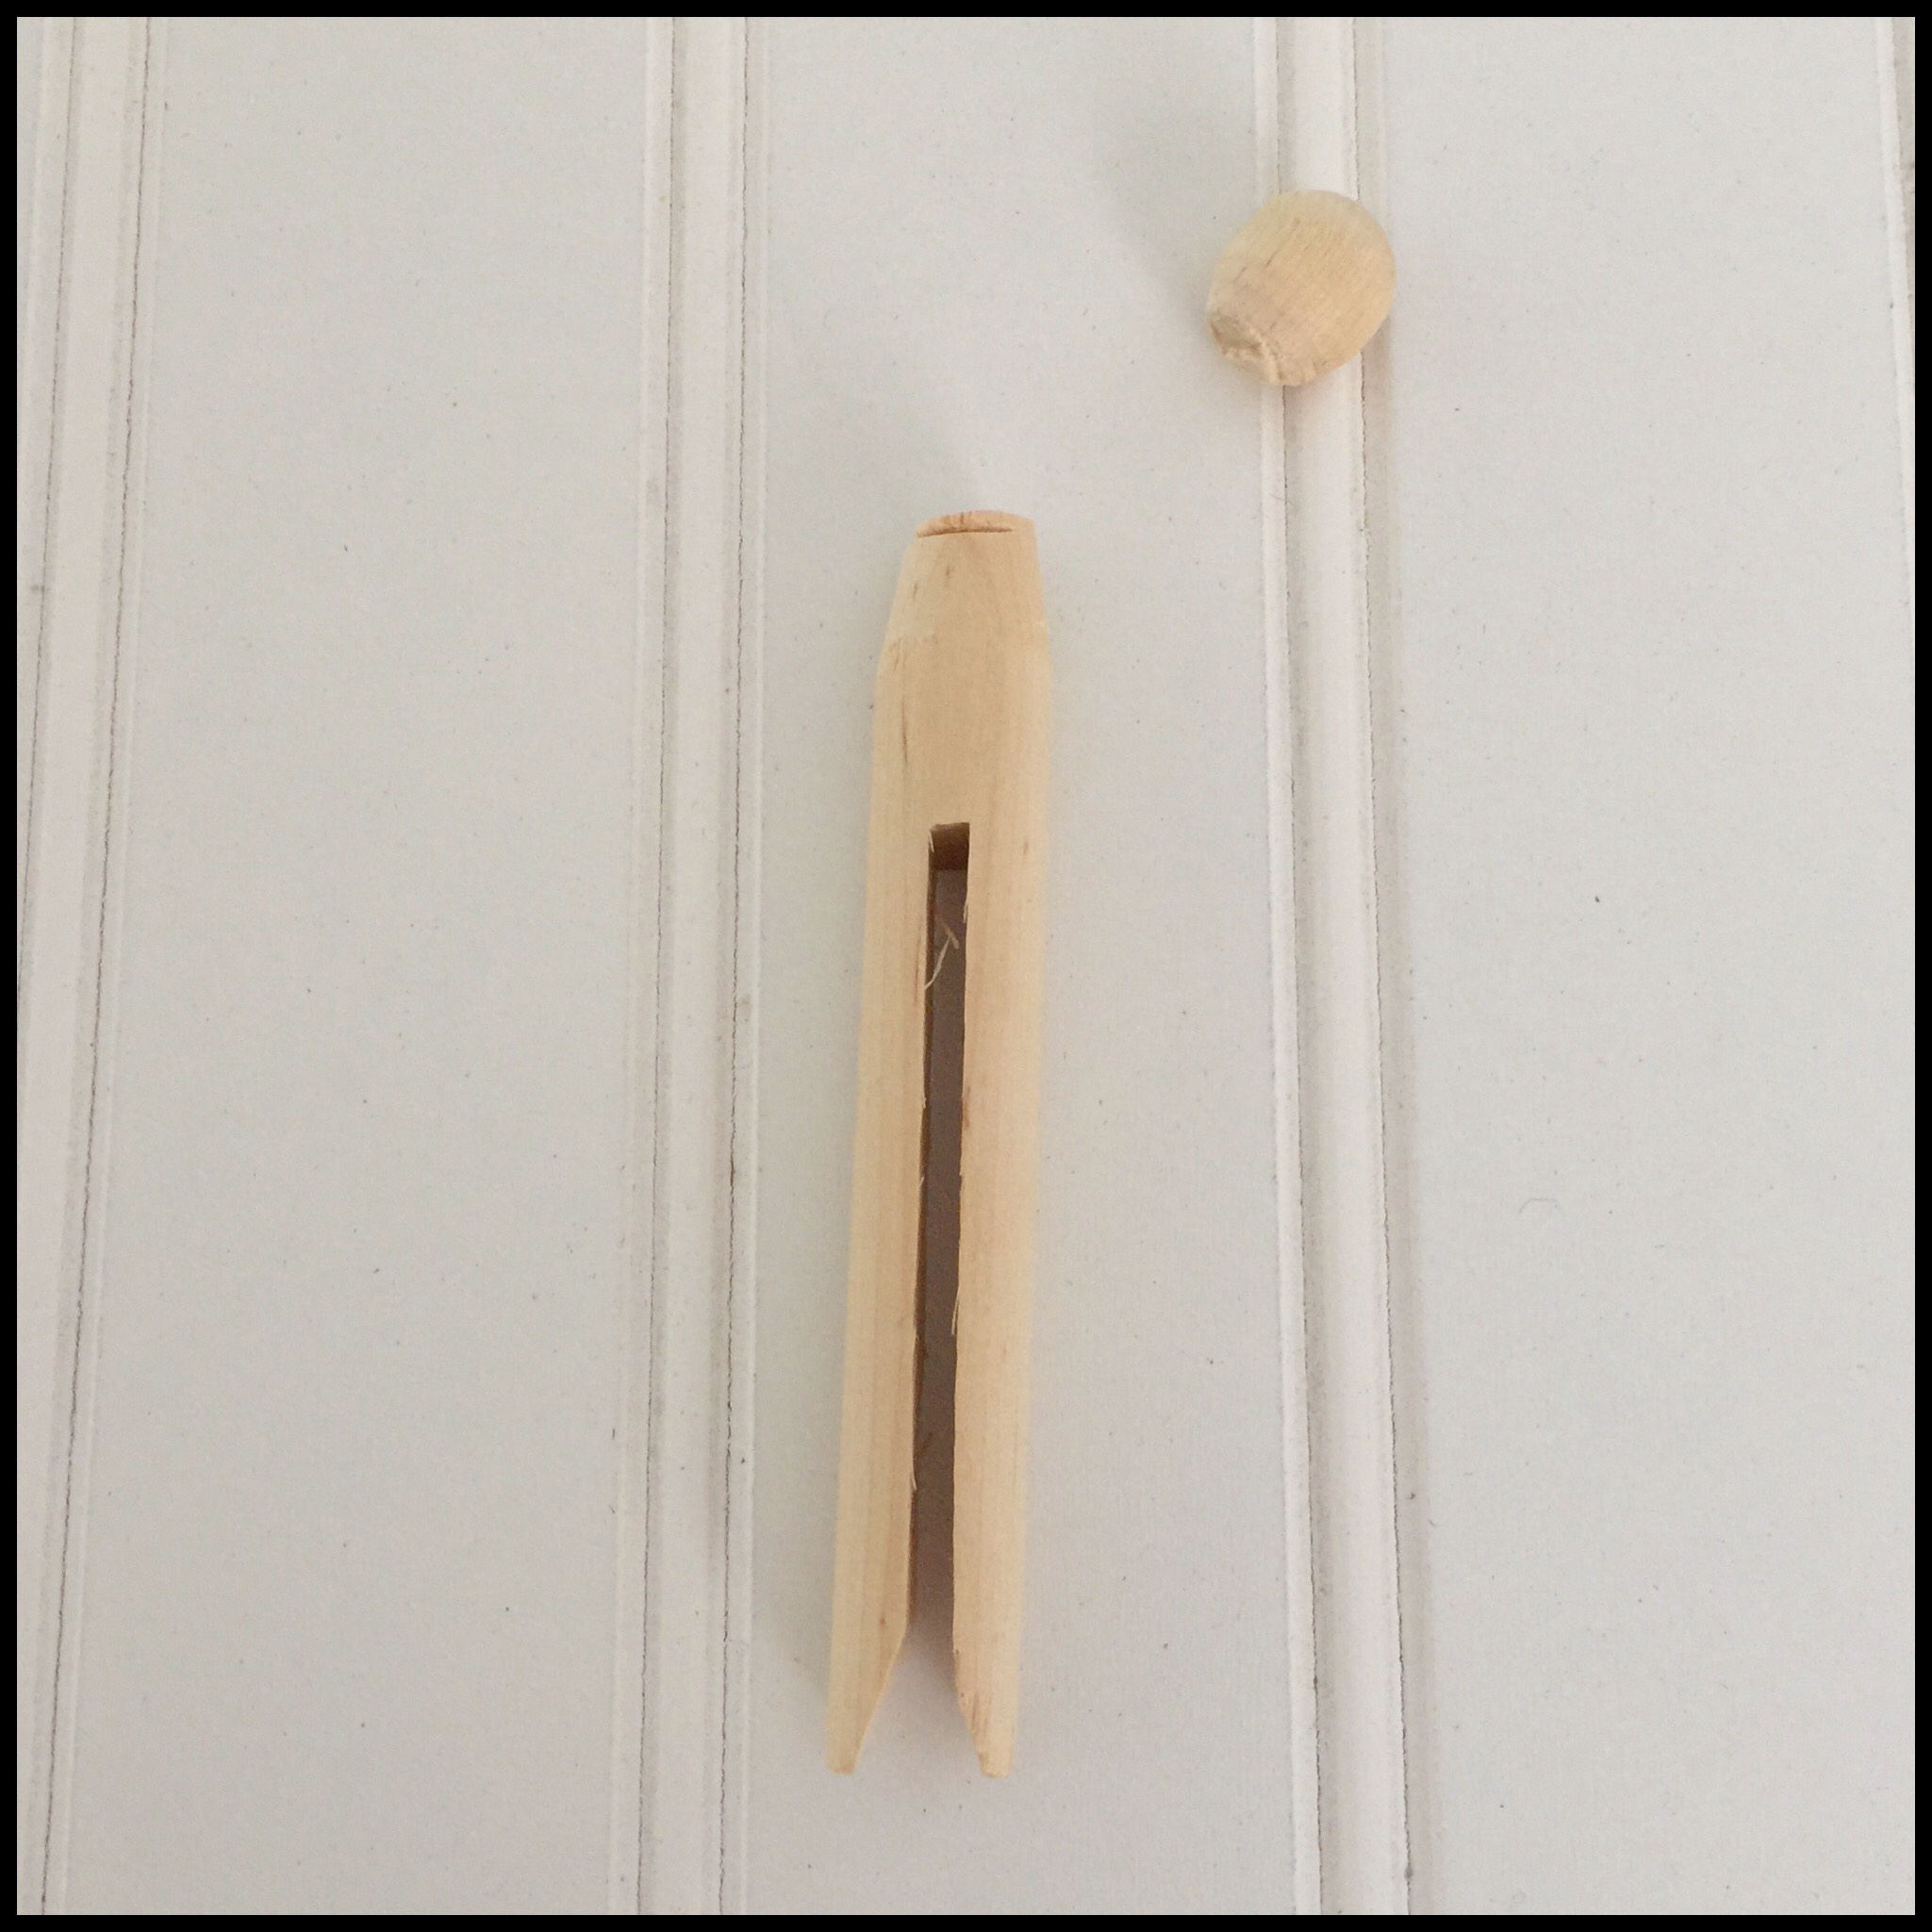
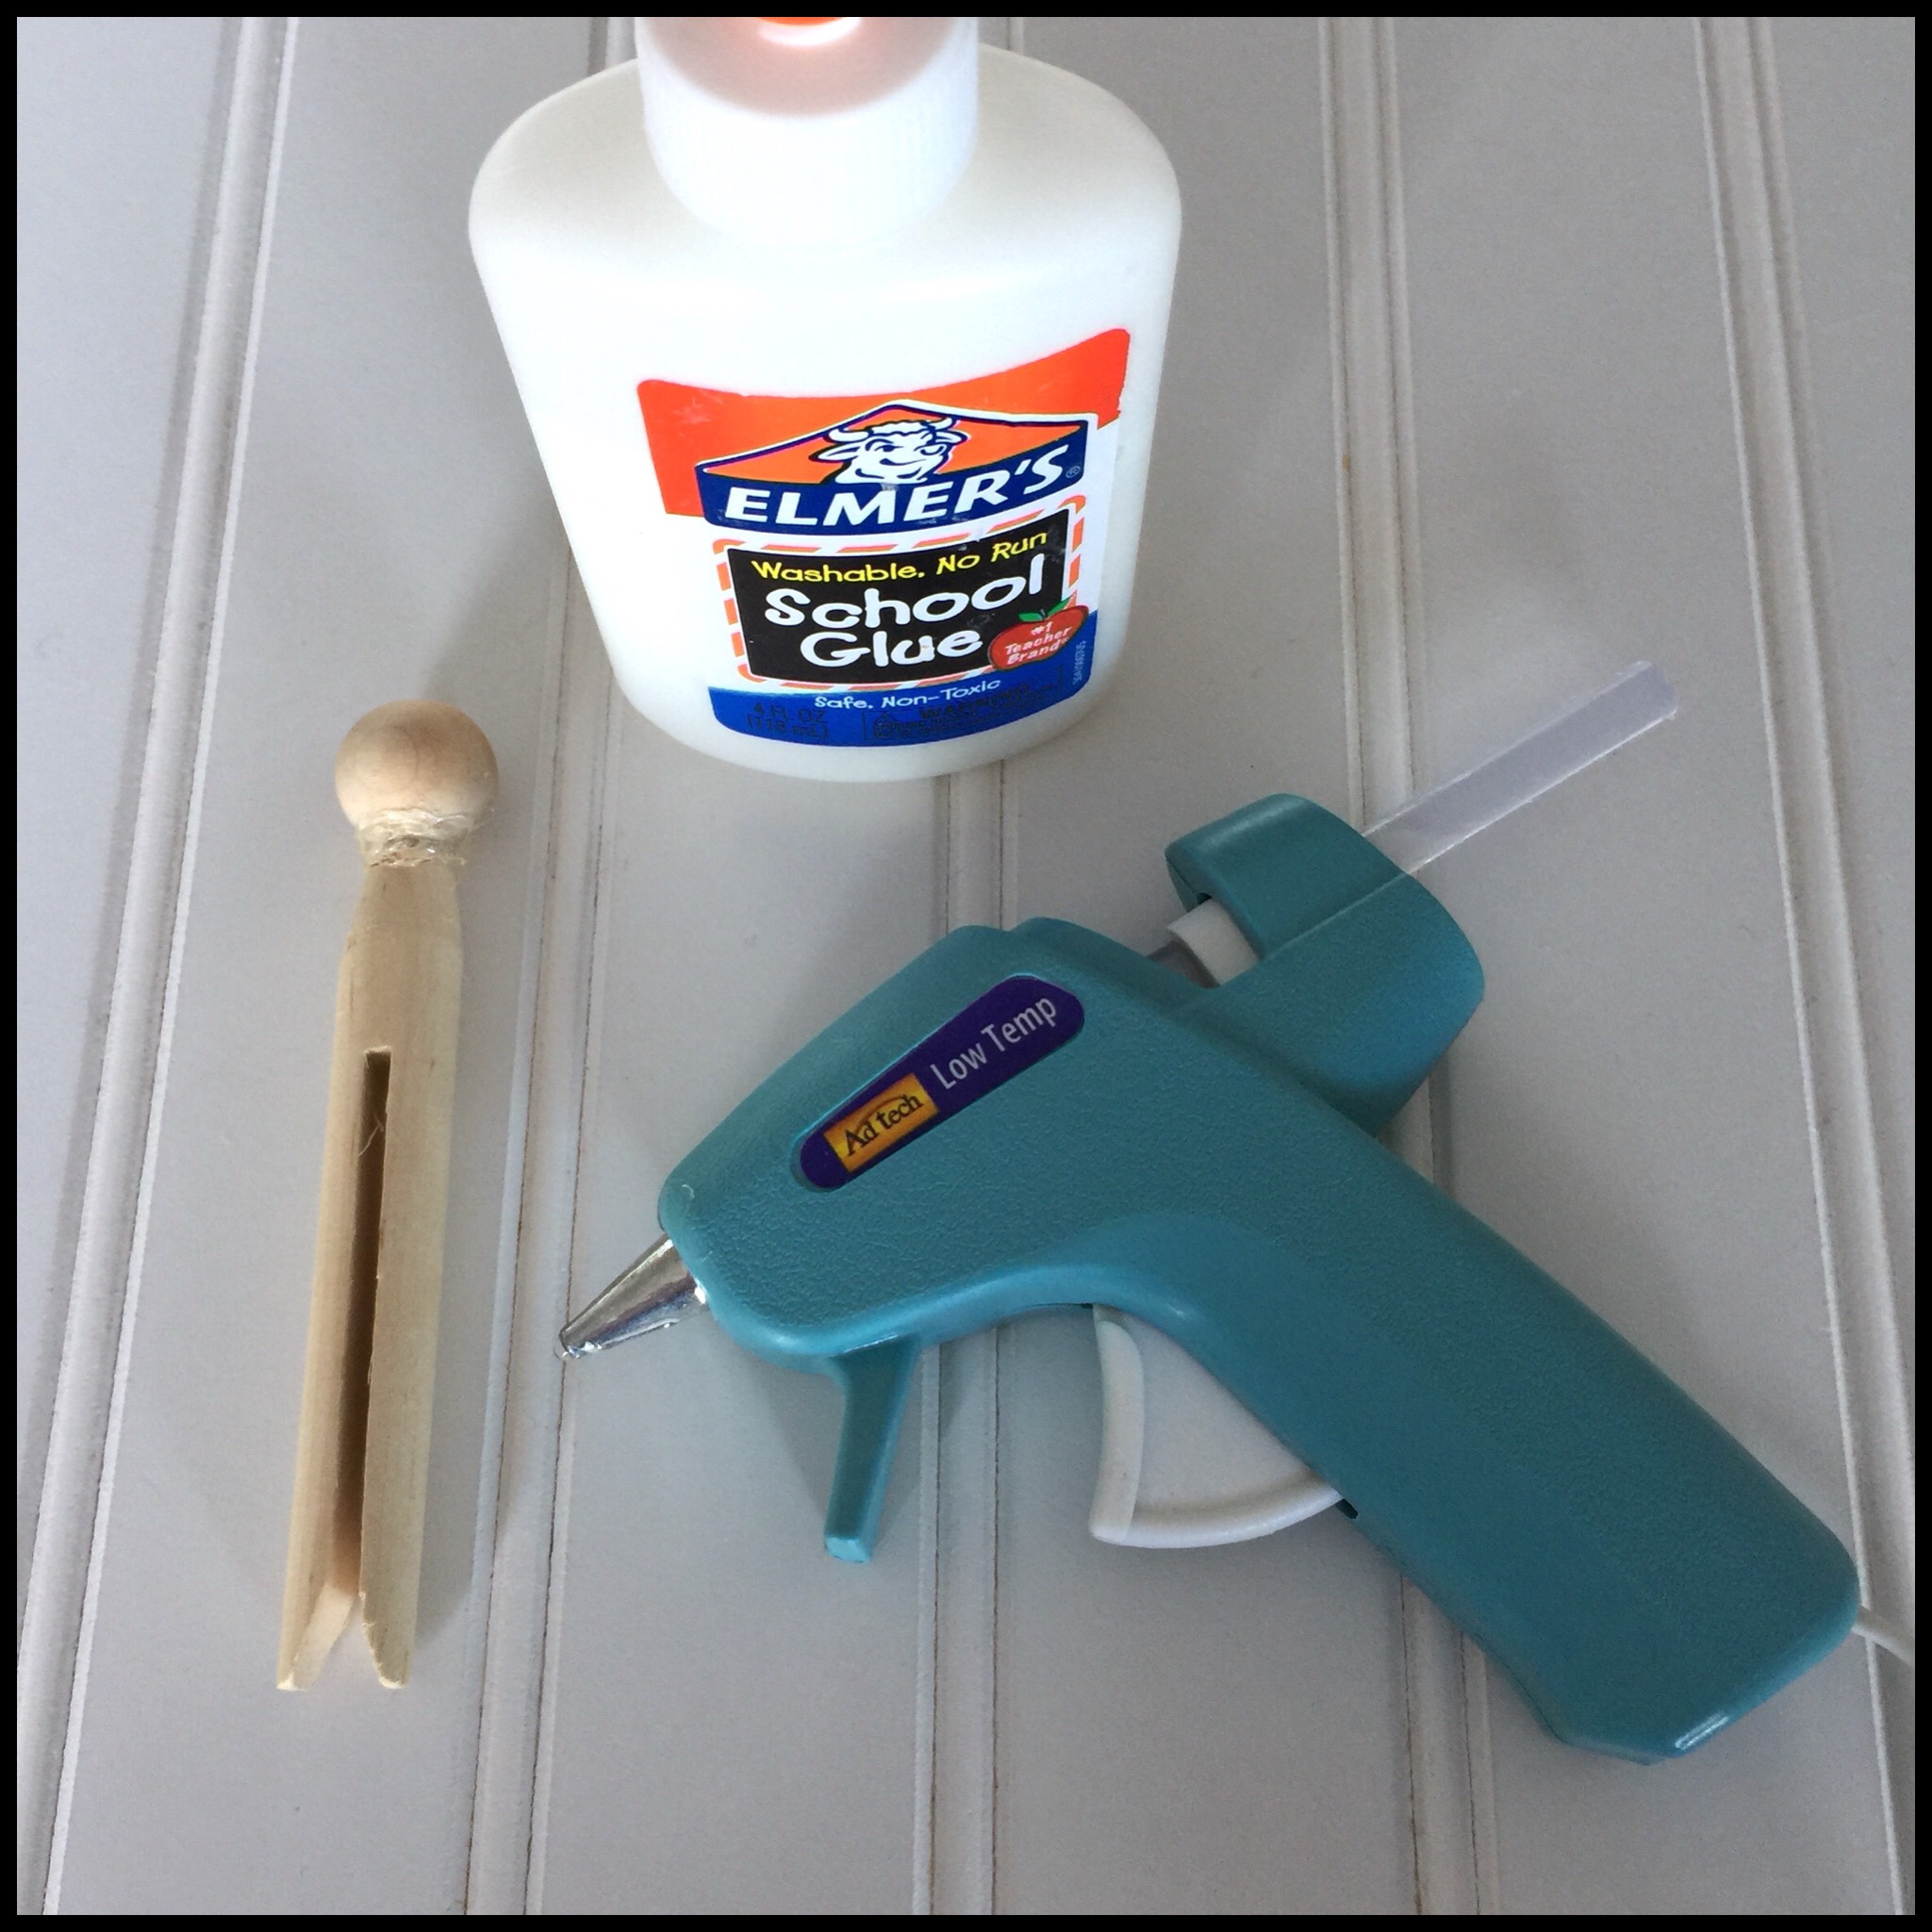
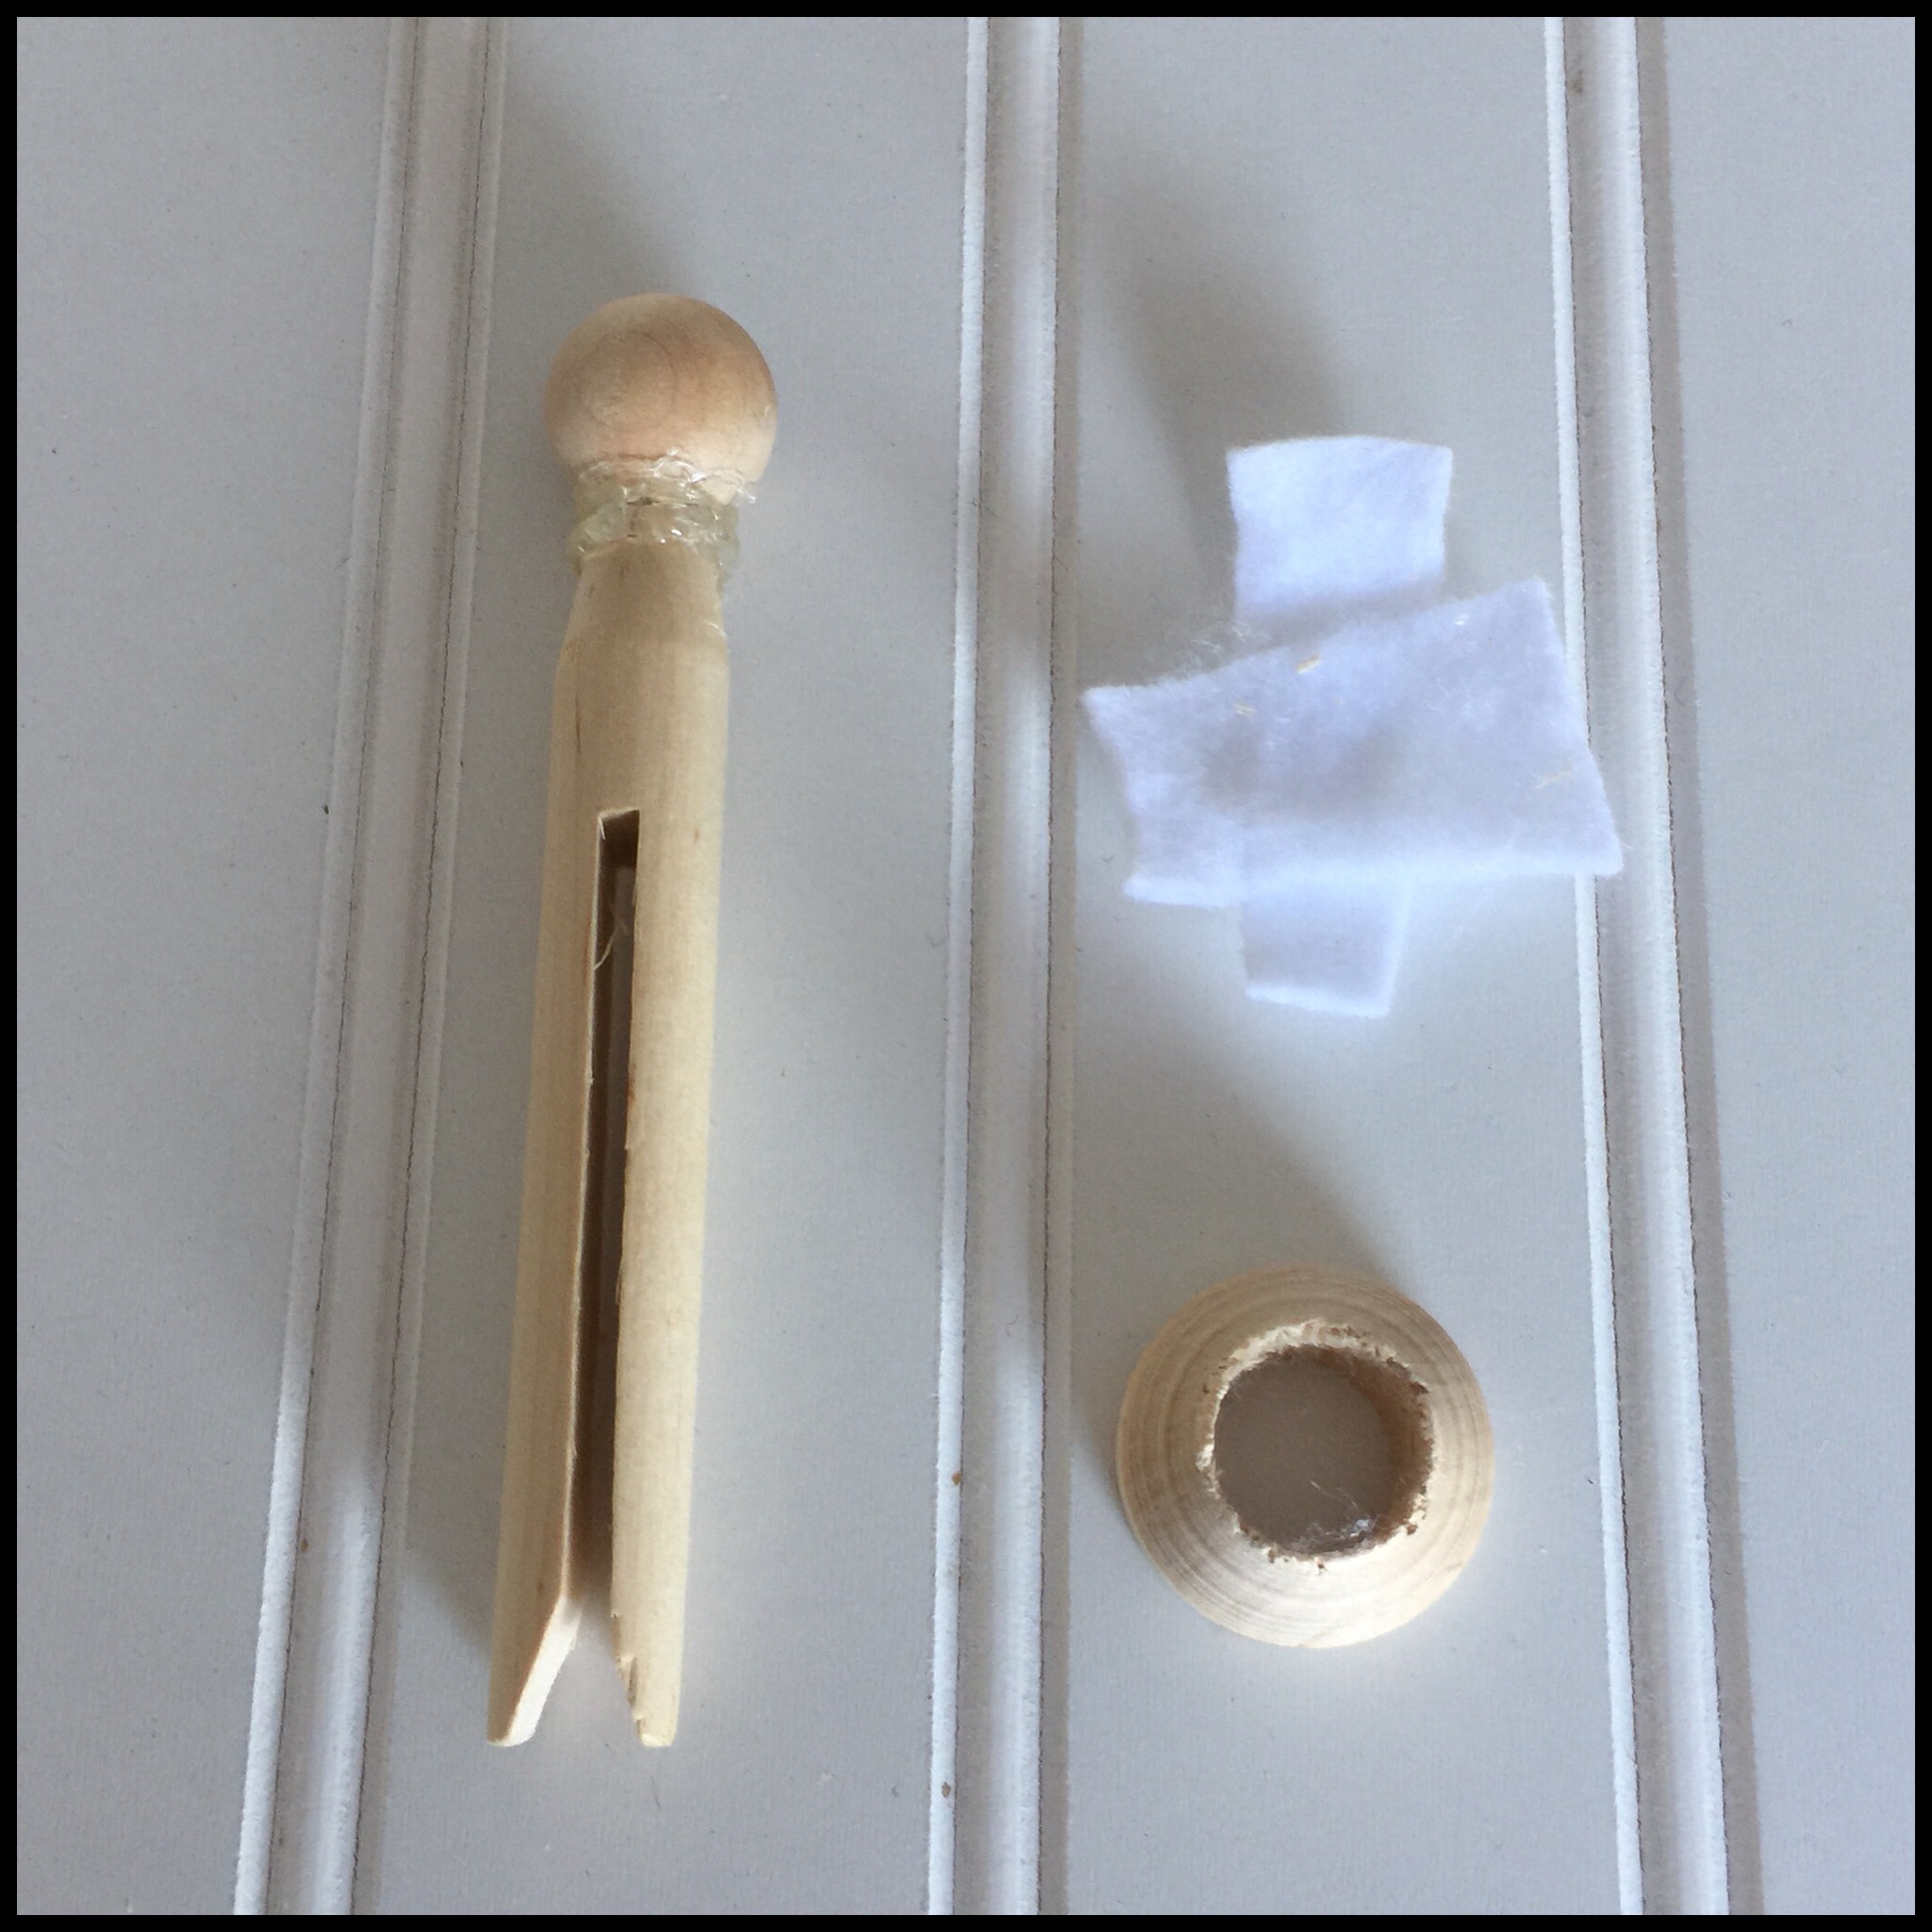
My mom used a small saw to remove the top of a wooden clothespin. Then, she put a couple of drops of Elmer’s glue on the cut top of the clothespin and also used a glue gun to secure a larger bead to it as shown:
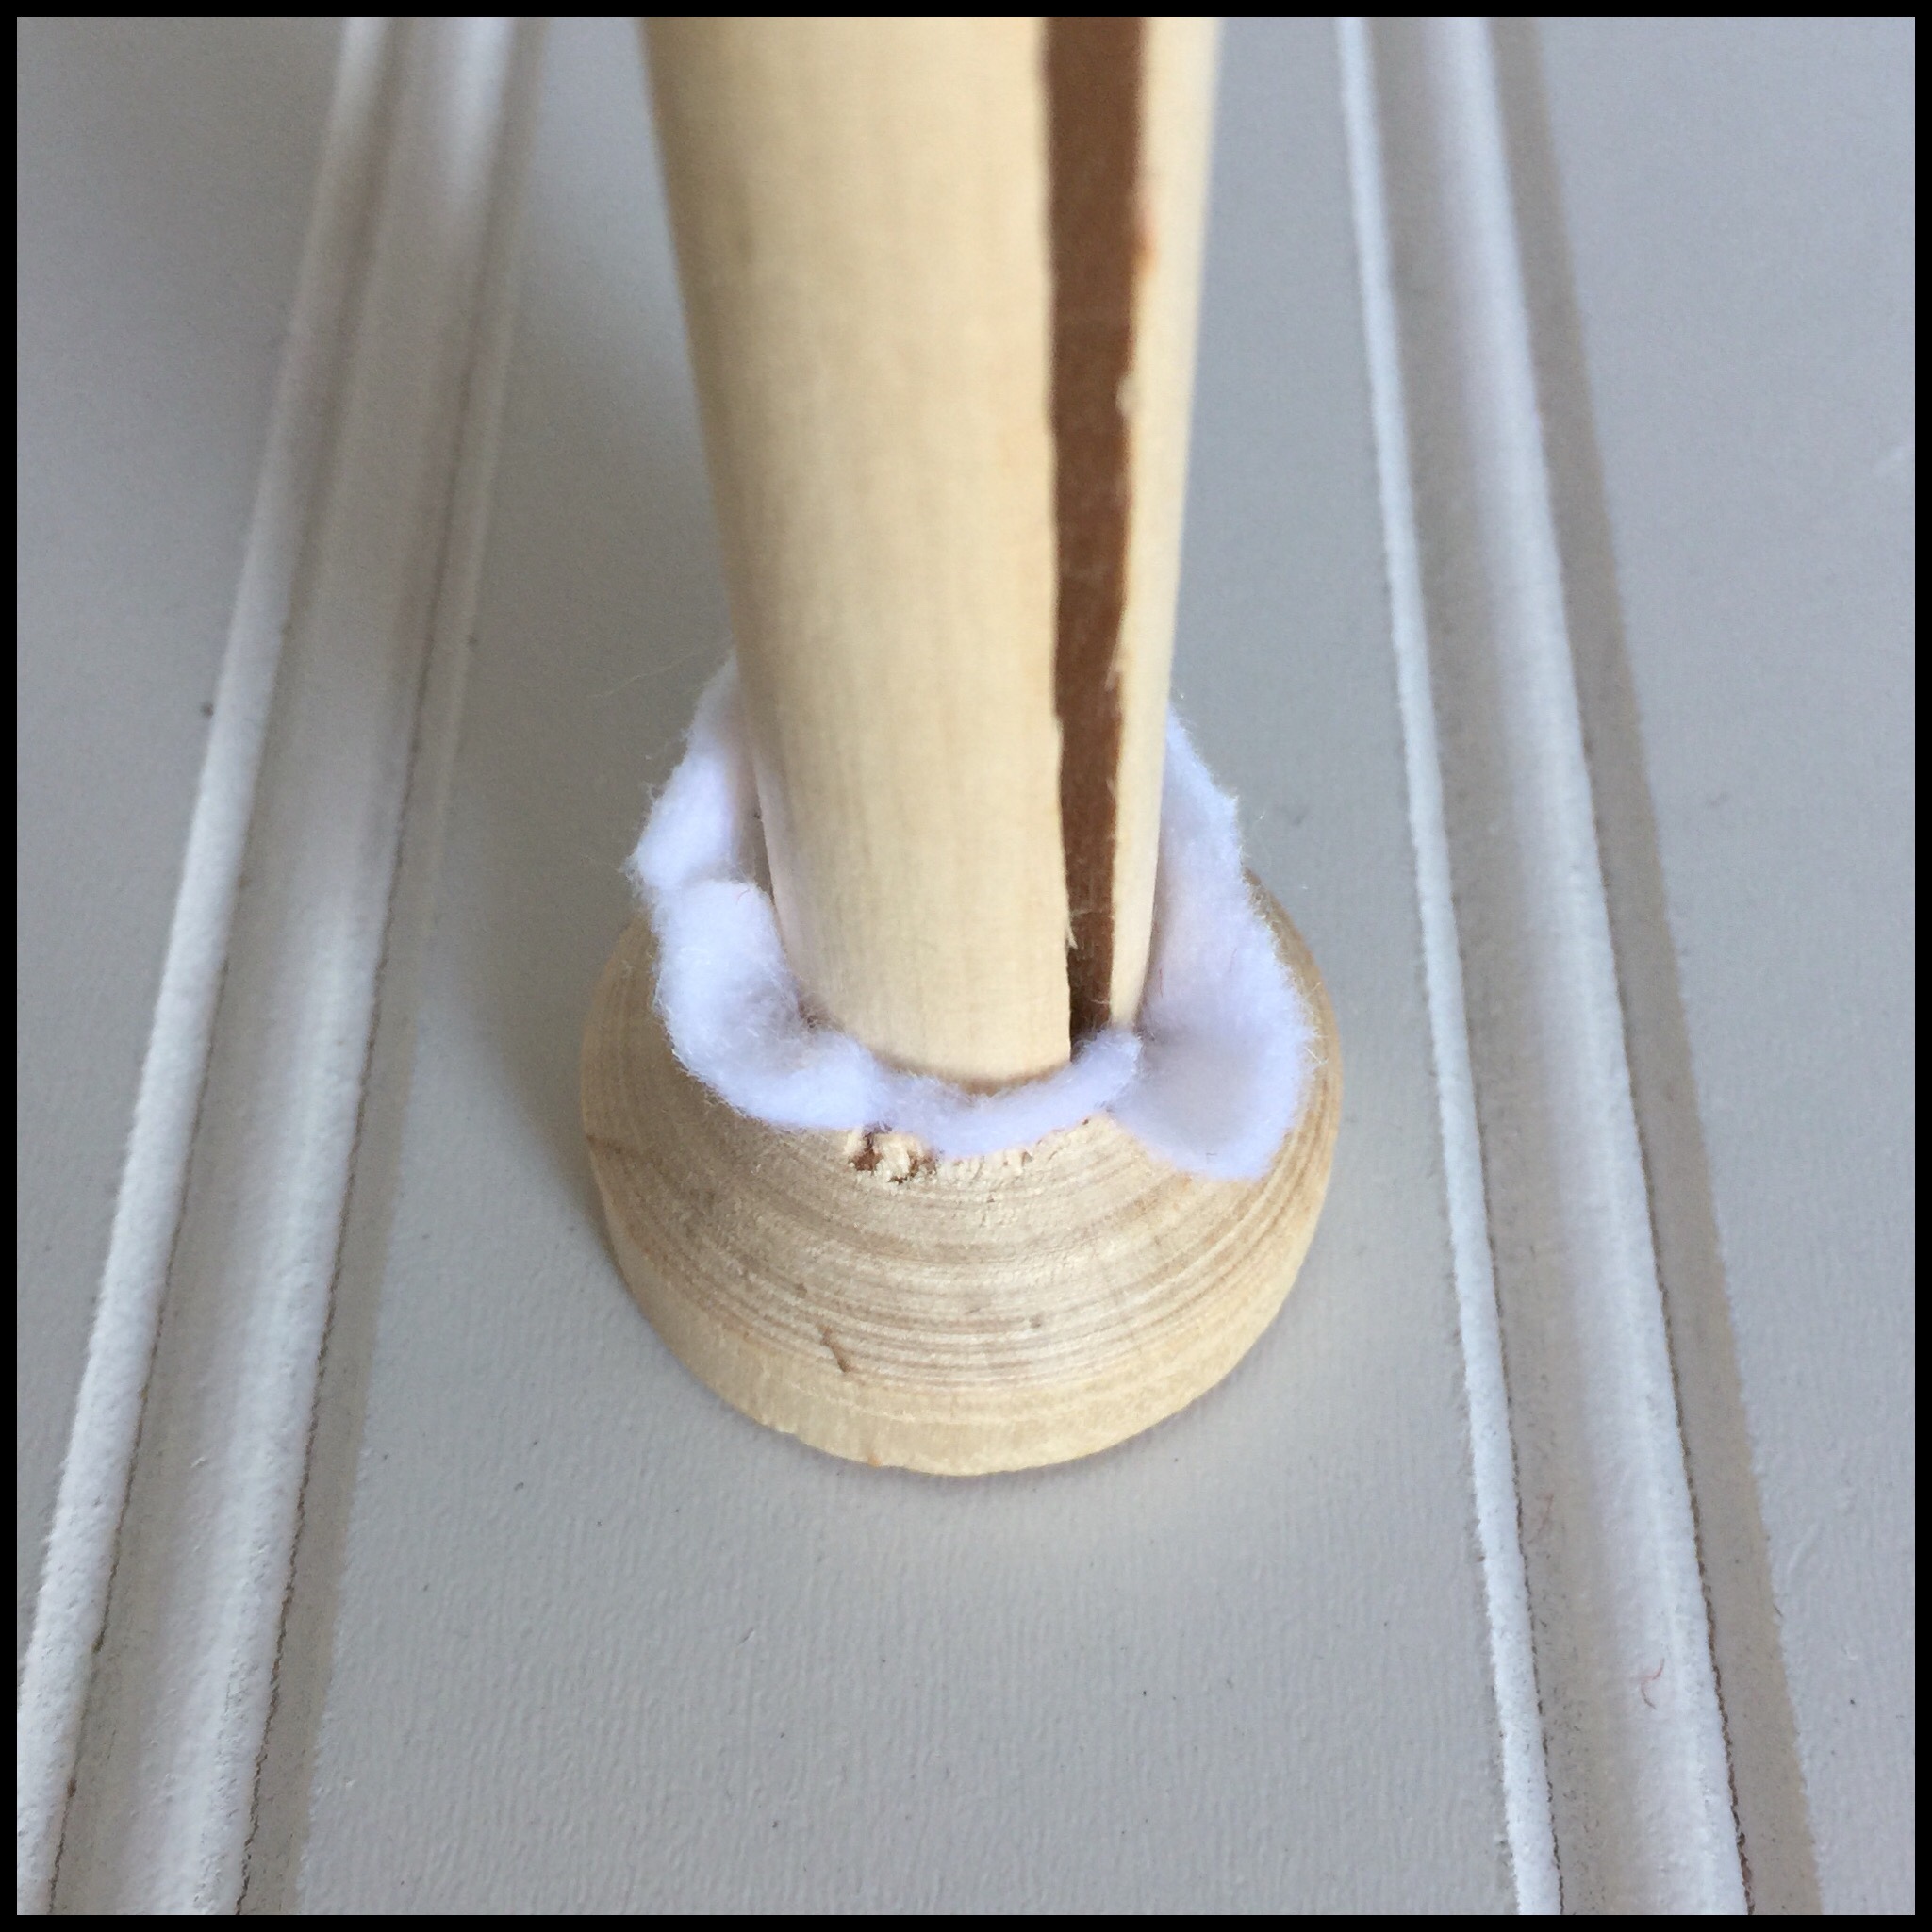
Next, she used two small scraps of felt to line the stand because it was too loose:
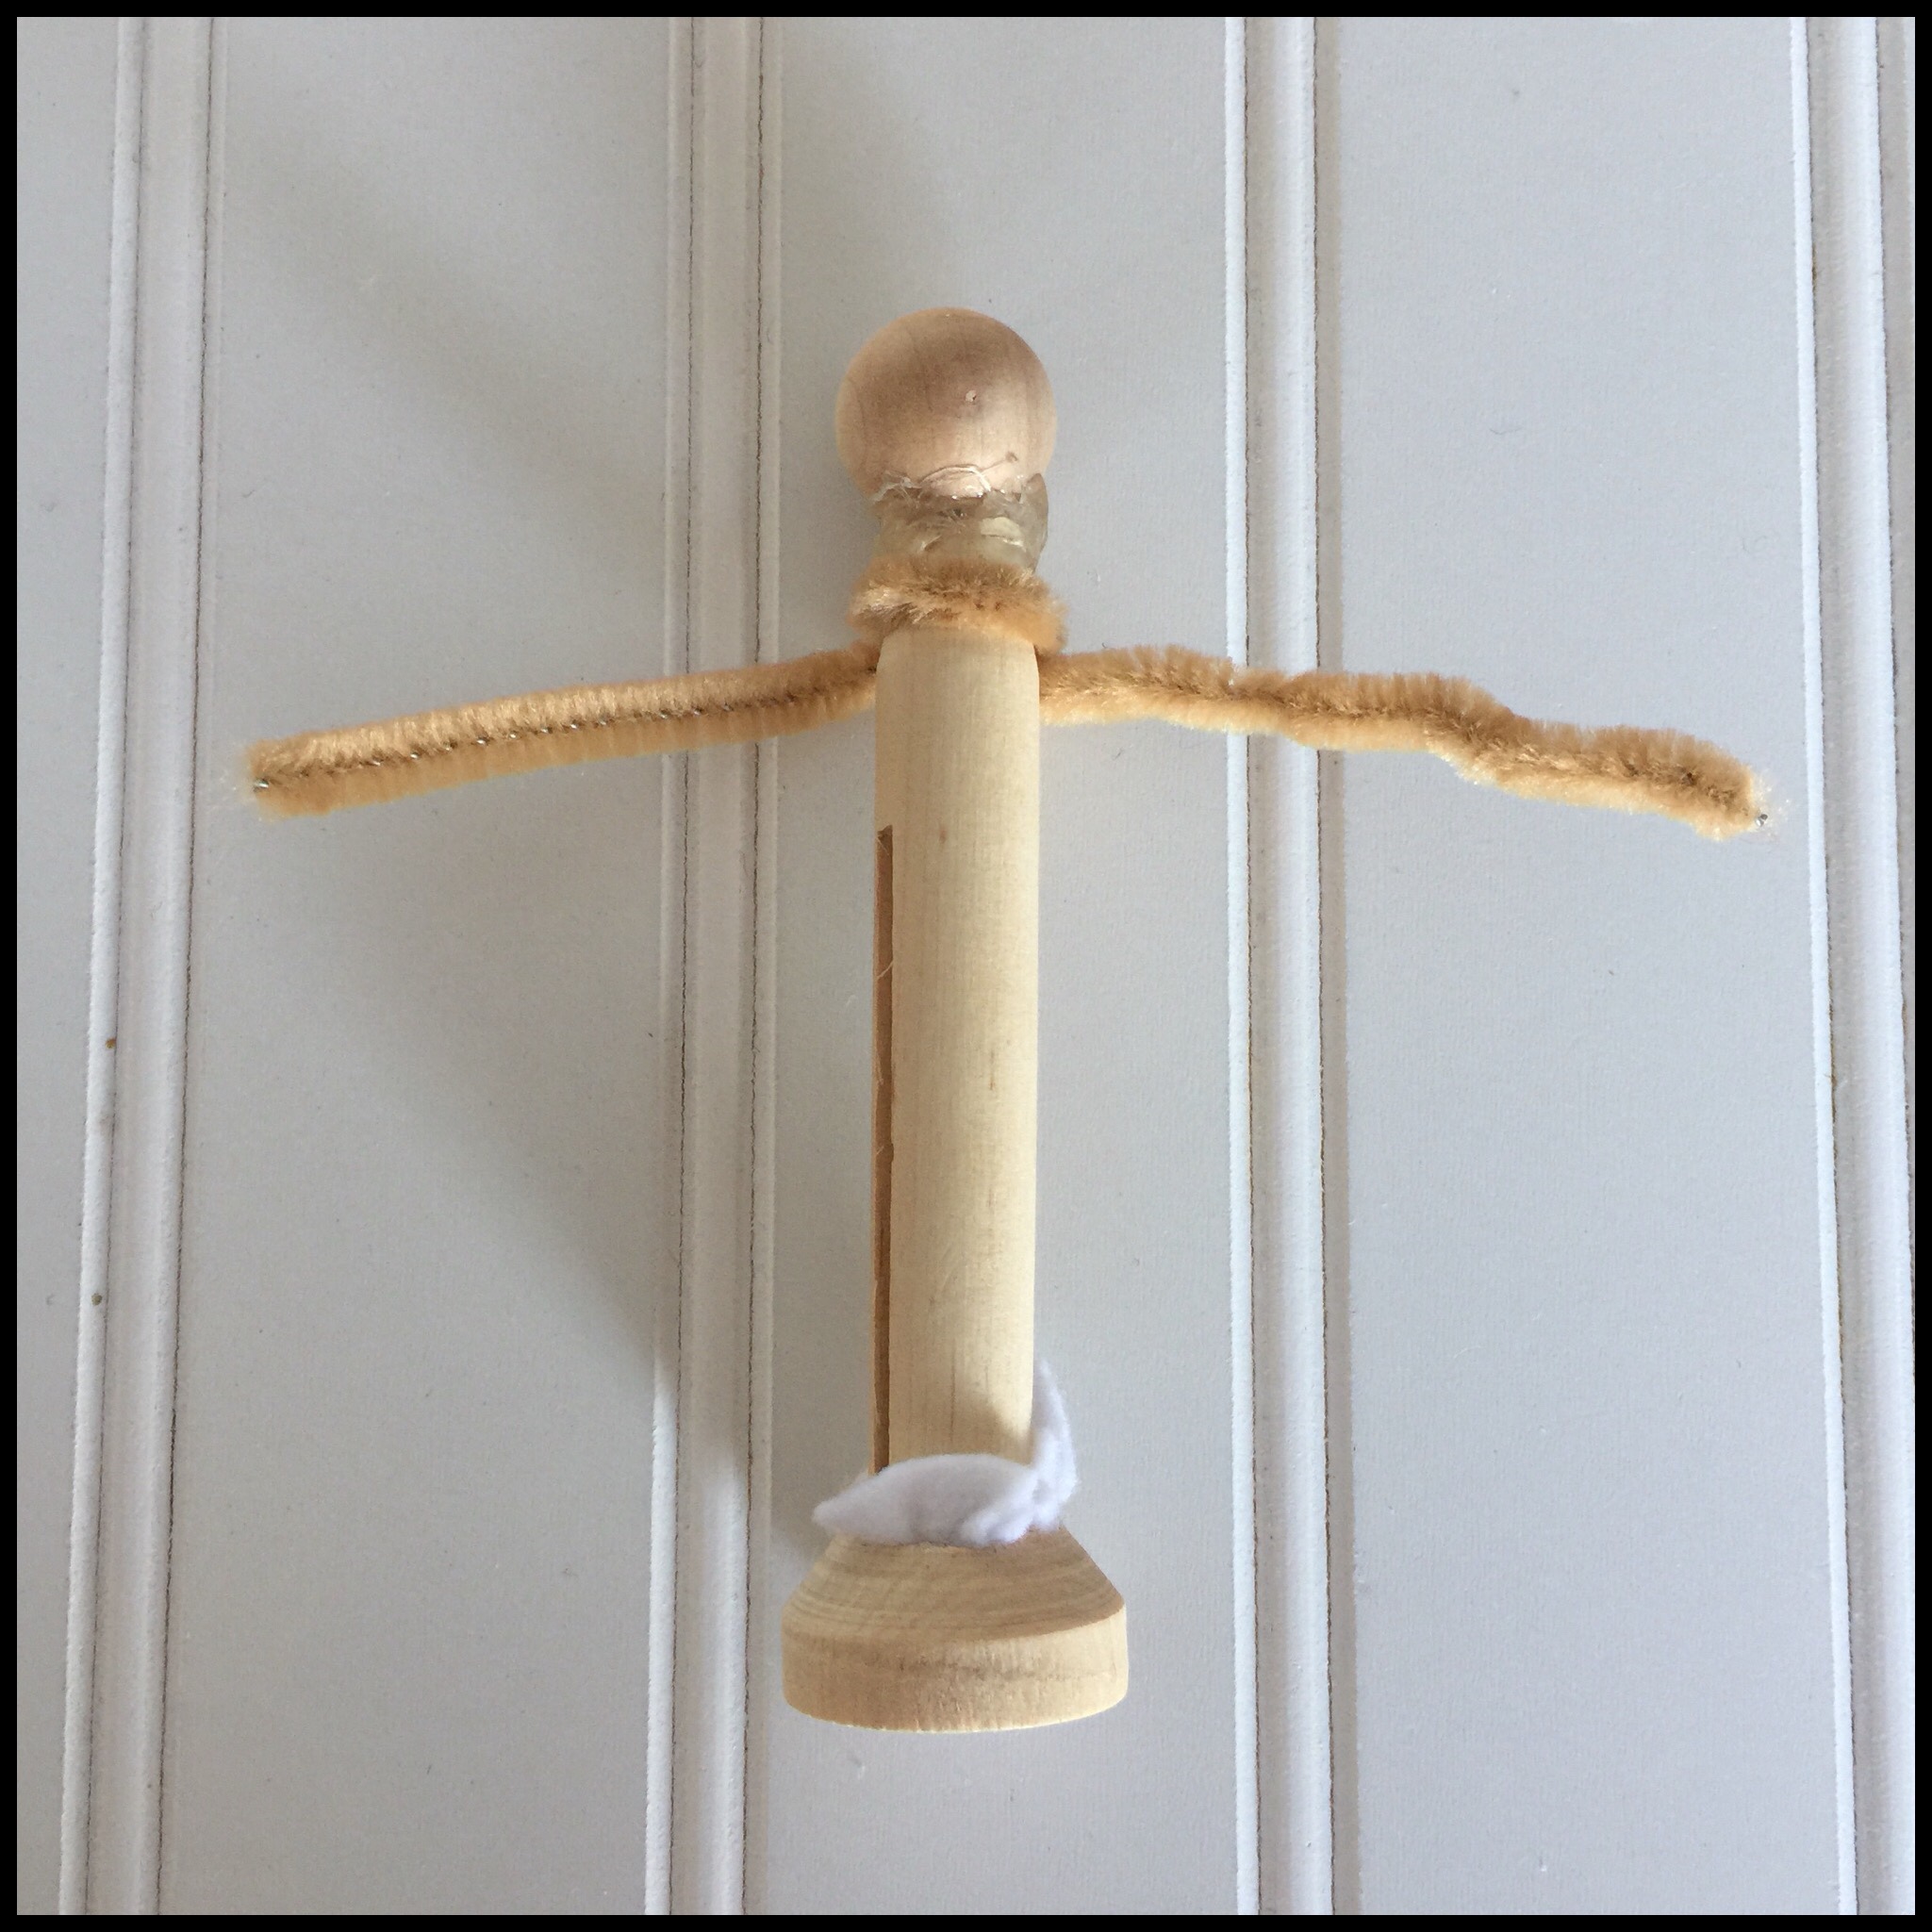
My mom then took a pipe cleaner and twisted it around the clothespin to create arms for the doll. She trimmed the arms but kept them long enough to fold the ends over to make hands:
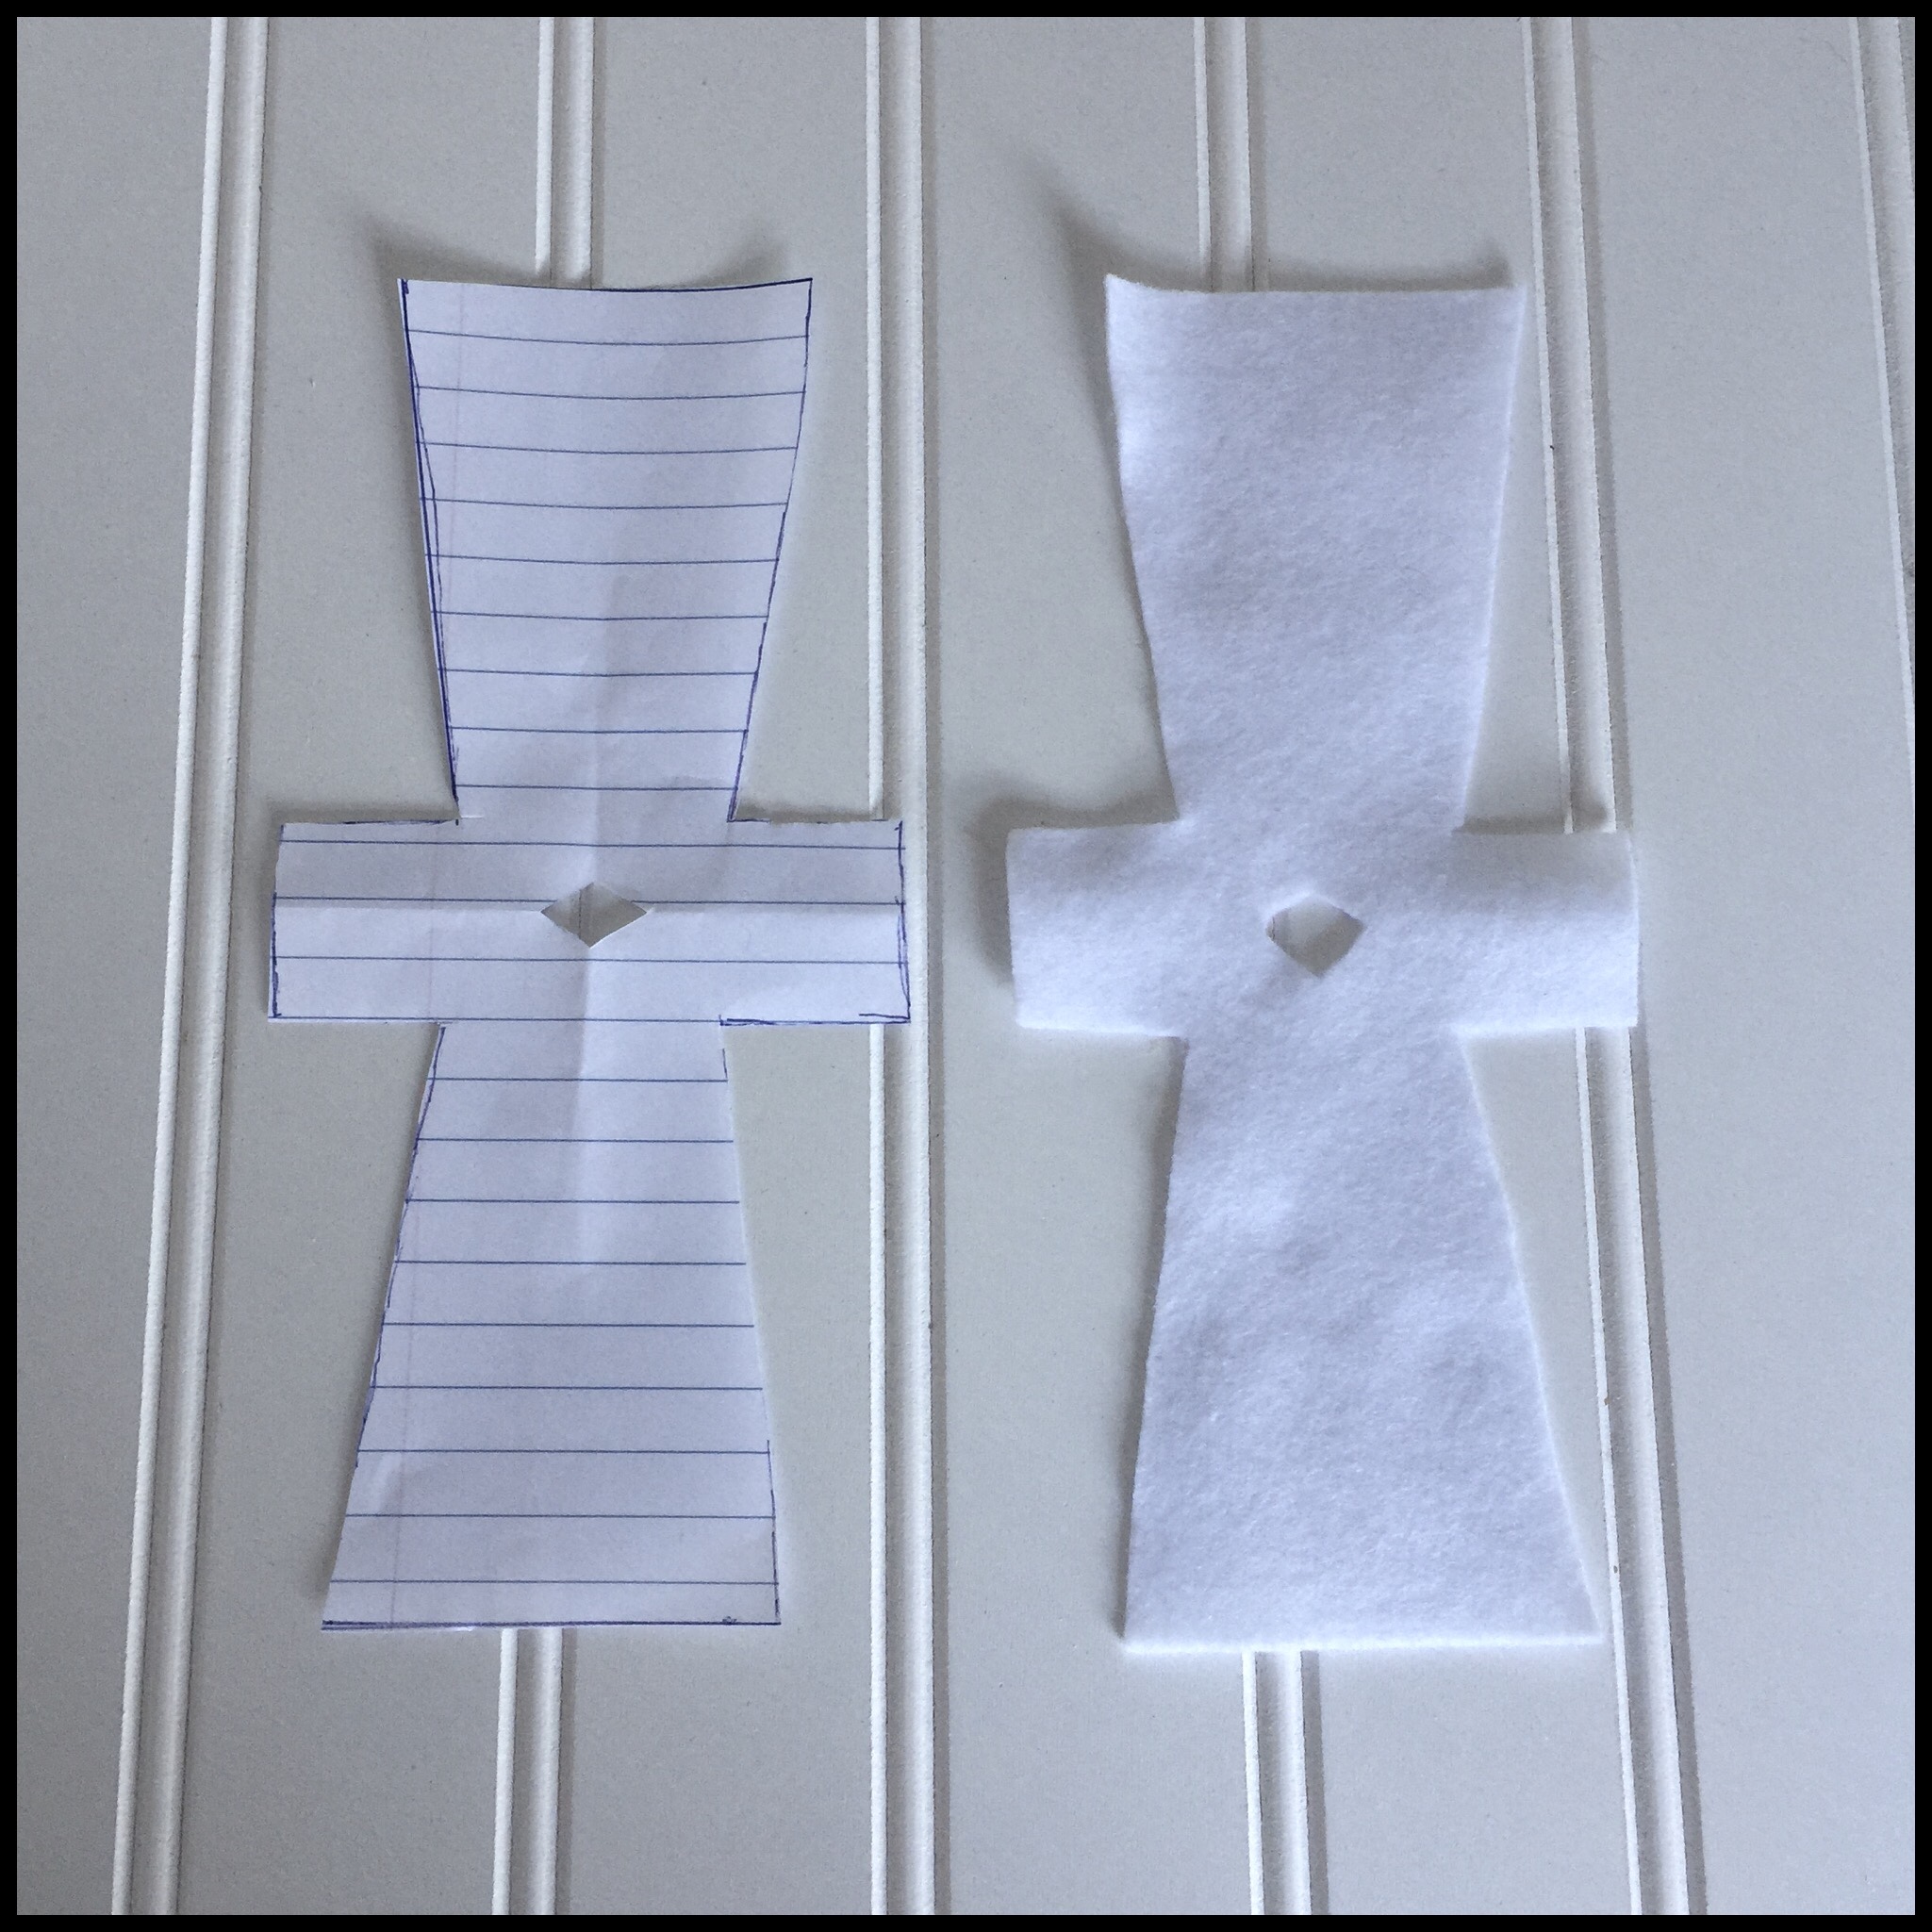
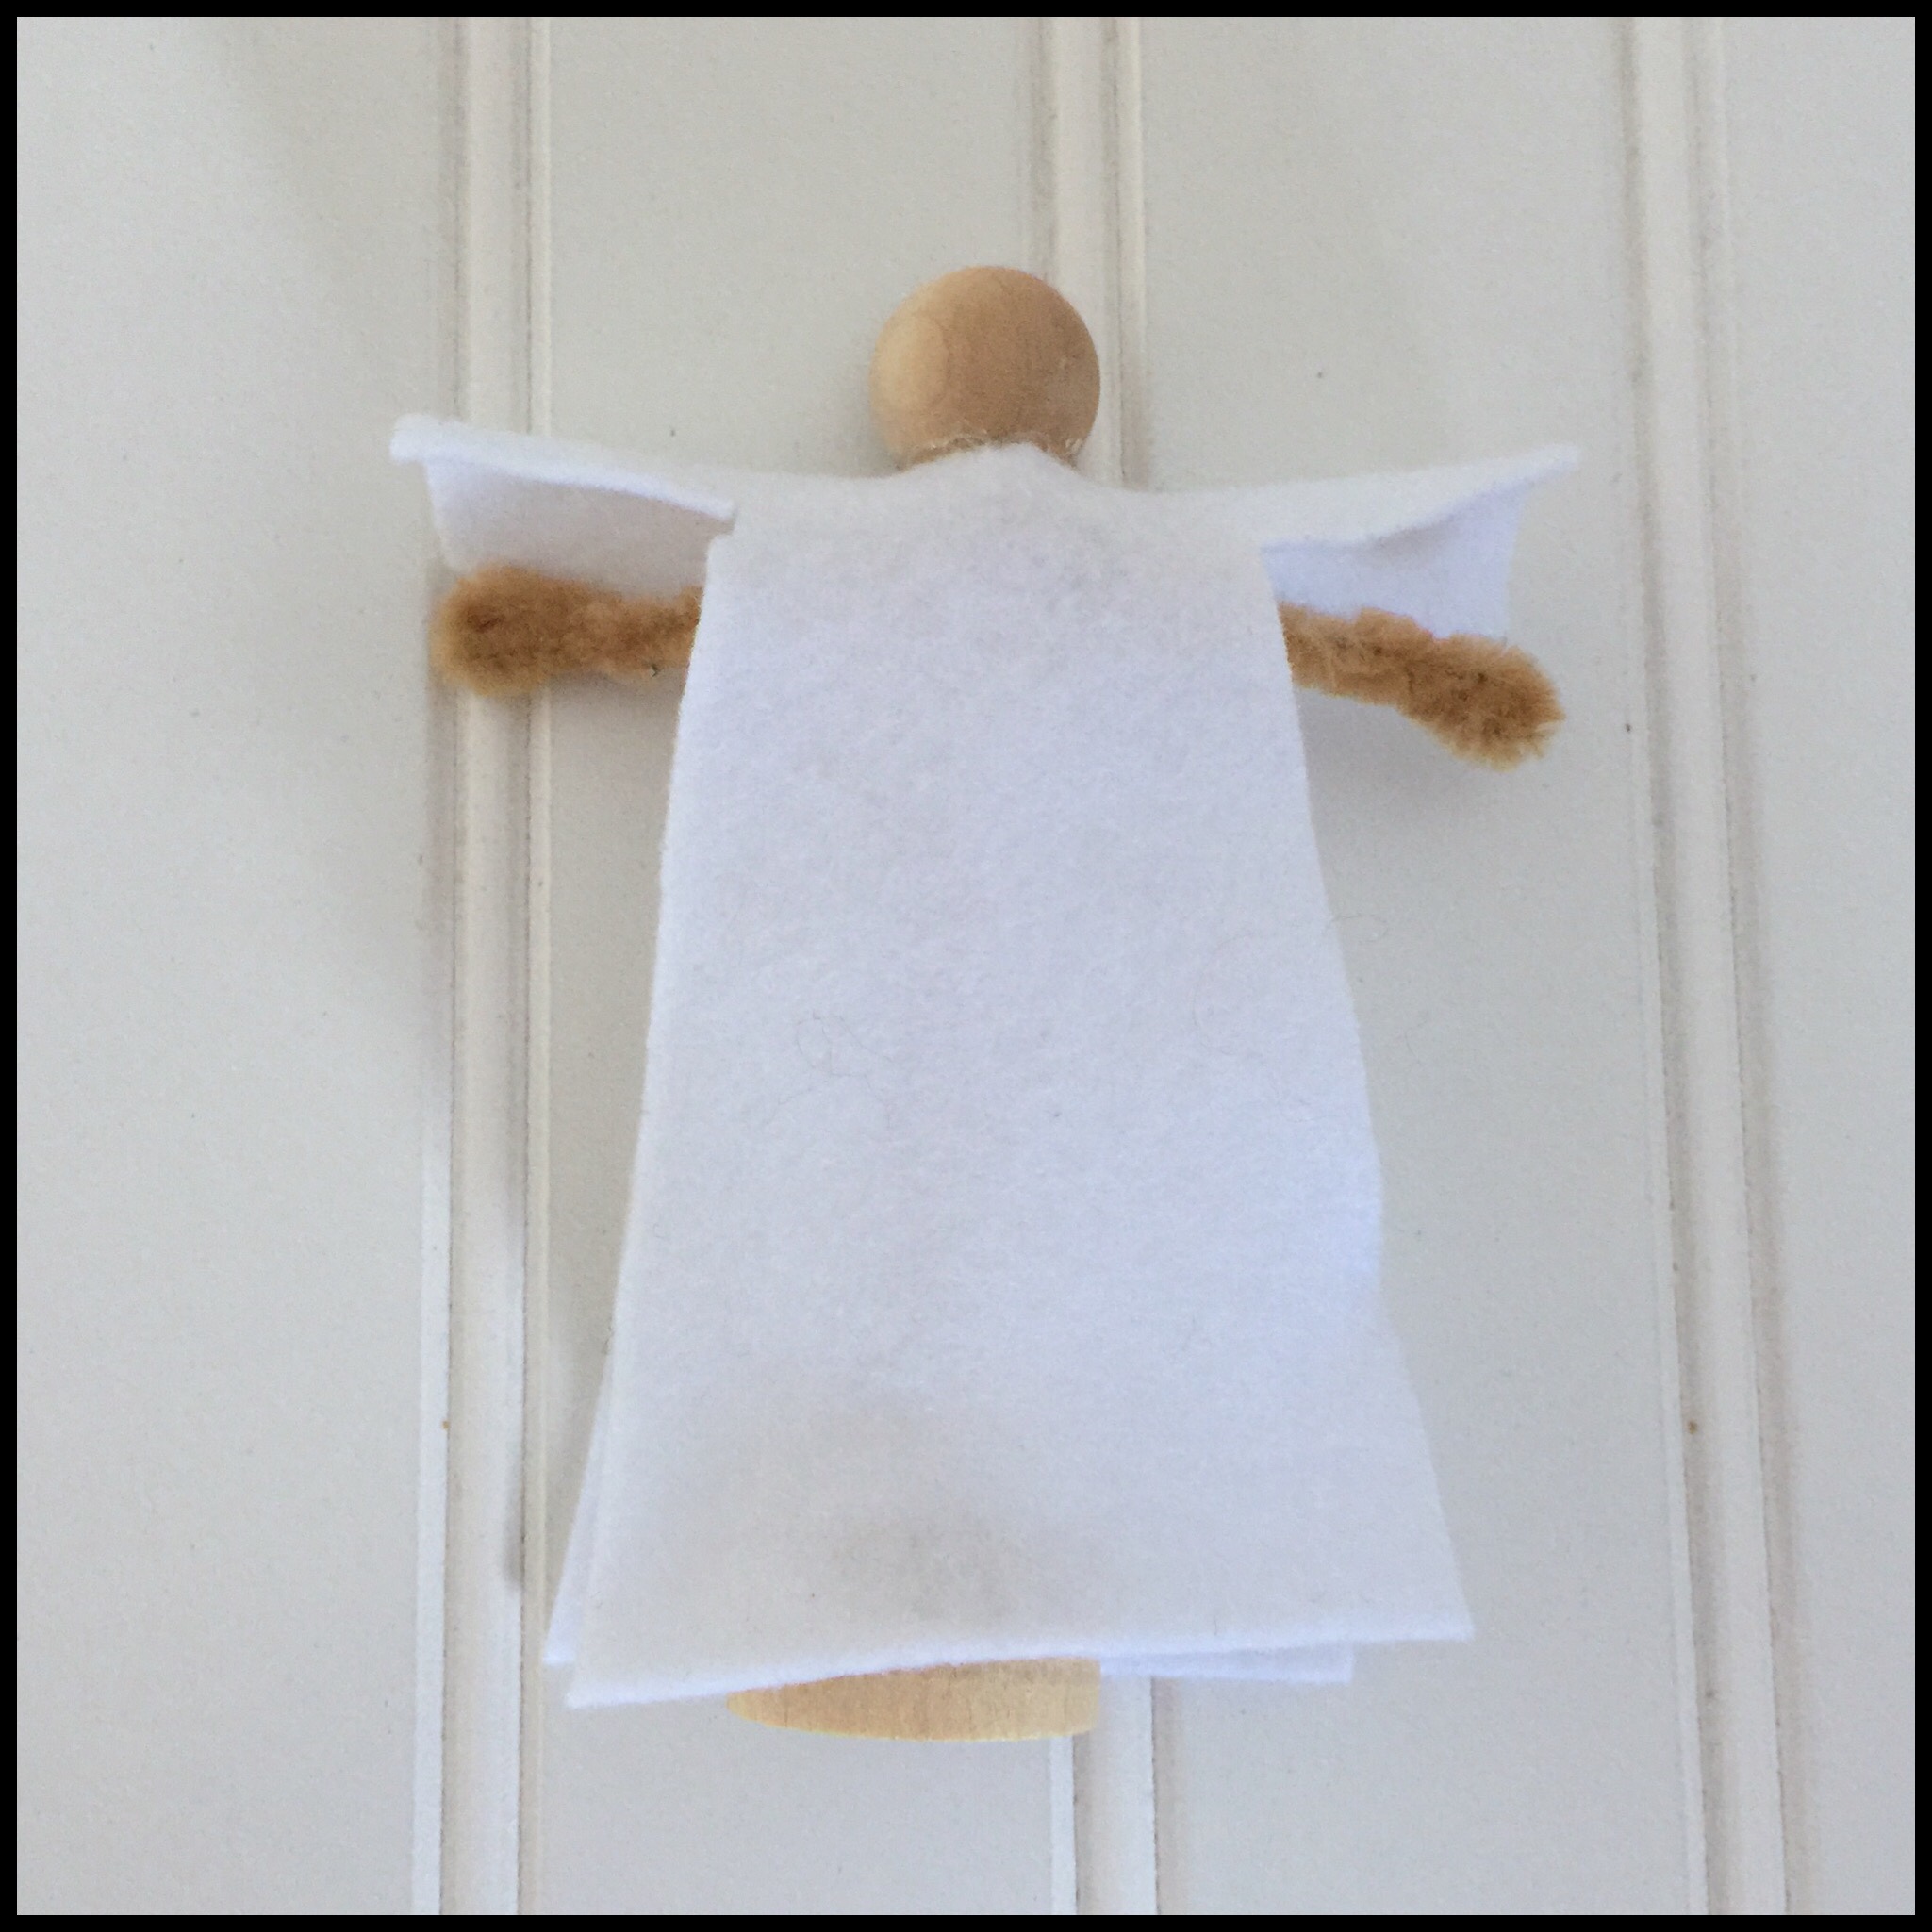
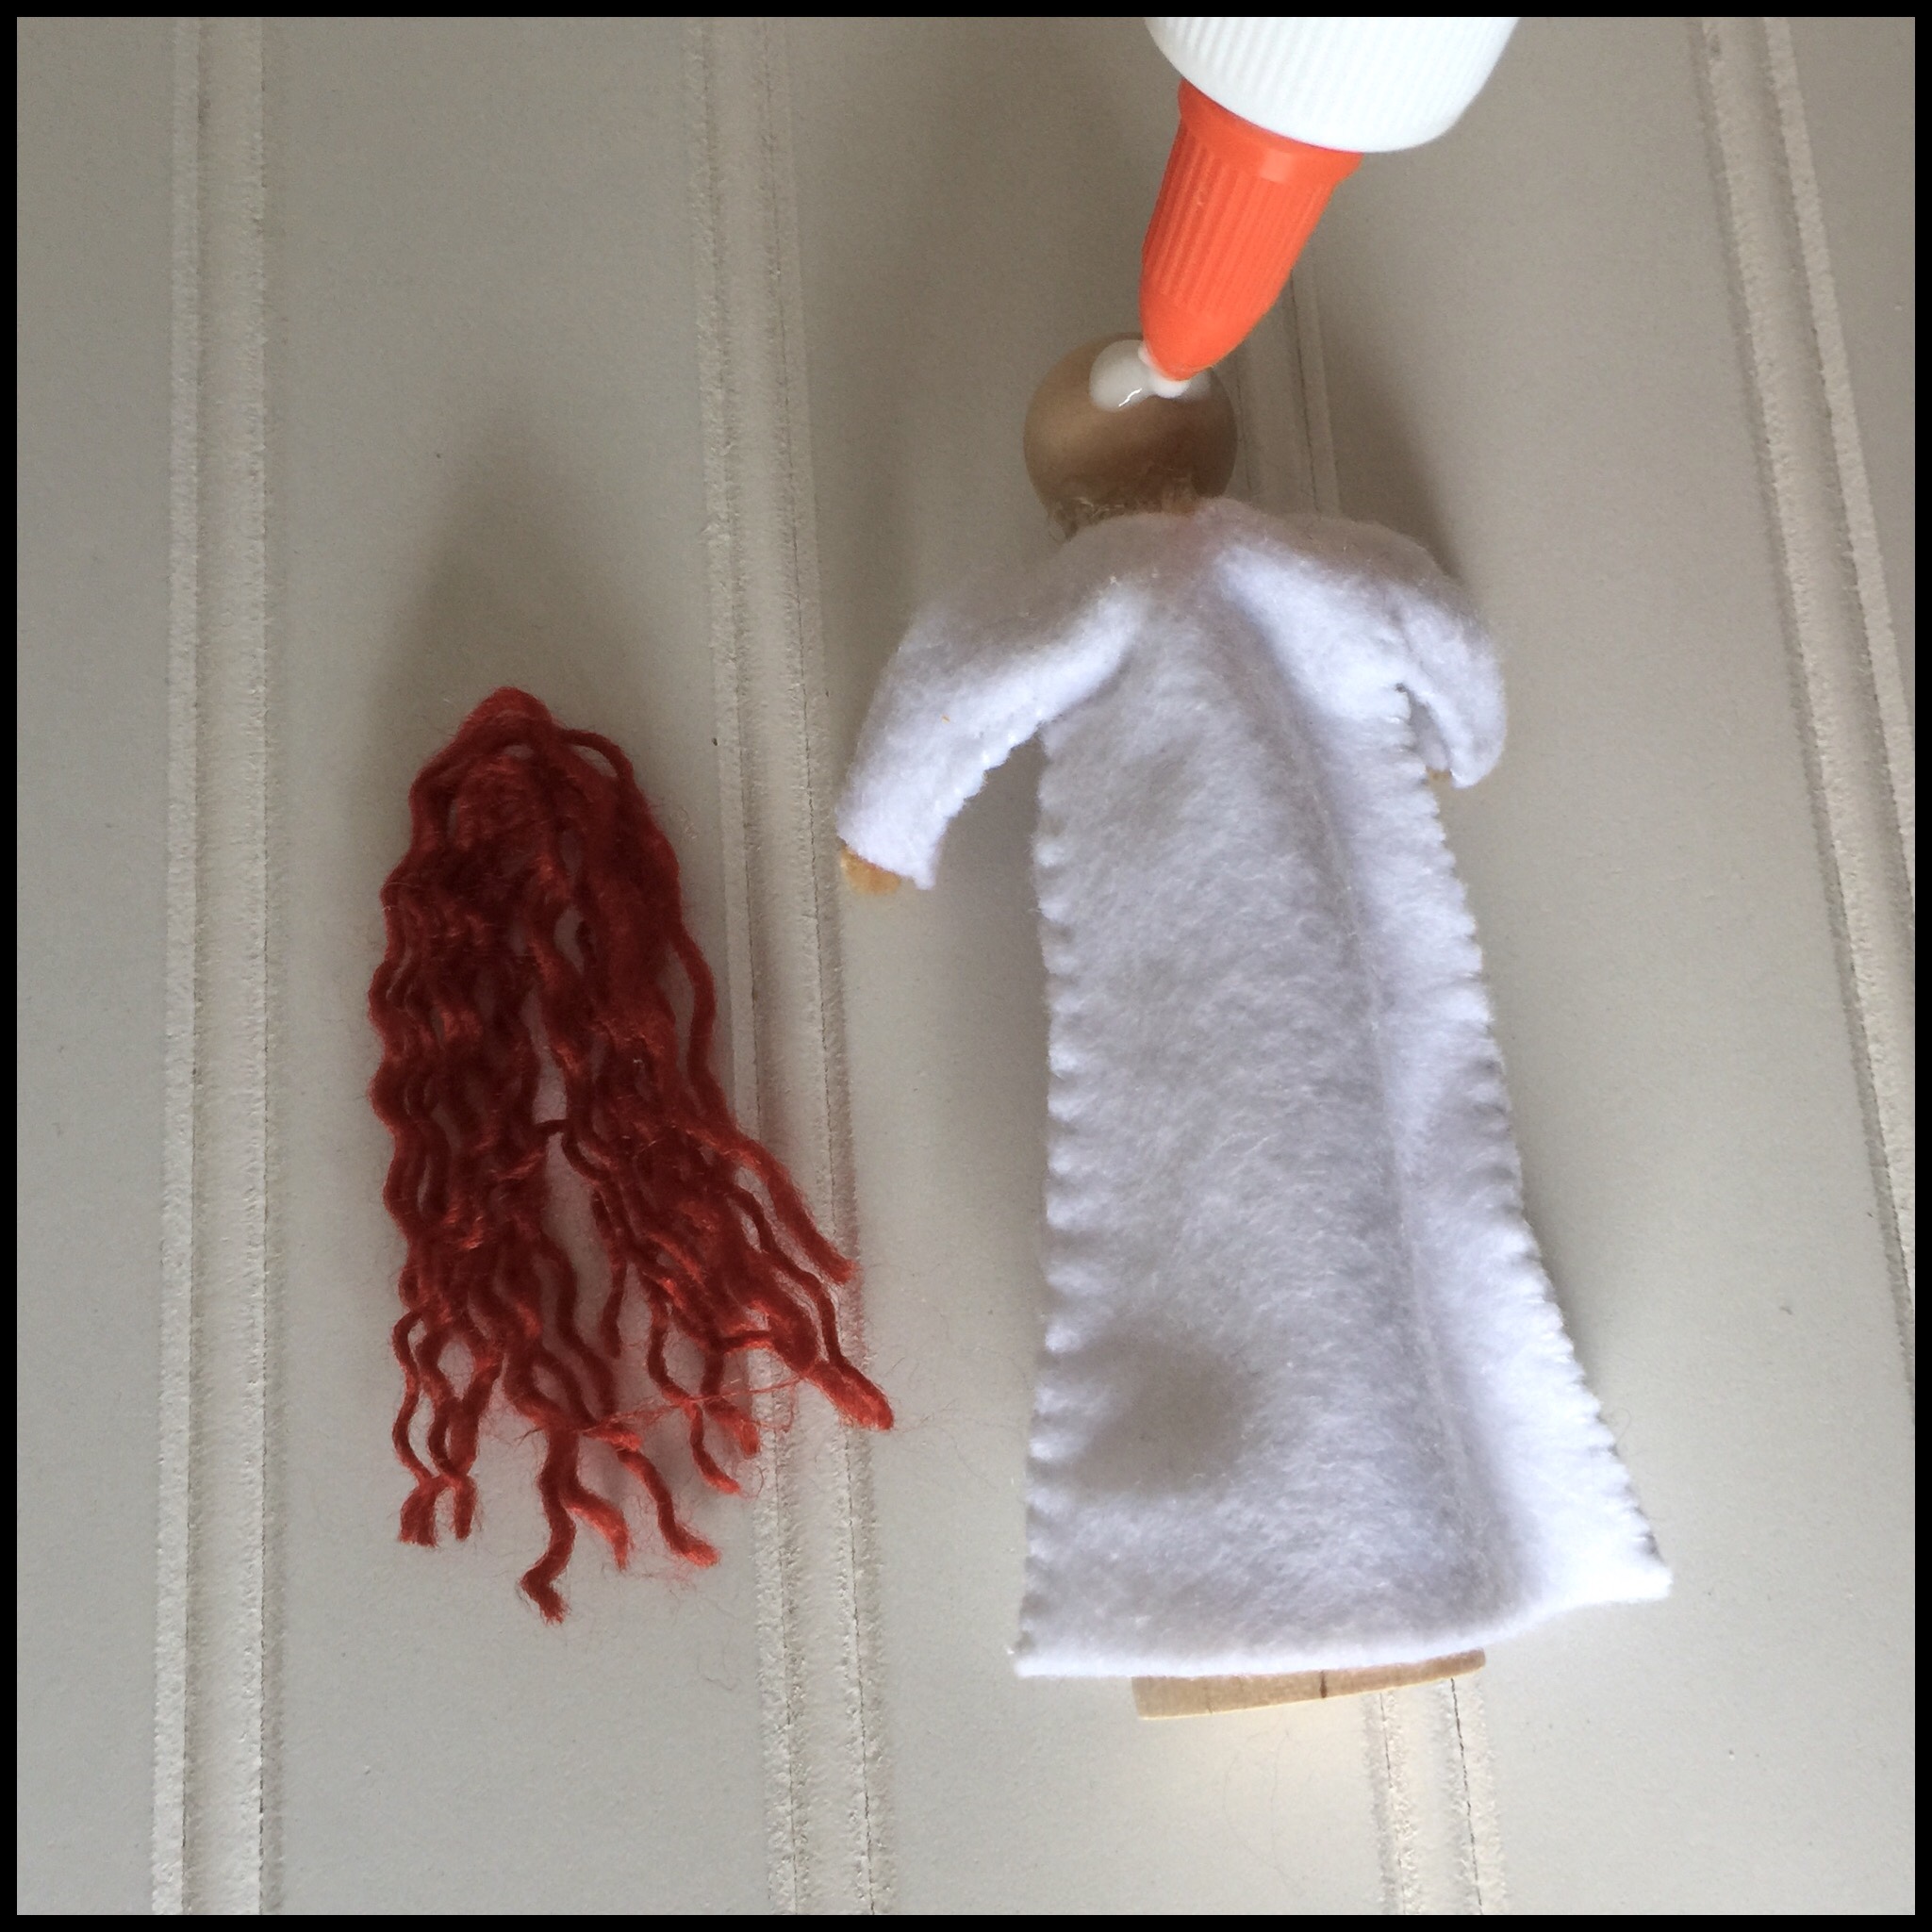
She made a pattern for Bridget’s gown using wide rule notebook paper. It is 7 3/4 inches long, and the bottoms of the gown are 2 1/2 inches wide. The arms in the middle are 3 1/2 inches across. She cut the gown out of white felt:
She placed the doll body onto the cut-out gown, and folded the pipe cleaner back to form the hands. She made them just long enough to show past the ends of the sleeves:

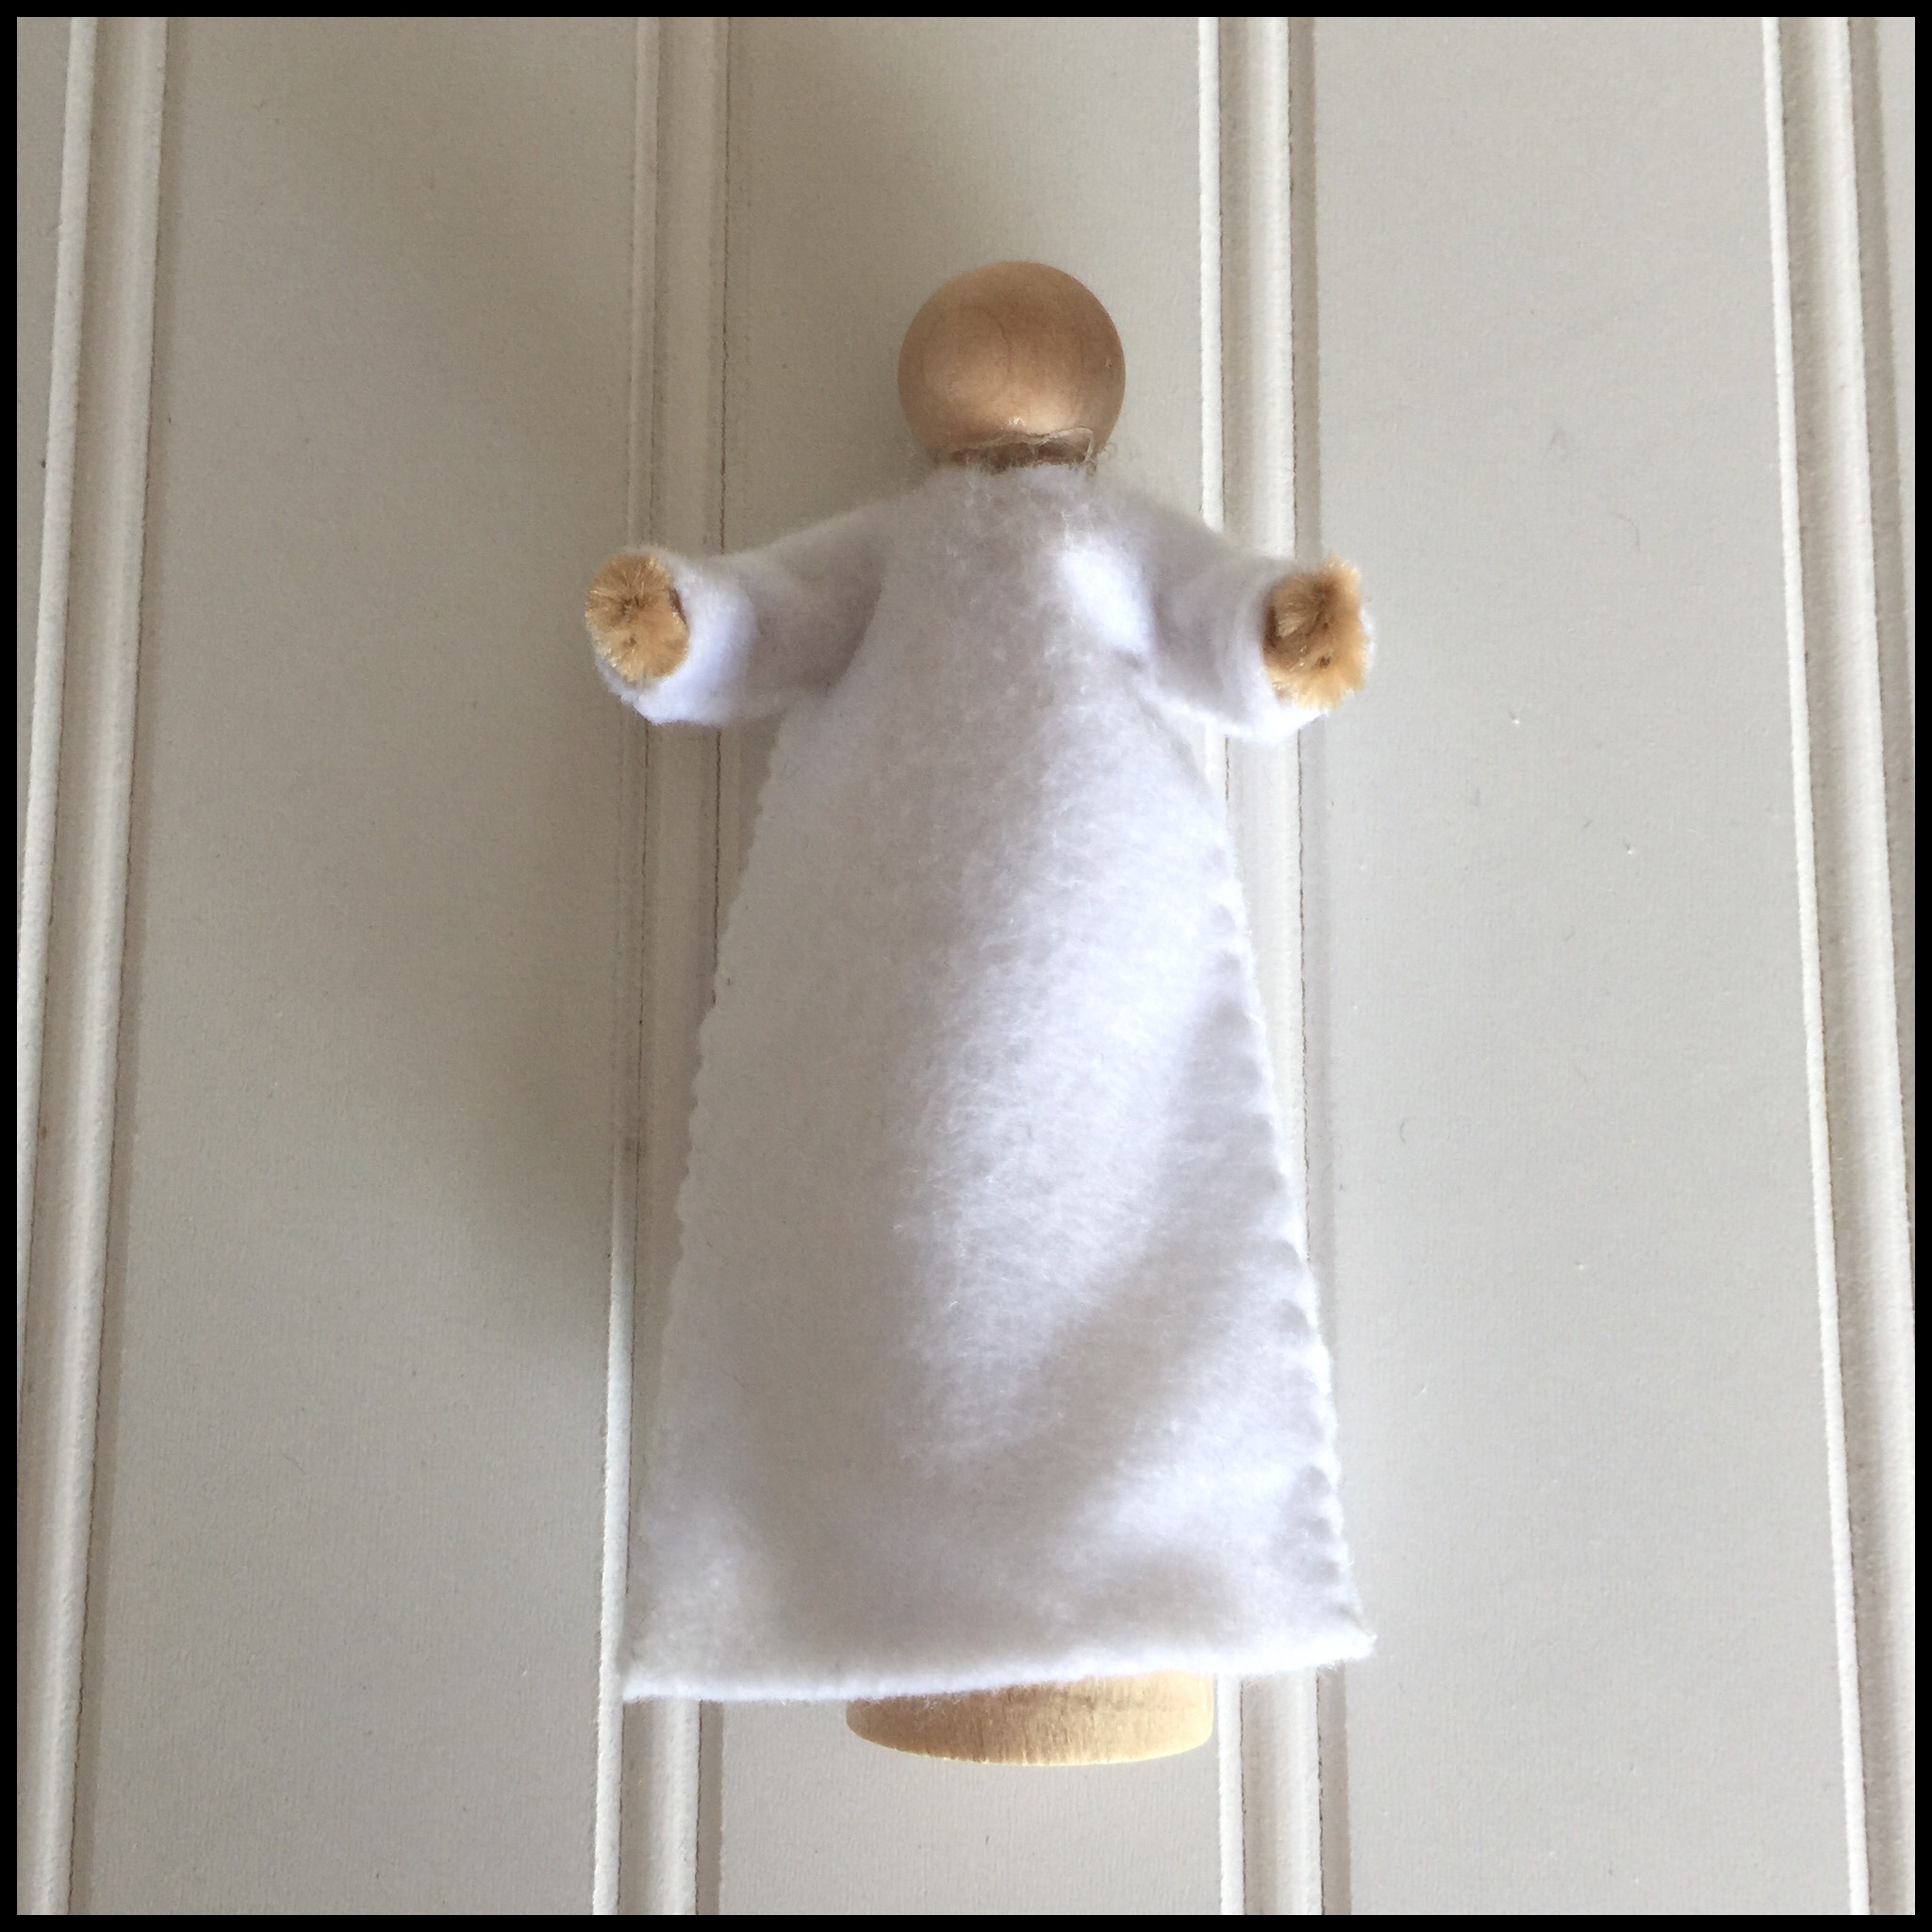
She gently pulled the gown over the doll’s head and then whip stitched the arms and sides of the gown:
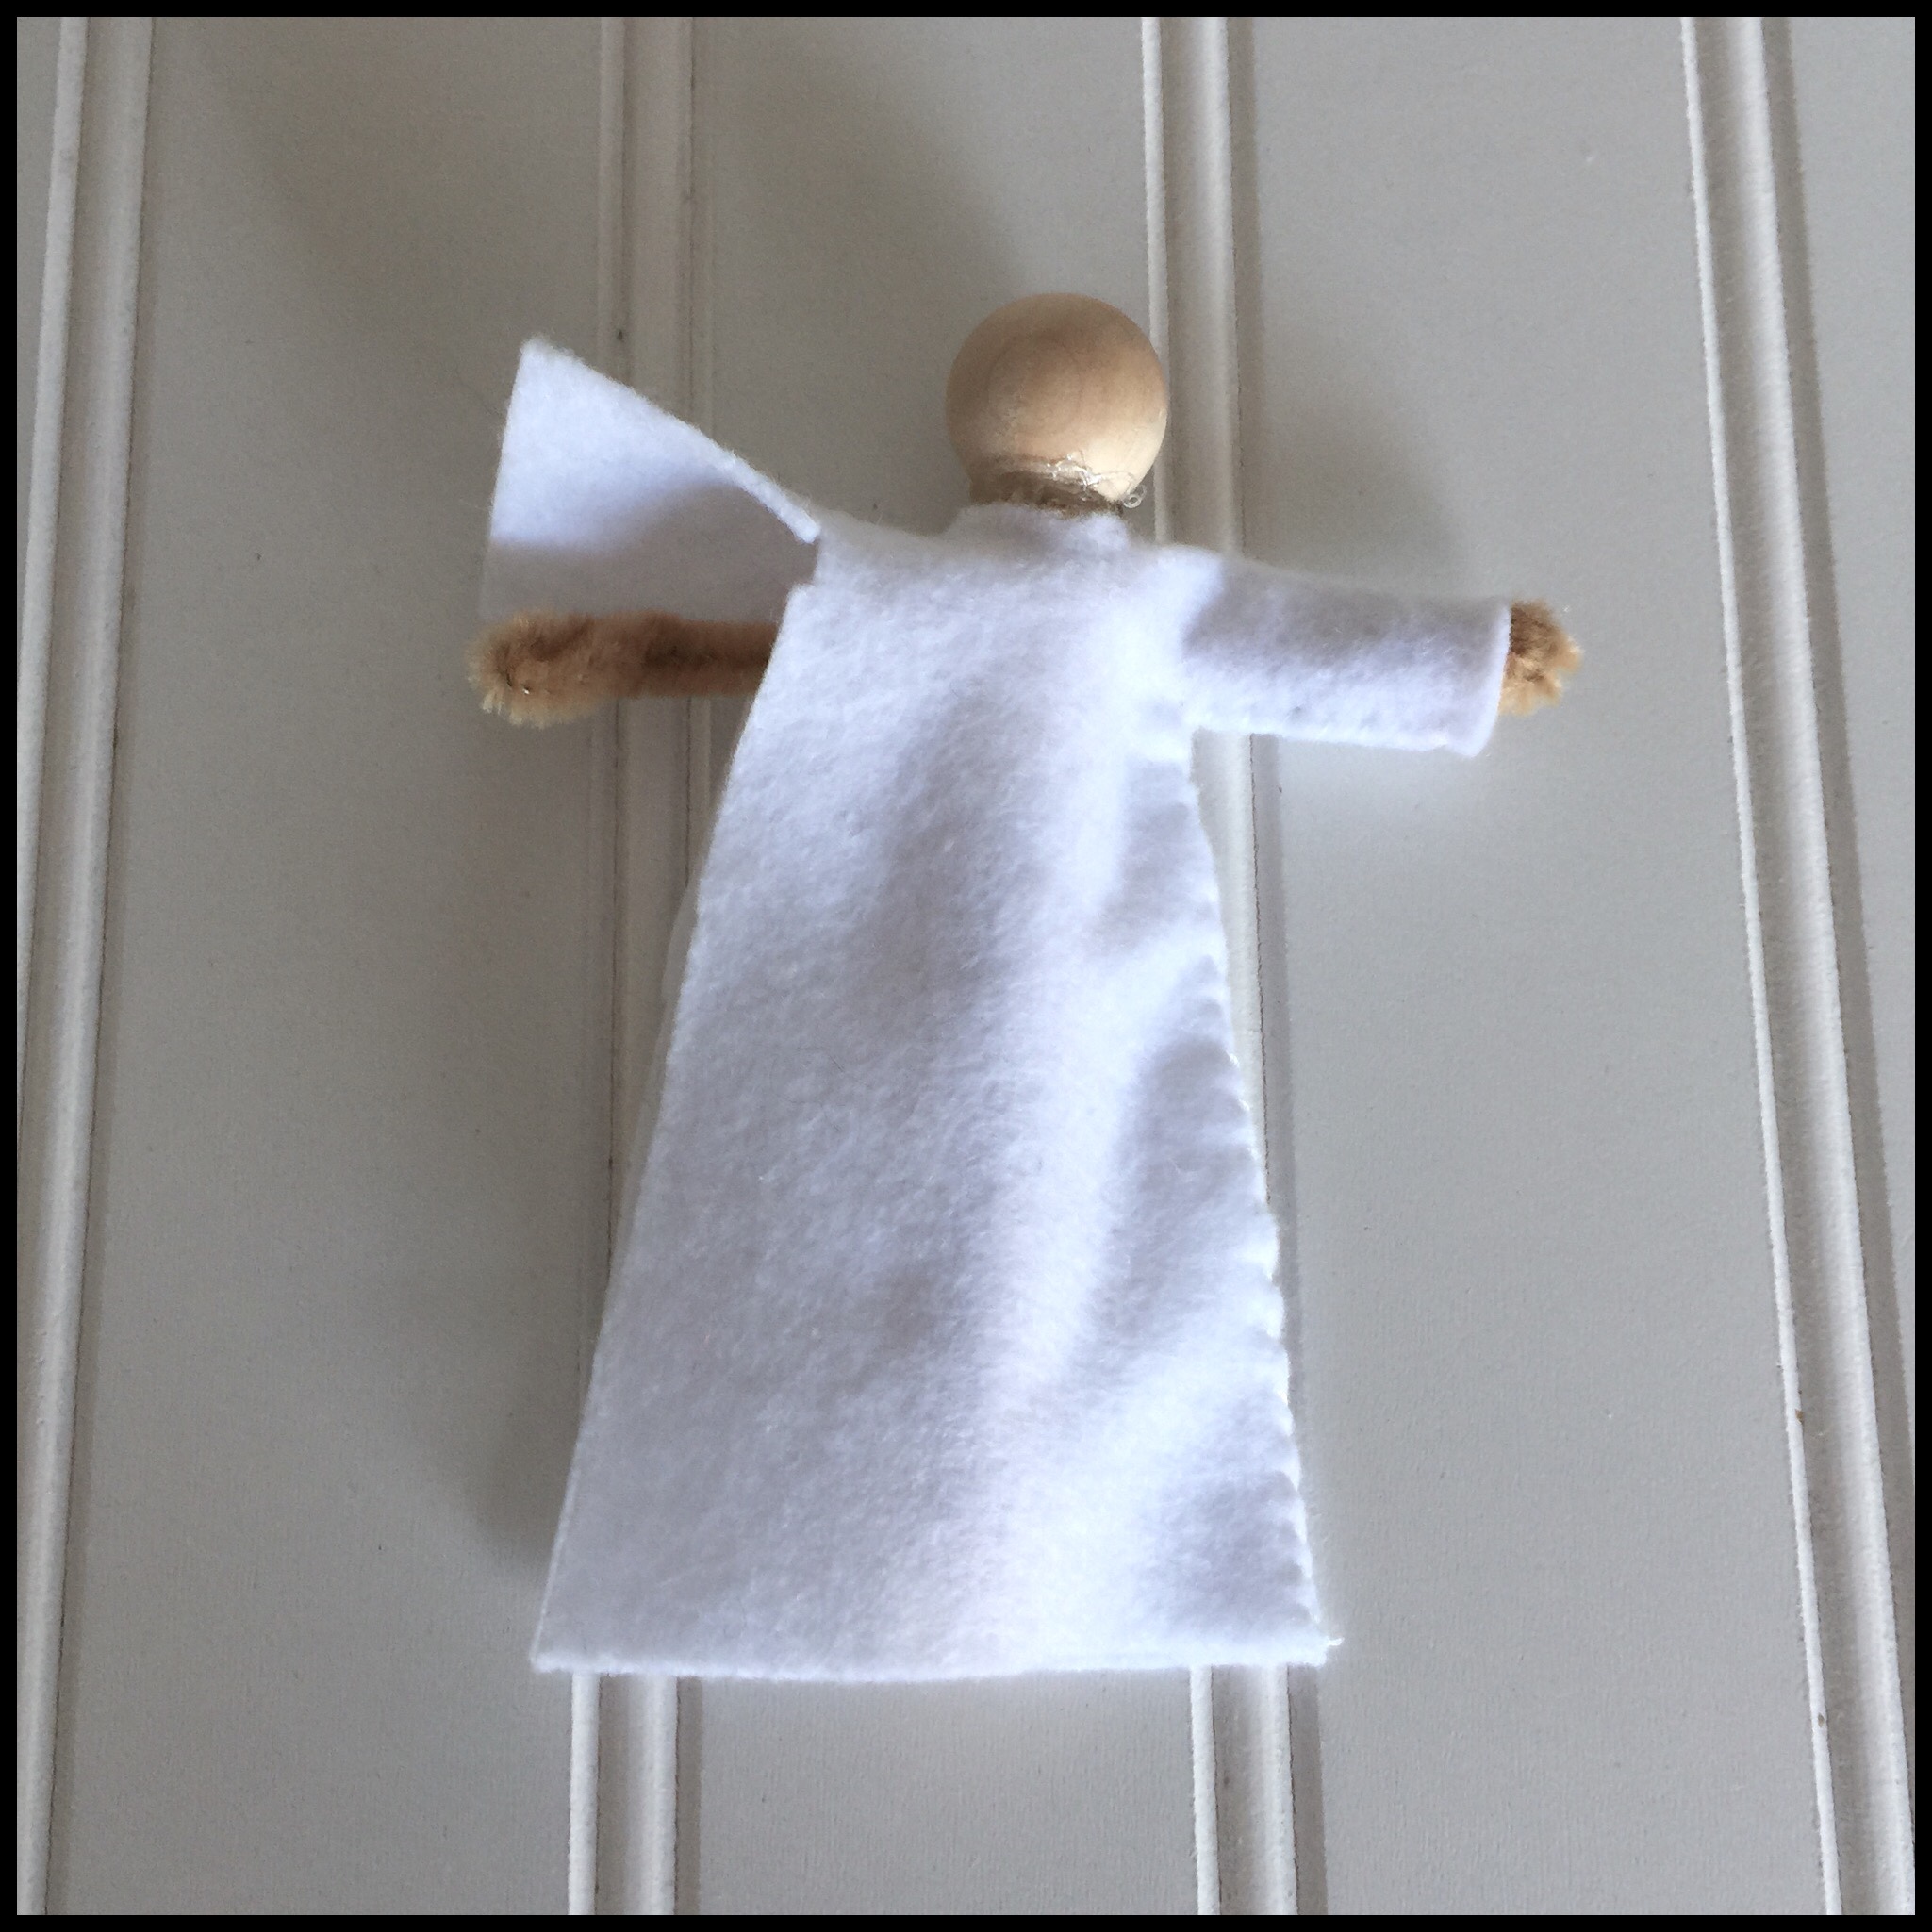
Then she bent the arms slightly forward:
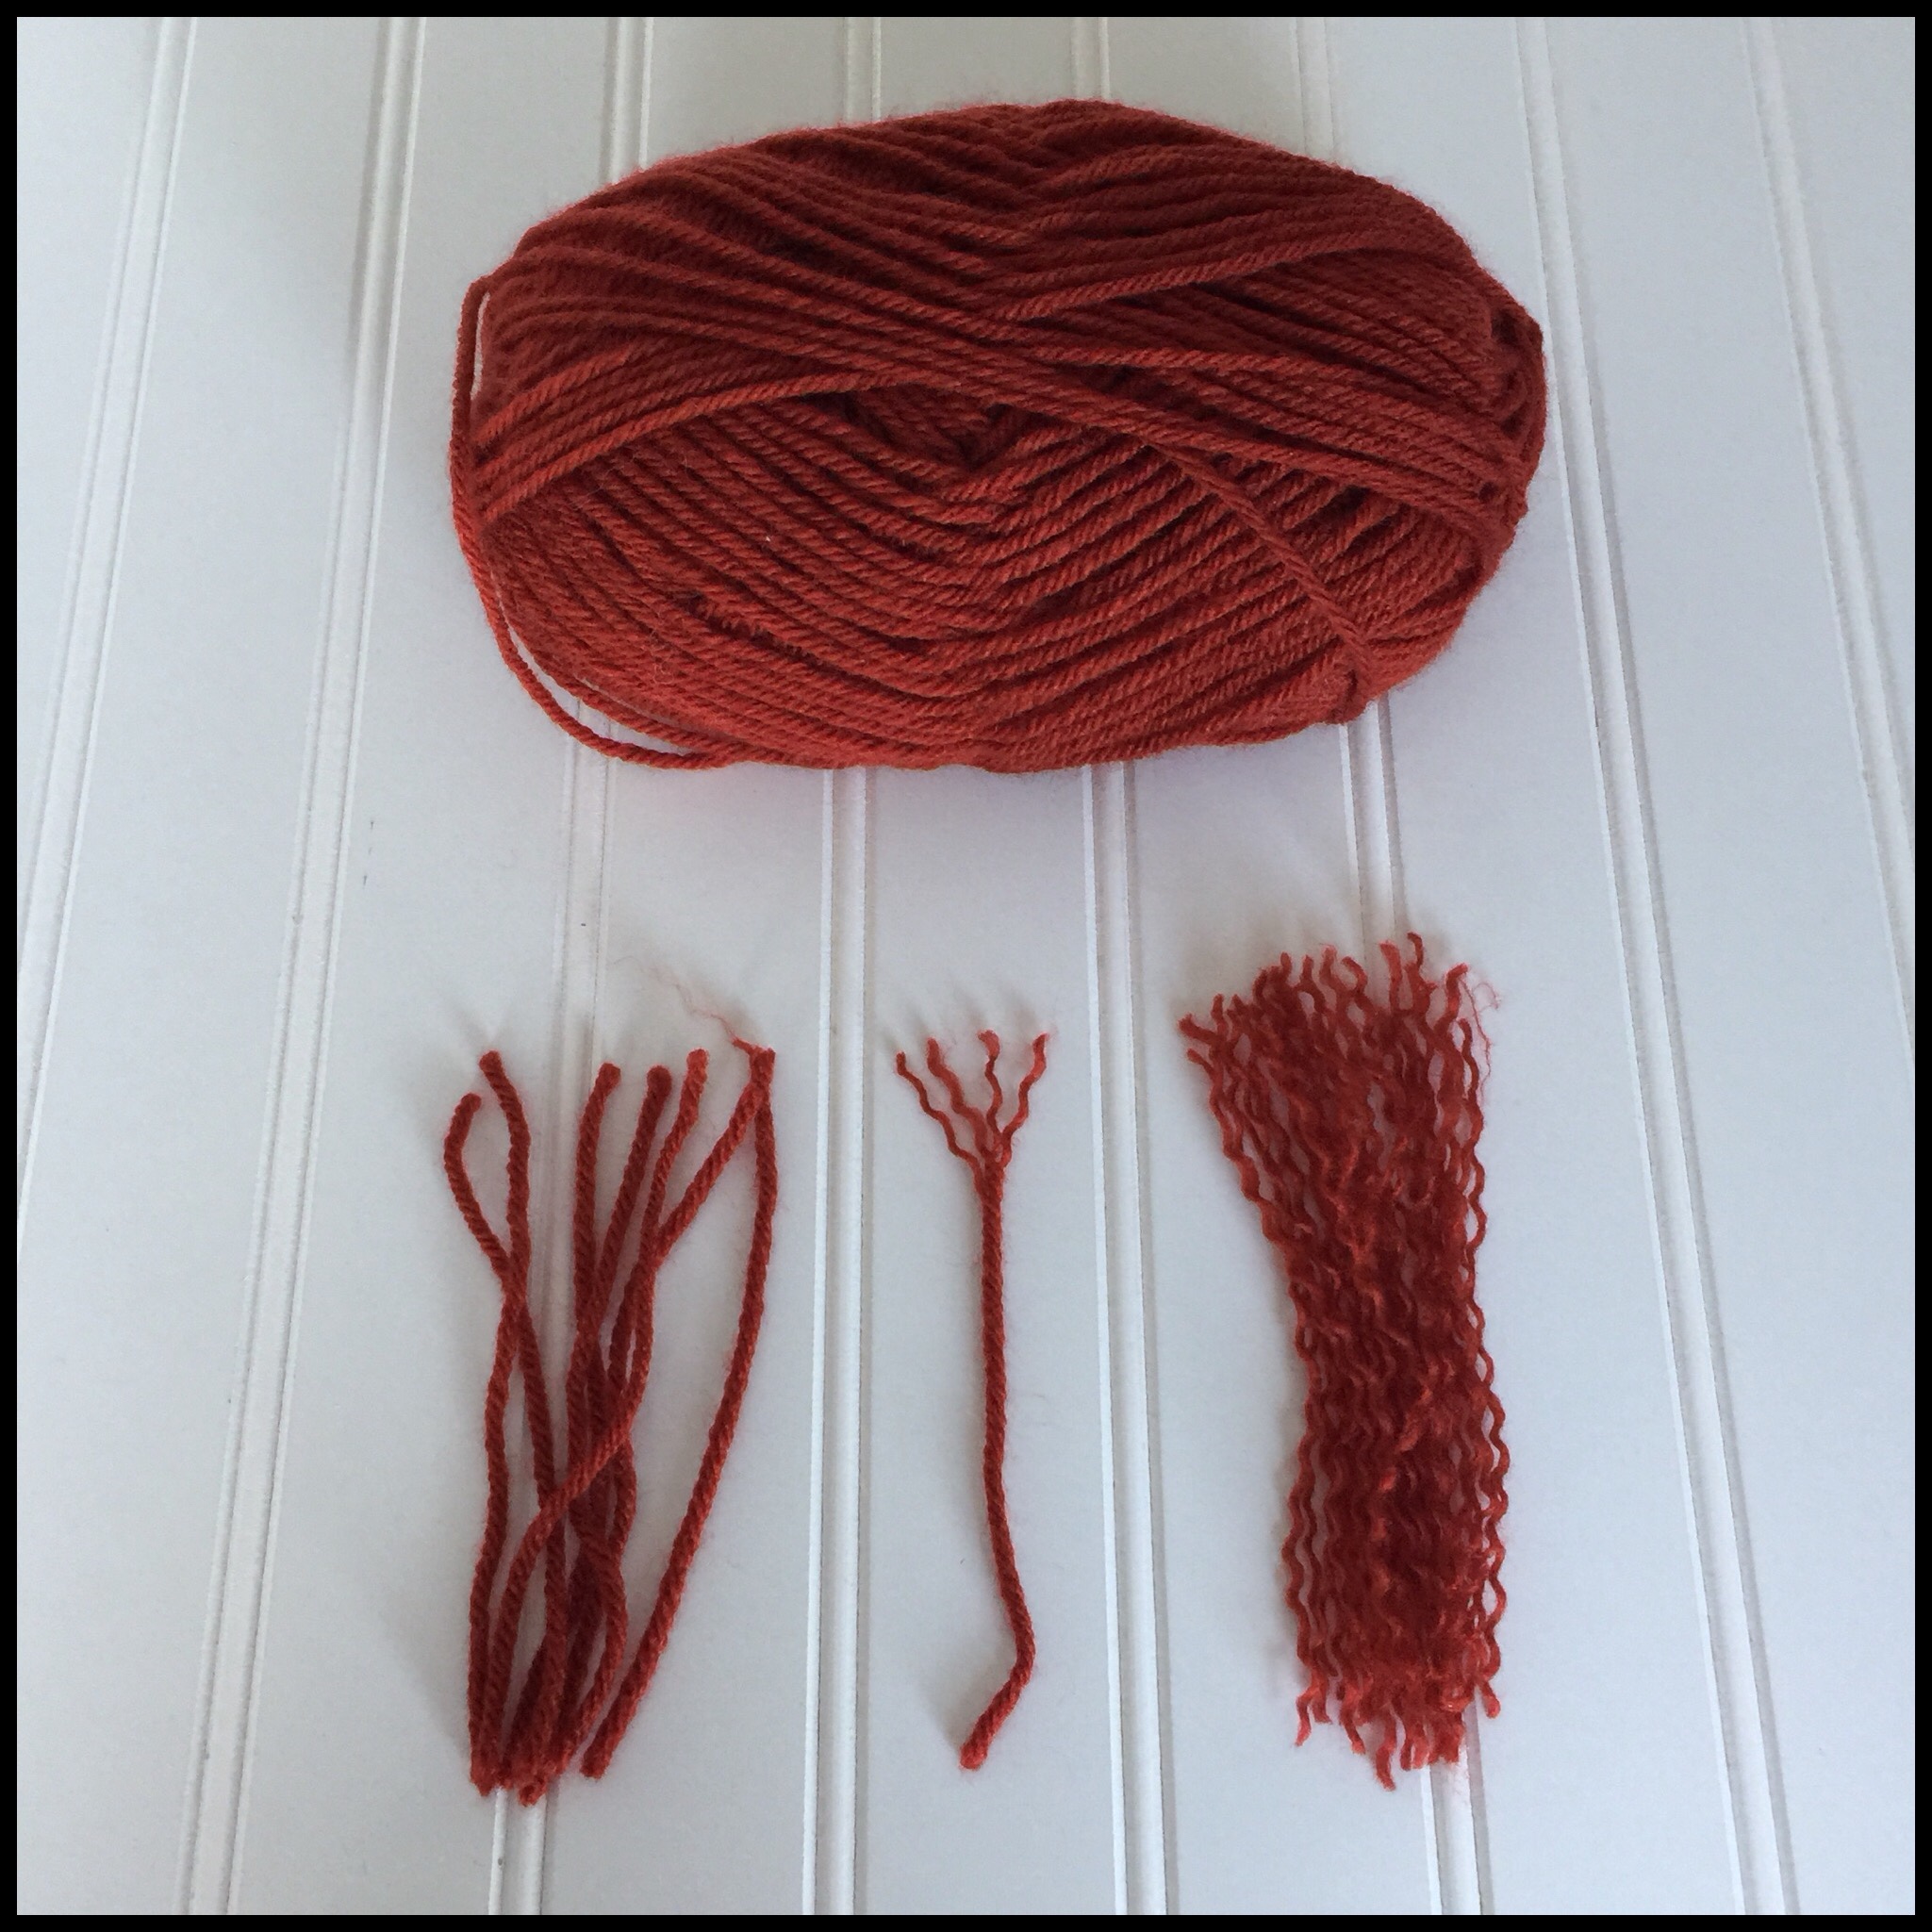
To make Bridget’s hair, my mom cut seven 5 inch pieces of red yarn. She twisted each piece to unravel the strands so she had 28 thin strands total:
She turned the doll over and put some glue on the back of the doll’s head. Then, she folded eight strands of the yarn in half and glued them on:
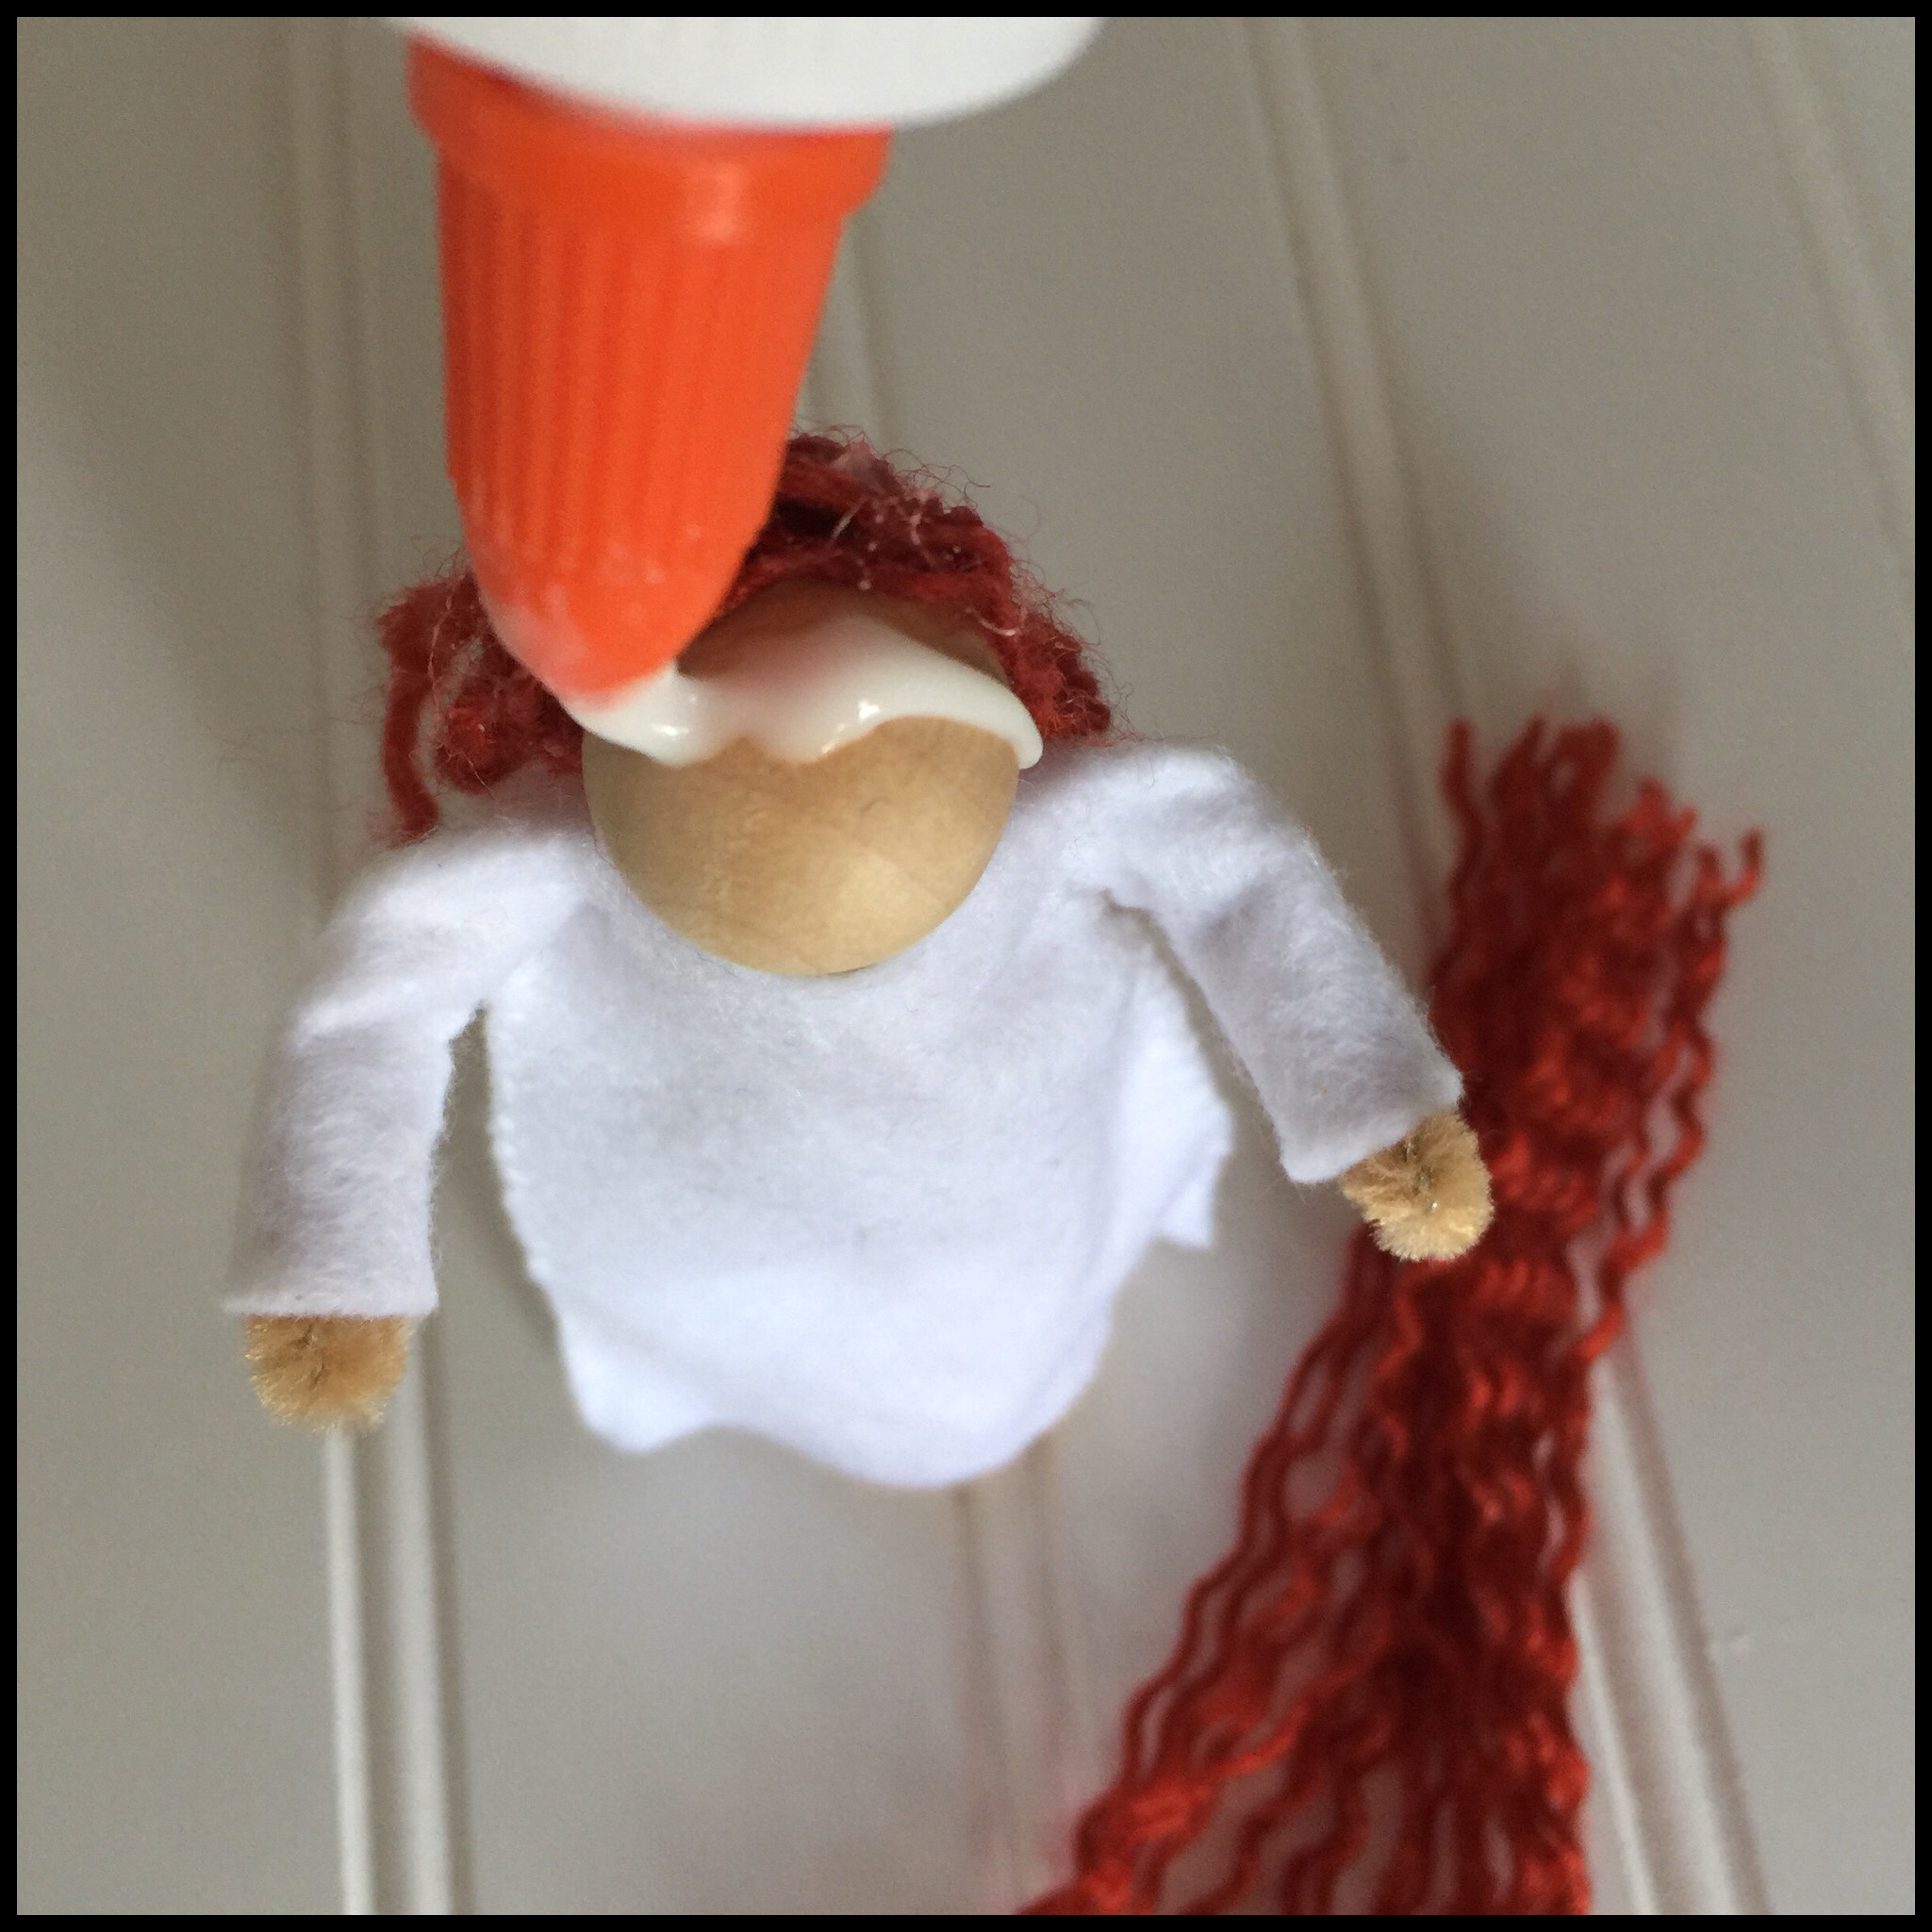
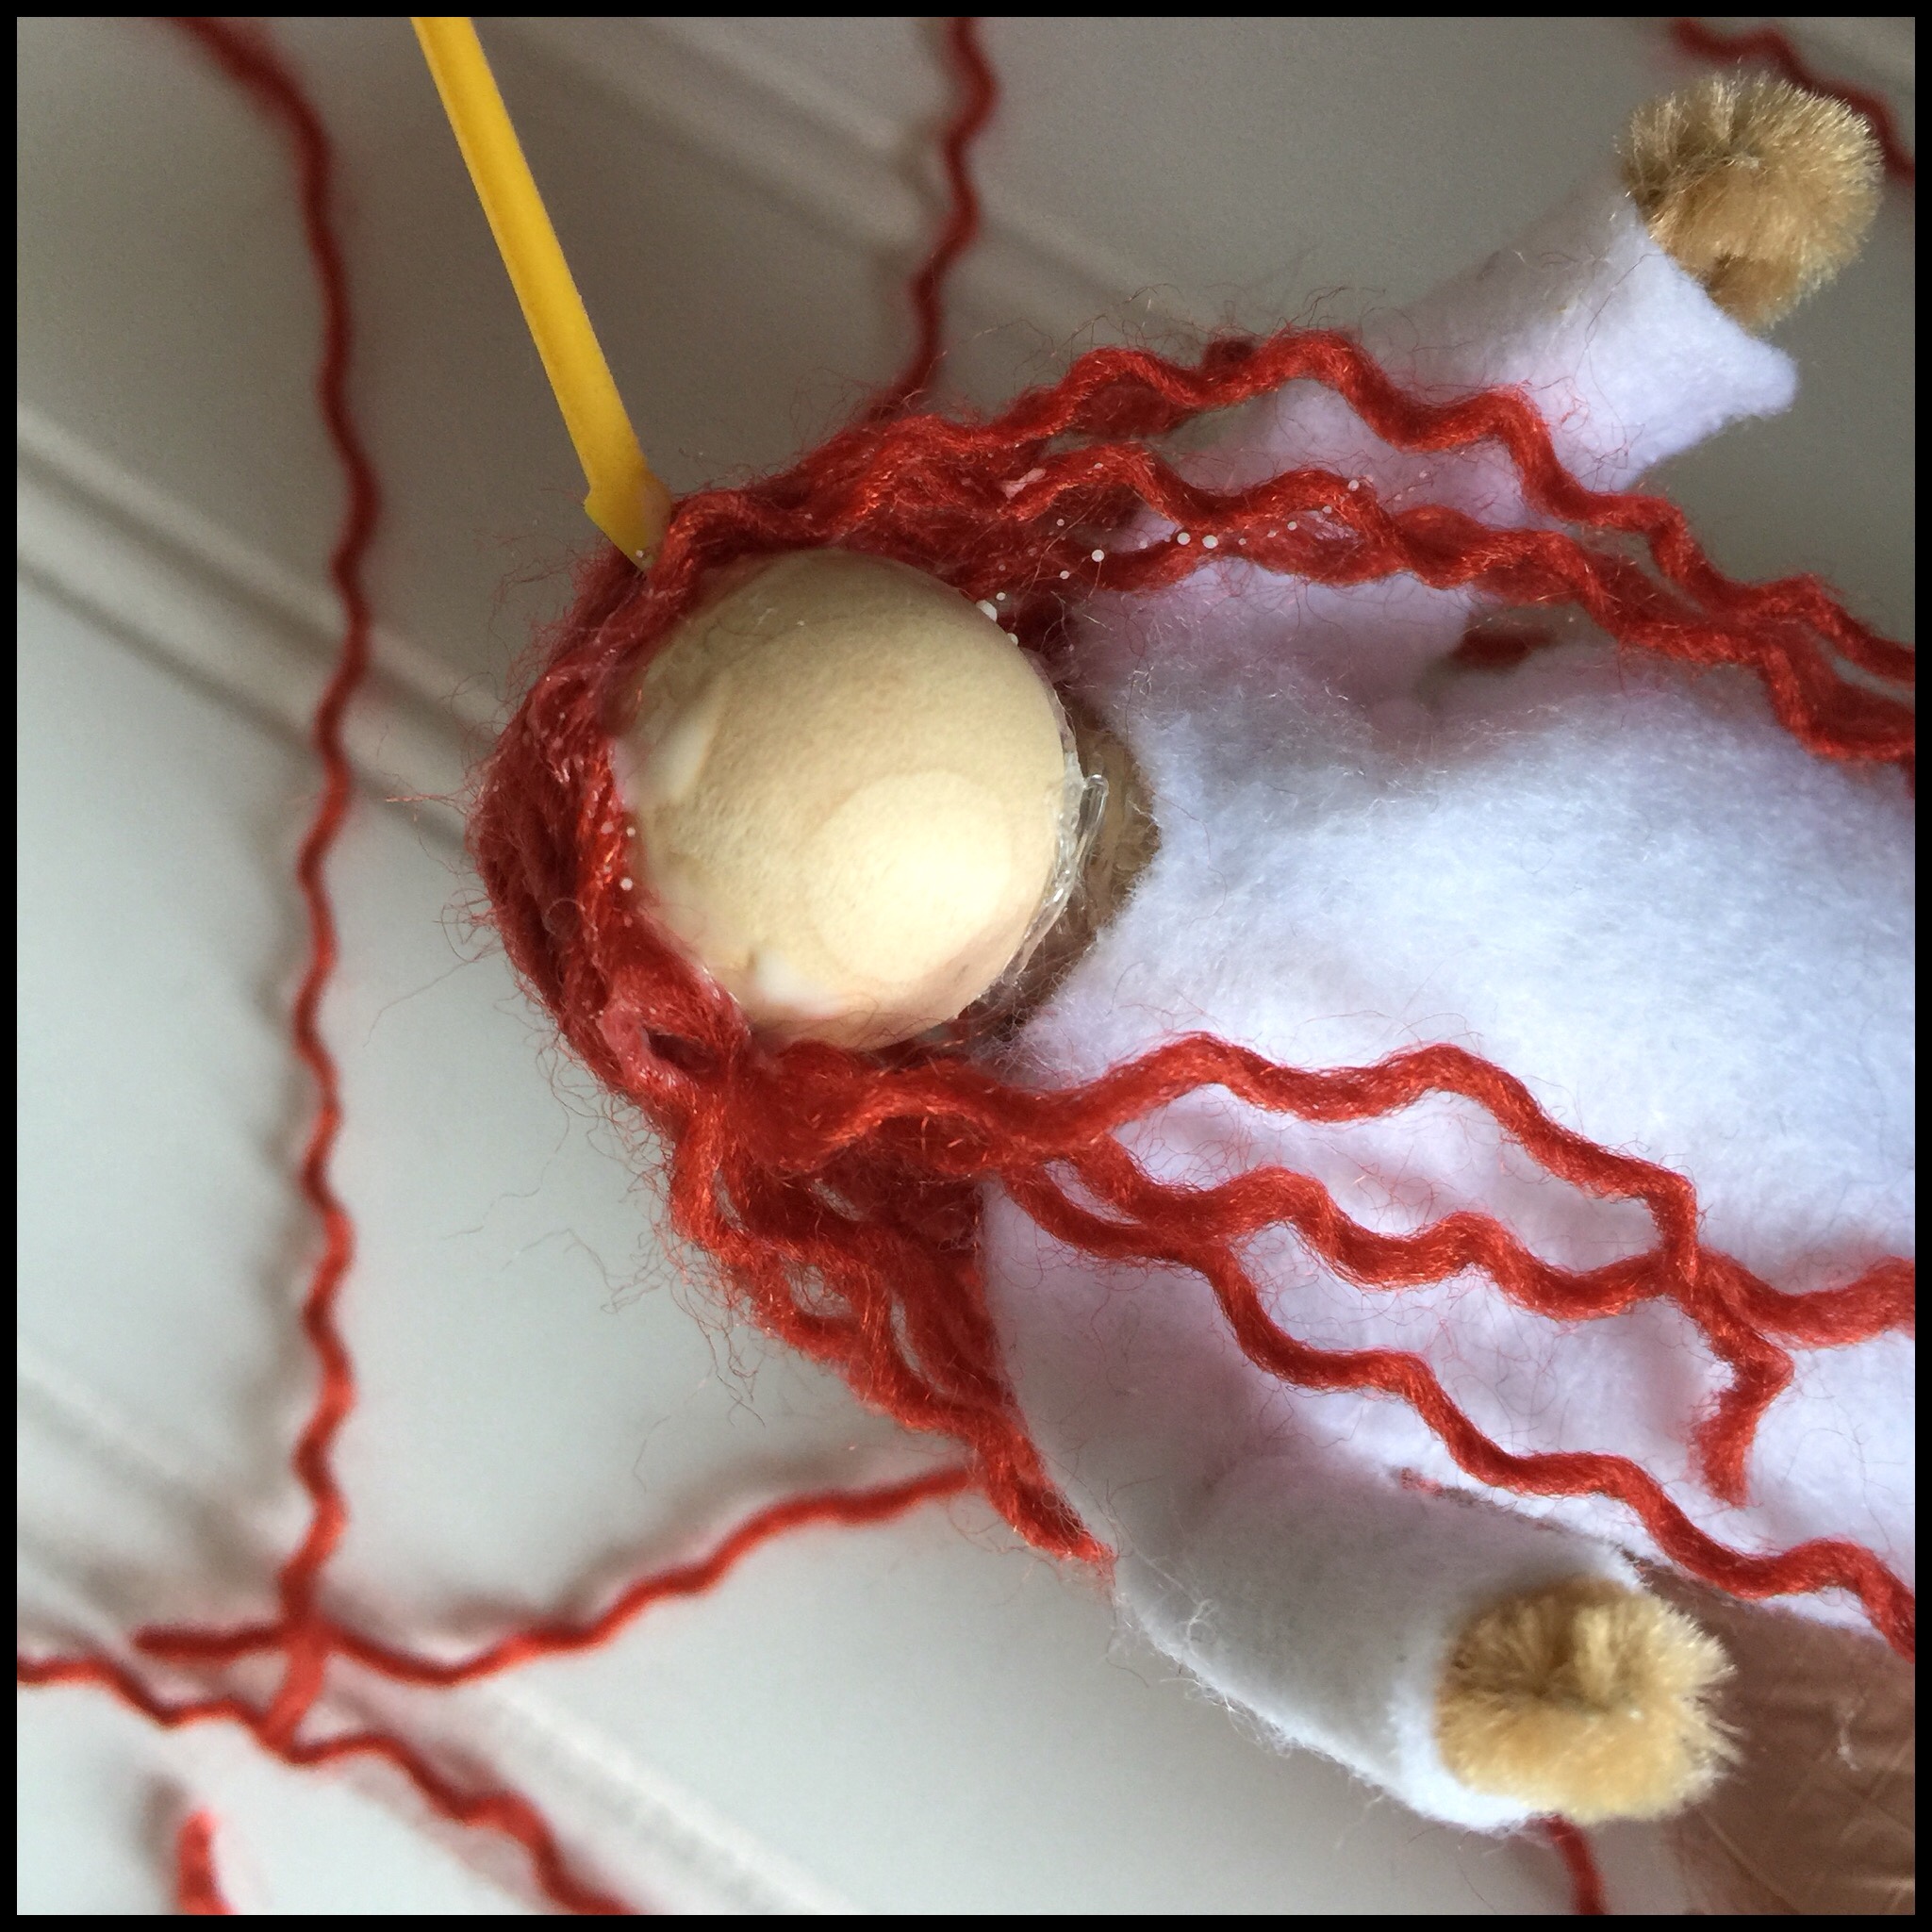
Then my mom turned the doll back around and added glue to the front of the doll’s head. She glued on one strand at a time until the hair looked full enough. It works well to use a large plastic toothpick to push the strands into place:

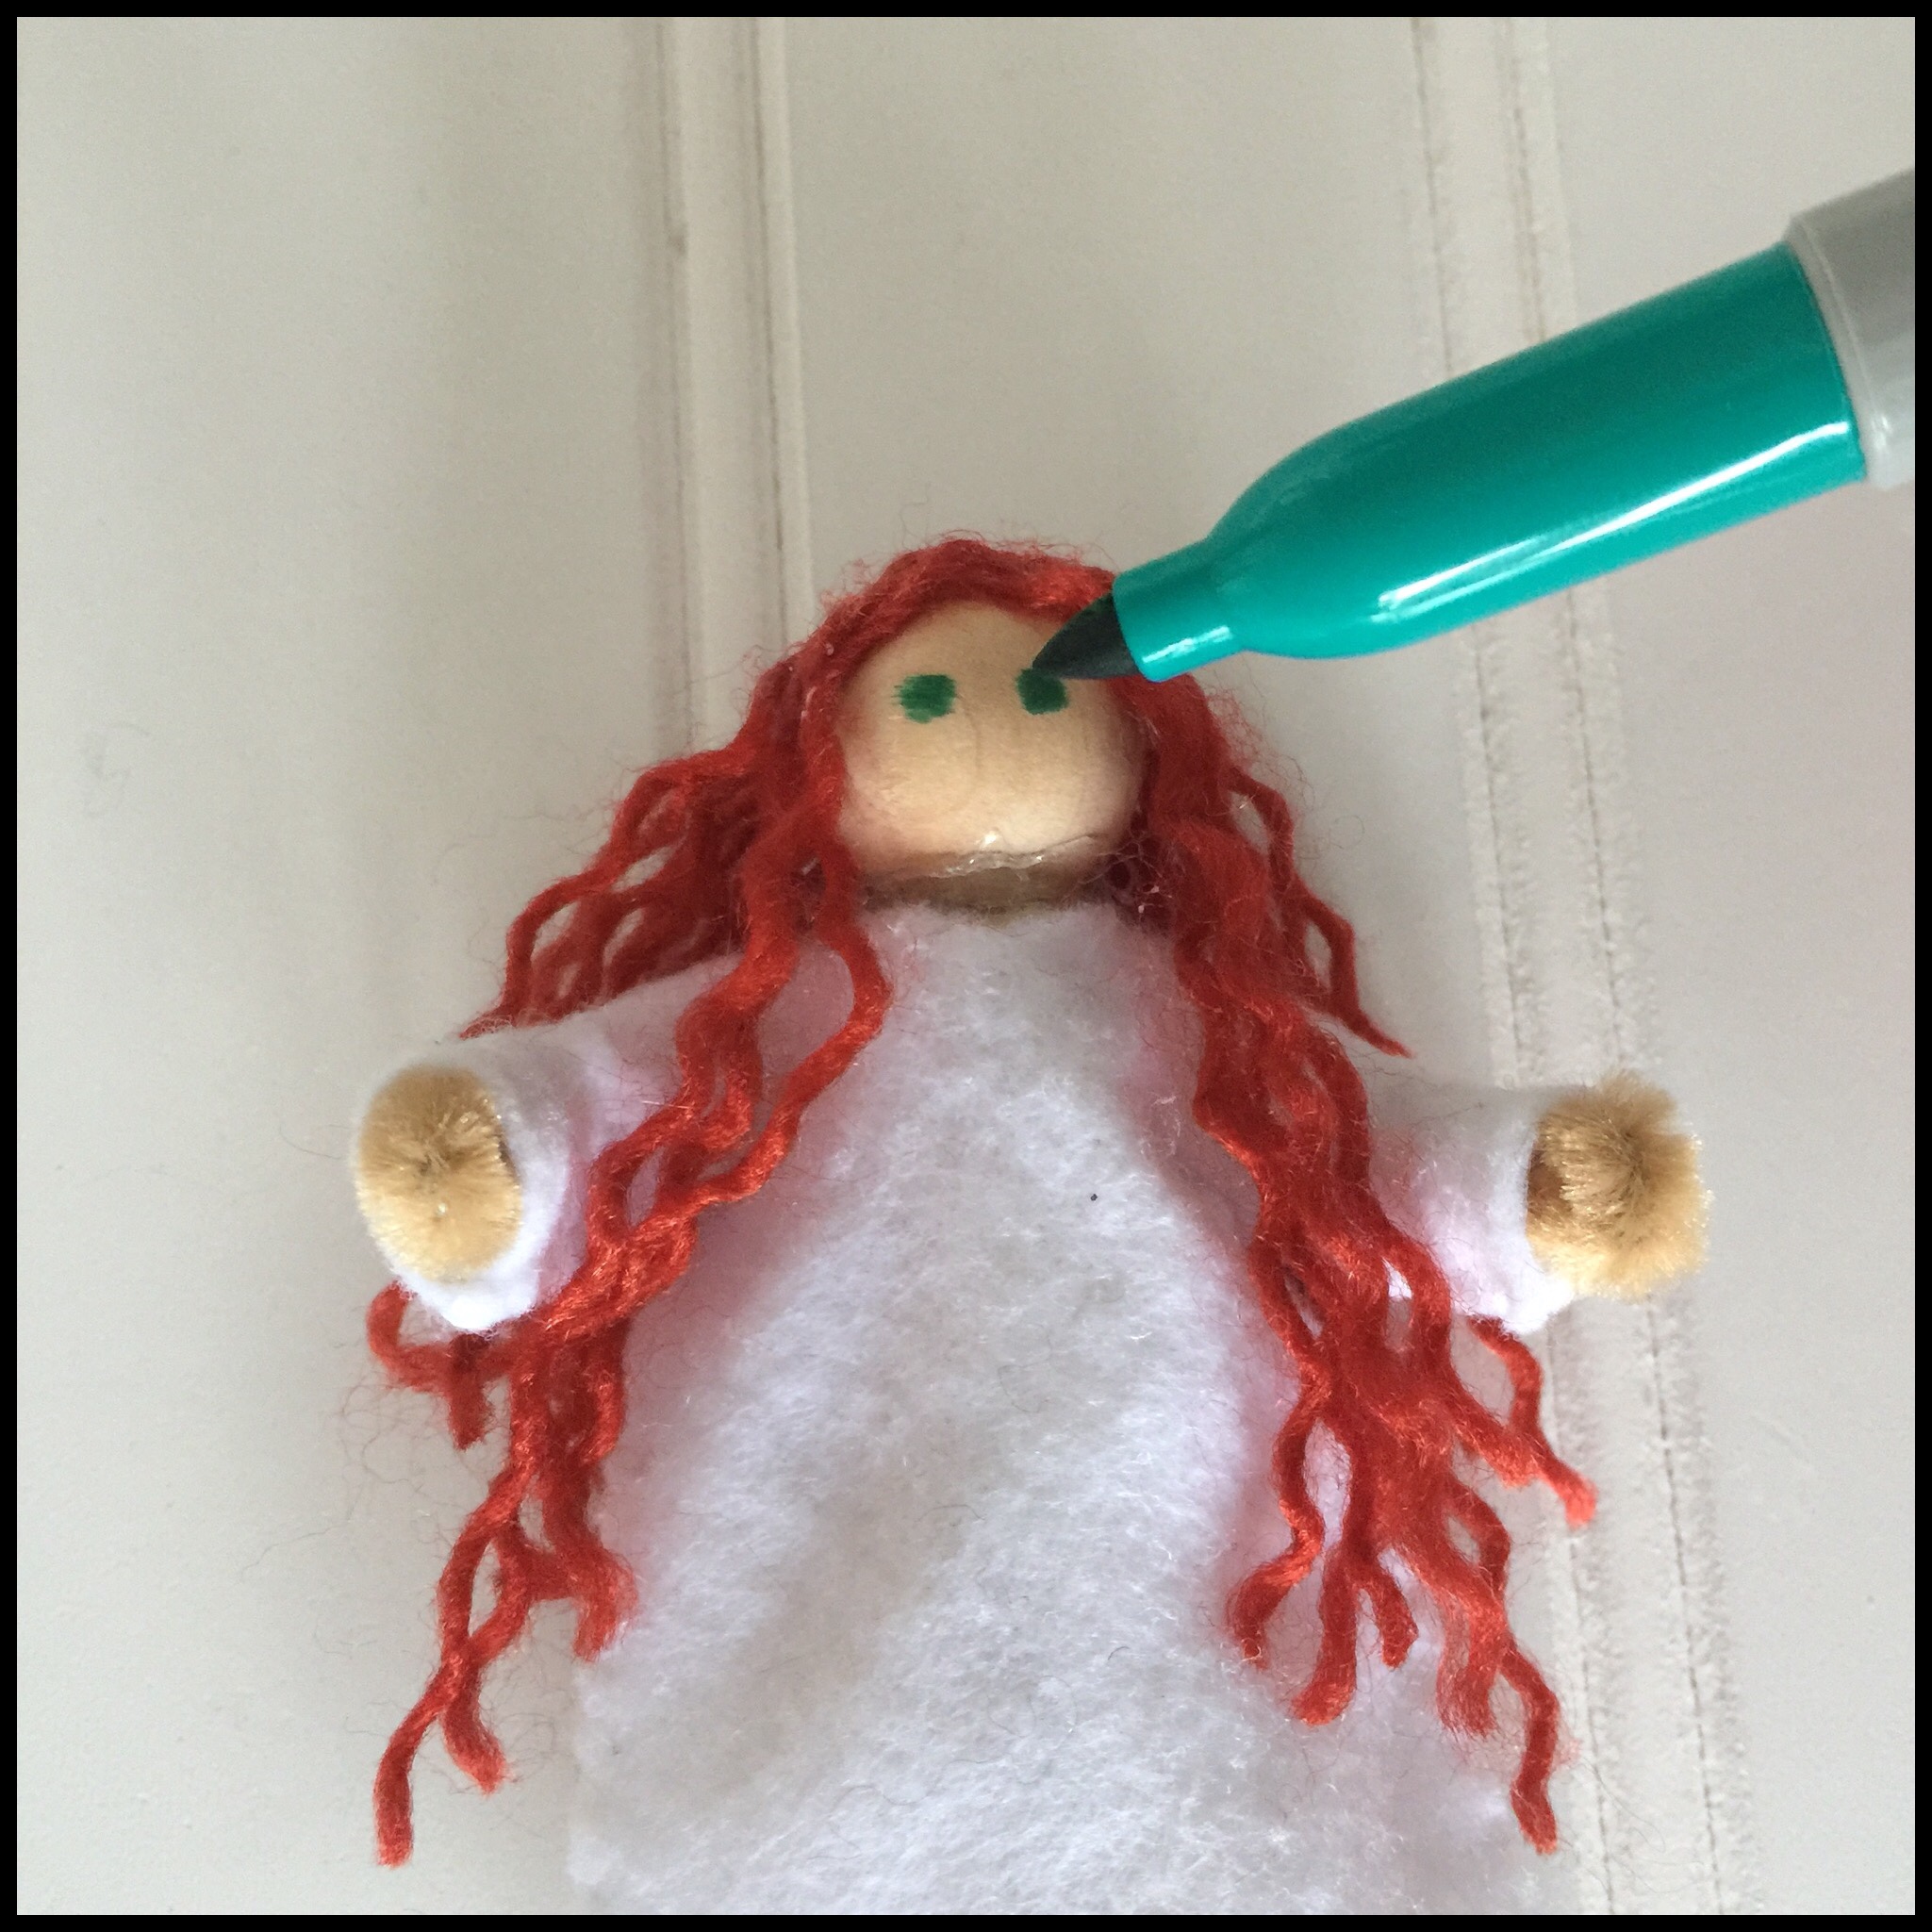
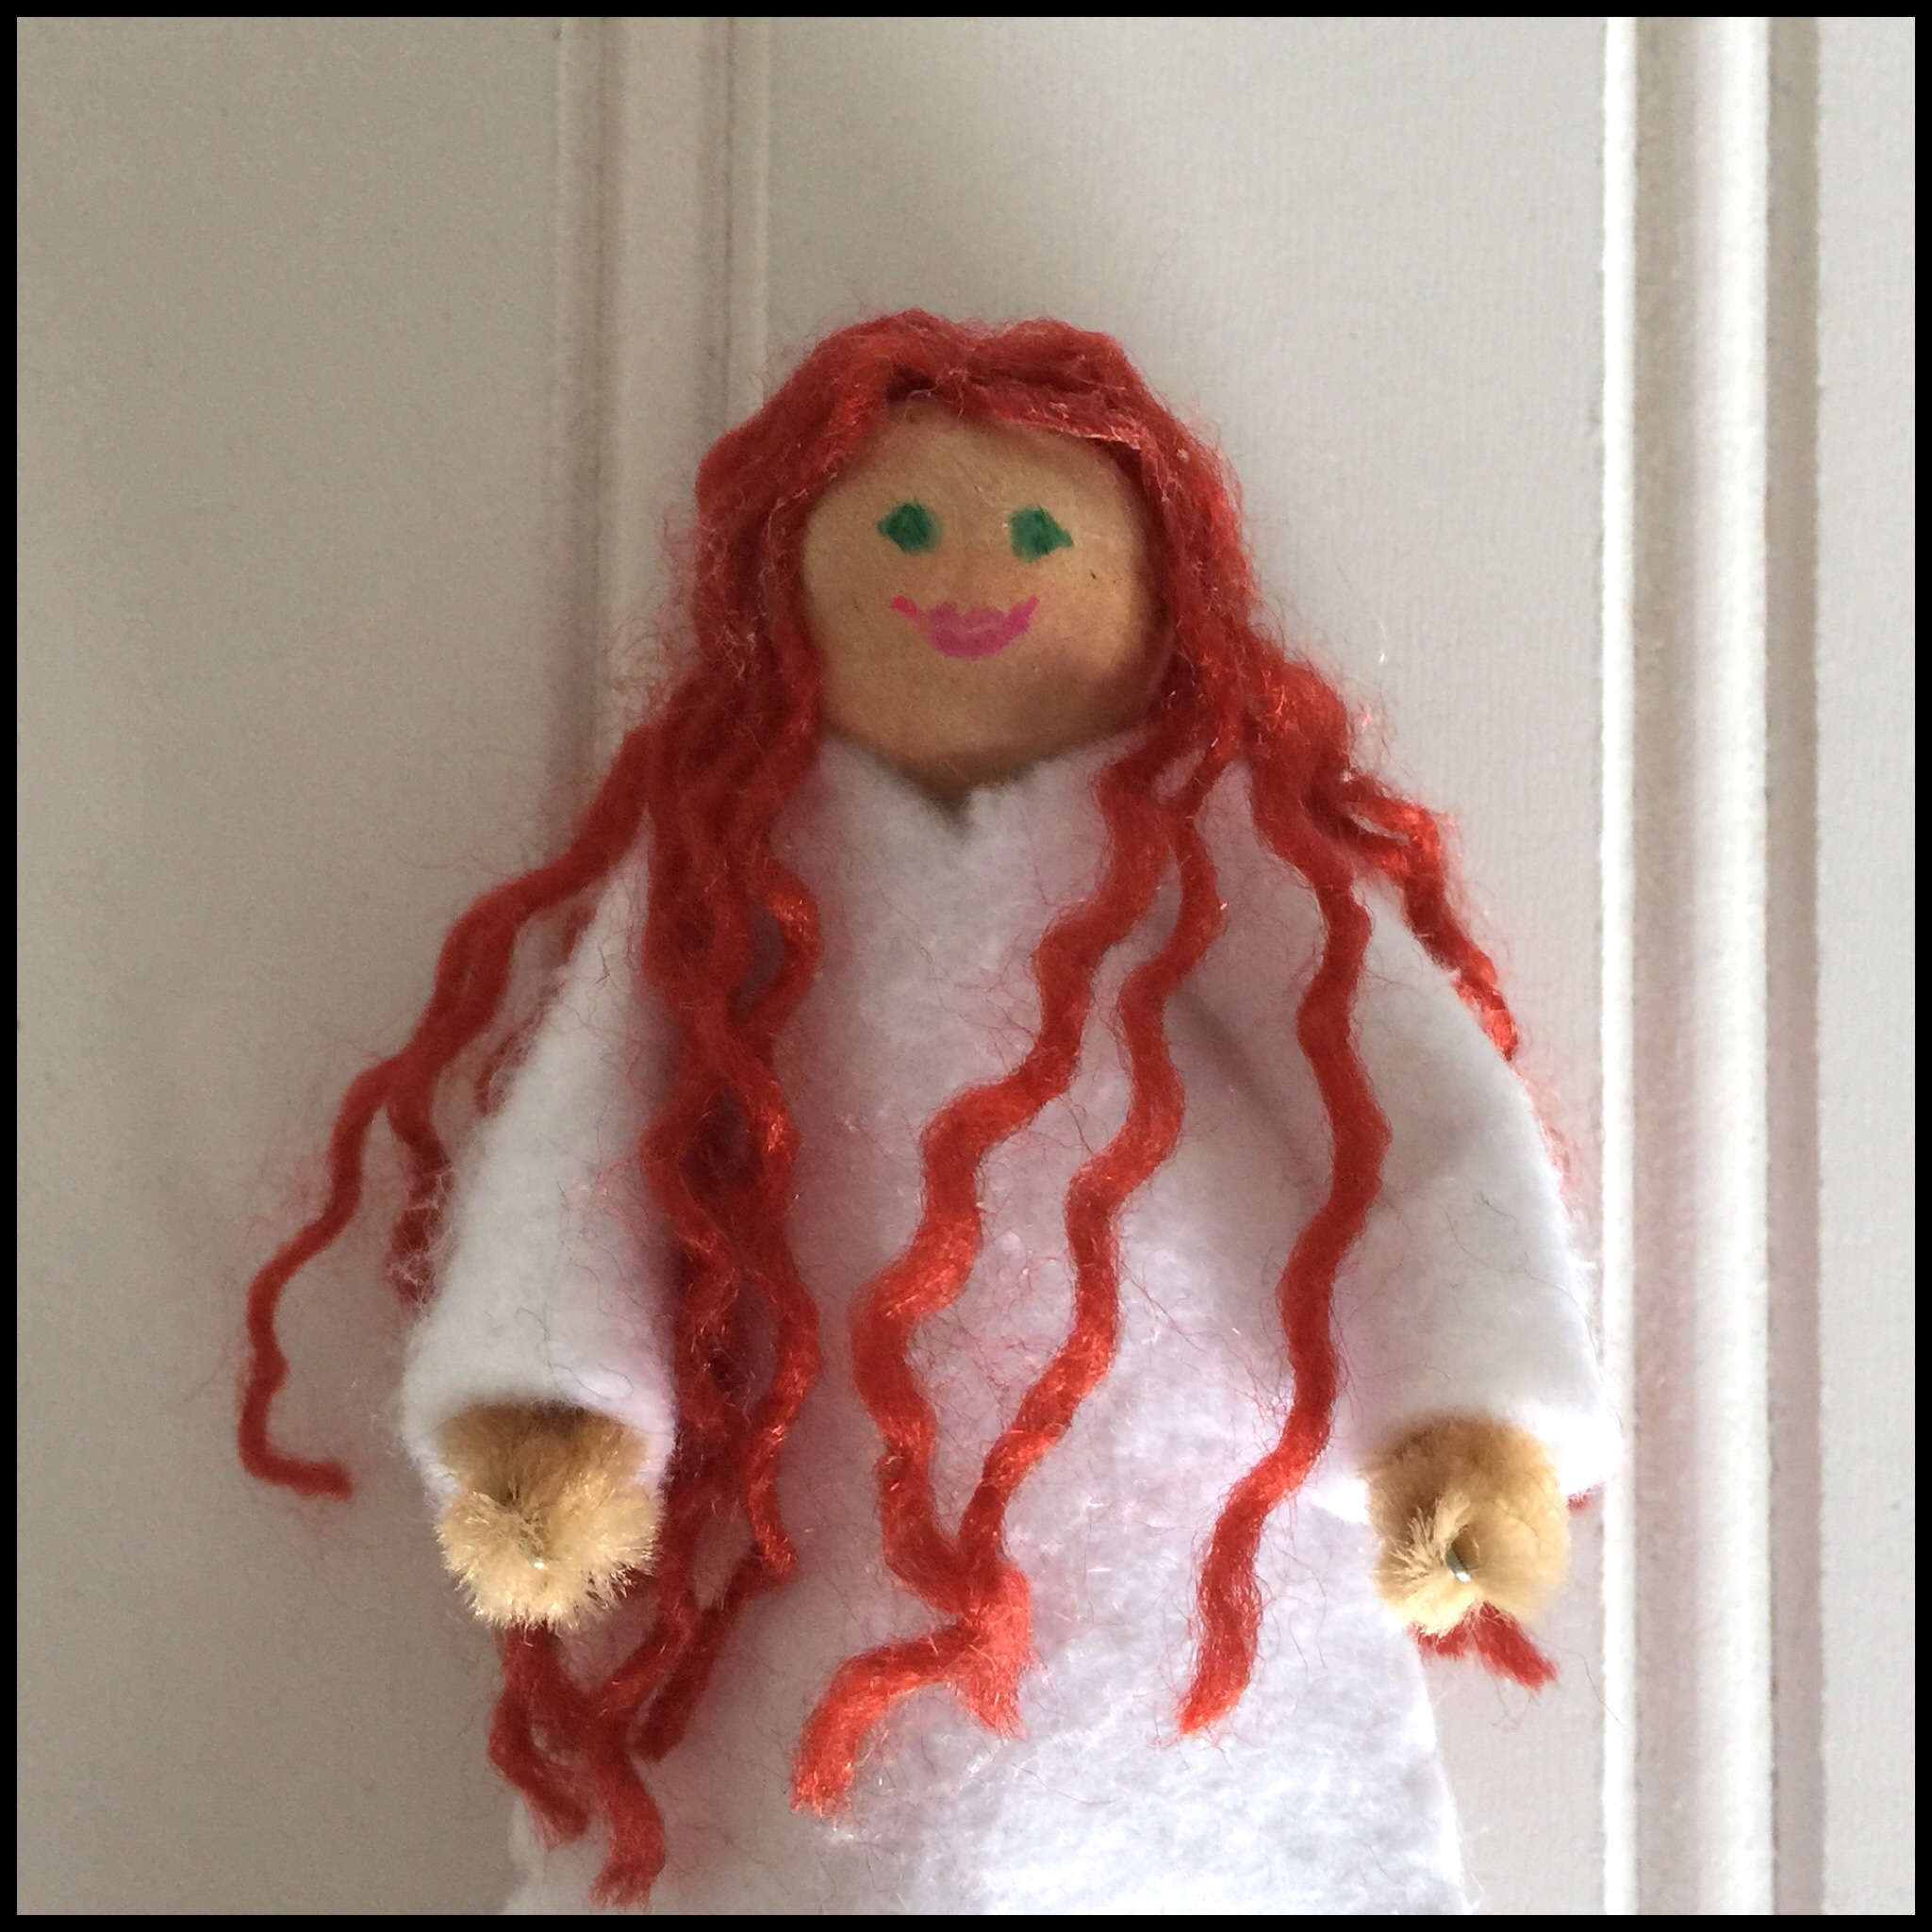
She finished the doll by drawing on eyes and a mouth with colored sharpies. (She recommends practicing on paper first!)
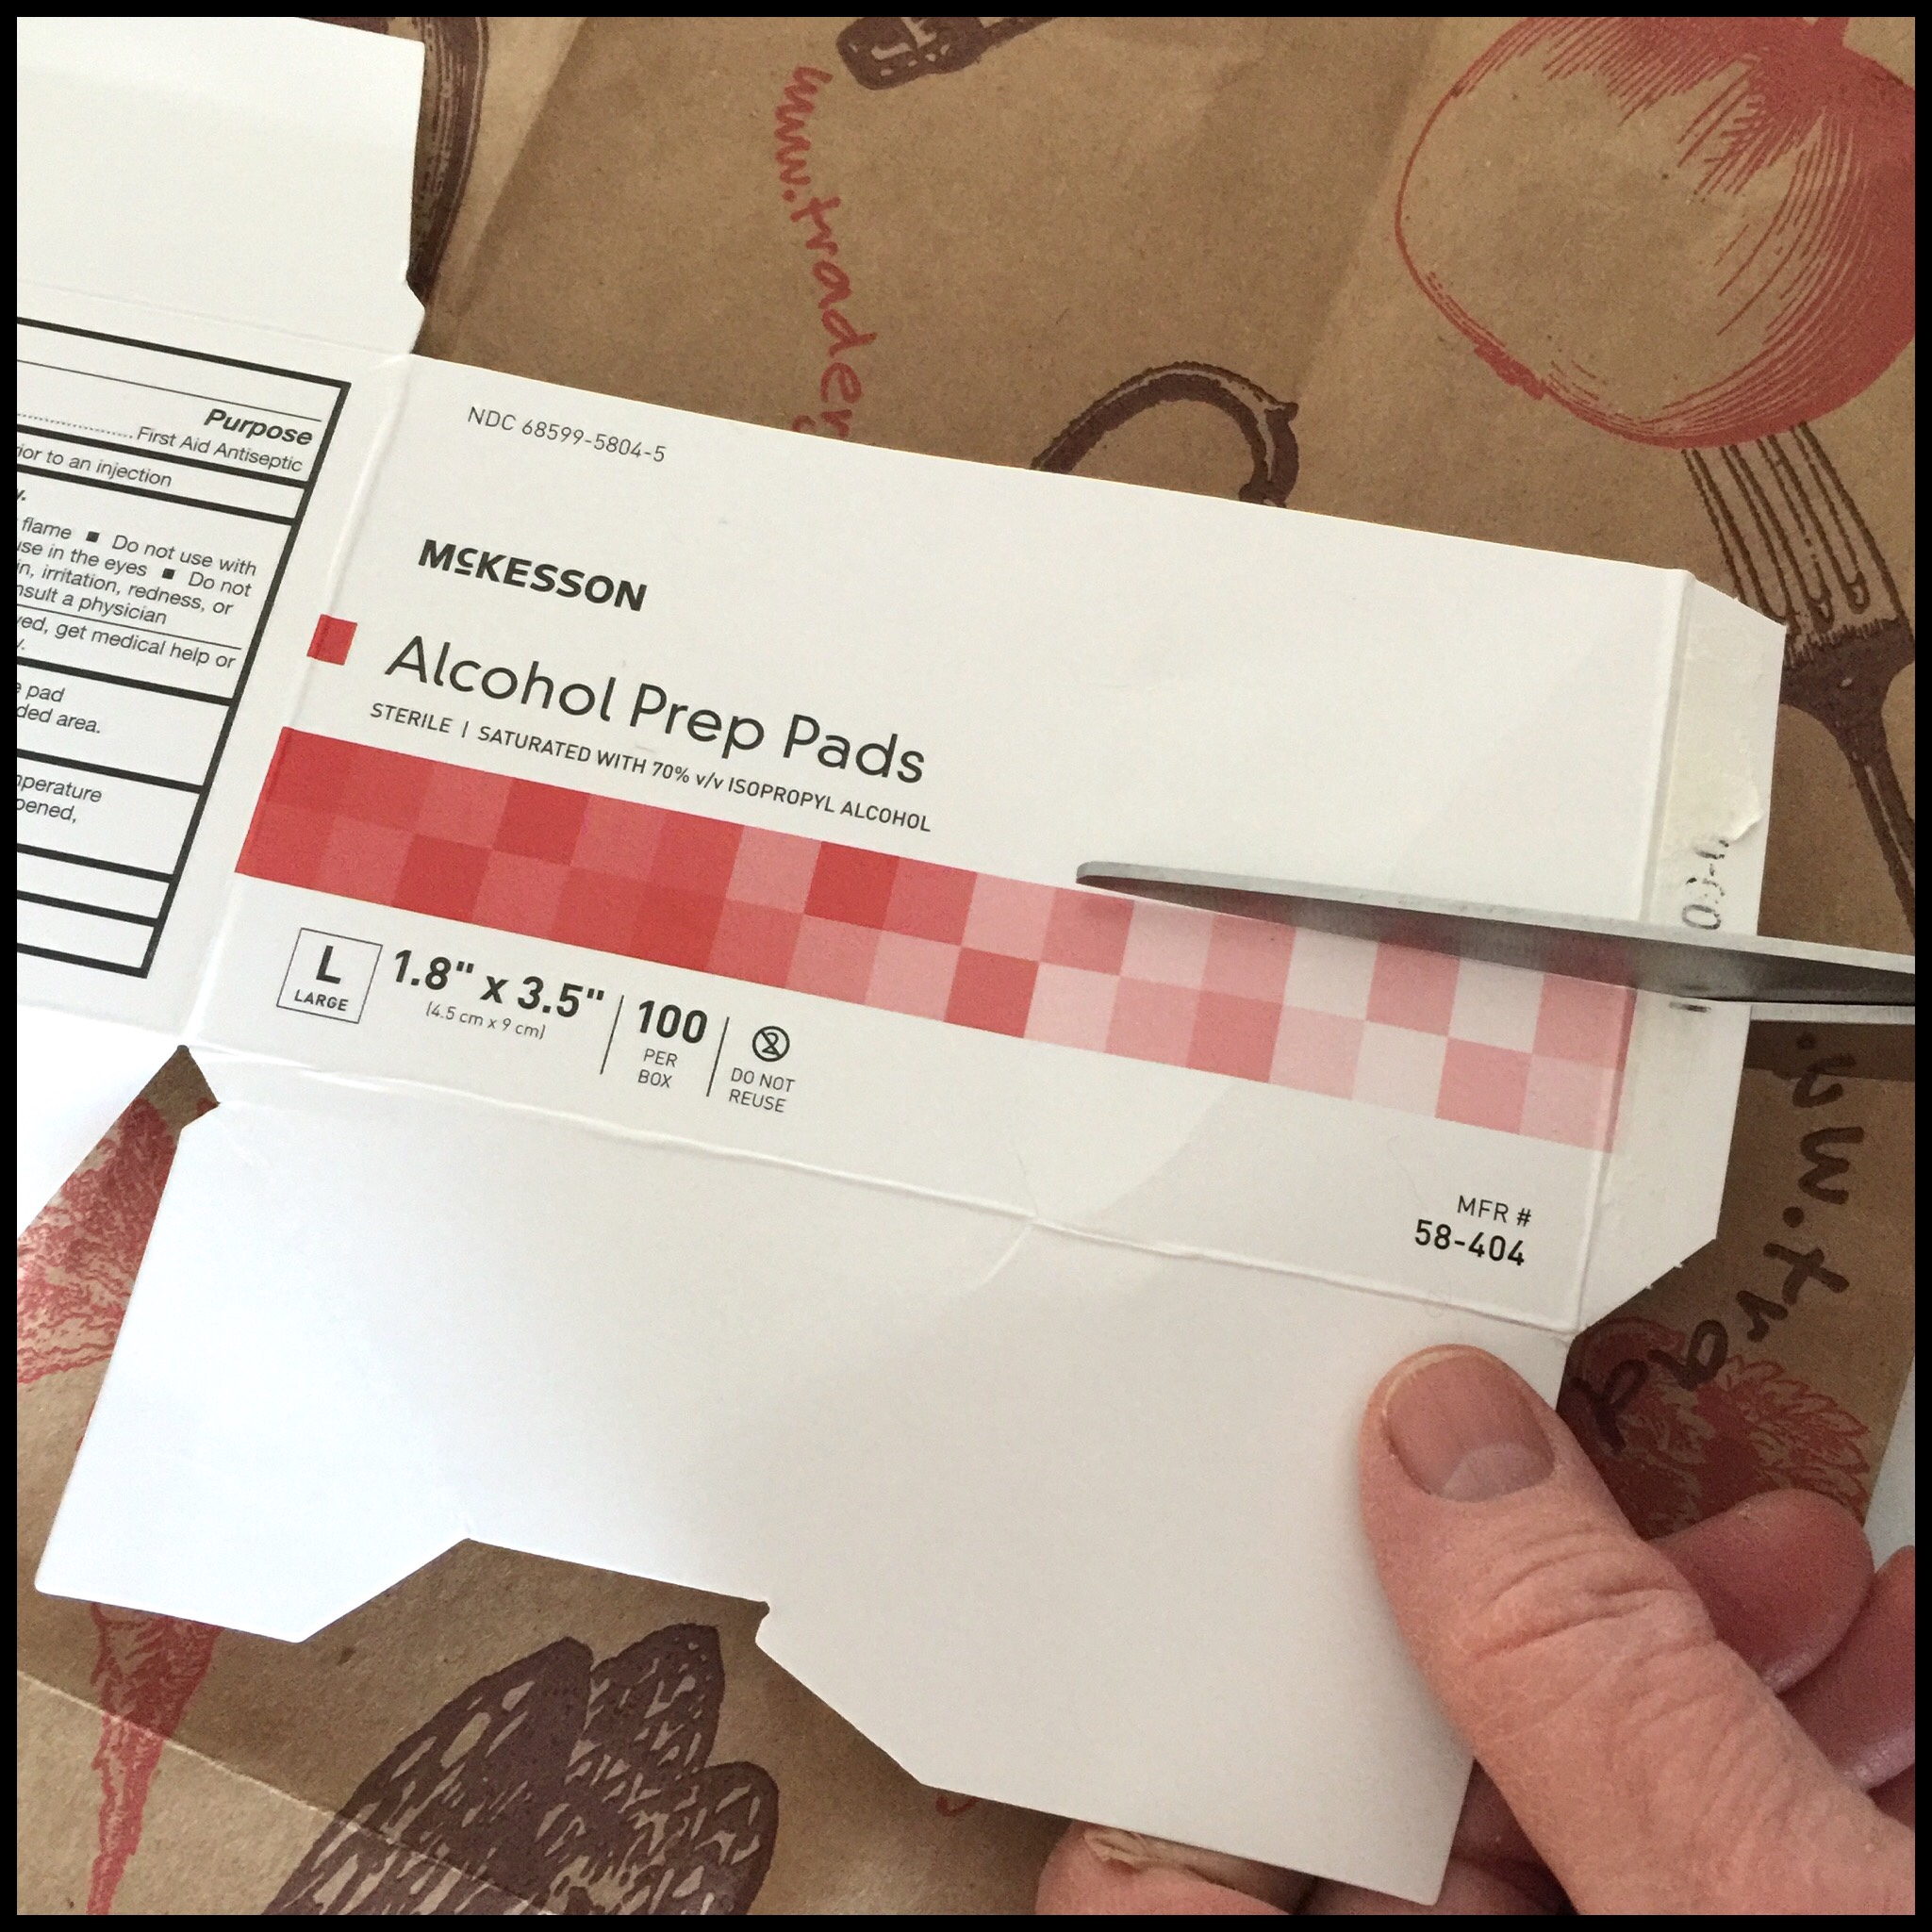
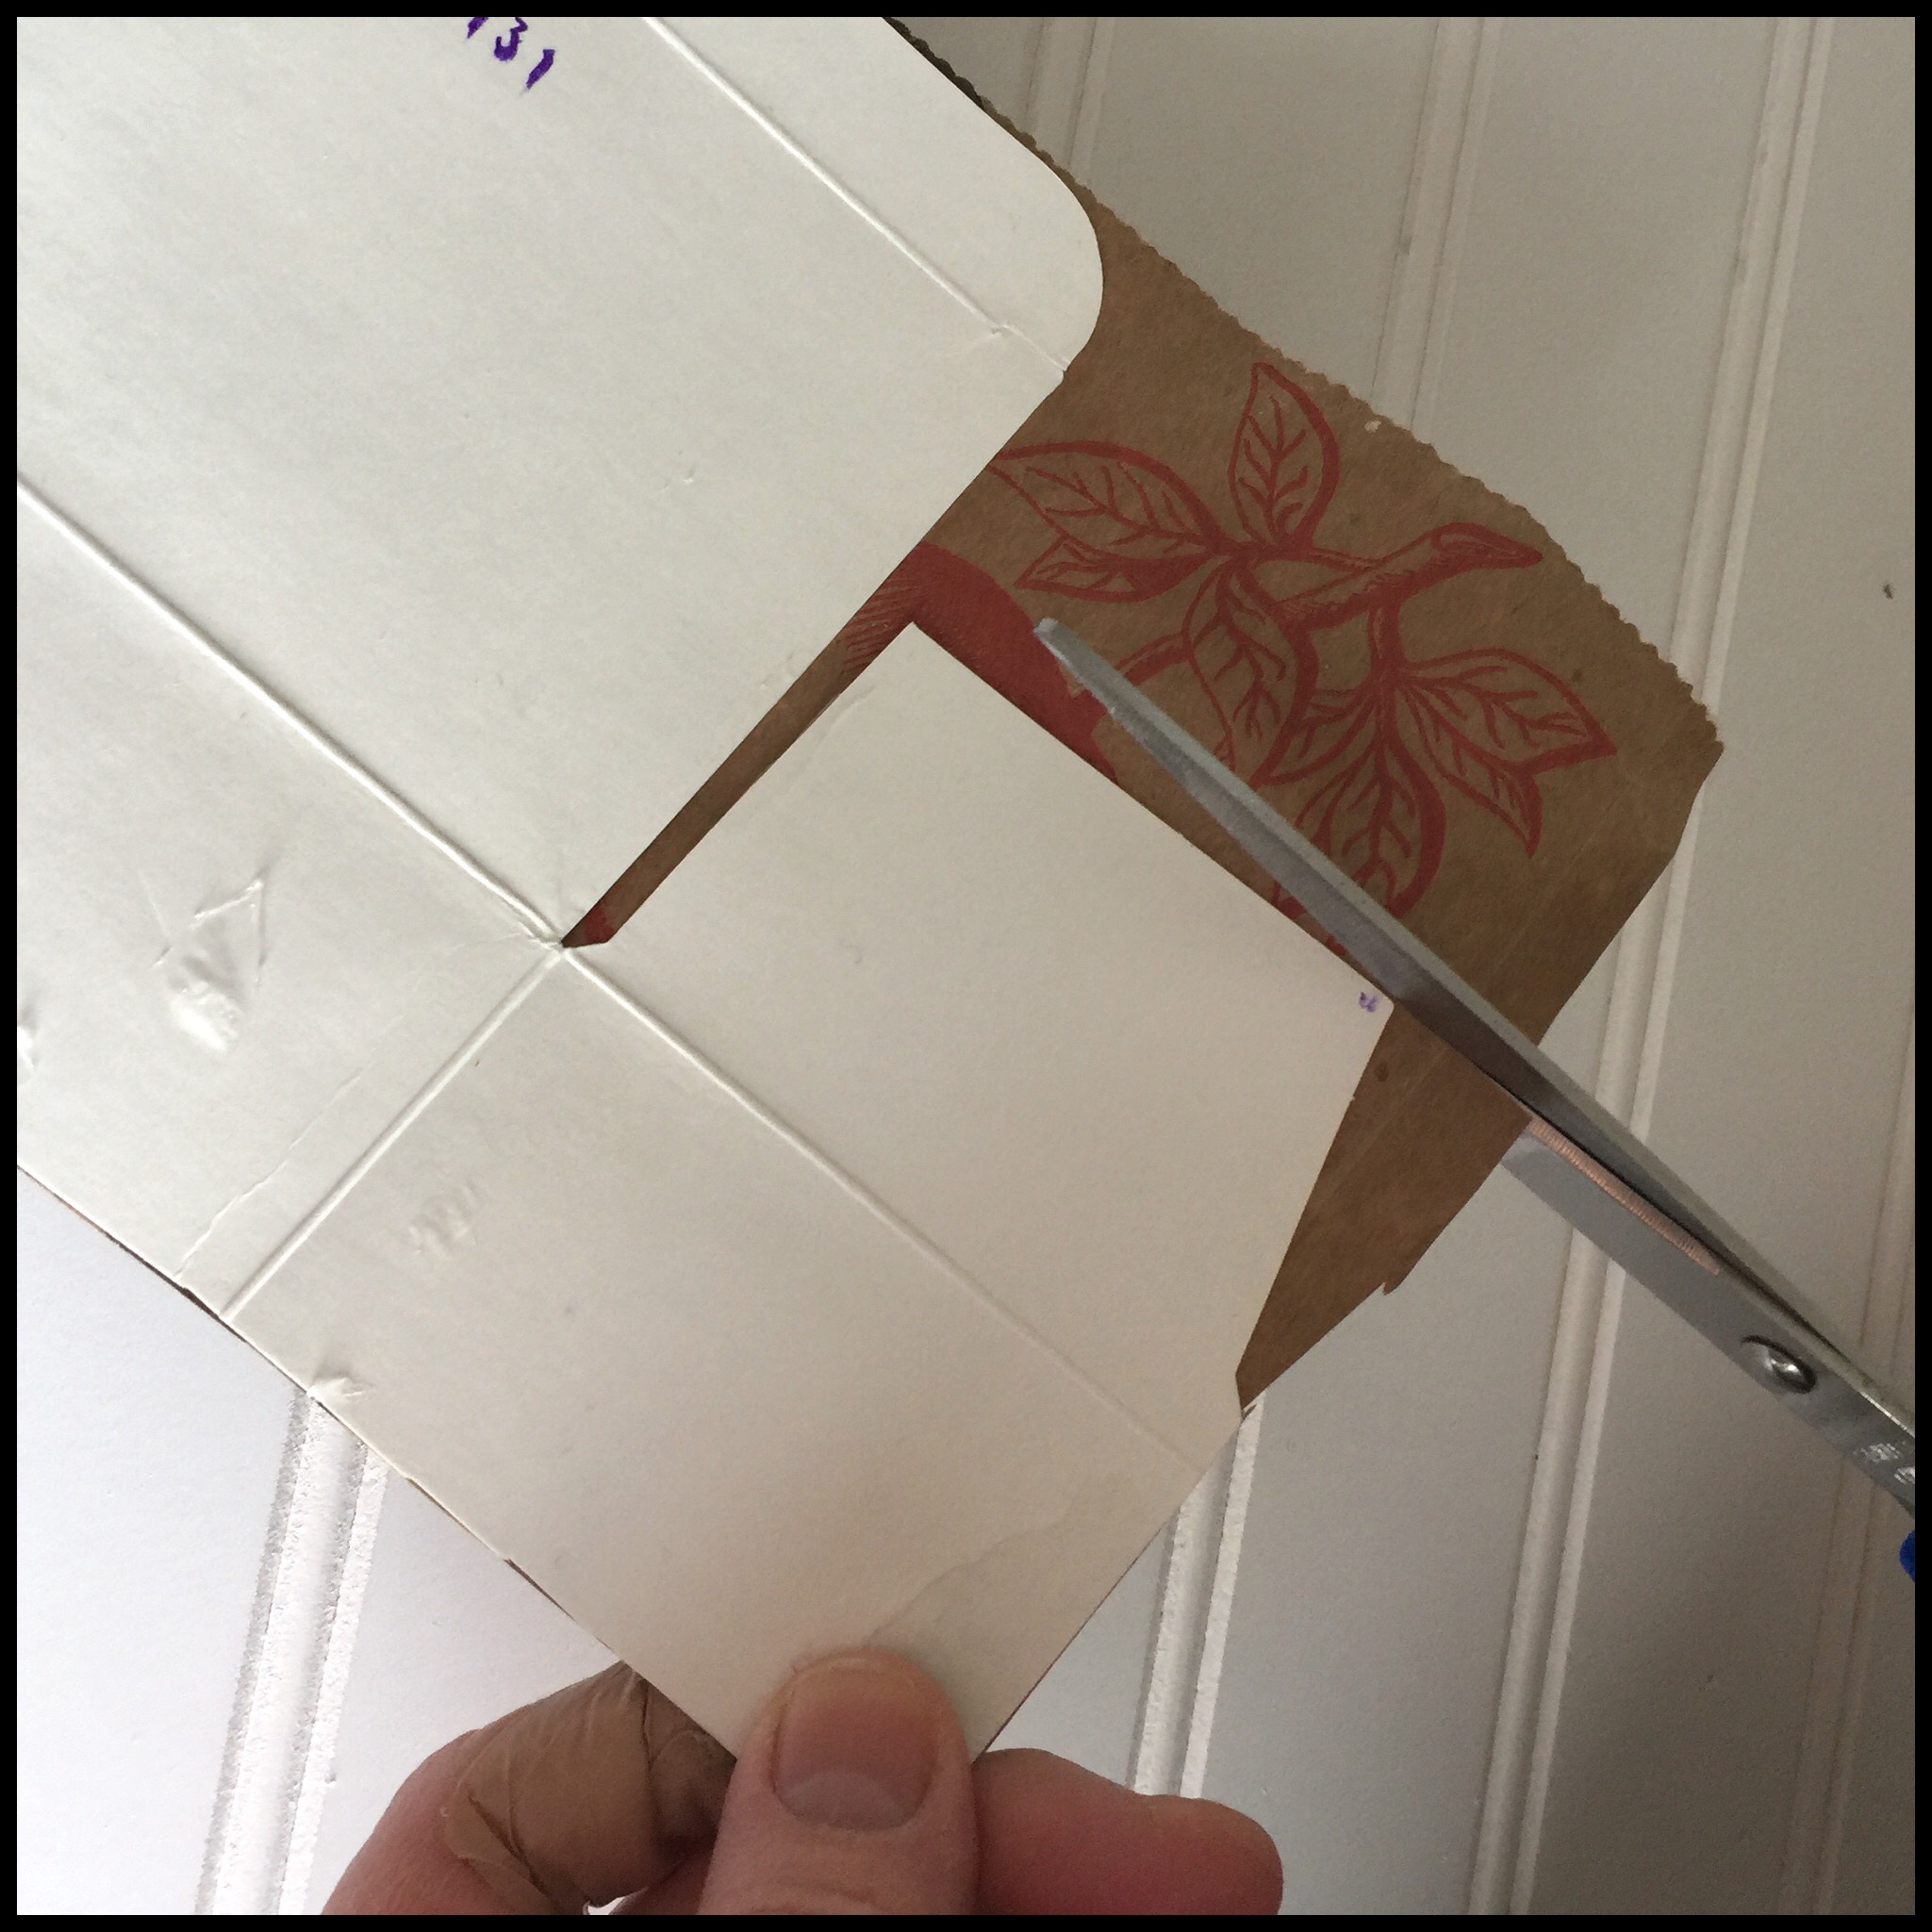
She used a small box to make the bed. This one was 5 x 3 inches and she took the seams apart so it would lay flat. Then she trimmed off the bottom to make the bed 1 3/4 inches tall.
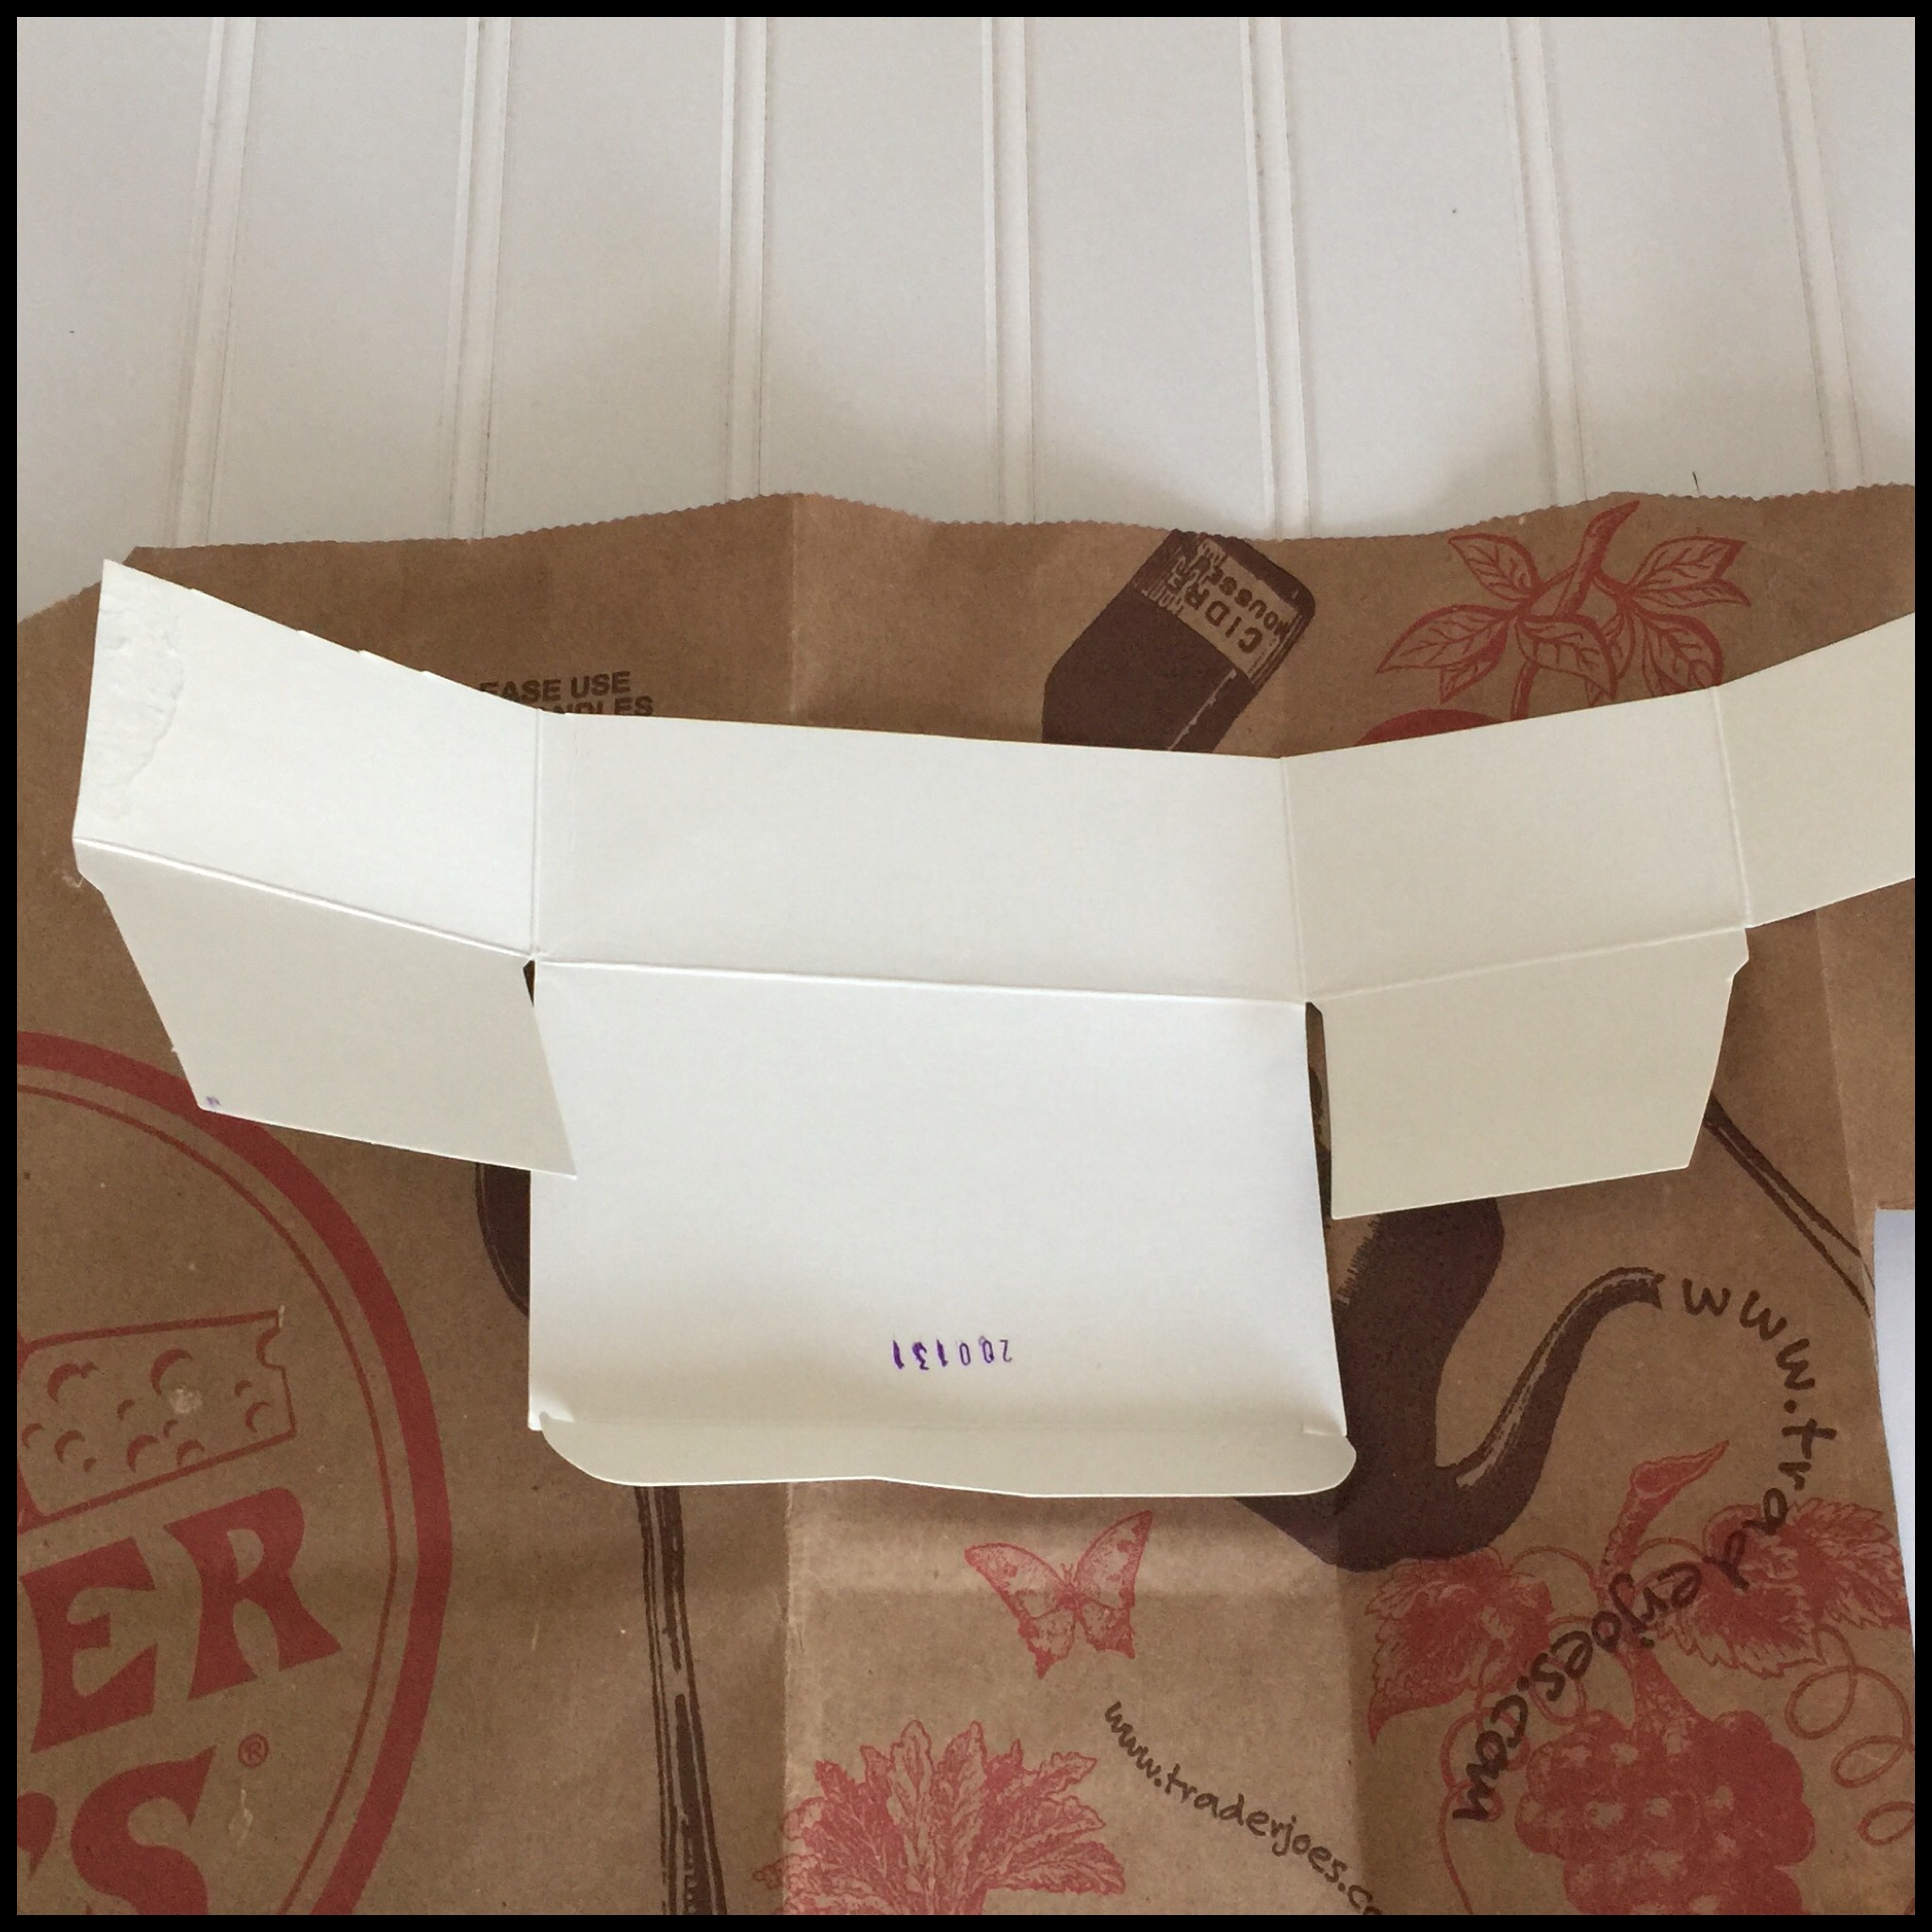
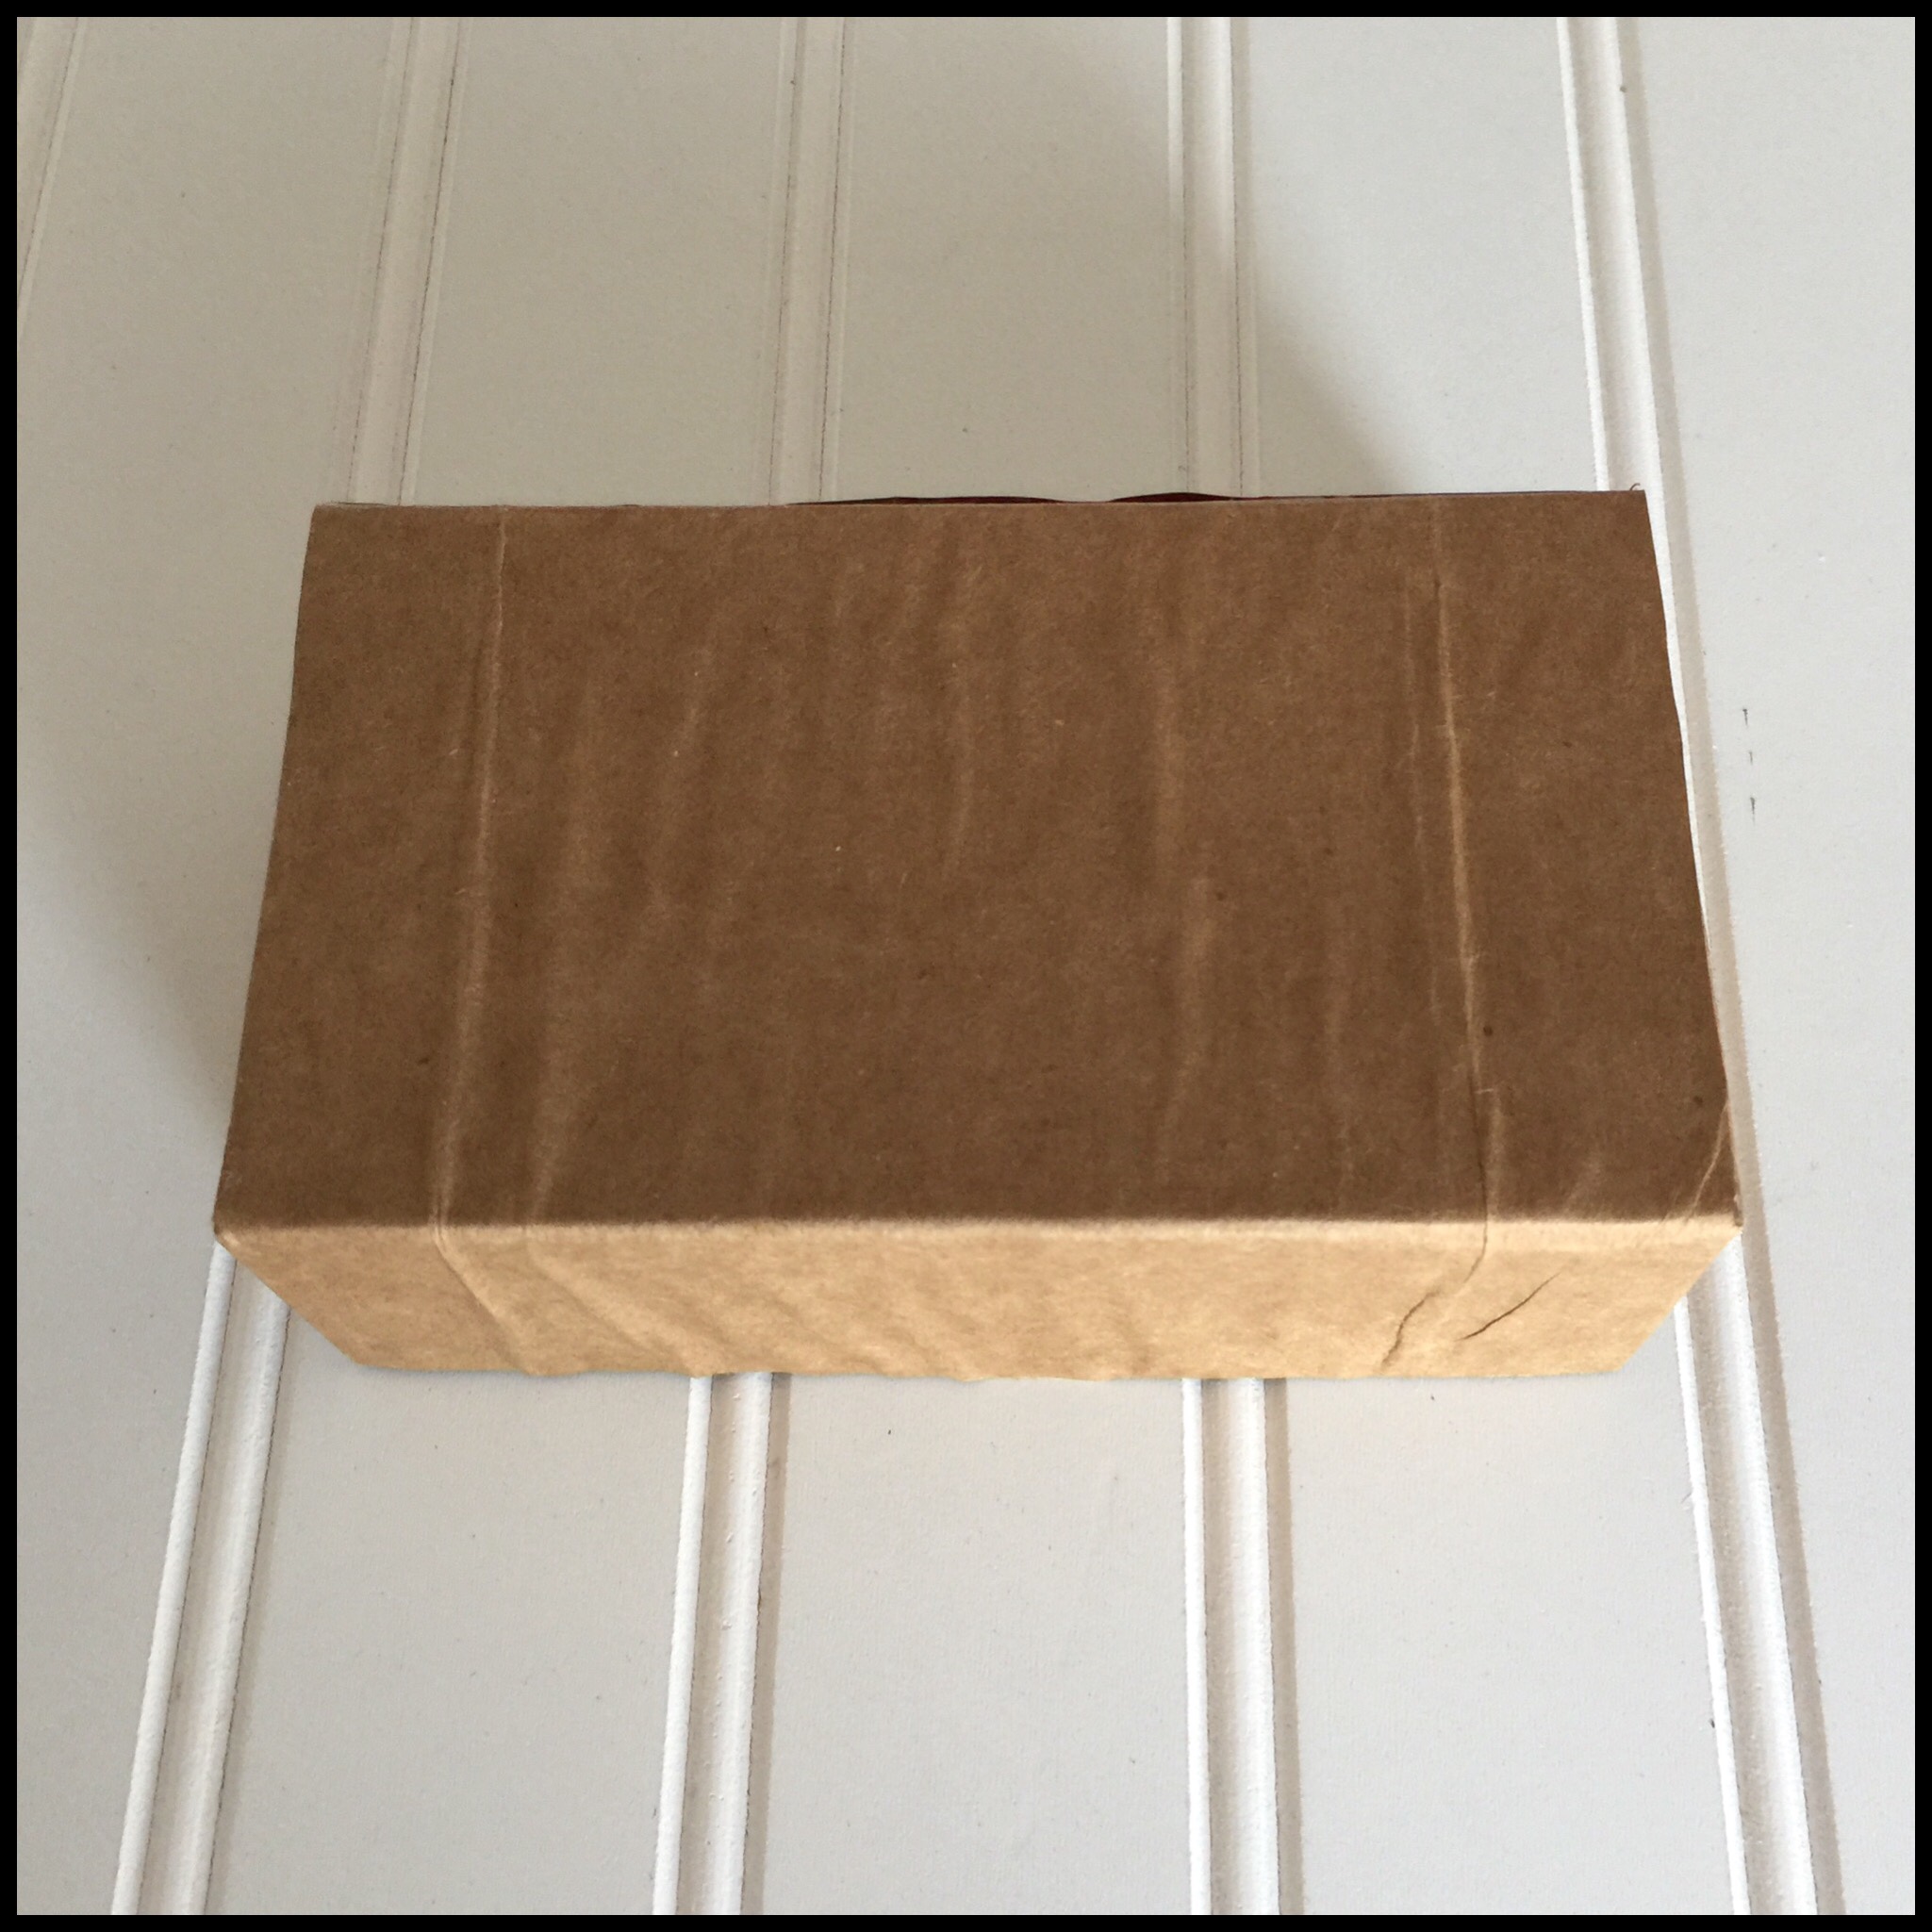
To cover the printing on the box, she glued the printed side of the box to the printed side of a brown paper grocery bag:

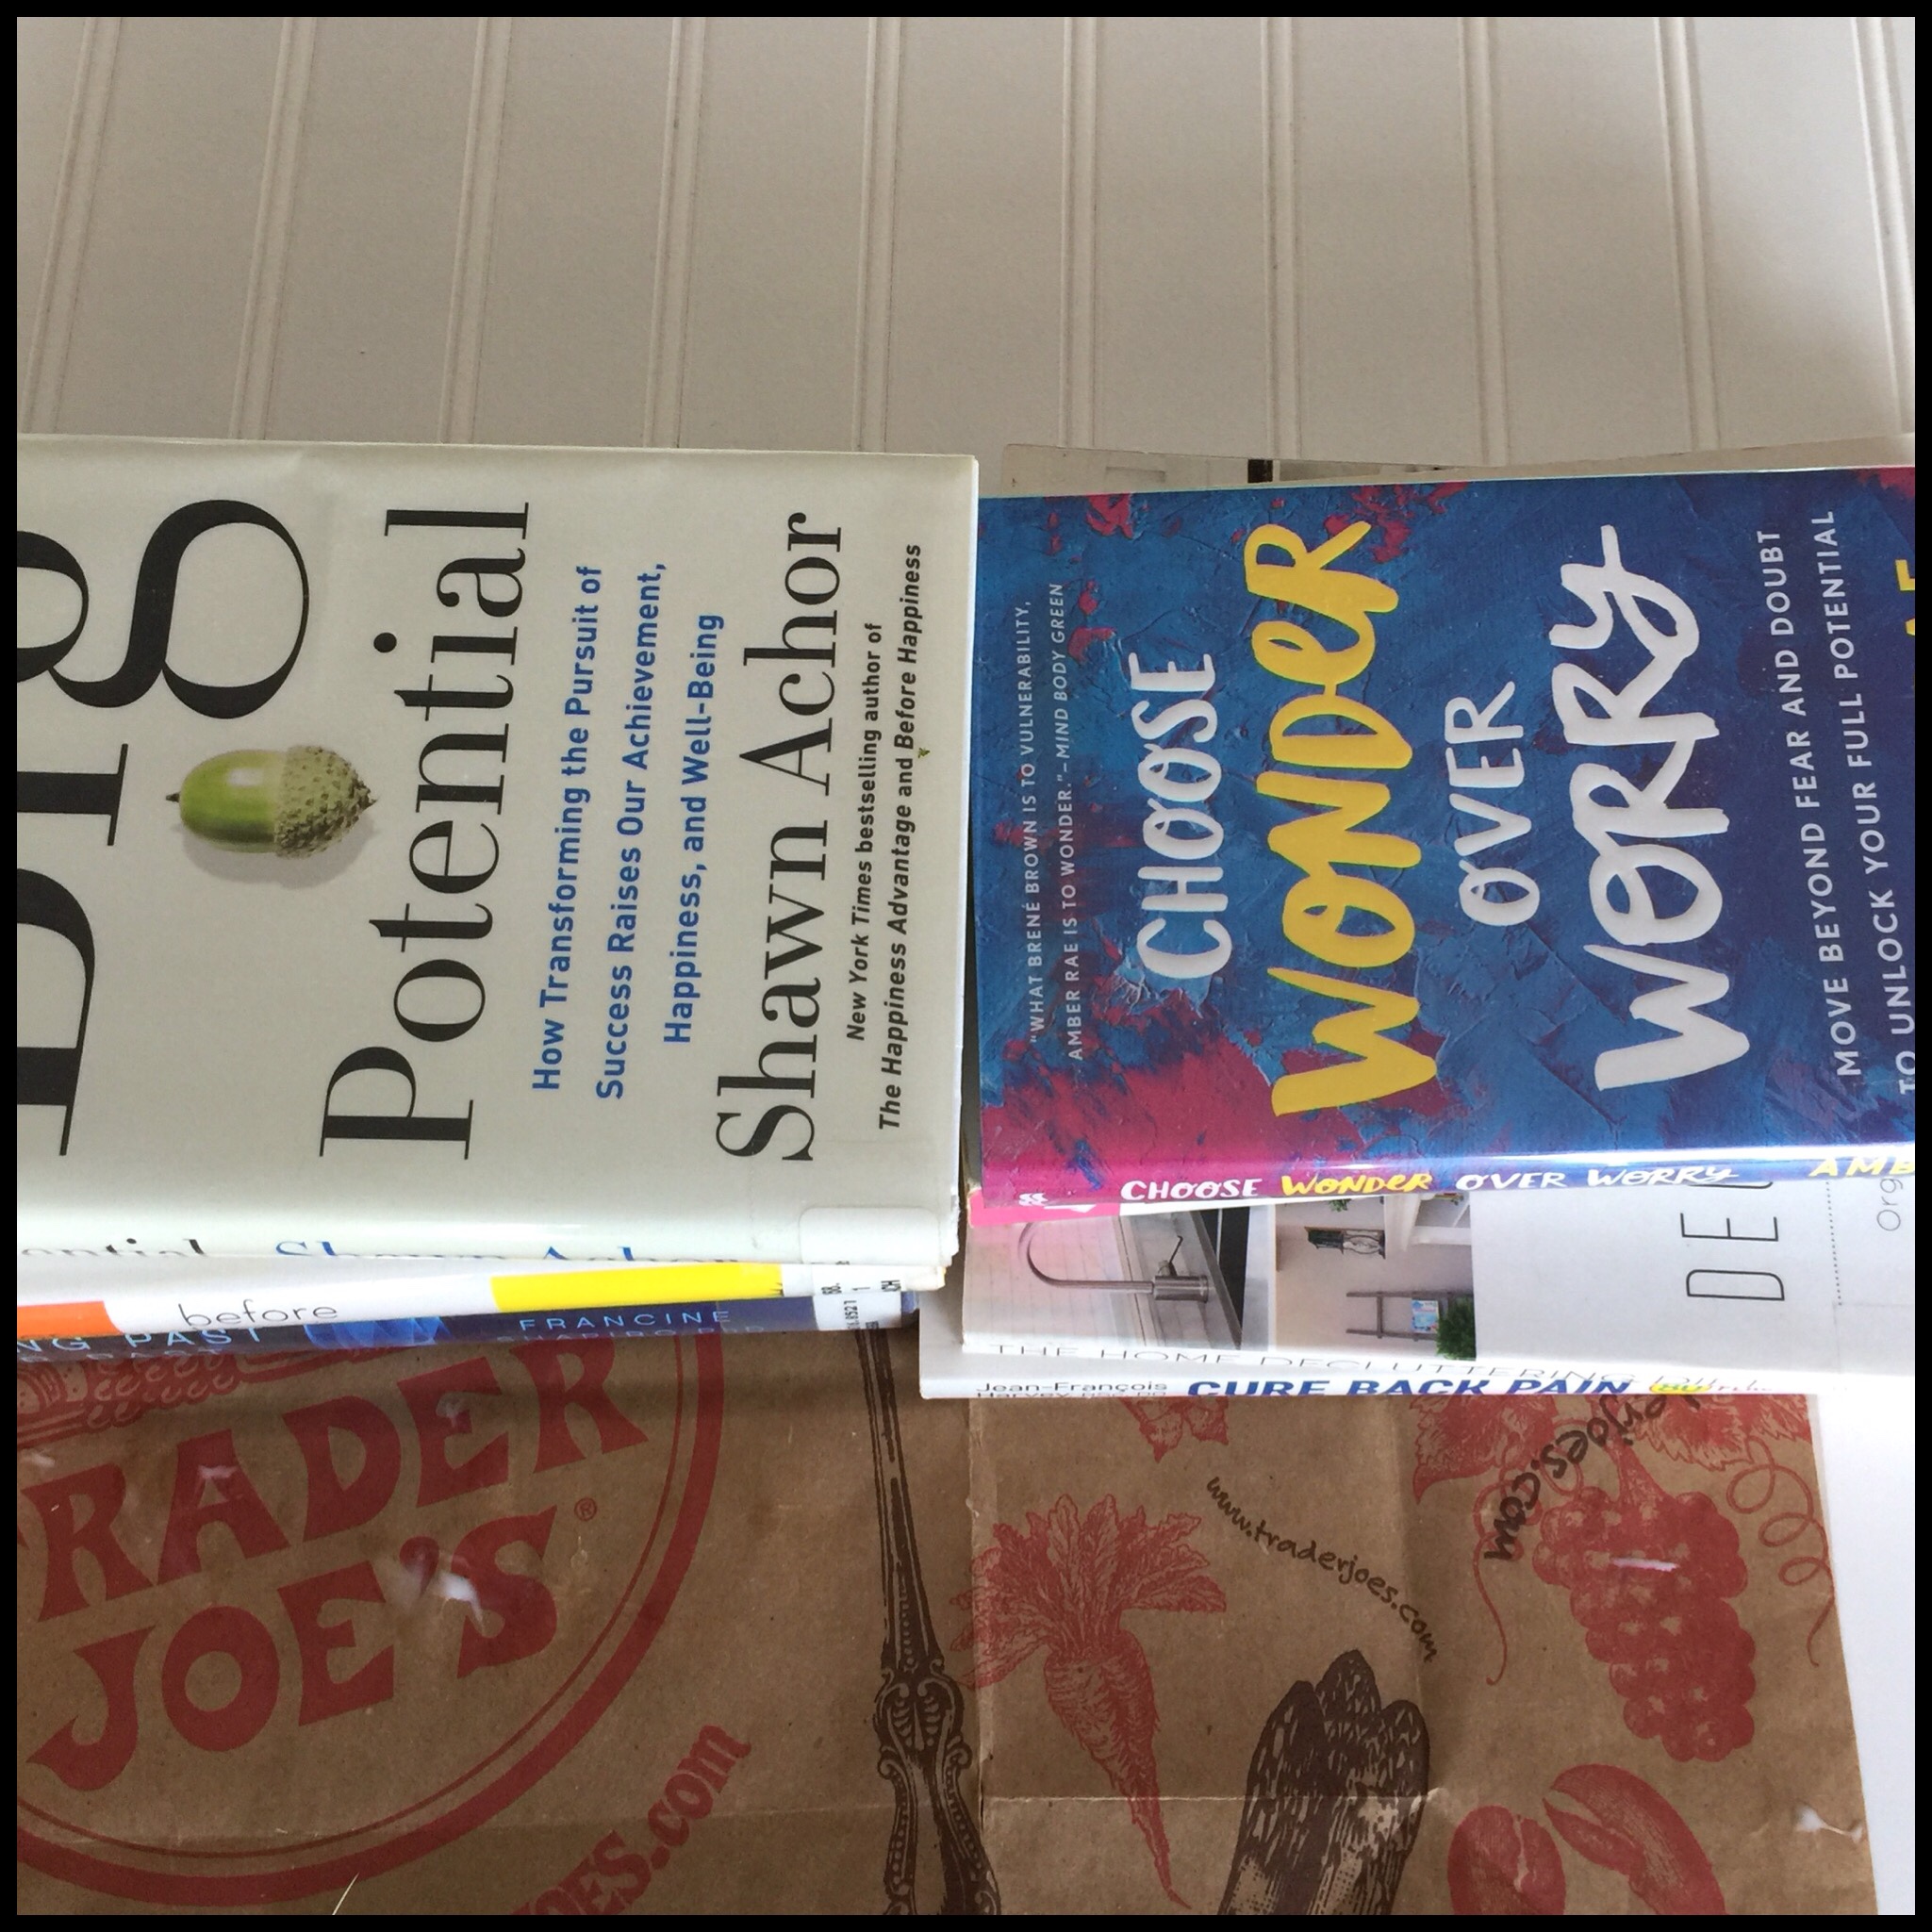
My mom wanted the paper to dry flat, so she stacked some books on top while the glue dried:
Once the glue was dry, she trimmed the paper and glued the box seams back together:

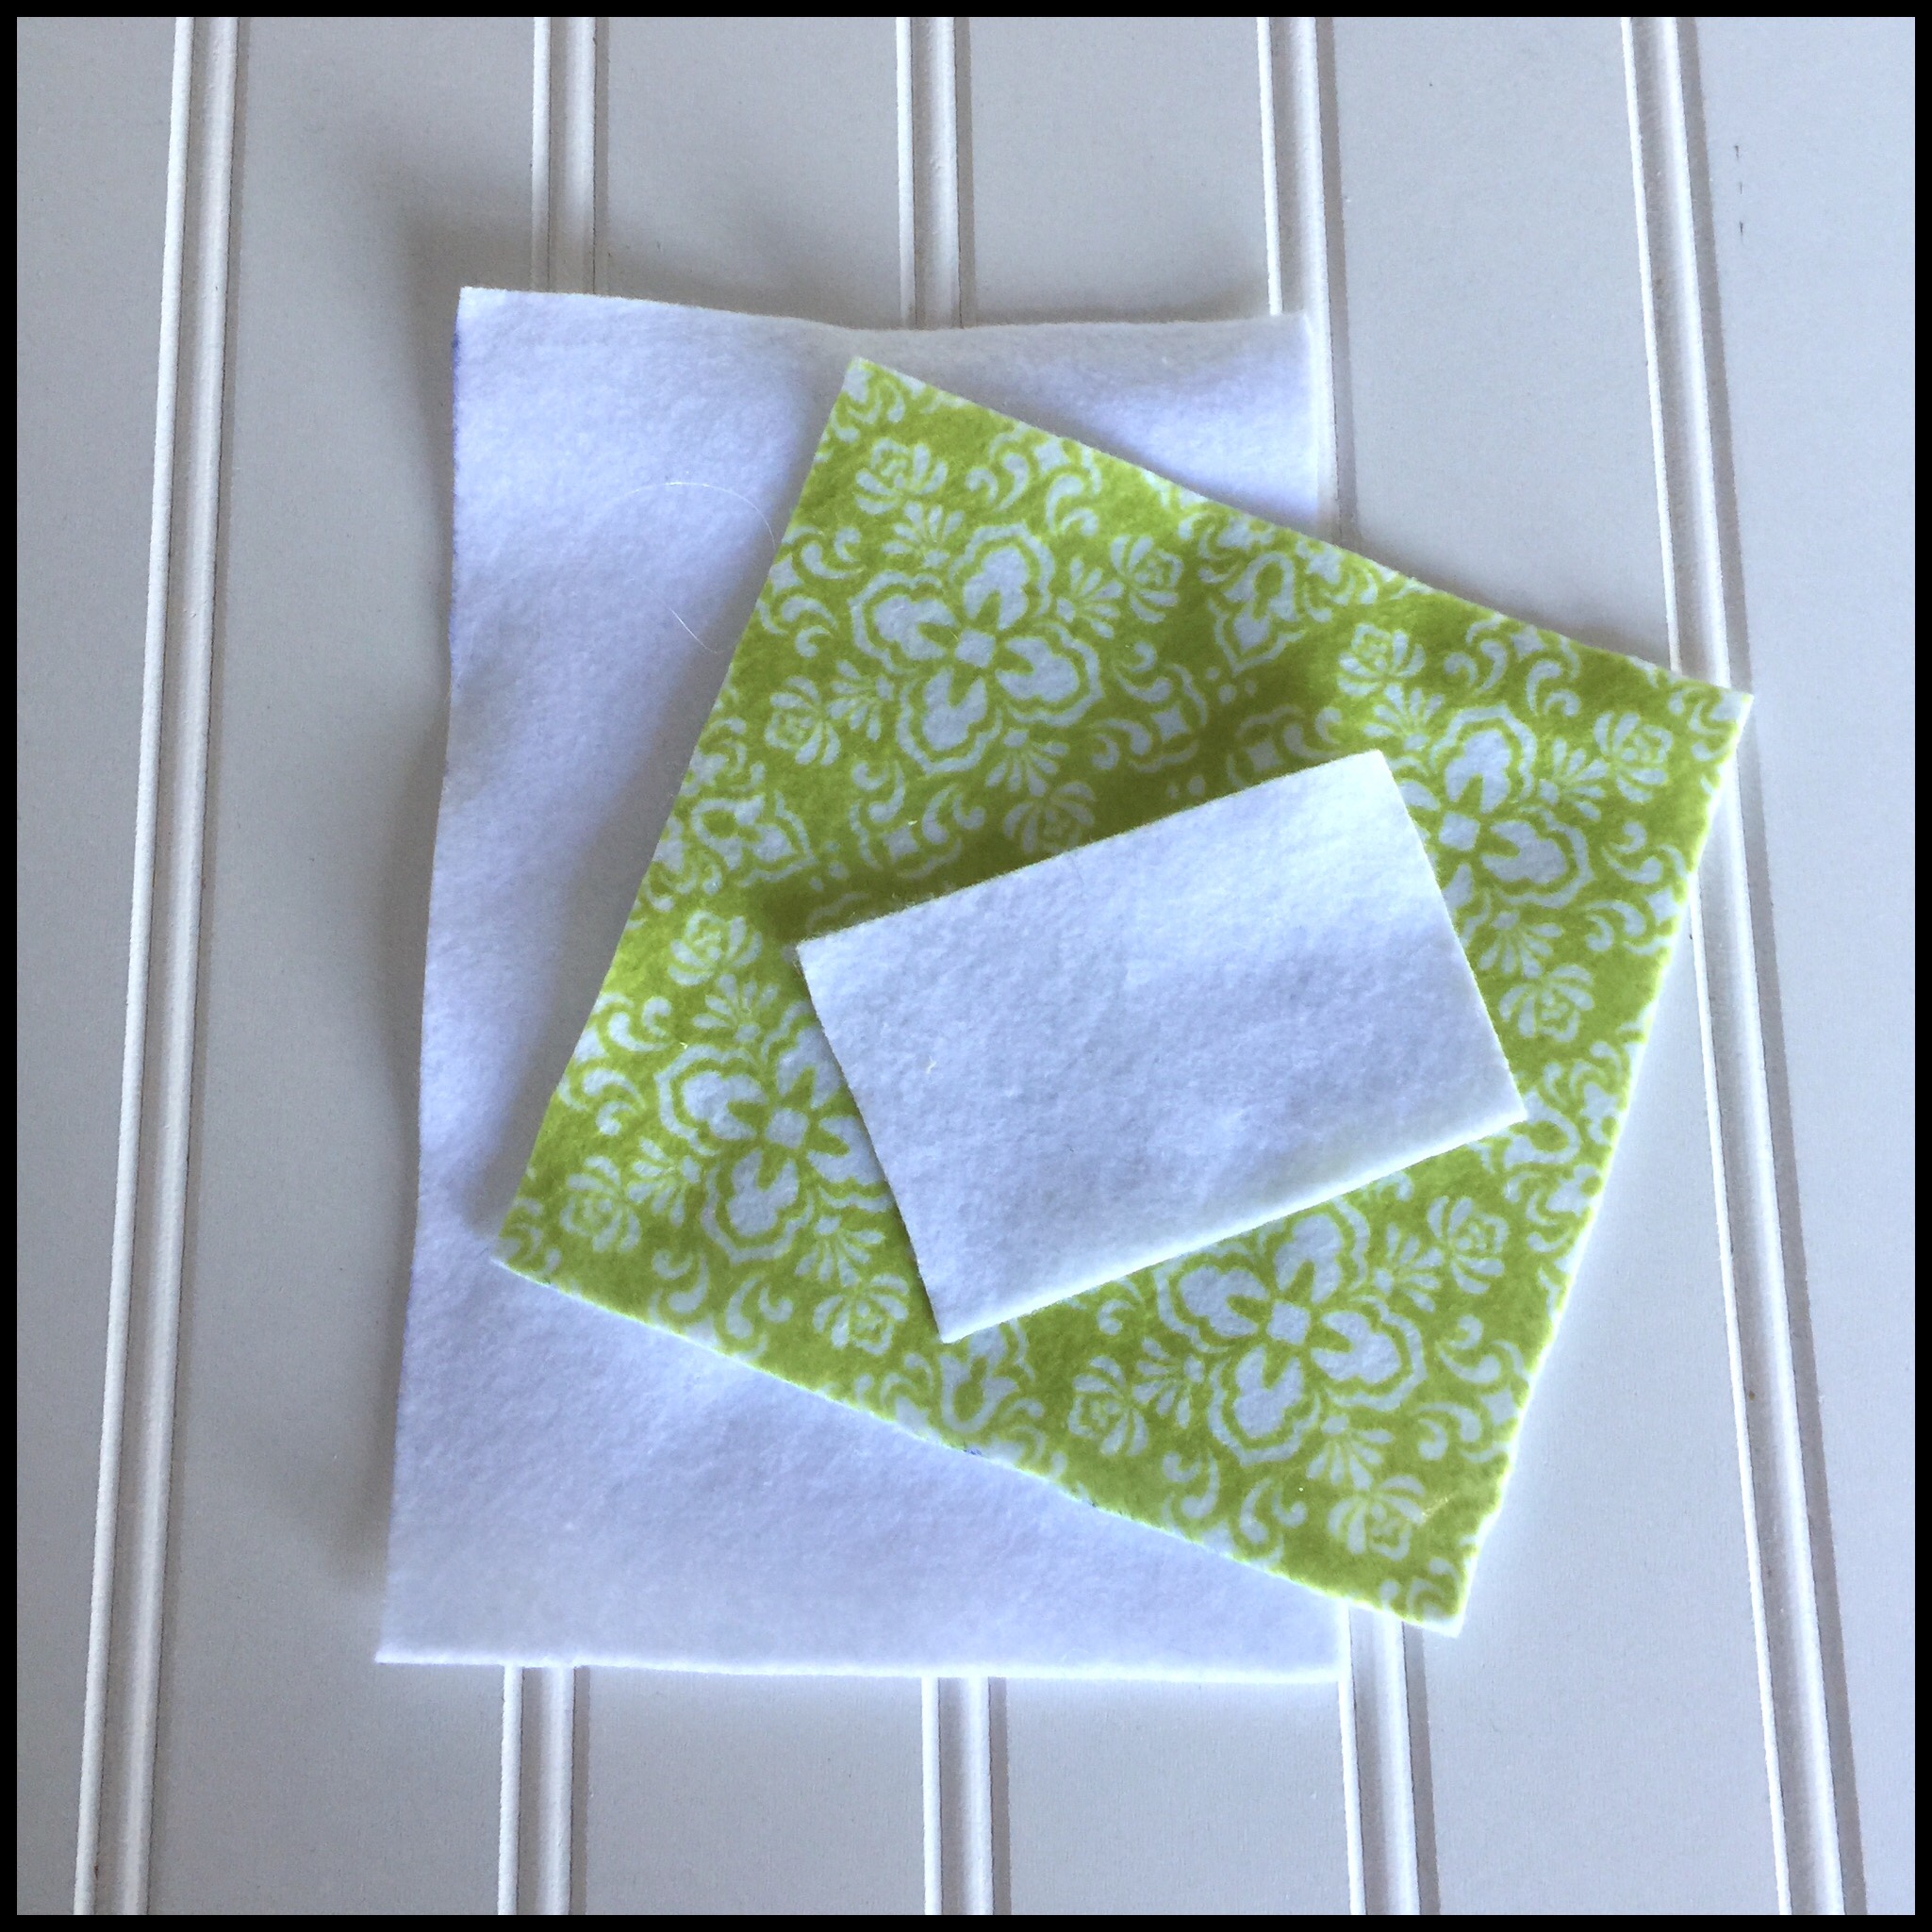
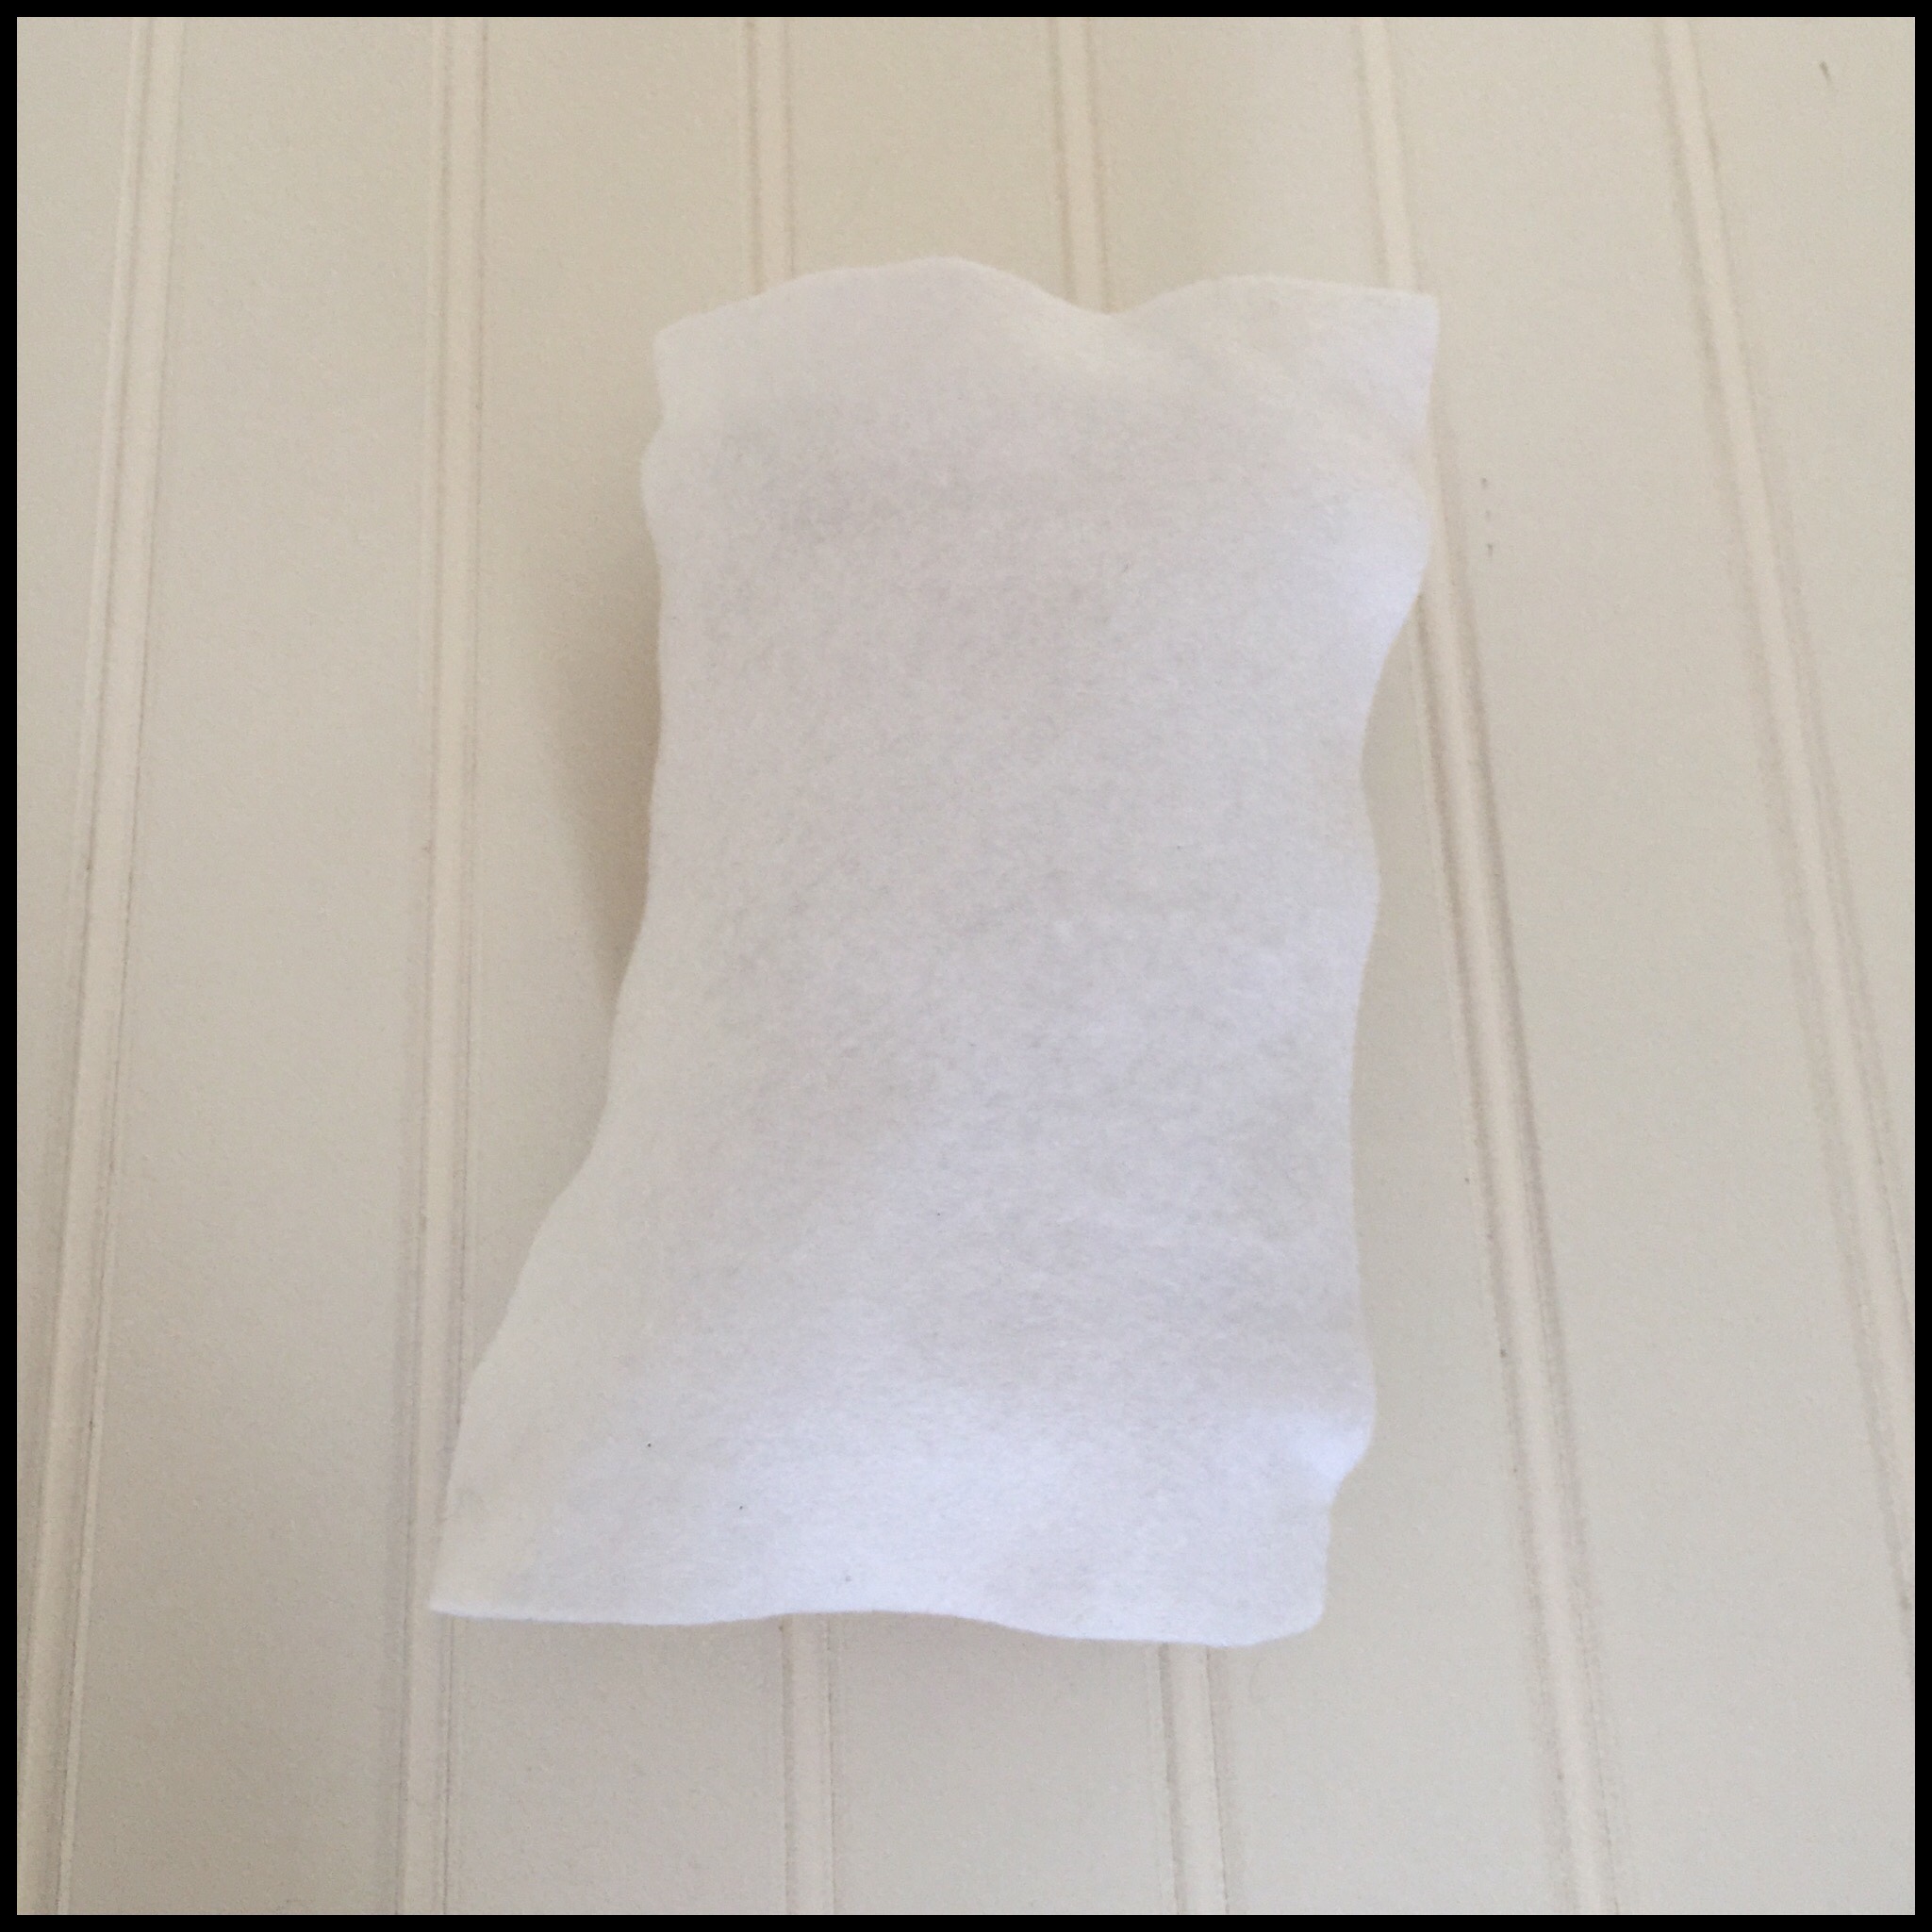
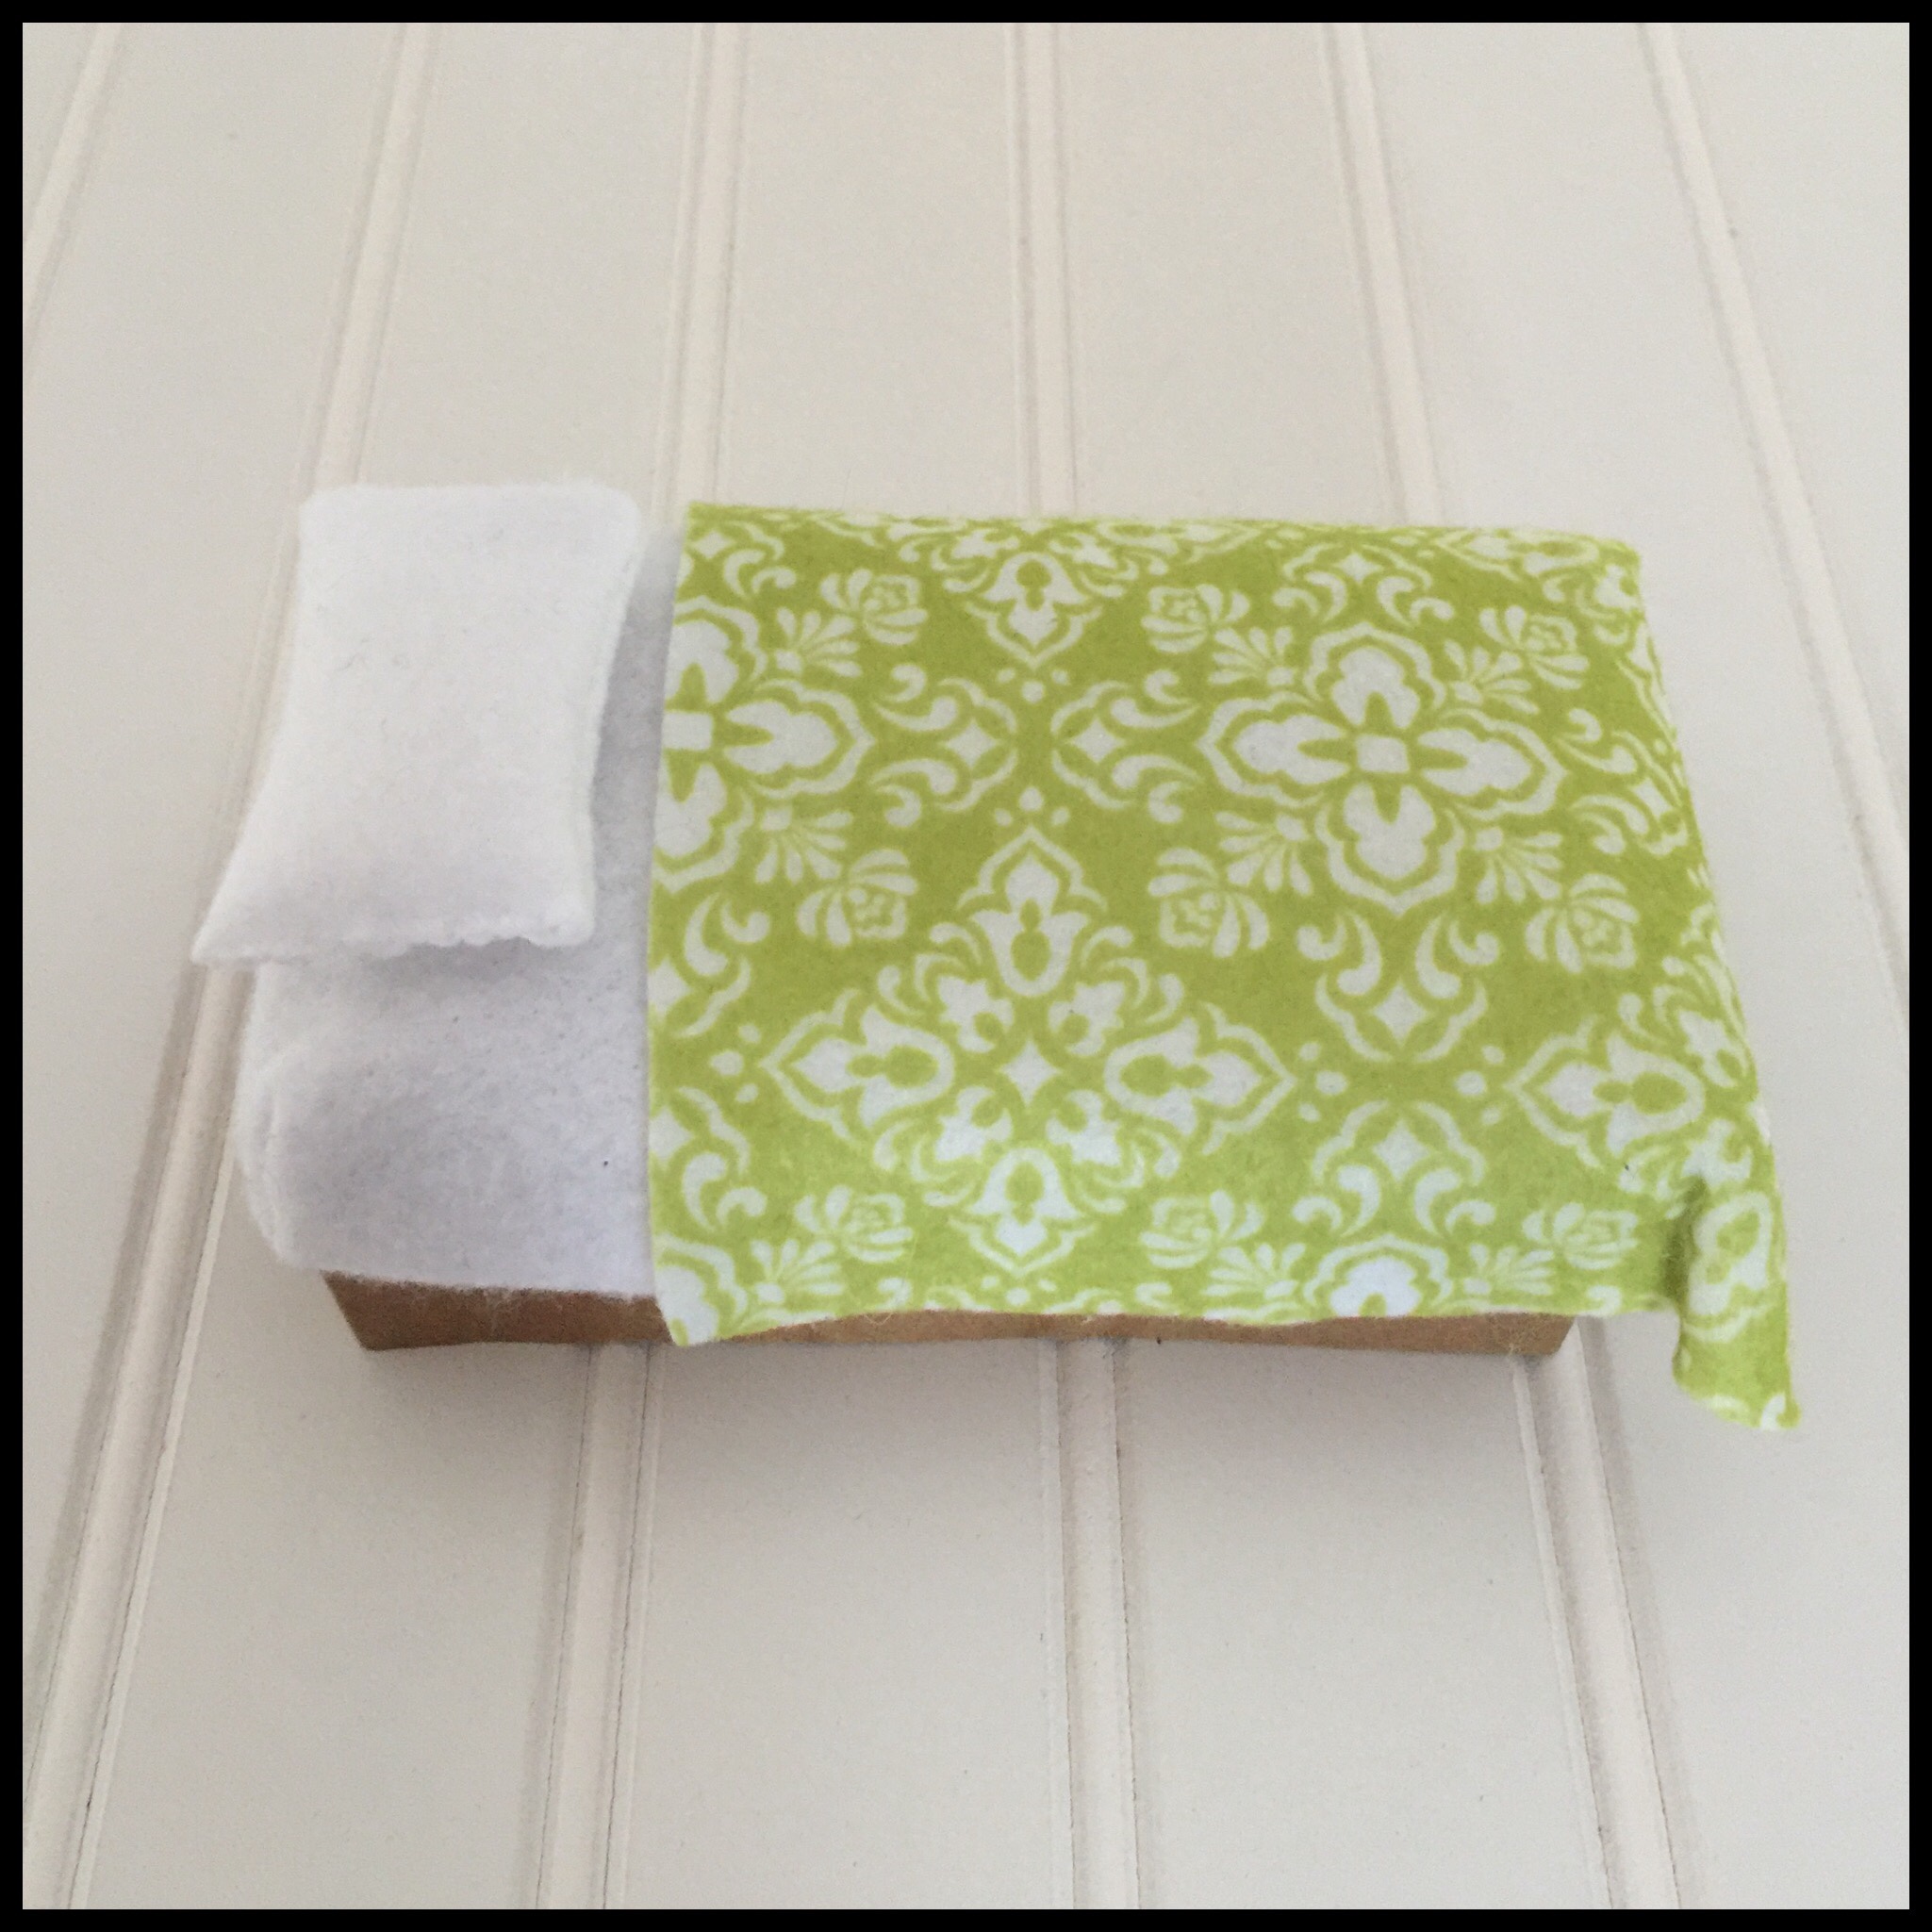
My mom used white and patterned felt to make the bedding. For our 5 x 3 inch box, she used a 3 x 2 inch piece of white felt for the pillow, a 7 x 4 1/2 inch piece of white felt for the mattress, and a five inch square of patterned felt for the blanket:
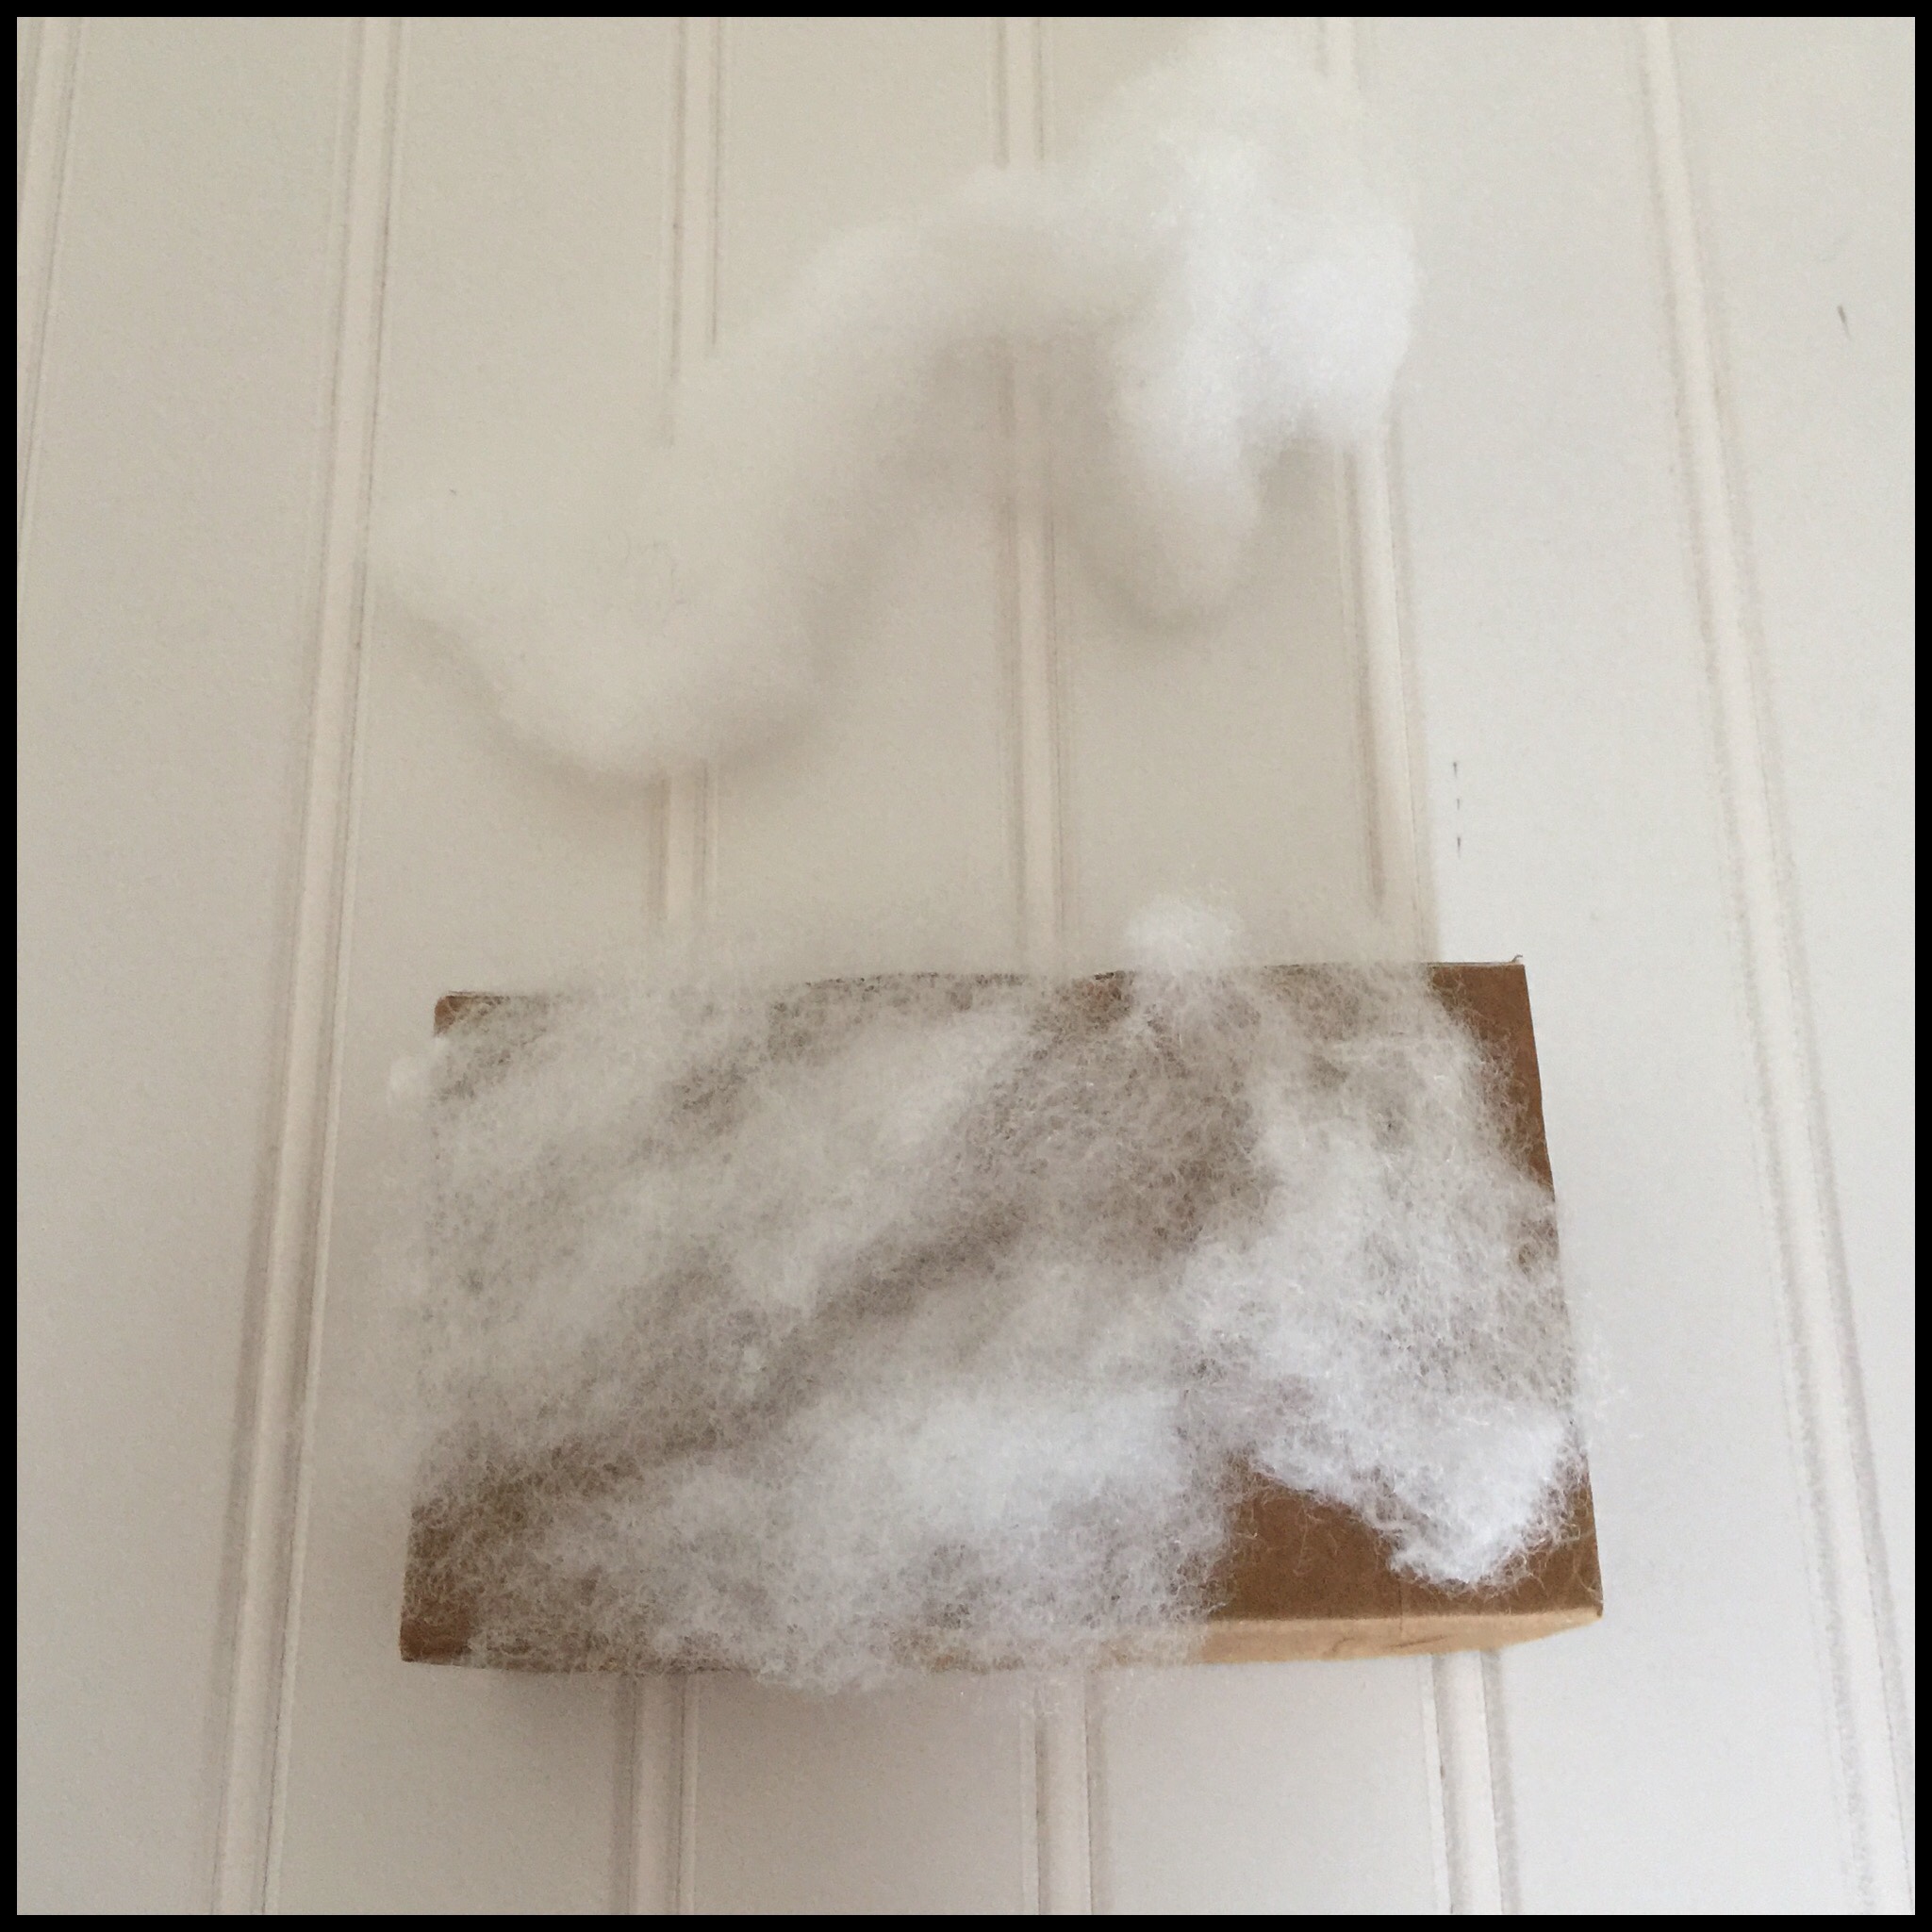
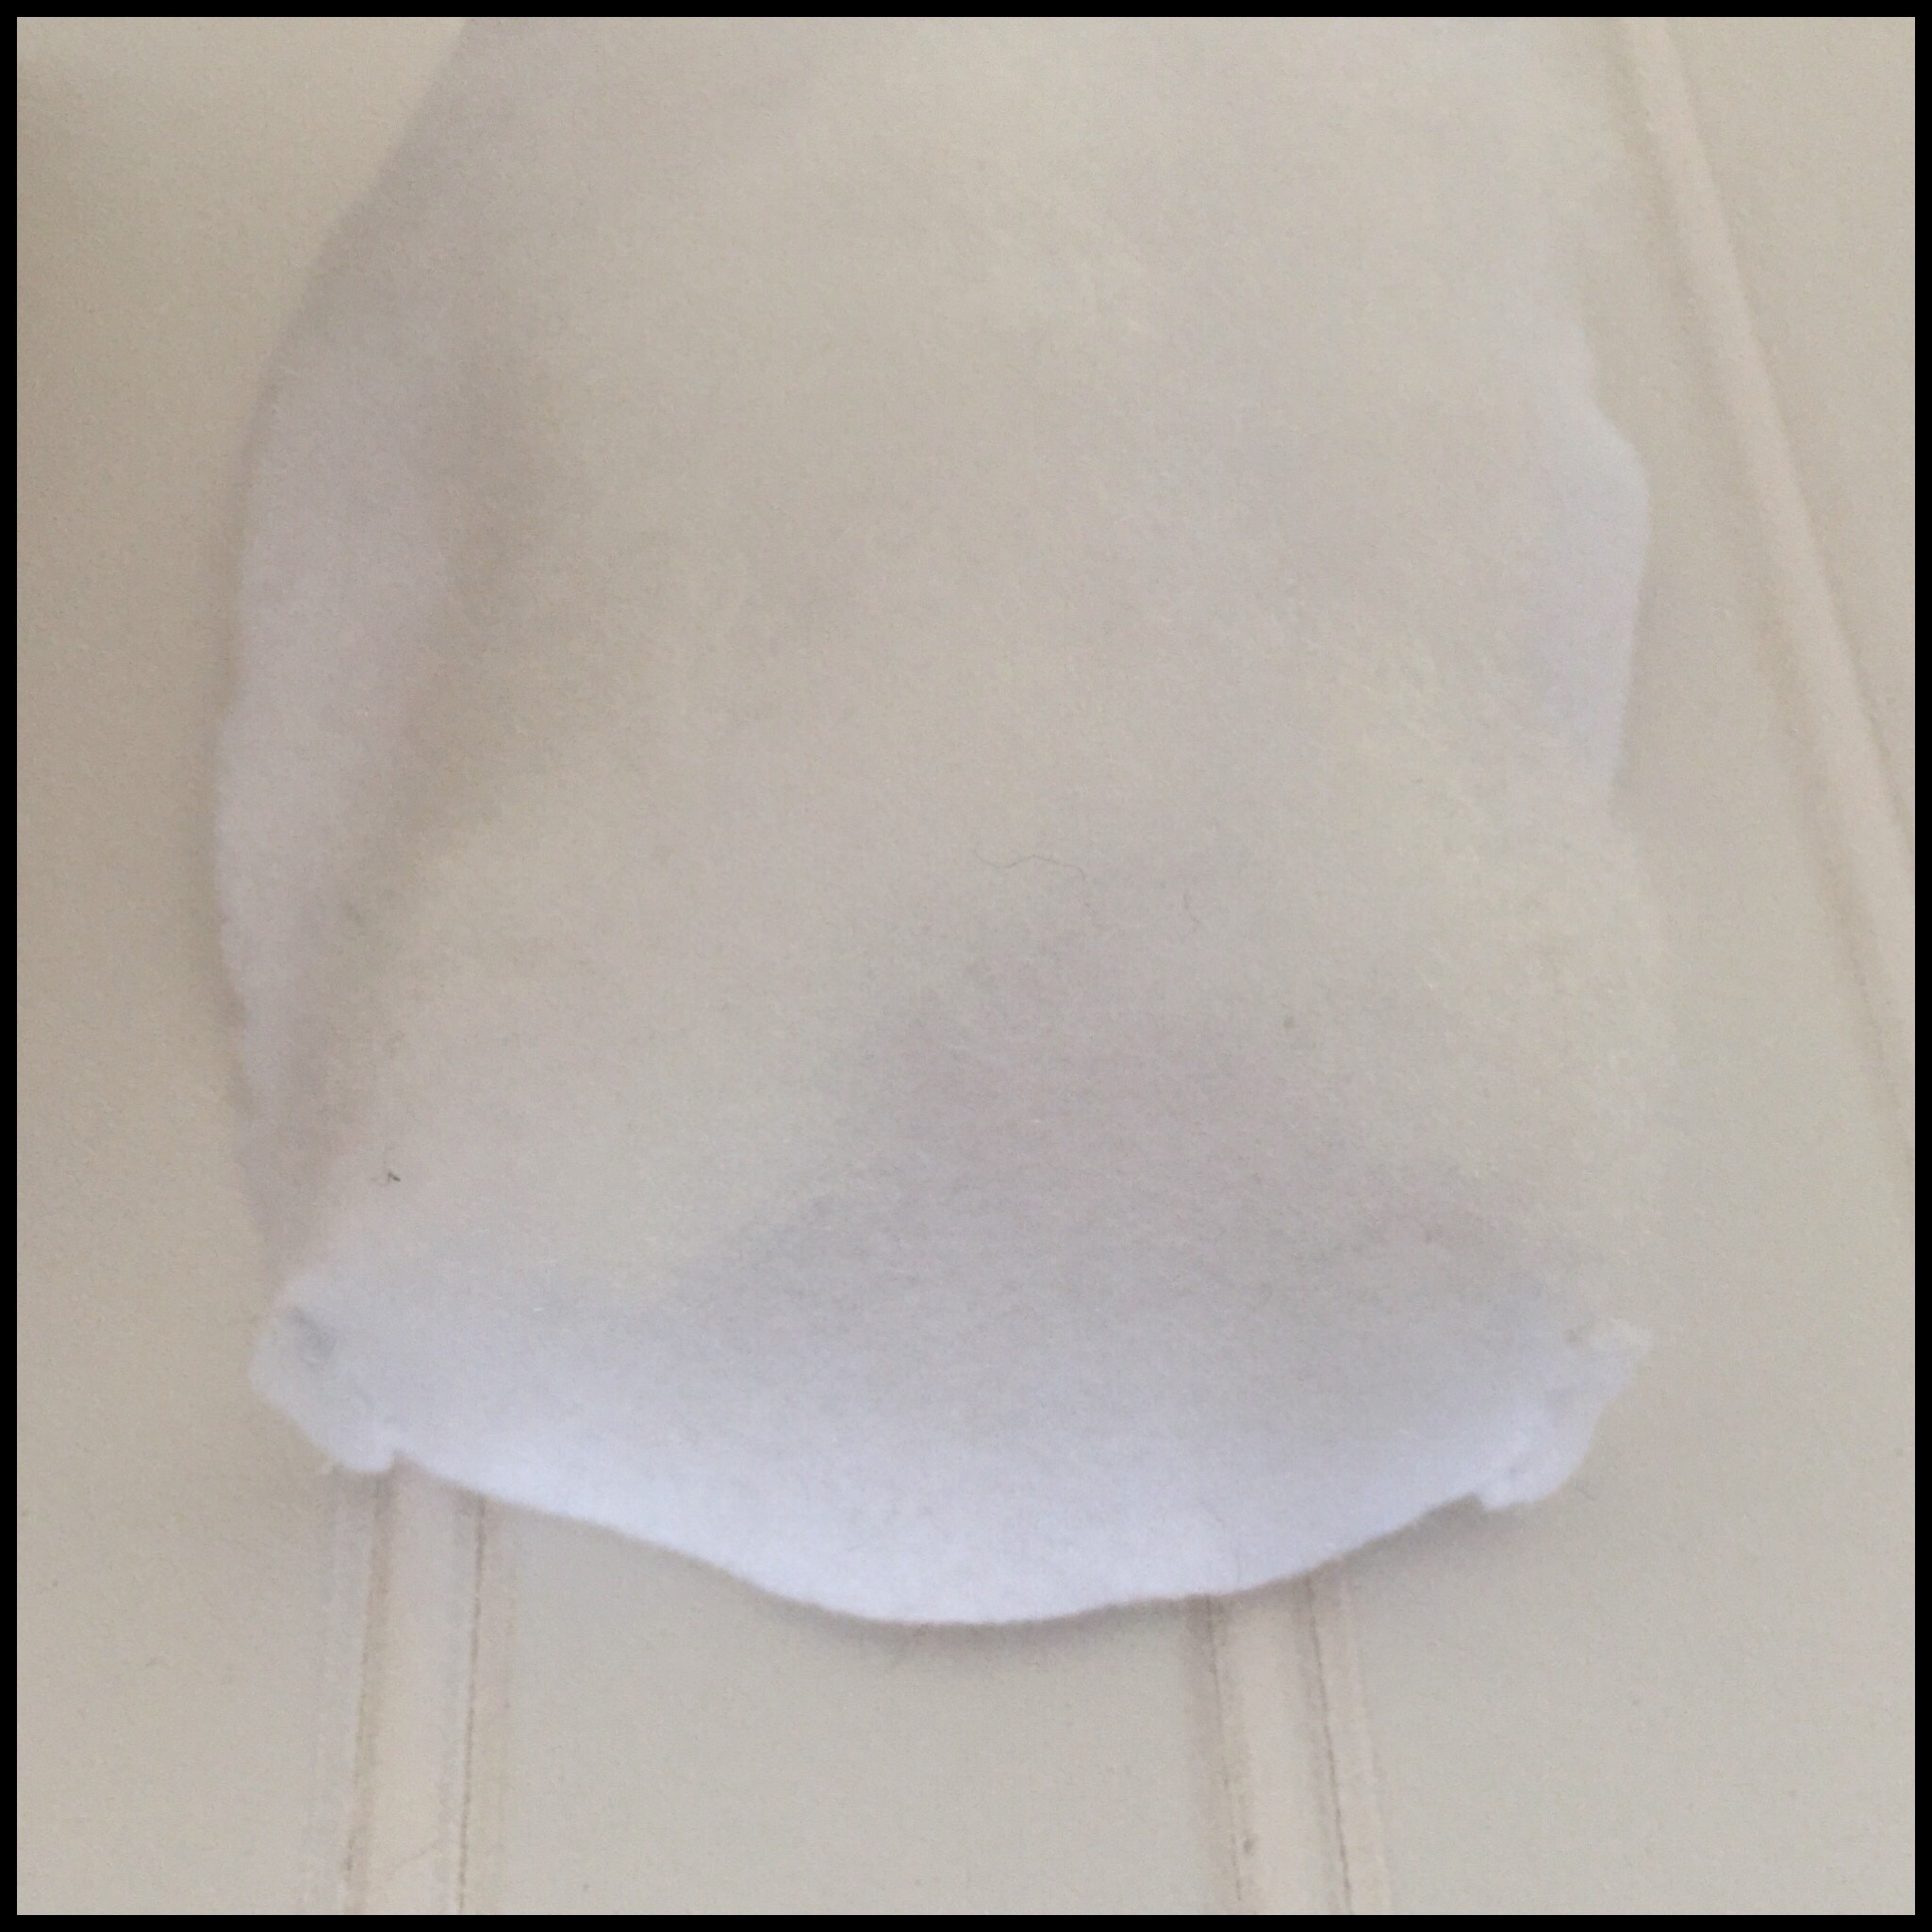
She used some fluff from an old pillow to add some padding to the top of the bed for the mattress:
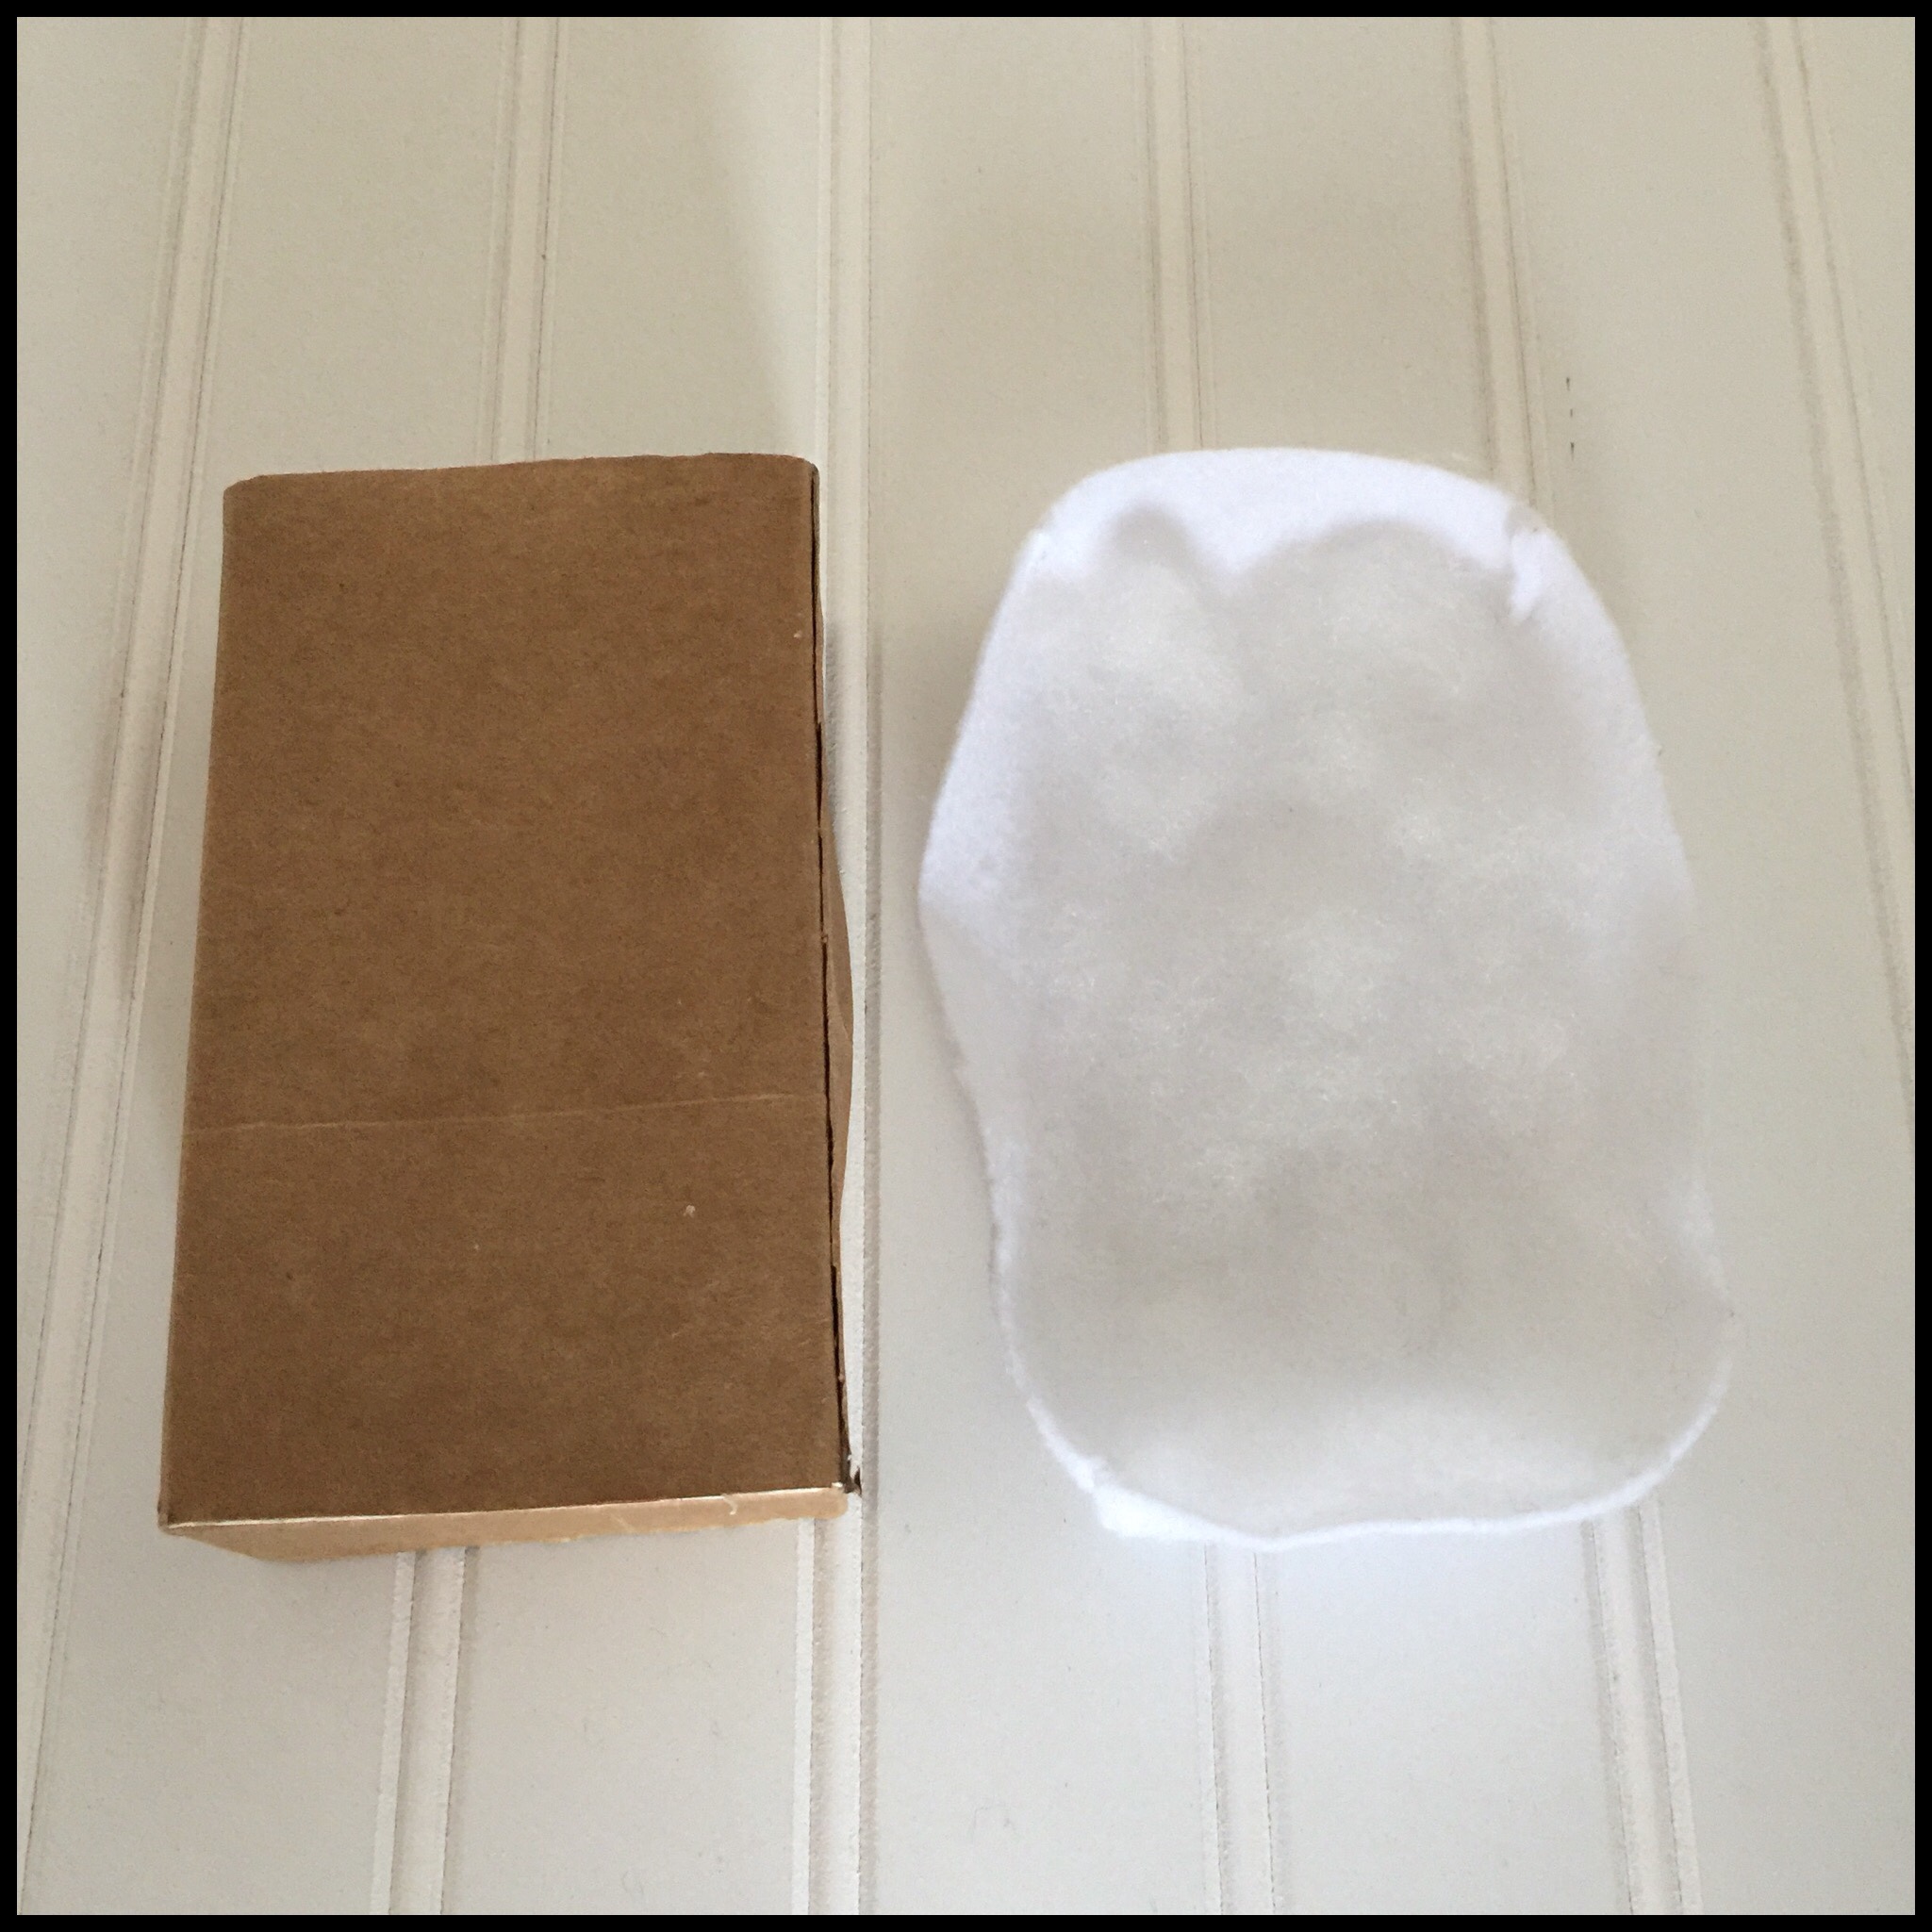
My mom laid the felt for the mattress over the padding and pinched the corners so she could see where to stitch the seams:
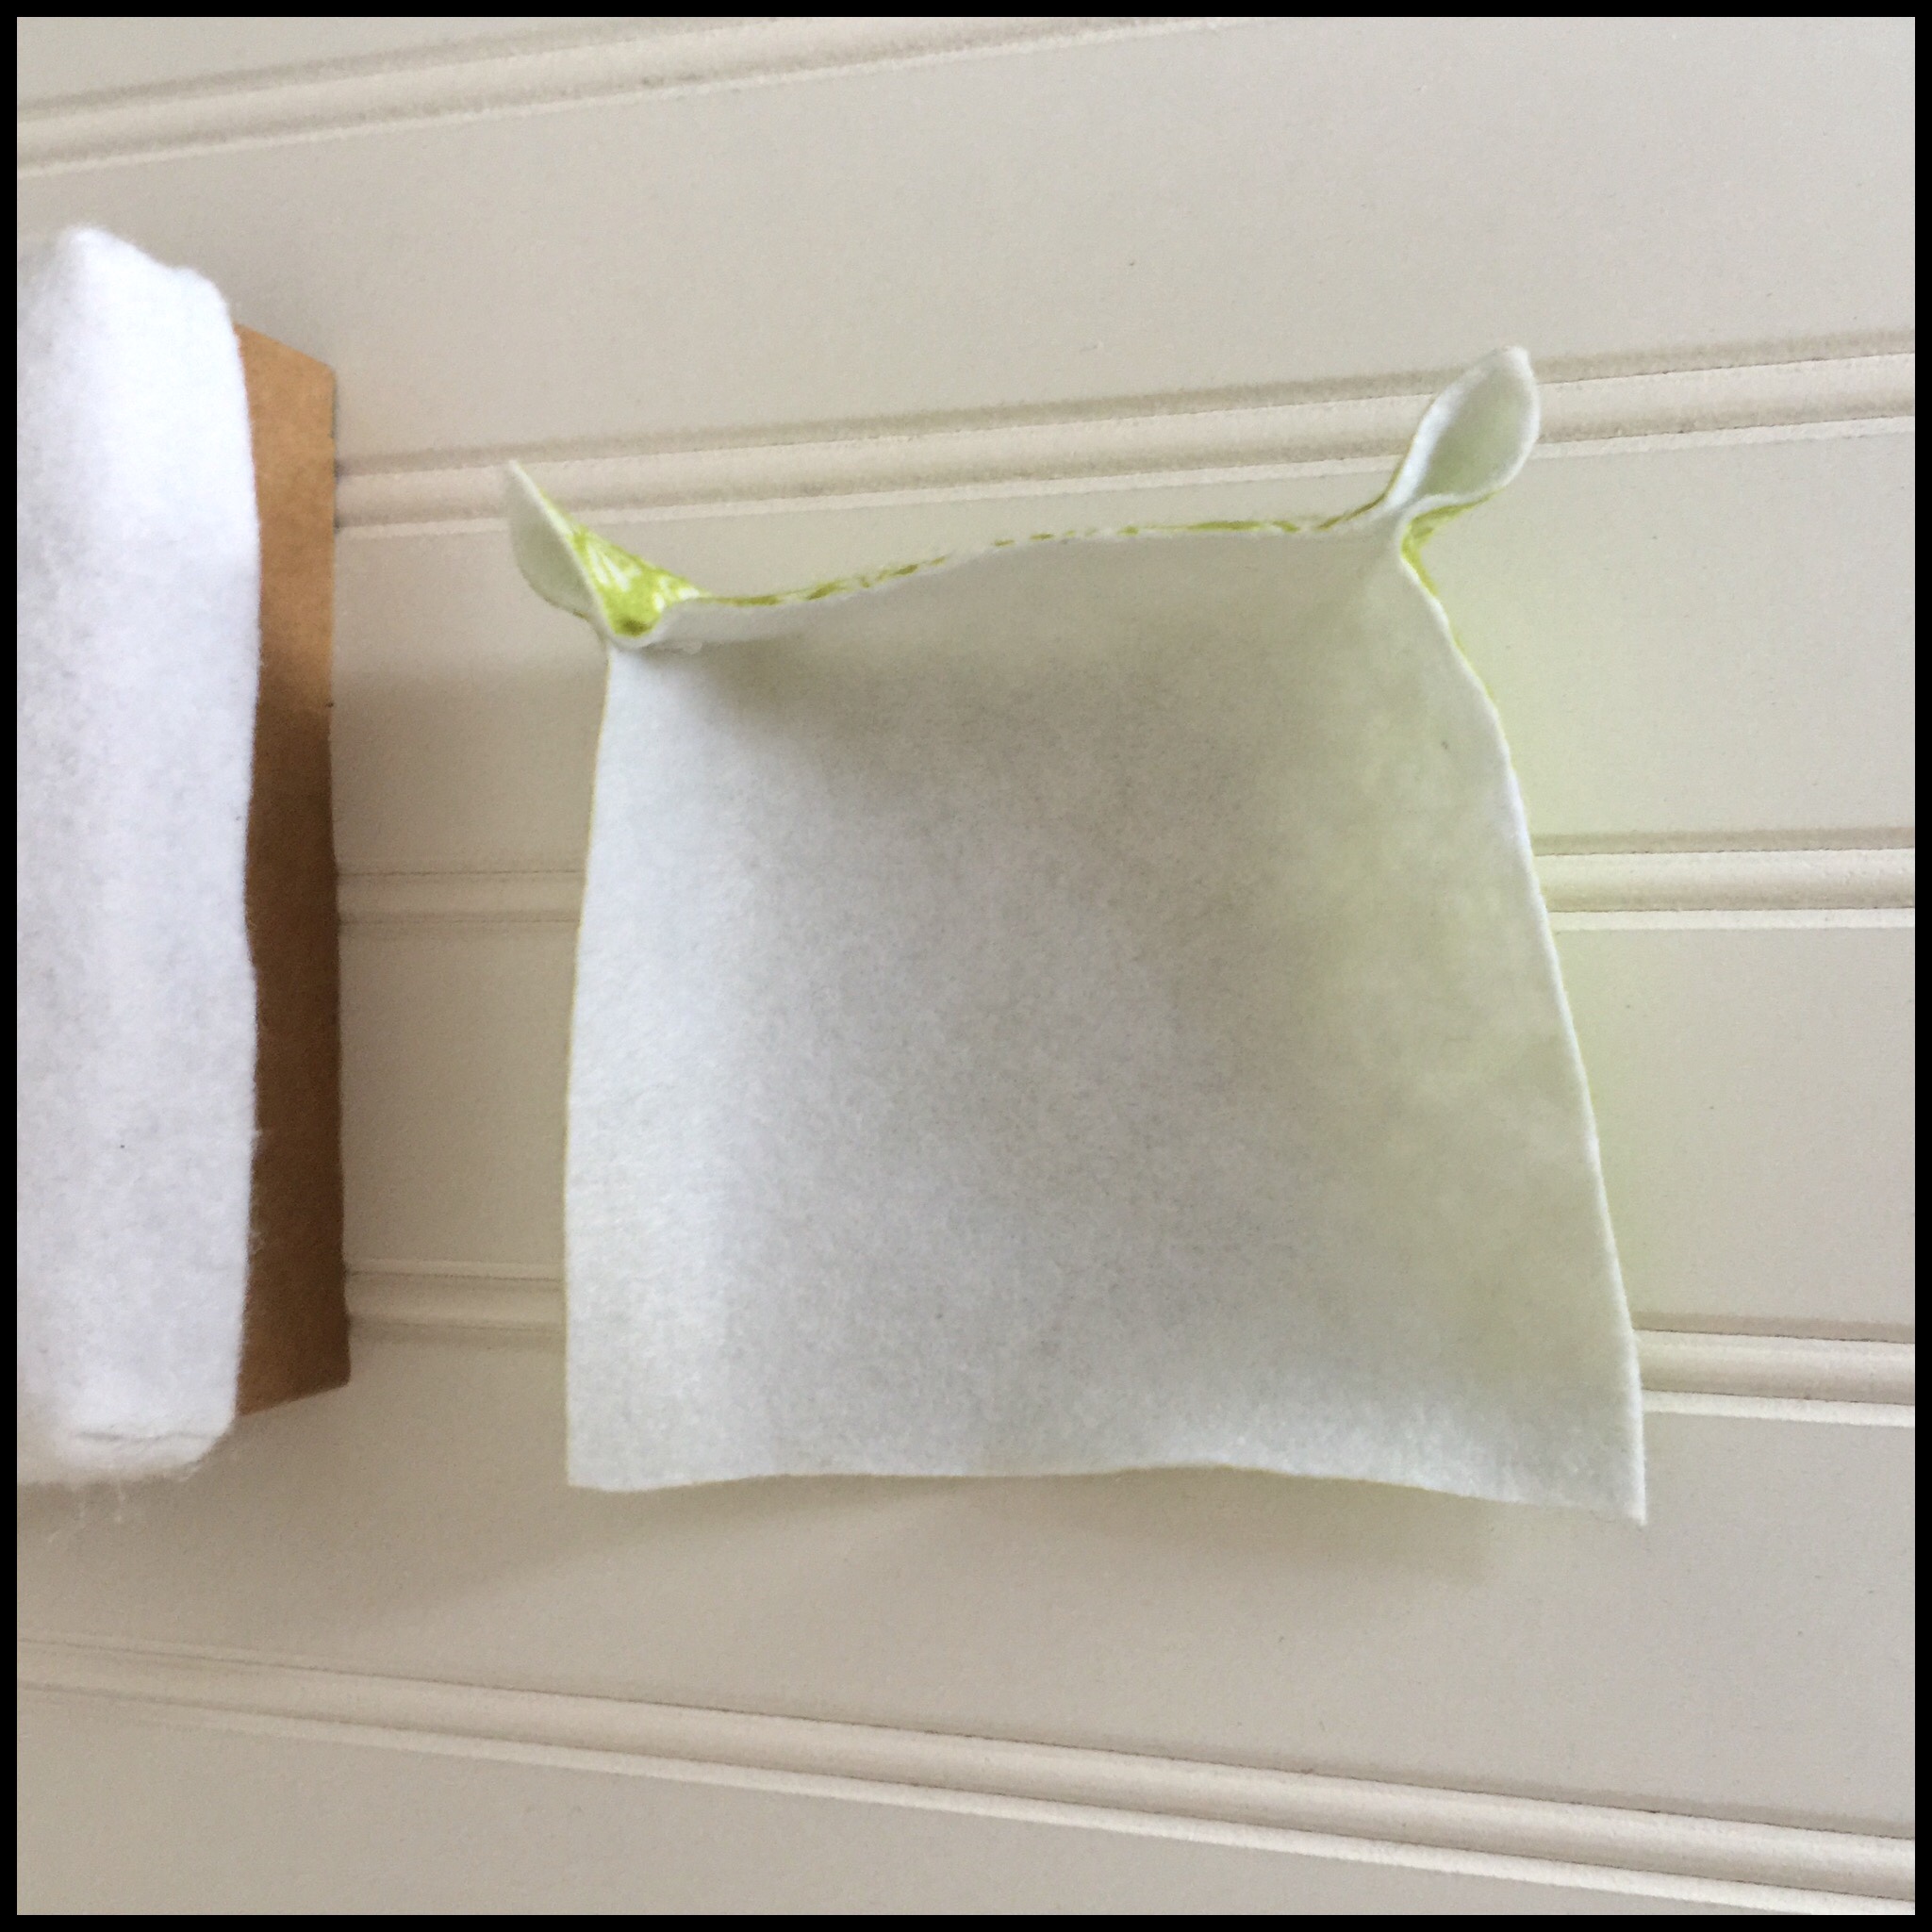
After the four corner seams were stitched, she turned the mattress right side out and placed it on top of the bed:

Then, my mom folded the pillow felt in half, stuffed it, and whip stitched the edges. For the blanket, she stitched the two bottom corners and placed it on the bed:
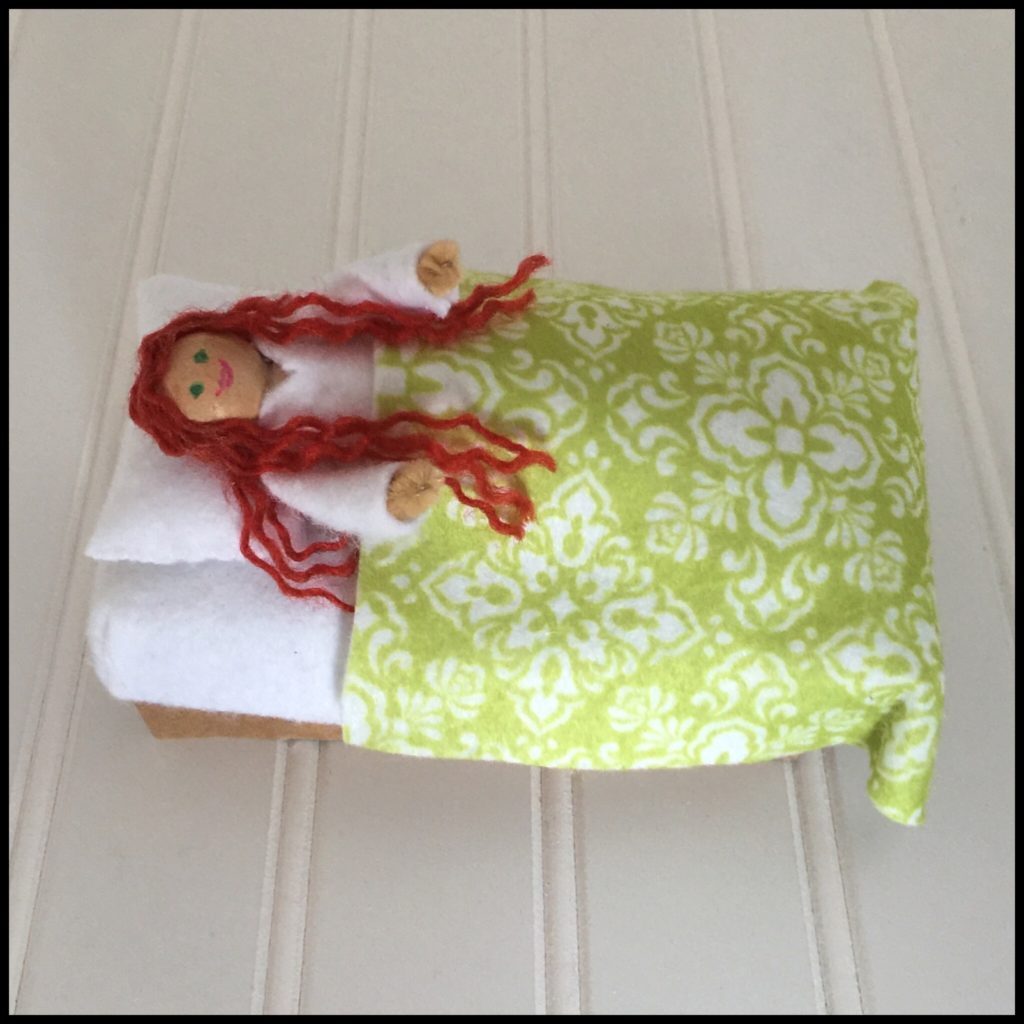
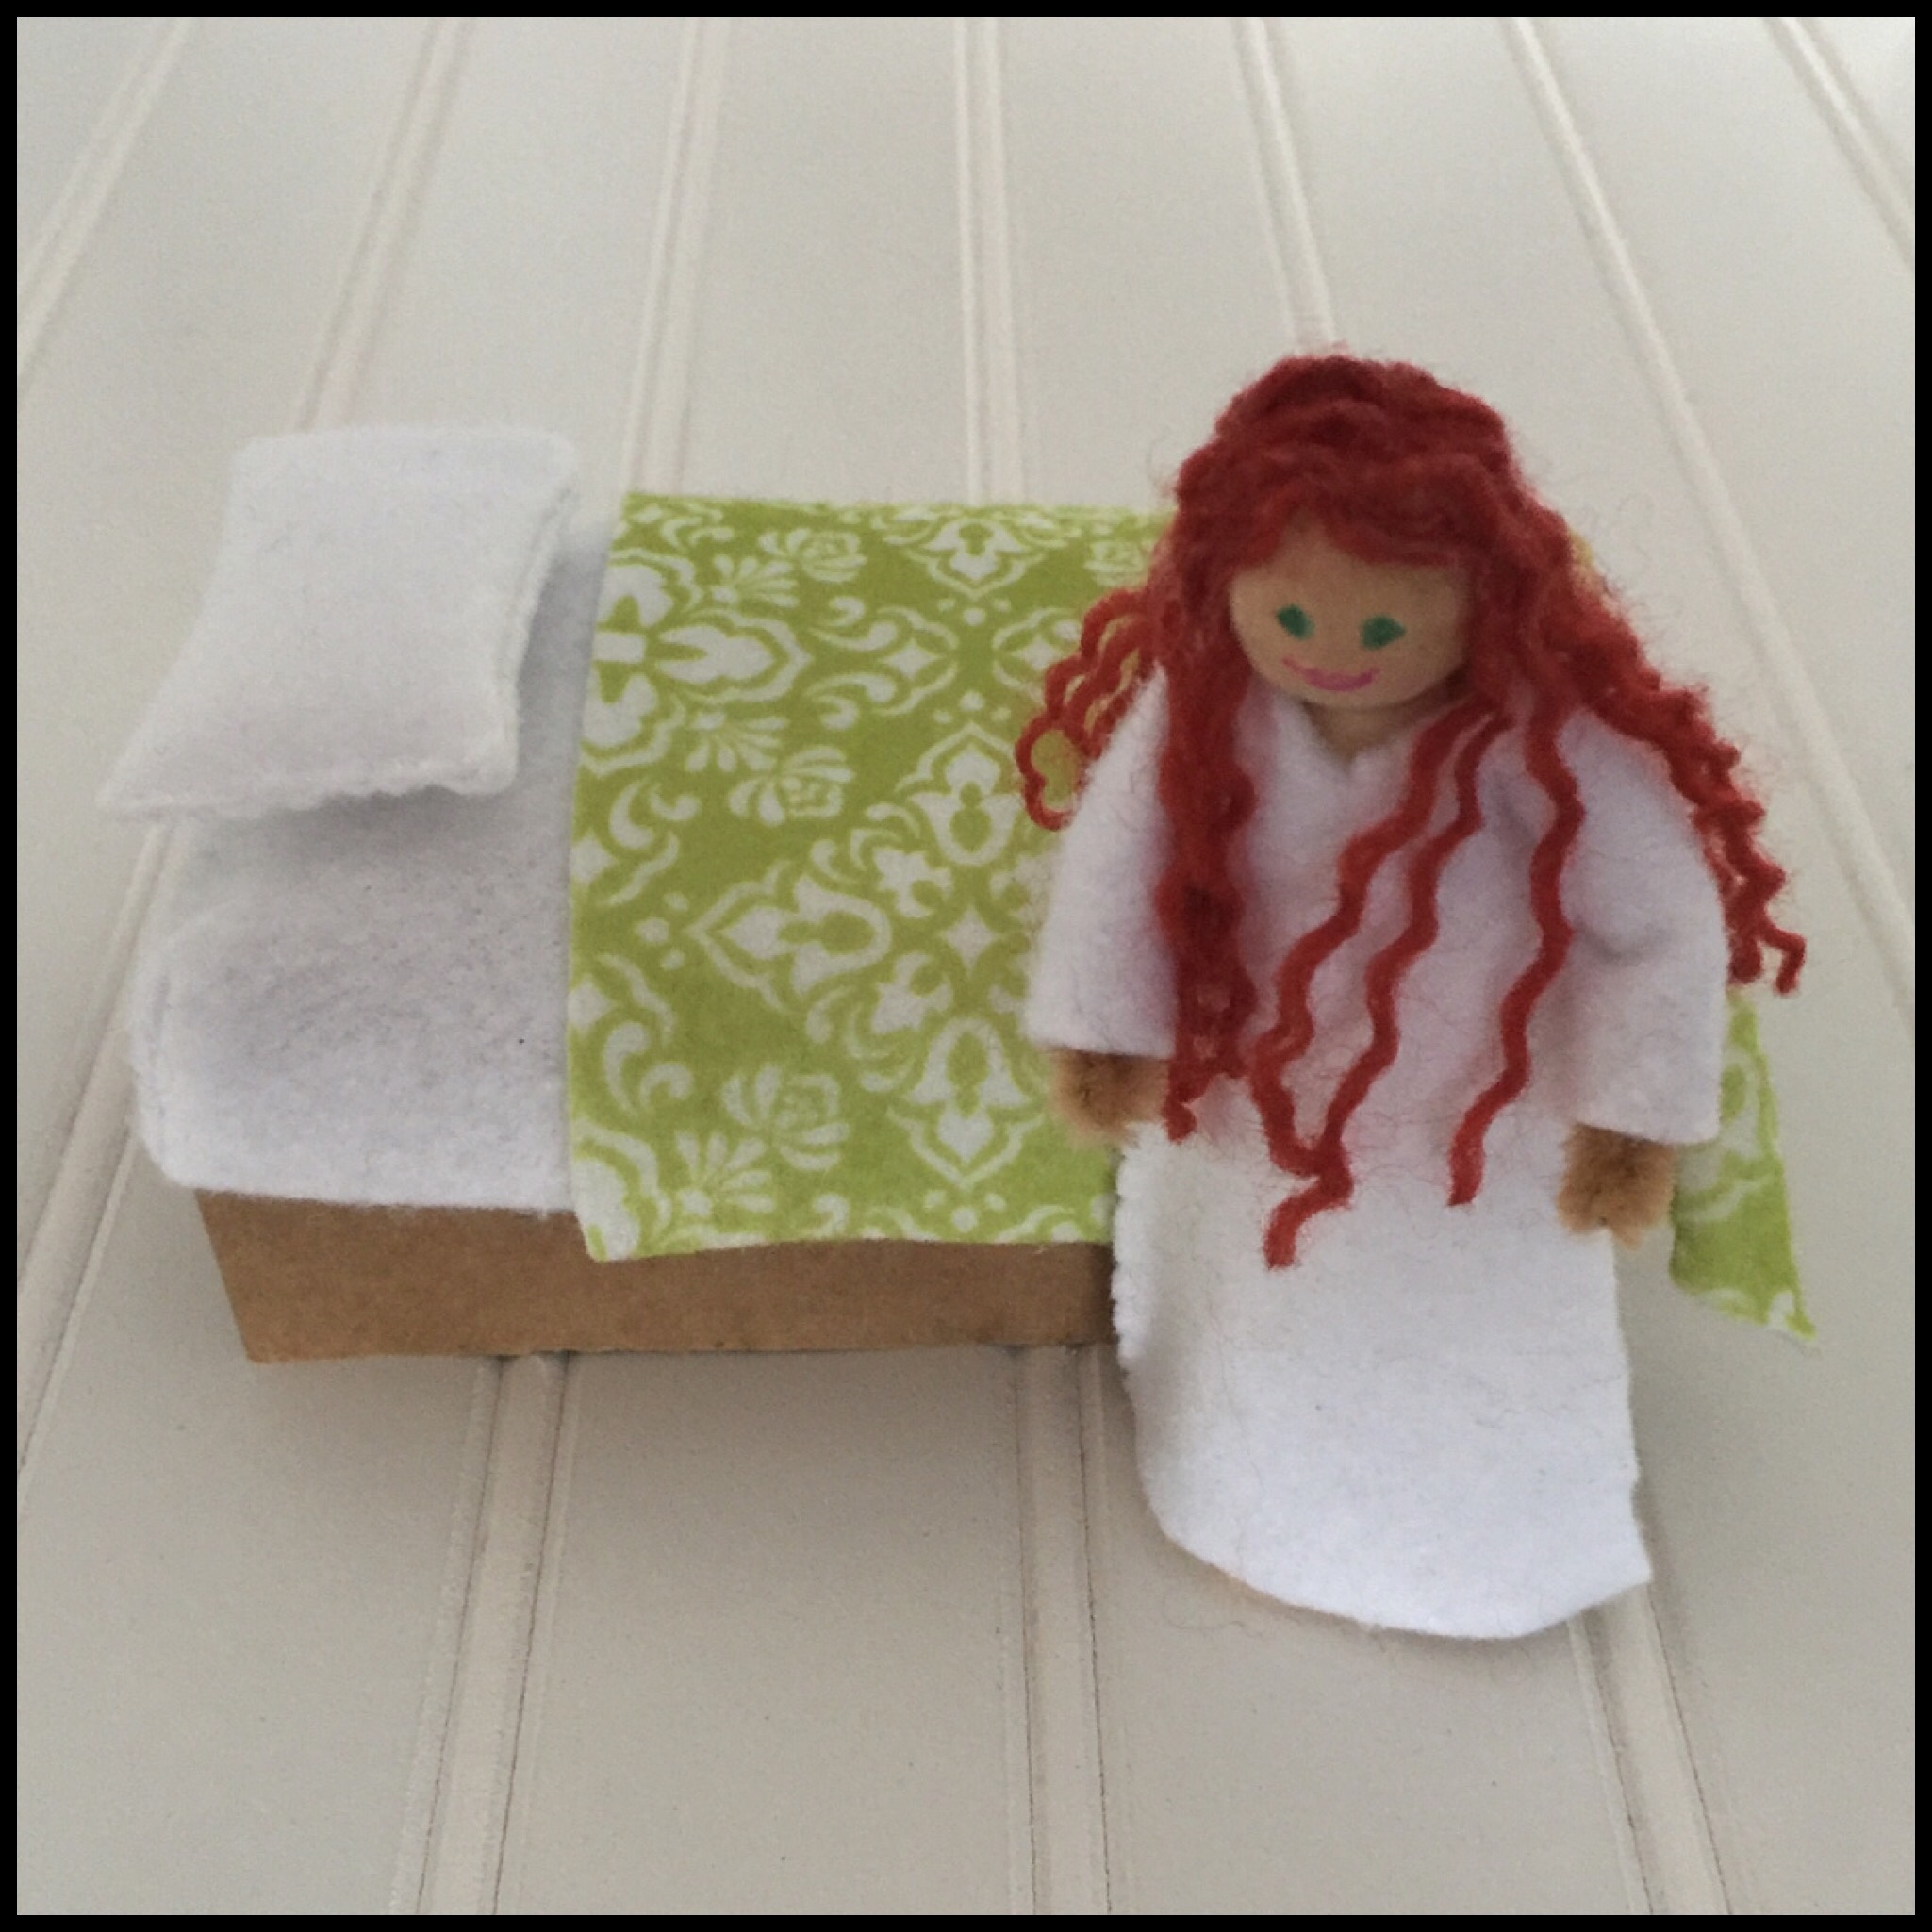
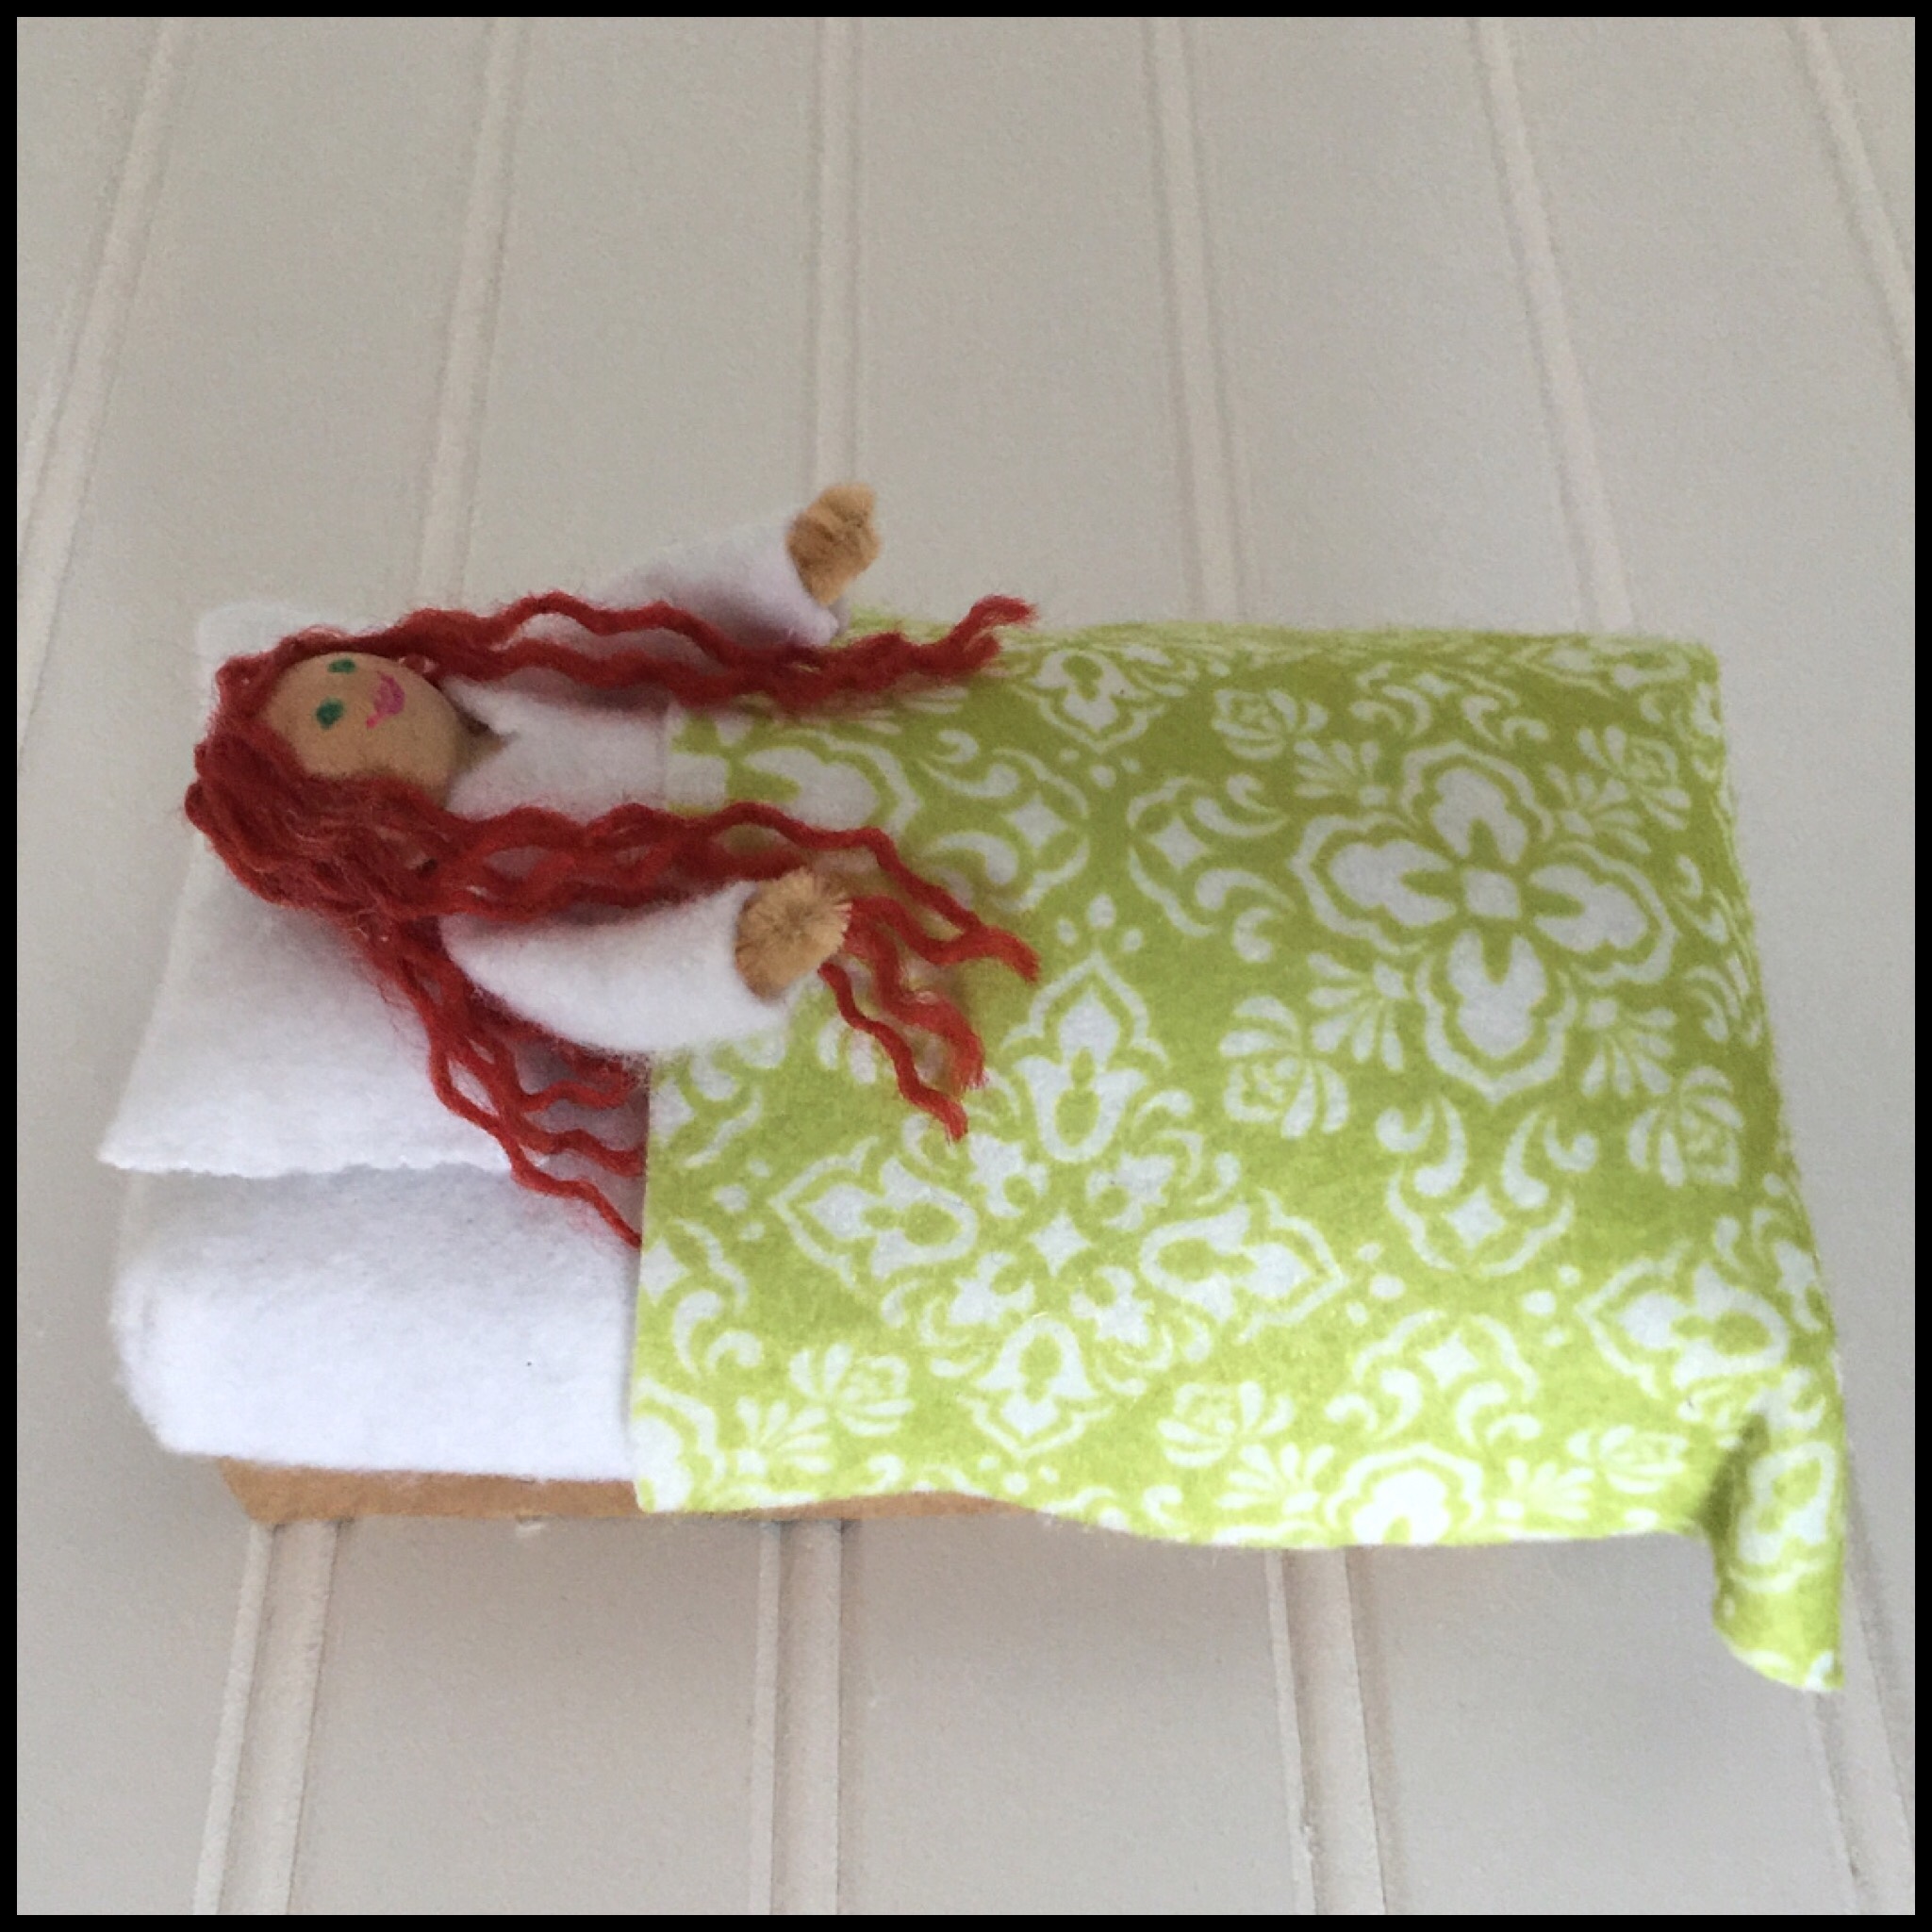
Here is our finished tiny Bridget and her bed!
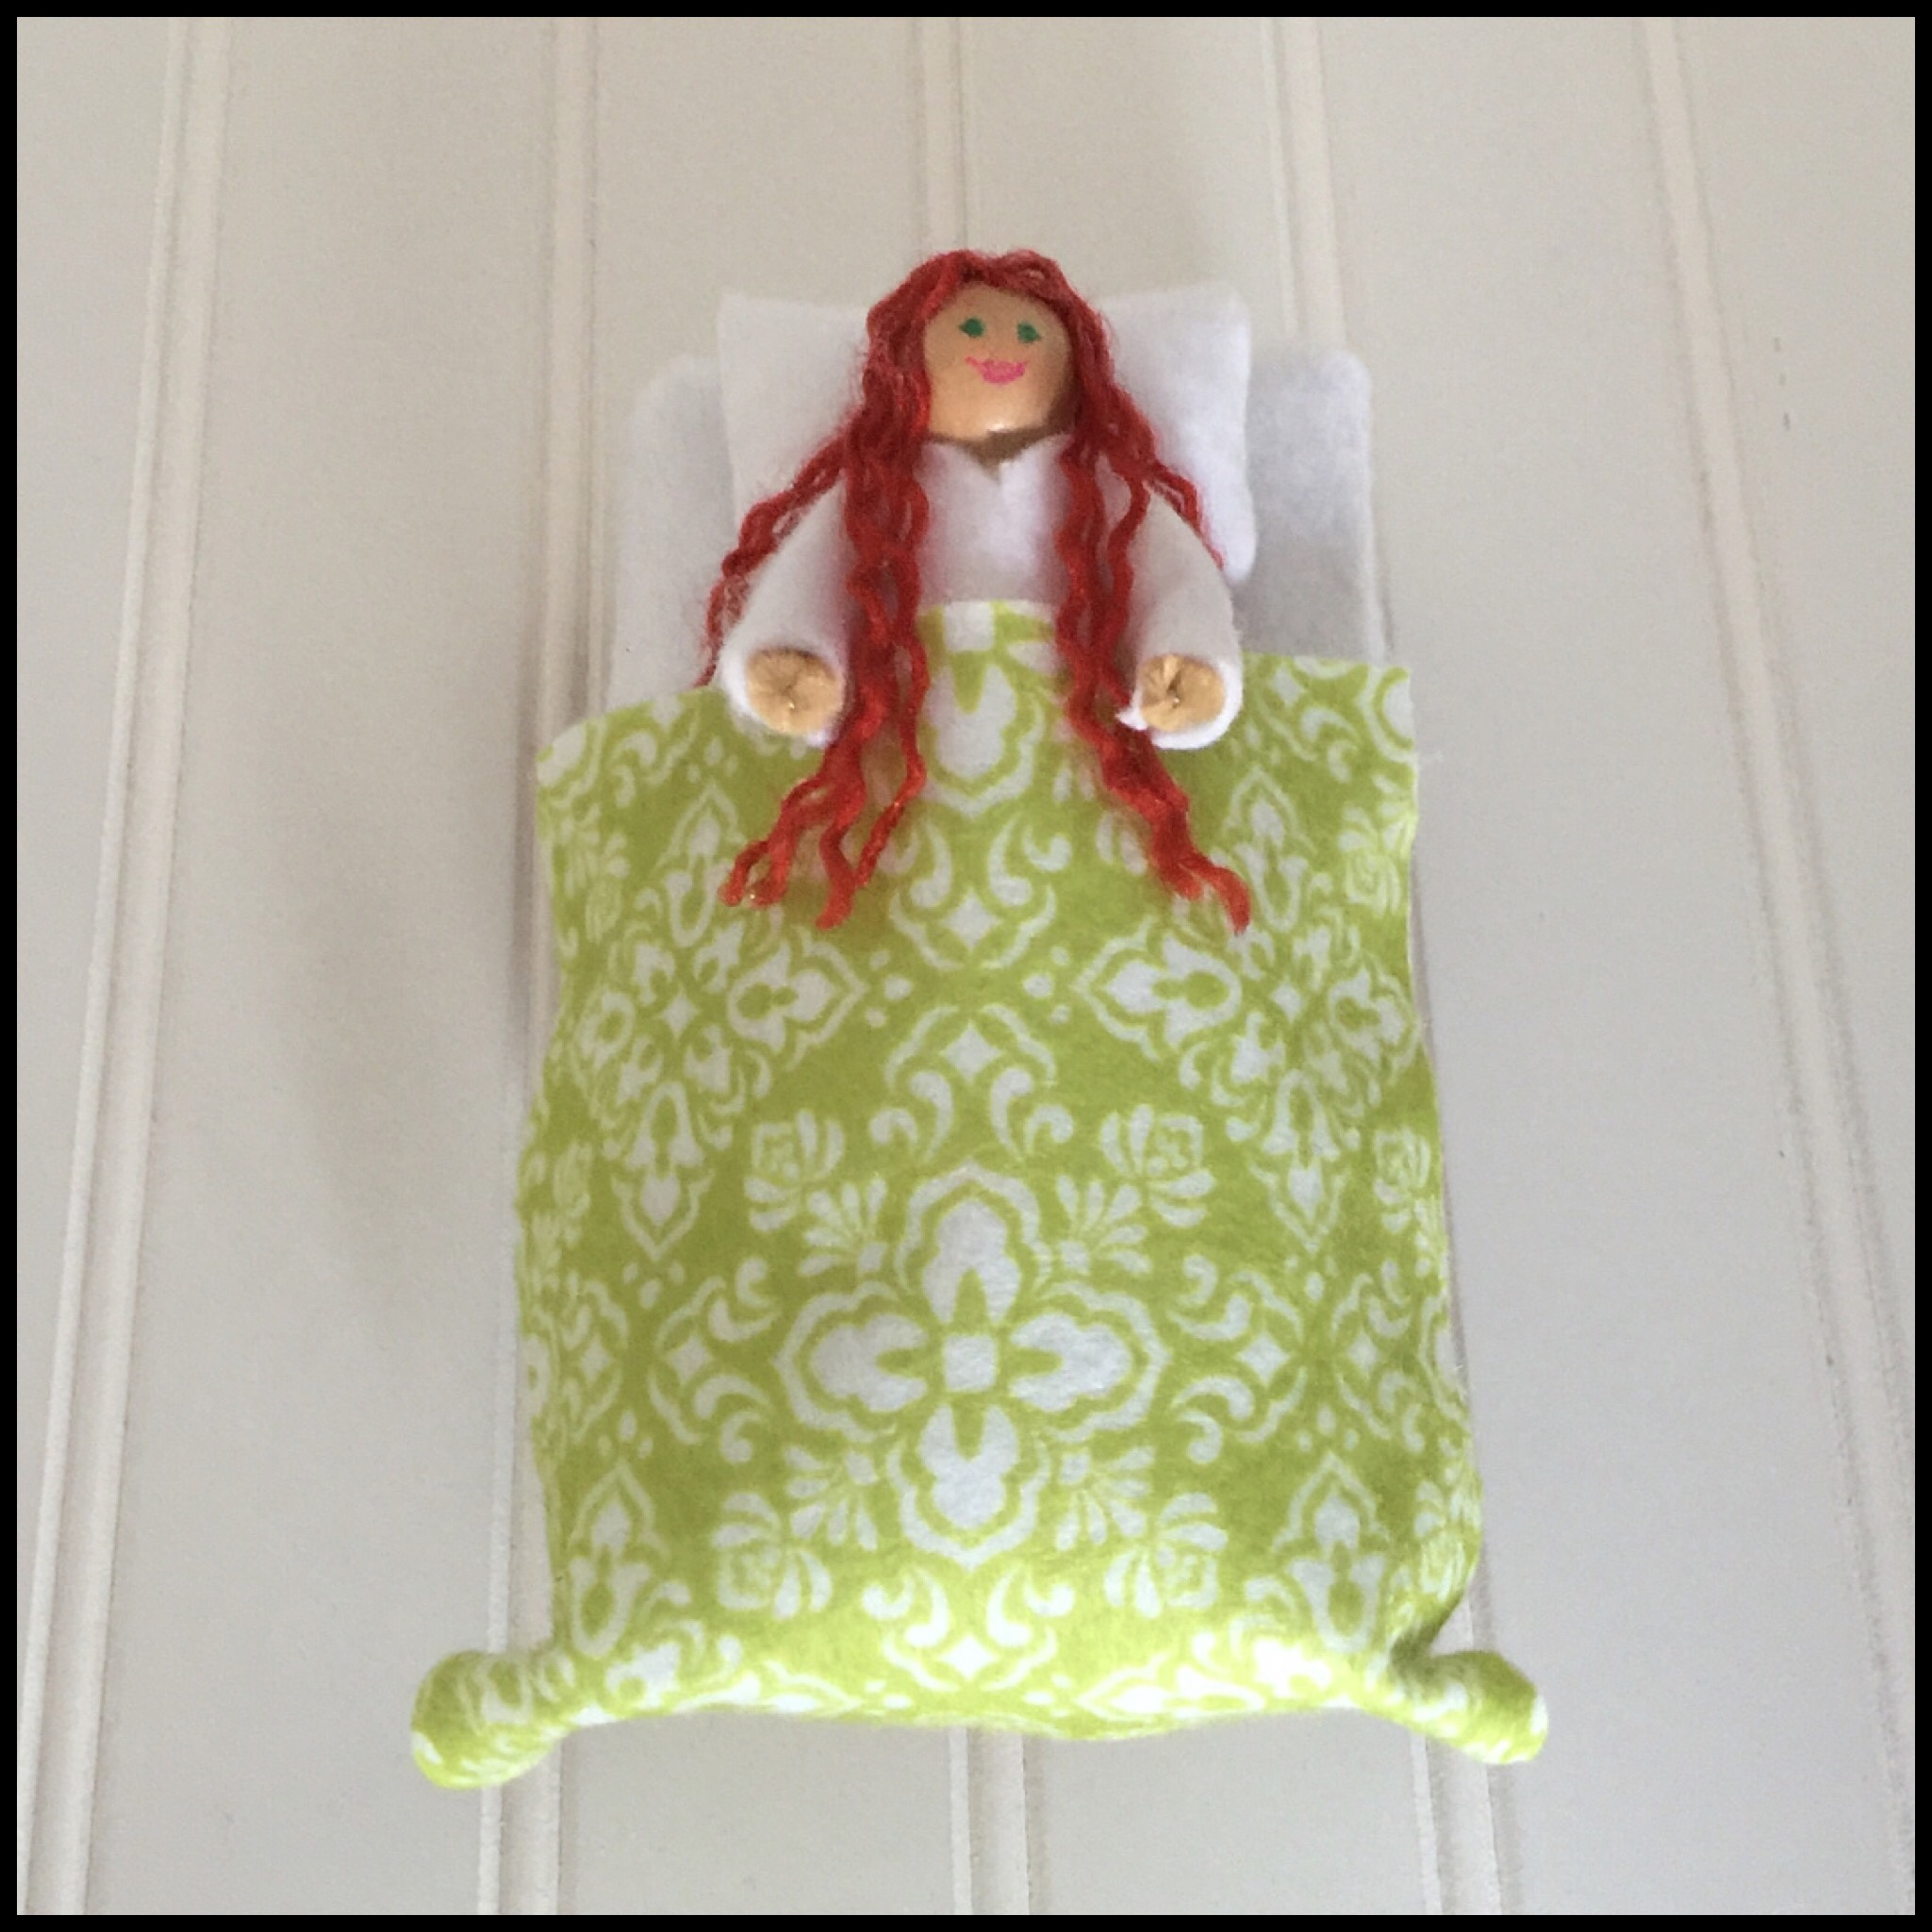
We wish you a very blessed Imbolc!
Now you have inspired me! Love this! Blessed Imbolc to you as well!
Thank you so much!
how truly magical making a mini Brigid doll thanks for sharing!! Imbolc Blessings!!
Thank you, Karen! Blessed Imbolc!
This is such an adorable Brigid doll and the bed is so clever
Thank you!