My grandma taught me how to make pie crust when I was nine years old, and I still follow her instructions. I love to make all sorts of pies, and leftover pie for breakfast is the best! This pie crust is really easy to work with, rolls out nicely, and can be shaped any way you like!
This recipe is for making a pie with both a bottom and top crust. Use my single crust recipe for any single crust pie, whether or not you will be blind baking it. (The single crust recipe makes ten percent more dough than half of this double crust recipe does. This makes it possible to roll the dough out to a large enough circle to be able to fold the edge over for a double thick edge.)
Here are the ingredients you will need to make a double crust:
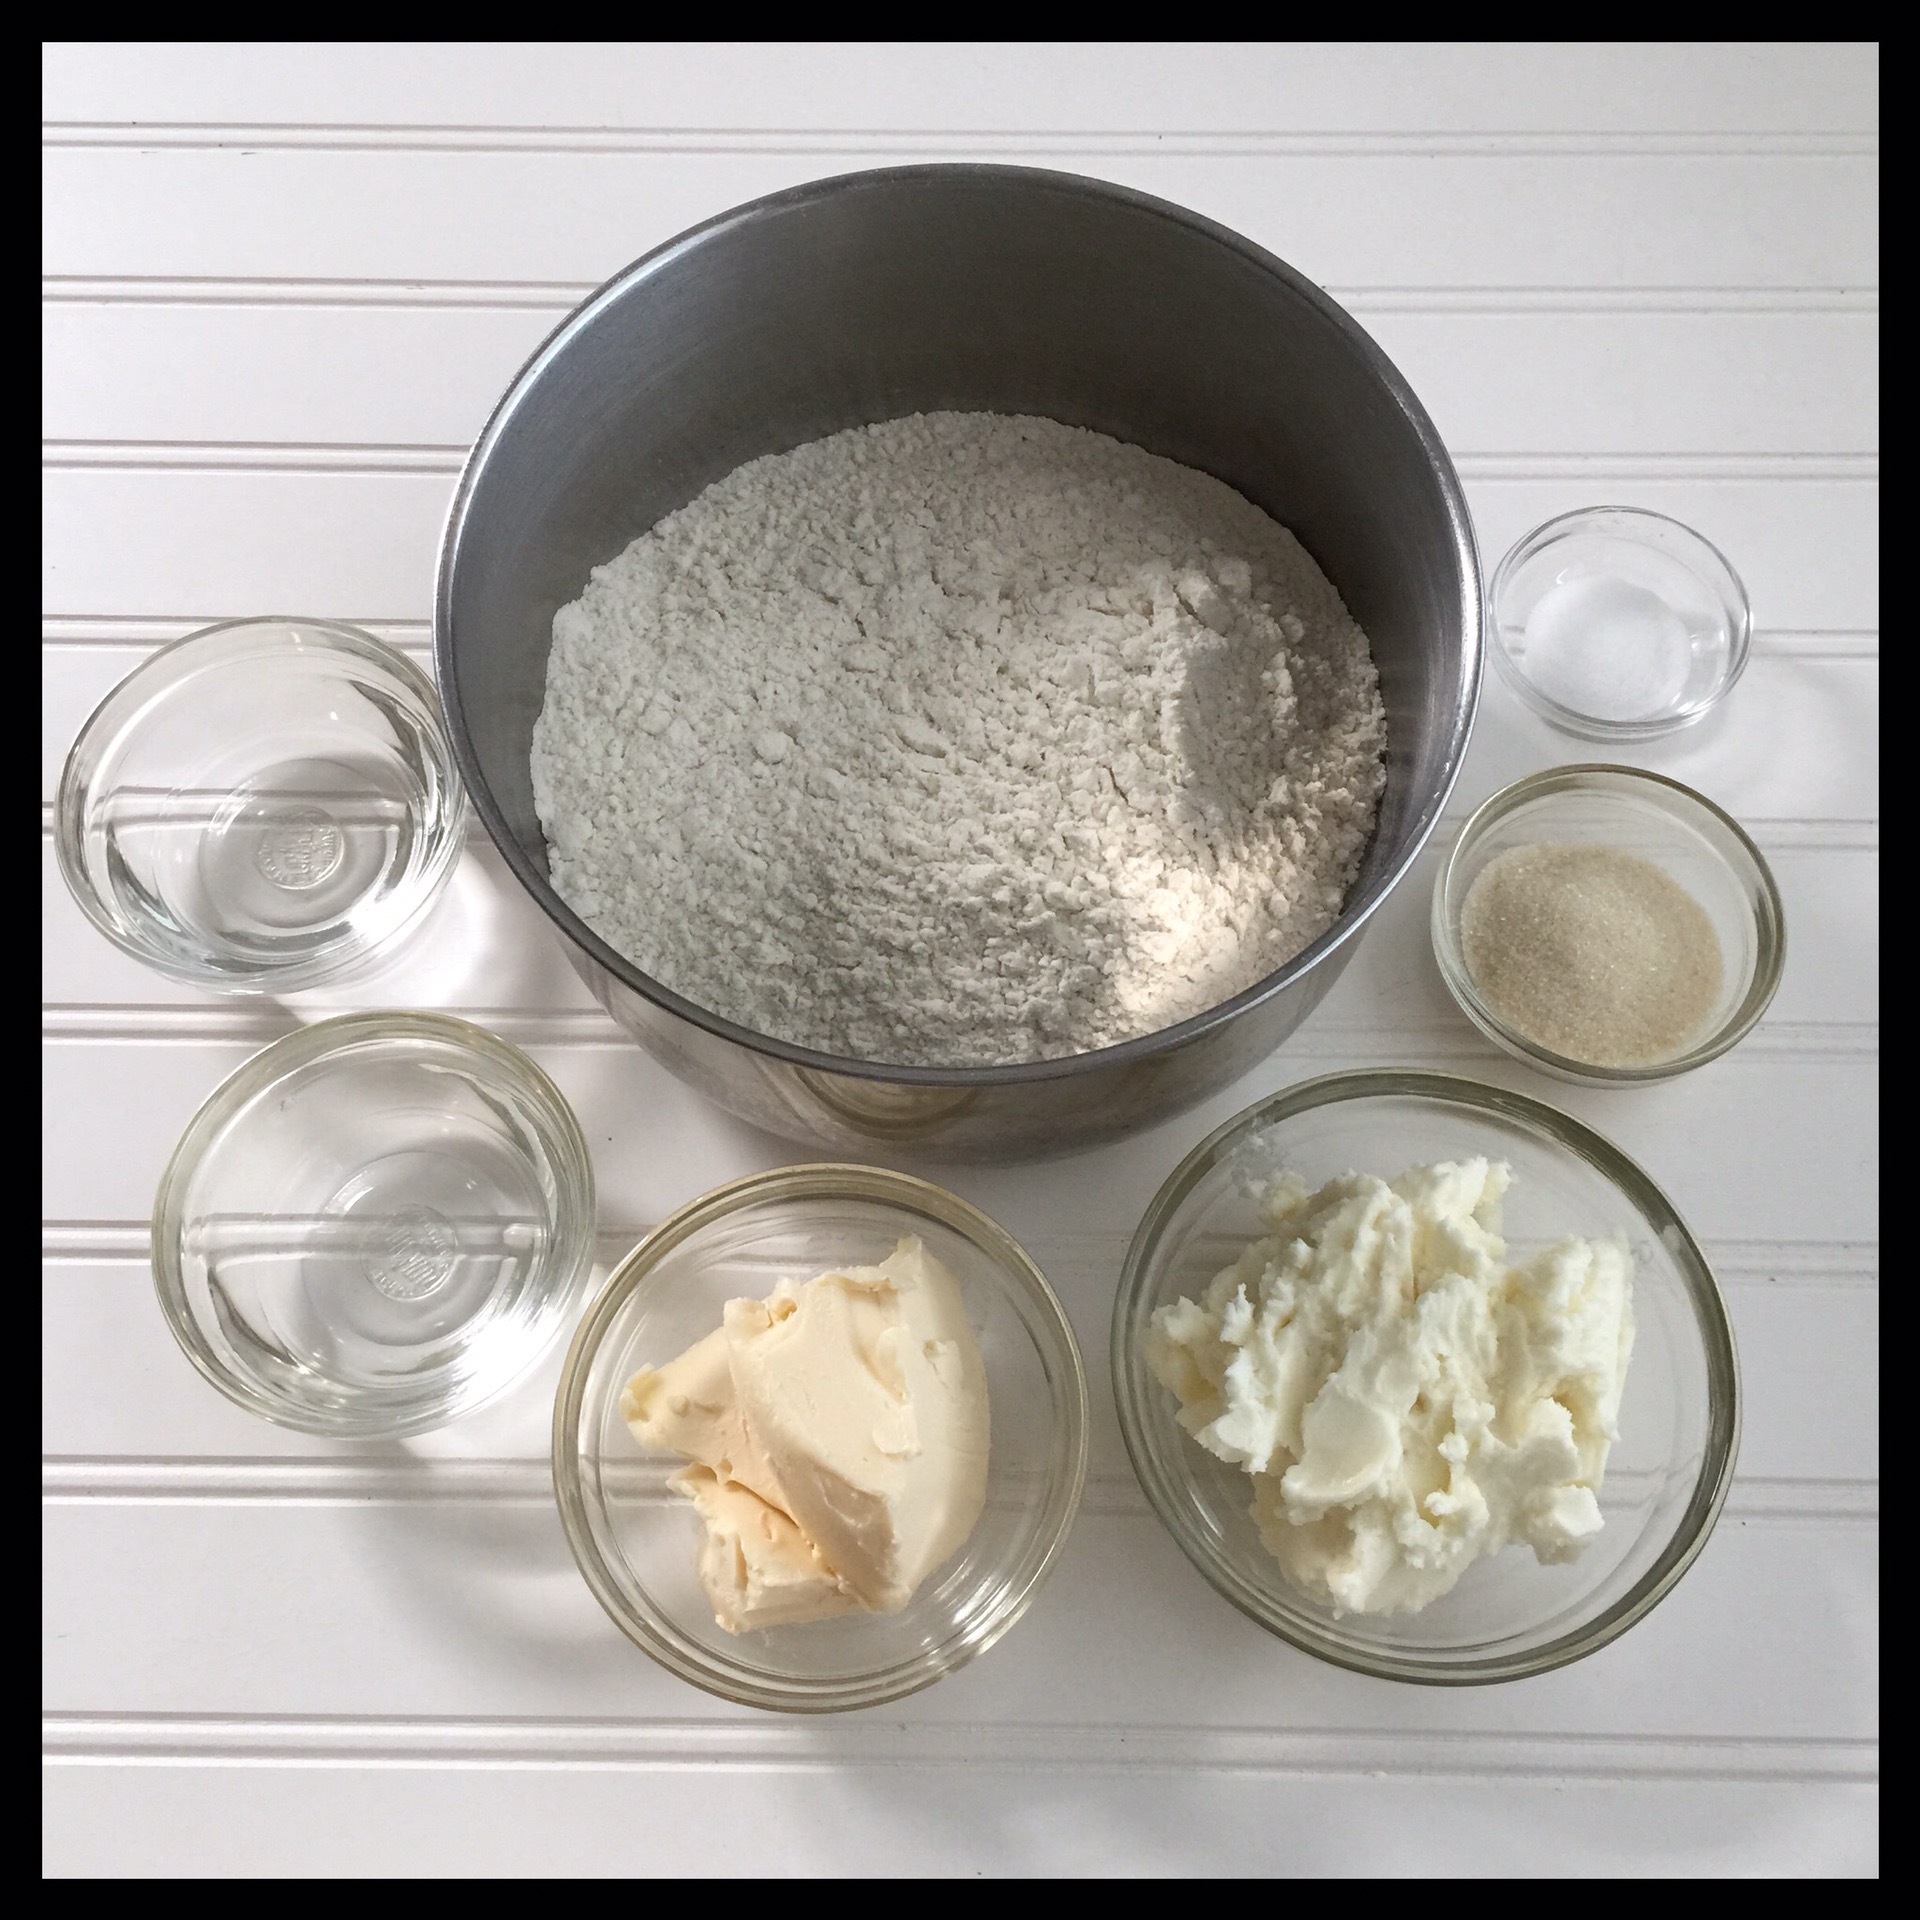
You will also need waxed paper, a sturdy fork, a rolling pin, a pie pan, and a work surface on which you don’t mind getting grease spots. A pastry cutter is very helpful as well. You can use the fork to cut in the fat, but it takes a lot longer than using a pastry cutter.

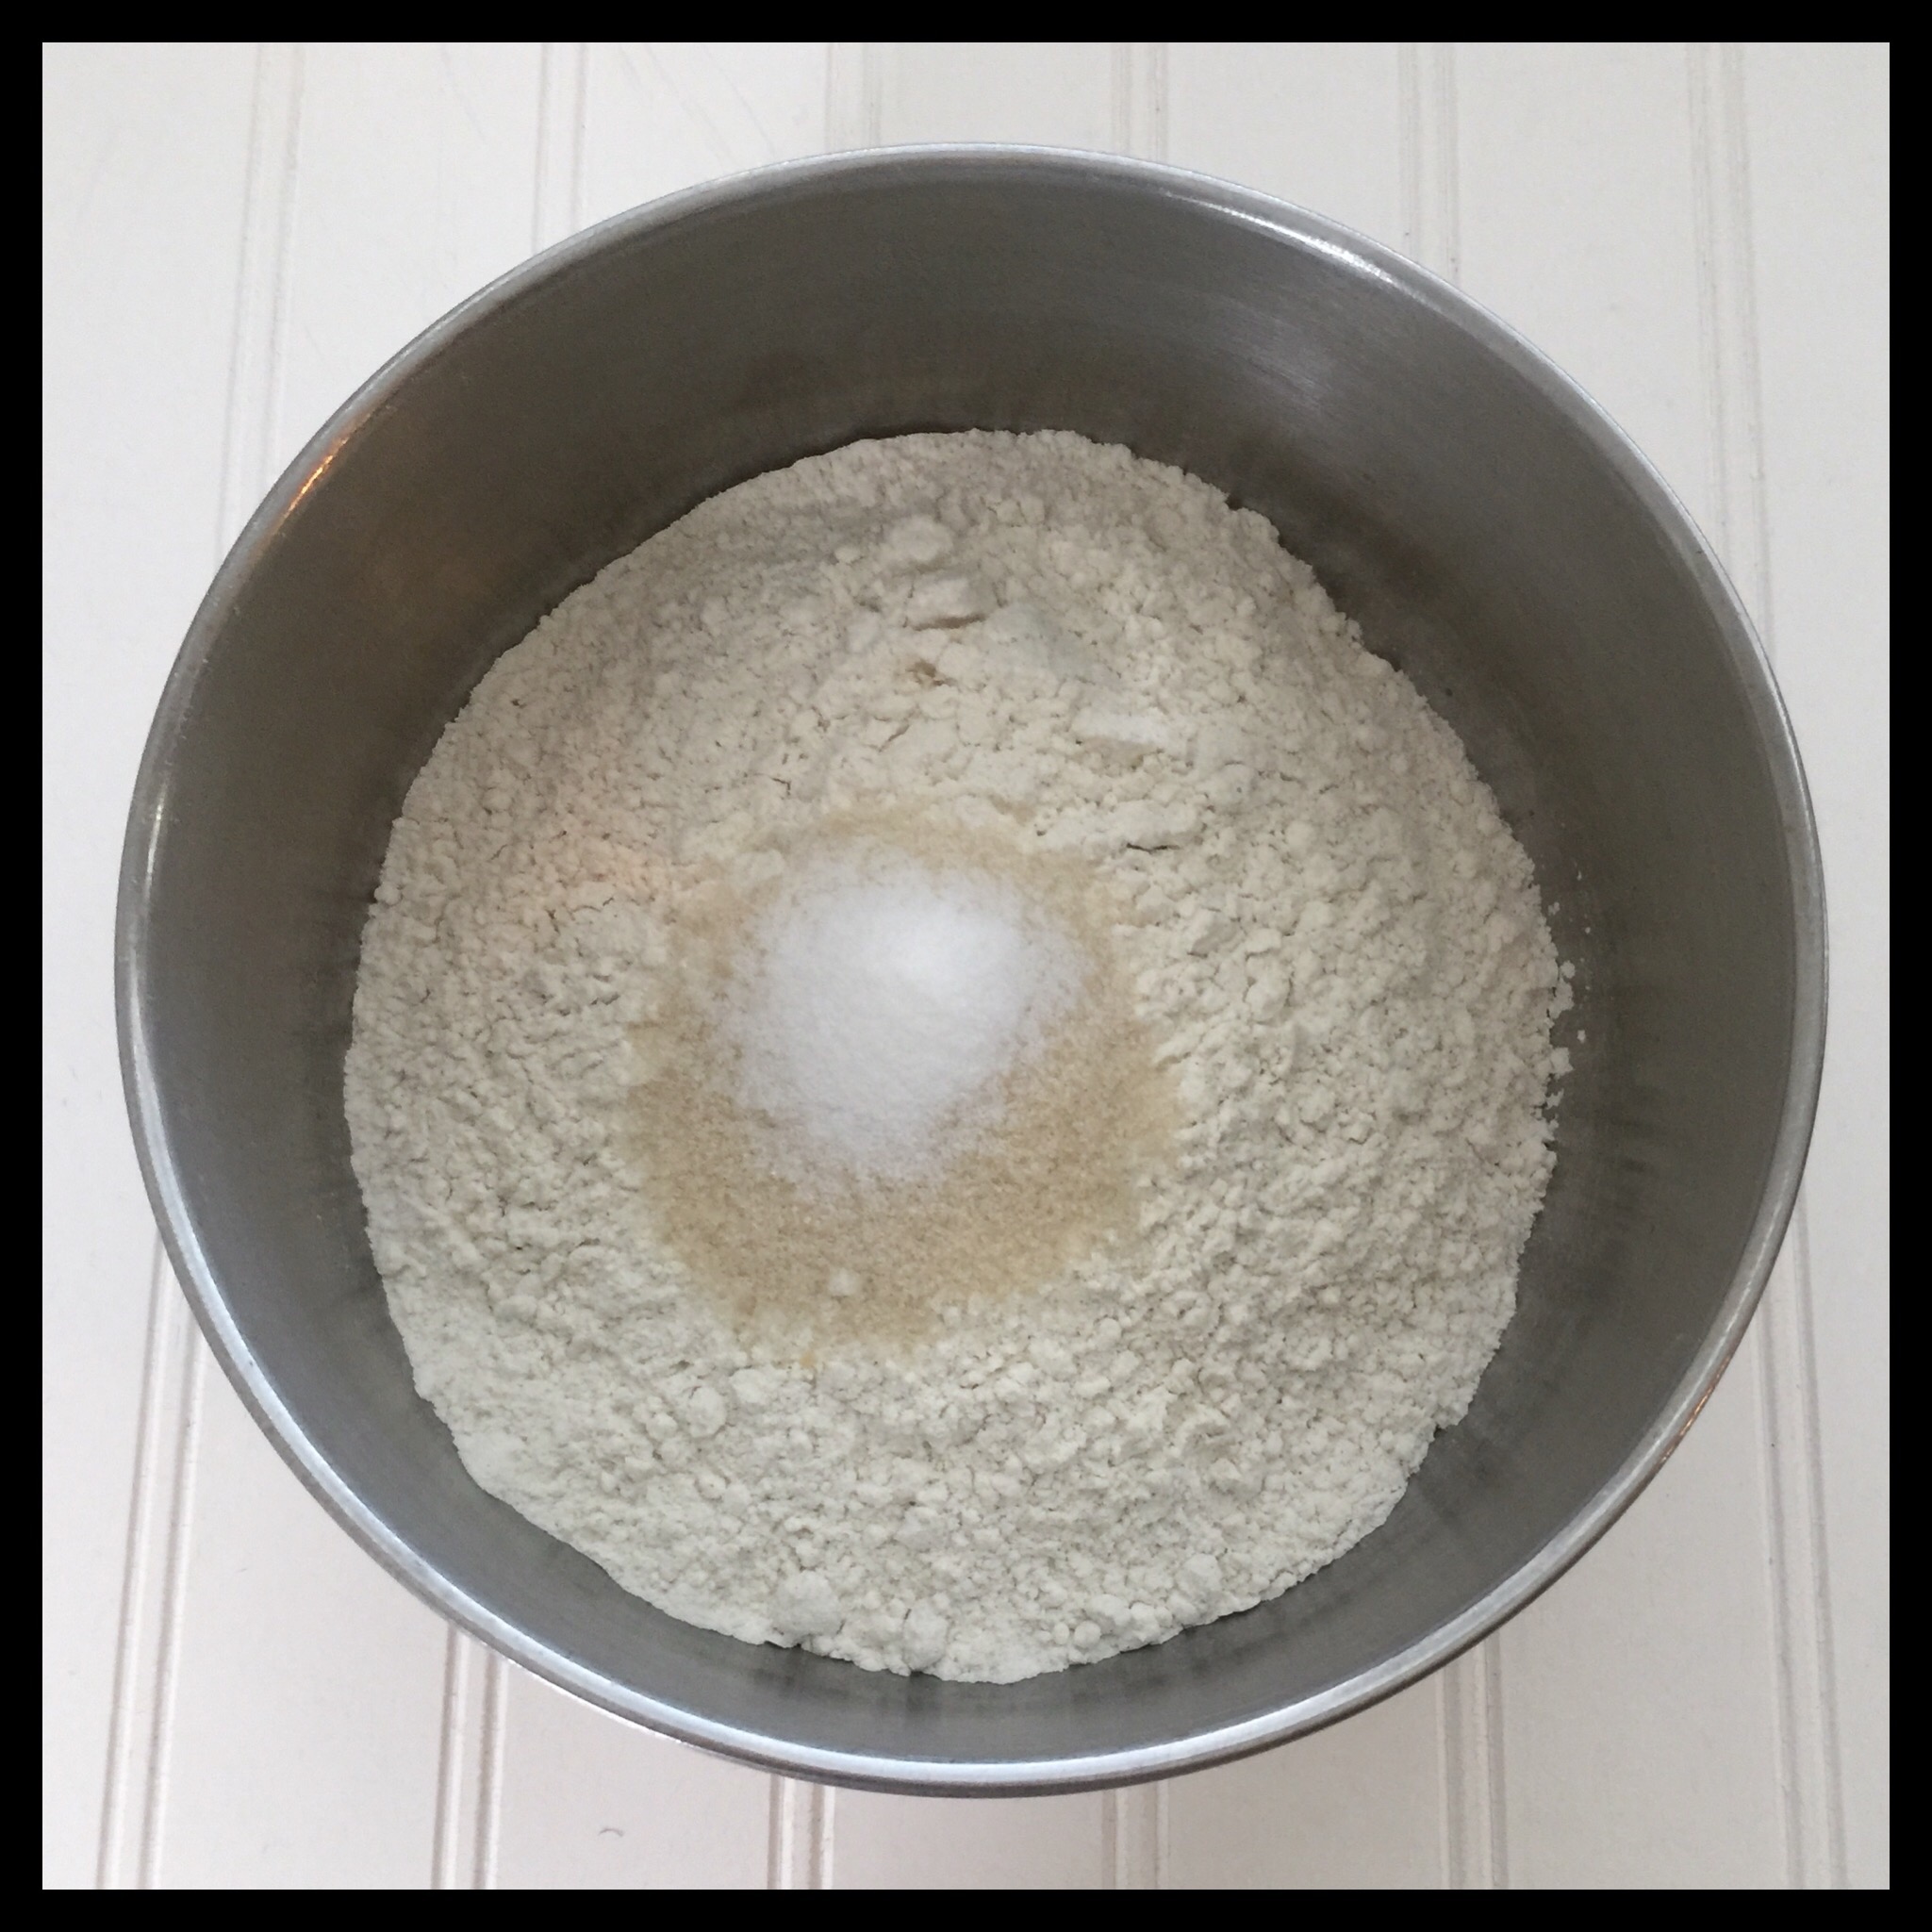
Add the sugar and salt to the flour:
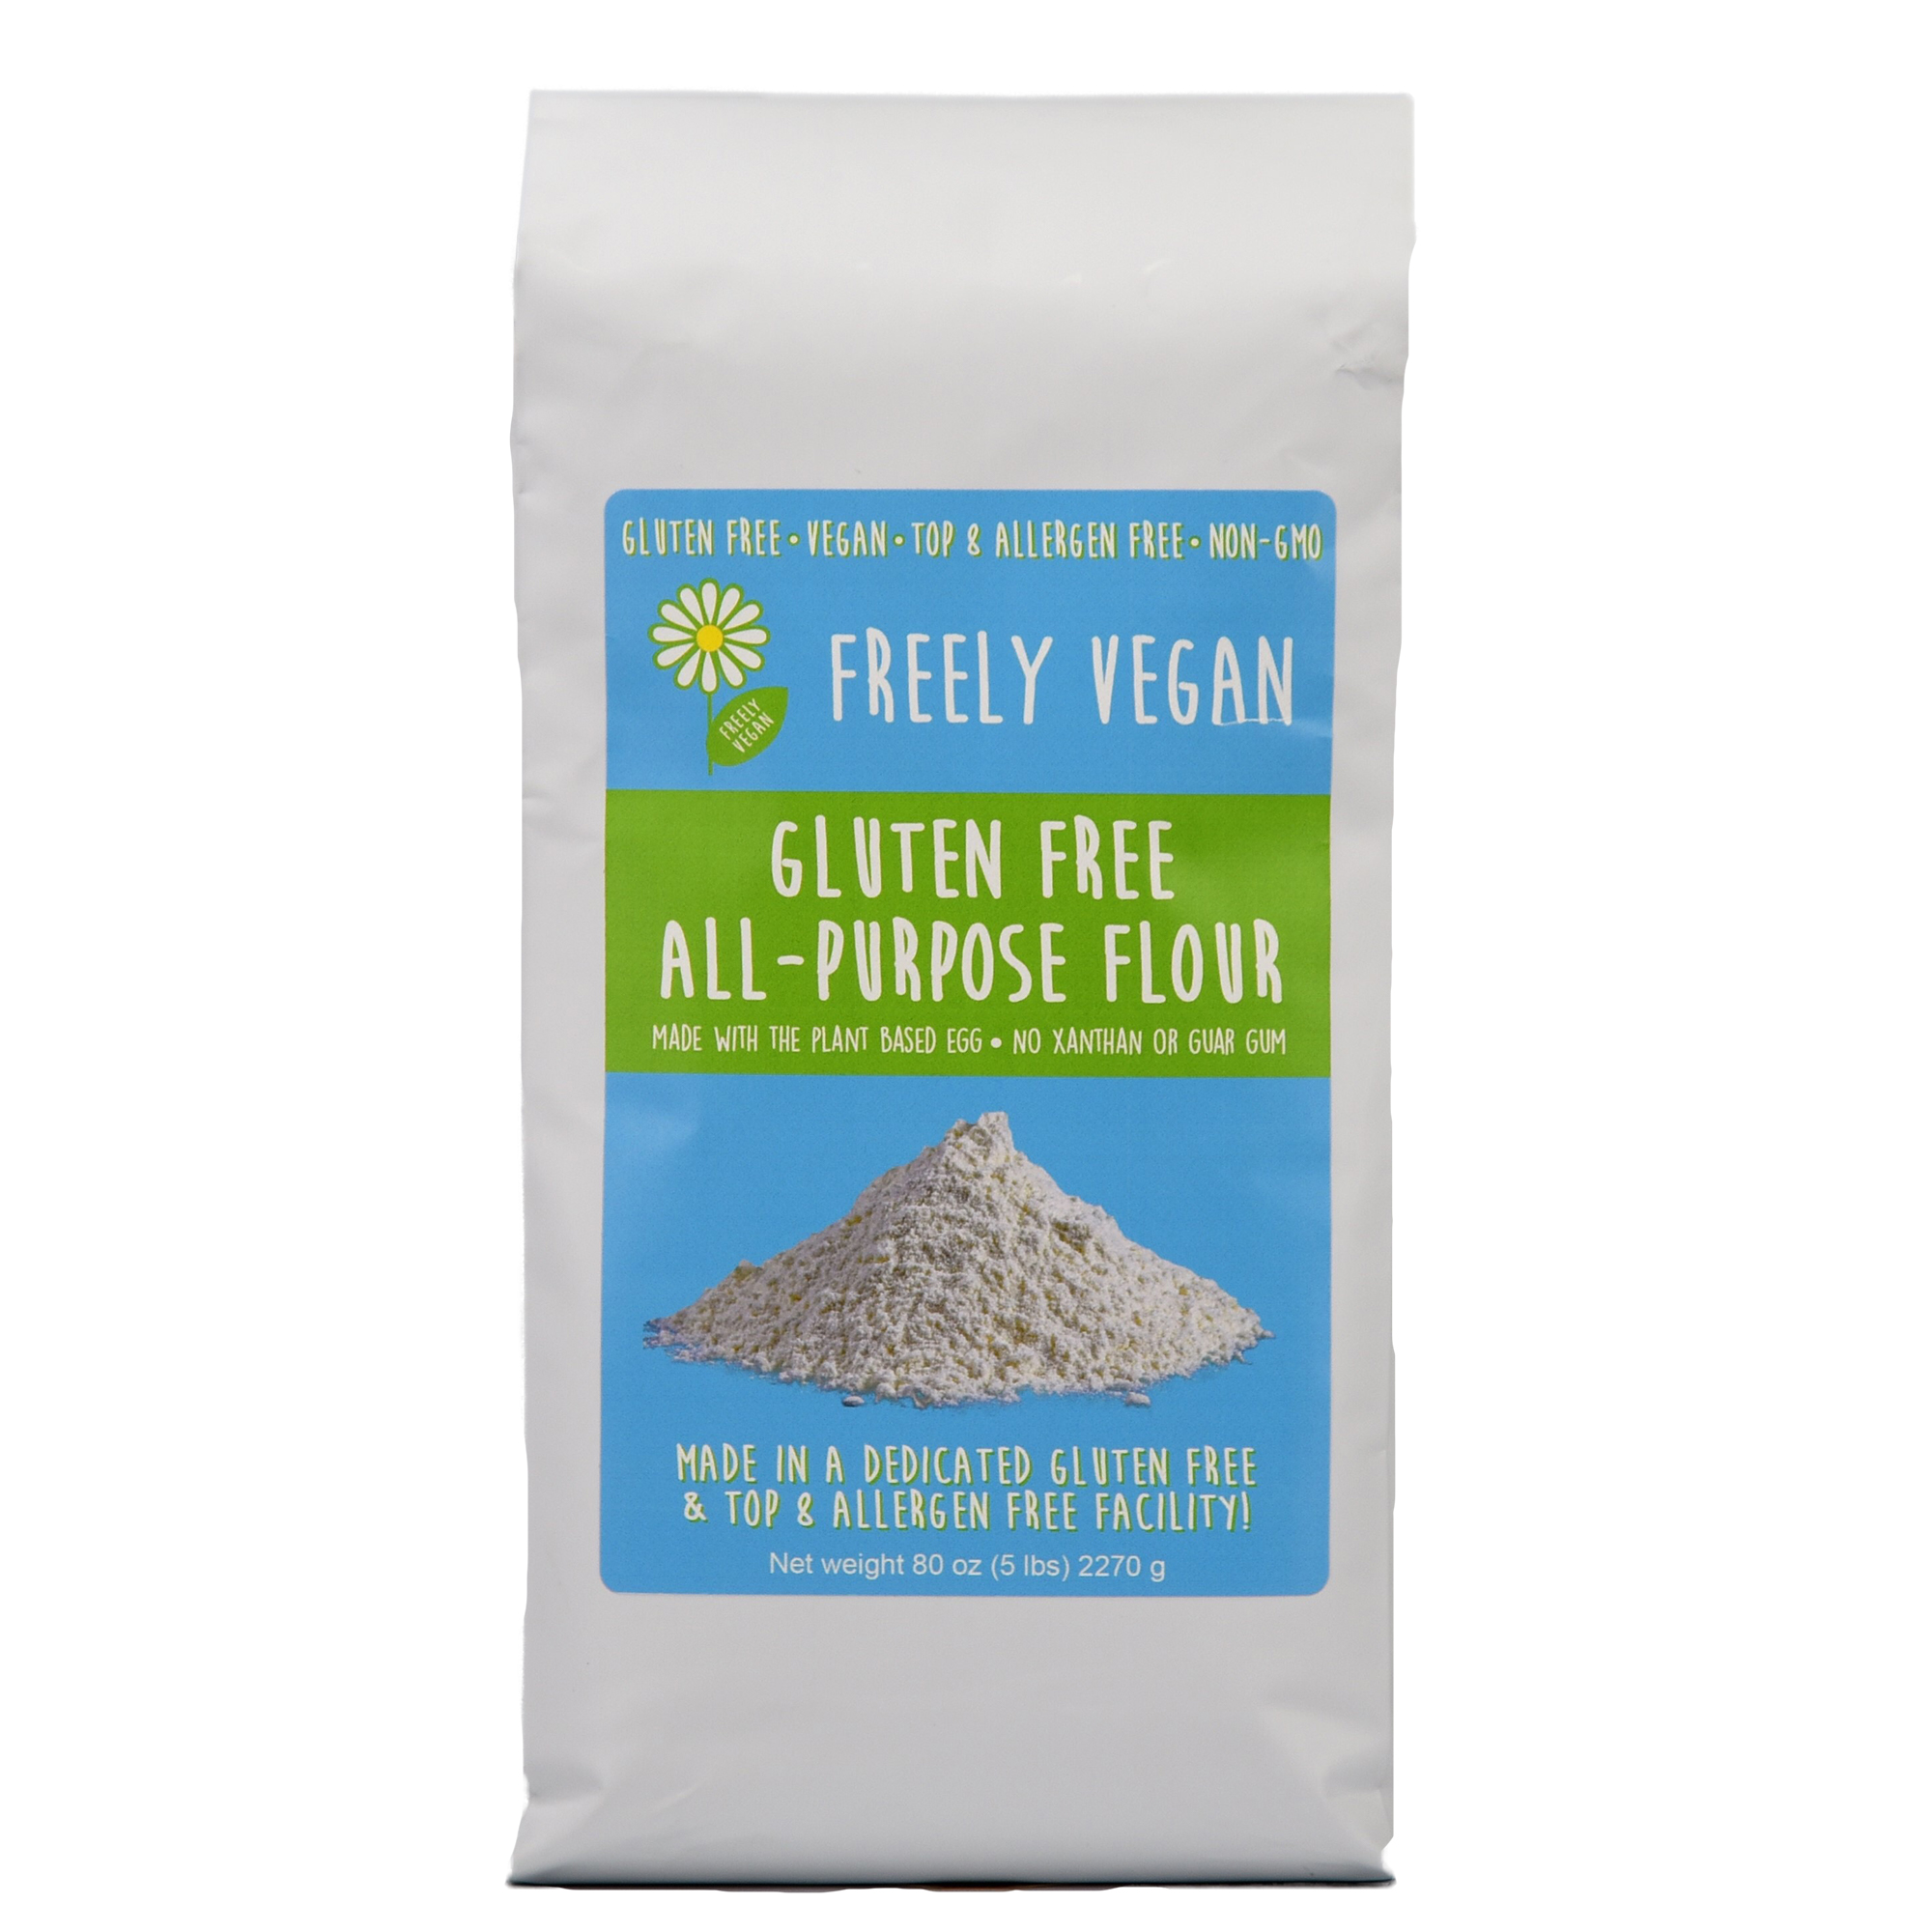
I use Freely Vegan flour to make pie crust, but my two-ingredient gluten free flour blend also works very well. I have not tested this recipe with all of my other DIY GF flour blends. Most should work, but you may not get the results shown here. I have tested this recipe with Bob’s Red Mill 1:1 gluten free flour blend and got pretty good results. The texture of the Bob’s was not as fabulous as mine, but was still good.
I highly recommend weighing the flour because different flour blends have different densities, and measuring flour is inaccurate anyway. If you do measure, spoon the flour into your measuring cup, then level it with a straight edge.
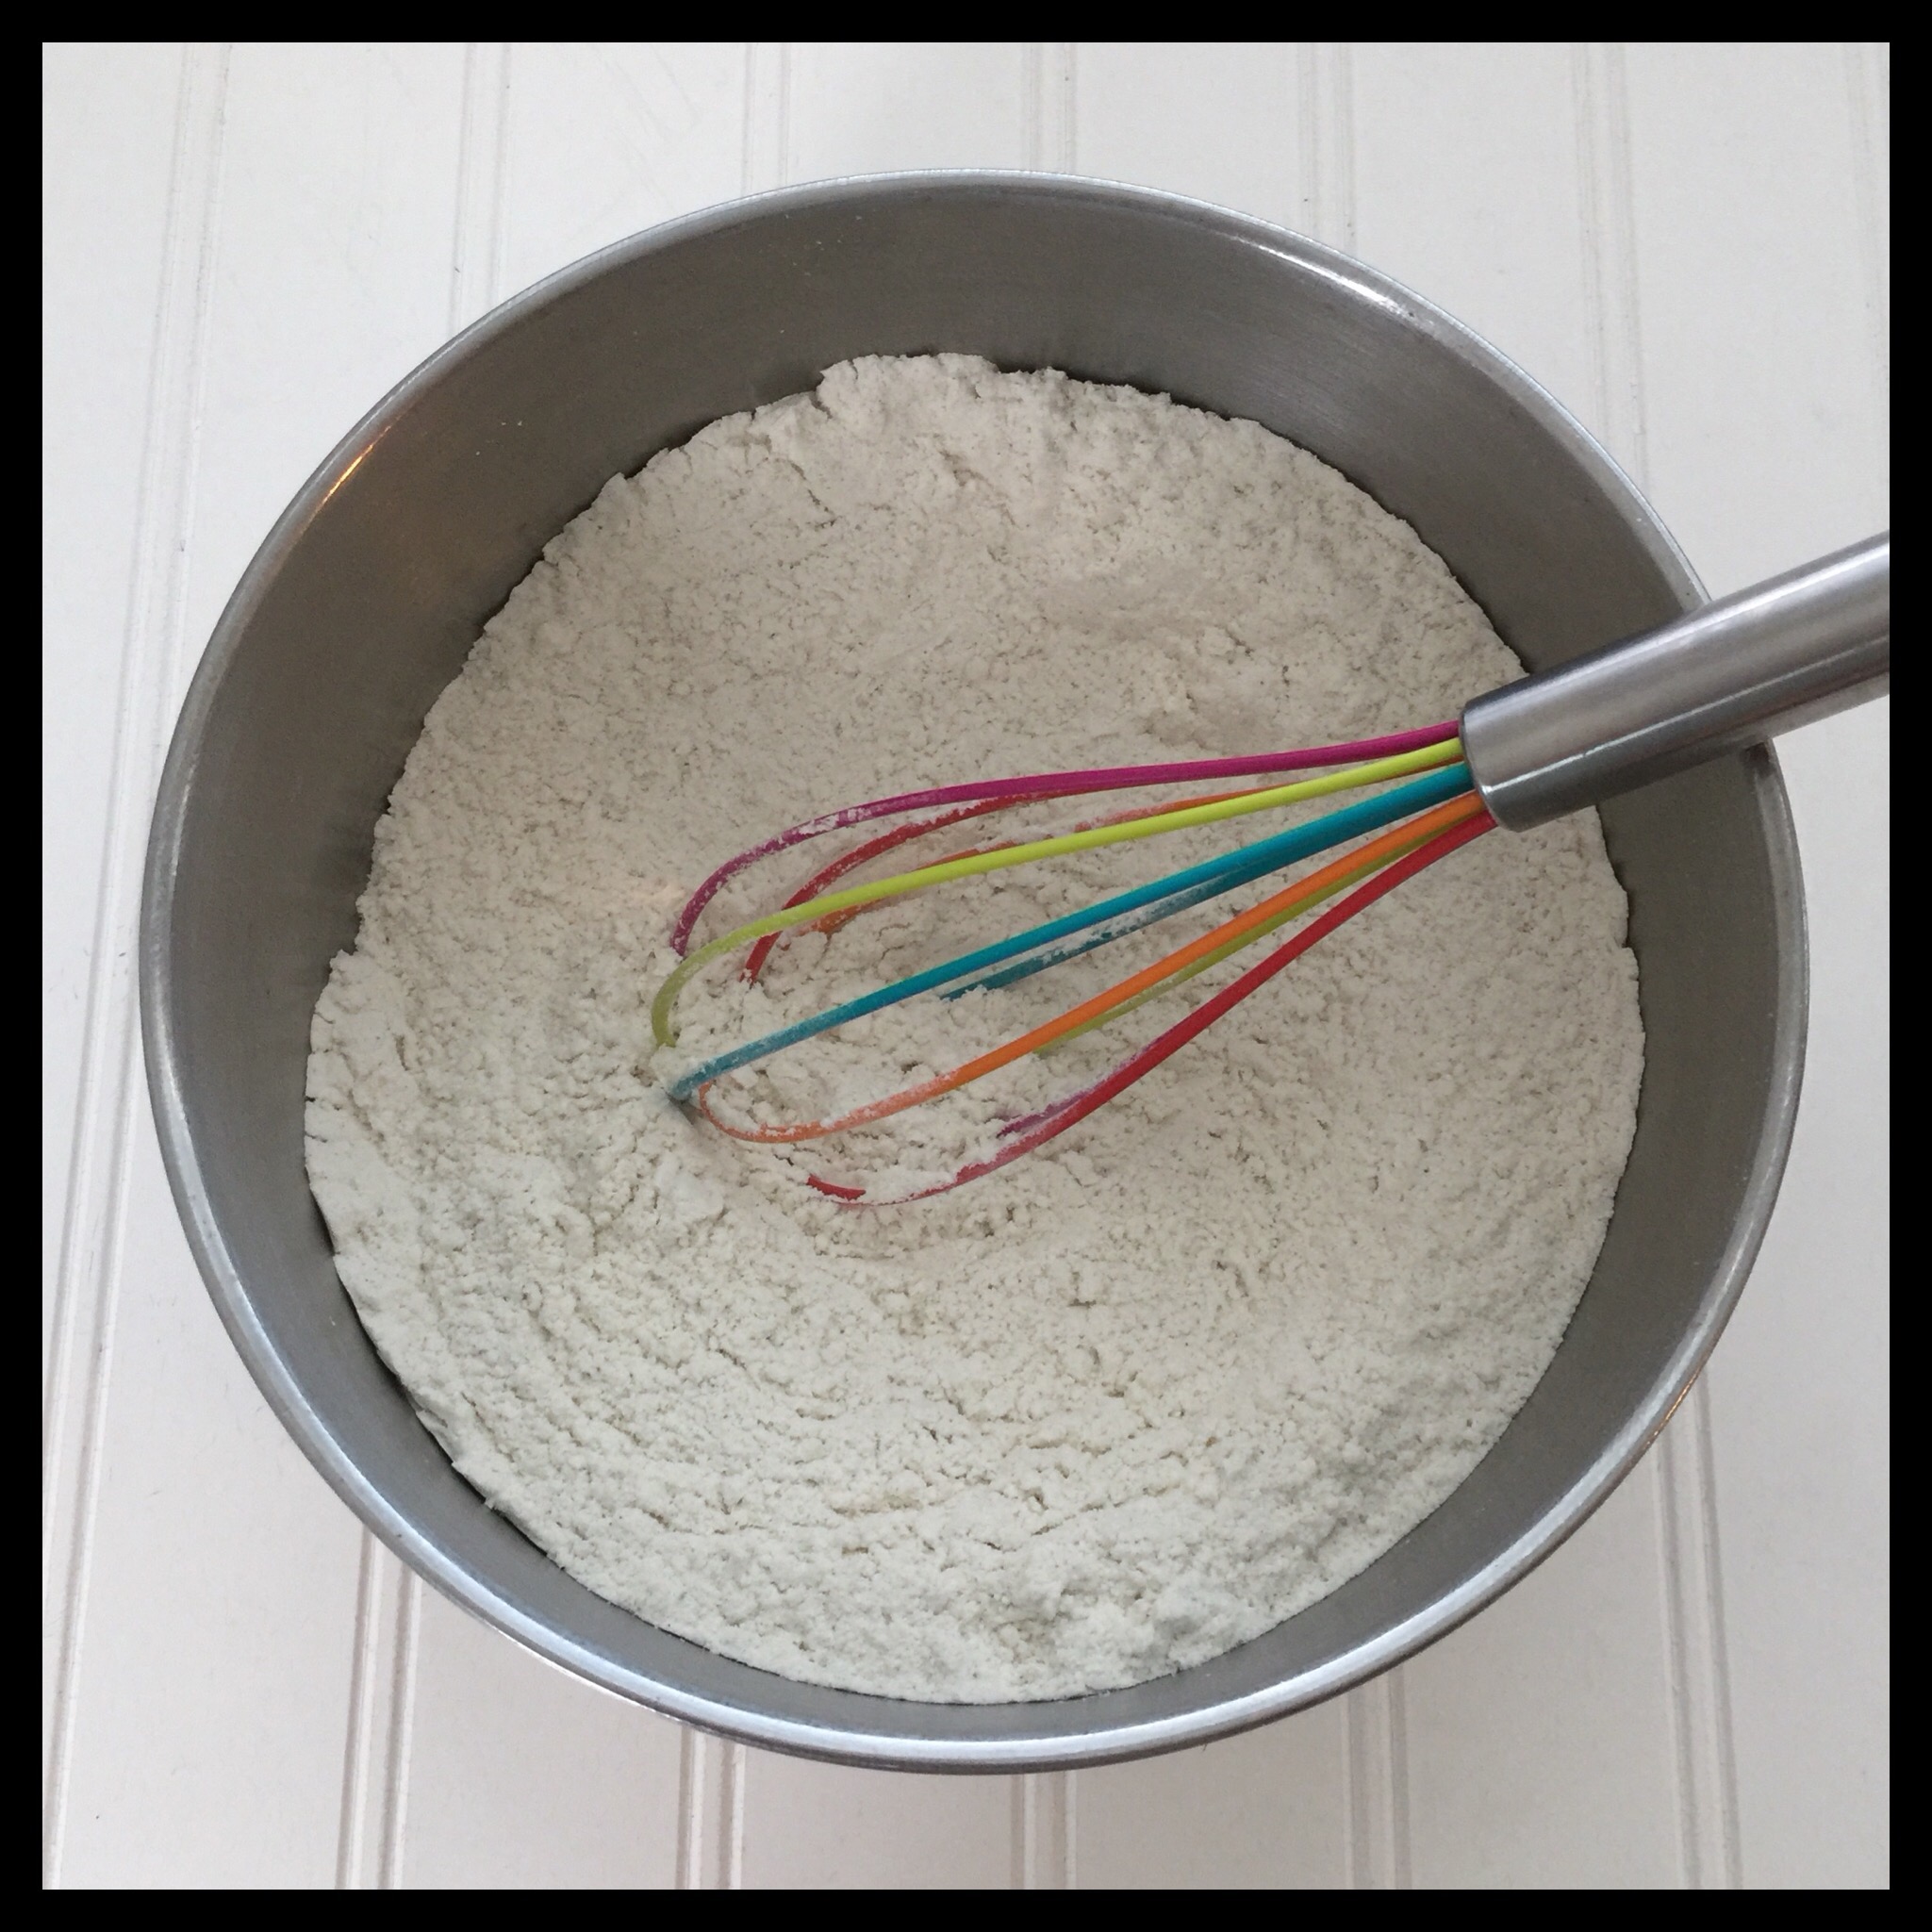
Whisk the flour, salt, and sugar together:
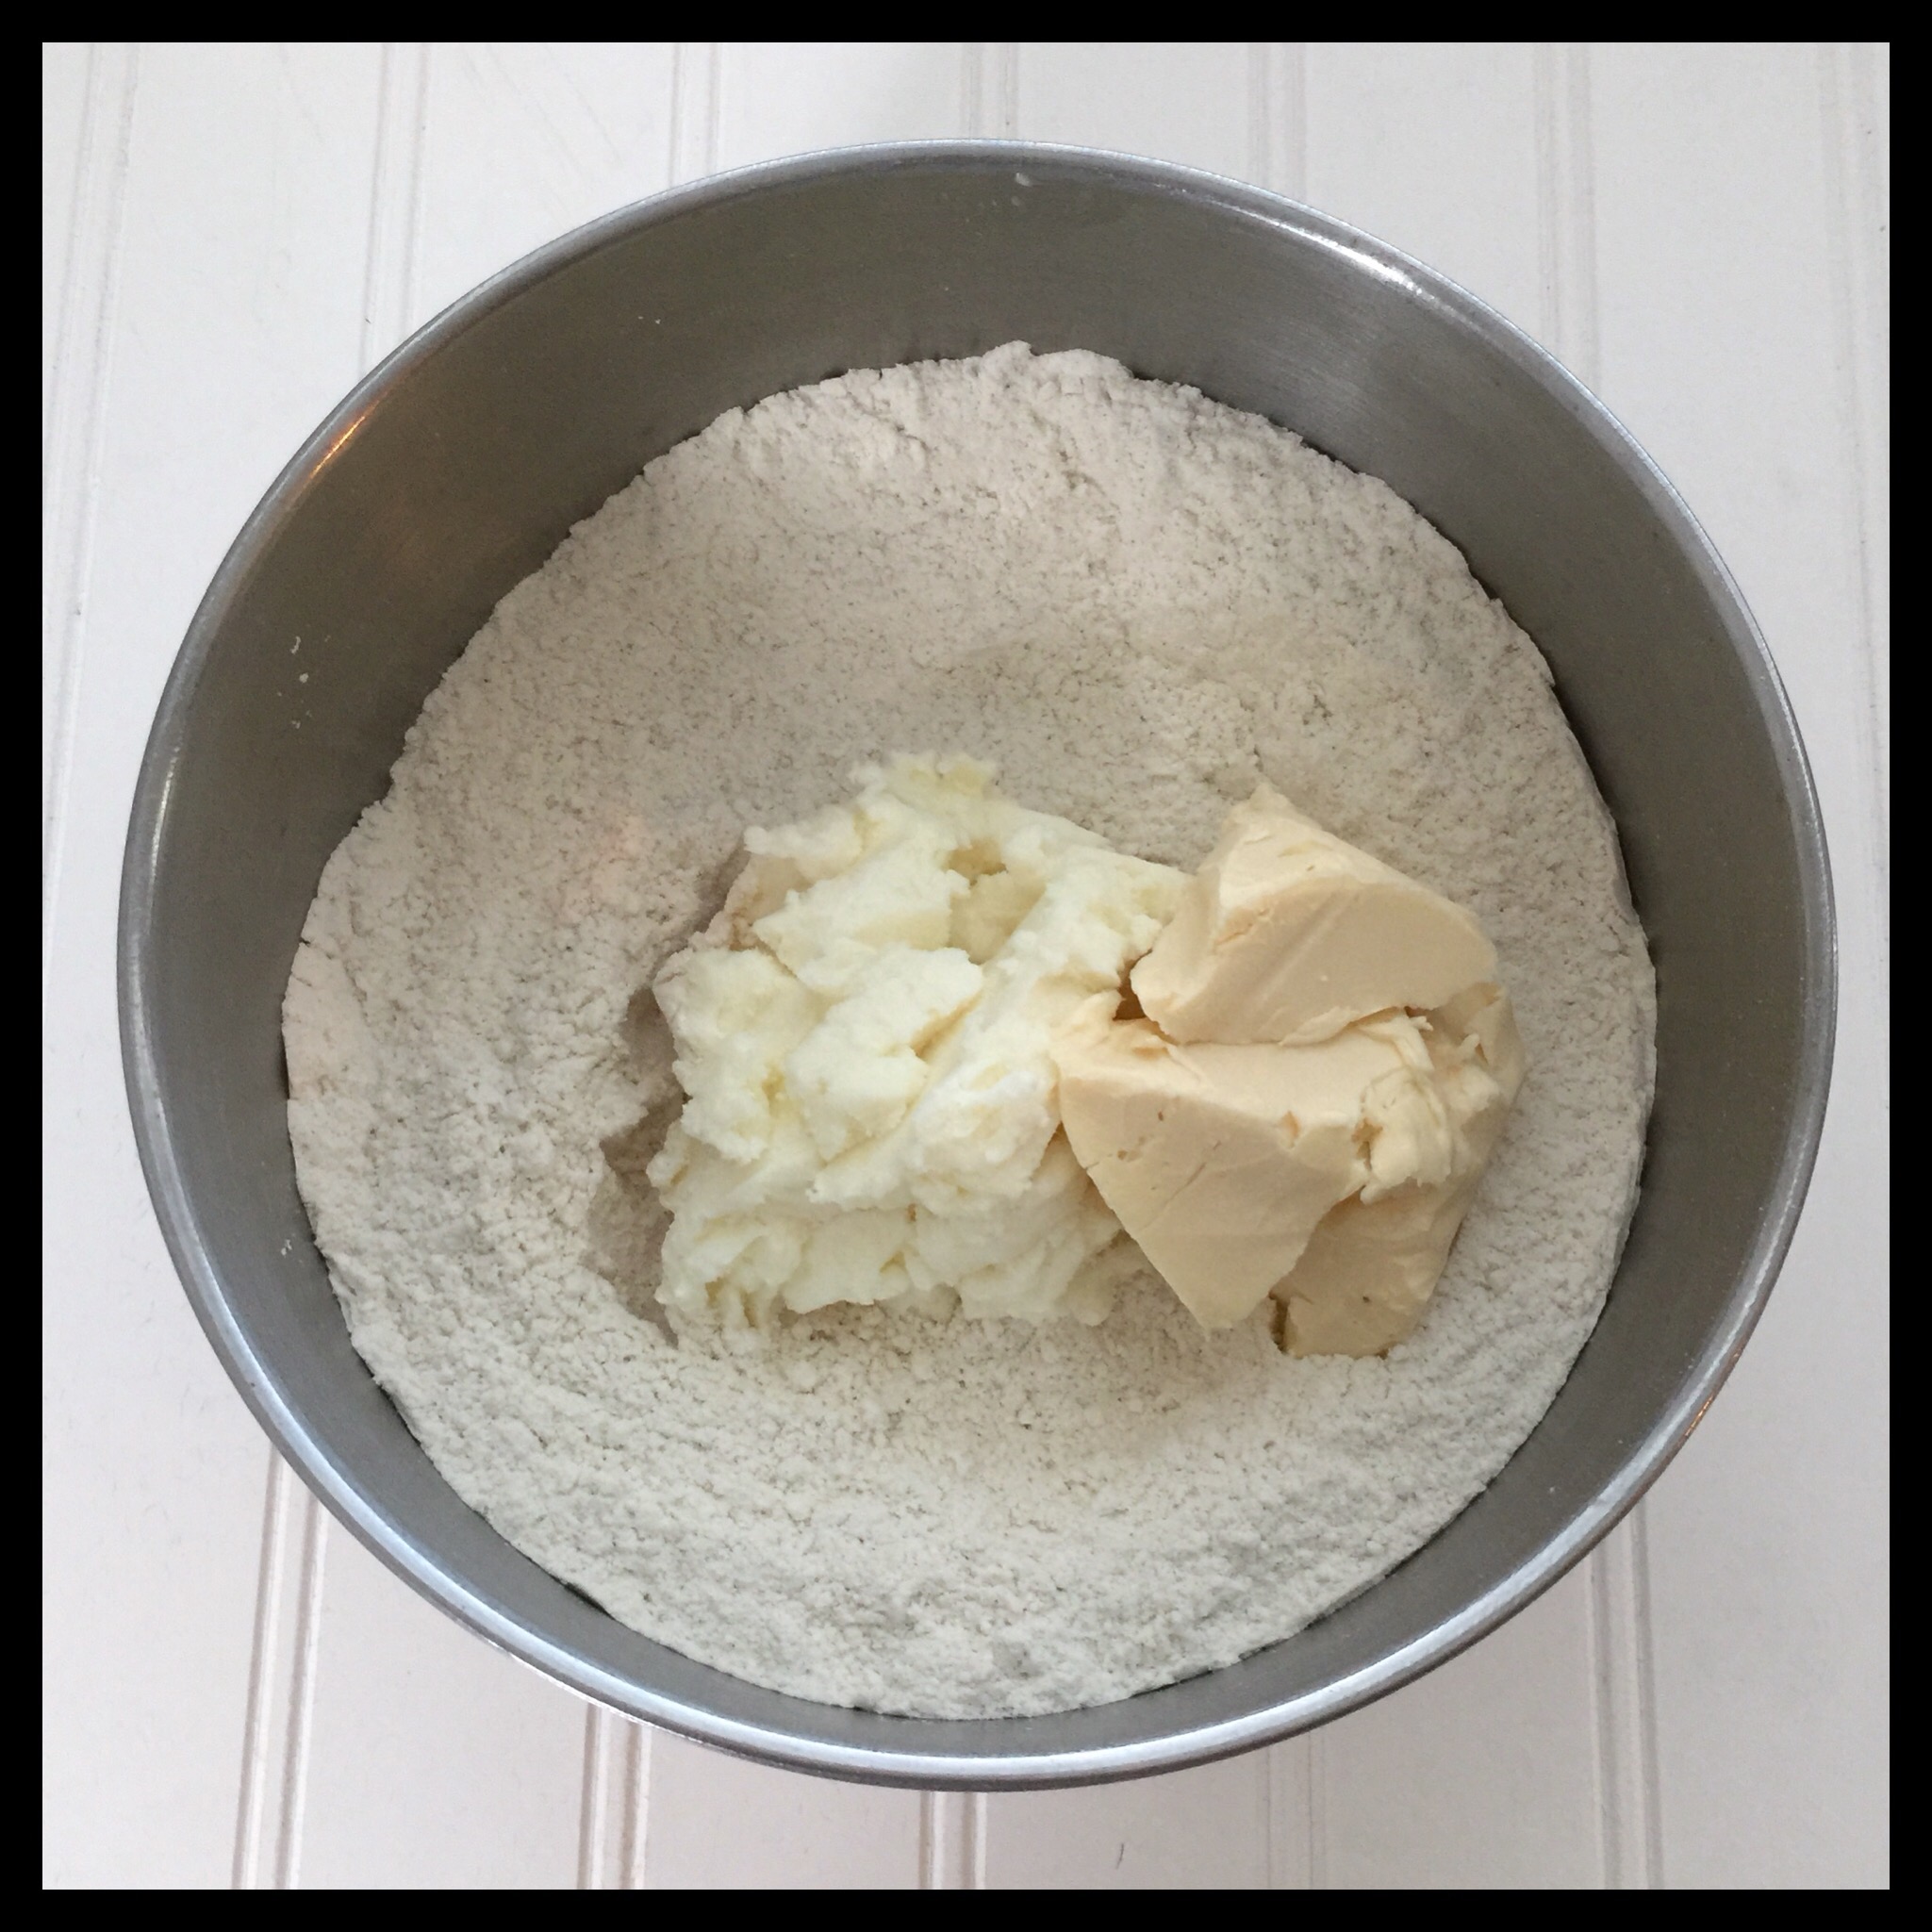
Add the vegan butter and the shortening. I use Earth Balance Original Spread and Spectrum Organic Shortening, and I have not tested the recipe with any other brands.
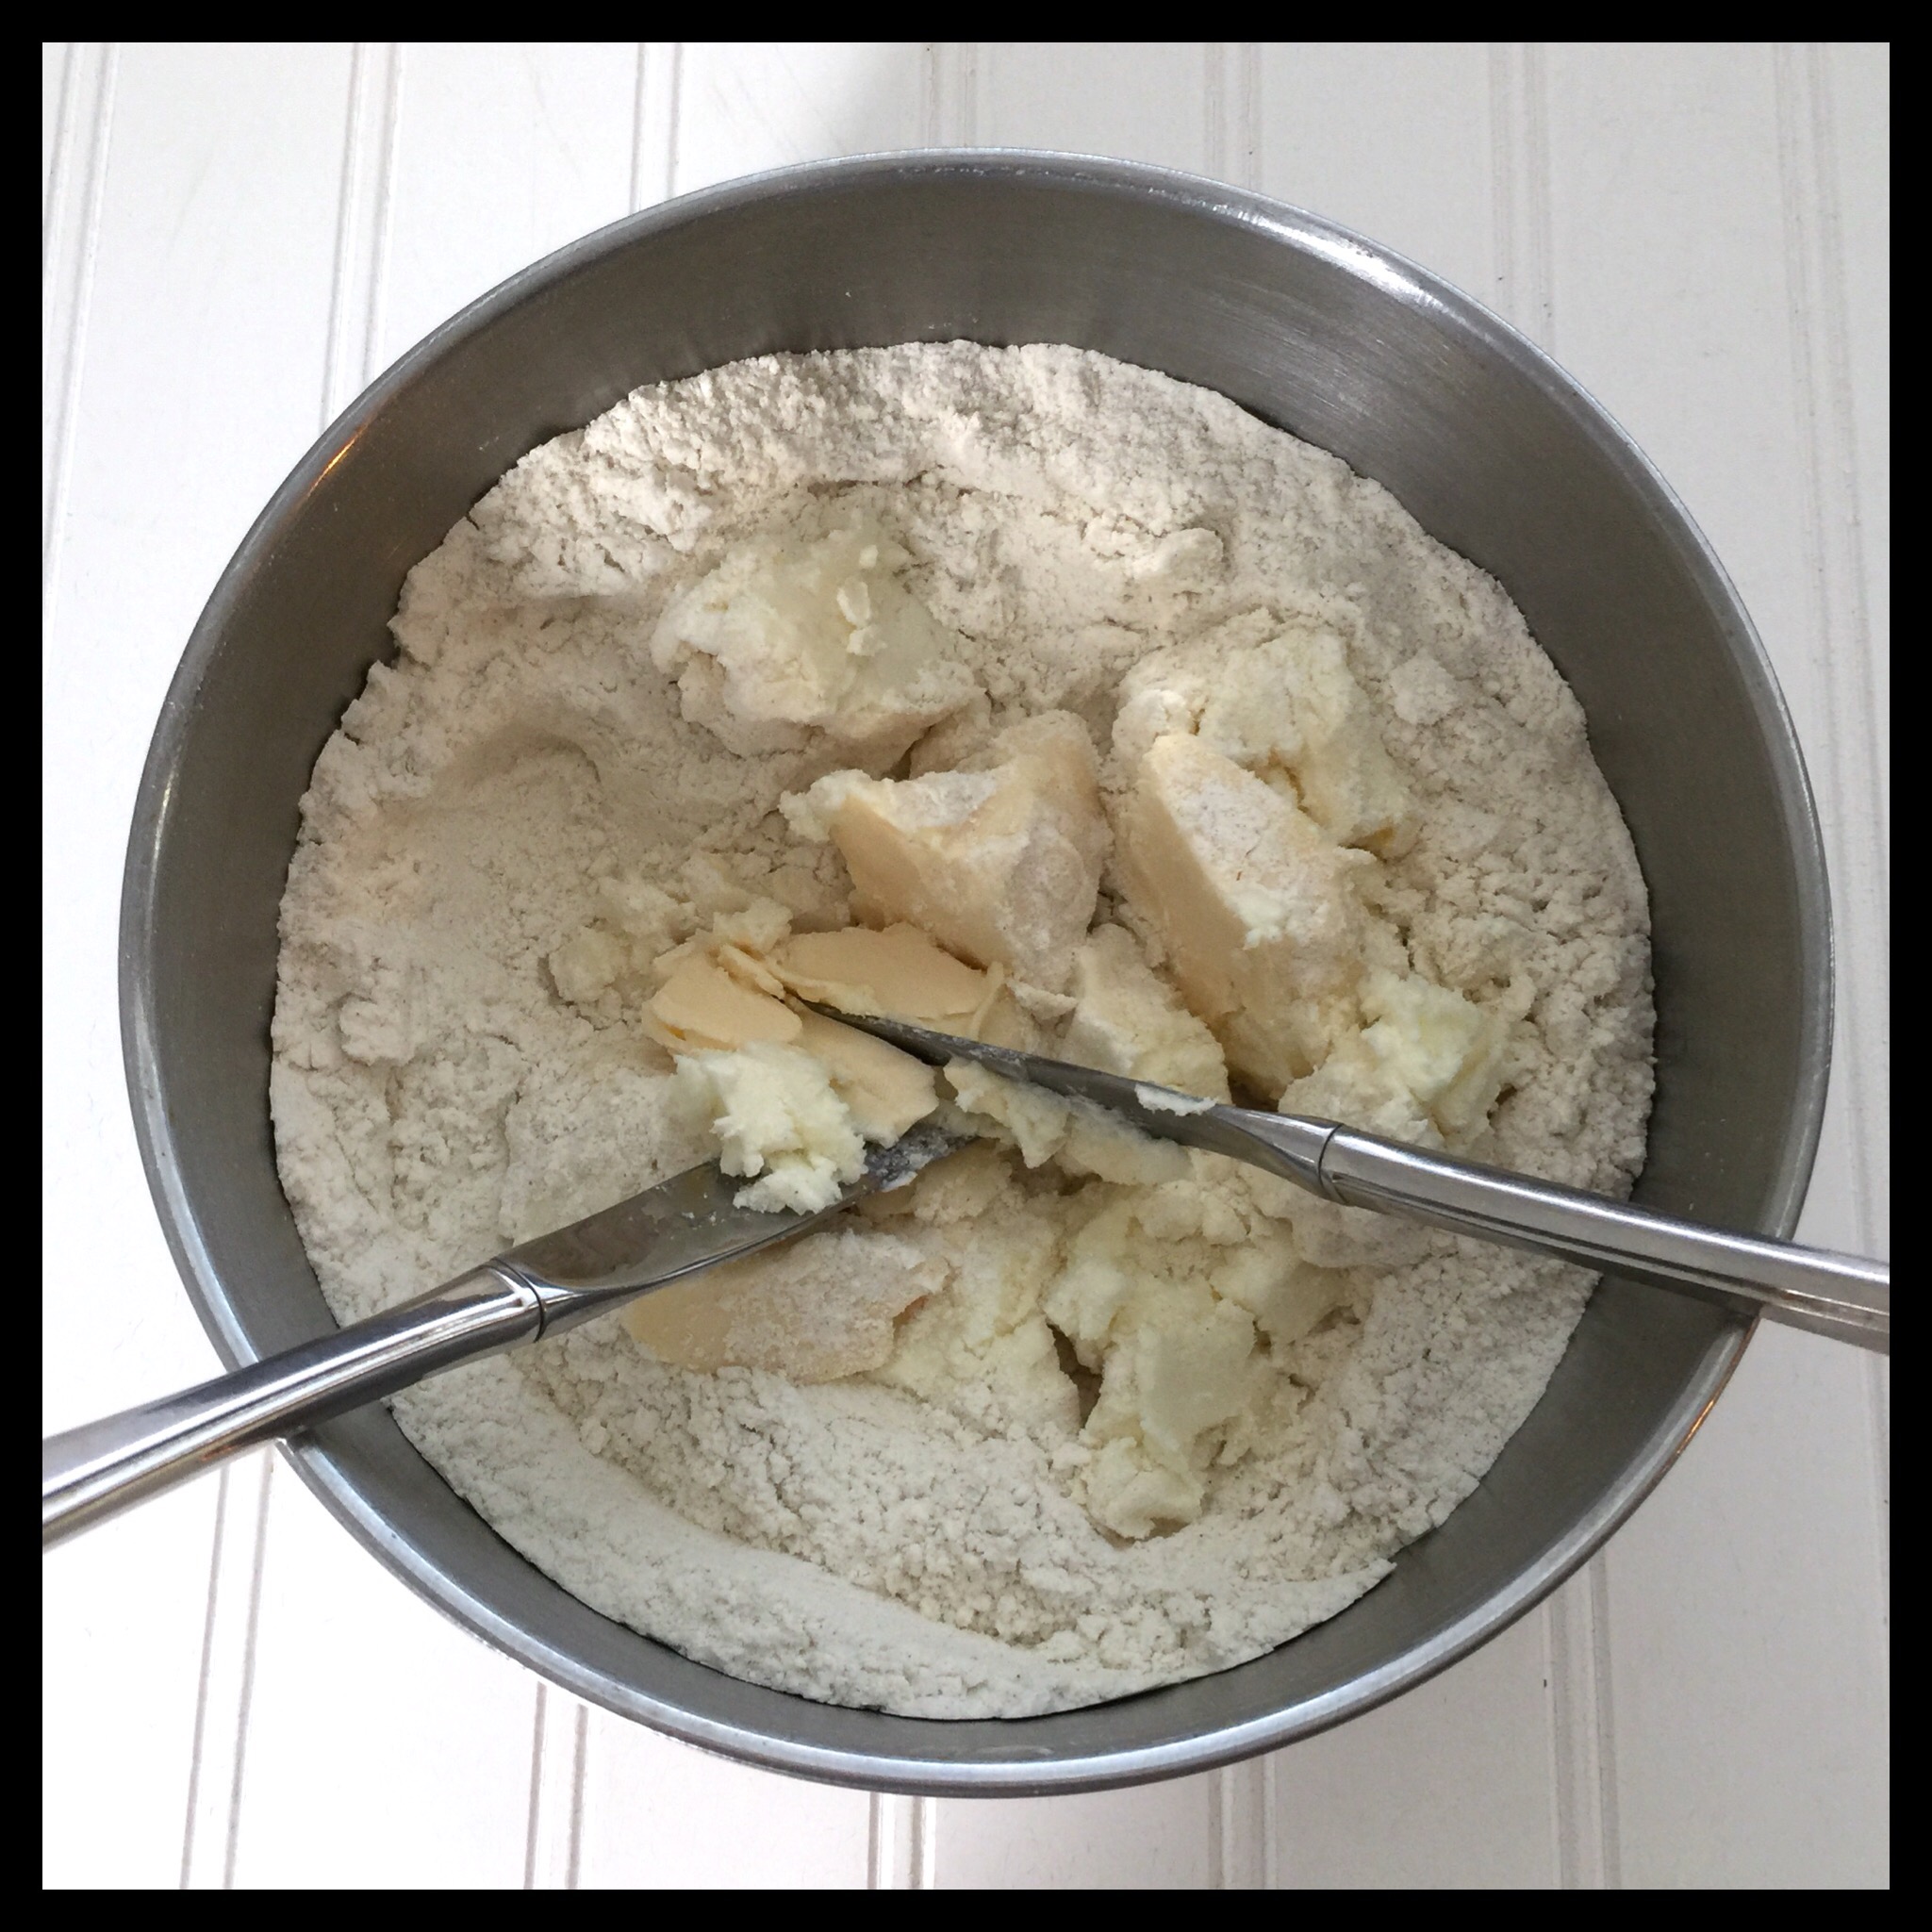
Use two knives to cut up the fats into 3/4” size pieces:
Toss the pieces to coat them with the flour mixture, then place the bowl in the freezer for 20 minutes. Do not leave it in any longer, or the fats will be too hard to cut in properly.
Combine the water and vodka and place in the freezer as well. Using half vodka makes it possible to add sufficient liquid for a pliable dough without ending up with a tough crust. I never use all water and my crusts are always flaky and perfect.
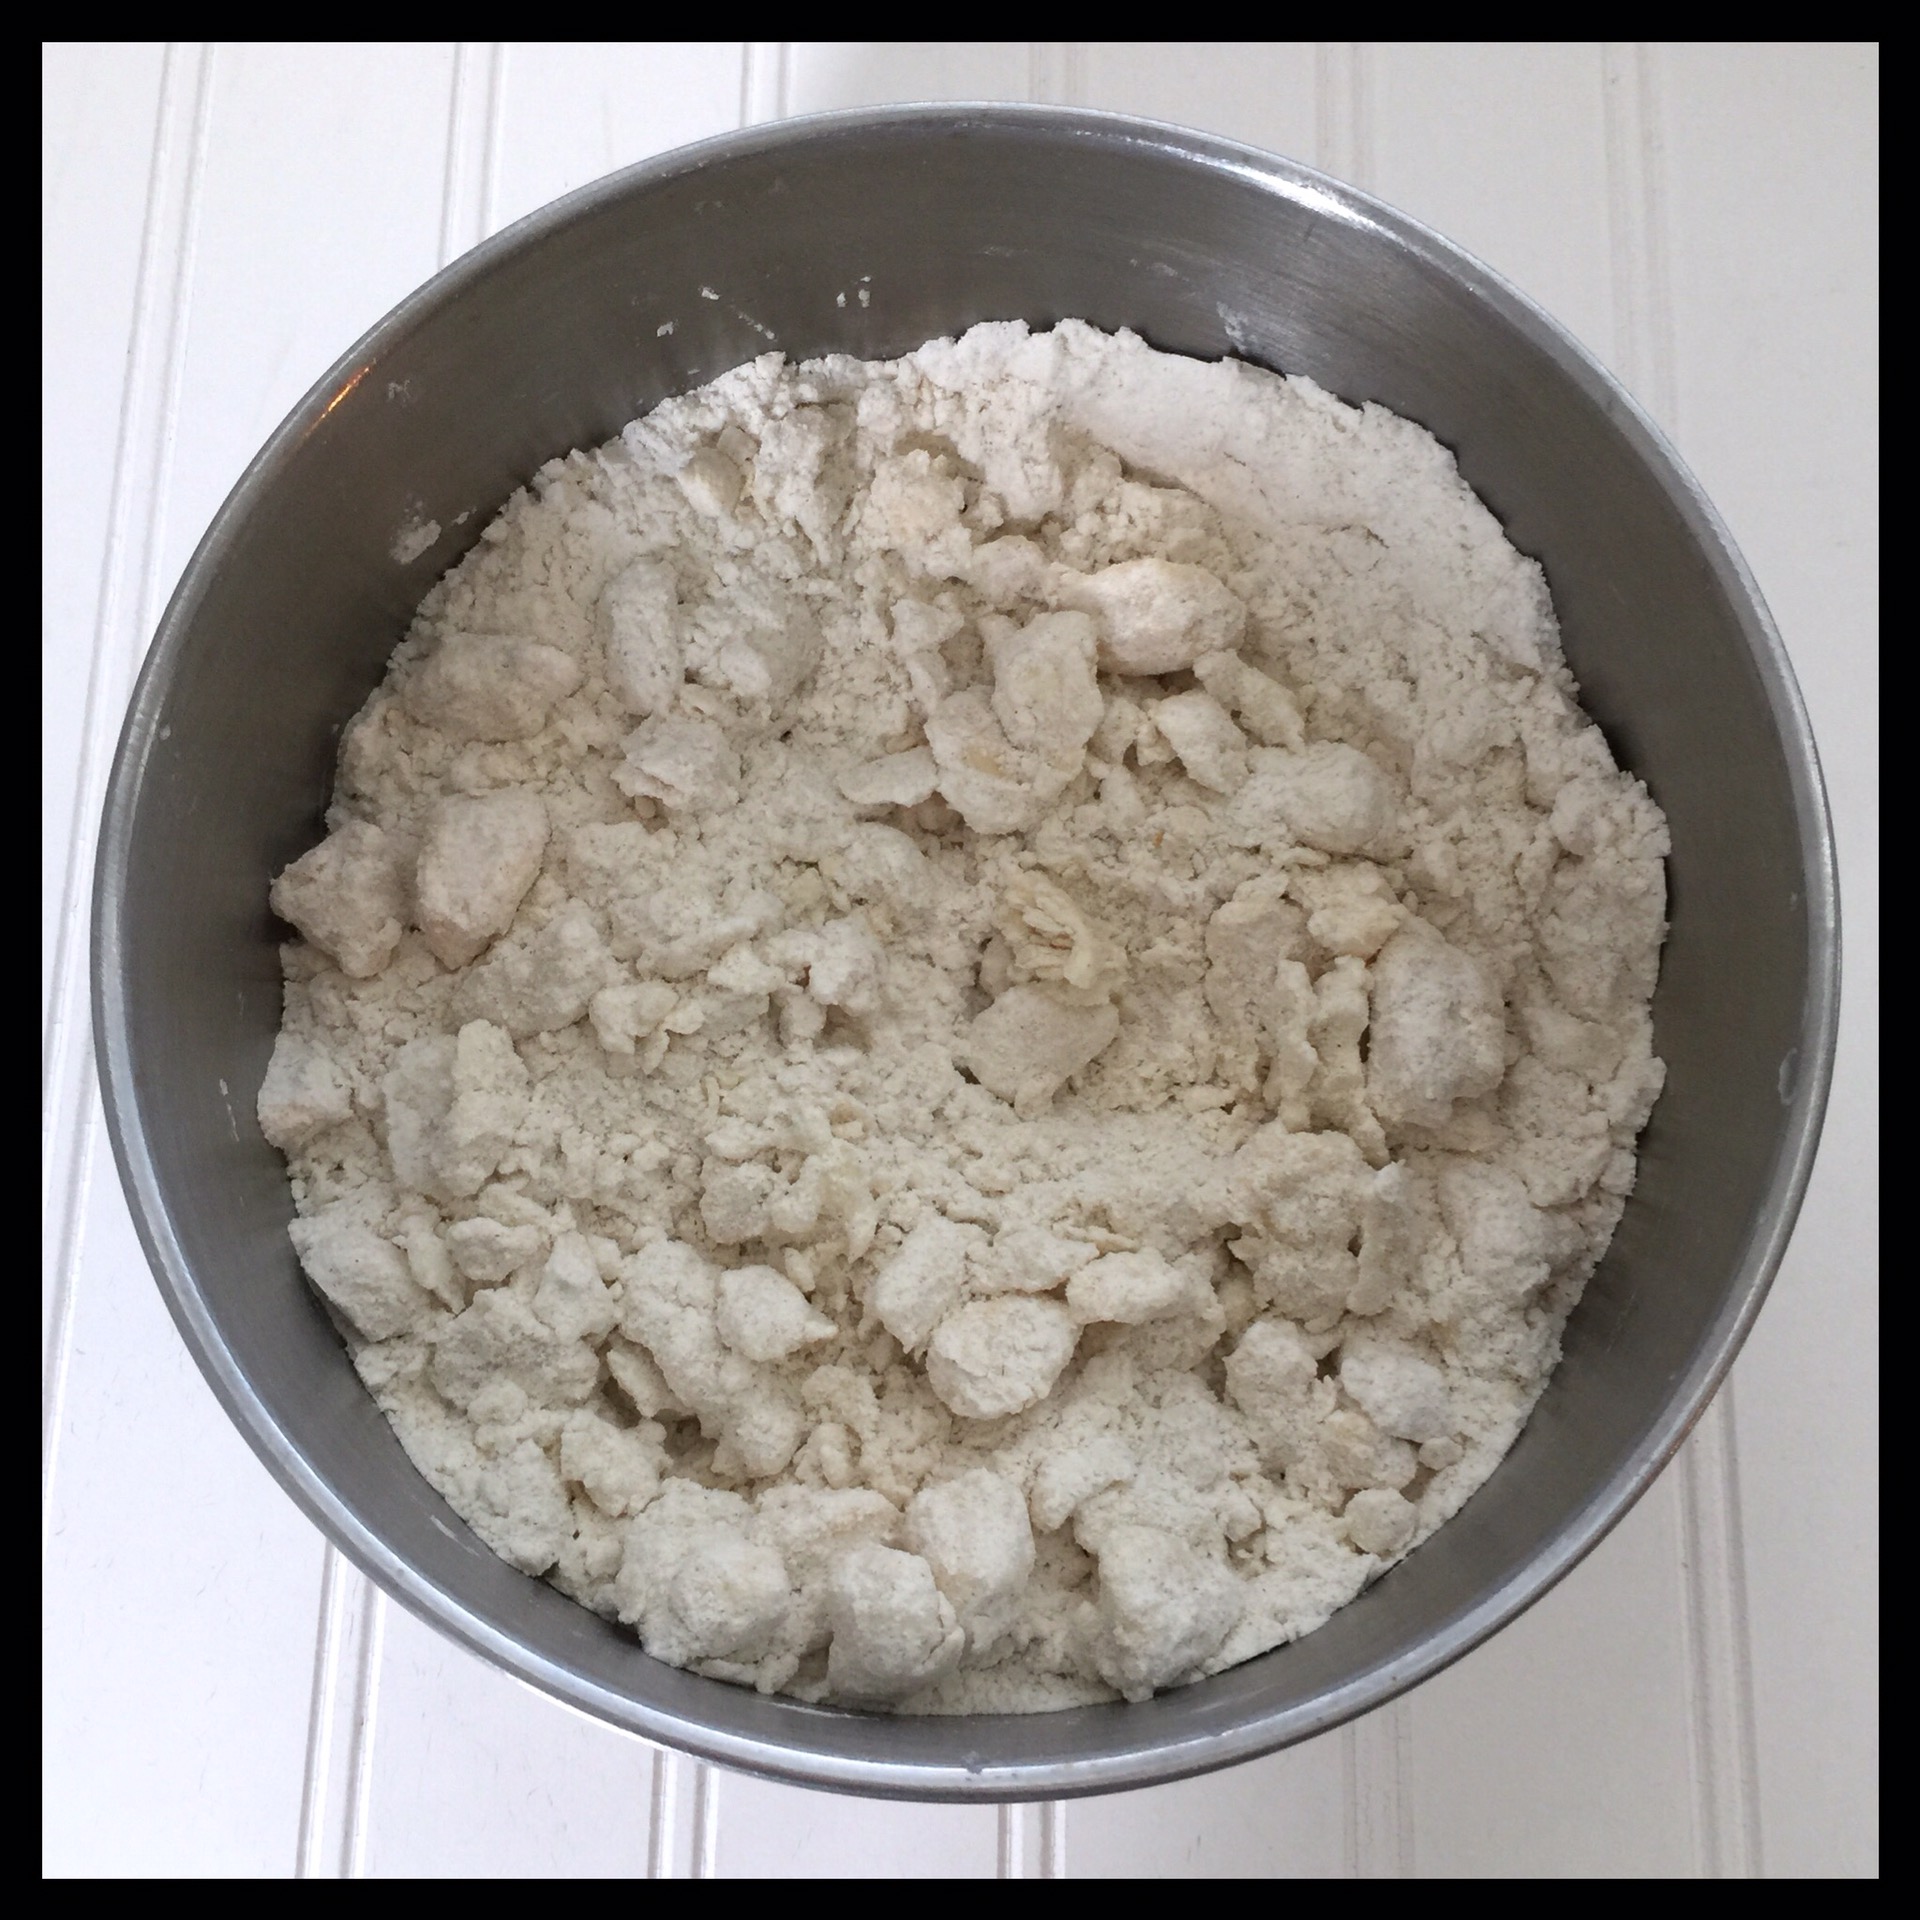
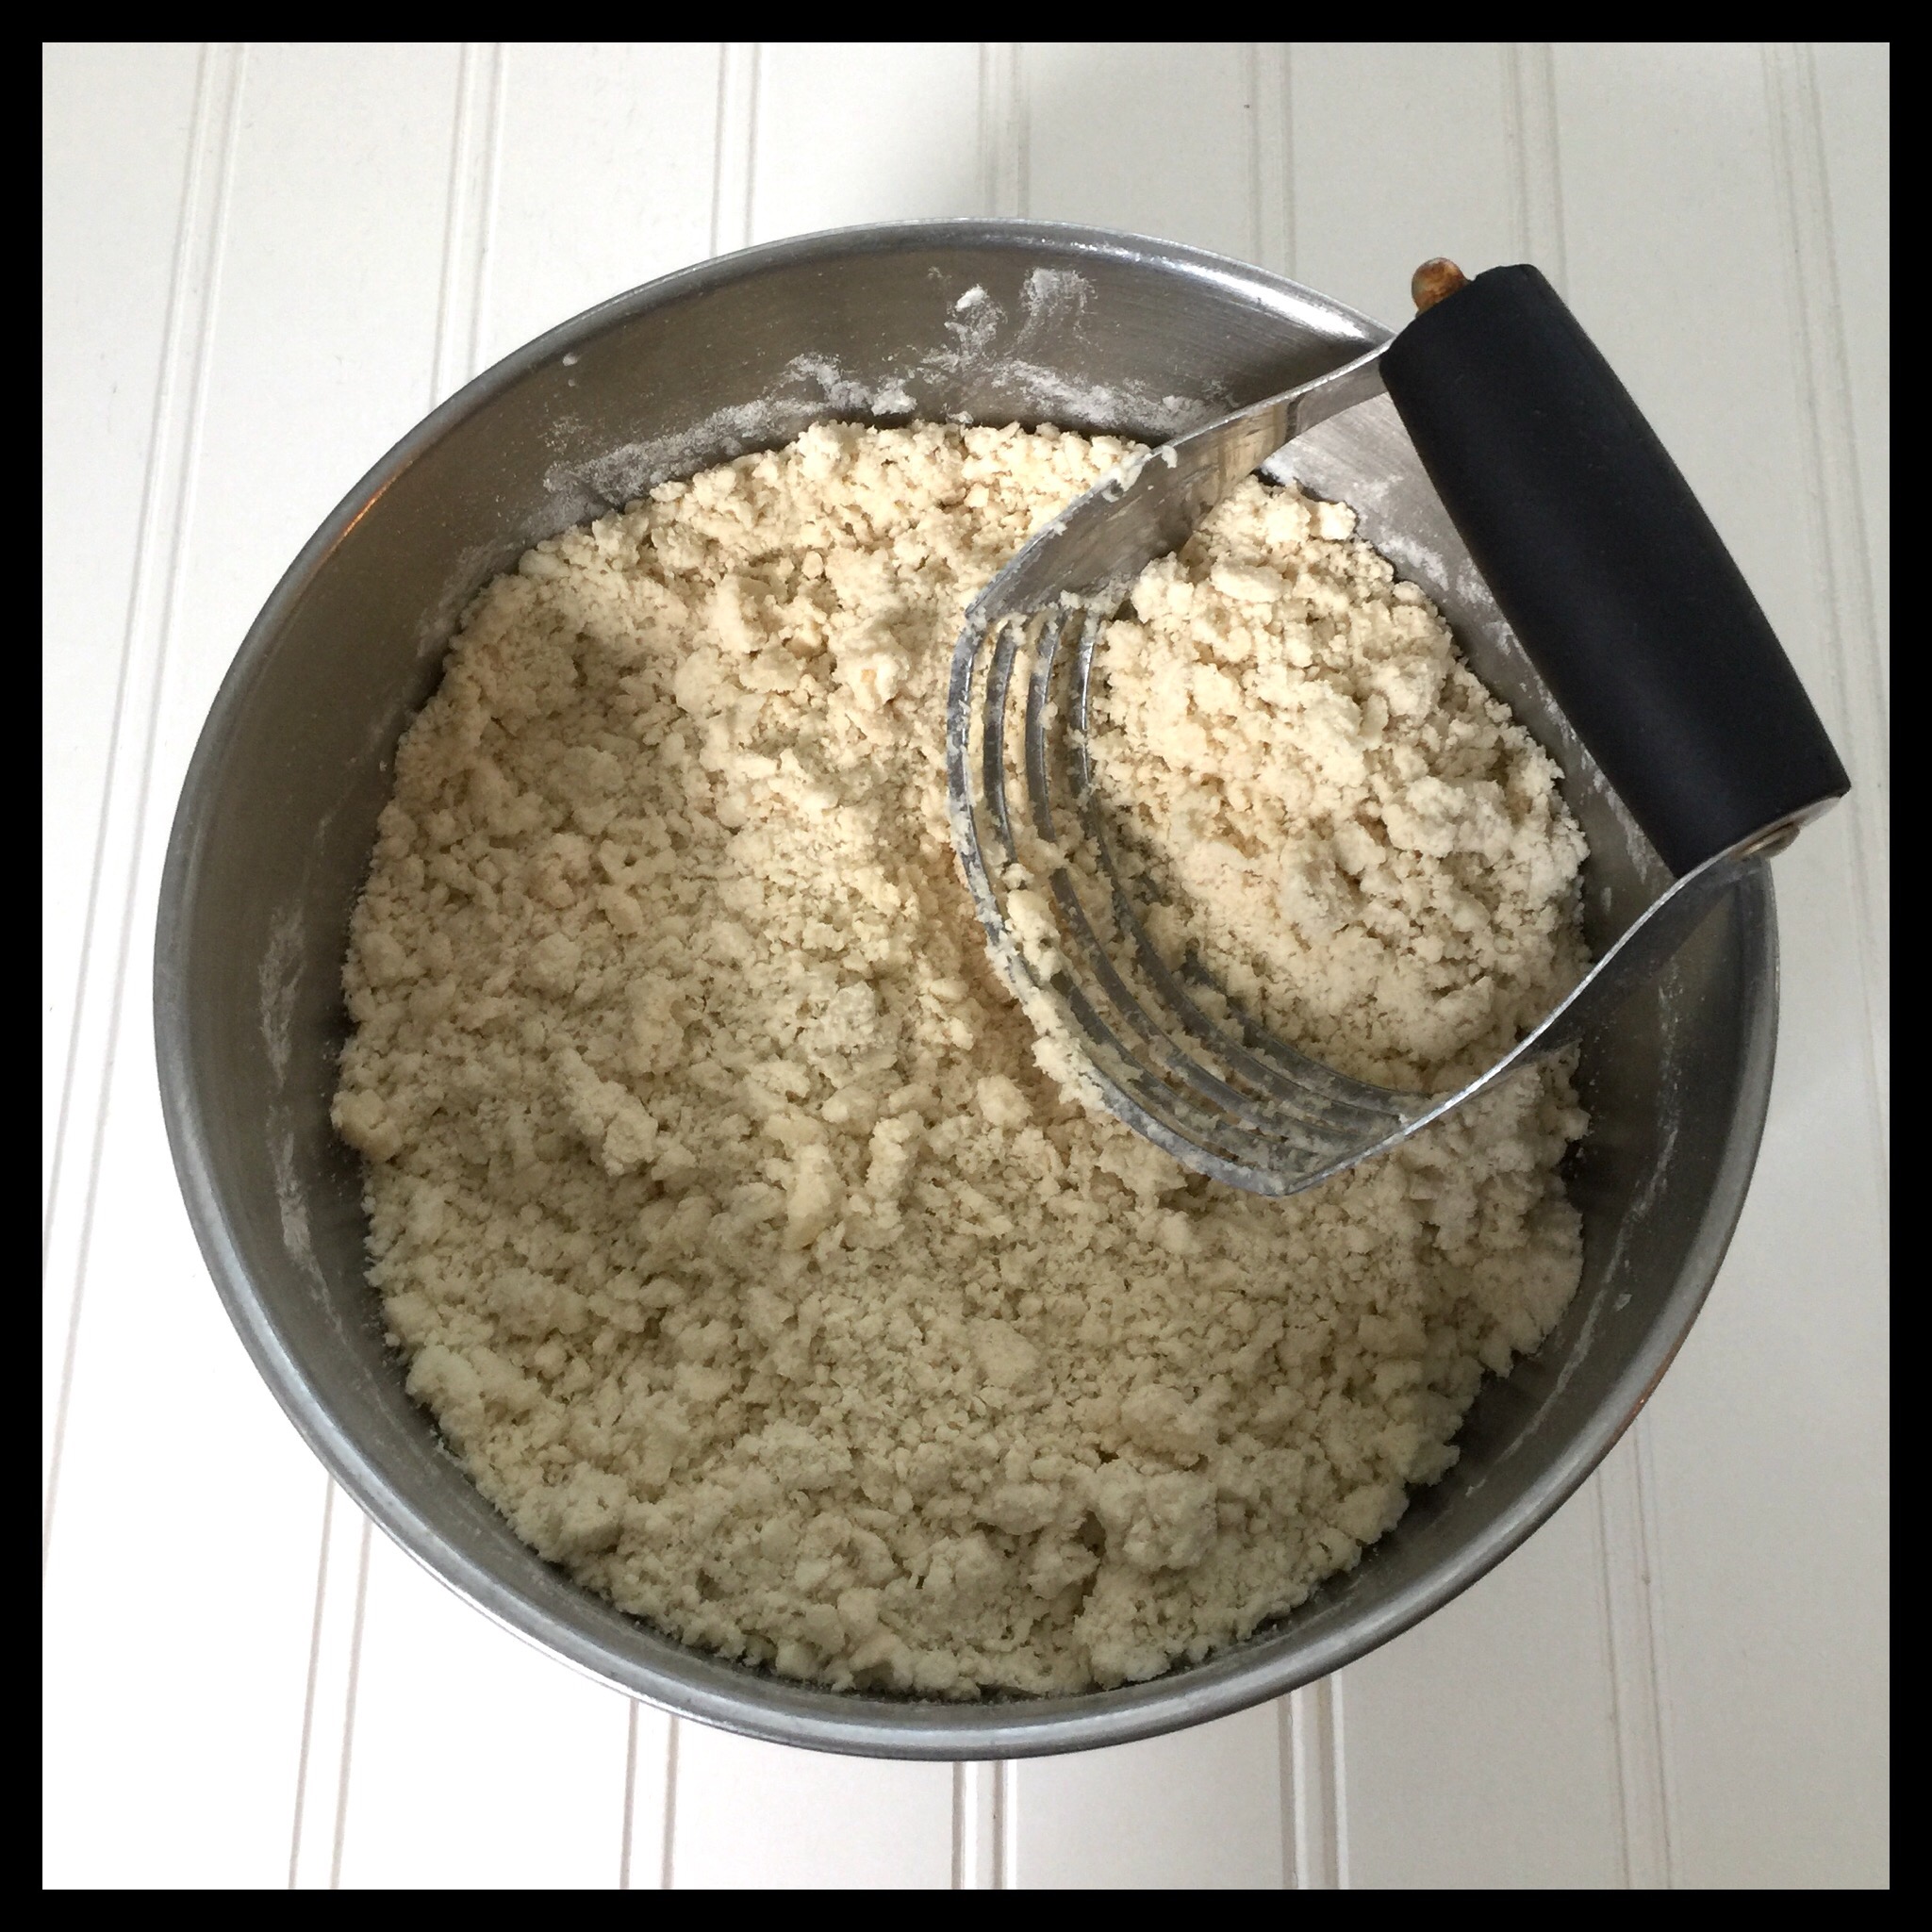
Use a pastry cutter or sturdy fork to finish cutting the fats into the chilled flour mixture:
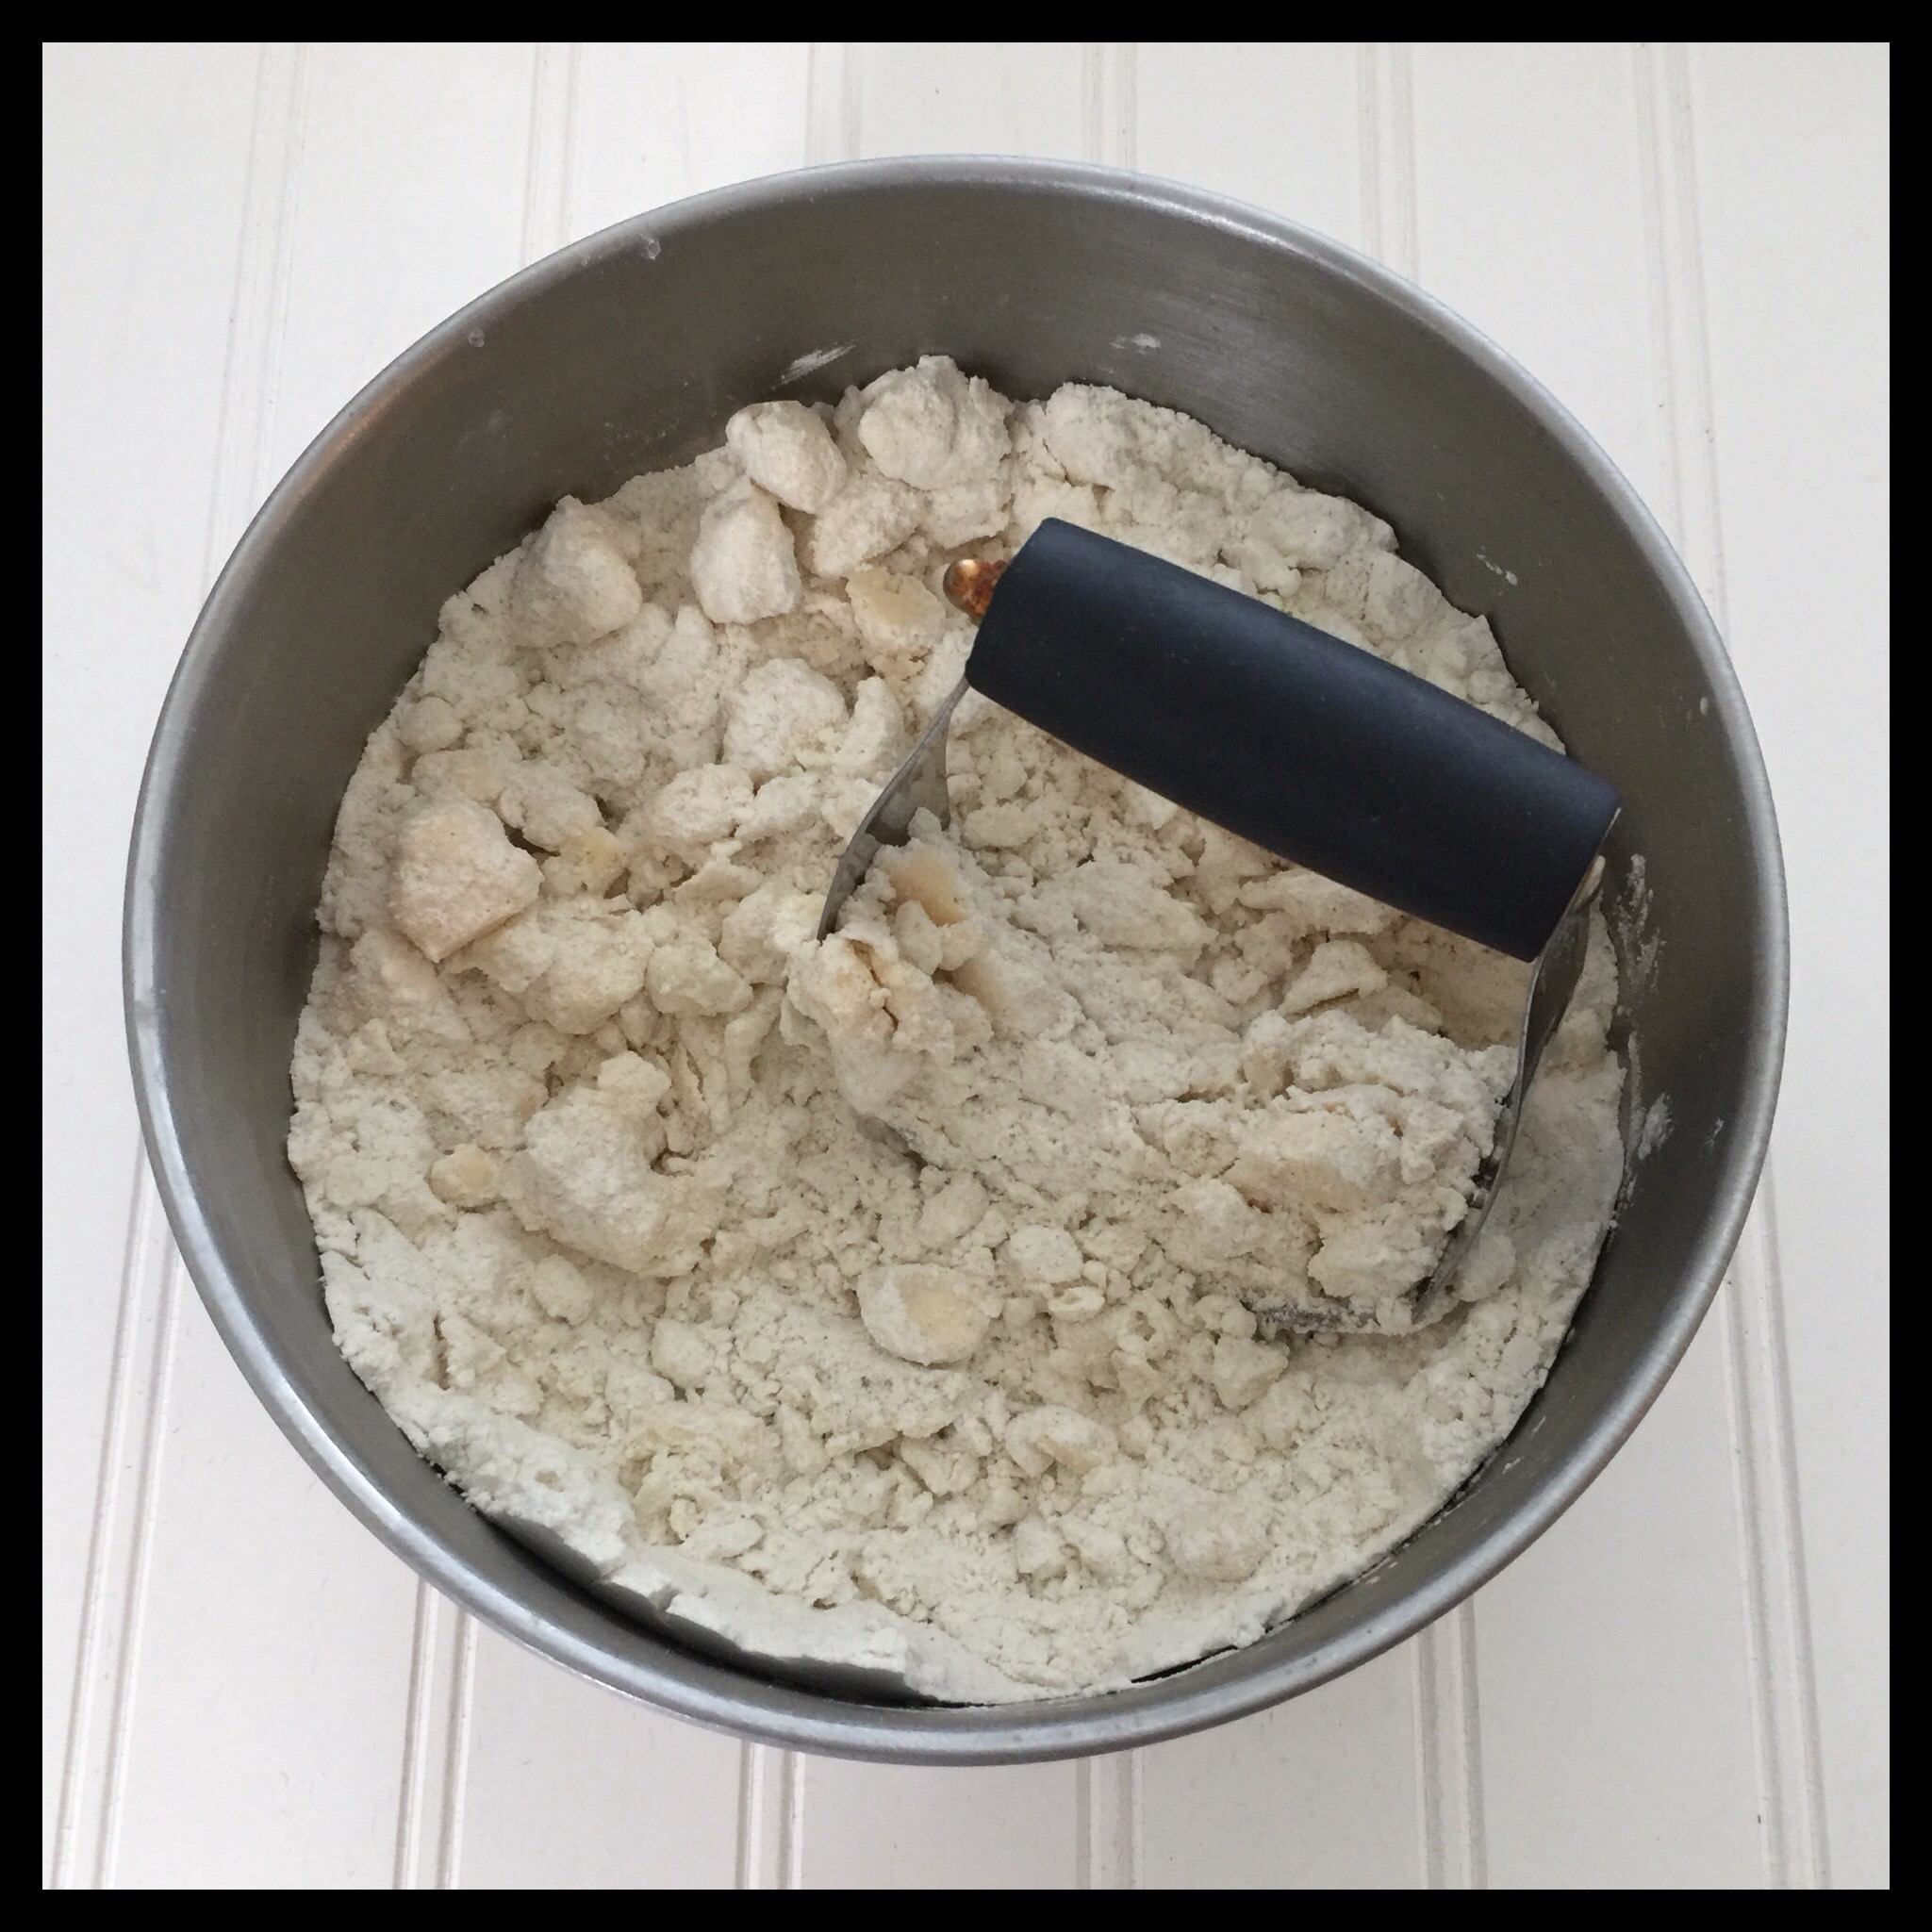
You want mostly small pea-sized pieces and it should look like this:
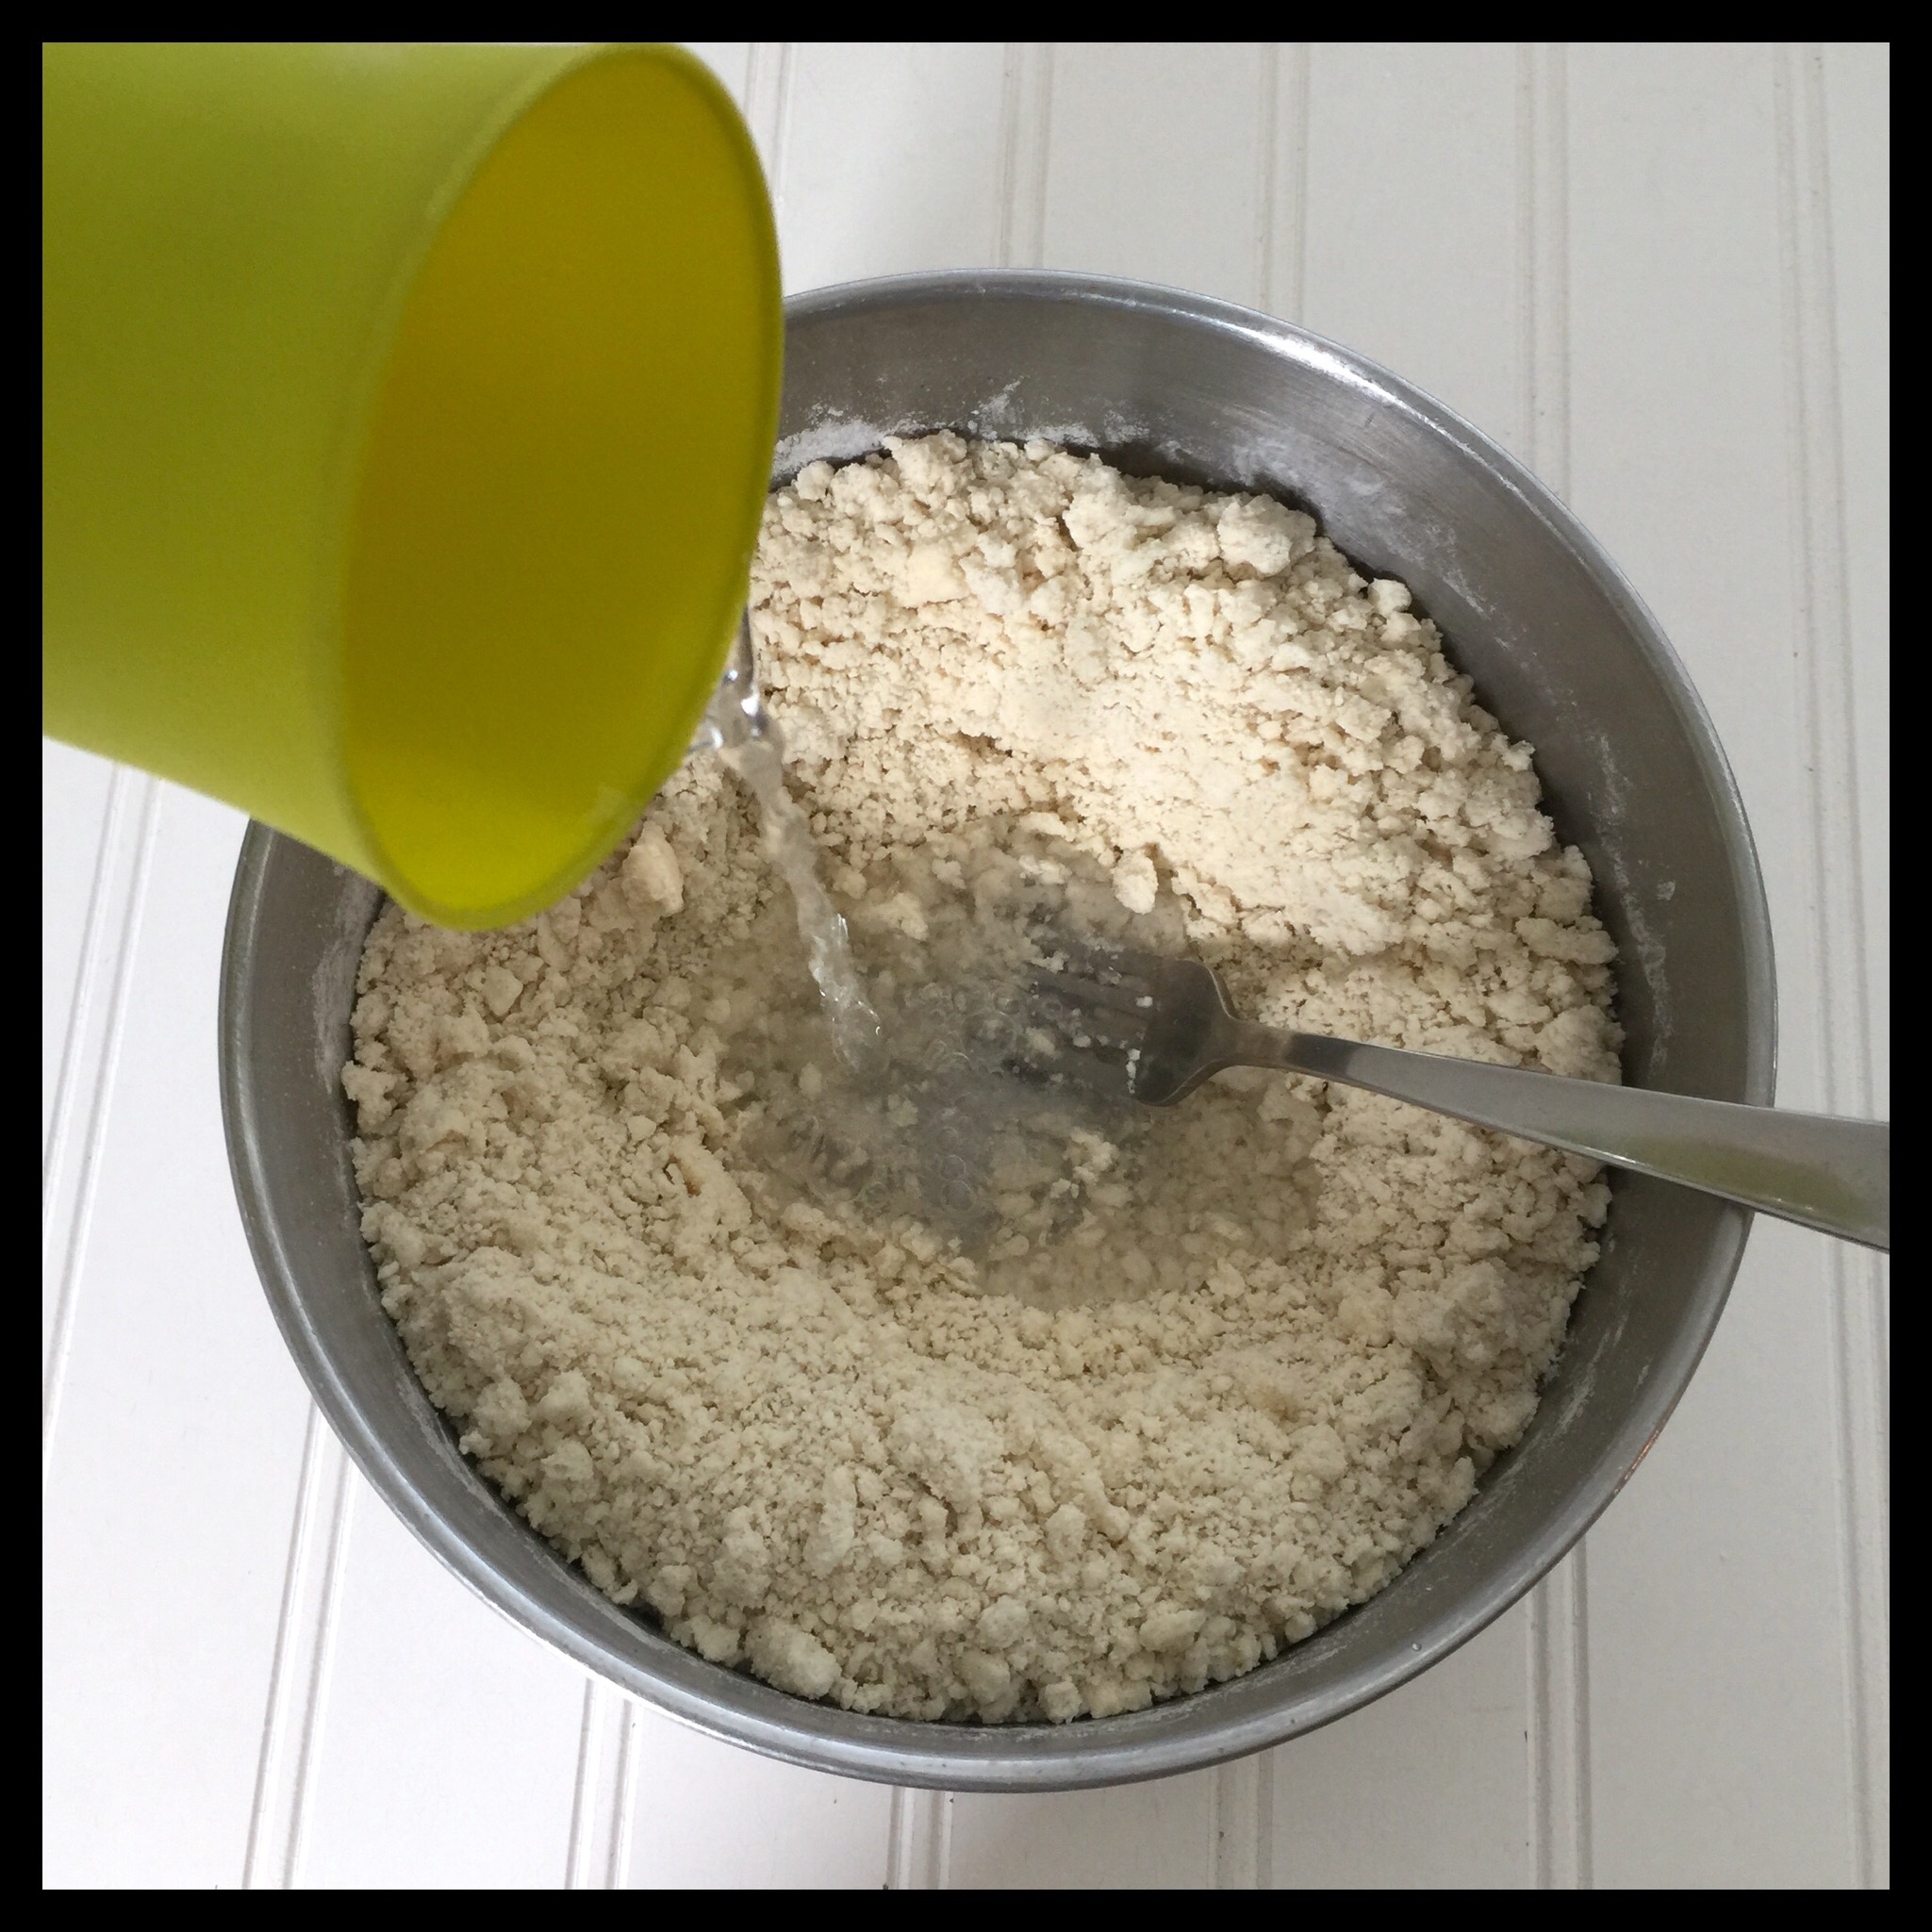
Get the vodka mixture out of the freezer and pour it into a well in your bowl:
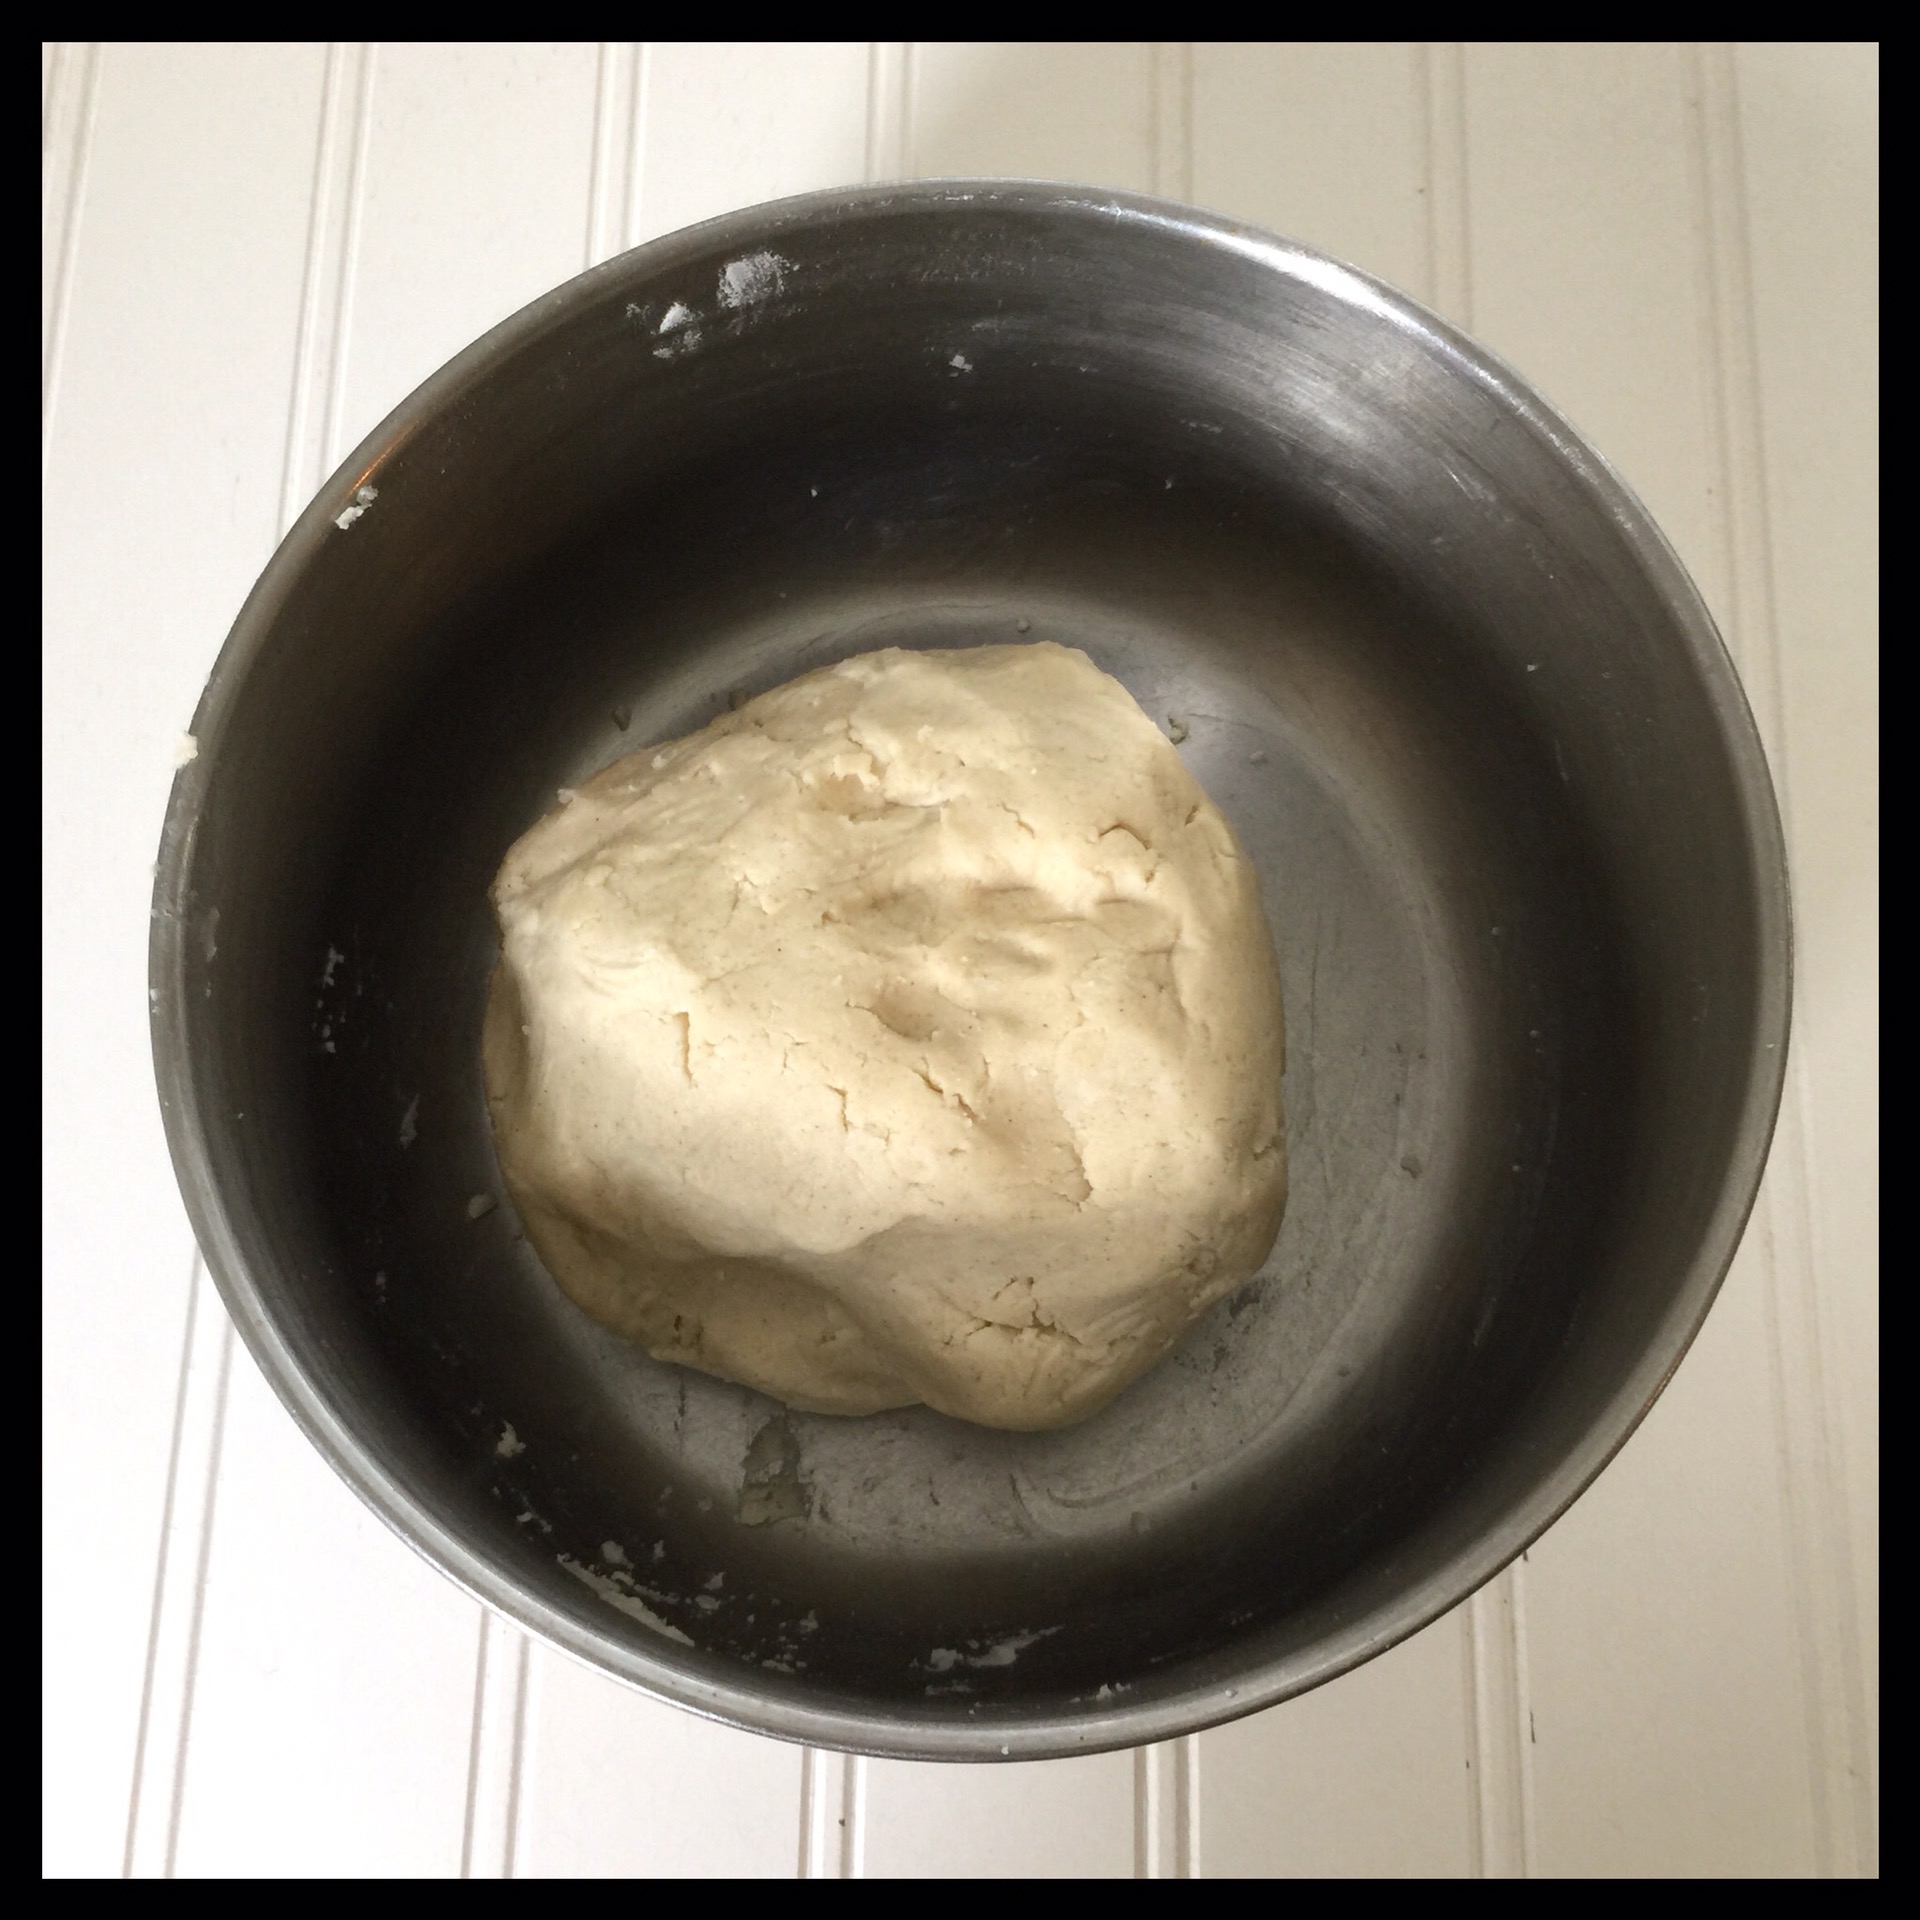
Stir with your fork until the dough starts to come together. Depending on the weather and how cold your freezer is, the dough may or may not form a ball when mixing with the fork. If it does not, adding up to 2 more tablespoons of liquid might be necessary. Since too much liquid can make your crust tough, though, I always switch to mixing by hand before adding more vodka water. If the heat from my hand brings the dough together quickly, I do not add any more. If the dough stays crumbly when mixing by hand, I will add a bit more liquid and then mix by hand again. Only add one teaspoons at a time as you want to add as little as possible. I did not need to add any extra liquid this time:
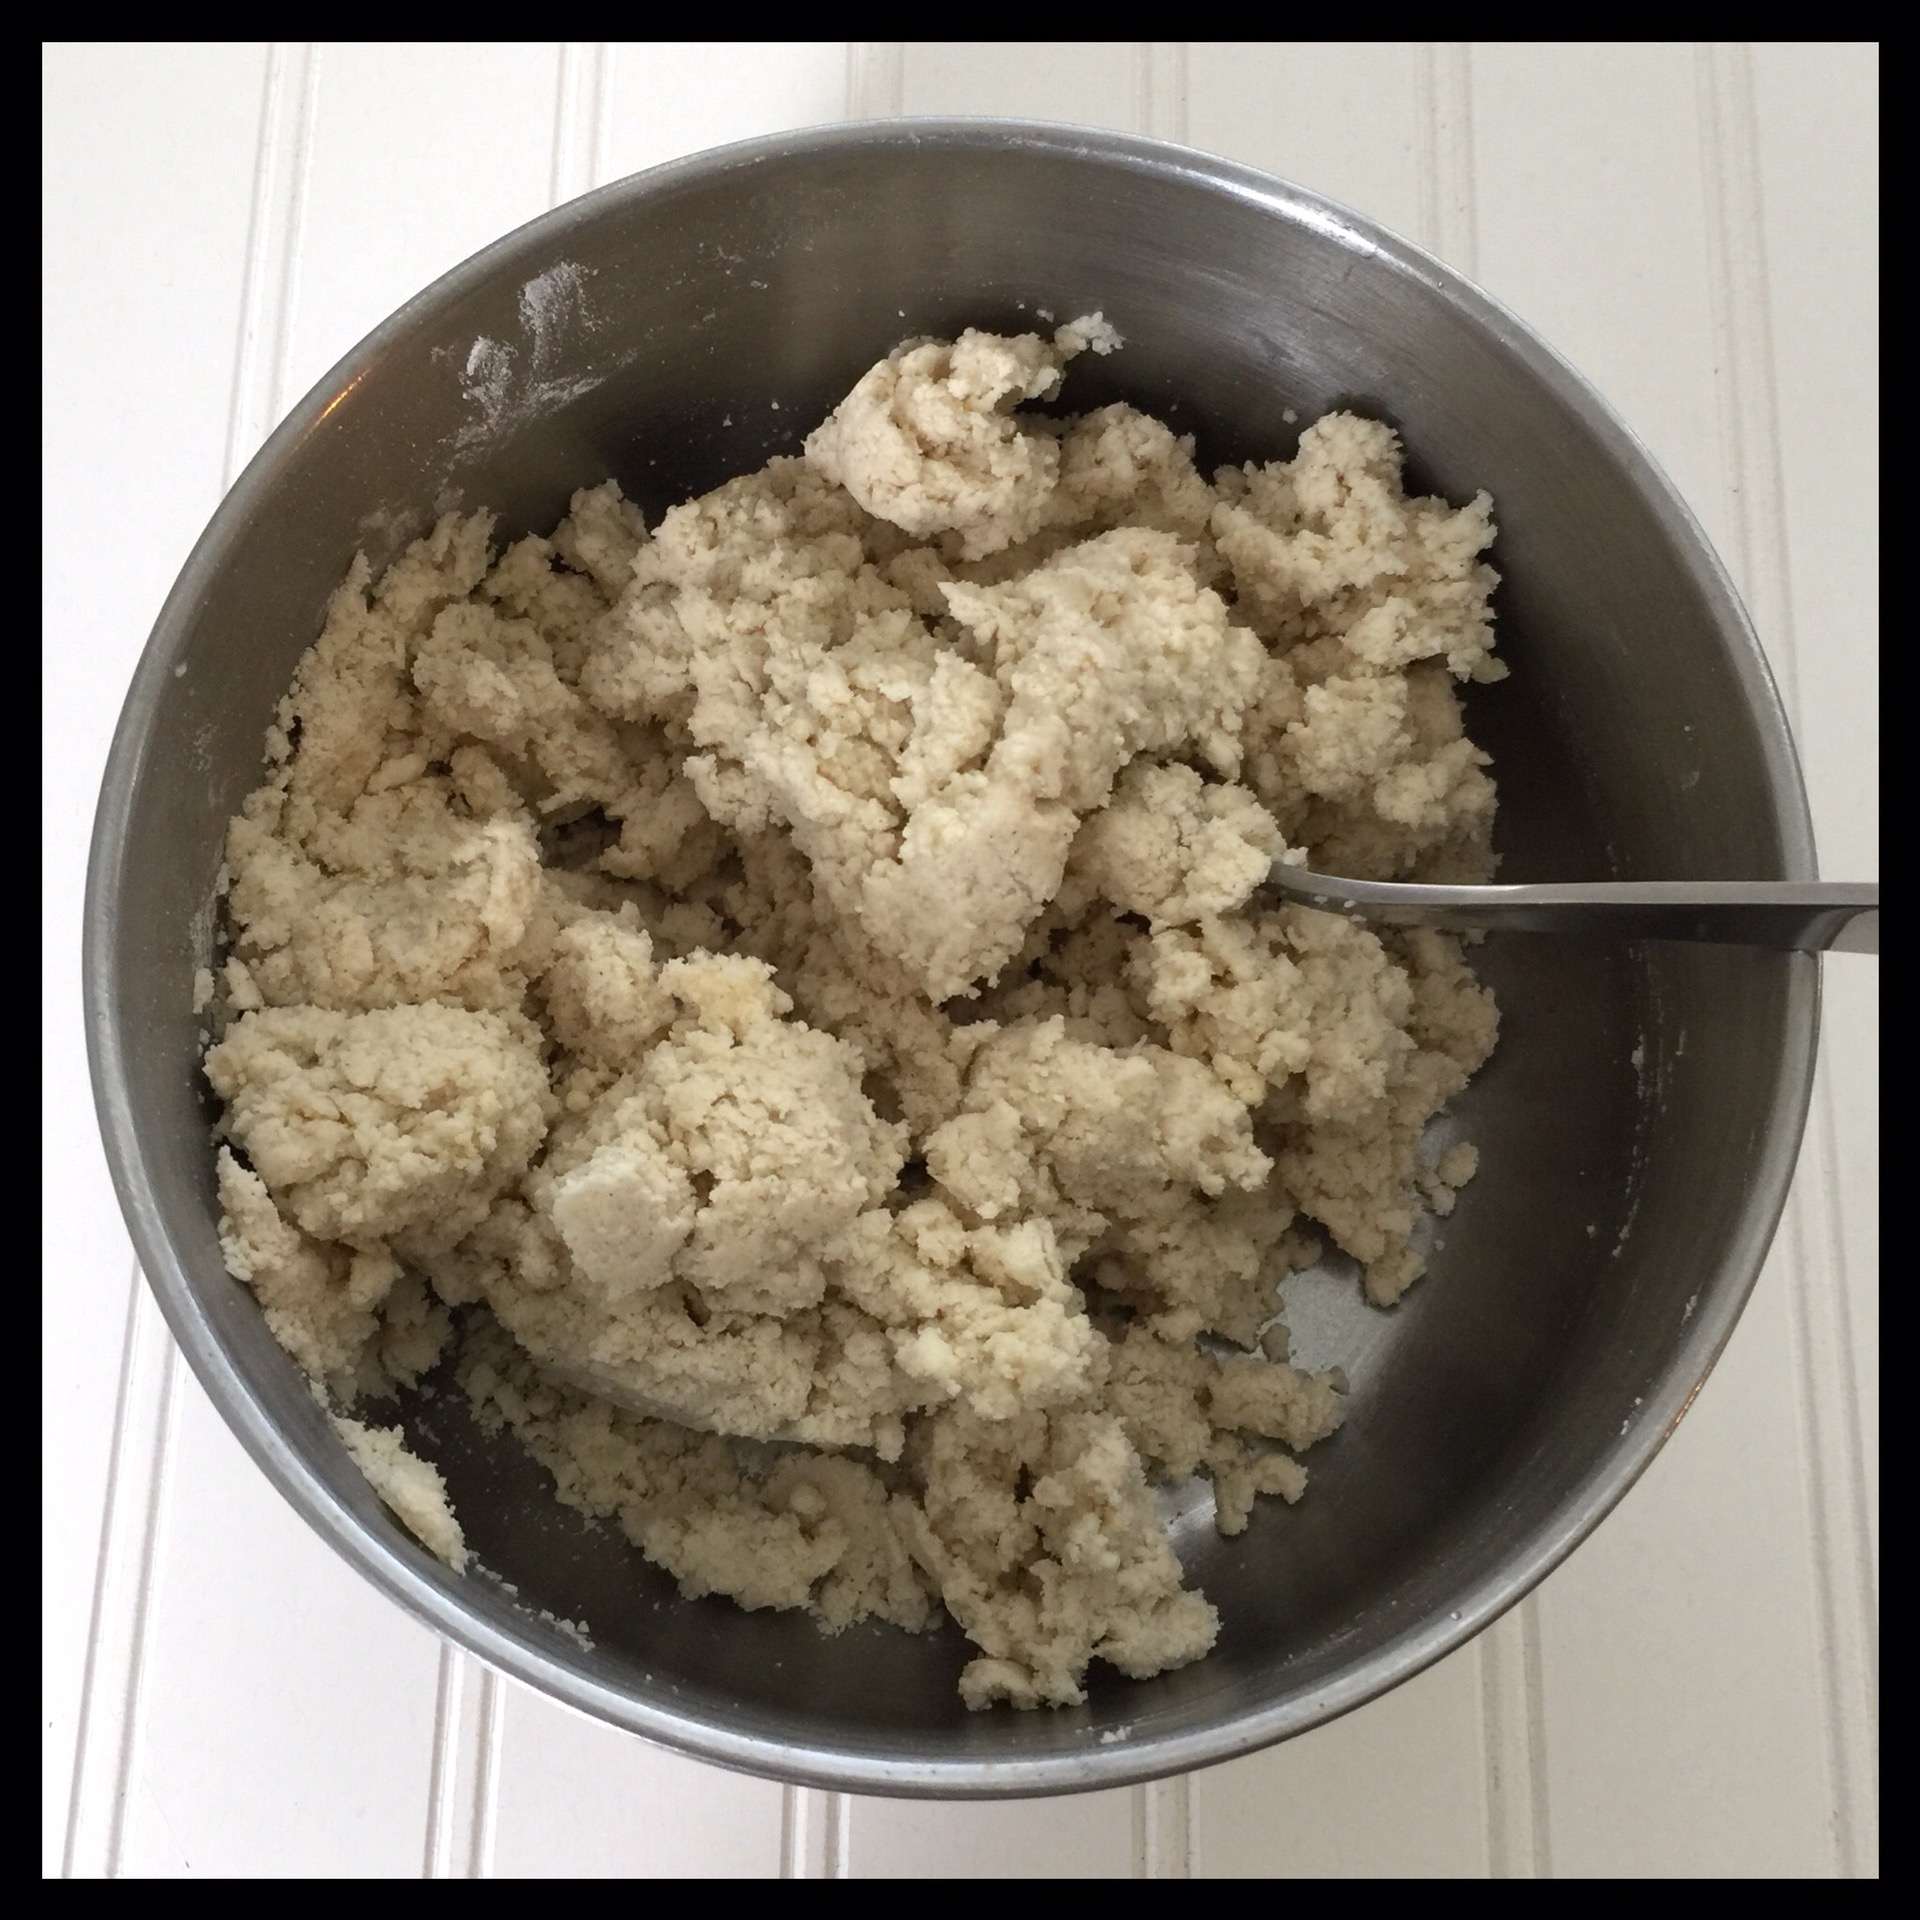
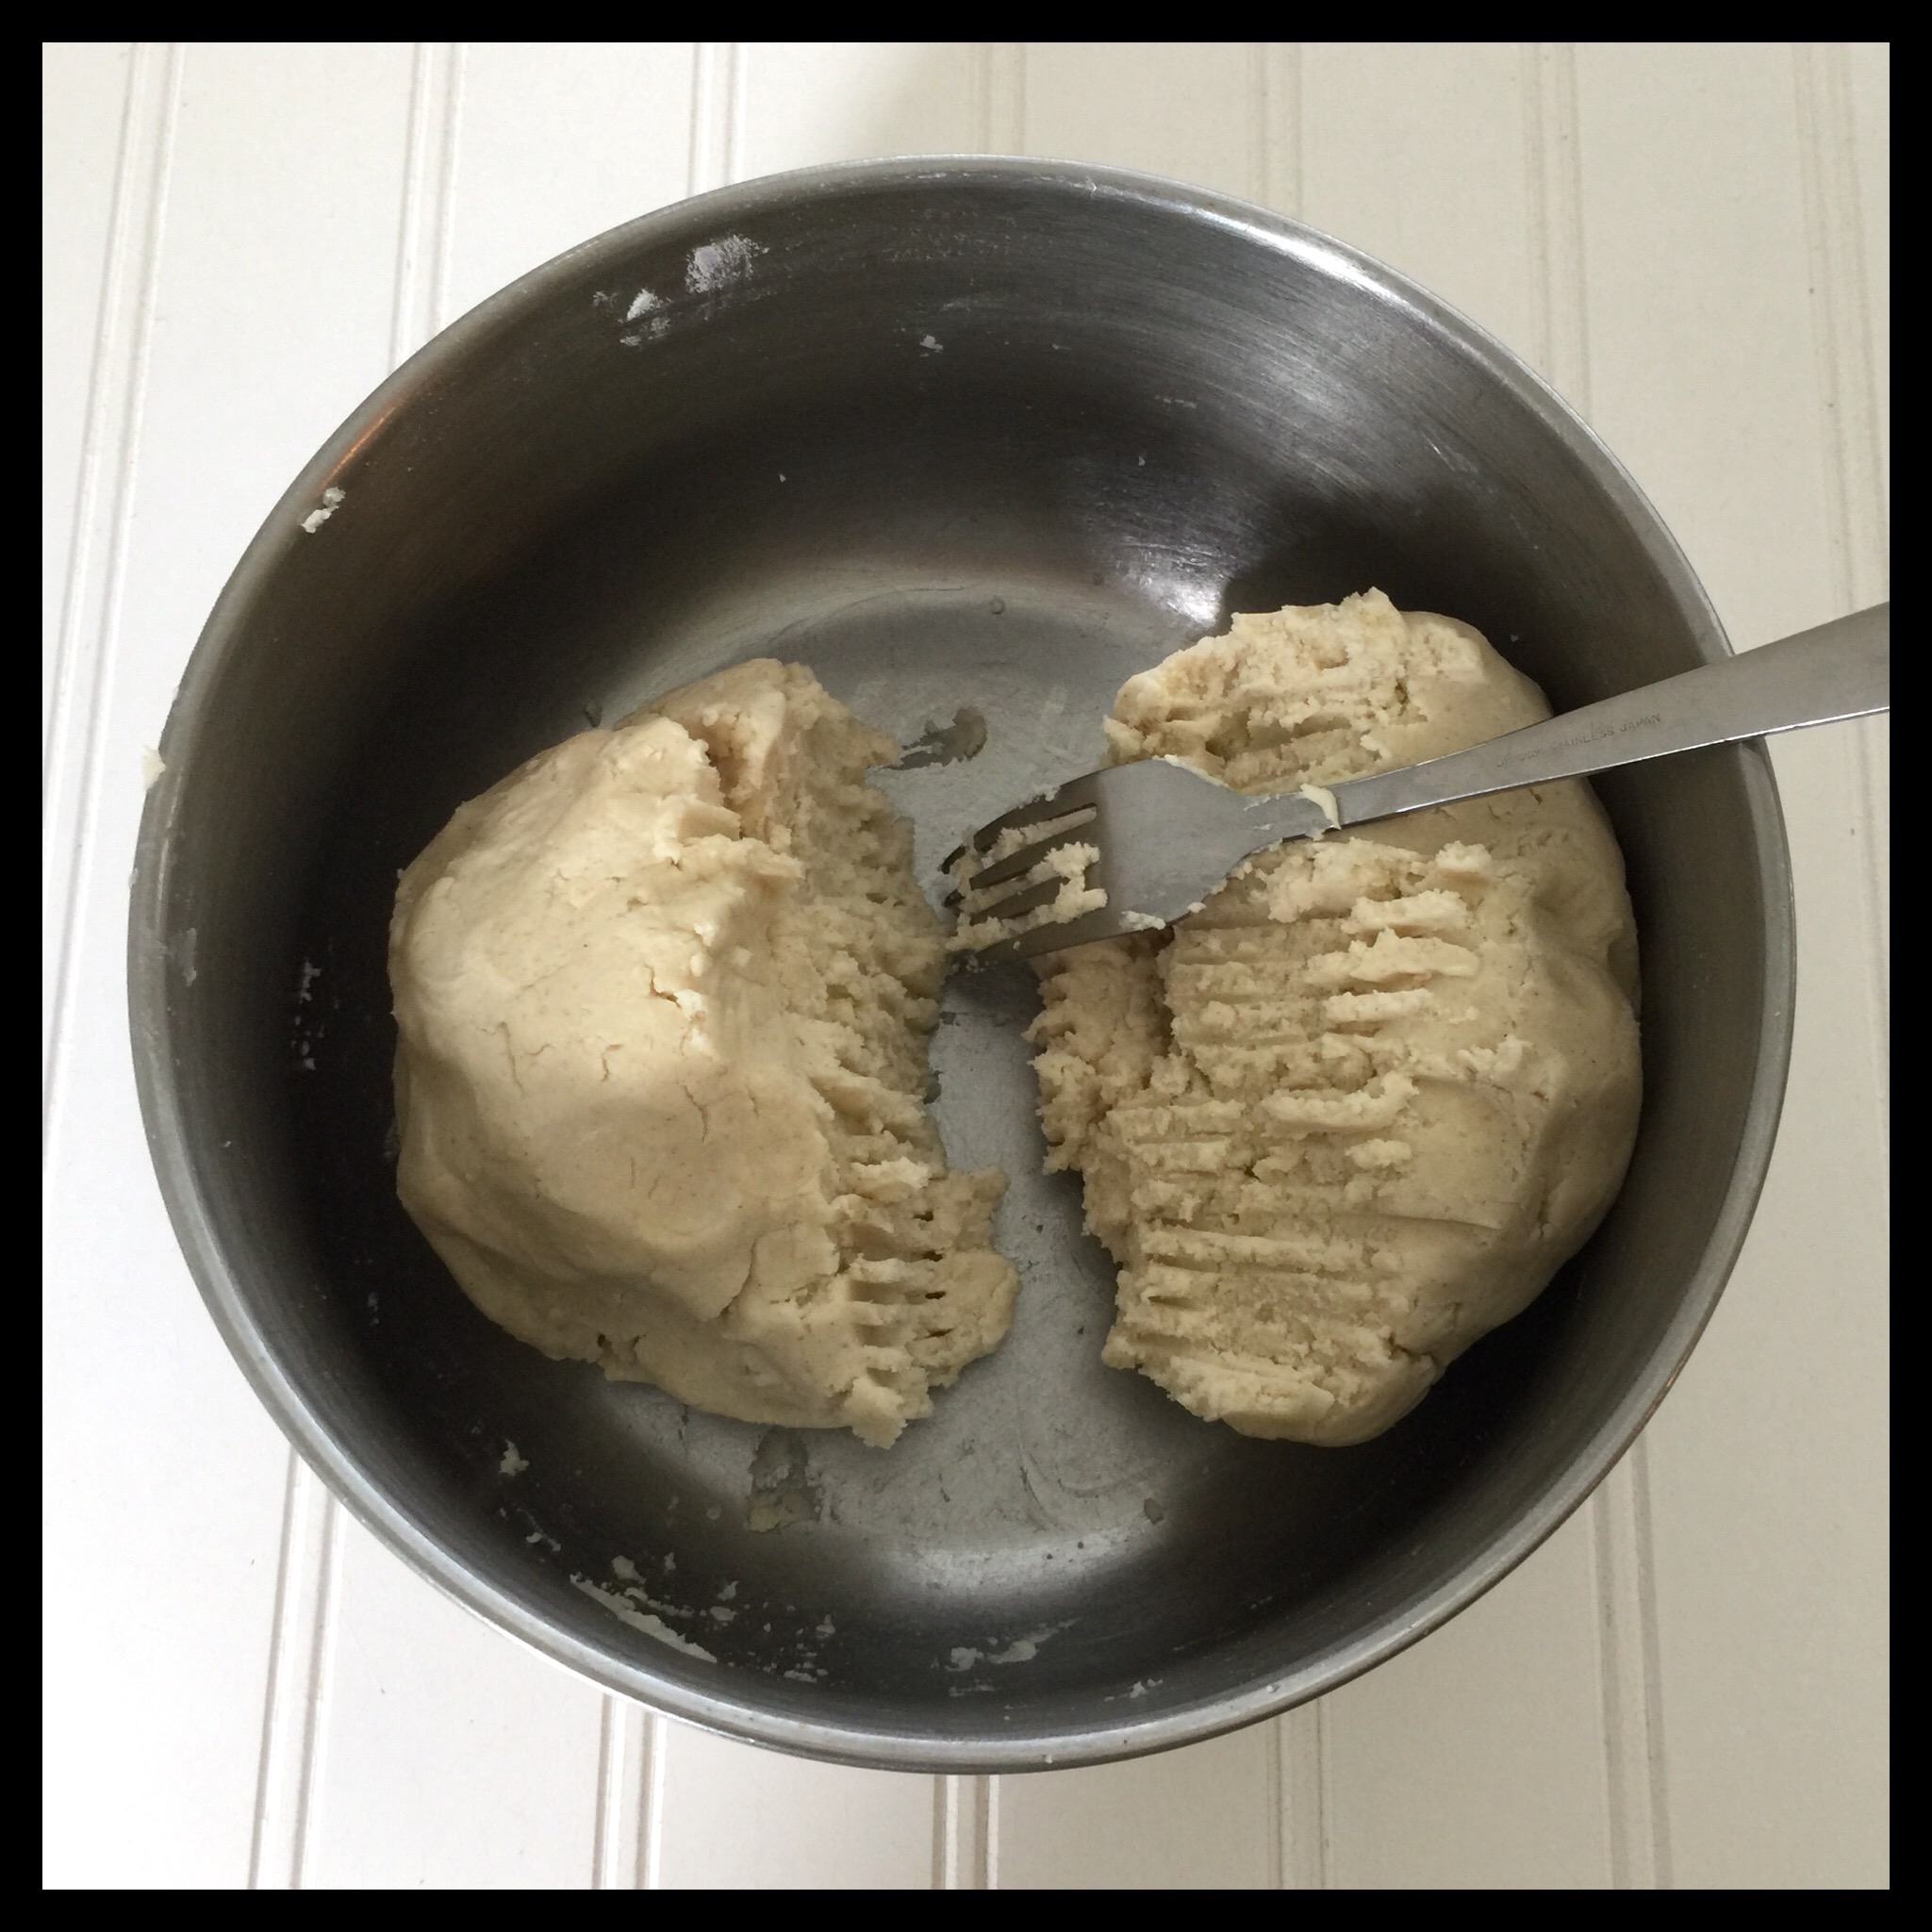
Use your hand to gather the dough into a ball:
Divide the dough, making one piece a little bigger for the bottom crust:
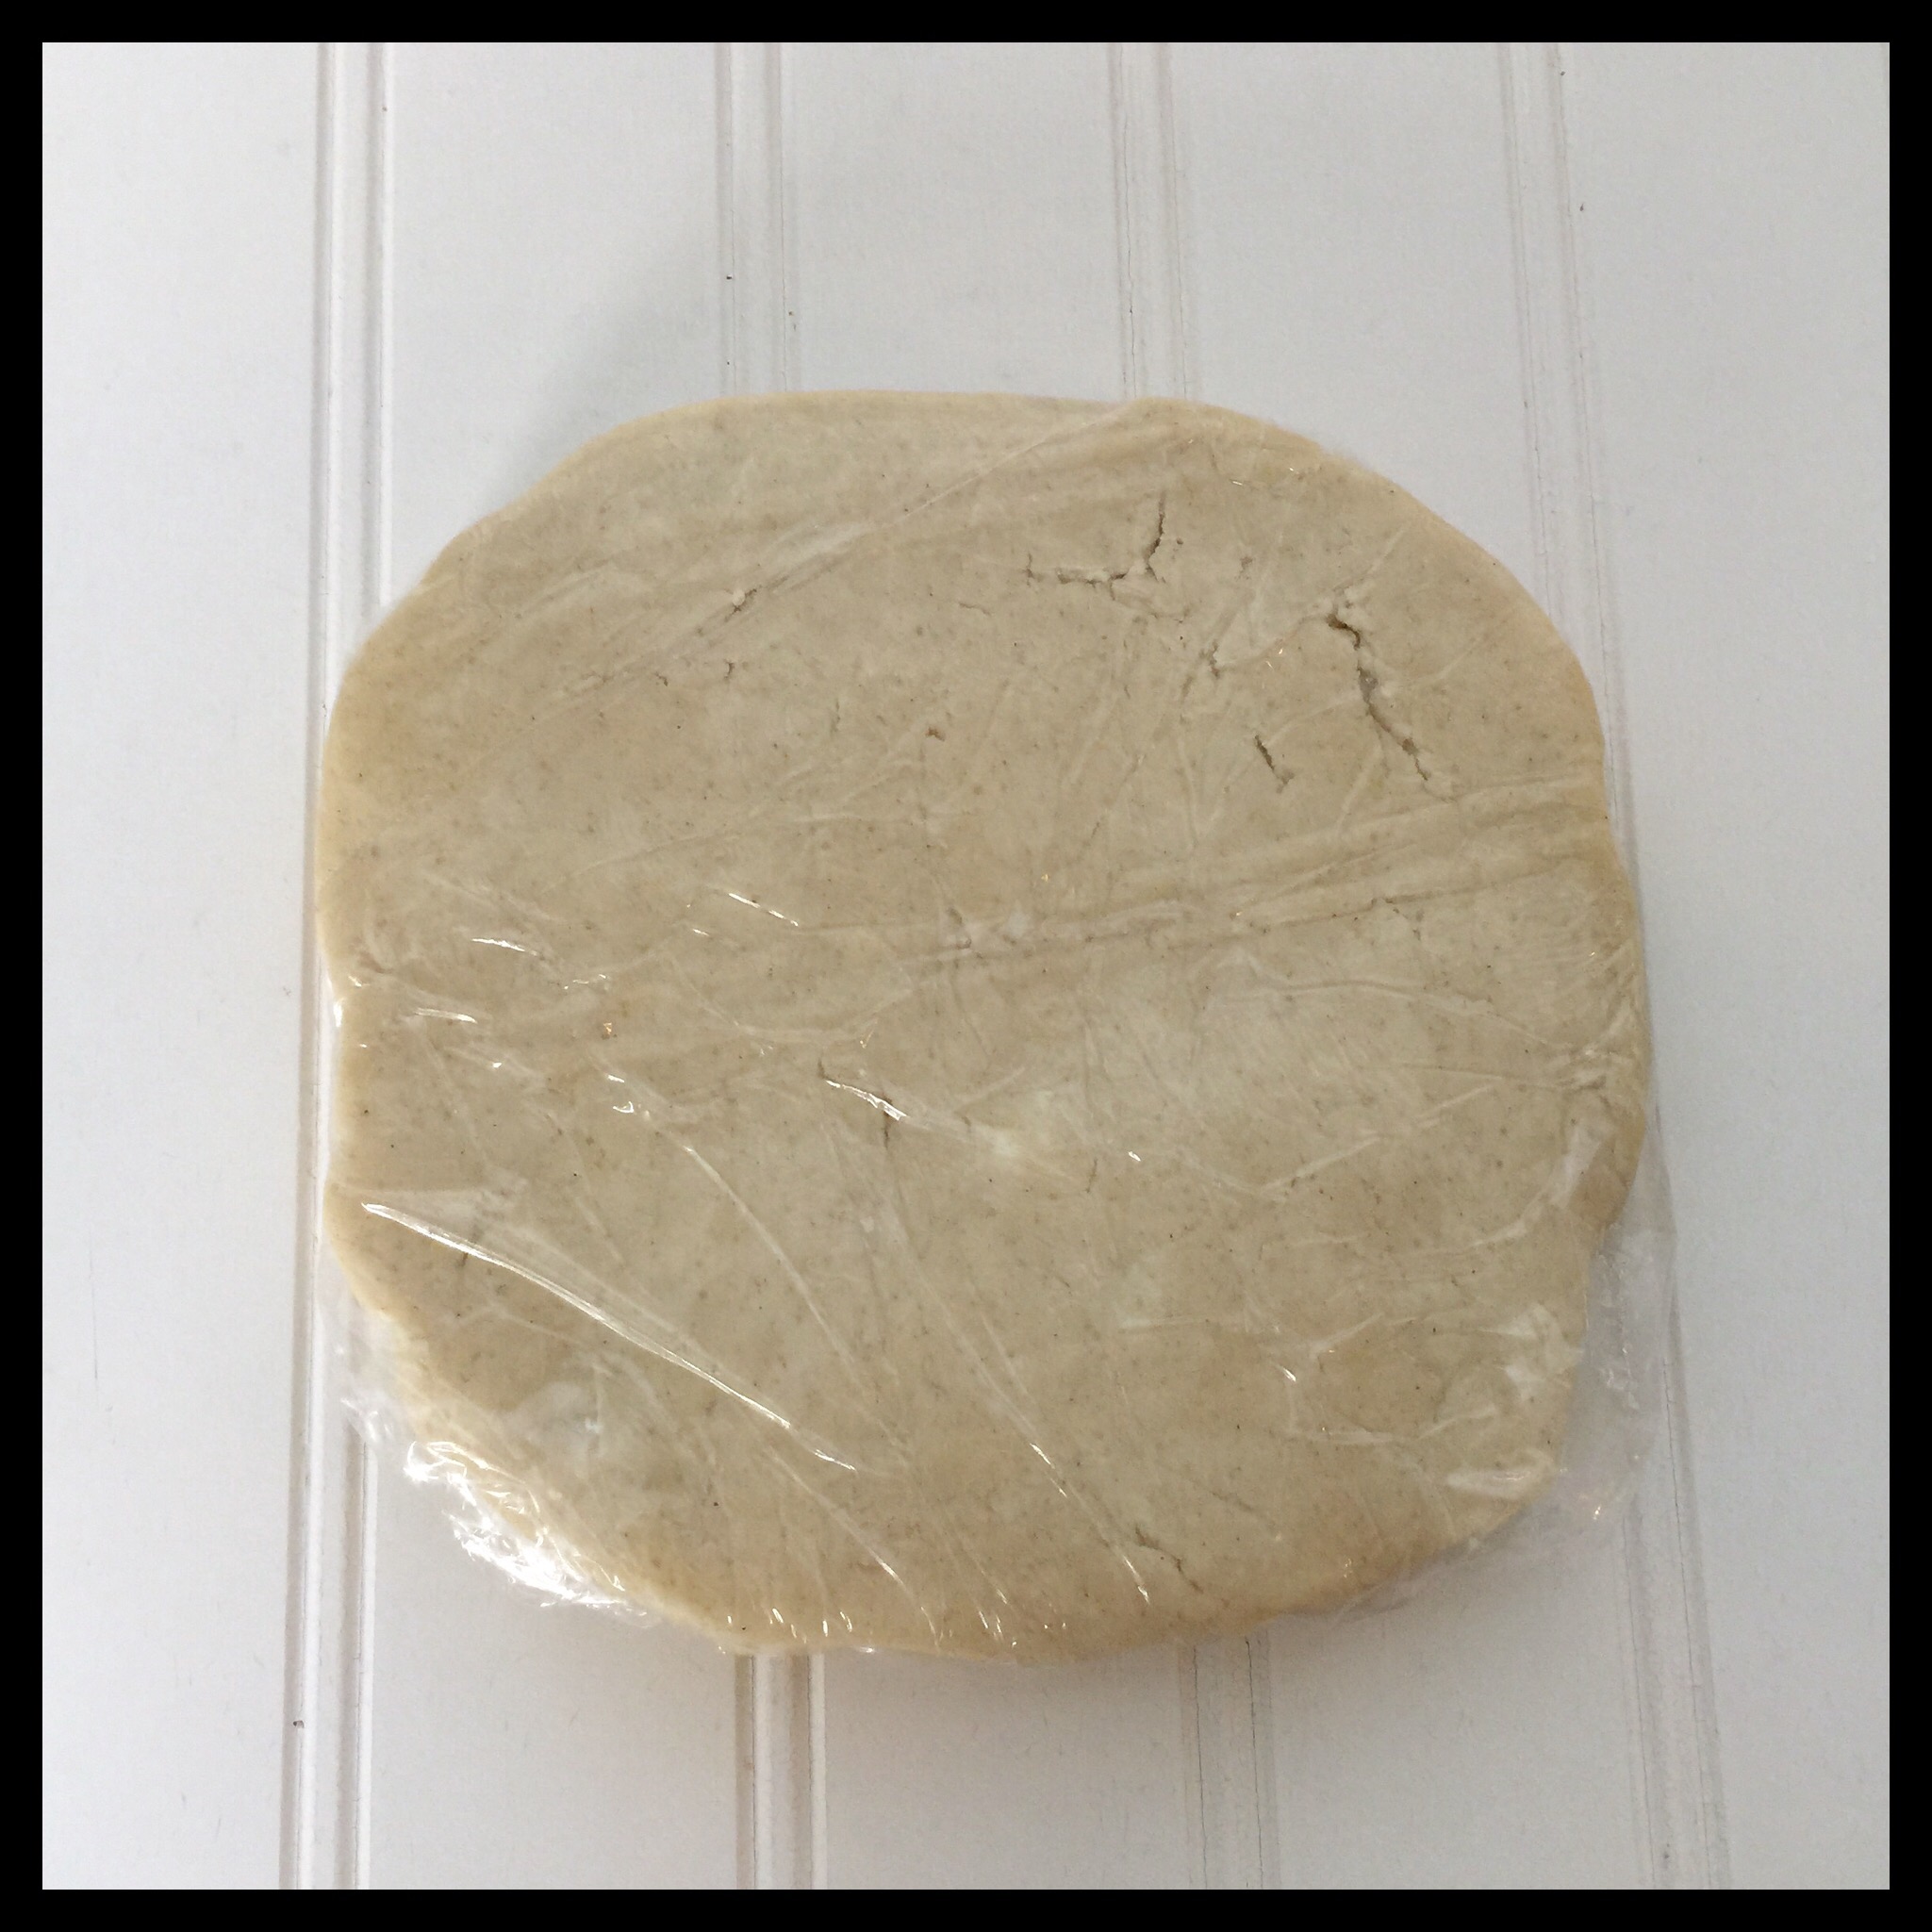
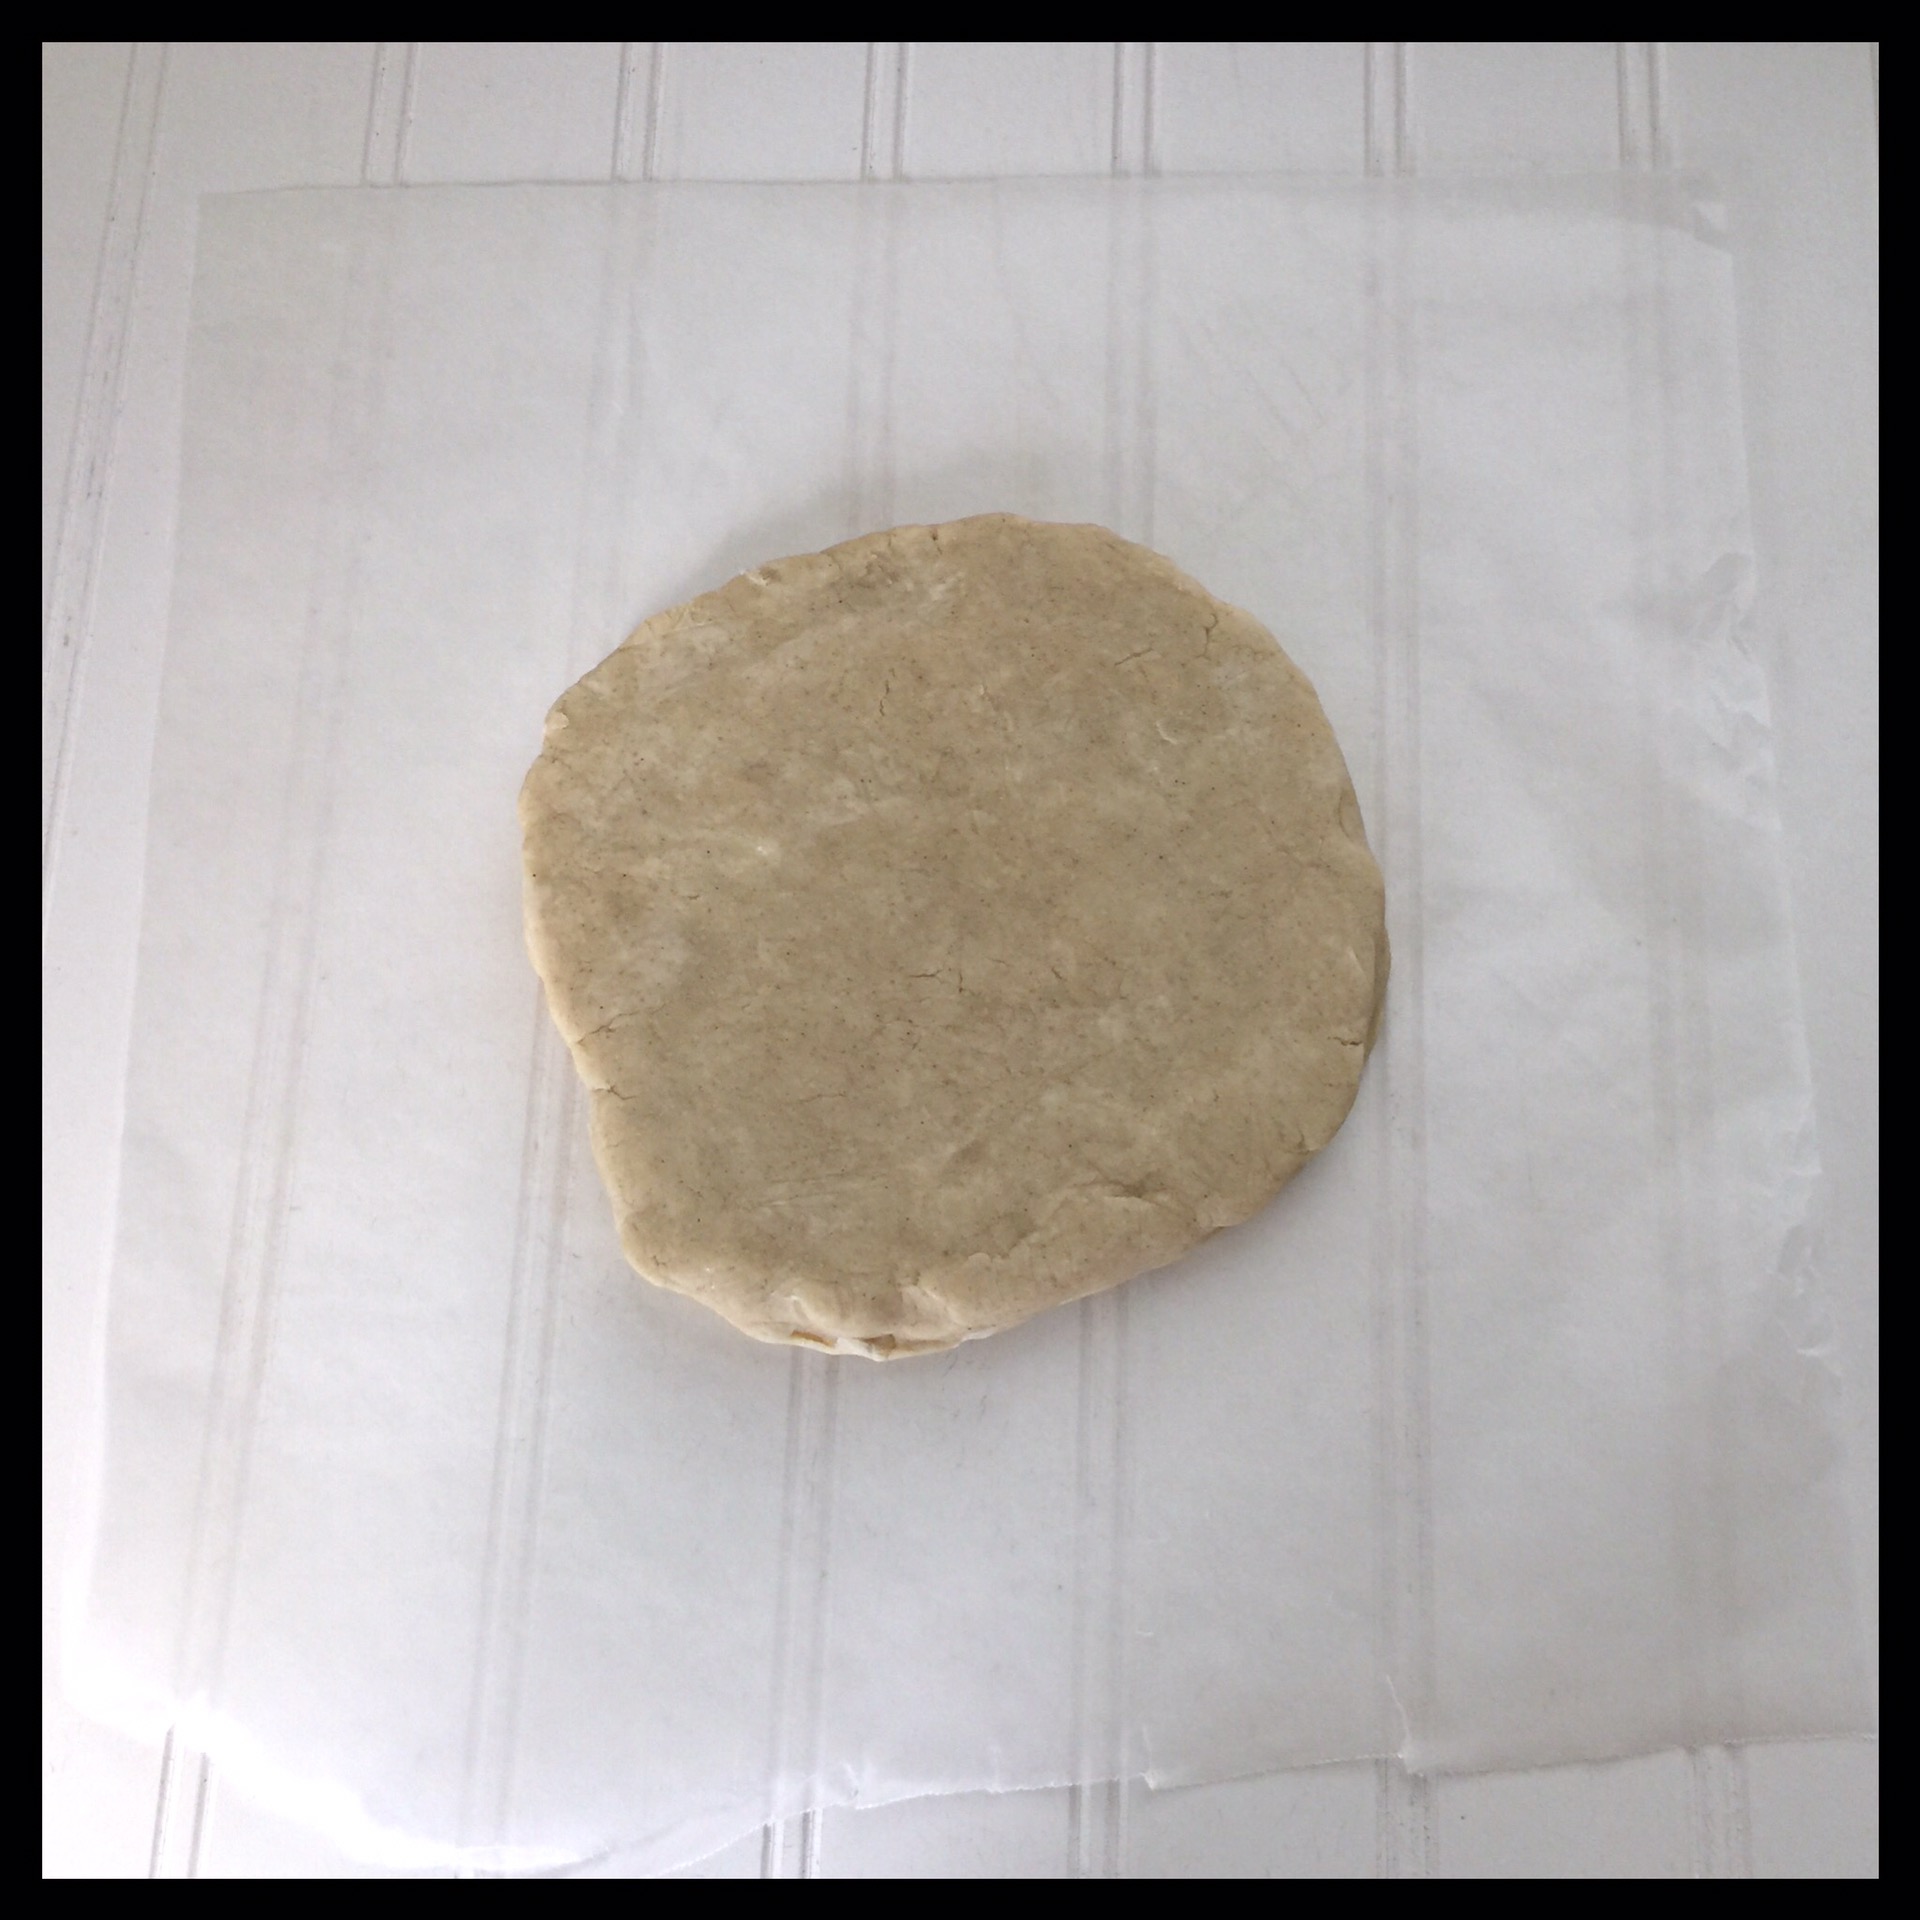
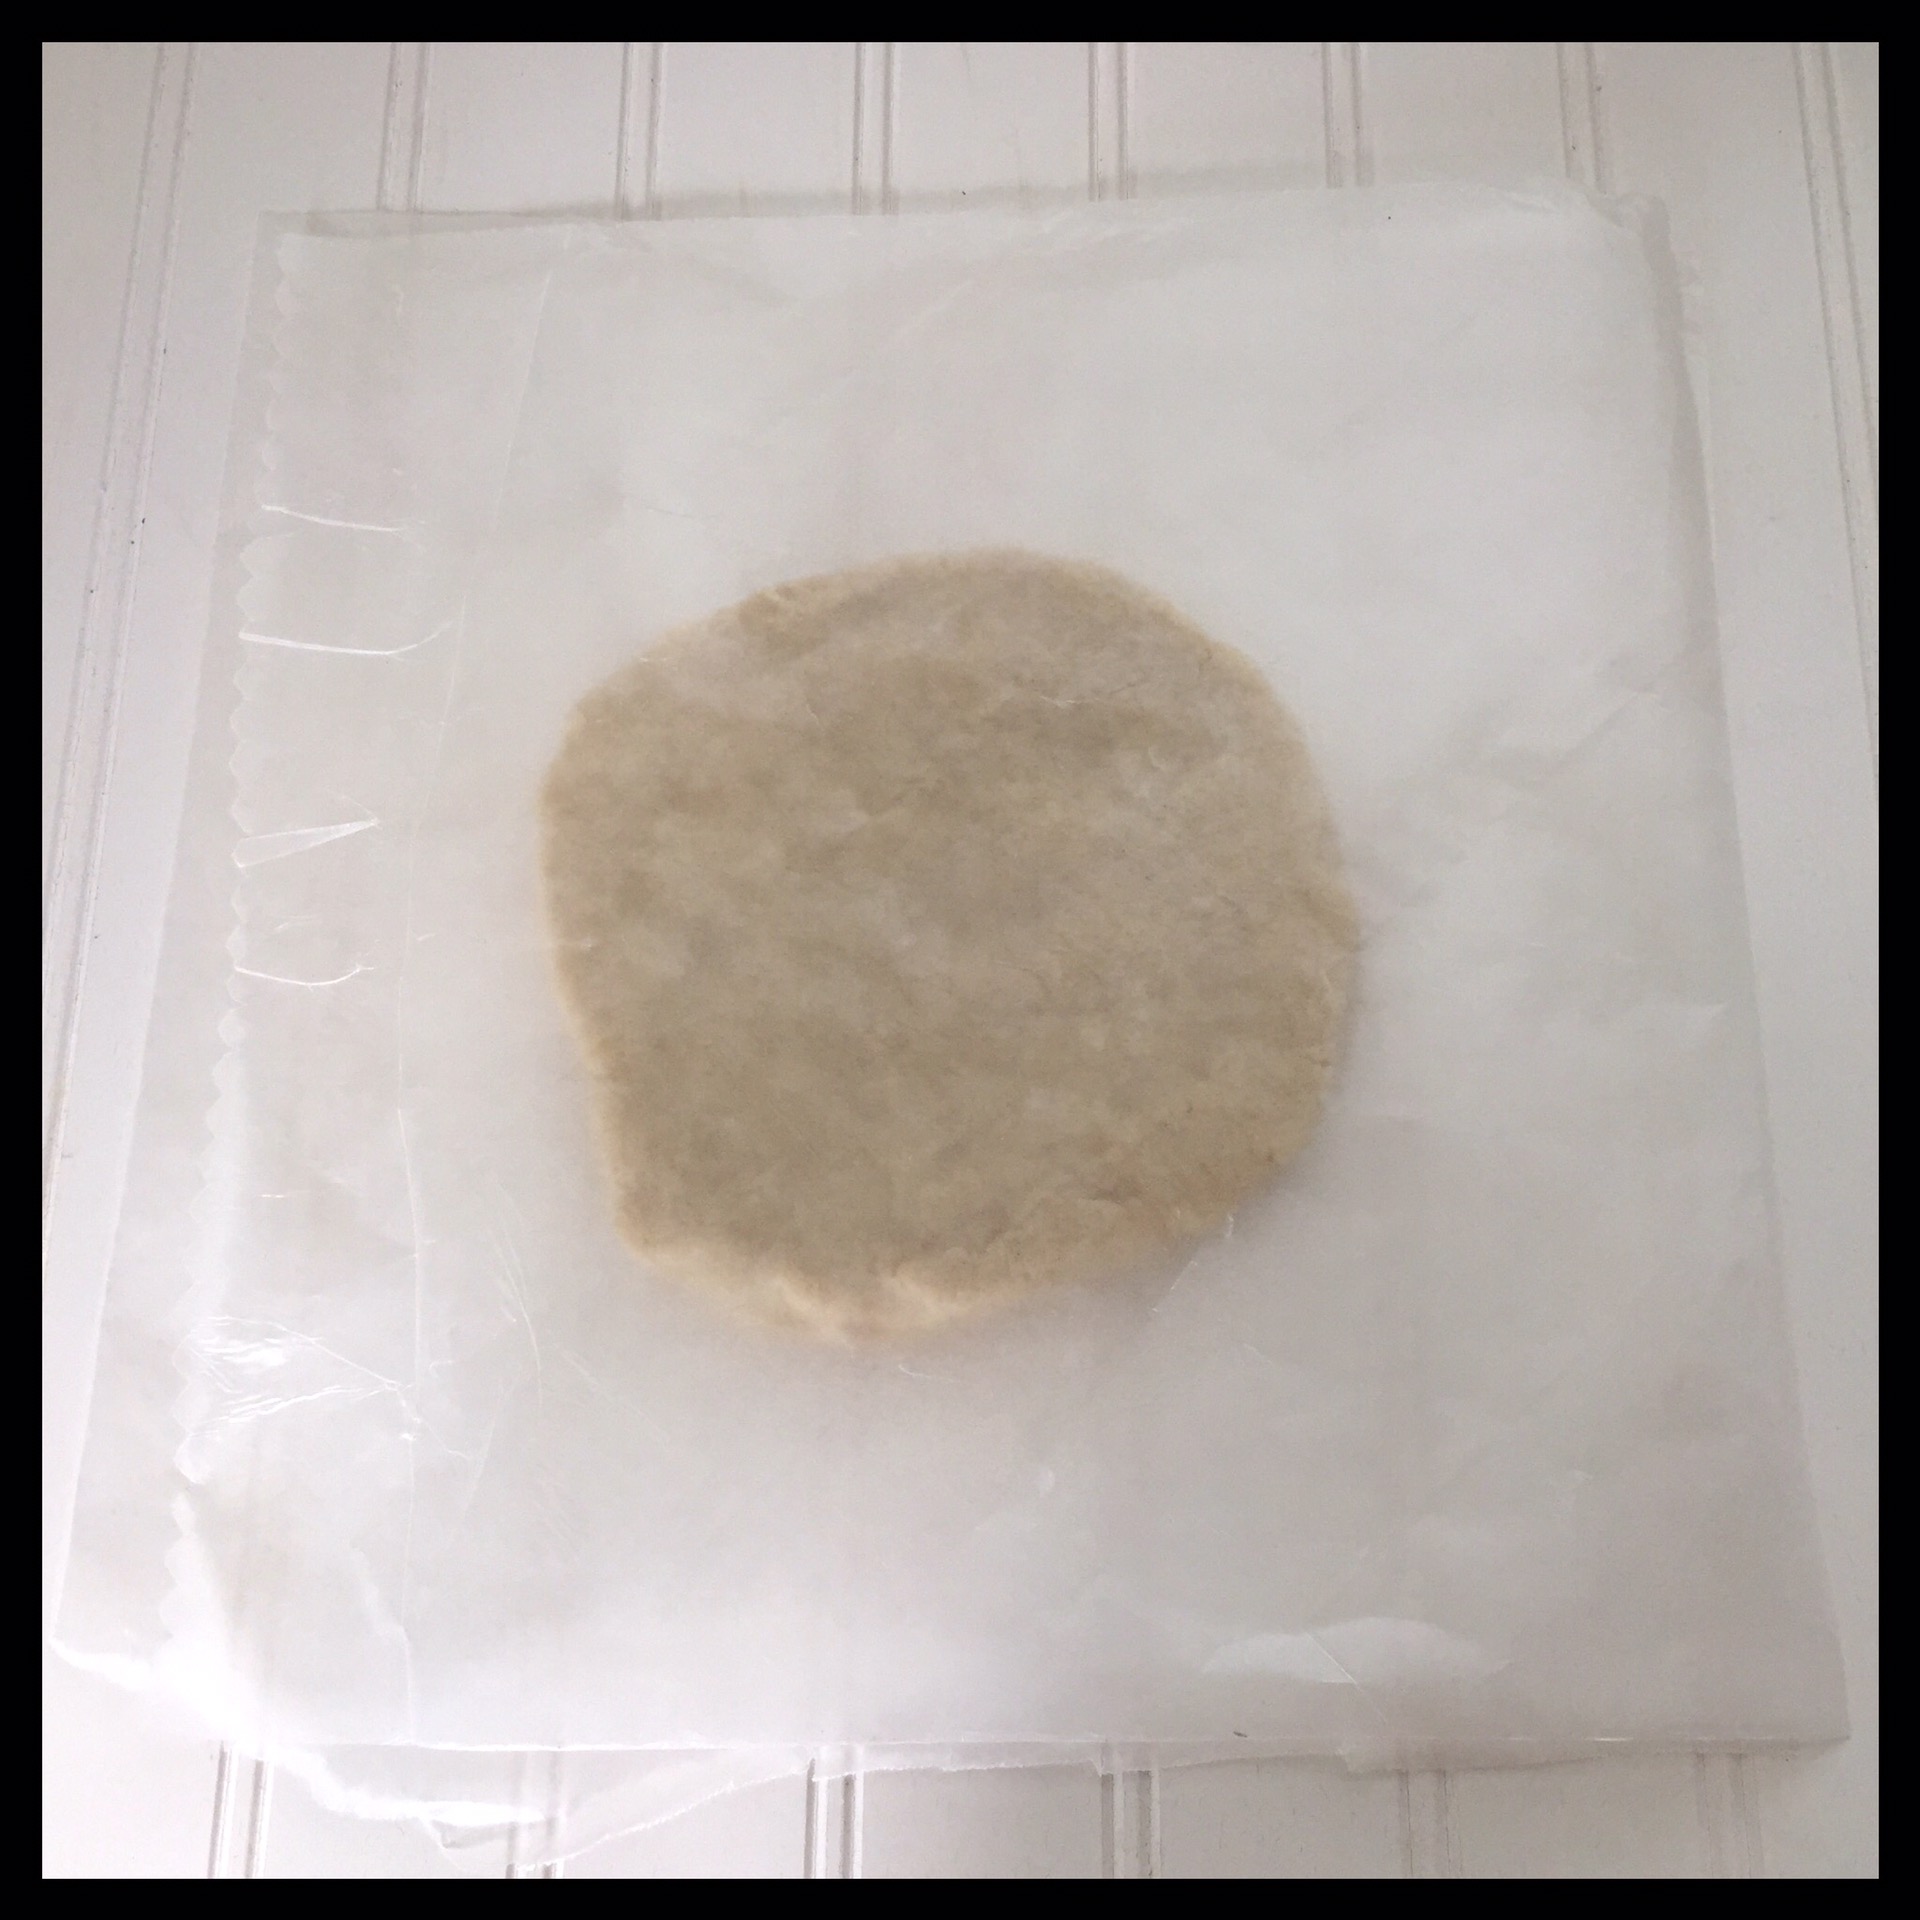
Press each piece into a circle on a piece of plastic wrap:
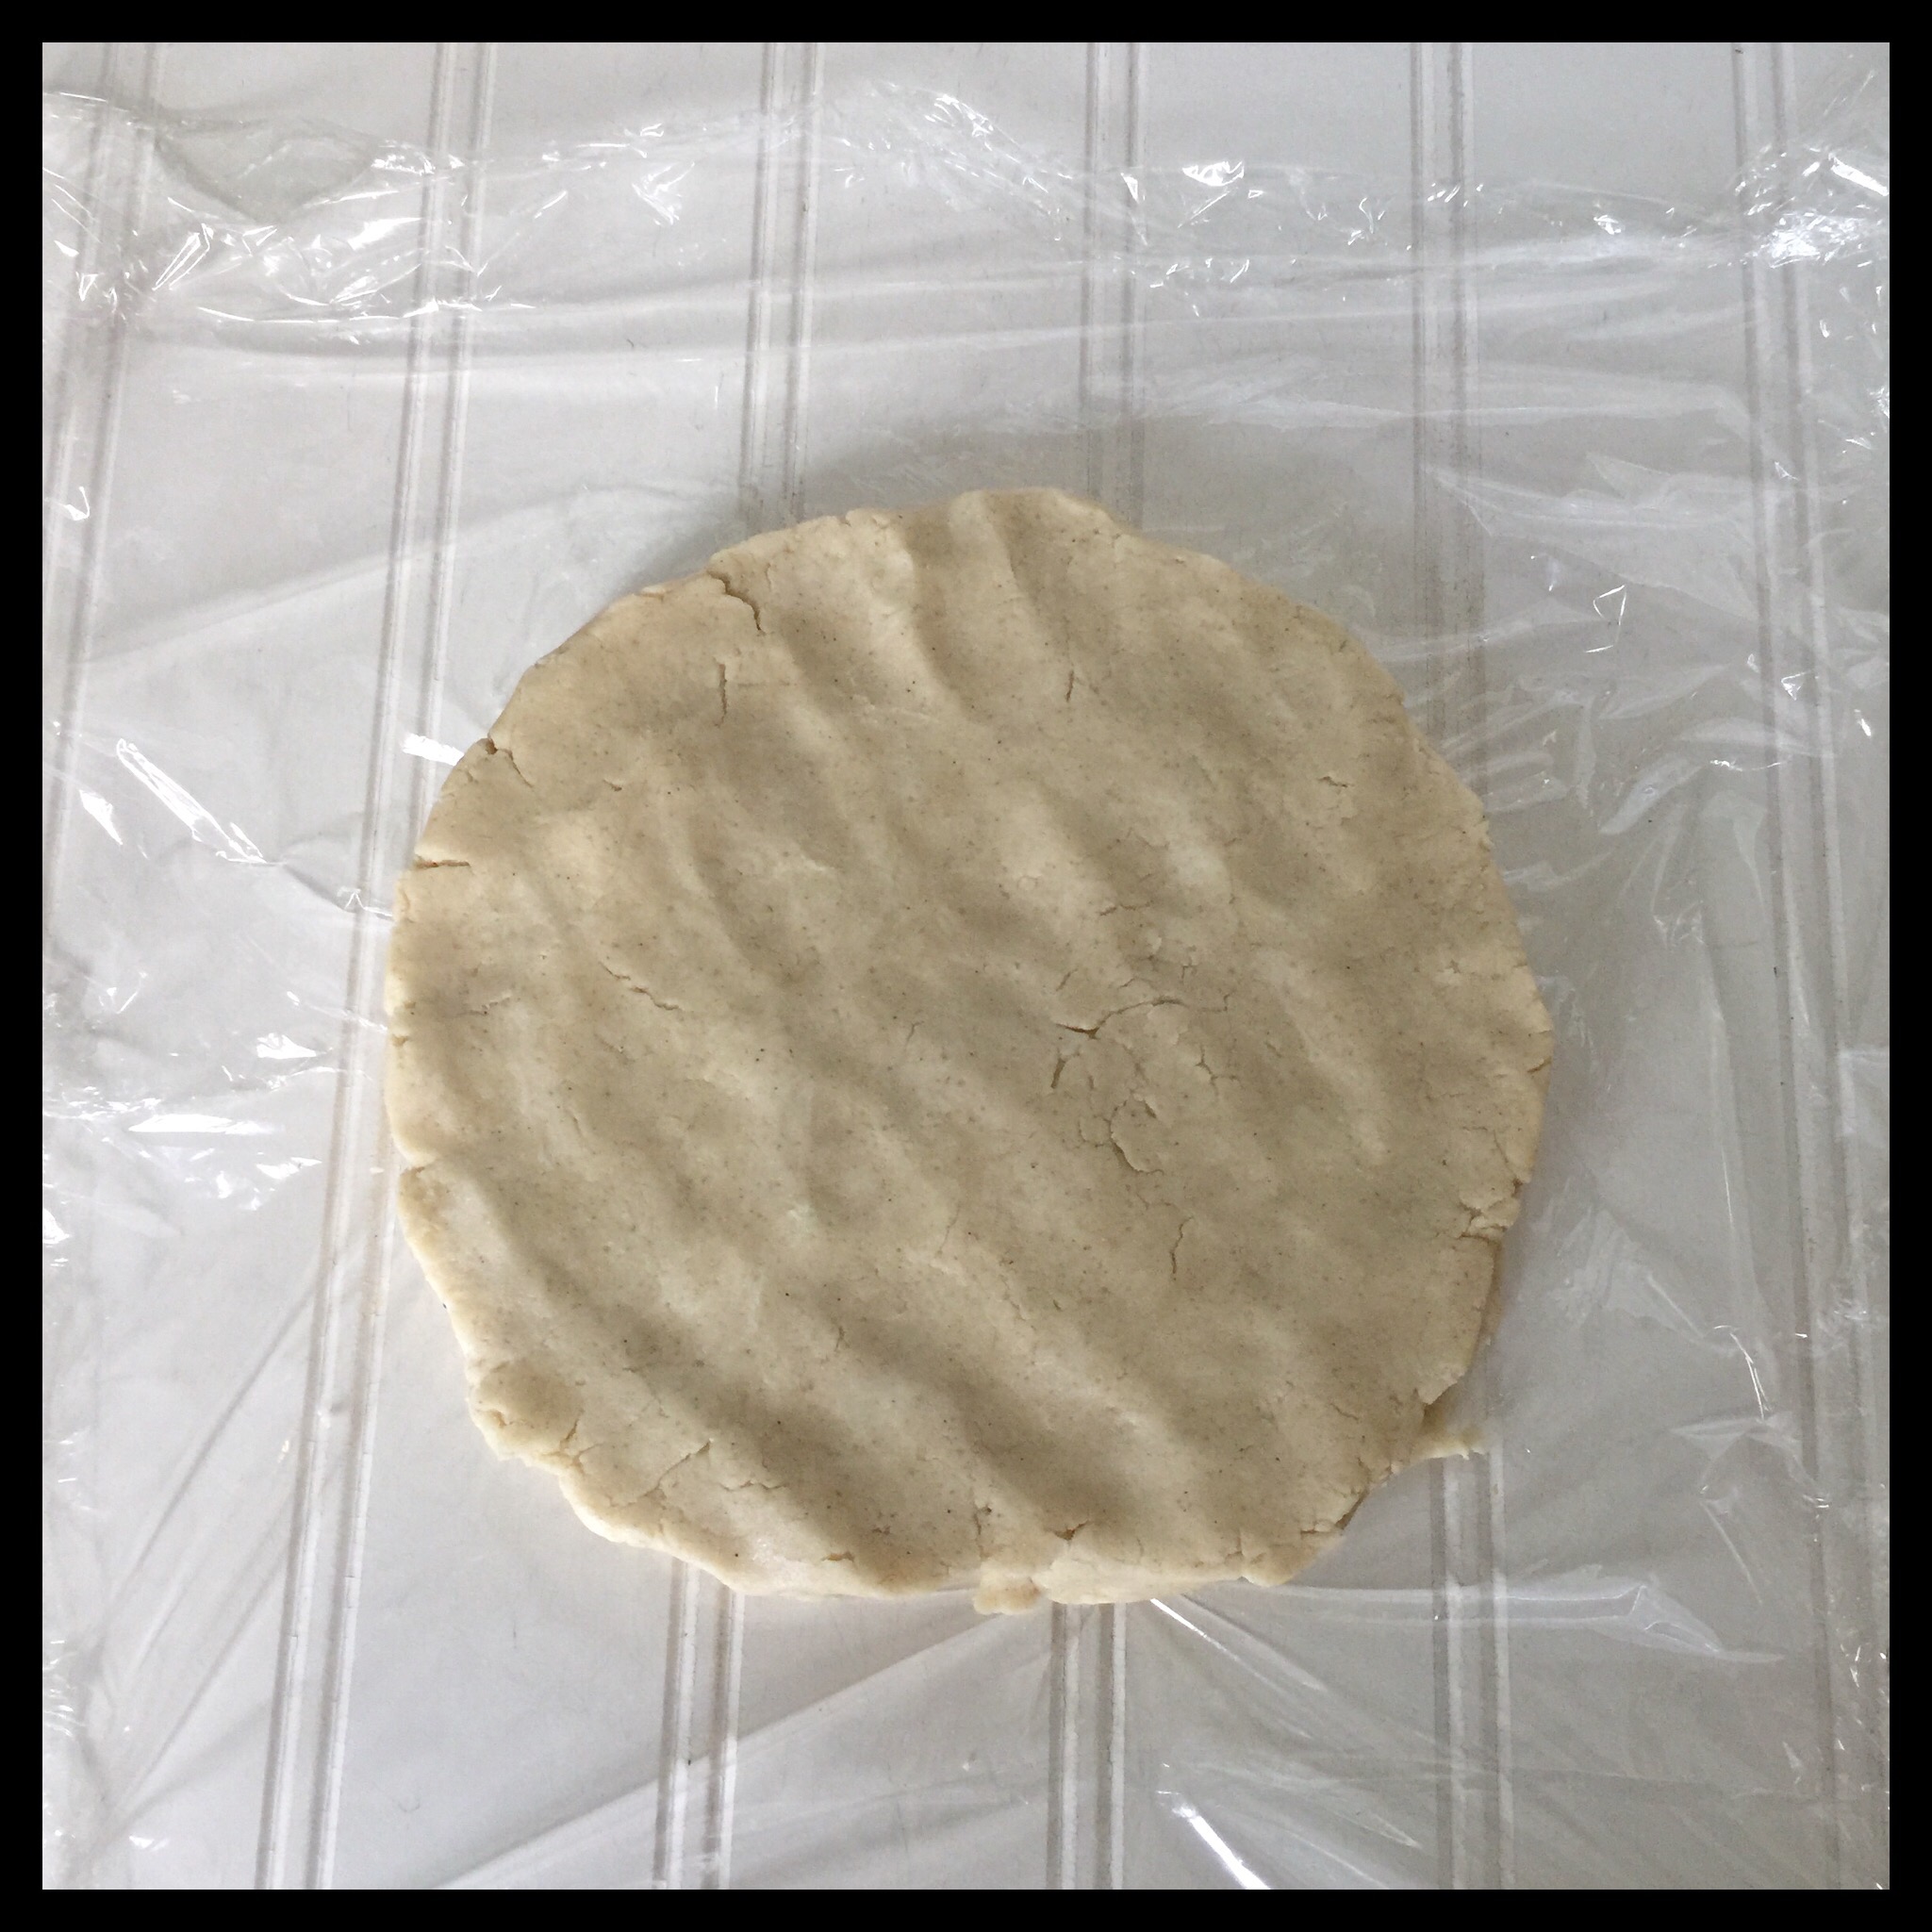
Wrap tightly and refrigerate for one hour. You can make the dough up to two days before you need it, but you will need to let it sit out at room temperature for a bit before rolling it out.
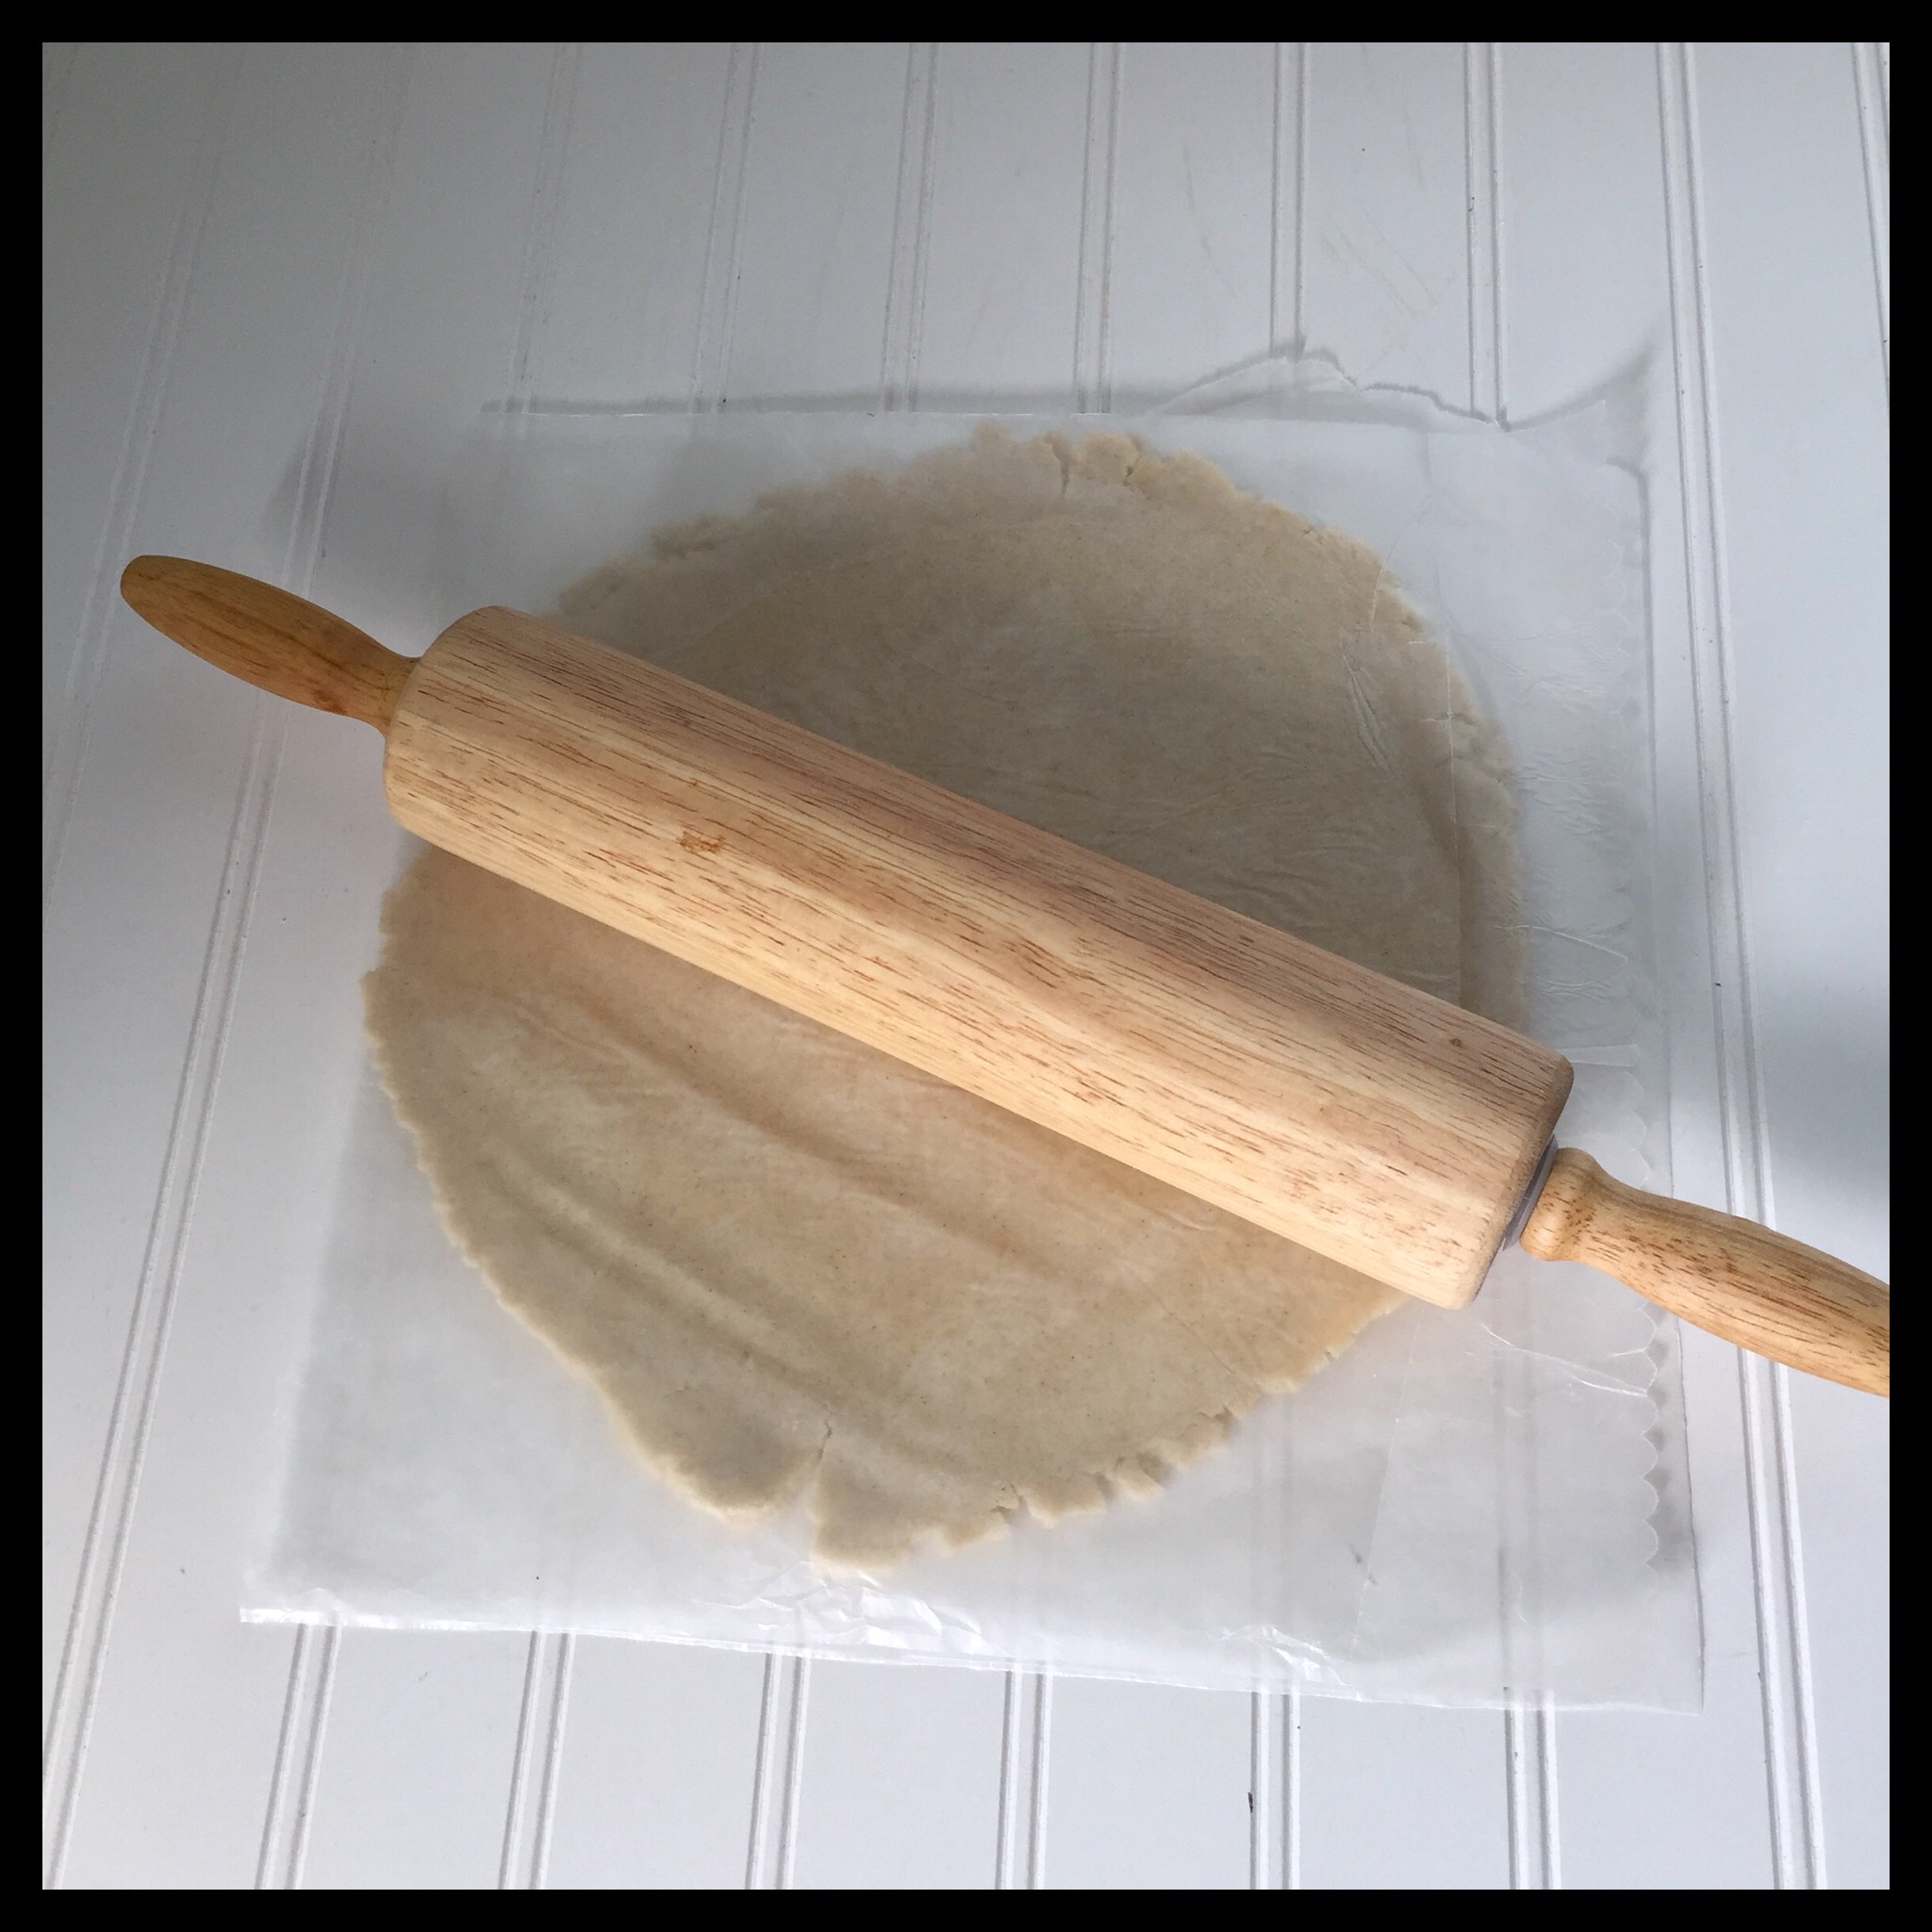
Place the larger piece of the chilled dough on a piece of waxed paper and cover it with a second piece. (You want to roll out the larger piece of dough first as you will use it for the bottom crust.)
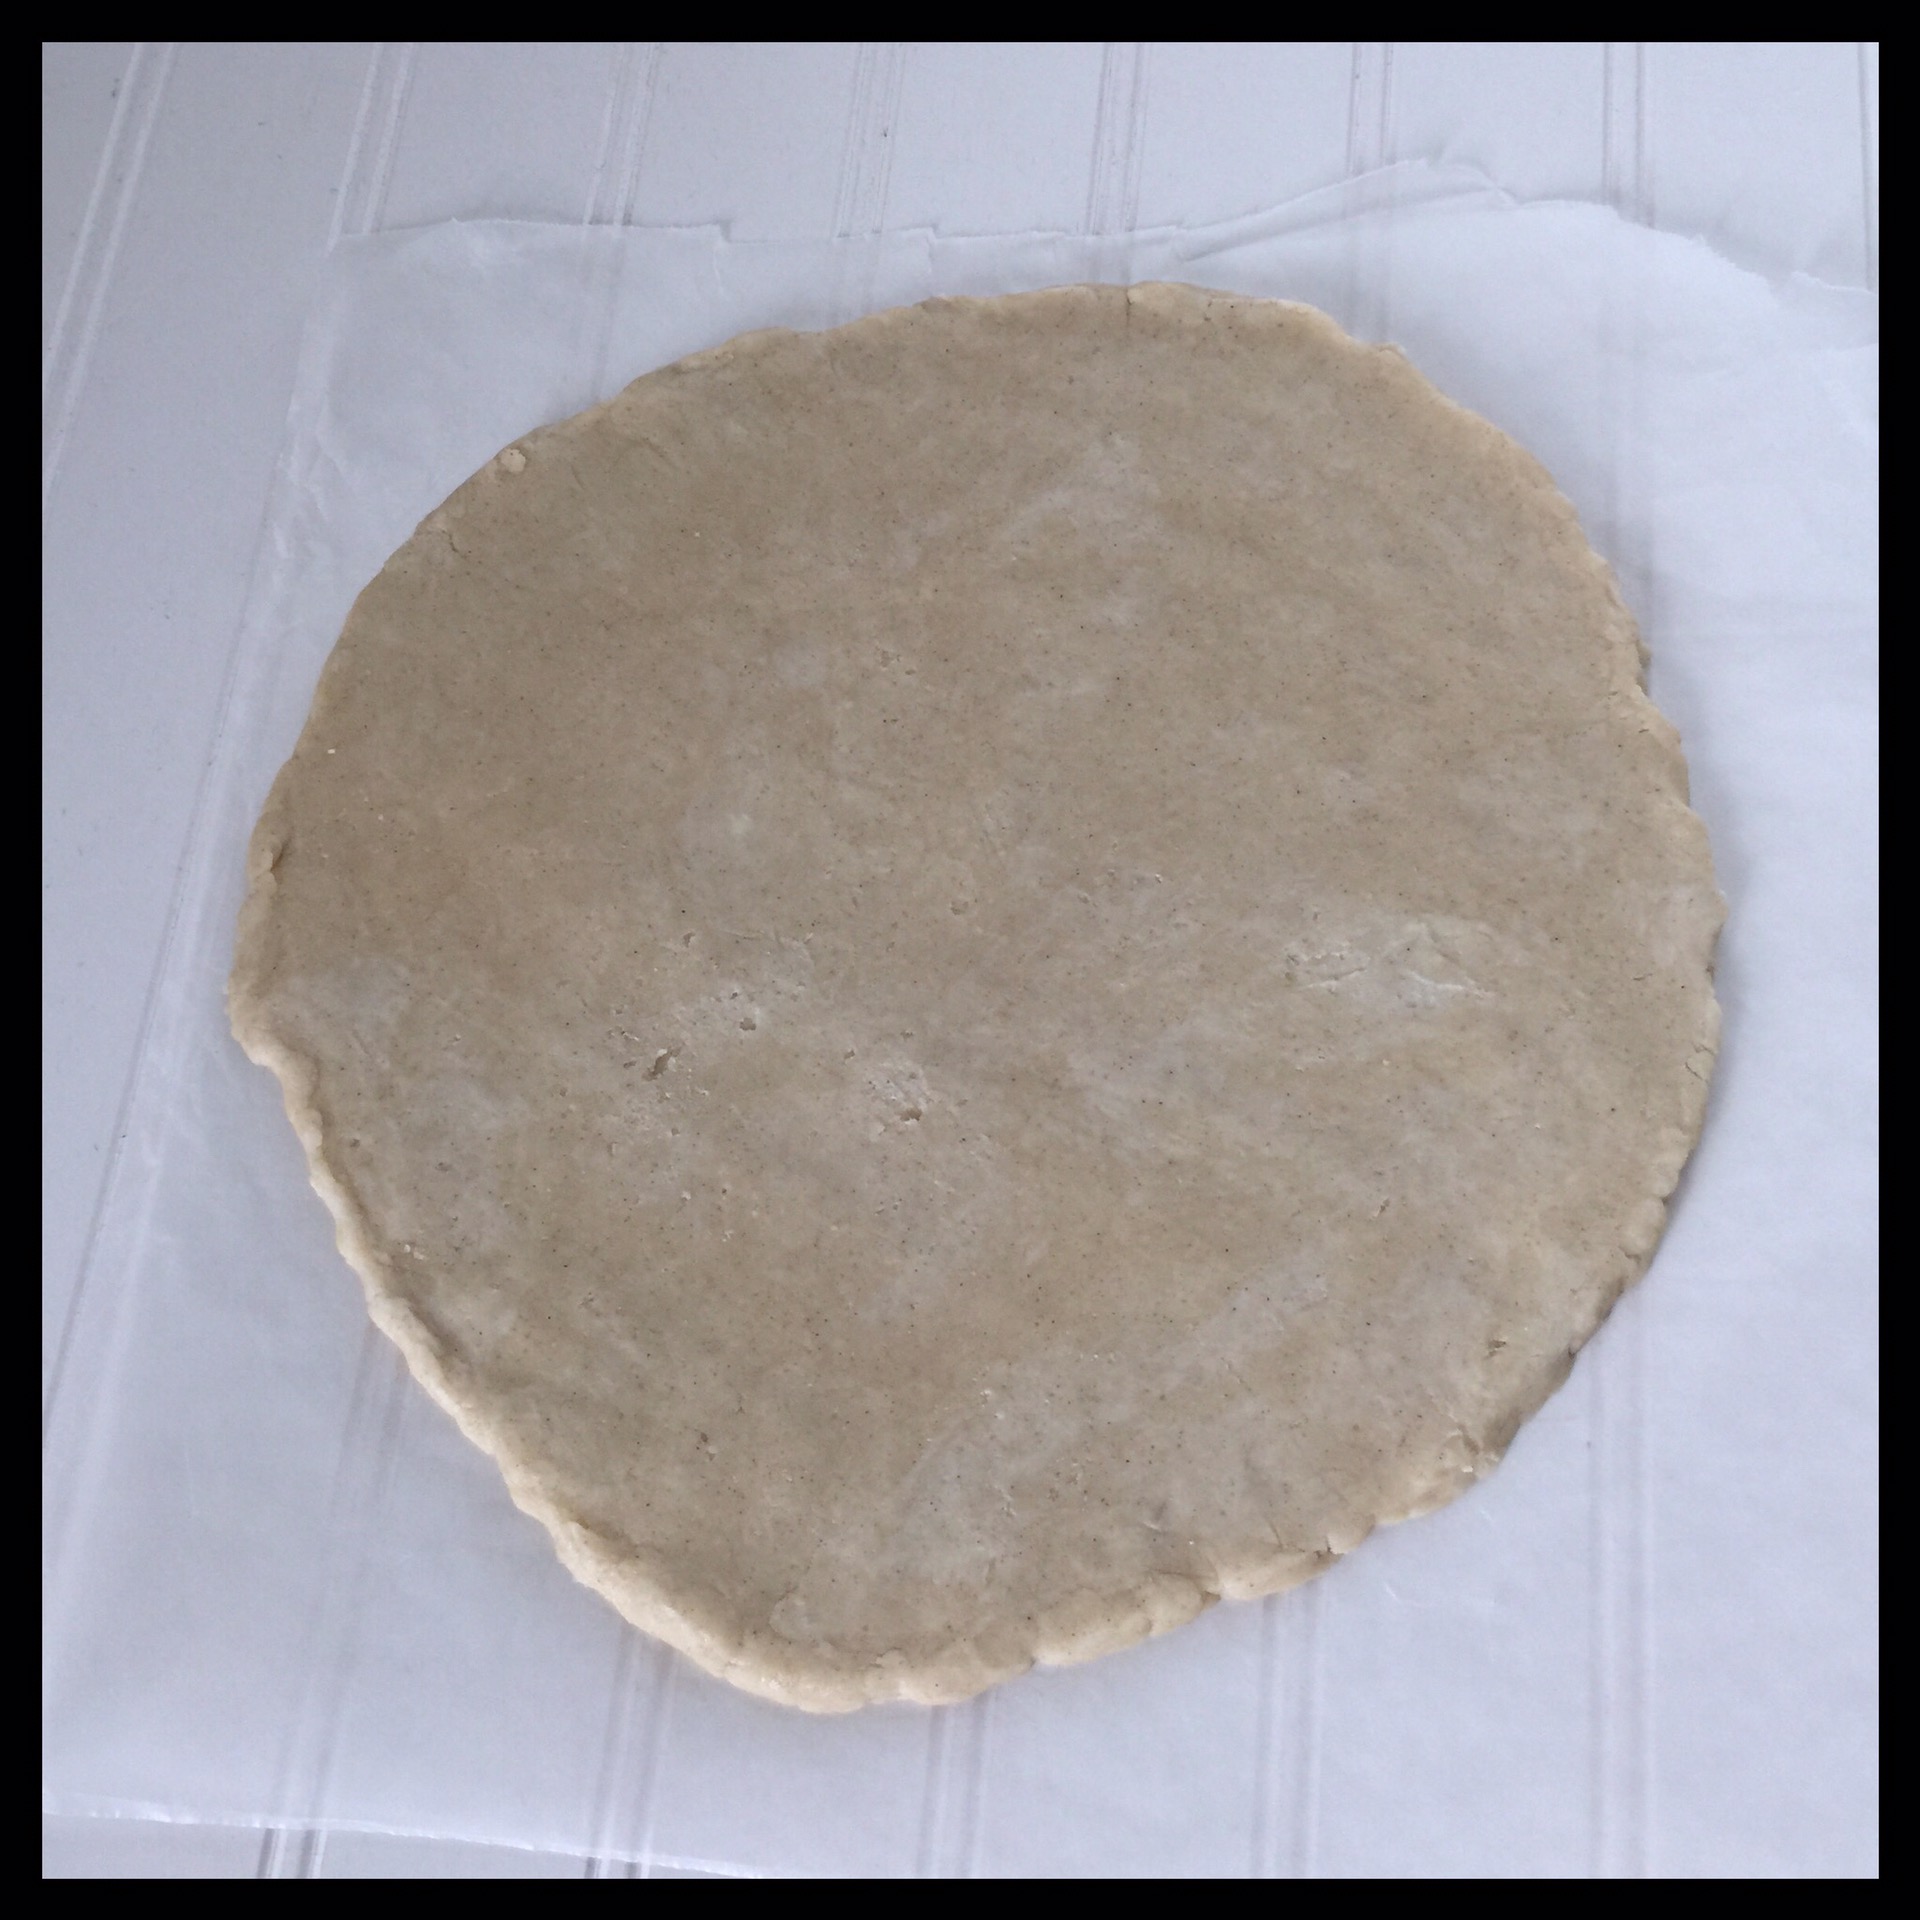
Roll out part way. To keep the circle even, rotate the crust frequently:
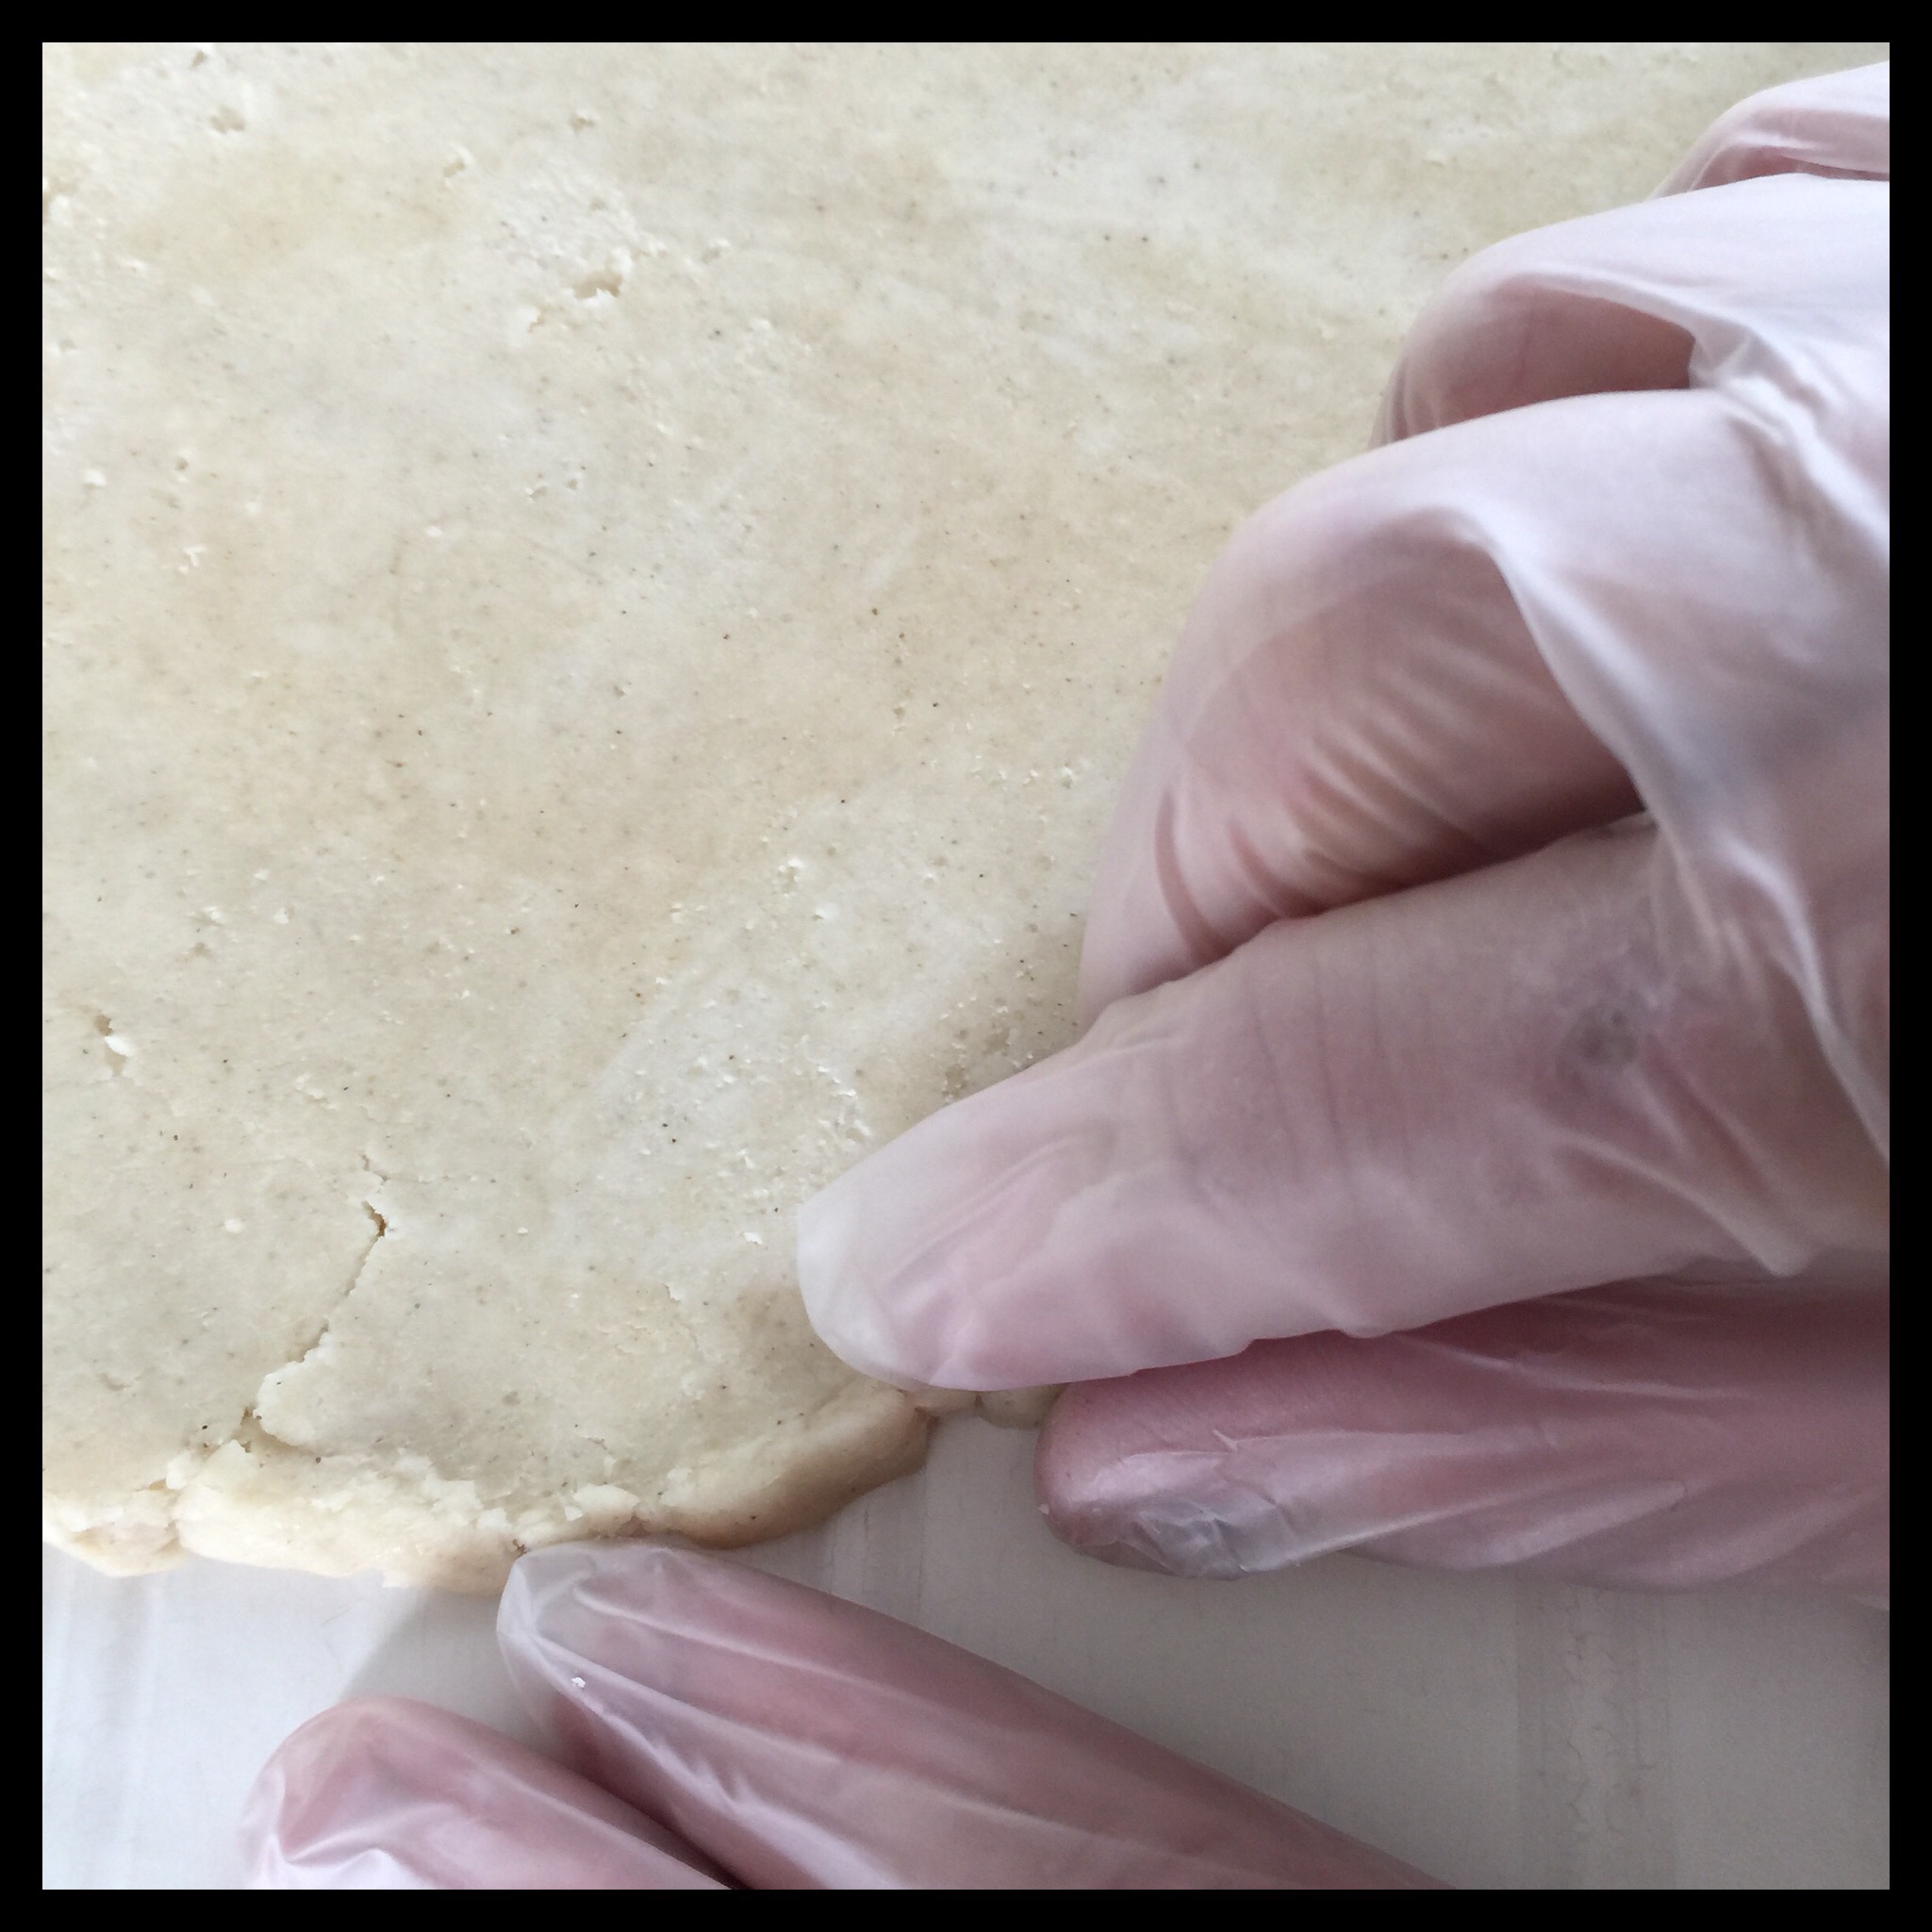
You will have uneven and cracked edges:

Shape the edge all the way around so there are no cracks and the edge is not too thin:
Continue rolling out your crust. Several times while rolling it out, I will flip the crust over, peel off what is now the top piece of waxed paper, and replace it before continuing. This prevents wrinkles in the paper and makes for a more uniform crust.
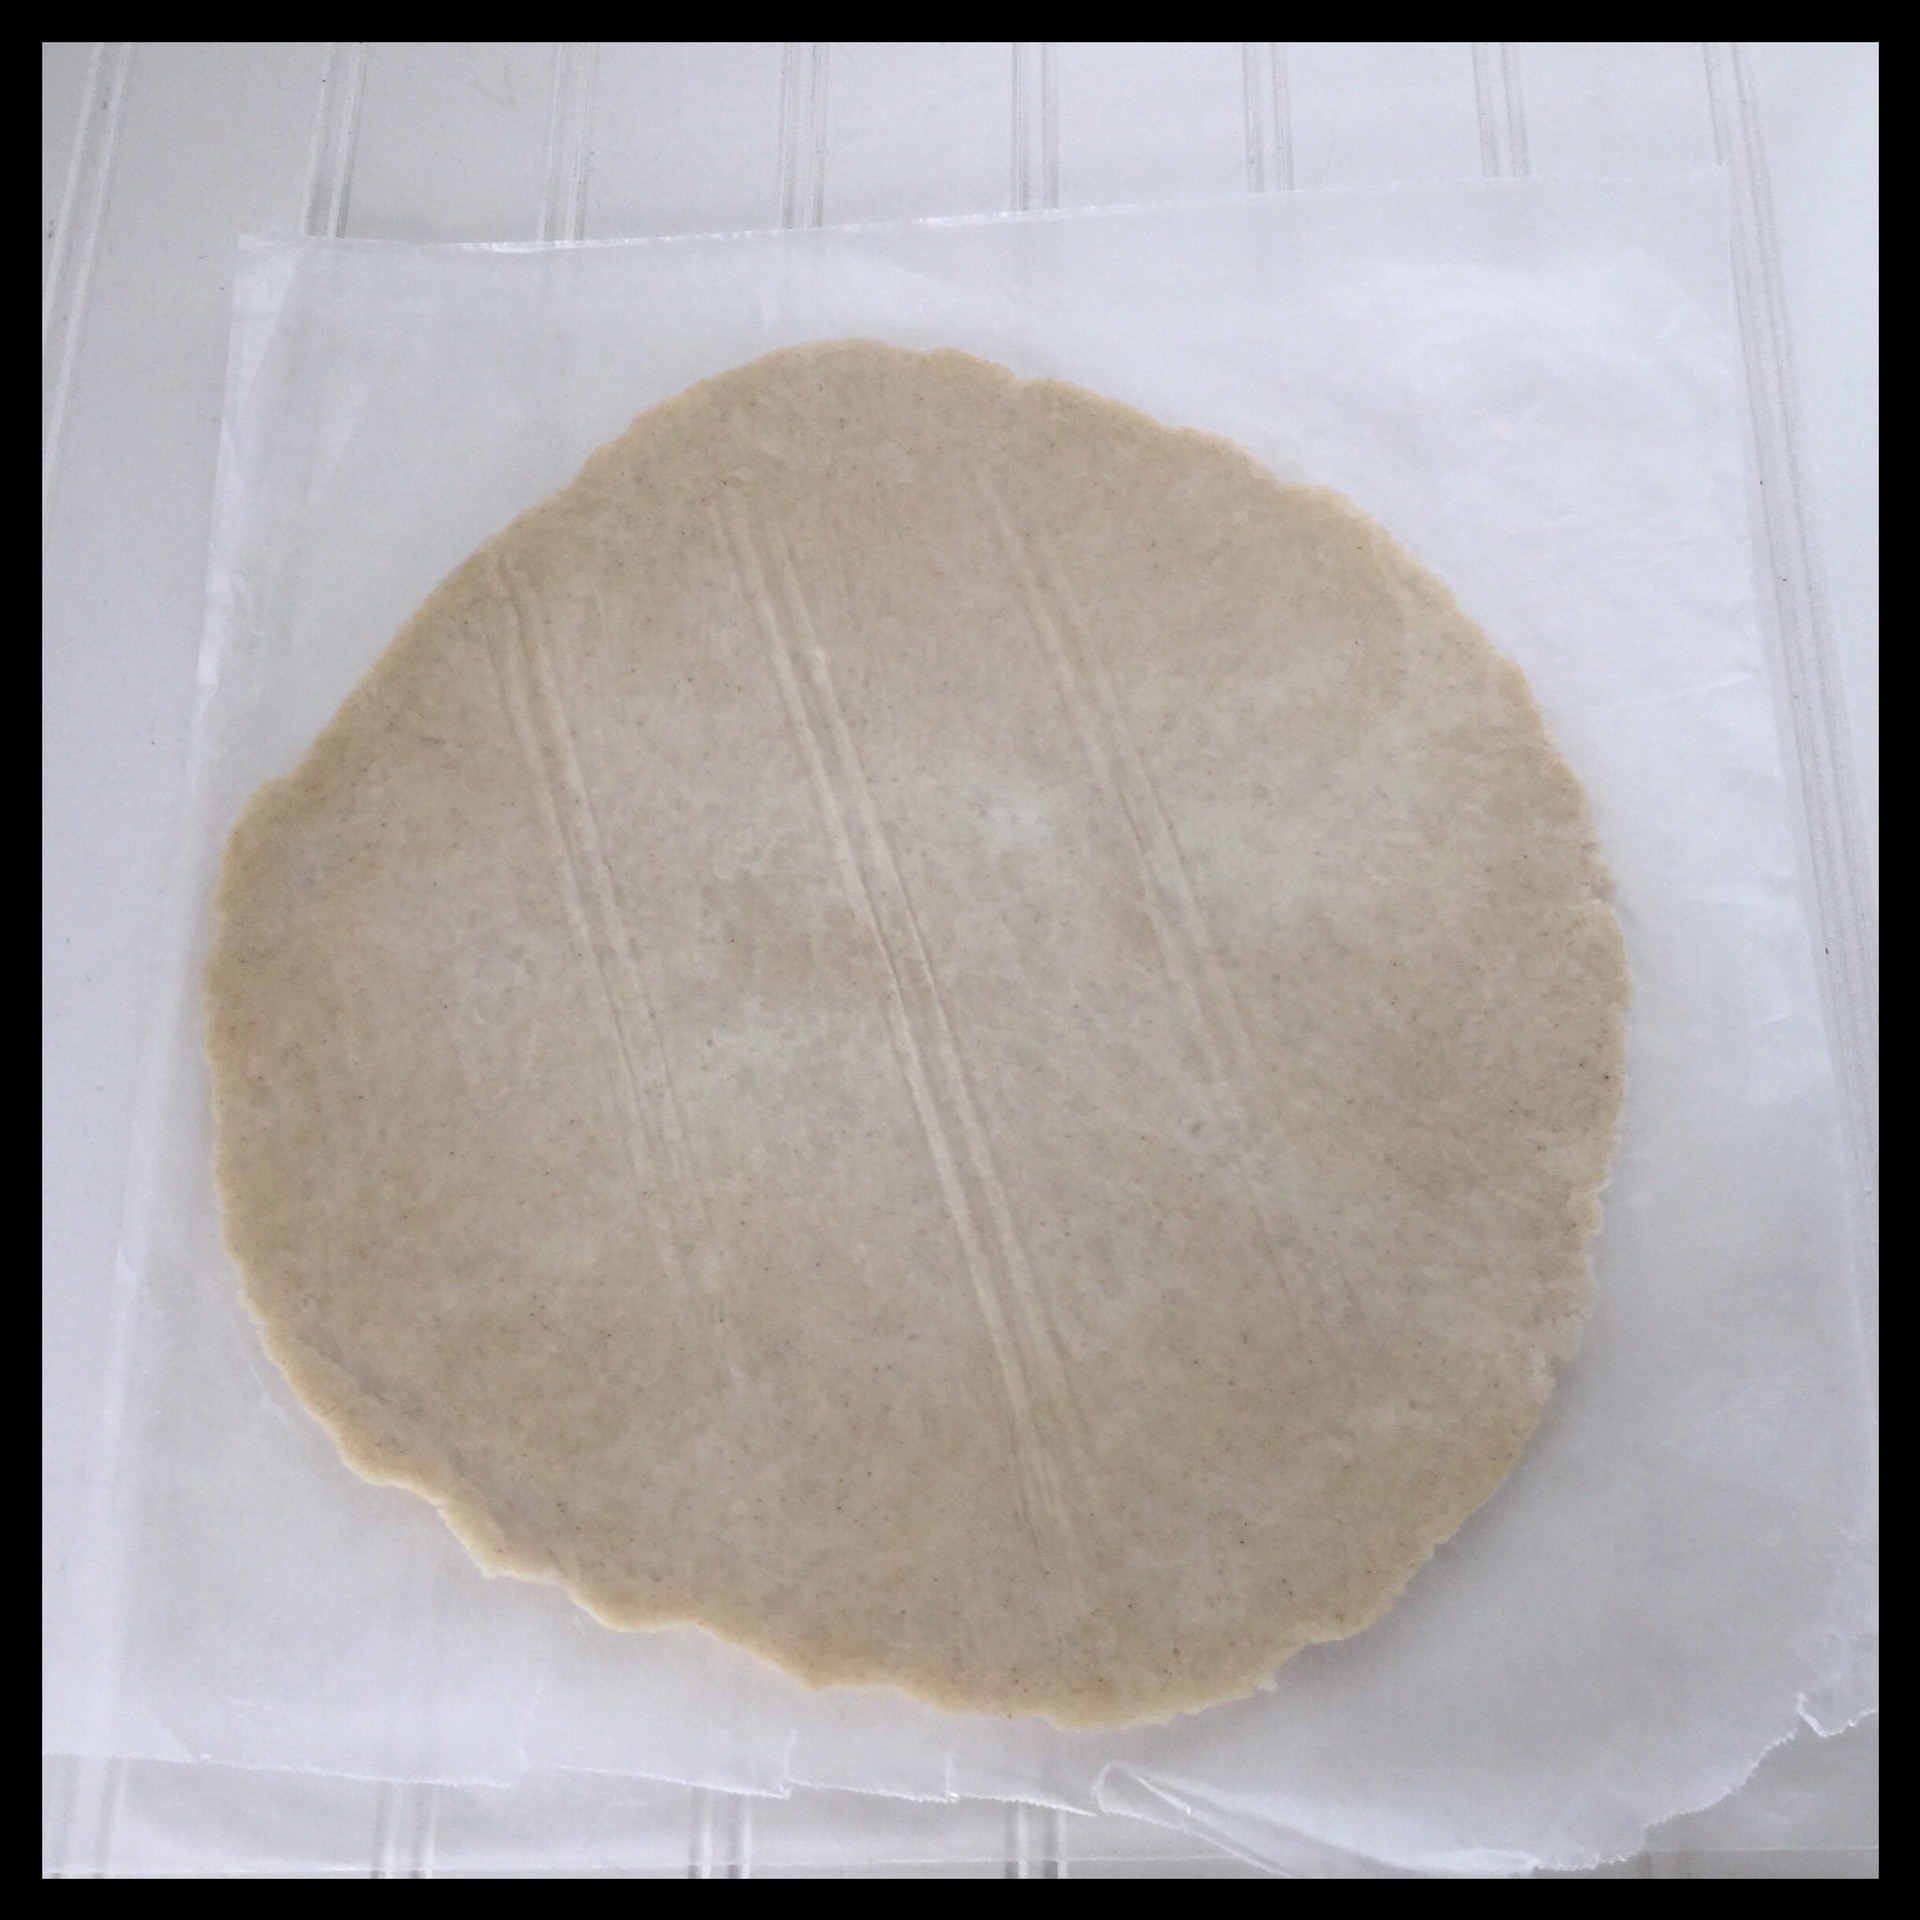

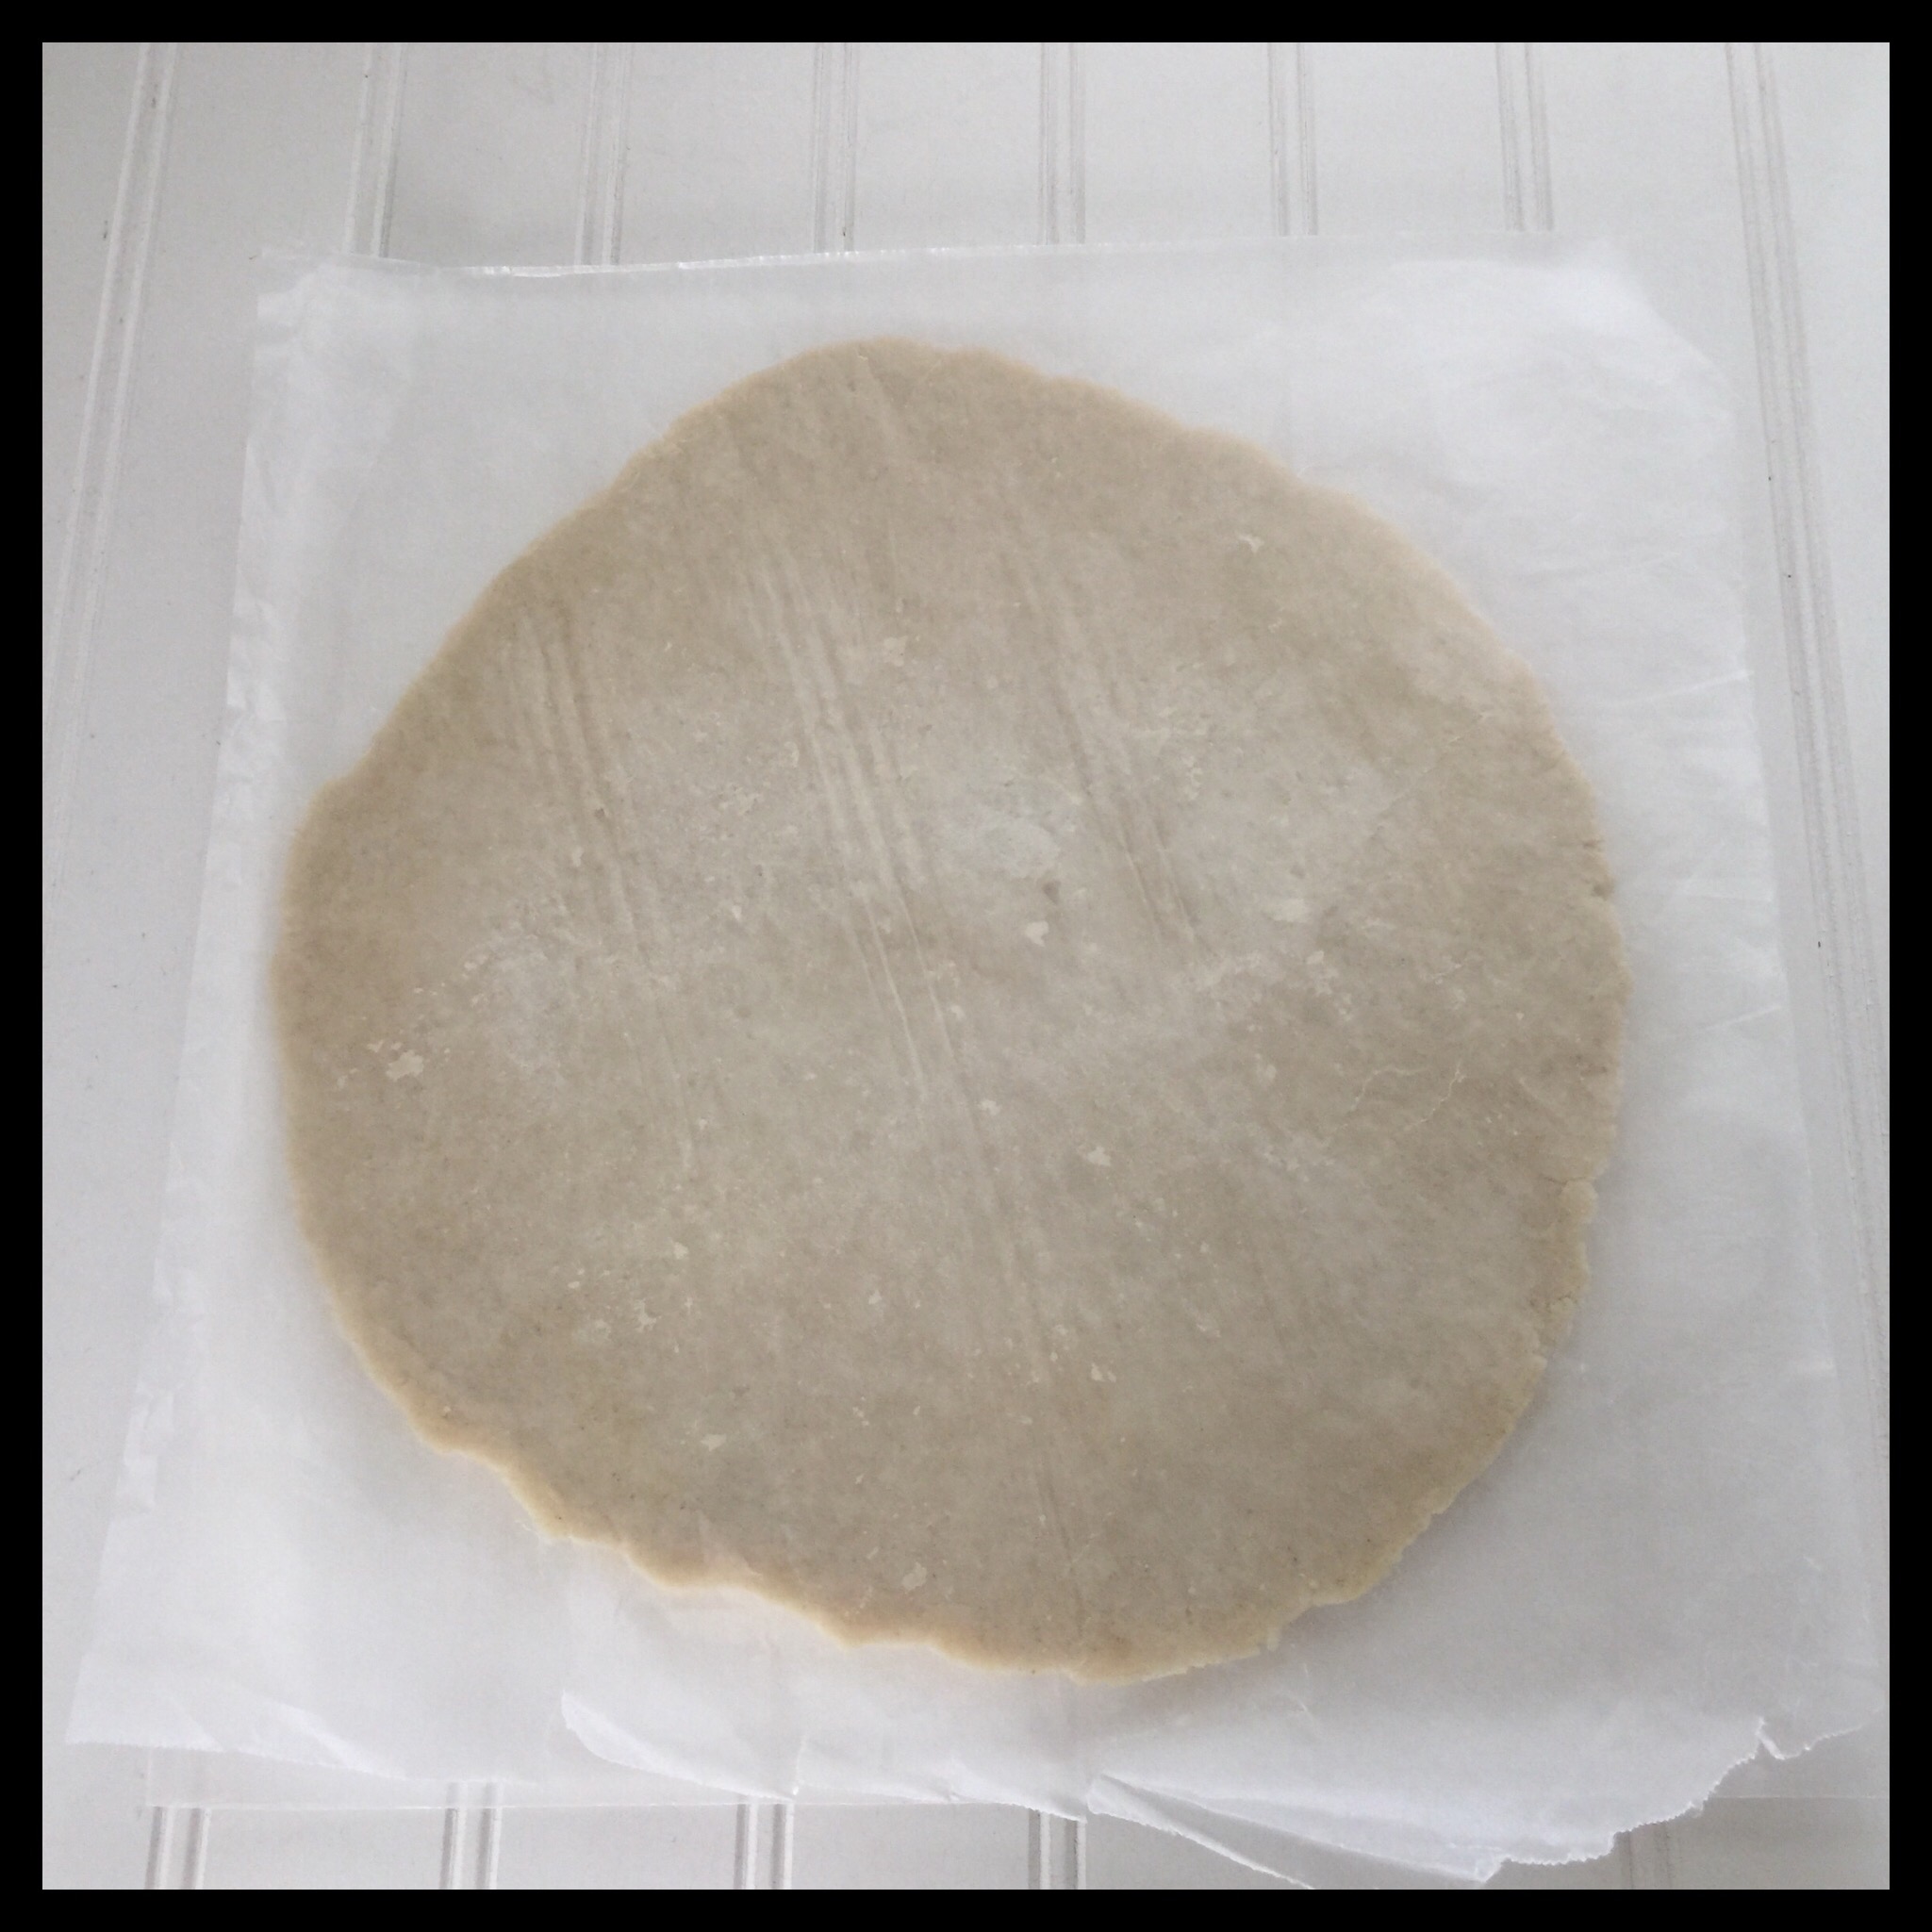
Your dough needs to be about 3/4” bigger around than your upside down pie pan for the bottom crust. This recipe works well for a deep dish 9” pie pan or a regular 10” pan. You can also use a regular 9” pan and just trim off any excess dough.
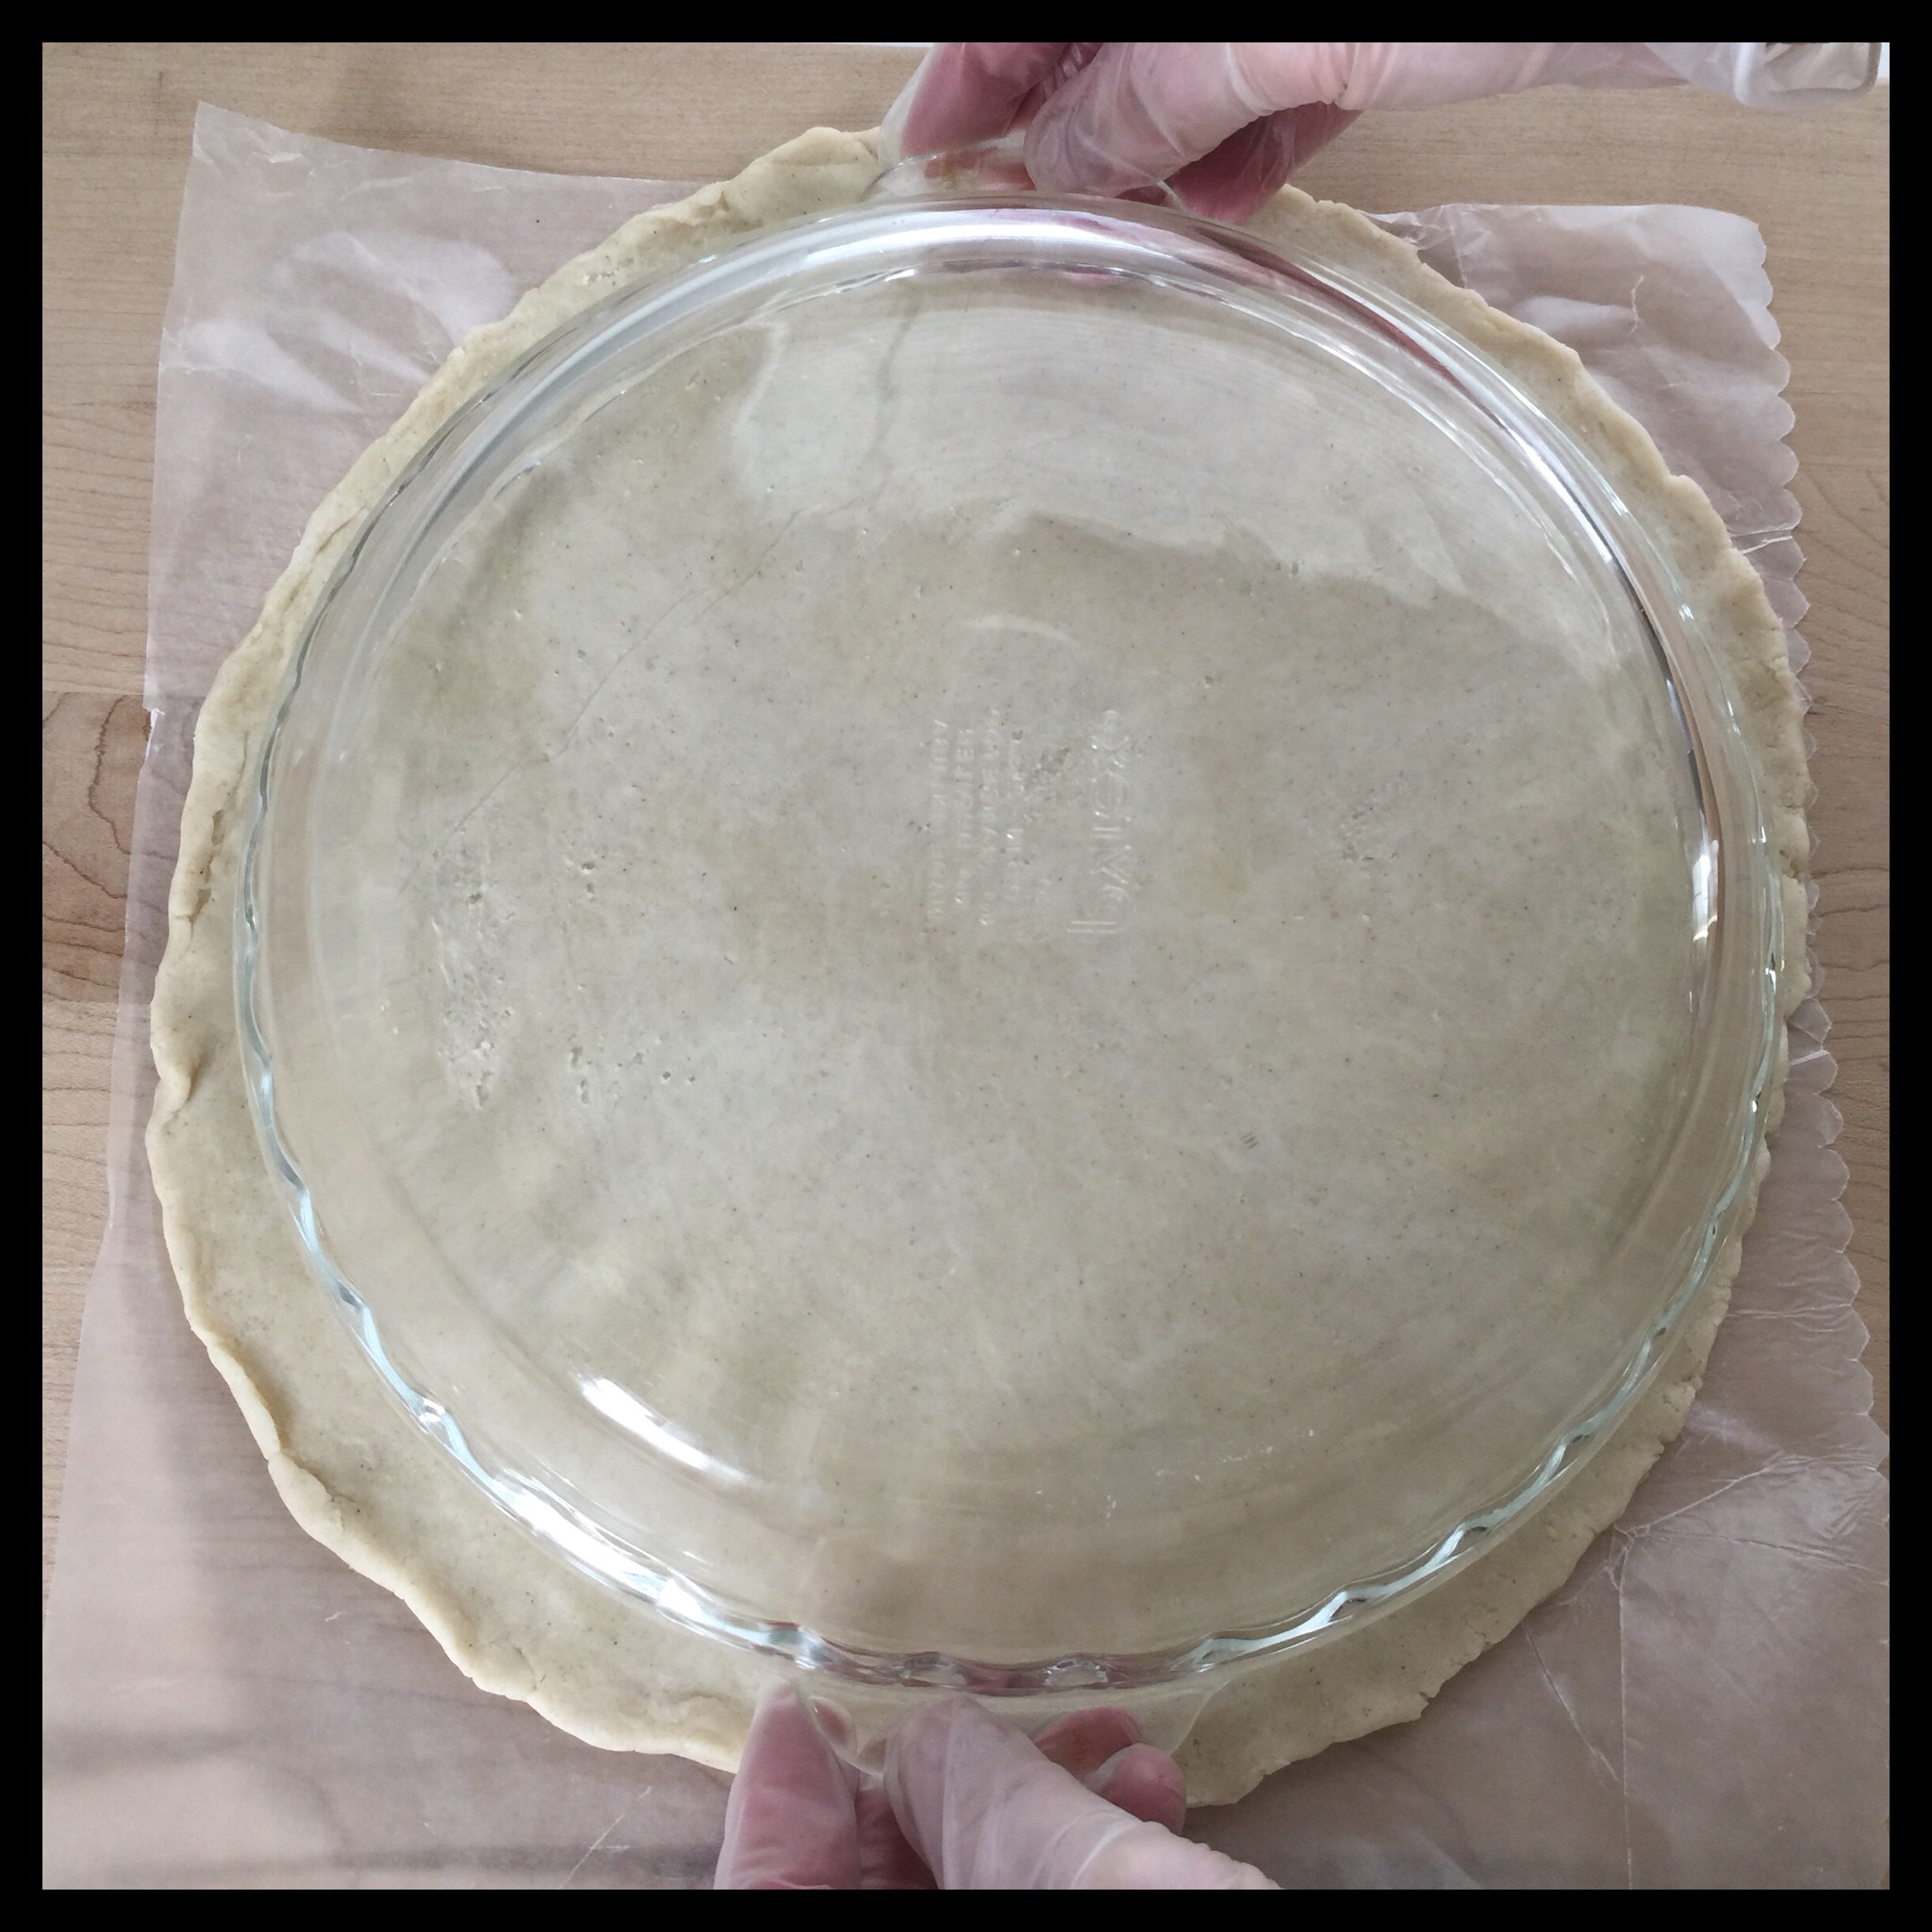
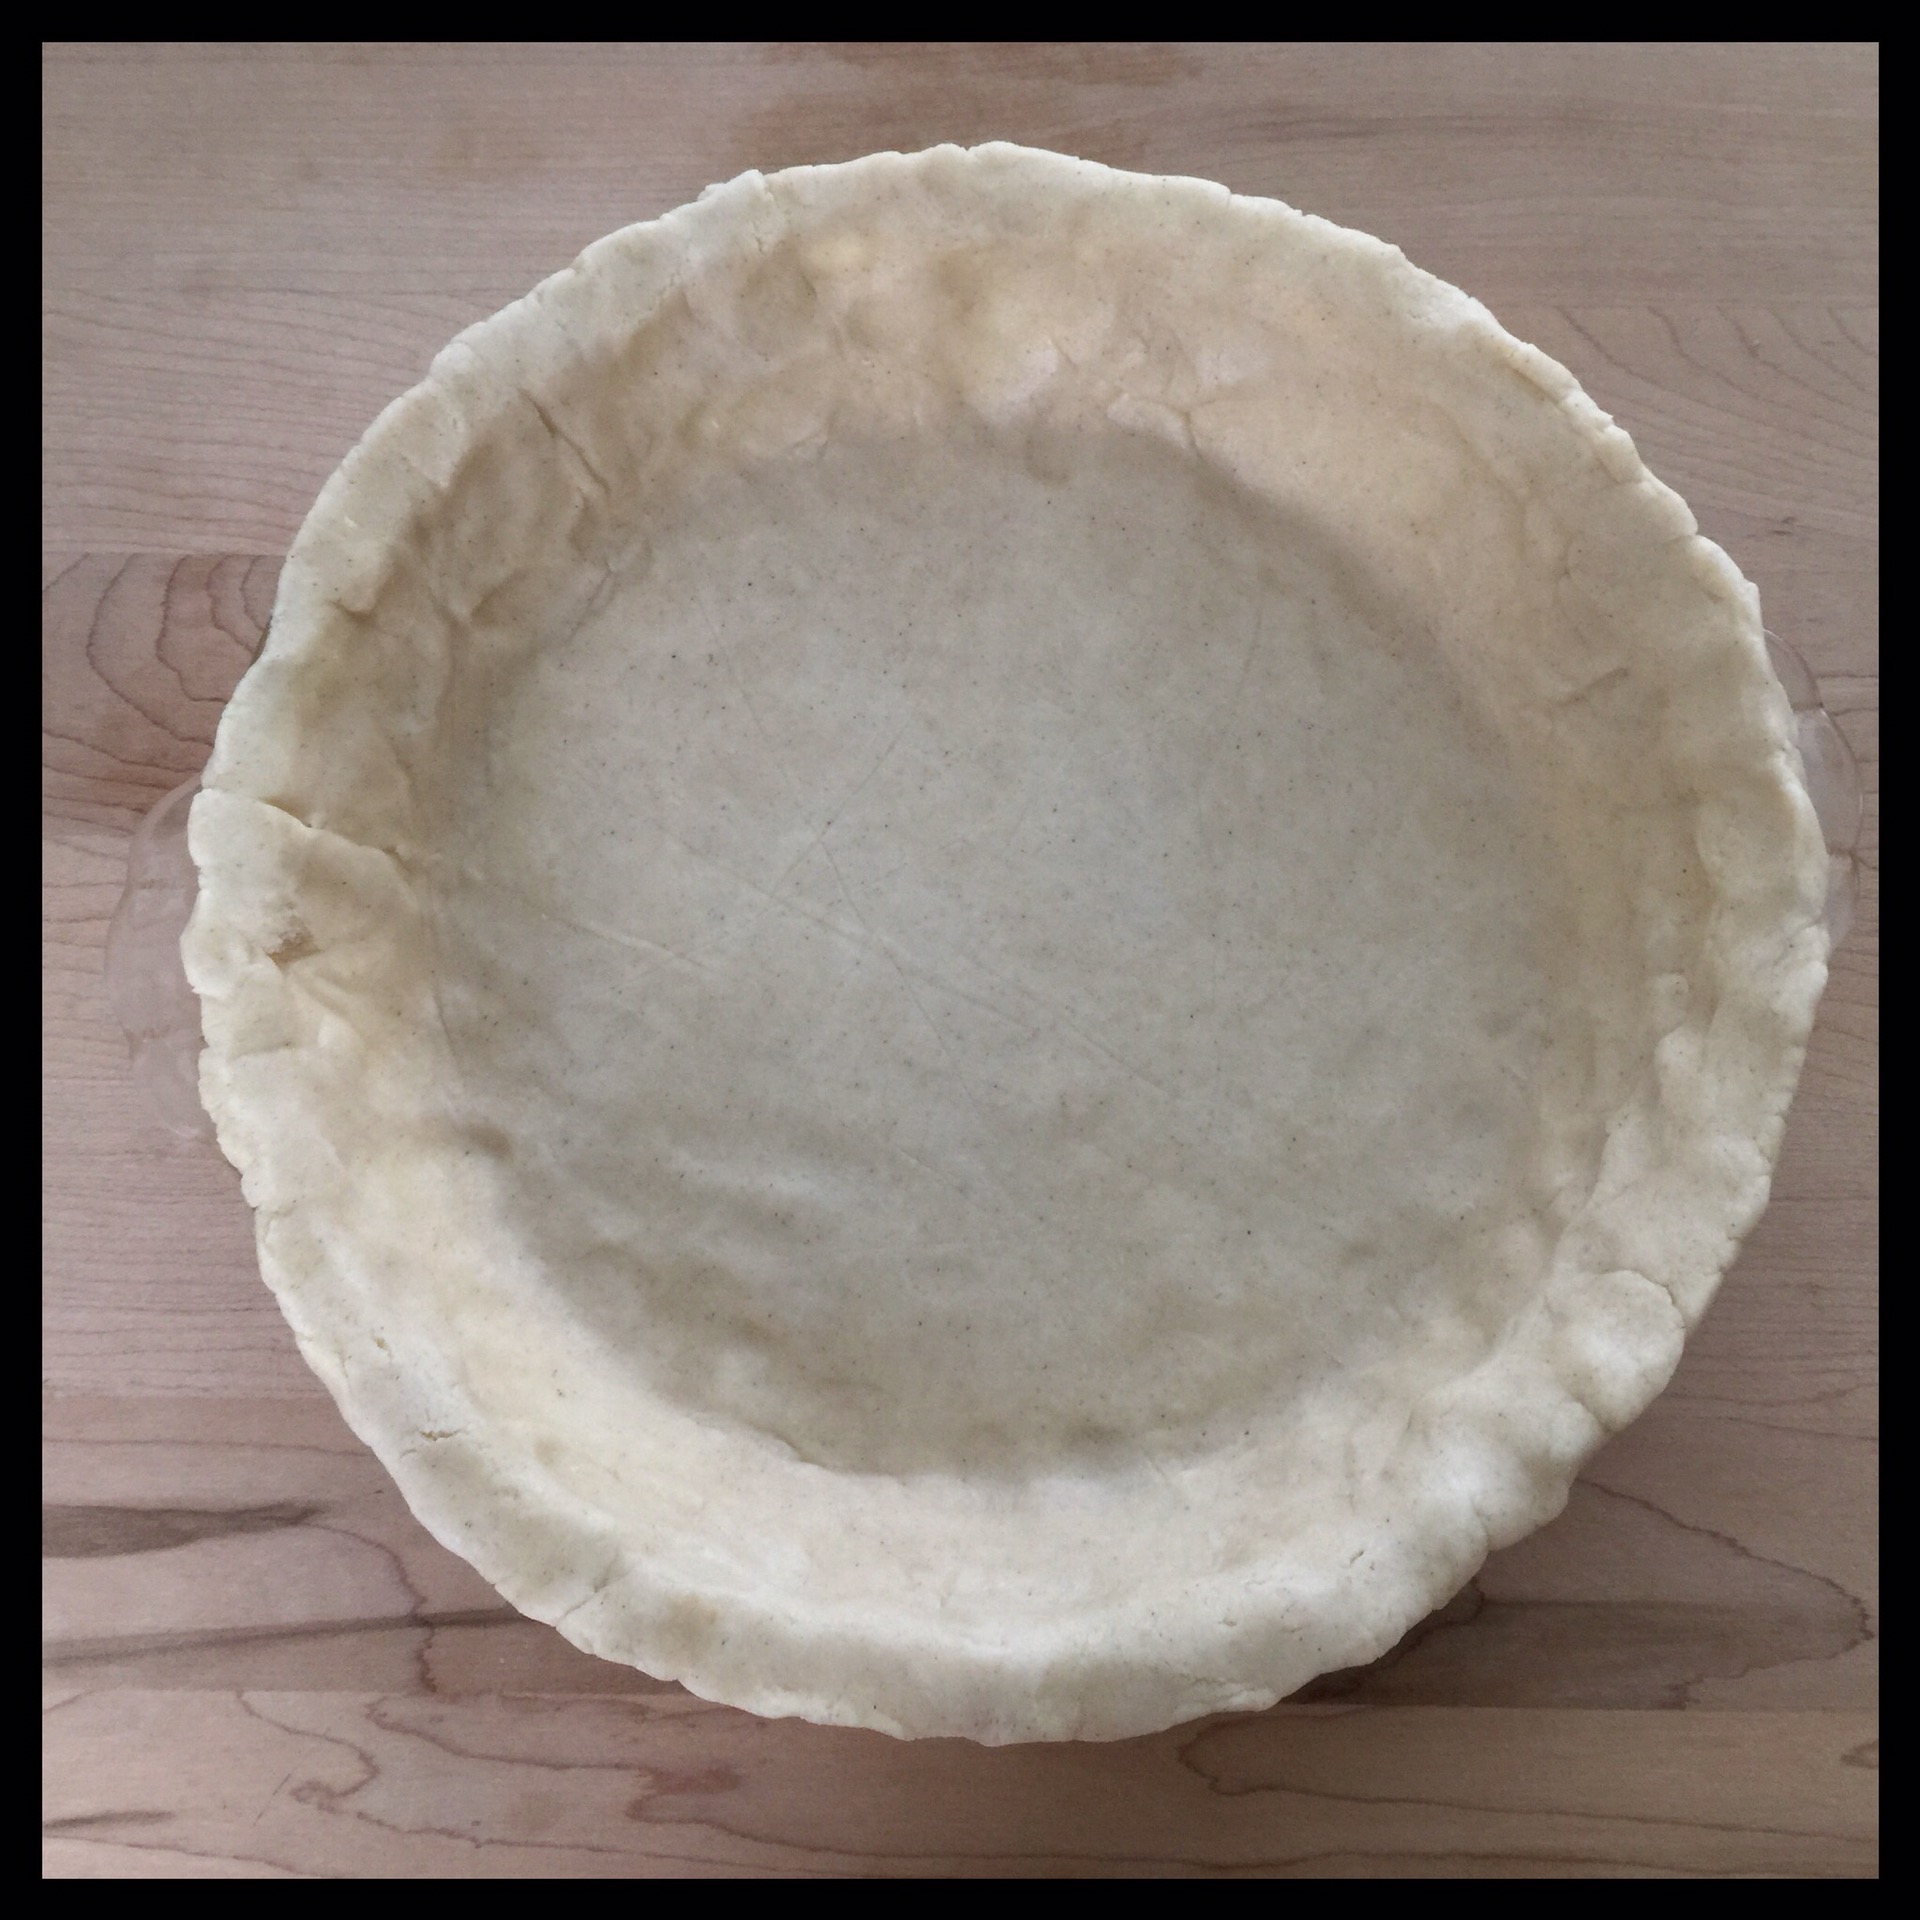
Remove the top piece of waxed paper and invert the crust into your pie pan. Ease the dough into the pan by gently lifting the edges and pressing the dough into the pan. Carefully peel off the waxed paper that is now on top.

Press any wrinkles and air bubbles out of the dough, then trim the edge so there is a single layer of dough on the rim of the pie pan.
Chill the crust for 30 minutes before adding the filling.
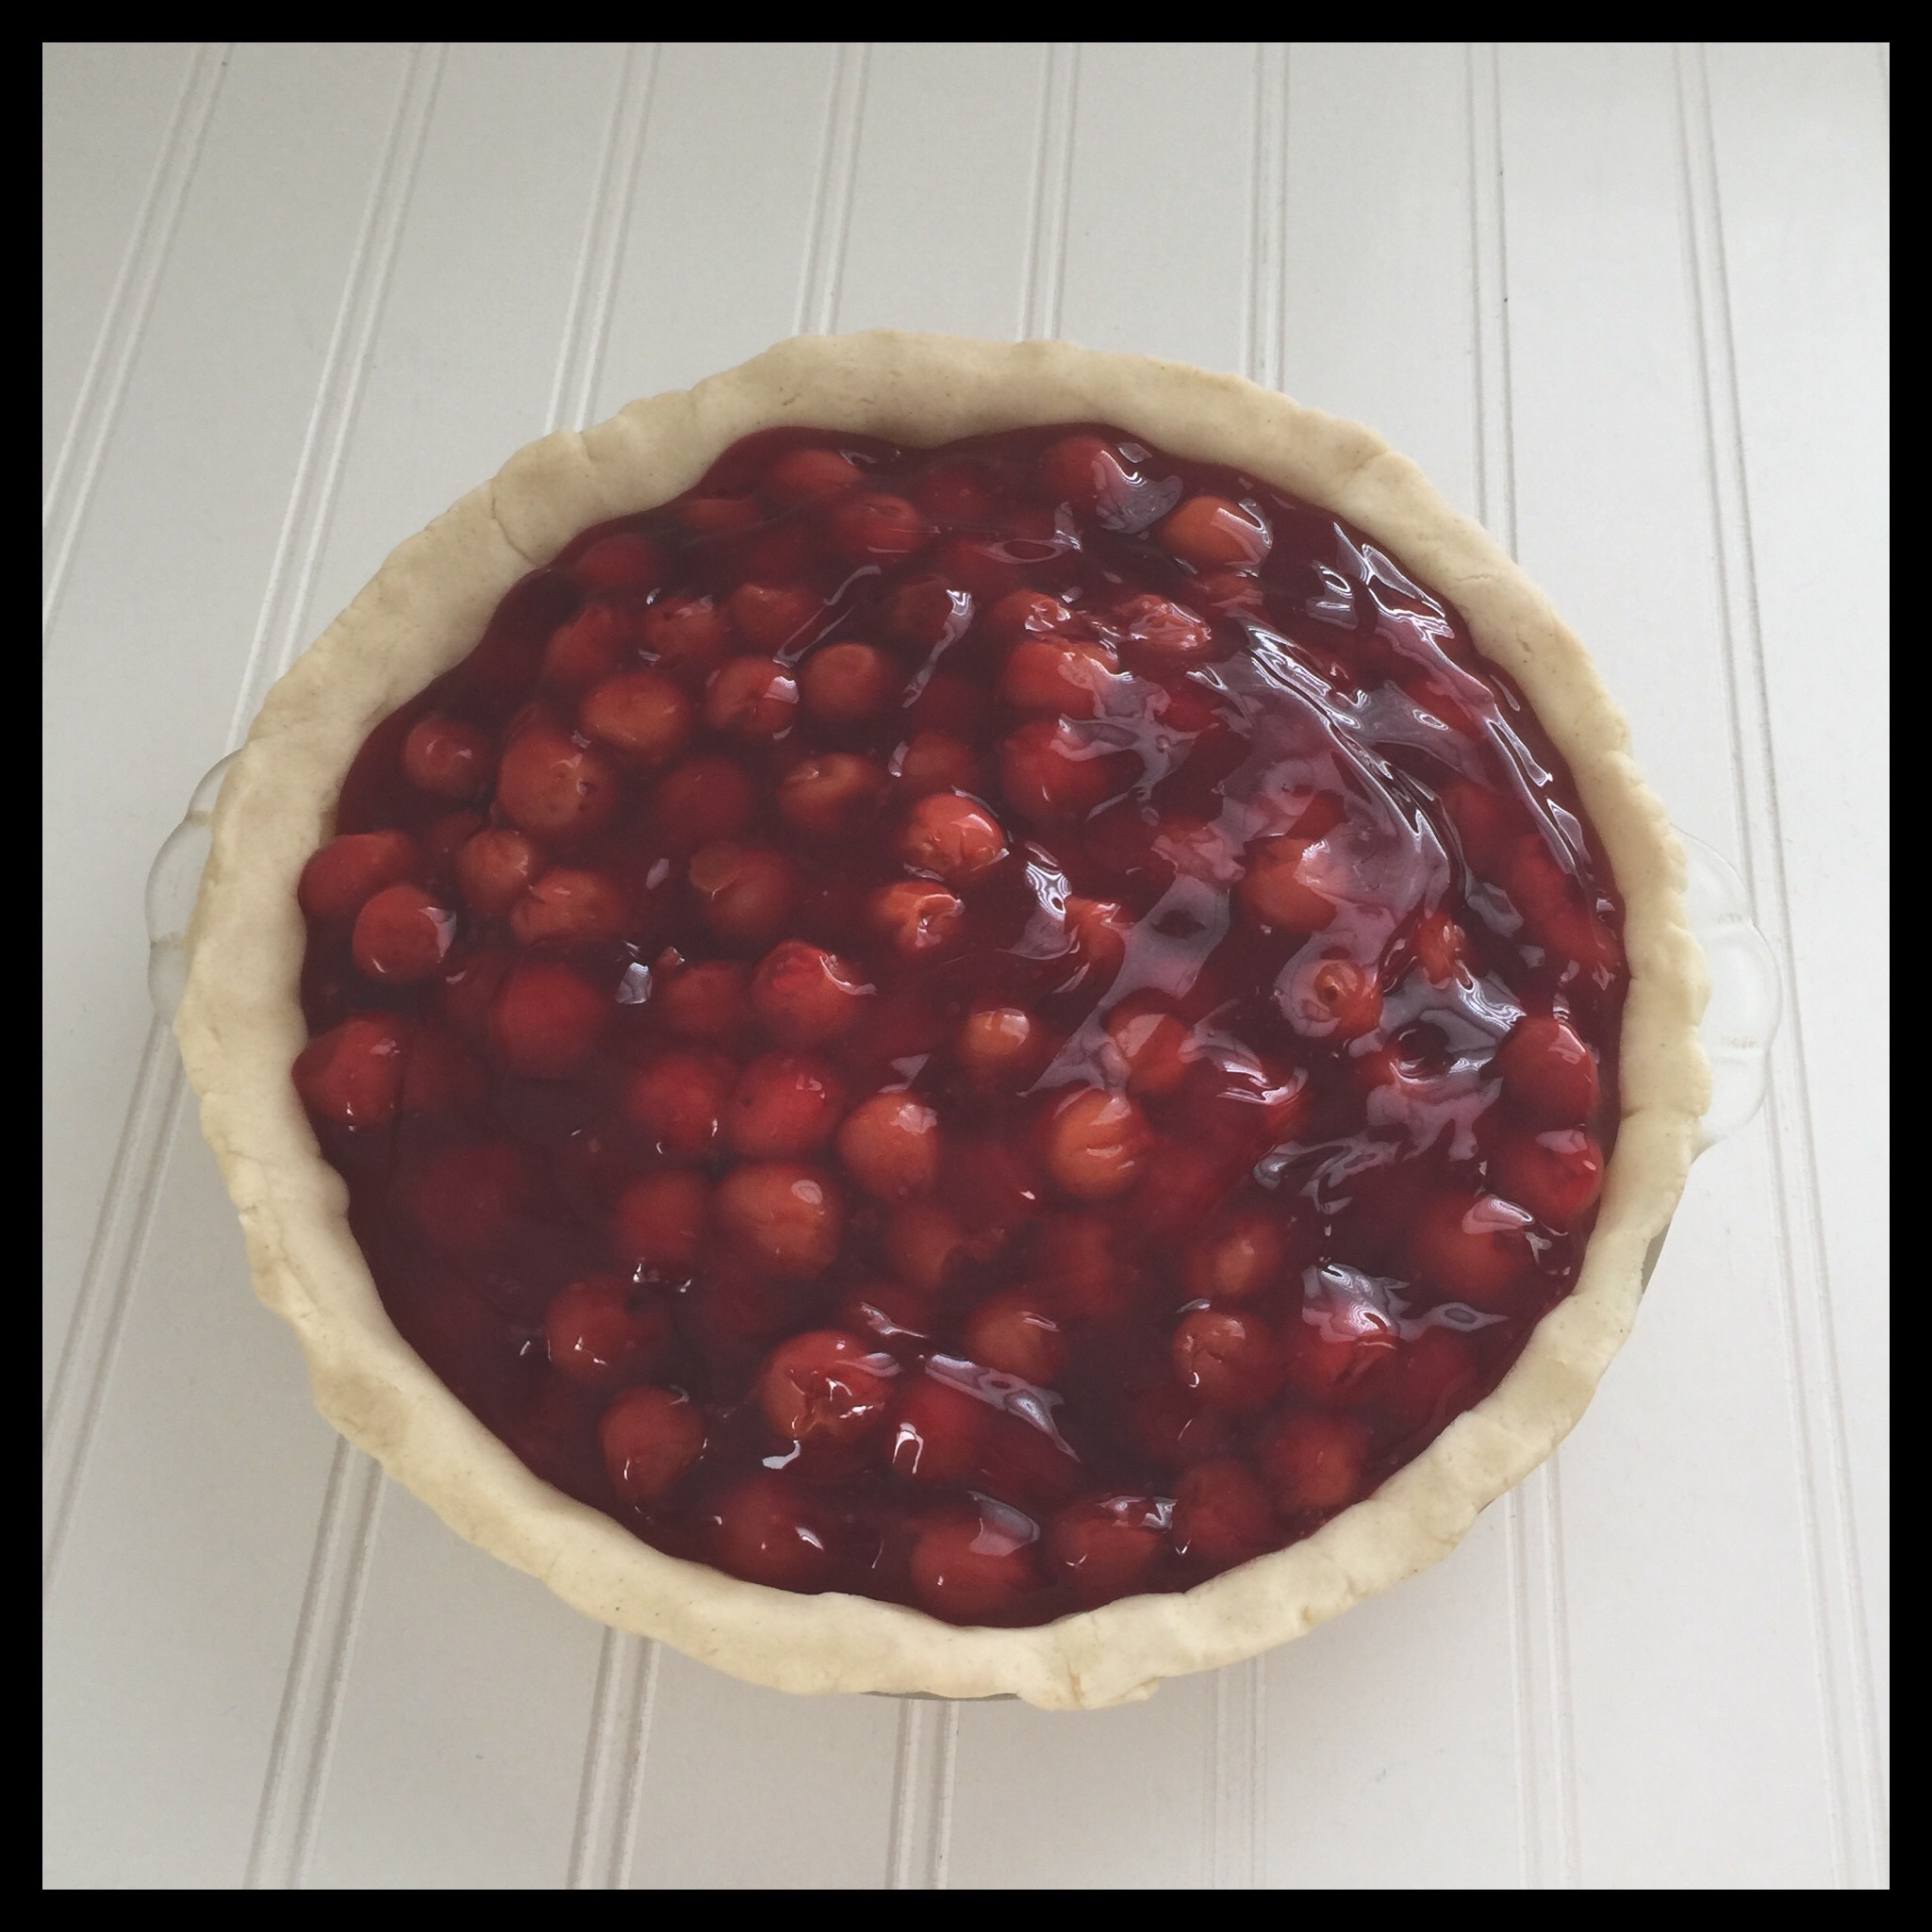
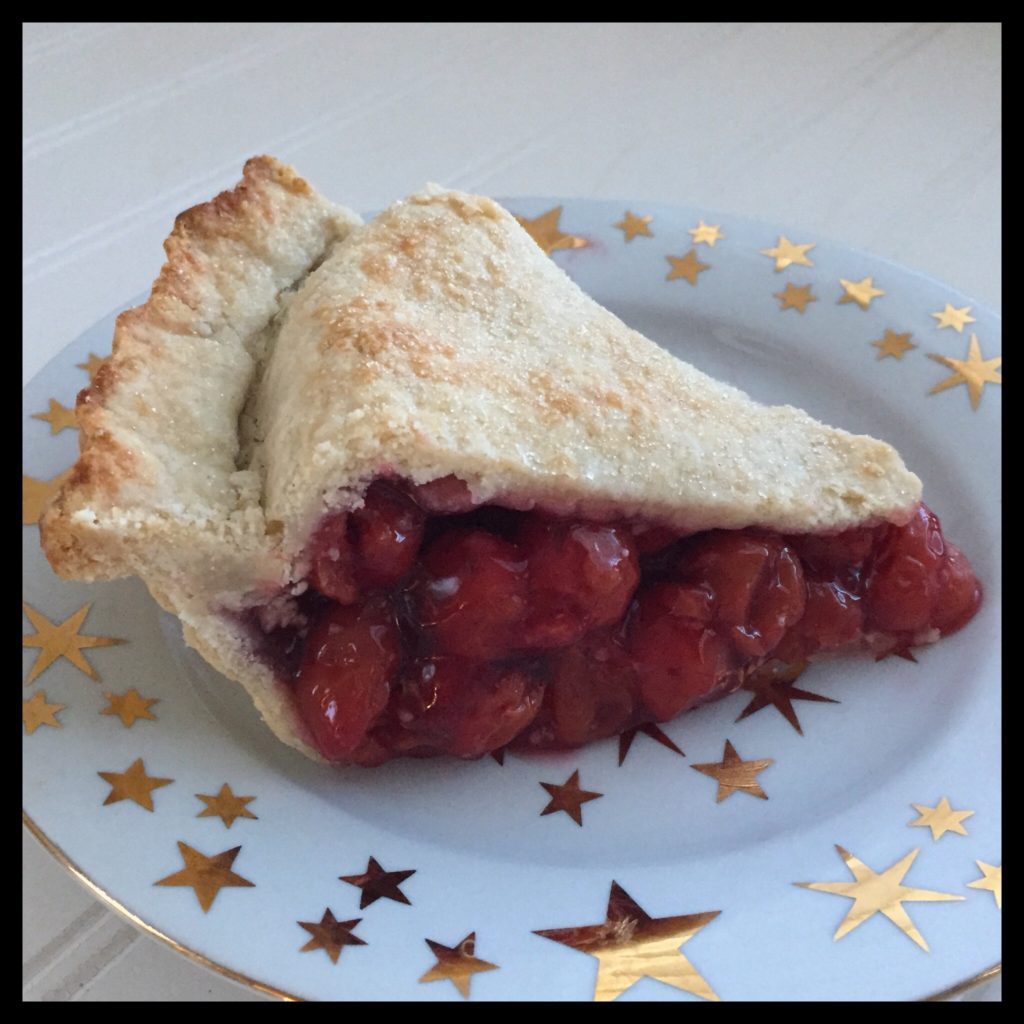
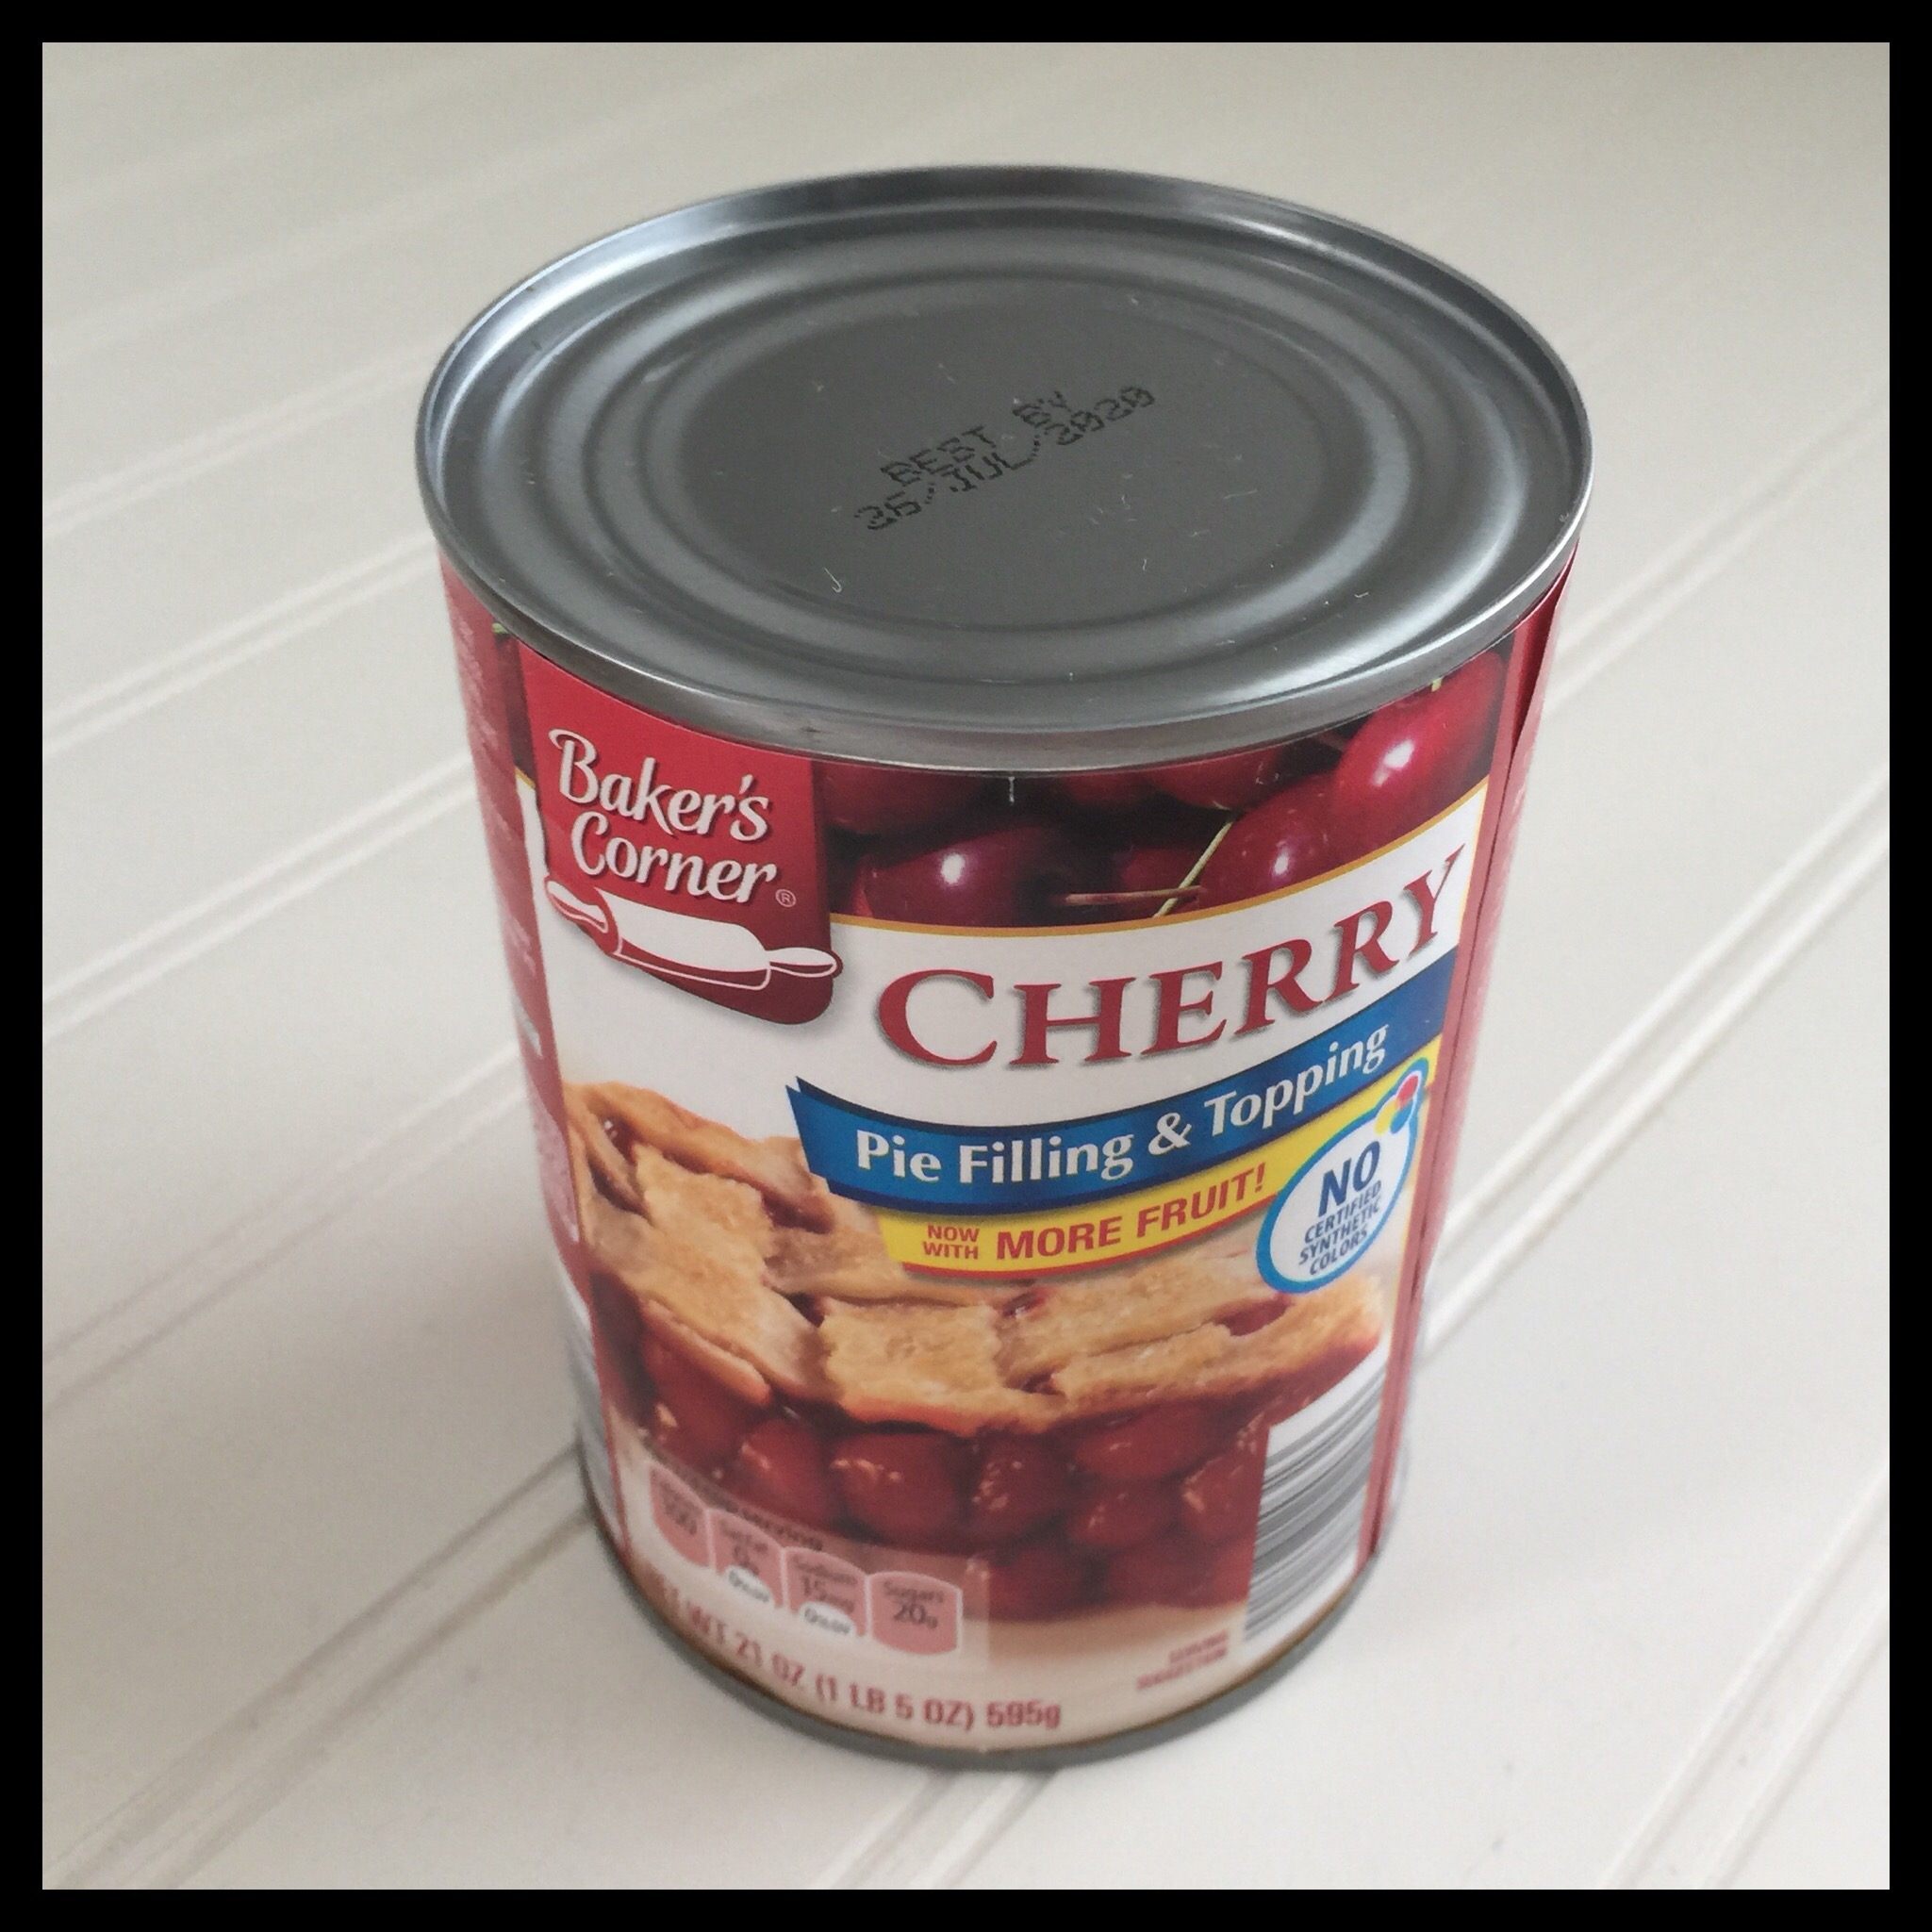
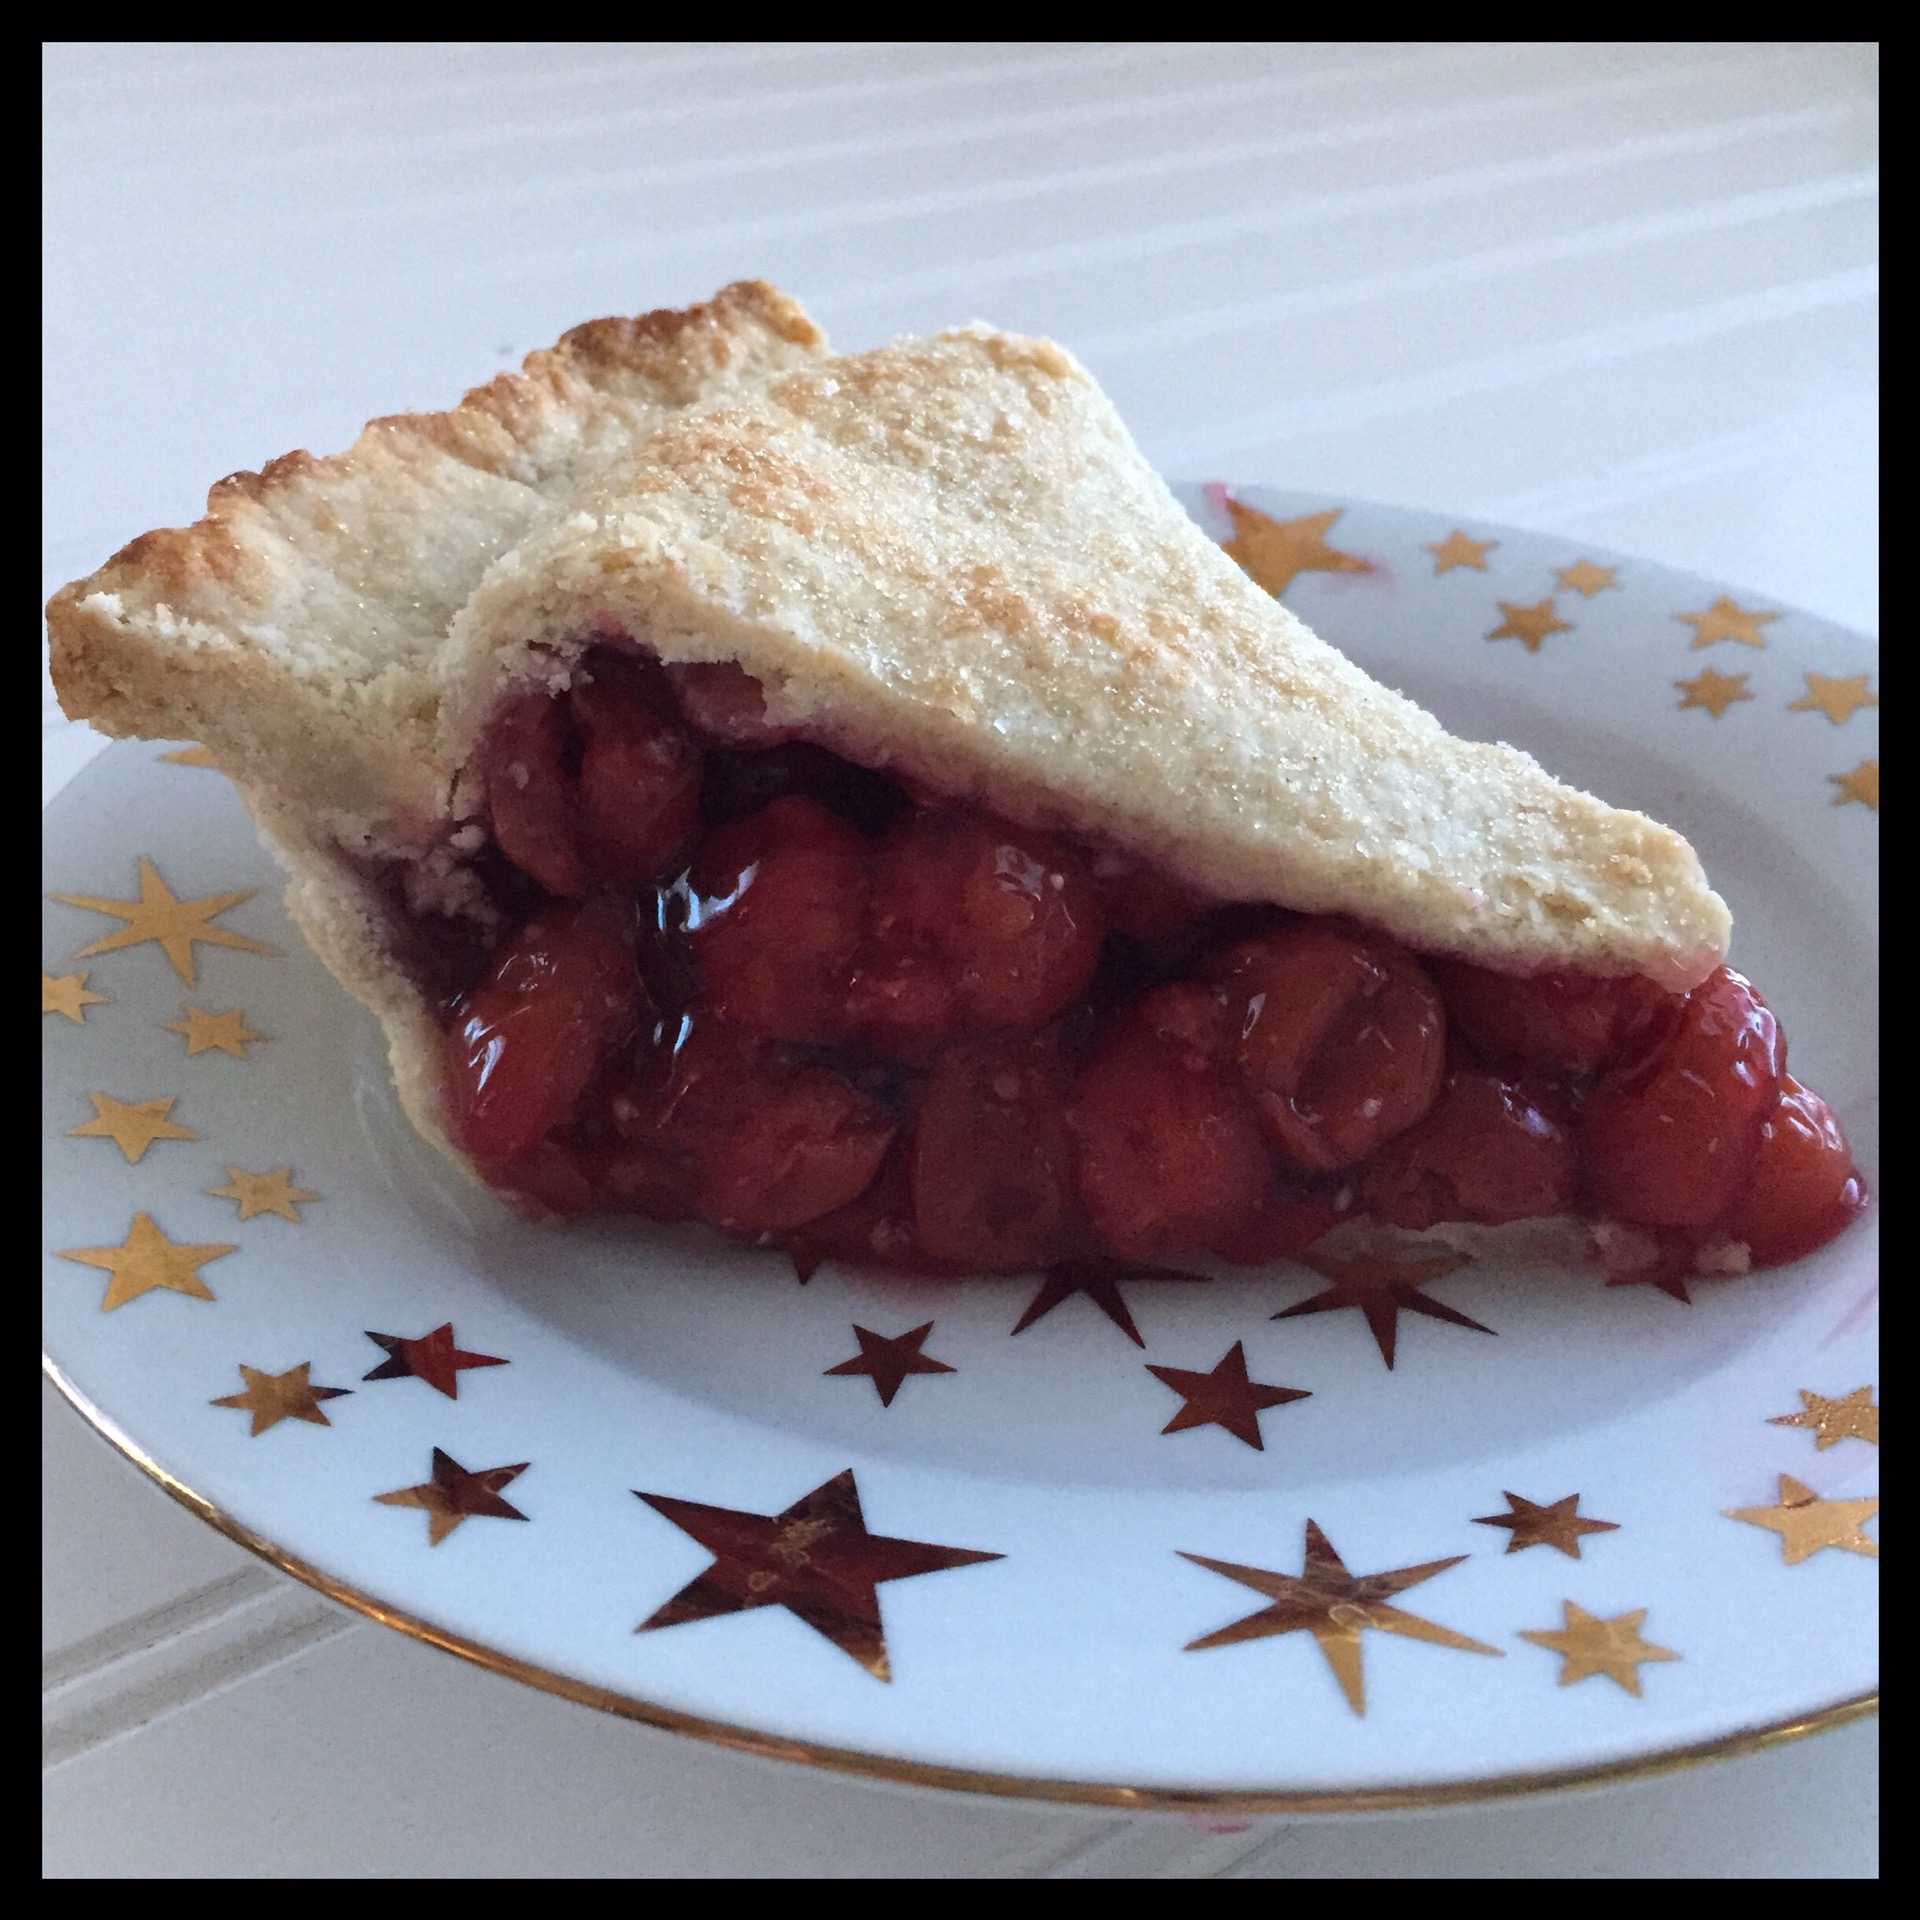
Fill according to your recipe. I always partially cook my pie fillings as this really helps to ensure a nice bottom crust. I almost never use a canned filling, but was really happy with the quality and value of this cherry pie filling from Aldi. It was only $1.67 a can (I used three cans for this pie), has great flavor, and doesn’t have any artificial coloring:
Roll out the top crust just like you did for the bottom crust, except make it only 1/2″ bigger around than your inverted pie pan.
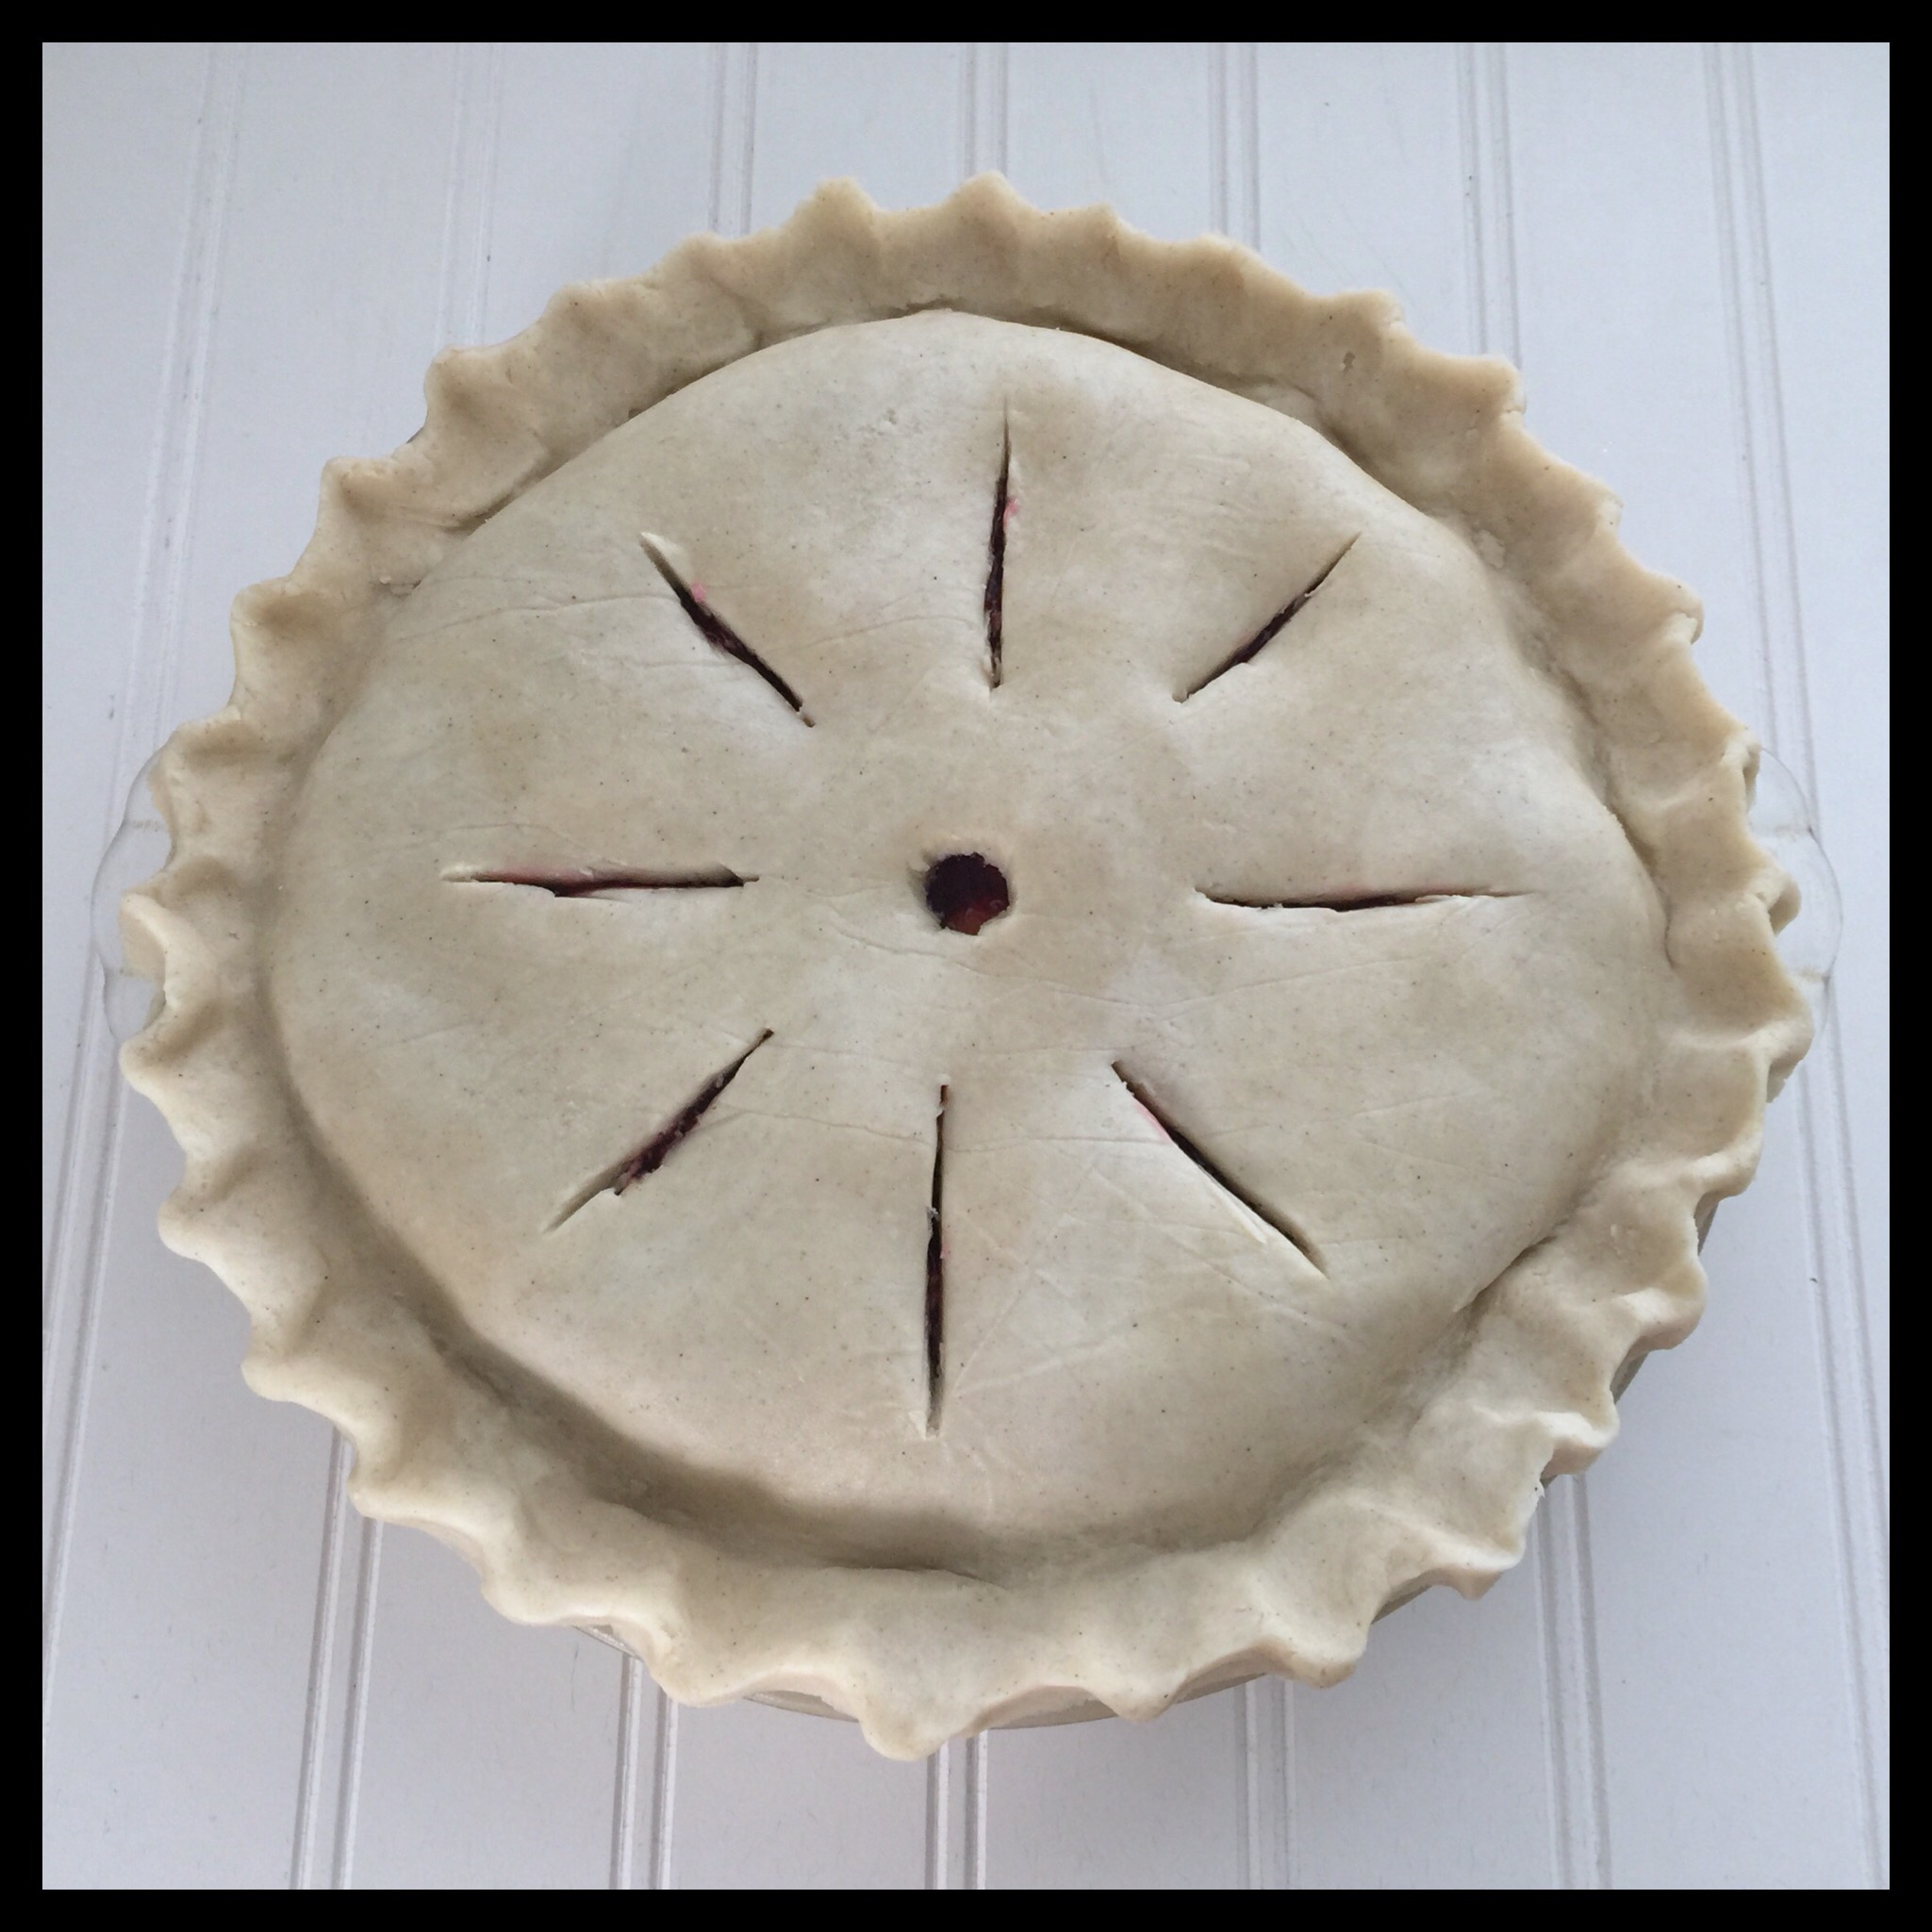
Remove the top piece of waxed paper and invert the crust over the filling. Carefully remove the waxed paper. Trim the dough so it fits over the bottom crust, and so there is a double layer of dough on the rim of the pie pan. Press the two layers of dough together and crimp the edge. Cut vent holes in the top crust.
Get some vegan milk and sugar ready. I use Silk Original Soymilk:
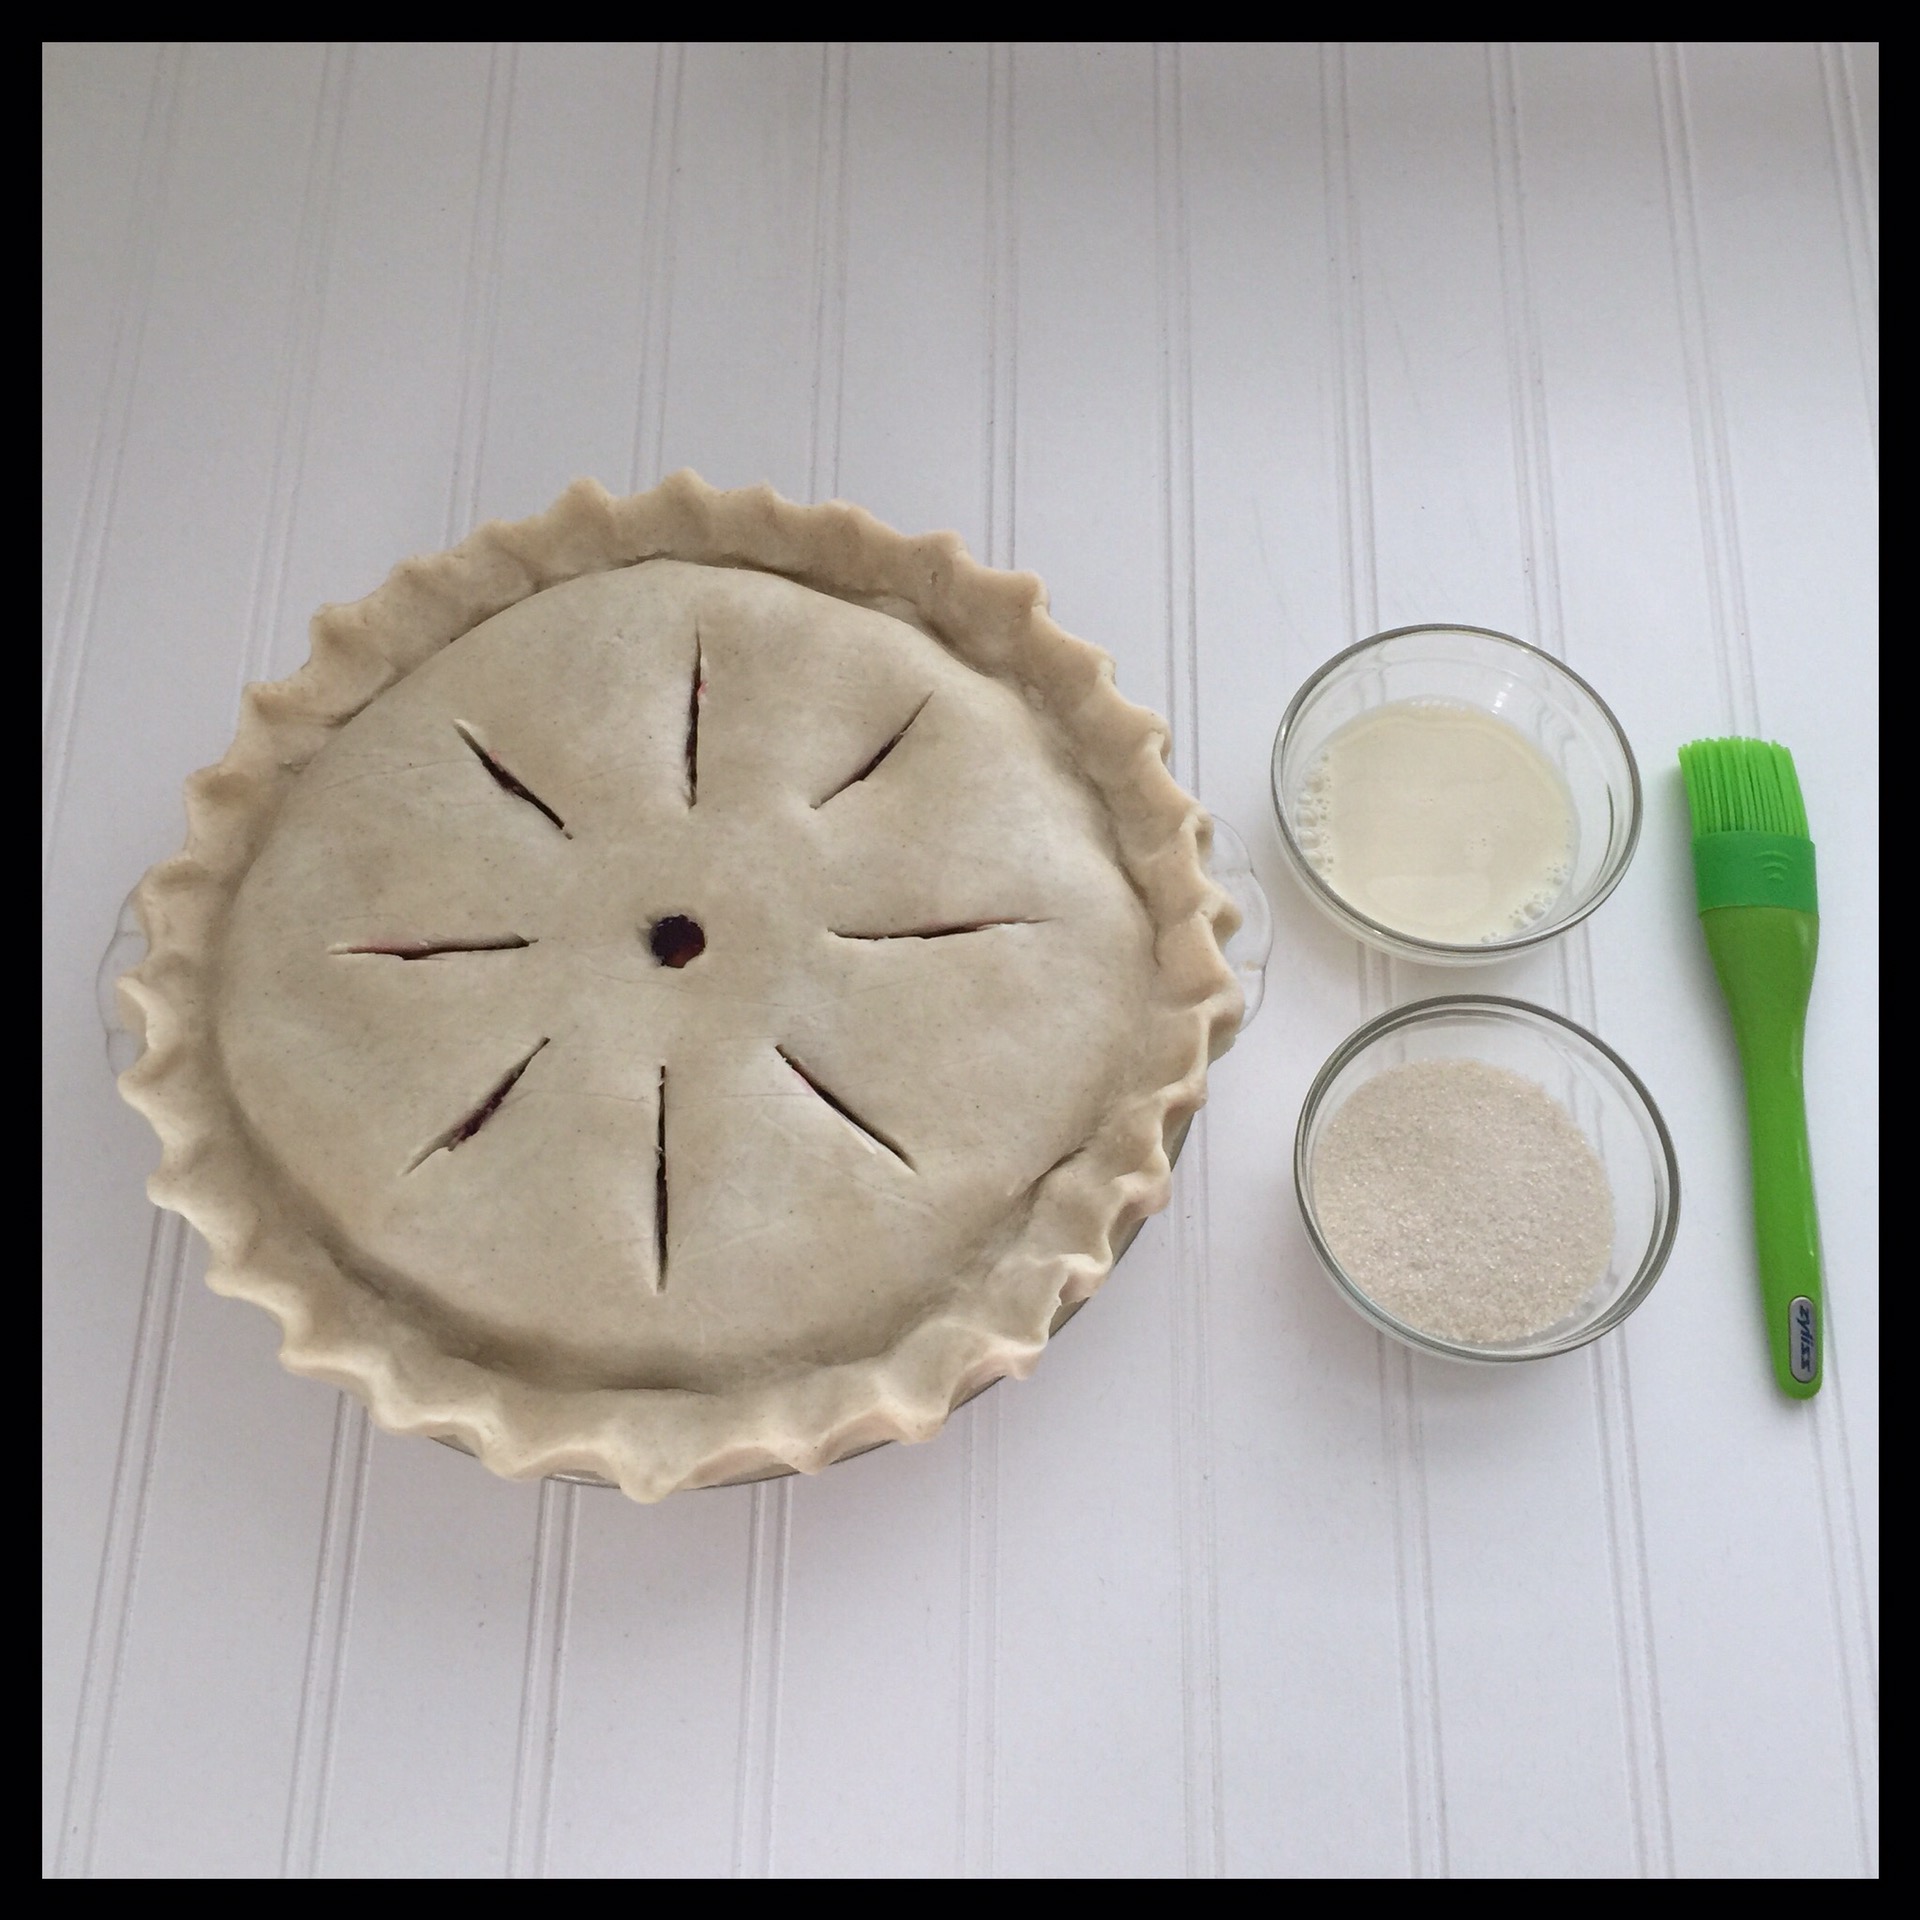
Brush the top crust with the milk:
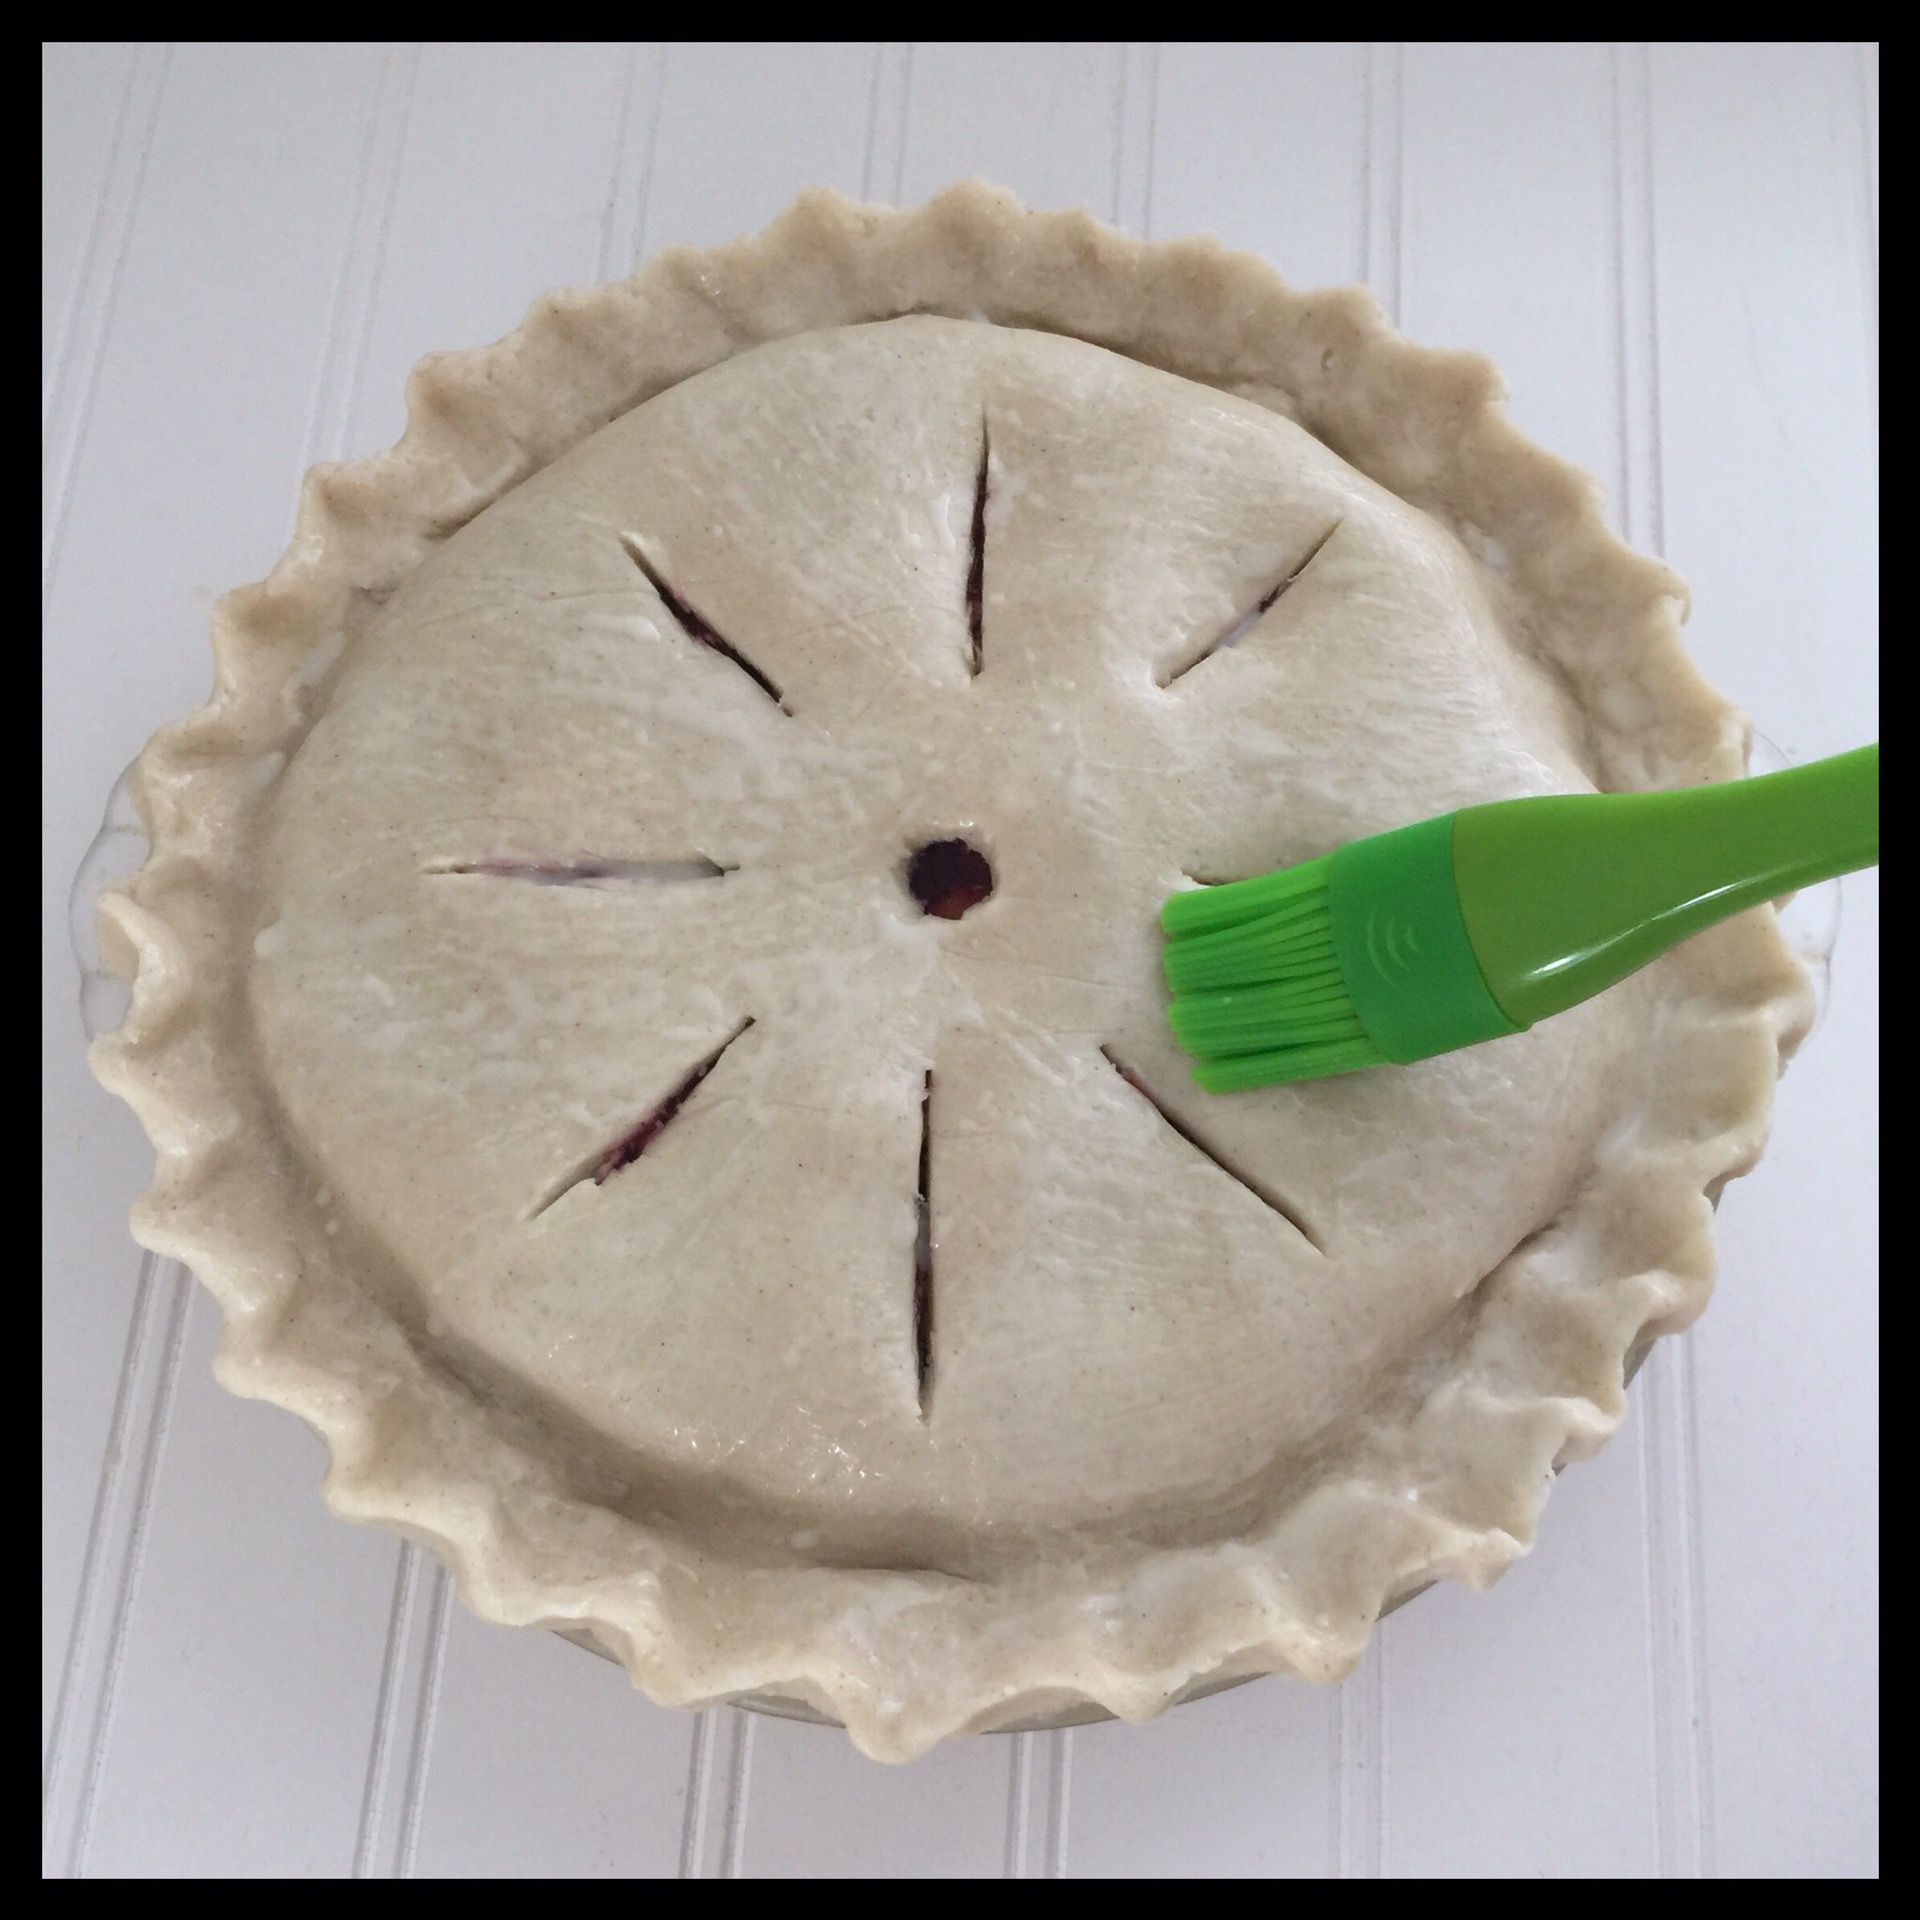
Sprinkle with the sugar:
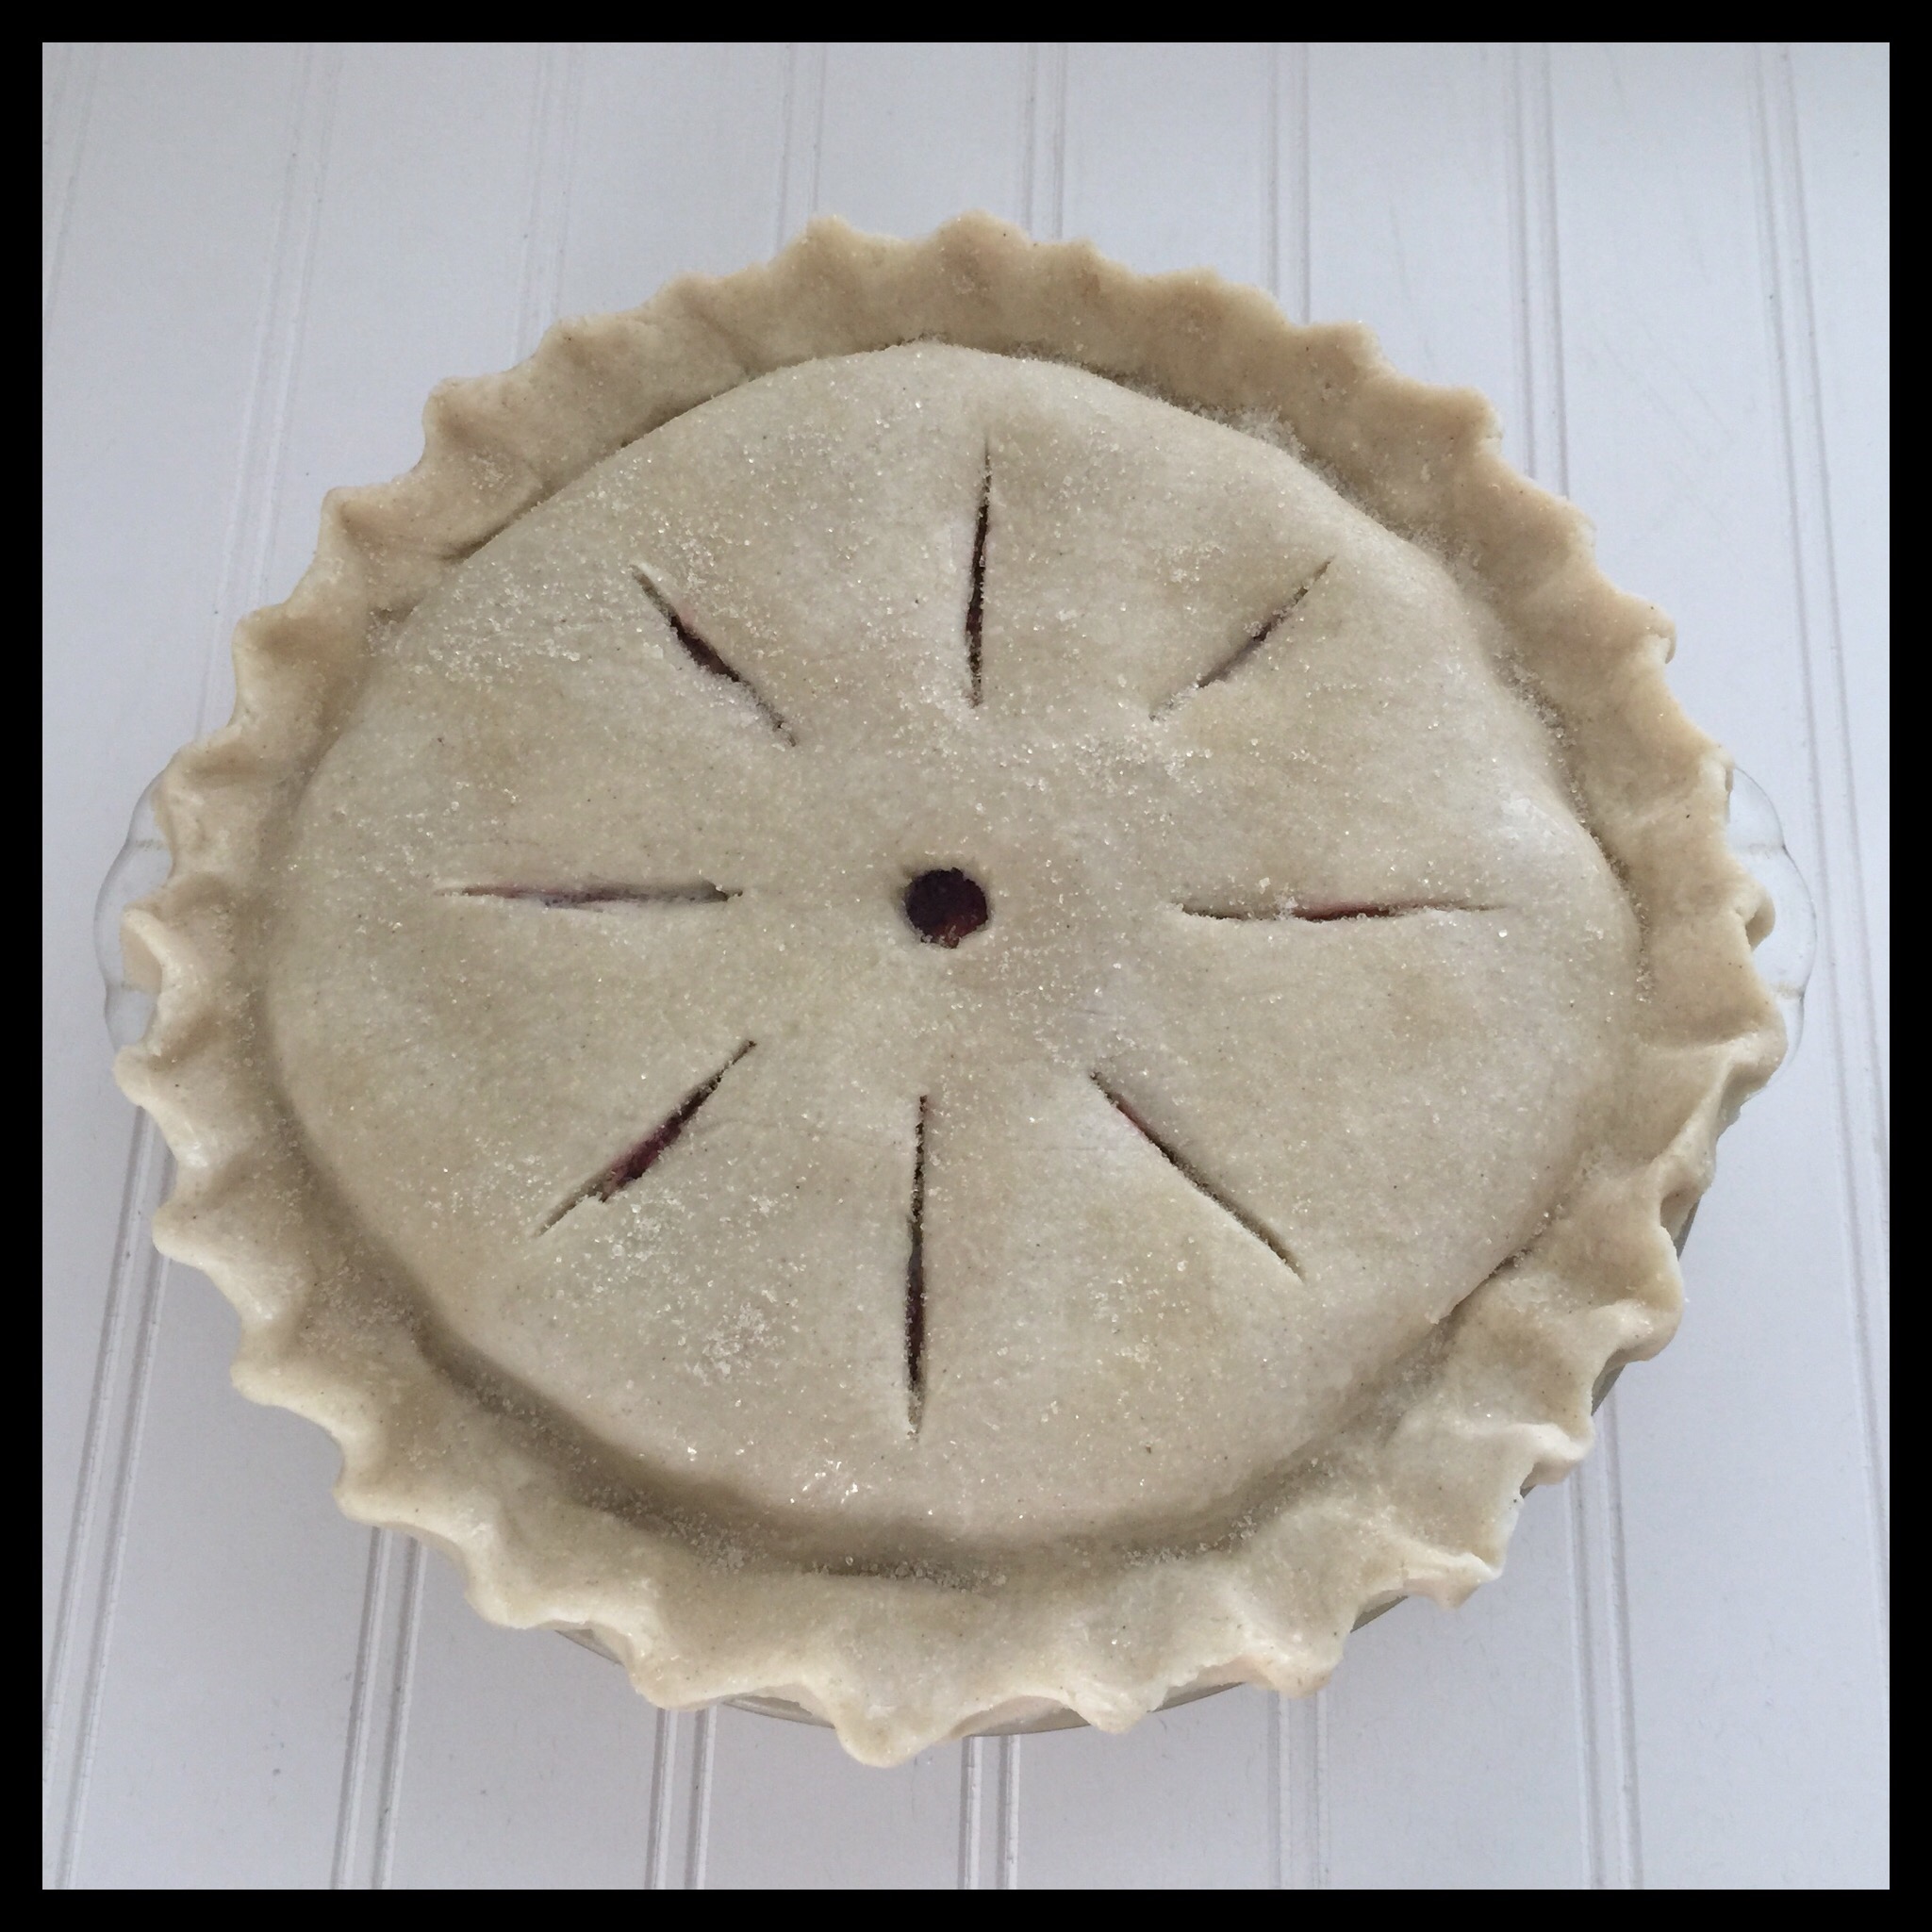
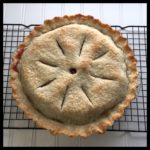
Bake according to your recipe directions. I baked this pie at 425 degrees Fahrenheit for 15 minutes, then turned the temperature down to 400 degrees and baked it for another 30 minutes. I also covered the edges of the crust after 25 minutes from the start of the baking time.

Let your pie cool on a rack until just barely warm before slicing if it is a fruit pie, and for at least 20 minutes if it is a savory pie. Other kinds may need to be chilled before serving, so follow the directions for your filling recipe.

Enjoy!
Vegan & Gluten Free Pie Crust
This vegan & gluten free pie crust is flaky, delicious, and easy to make!
Ingredients
- 385 g (3 c) Gluten Free Flour Blend (See recipe notes below!)
- 25 g (2 TBS) Vegan Sugar
- 4.8 g (3/4 tsp) Salt
- 84 g (3/8 c) Vegan Butter
- 120 g (5/8 c) Shortening
- 60 g (1/4 c) Water
- 60 g (1/4 c) Vodka
- Non-Dairy Milk
- Additional Sugar
Instructions
-
Add the sugar and salt to the flour and whisk to combine.
-
Add the vegan butter and the shortening. I use Earth Balance Original Spread and Spectrum Organic Shortening, and I have not tested the recipe with any other brands. Use two knives to cut up the fats into 3/4” size pieces. Toss the pieces to coat them with the flour mixture, then place the bowl in the freezer for 20 minutes. Do not leave it longer, or the fats will get too hard.
-
Combine the water and vodka and place in the freezer as well.
-
Use a pastry cutter or sturdy fork to finish cutting the fats into the chilled flour mixture. You want mostly small pea-sized pieces.
-
Get the vodka mixture out of the freezer and pour it into a well in your bowl. Stir with your fork until the dough starts to come together. Depending on the weather and how cold your freezer is, the dough may or may not form a ball when mixing with the fork. If it does not, adding up to 2 more tablespoons of liquid might be necessary. Since too much liquid can make your crust tough, though, I always switch to mixing by hand before adding more vodka water. If the heat from my hand brings the dough together quickly, I do not add any more. If the dough stays crumbly when mixing by hand, I will add a bit more liquid and then mix by hand again. Only add two teaspoons at a time as you want to add as little as possible.
-
Use your hand to gather the dough into a ball. Divide the dough, making one piece a little bigger for the bottom crust. Press each piece into a circle on a piece of plastic wrap. Wrap tightly and refrigerate for one hour. (You can make the dough up to two days before you need it, but you will need to let it sit out at room temperature for a bit before rolling it out.)
-
Place the larger piece of the chilled dough on a piece of waxed paper and cover it with a second piece. (You want to roll out the larger piece of dough first as you will use it for the bottom crust.) Roll out part way. To keep the circle even, rotate the crust frequently. You will have uneven and cracked edges. Shape the edge all the way around so there are no cracks and the edge is not too thin. Continue rolling out your crust. Several times while rolling it out, I will flip the crust over, peel off what is now the top piece of waxed paper, and replace it before continuing. This prevents wrinkles in the paper and makes for a more uniform crust. Your dough needs to be about 3/4” bigger around than your upside down pie pan for the bottom crust. This recipe works well for a deep dish 9” pie pan or a regular 10” pan. You can also use a regular 9” pan and just trim off any excess dough.
-
Remove the top piece of waxed paper and invert the crust into your pie pan. Ease the dough into the pan by gently lifting the edges and pressing the dough into the pan. Carefully peel off the waxed paper that is now on top. Press any wrinkles and air bubbles out of the dough, then trim the edge so there is a single layer of dough on the rim of the pie pan.
-
Chill the crust for 30 minutes before adding the filling.
-
Fill according to your recipe. I always partially cook my pie fillings as this really helps to ensure a nice bottom crust.
-
Roll out the top crust just like you did for the bottom crust, except make it only 1/2″ bigger around than your inverted pie pan. Remove the top piece of waxed paper and invert the crust over the filling. Carefully remove the waxed paper. Trim the dough so it fits over the bottom crust, and so there is a double layer of dough on the rim of the pie pan. Press the two layers of dough together and crimp the edge.
-
Cut vent holes in the top crust, then brush with non-dairy milk and sprinkle with sugar.
-
Bake according to your recipe directions. Let your pie cool on a rack until just barely warm before slicing if it is a fruit pie, and for at least 20 minutes if it is a savory pie. Other kinds, like pumpkin, may need to be chilled before serving, so follow the directions for your filling recipe.
Recipe Notes
- I highly recommend using a scale to weigh your ingredients, especially the liquids and the flour. Too much or too little of either can easily ruin your biscuits, and measuring errors are extremely common.
- I use Freely Vegan flour to make pie crust, but my two-ingredient gluten free flour blend also works very well. I have not tested this recipe with all of my other DIY GF flour blends. Most should work, but you may not get the results shown here. I have tested this recipe with Bob's Red Mill 1:1 gluten free flour blend and got pretty good results. The texture of the Bob's was not as fabulous as mine, but was still good.
This recipe looks great! I’ve tried vegan GF crusts before and they didn’t work, but I never used vodka. I’m excited to try this!
Thanks, Monica! The vodka definitely makes a big difference! Be sure to carefully follow the directions as well because the chilling times are very important. Please let me know how your crust turns out!
I love the look of your recipes, but do you have a printer-friendly version? I went to print this and it said it would be 8 pages (the whole post I guess).
Thank you! There should be a print option right under the little photo where the recipe is. This should just print the recipe itself and not the whole post.
Thanks for this; it looks so good! Does the vodka make the crust flakier? Also, I was wondering if substituting the same amount of all purpose four would work. Could you let me know? Thanks!!
Oops…I meant all purpose flour, not four. Lol
Hi Georgiann! Yes, the vodka does make the crust flakier! I have not tried this recipe with wheat flour but it should work. Be sure to have a little extra ice cold vodka/water ready in case you need more liquid. If you do try it, please let me know how it turns out!