Braided loaves are beautiful works of art when shaped properly, and a mess when they are not! Gluten free dough can be more challenging to braid, but it is really pretty simple to make a gorgeous braided loaf, as long as you use the right flour blend and follow these directions!
Start by making your dough, and getting it through the second rise. I will add links as I post more recipes. For now, you can use either my sandwich roll, honee sunflower bread, hot cross bun, or pumpernickel bread recipes.
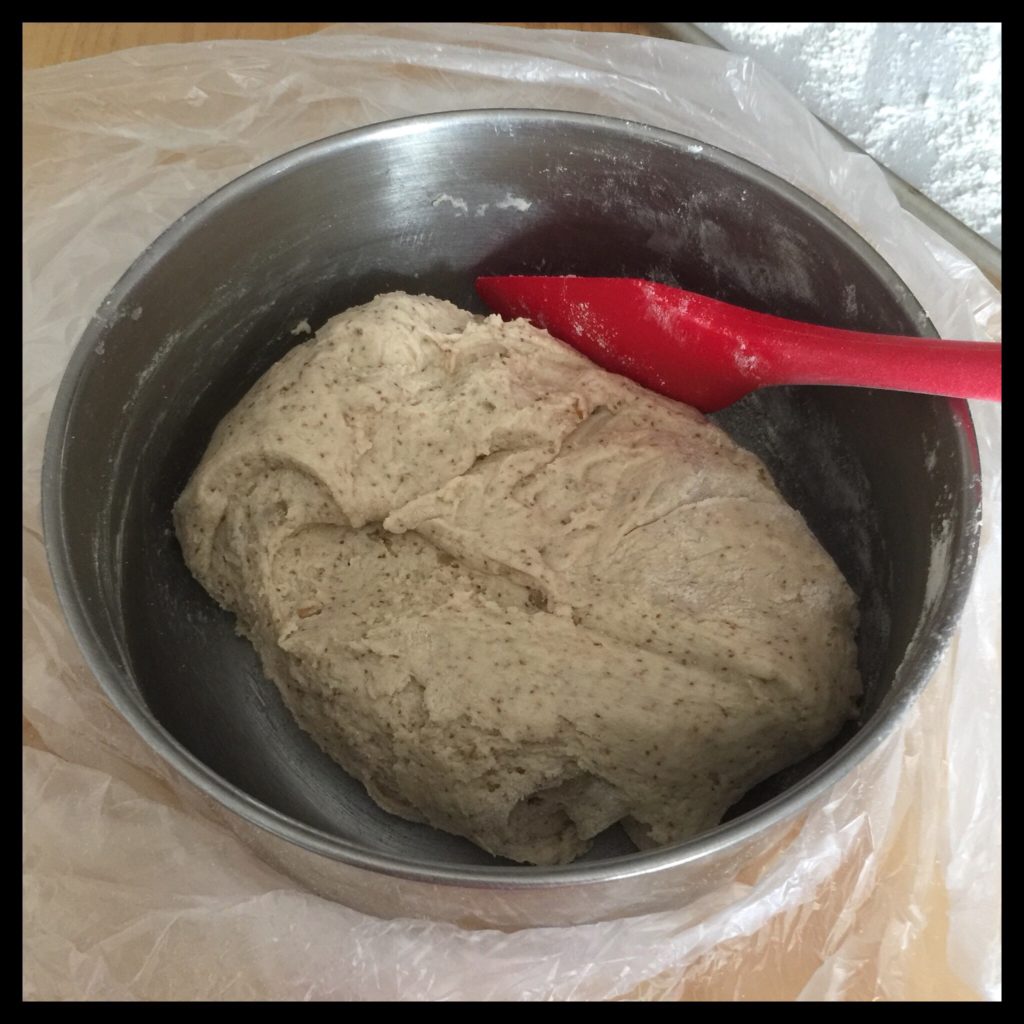
Stir down the dough, then pinch some of the dough between your fingers. It will probably feel quite soft and a bit sticky, and will not be firm enough to braid. You are going to add more flour, a little at a time, just until the dough is shapeable. Knowing exactly how stiff the dough needs to be really comes from experience, but you want it to be only just stiff enough to be able to braid. If you add too little, the dough will be too soft to work with. If you add too much, it will not rise sufficiently. (Err on the side of too little until you get the feel what the dough should feel like, because you can always dump the dough back in the bowl and add more if you can’t braid the stands in the next step.)
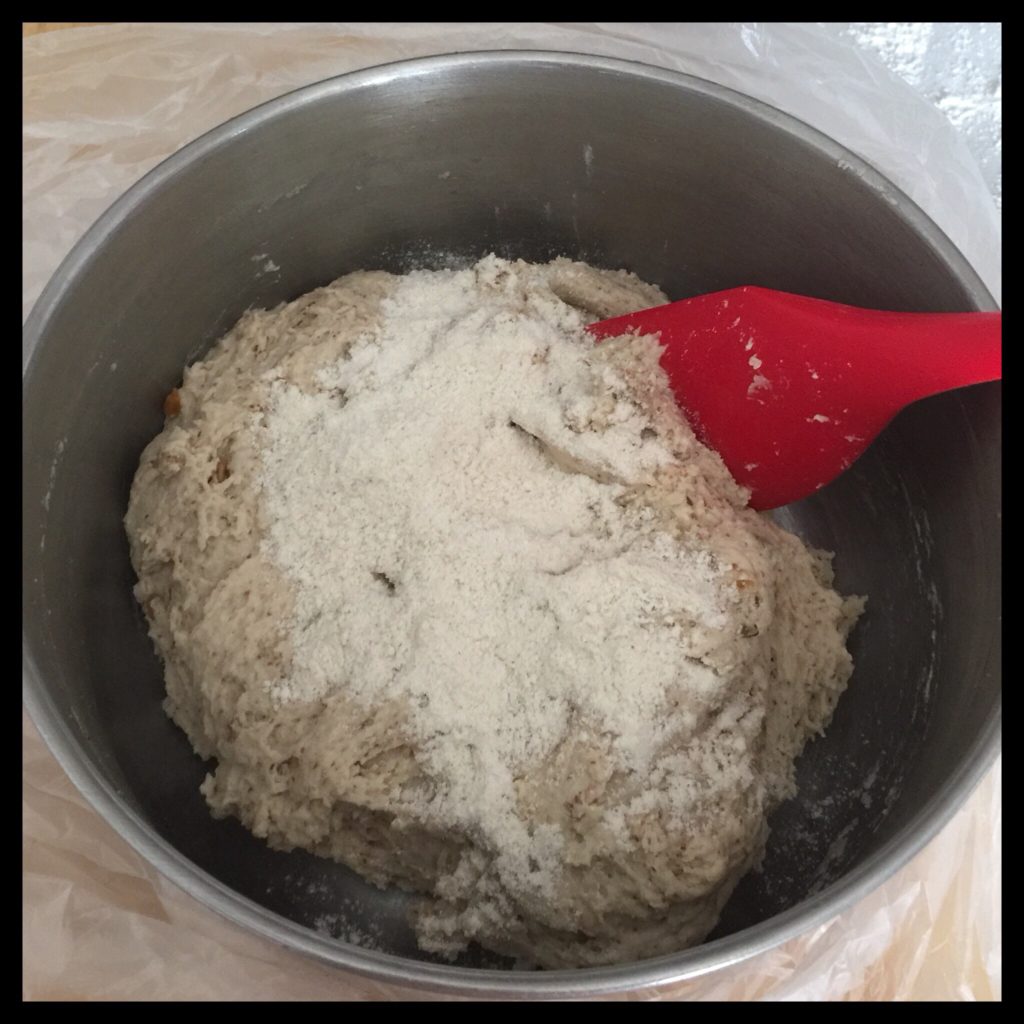
When you have added enough flour, the dough will not stick to the bowl anymore, and you will be able to shape a soft rope of dough in your lightly-oiled hands (gloves make this much easier!)
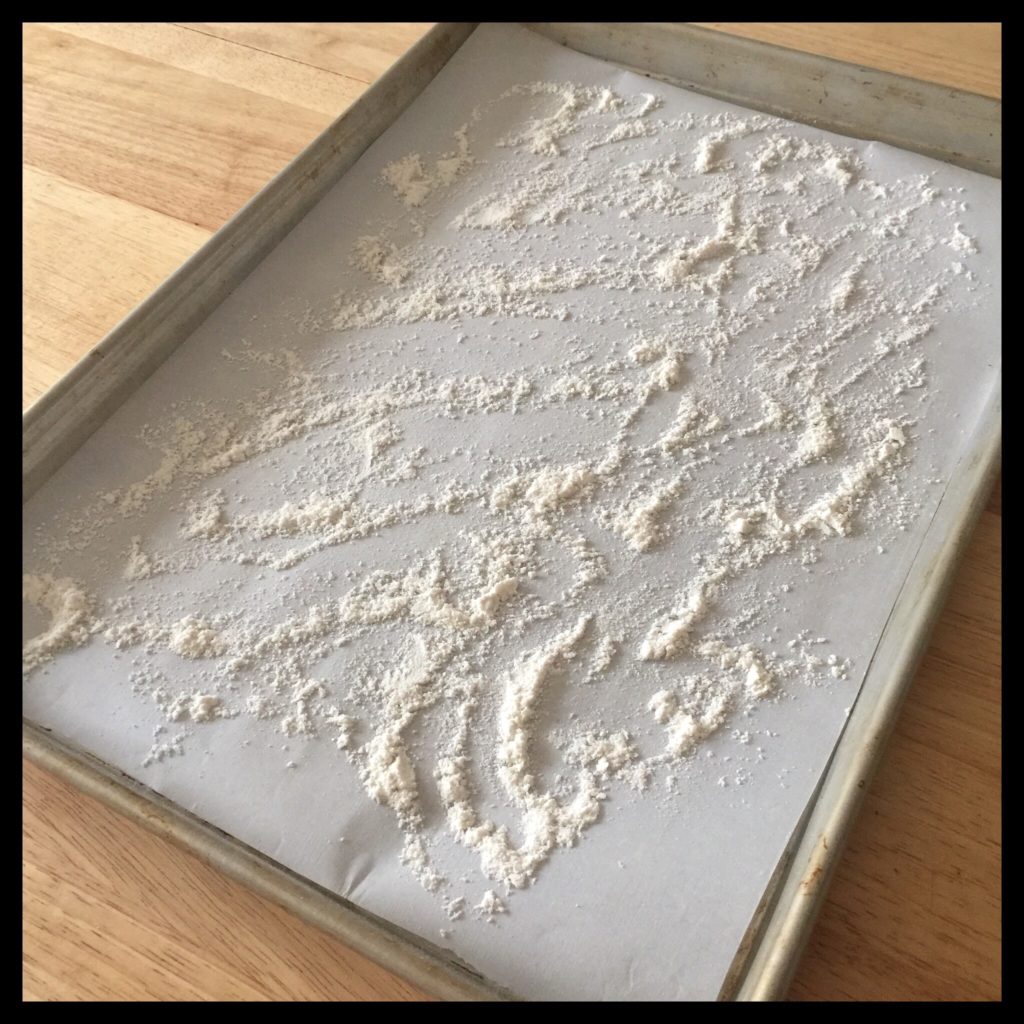
Line a half-sheet pan with parchment, then sprinkle the paper with a generous amount of flour like this:
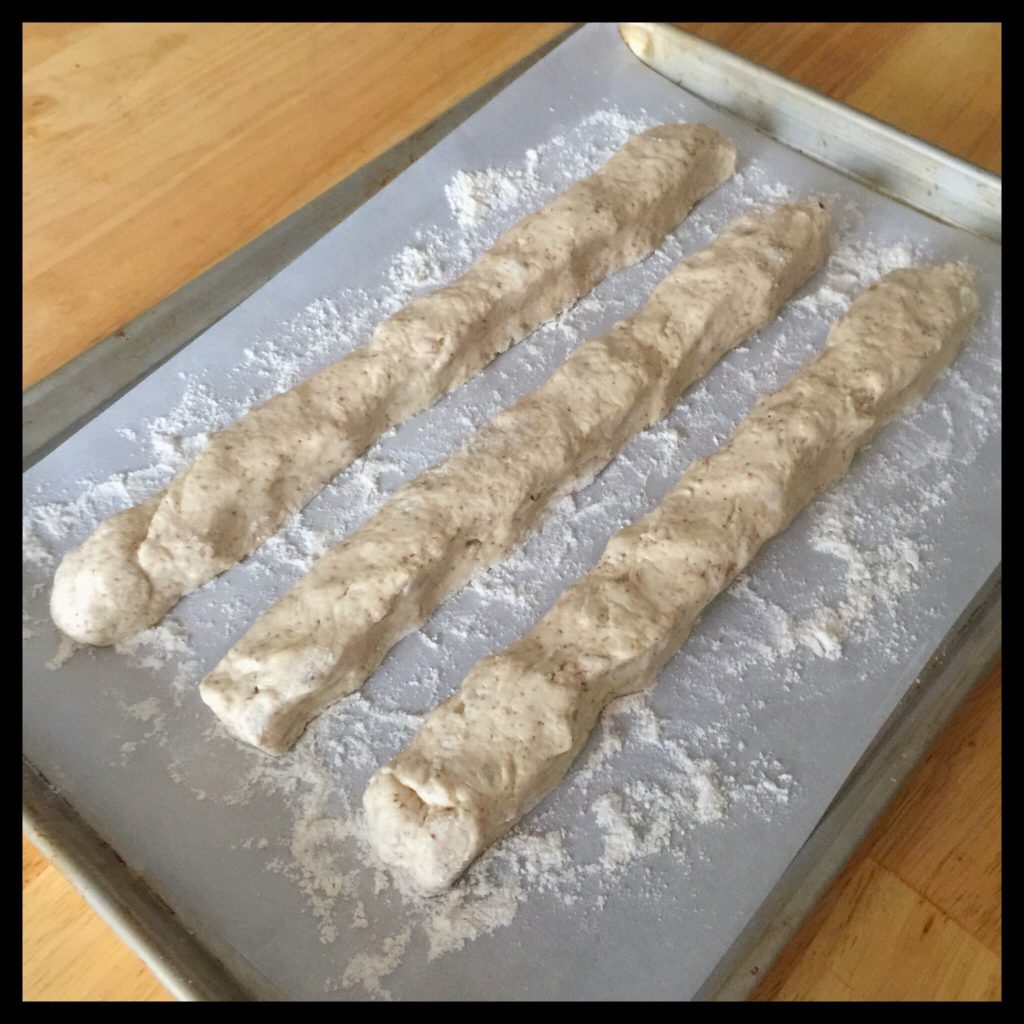
Divide the dough into three parts, then shape each one into a 15 inch-long rope:
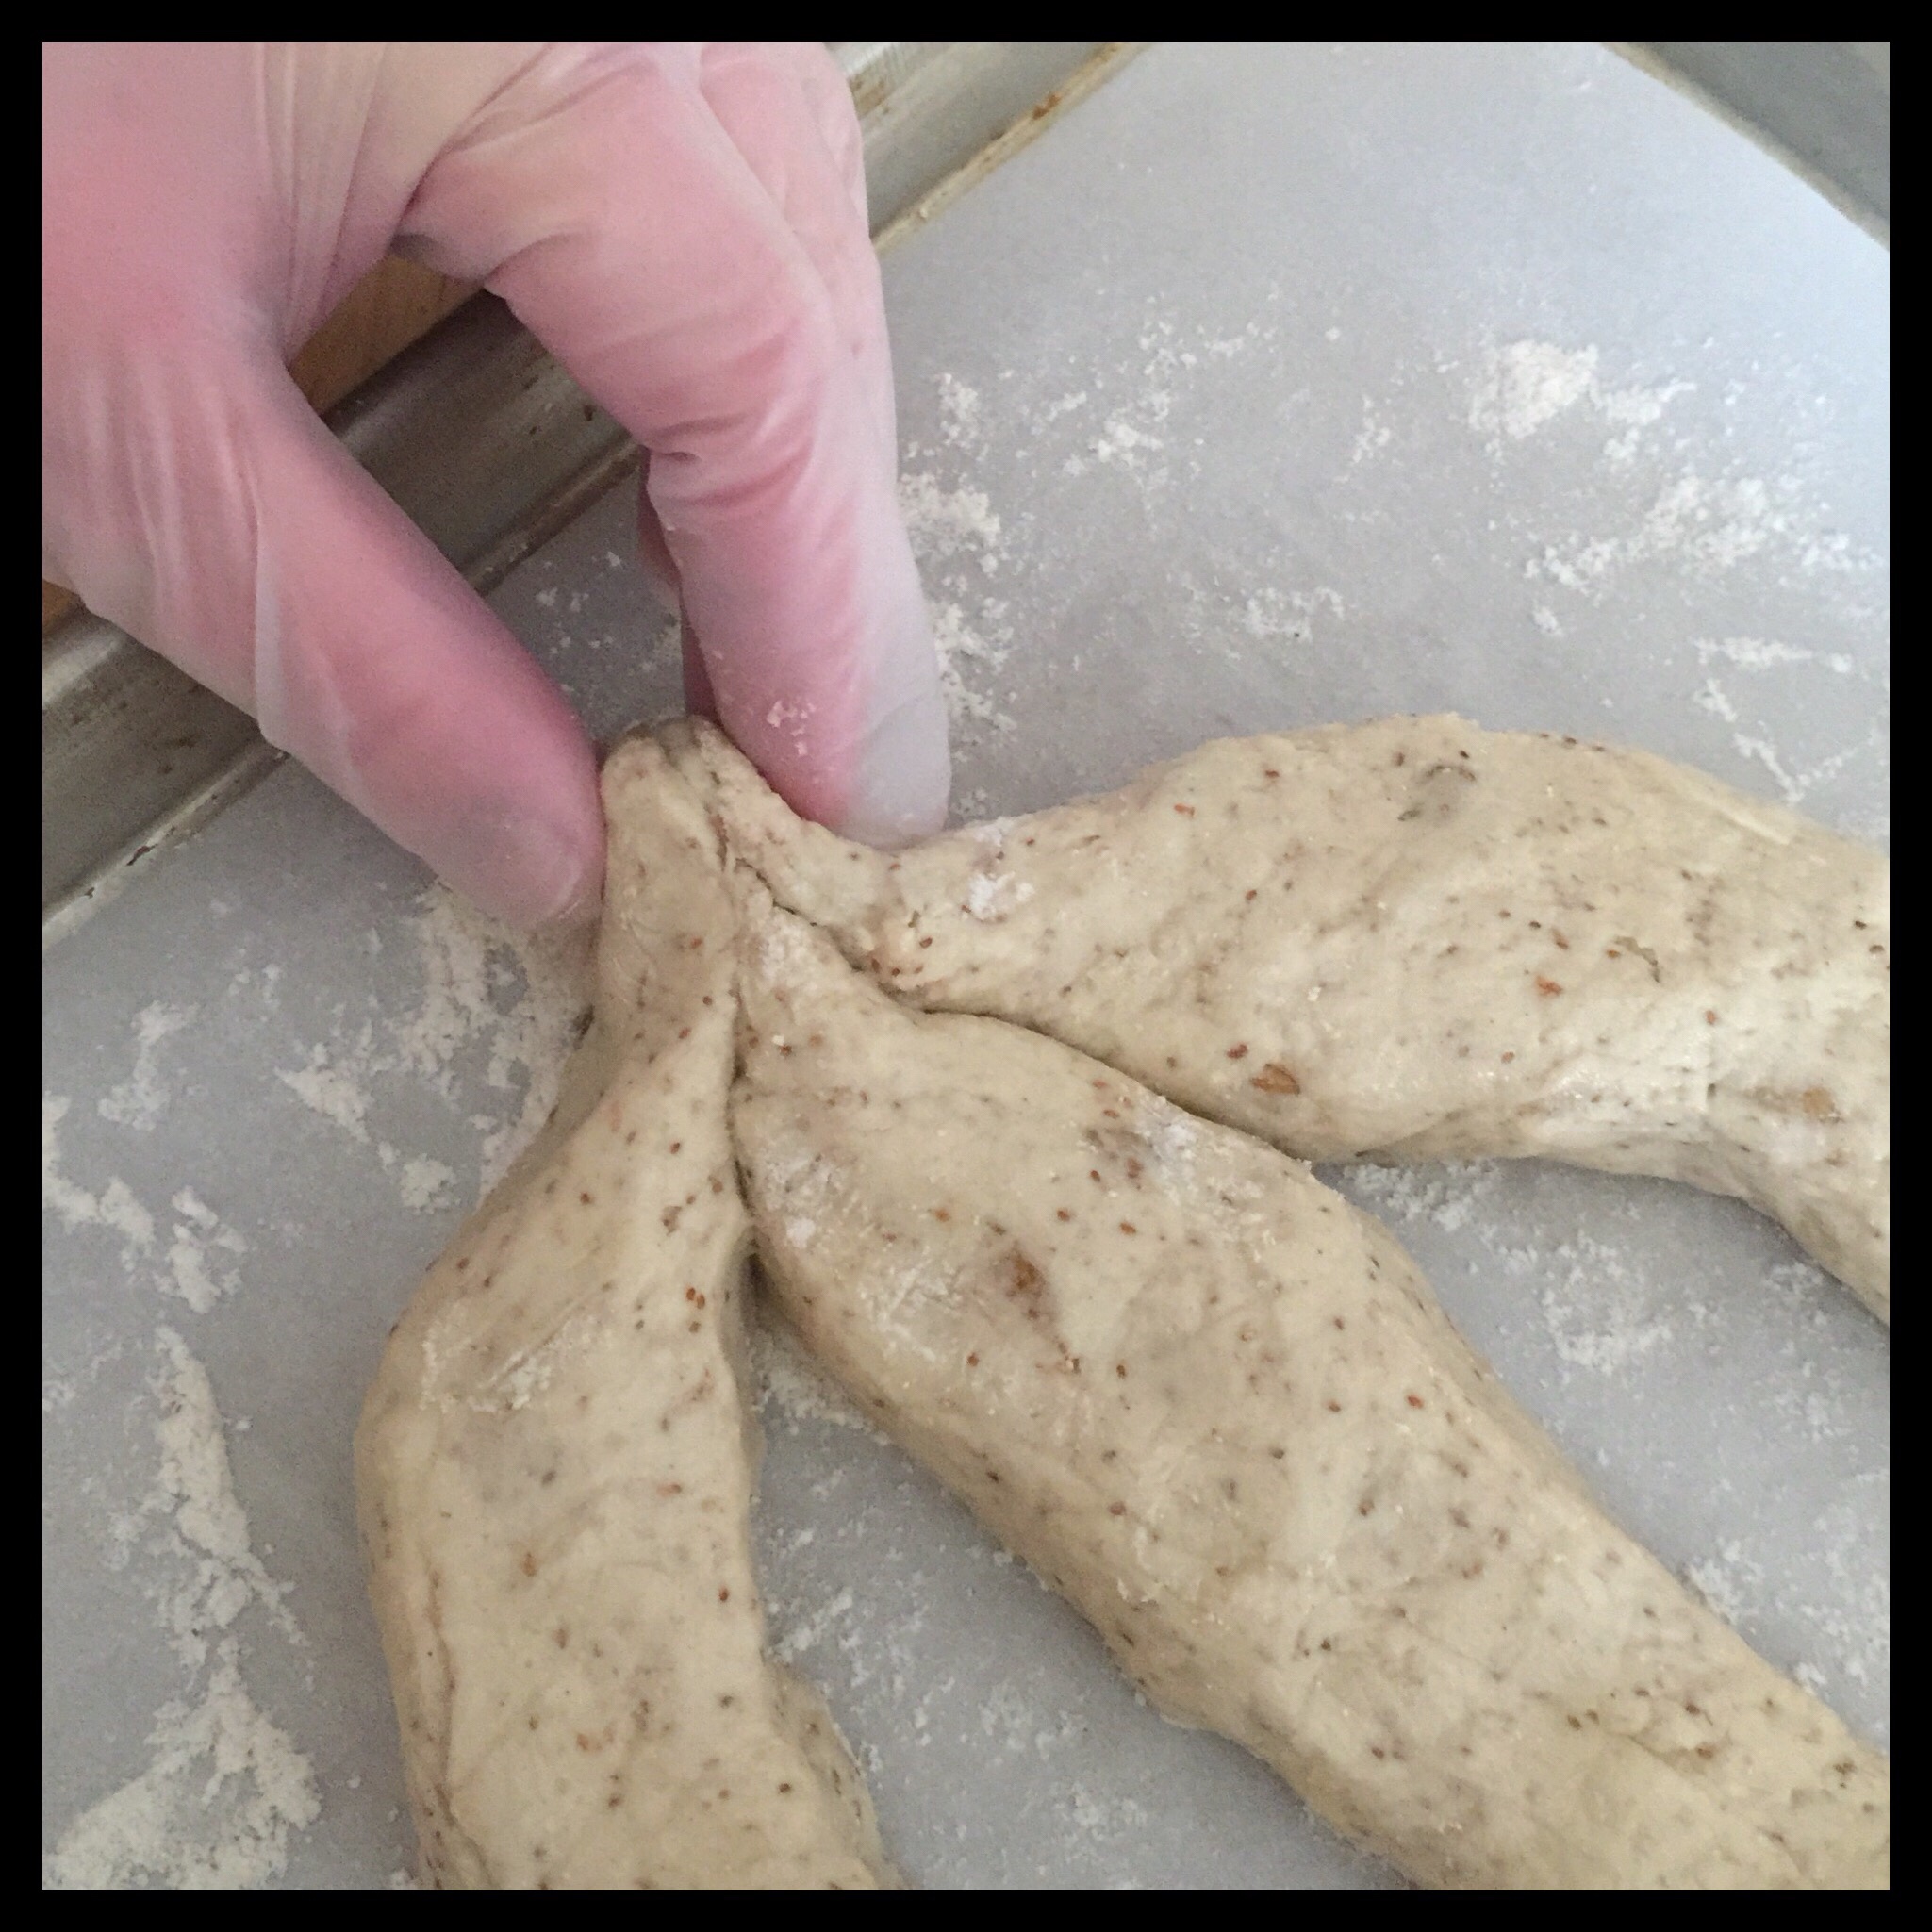
Pinch one end of each of the three ropes like this:

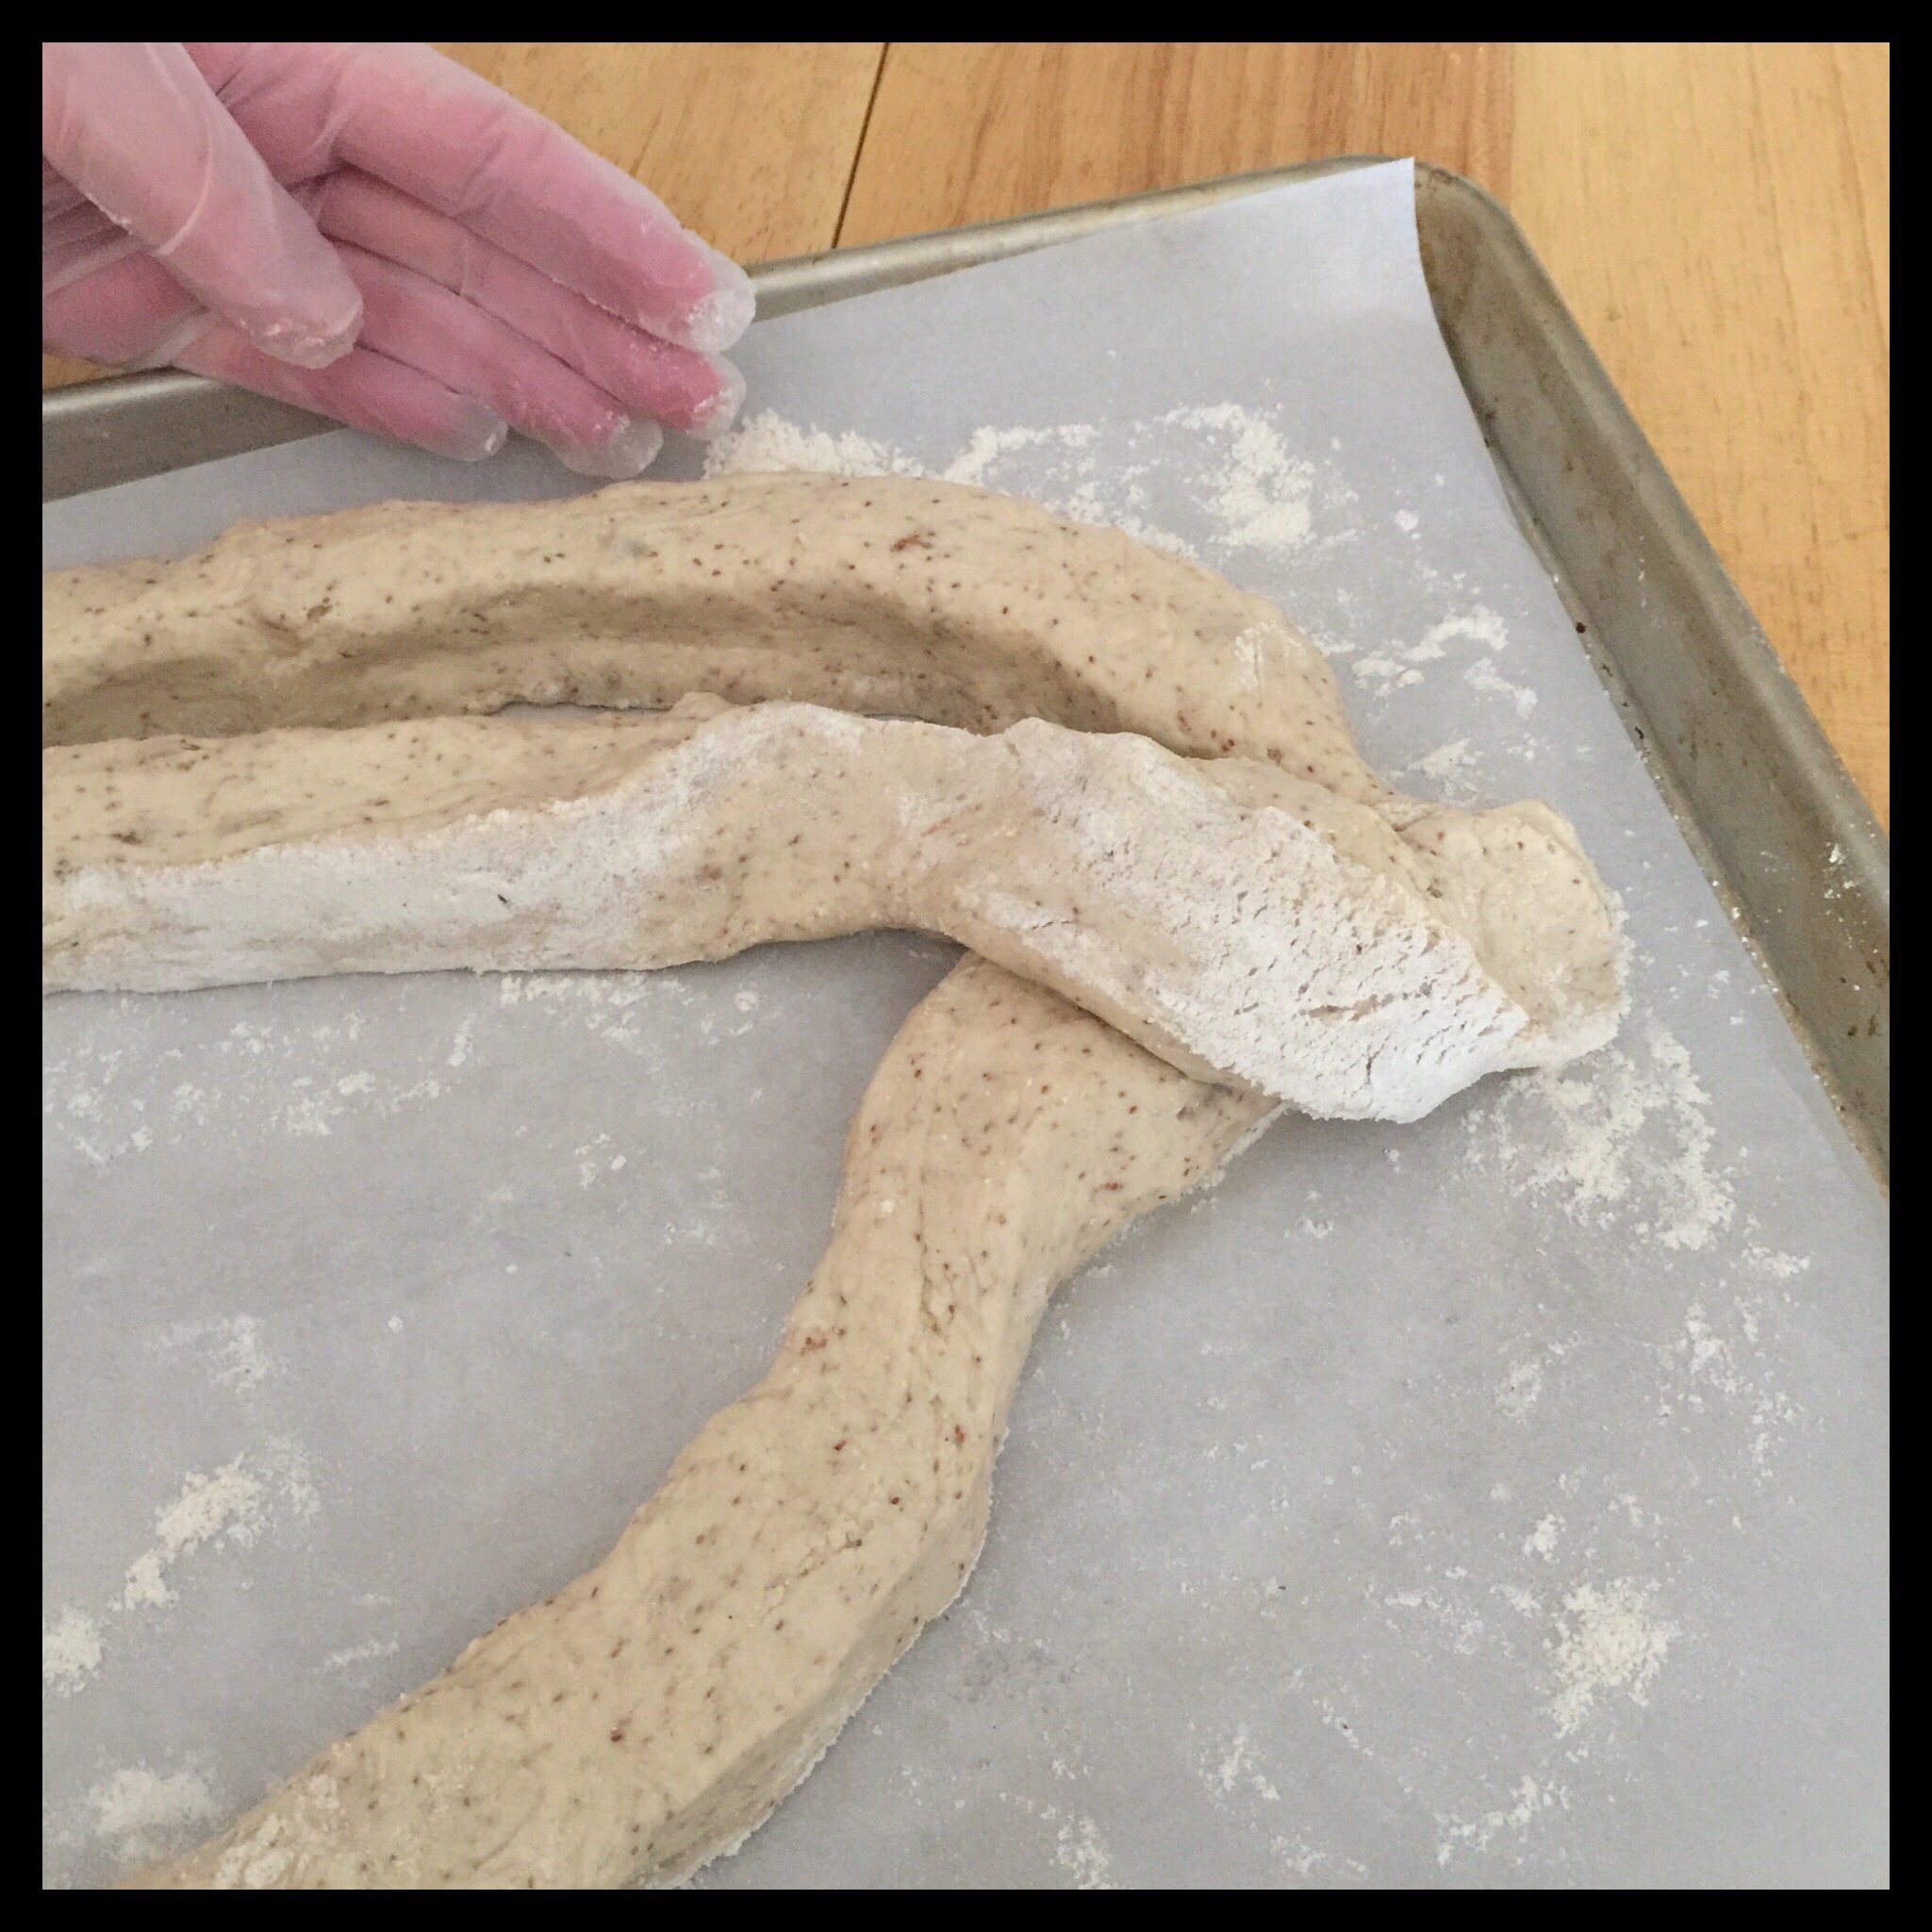
Then, firmly press the three pointed ends together:
Carefully lift the rope on the right side with both hands, and fold it over the middle rope. The rope that started on the right is now the middle rope, and the one that was in the middle is now on the right:
Then do the same on the left side, bringing the left rope over the middle one:
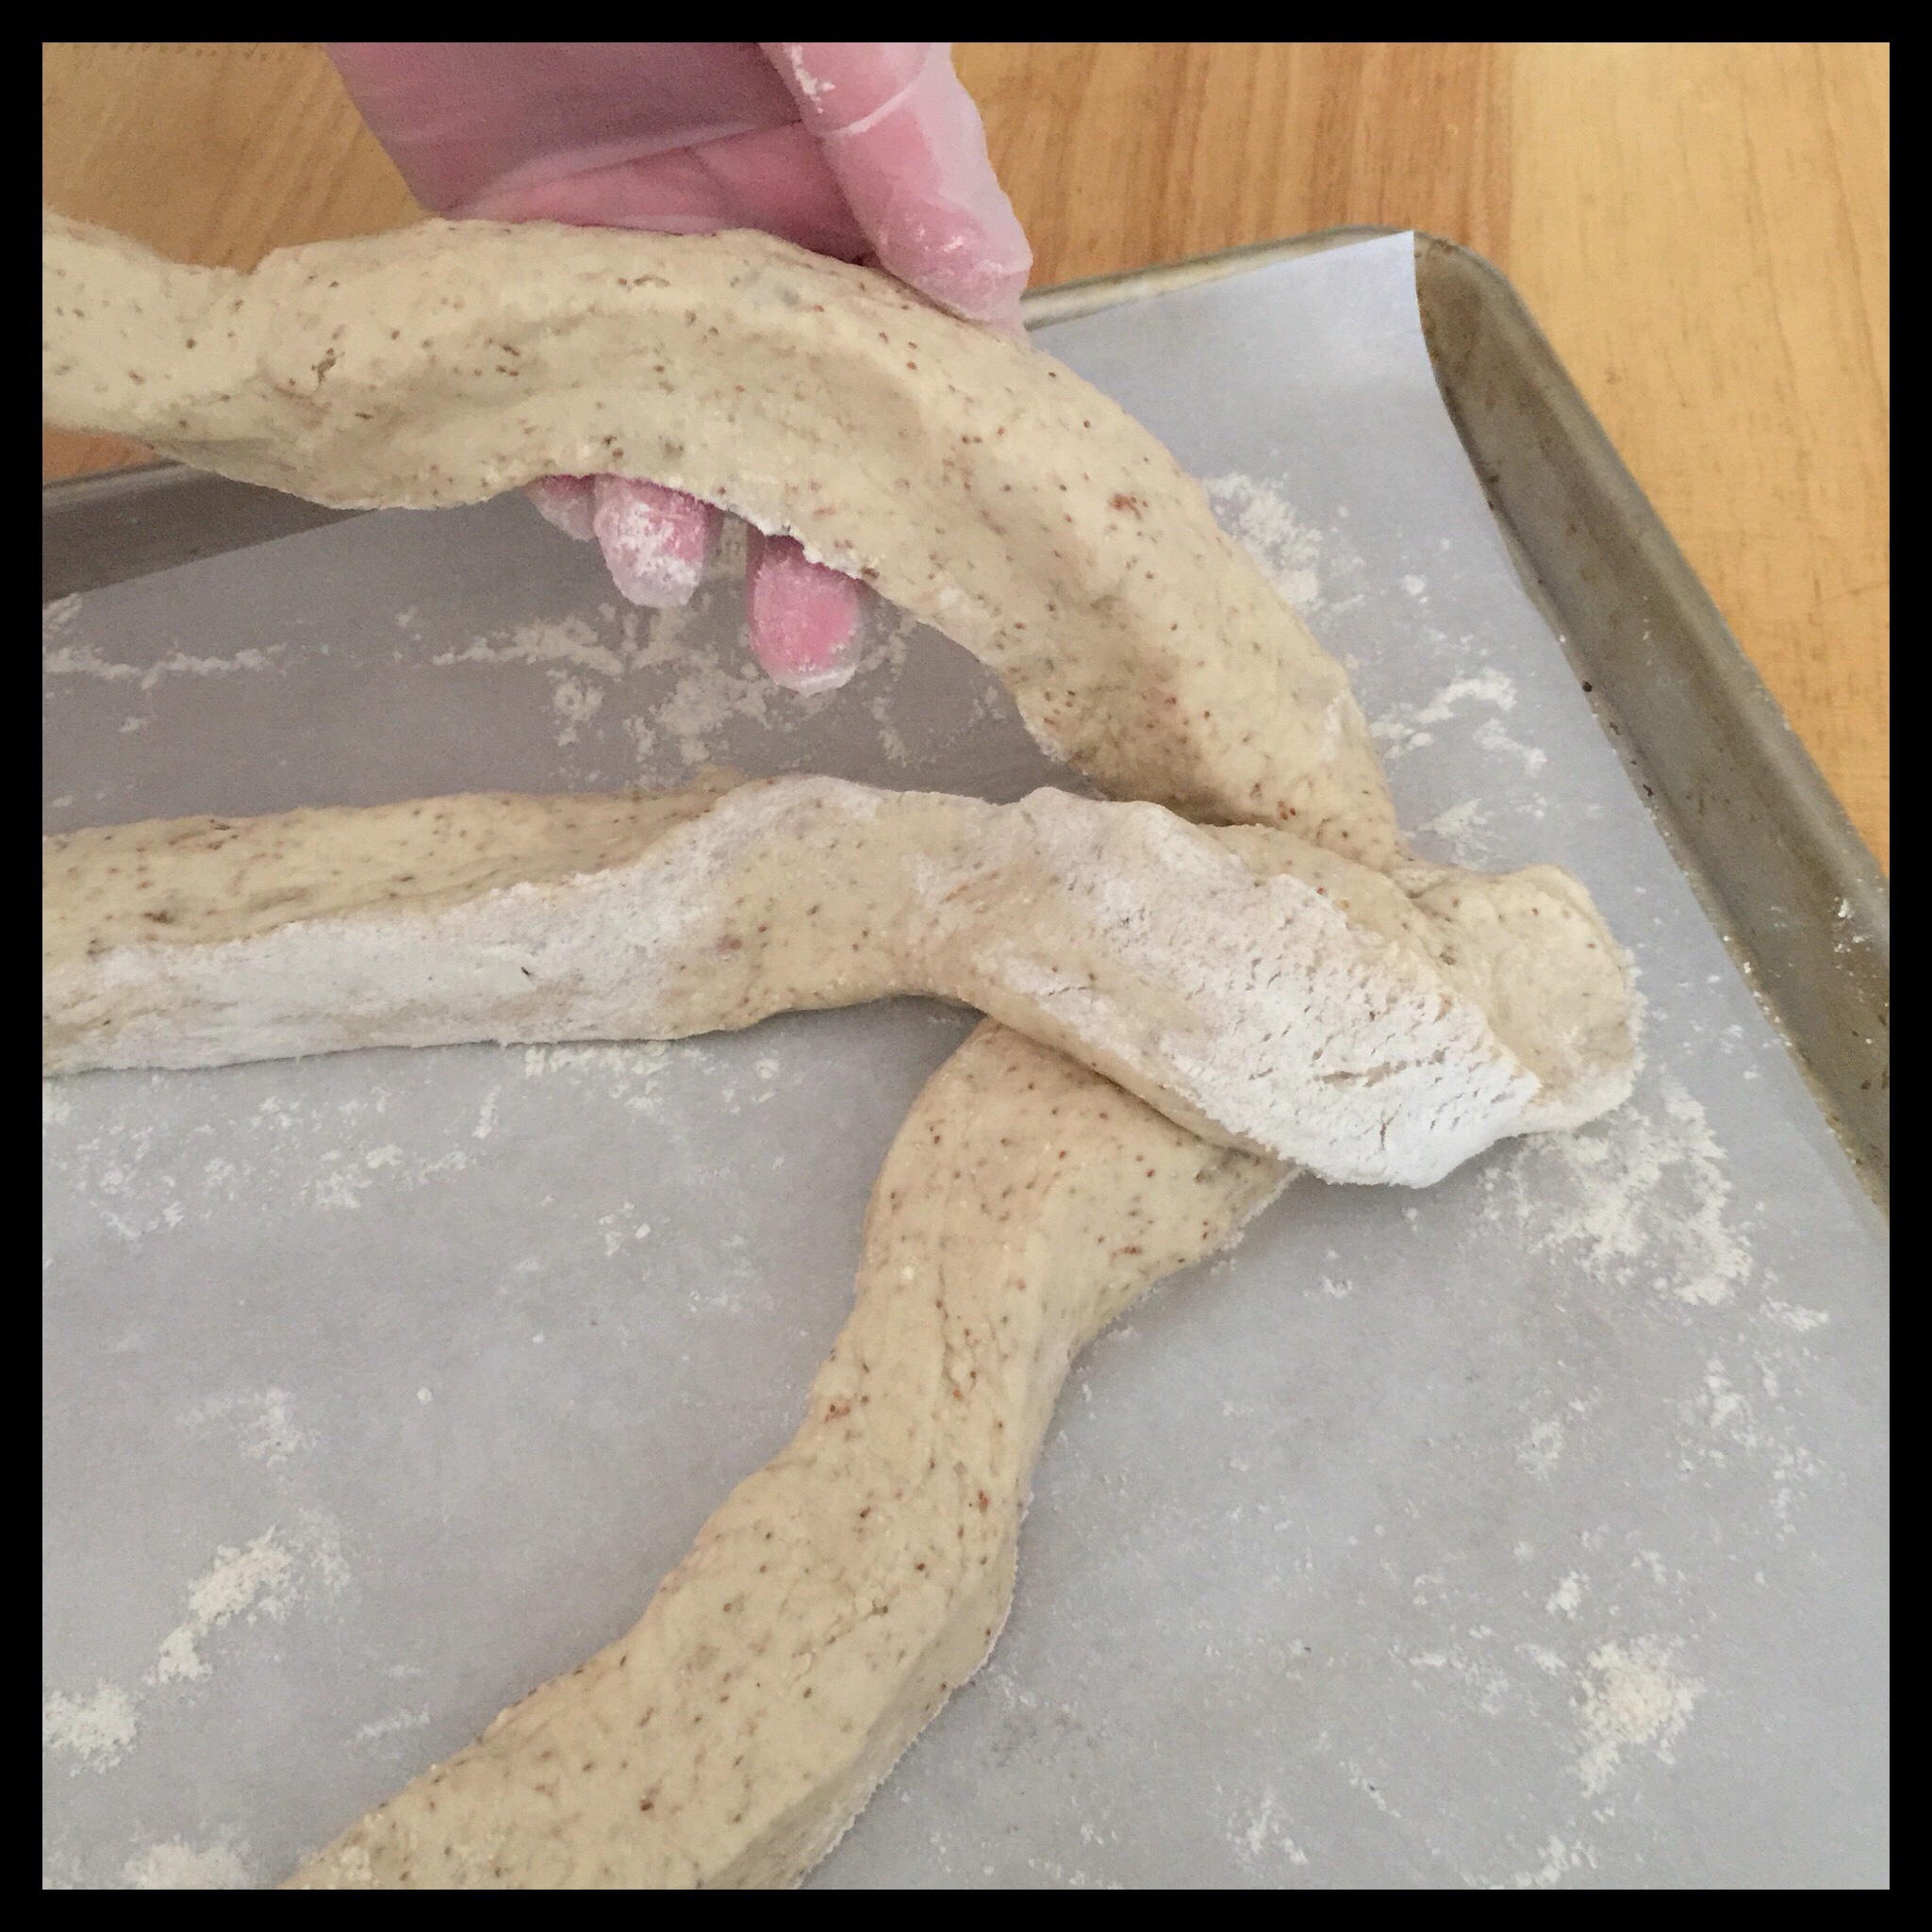
Make the braid fairly tight, but do not squish the dough ropes together.
Keep braiding, alternating sides, until you get nearly to the end of the ropes:
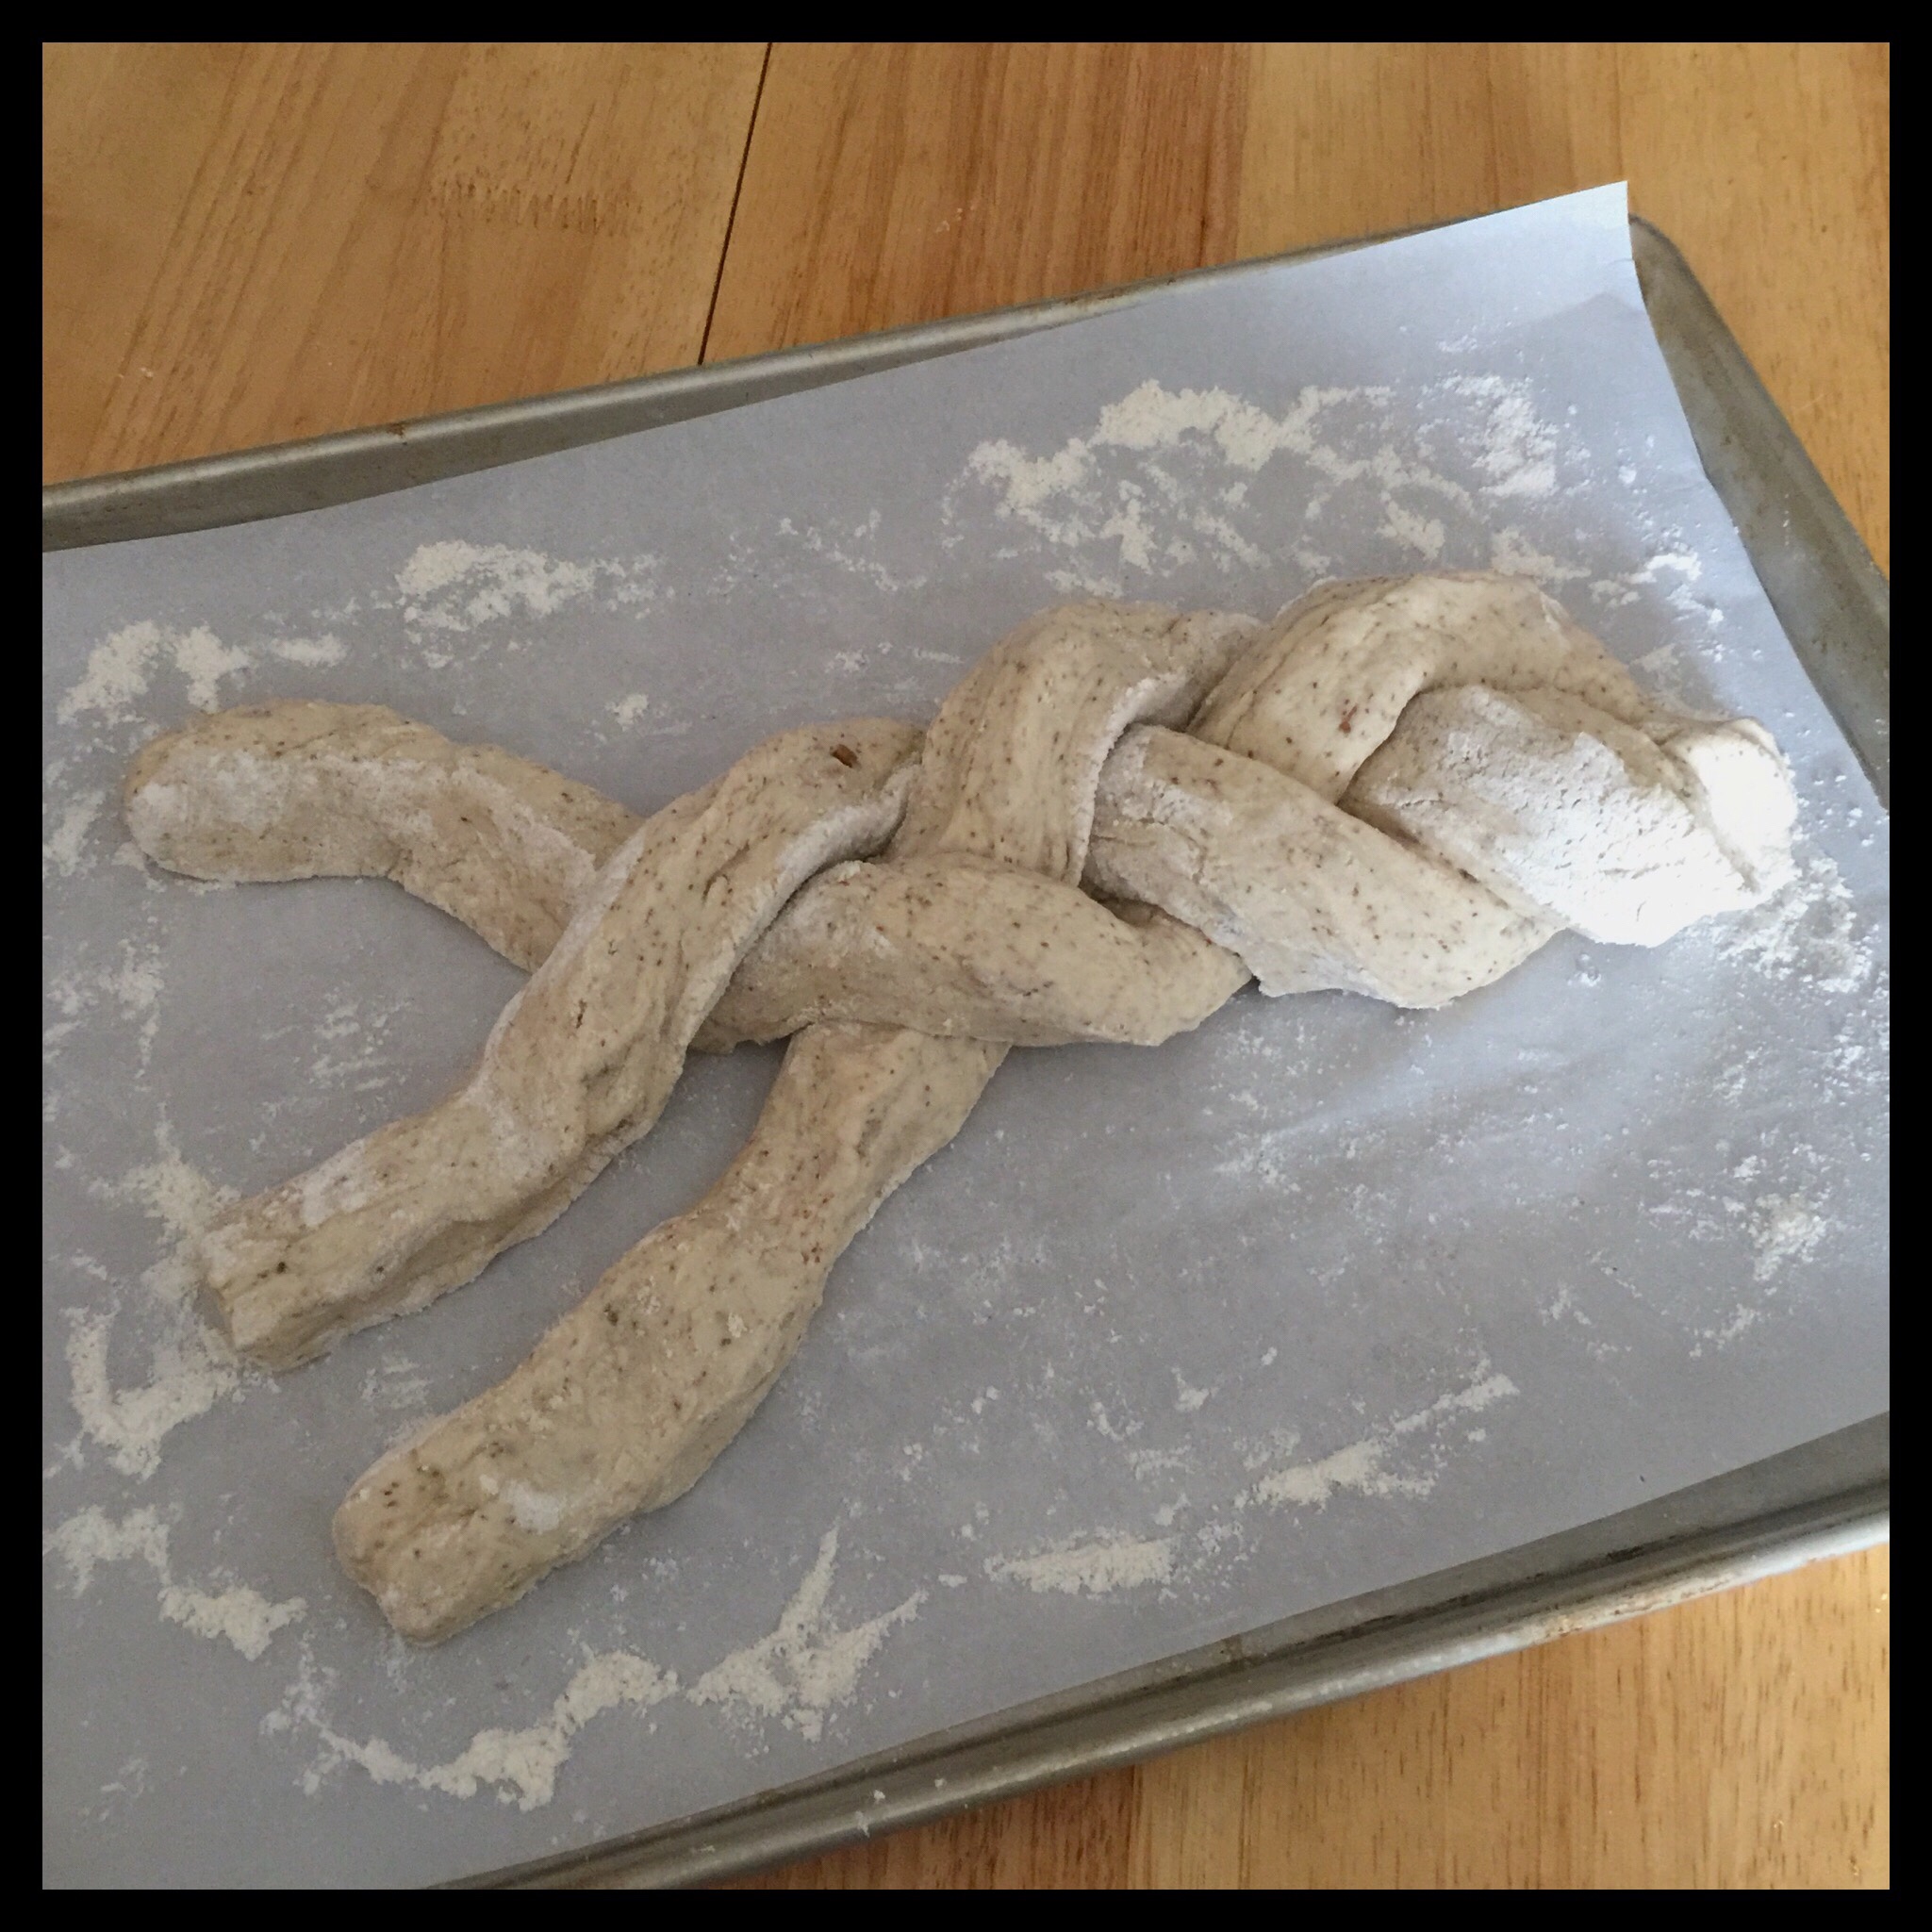
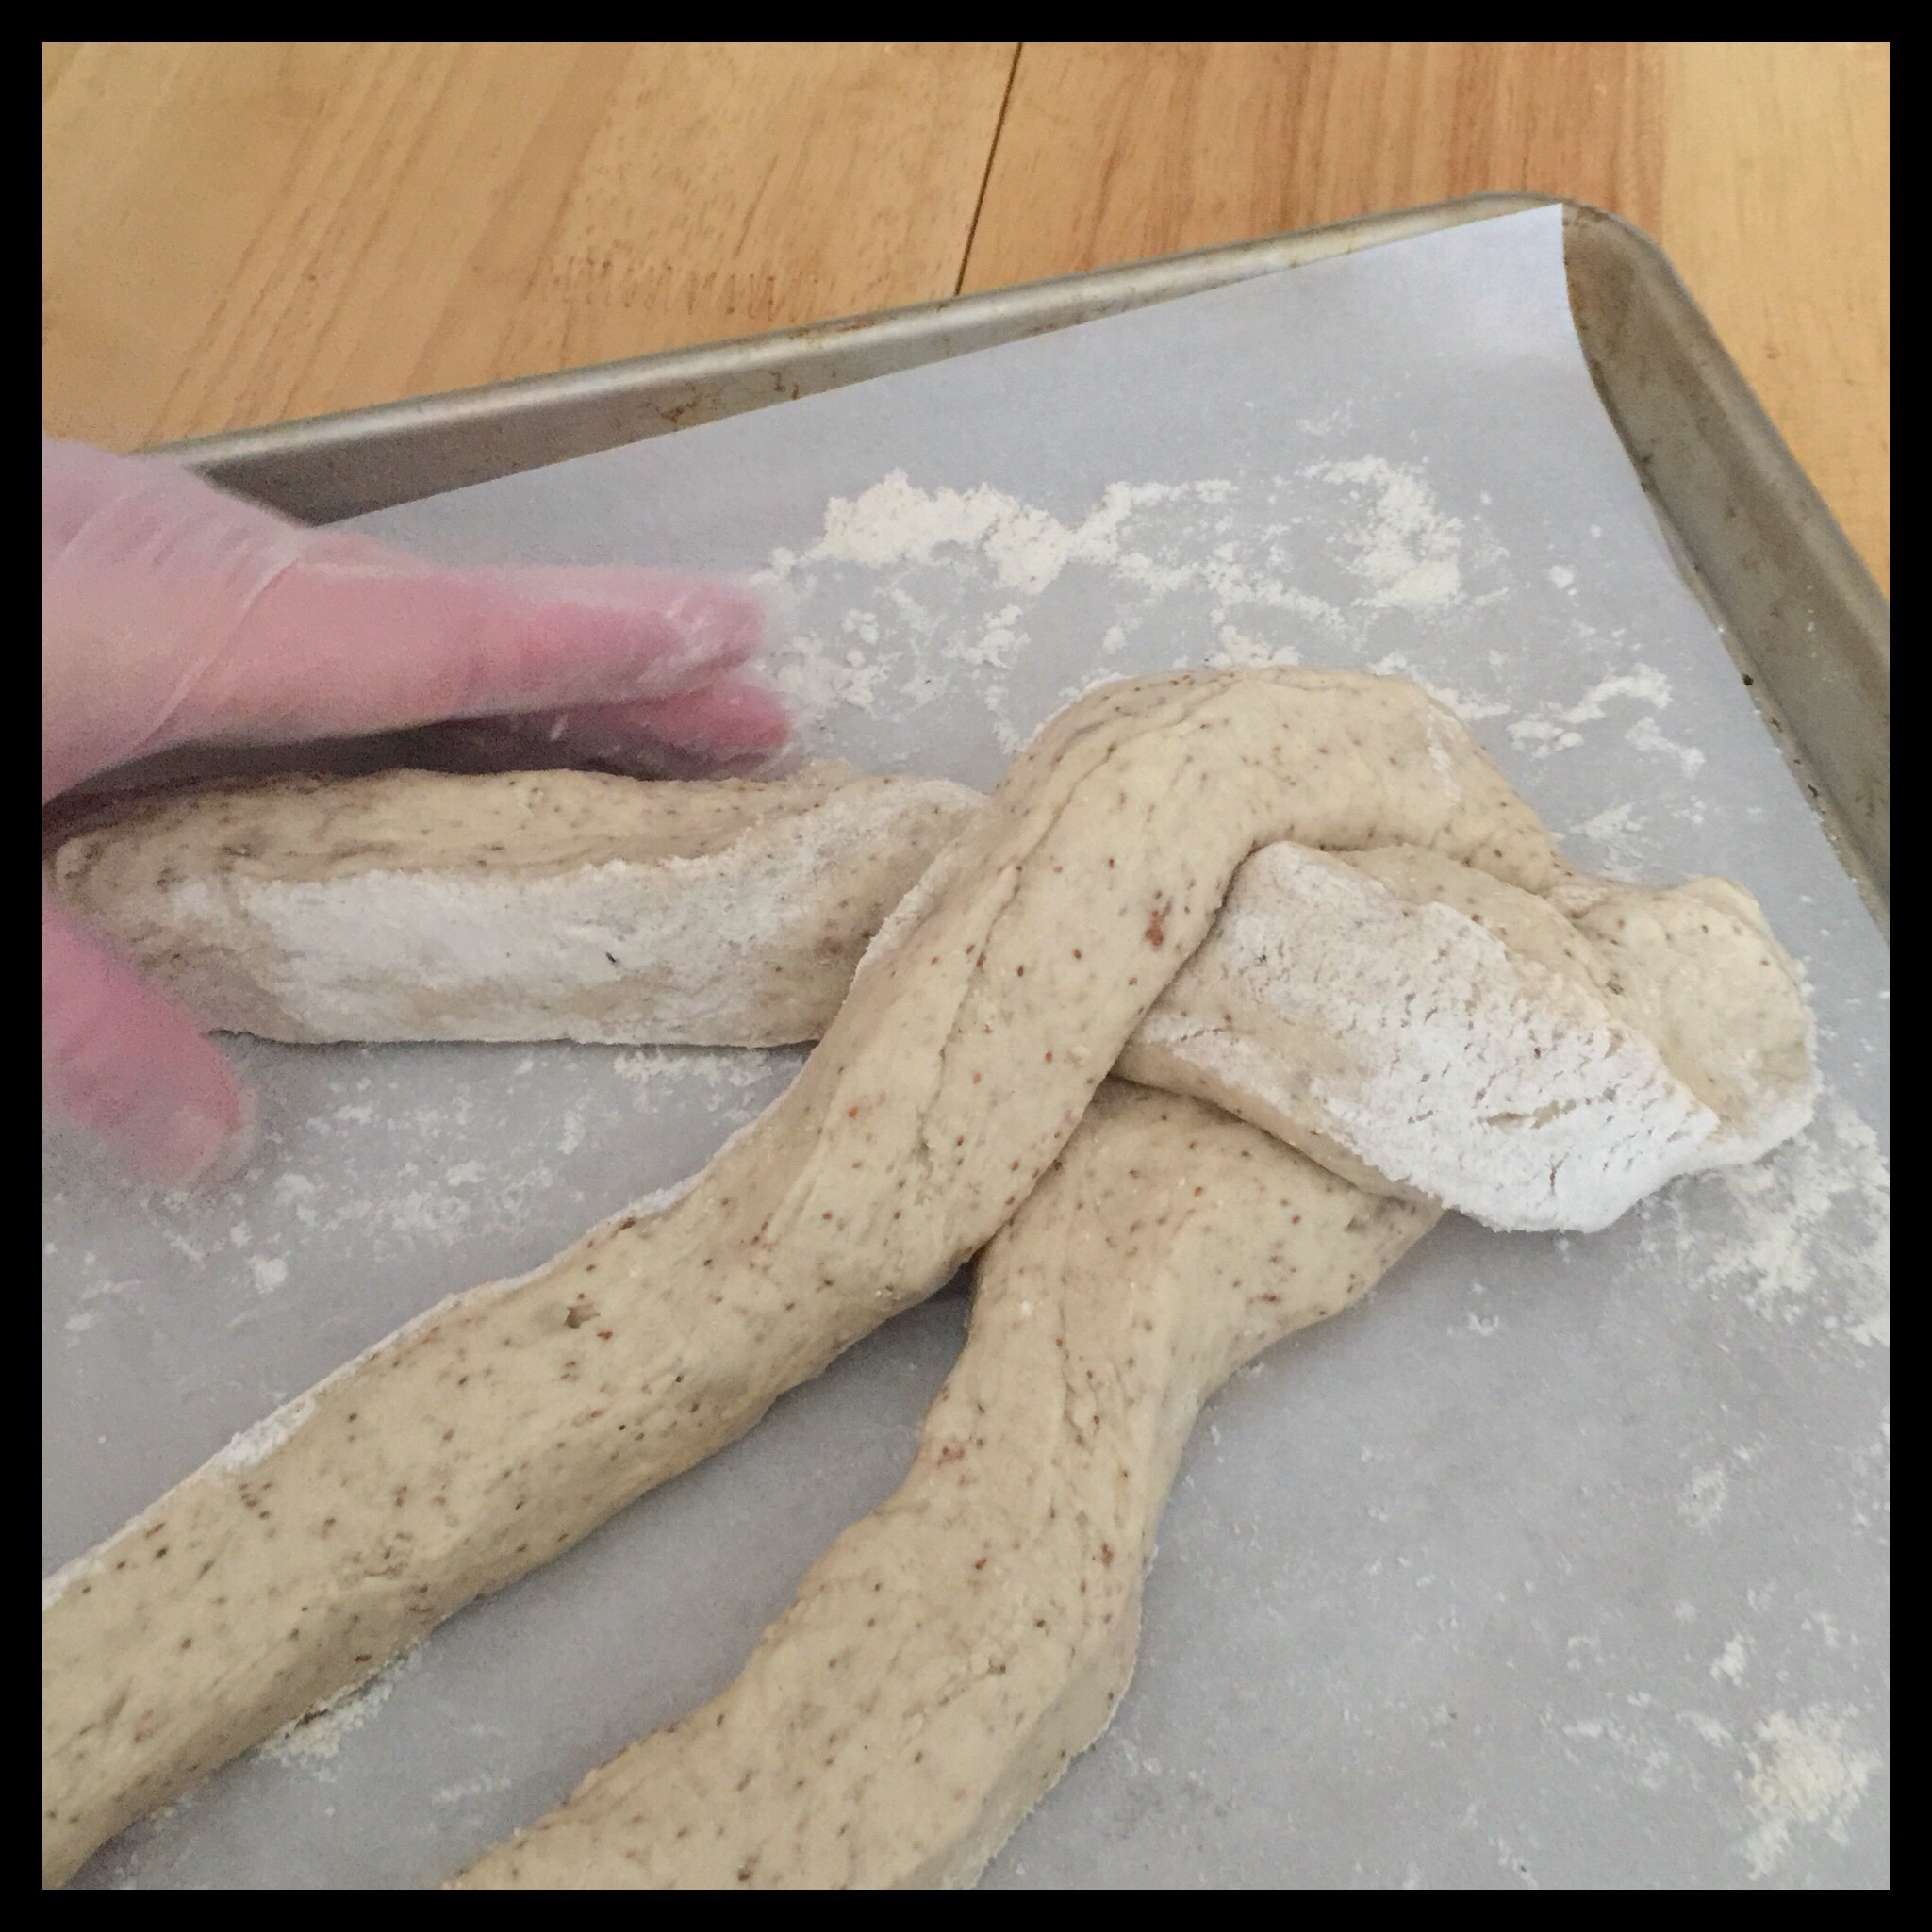
When you are nearly at the end, press the three ends of the ropes together like you did at the beginning:
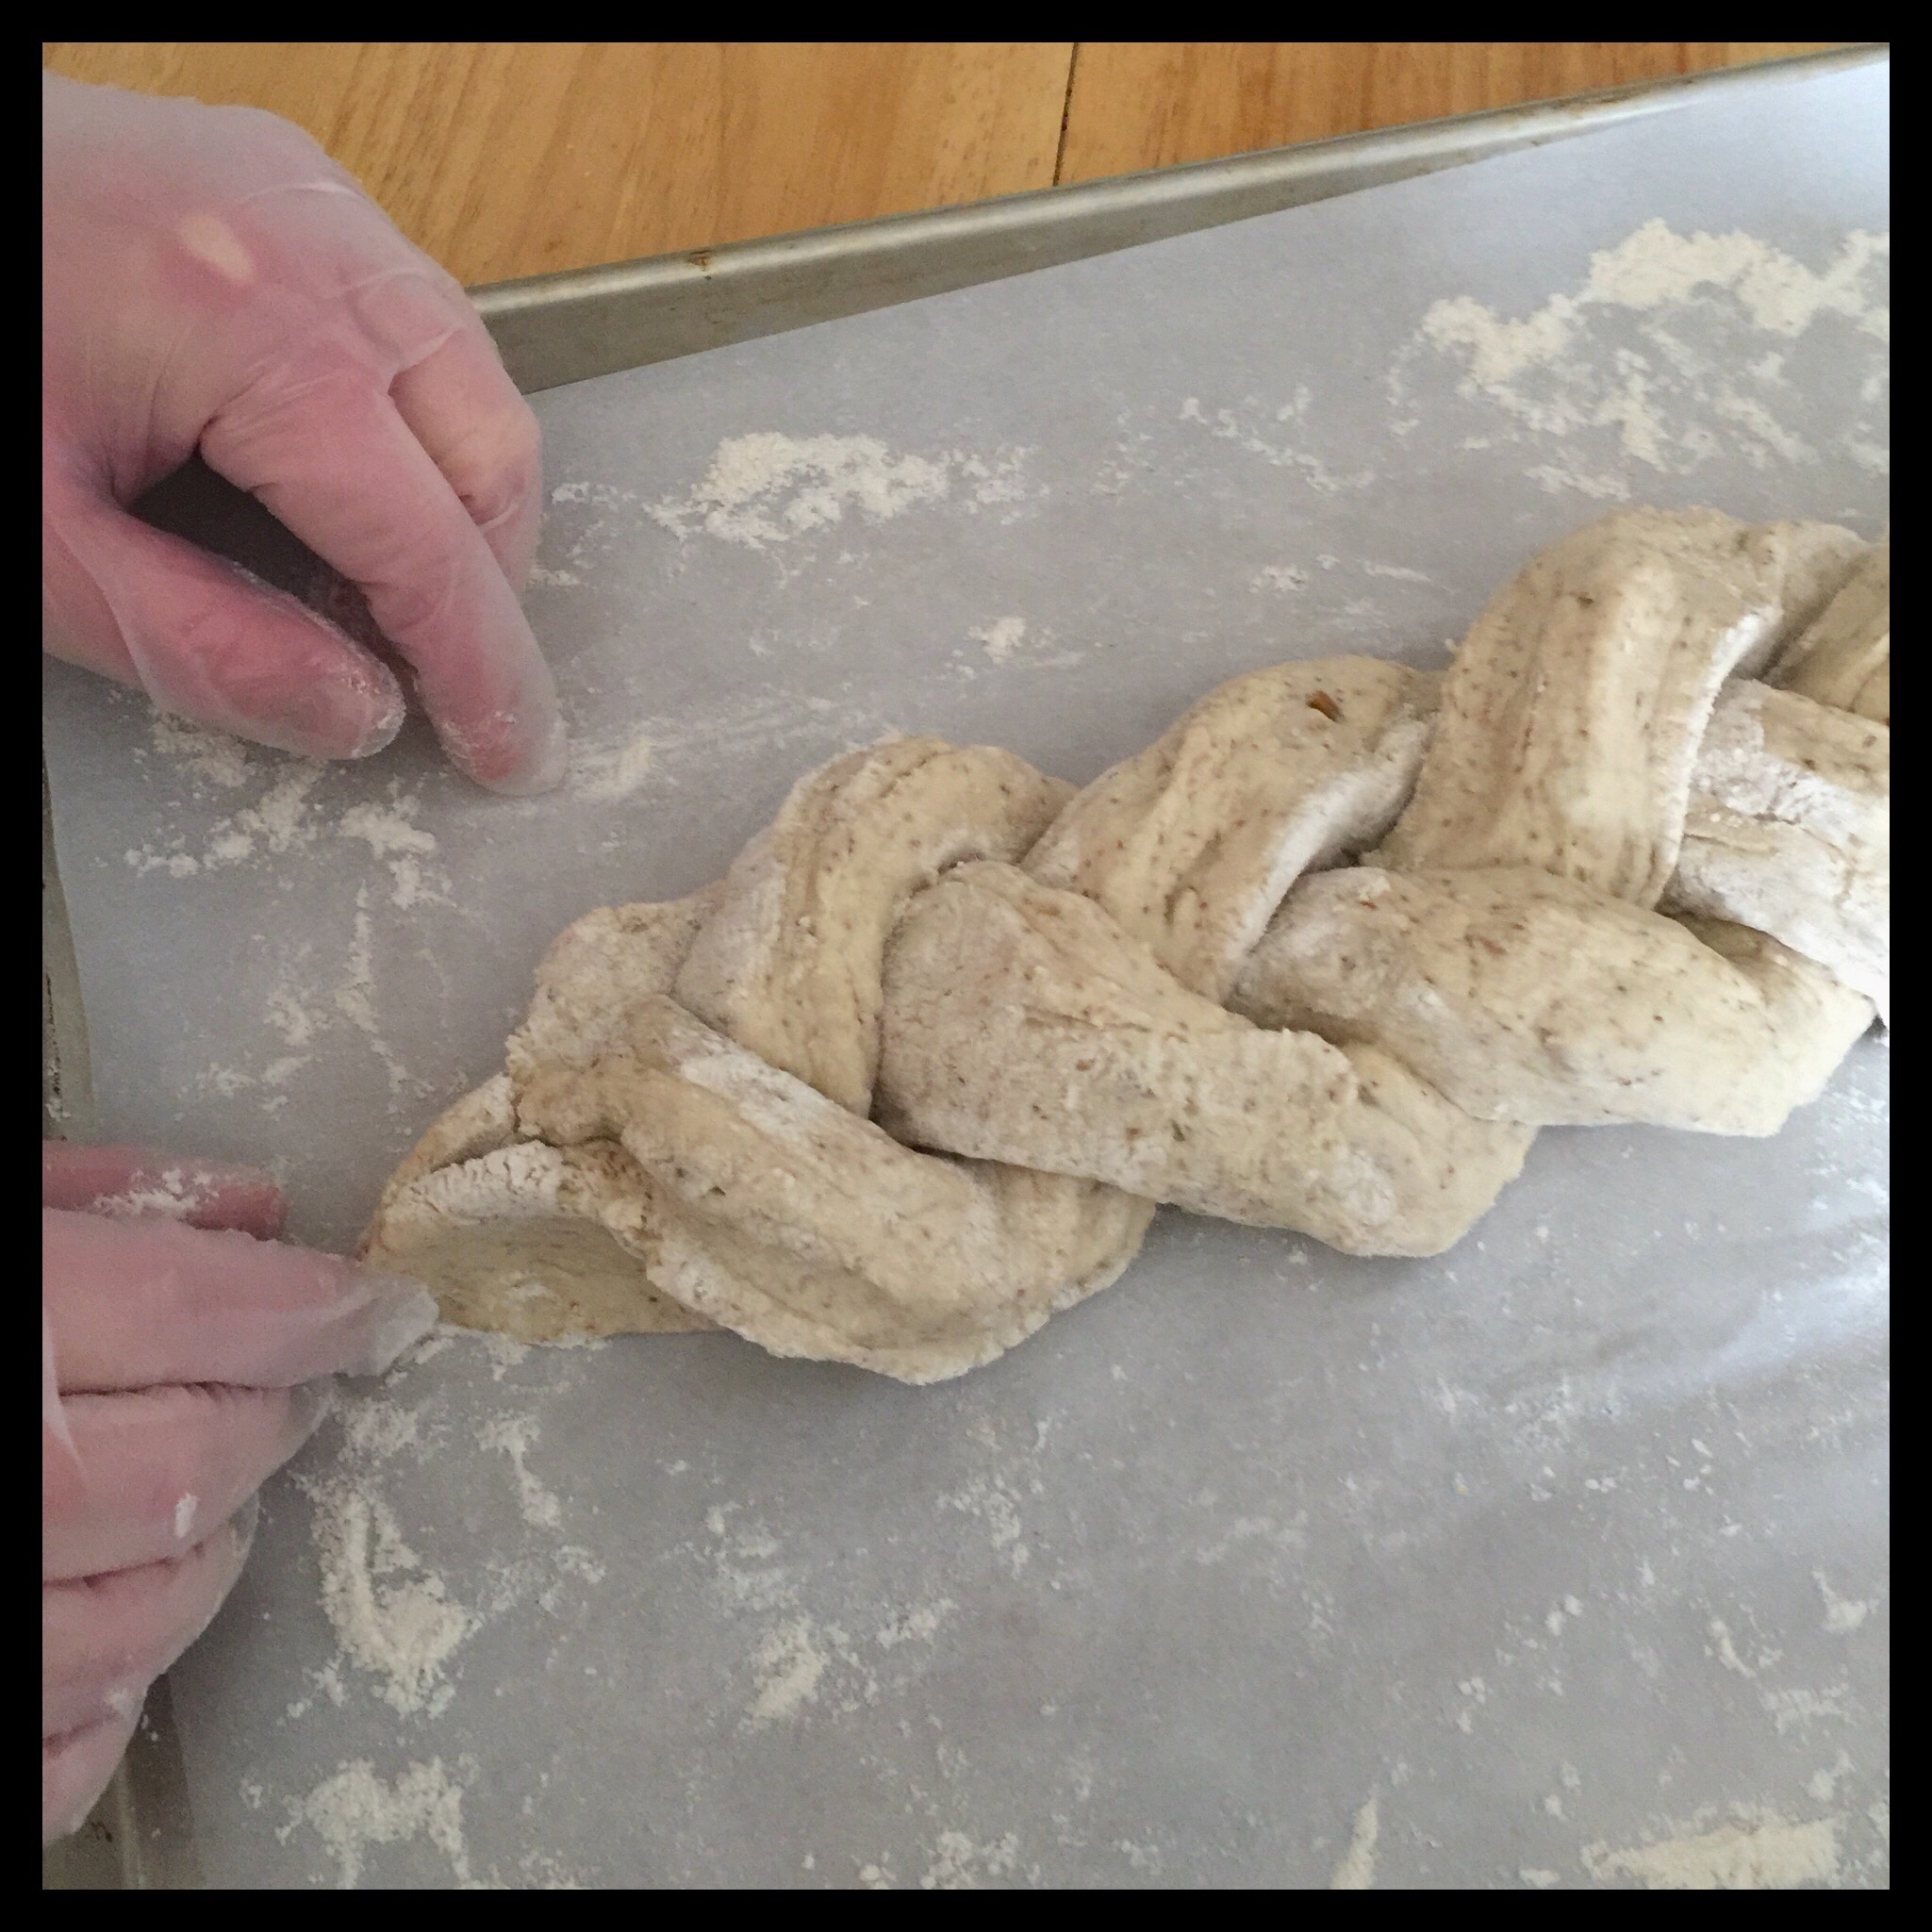
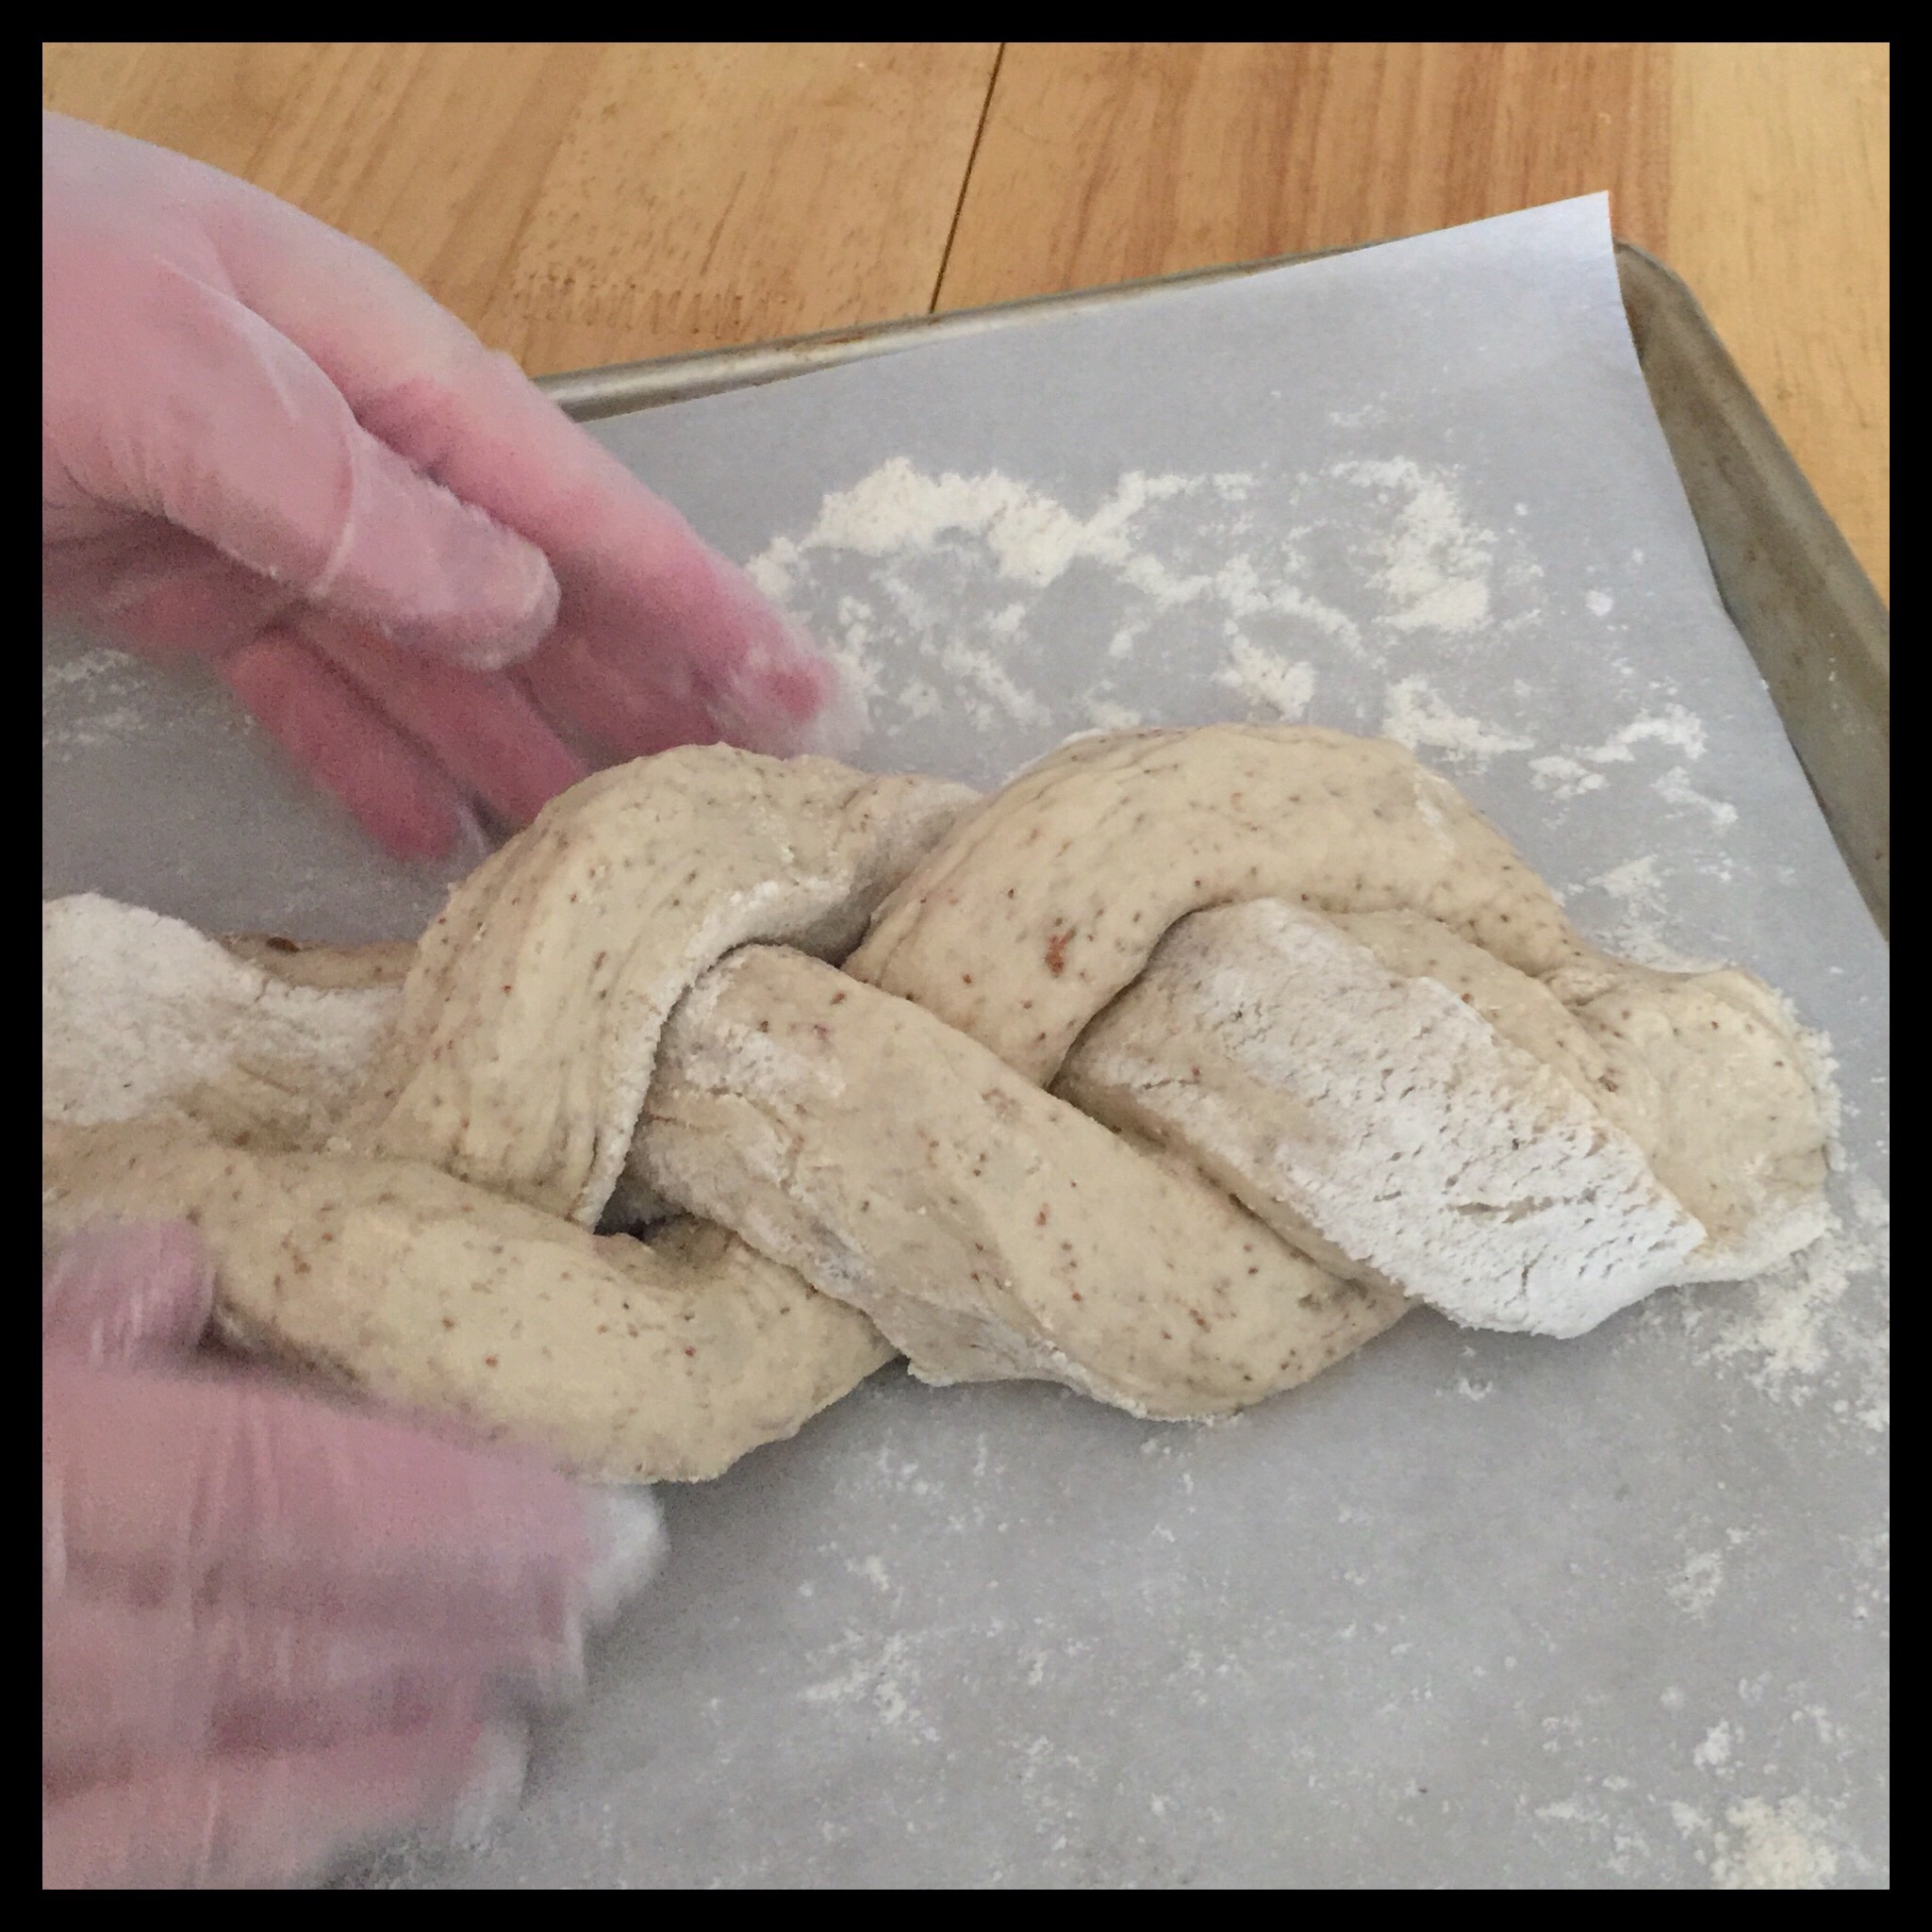
Tuck the pinched ends under the loaf as shown:
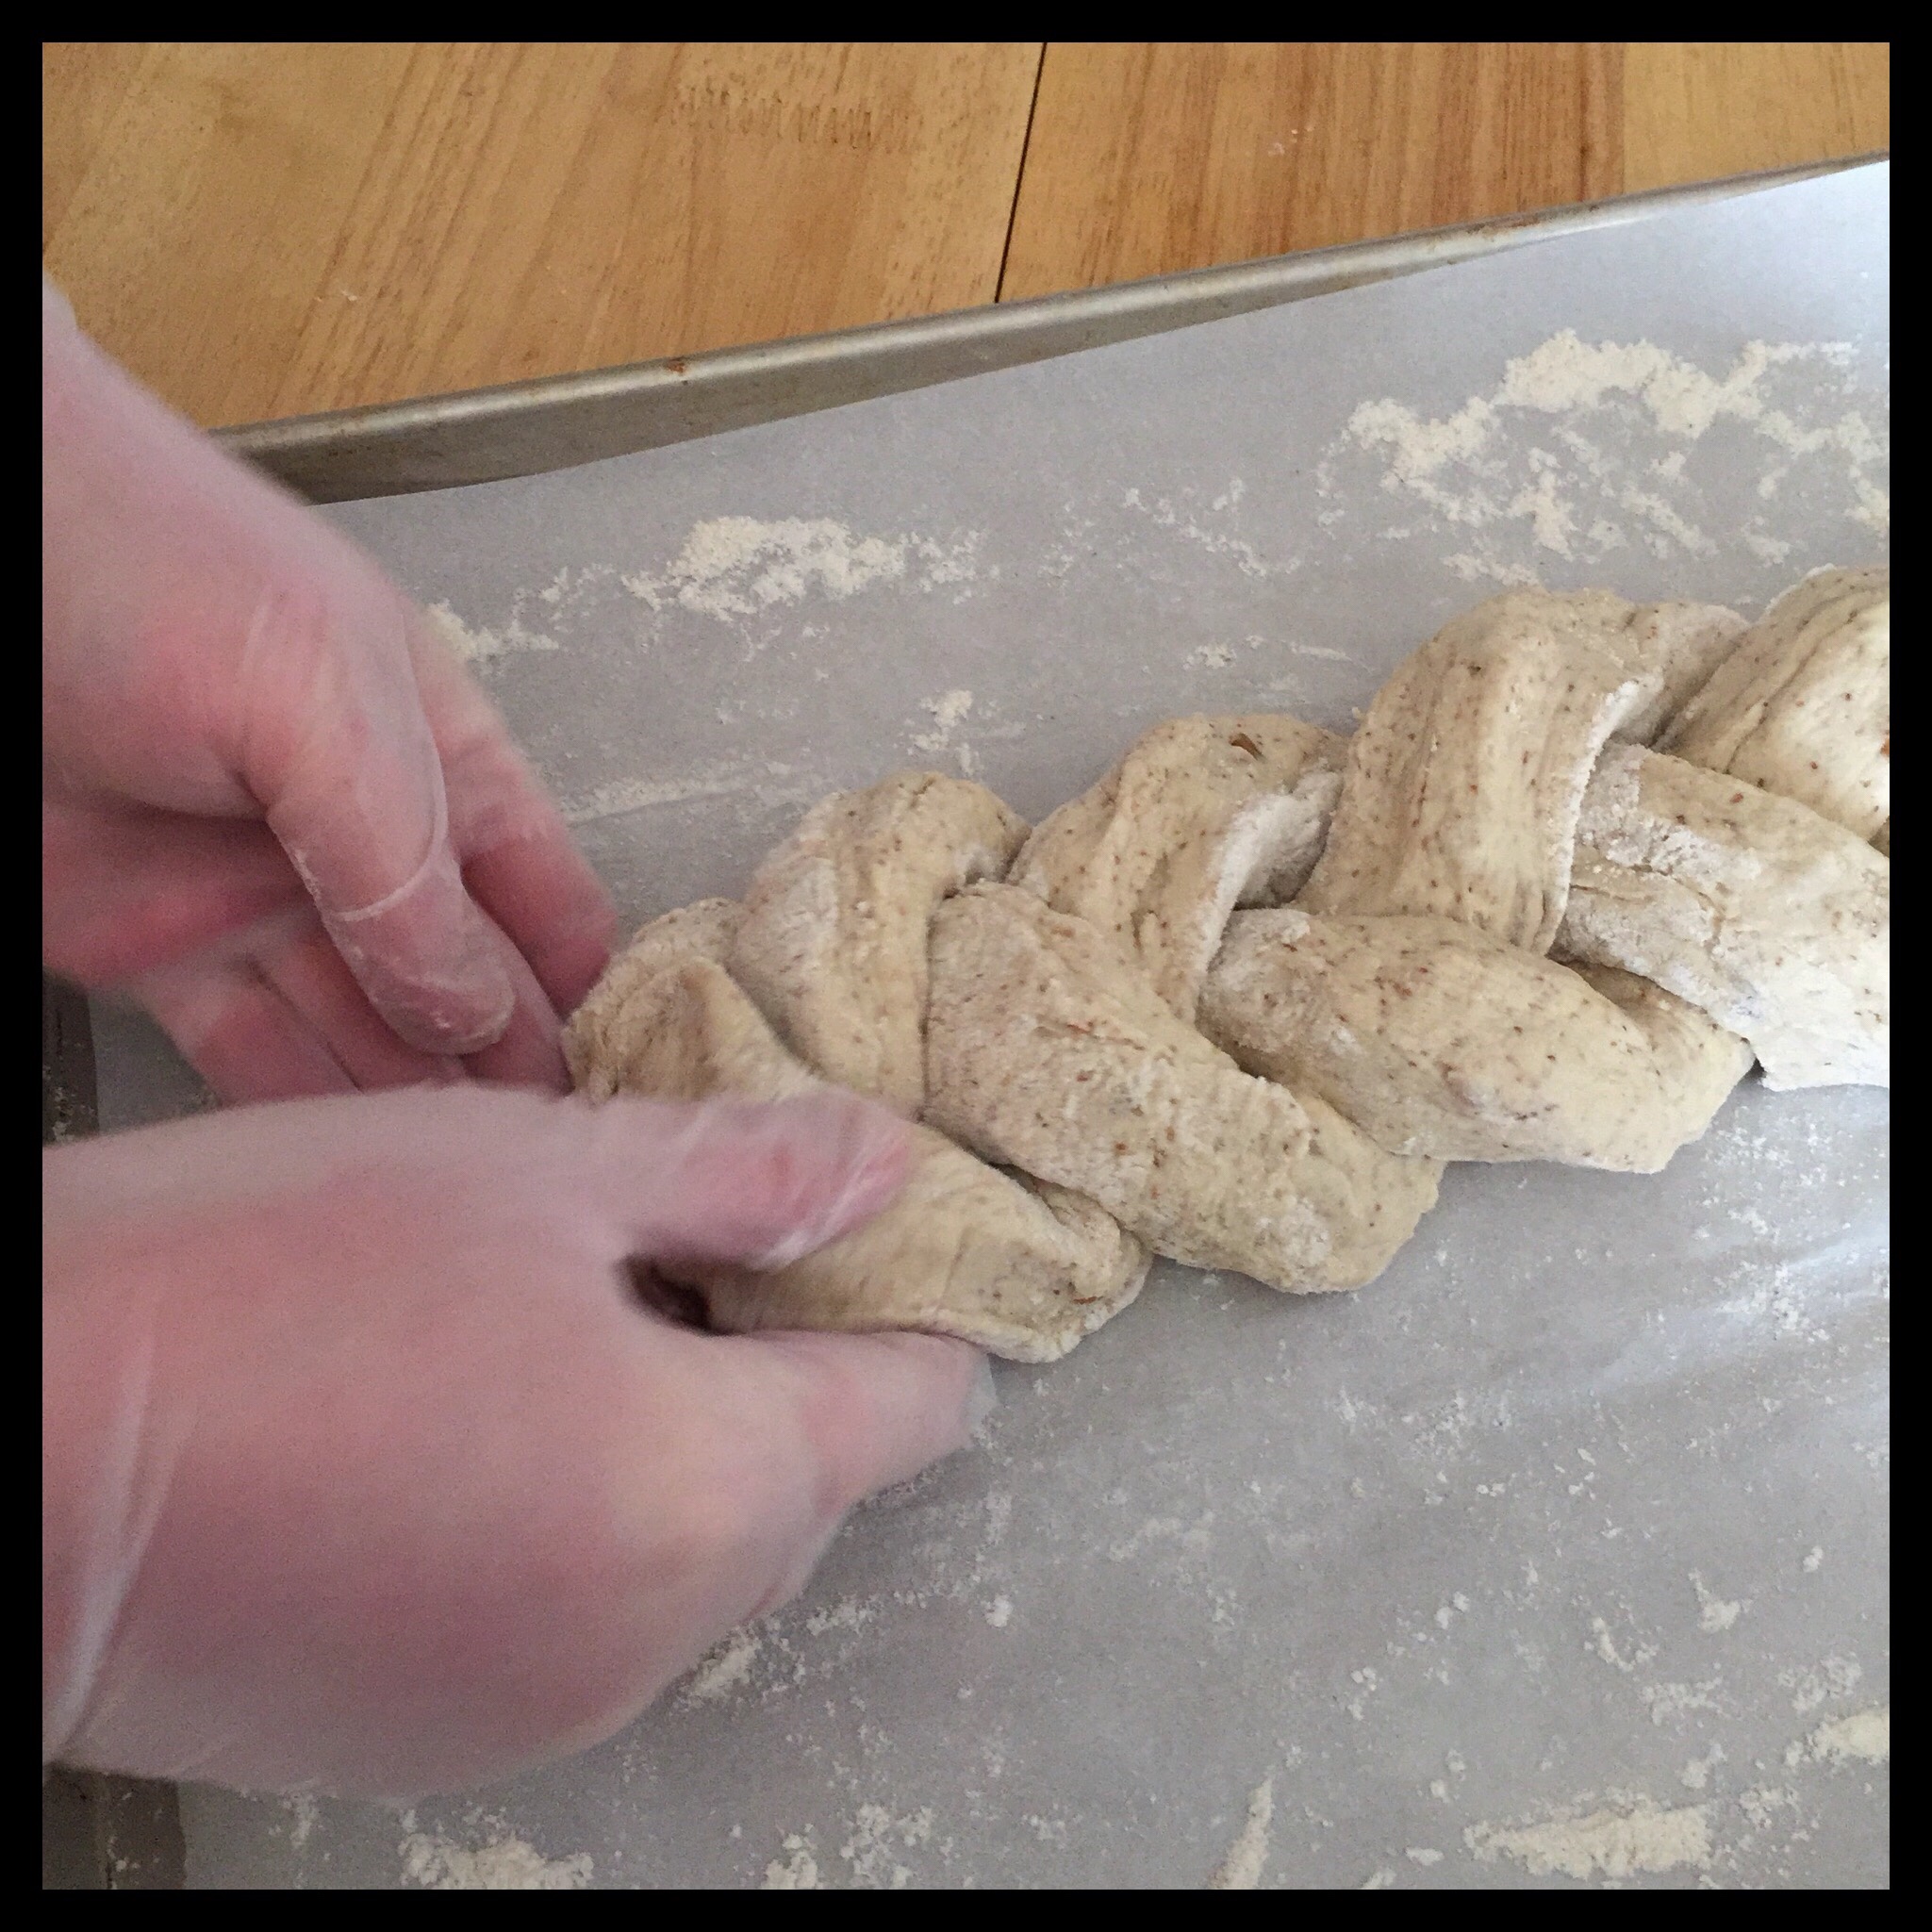
Gently press the sides and ends of the loaf to get it into an even shape along the entire loaf:
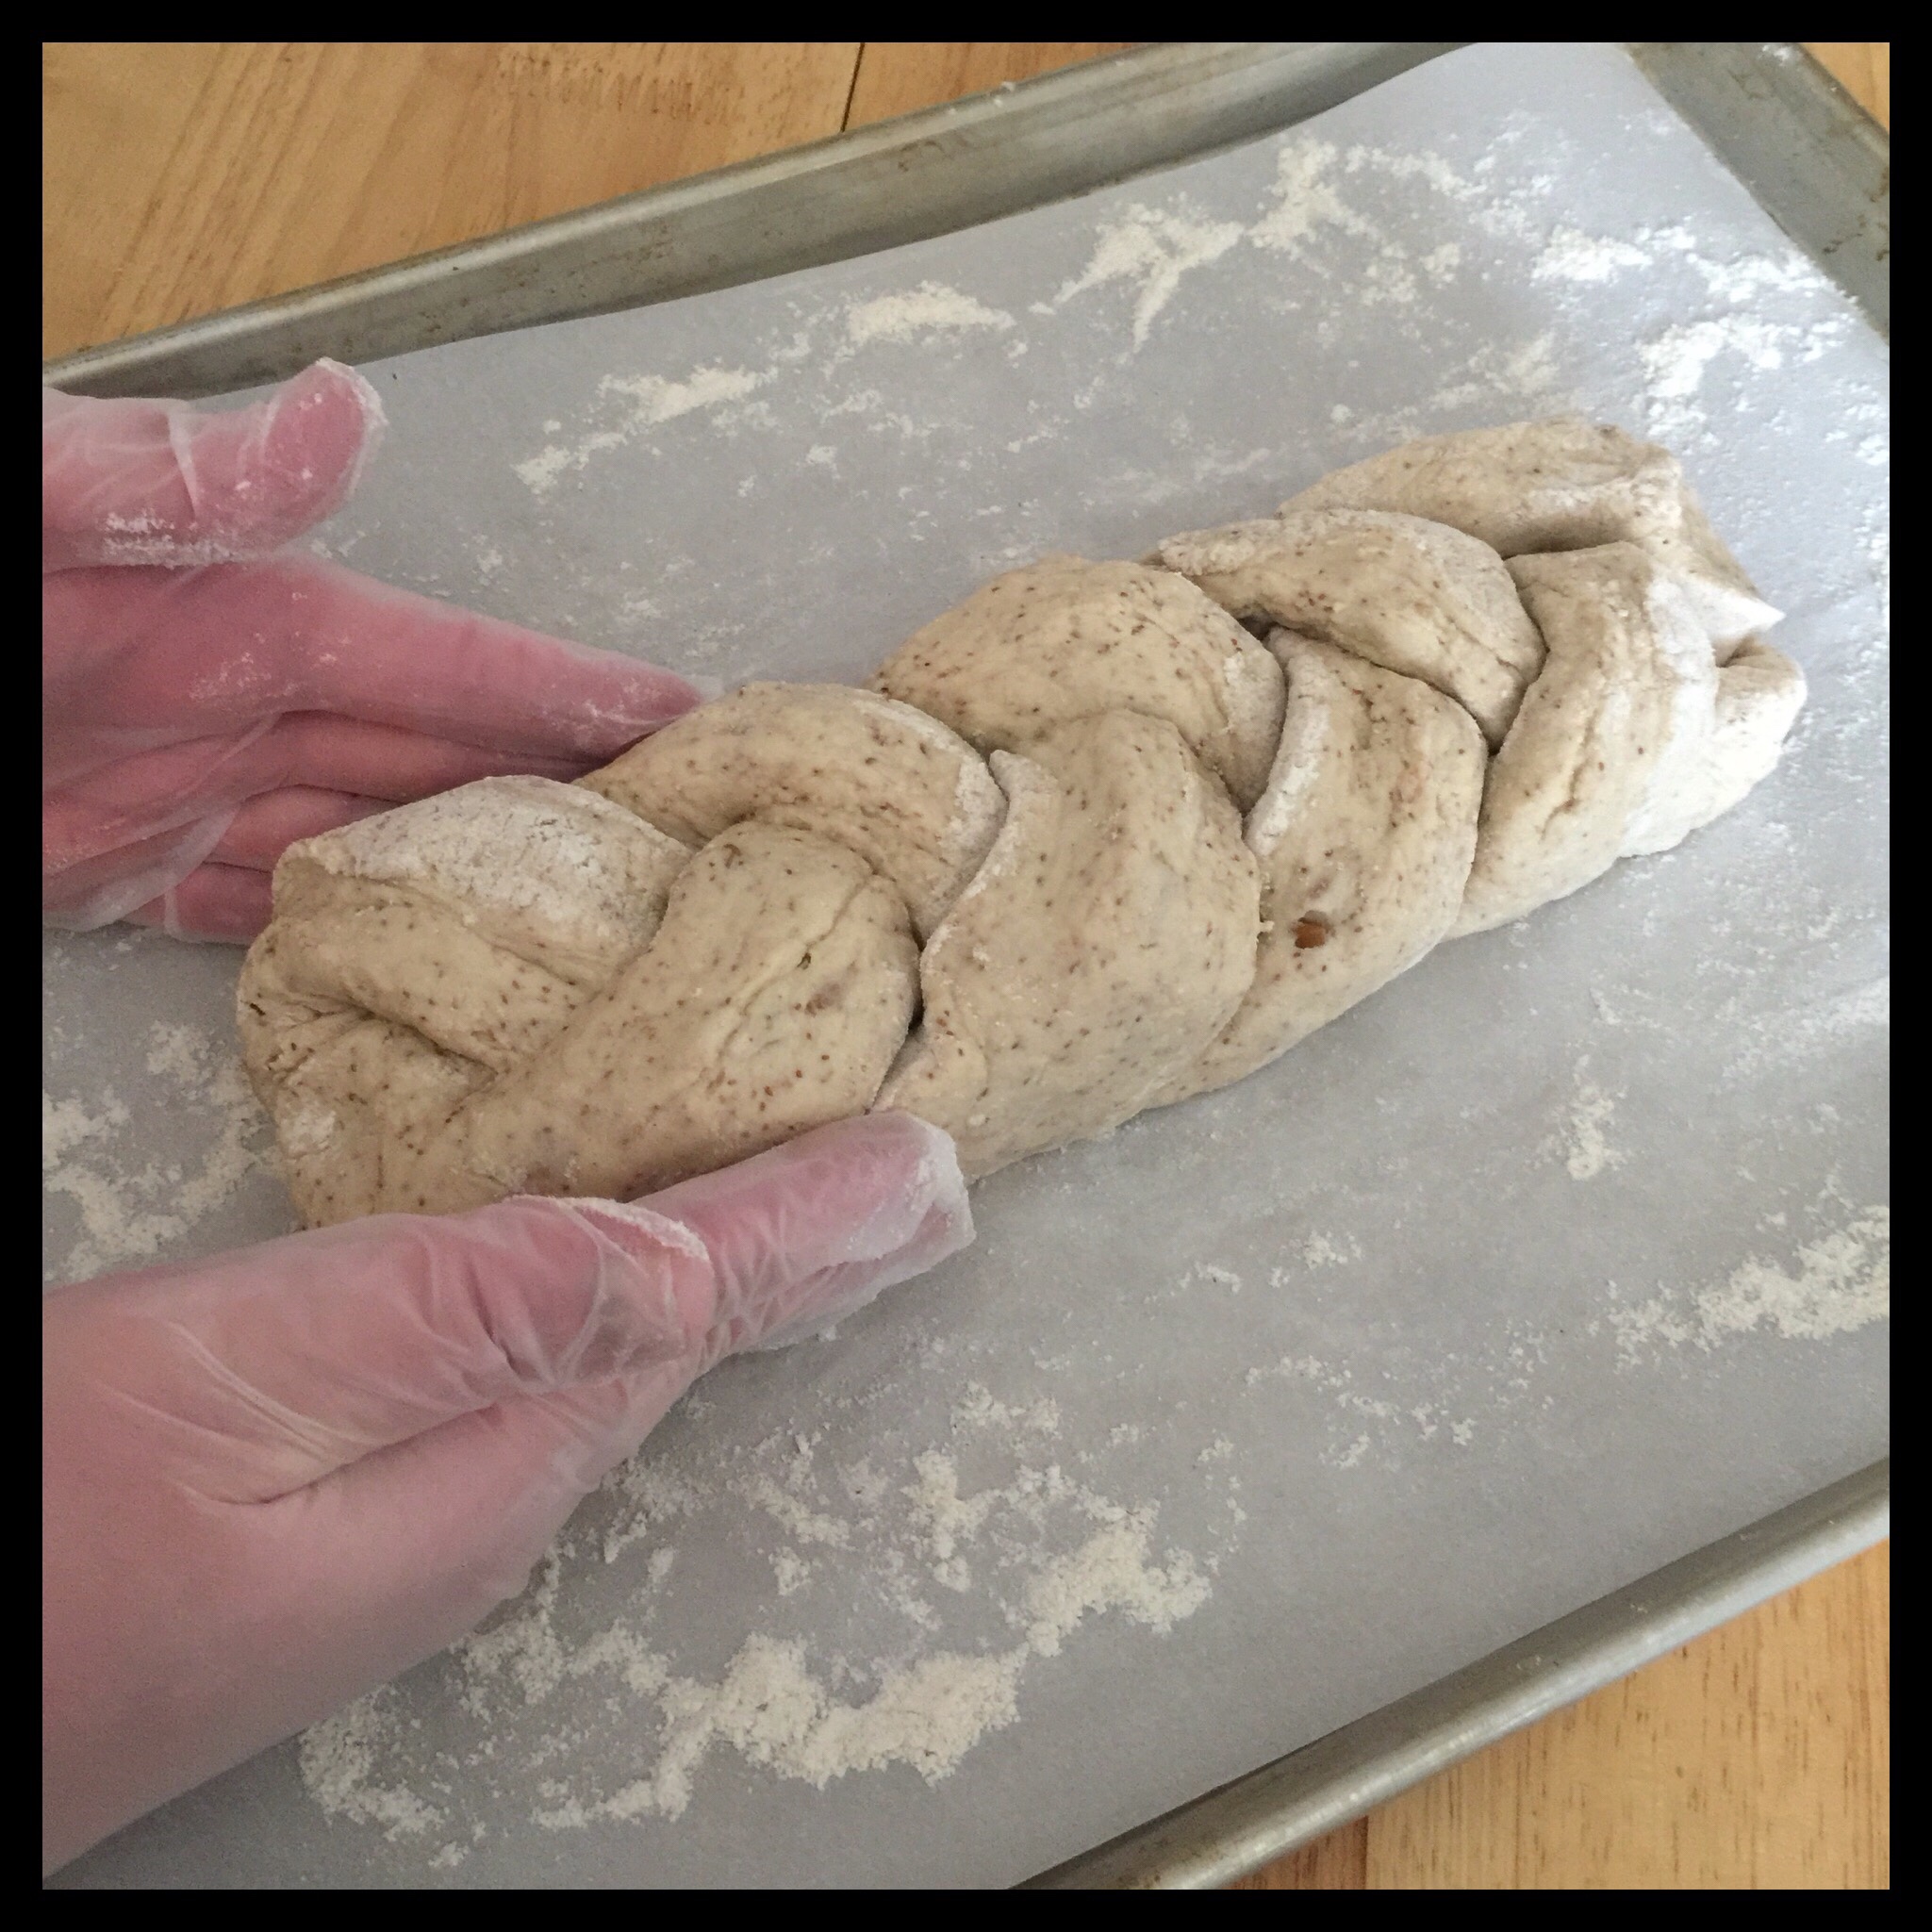
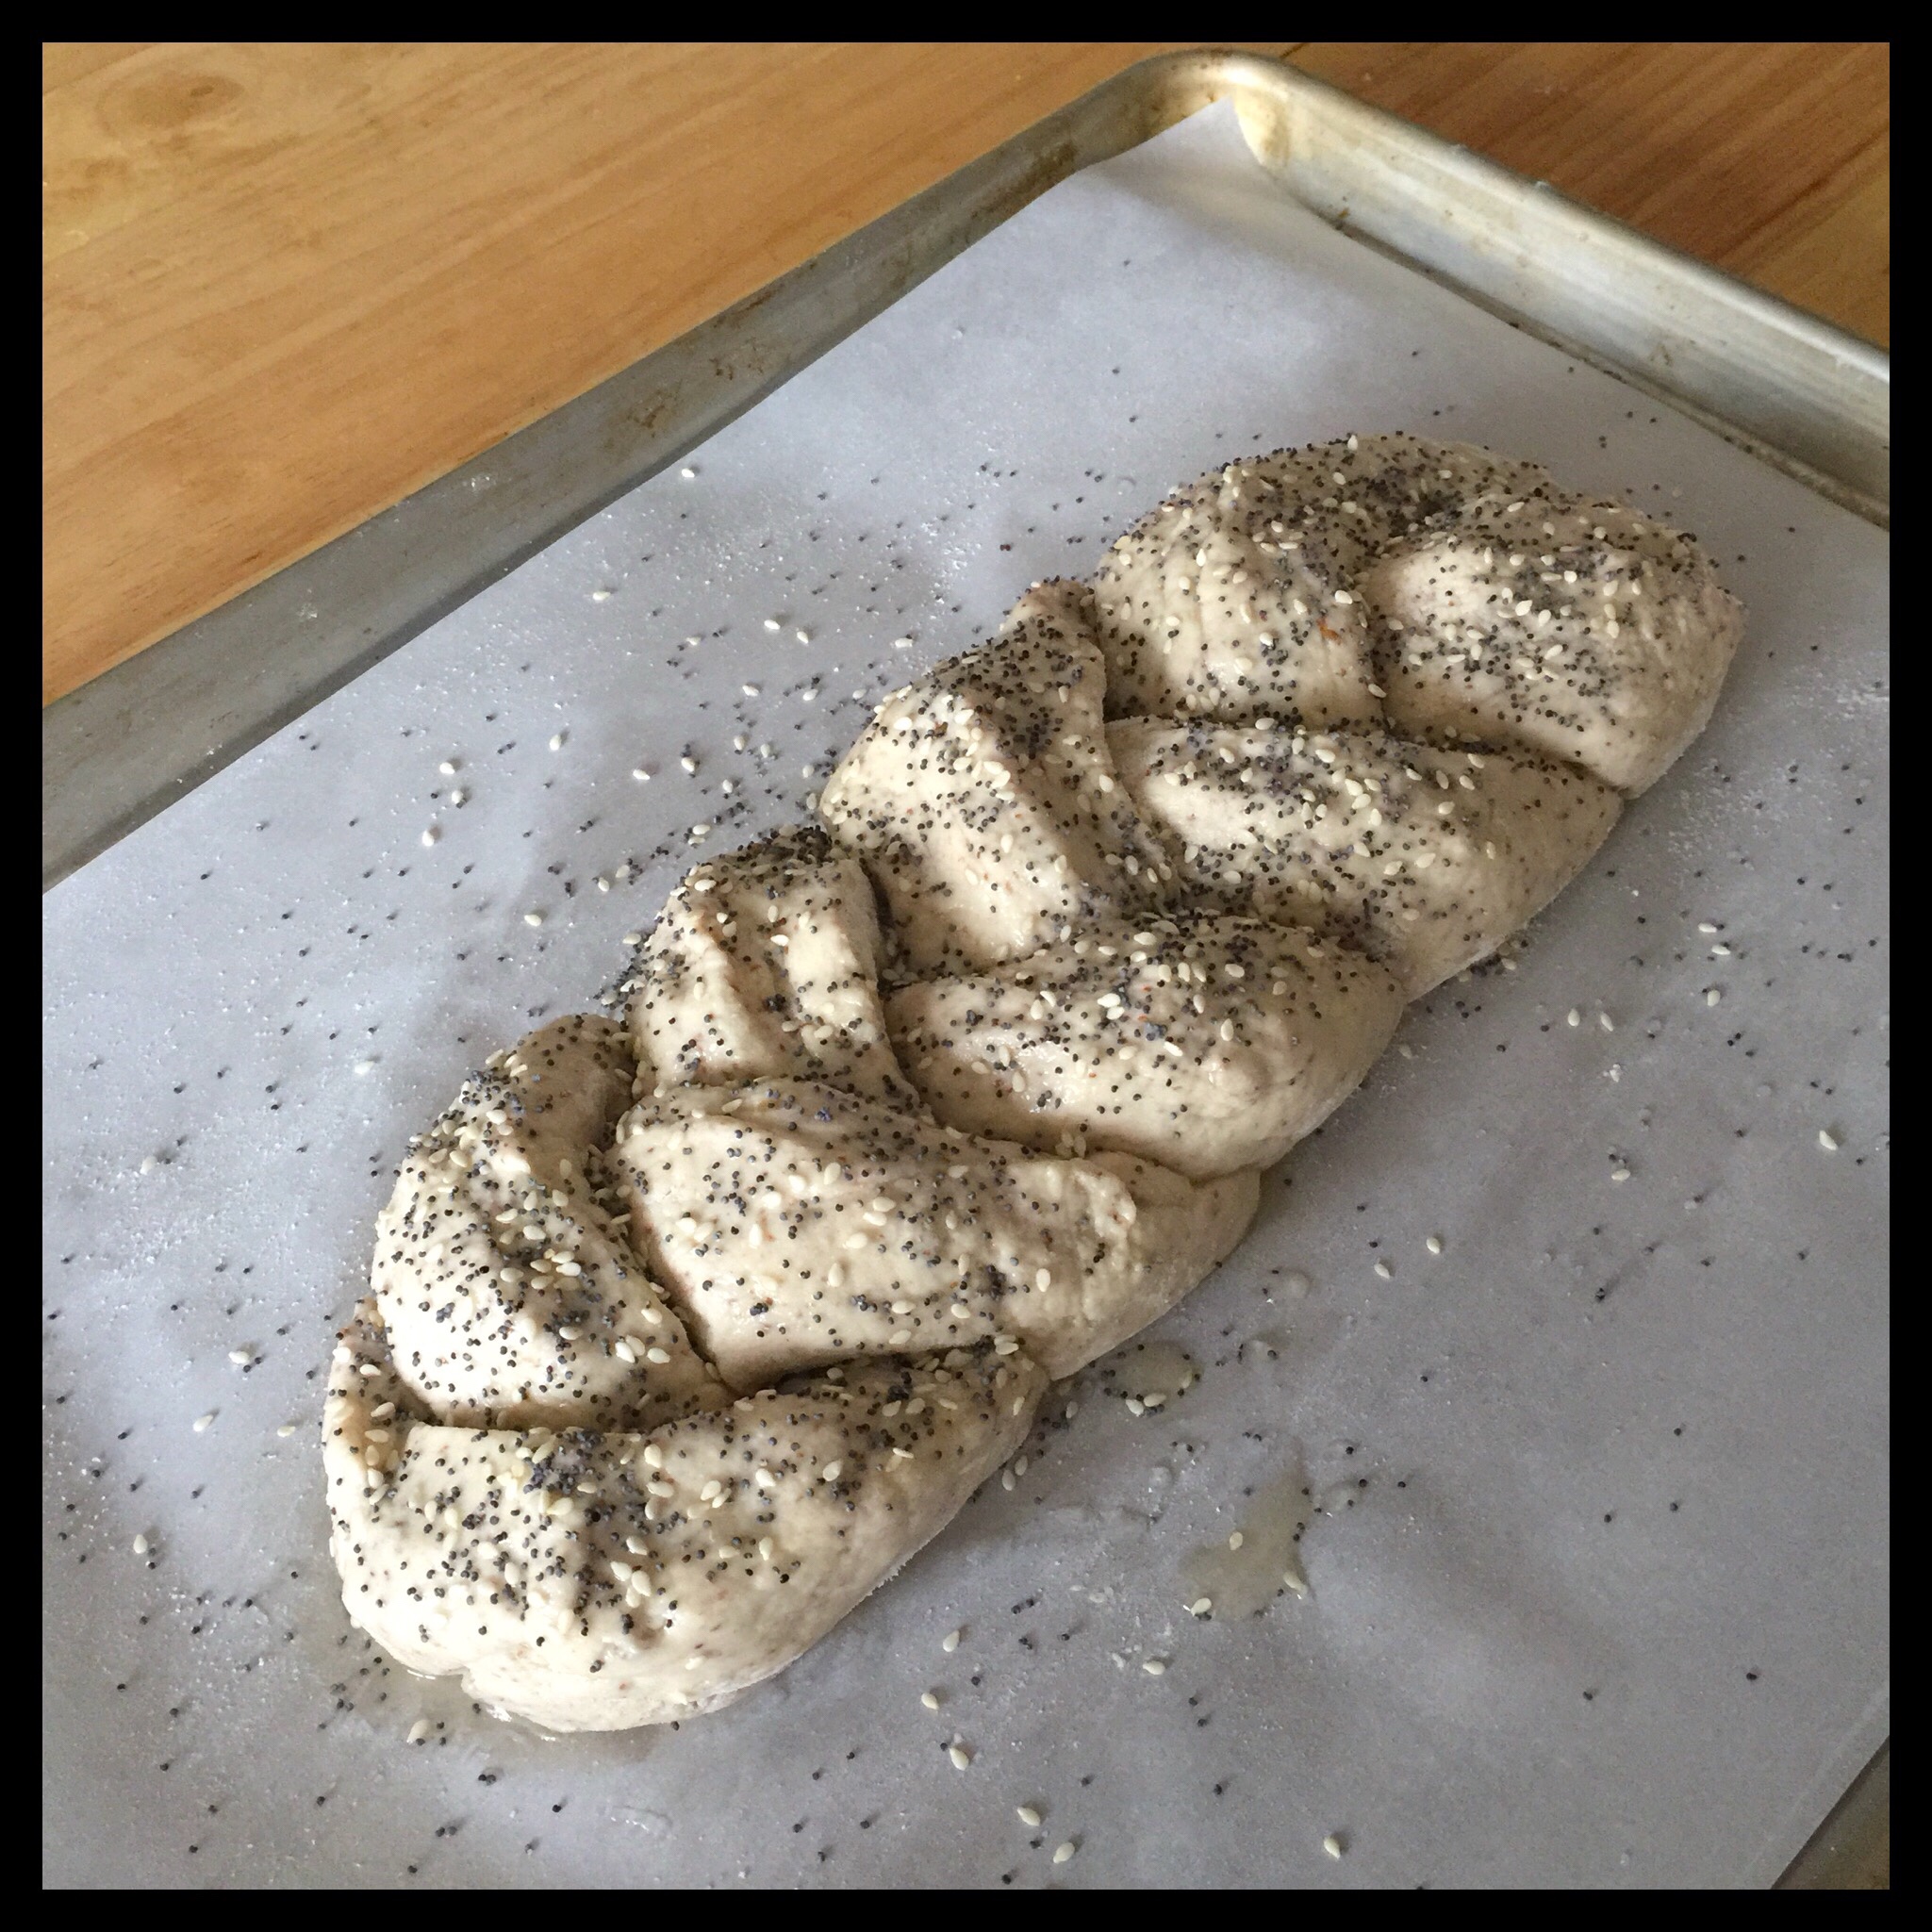
Brush the excess flour off the pan:

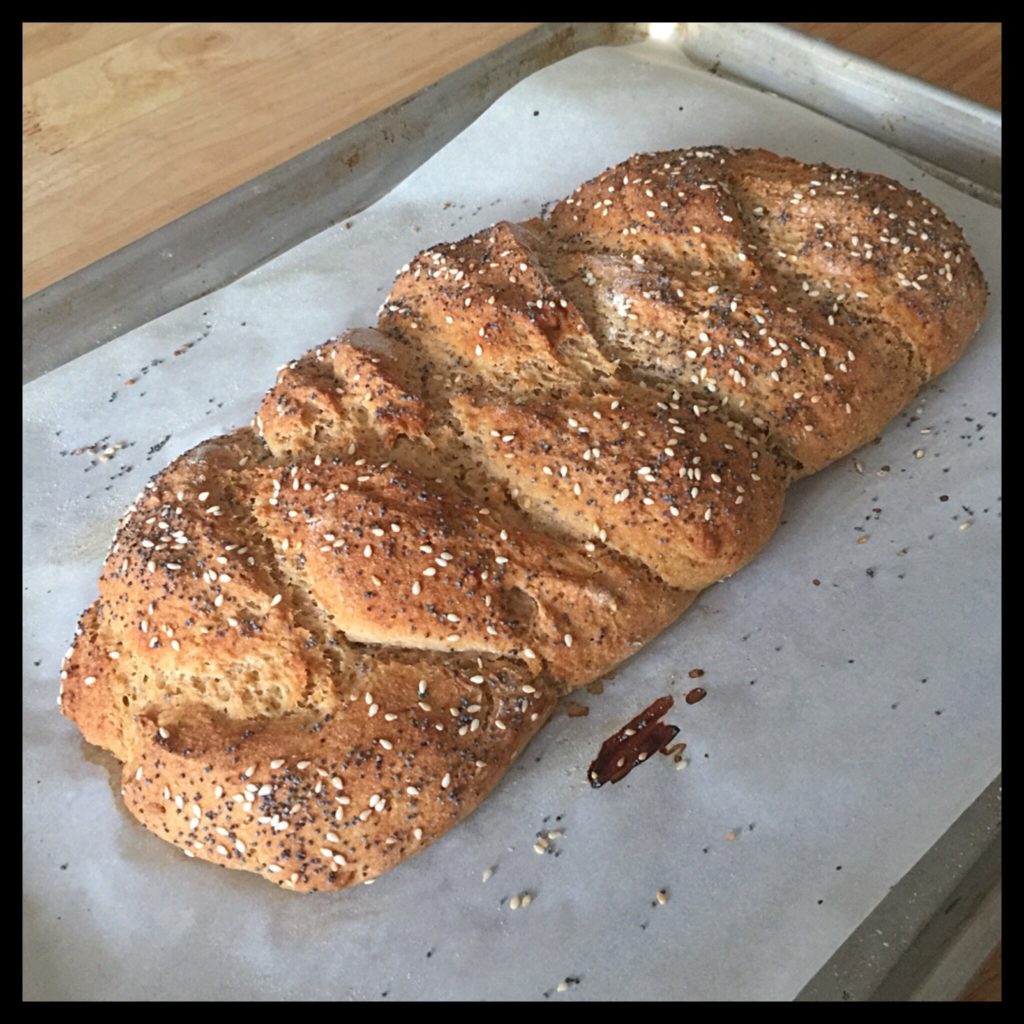
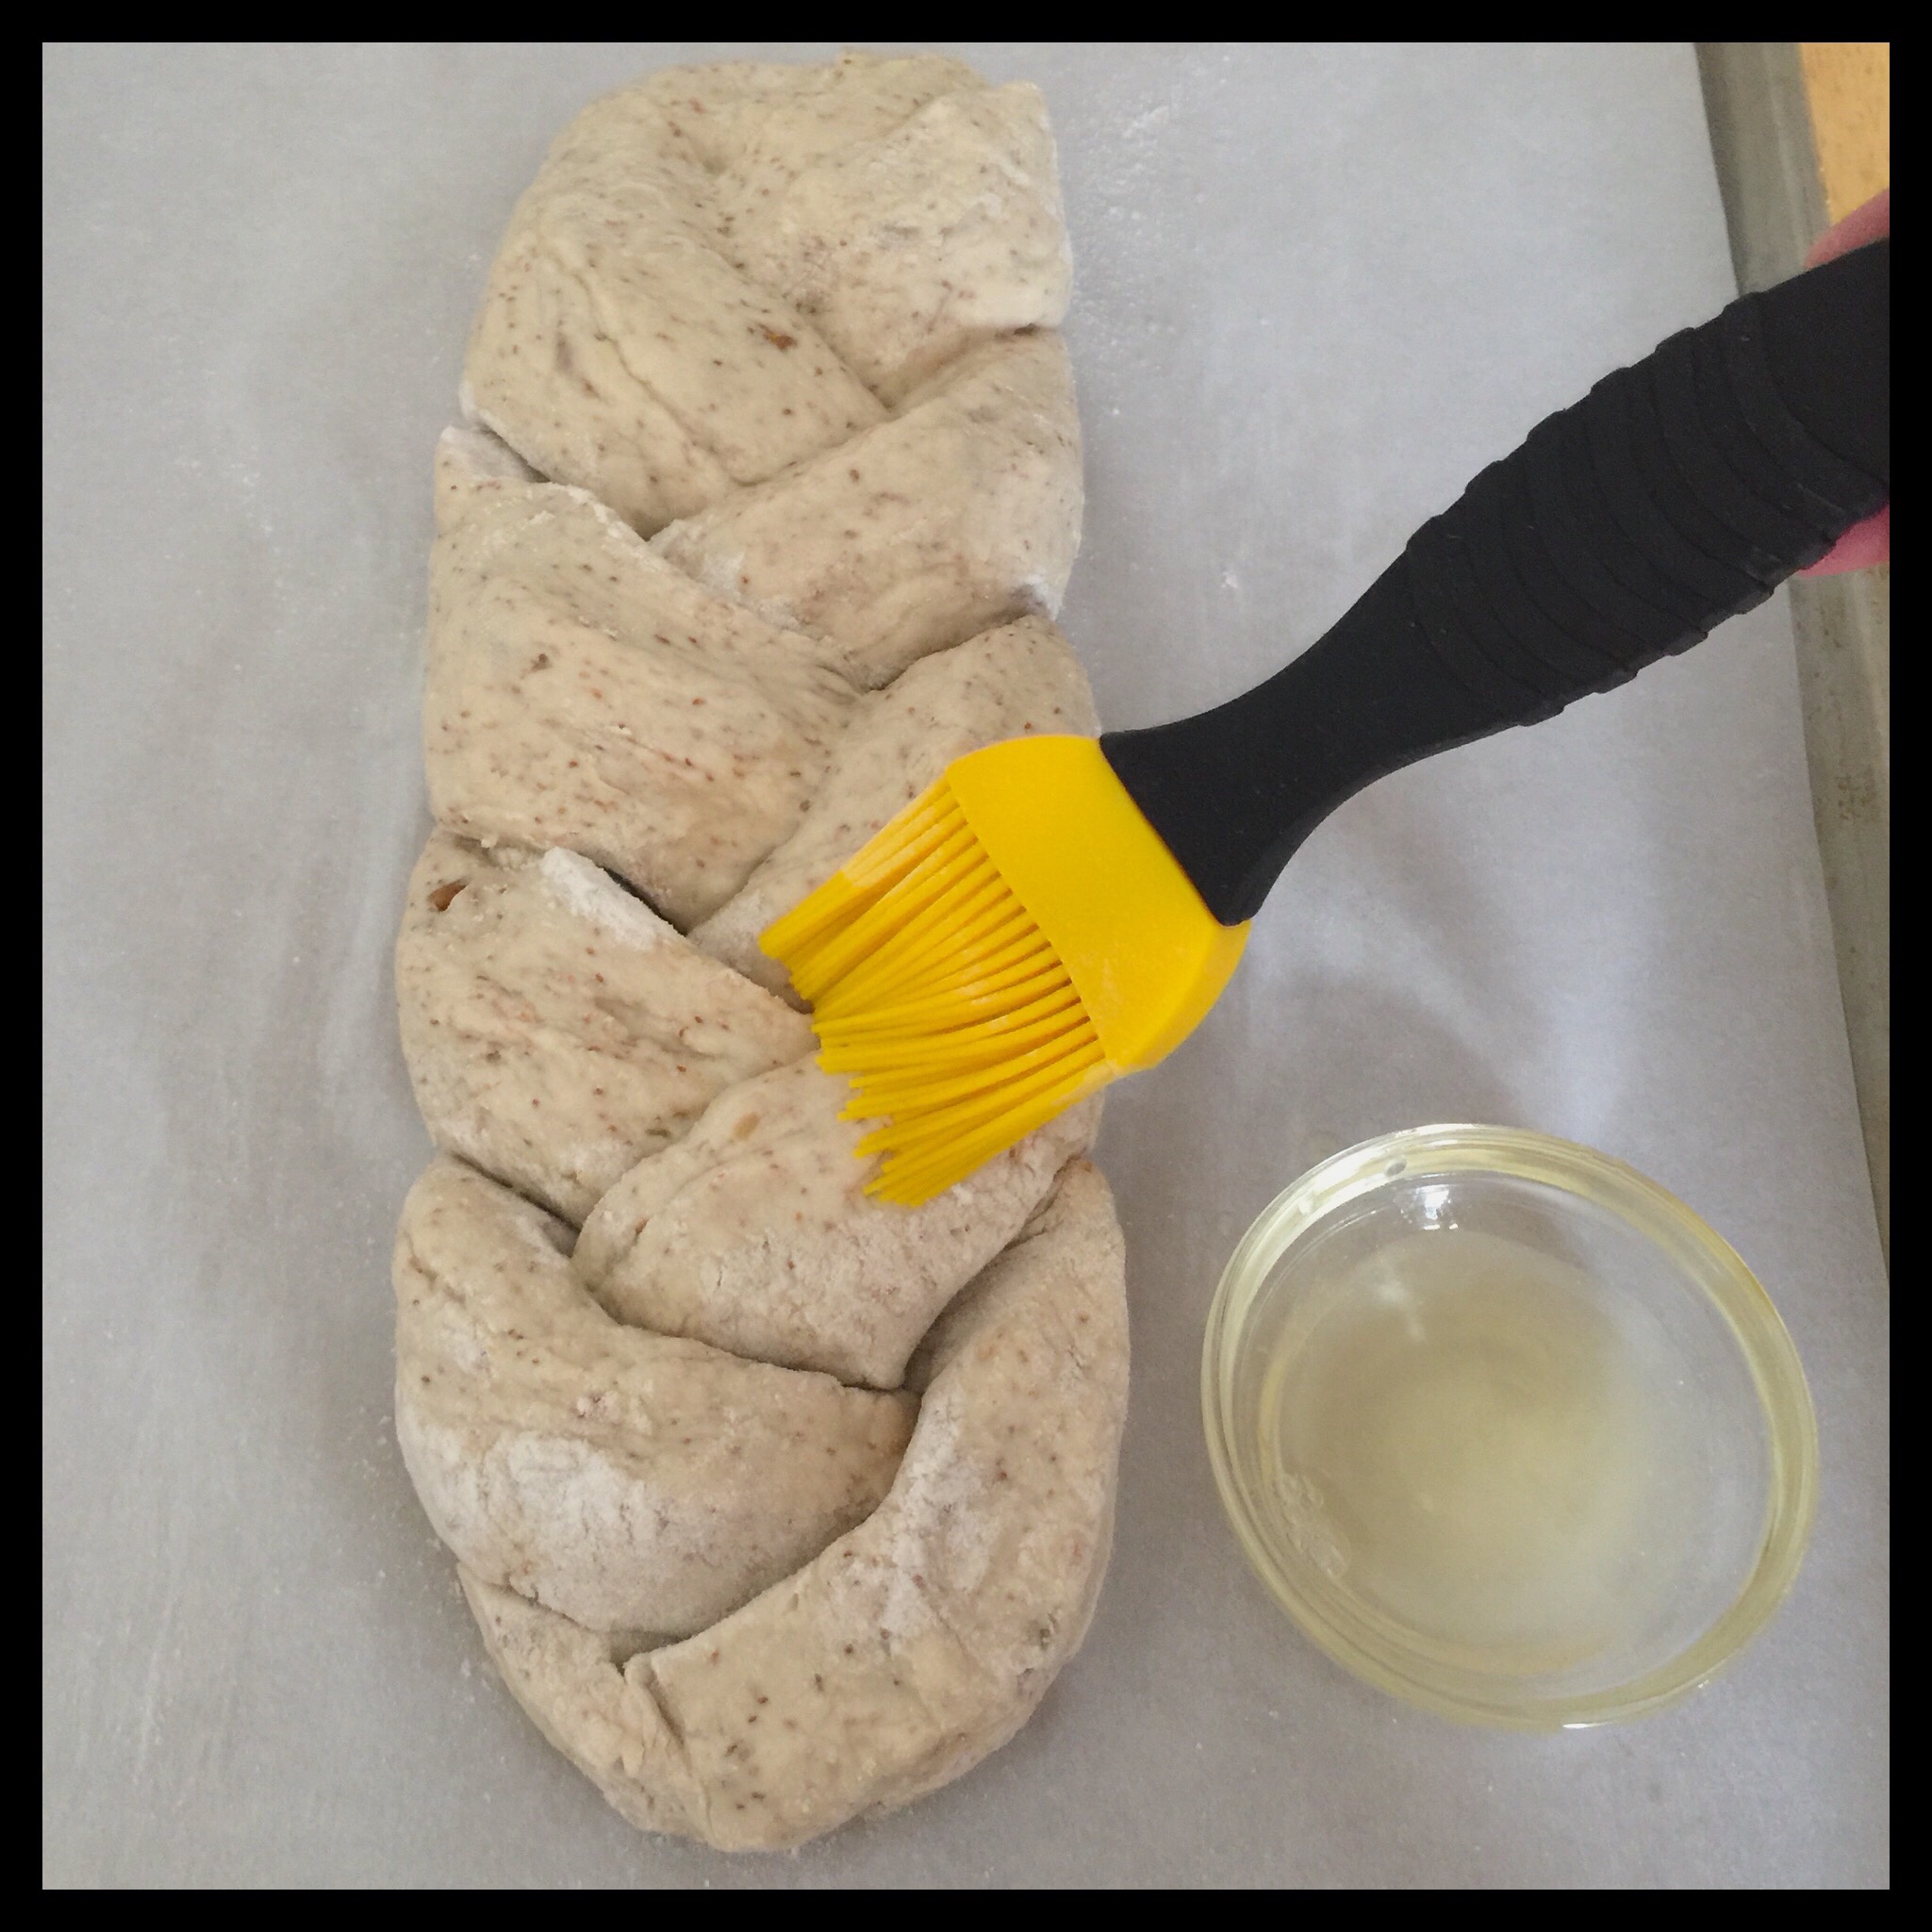
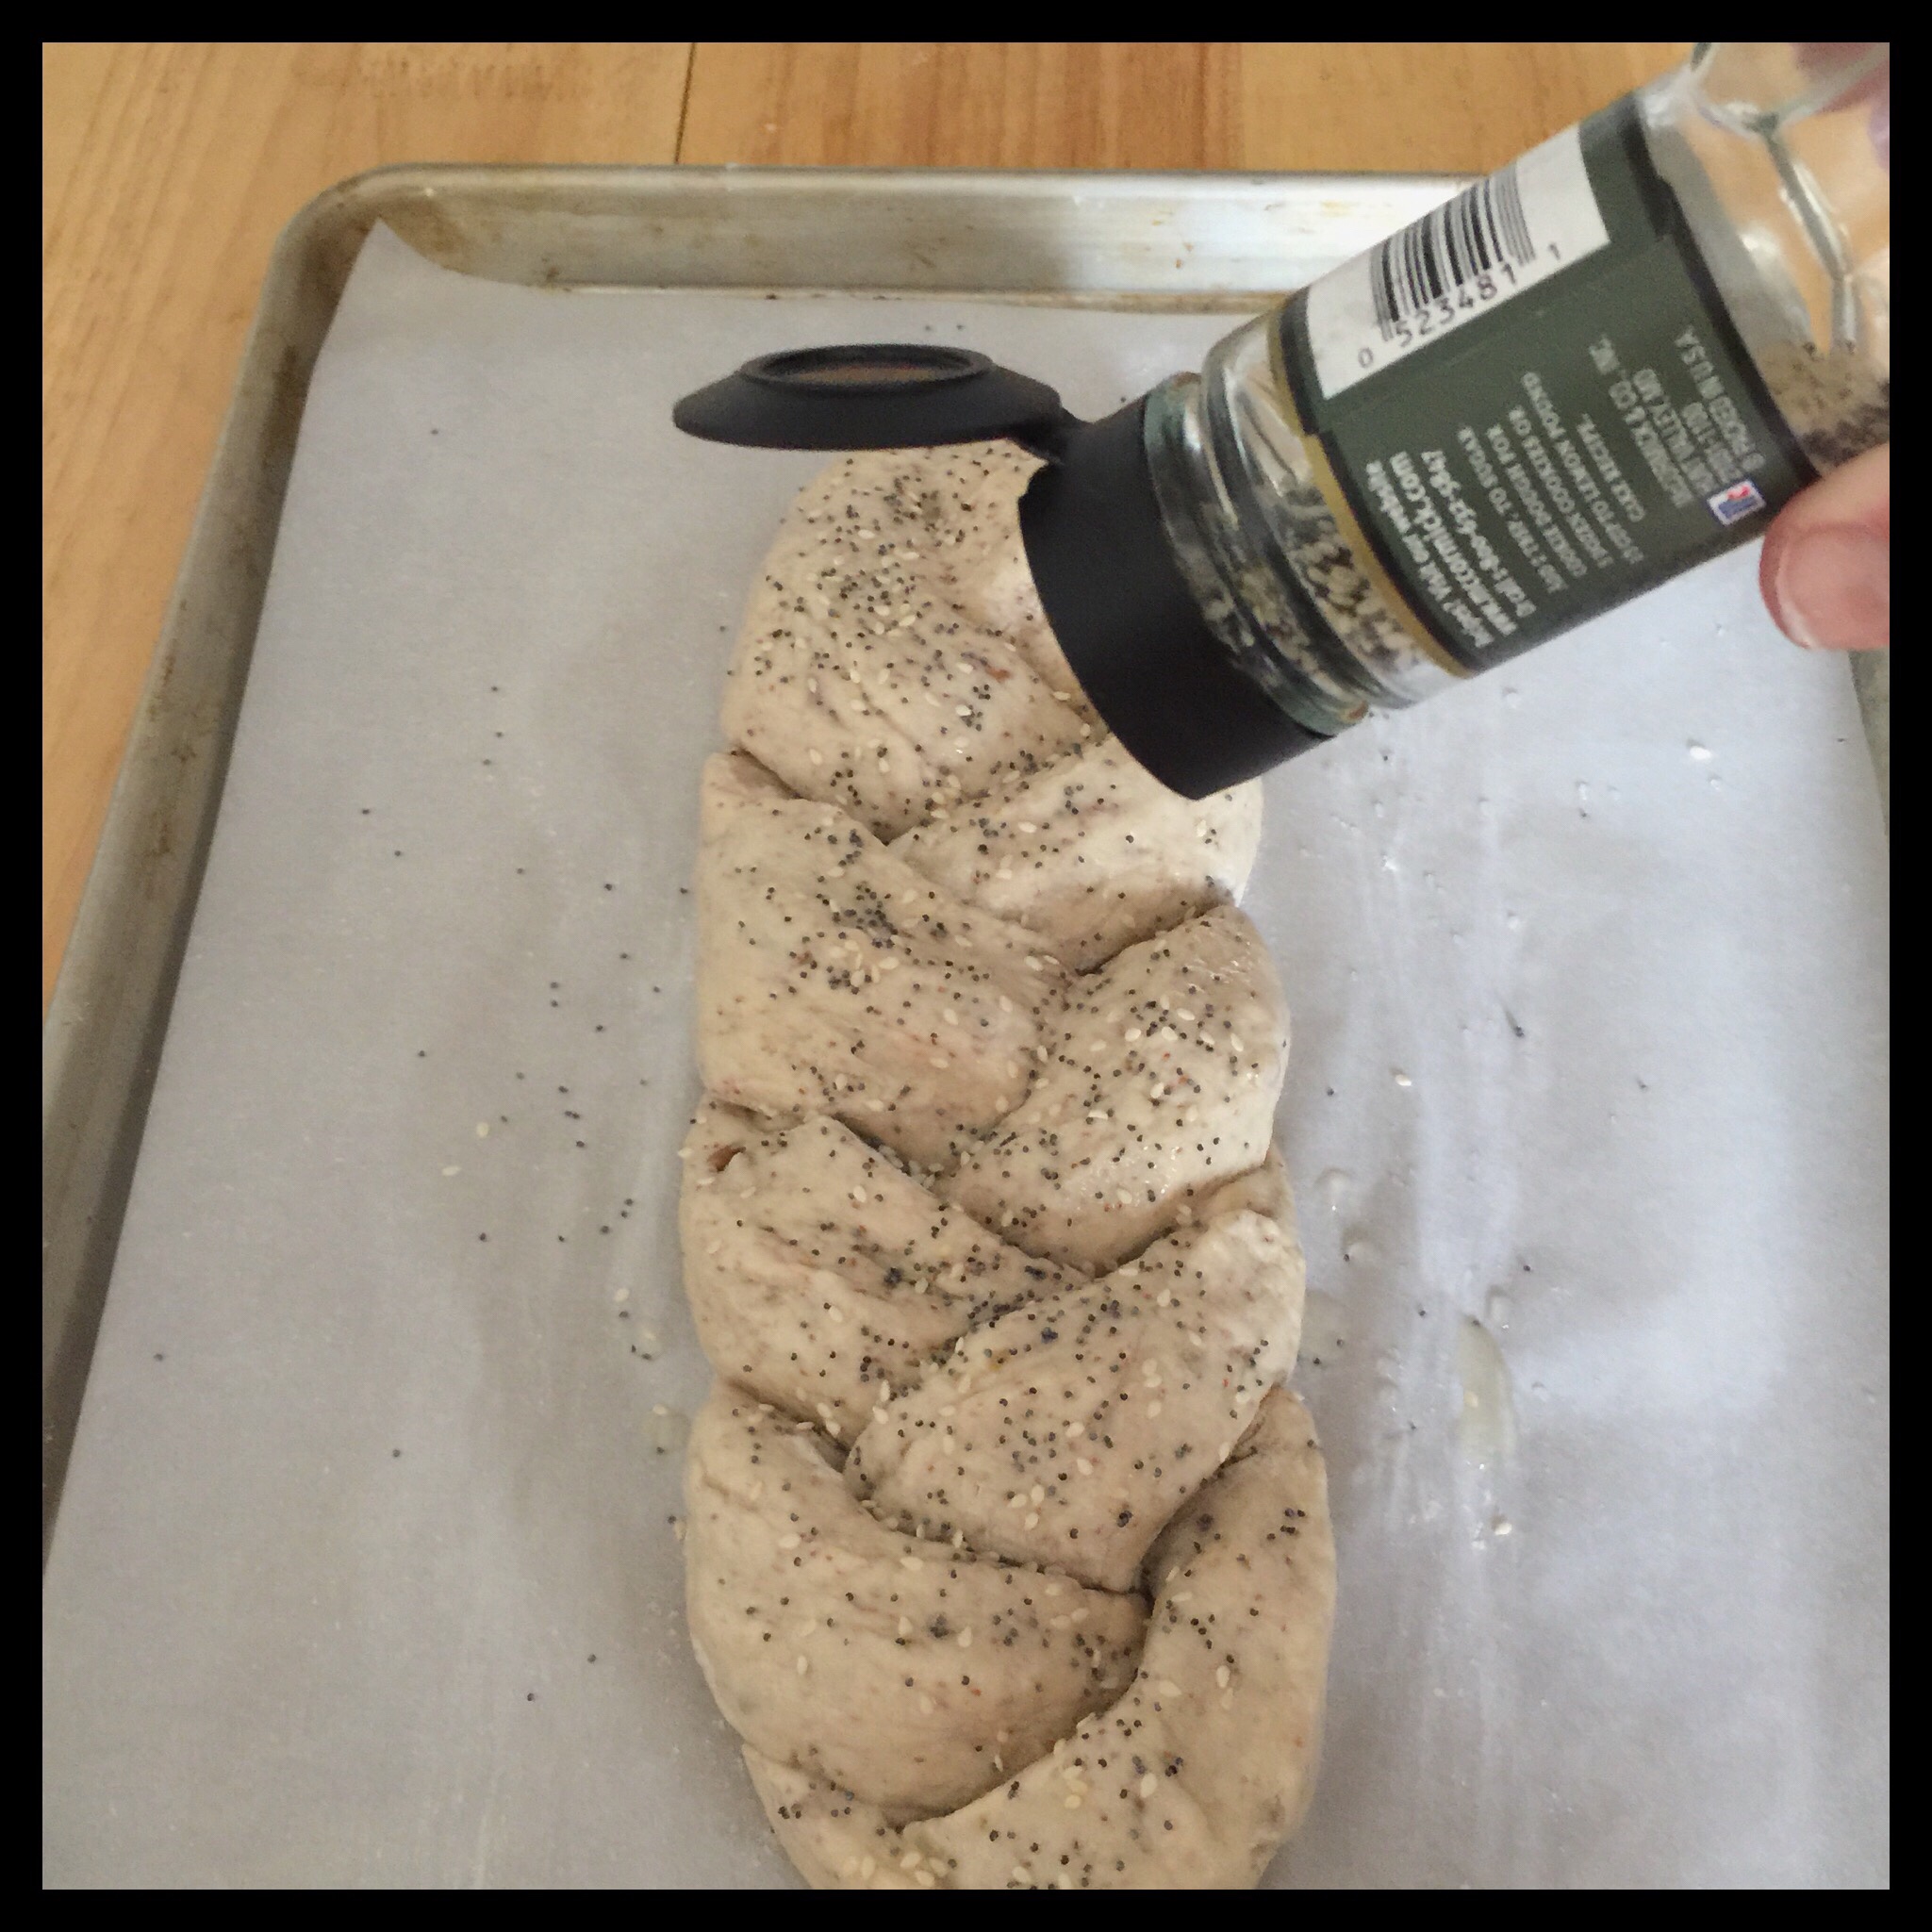
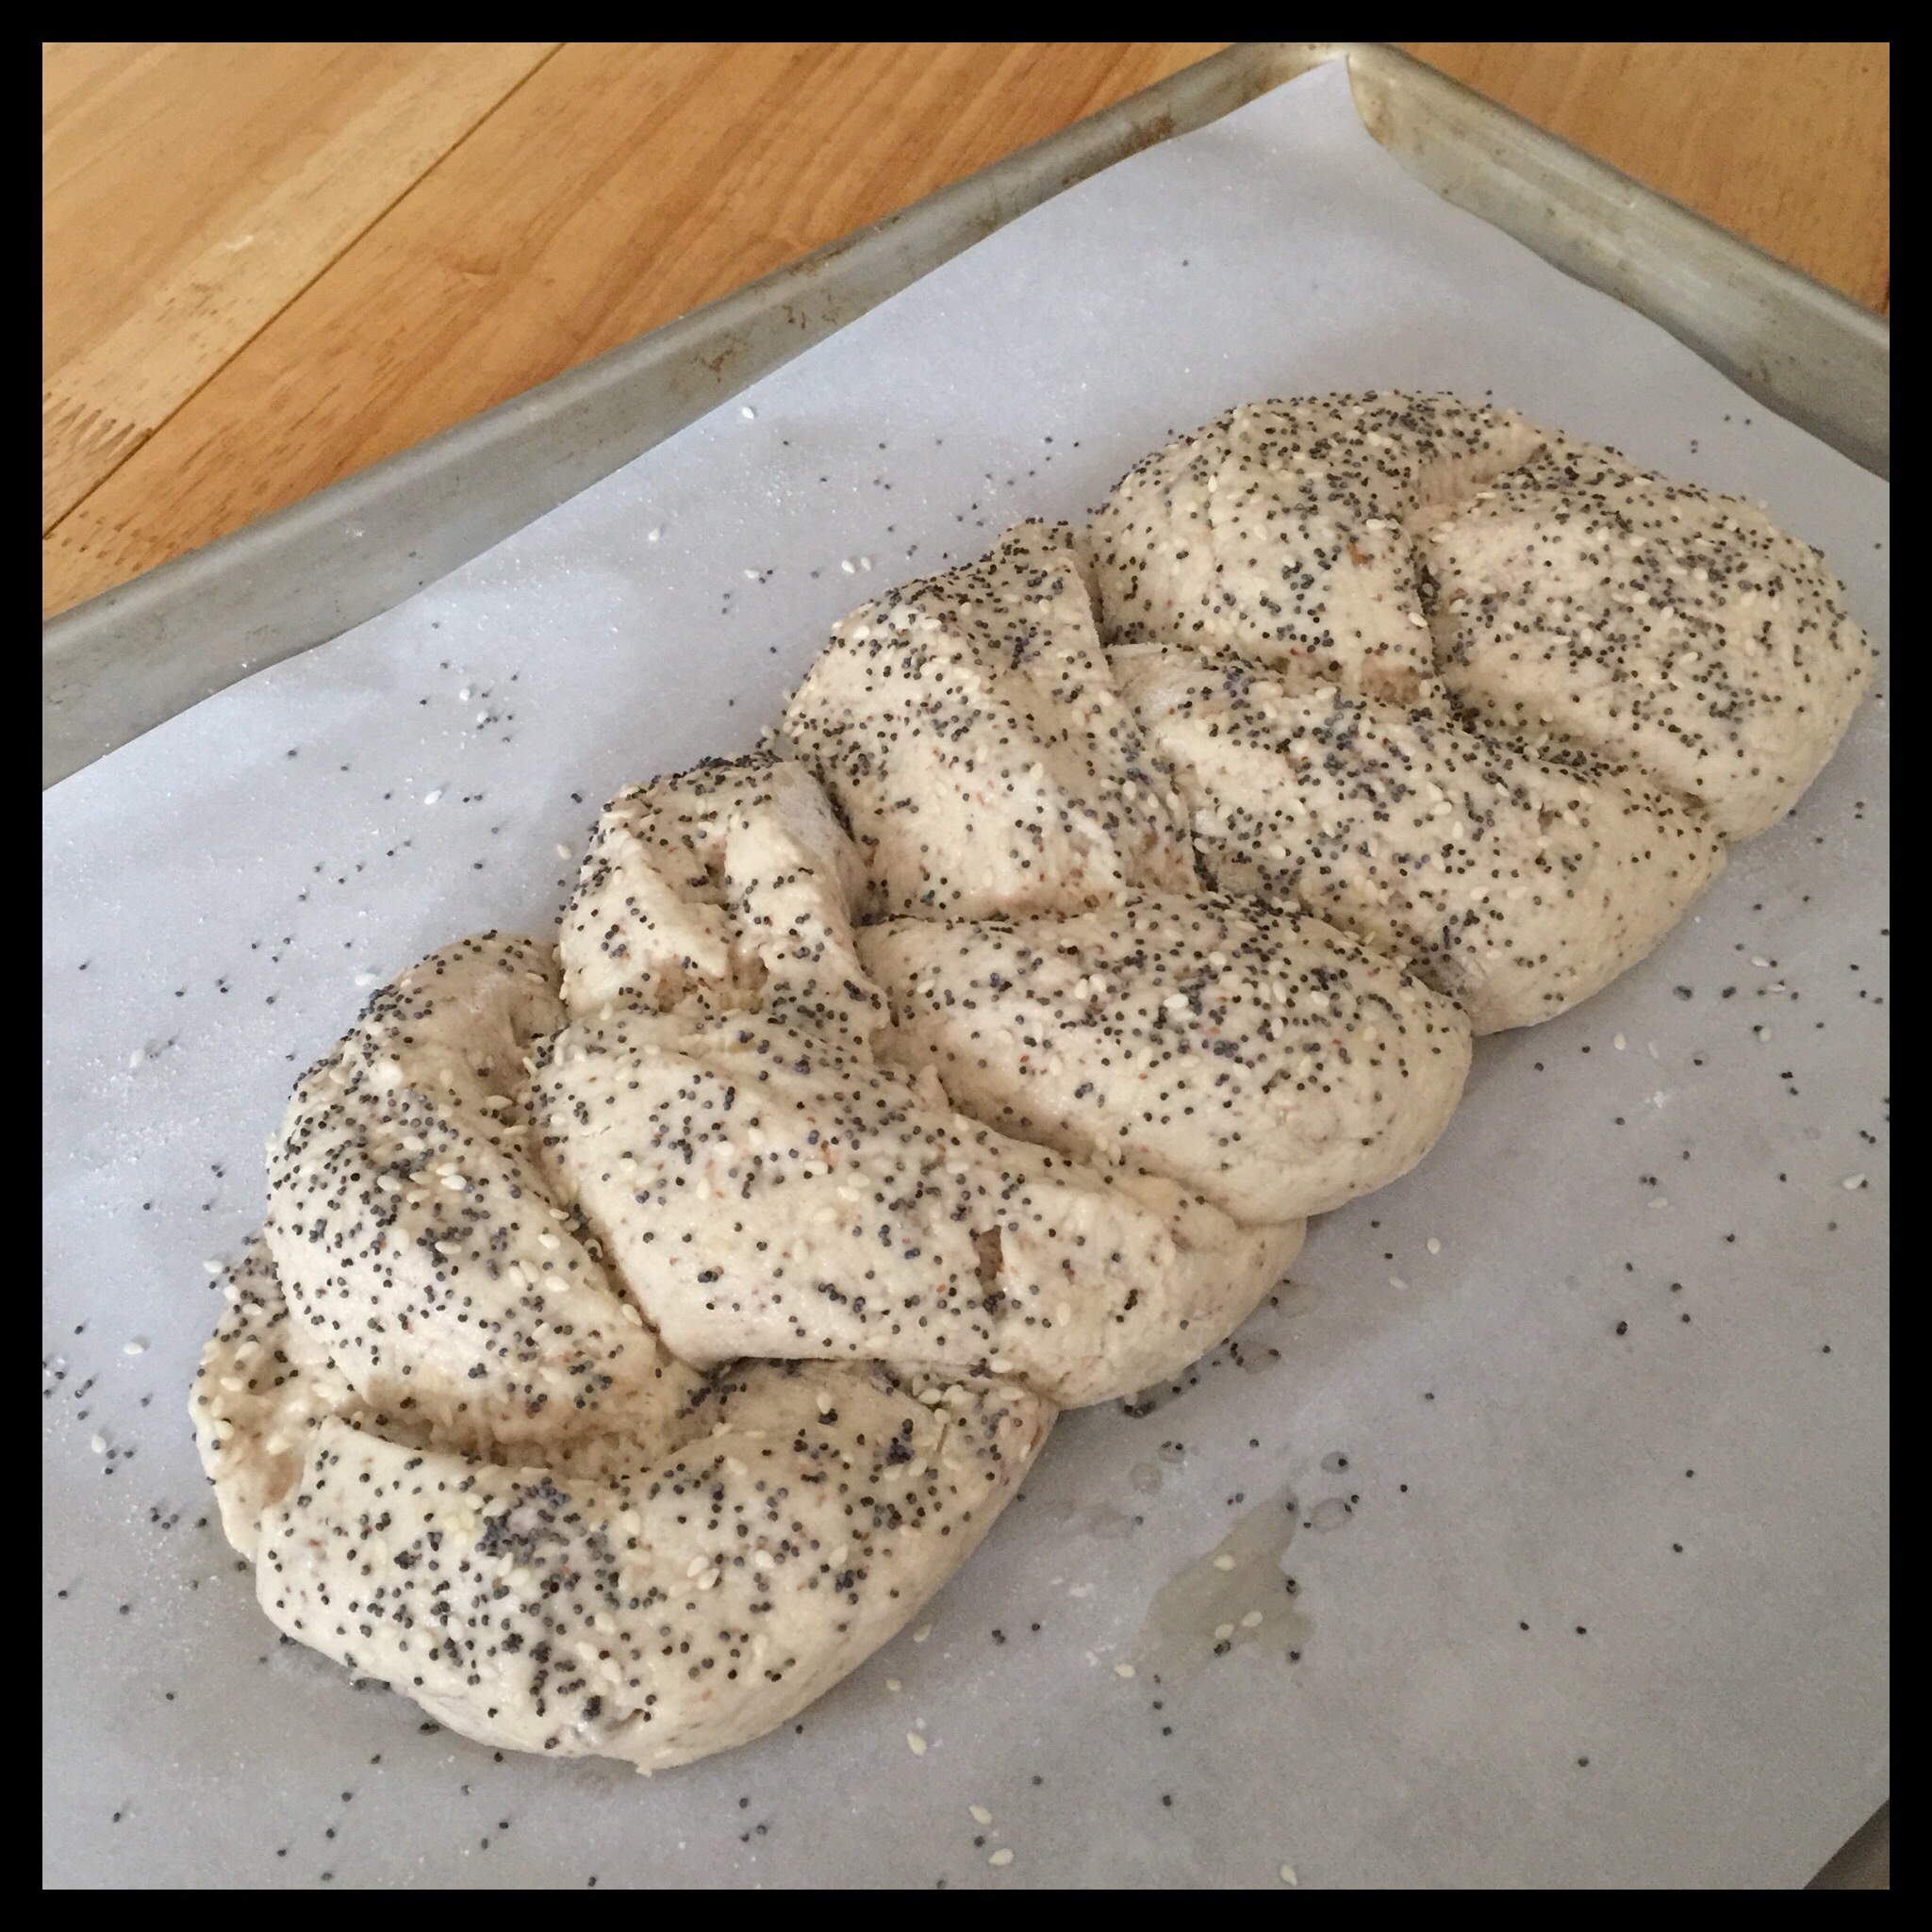
If you want to add seeds to the top, gently brush the loaf with aquafaba (the liquid from a can of garbanzo beans), then sprinkle with the seeds of your choice. I used a mixture of poppy and sesame seeds. You can also brush the loaf with aquafaba even if you don’t want to add seeds, and this will help to develop a deeper color on the crust.
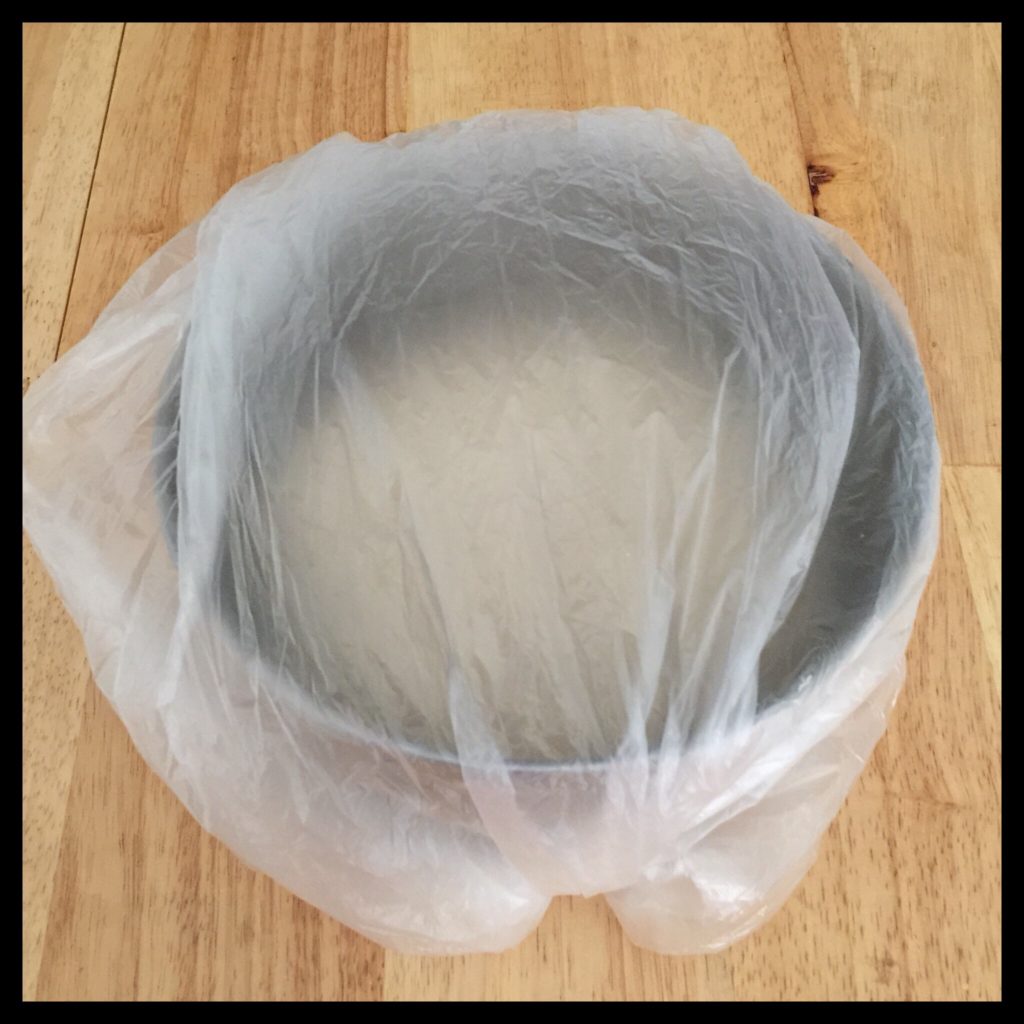
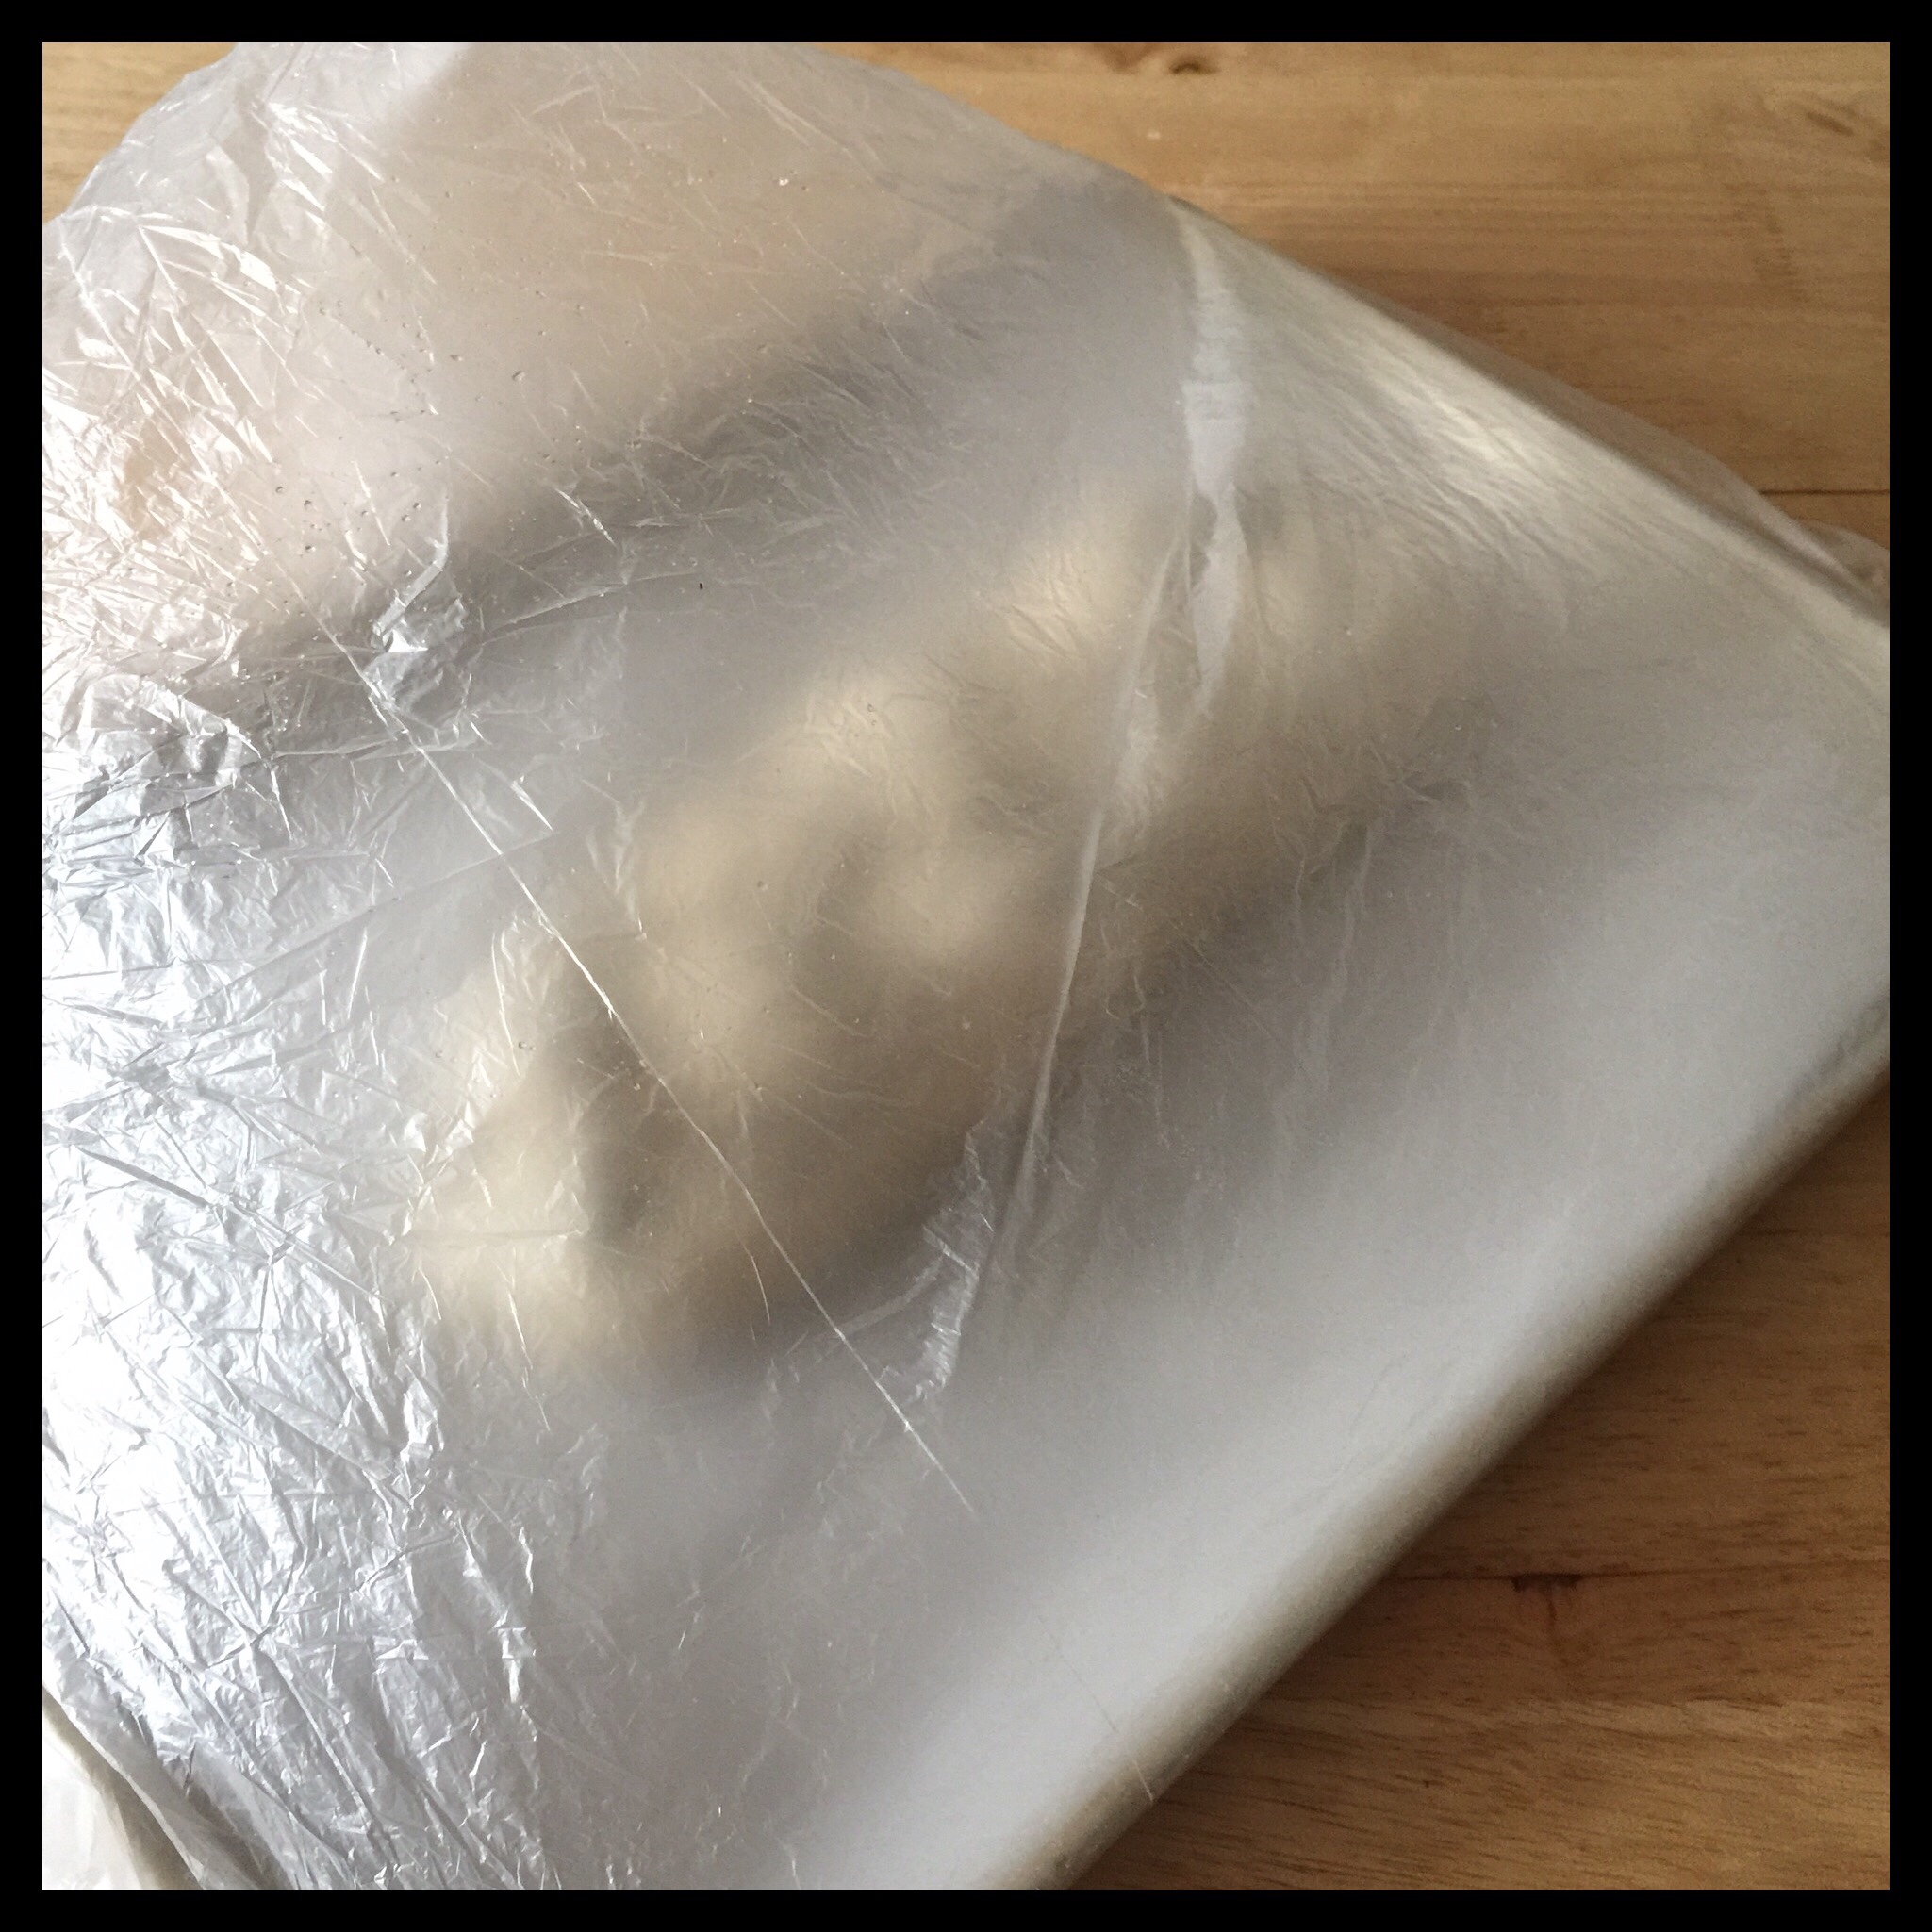
Place the pan inside the plastic bag to rise. Be sure that the bag is not touching the loaf as it will stick and mar your loaf:
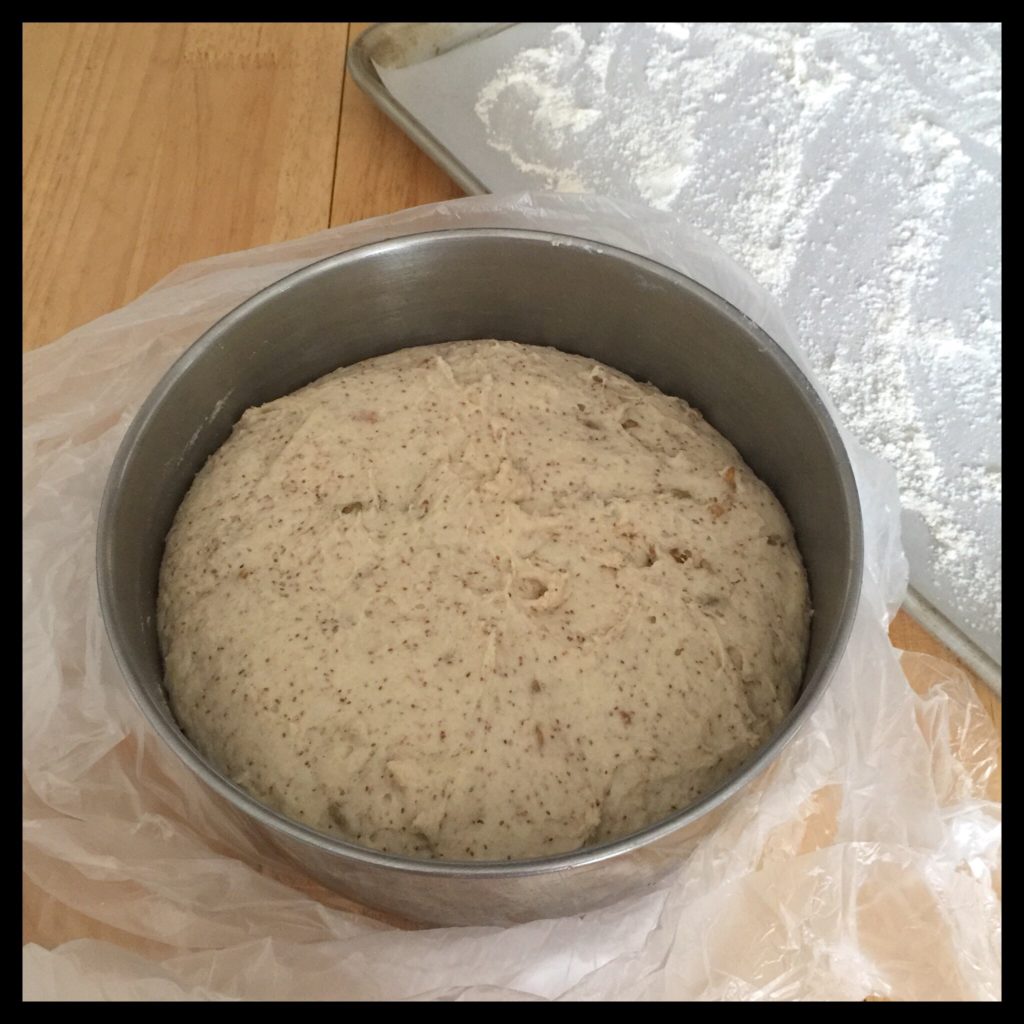
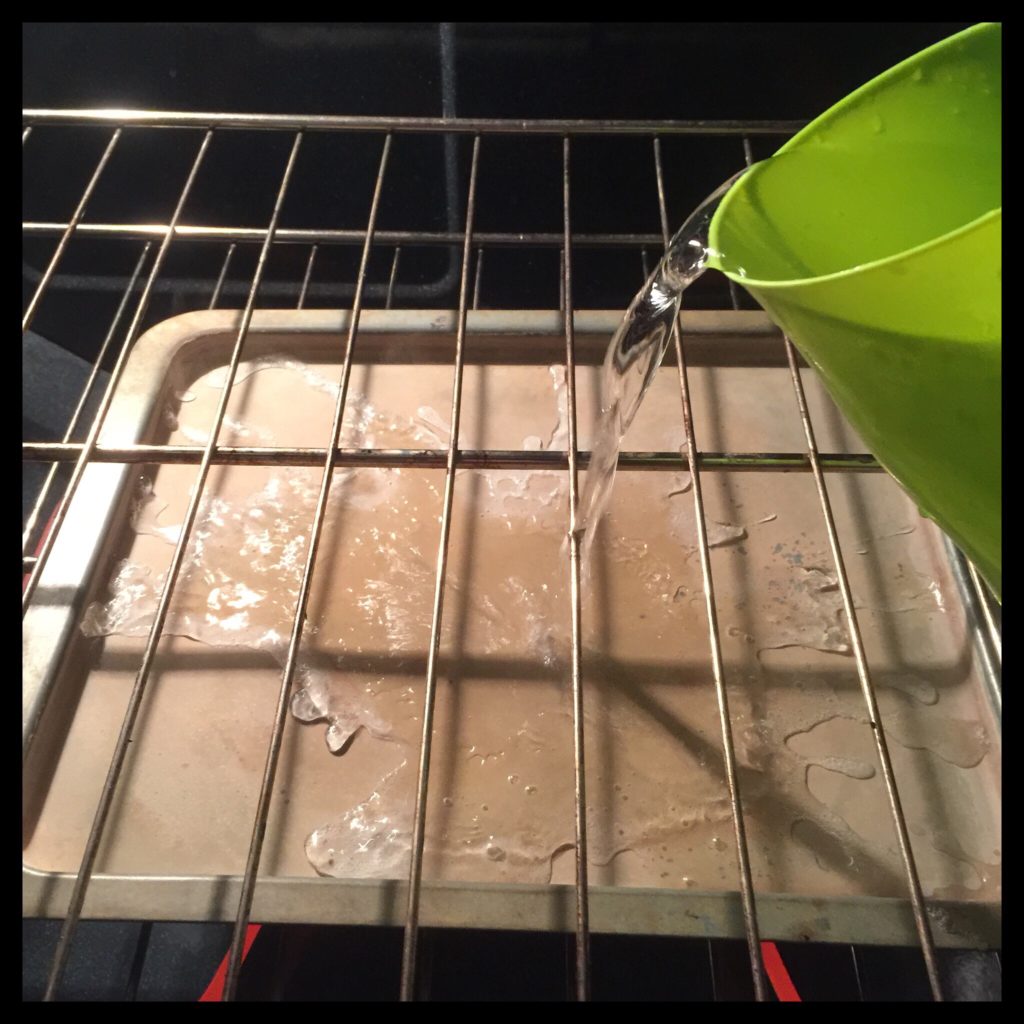
Let the dough rise until it is nearly doubled in size, but not cracked on the top. Your dough will only need to rise for 15 to 20 minutes if your room is 85 degrees Fahrenheit, but will need 30 to 45 minutes if your room is 70 degrees Fahrenheit, and somewhere in between if your room temperature is in the middle. Preheat your oven to 400 degrees Fahrenheit while it is rising. (You will not be able to use it as a place for rising your dough this time.) Place the shallow pan on a lower rack and add about a 1/4″ layer of water. Keep an eye on the water level if your rising time is over 30 minutes as you may need to add more. Before your loaf is fully risen, be sure there is still at least a 1/8″ layer of water in the shallow pan. If you have to add more, you will need to allow it to get hot and produce steam before baking your bread.
Carefully remove the pan from the bag. This is what your dough should look like:
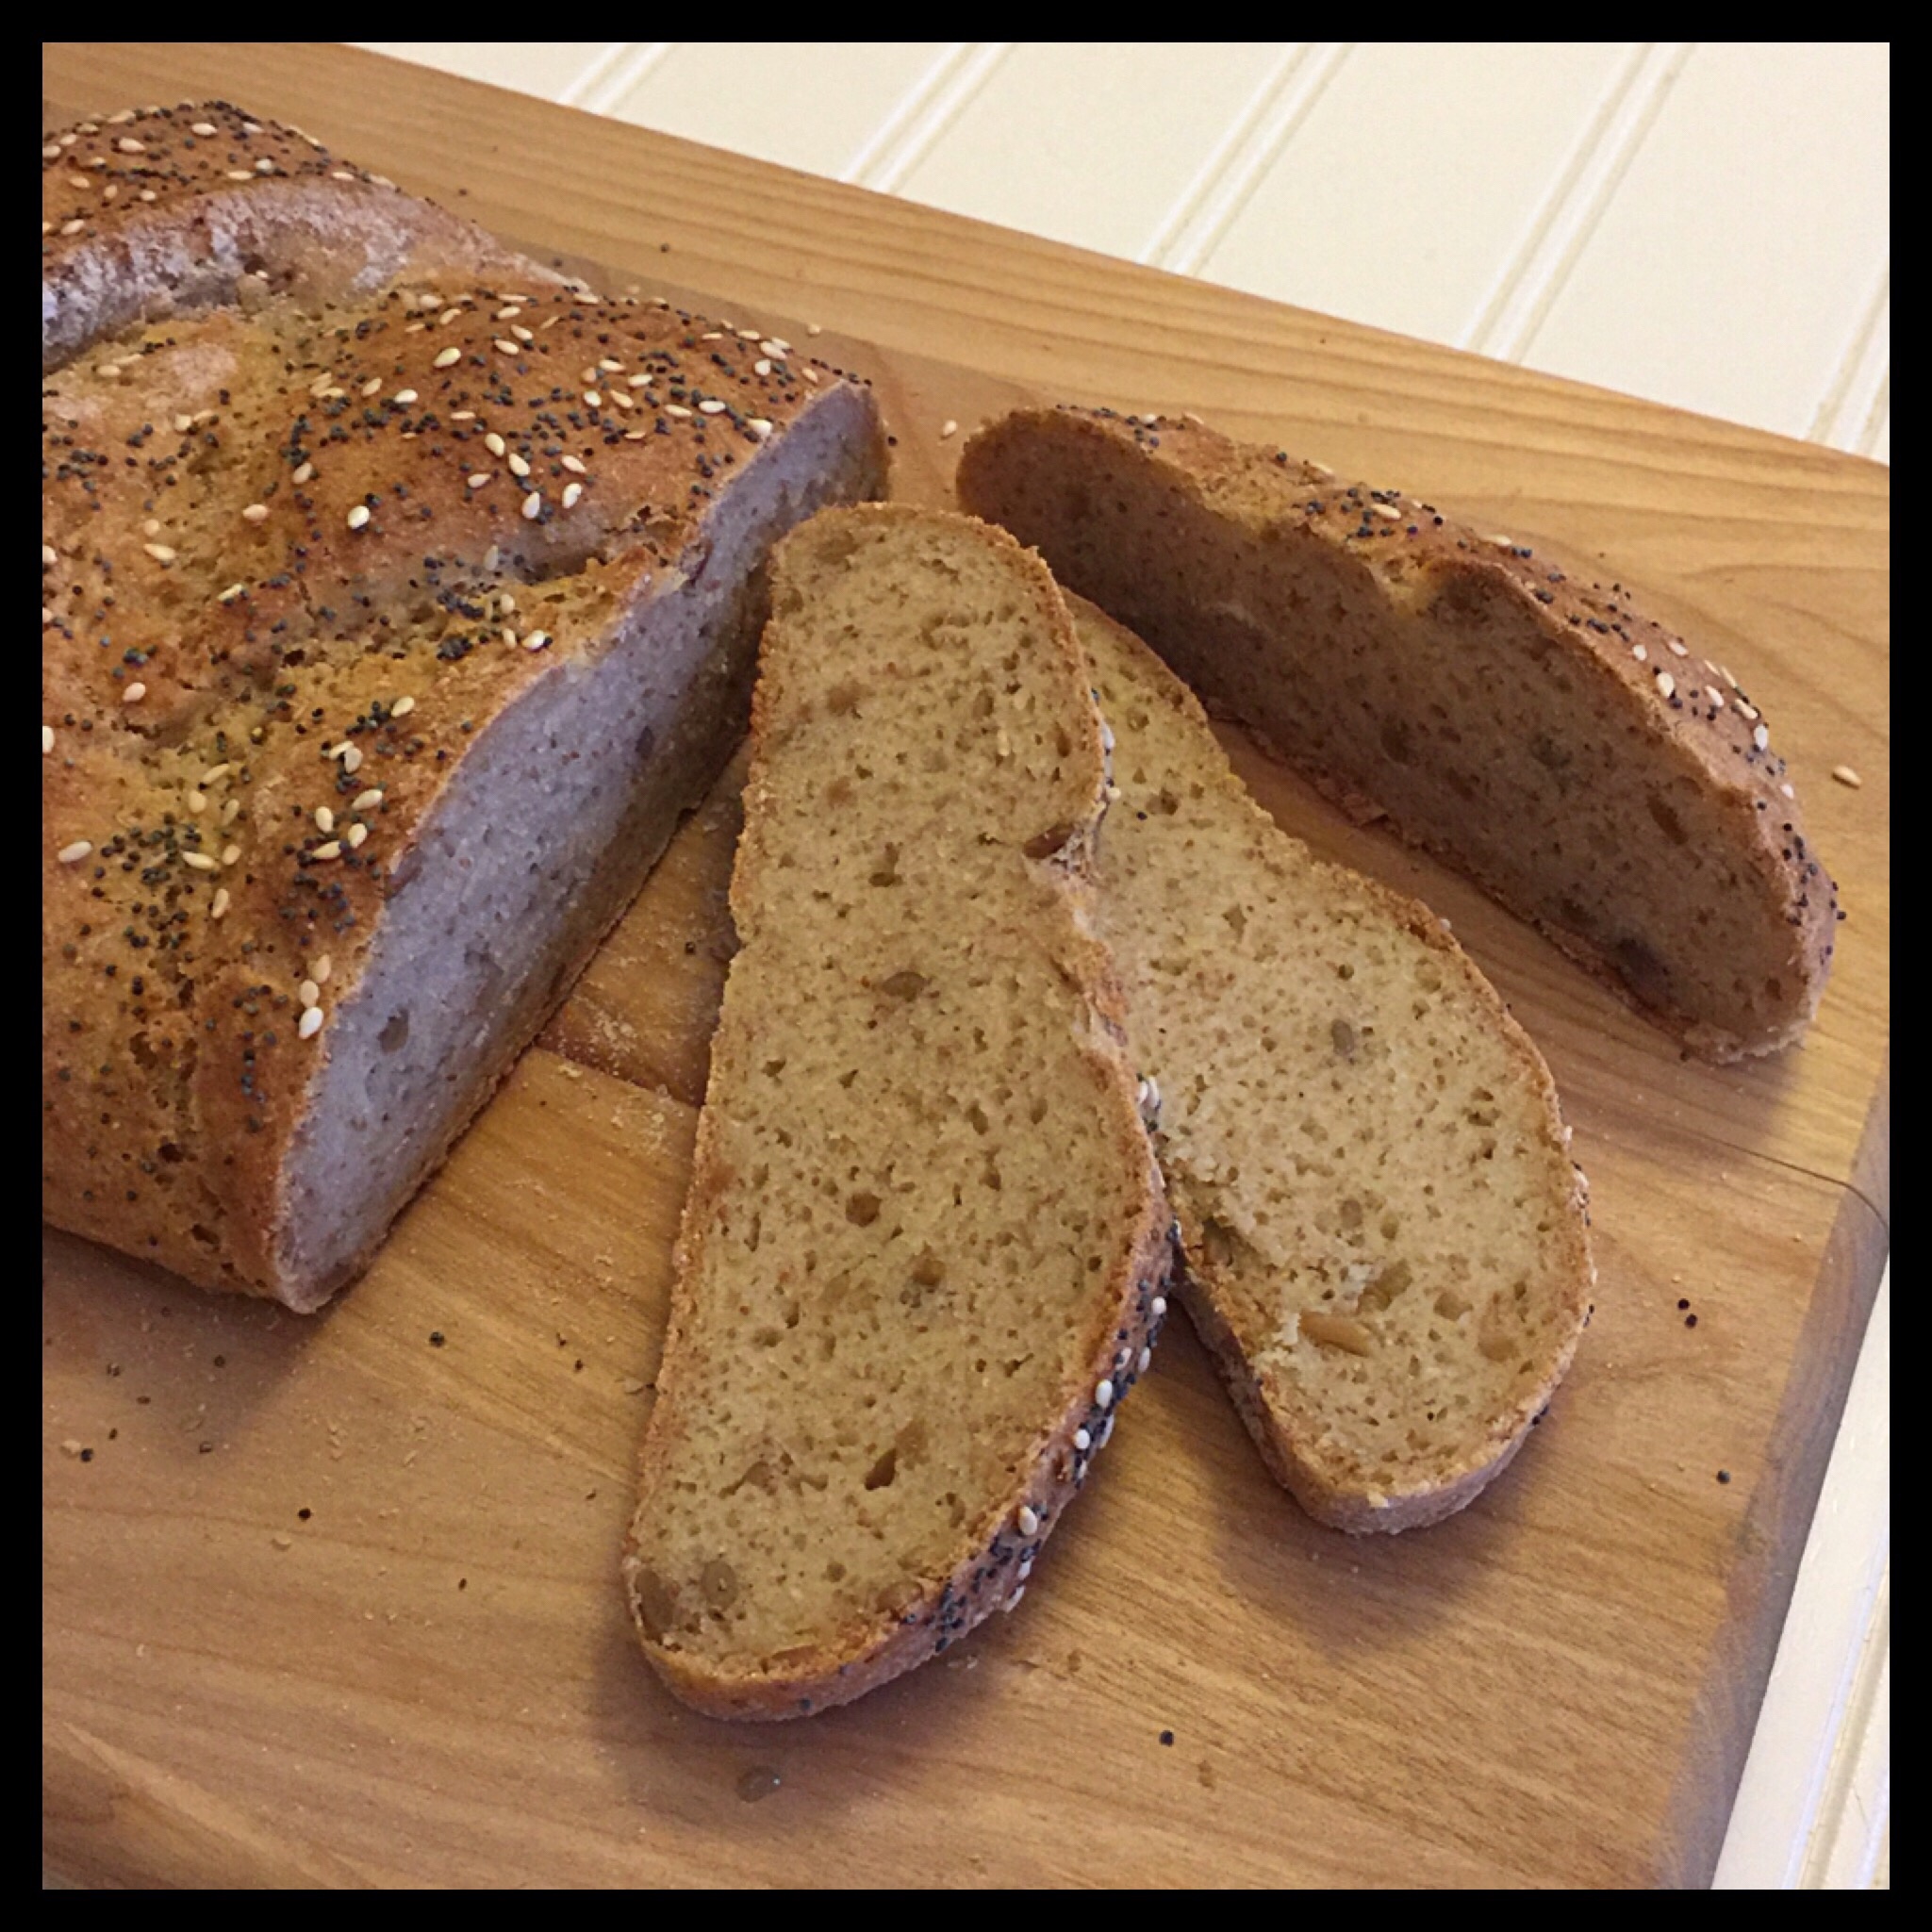
Bake it in your steamy 400 degree oven for about 40 minutes, until the crust is a beautiful dark golden brown all over. You only need steam for the first 10 to 15 minutes of baking time, so don’t add more water while the bread is in the oven even if the pan runs dry while it is baking. It also doesn’t matter if there is still water left in the pan the entire baking time. Don’t open the oven door once the bread is in until it is done!


If you want the bottom crust to be soft, leave the loaf on the pan to cool. If you want it to be crunchy, transfer the baked loaf to a rack to cool. Do not slice the loaf until it is completely cool!
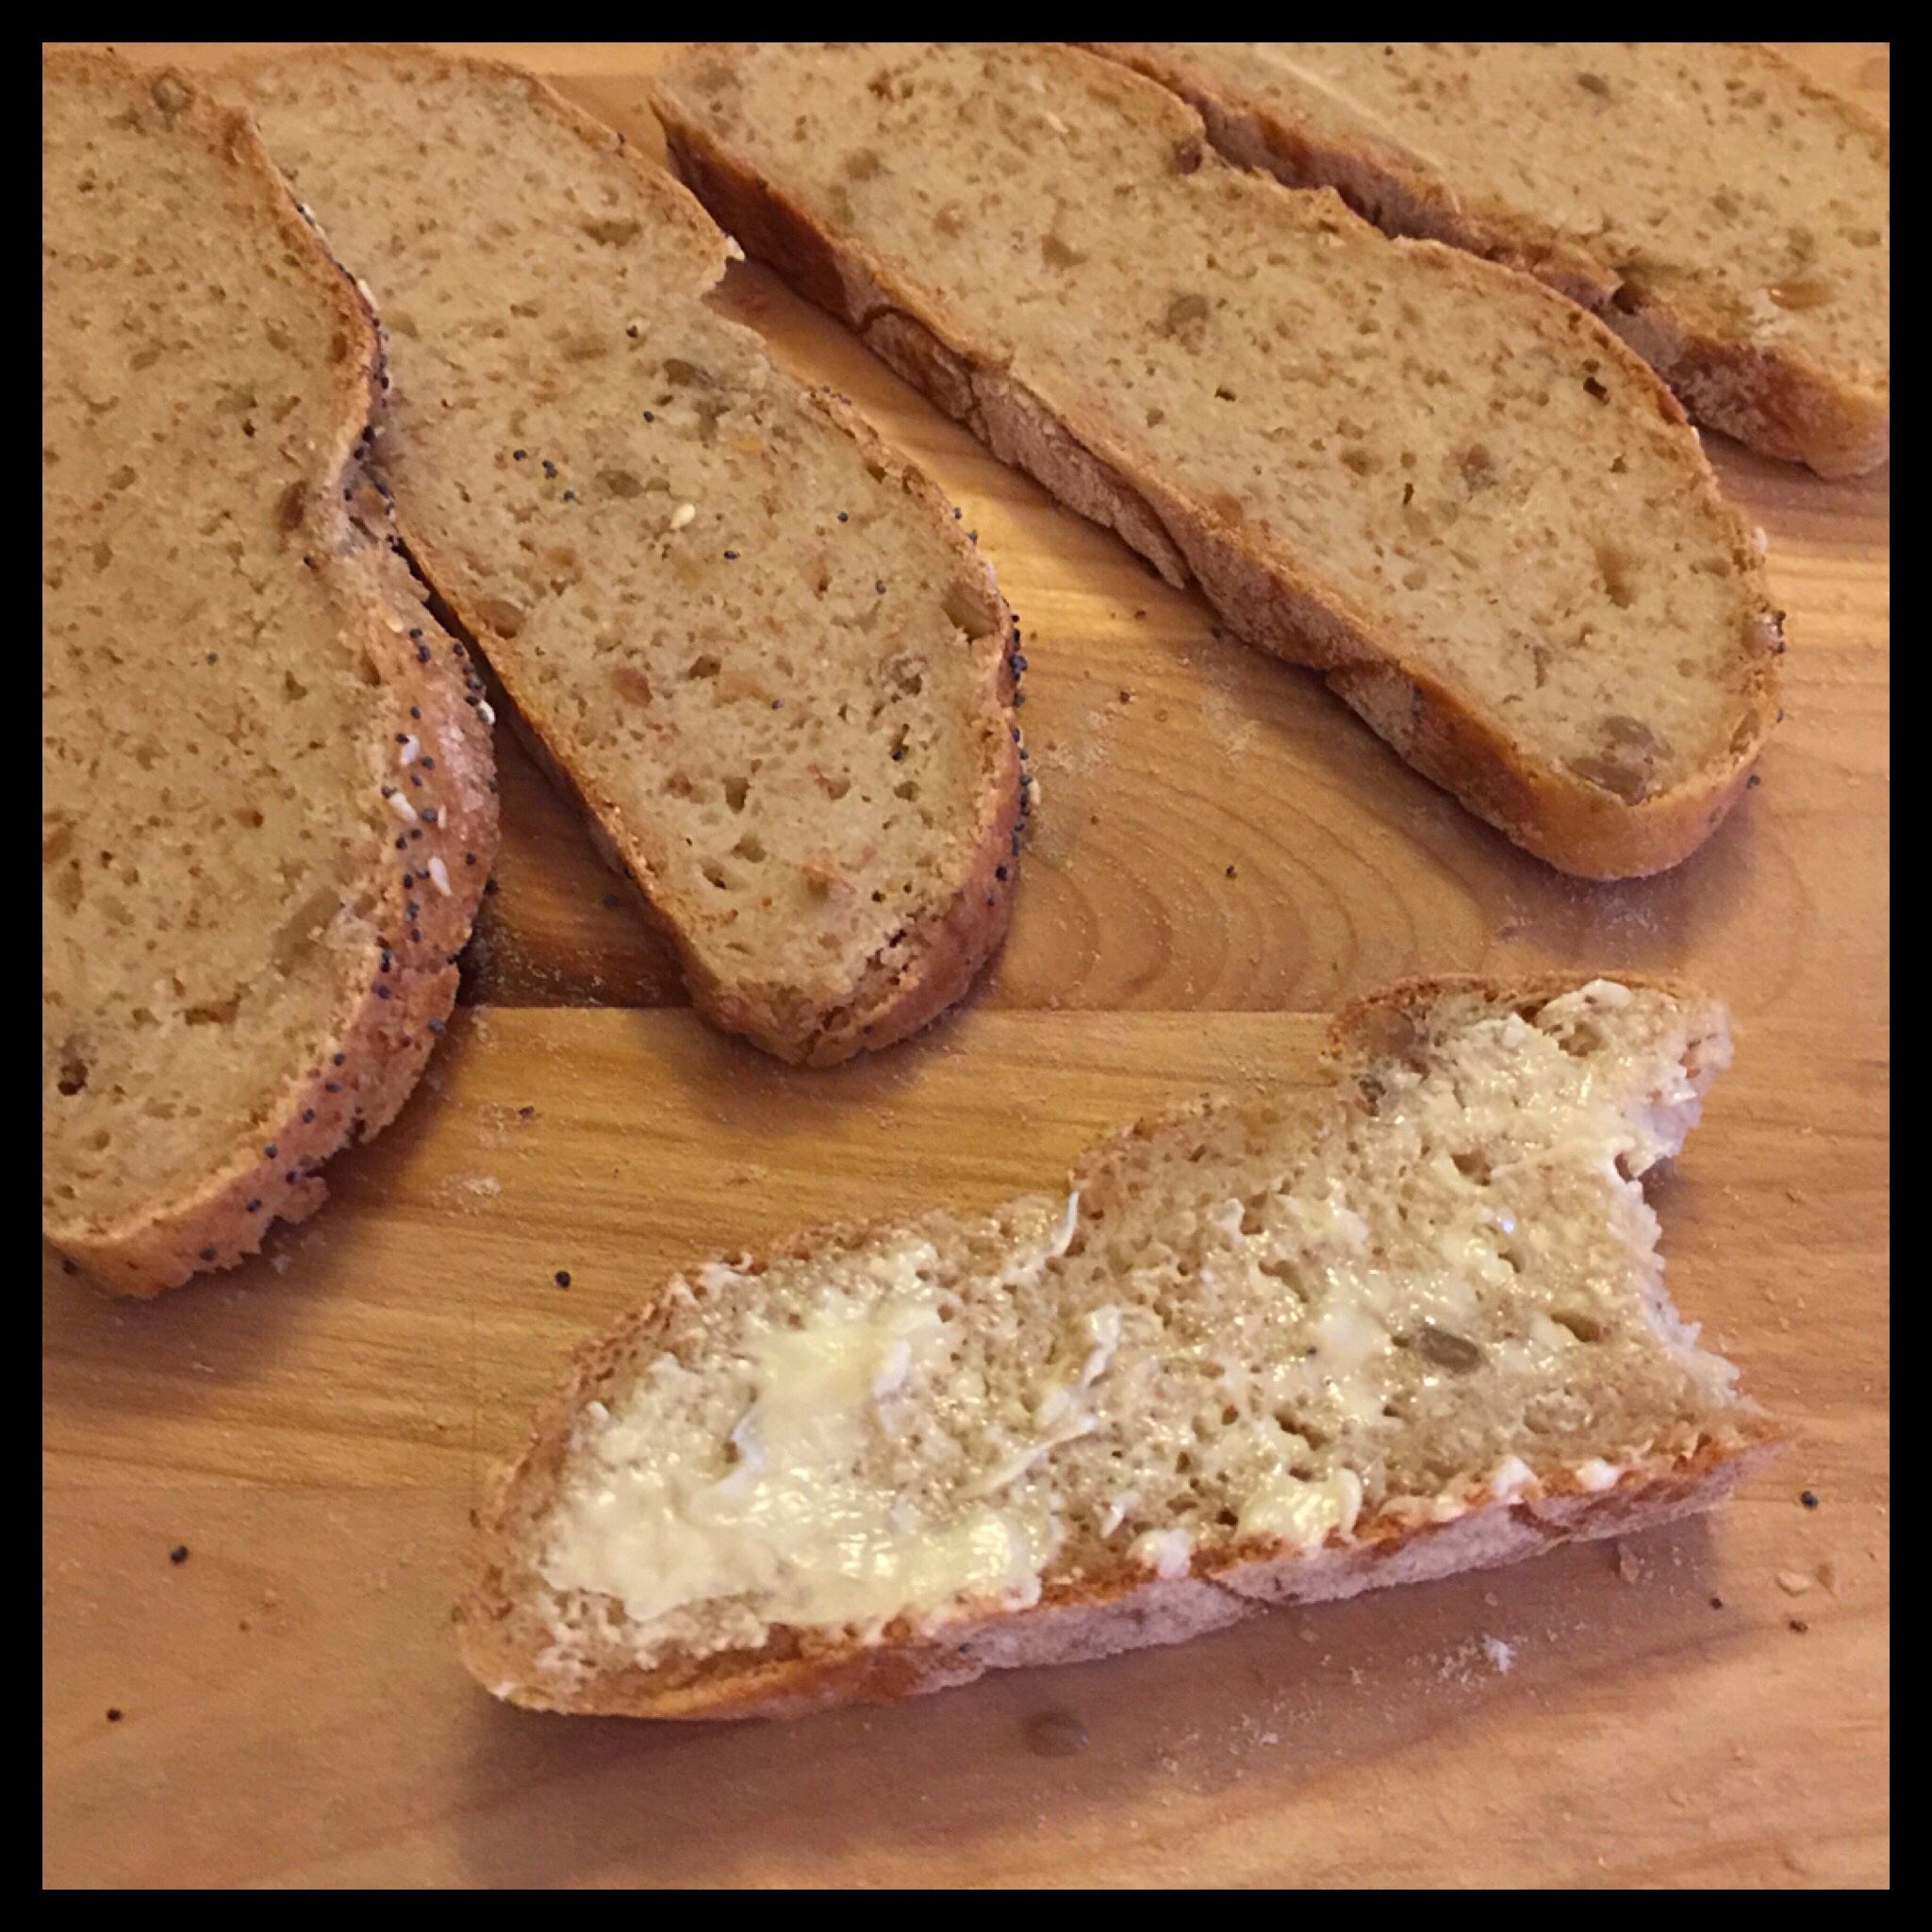
Once the loaf is completely cooled to room temperature, slice and serve as desired! Store as directed in the bread recipe. (All of these photos show my Honee Sunflower Bread.)

Enjoy!
This loaf of bread looks good. I have rarely seen a wheat-free loaf of bread look so good. It is nice to find recipes that are wheat-free(specifically gluten-free), that are also vegan(specifically dairy-free and no eggs).
Too many insist that dairy and eggs are a necessity for wheat-free baking.
It can be discouraging.
I sincerely appreciate this blog and the efforts of it’s author.
As a side effect of reading the blog posts here, I have sincerely considered becoming a full-time vegan. I do care and I am concerned about the consequences of my actions.
Armed with the correct information of how to be and stay healthy as a vegan, this blog provides inspiration to take that leap.
Thank you.
Thank you, Gus! I am thrilled that my blog is helping you to go vegan! Your kind words inspire me to keep working hard! Please let me know if there are any recipes or information that would assist you as you transition to a vegan diet.
The Plant Based Egg makes it possible to make almost any bread, cake, cookie, brownie, or muffin (and more!) both vegan and gluten free. I have so many wonderful recipes to share! You don’t have to give up anything to go vegan, even if you are gluten free!
Thank you. Keep up the good work!
If I were to make a cinnamon raisin bread breed how would I do that
I use the sweet dough base from my hot cross buns recipe without the zest and spices. You can then either add cinnamon and raisins to the dough (like I do with the buns) or you can add just the raisins to the dough, press the dough out, add a layer of cinnamon sugar, and roll the dough up for a swirl effect. If you are making a braided loaf, you would cut the pressed out dough into three pieces and roll up each third separately before braiding them together. I will do a post on this soon!