
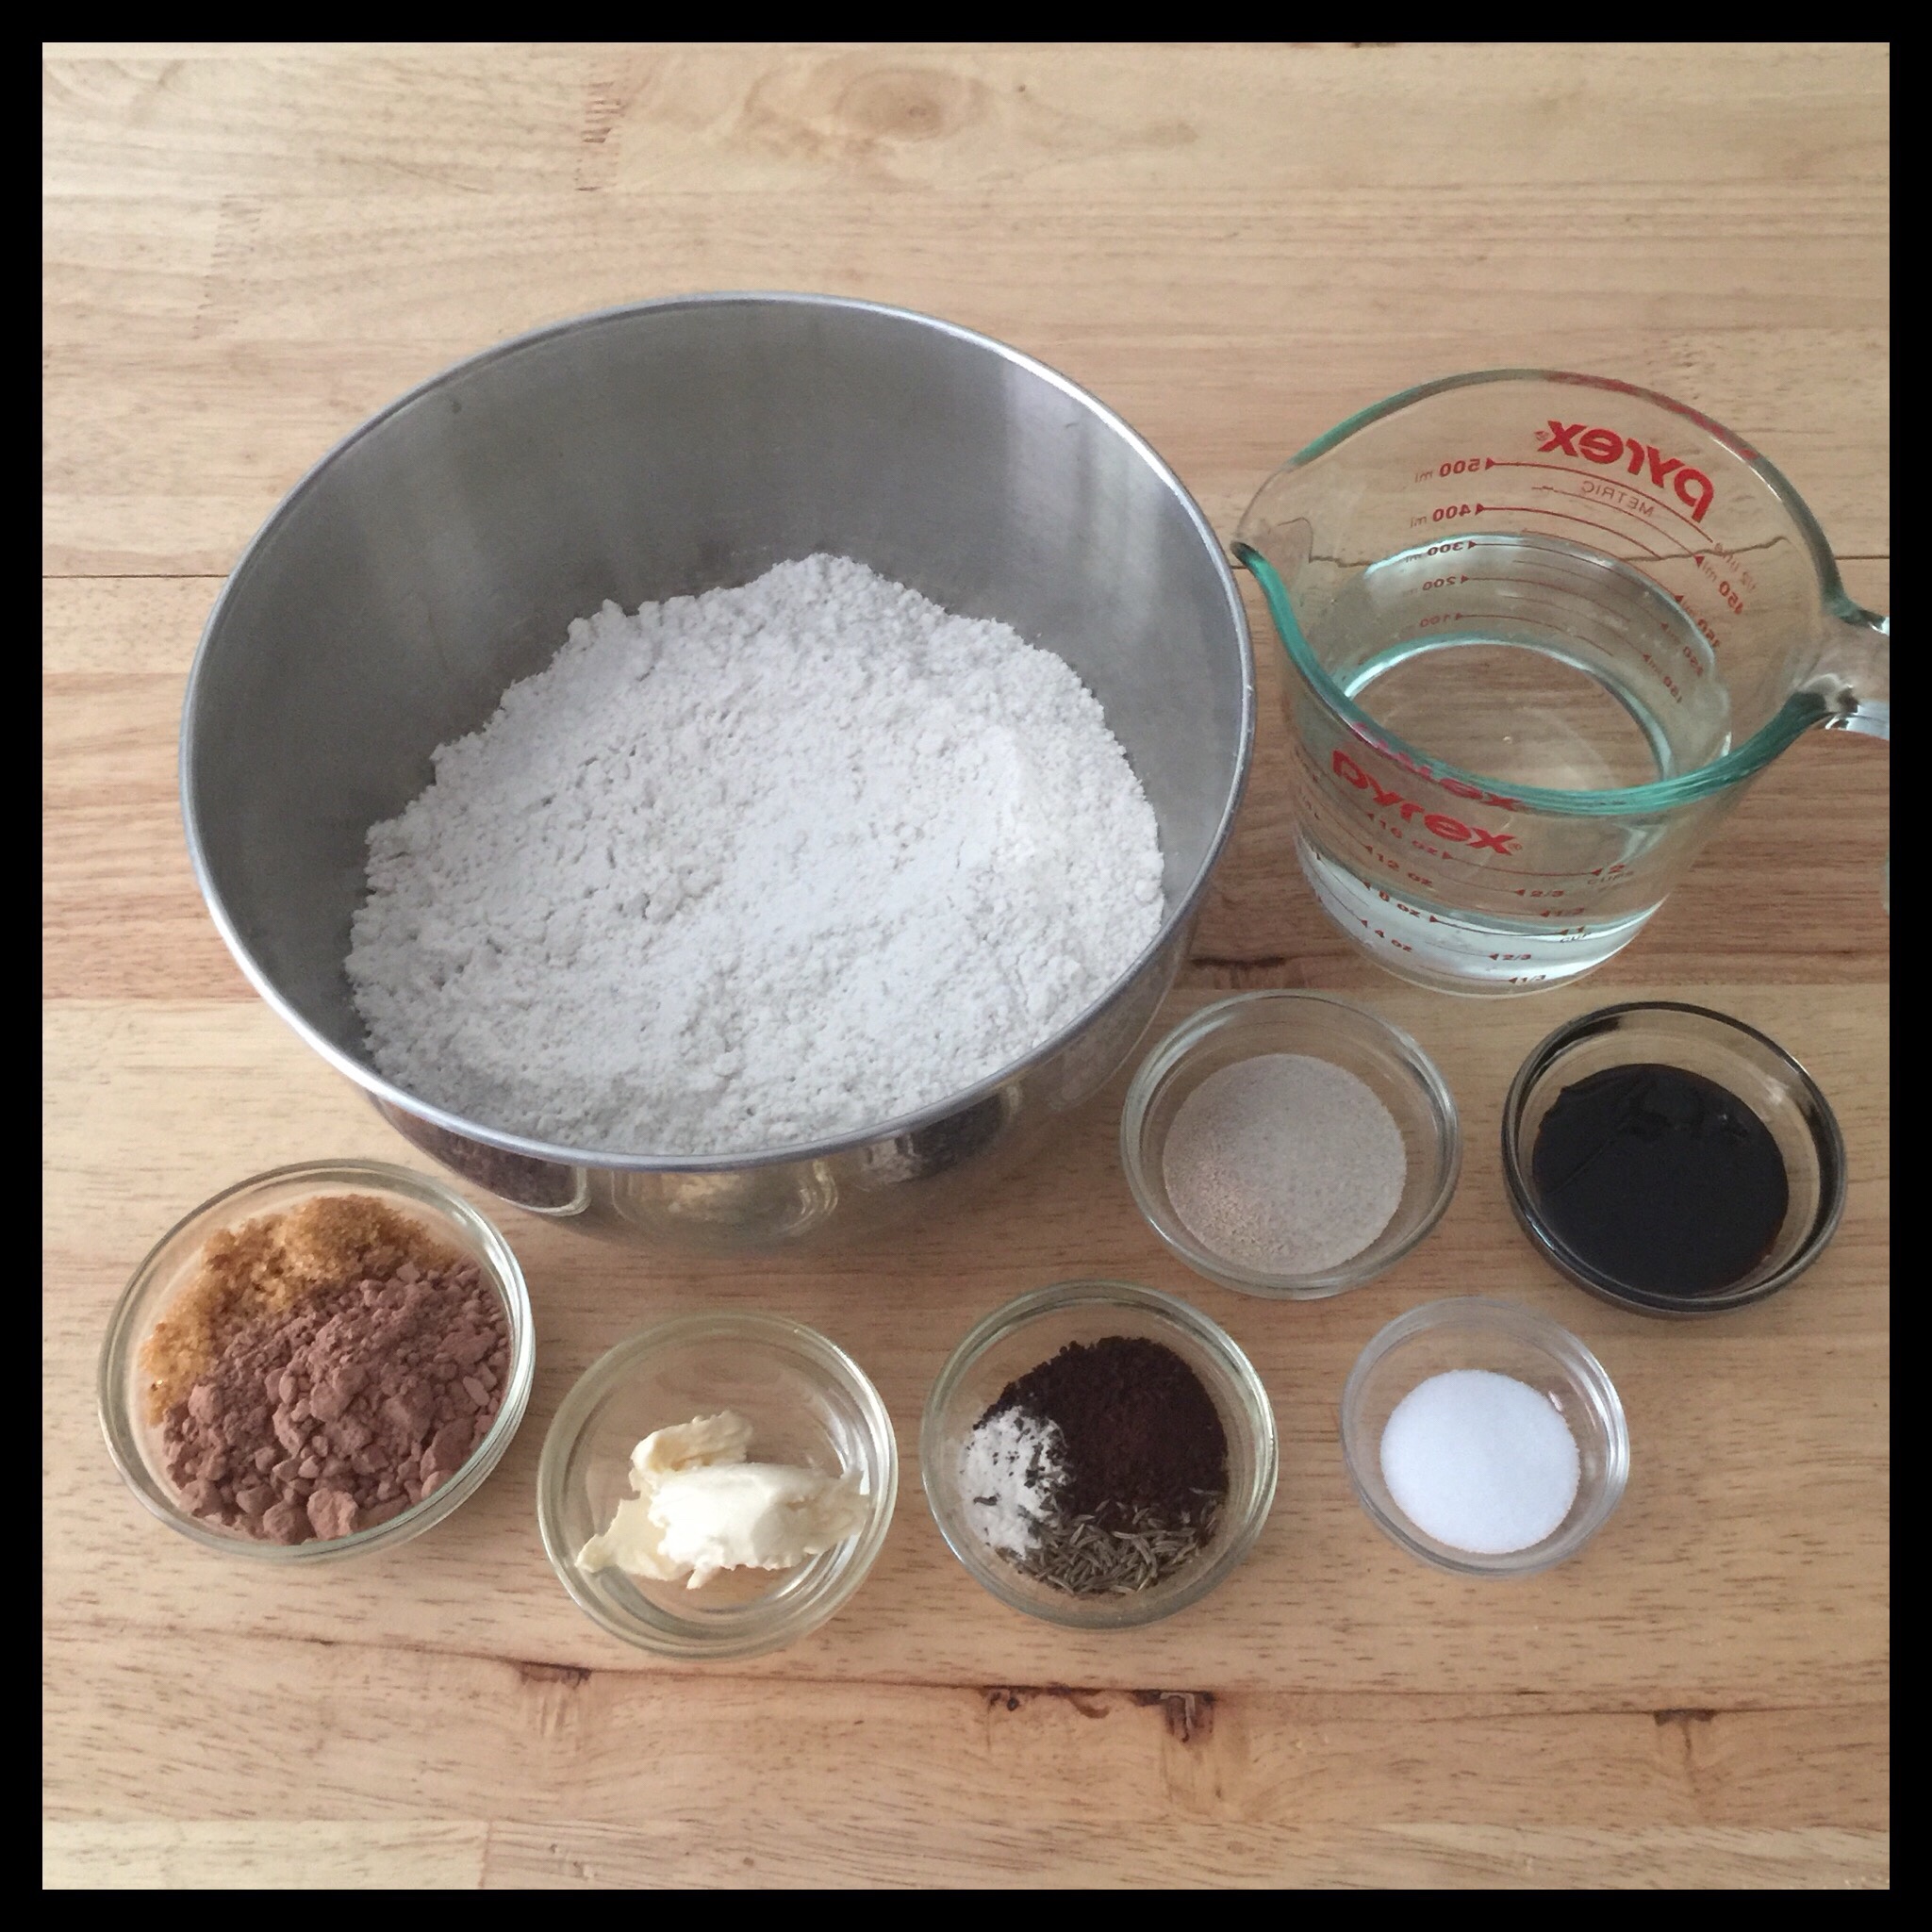
I love all of my bread recipes, but this is my very favorite! I loved rye bread before I got celiac disease, so I came up with this pumpernickel recipe several years ago to satisfy my rye cravings. The delicious flavor comes from a combination of molasses, cocoa, onion powder, instant coffee, and caraway seeds, and it really is a perfect copycat! It is soft and bendable when fresh, but it also makes great toast that is not damp in the center like so many gluten free breads are. The recipe is very versatile, and you can make it into a sandwich loaf, sandwich rolls, or a braided loaf! Here are the ingredients you will need to make it:
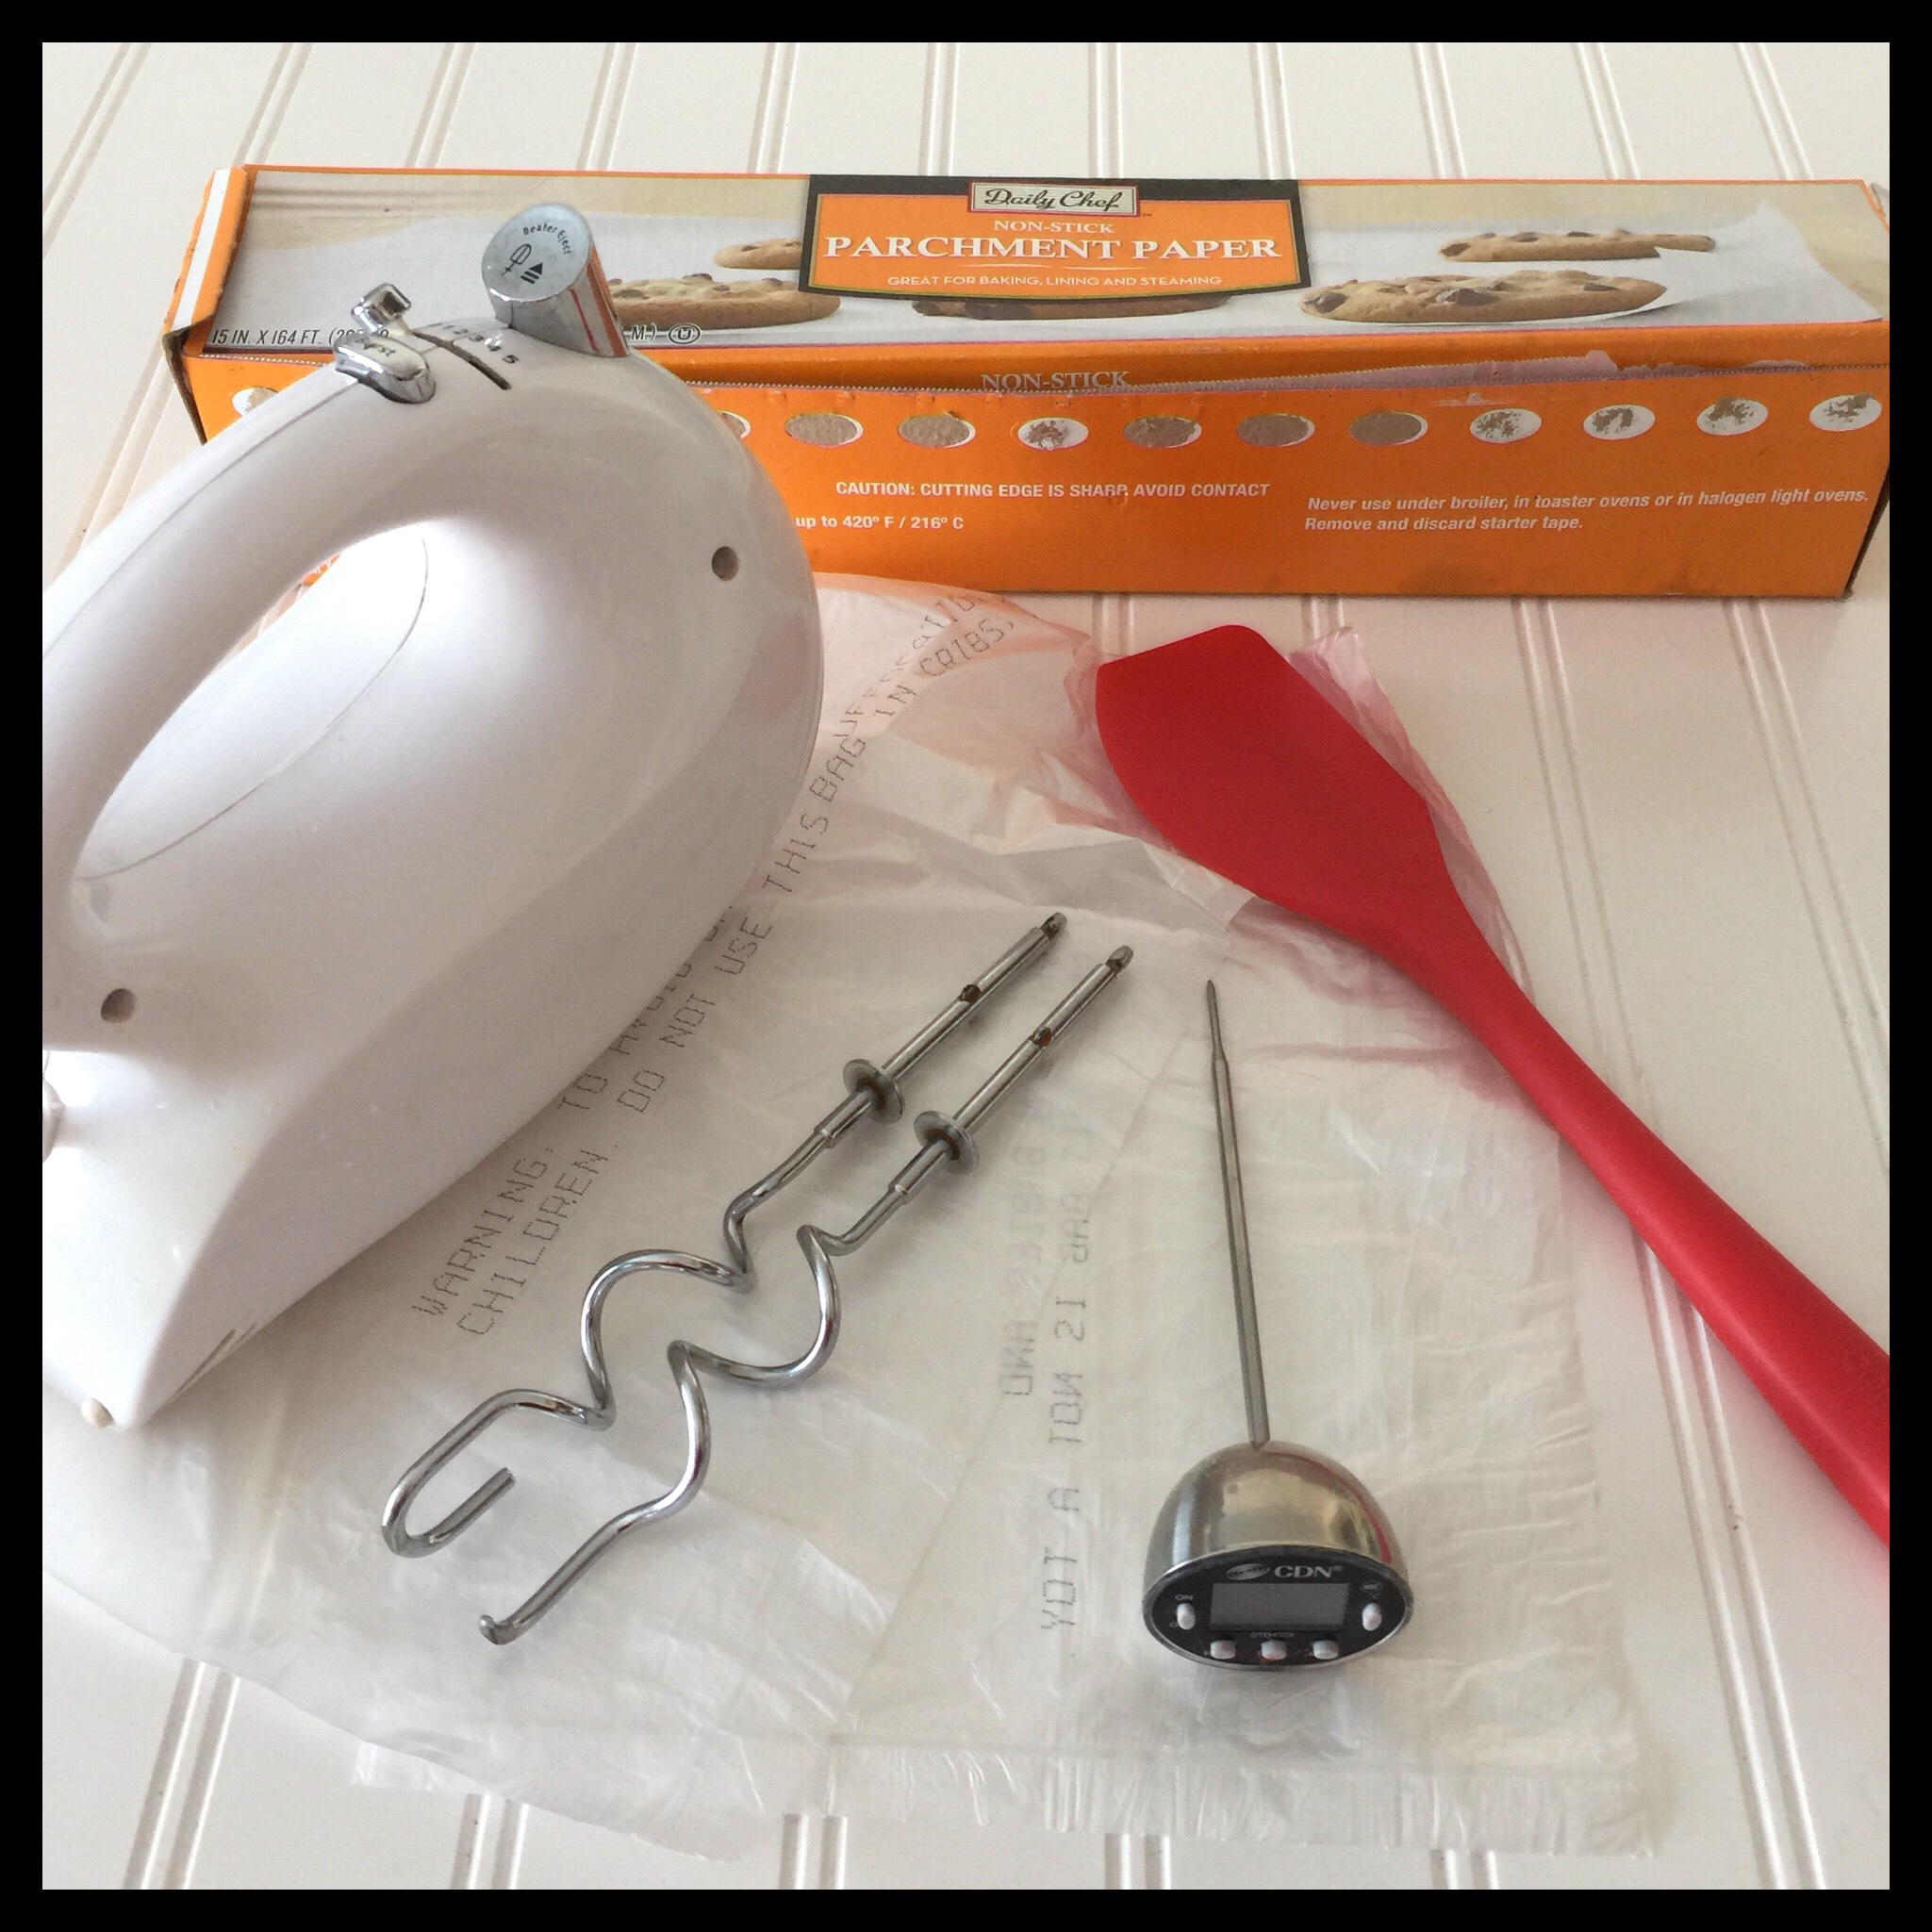
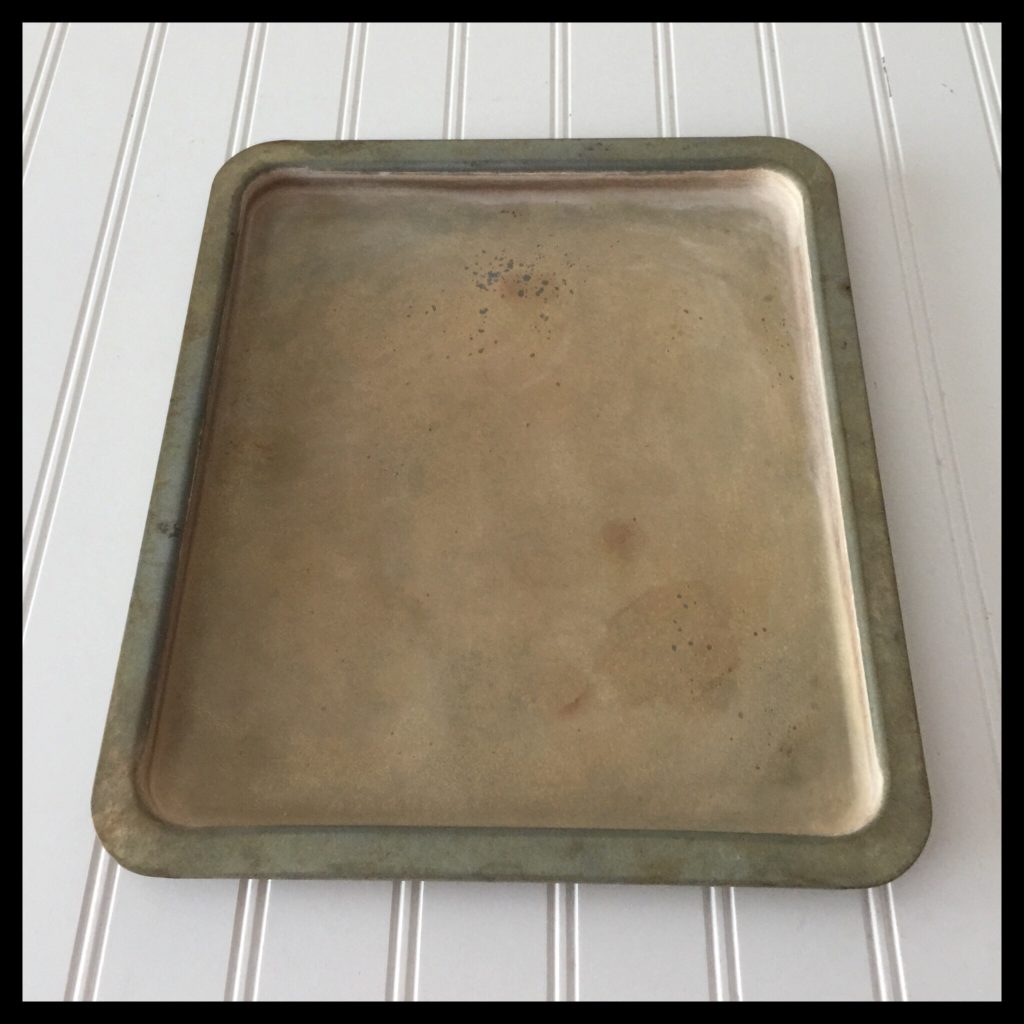
You will also need a loaf pan or parchment paper and a half-sheet sized baking pan, a sturdy spatula, a large (and clean) plastic bag, a thermometer, a shallow pan that you don’t care about, and either a stand mixer with a paddle attachment or a hand mixer with dough hooks:
You will need to use flour that is made with The Plant Based Egg by Freely Vegan. It will be available to purchase online very soon at www.freelyvegan.com! (Until then, you can order it by emailing theplantbasedegg@gmail.com). We will also be bringing out a premade gluten free flour in a few months that will already have The Plant Based Egg added to it! Until then, you can make your own gluten free flour by using one of the recipes on this link. (I have lots of variations so everyone should be able to find one that works for their dietary needs.) The Plant Based Egg replaces both eggs and the xanthan and/or guar gums that you find in most gluten free flours. This allows you to achieve light and fluffy results without any gumminess! Please do not try this recipe with other flours as I do not think it will work without The Plant Based Egg to provide the structure that eggs usually provide in gluten free bread. Also, please note that blends three through sixteen will all work for a braided loaf or rolls, but I have not tested all of them in full-size sandwich breads.
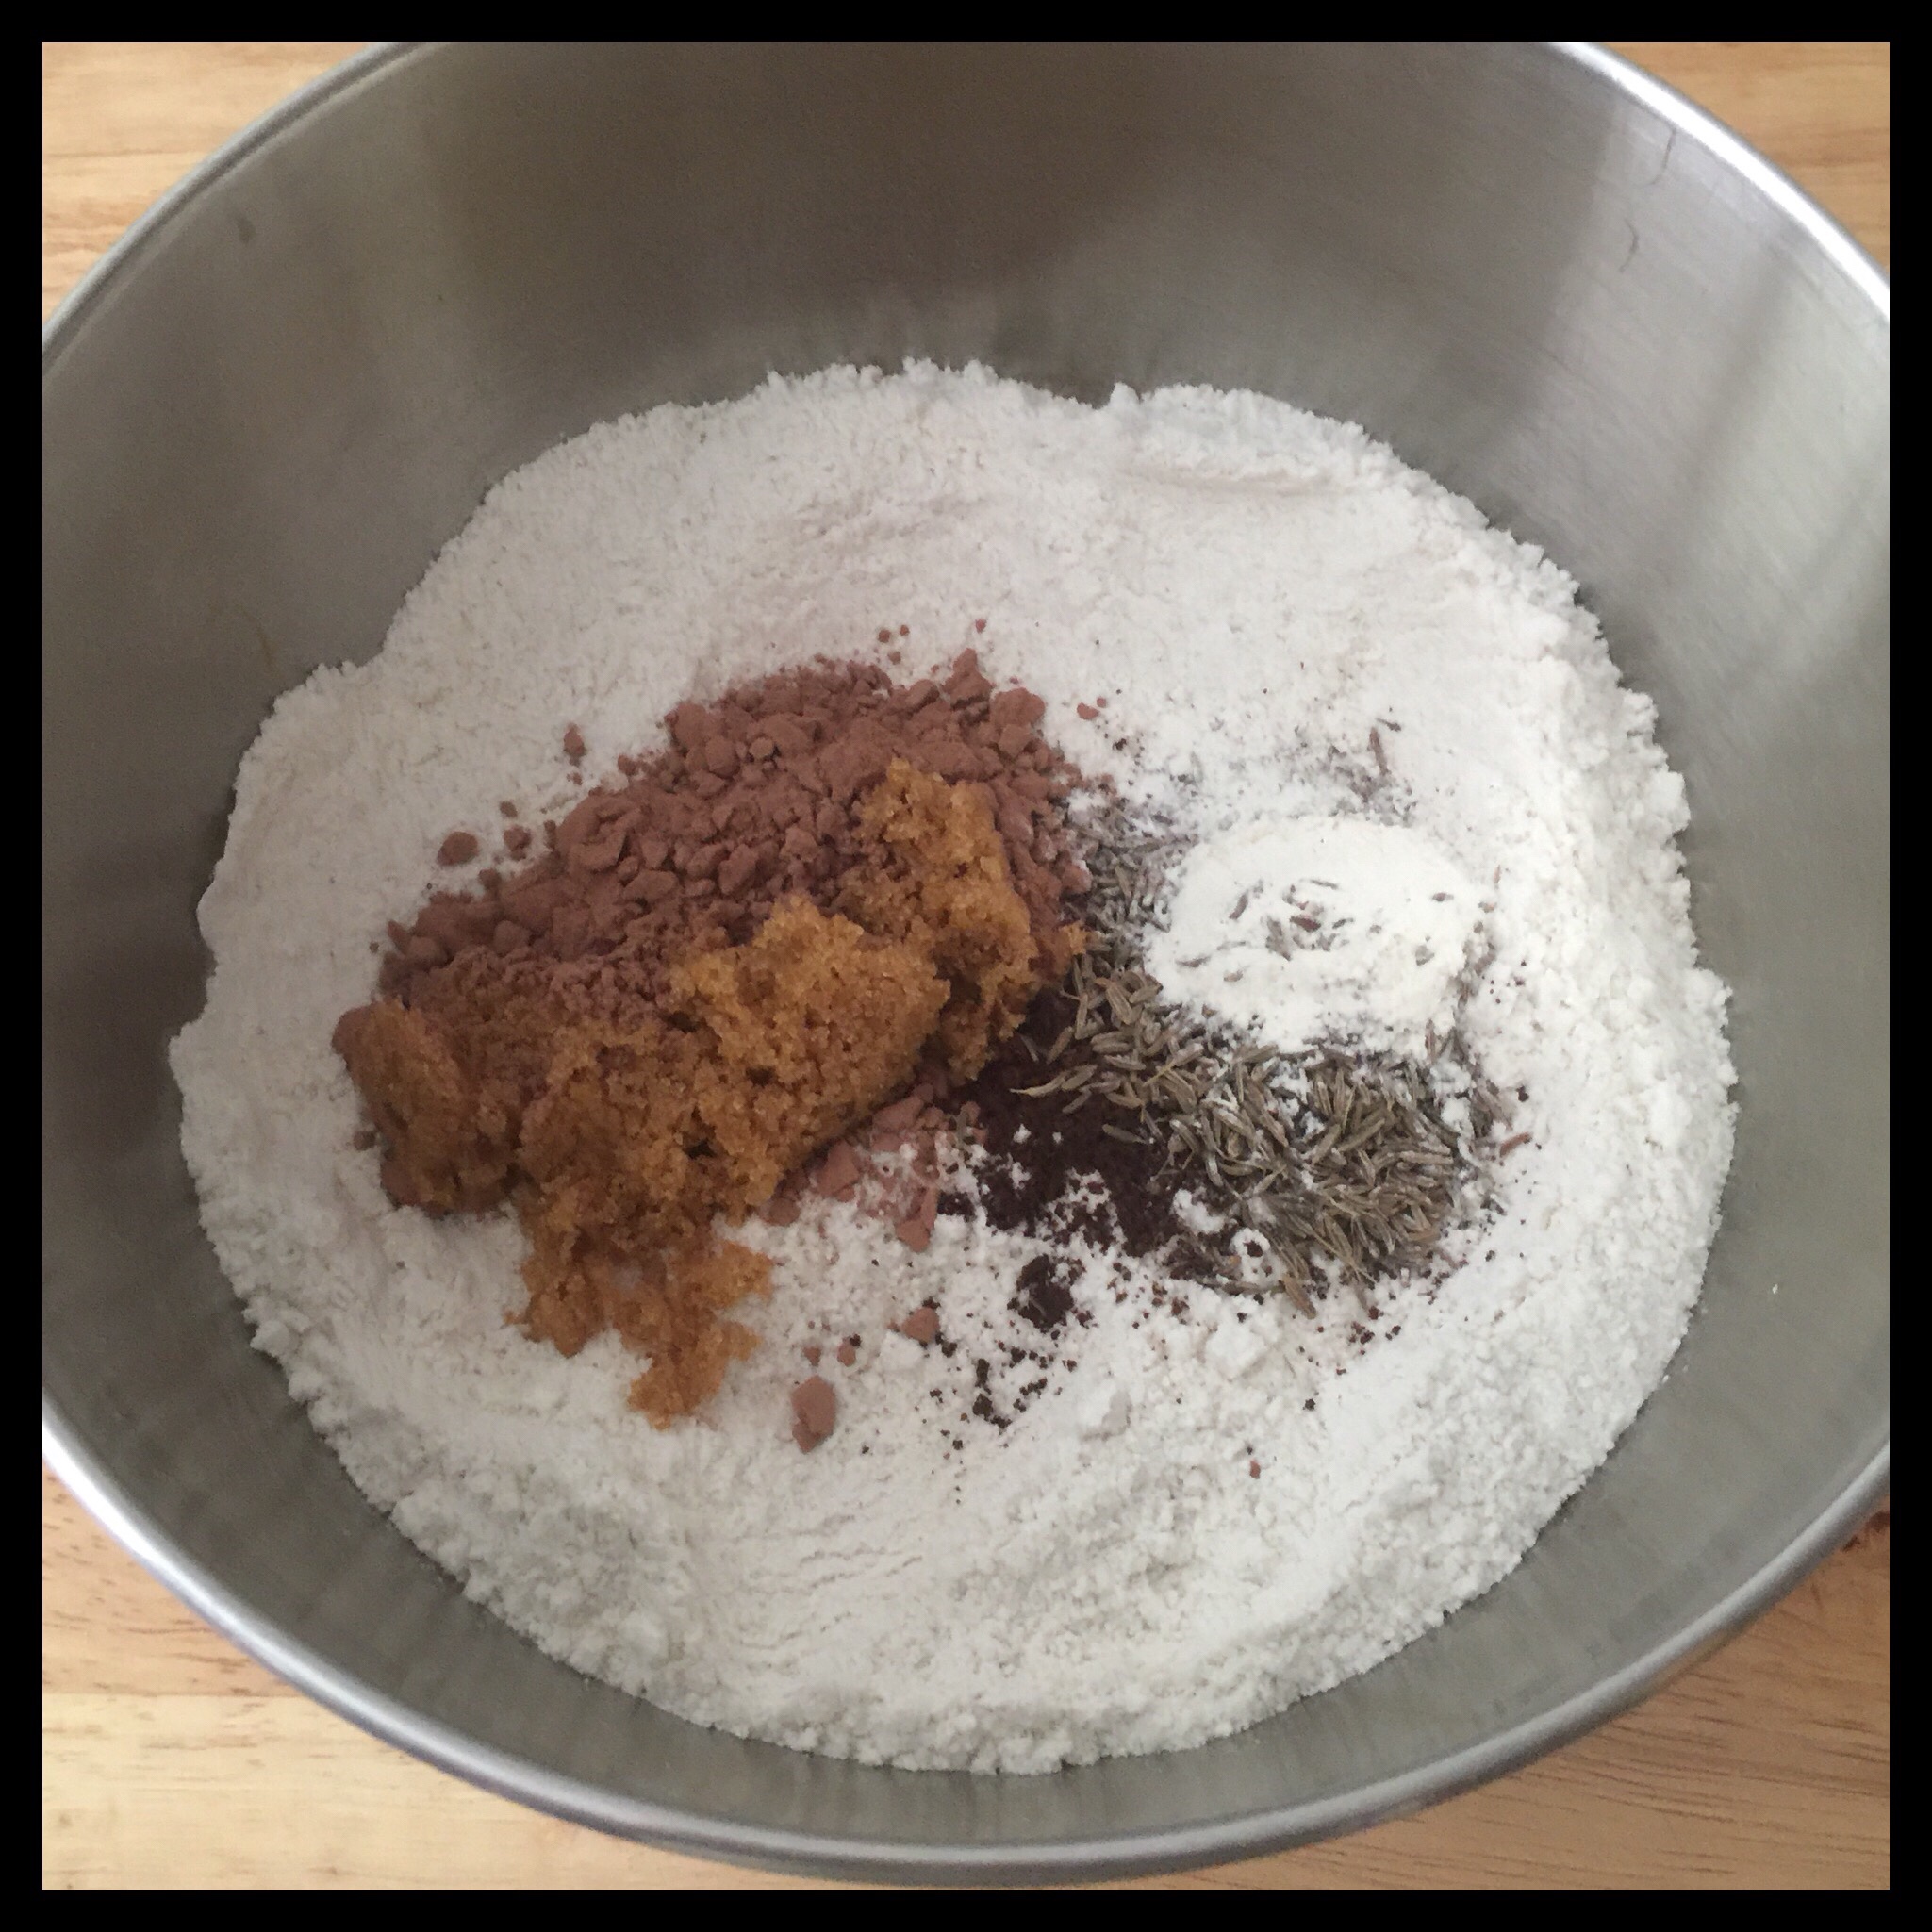
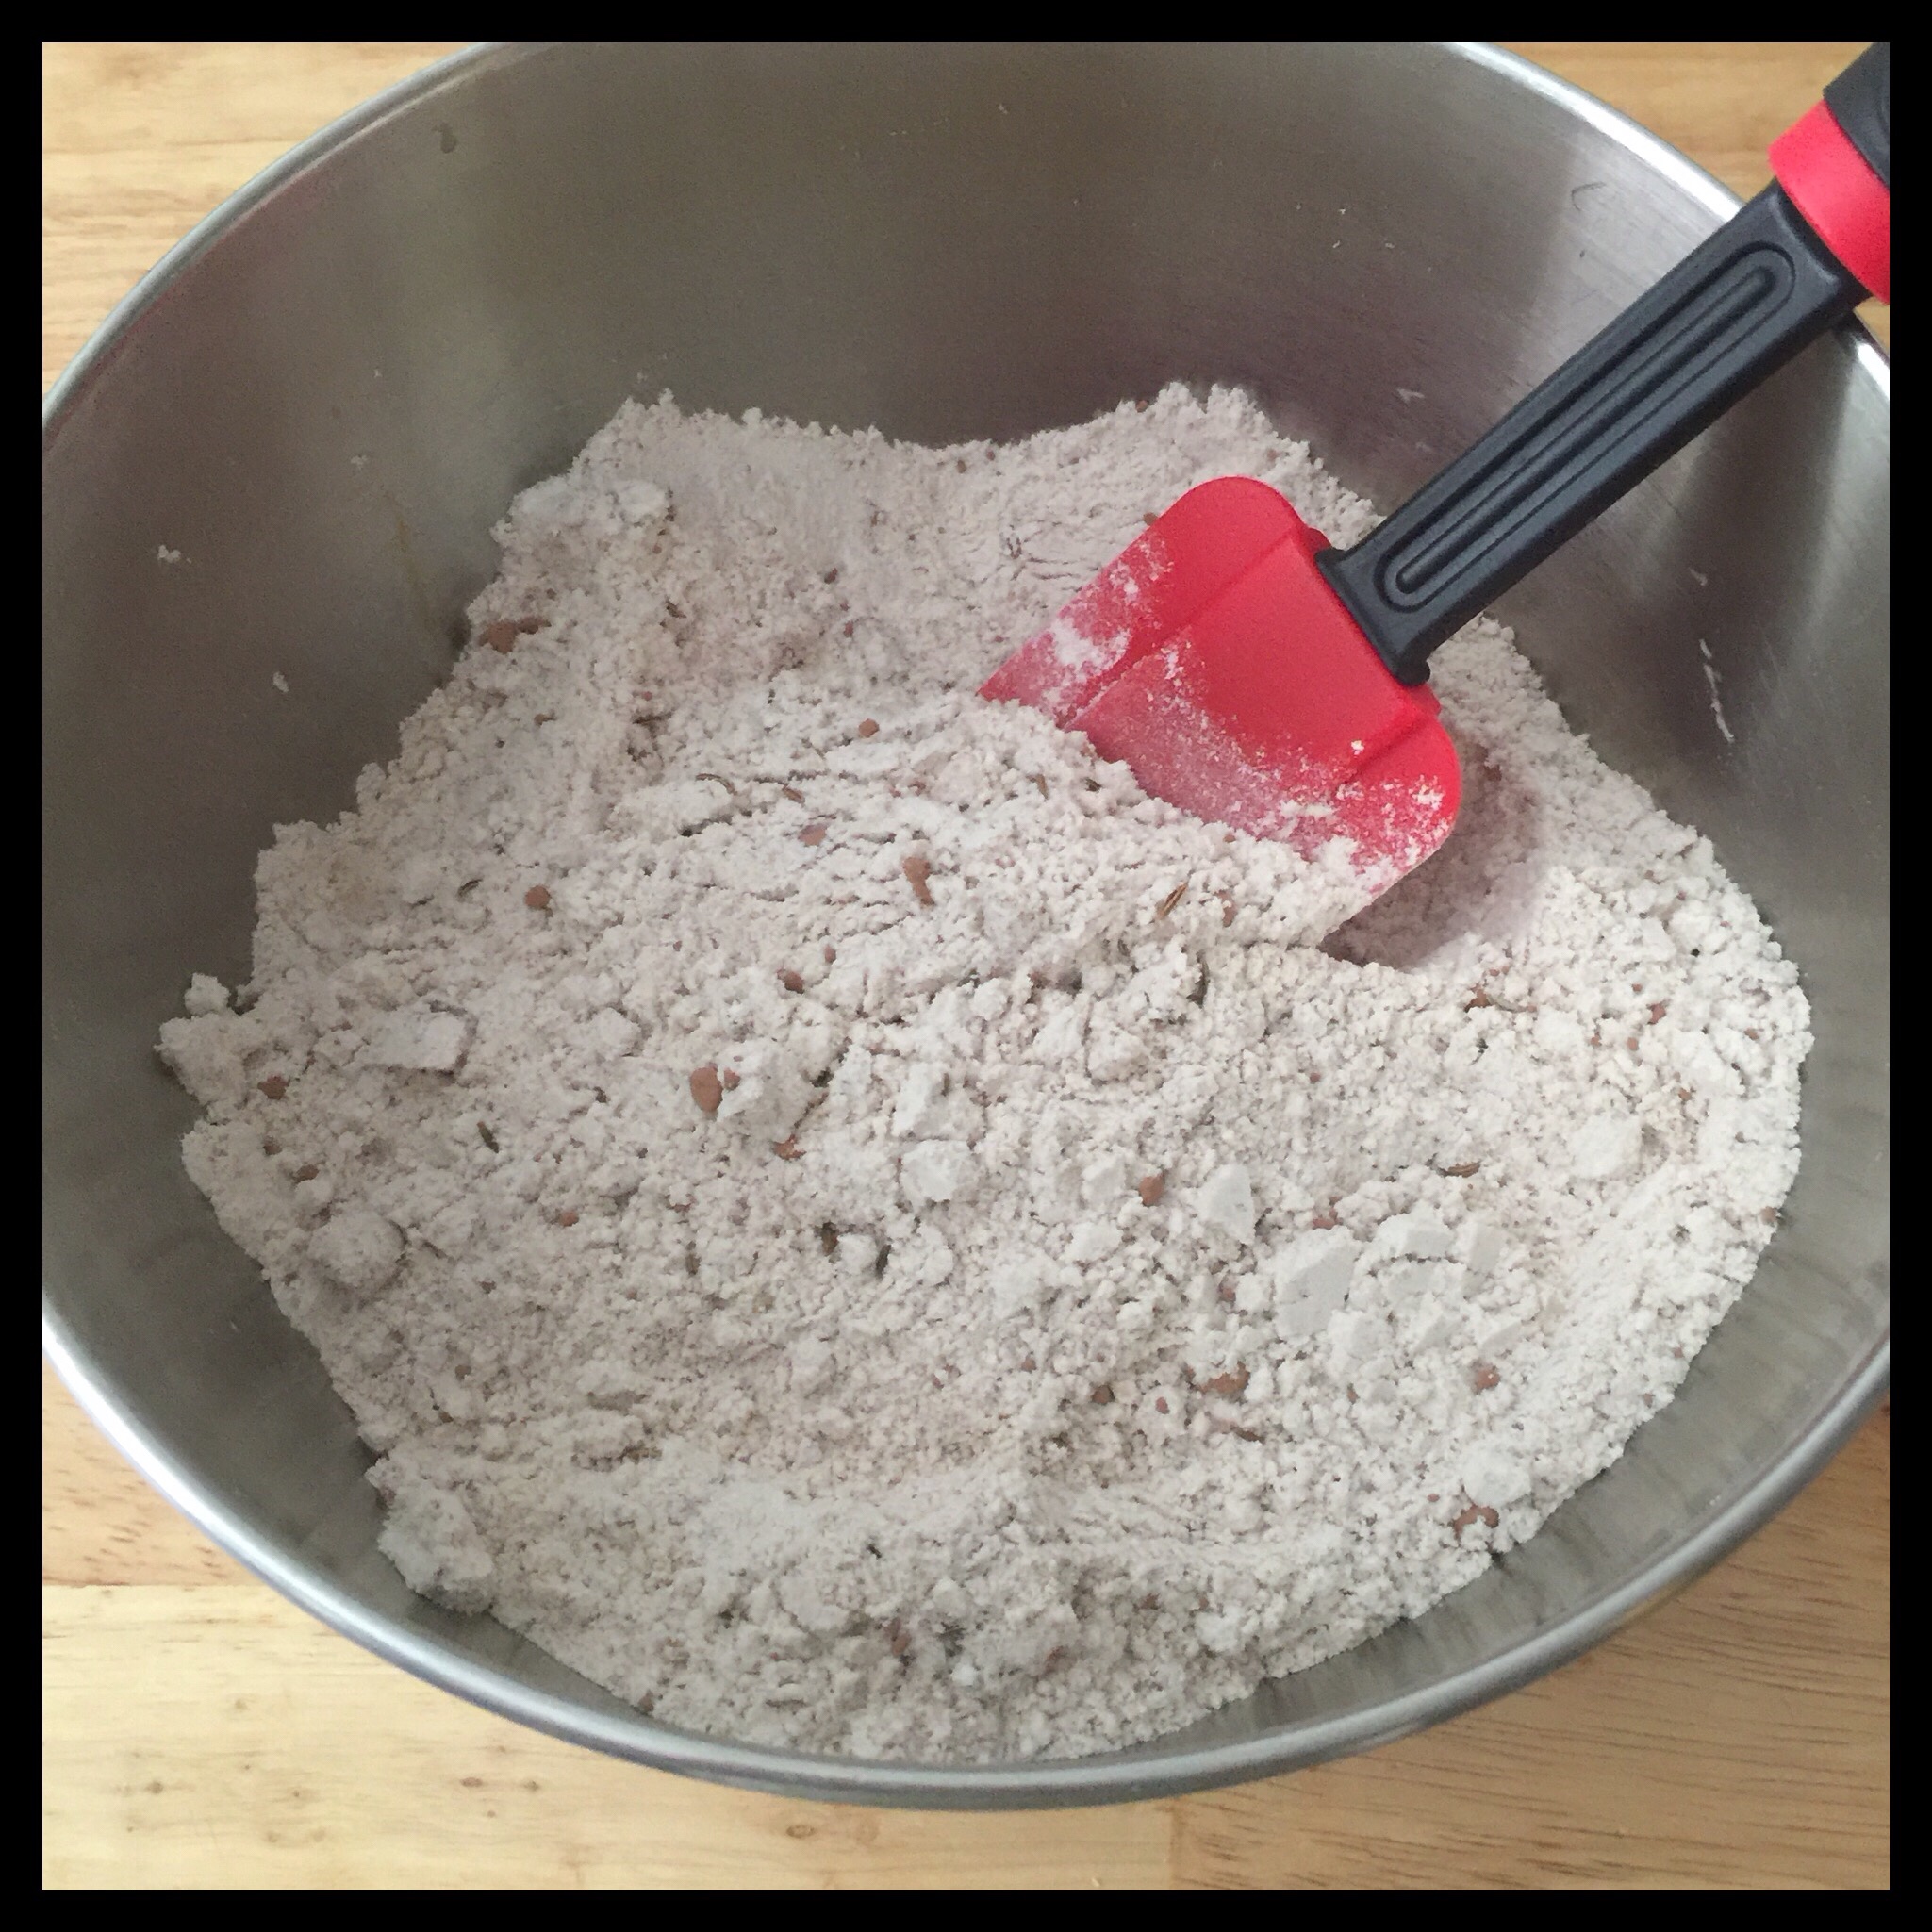
Add the flour blend, cocoa, brown sugar, onion powder, instant coffee, and caraway seeds to a large mixing bowl. Stir together.
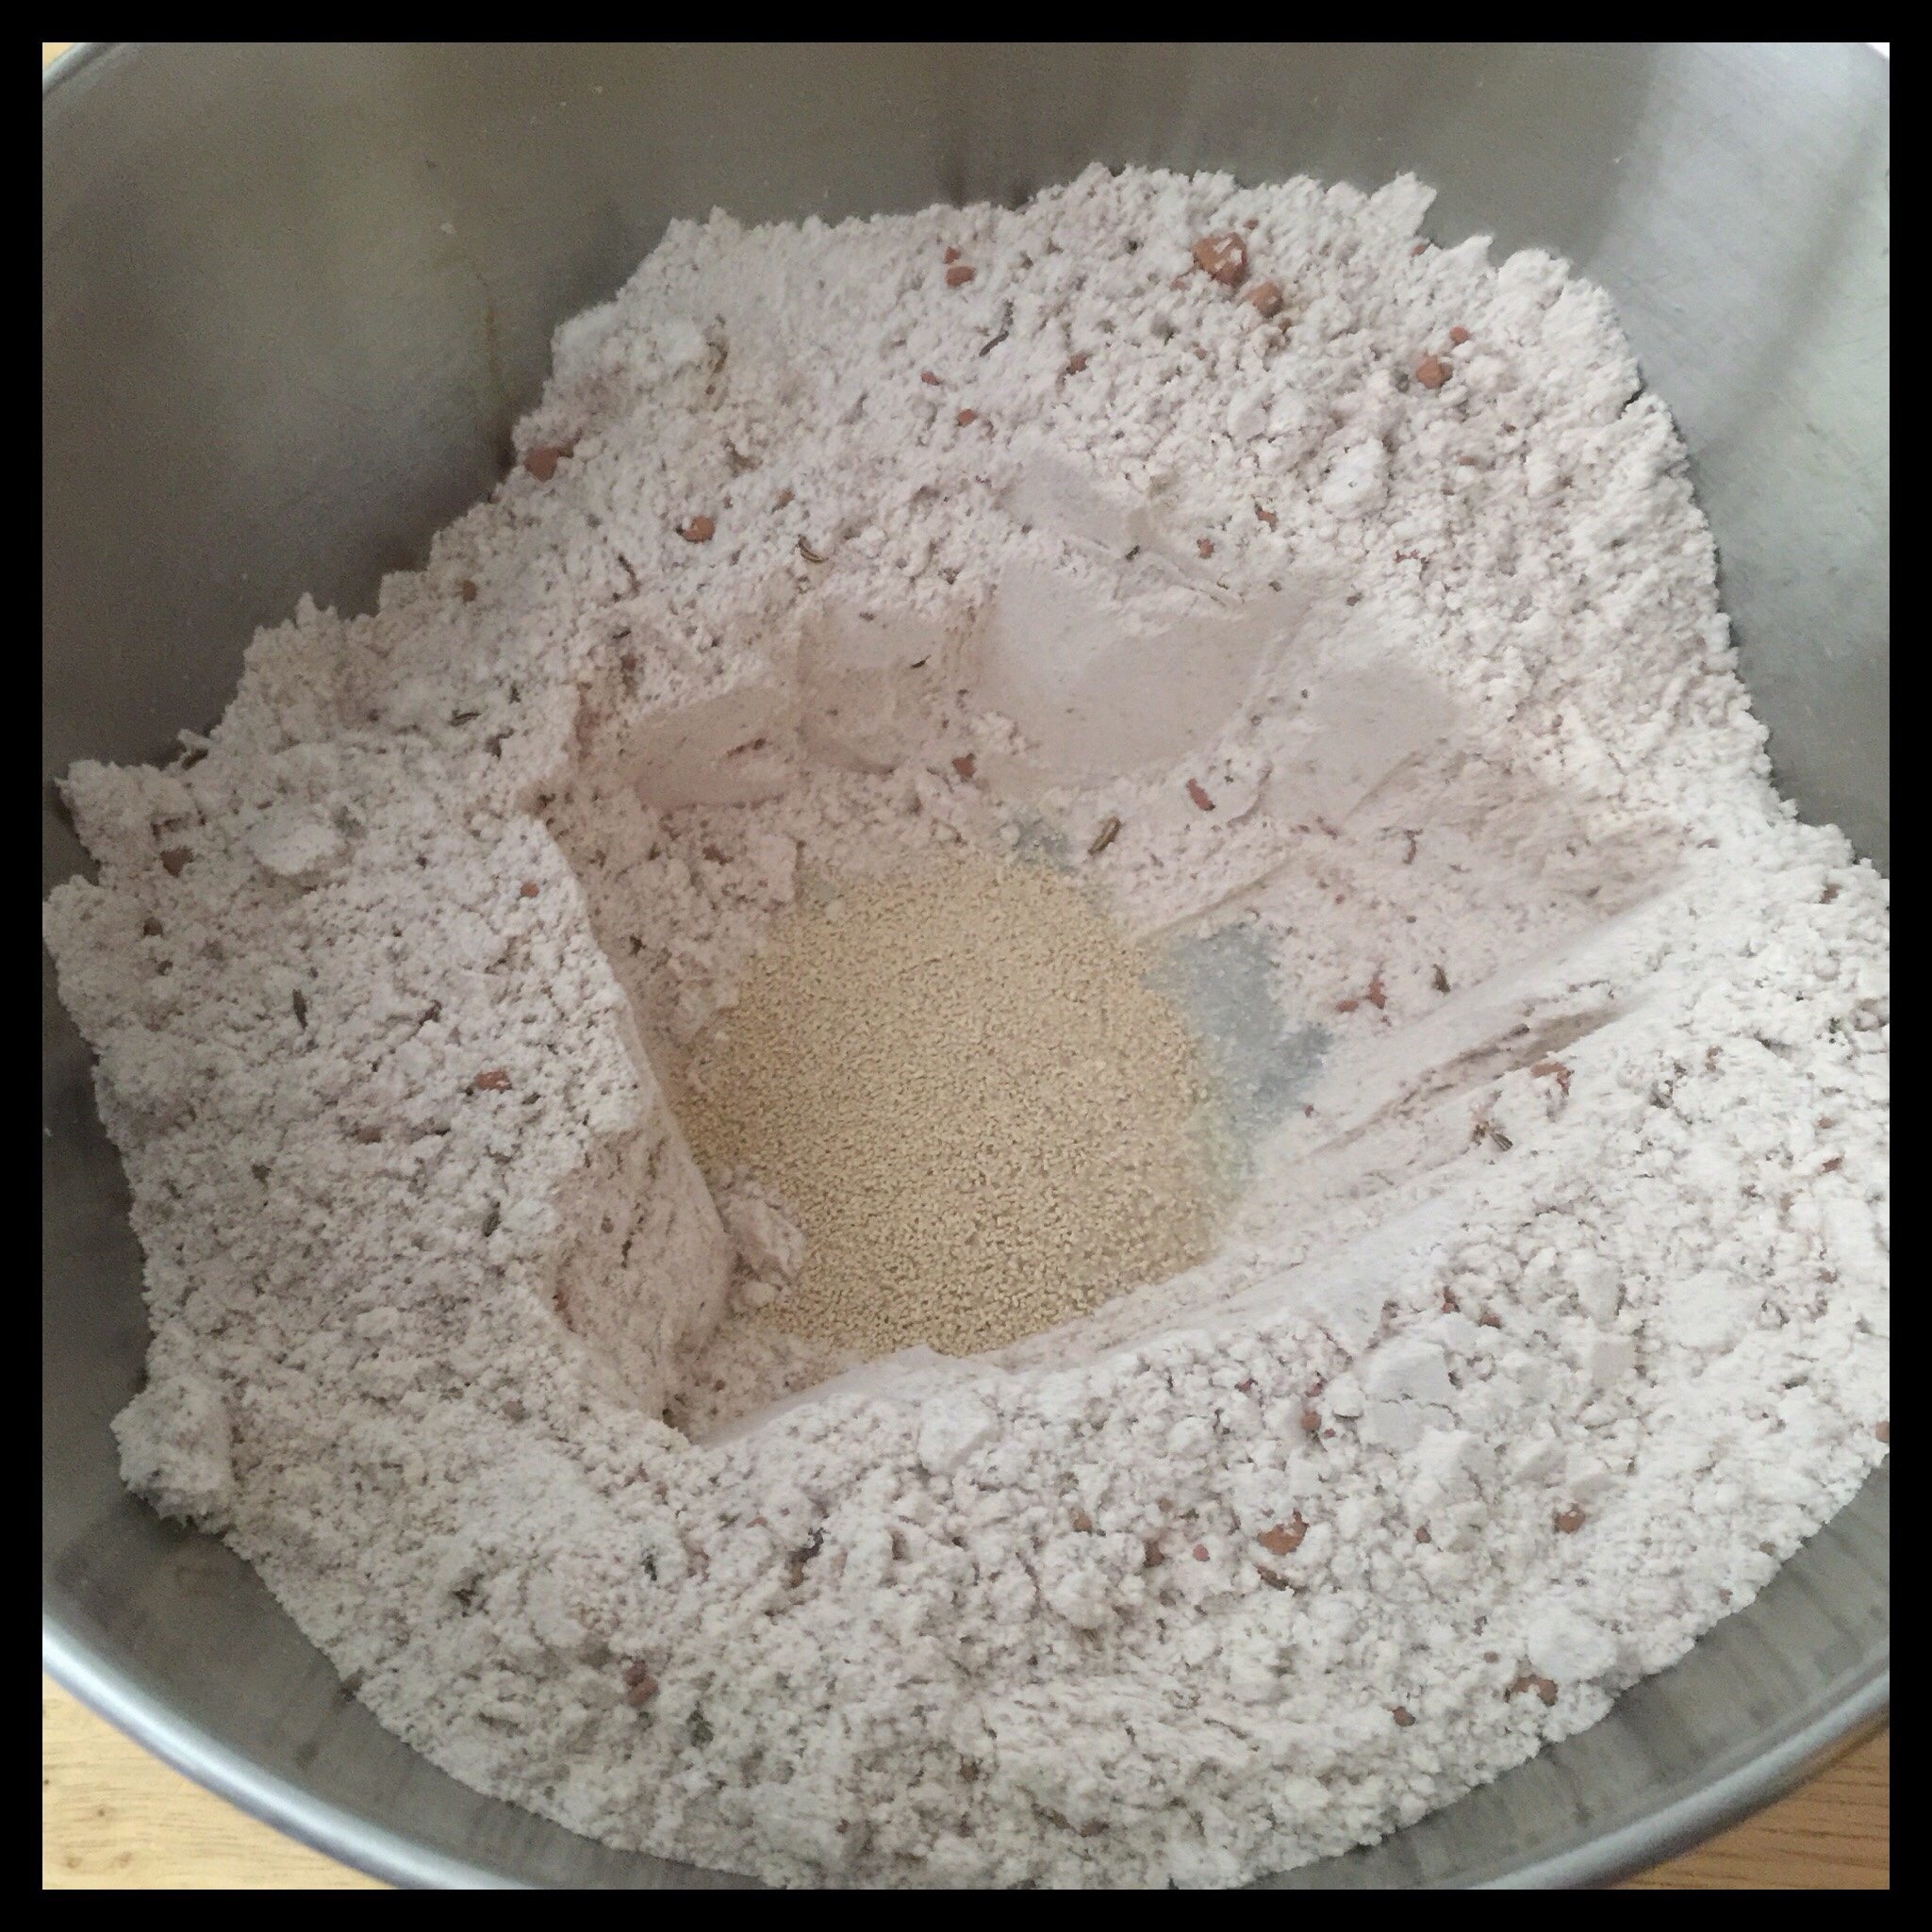
Make a well in the flour mixture. Add the sugar and yeast to the well:
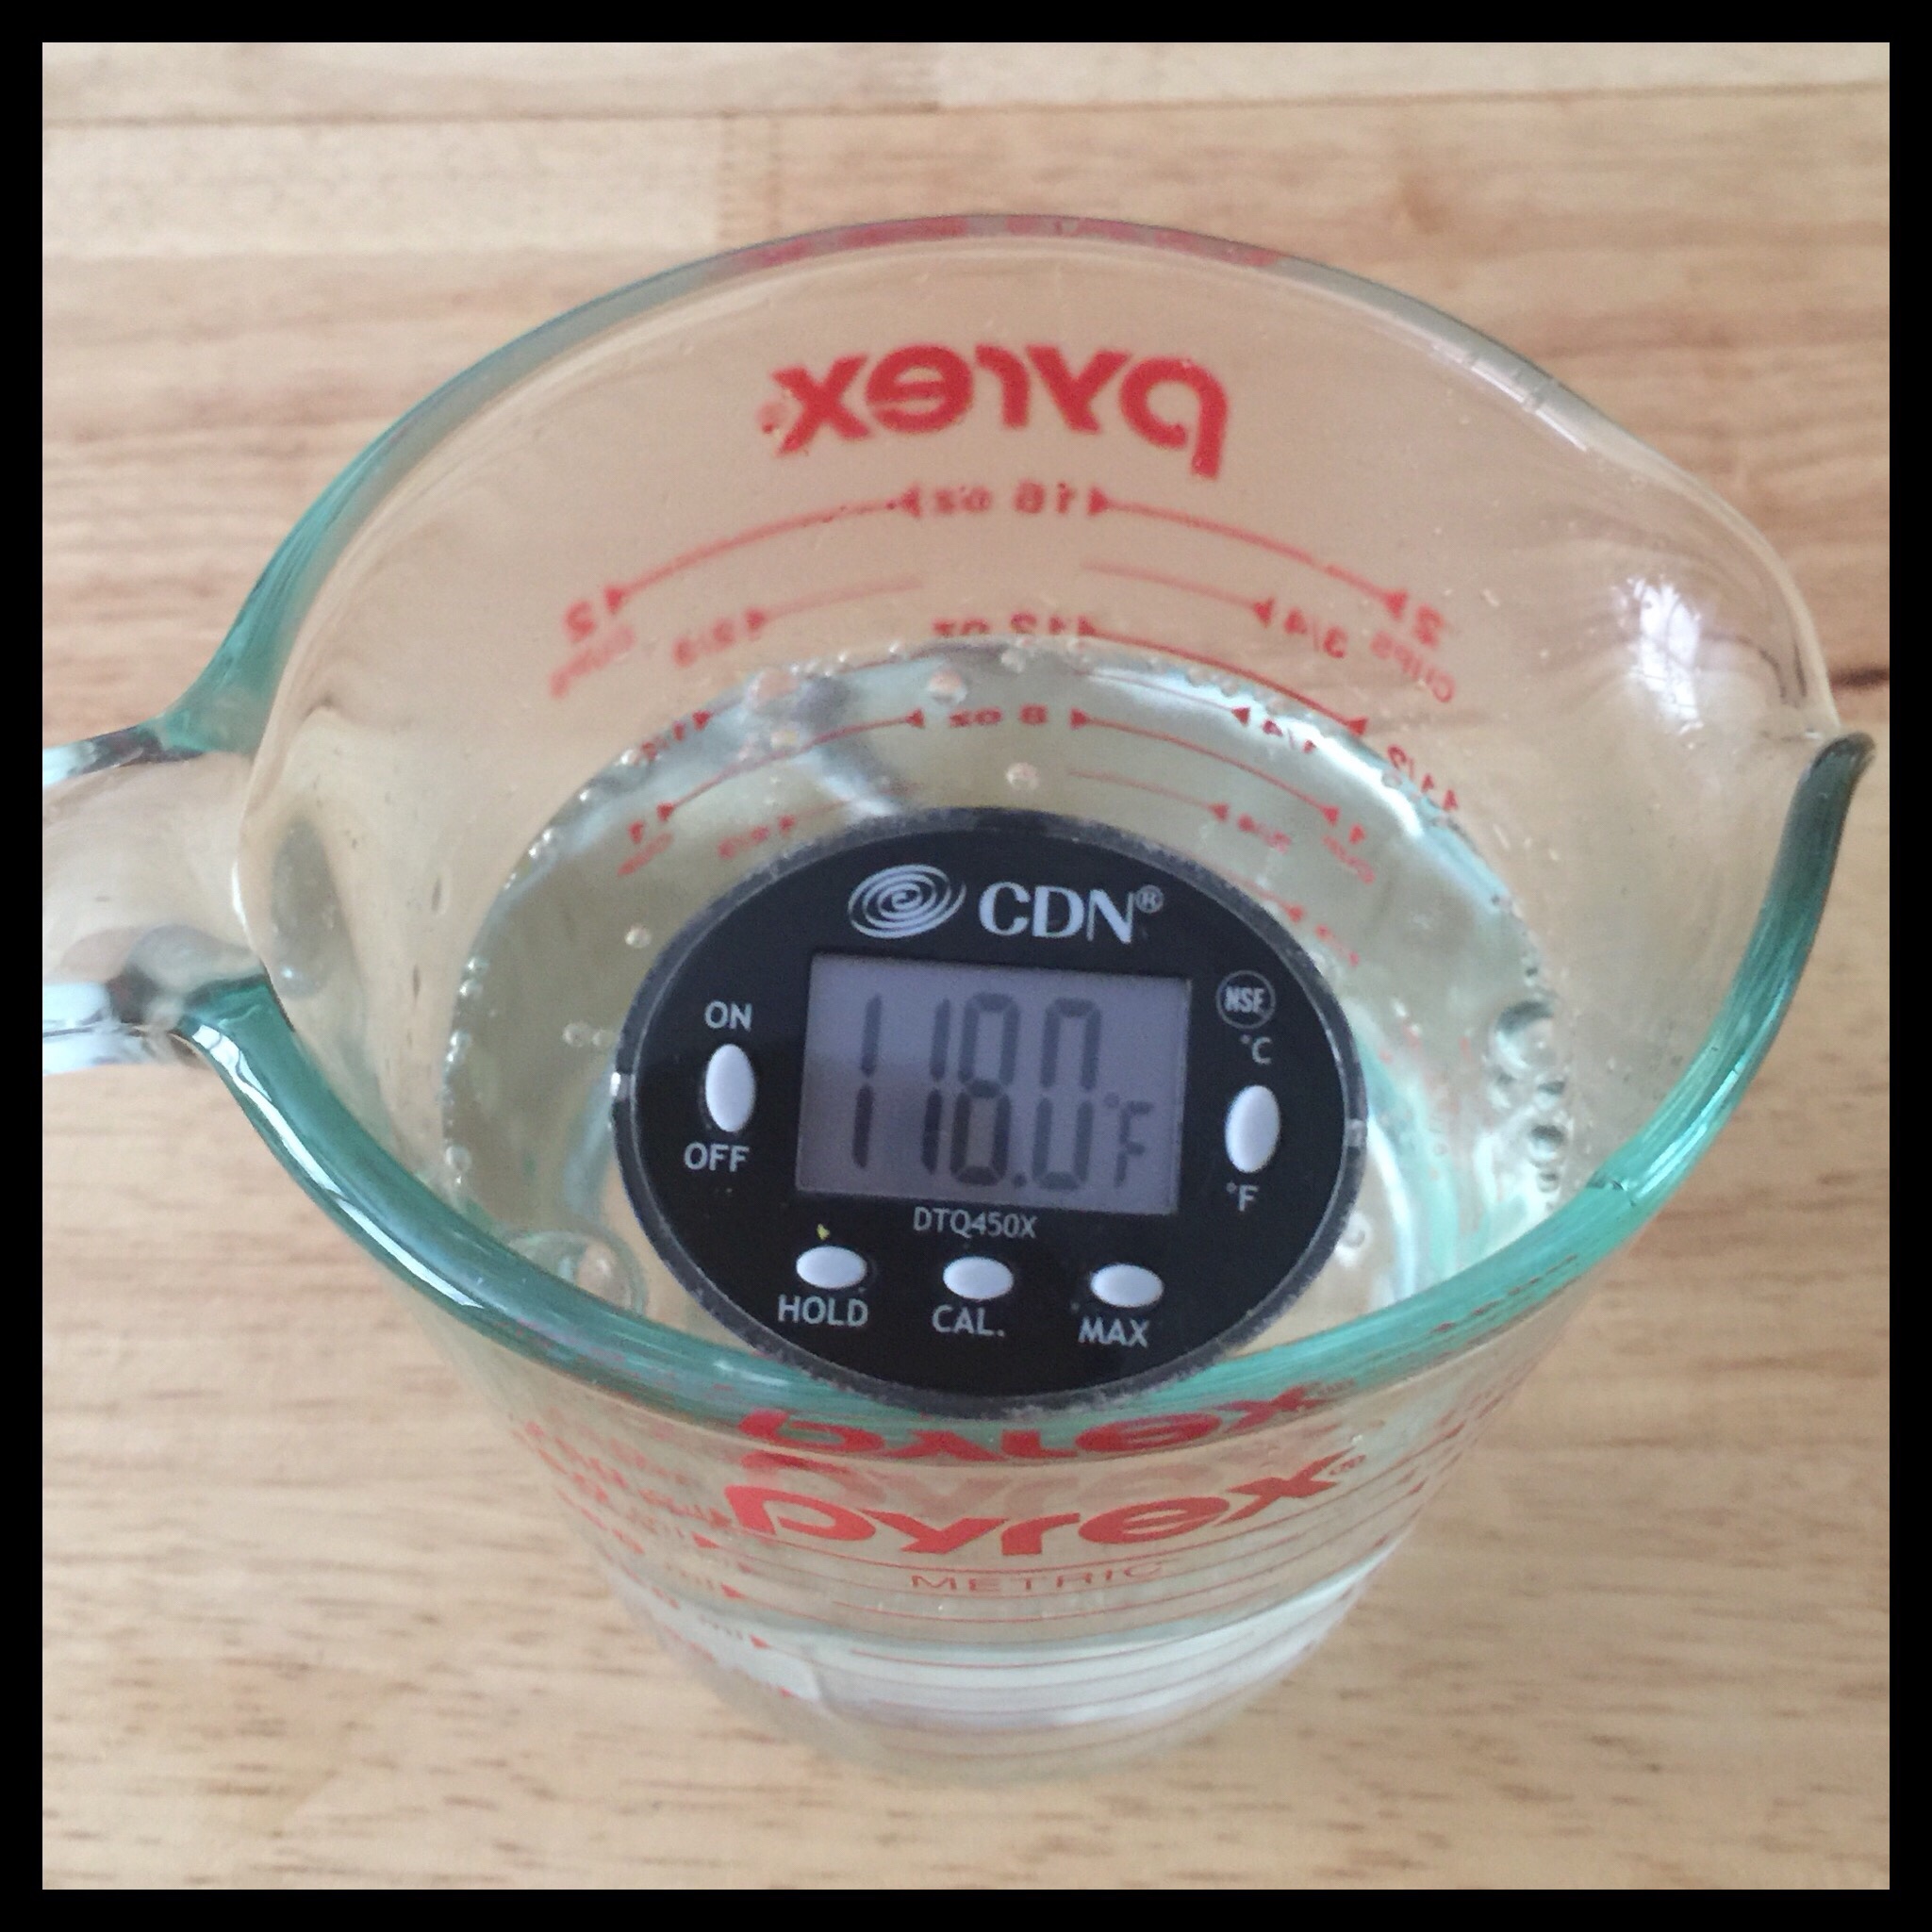
Warm the seltzer water in the microwave until it is 118 degrees Fahrenheit. (Be sure to stir before checking the temperature as hot spots can occur.)
Pour the warm seltzer water into the well:
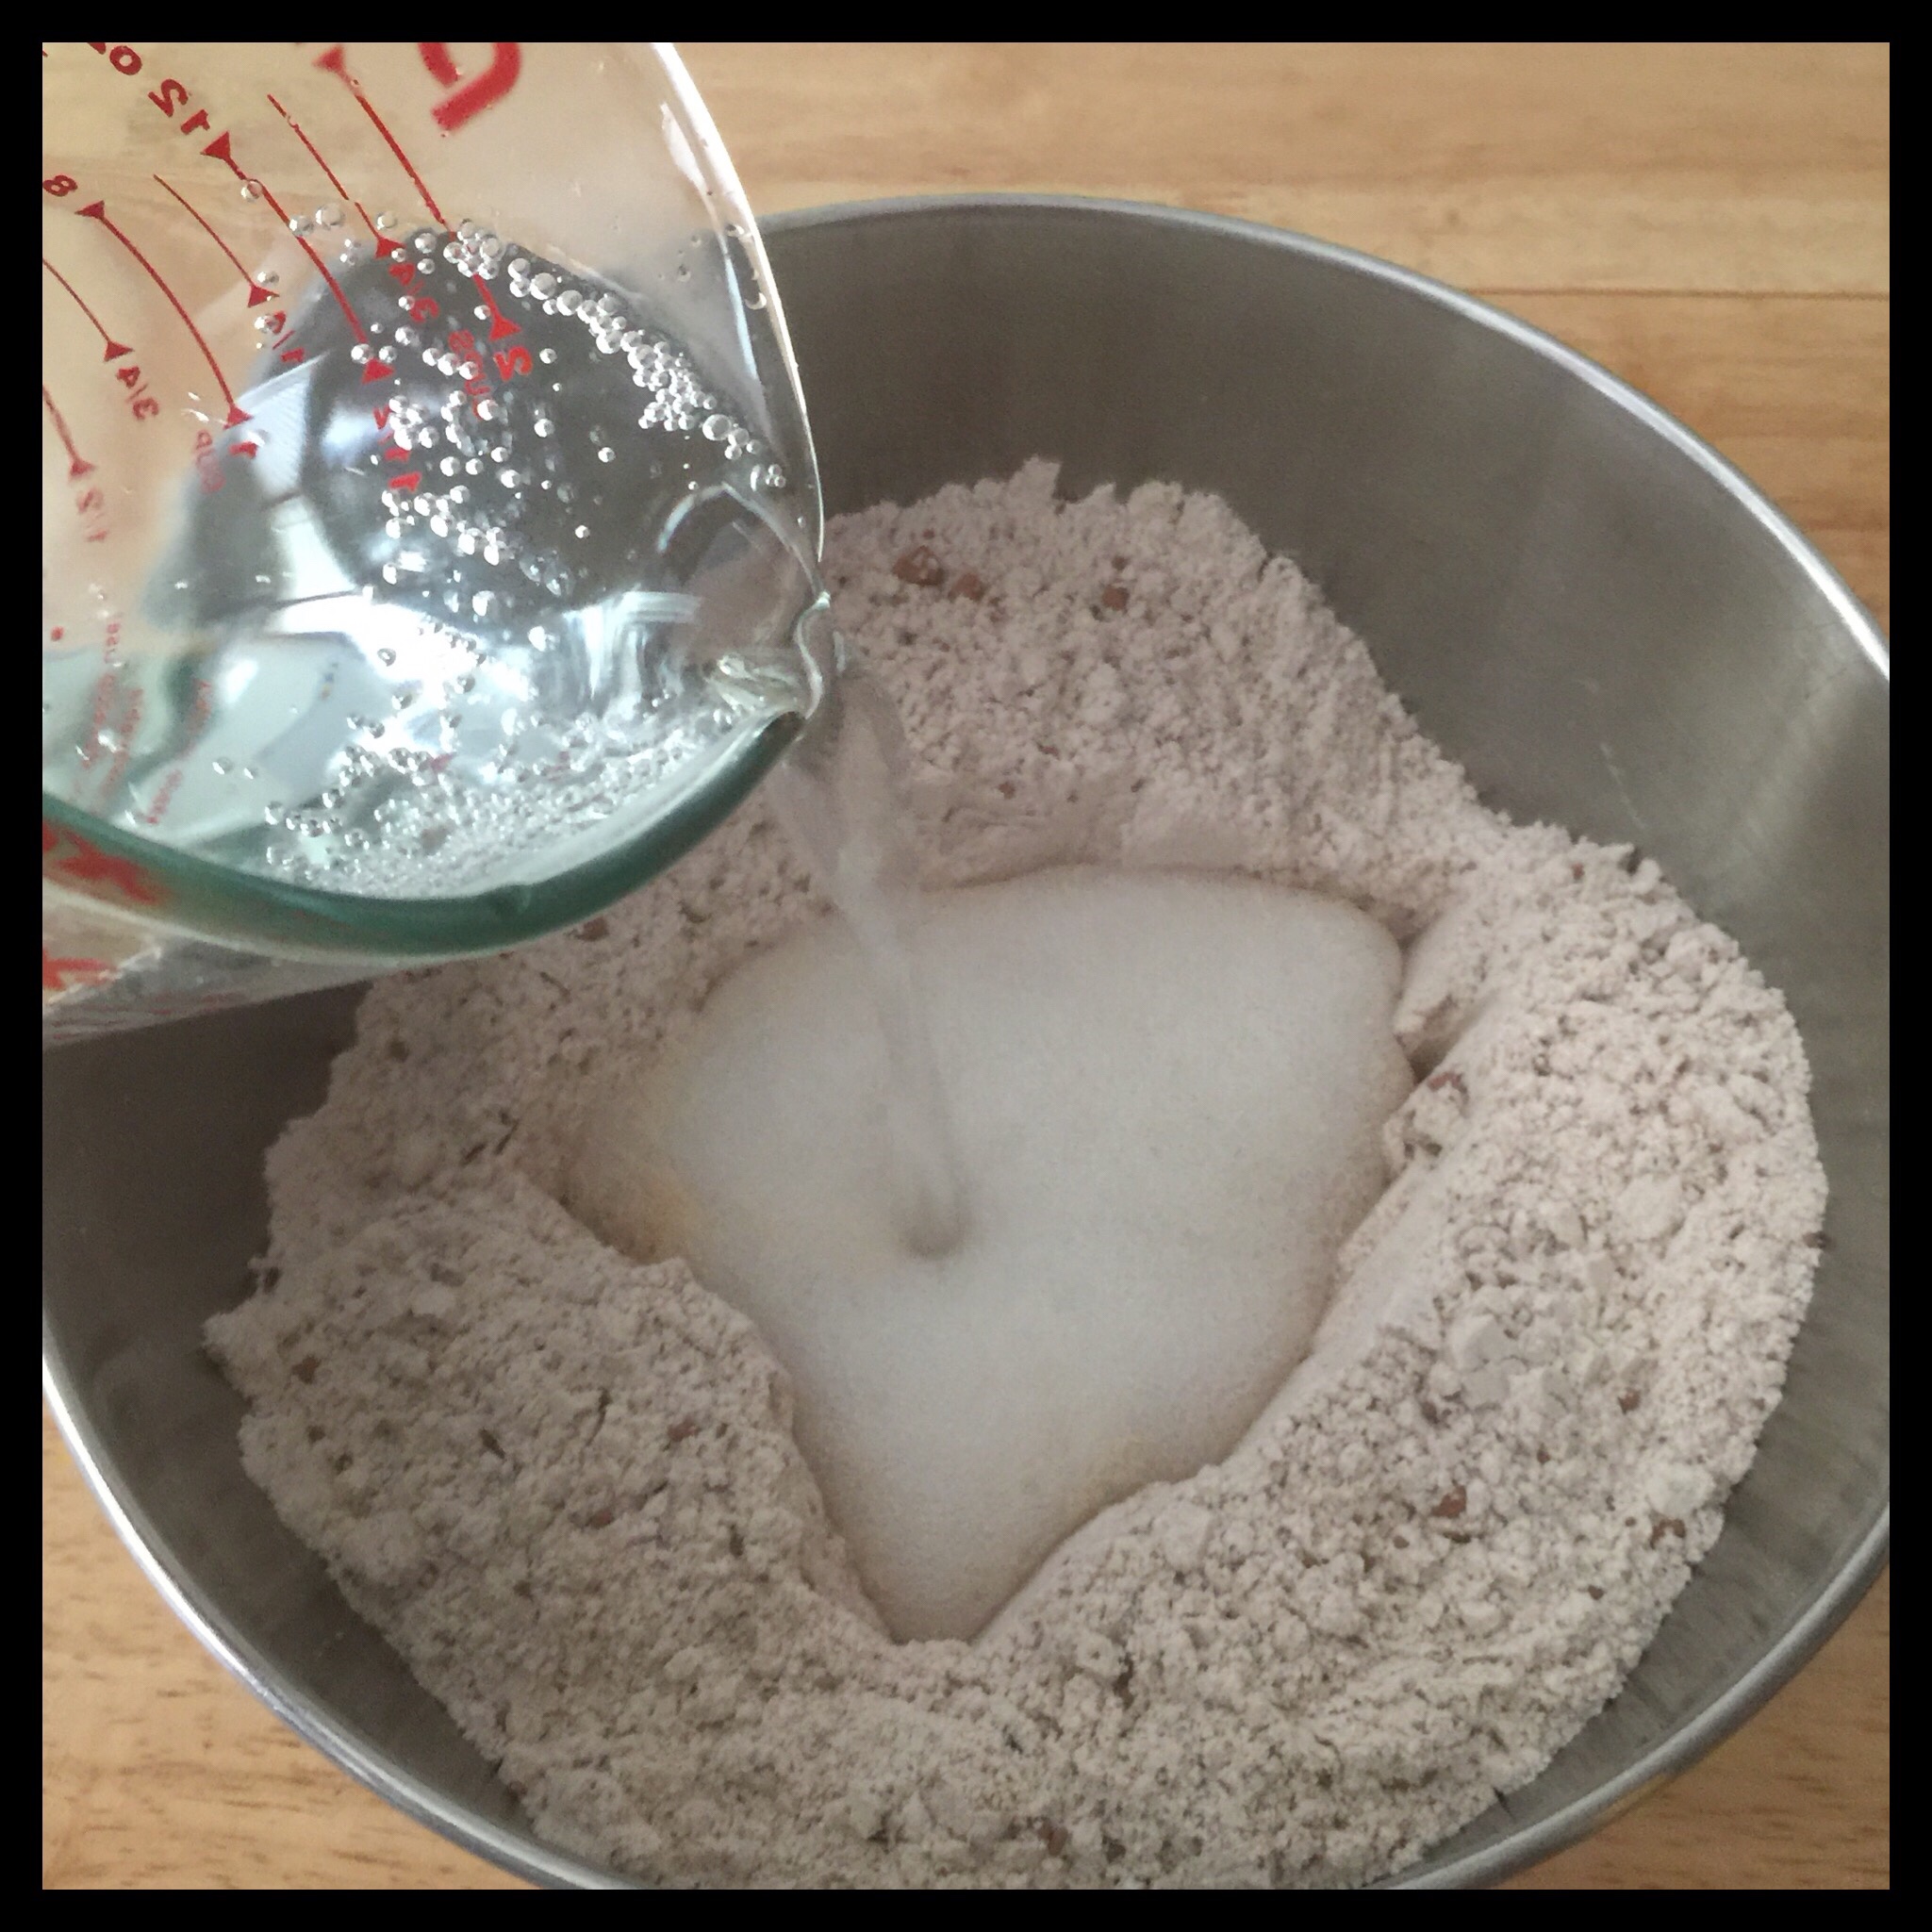
Let stand for about five minutes, until nice and bubbly:
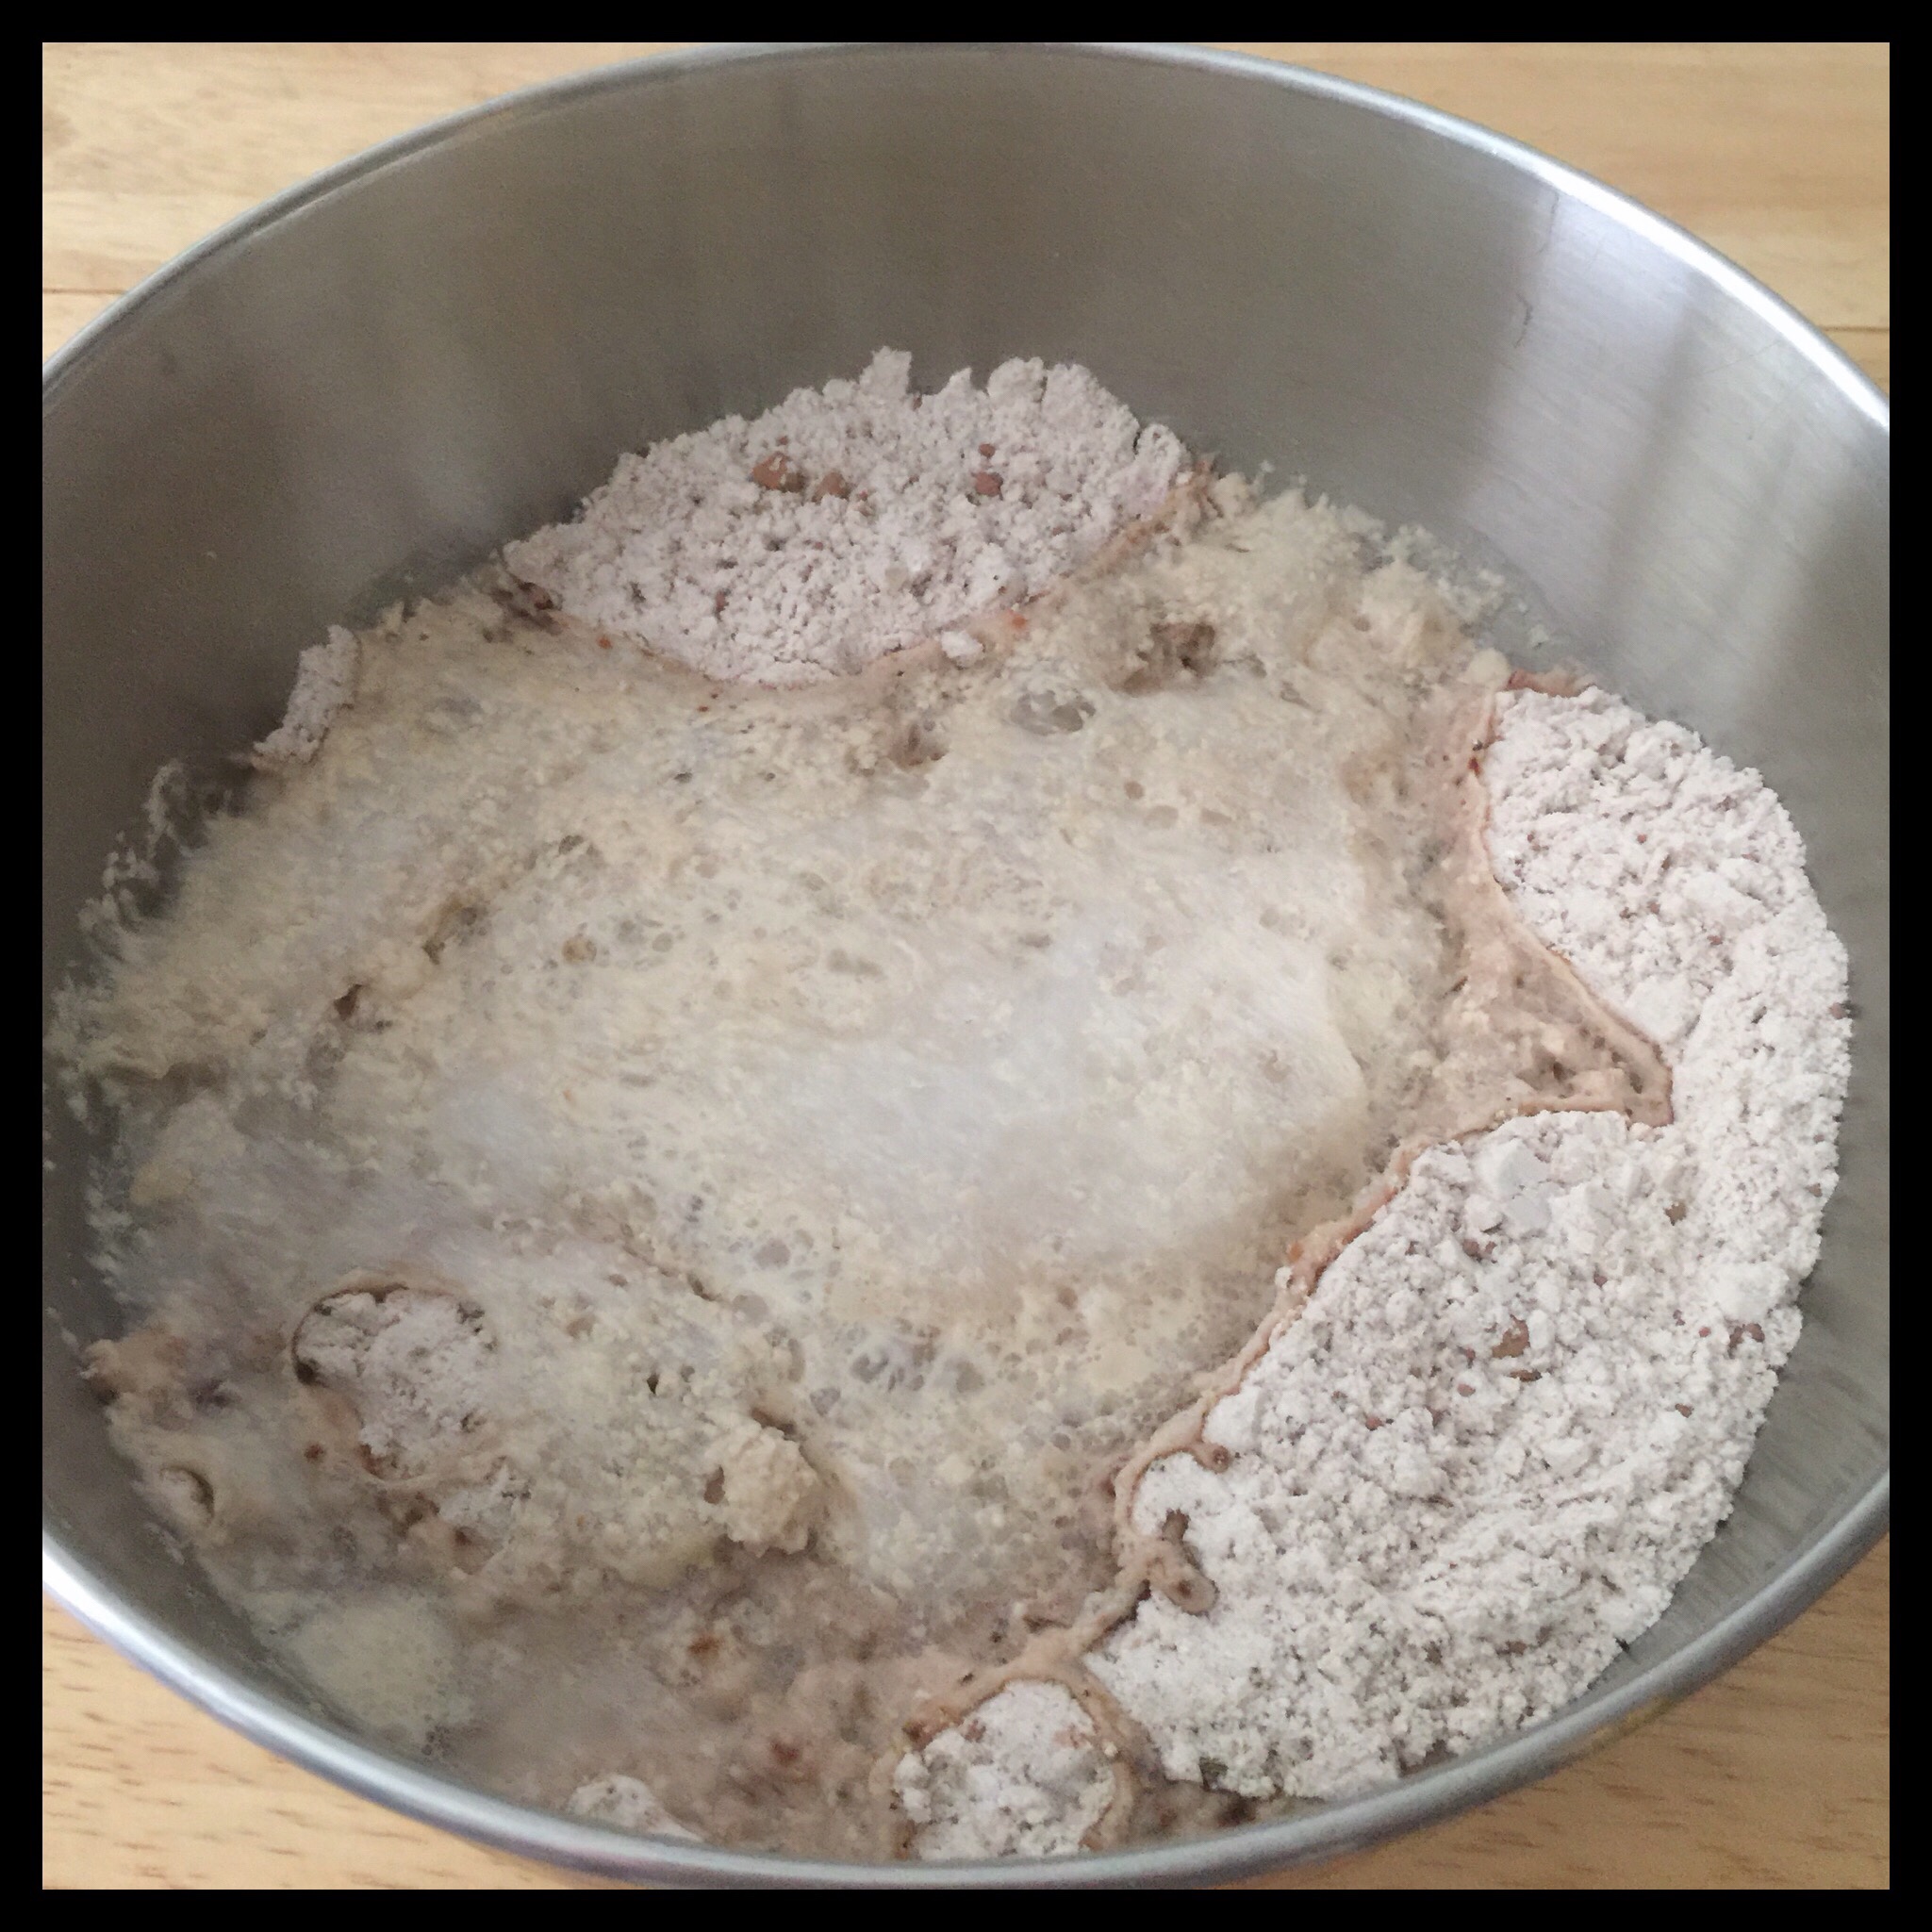
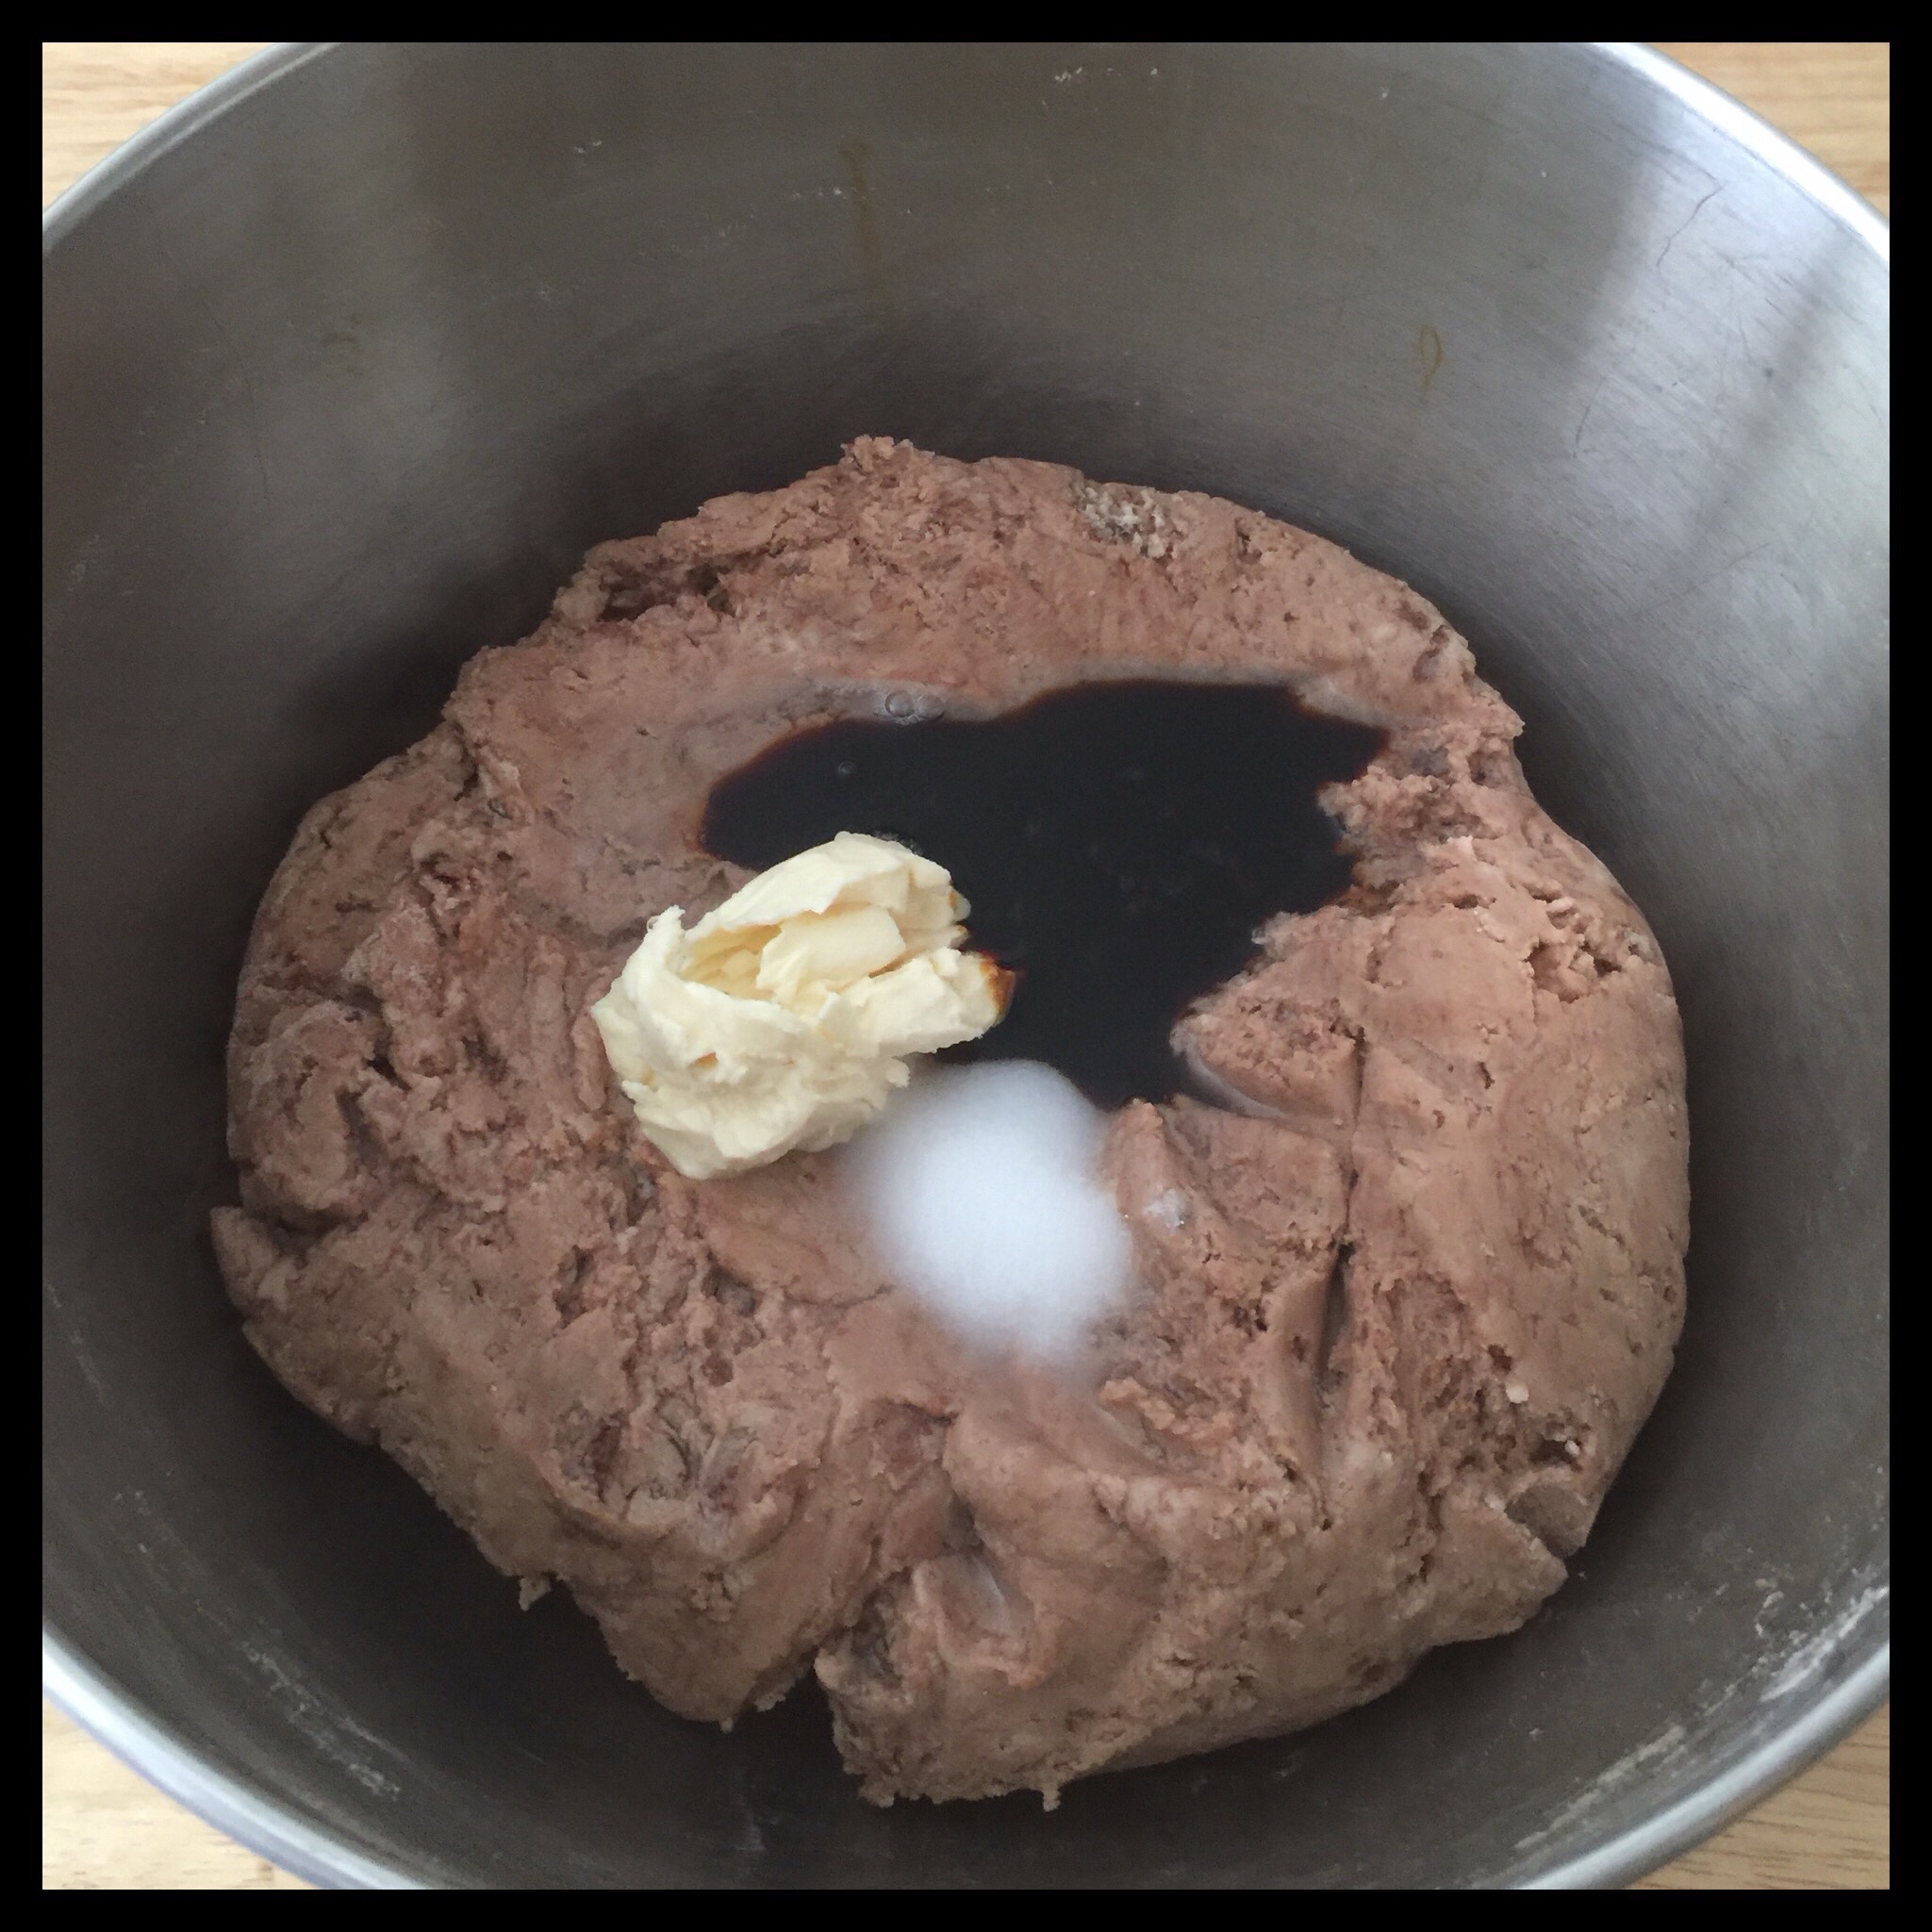
Stir together with a sturdy spatula or a large spoon. (The dough will be quite firm.) Add the molasses, vinegar, salt, and vegan butter, but do NOT stir them in yet:
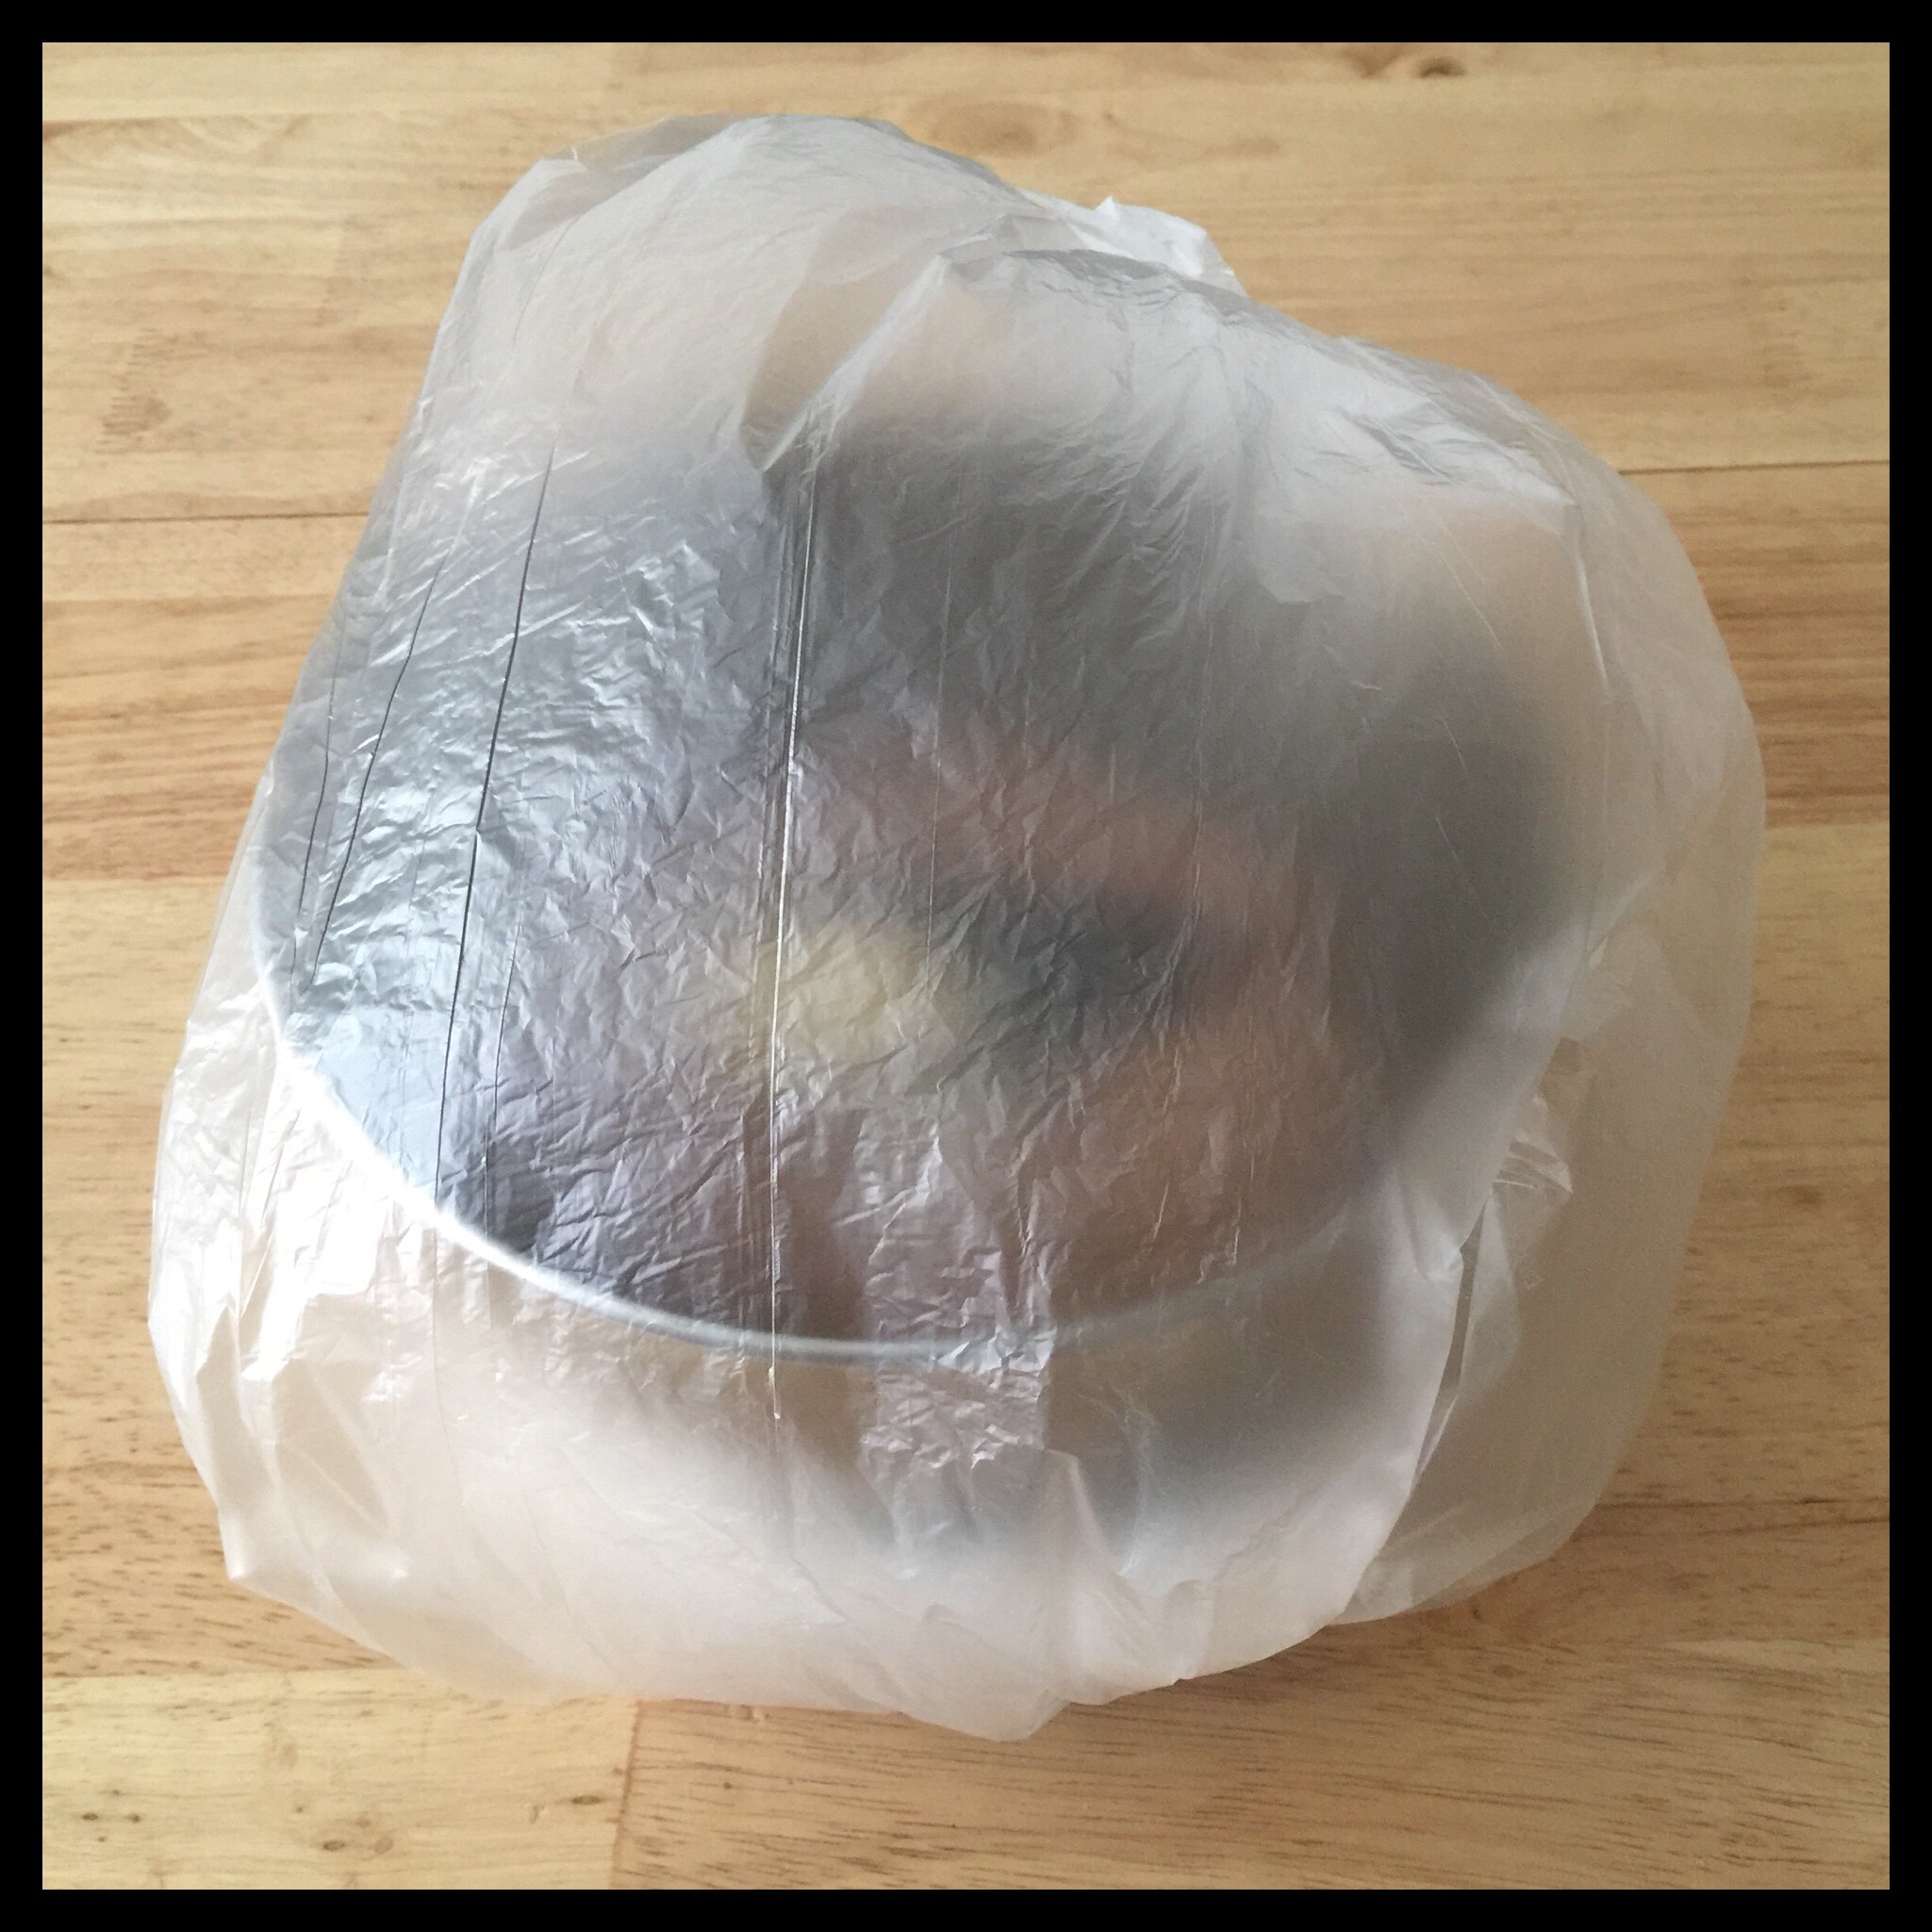
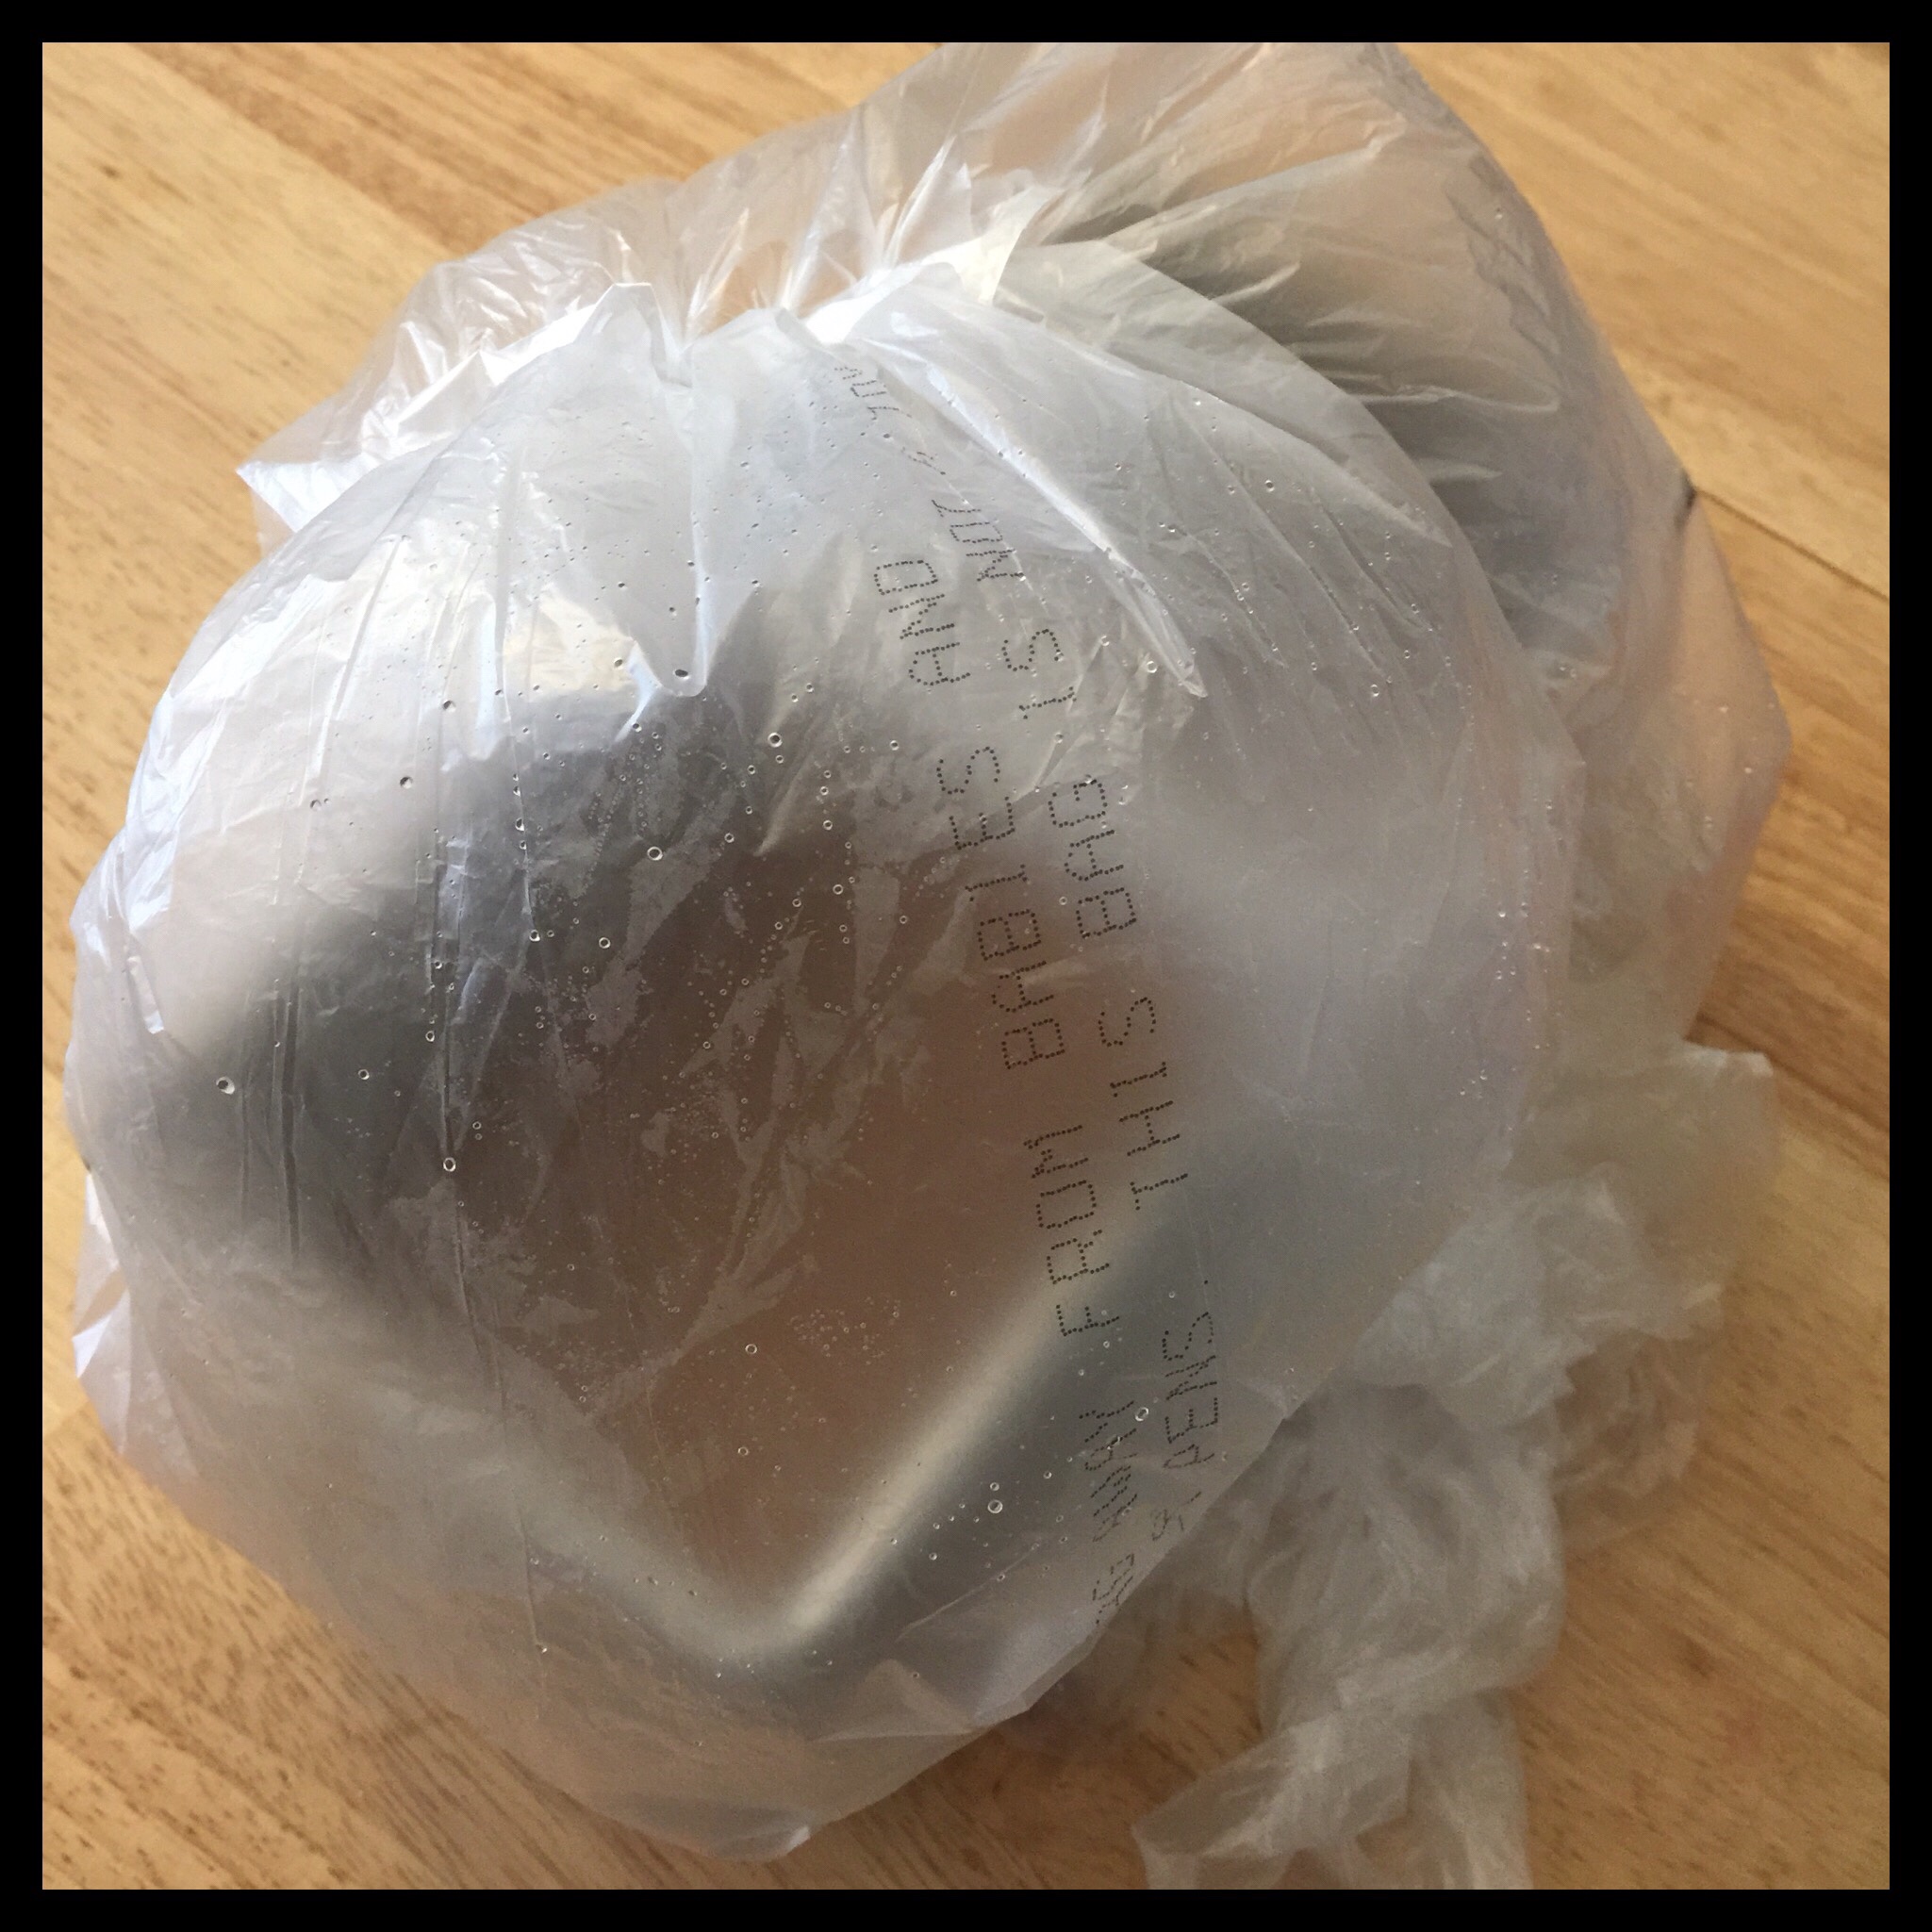
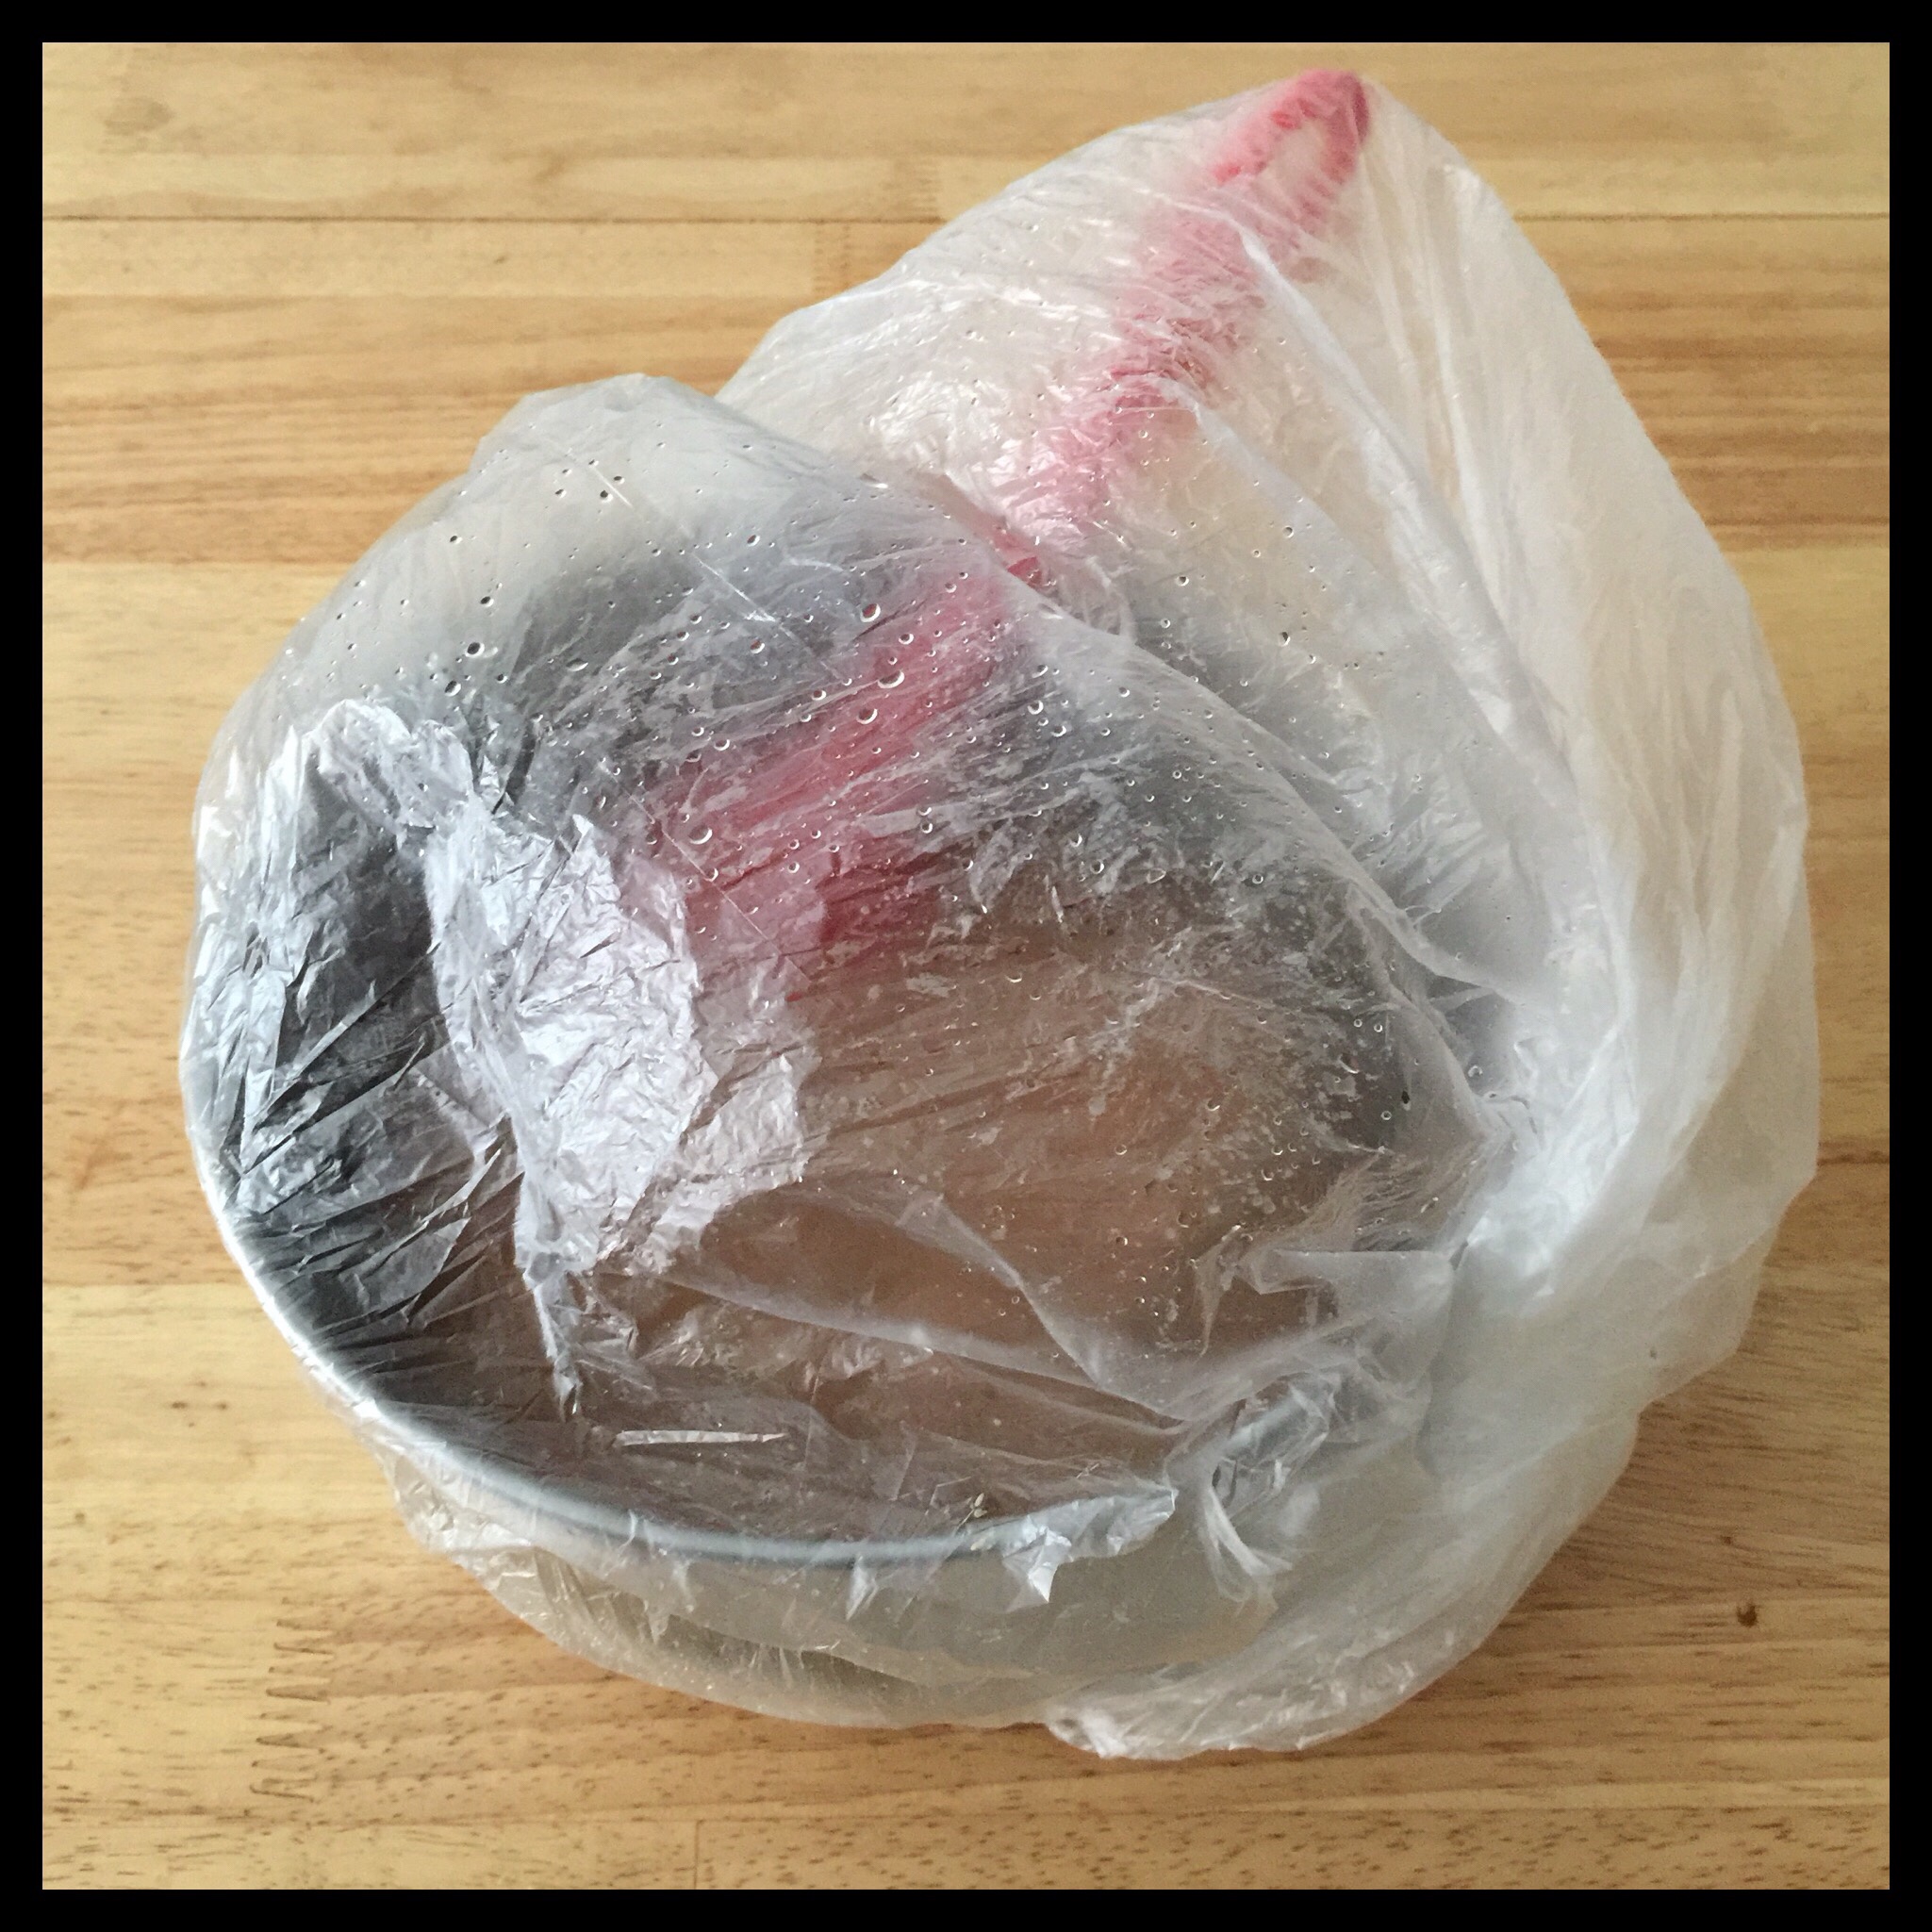
Place the bowl into the clean plastic bag, twist the bag to close it, and tuck the end under the bowl. Place the bowl (inside the bag) in a warm place to rise. (You want the room temperature to be at least 70 degrees Fahrenheit, and no warmer than 85 degrees Fahrenheit.) If your house is cooler than 70 degrees, you can use your oven with the light turned on, but check the temperature inside to be sure it isn’t above 85 degrees. Set a timer for 30 minutes.
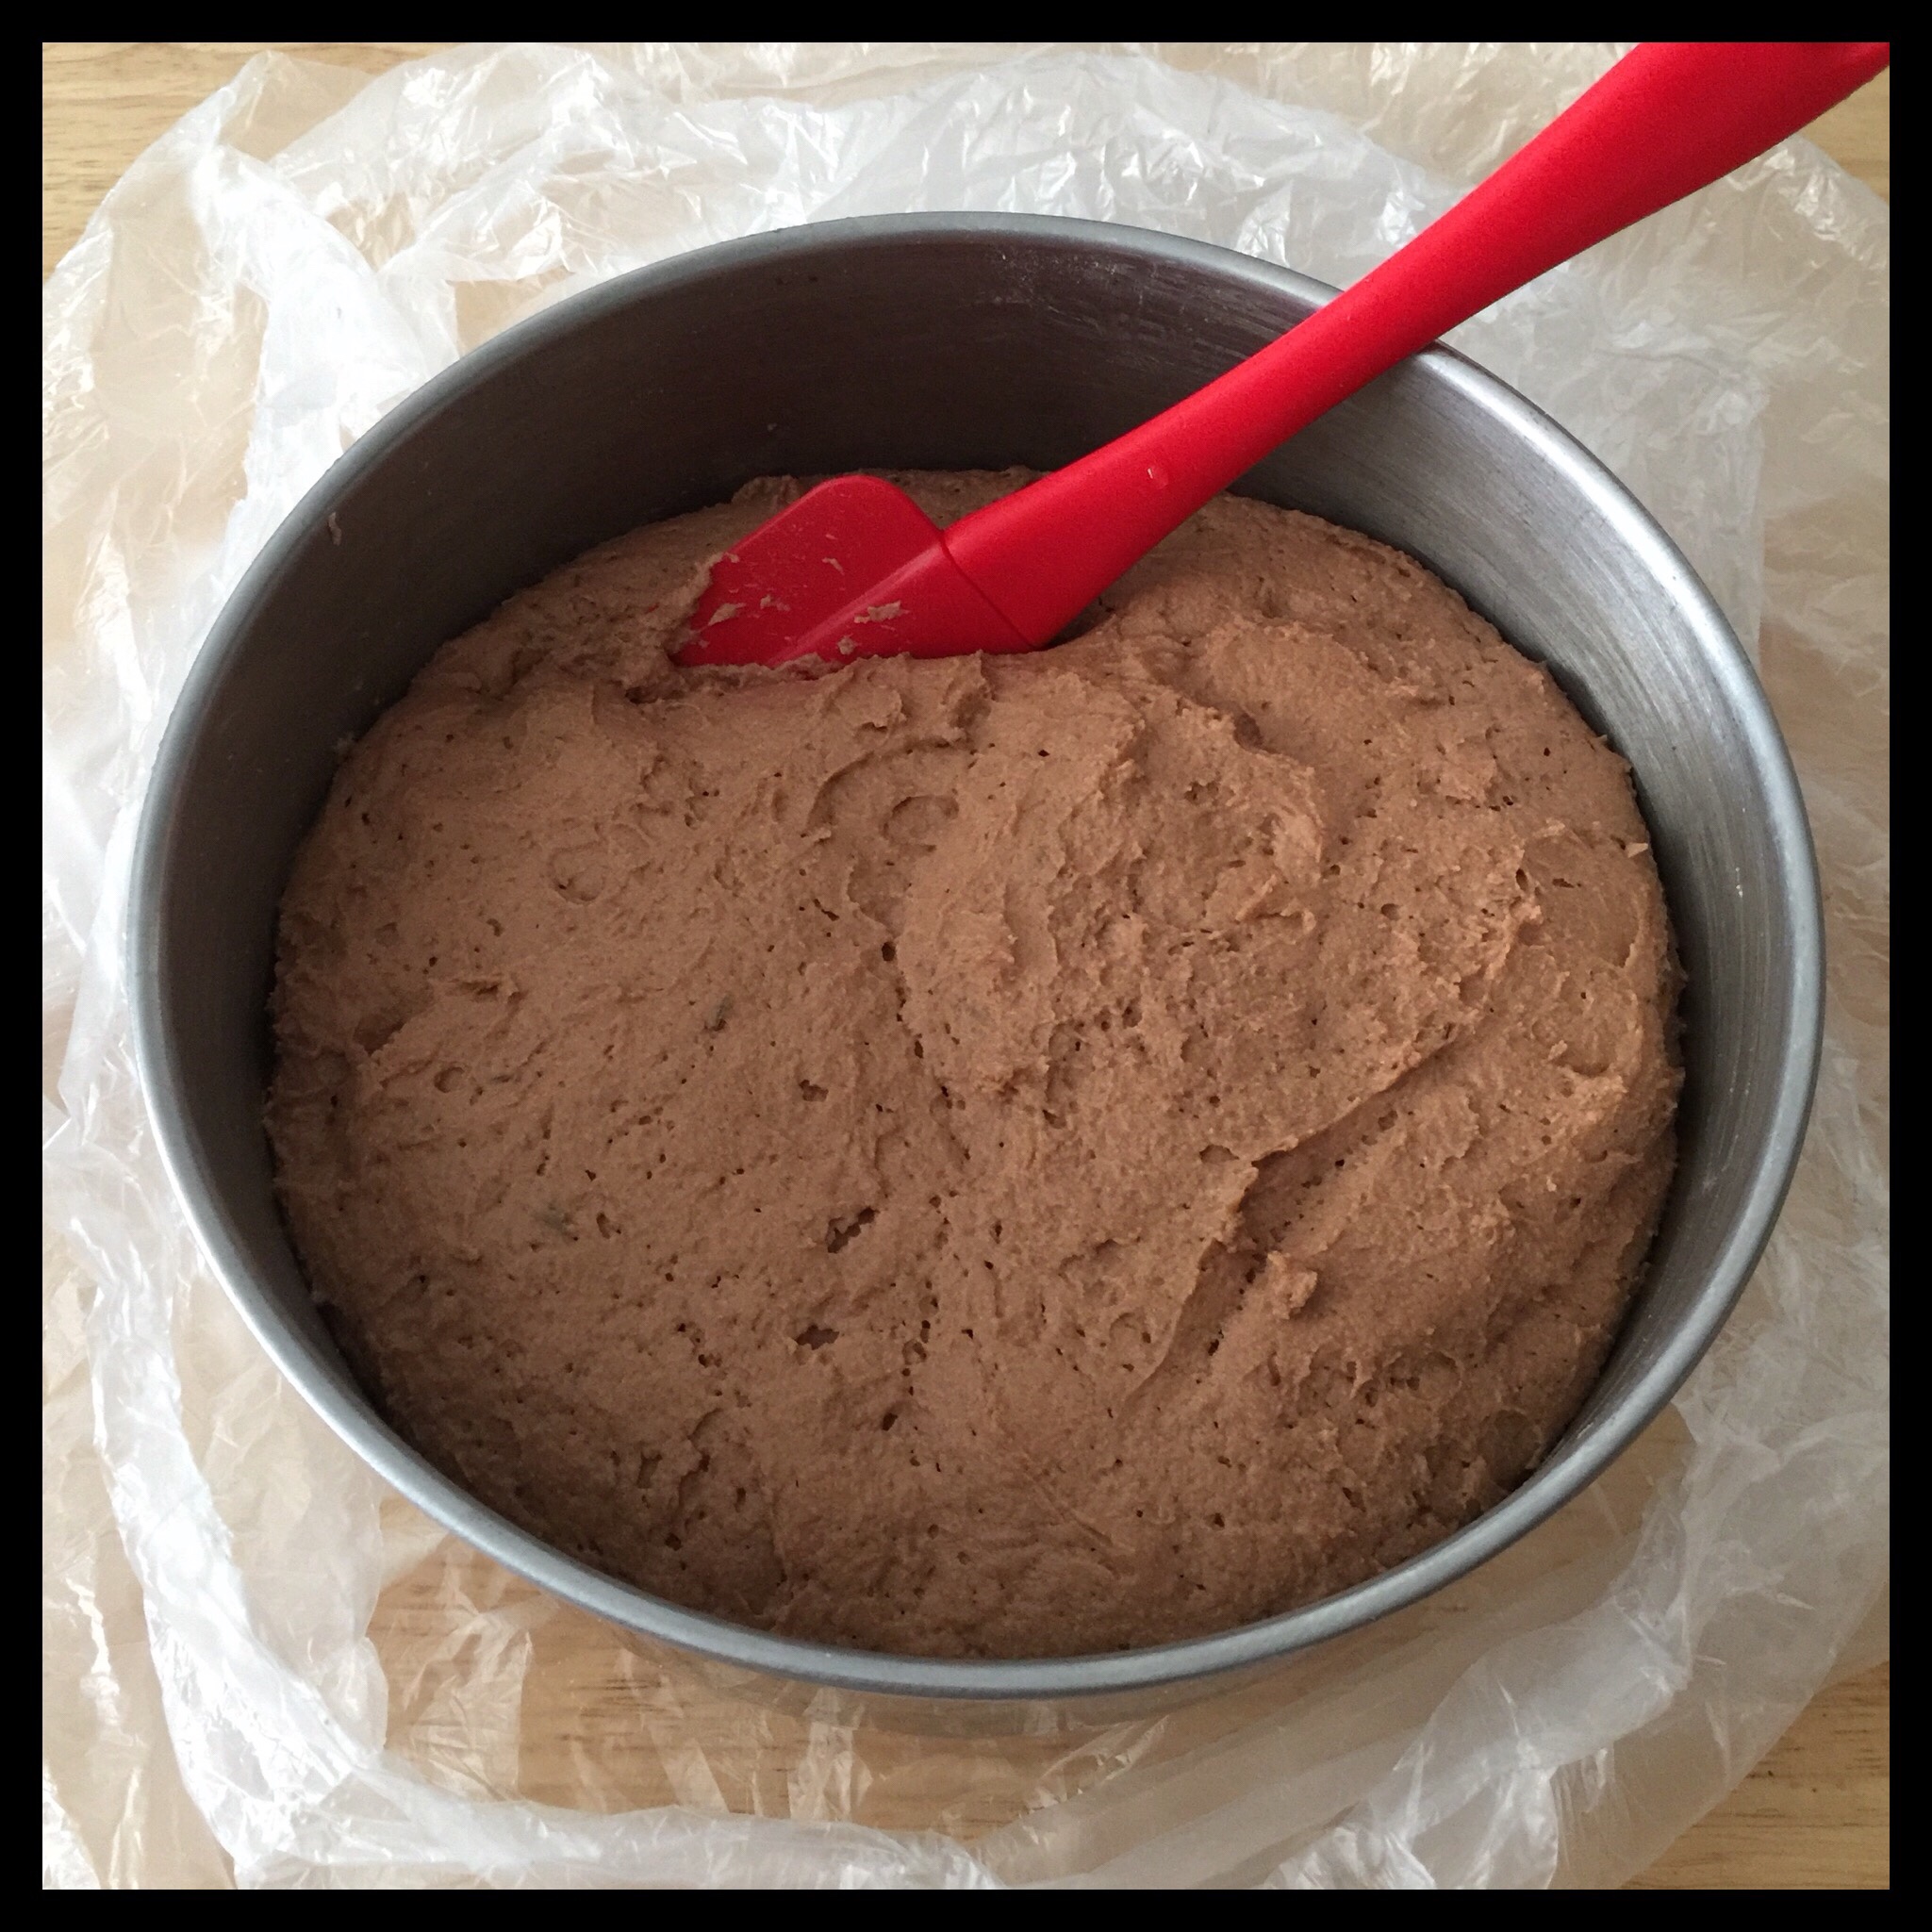
After 30 minutes, undo the bag and fold it back. The dough will be puffy like this:
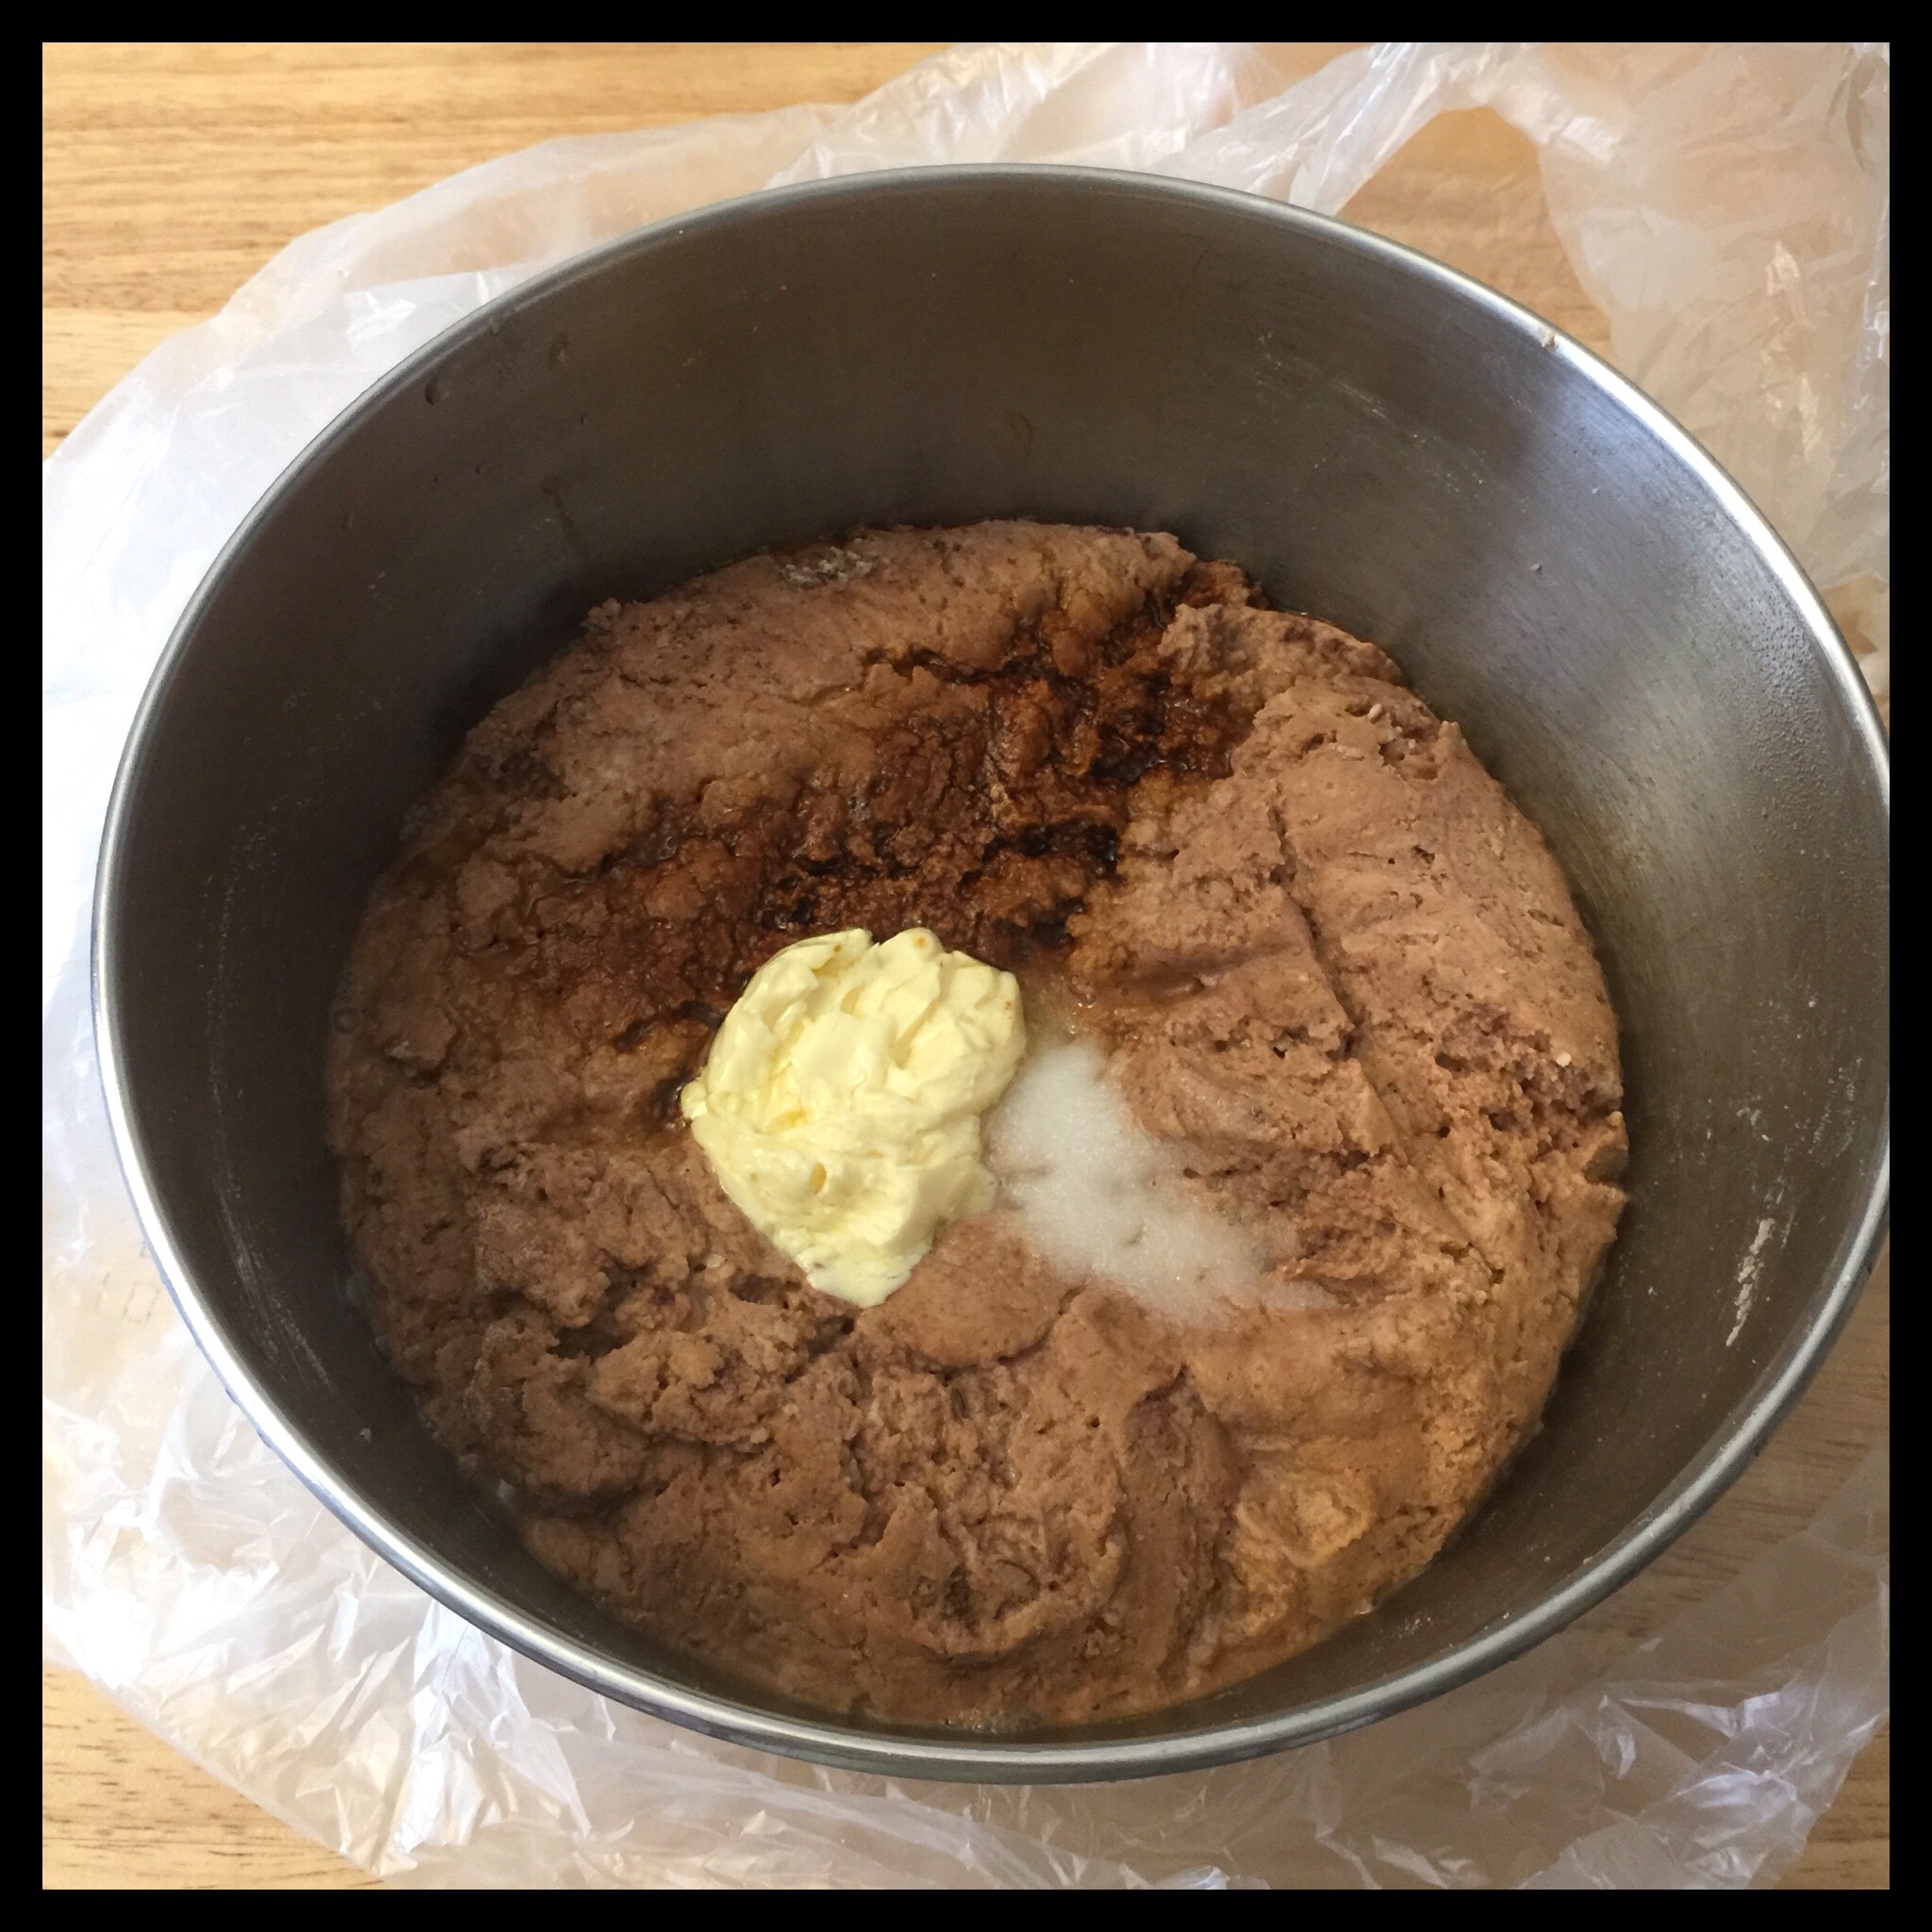
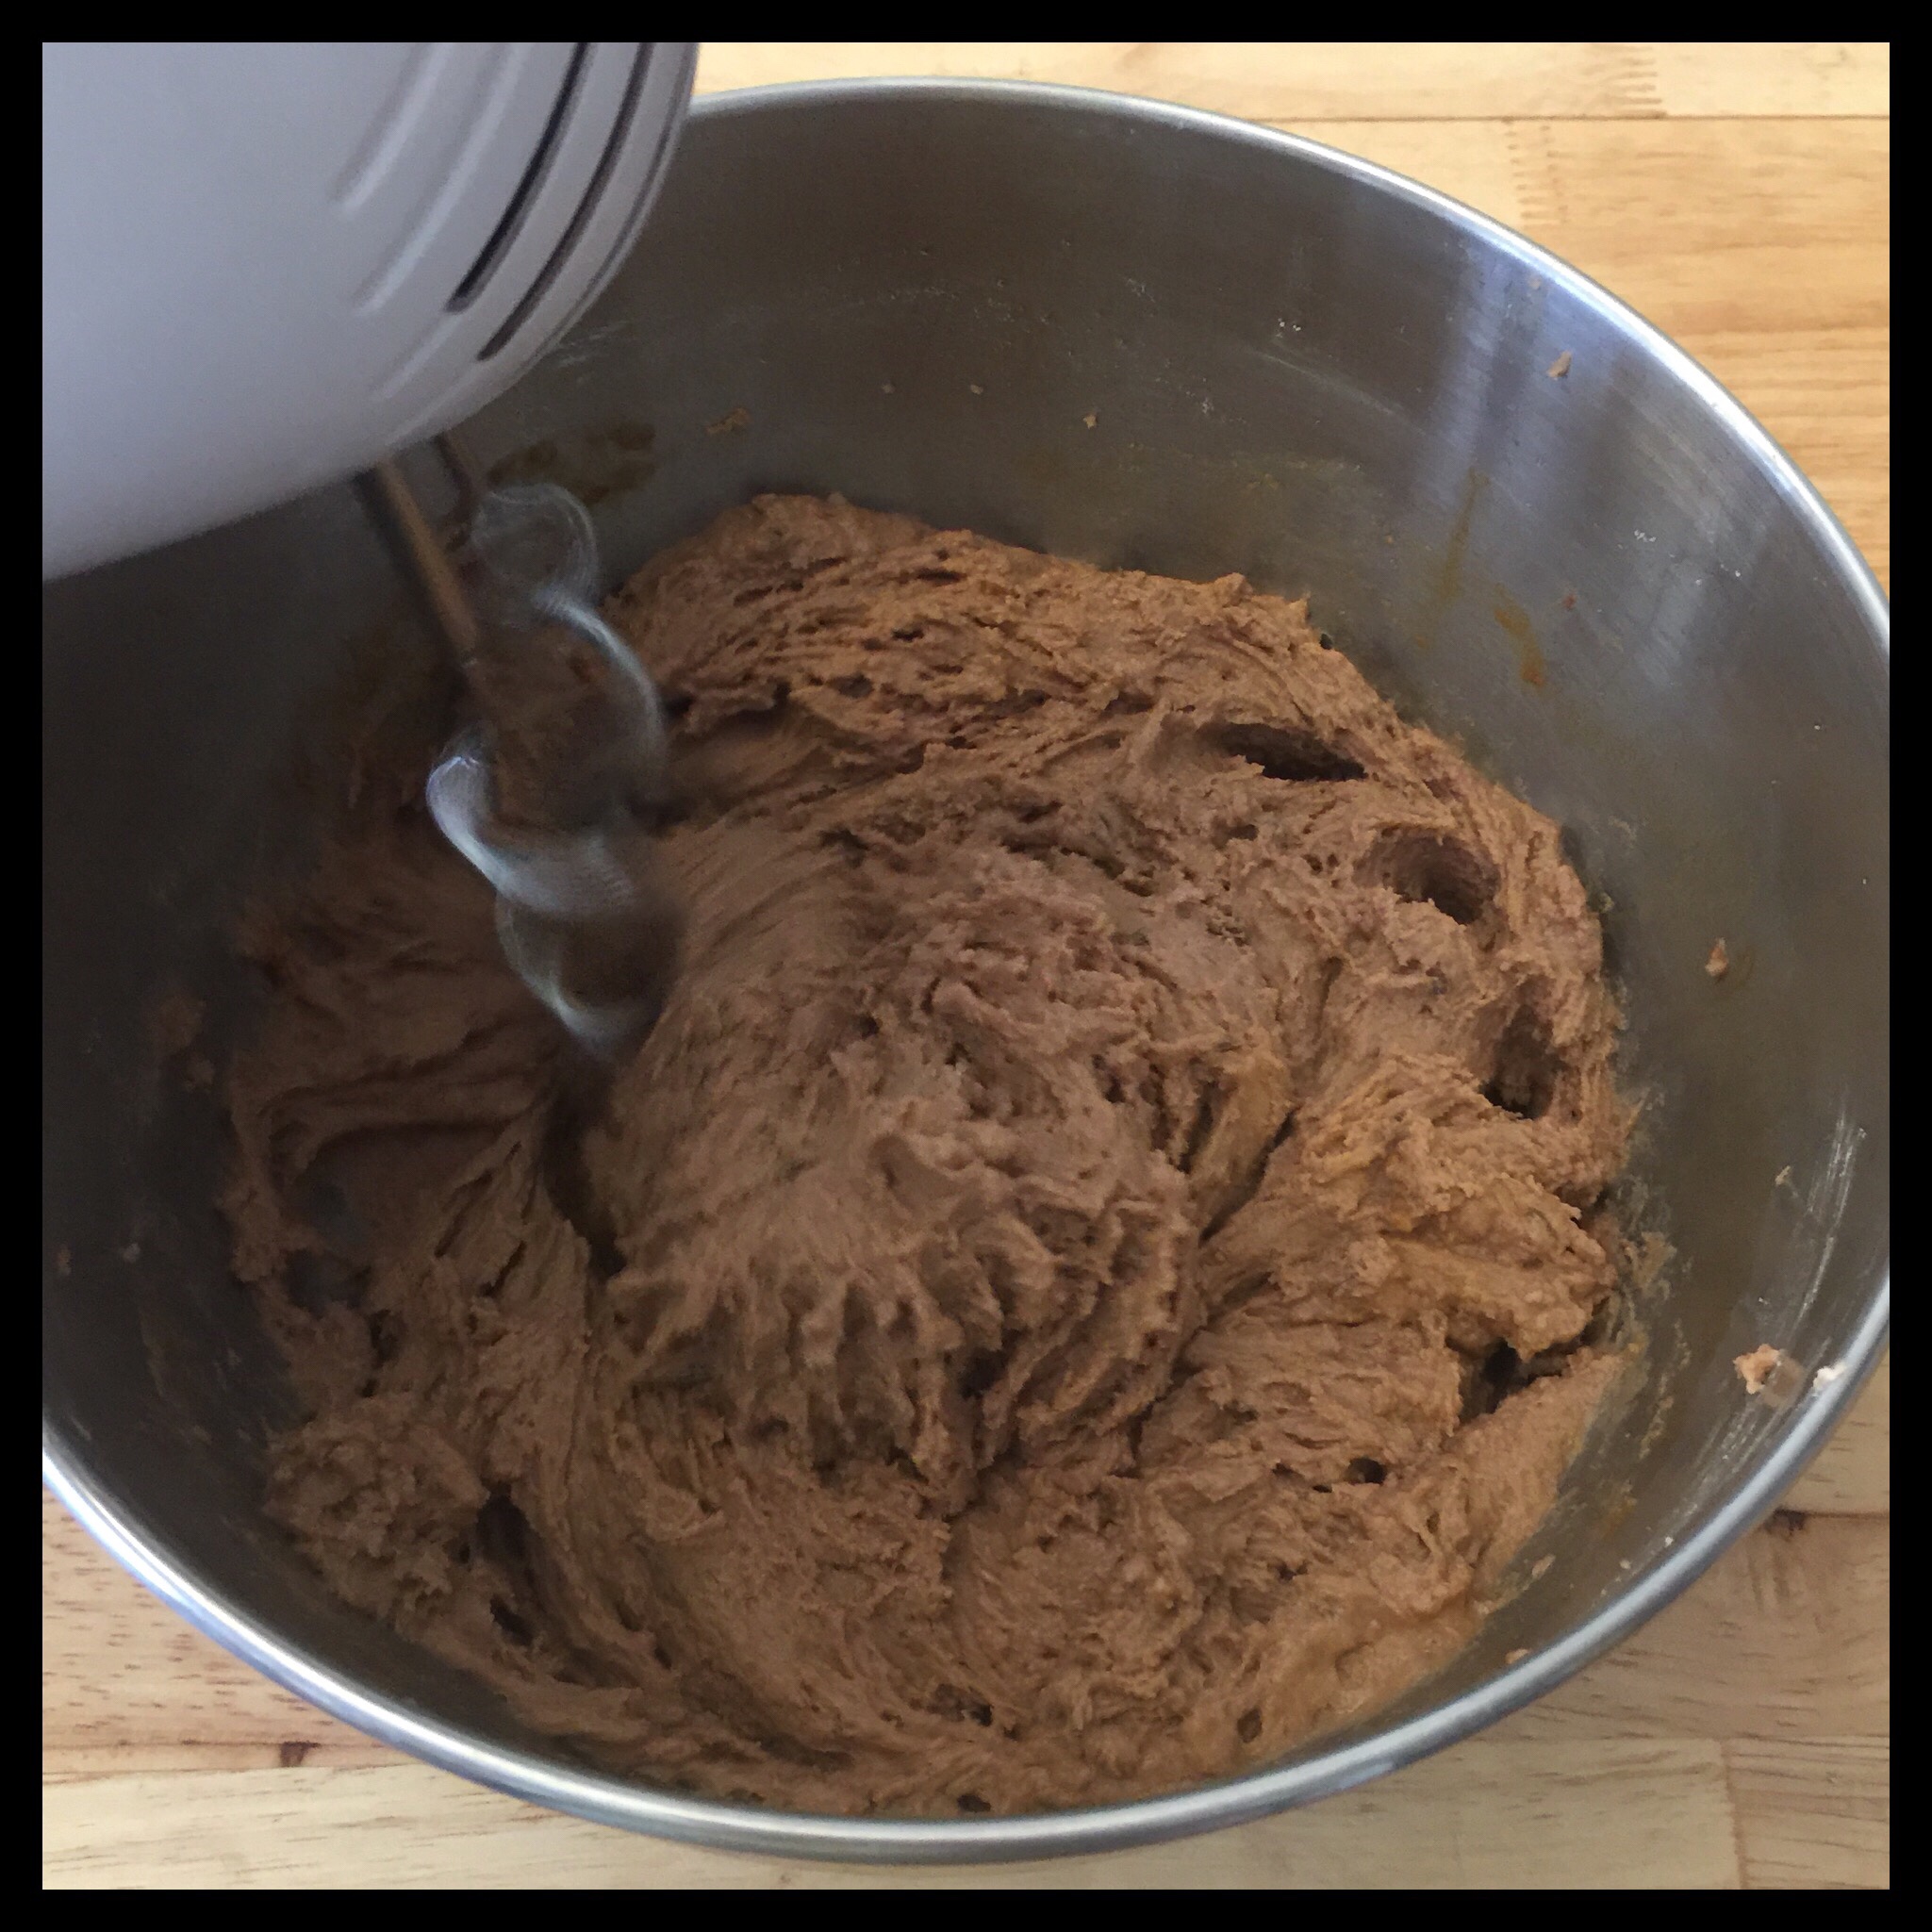
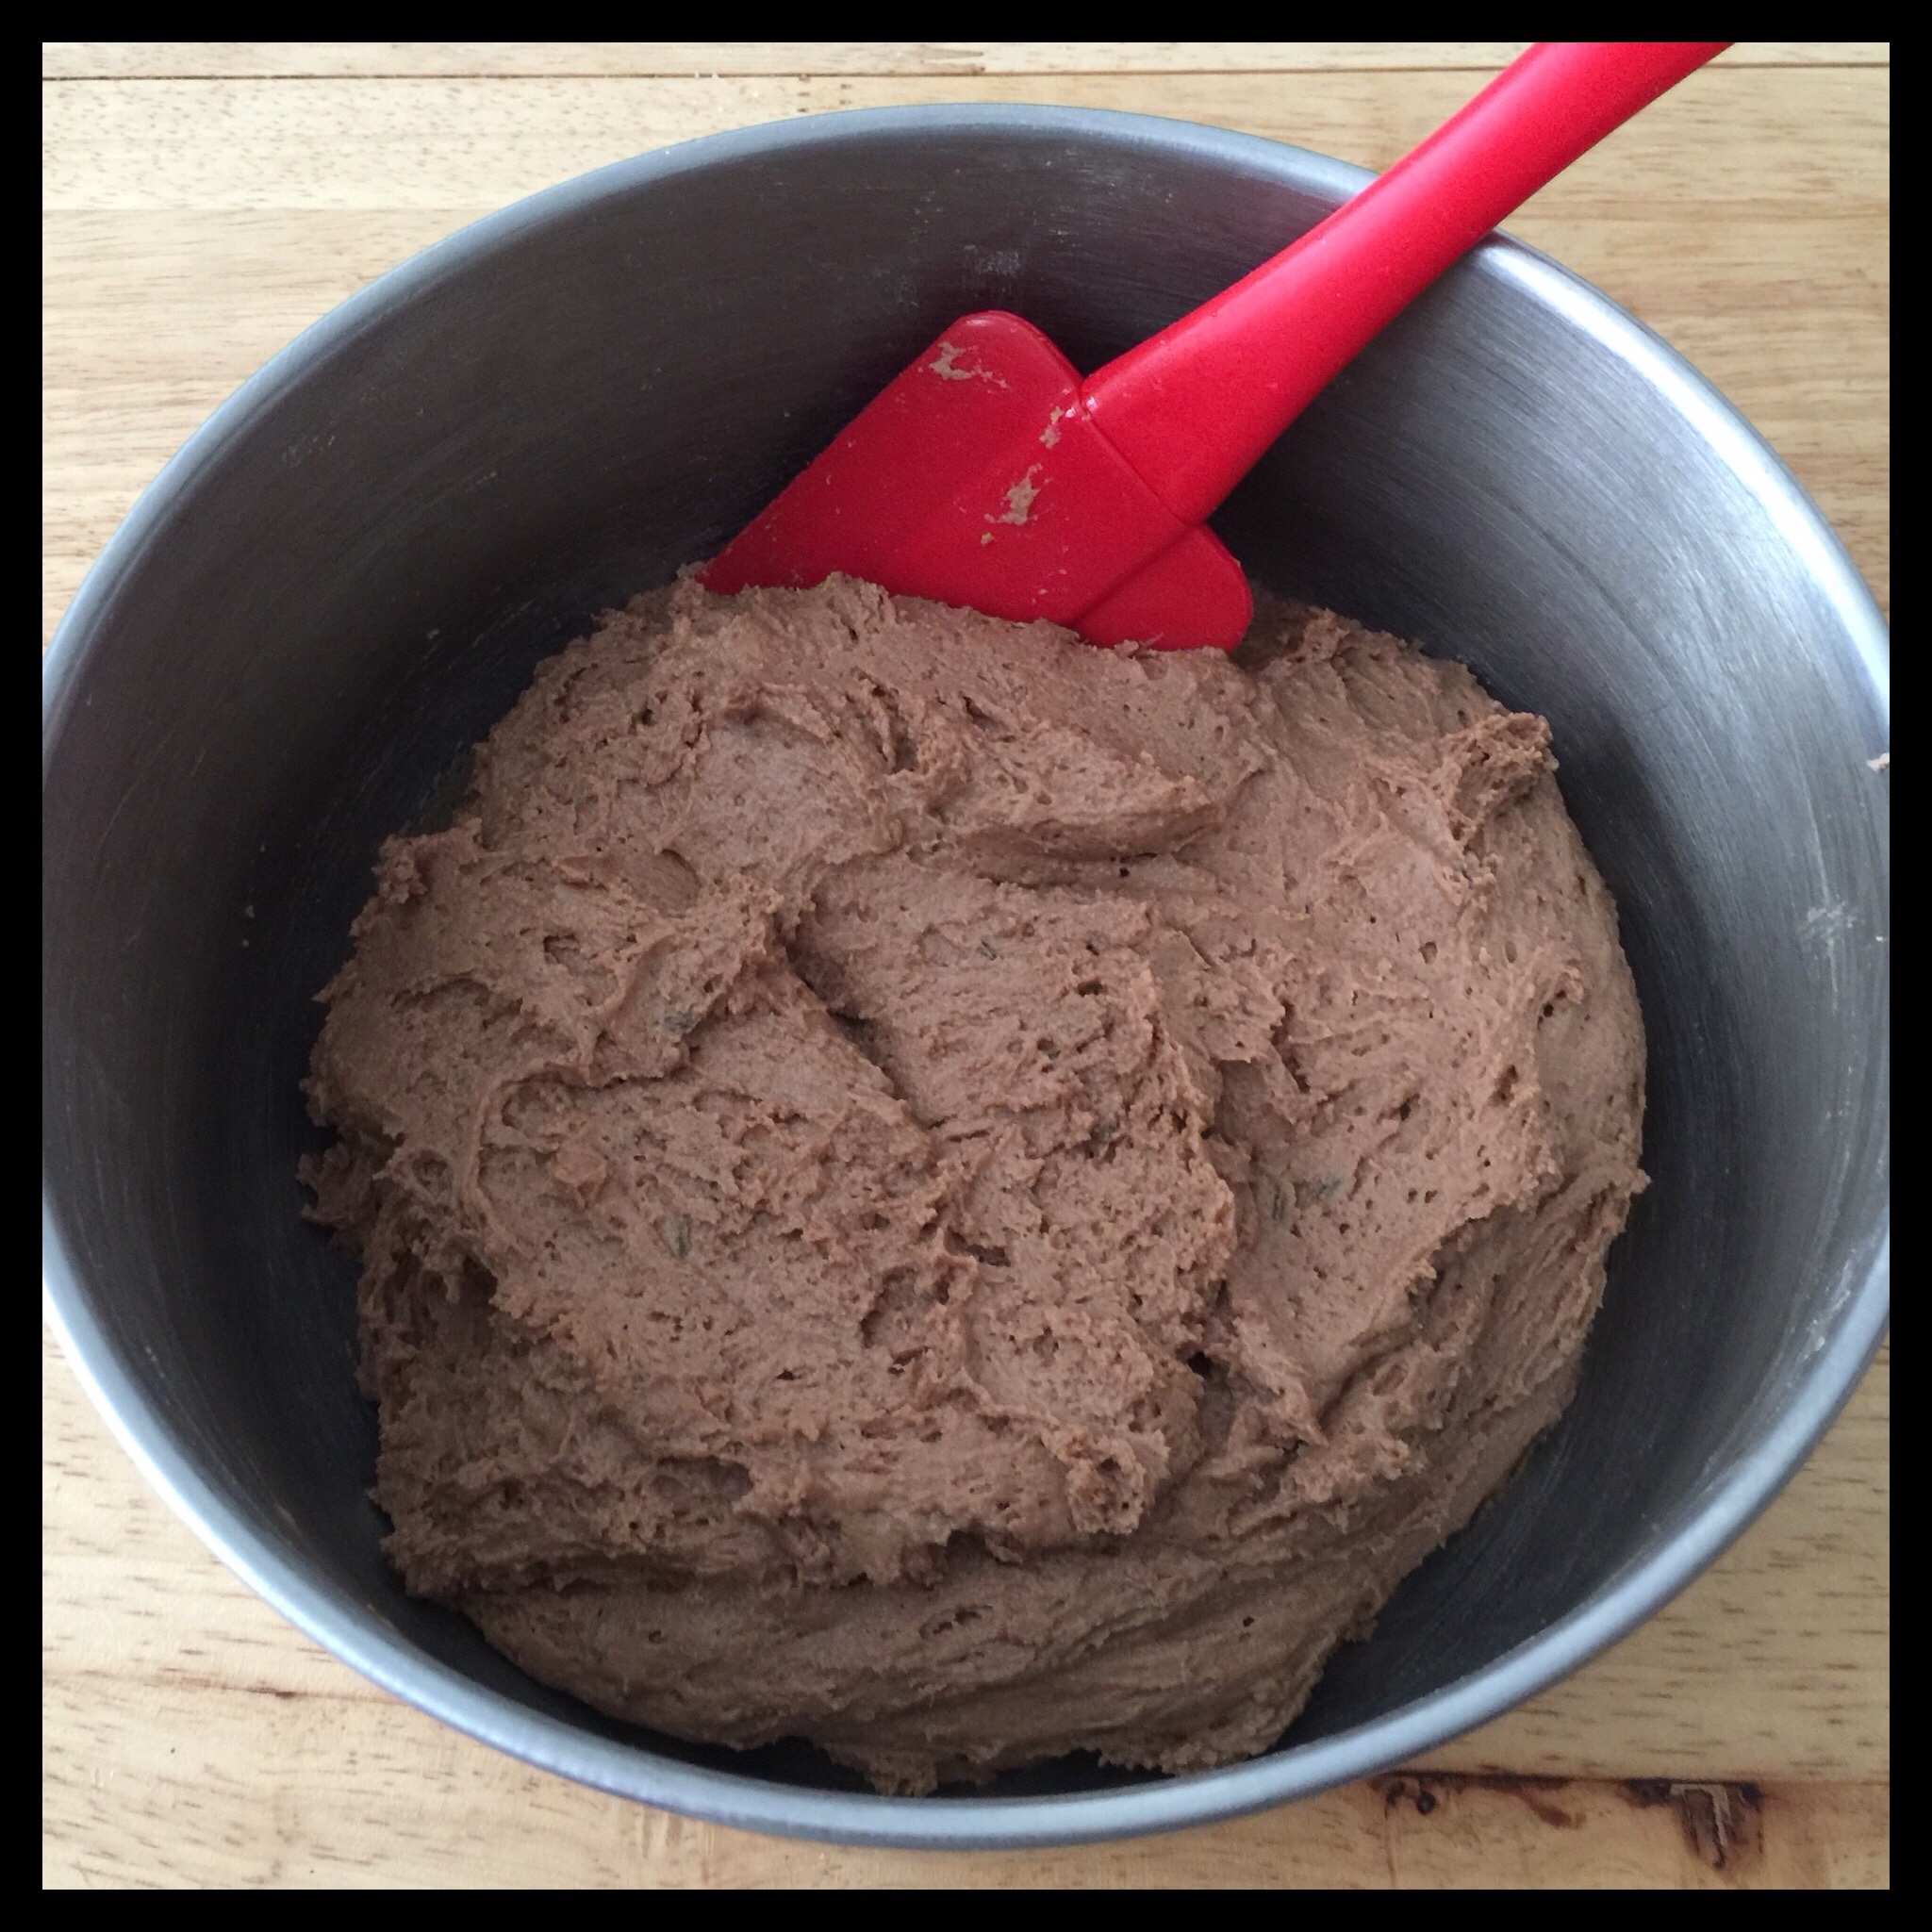
If you are using a hand mixer with dough hooks, beat on high speed for three minutes. If you are using a stand mixer with a paddle attachment, beat on medium-high speed for two minutes:
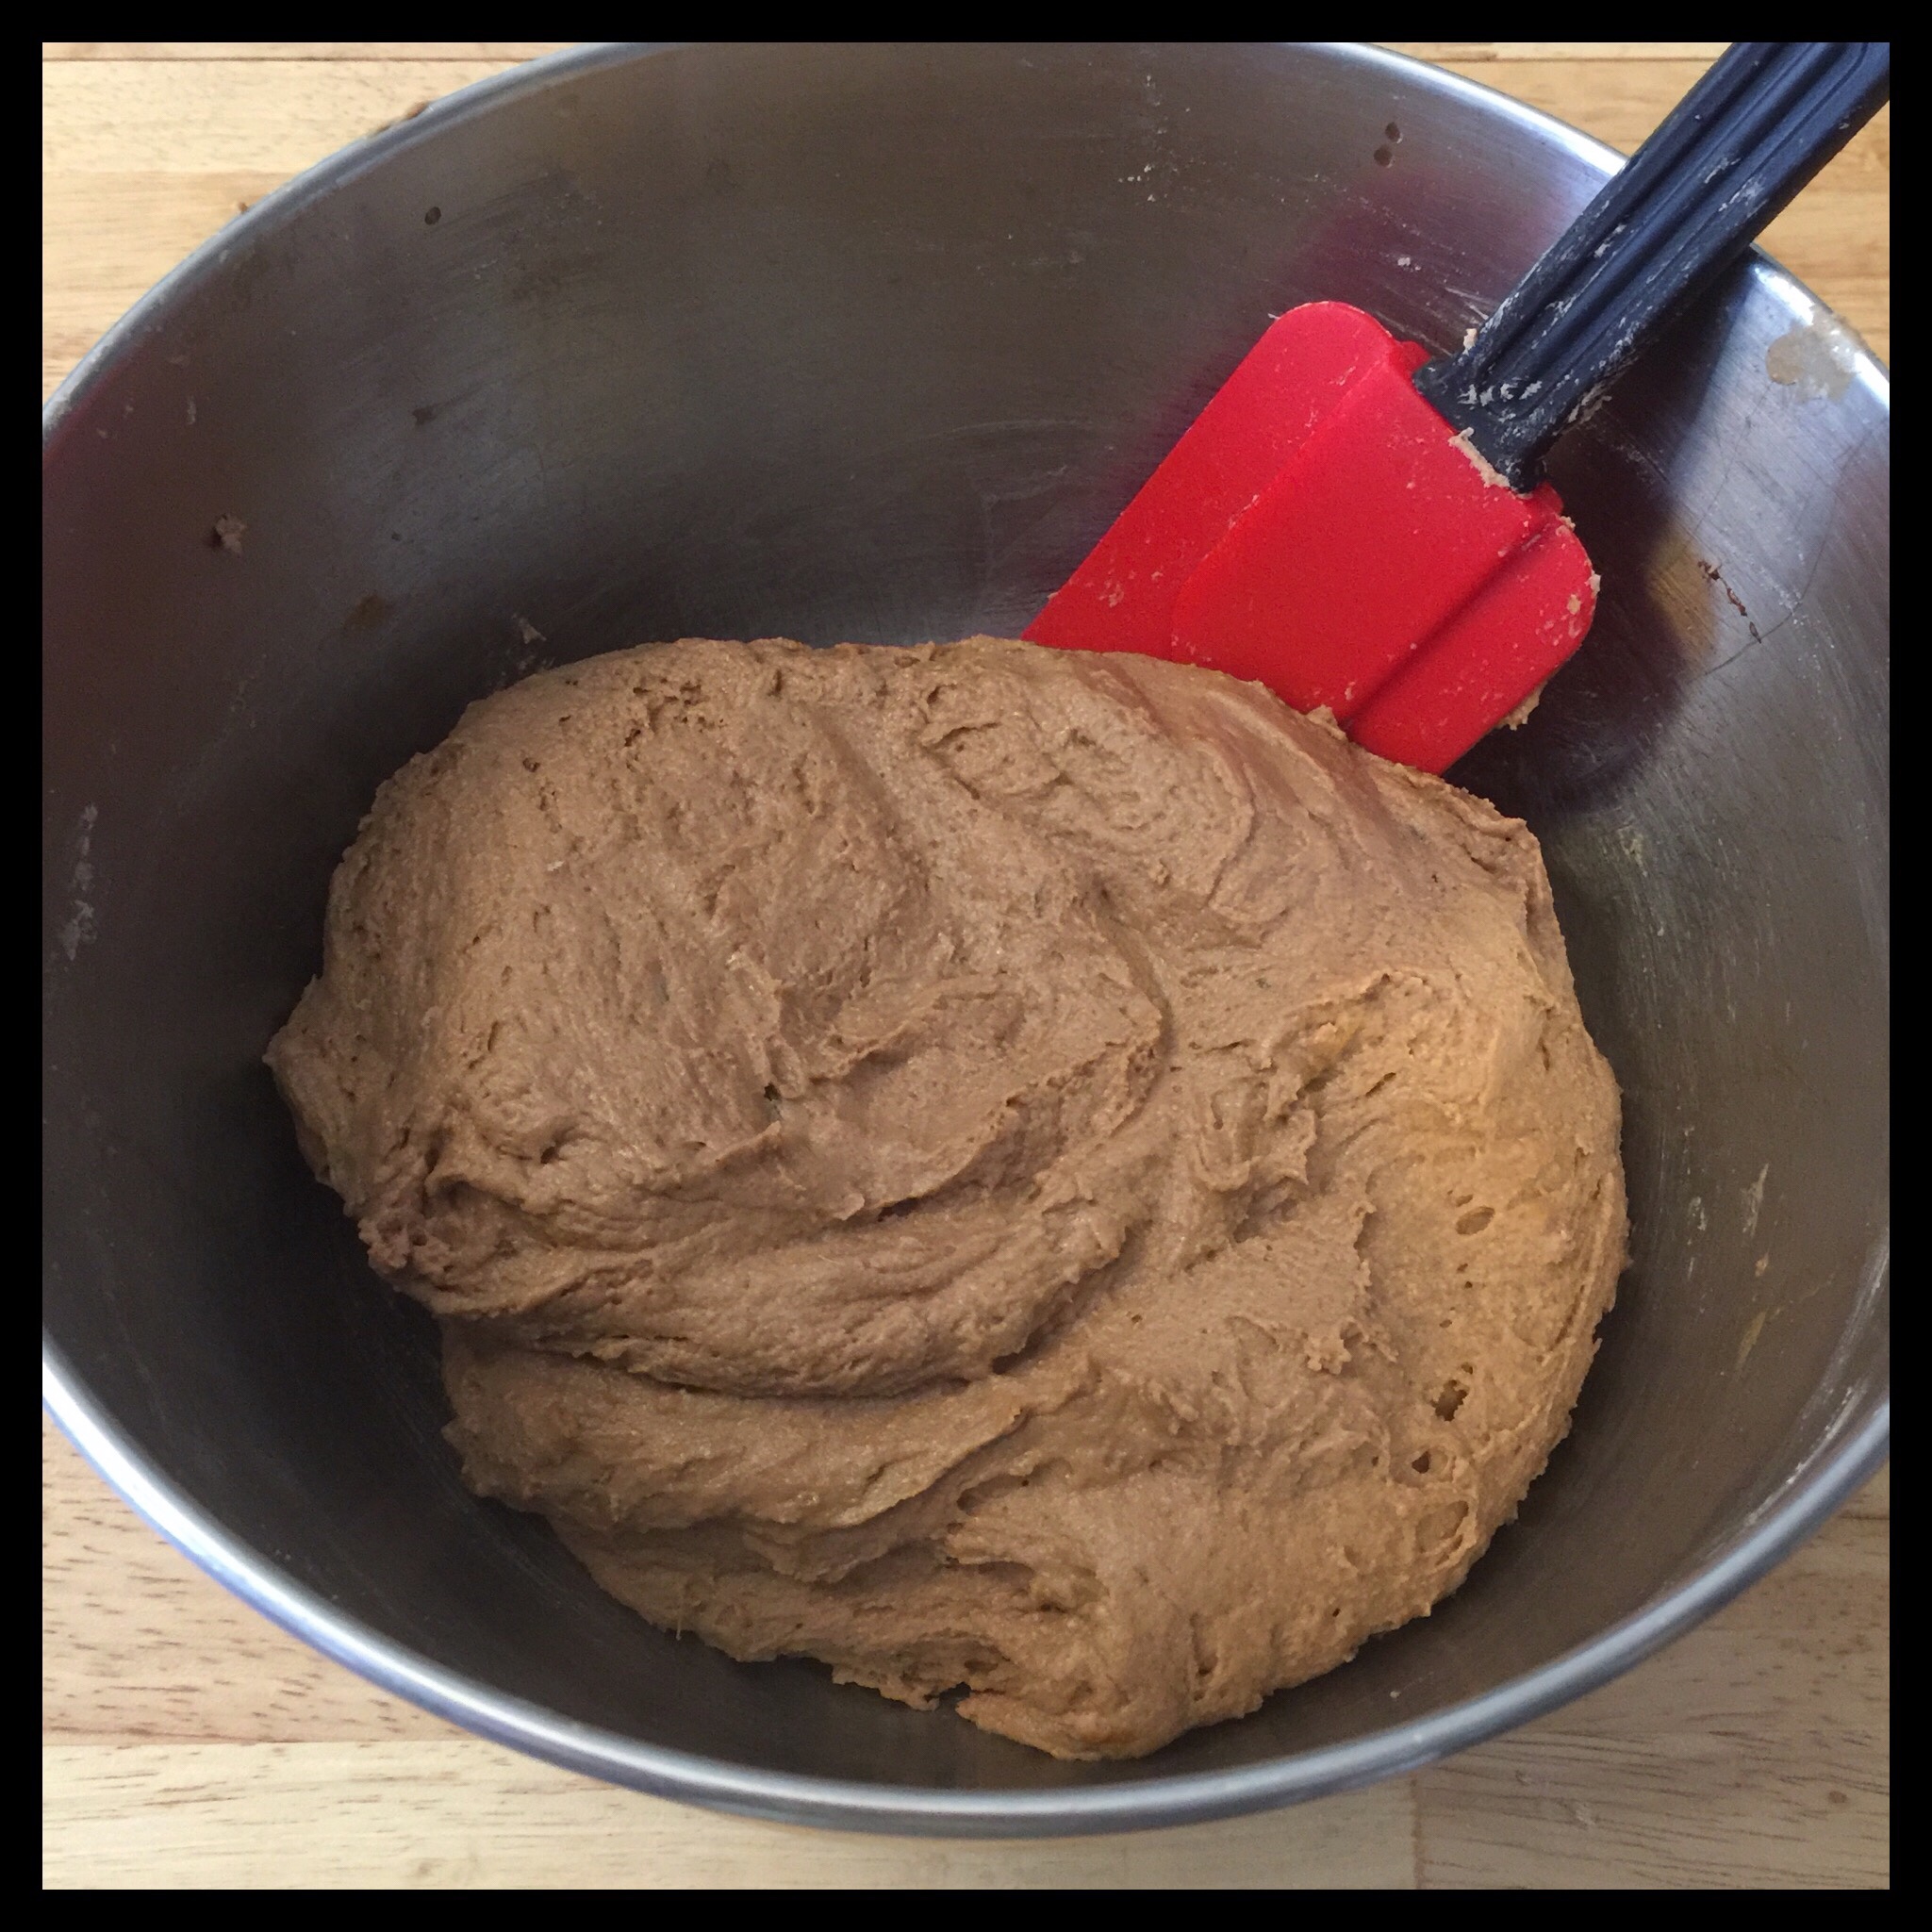
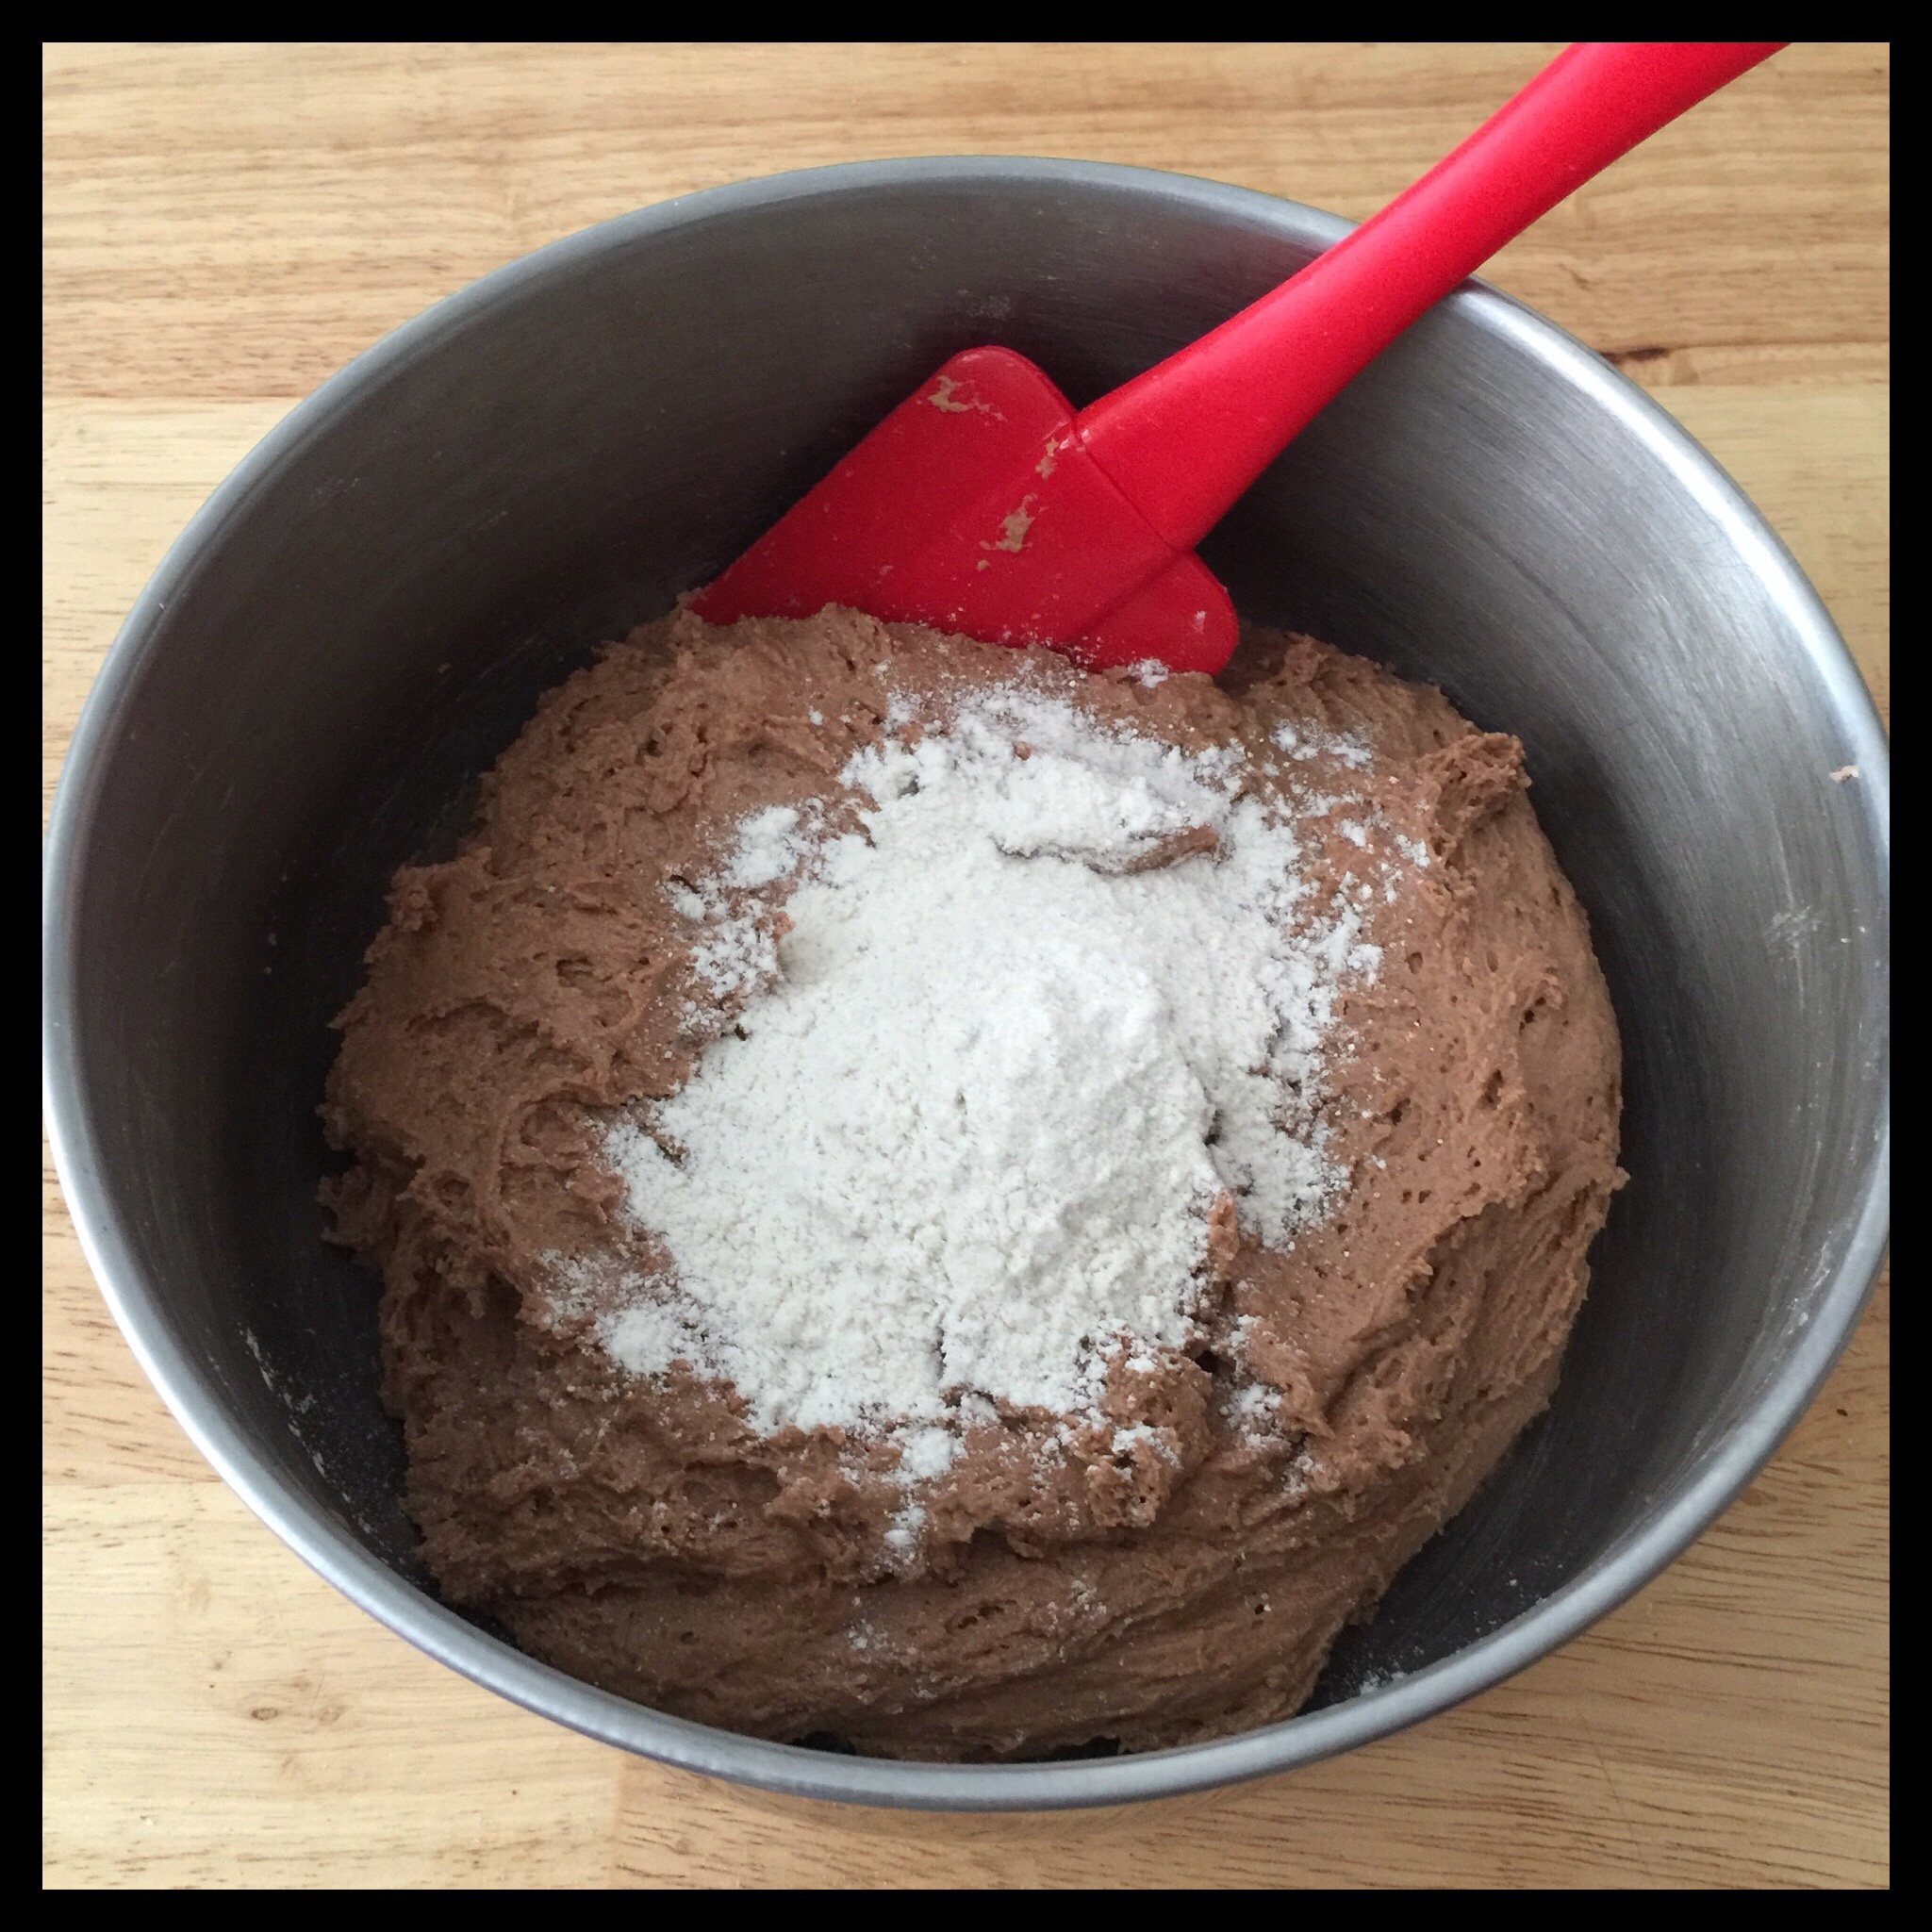
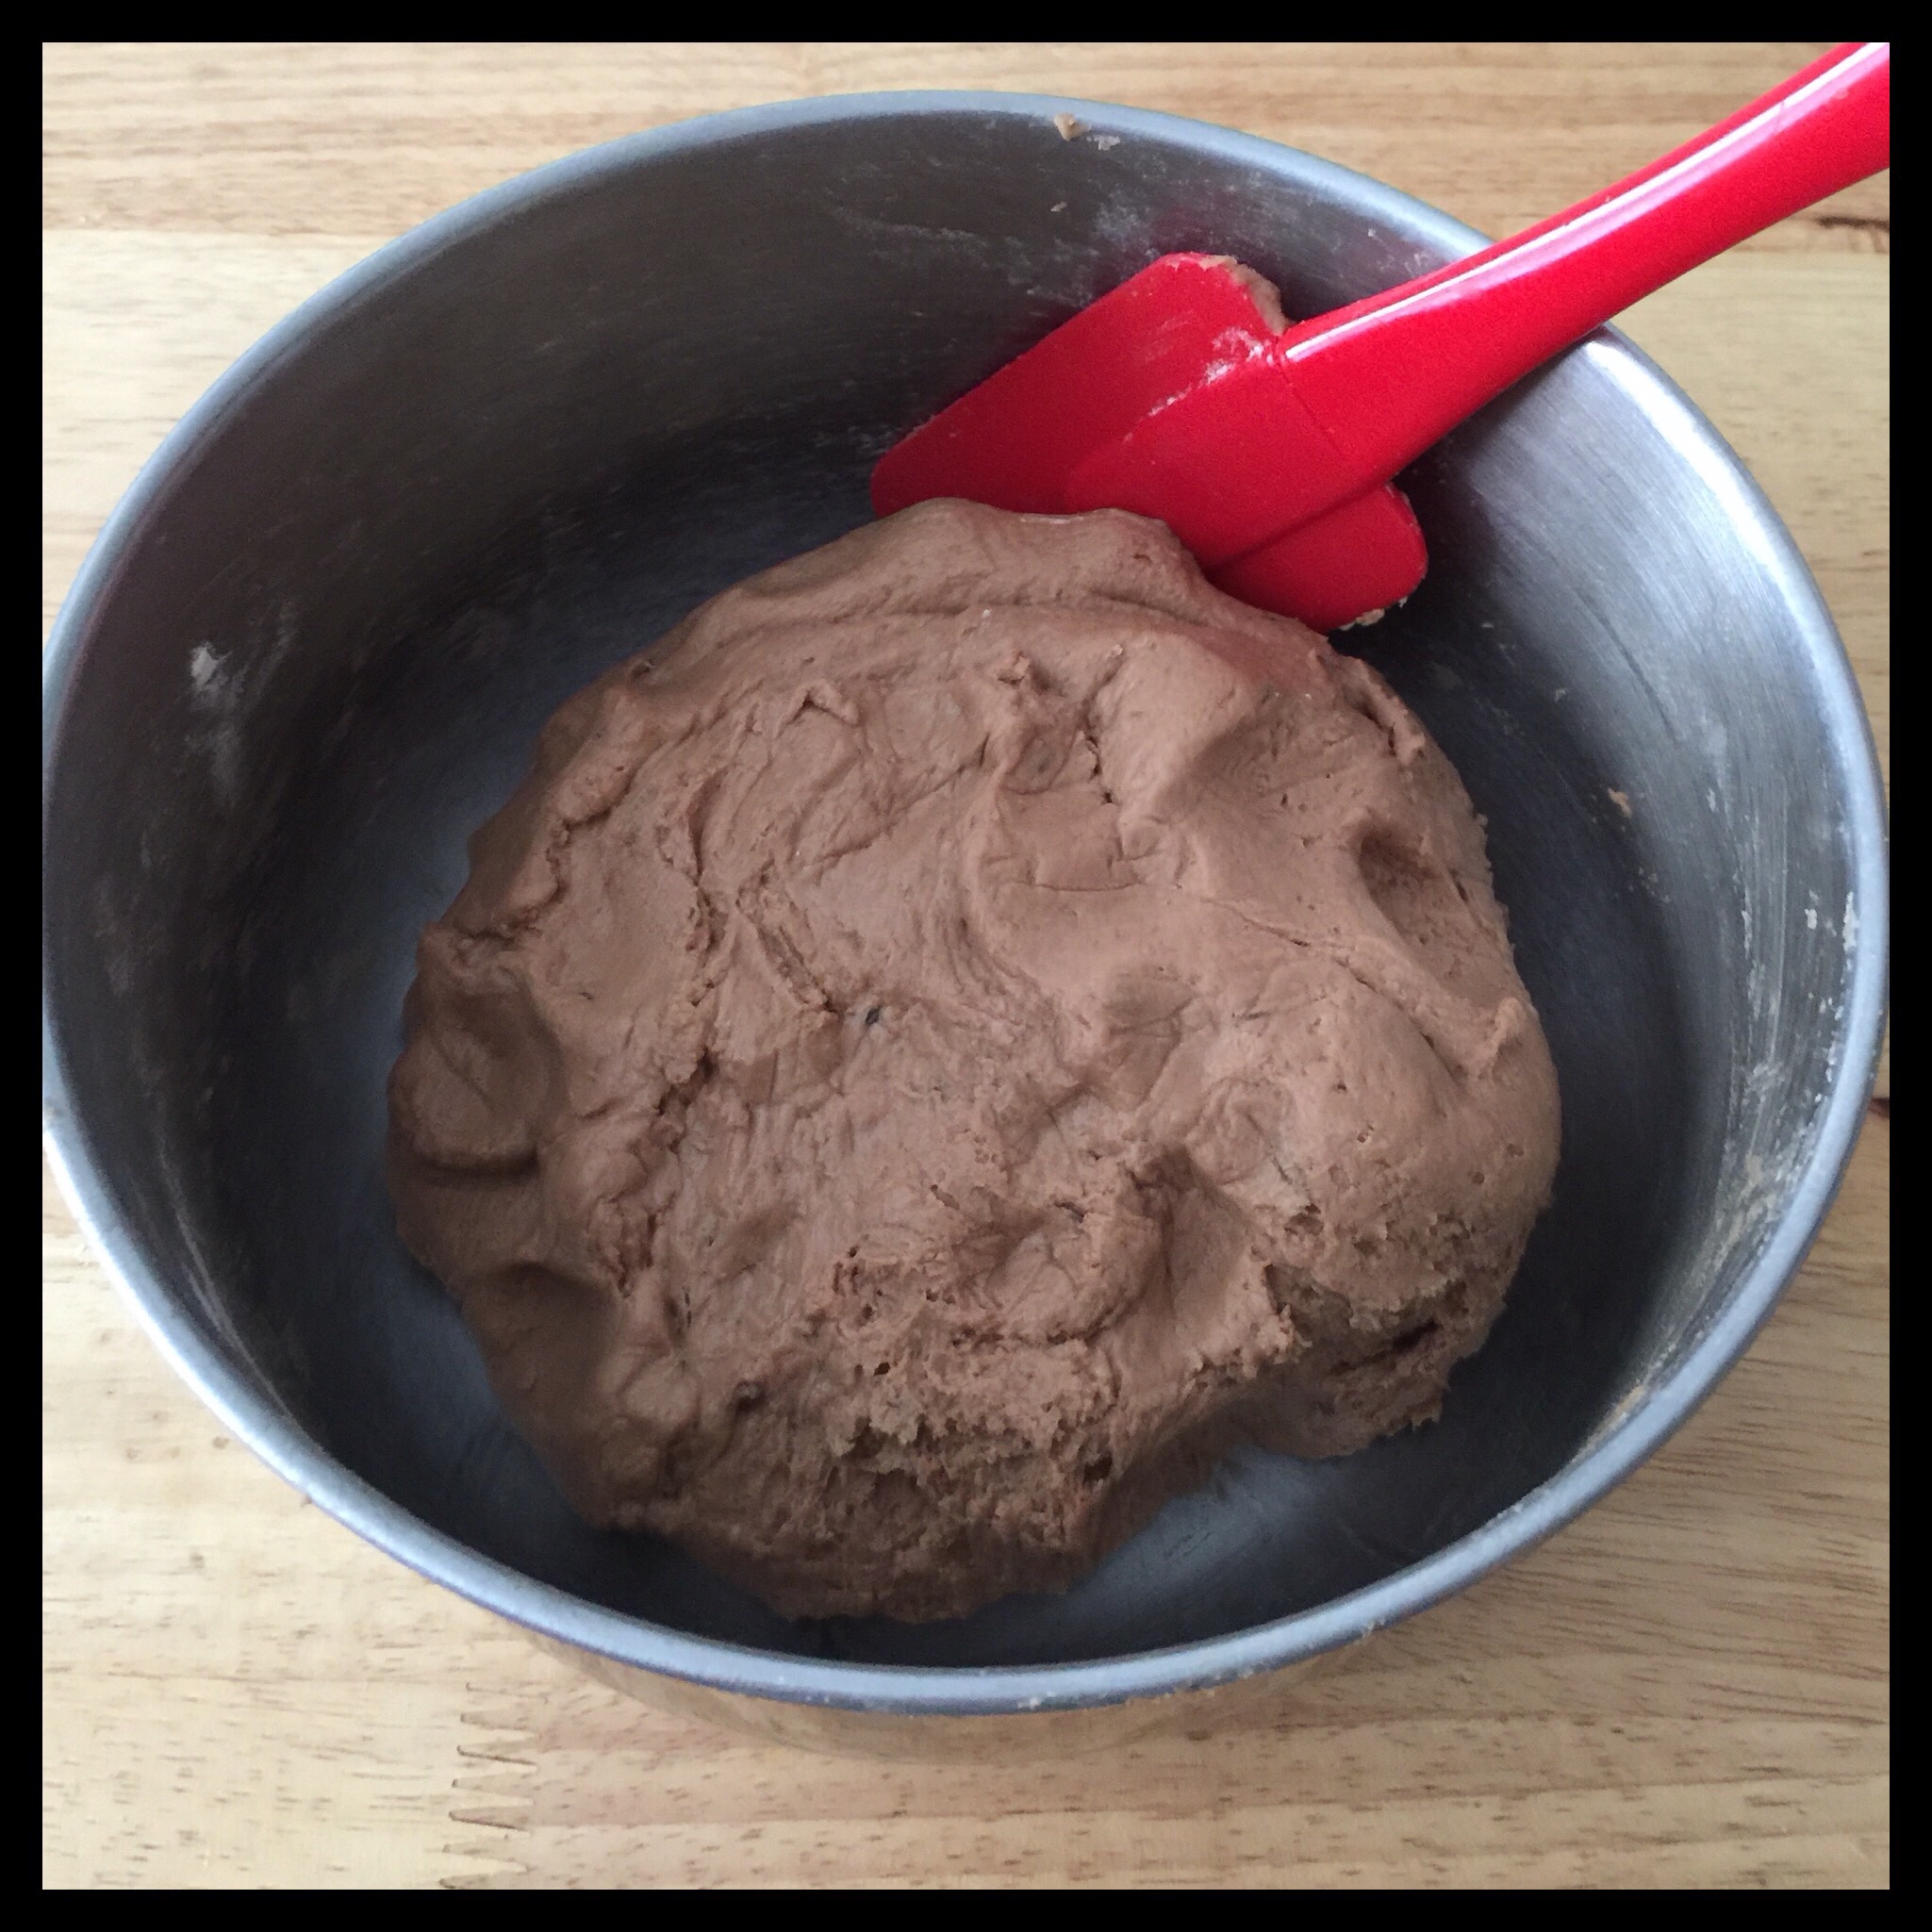
Stir with a sturdy spatula to be sure that any bits missed by the mixer are blended in. Scrape down the bowl:
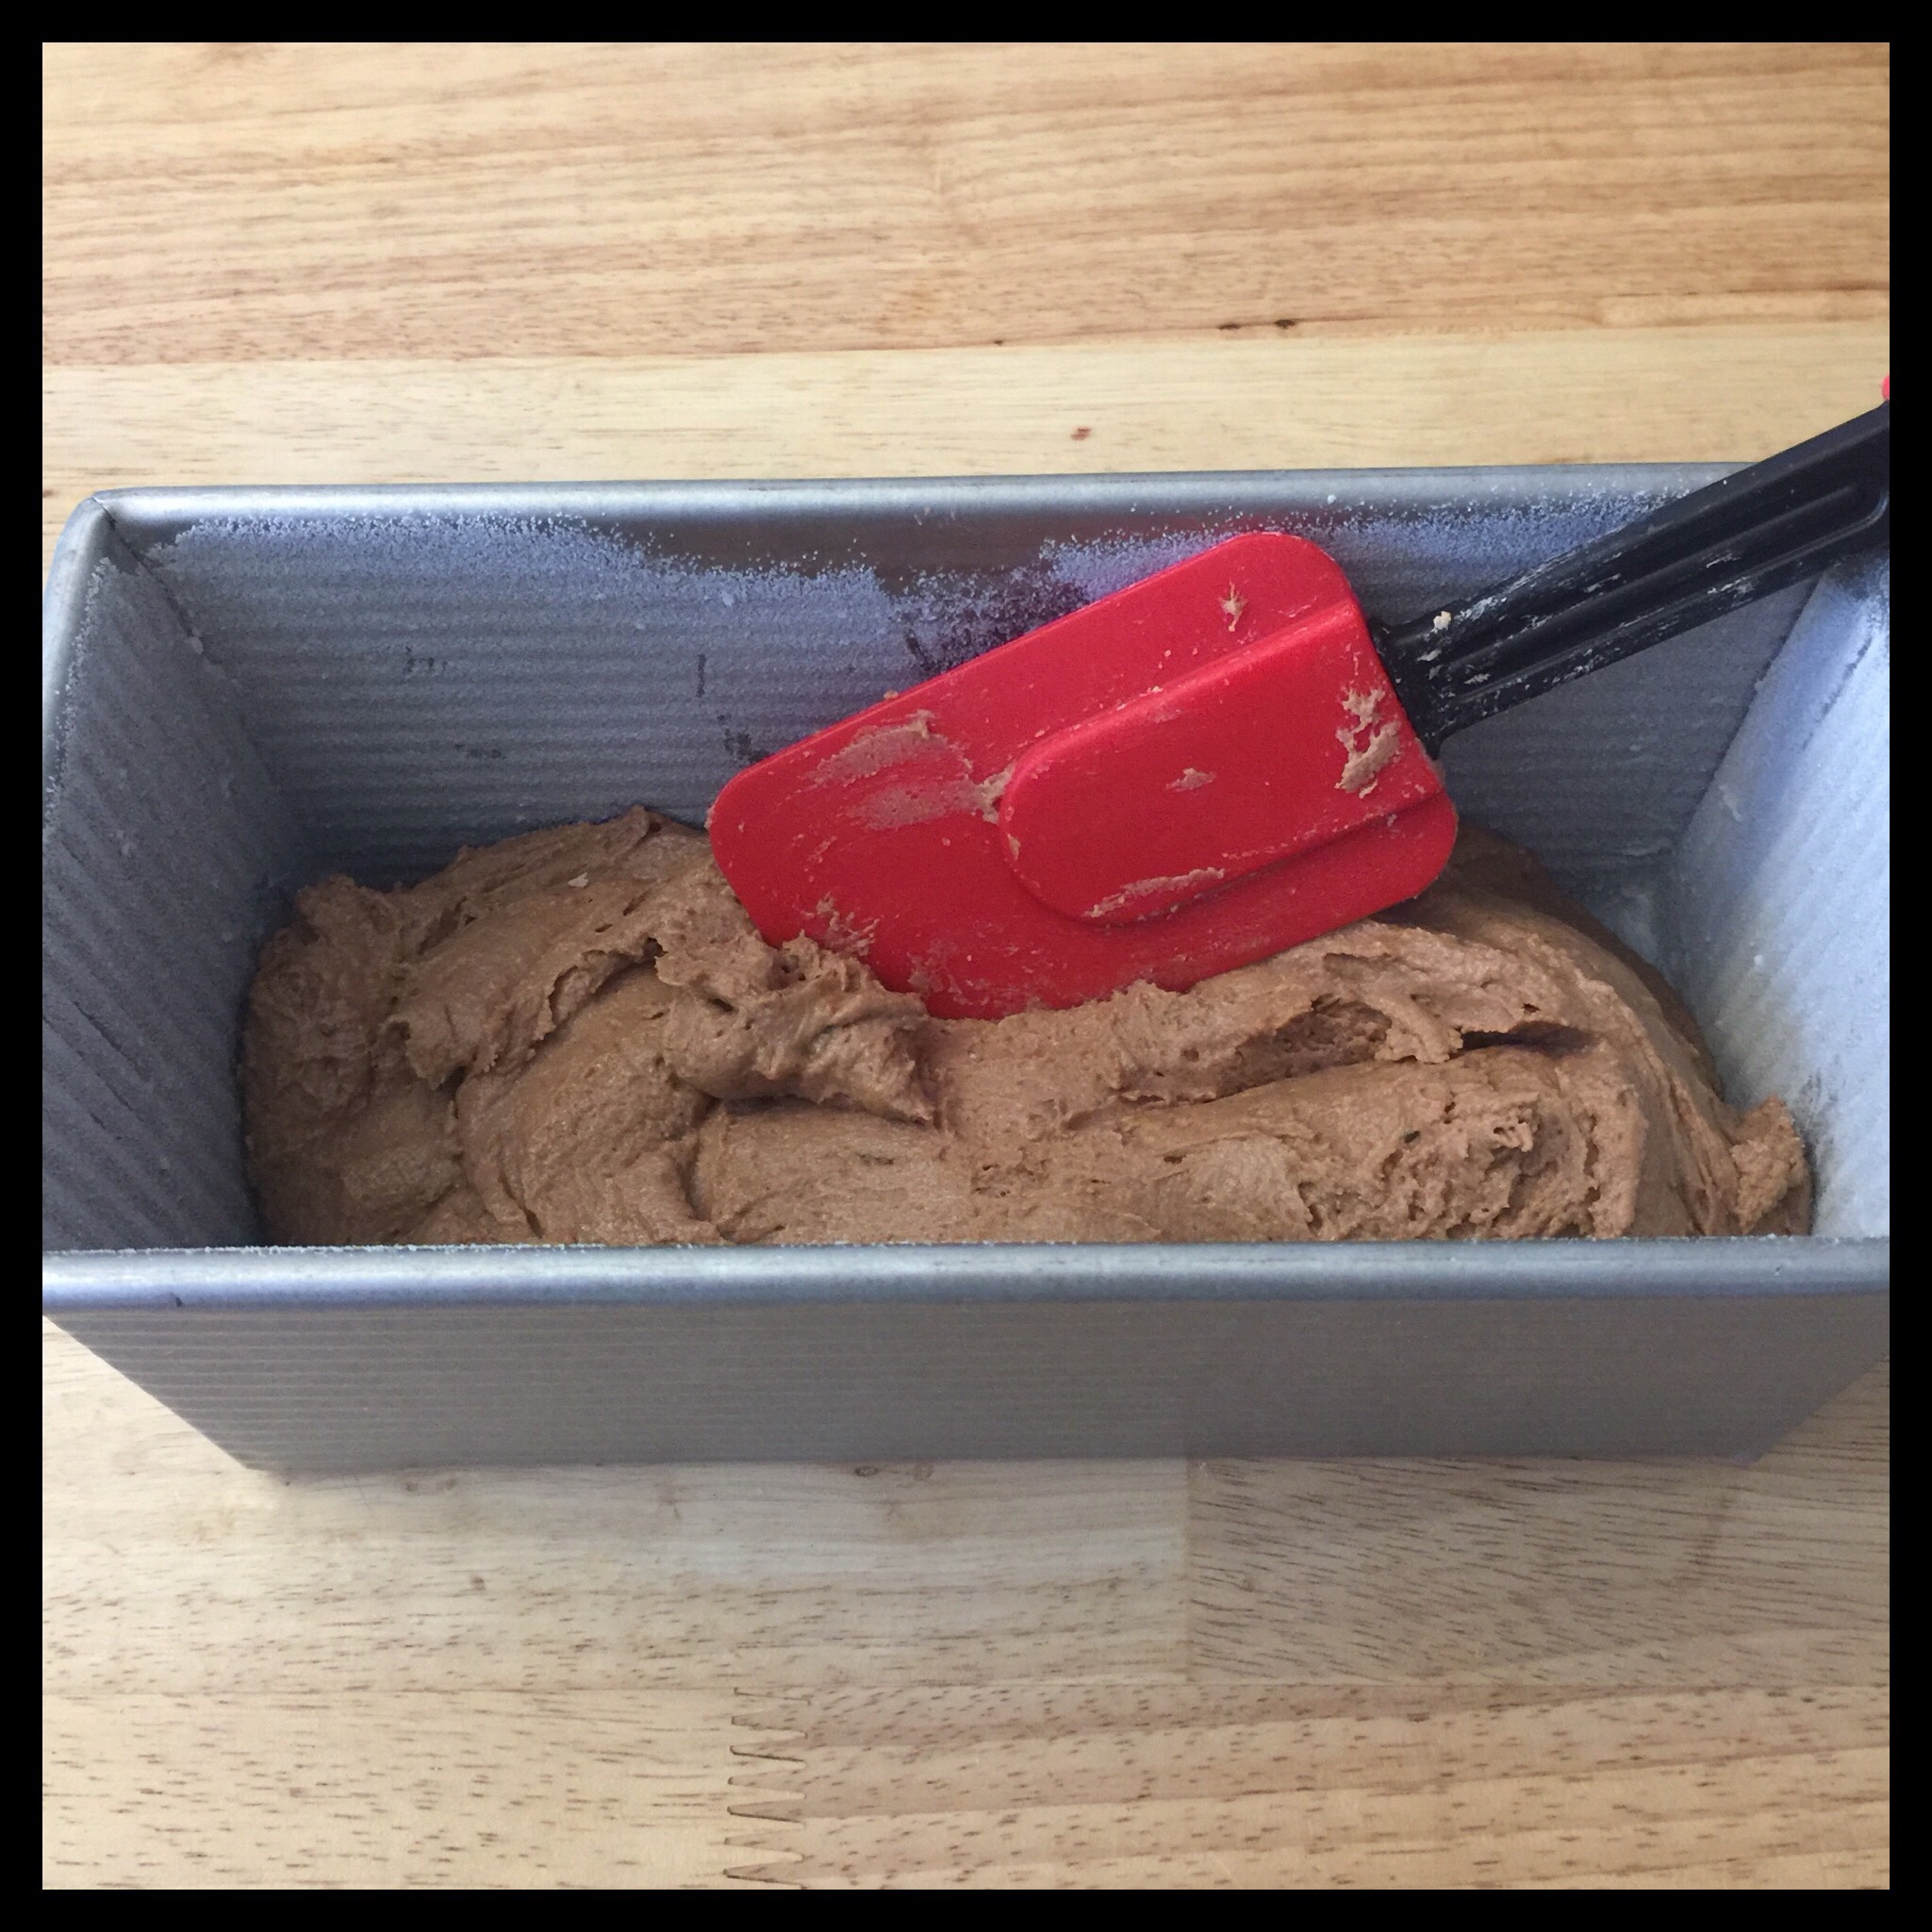
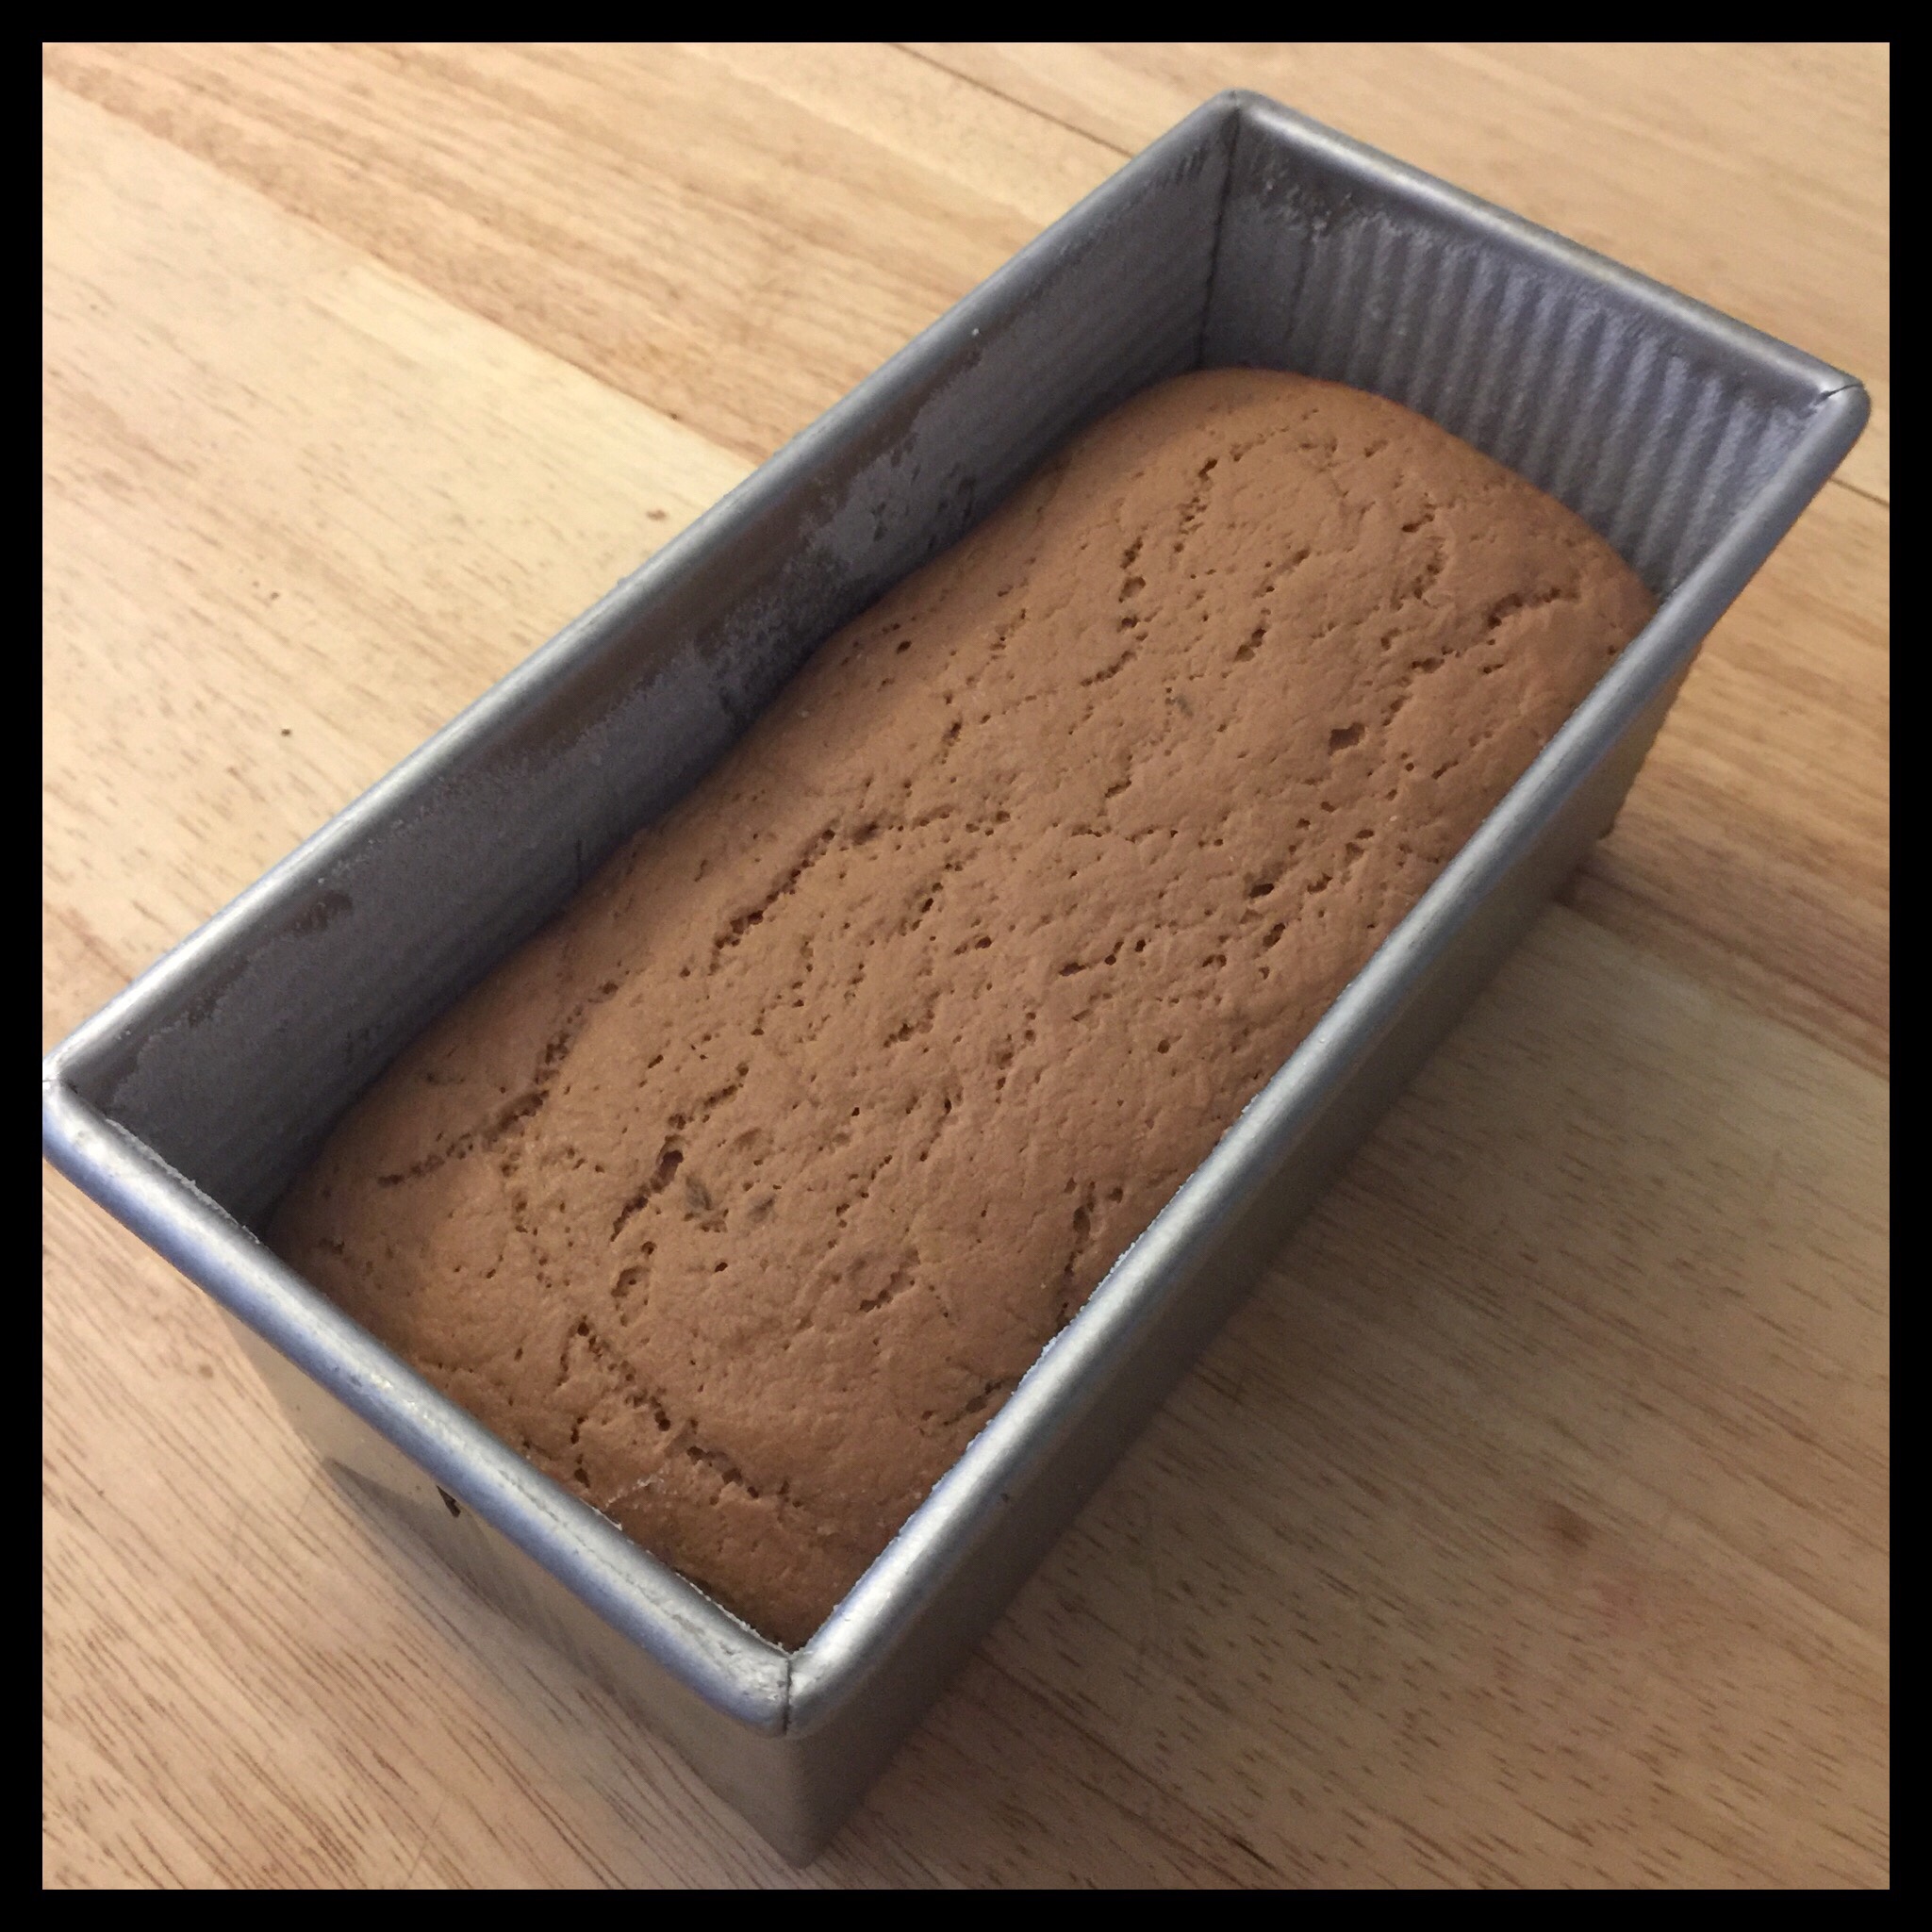
Now, the directions begin to differ. If you are making a sandwich loaf, you will transfer the dough now to a greased and floured loaf pan (without a second rise before shaping). I prefer to use a 9″ x 4″ Pullman pan with straight sides, but you can use any 8.5 to 9-inch loaf pan.
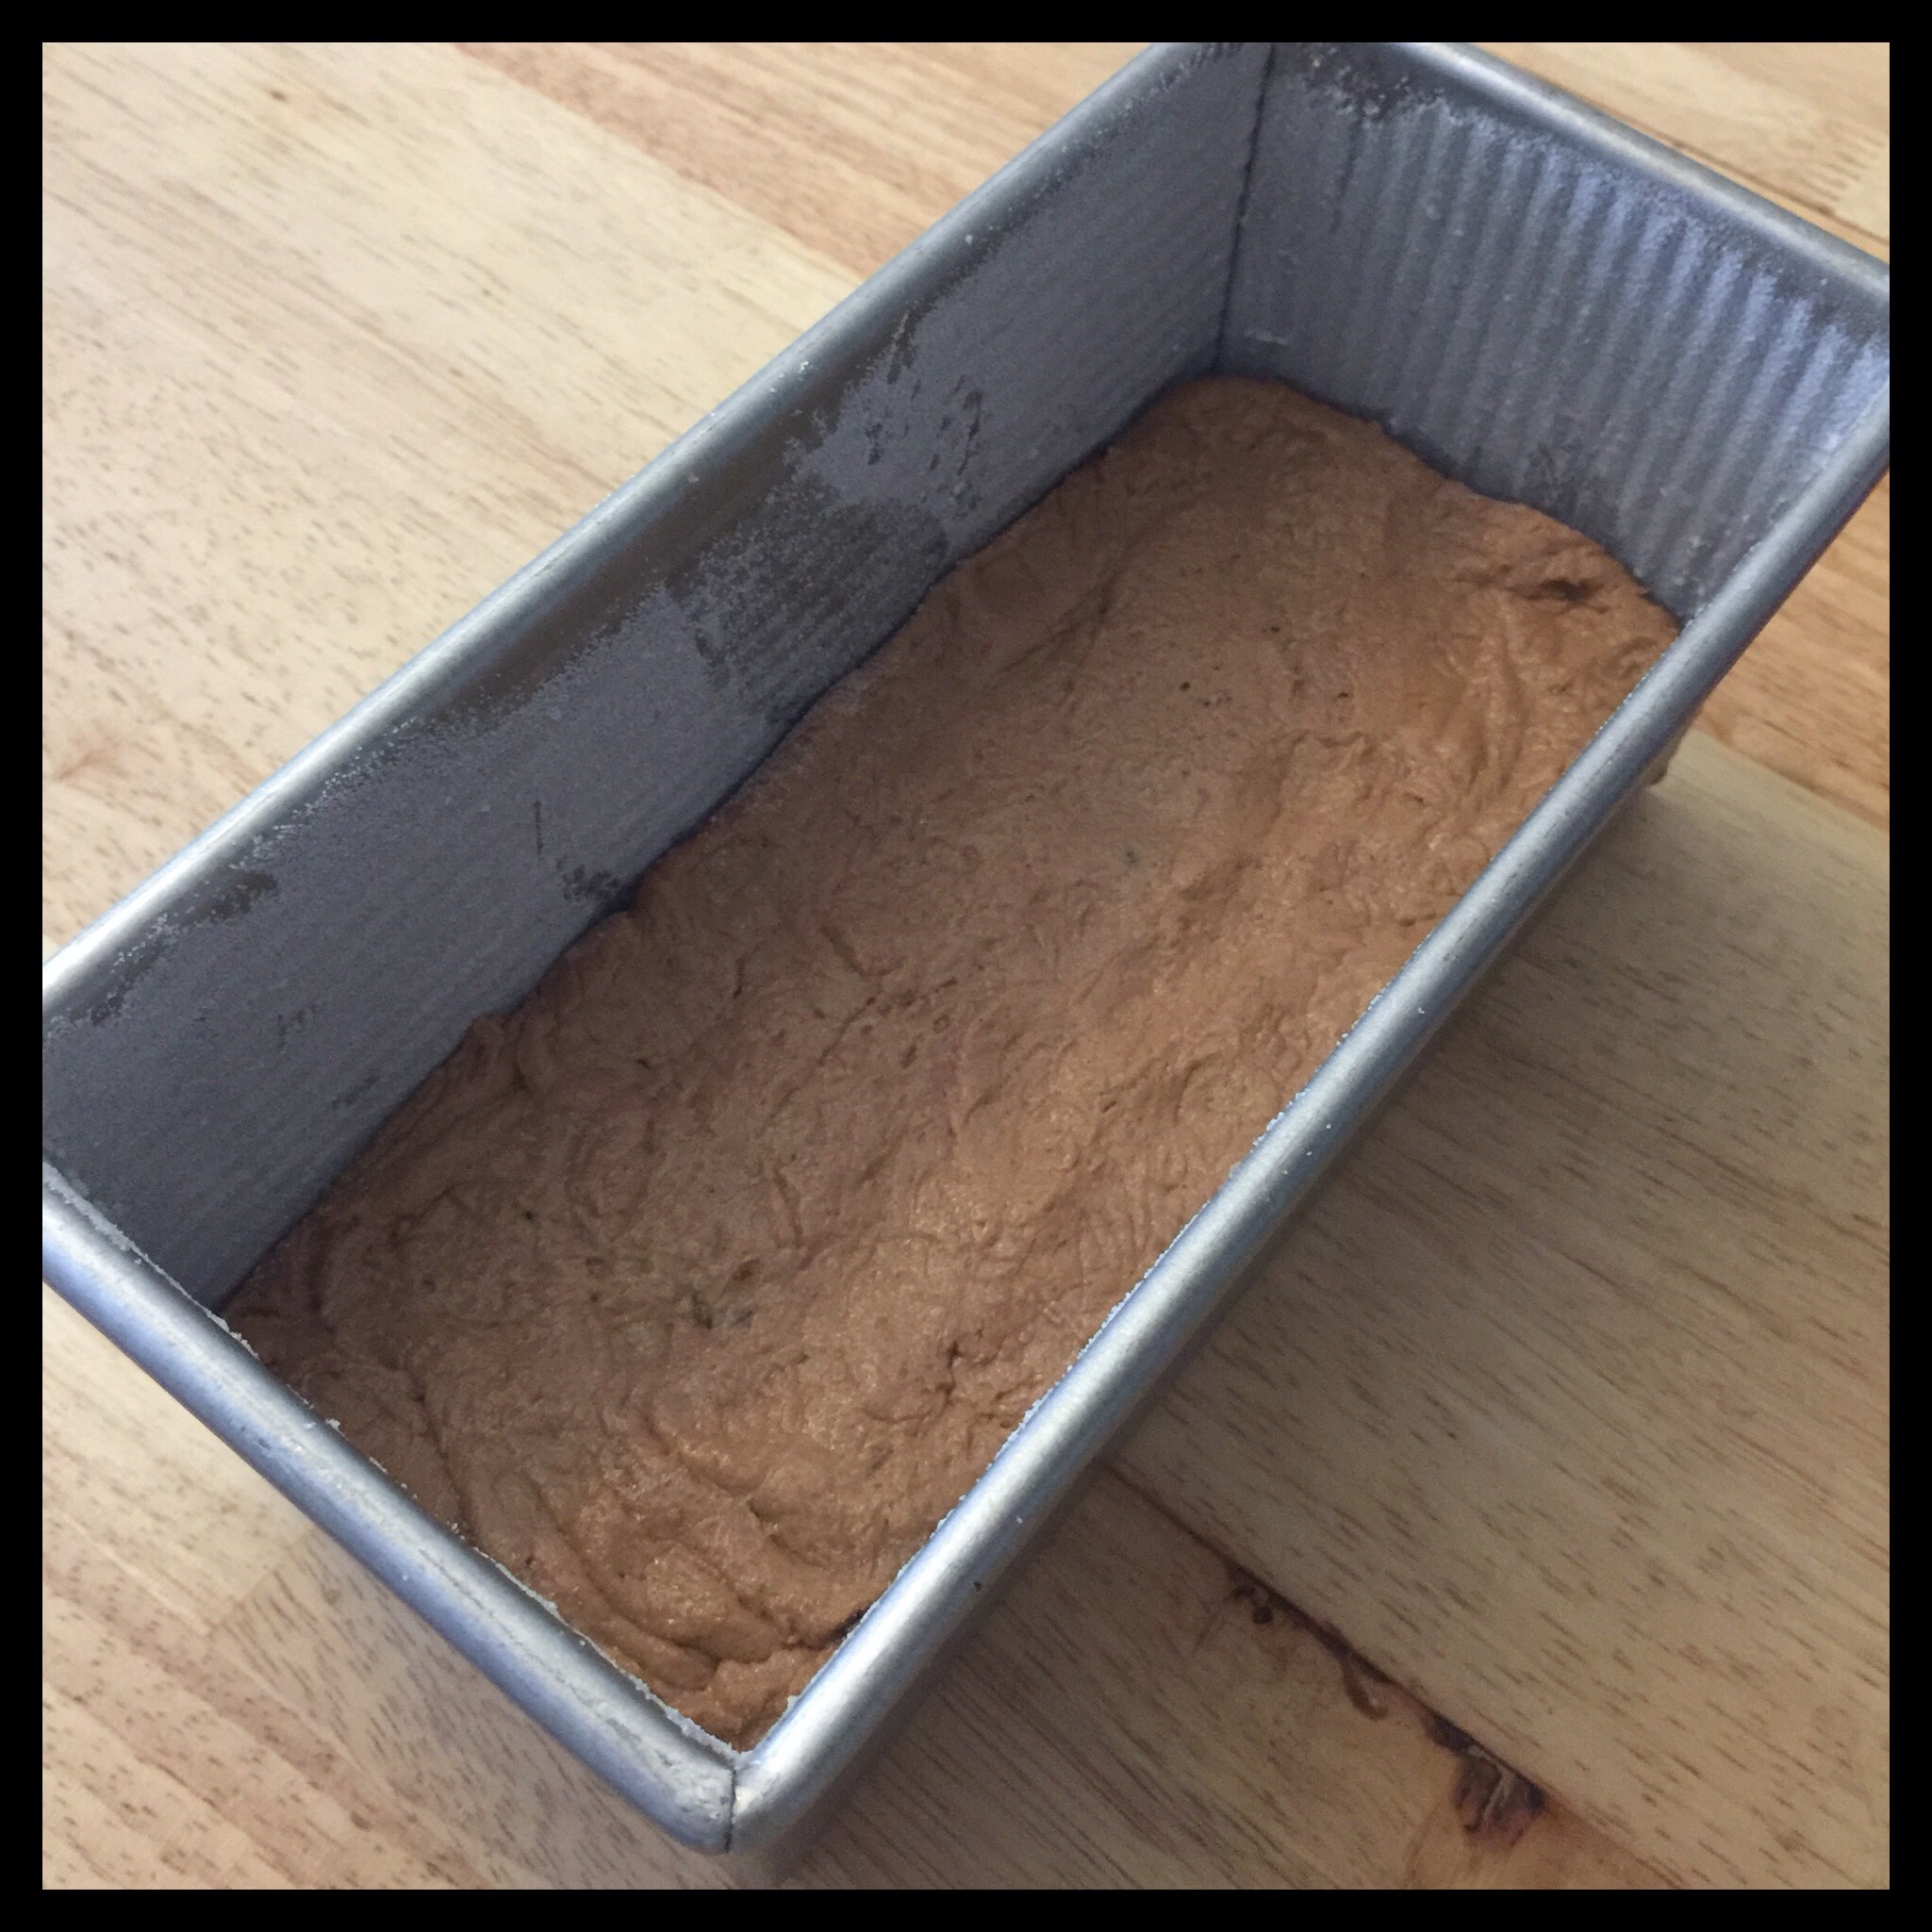
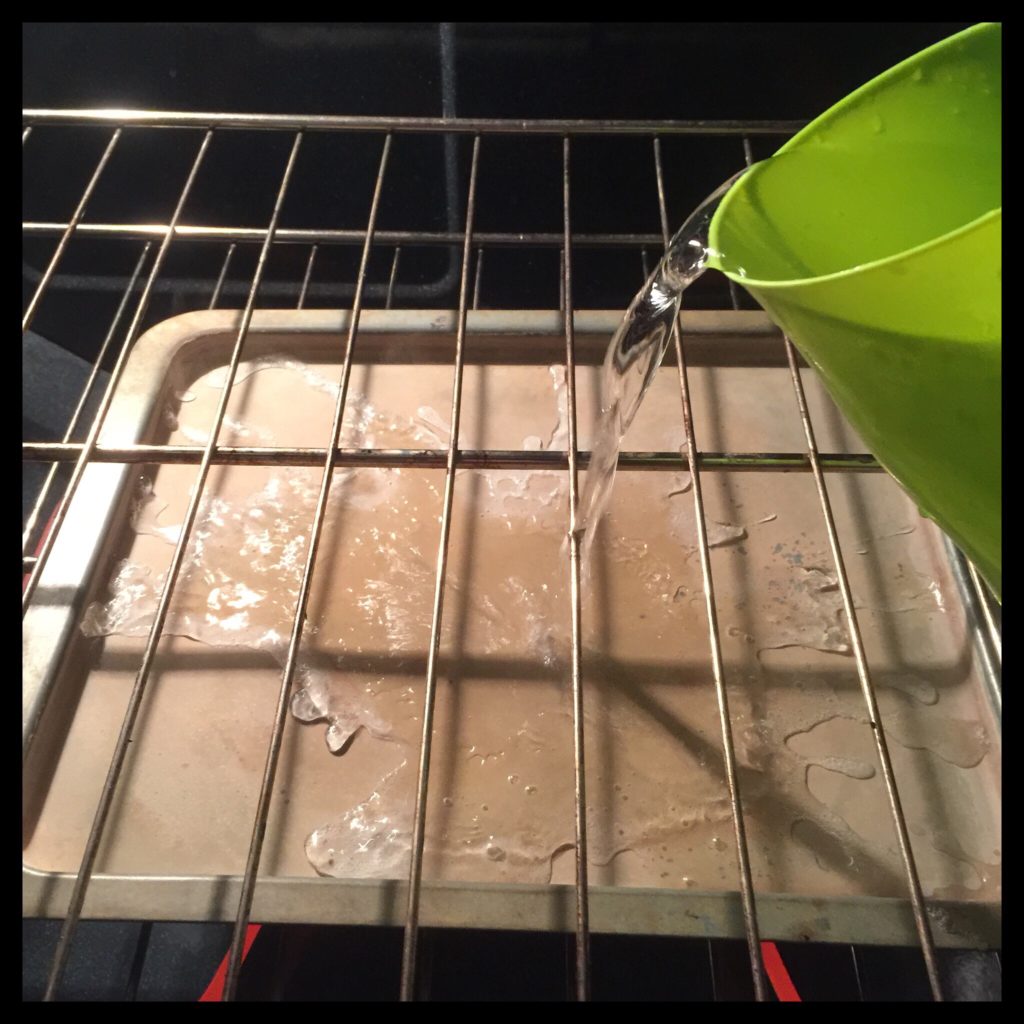
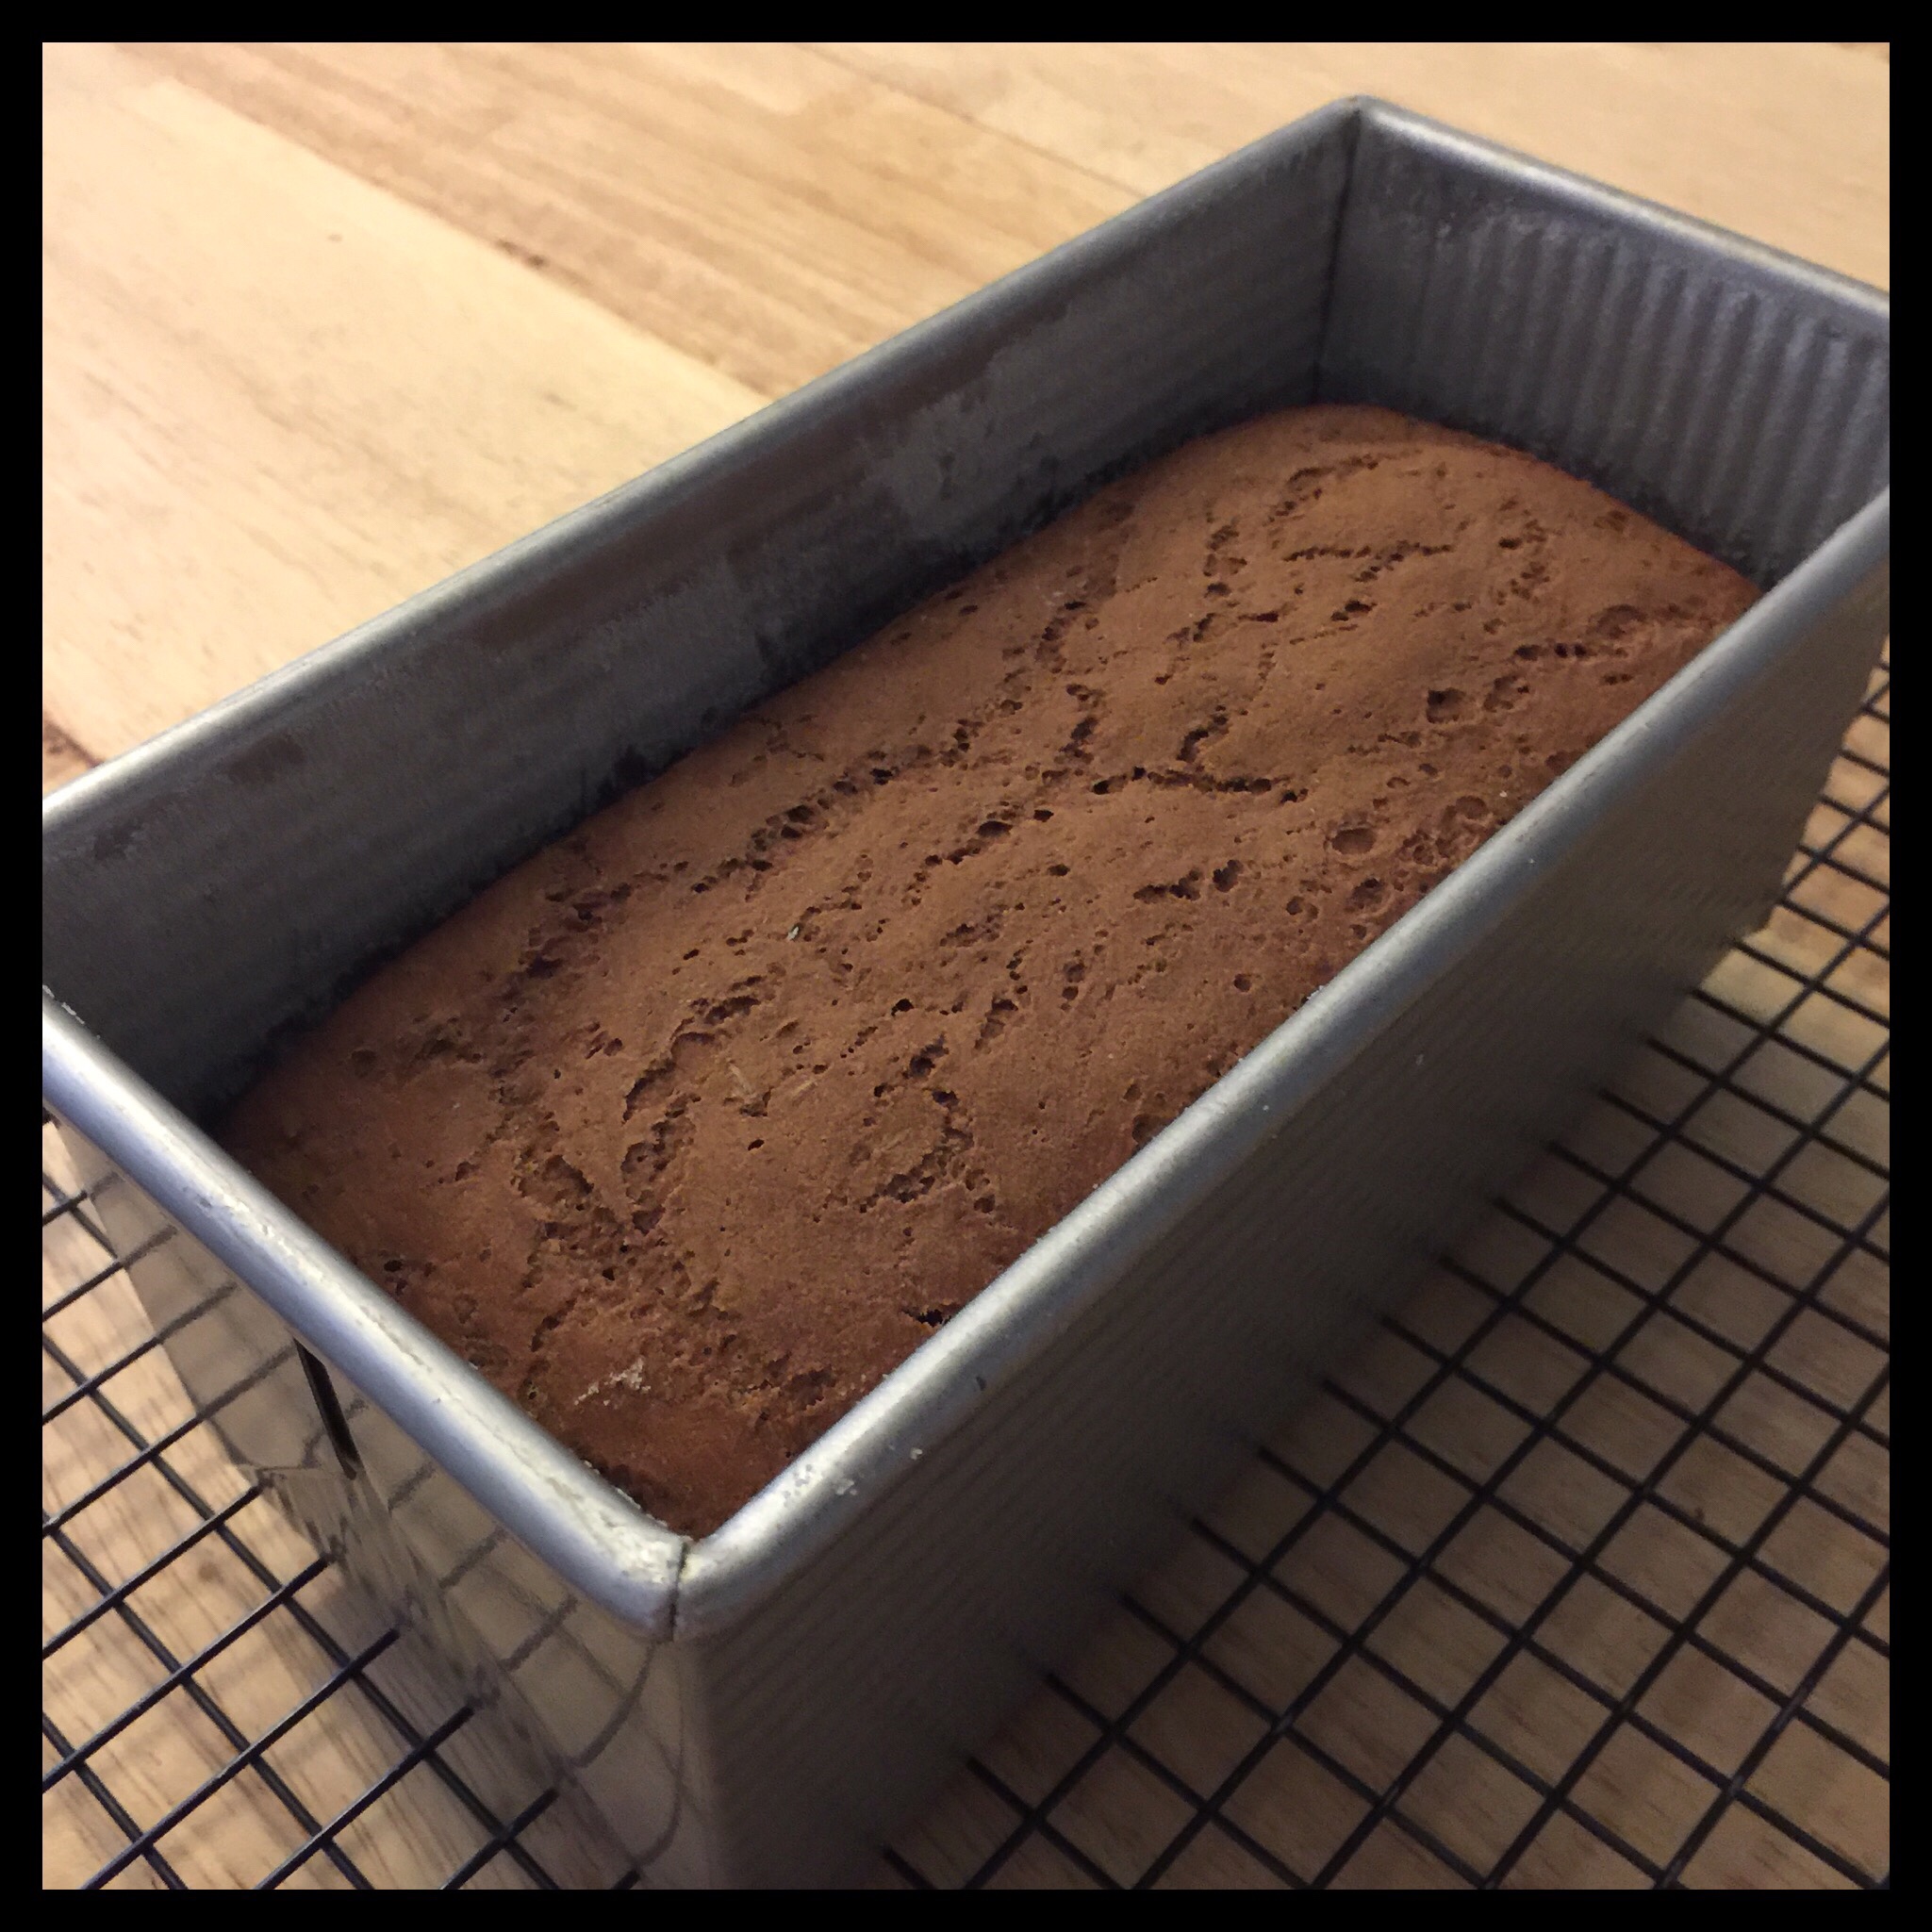
Place the filled pan in the bag, and let the dough rise until it is doubled. Your dough will only need to rise for 15 to 20 minutes if your room is 85 degrees Fahrenheit, but will need 30 to 45 minutes if your room is 70 degrees Fahrenheit, and somewhere in between if your room temperature is in the middle. Preheat your oven to 400 degrees Fahrenheit while it is rising. (You will not be able to use it as a place for rising your dough this time.) Place the shallow pan on a lower rack and add about a 1/4″ layer of water. Keep an eye on the water level if your rising time is over 30 minutes as you may need to add more.
Place your pan in the 400 degree Fahrenheit oven that is now nice and steamy. As soon as you close the door, turn the heat down to 375 degrees Fahrenheit. Bake for 60 minutes.
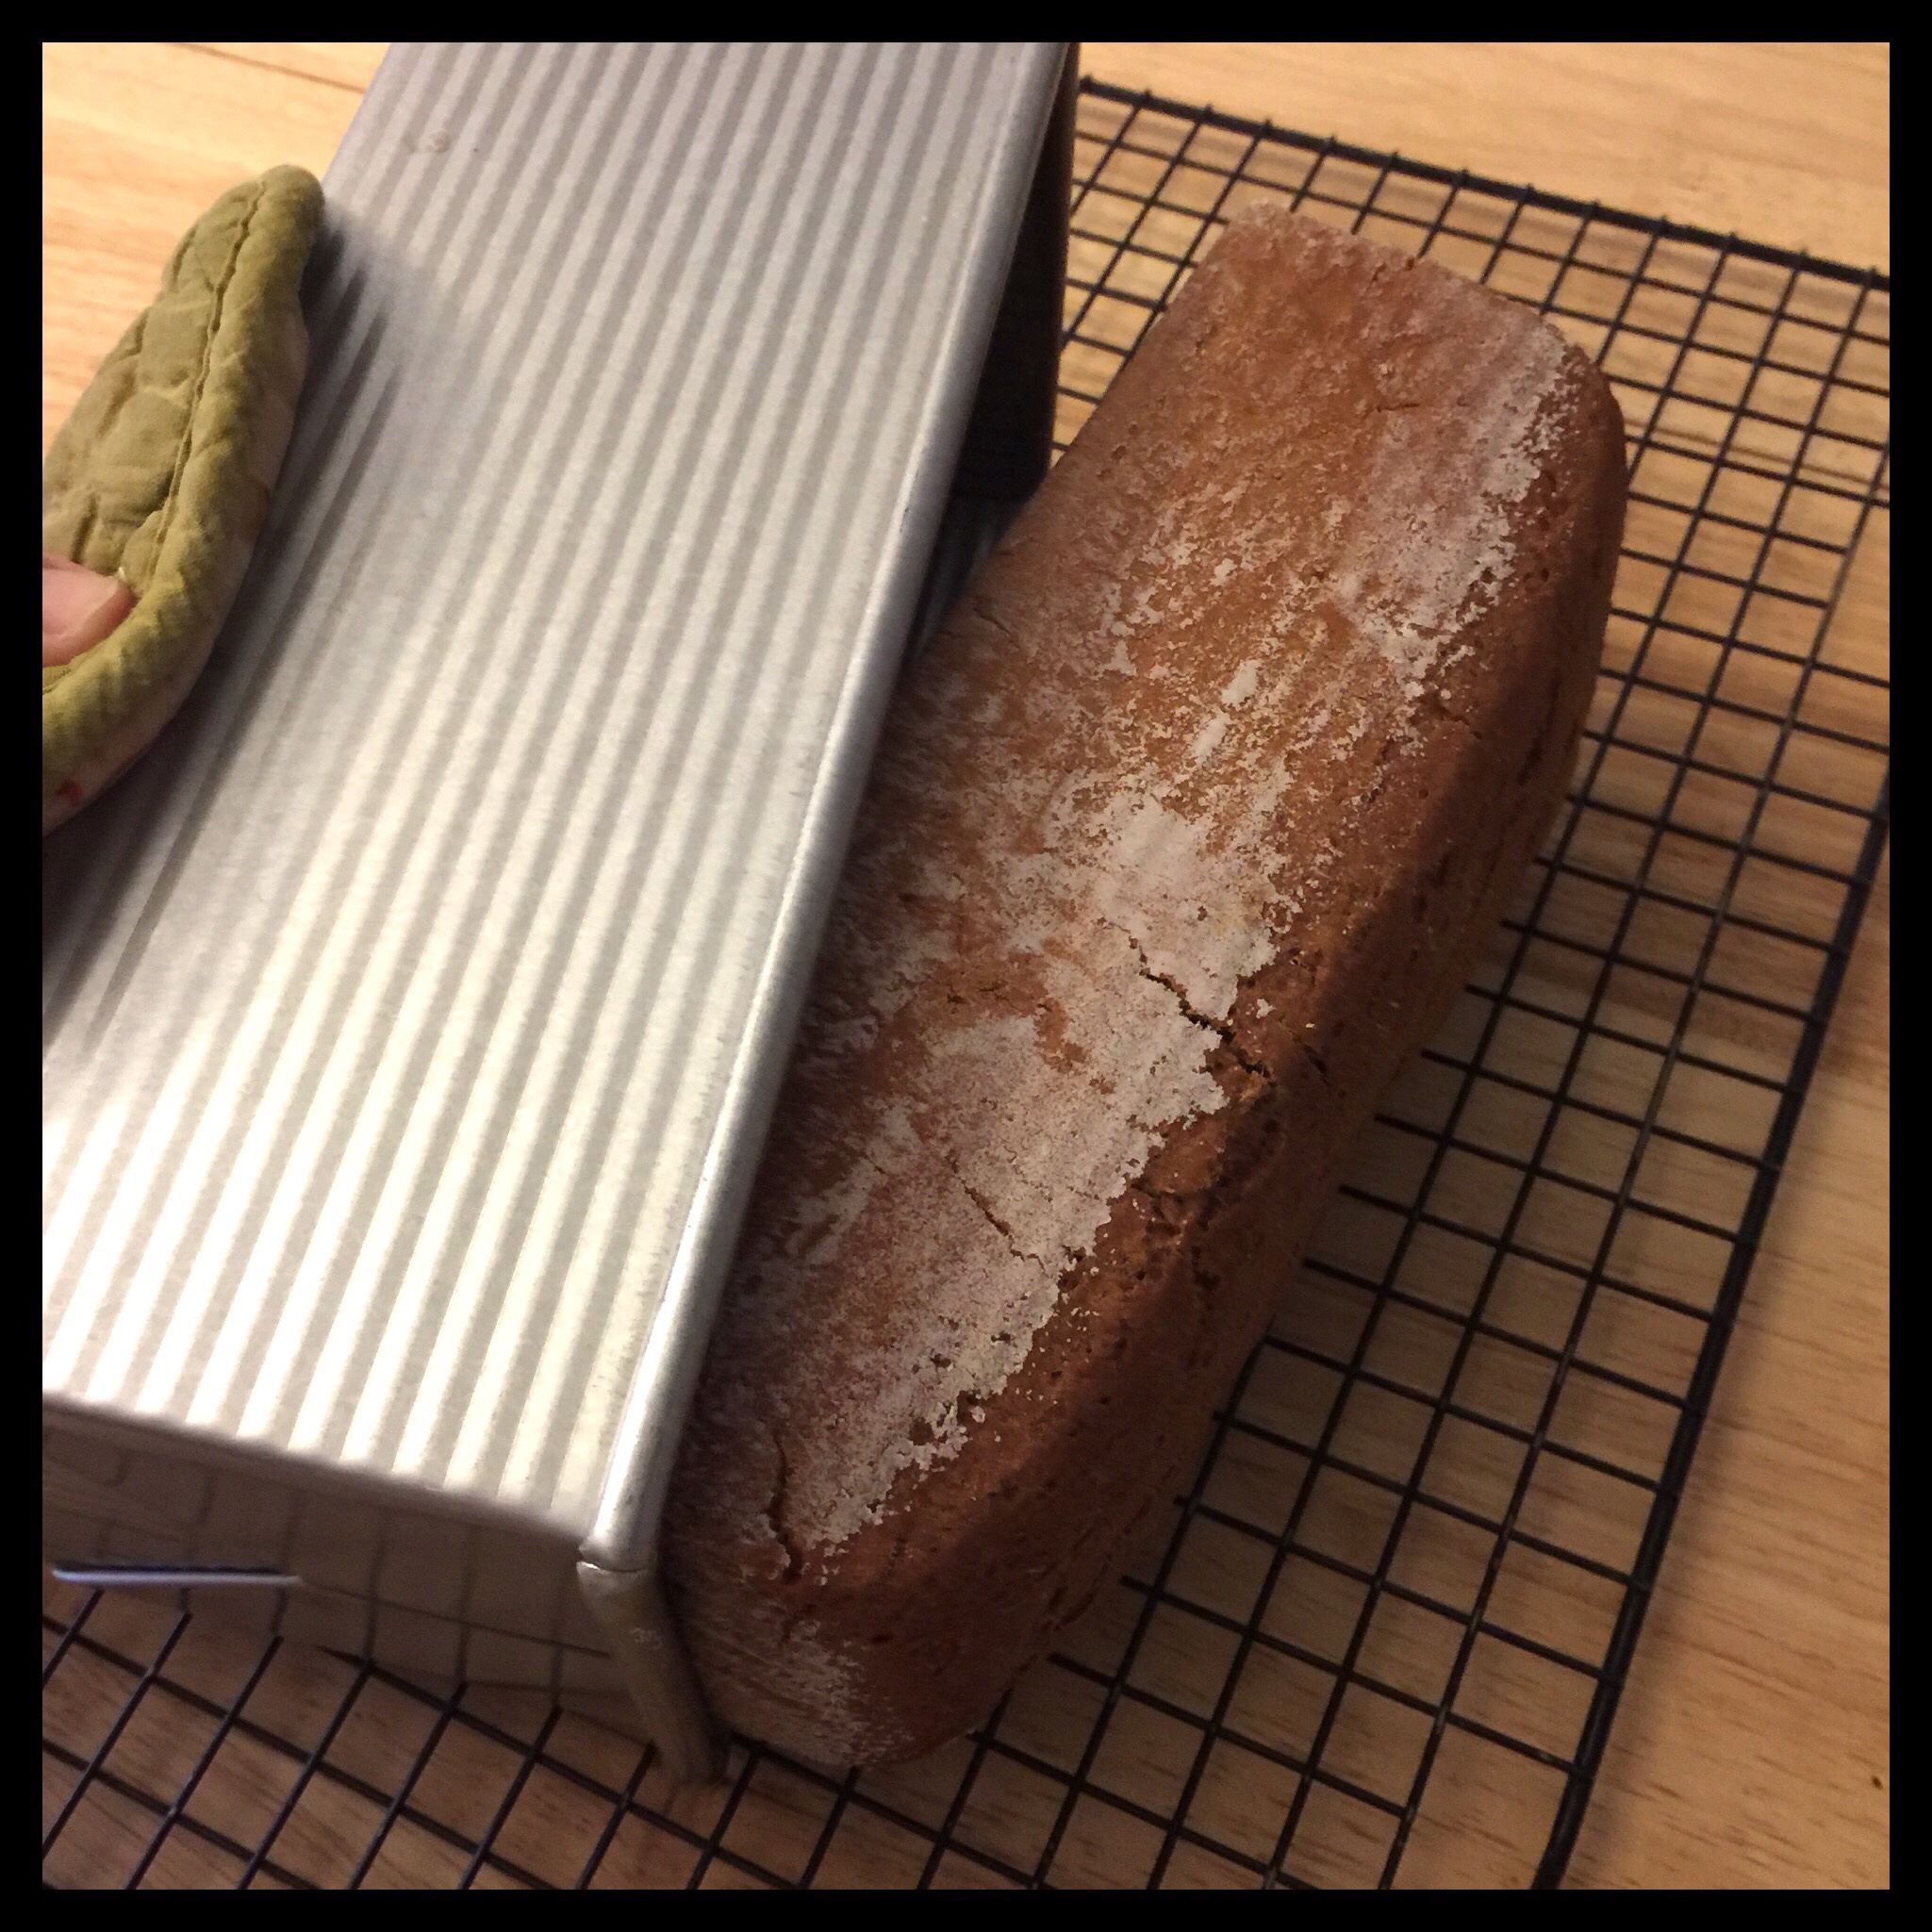
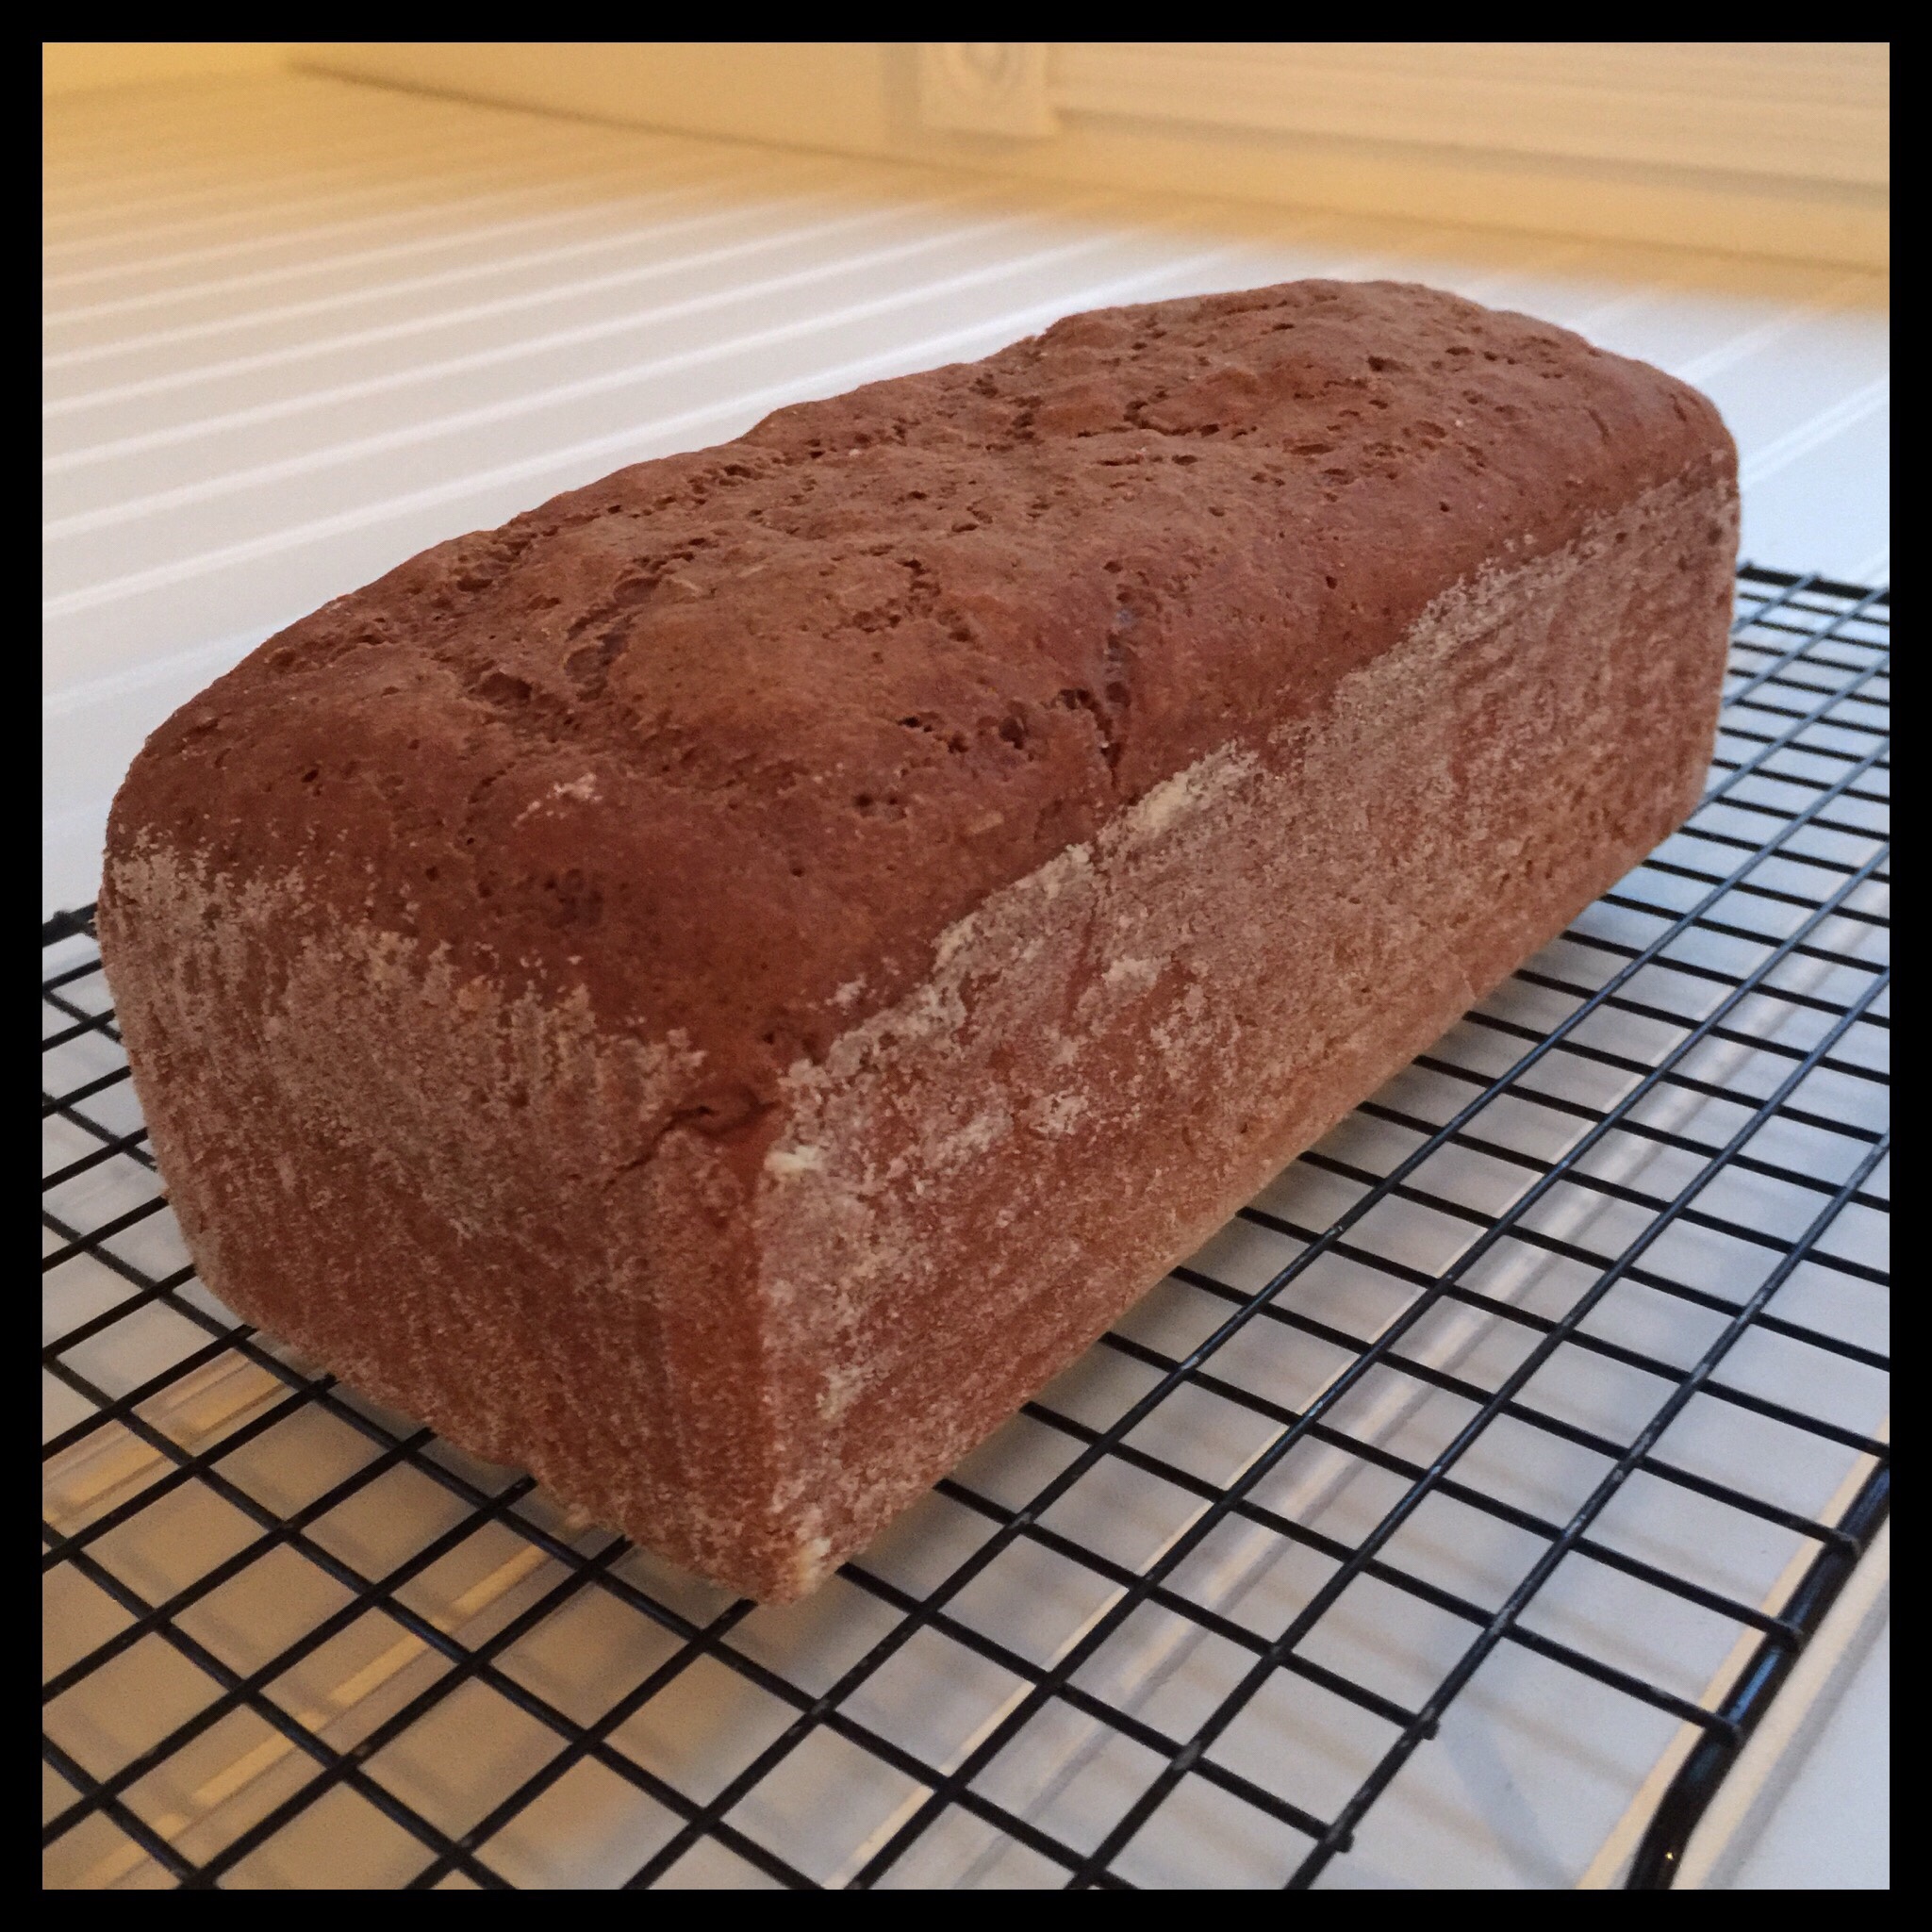
Immediately, turn the baked loaf out on its side onto a cooling rack. Set a timer for 10 minutes. (Keeping the hot loaf on its side prevents caving of the sides.)
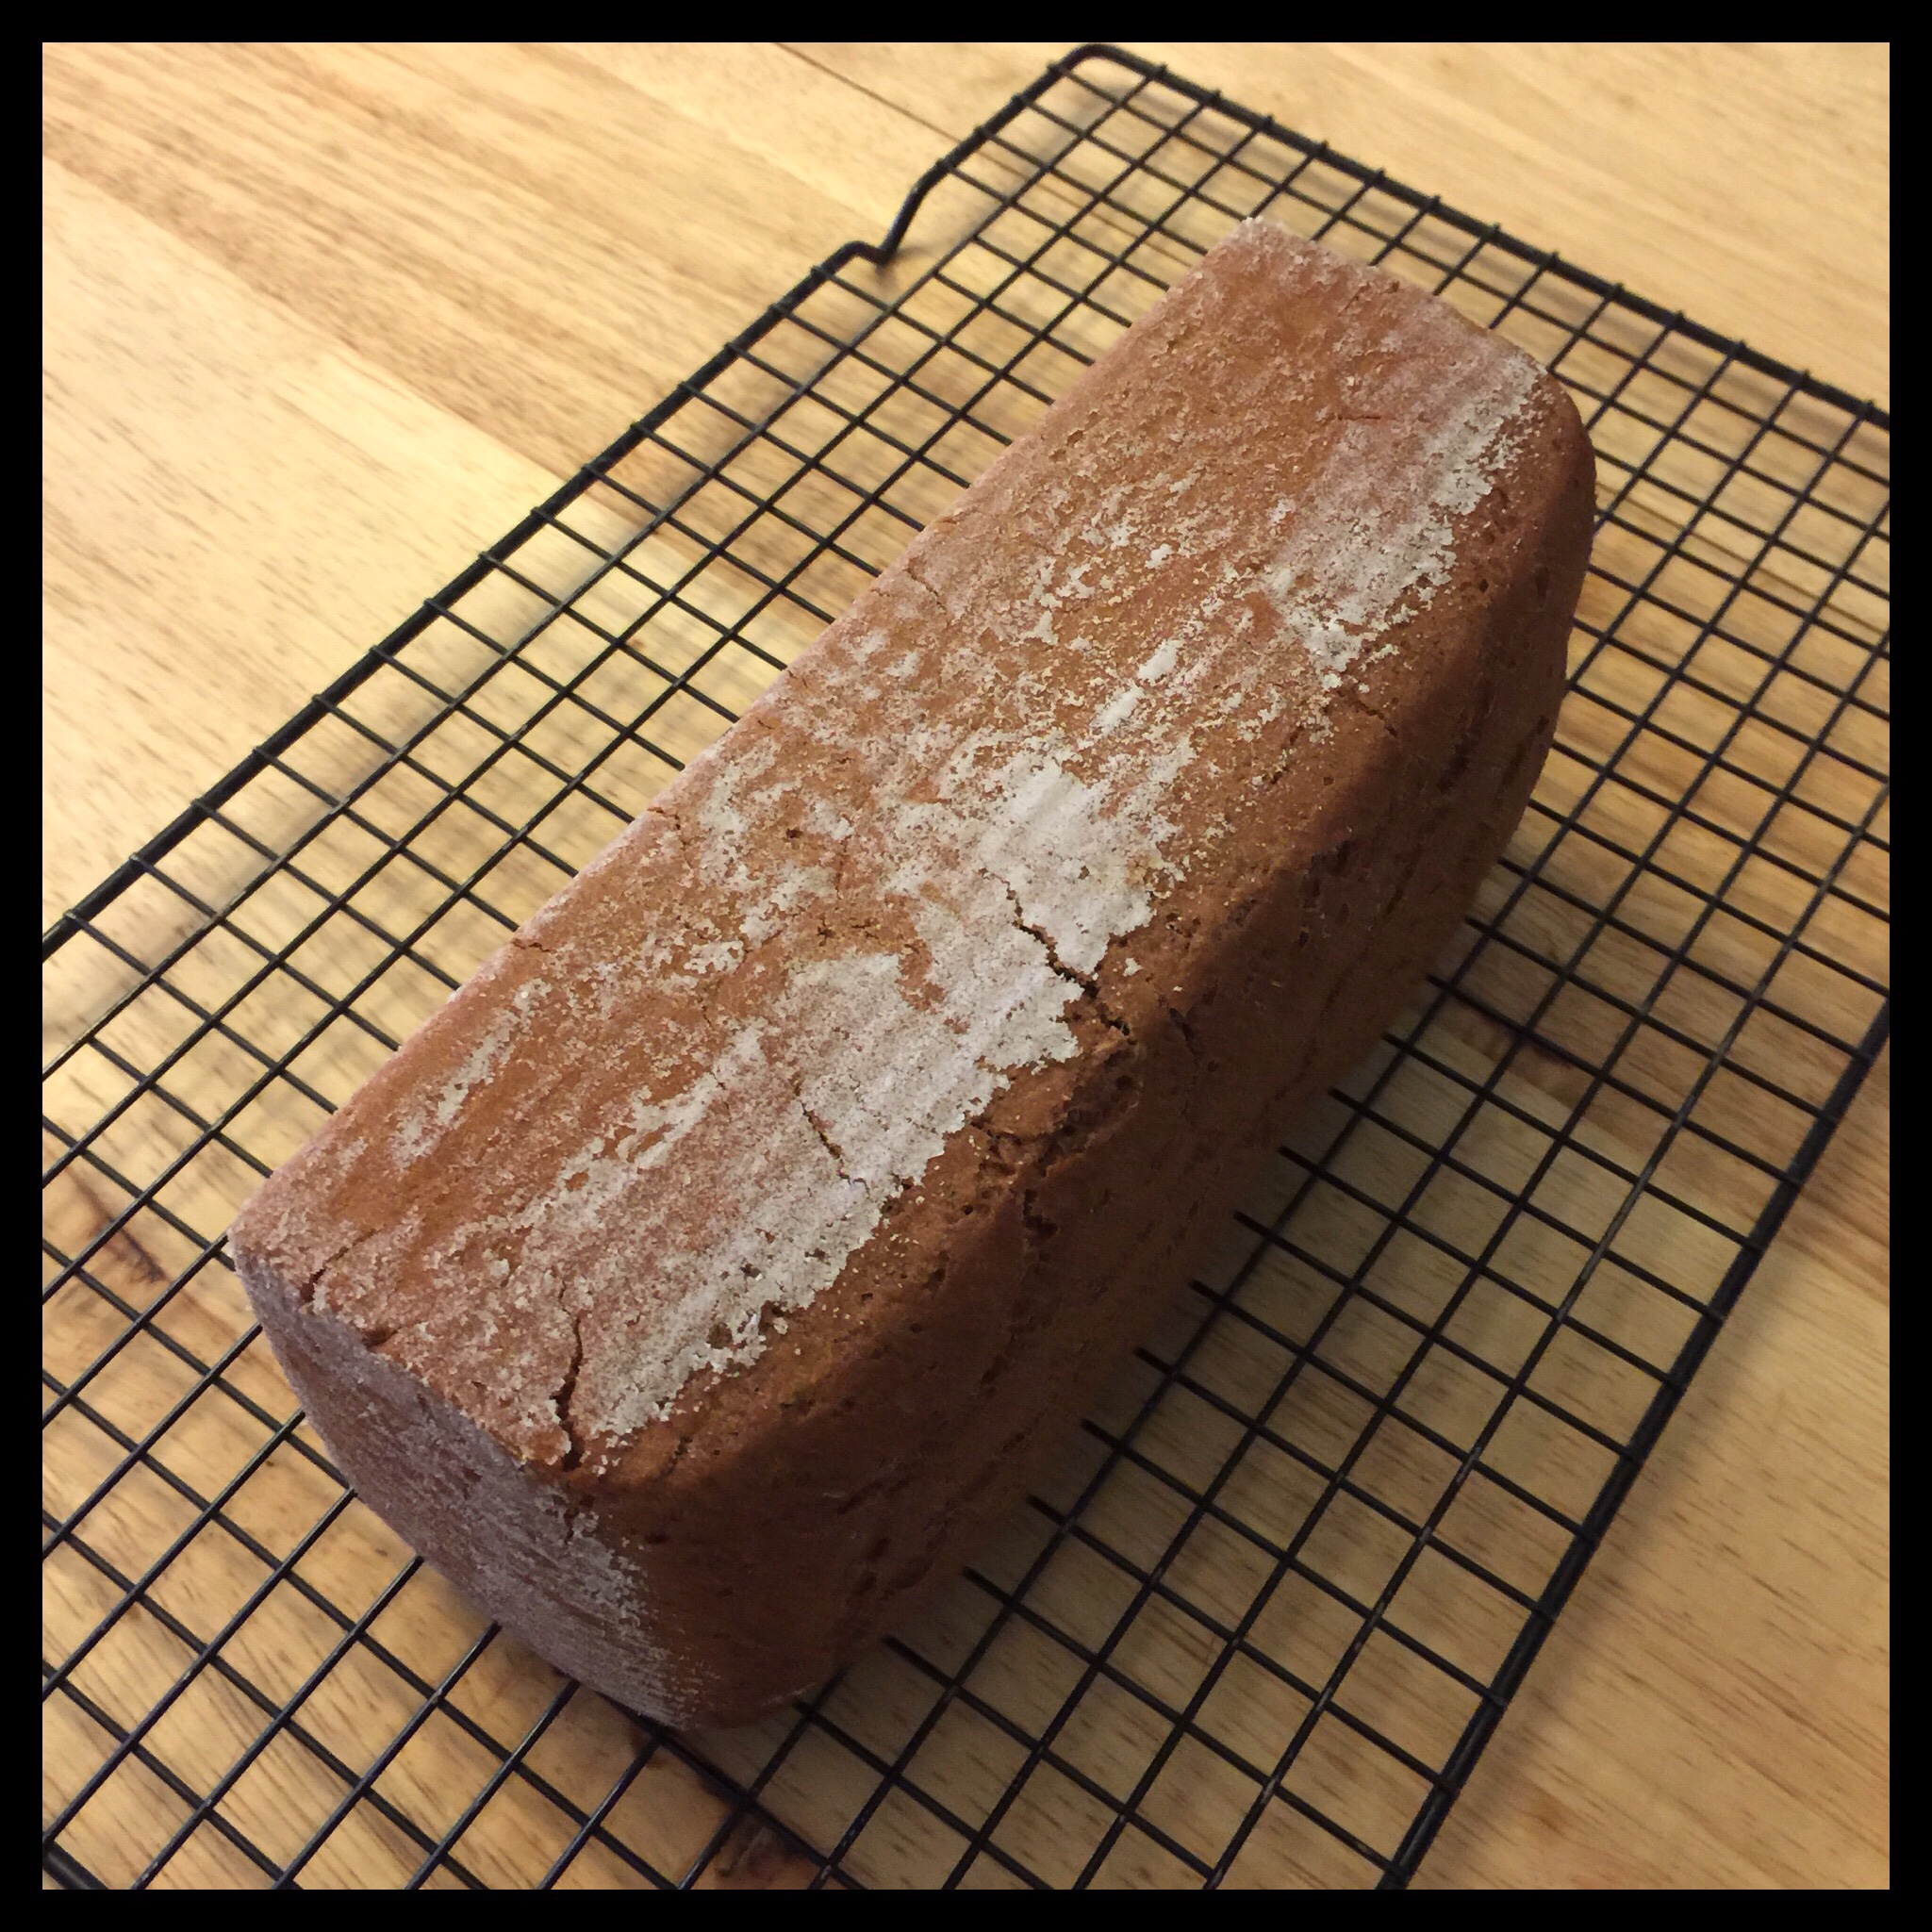
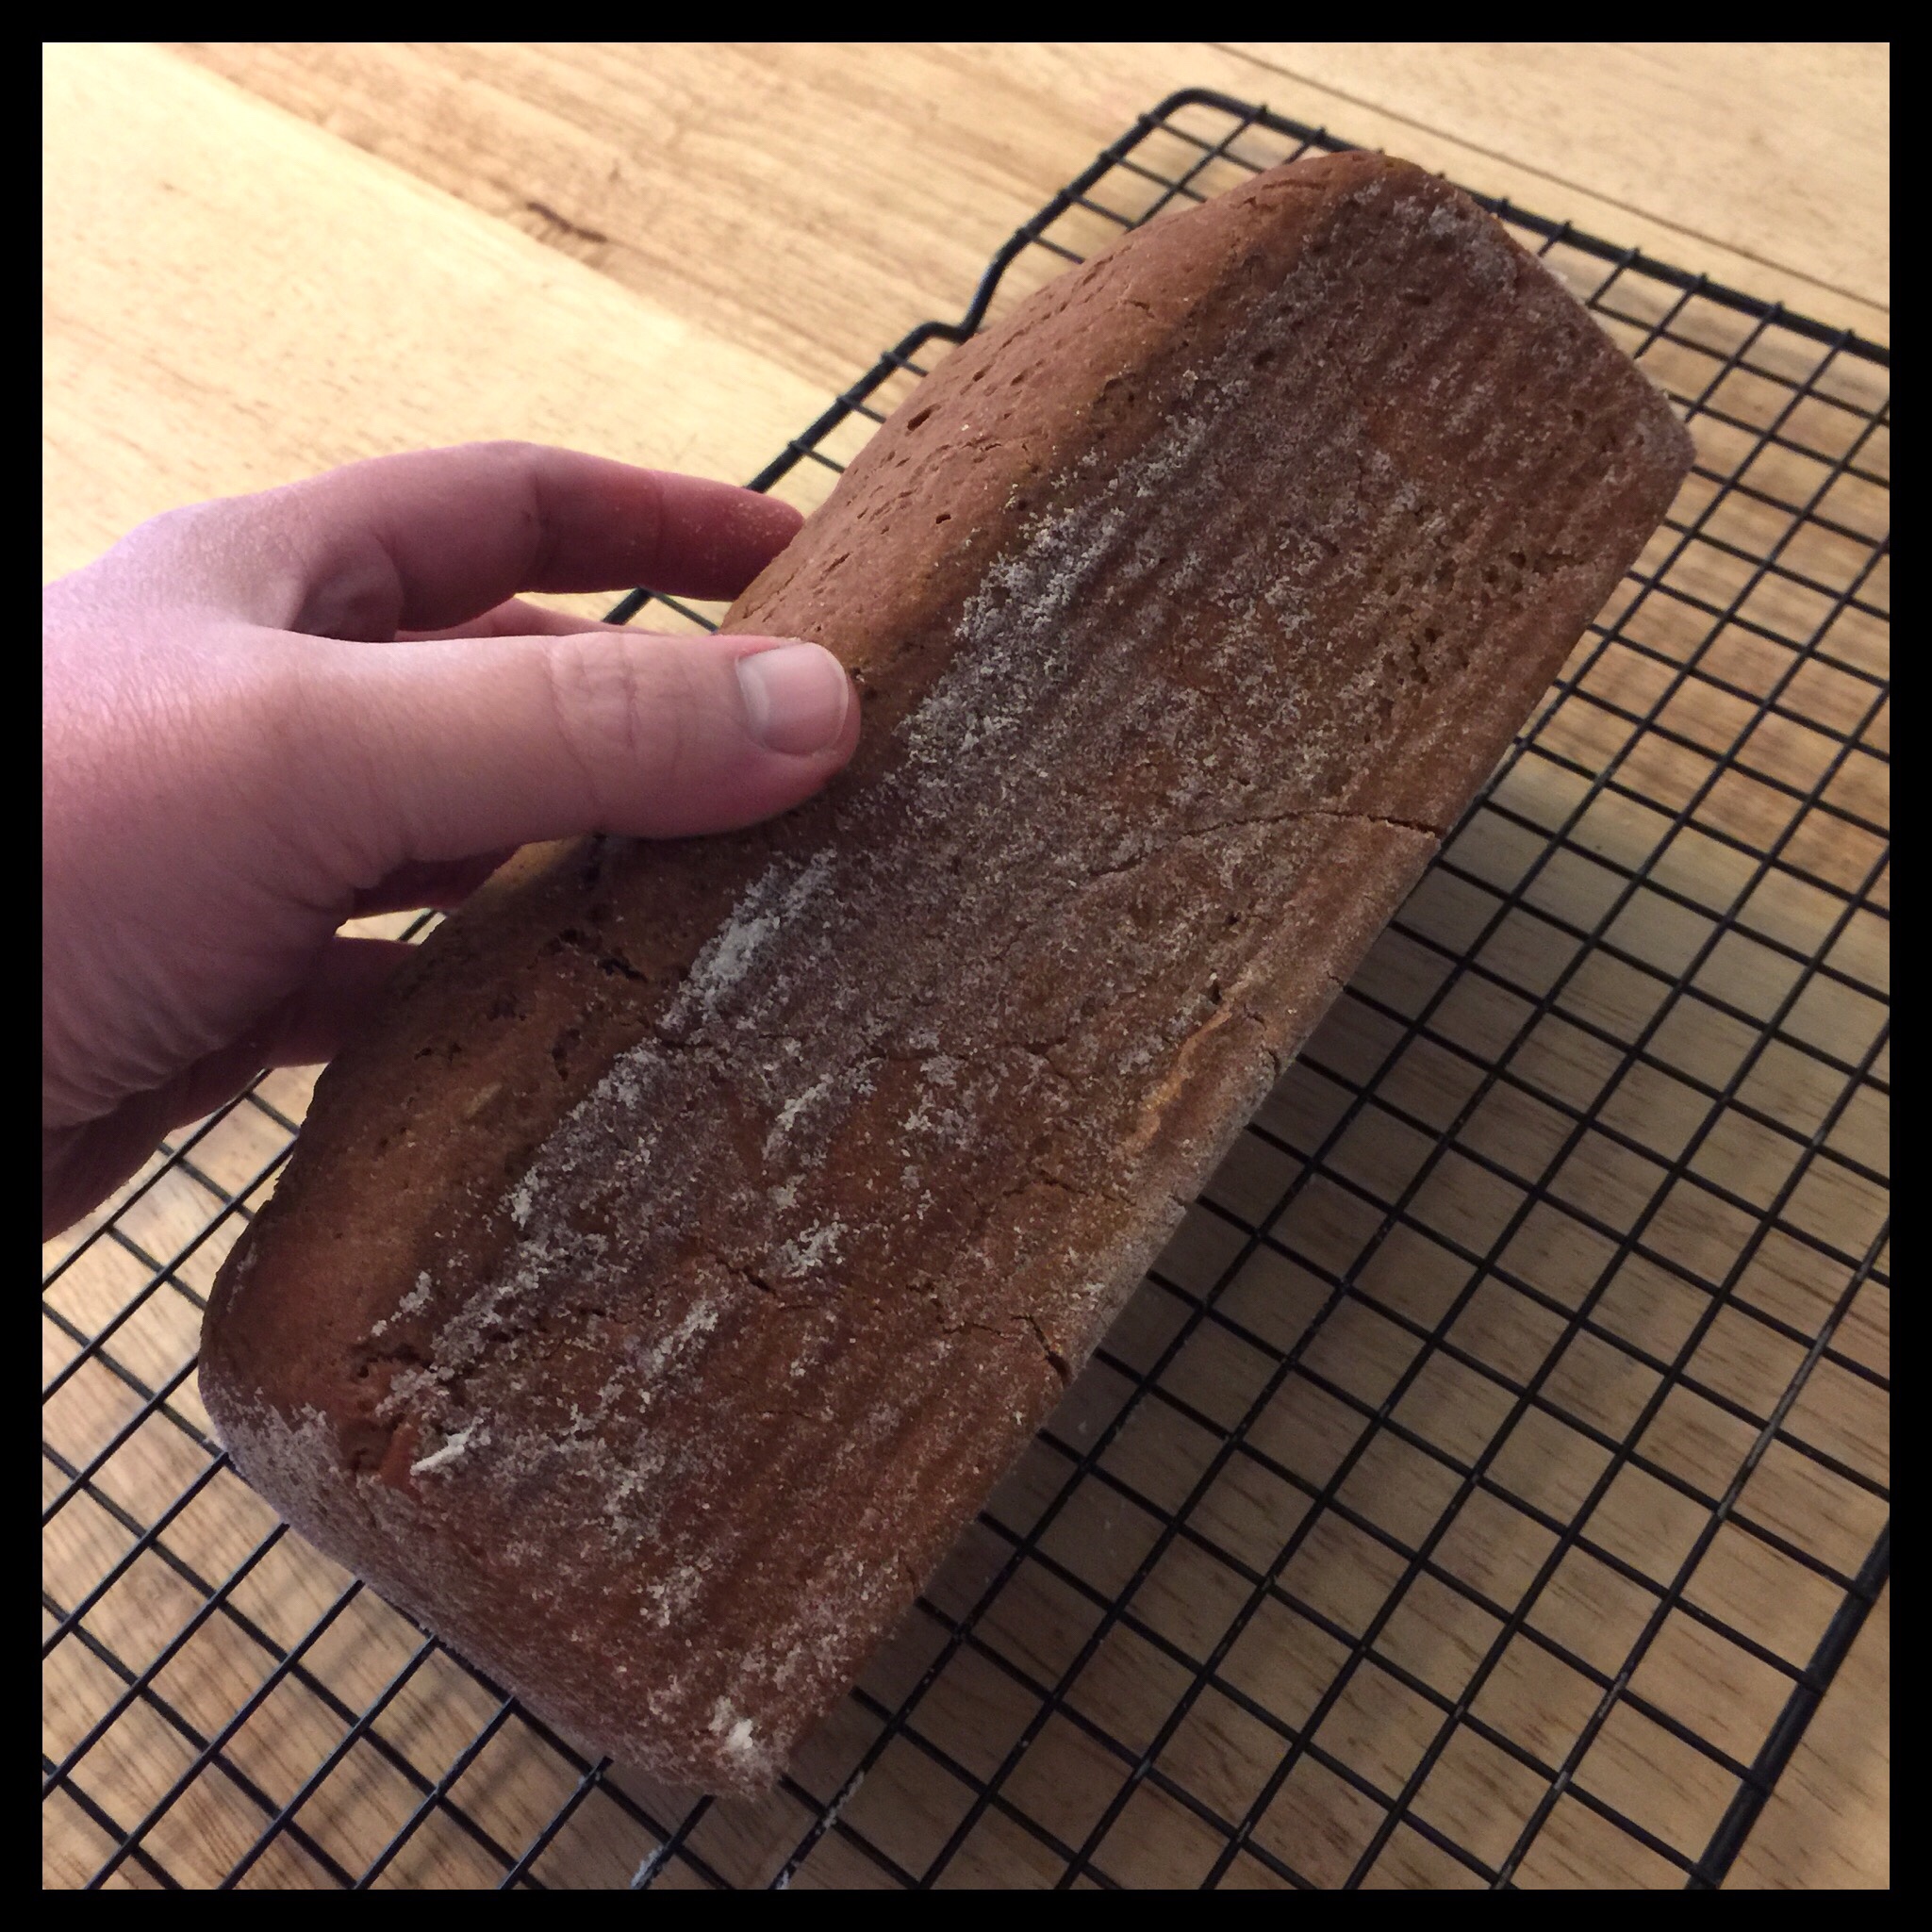
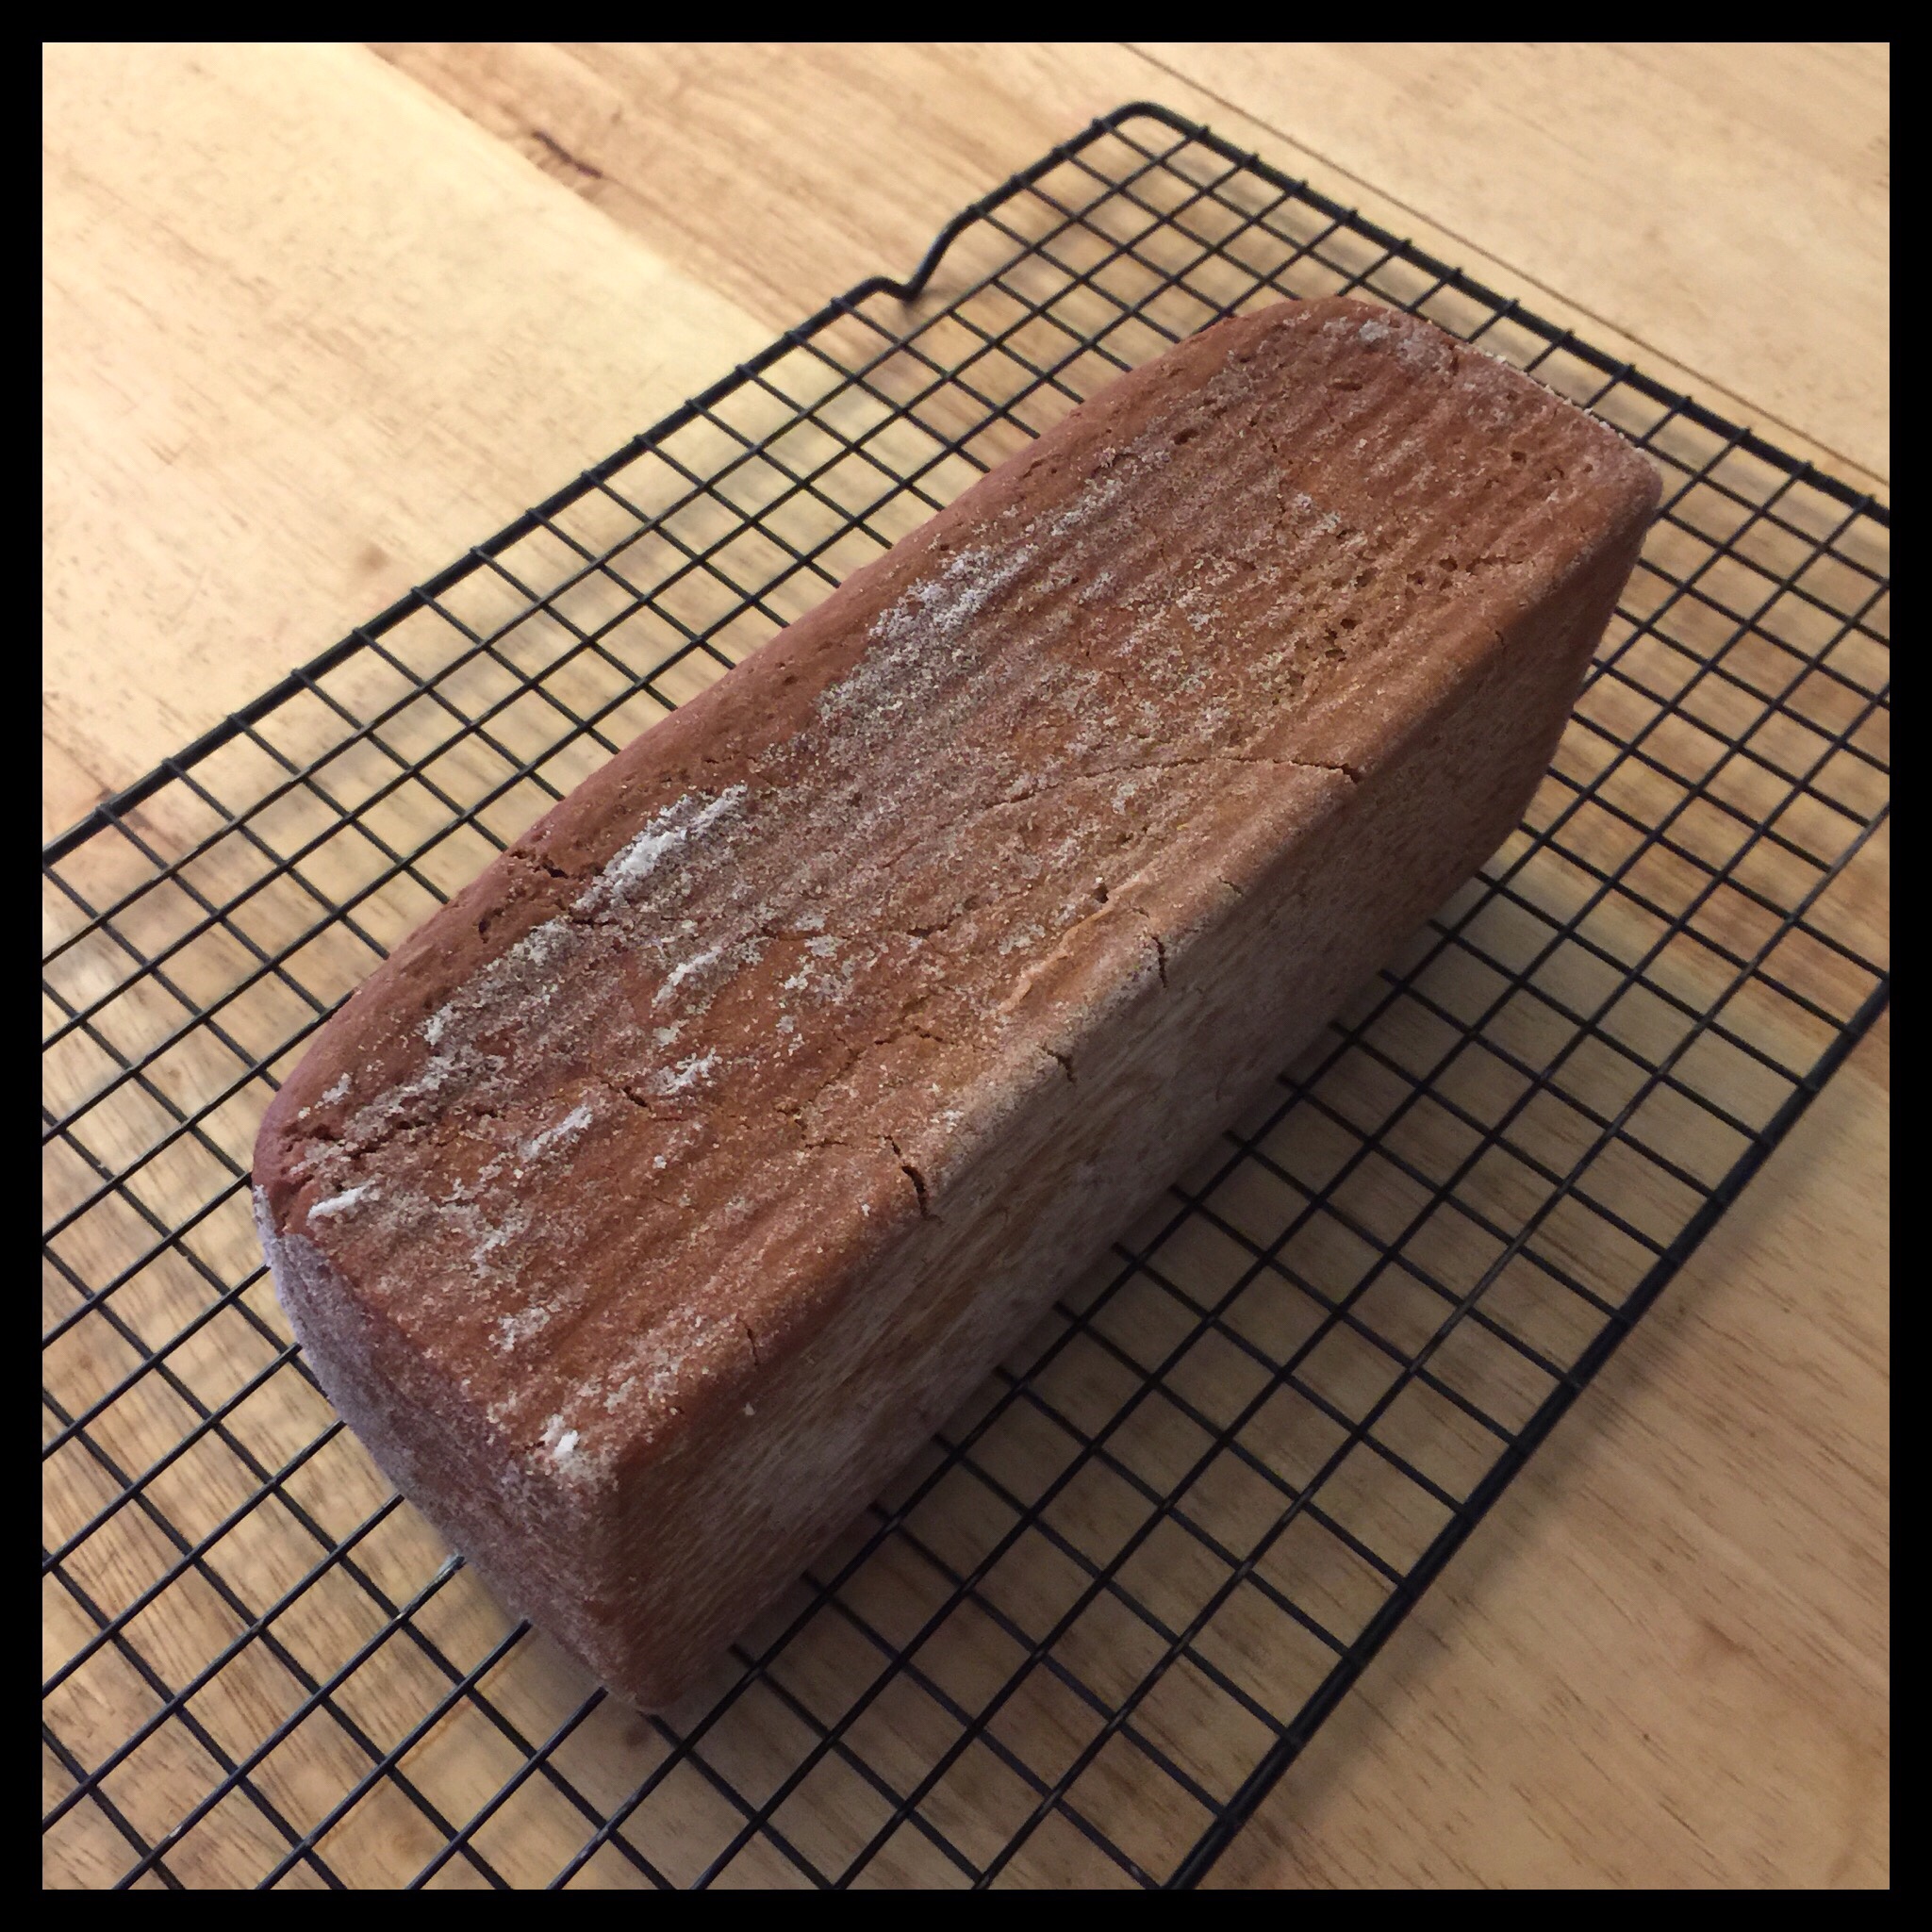
After 10 minutes, turn the loaf onto its opposite side. Set a timer for 15 minutes, then flip back. Set a timer for 20 minutes, and flip again. Finally, set a timer for 30 minutes, and then flip one last time. When that timer goes off, turn the loaf right-side up. Let it cool completely before slicing!
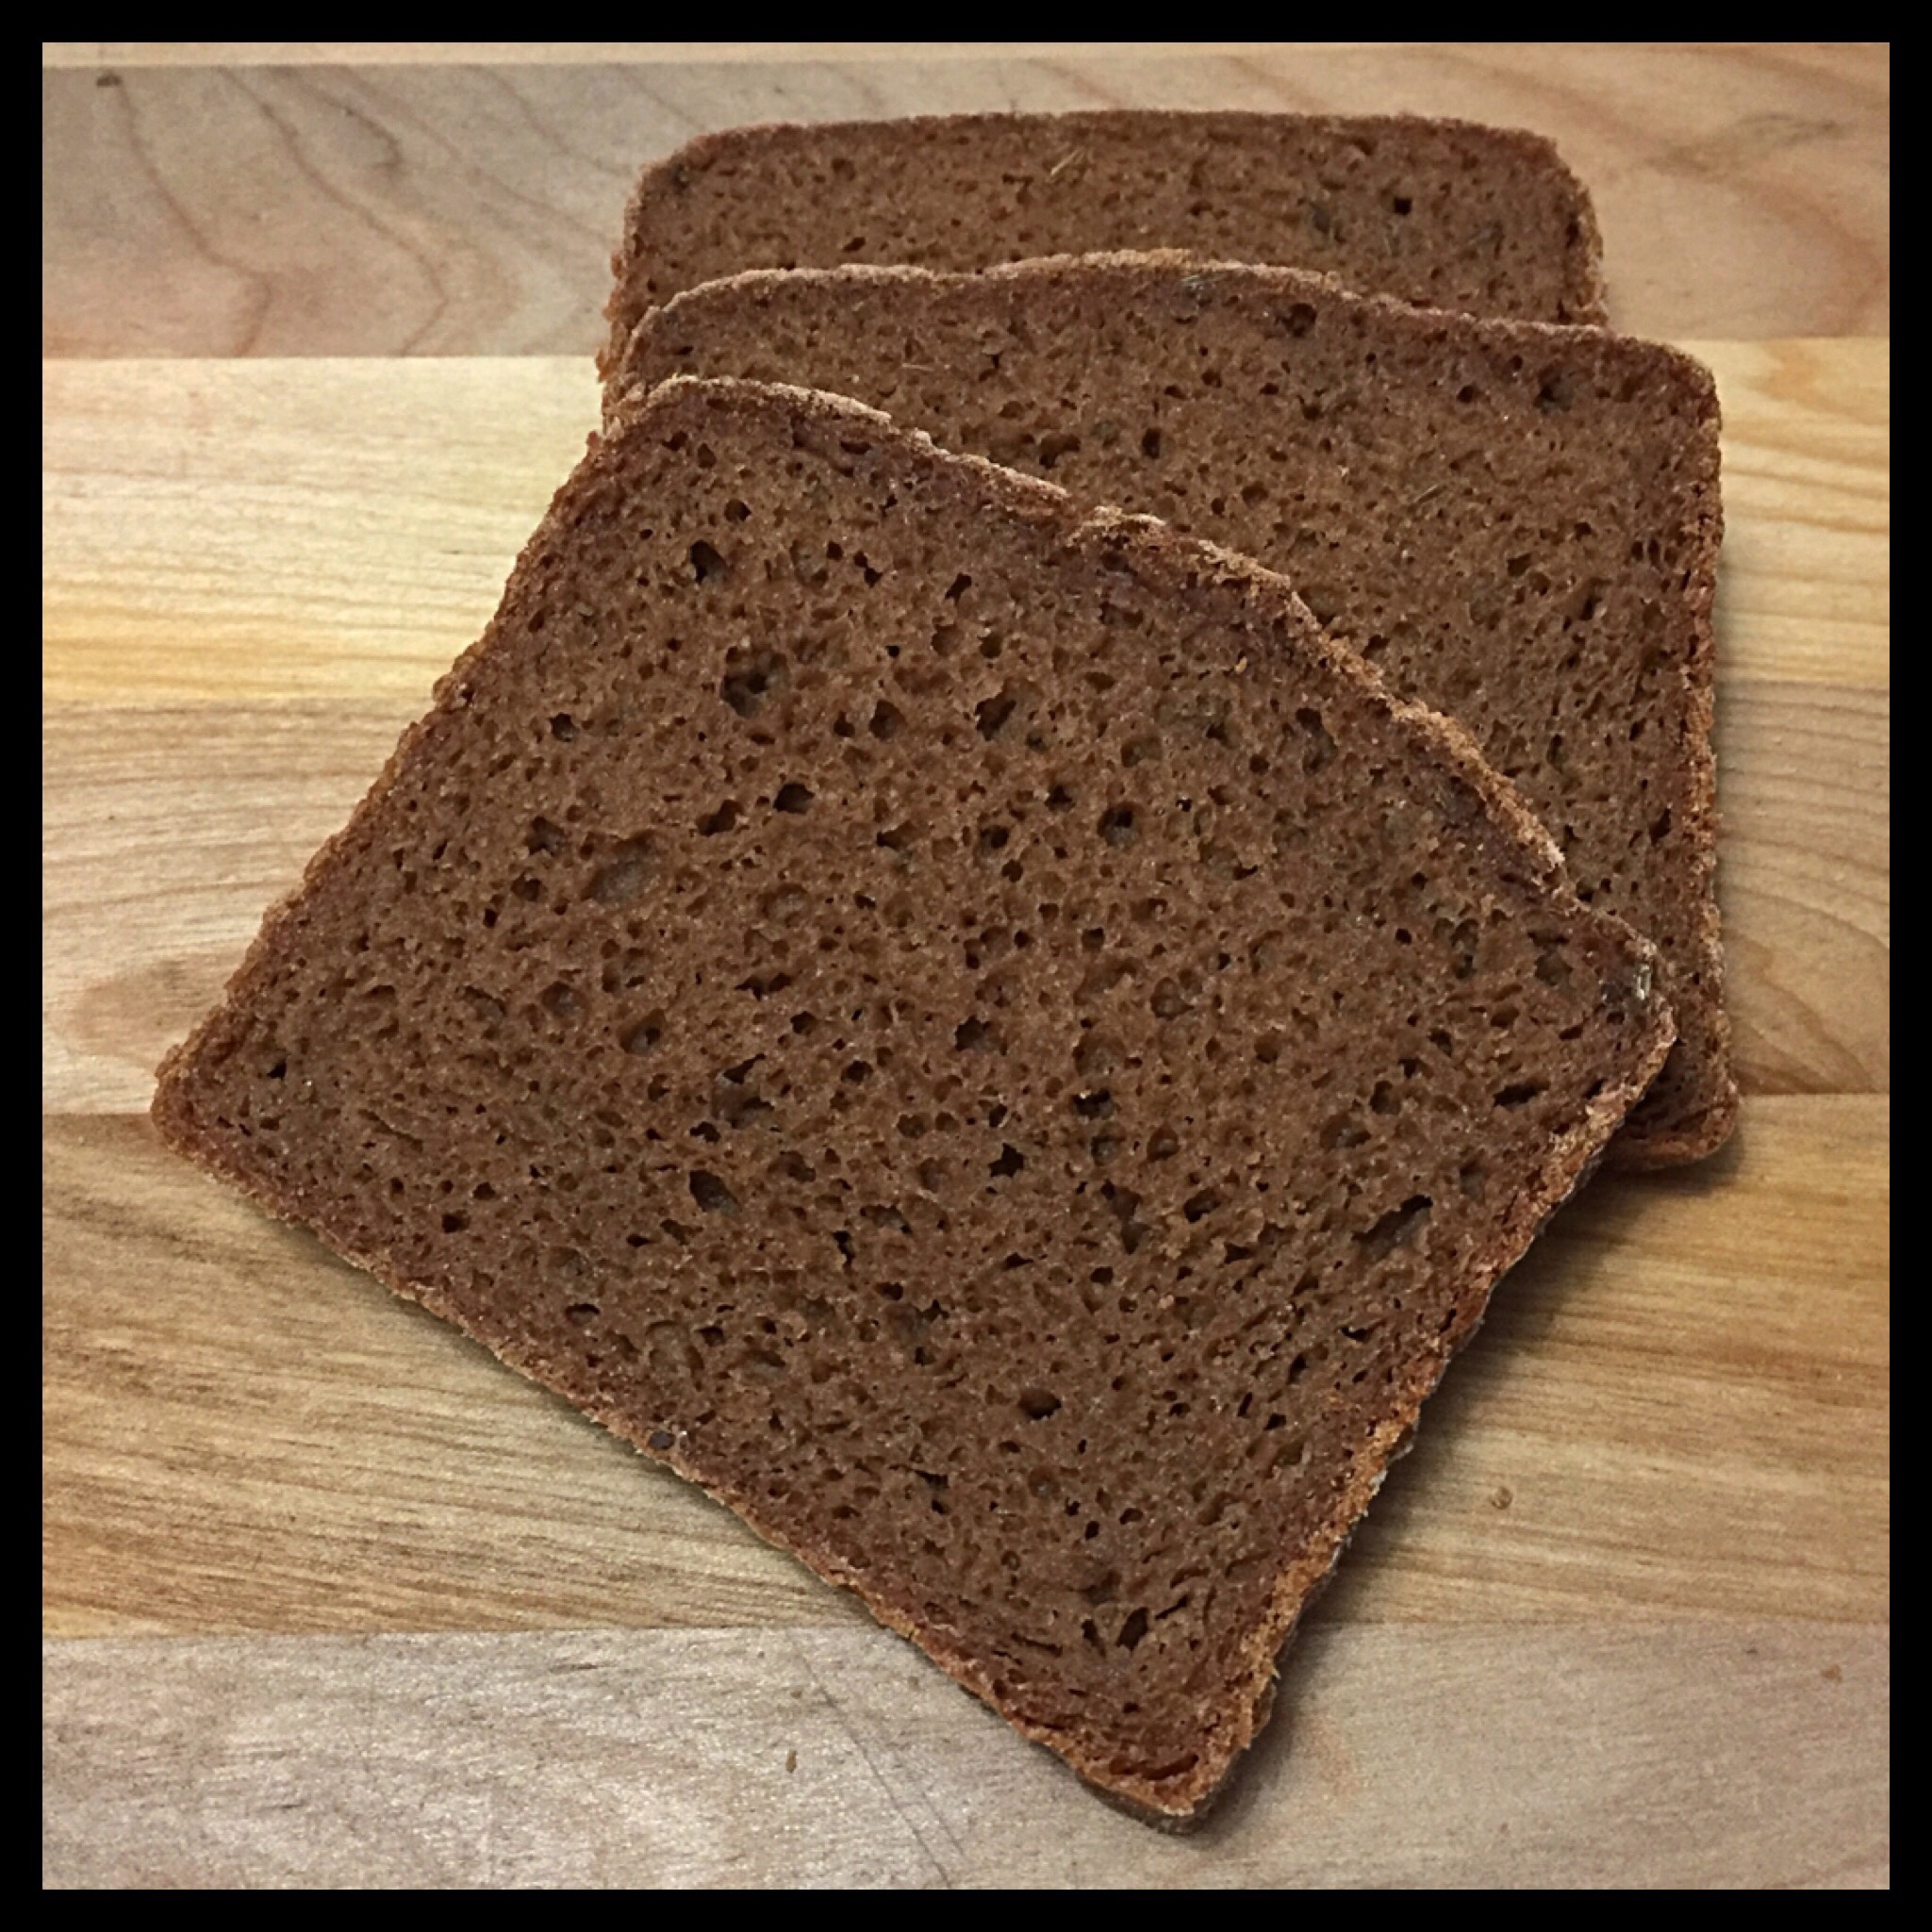
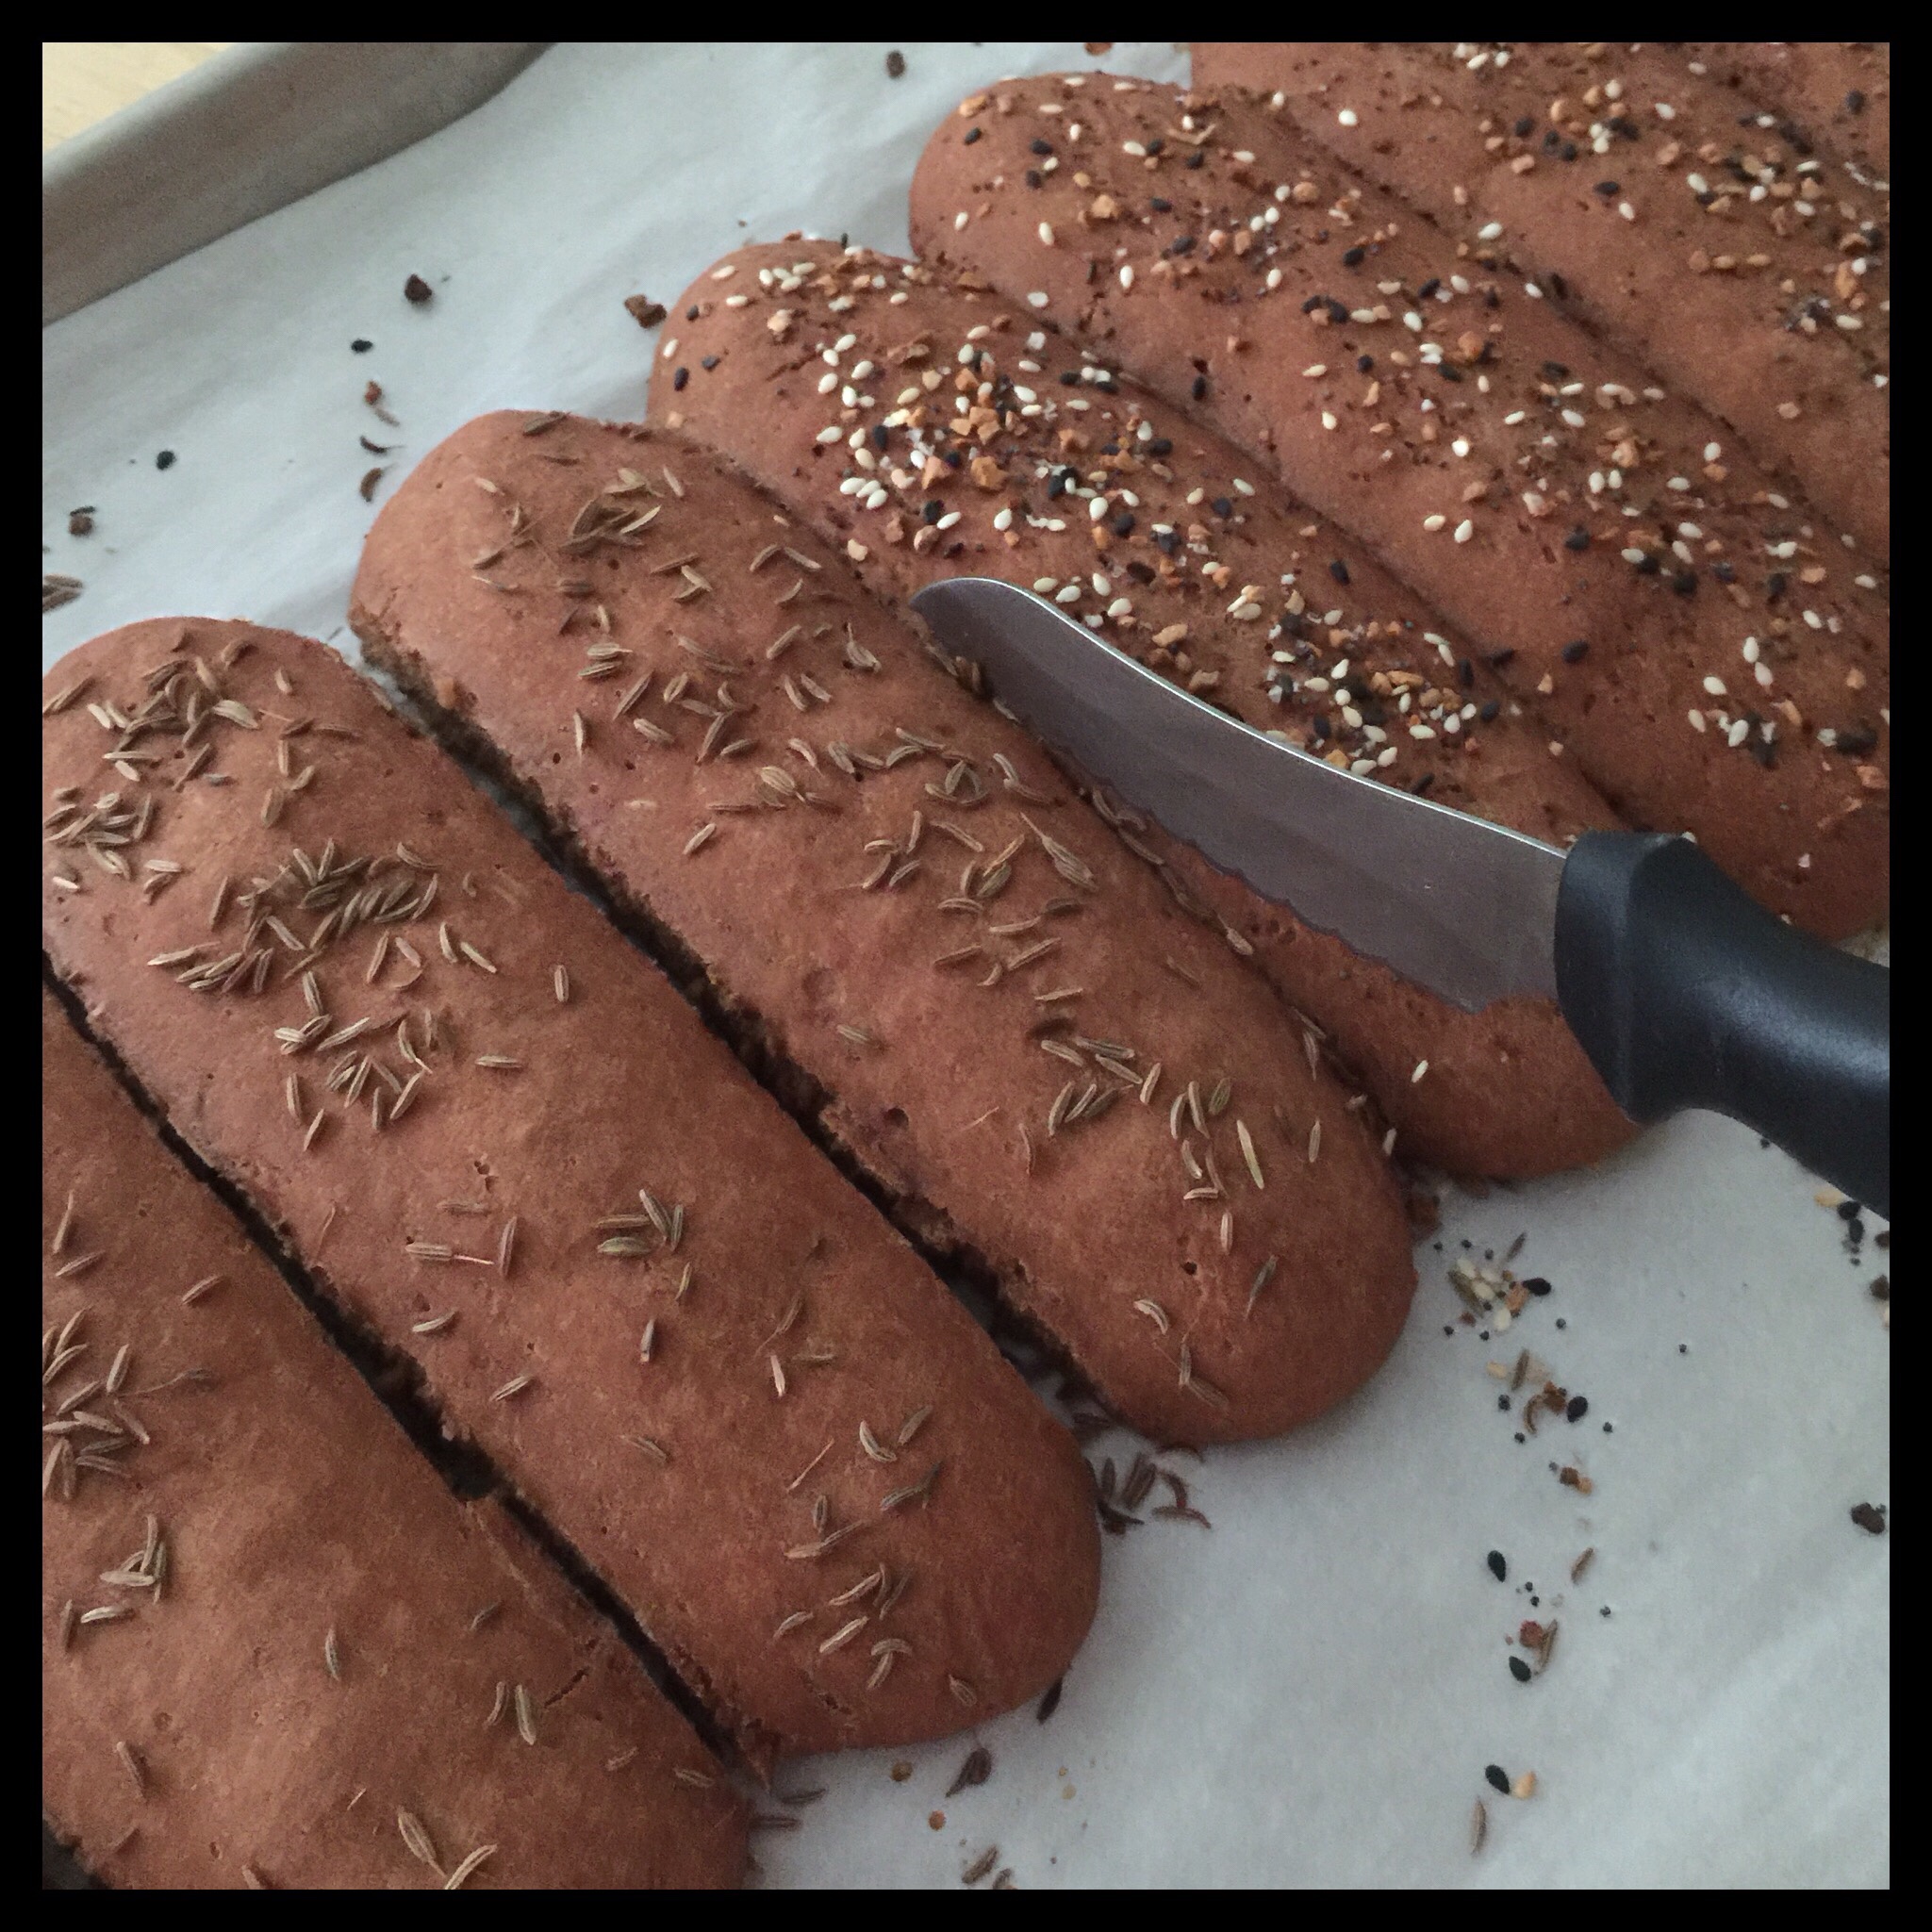
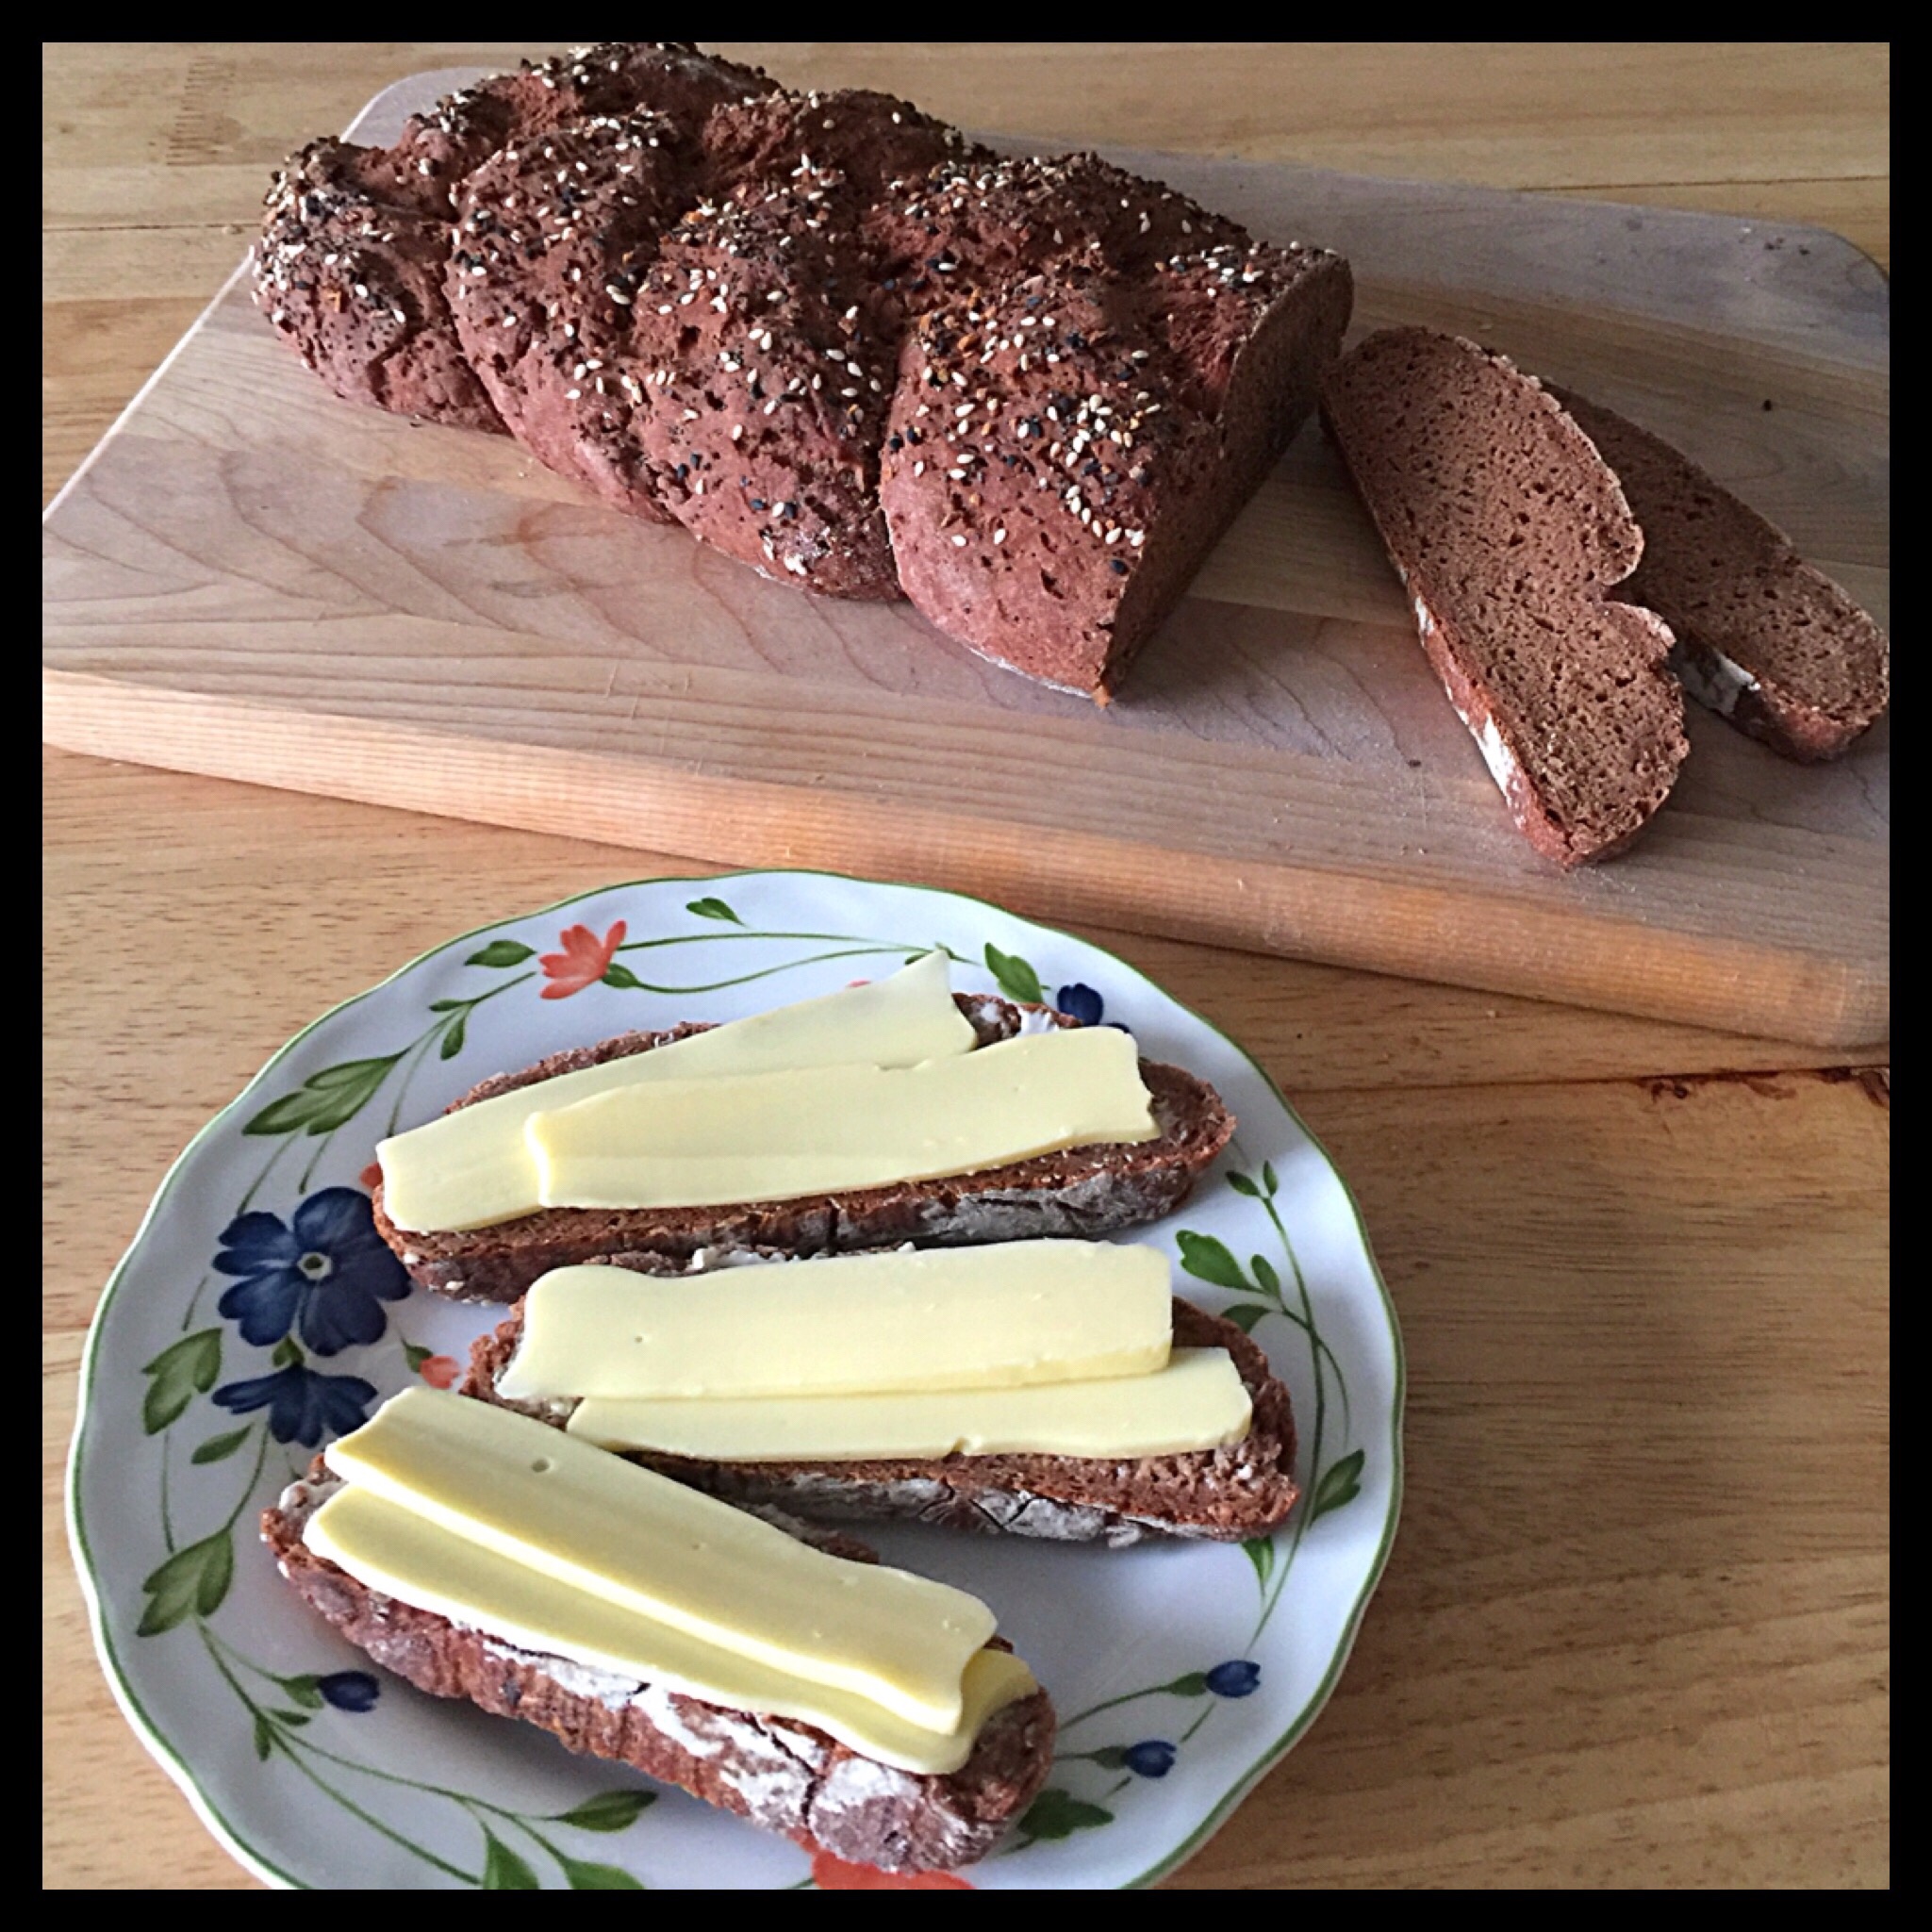
Once your loaf is completely cooled, slice as desired.
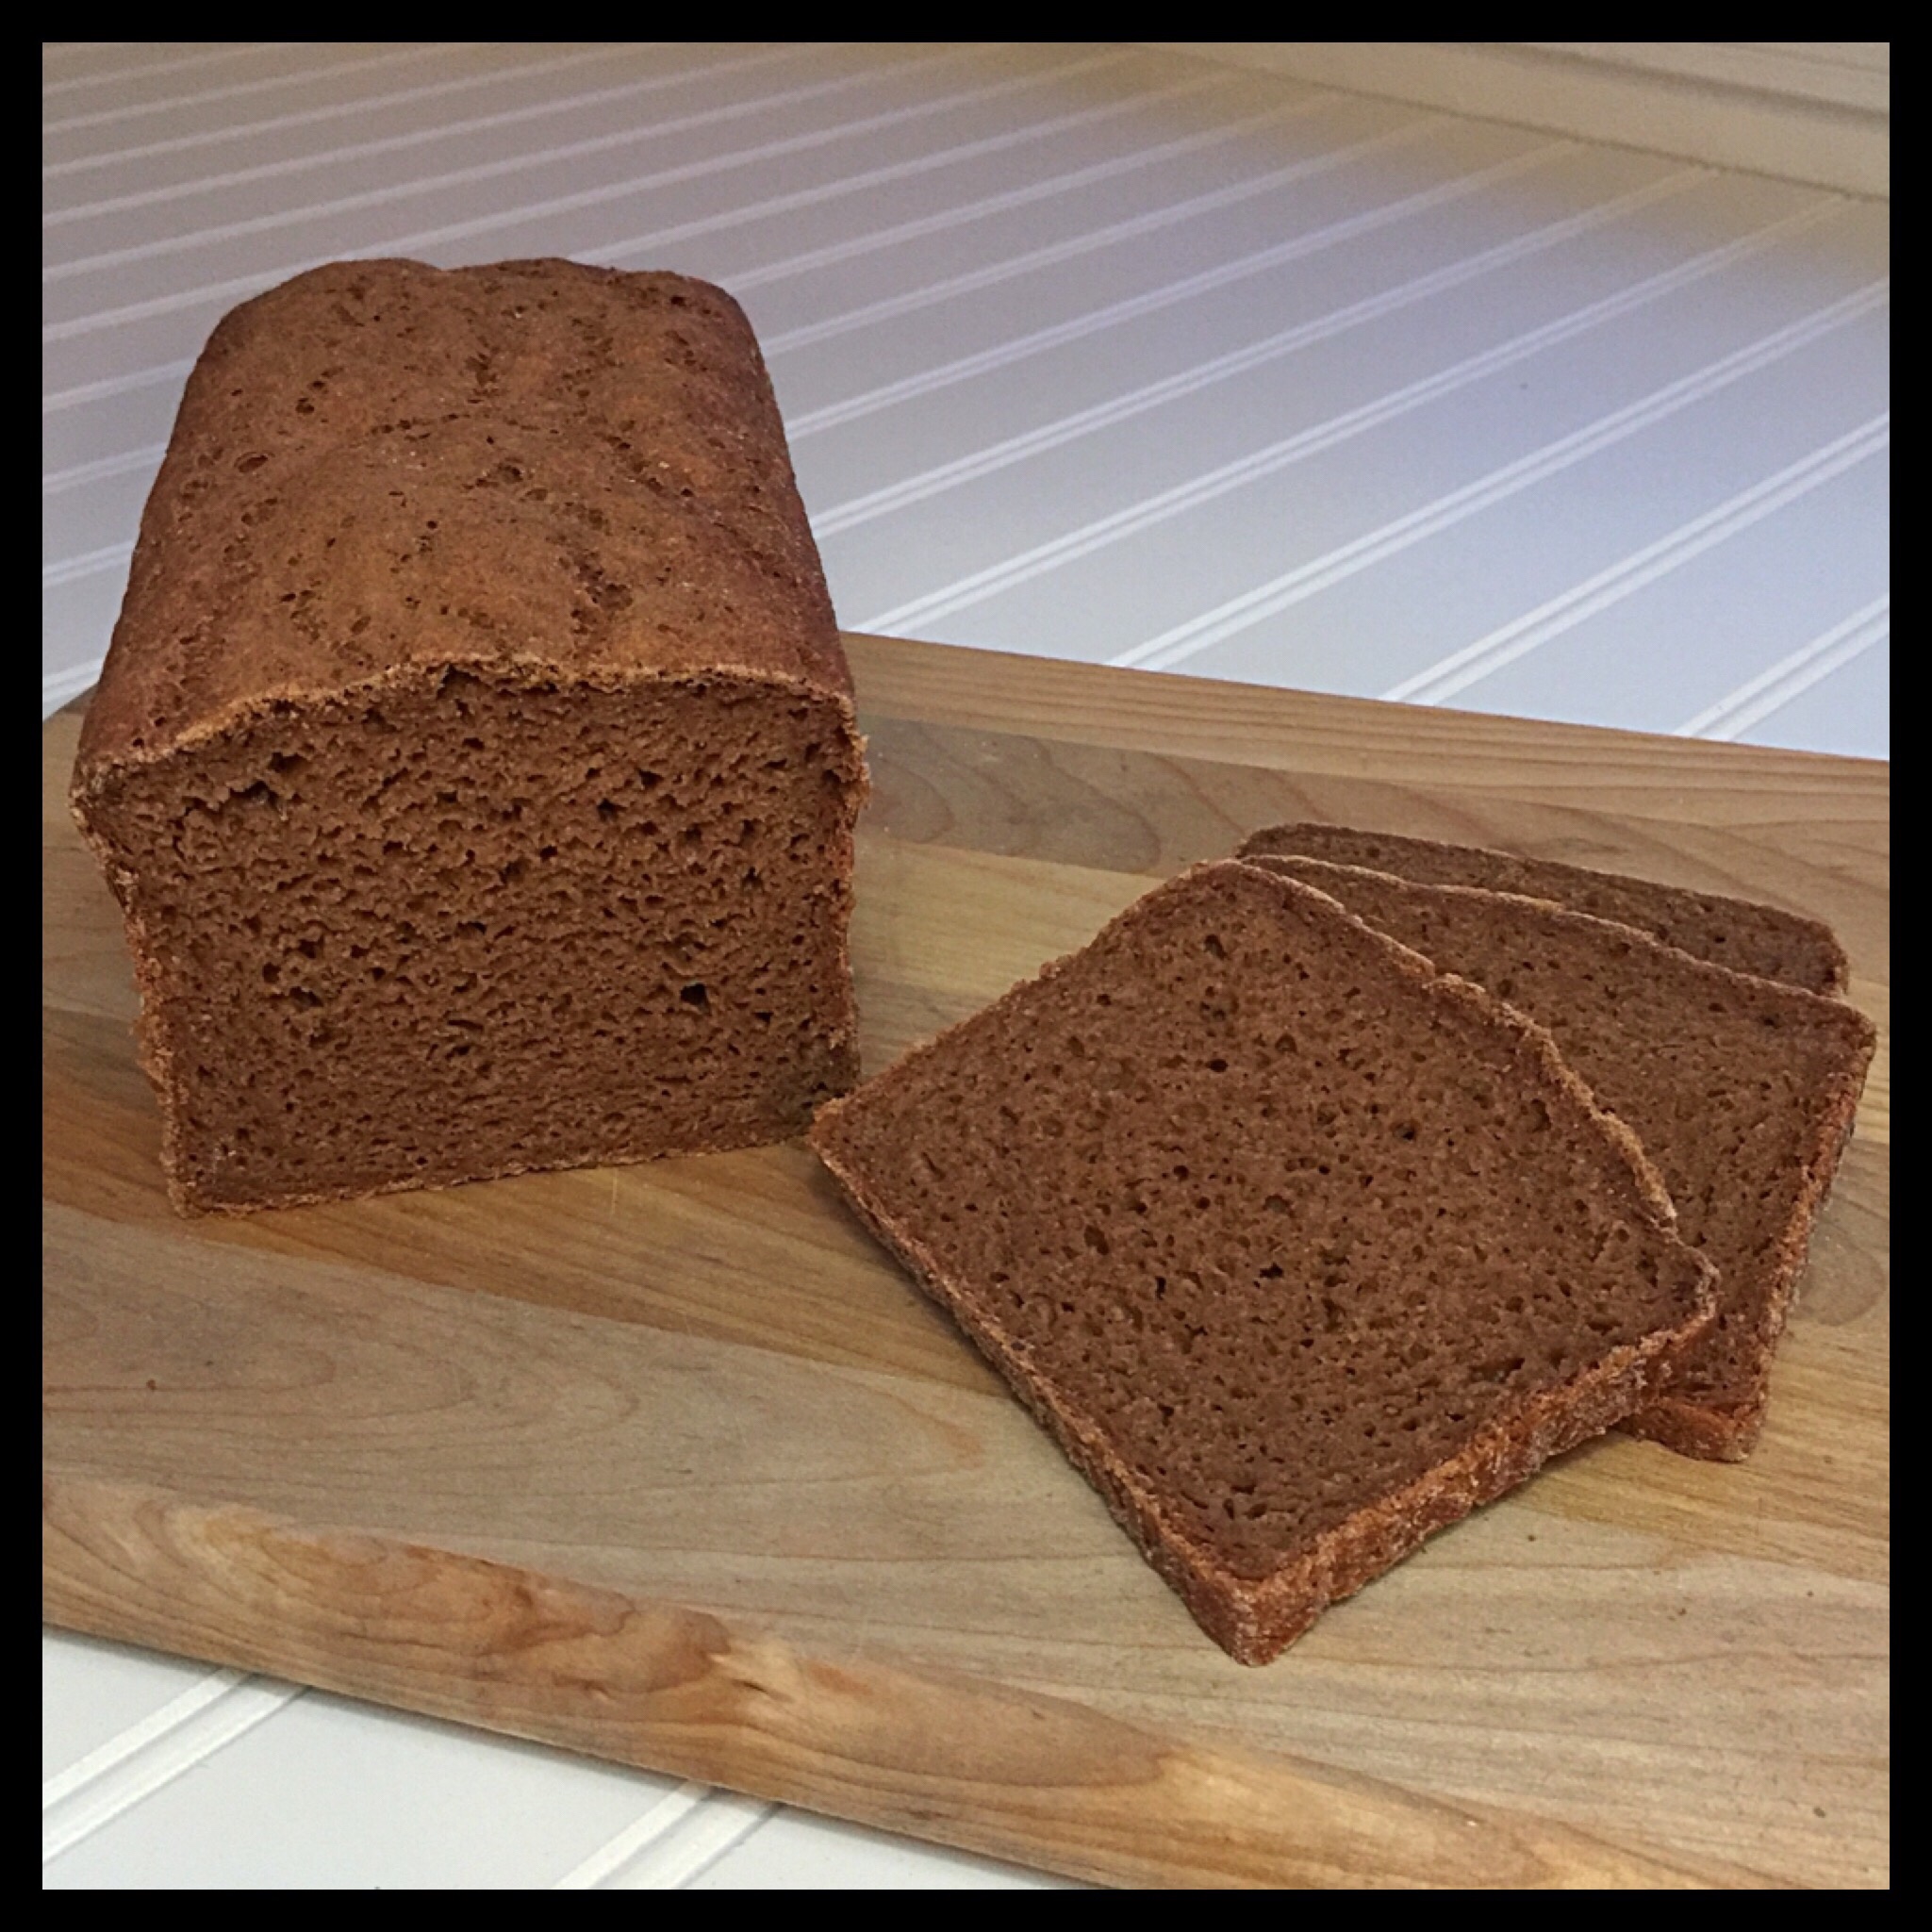
Look at that beautiful texture!
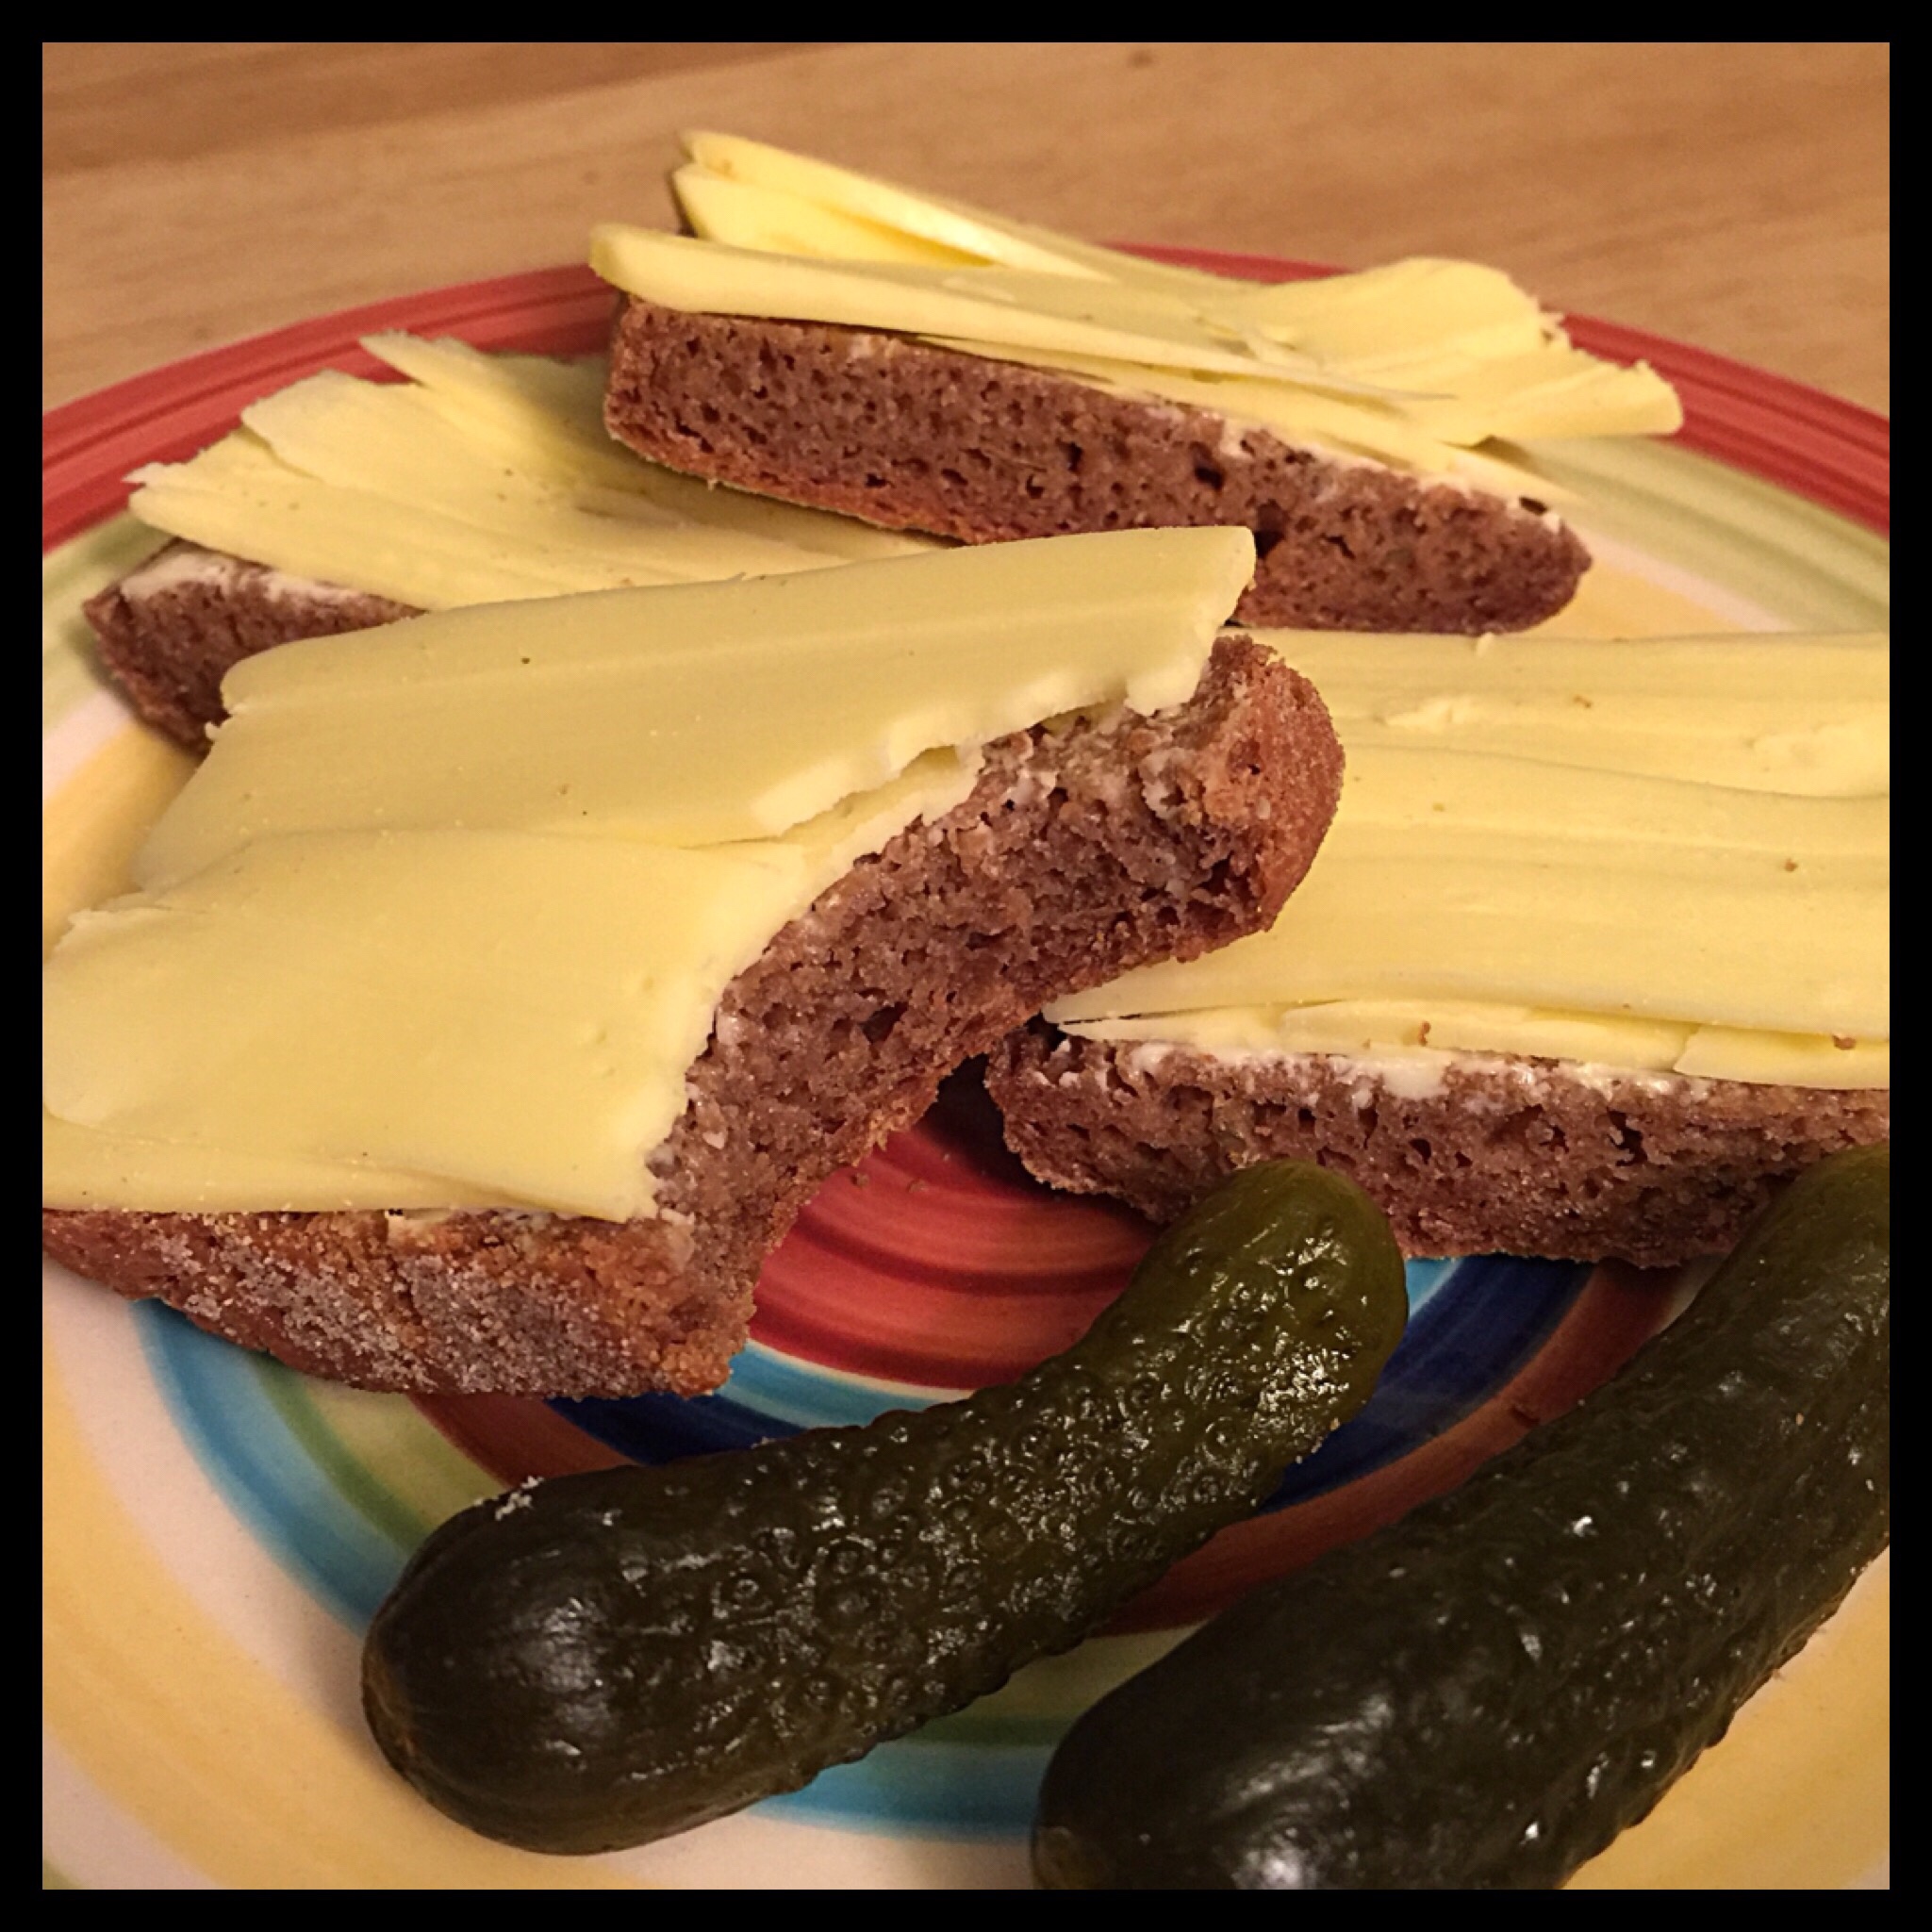
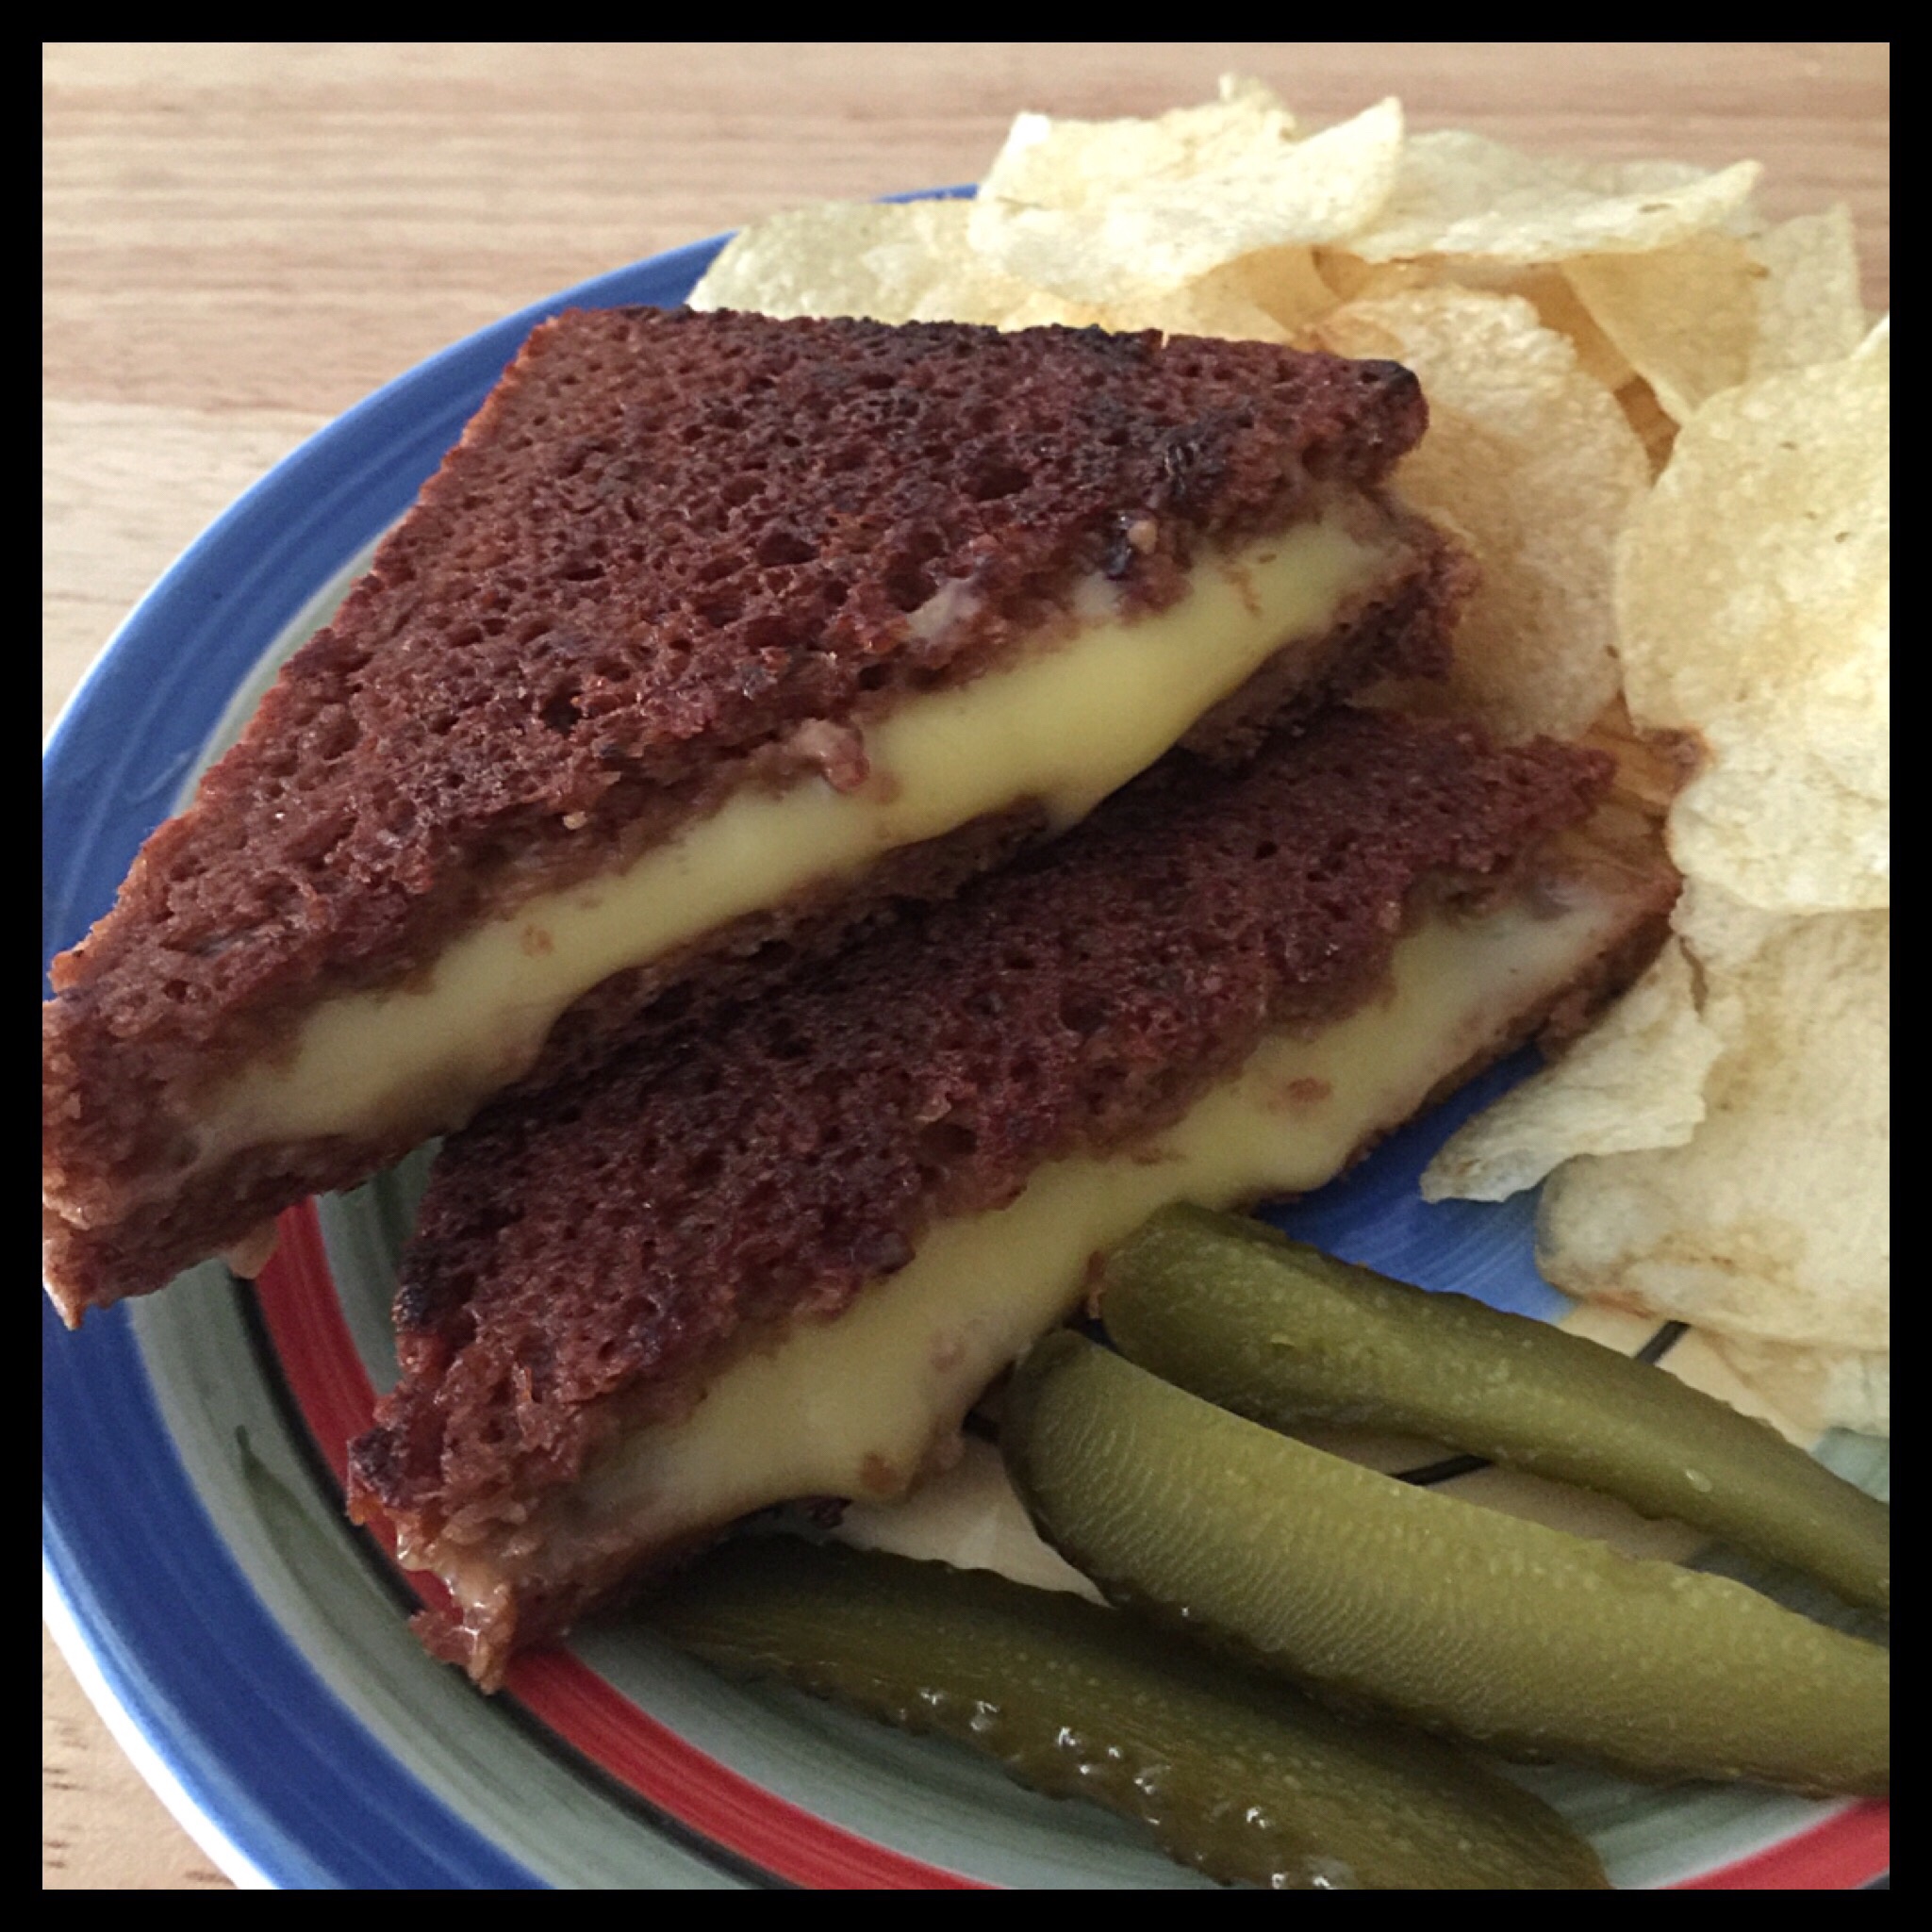
I love the crispy ends of the bread! I spread them with a little vegan butter and add slices of vegan cheese for a perfect snack with a couple of pickles. Violife cheddar or Gouda is perfect on this bread!
Grilled cheese on pumpernickel is superb! (I used Violife cheddar here as well.)
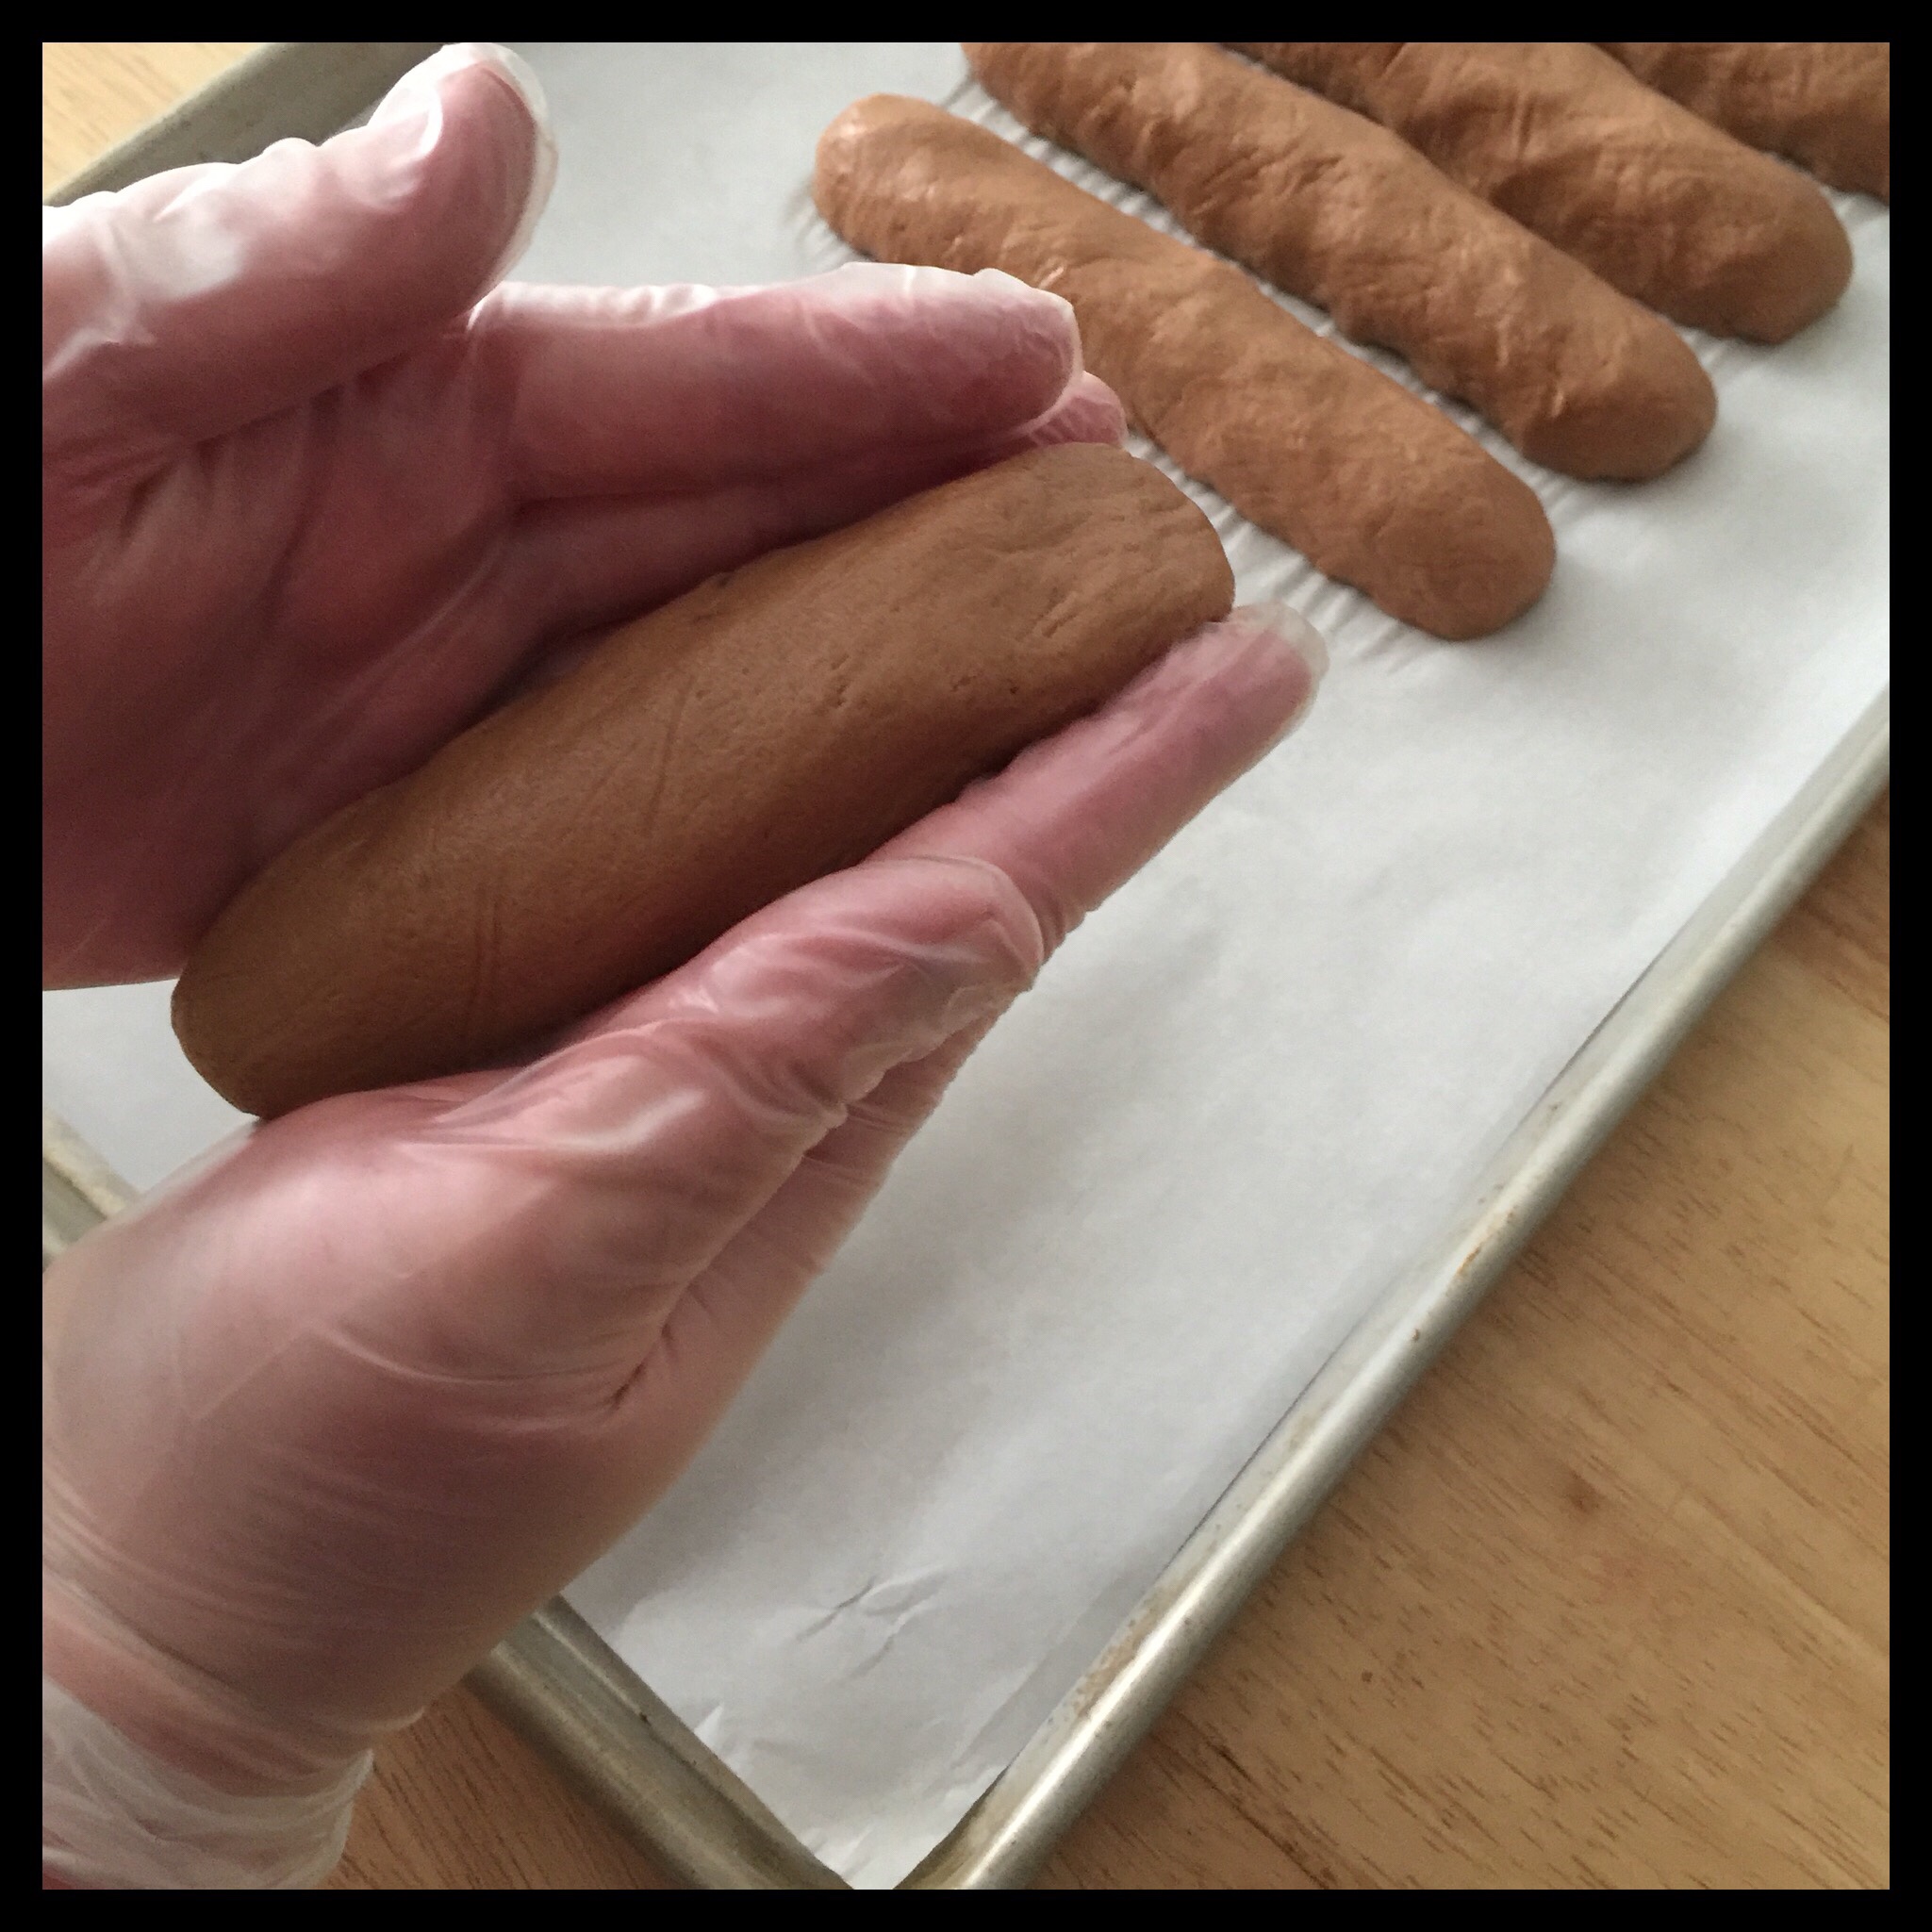
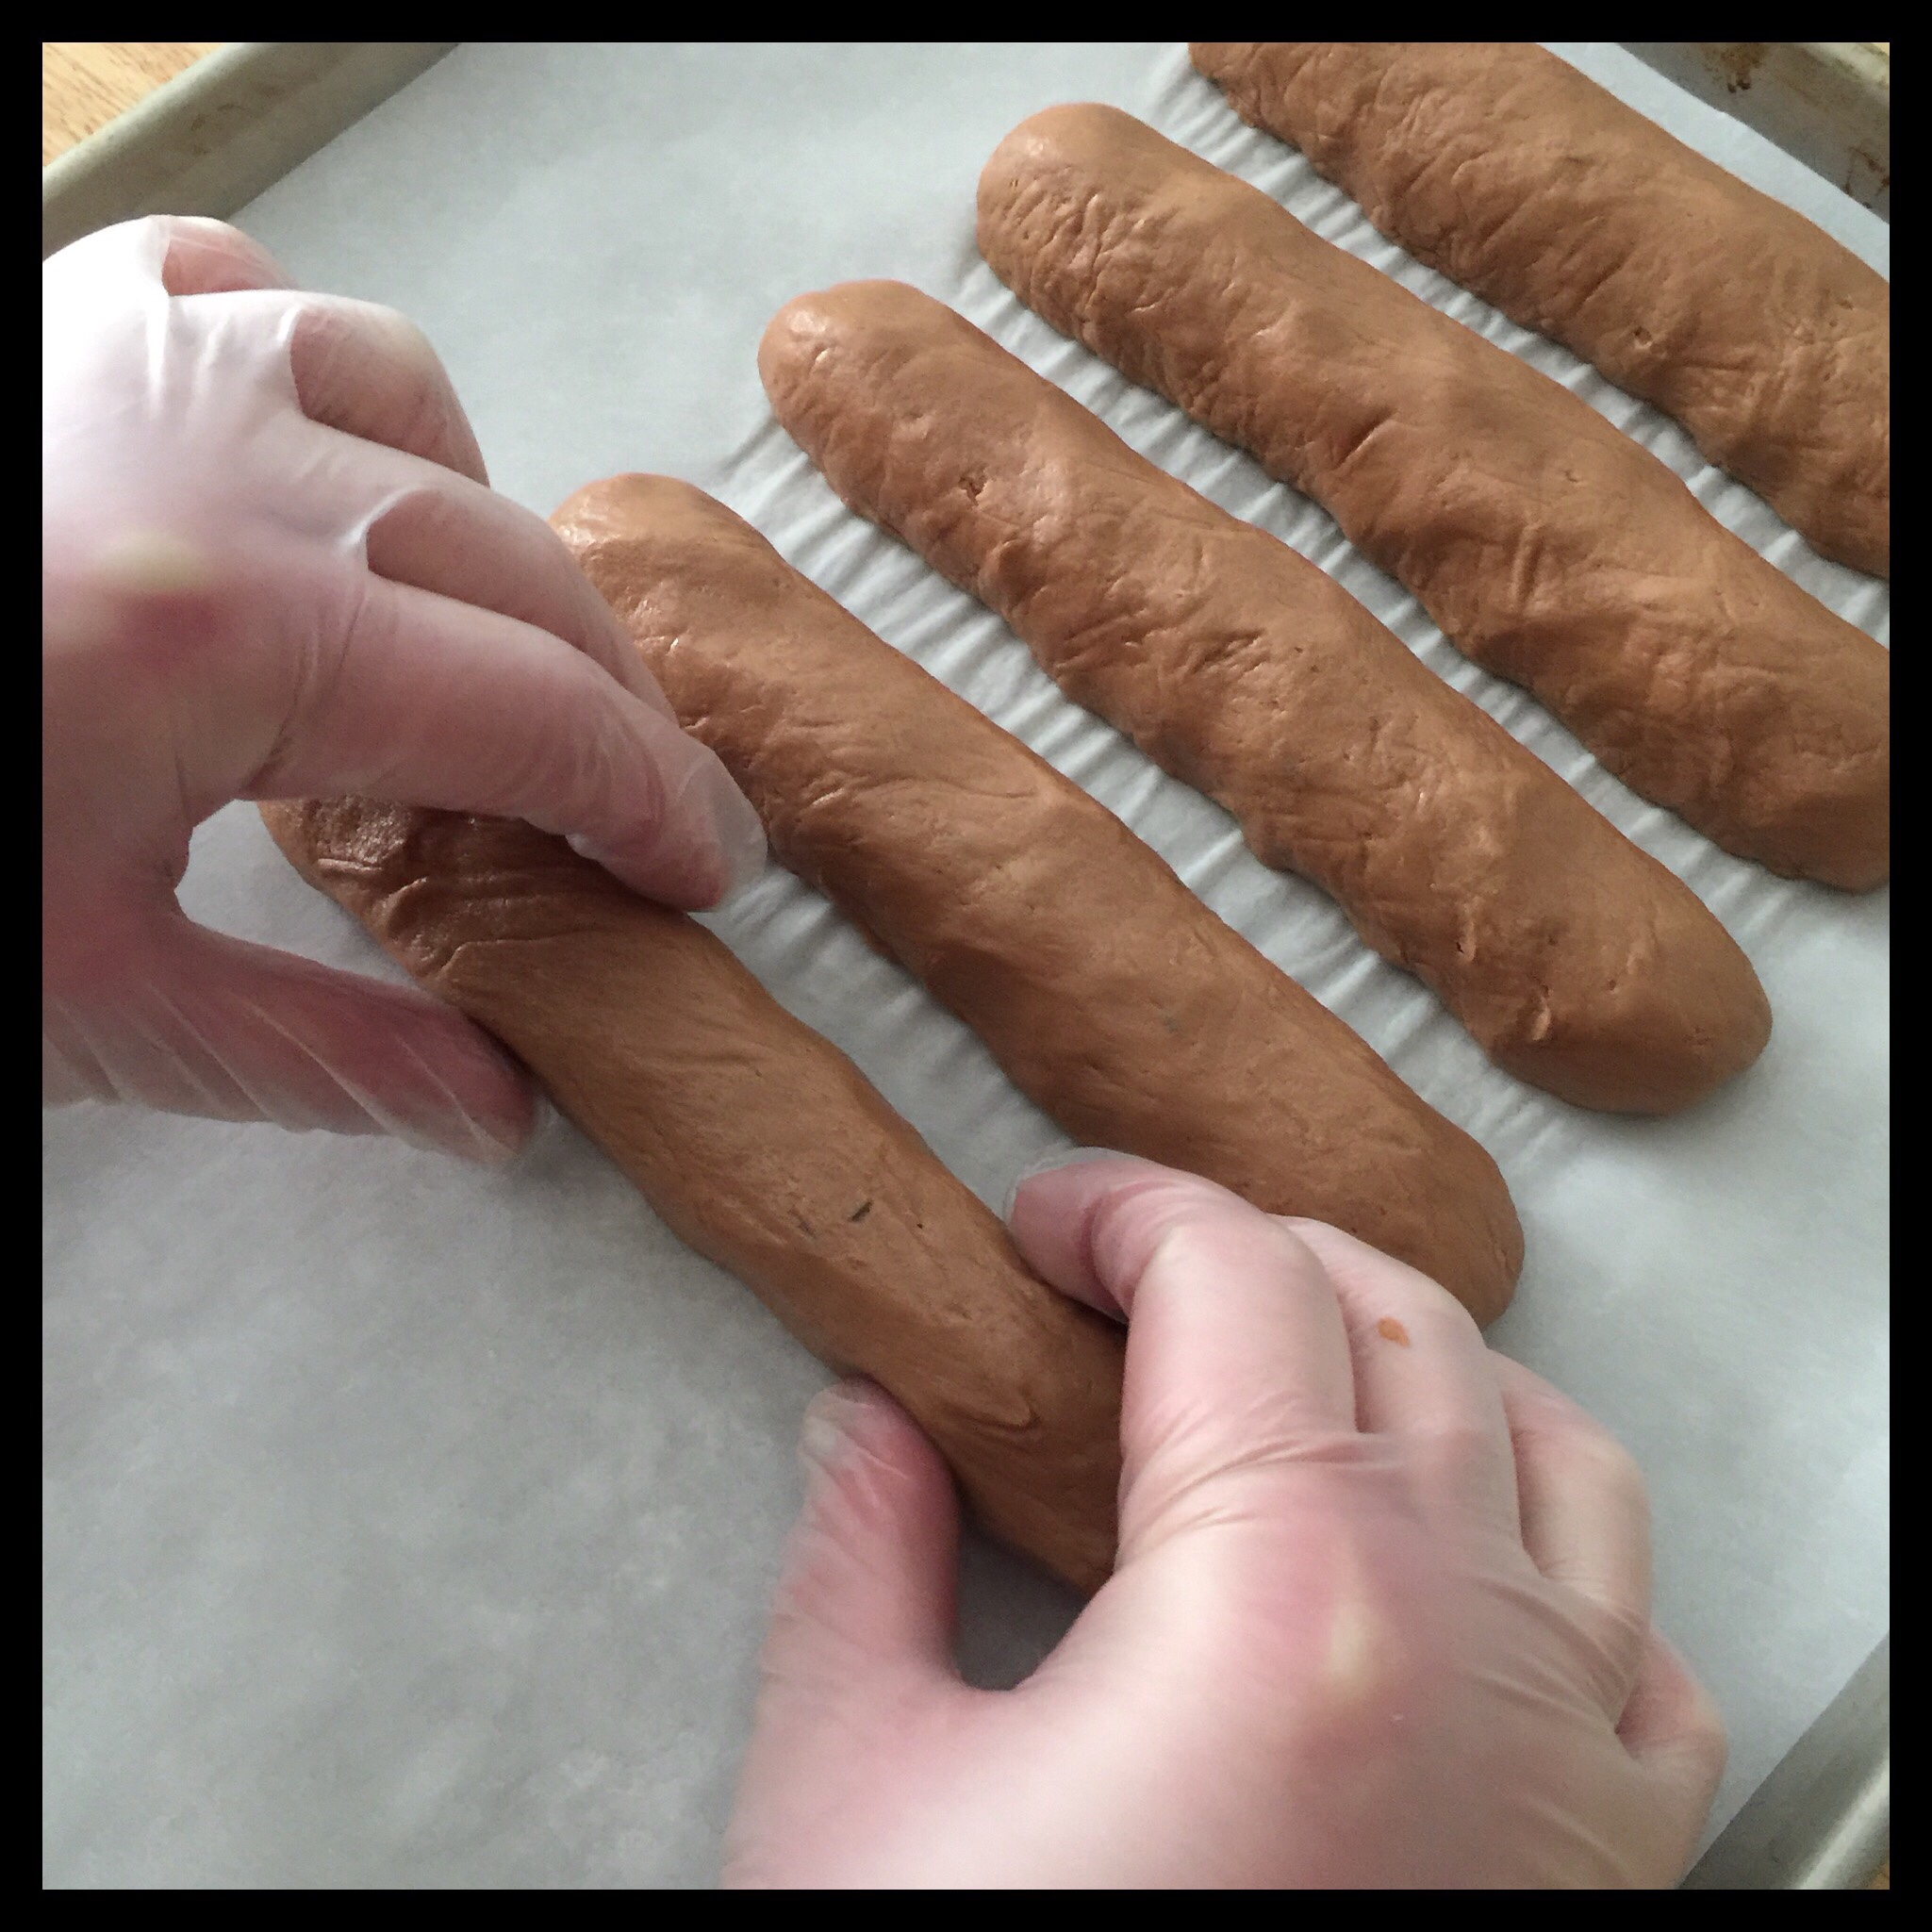
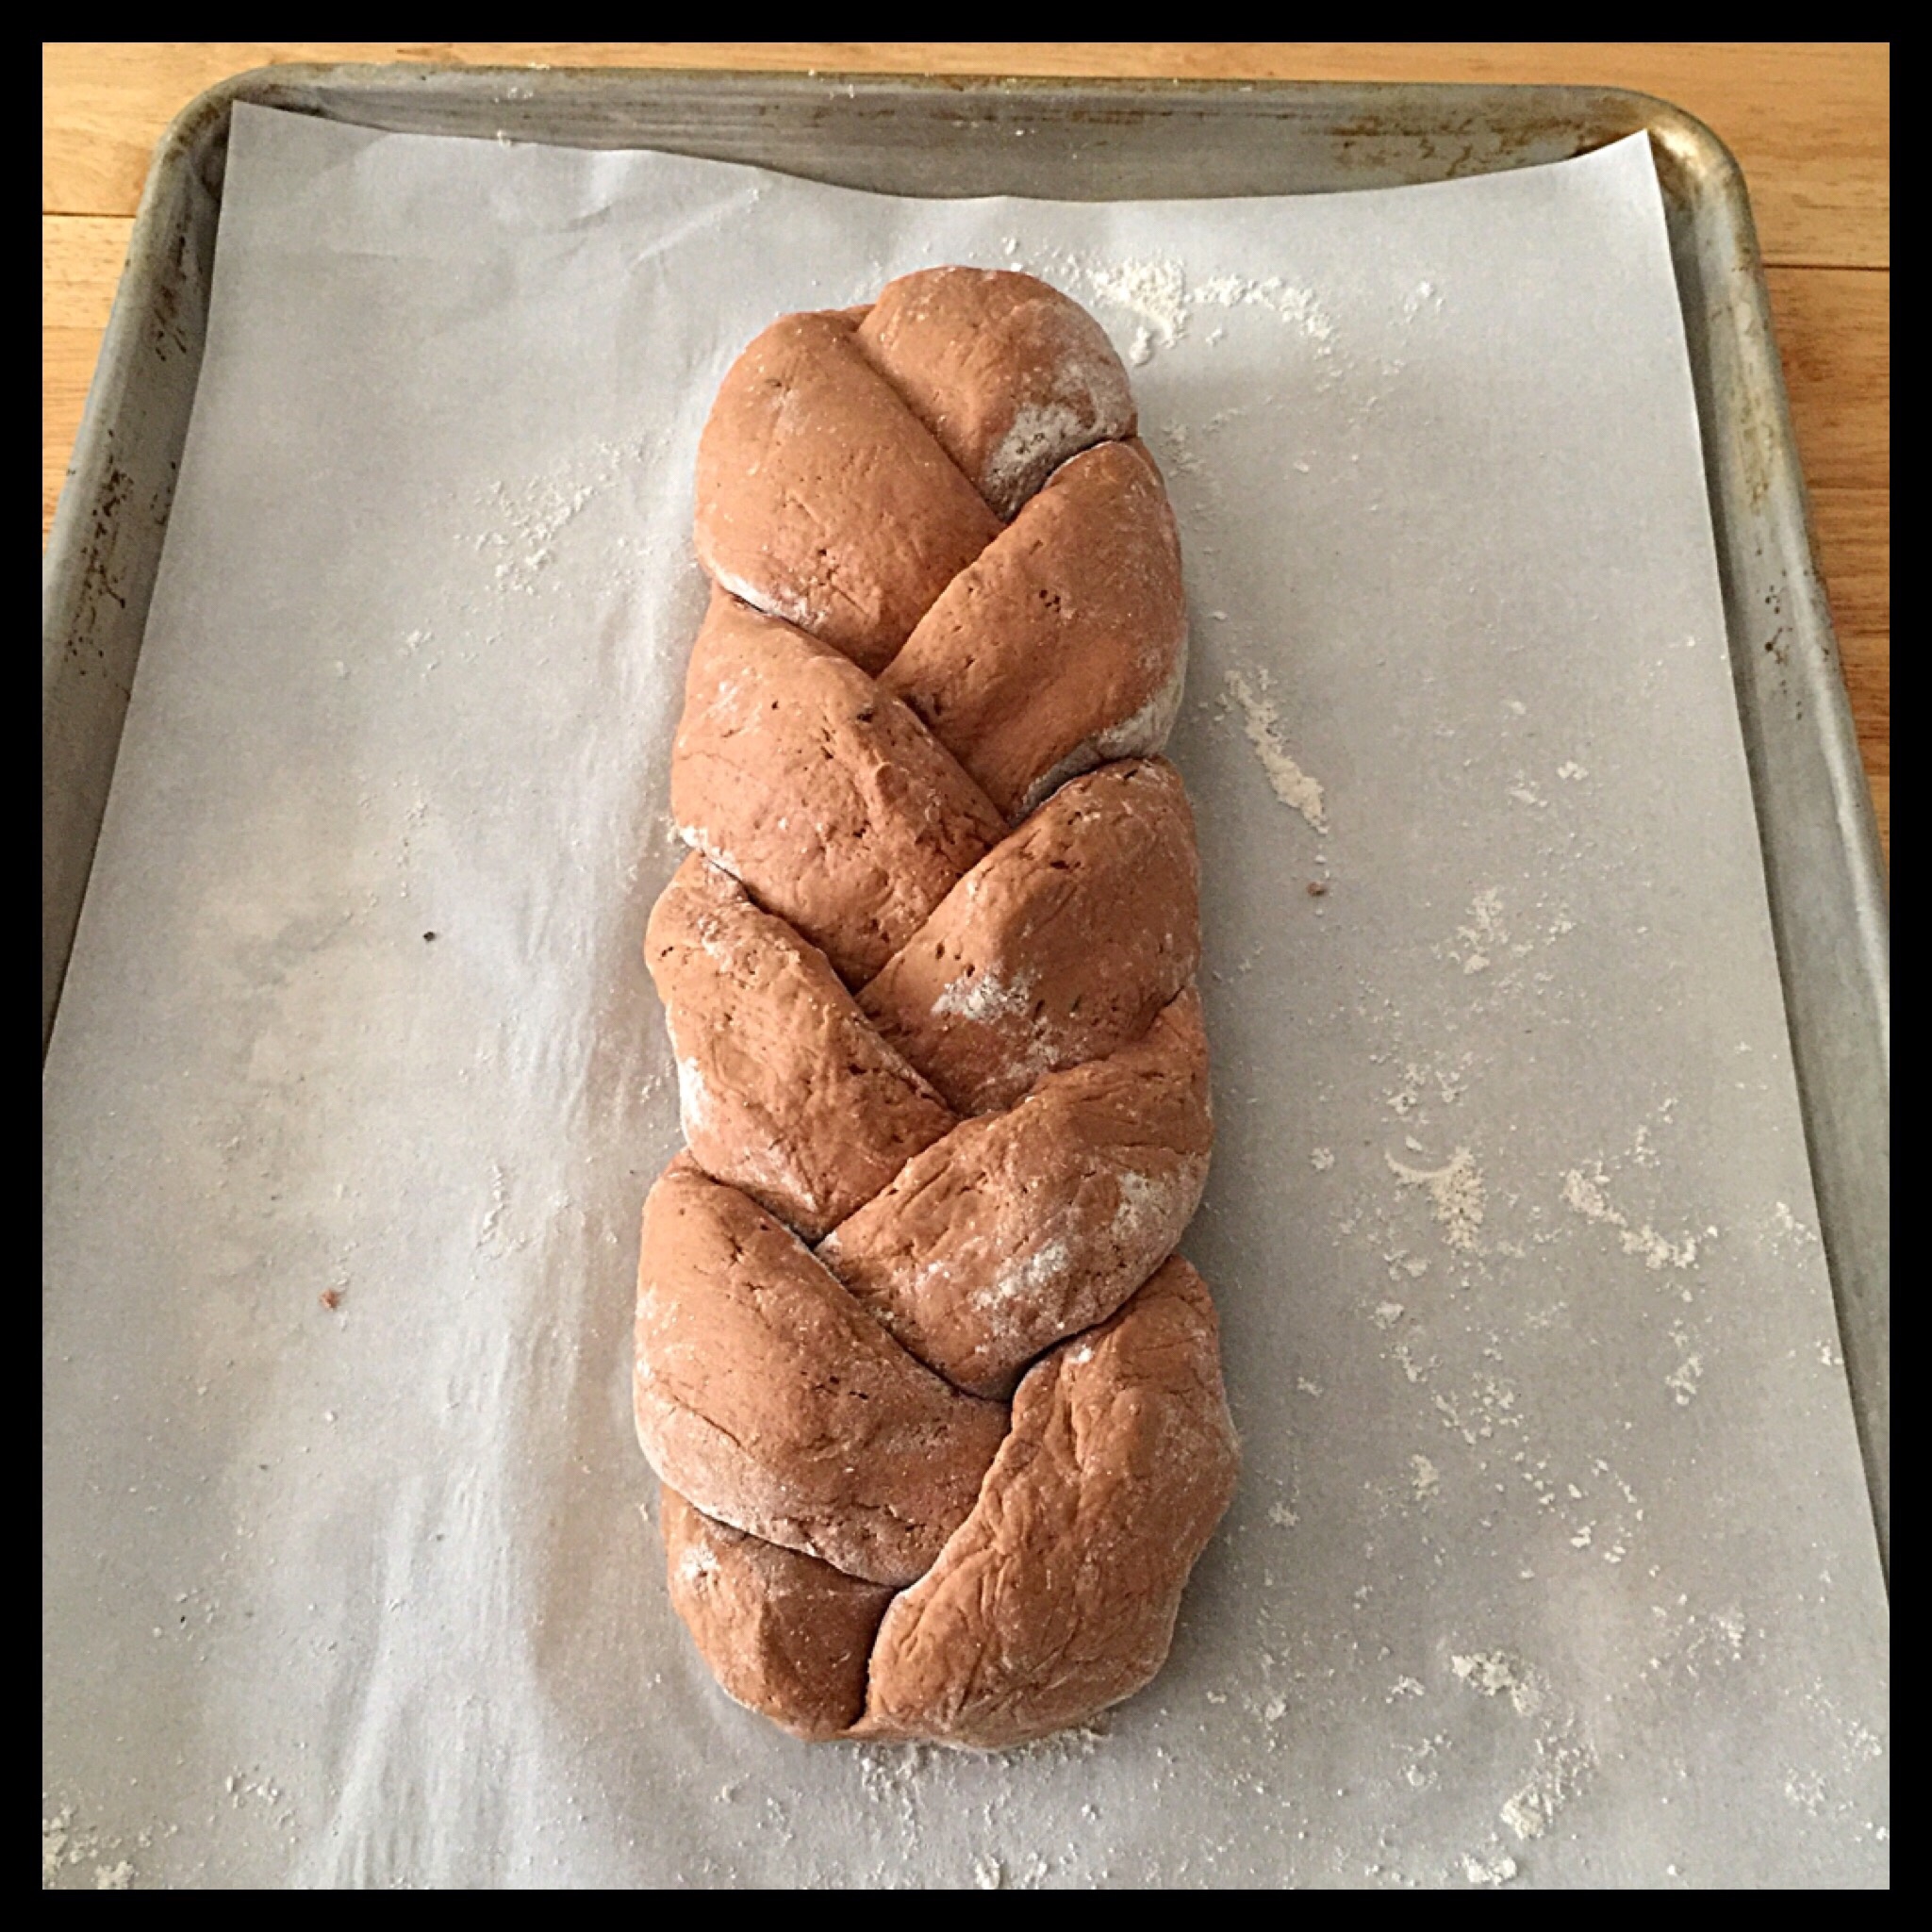
If you are making a braided loaf or sandwich rolls, you will put the bowl back in the bag for an hour for a second rise, then follow the shaping and baking directions on the links provided (including adding additional flour if needed.)
I had made some vegan German sausages, so I shaped this batch of dough into hoagie rolls:
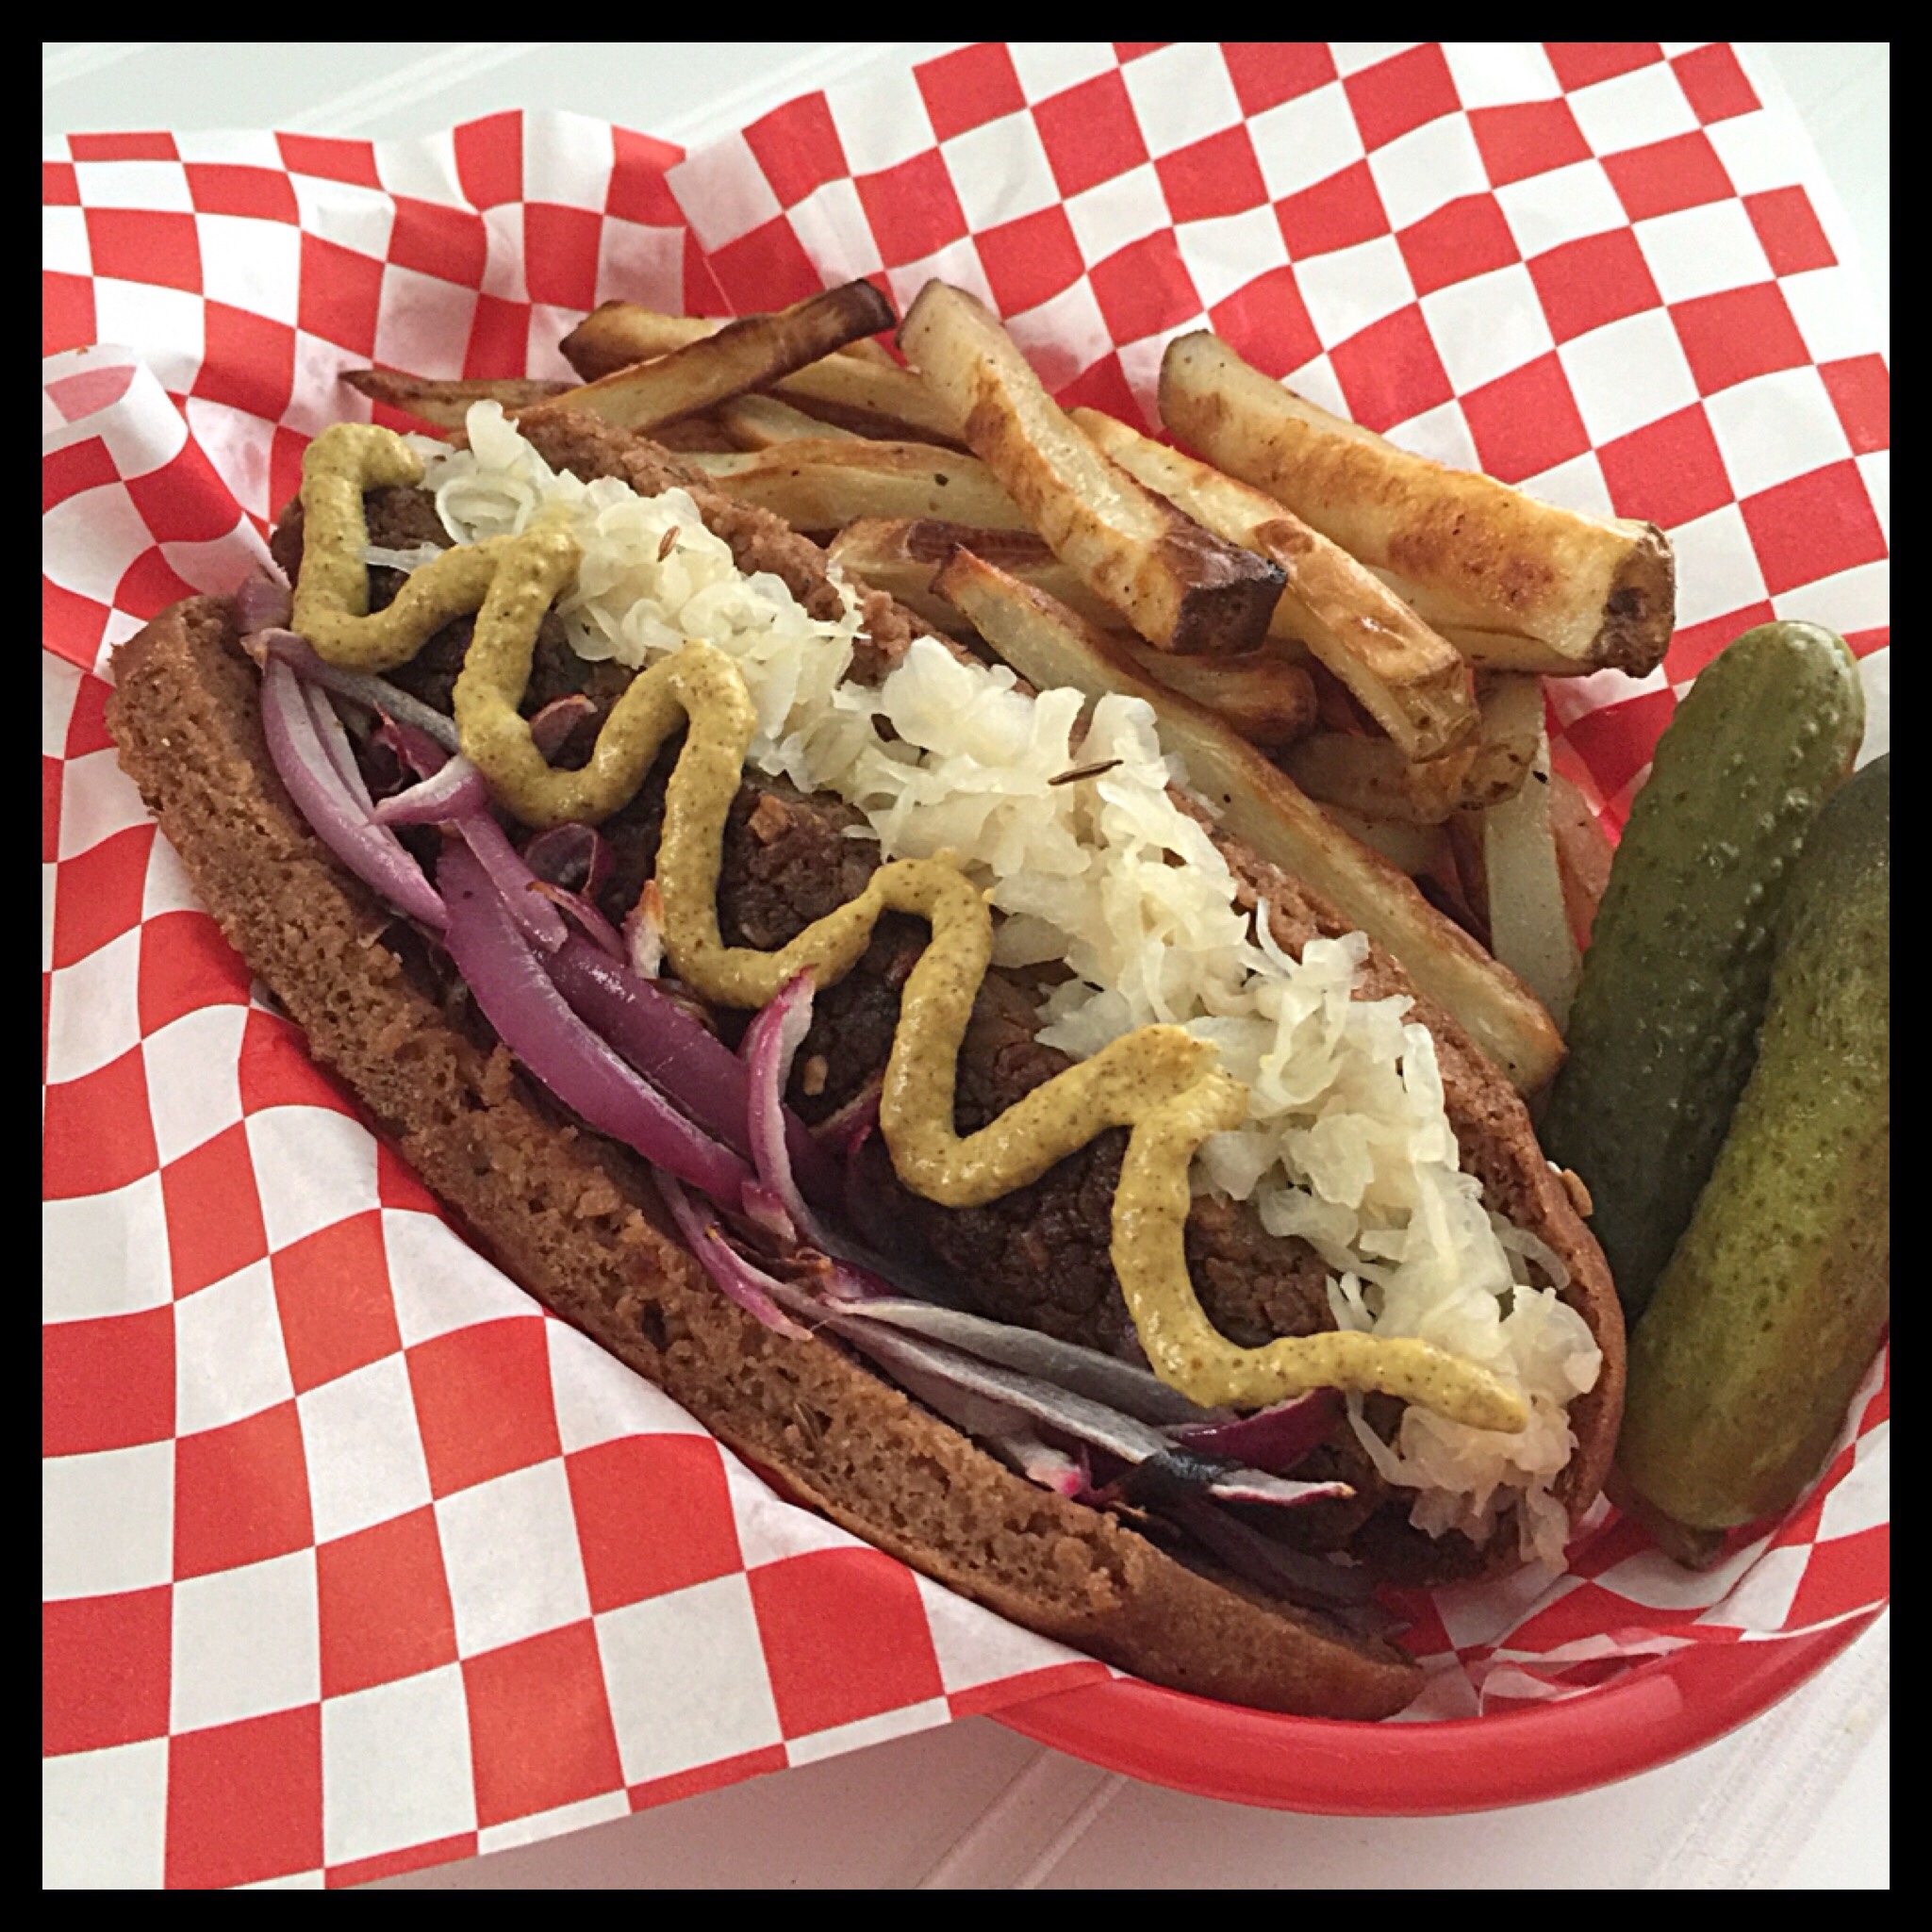
So good!

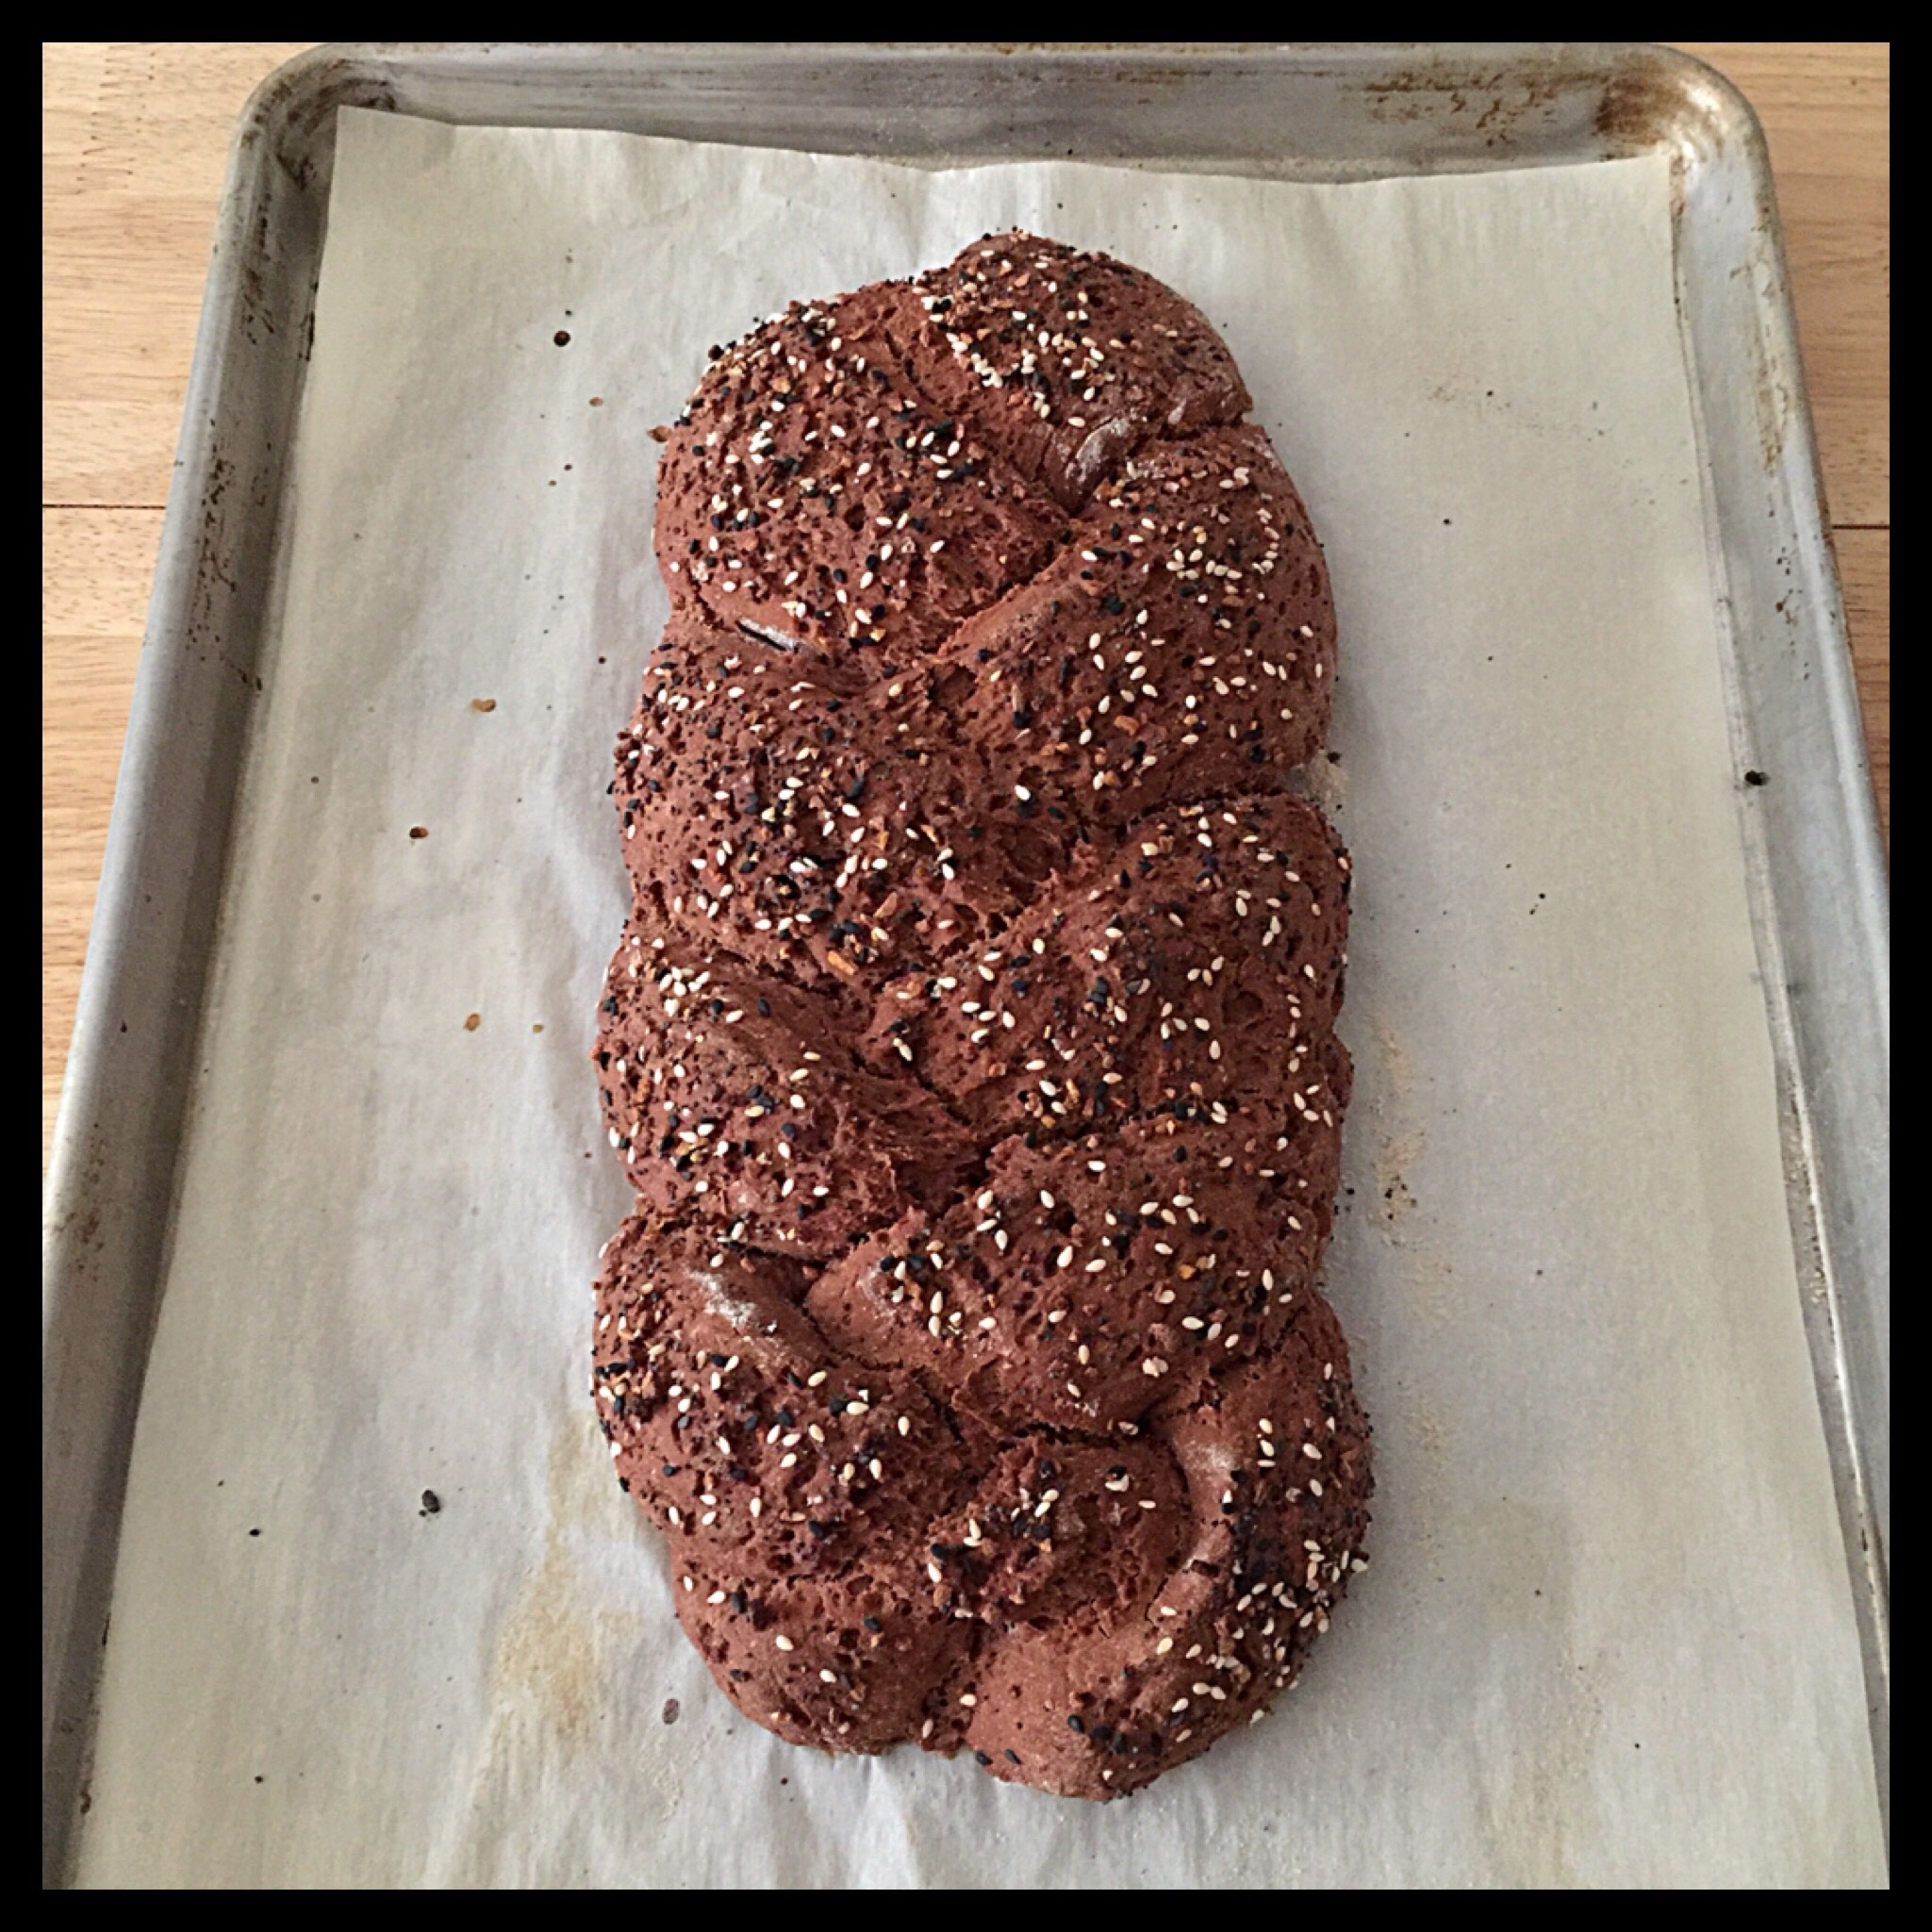
Here I made a braided loaf:
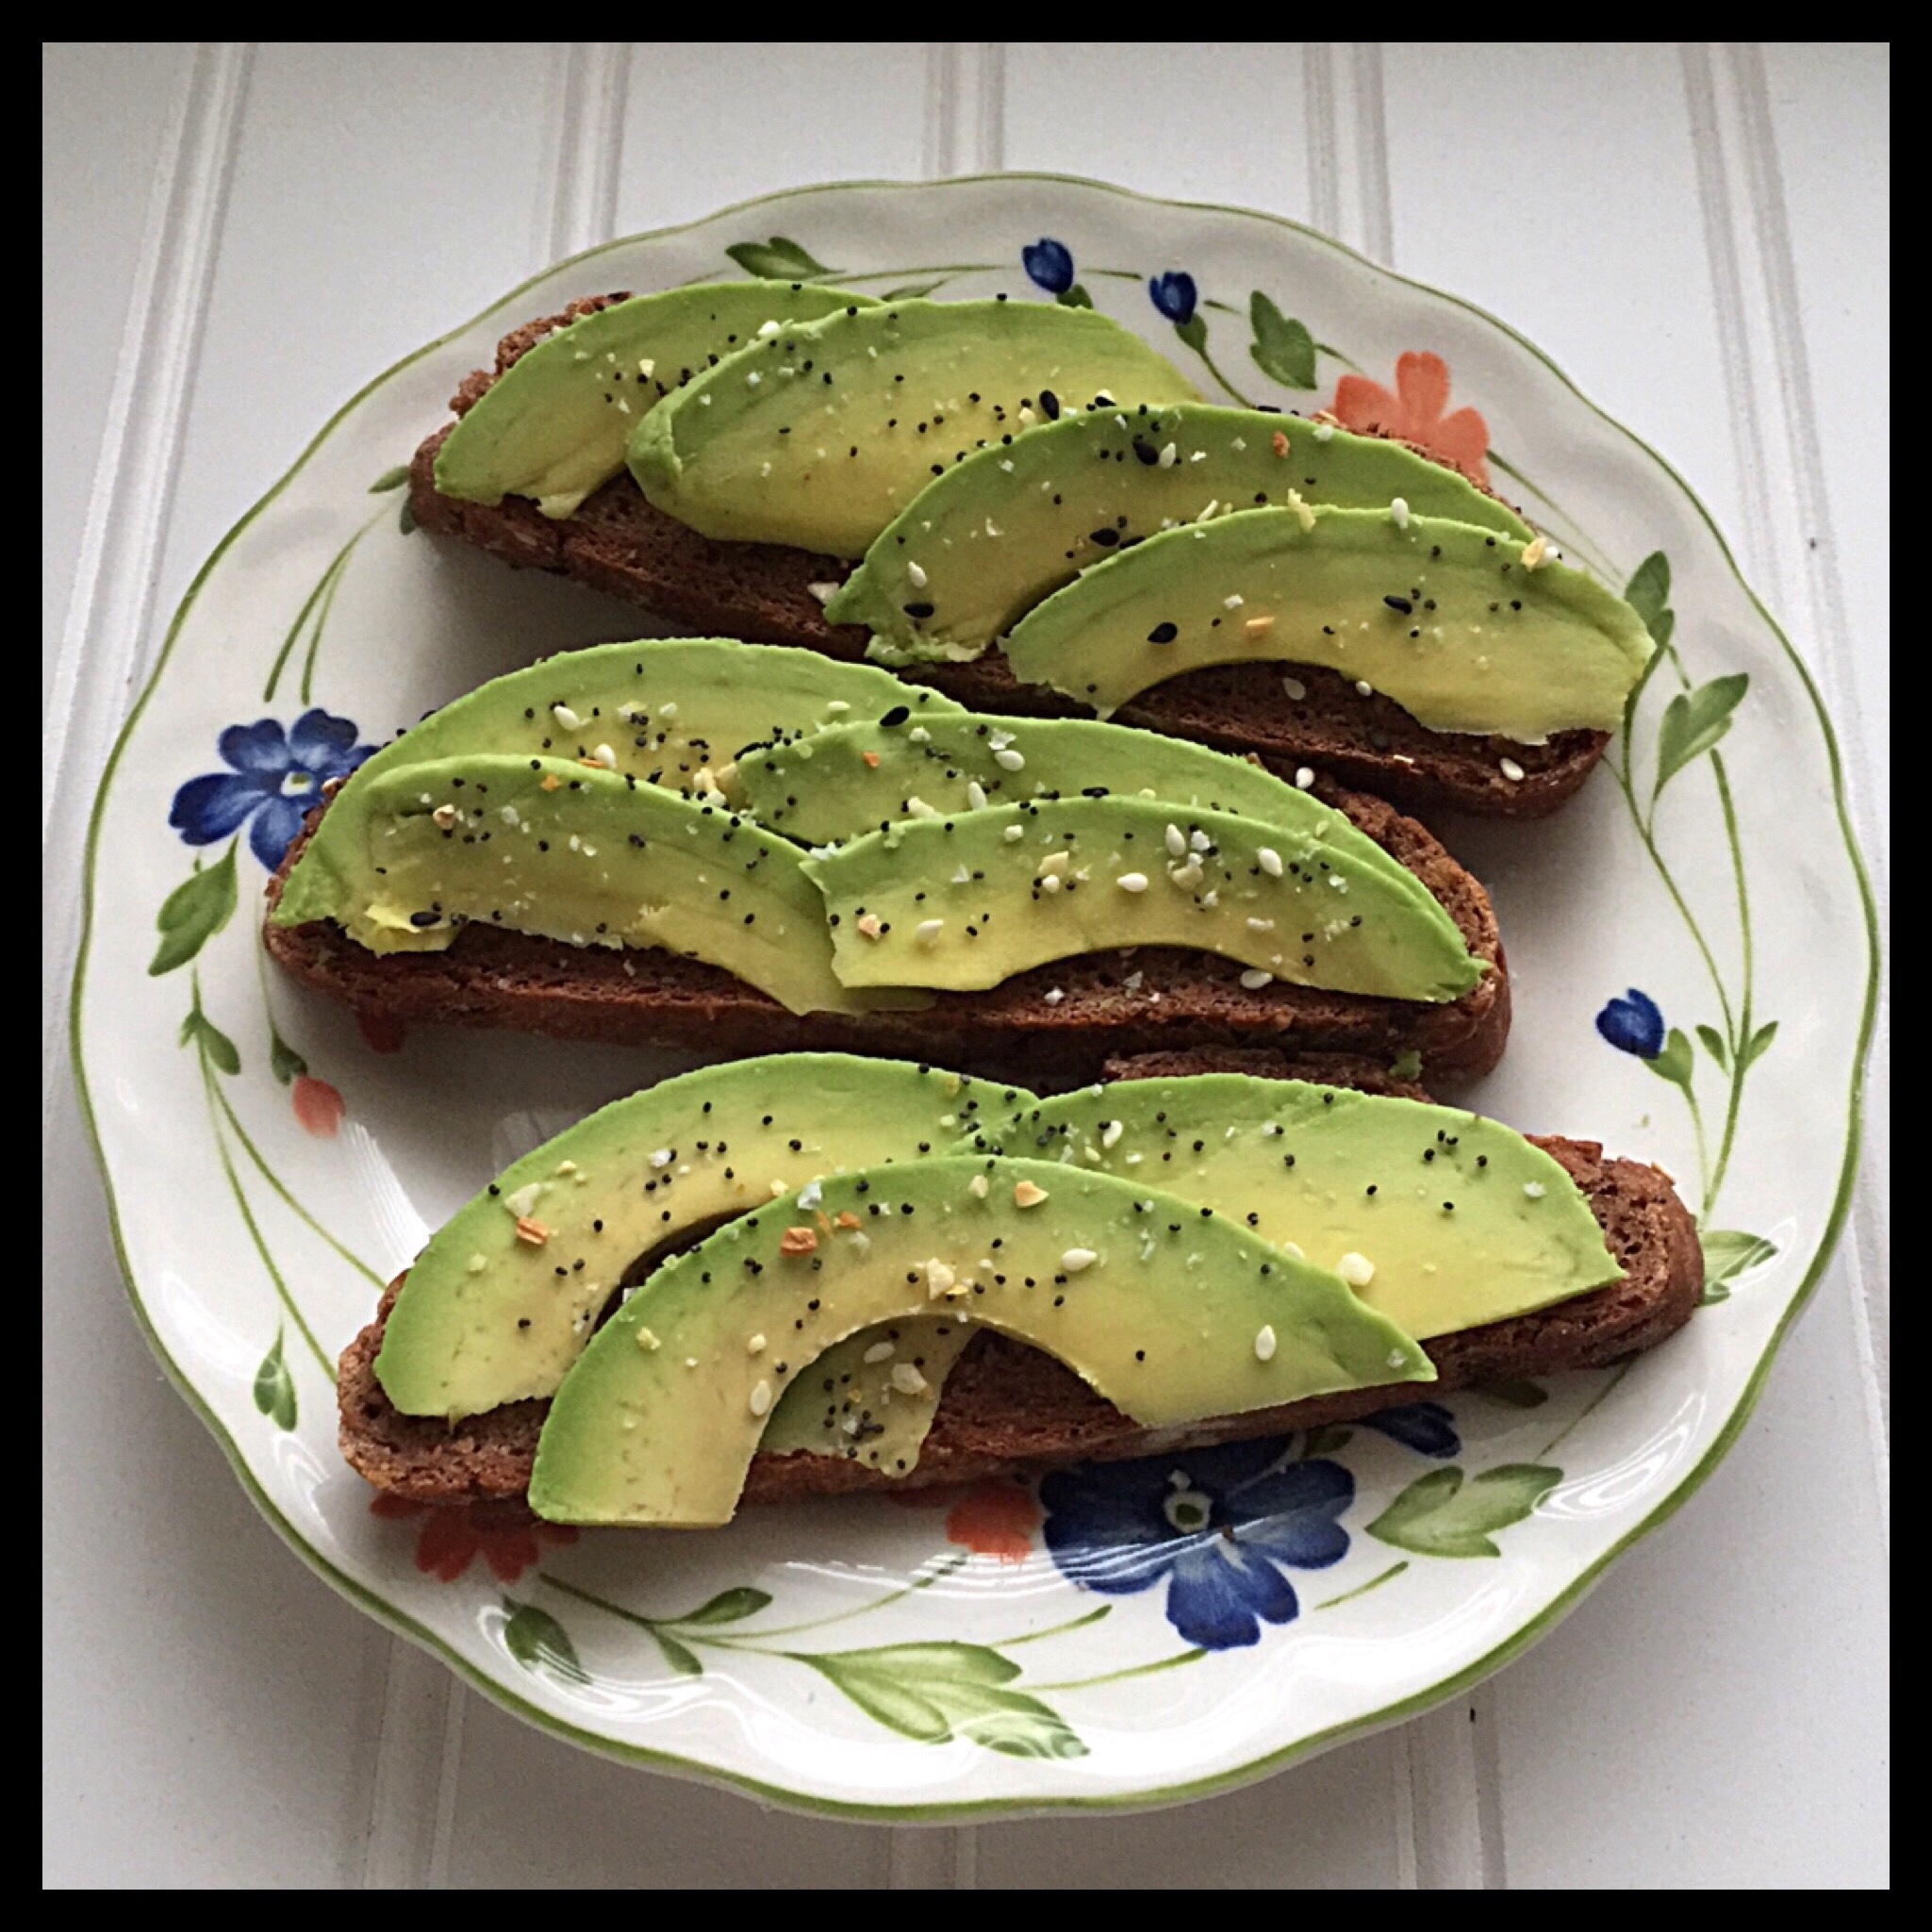
If you haven’t tried avocado toast on pumpernickel, you really should! I love it sprinkled with some Everything But the Bagel seasoning from Trader Joe’s:
I really hope you will give this pumpernickel bread a try! It is so easy to make and tastes amazing!

Pumpernickel Bread (Vegan & Gluten Free!)
This vegan & gluten free pumpernickel bread is a perfect copycat in both flavor and texture! The bread is soft and bendable when fresh and it also makes lovely toast or grilled sandwiches. Make sandwich bread, rolls, or a braided loaf!
Ingredients
- 450 g (3 1/2 c) Gluten Free Flour Blend (made with The Plant Based Egg)
- 28 g (2 TBS packed) Vegan Dark Brown Sugar
- 15 g (2 TBS + 2 tsp) Cocoa Powder
- 4.8 g (1 3/4 tsp) Onion Powder
- 1.6 g (1 tsp) Instant Coffee Granules
- 6.0 g ( 2 1/4 tsp) Caraway Seeds
- 4.0 g (1 tsp) Vegan Sugar
- 11.4 g (1 TBS + 3/4 tsp) Active Dry Yeast
- 360 g (1 1/2 c) Seltzer Water
- 28 g (4 tsp) Molasses
- 9.6 g (1 1/2 tsp) Salt
- 22.5 g (1 1/2 TBS) Distilled Vinegar
- 14 g (1 TBS) Vegan Butter (I use Earth Balance Buttery Spread)
Instructions
-
Add the flour blend, cocoa, brown sugar, onion powder, instant coffee, and caraway seeds to a large mixing bowl. Stir together.
-
Make a well in the flour mixture. Add the sugar and yeast to the well.
-
Warm the seltzer water in the microwave until it is 118 degrees Fahrenheit. (Be sure to stir before checking the temperature as hot spots can occur.) Pour the warm seltzer water into the well. Let stand for about five minutes, until nice and bubbly.
-
Stir together with a sturdy spatula or a large spoon. (The dough will be quite firm.) Add the molasses, vinegar, salt, and vegan butter, but do NOT stir them in yet.
-
Place the bowl into the clean plastic bag, twist the bag to close it, and tuck the end under the bowl. Place the bowl (inside the bag) in a warm place to rise. (You want the room temperature to be at least 70 degrees Fahrenheit, and no warmer than 85 degrees Fahrenheit.) If your house is cooler than 70 degrees, you can use your oven with the light turned on, but check the temperature inside to be sure it isn’t above 85 degrees. Set a timer for 30 minutes.
-
After 30 minutes, undo the bag and fold it back. The dough will be puffy. If you are using a hand mixer with dough hooks, beat on high speed for three minutes. If you are using a stand mixer with a paddle attachment, beat on medium-high speed for two minutes. Stir with a sturdy spatula to be sure that any bits missed by the mixer are blended in. Scrape down the bowl.
-
Now, the directions begin to differ. If you are making a braided loaf or sandwich rolls, you will put the bowl back in the bag for an hour for a second rise, then follow the shaping and baking directions on the links provided (including adding additional flour if needed, which can be done either before the second rise or before shaping.)
-
If you are making a sandwich loaf, however, you will transfer the dough now to a greased and floured loaf pan (without a second rise before shaping). I prefer to use a 9″ x 4″ Pullman pan with straight sides, but you can use any 8.5 to 9 inch loaf pan. Place the filled pan in the bag, and let the dough rise until it is doubled. Your dough will only need to rise for 15 to 20 minutes if your room is 85 degrees Fahrenheit, but will need 30 to 45 minutes if your room is 70 degrees Fahrenheit, and somewhere in between if your room temperature is in the middle.
-
Preheat your oven to 400 degrees Fahrenheit while it is rising. (You will not be able to use it as a place for rising your dough this time.) Place the shallow pan on a lower rack and add about a 1/4″ layer of water. Keep an eye on the water level if your rising time is over 30 minutes as you may need to add more. Before your dough is fully risen, be sure there is still at least a 1/8″ layer of water in the shallow pan. If you have to add more, you will need to allow it to get hot and produce steam before baking the bread.
-
Once the dough has doubled, remove the pan from the bag, and place it in the 400 degree Fahrenheit oven that is now nice and steamy. As soon as you close the door, turn the heat down to 375 degrees Fahrenheit. Bake for 60 minutes. You only need steam for the first 10 to 15 minutes of baking time, so don’t add more water while the bread is in the oven, even if the pan runs dry while it is baking. It also doesn’t matter if there is still water left in the pan the entire baking time. Don’t open the oven door once the bread is in until it is done!
-
Immediately, turn the baked loaf out on its side onto a cooling rack. Set a timer for 10 minutes. (Keeping the hot loaf on its side prevents caving of the sides.) After 10 minutes, turn the loaf onto its opposite side. Set a timer for 15 minutes, then flip back. Set a timer for 20 minutes, and flip again. Finally, set a timer for 30 minutes, and then flip one last time. When that timer goes off, turn the loaf right-side up. Let it cool completely before slicing!
-
Once your loaf is completely cooled, slice as desired. Freeze any slices that you won’t eat the same day in a Ziploc bag. To defrost slices, place them in the microwave (out of the bag) and heat for 45 seconds at 50% power. Turn the slices over, then heat for another 45 seconds at 50% power. Repeat if not fully defrosted.
Recipe Notes
- See my post on 16 gluten free flour blends and choose the blend you want to use. Blends one and two are great for other baked goods, but should not be used for yeast breads. Any of the blends three through sixteen will work well in this recipe for a braided loaf or sandwich rolls. They should also work for sandwich bread, but I have not tested all of them in full-size sandwich loaves. (You can also use my premade GF flour blend once it is available to purchase.)
This looks wonderful. I can not have chocolate or caffeine. Could I sub the cocoa with carob and just leave out the coffee granules?
Maggie
Hi Maggie! Yes to both using carob and leaving out the coffee. If you can, though, I would use decaf coffee as it does add to the rye flavor of the bread. Please let me know how your bread turns out!
Is there a substitute for the Plant Based Egg? Or for a non vegan option, when would be a good time to add an egg to the mixture?
Thank you!
Hi Rachelle! The Plant Based Egg cannot be left out in this recipe as it is subbing for gums in addition to eggs, and is providing much of the bread’s structure. However, you do not need to mix your own flour blend as Freely Vegan flour is now available:
https://freelyvegan.com/product/freely-vegan-all-purpose-gluten-free-flour/ It already has The Plant Based Egg built in and is ready to use in all of my recipes.